Multiplayer Map Guide — Meat

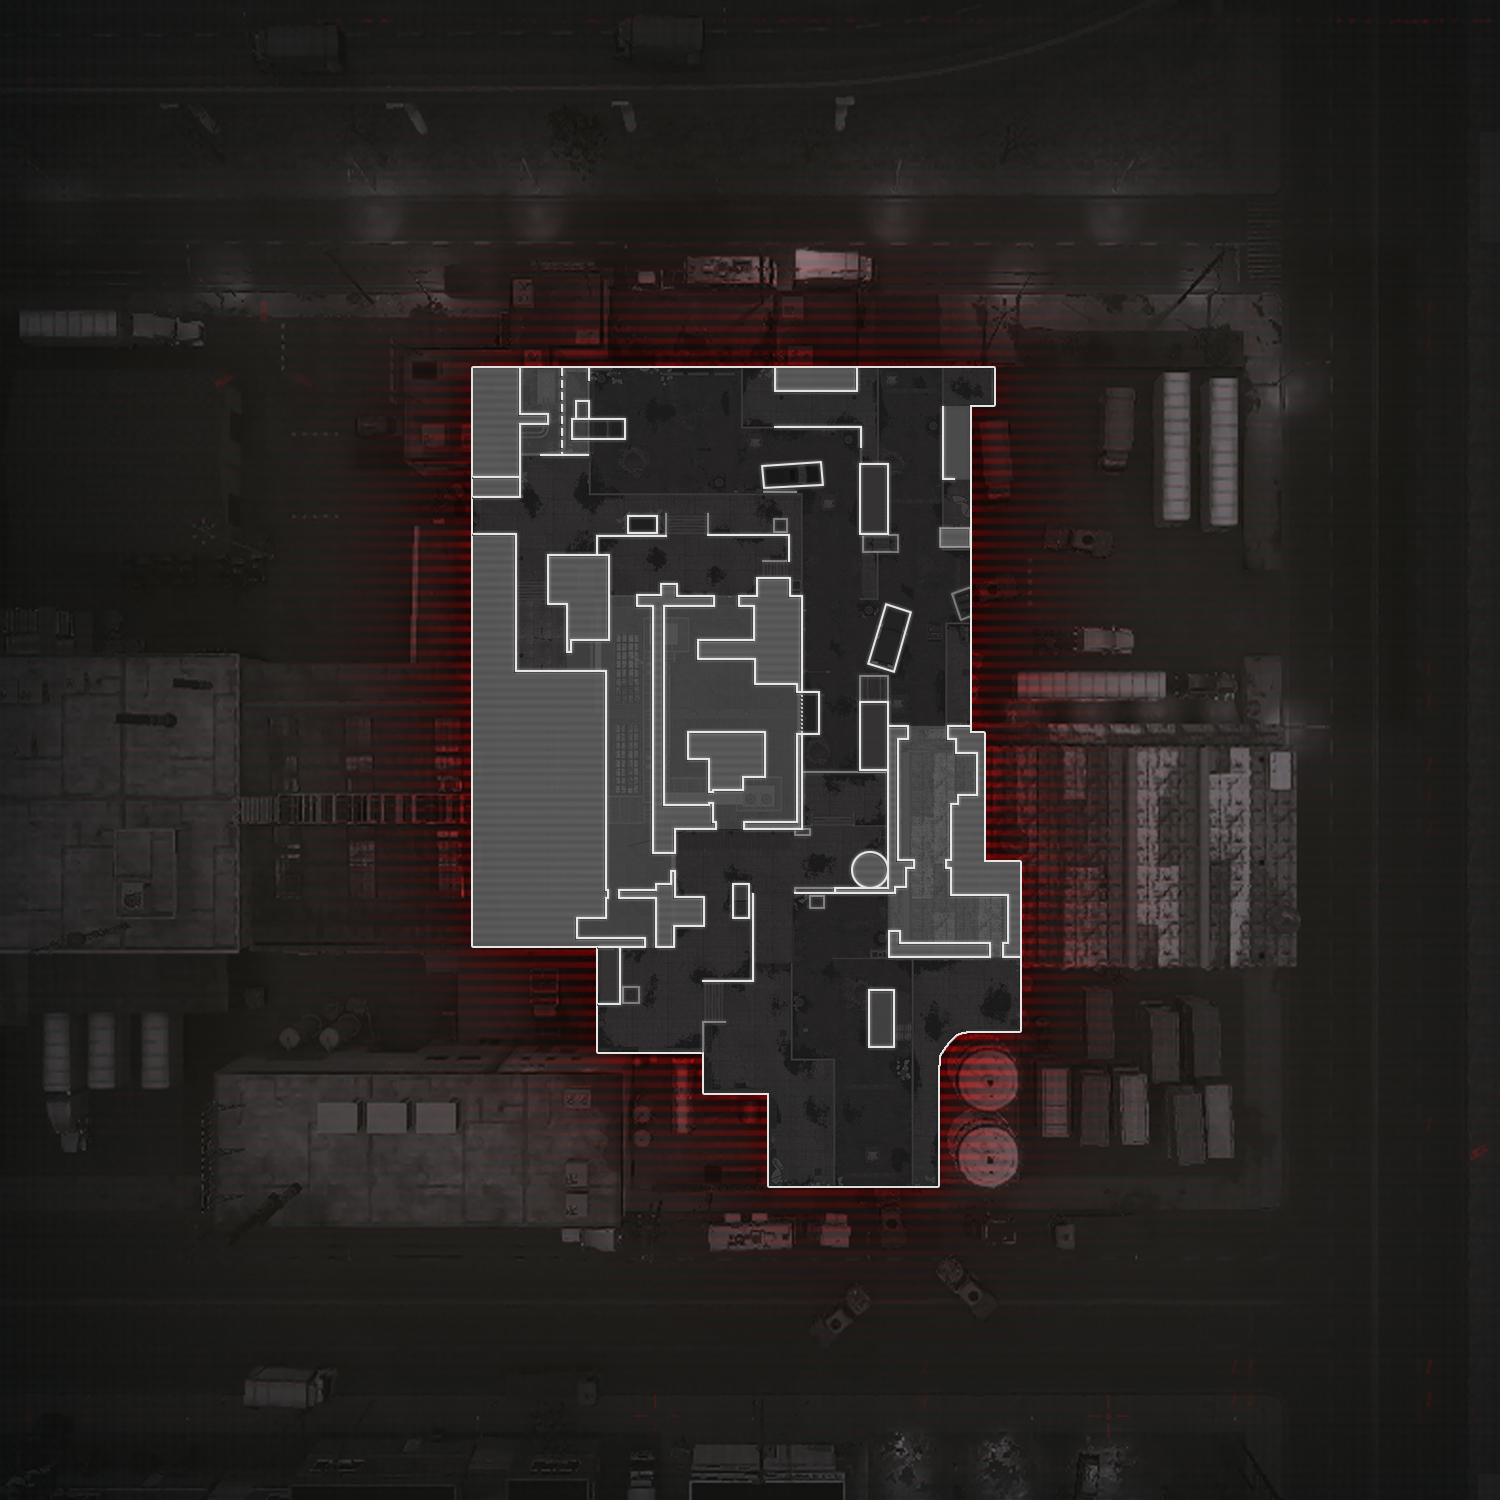
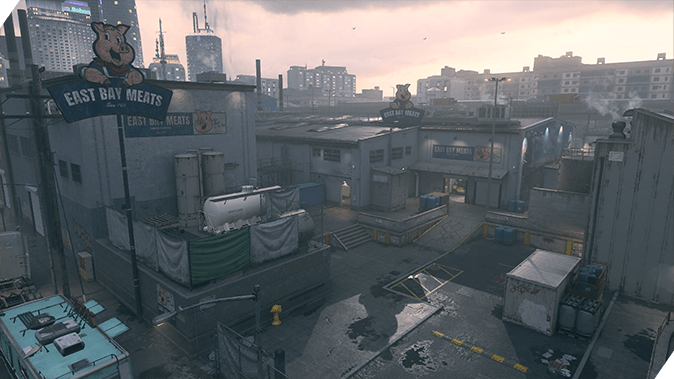
Deploy to Oakland, California, outside the East Bay Meats slaughterhouse. Battle through the meat locker and processing plant to keep things close or fight in the streets where sightlines extend to the midrange on this small-sized map.
Prebrief
Head to the Port of Oakland and battle in the industrial sector around the East Bay Meats slaughterhouse. Midranged sightlines break up the many tight corners here, the interior spaces being more cramped than the outer street. Climb on top of obstacles to get a better look over your enemies or stick to the ground floor and surprise them with close-ranged blasts.
Make mincemeat out of the competition with a deep look into this small-sized map. This is your guide to Meat:


-
Show areas

-
Show hardpoints

-
Show domination flags

-
Show search & destroy sites
-
Show spawn points

-
Reset all overlays

// INTEL CARD
- MWIII
- WZ
- WZM
Meat
// MULTIPLAYER MAPS // MEAT
Level those Shotguns: Meat is a small map with plenty of sharp turns and tight fighting spaces. Equip a Shotgun and stick to these areas to eliminate incoming enemies with ease. Get past the midranged sightlines fast to avoid being outgunned.
Get into Tac-Stance: Use the heightened mobility provided by Tac-Stance to move more quickly around the map’s confined areas while retaining good accuracy up to the midrange.
Signal Jammer: Equip the Signal Jammer Gear item to disrupt enemy claymores and mines and warn of nearby enemy equipment, an invaluable trait when facing traps laid out around the map’s tight corridors.
In team-based game modes, teams will either spawn in Parking (north) or by the Loading Dock (south).
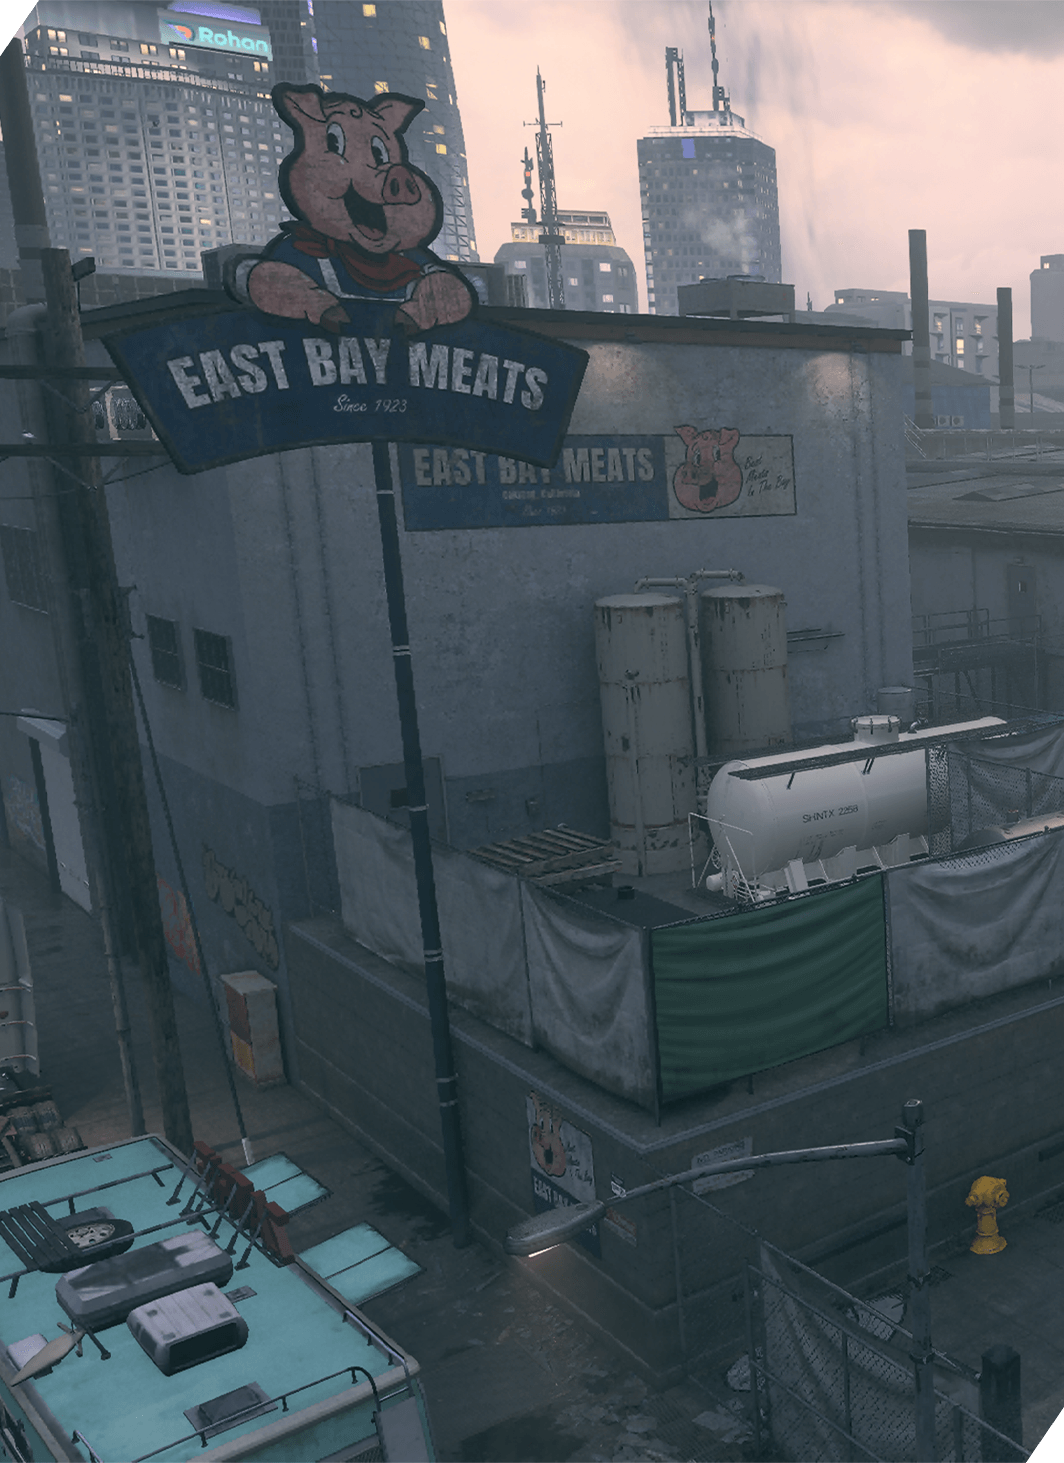
The East Bay Meats slaughterhouse lies between the two spawn points. Move through the plant or stay outside and navigate the streets. Whichever route you choose, it won’t be long until your first engagement.
For the purposes of this guide, we’ve divided Meat into four sections based on key areas around the map:
- MAIN SPAWN POINT: Parking (+ Entrance, Garage)
- MAIN SPAWN POINT: Loading Dock
- ADDITIONAL AREA: Meat Locker (+ Hallway, Kill Room)
- ADDITIONAL AREA: Processing
MAIN SPAWN POINT: Parking (NORTH)

Parking plus the adjacent Entrance and Garage represent the map’s northern exterior space. On a map that otherwise favors close-quarters combat, this area favors midranged weapons, especially when approaching the Processing building on the east side. The wall and containers here offer solid cover; watch the red truck for concealed enemies.
On the west side of Parking, the Garage provides a strong ambush point against enemies moving into the area. When it’s time to move into the main building, take the Hallway if you’ve got a midranged weapon and the Meat Locker if you’re looking to close the gap.
MAIN SPAWN POINT: Loading Dock (SOUTH)
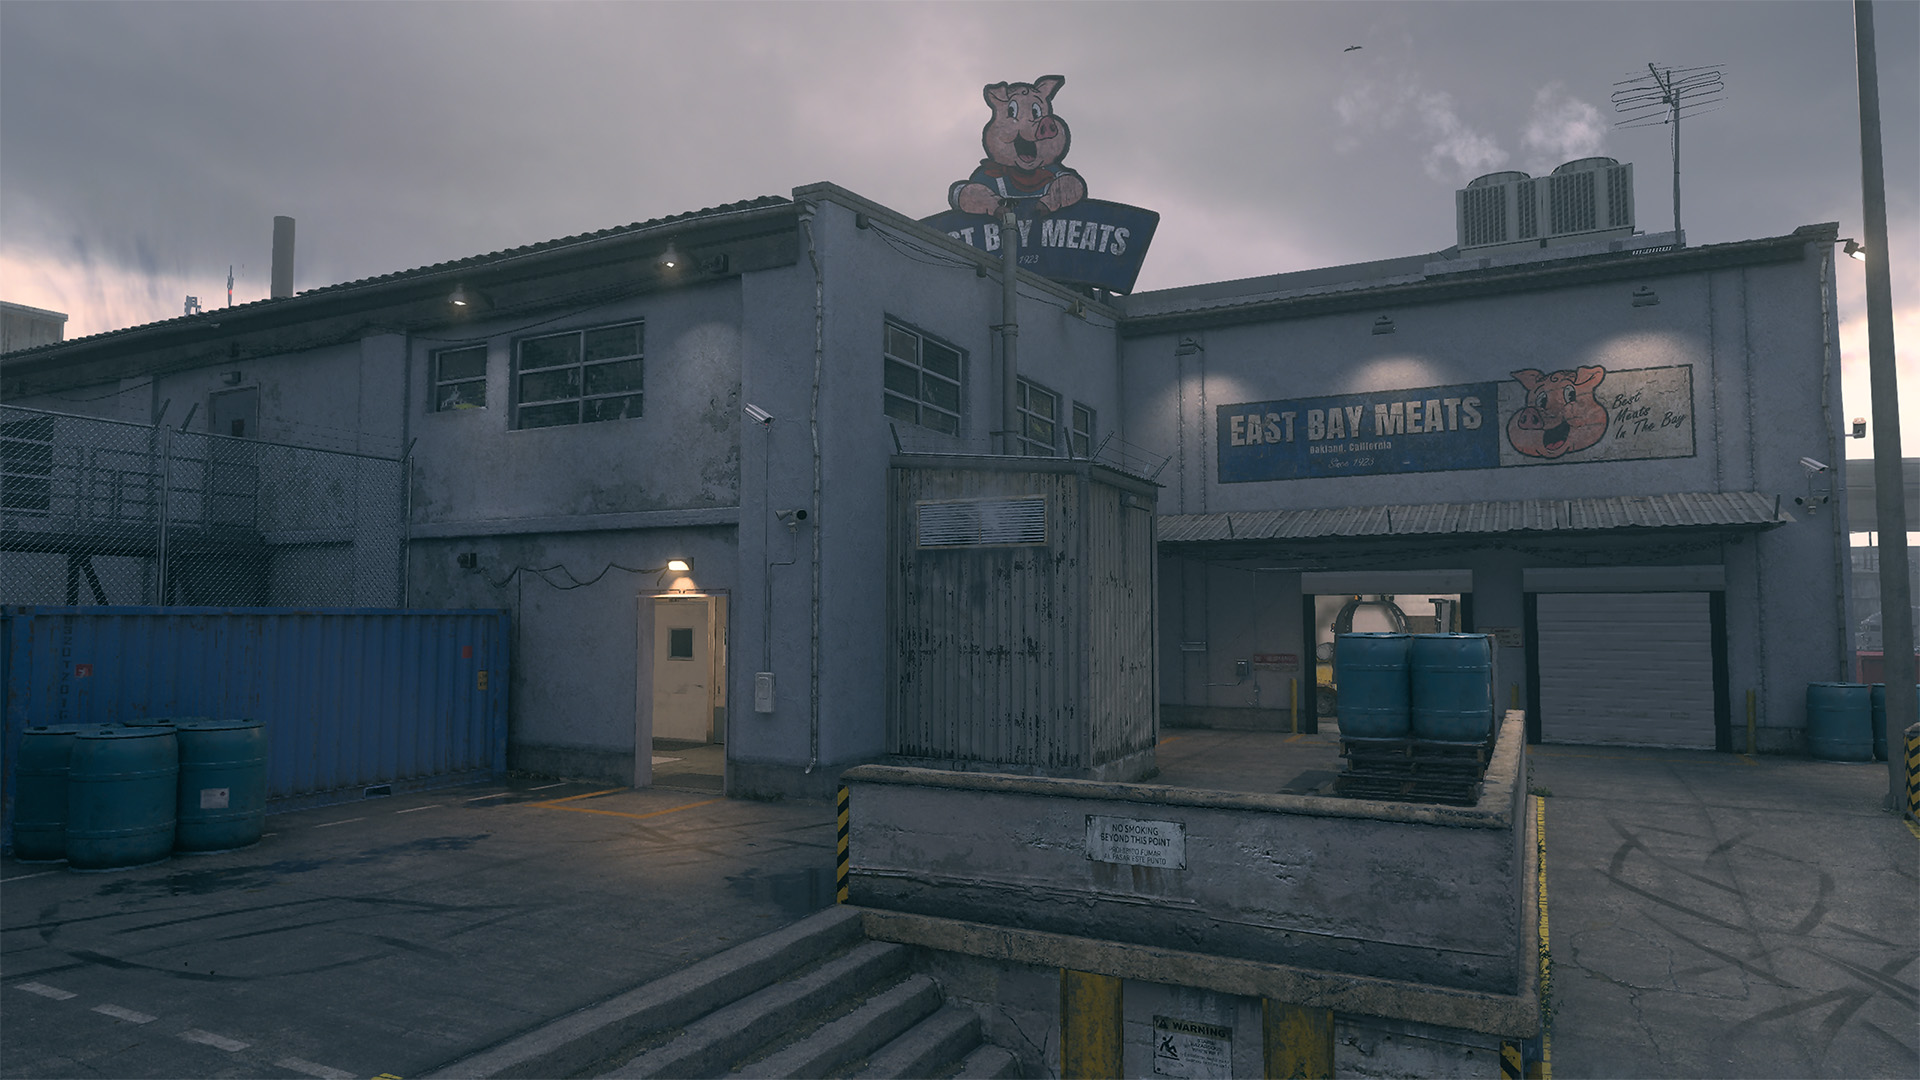
The Loading Dock’s open layout forms an arena with few cover points. There’s no Garage on this side, just flat surface leading up to the main buildings. Watch the low wall when moving through here; get behind the white container when under fire or climb on top for a dominant view. The blue container outside the western Kill Room offers another strong vantage point.
Get up on the truck when moving down the middle for a good view into the enemy’s spawn. Heading into Processing from this direction is advantageous, too, as you can easily drop back behind cover when encountering an enemy on the other side. When entering the main building, consider your Loadout when choosing to approach the Hallway or Meat Locker.
ADDITIONAL AREA: Meat Locker
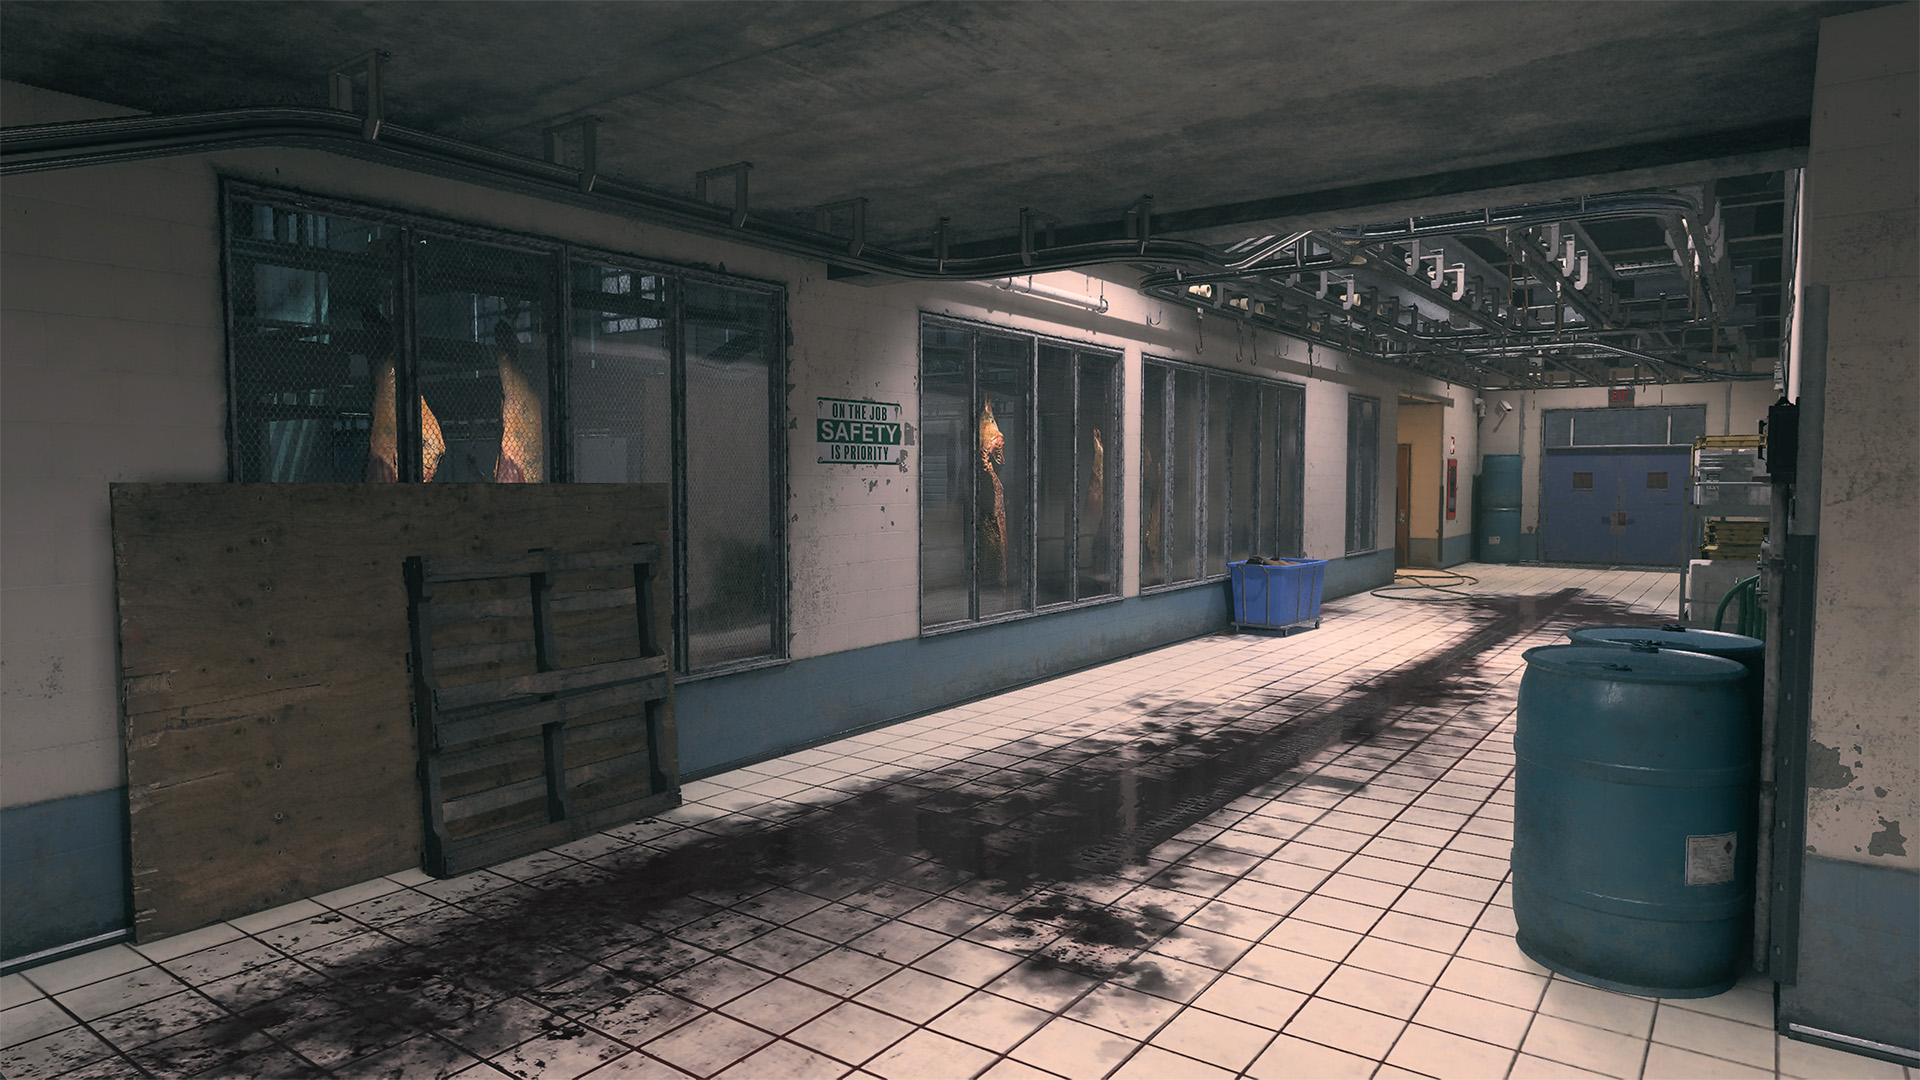
A skilled Operator can do a lot of damage with a Shotgun in the Meat Locker, provided they can move fast while watching the surrounding entry points for incoming enemies. Defenses like EOD Padding, Tac Mask, and the Trophy System are invaluable here against incoming projectiles.
The Hallway favors straightforward combat with a midranged sightline running down the length of the building. It’s a straight shot, so be ready to engage when passing through or take up a position on either end and blast opposing Operators.
ADDITIONAL AREA: Processing
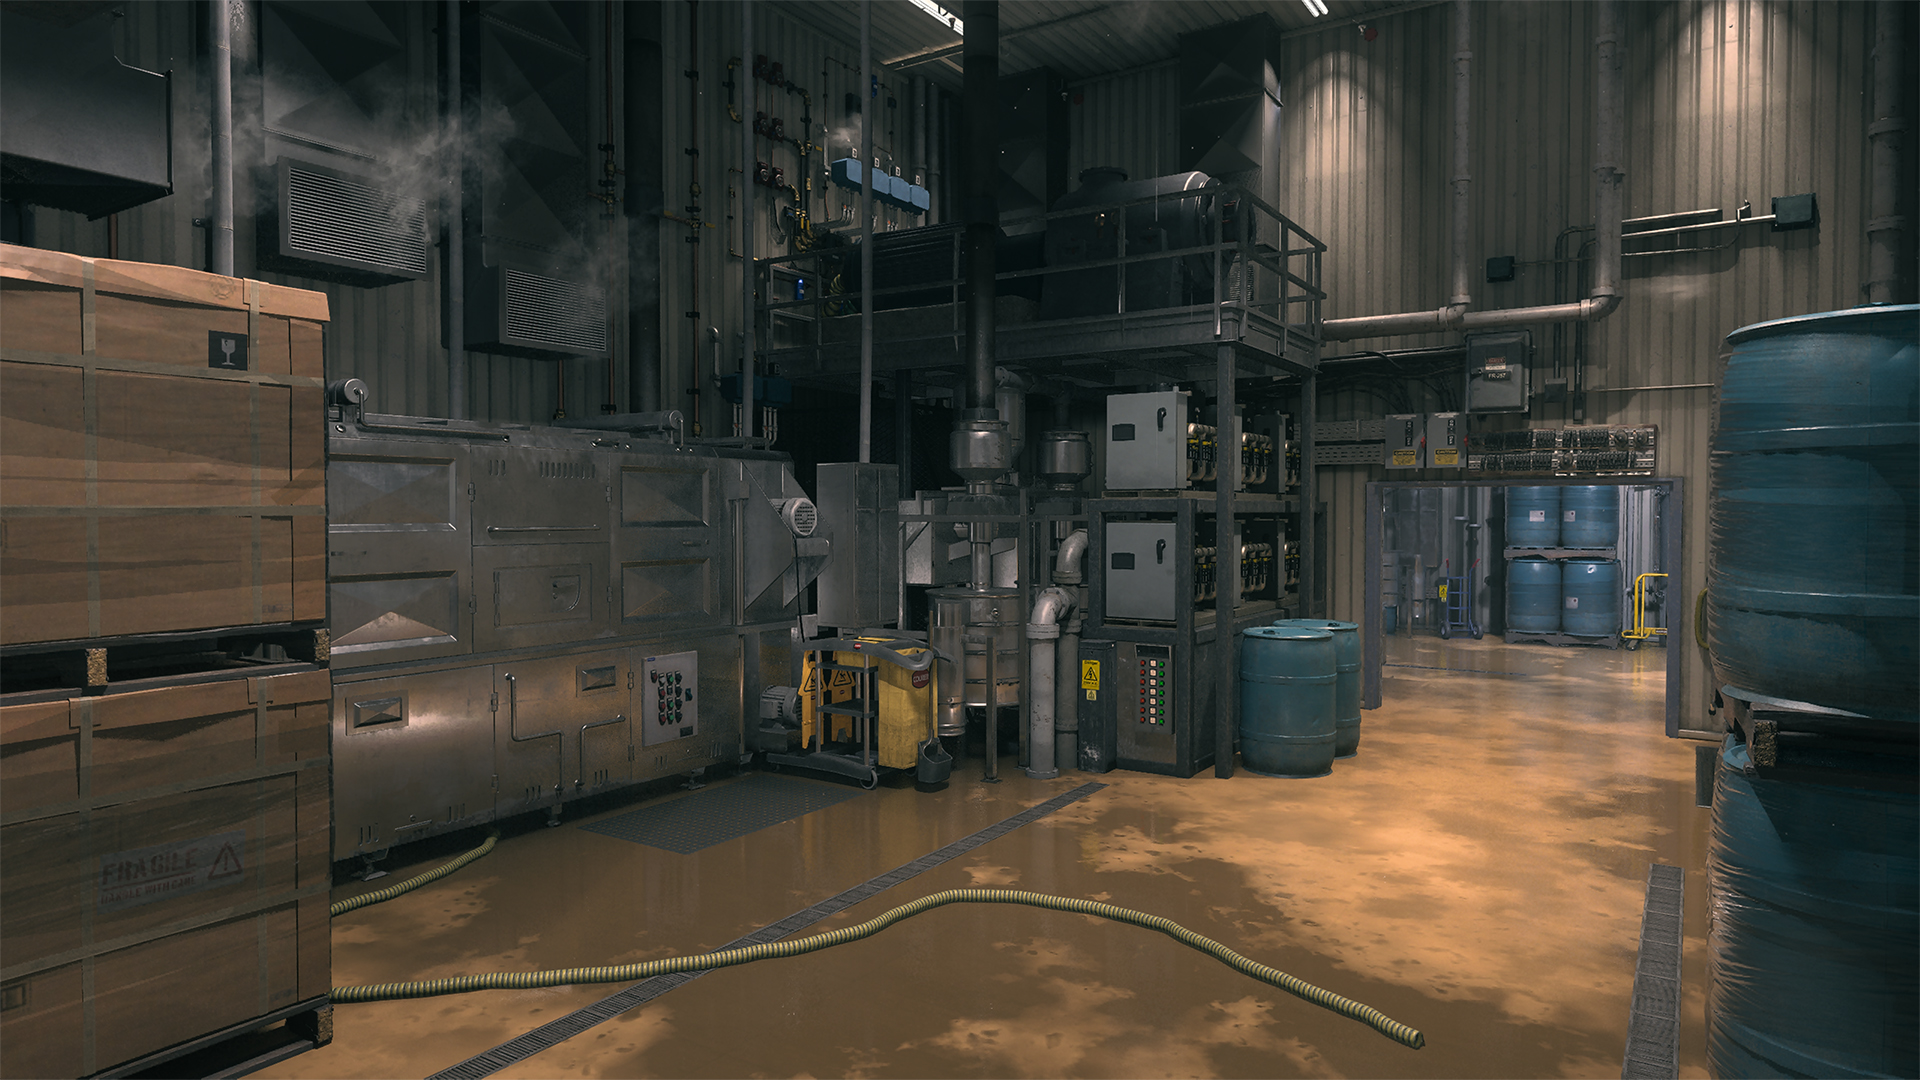
Inside of Processing, it’s all close-quarters combat. The small building has just enough corners and cover objects to heighten the risk of ambushes, not to mention the climbable pieces adding further complexity to fights in the area.
The opening toward the northern Entrance adds a midranged element to skirmishes here. Use it to your advantage to eliminate enemies from farther out, or if wielding a close-ranged weapon, avoid exposure to the opening to force the opposition up close.
Top 10 Tips
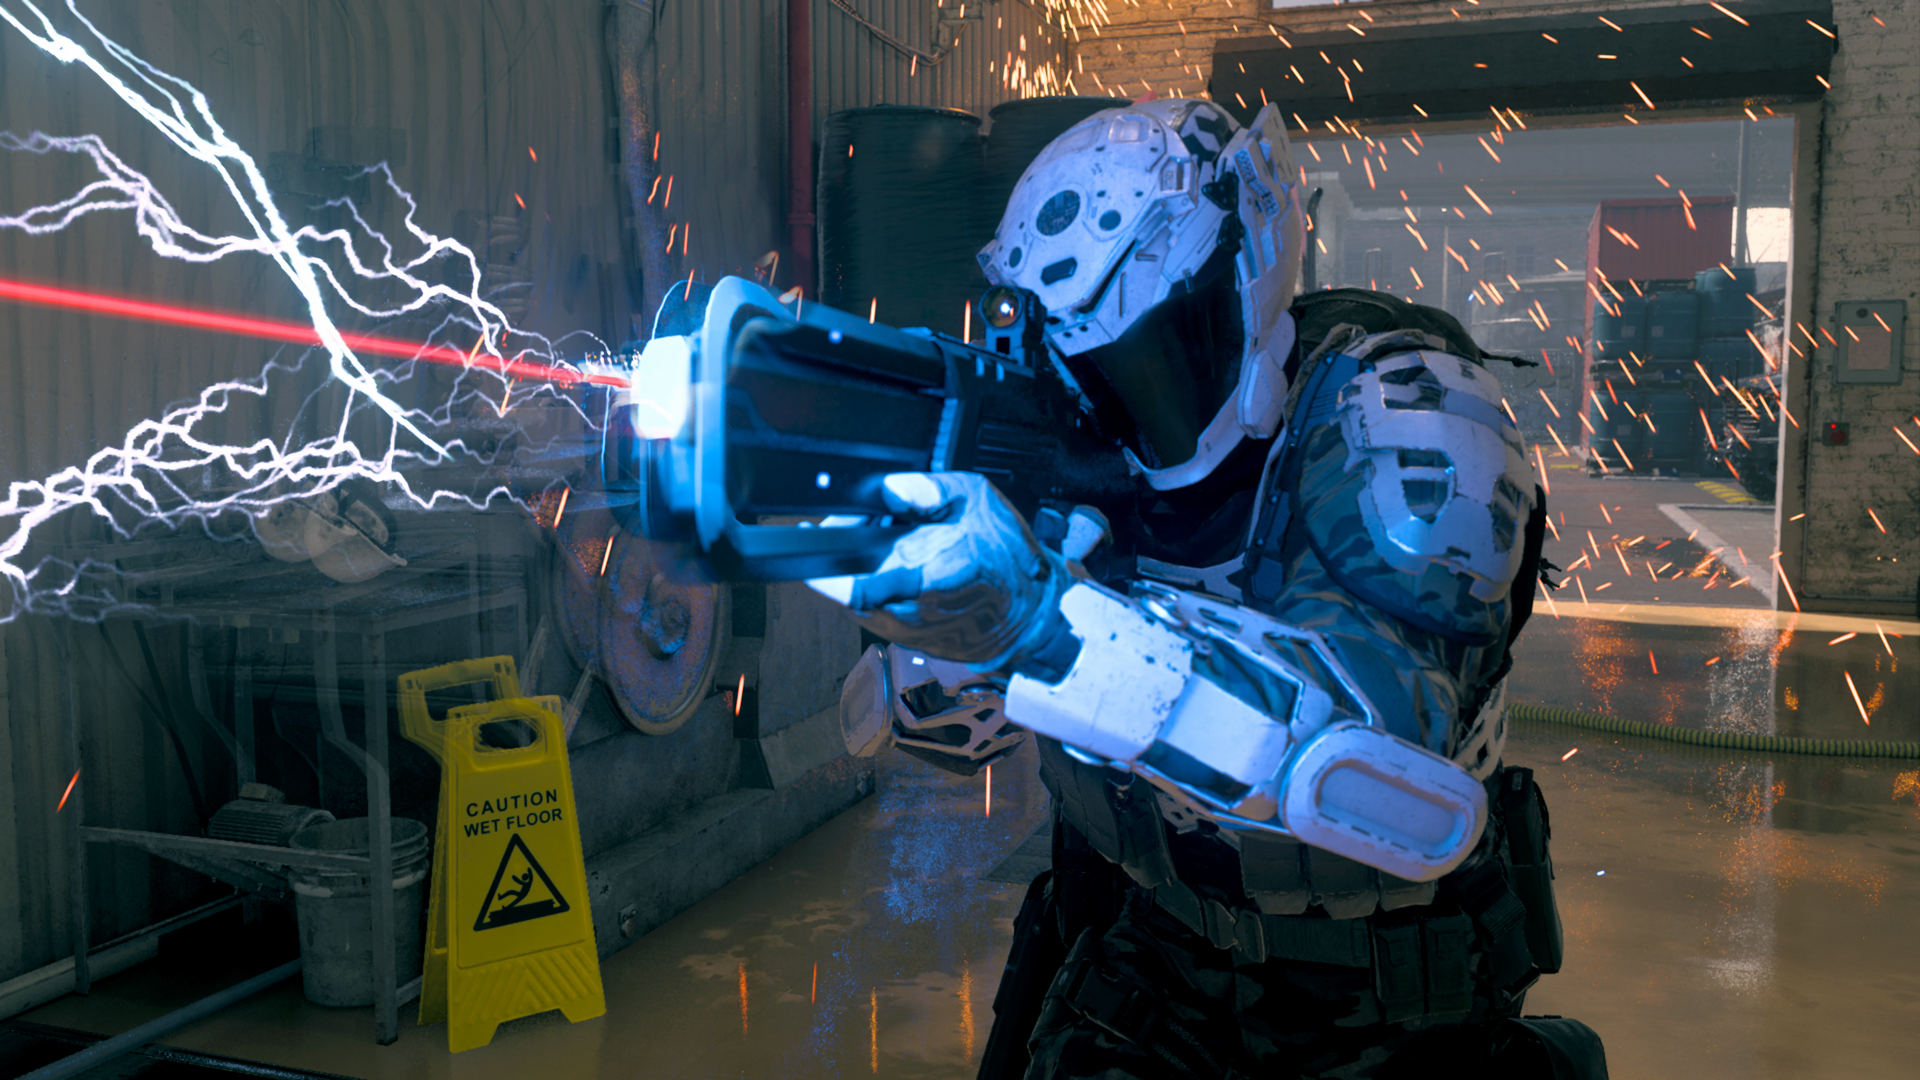
1. Carnivore’s delight. Meat’s small size guarantees constant battle. Use the opportunity to level up your favorite Shotguns, Handguns, and SMGs. Consider activating any available Double XP tokens to get the most XP gain.
2. Brisket on the house. Equip a weapon with good hip-fire and/or Tac-Stance accuracy so you can remain as mobile as possible while engaging the enemy. Keep strafing when you get into a fight to throw off the enemy’s aim.
3 Grab the Engineer Vest. With the Engineer Vest equipped, you’re less likely to run into enemy traps when racing through the map. Spot opposing equipment, Field Upgrades, and Killstreaks through walls and highlight them for your team by aiming at them. The faster Field Upgrade recharge is just an added bonus, offering more frequent uses of your chosen ability.
4. Back in shape. The Stim Tactical item is well worth equipping in your deployments here. There’s often little time between engagements and the quick health regeneration it provides can make the difference when moving from enemy to enemy.
5. A job well done. Get the JAK Purifier Aftermarket Part in the Season 1 Battle Pass to unlock an underbarrel flamethrower that’s perfect for heating up enemies in the Meat Locker and Processing.
6. Squeezin’ through. Use the opening in Processing’s outer wall to quickly transition between the inside of the building and the Loading Dock. Squeeze through to ambush enemies on the other side or to escape impending danger.
7. Get a grip. Use the Quick-Grip Gloves to quickly swap between your weapons, a crucial ability when you don’t have the time to reload or when you need to rapidly switch to a different type of weapon. Pair it with the Gunner Vest to equip two Primary Weapons and to improve your reload speed for minimum downtime.
8. Have a heart. Don’t feel like running through butchered meat? Stick to the outside of the map and use the midranged sightlines available to hold off the enemy. Bring a Launcher to knock out enemy UAVs and other aerial threats.
9. Scrambled meat. Equip the Counter UAV for the chance to scramble the enemy’s minimap. Taking away their intel will leave them blind on an already small map, giving your side the advantage in setting up the attack. Wear the Mission Control Comlink Perk to help you earn the Counter UAV more often.
10. Dinner for two. Stick with a teammate when moving through the map to improve your chances in battle. This is especially important in objective modes where matches are won or lost based on the outcome of a few critical skirmishes. By fighting shoulder to shoulder, you double your firepower. Now go make mincemeat out of them.

© 2024 Activision Publishing, Inc. ACTIVISION, CALL OF DUTY, and MODERN WARFARE are trademarks of Activision Publishing, Inc. All other trademarks and trade names are the property of their respective owners.
For more information, please visit www.callofduty.com and www.youtube.com/callofduty, and follow @Activision and @CallofDuty on X, Instagram, and Facebook. For Call of Duty Updates, follow @CODUpdates on X.
