March 01, 2021
Weekly Briefing – March 1
Season Two continues with some amazing Bundles and Playlists, Call of Duty League sets the stage for its first Major Tournament of the year, and get ready for the Toronto Ultra $100K!

March 04, 2021
First Look: Season 2 brings Shoot House, the fan-favorite frenetic Multiplayer map first seen in Call of Duty®: Modern Warfare®. Keep reading for strategies and tips on taking the win.
First Look: Season 2 brings Shoot House, the fan-favorite frenetic Multiplayer map first seen in Call of Duty®: Modern Warfare®. Keep reading for strategies and tips on taking the win.
March 04, 2021
Prepare for a high-octane firefight as Shoot House joins the Multiplayer map list courtesy of Season 2 in Call of Duty: Mobile! This fast-paced, three-lane map encourages frequent engagements and rewards tactical play, and it only gets better with every match.
First introduced in Call of Duty: Modern Warfare, the Shoot House 24/7 Playlist will be available on mobile when Season 2 releases next week, and you can bet it’ll be an instant classic here, too. Read on for an in-depth overview of the map, plus strategies and tips for new and returning players alike.
Map Overview
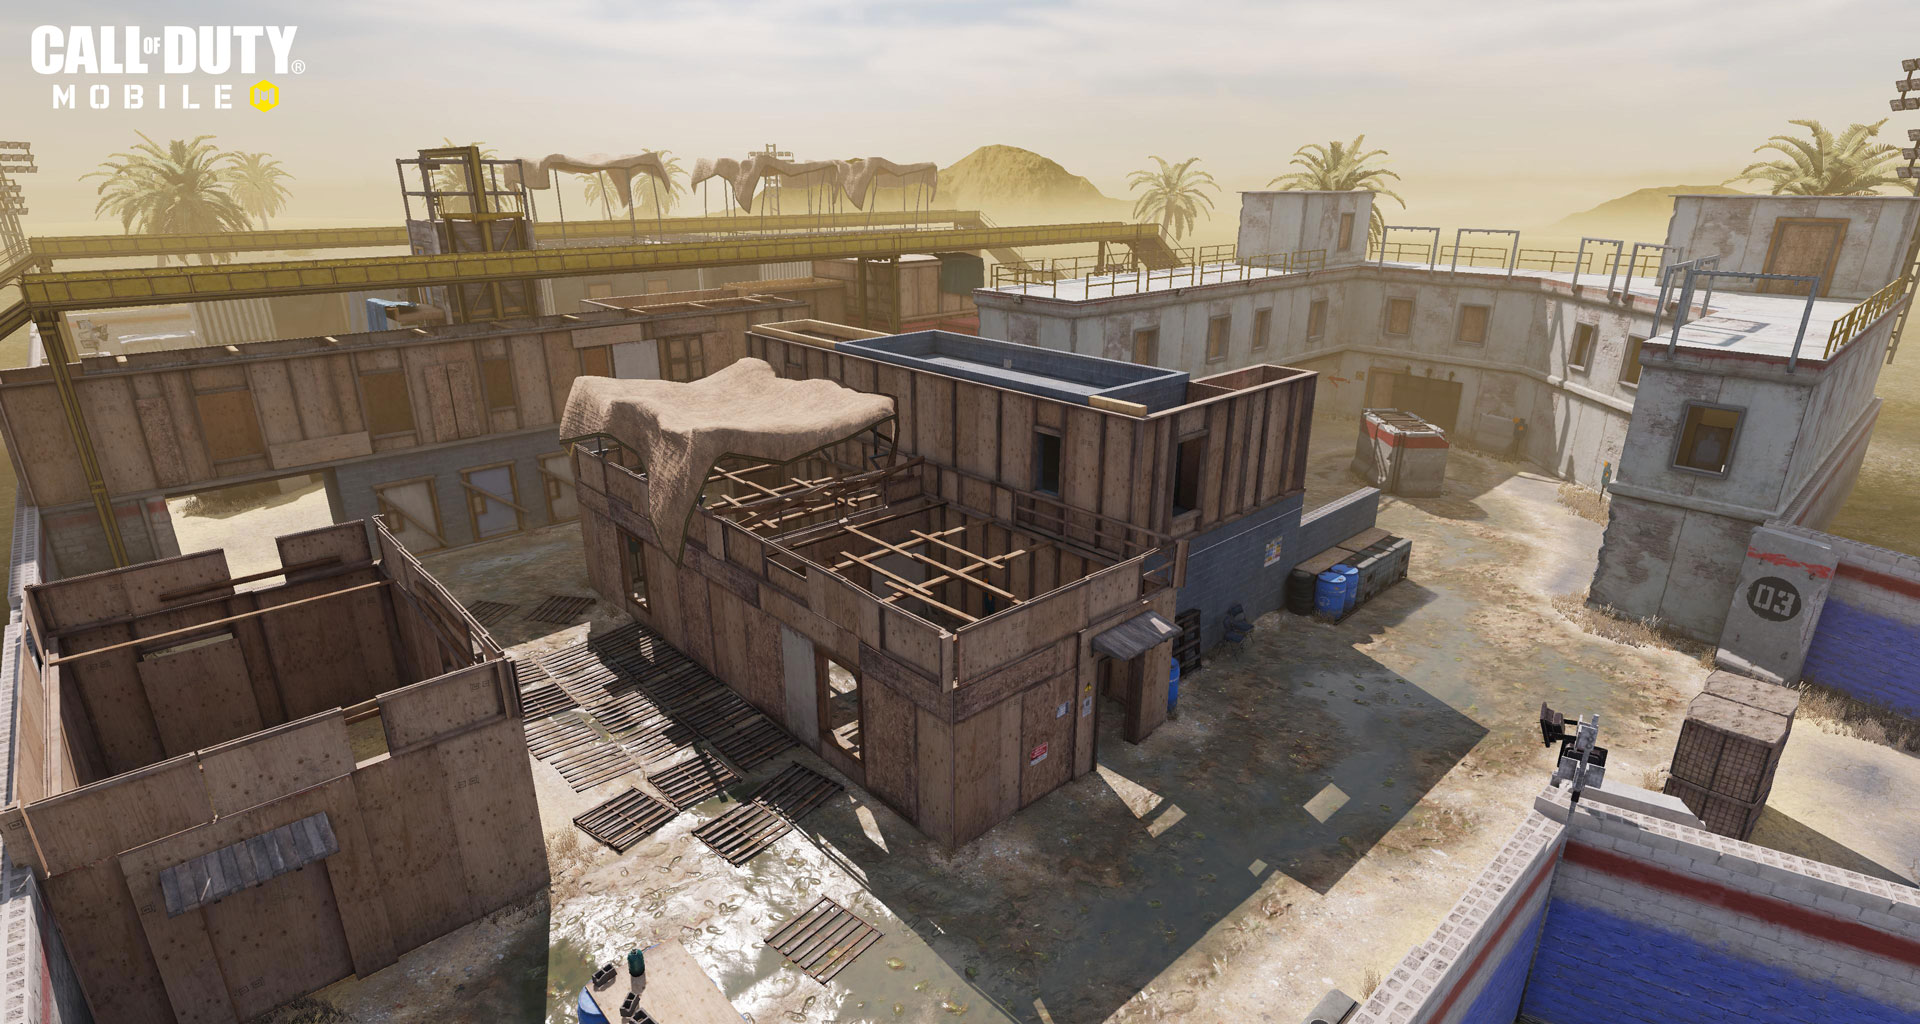
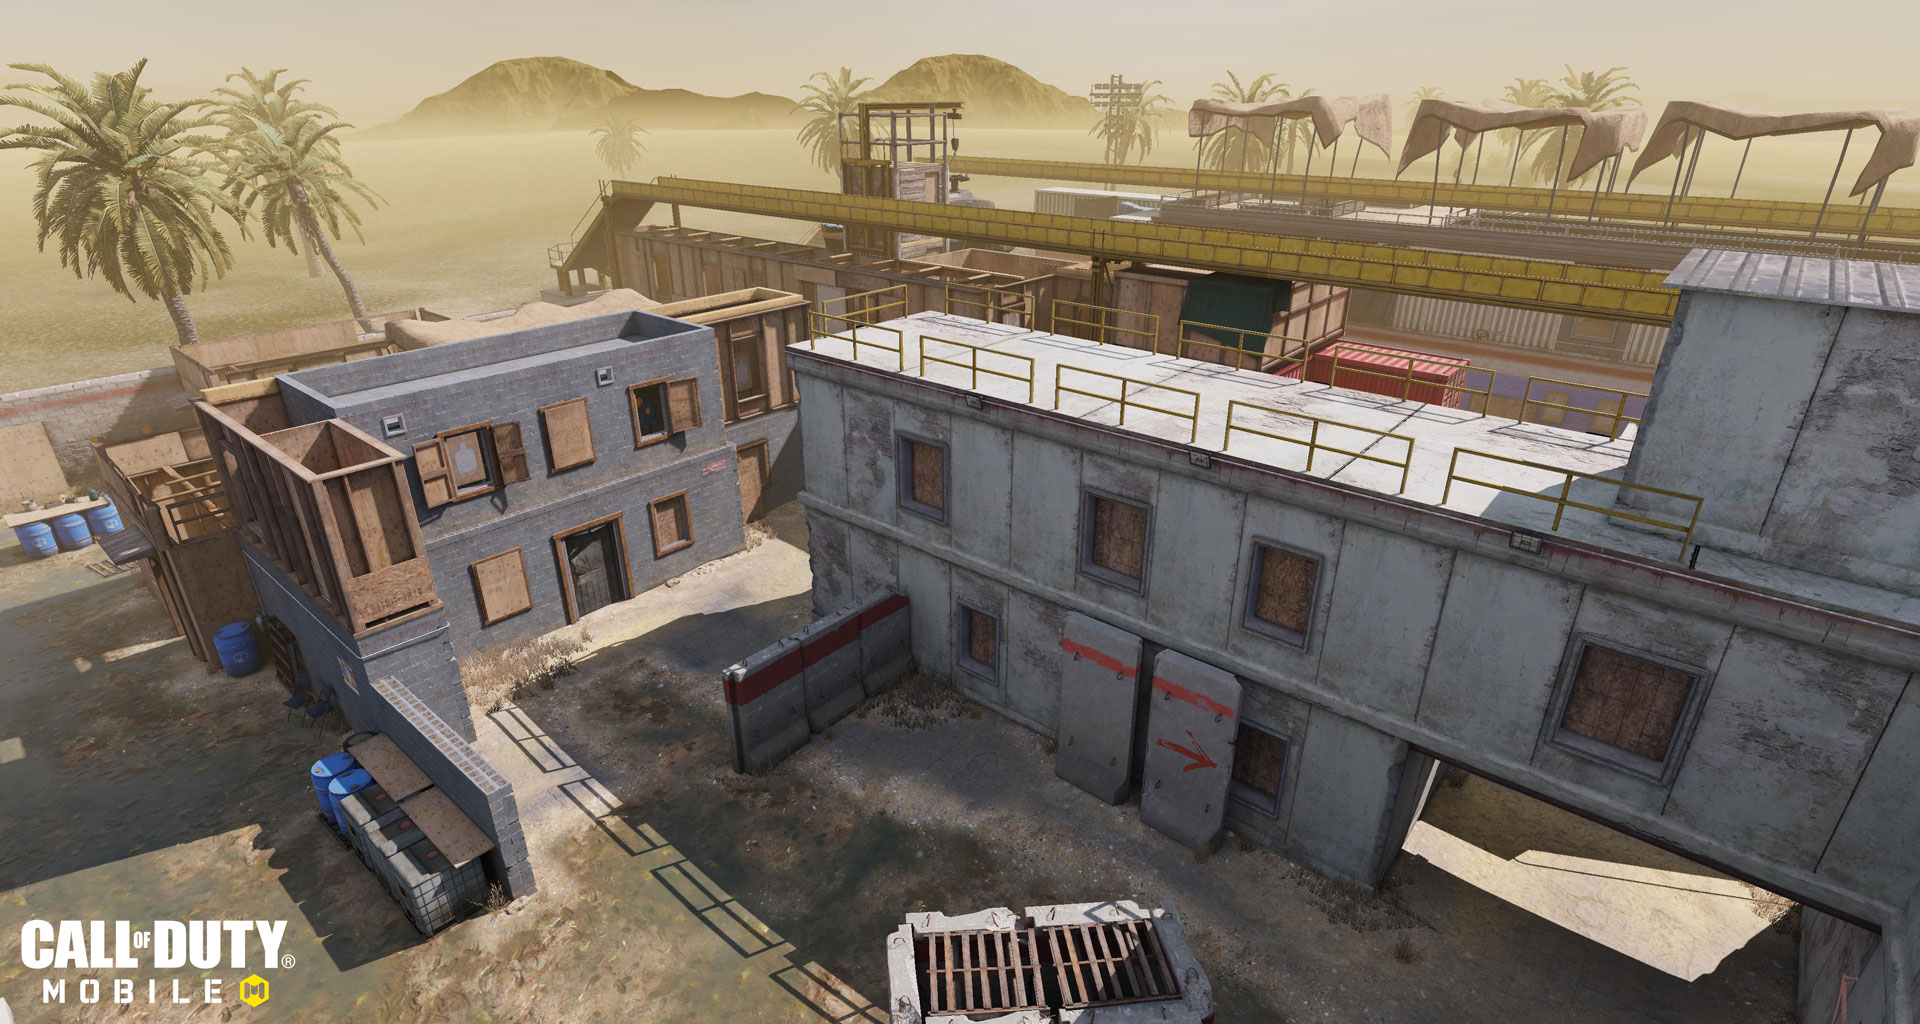
Shoot House is a small-to-mid-sized military training course built to reward precision, speed, and tactical maneuvering. The map features a classic three-lane design littered with shooting targets, shipping containers, ravaged vehicles, and other raw materials.
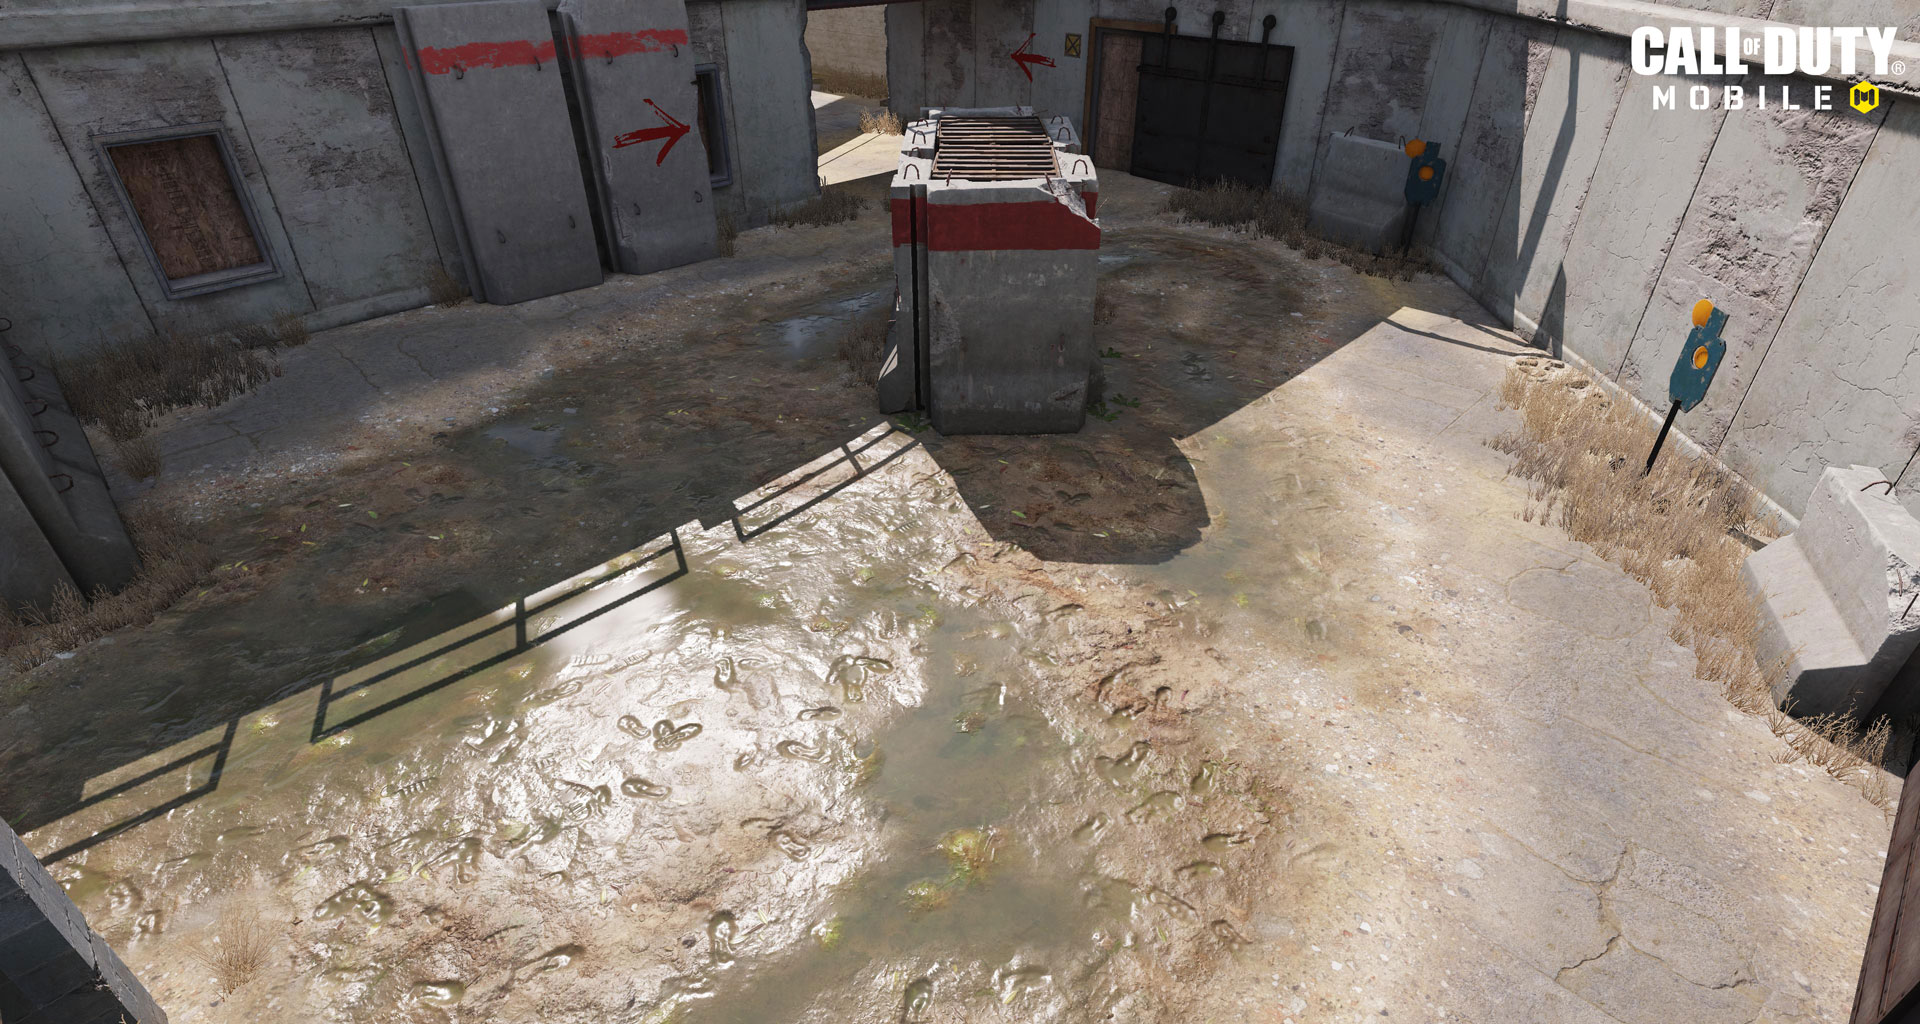
If there’s a point on the map where Shoot House gets its name, it’s the center lane. There’s a near straight shot through the whole path, with light cover on either end encouraging snipers and other long-range attackers to set up and hit anything that moves. A single cluster of gabions near the middle is all that breaks the line of sight, while the path splits out to all sides of the map.
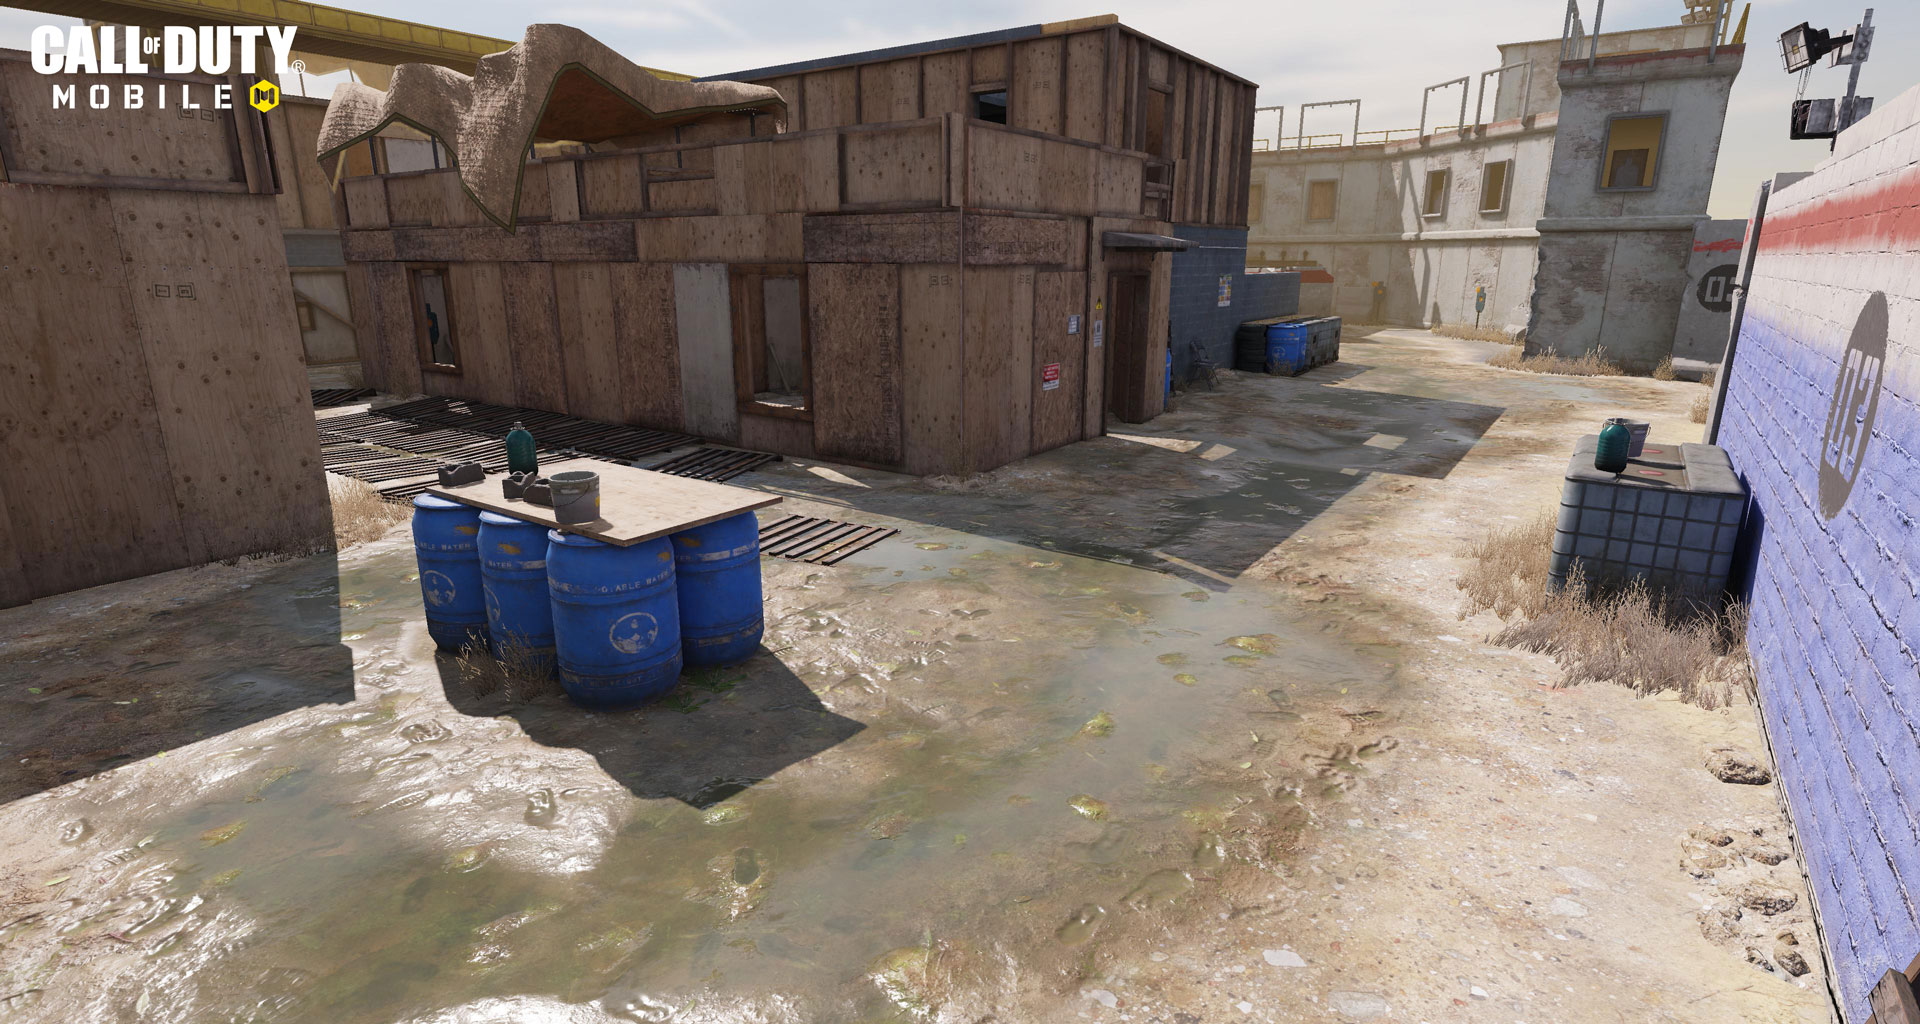
The south path leads to a junkyard, with several vehicles offering partial cover and a deadly corner trap edged between the center and the archway leading to the eastern shanty town. Like the junkyard, the shanty town is ripe for ambush, featuring a narrow open building and a block shack providing cover on either side.
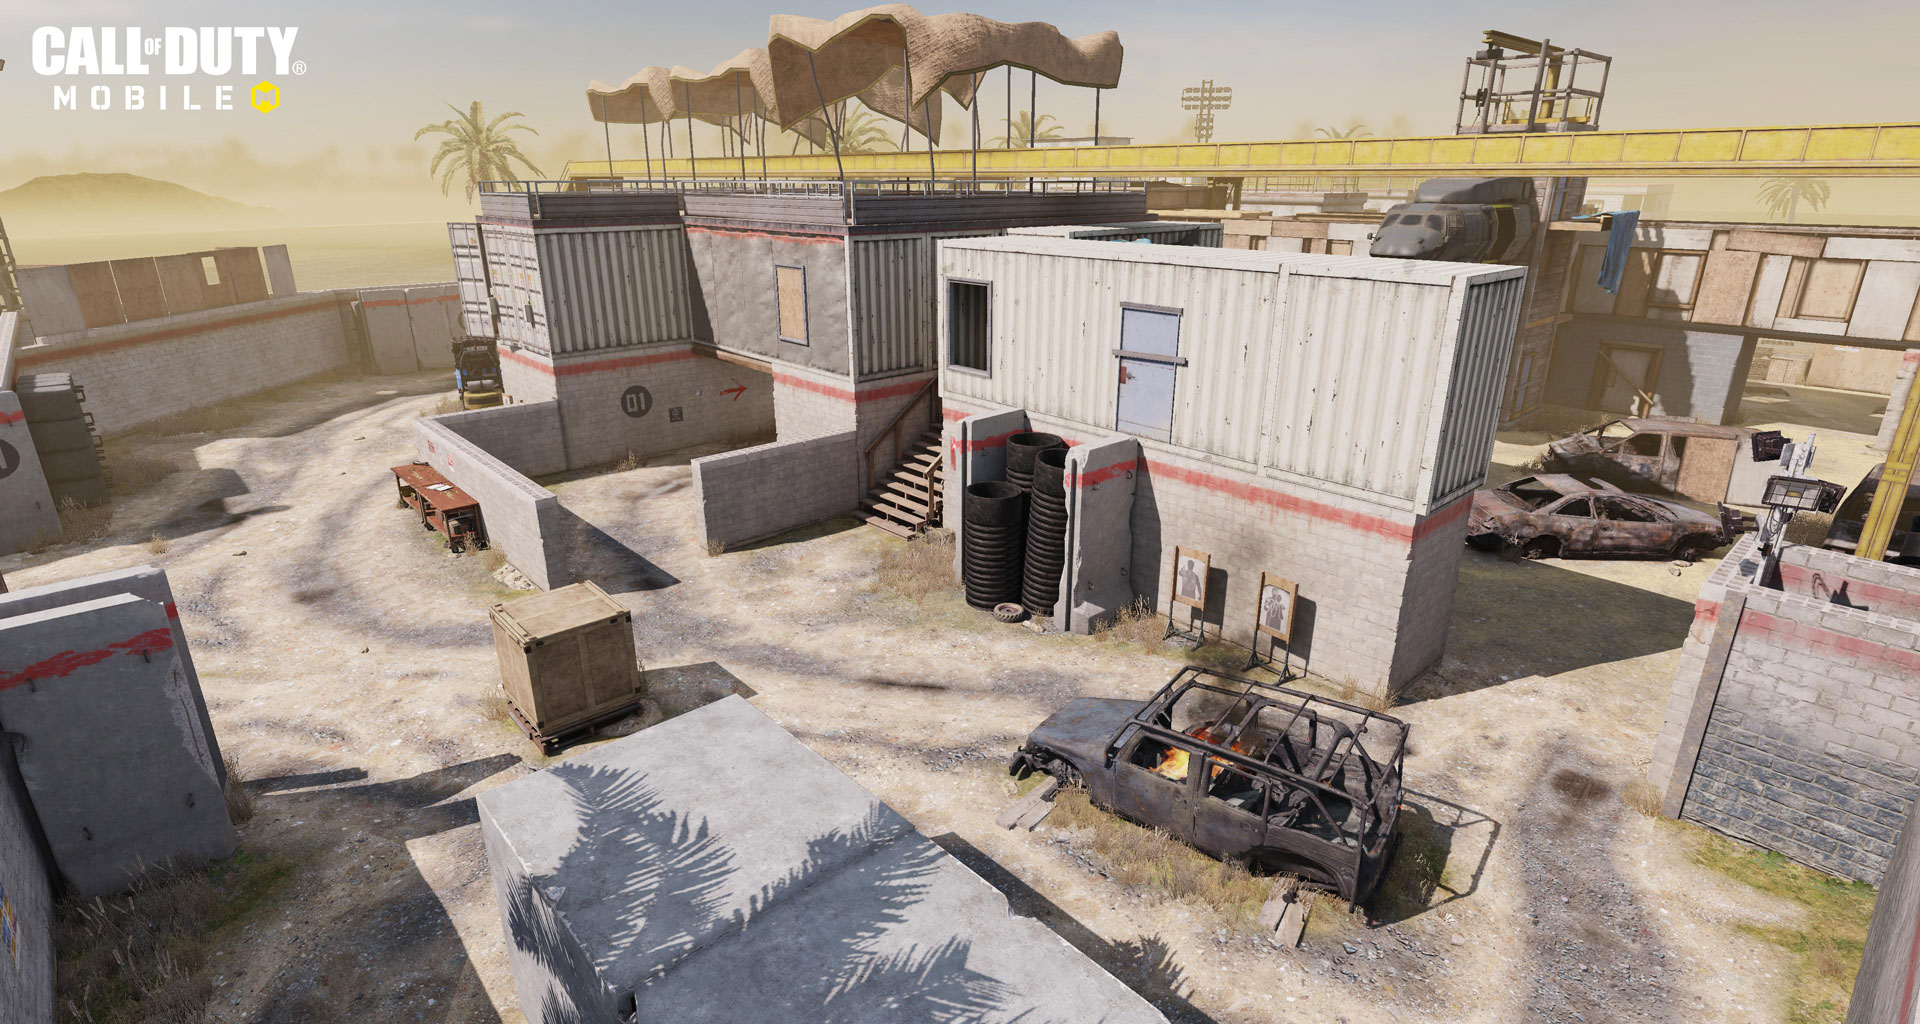
North of center lie several large shipping crates, under the sight of the elevated middle office building. Steps lead up to the office on either side, making it a popular vantage point.
The main spawn points are the A gate on the west side of the map and the B gate to the east. Scattered pieces of cover on both sides offer some measure of protection as players move up to the center and out to the sides.
Tips and Tactics
It’s all about angles in Shoot House. This already small map divides up into distinct sections that force tight combat around scattered cover, whether you’re fighting around shipping crates or junkyard automobiles. Winning consistently means internalizing these cover points so that you know where to look for the next attack and where to launch your own.
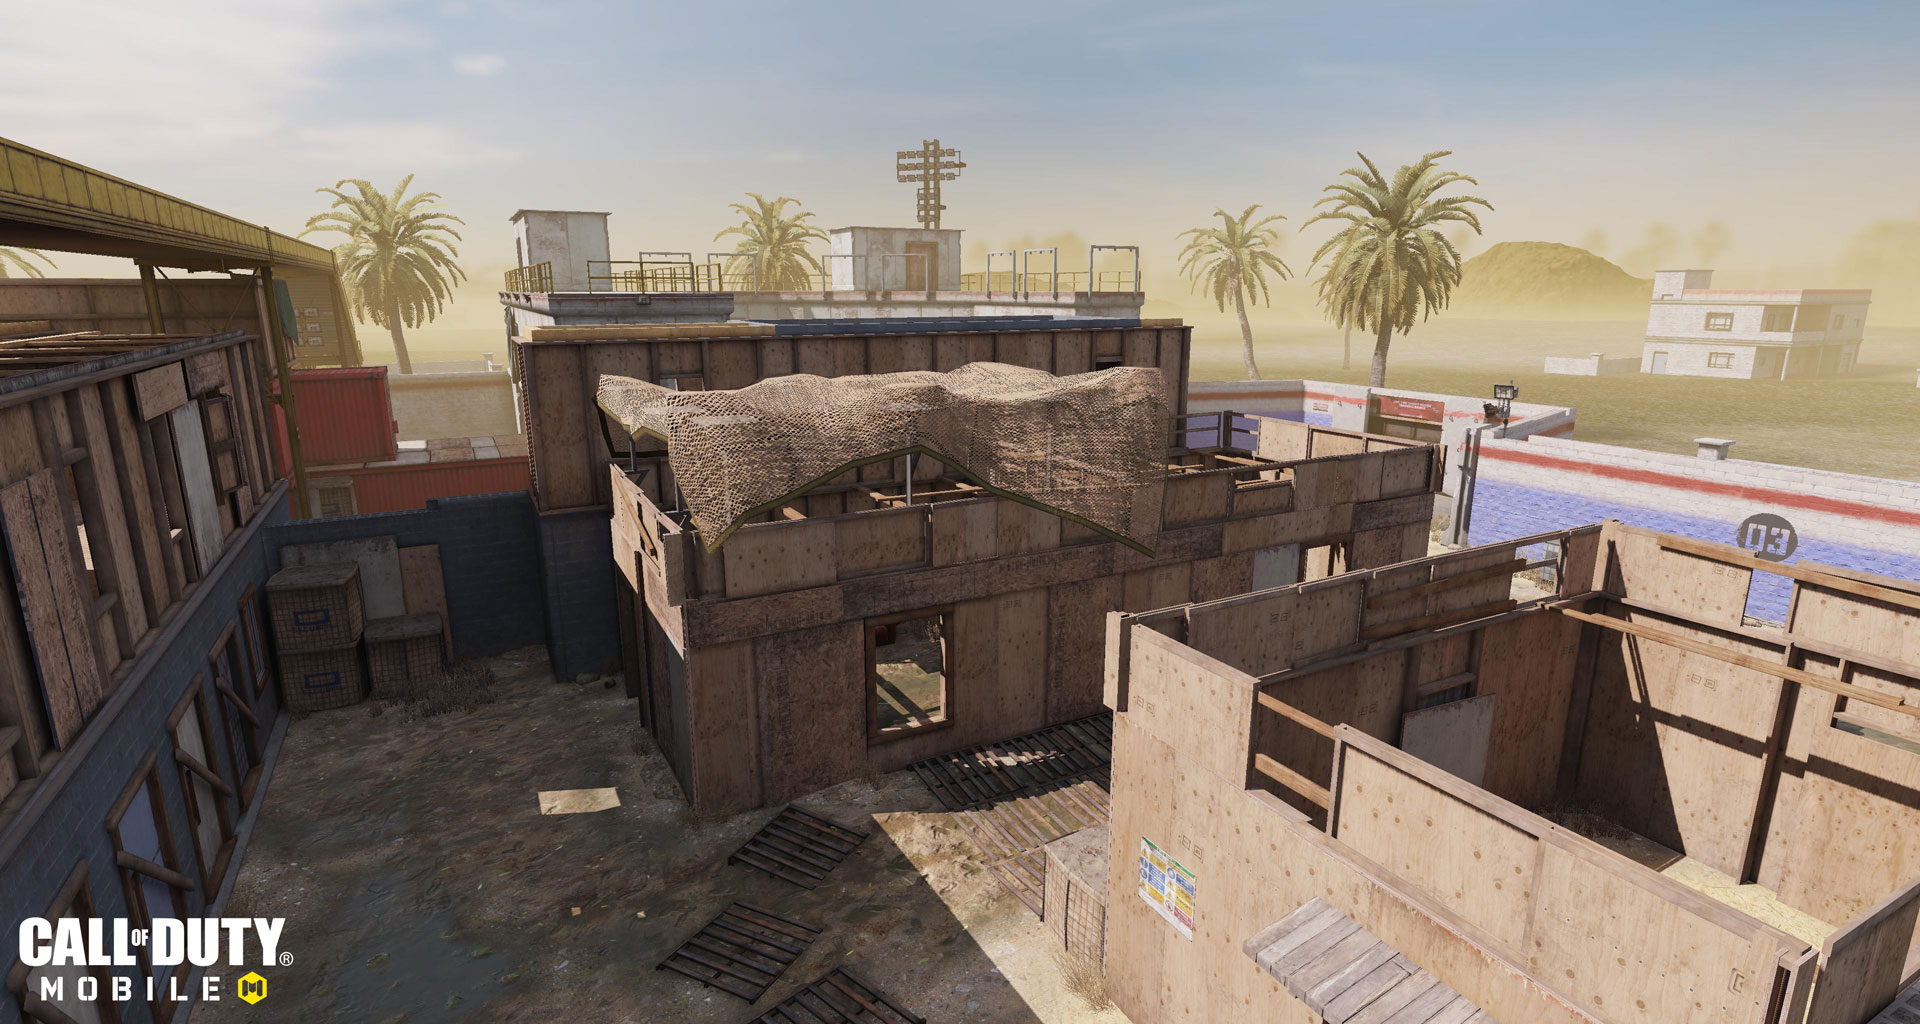
Think vertically here, too. The western office building offers obvious advantages with its views over the northern shipping crates and part of the busy center. Also note the climbable gabions you can use to get onto the red shipping crates between the north and center lanes, and up and over the wall dividing the center lane and shanty town. Use these points to get above the enemy and as an extra means to navigate the map.
As a rule, always consider your current weapon and the sightlines it performs best in. Running an SMG? Stick close to cover and rush from area to area, cutting down enemies along the way. Use assault rifles in the office and when fighting by either gate spawn; take sniper rifles and LMGs to the center lane and up along the side lanes. Keep playing to expand your toolkit and gain superior map knowledge over the enemy.
Straight Shot: RUS-79U Gunsmith Configuration
Primary Weapon: RUS-79U
Attachments: MIP Light Barrel (Short), 38 Round Extended Mag, MIP Laser 5mW, Strike Foregrip, Sleight of Hand
Secondary Weapon: FHJ-18
Perks: Agile, Toughness, Hardline
Equipment: Trophy System, Sticky Grenade
This Gunsmith configuration outfits the reliable RUS-79U for an SMG that gets the job done from up close out to mid-range distances, especially on this map. Equip the MIP Light Barrel (Short) for snappy ADS targeting and negate the accompanying ADS bullet spread and vertical recoil penalties with the Strike Foregrip. Use the MIP Laser 5mW to improve hip fire accuracy for close fights and minimize your firing downtime by pairing the 38 Round Extended Mag and Sleight of Hand.
Our perk setup favors fast, aggressive play. Equip Agile for faster mantling and sprint-to-aim speed, Toughness to keep you on target even under fire, and Hardline to earn streaks faster when you’re on a run.
The skies are open, so take the FHJ-18 to help shoot down enemy UAVs. For your equipment, take the Sticky Grenade to dislodge enemies from cover and the Trophy System to help hold down objectives and fortified positions.
Scorestreak Field Guide
All Scorestreaks are go on Shoot House. Open skies provide plentiful room for devastating aerial attacks and the map’s three-lane design sets up strong lines of attack for ground-based attacks. Aerial drops like the Care Package and XS1 Goliath work great here, as well, considering the relative safety of the gate spawns for both teams.
On the low end, the Hunter Killer Drone offers great utility in the junkyard and shanty town and across the top lane shipping containers. Set up the Sentry Gun near objectives and let loose the Shock RC to stun hiding enemies.
Use the Cluster Strike in objective modes to turn the tide in desperate moments, and the Stealth Chopper if you can get it for a devastating attack on the enemy team. It’s up to your preference and ability here, as everything can be used effectively. First time on the map? You can’t go wrong with the UAV, or the SAM Turret placed at either gate spawn to shoot down whatever the enemy throws at you.
Objective Play
Domination is a great mode on Shoot House, setting the flags in a near straight line with B placed right in the center junction. As A and C are largely safe in their spawn zones, B turns into an epic fight, with players pouring in from all four sides. If enemy snipers get too complacent on the center side walls, flank around and take them out from behind.
In Hardpoint, the fight becomes even more intense. Consider the Molotov Cocktail for area denial, and Engineer to detect traps when breaching enemy Hardpoints. Consider all possible entry points when defending the Hardpoint, and throw down a Trophy System to protect against incoming explosives.
Whatever the mode, take note of how your teammates are playing around you. You won’t get far if everybody’s sniping from a distance, and on the other hand a team full of rushing slayers may crumble under long-range fire from one of the map’s several power positions. Strike a balance and if your current tactic isn’t working, adapt and try another.
10 Tips
10. Switch up your loadout as needed, whether it’s to a close-quarters setup for breaching a contested point, a long-range kit for defense and overwatch, or even a support loadout focused on taking out enemy equipment and Scorestreaks.
9. Don’t be too rigid in thinking of the map’s three-lane structure. While it’s a helpful way to initially learn the layout, the best players will move up and down across the lanes as often as through them.
8. While Shoot House might seem geared toward close-quarters combat, there are more than enough long sightlines for the savvy sharpshooter. Use high ground when able and search for those angles that offer clear shots between cover points.
7. Need ideas for an Operator Skill? Get crazy in close quarters with the Equalizer or Death Machine, or try the Sparrow or Tempest for long shots from the office or down the lanes.
6. Grenades can do wonders here, especially in pitched fights when teams are dug in behind cover. Use your grenades liberally to perfect lob distances all over the map.
5. Fall back to your team’s gate spawn if you need to call in a Care Package or even just for a safe spot from which to take down enemy aerial streaks with a launcher.
4. Need to cross the center lane? Make it fast. The longer you’re exposed there, the more likely you are to get taken out by precision fire from either end.
3. If you’re getting pummeled from the skies, make sure to always have a backup class with Cold-Blooded equipped for extra protection against AI-controlled Scorestreaks in dire situations.
2. Communicate with your team. Call out enemy positions, share your attack plans, and coordinate for a more precise overall strategy that’s sure to lead to many victory screens.
1. Enjoy! Shoot House is a great map that only gets better with repeated plays. Dig in, whether you’re heading in as a Shoot House vet or deploying here for the first time.
We’ll see you online.
For the latest Call of Duty Mobile news, visit the Call of Duty: Mobile website, as well as Call of Duty: Mobile on YouTube. Also follow Call of Duty: Mobile on Twitter, Instagram, and Facebook.
For the latest Call of Duty intel, visit Call of Duty, as well as Call of Duty on YouTube. Also follow Call of Duty on Twitter, Instagram and Facebook.
© 2019-2021 Activision Publishing, Inc. Activision, Call of Duty, Call of Duty: Black Ops and Call of Duty: Modern Warfare are trademarks of Activision Publishing, Inc. All other trademarks and trade names are the properties of their respective owners.
For more information on Activision games, visit the Activision Games Blog. Also follow @Activision on Twitter, Instagram, and Facebook.
