Skip To Main Content

Surviving “Firebase Z” – A Guide to the Newest Black Ops Cold War Zombies Map

  • BOCW

From intel on the map’s main areas to strategies around the two new Support items and Tombstone Soda Perk, this is a mainly spoiler-free guide on what you need to know about “Firebase Z.”

Surviving “Firebase Z” – A Guide to the Newest Black Ops Cold War Zombies Map

  • BOCW

From intel on the map’s main areas to strategies around the two new Support items and Tombstone Soda Perk, this is a mainly spoiler-free guide on what you need to know about “Firebase Z.”

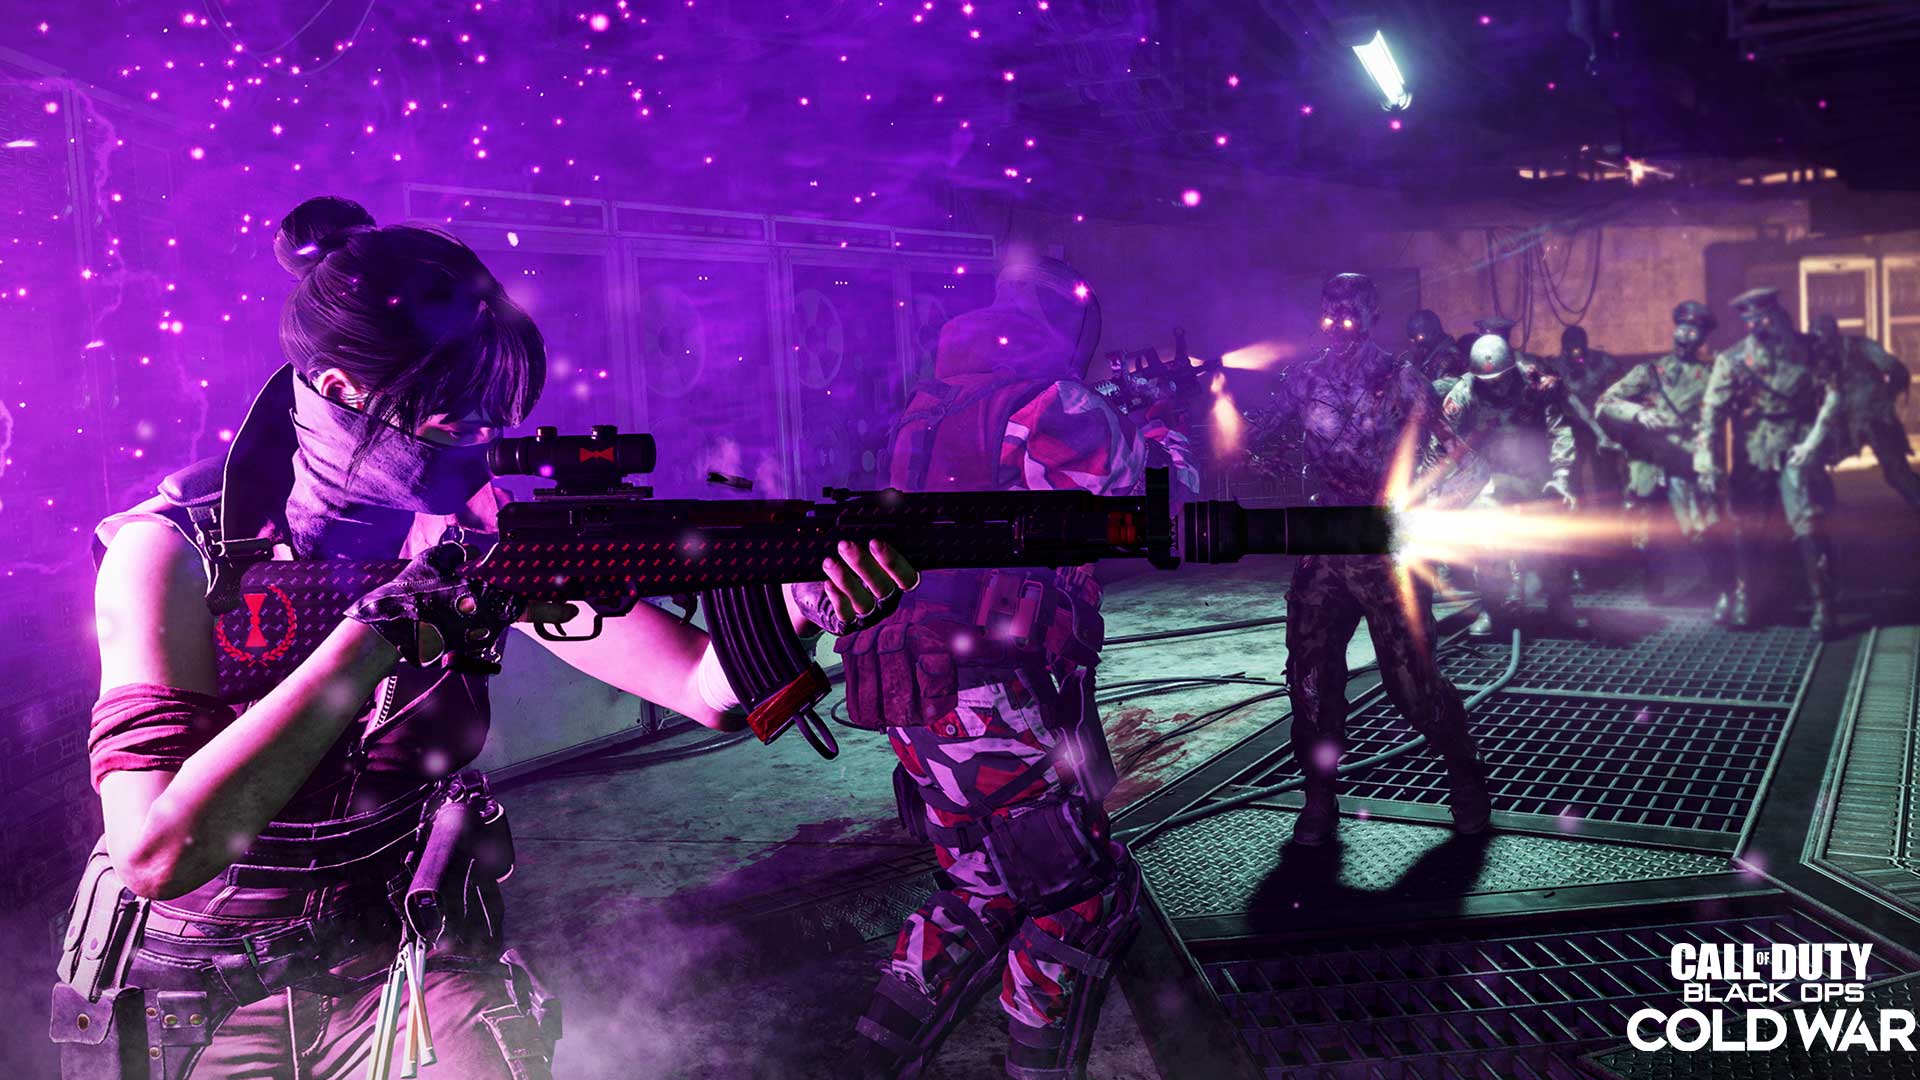
Available now, Black Ops Cold War Zombies has received the next chapter in its white-knuckle Dark Aether story: “Firebase Z.”

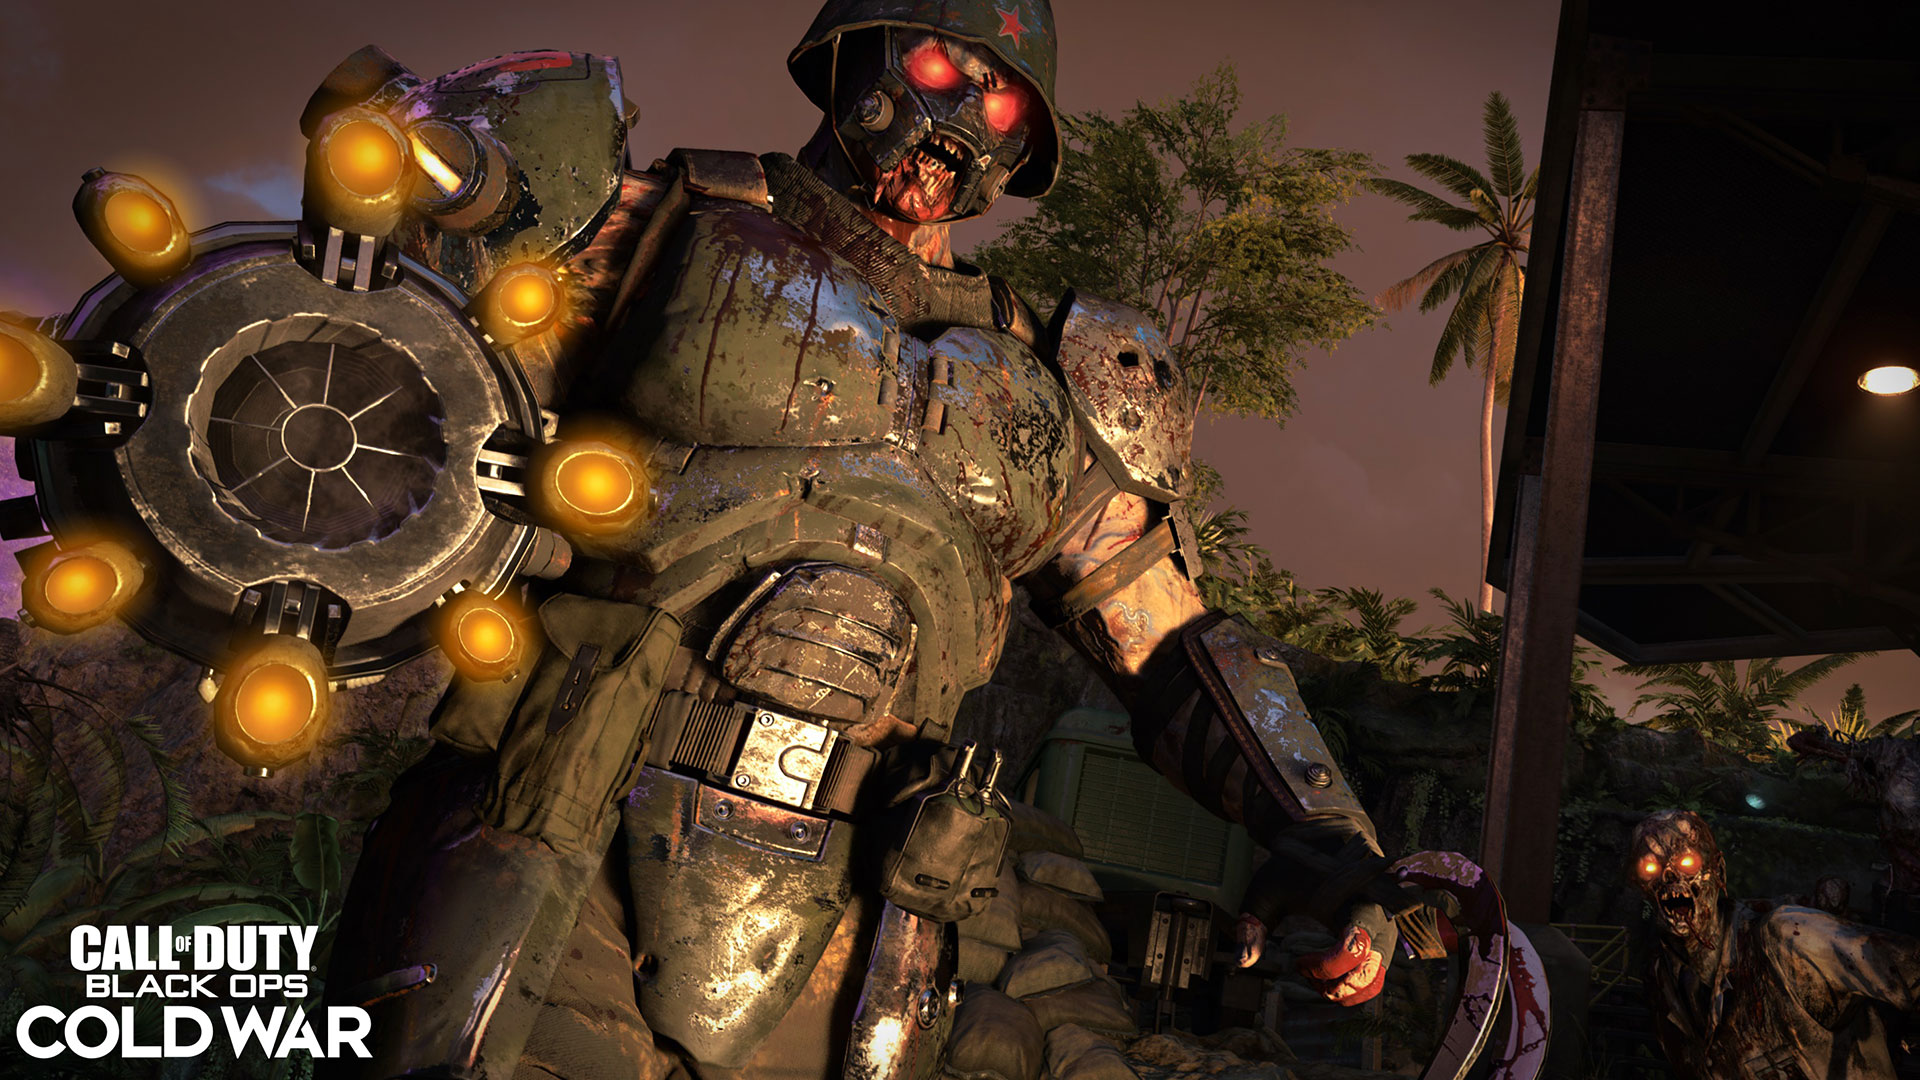
As revealed by Treyarch, this brand-new Zombies map, which is free on all platforms, continues the hidden arms race between Requiem and Omega Group following the events of “Die Maschine.” Although Requiem has fallen far behind their adversaries, their Operators will have new Support items and a new Perk at their disposal to fight through the undead waves and attempt to investigate and escape another of these Dark Aether outbreak sites.

Here’s what lurks in the shadows of “Firebase Z,” and the tips we can shed some light on that can help you survive this upcoming mission.

Requiem Intel Briefing

En route to a meeting with a contact deep in Vietnam’s jungles, Samantha Maxis is captured by Omega Group and brought to Outpost 25, an advanced research facility that houses a dimensional gateway to the Dark Aether.

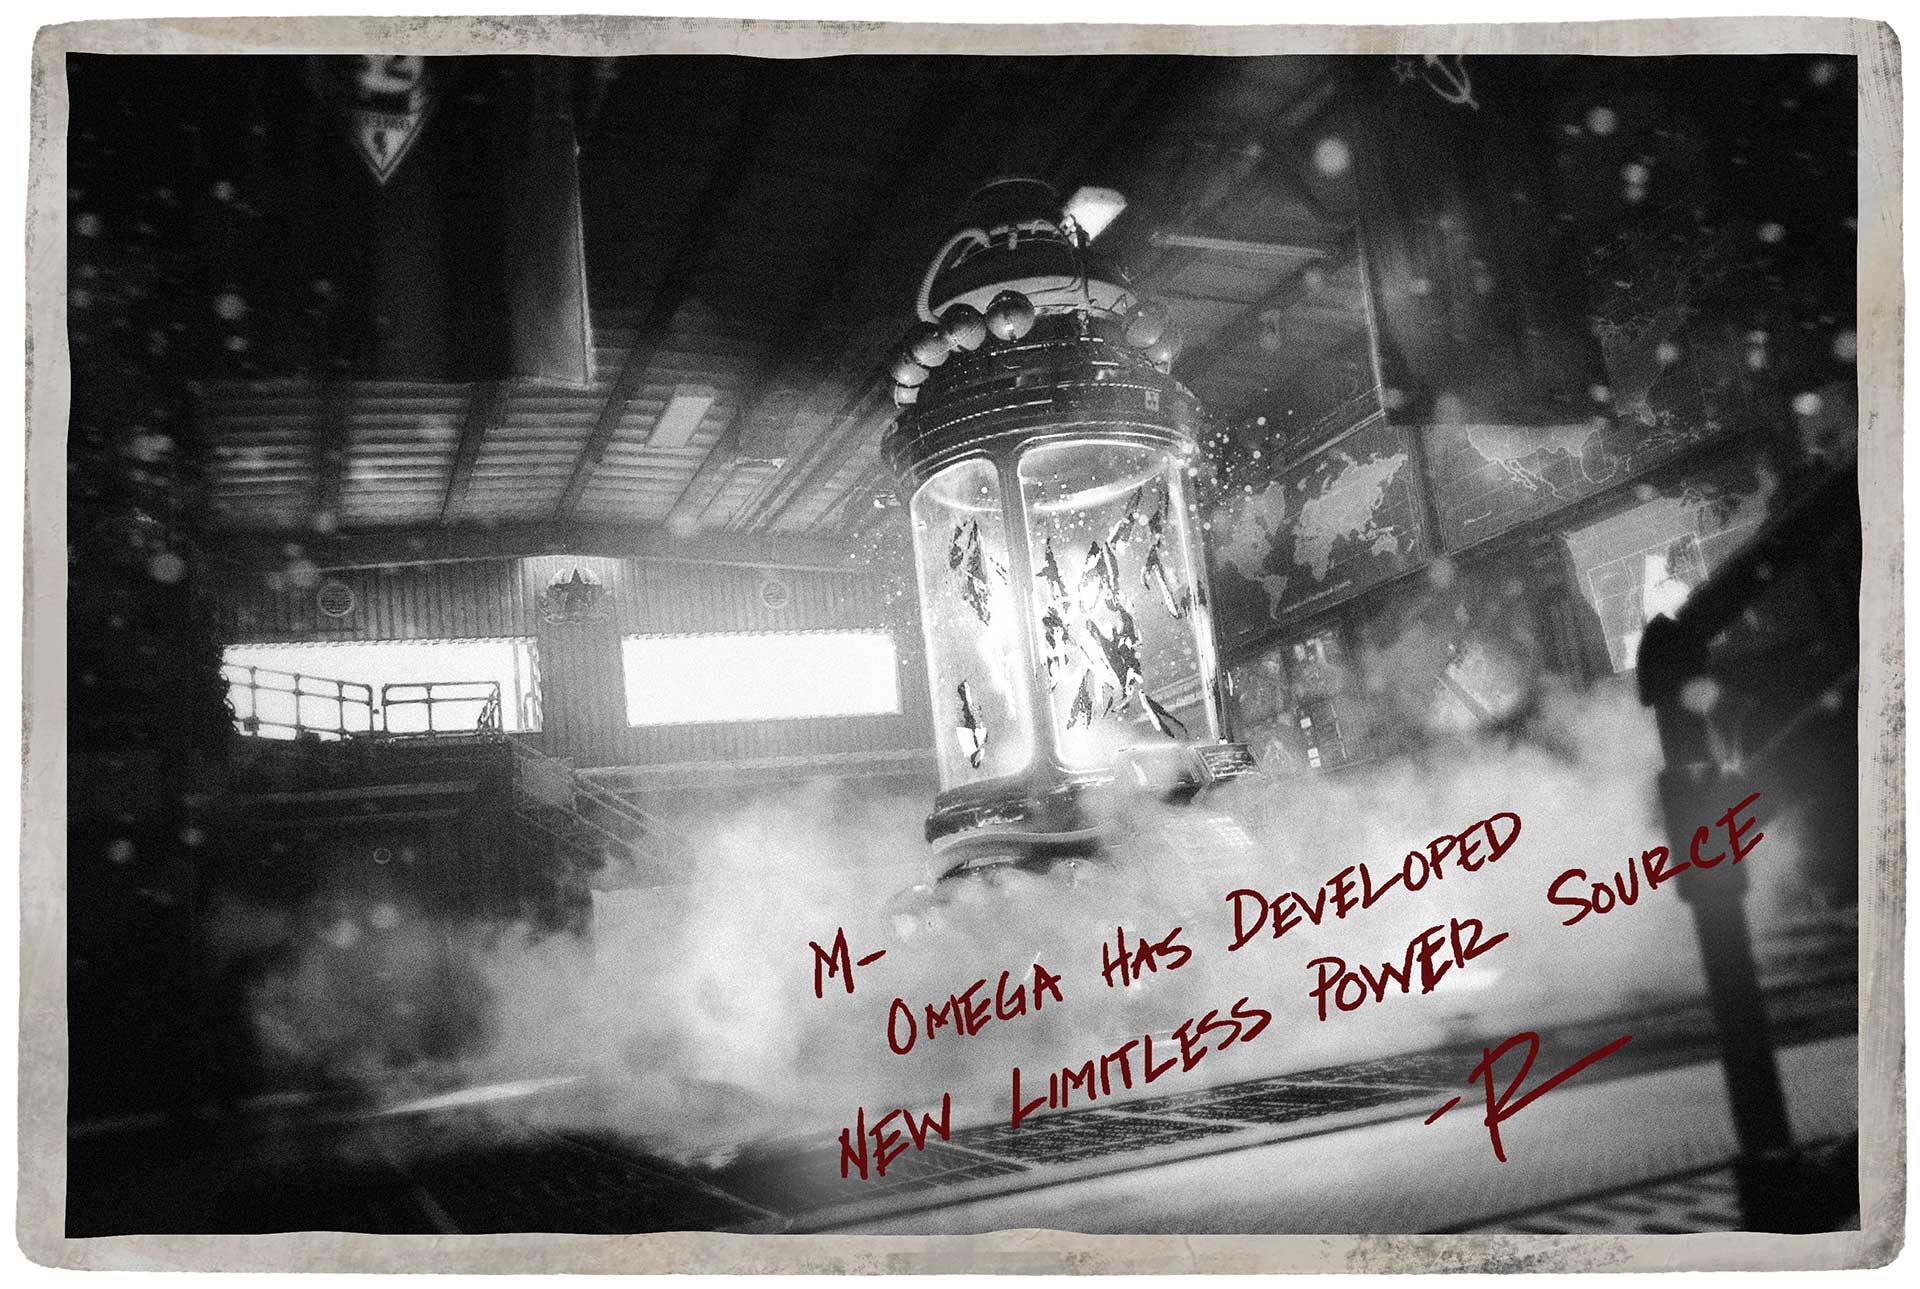
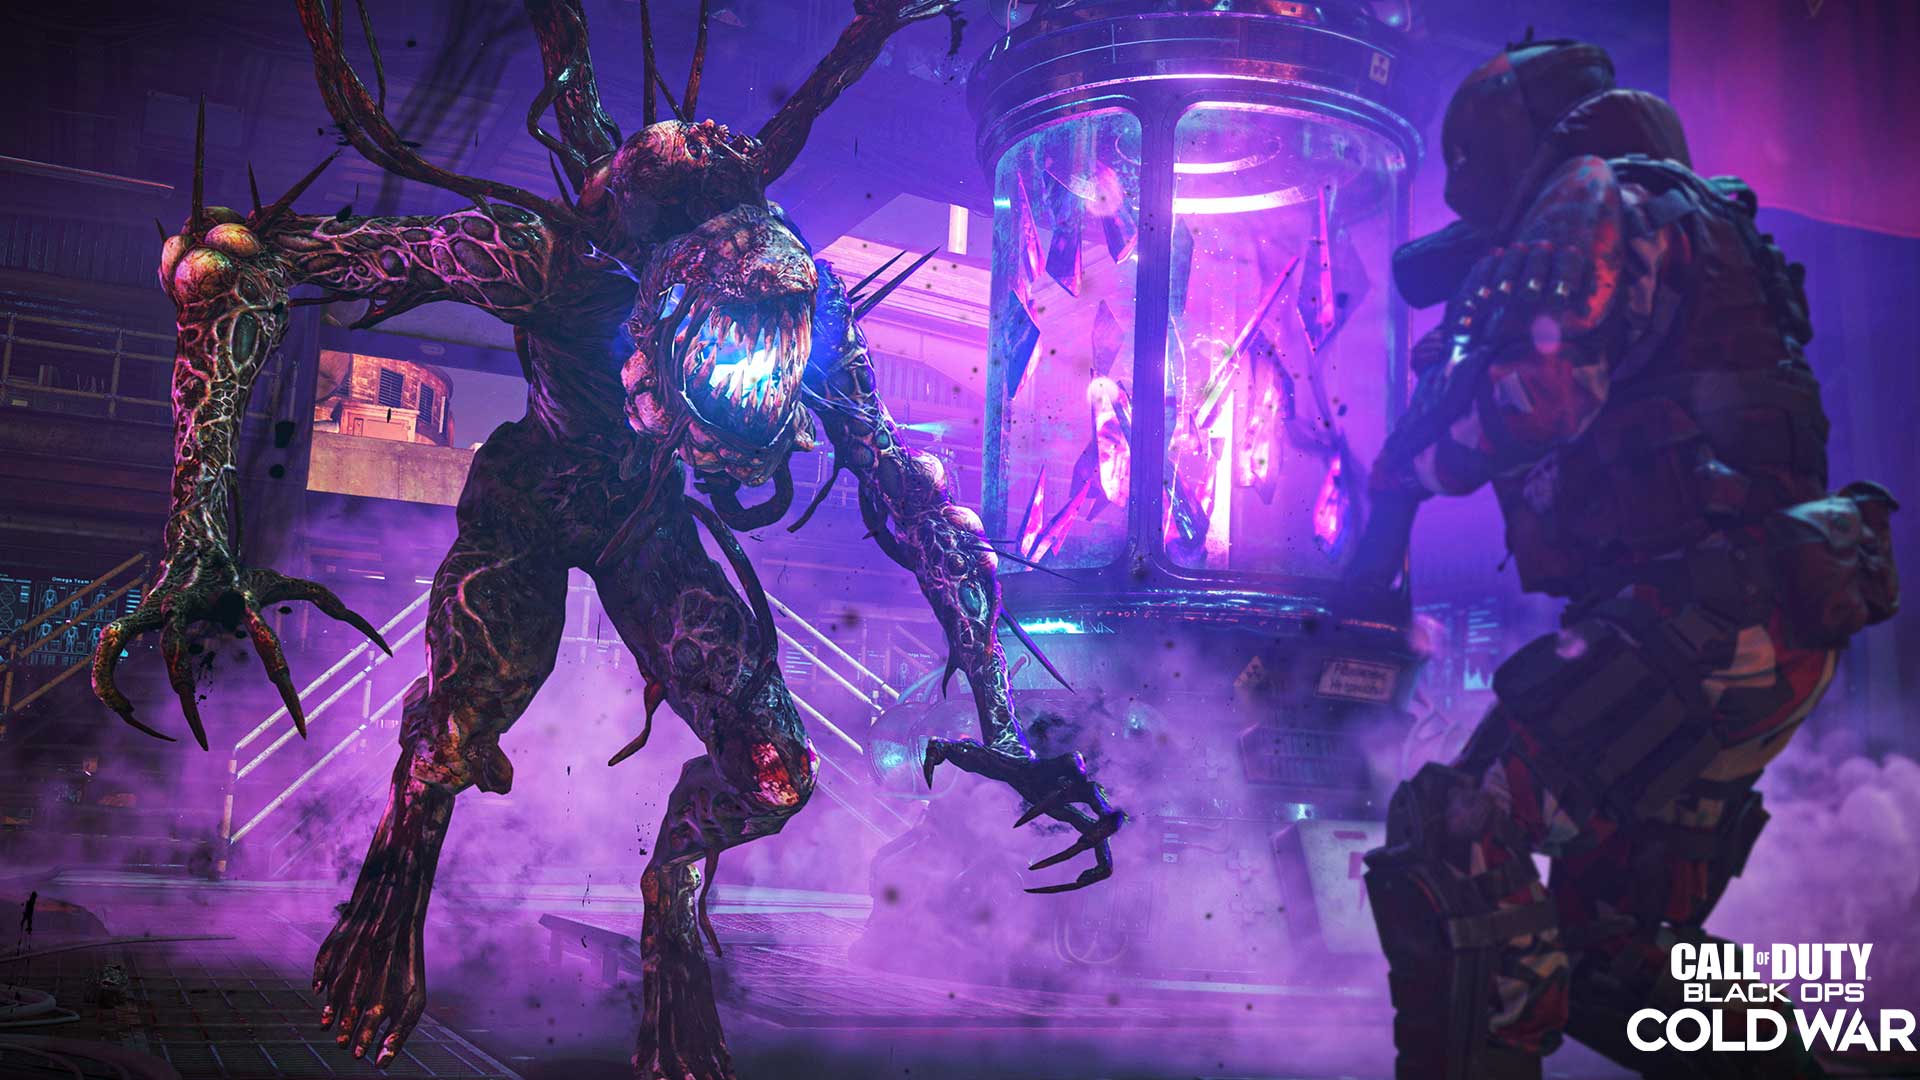
Using this technology, Omega Group have been able to harvest Aetherium Crystals within the Dark Aether and accelerate their discoveries, including a “new limitless power source” that their Omega Group informant described. These can be found – and potentially reactivated – in three locations within the Outpost 25 facility.

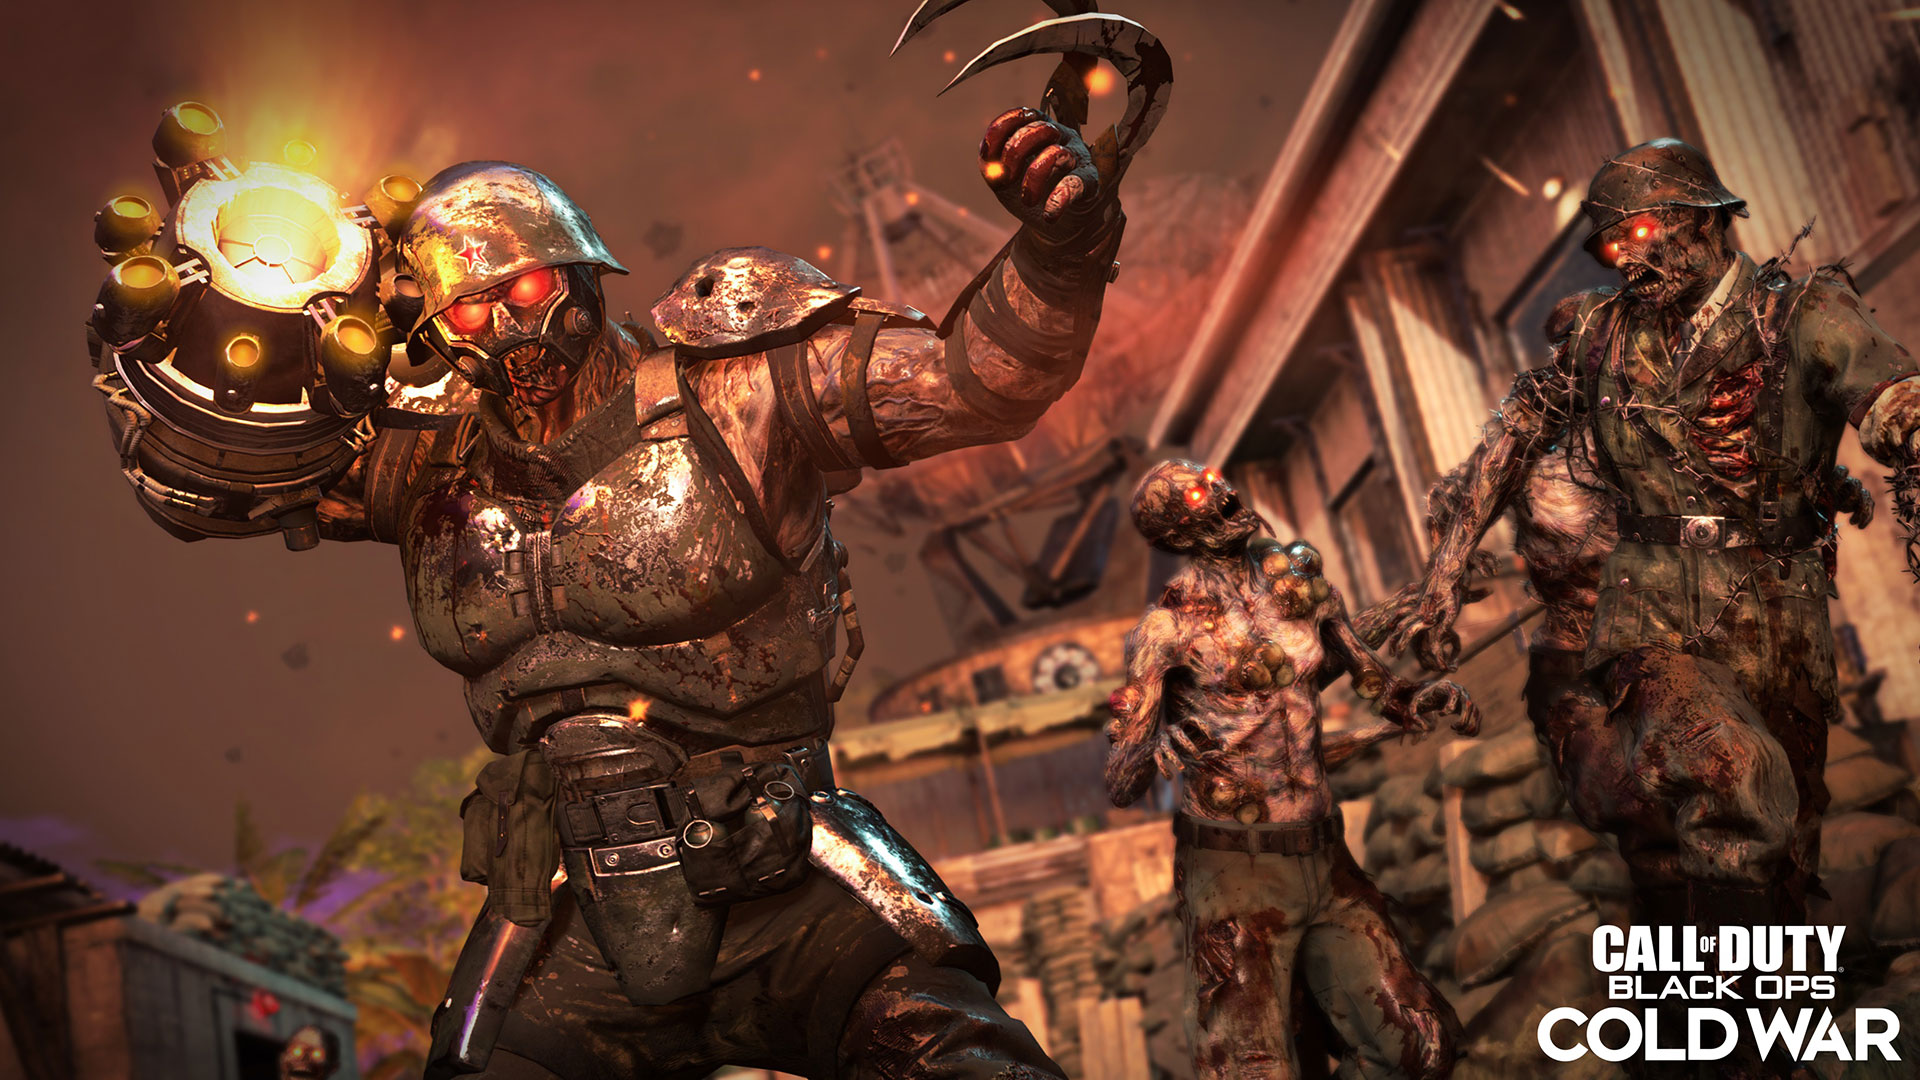
Your mission, as a member of Requiem’s elite strike team under the direction of Grigori Weaver, is to meet with the informant, save Samantha Maxis, and ultimately uncover the secrets of the Omega Group hidden within this facility… all while surviving against horrifying new undead threats.

Firebase Z Inspection

For the sake of turning on the power, a vital step for prolonged survival and starting to uncover the map’s plethora of secrets, there are five notable areas to explore:

Village (Starting Area)

Your mission begins somewhere in the A Shau Valley of Vietnam, where a small village acts as the infil site for Requiem and a haven for the Omega Group informant. He resides within the Atrium, one of two main buildings within the Courtyard that also contains a Pack-a-Punch Machine that needs power.

You can find the Atrium by walking past the main road and turning left toward a massive tree. Before entering the Atrium, there is a Crafting Table and an Uncommon Magnum available on the wall, in case your starting loadout weapon isn’t cutting it so far.

Turning immediately left from the spawn area will bring you up the stairs to a Radio Room, which offers great sightlines across the Courtyard and an access point to the Atrium’s roof. When the power is turned on, this side of the starting area opens up to include even more rooms to explore, including ones with the Arsenal and Der Wunderfizz machine.

The only other area that can be accessed before power is activated is the Equipment Storage, where you’ll find an Ammo box on the side of the road and the map’s Quick Revive Perk Machine. Enter the building and climb its stairs past a convenient shotgun Wall Buy to access a rooftop walkway, which leads to the Teleporter Transfer into the main outpost.

Helipad

Step right out of the teleporter, and you’ll be right at the foot of a crashed helicopter at the facility’s helipad.

This roughly square area contains the new Tombstone Soda Perk Machine, a Crafting Table, a Trials computer, and three gates that lead to different areas of the complex. A downed helicopter, which has an Ammo box sitting right next to it, acts as a major obstacle for zombies to run around, making it a potentially effective spot to let the undead chase you around to more easily manage higher rounds.

Consider this the main “hub” of the outpost with the other areas acting as spokes, although it’s more than possible to rotate around the base entirely with enough Essence to buy doors between each area. Making headway into the base is as simple as picking a direction and unlocking one of the following gates:

Going through the North Gate is the fastest route to the Planning Offices, Mission Control, and Omega Portal Chamber (OPC), while the East Gate leads to the Barracks, Field Hospital, and Data Center areas. As for the gate to the South, it is the fastest path toward the Military Command, Motorpool, and Weapons Lab areas.

Note that between the North and East gates is a Wall Buy for an Uncommon AK-74u.

North Gate (Planning Offices, Mission Control, OPC)

After opening this gate, you’ll be on an Open Lot with an entrance to the Engineering area, the long first floor structure beneath the Planning Offices and OPC. On one side of this open arch is an Ammo box, and on the other is a metal staircase up to a catwalk into the Planning Offices, where an Arsenal can be accessed once the power is turned on, and the OPC, which is normally closed off.

Just outside the Planning Offices on this catwalk is a door to the Sky Bridge, which offers access to the Military Command area and a Rare Hauer 77 Wall Buy.

The other end of the catwalk will see you run past the OPC – and a Rare 1911 Wall Buy – to reach one of two entrances into Mission Control. Alternatively, you can run past a parked armored vehicle to another staircase with another entrance to Mission Control and an Uncommon M16 Wall Buy. Buying your way in through either entrance unlocks the other one for ease of access.

Once in Mission Control, you’ll find one of the three Aether Reactors, another uncommon Wall Buy, and a Stamin-Up Perk Machine. From here, once power is restored to this area, you can head through two large doors to the Scorched Defenses, an open trench-like area that offers free entry into the Barracks.

East Gate (Barracks, Field Hospital, Data Center)

Two green Barracks buildings and a red Field Hospital are all accessible after opening up the East Gate or by walking through Scorched Defenses.

Barracks 1 houses another Arsenal and an Ammo box outside, while its partially collapsed sister building, Barracks 2, has a pile of rubble that can be used to access a corner of its roof, which offers a great high ground spot against the horde. Continue heading east to reach the Field Hospital, a medium-sized rectangular building with an Uncommon Type 63 Wall Buy outside.

To the south of these buildings is a staircase up to Data Center. Once inside, you’ll find an Ammo box immediately to your left and a spiral staircase down to another Aether Reactor, as well as an Uncommon AK-47 Wall Buy at stairs’ landing. Ignoring this first staircase and wrapping around the second floor will lead you to the Speed Cola Perk Machine.

The Data Center’s bottom level is a perfect circle. There is a Rare SMG Wall Buy on this floor along with two powered doors to the Rocky Defenses, which ultimately lead into the Weapons Lab and Motorpool at the South Gate.

South Gate (Military Command, Motorpool, Weapons Lab)

From the South Gate, this section of the map contains the Motorpool, a vehicle holding area with an open garage containing an Ammo box to the east and an office to the south. Past the office is the entrance to the Military Command area.

Once inside, walk through two rooms filled with communications equipment, as well as another Ammo box, to reach the final Aether Reactor, located in a small outdoor space with powered entrances to the Jungle Defenses. Past this is a larger operations room that contains the Jugger-Nog Perk Machine, and a staircase leading to the Sky Bridge and the Colonel’s Office.

Technically, you can access the Military Command area and its Aether Reactor through the Sky Bridge from the Planning Offices, although there is no similar connecting path between the Motorpool and Data Center without power active in the latter area. Doing so will open up the Weapons Lab at the back of the Motorpool, a tiny room where you’ll find an Arsenal and access to the Rocky Defenses.

Field Guide to the New Support Items

Although a Pack-a-Punched weapon will get you far in “Firebase Z,” it’s worth considering the two new Support items that can be crafted or earned to further bolster your chances at survival: the Napalm Strike and Artillery.

Both of these powerful Support tools should be familiar to those who play Black Ops Cold War Multiplayer, where they are featured there as Scorestreaks. Unlike their Multiplayer versions, however, the Artillery and Napalm Strike are called in via airdrop marker rather than a tablet.

Here’s what happens after the marker is thrown down:

Artillery

This targeted air strike sends down numerous explosive shells on and around the specific point designated by the marker over several seconds.

These explosions will easily destroy any normal zombie and deal significant damage to special zombies that are within their blast radius.

Meant for more aggressive play or to deal with clusters of zombies, the Artillery is best used as a last-ditch effort to clear out an undead wave, especially when trying to exfiltrate.

Napalm Strike

This carpet bomb lands in a straight line from where the airdrop marker lands, sending out a strip of deadly flame that immediately burns anything in its path.

After it lands, any zombie that walks through the fire will take significant damage over time.

Out of the two new Support items, the Napalm Strike can be considered the more tactical of the two, as its flames can deny routes to a specific point or soften up zombies for an eventual finishing blow.

Assault Rounds

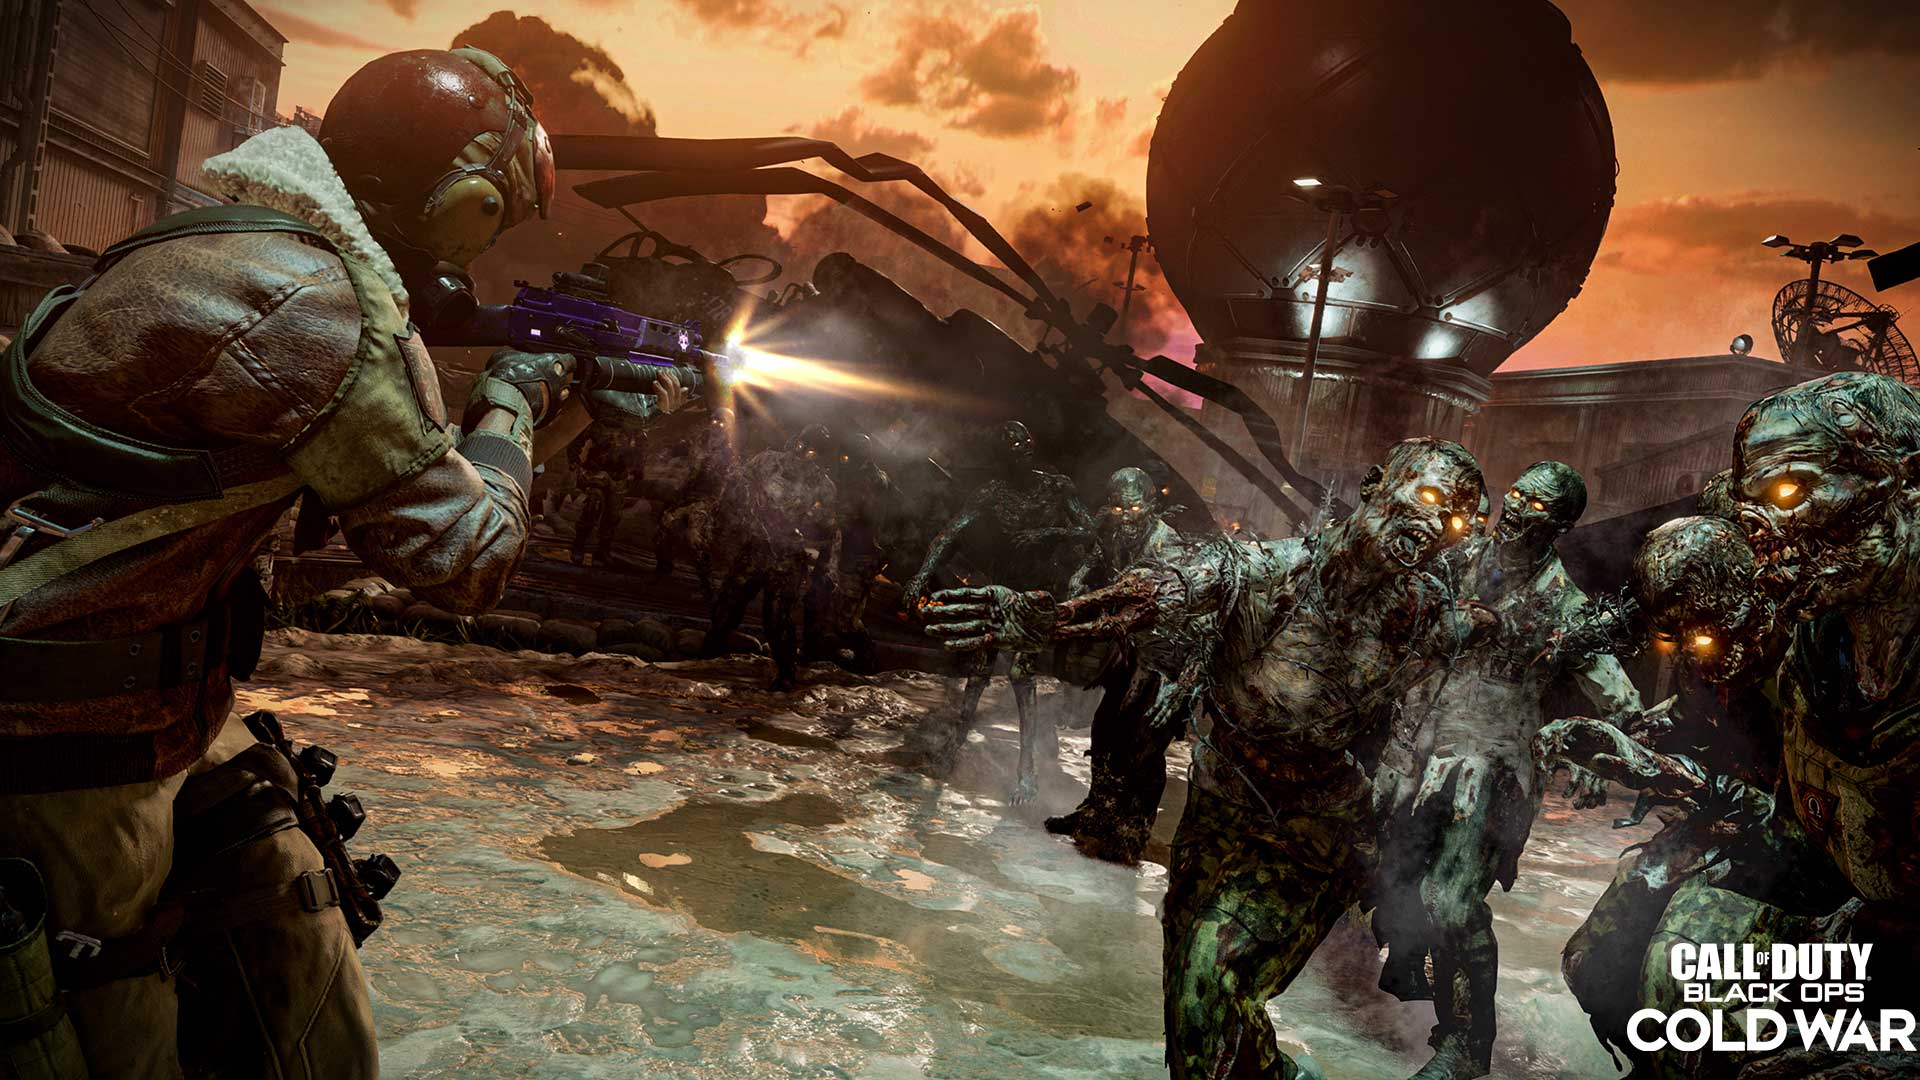
After turning on the power, Operators will need to occasionally defend it from massive waves of zombies that materialize out of rifts from Dark Aether surges. Enter the all-new Assault Rounds game mechanic, the first of its kind in Zombies.

Luckily for survivors, these rifts will appear in one of three heavily fortified locations: the Scorched Defense (north), Rocky Defense (east), or Jungle Defense (south). Each of these areas has a special fire control terminal with a specific Support – a Napalm Strike, Cruise Missile, or Artillery – that must be defended from the horde. Should you have enough Essence, additional versions of that specific Support item can be bought during an Assault Round.

When an Assault Round begins, Operators must rush to the designated Defense area, either by foot or by using one of several Jump Pads that can land them right at a defense point for a small Essence fee. Once they reach this point, they must quickly prepare to hold the line against the horde, as the automated Sentry Turrets are not enough to keep the terminals from being destroyed. Zombies will pour out of one of several rifts down range from the fortified defenses, rushing out of the portal in a cluster until they reach the first line of plowshares. At that point, they will fan out in order to overwhelm defending Operators.

Of course, eliminating the undead as soon as they exit the portals is one optimal strategy to surviving these Assault Rounds. With this strategy in mind, sniper rifles and launchers, weapons that may not be ideal in the frequent close-quarters situations of a normal Zombies round, become viable options to deal with these threats before they come close to these defenses. Otherwise, it may be best to save your loadout’s most powerful weapon, any Field Upgrades, and as many Support items as possible for these rounds in order to have the best chance at outlasting the undead blitz.

After successfully completing an Assault Round, several power-ups such as Double Points, Max Ammo and Salvage will spawn at the terminal’s location, which will help in following rounds.

Perk Potential: Tombstone Soda

Need a back-up for your Self-Revive? Want to save an Assault Round from going south?

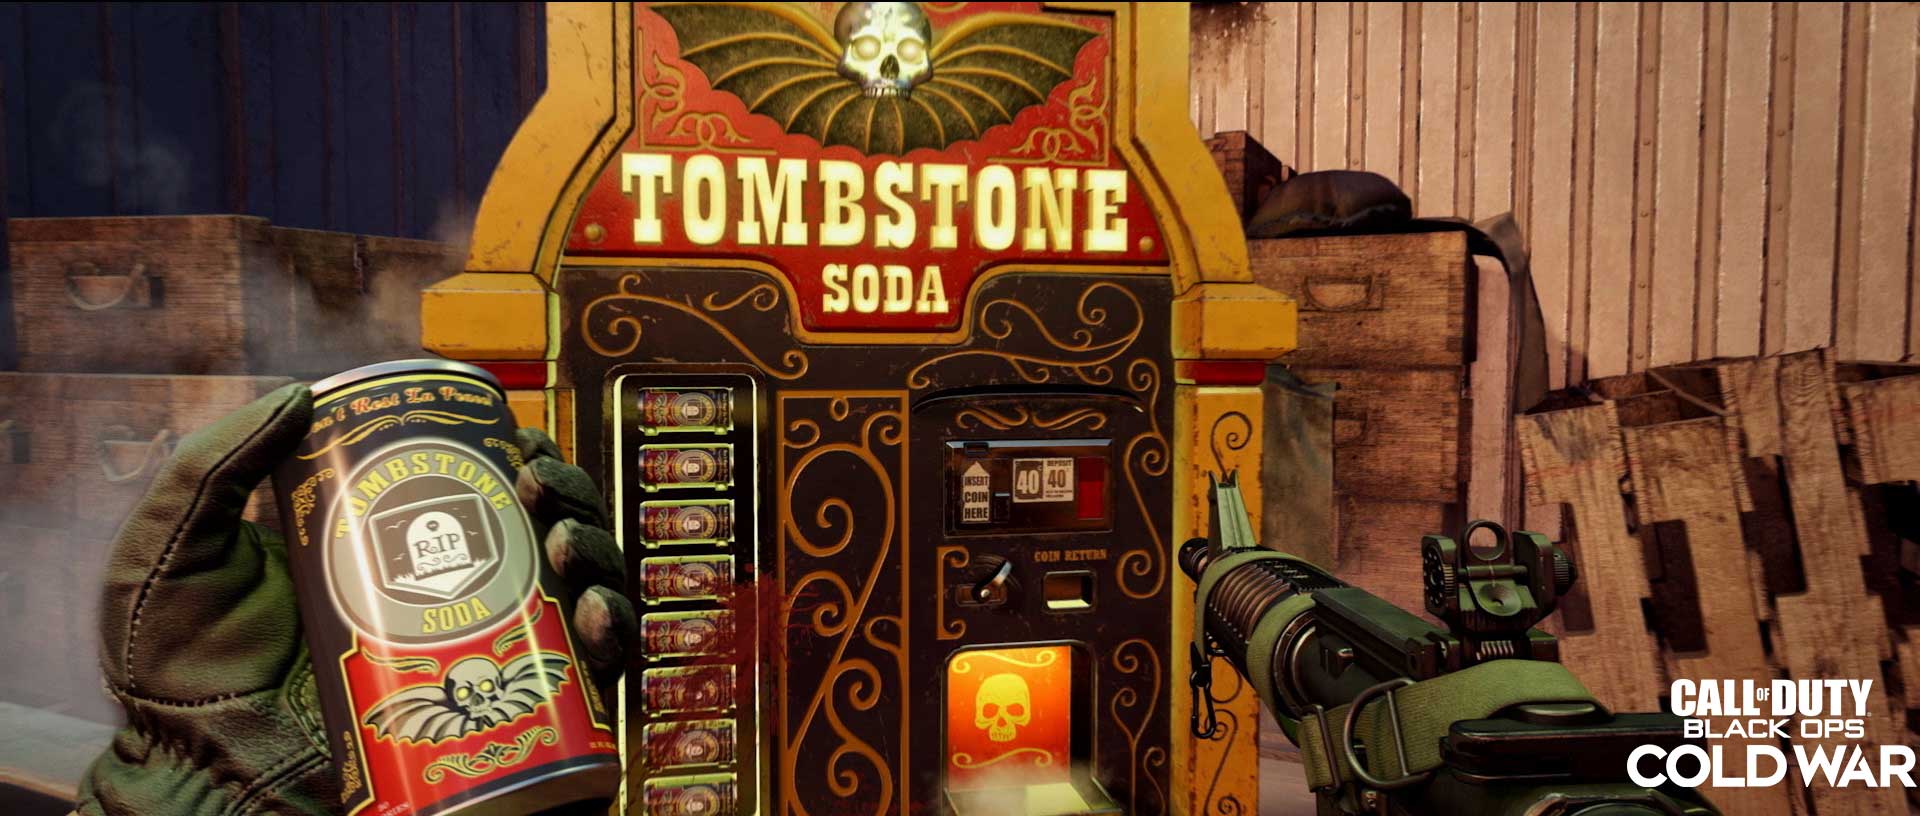
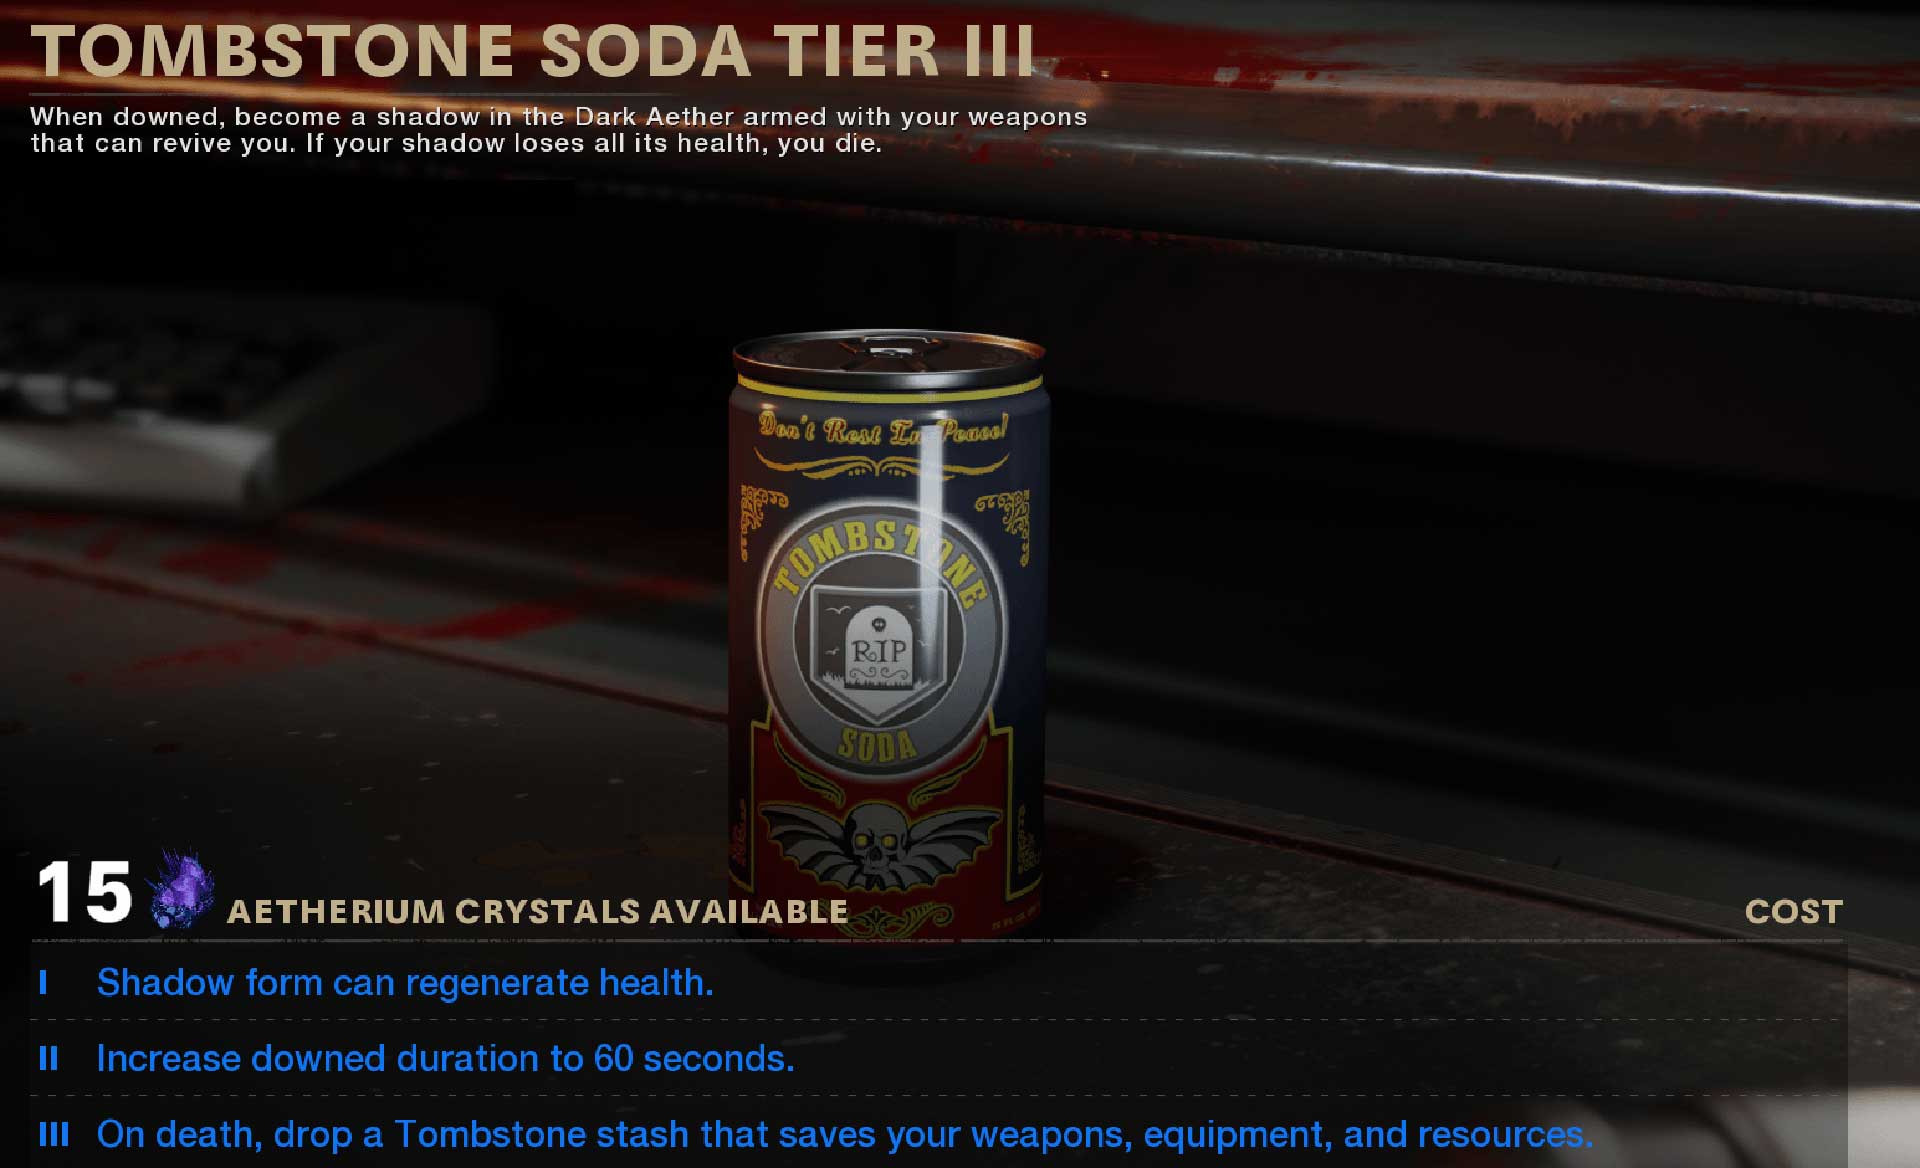
Then Tombstone Soda, the latest Zombies Perk to be added with the release of “Firebase Z,” is here to perk you up when you’re down for the count.

A single can of Tombstone Soda will bring you into the Dark Aether upon being downed, turning you into a shadowy figure equipped with the weapons you had before going down. Eliminating enough zombies will bring you back to life with everything – your weapons, equipment, and resources – intact, while dropping to zero health while in this shadowy form will kill you.

Your living squadmates can help you come back to life by dealing just enough damage to a zombie so that you can finish them off, or by getting the undead off your trail by distracting them with Decoy Grenades, Monkey Bombs… or their living flesh. Alternatively, a manual revive from a teammate will bring you out of the downed state and the Dark Aether entirely.

Investing Aetherium Crystals into Tombstone Soda not only upgrades your shadow form, but can also help you out after death, should your trip into the Dark Aether end prematurely.

Just one Aetherium Crystal allows your shadow form to regenerate health, while dropping another two into the second tier increases the downed duration to 60 seconds. Both of these benefits significantly help your chances of survival while in the shadow form state, as they buy you enough time to eliminate more undead or have a teammate manually revive you.

The final upgrade, which costs three Aetherium Crystals, brings Tombstone Soda into a vintage form, as it spawns a Tombstone stash at your death location with your weapons, equipment, and resources. This makes Tombstone Soda the ultimate fail-safe Perk, as when an Operator comes back to life at the beginning of a new round, they lose these all-important items.

With this upgrade, so long as one squadmate stays alive for the next round, an Operator can run to their stash, regain weapons, Salvage, armor, and equipment, then soldier on at full strength.

Top Five Tips

5. Training Grounds: The Village and Helipad. Before the power is activated, players can use the large open space around the Helipad’s crashed helicopter to keep the undead at bay. Alternatively, once the power is activated, the various buildings in the Village can be a great place to circle around and slowly pick off dozens of chasing zombies, especially with a close-quarters weapon like an SMG or shotgun.

4. Rack Up Those Trials. Reaching the Trials computer in this map is far easier (and less expensive) than the one in “Die Maschine.” It may be worth completing a few of these Trials before venturing onward, as they can reward rare weapons, power-ups, or even some Salvage for a small Essence fee.

3. Artillery for Offense Against Clusters, Napalm for Area Denial. While both new Support items can be great against the horde, the Artillery is best used when targeting multiple zombies in a group. Meanwhile, the Napalm Strike is better used to lock down specific chokepoints or prevent the undead from advancing, lest they walk through the flames and take significant damage over time.

2. Save Your Resources for Assault Rounds. It’s fairly easy to get overwhelmed during an Assault Round, especially if the whole squad is light on Support and ammo for their most powerful weapons. Ensure the whole squad is well-prepared for these blitzes as soon as they are announced and make use of that free Support at whatever Defense area you have to protect from the horde.

1. Tombstone Soda – Life After the Last Ride. Upgrading Tombstone Soda fully can help your squad survive for more rounds, as retrieving everything lost upon death at a Tombstone stash is far better than having to start from scratch.

Execute the mission.

For more information on Call of Duty®: Black Ops Cold War, check out: www.callofduty.comwww.youtube.com/callofduty and follow @Treyarch, @RavenSoftware, and @CallofDuty on Twitter, Instagram, and Facebook. 

© 2021 Activision Publishing, Inc. ACTIVISION, CALL OF DUTY, and CALL OF DUTY BLACK OPS are trademarks of Activision Publishing, Inc.

For more information on Activision games, follow @Activision on Twitter, Facebook, and Instagram.

We're Hiring

Check Out Job Opportunities At Our Studios

Join Us

Our Teams

  • Game Design
  • Art & Animation
  • Brand Management
  • Production
  • Quality Assurance
  • Customer Support
  • Studio Operations
  • Programming
  • Finance & Accounting
  • Human Resources

软件许可及服务协议》即将更新。请单击此链接 [https://www.activision.com/cn/zh/legal/ap-eula] 查看这些变更。