Derelict
Tactical Key Location Overview
- Coach Choke Point — Alpha (A)
- Engine Choke Point — Beta (B)
- Tower/Creek Sightline — Gamma (Γ)
- Tower Escape Maneuver — Delta (Δ)
Map Focused Loadouts
Prebrief
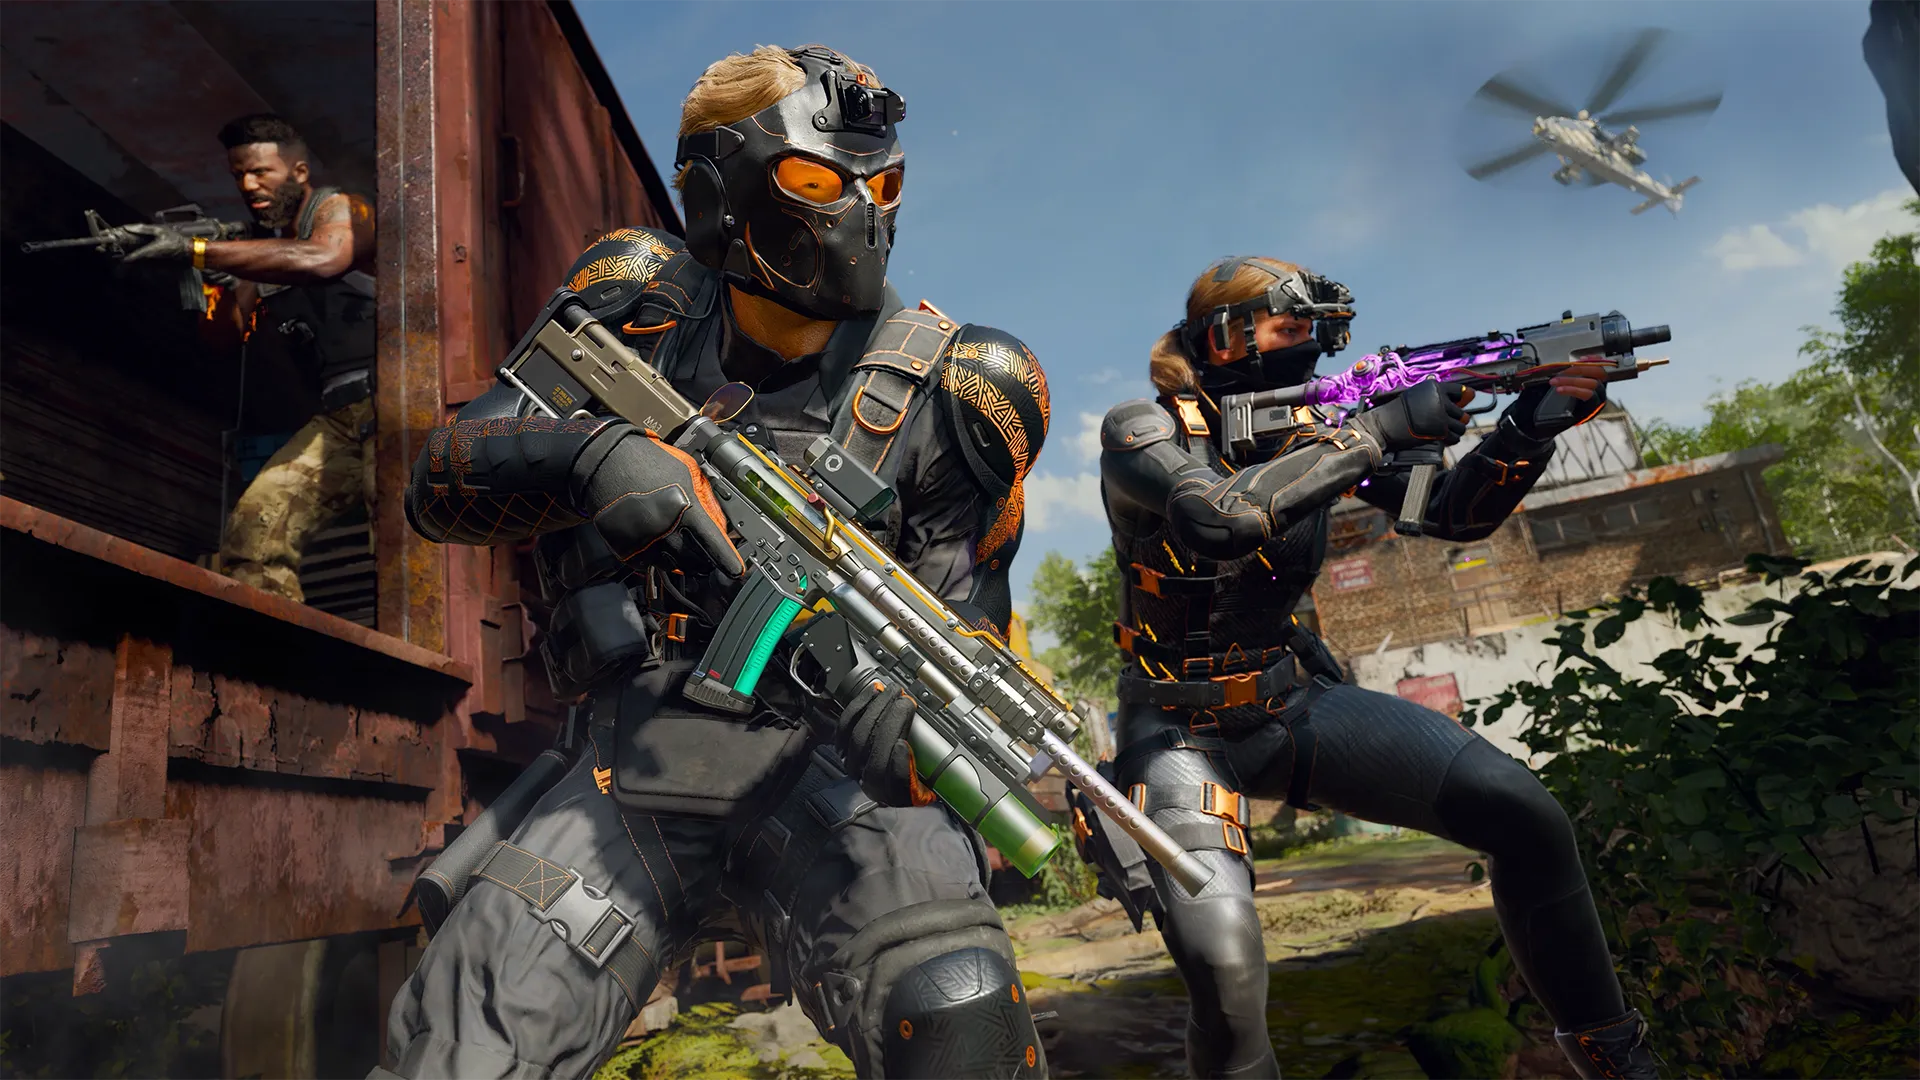
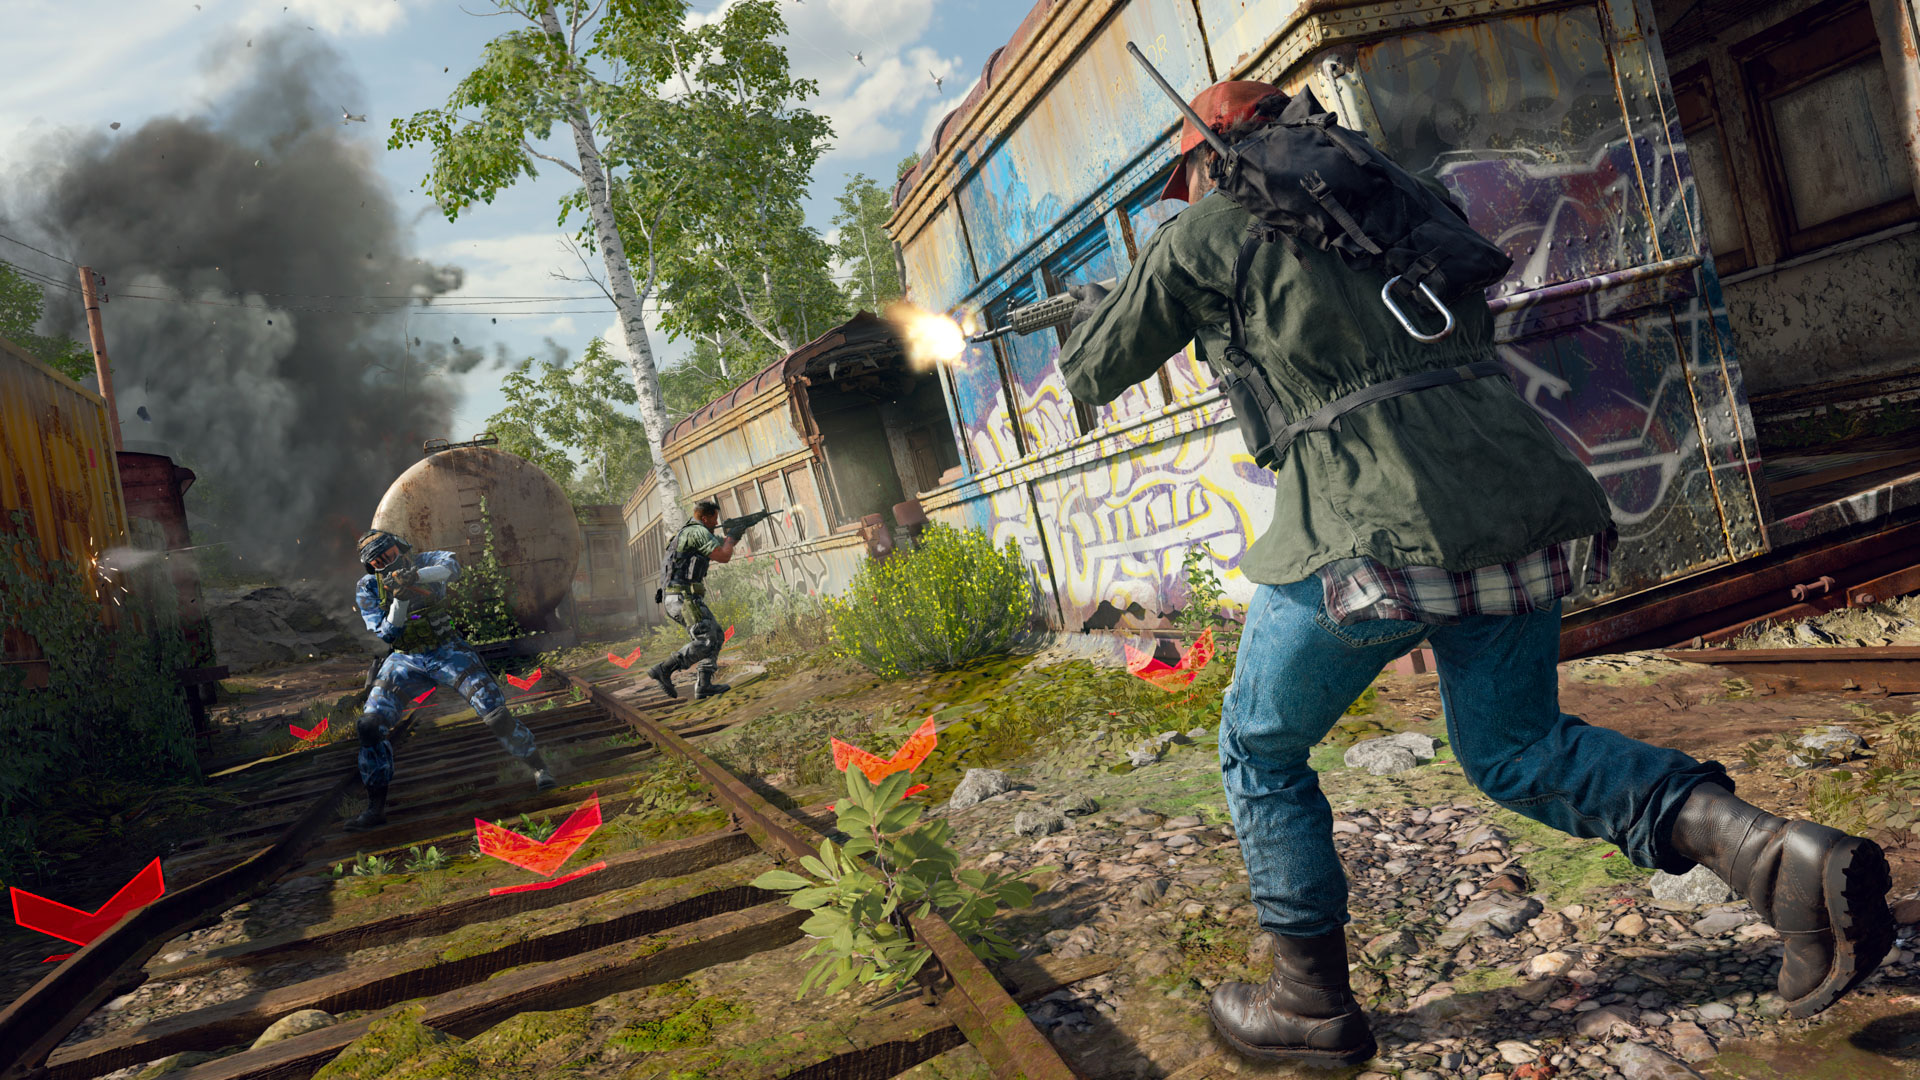
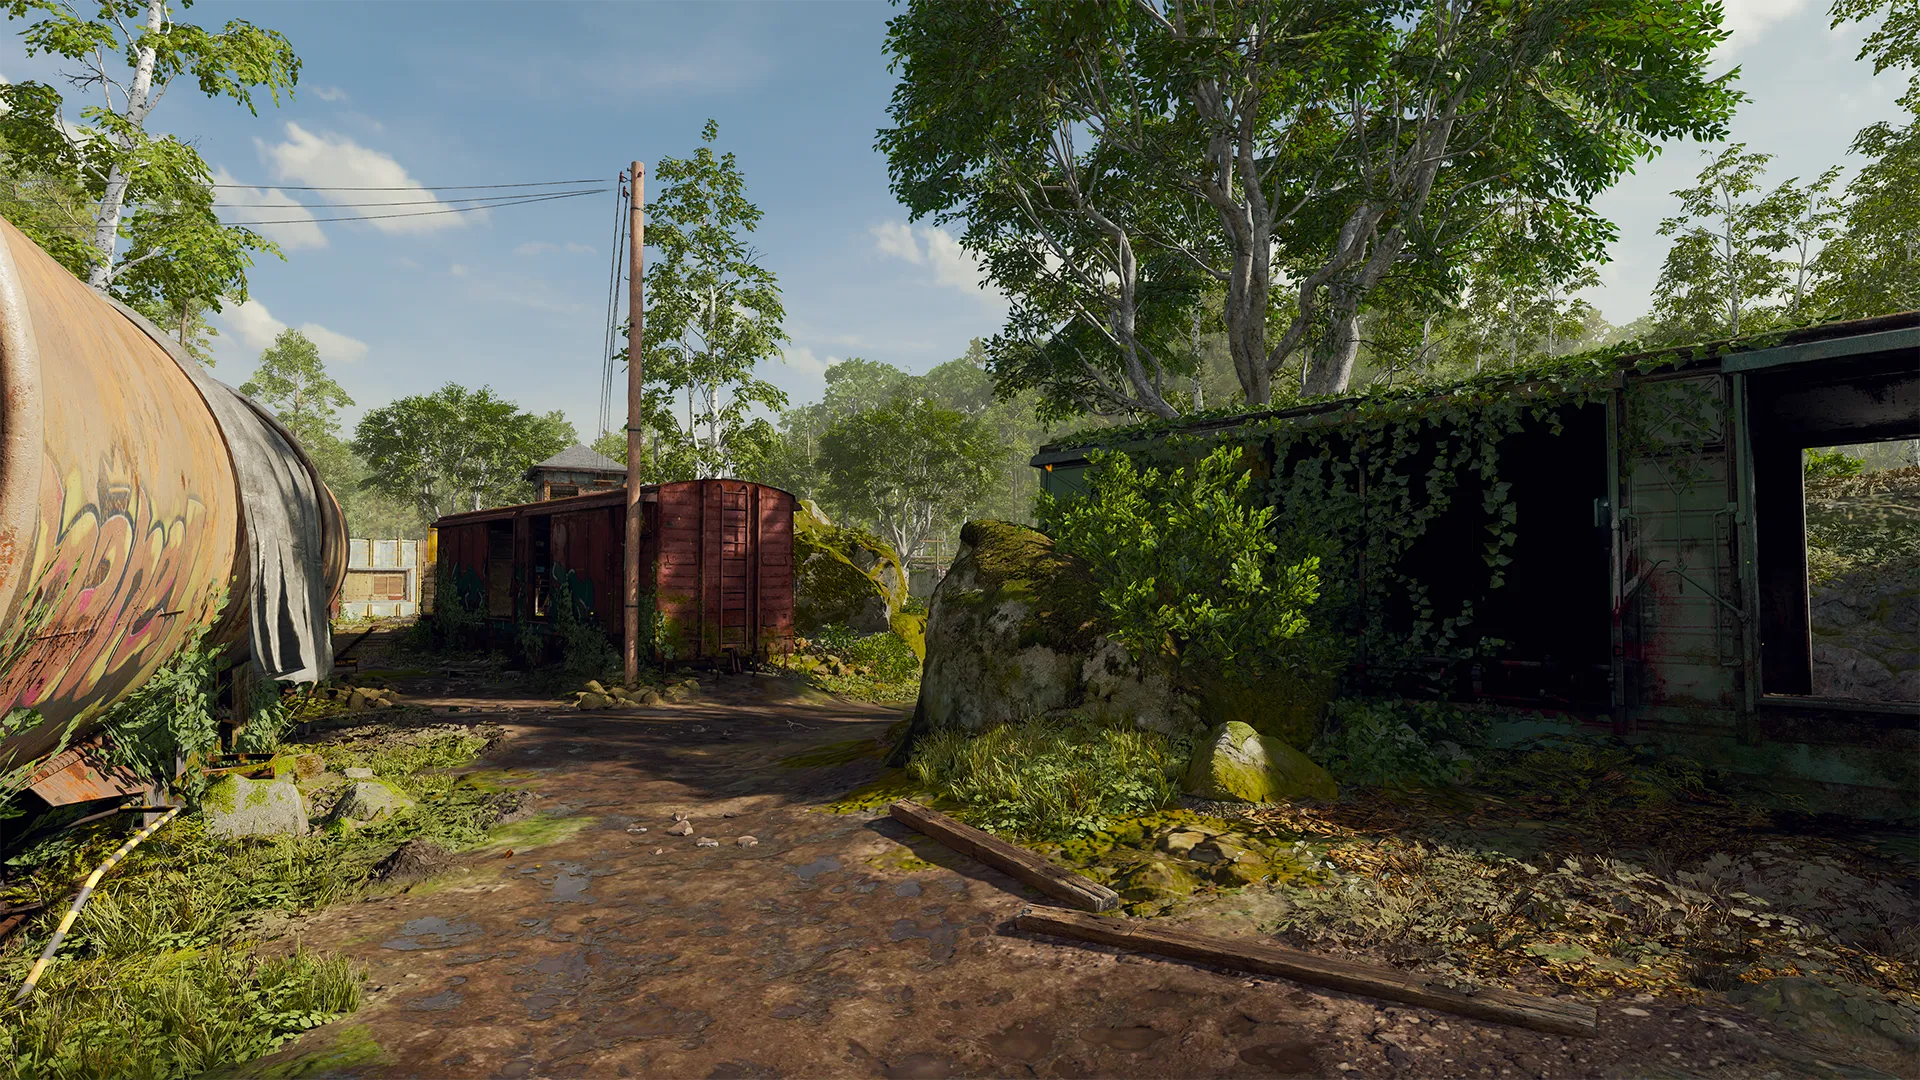
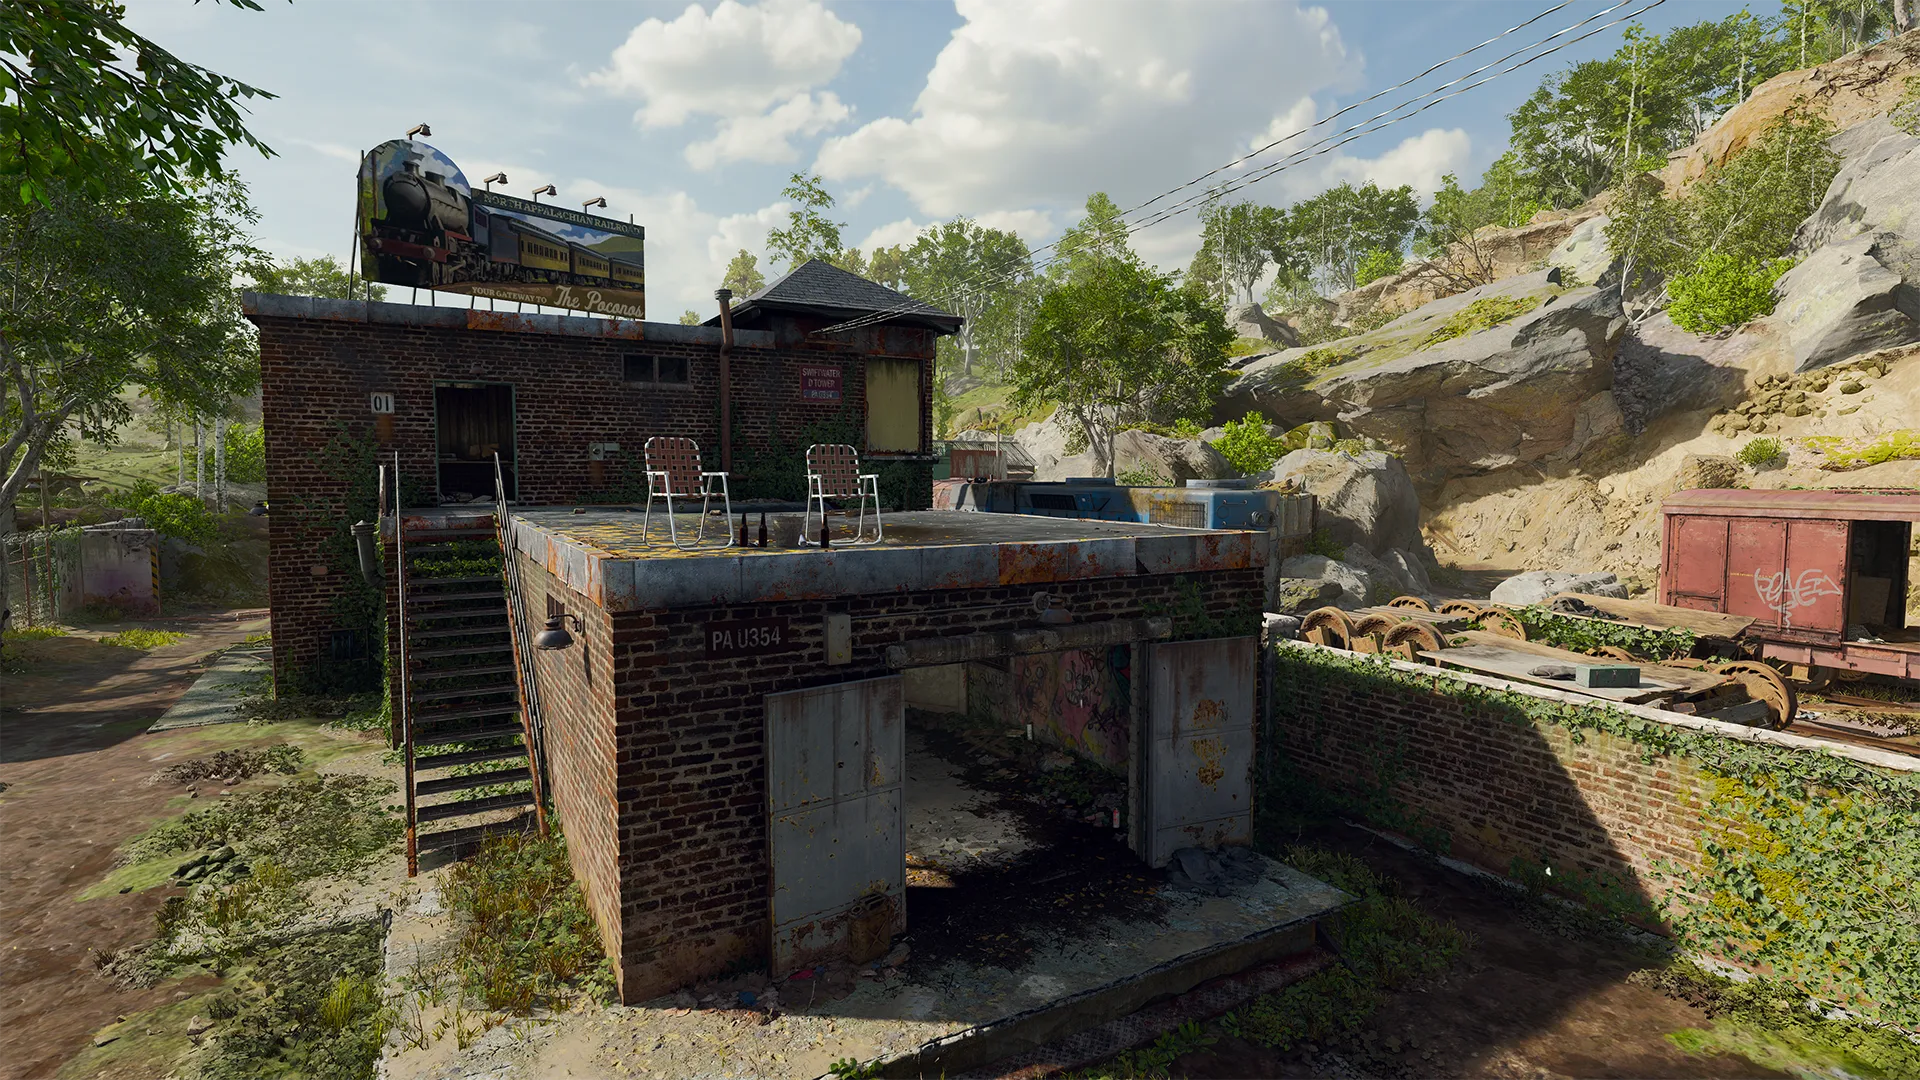
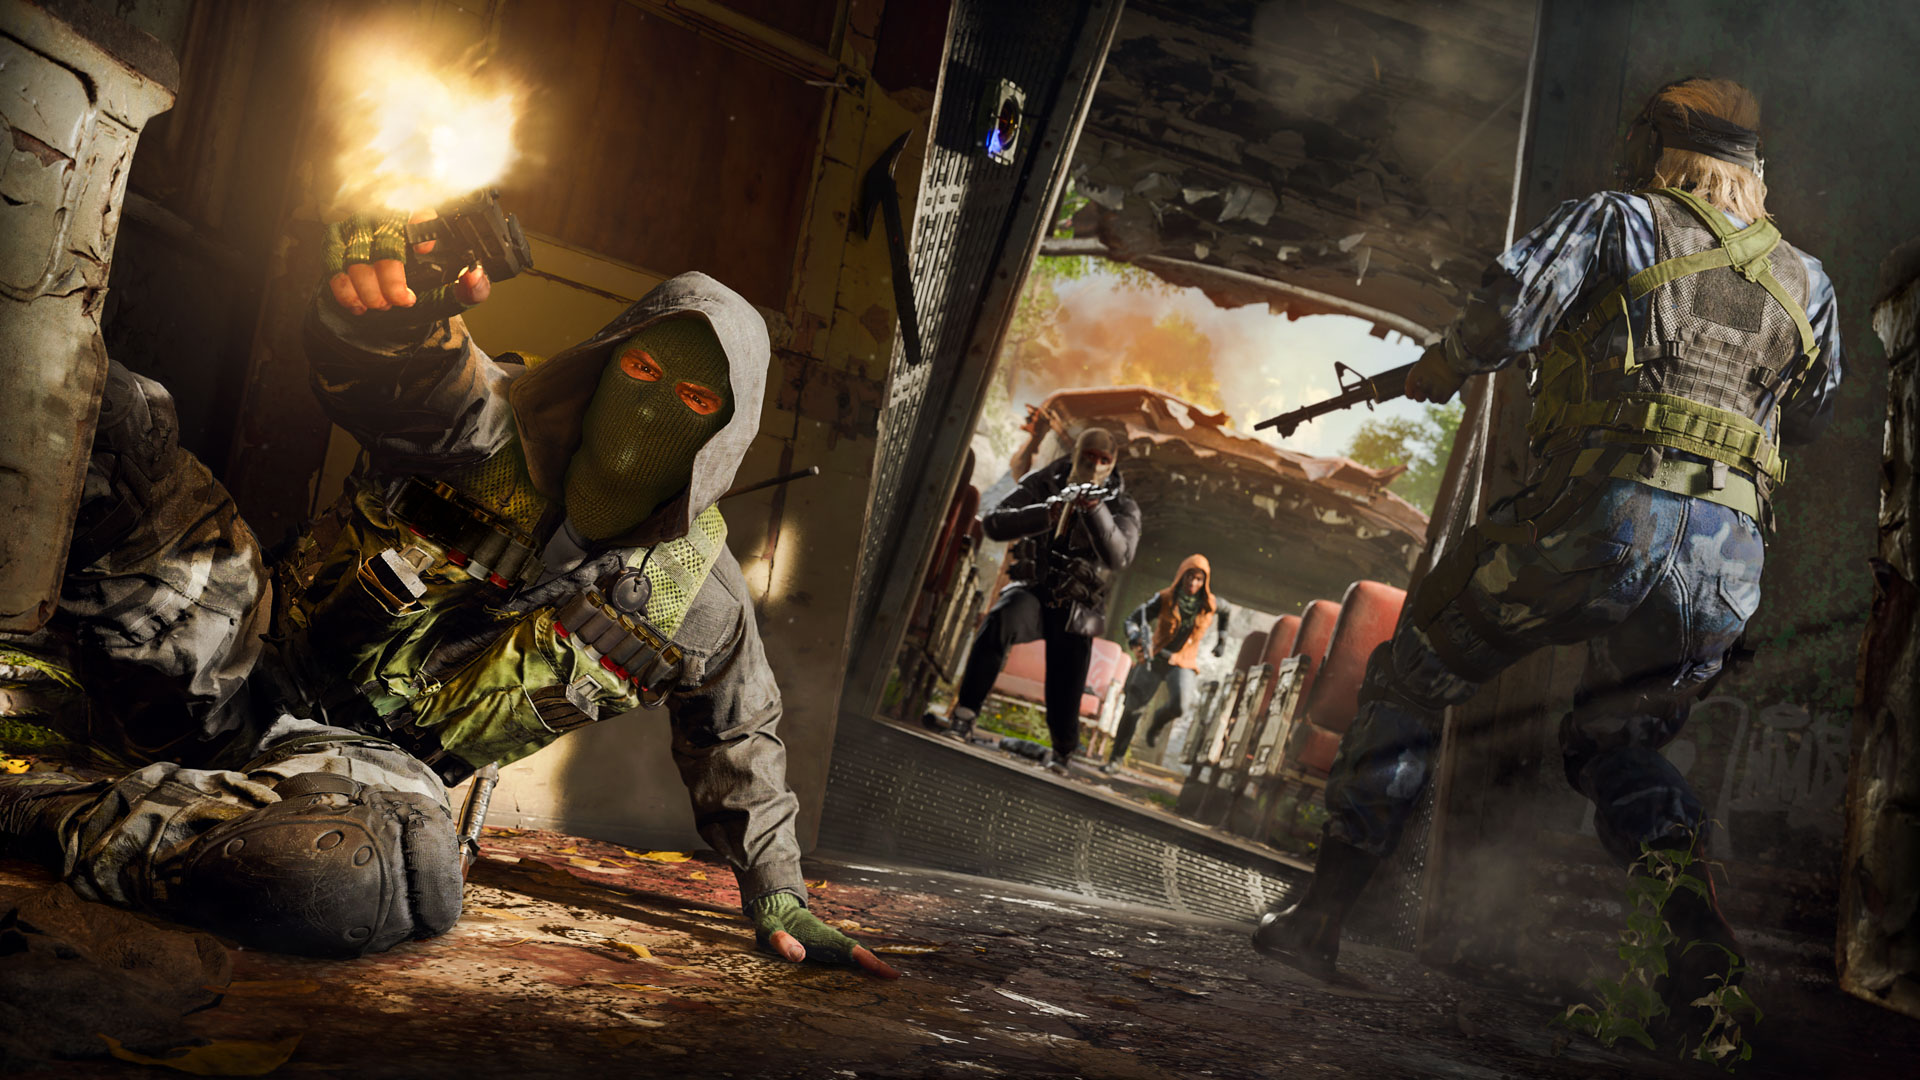
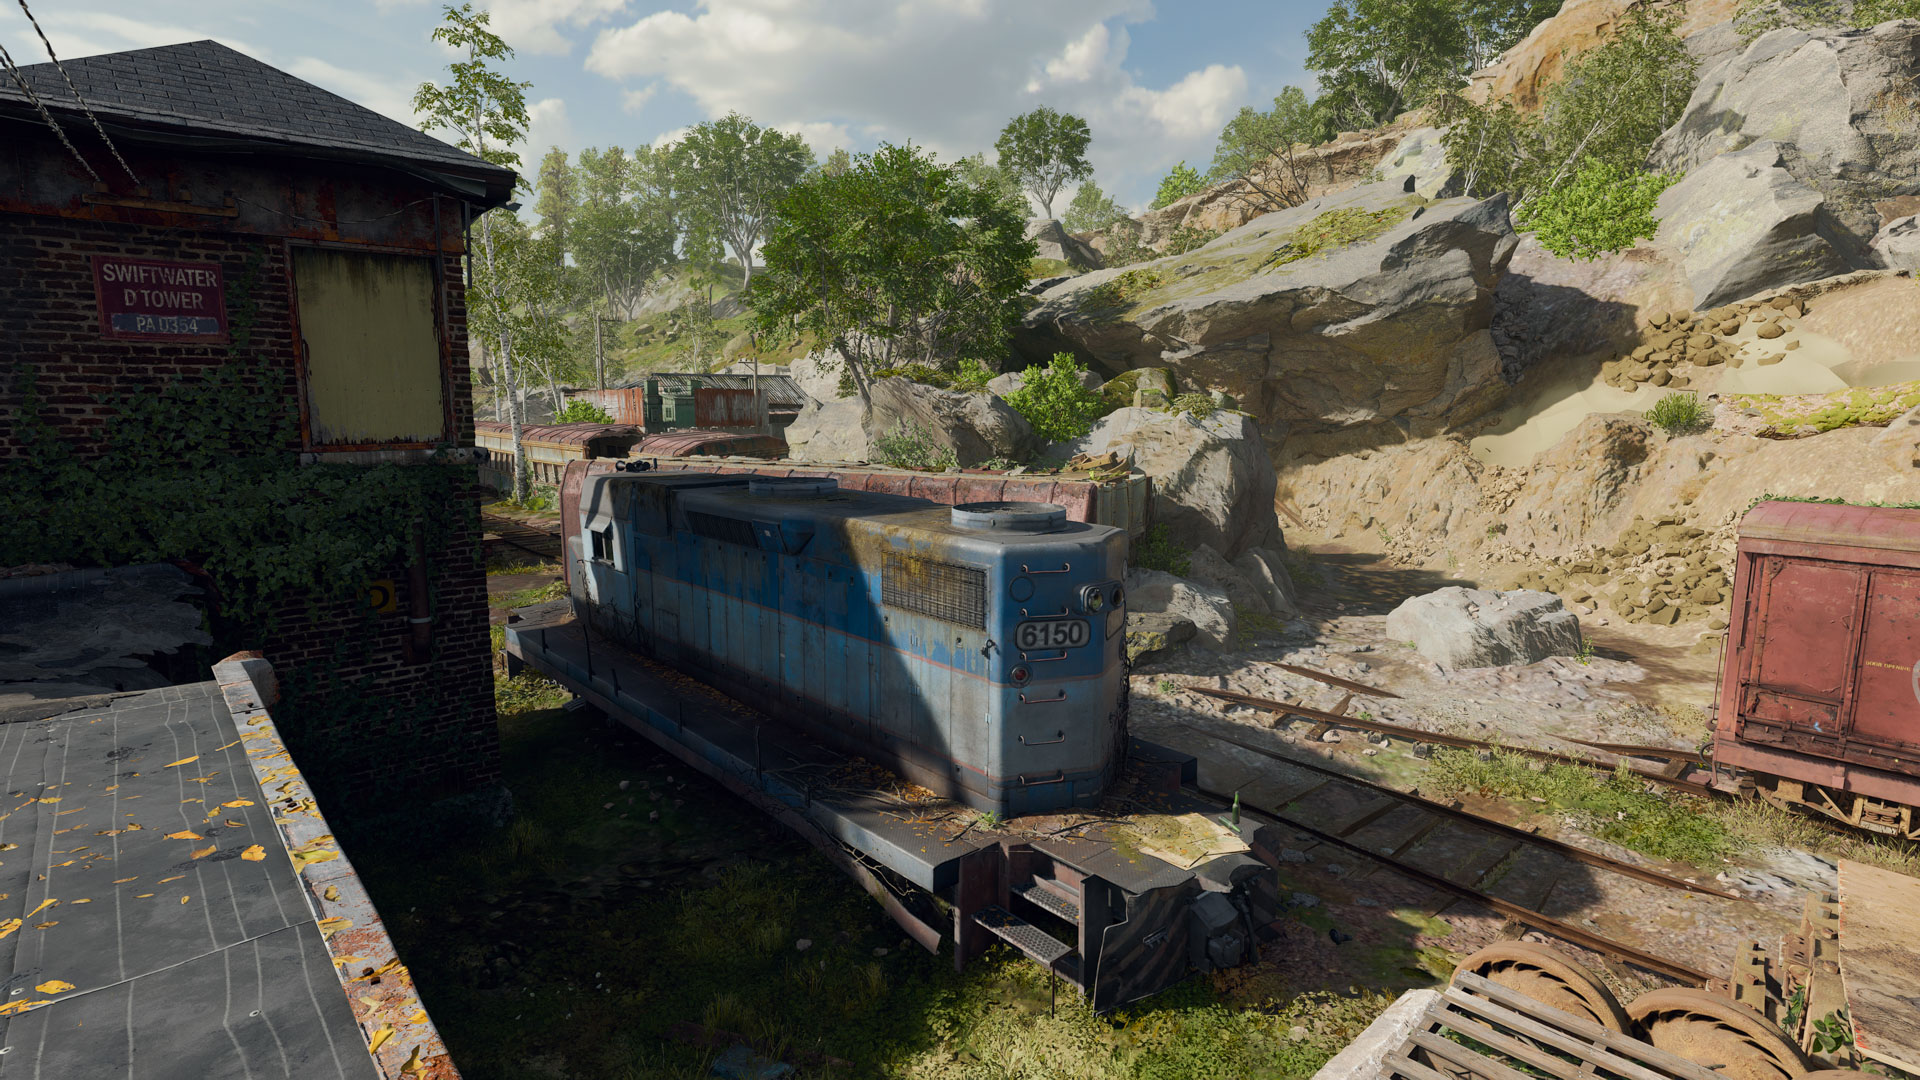
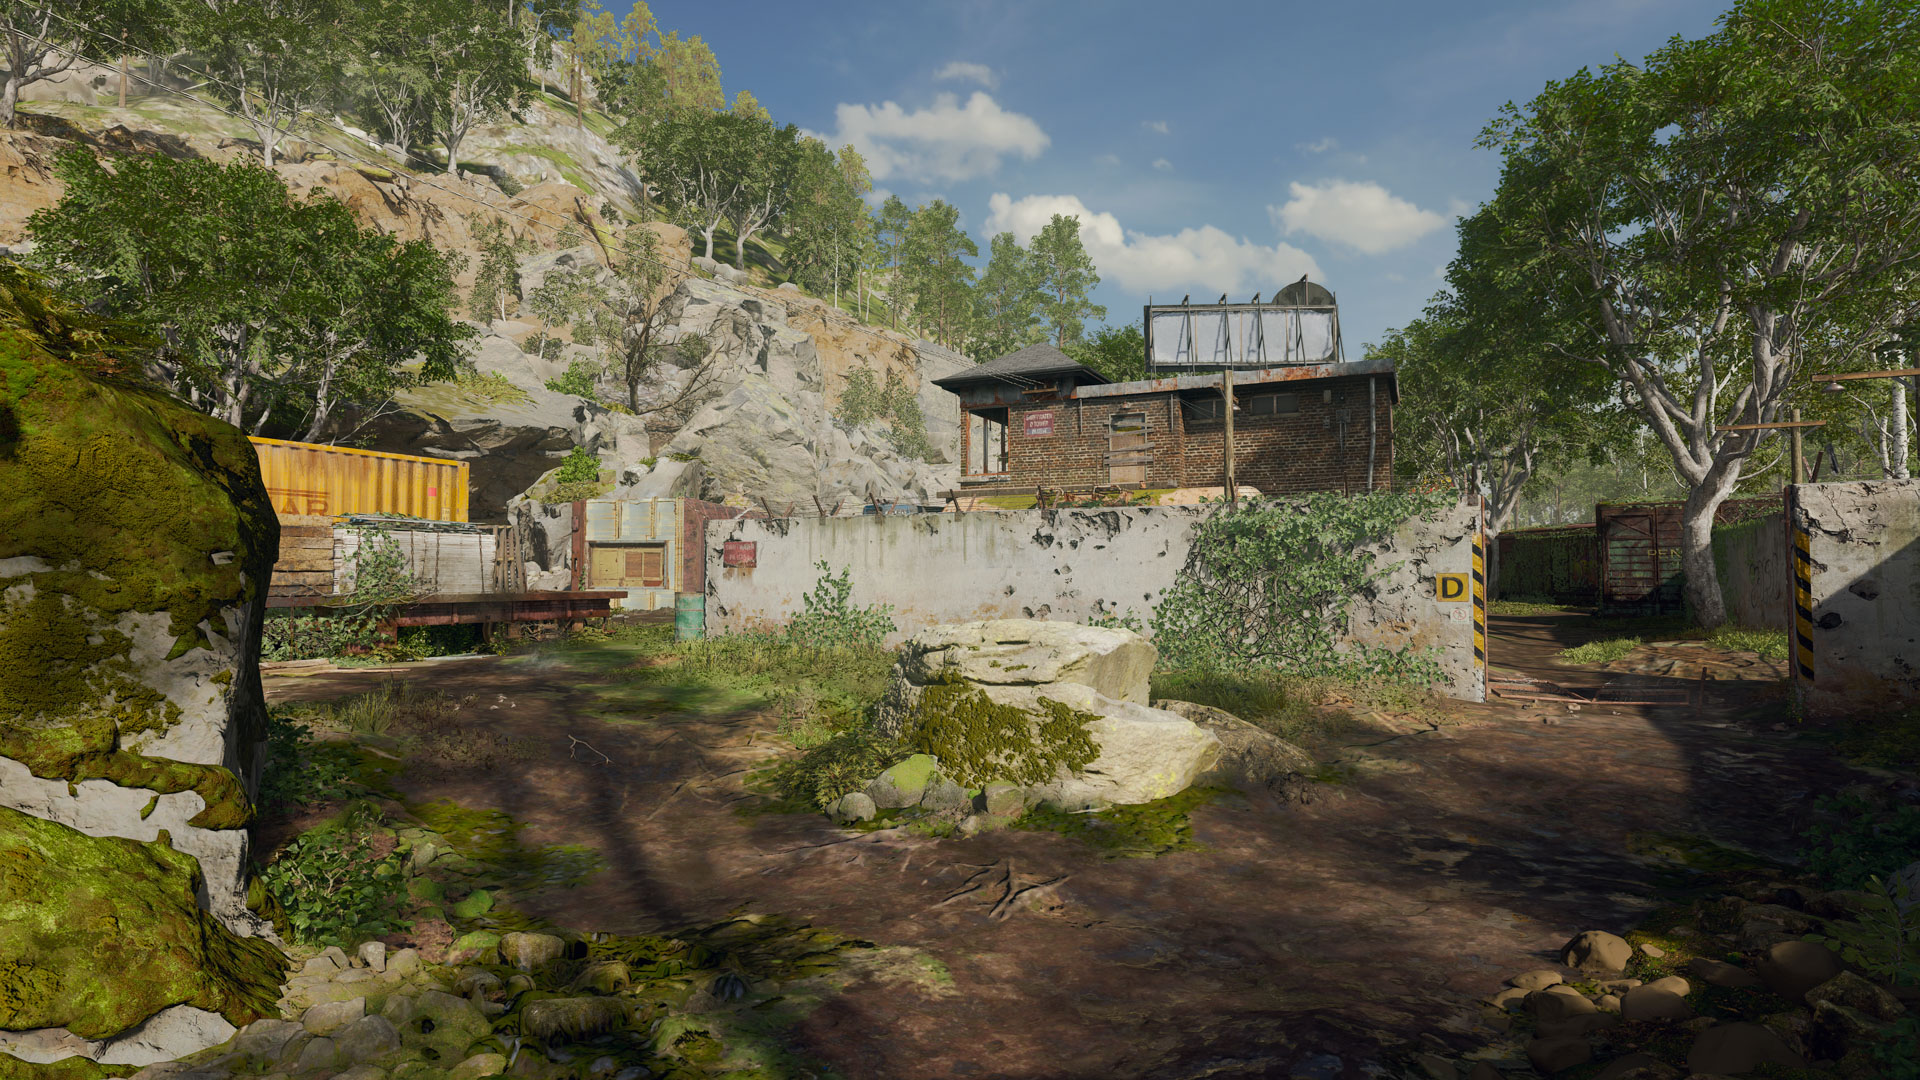
Deep in the Appalachian Mountains, shrouded by a lush forest is an abandoned train graveyard. Forgotten by its people, this derelict depot along the NOR Appalachian Railroad has become a prime ambush point for the Rogue Black Ops and Crimson One to face off in a deadly skirmish. Eyes peeled, Operator! The rule of thumb for Derelict is that it’s always an ambush, so always be ready for one.


-
Show areas

-
Show hardpoints

-
Show headquarters
-
Show domination flags
-
Show search & destroy sites

-
Show spawn points

-
Reset all overlays

POI Overview
Derelict is divided into five major points of interest based on key areas around the map including four tactical key locations. Learn how to control each POI and gain the upper hand on your opposition.
Click "Learn More" at the bottom of the image for more intel on each point of interest.
Main Spawn Point: Yard
The Yard, which serves as the Rogue Black Ops spawn, is in the Northwestern corner of the map, which makes things a little difficult to get through if there are enemies nearby. Rotating around the Yard is a more indirect approach and can give you a momentary advantage over anyone that may be running from or through the location.
Directly to the east is the Relay and south of the Relay is the Coach. These are great positions that are directly adjacent to the Yard.
// INTEL CARD
- BO6
Derelict
// MULTIPLAYER MAPS // CORE
Spawn supremacy: Each spawn has its own advantage when it comes to different playstyles or tactics. Rogue Black Ops can get to an elevated area quicker via the Relay than Crimson One, but Crimson One starts the round near the Tower which has the highest elevation.
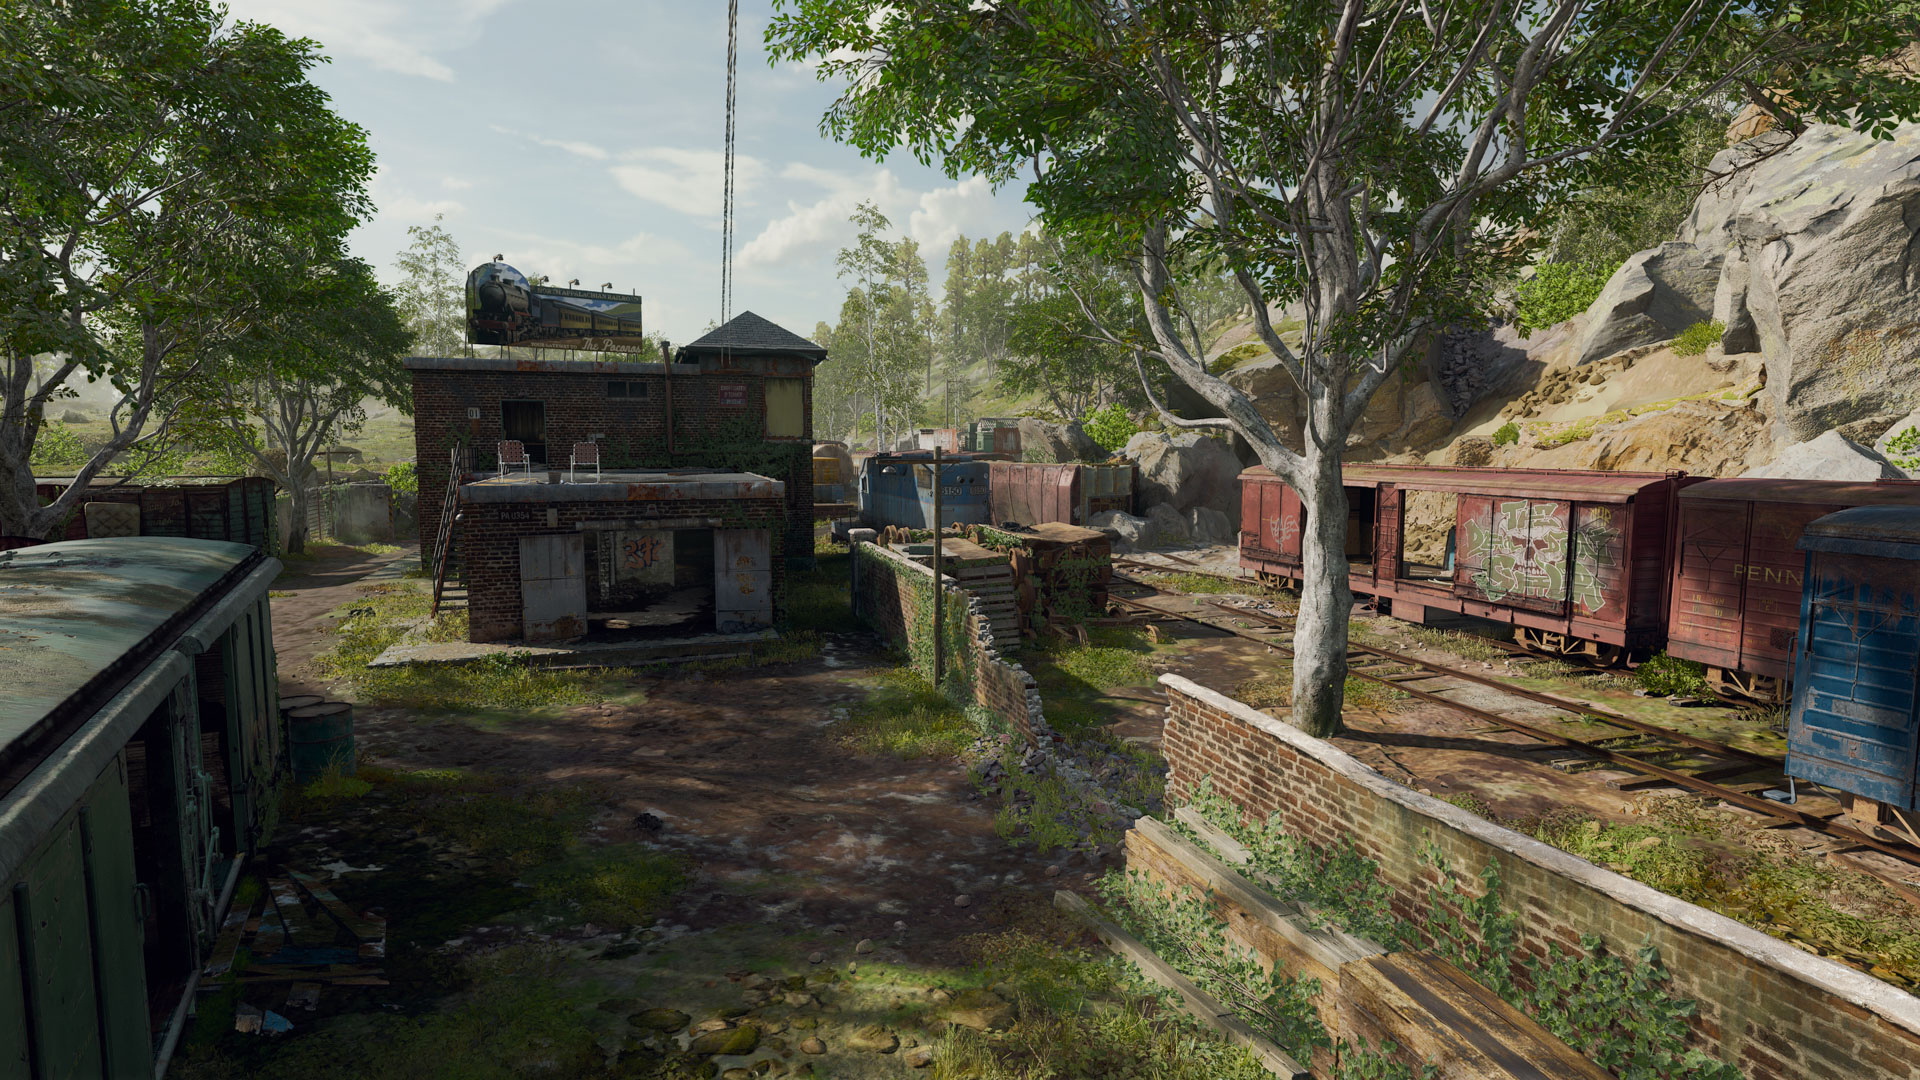
Train car top rope: Use the train cars to gain a brief advantage over close enemies that may not be expecting an arial assault. Just don’t stay up there too long because you’ll be an obvious target.
Keys to control: Locations like Rockslide and Depot are key pivot points around the map that if your team controls them, you will have a much easier time getting to your objective as well as gaining minor control over adjacent locations on the map.
Tactical Key Location Overview
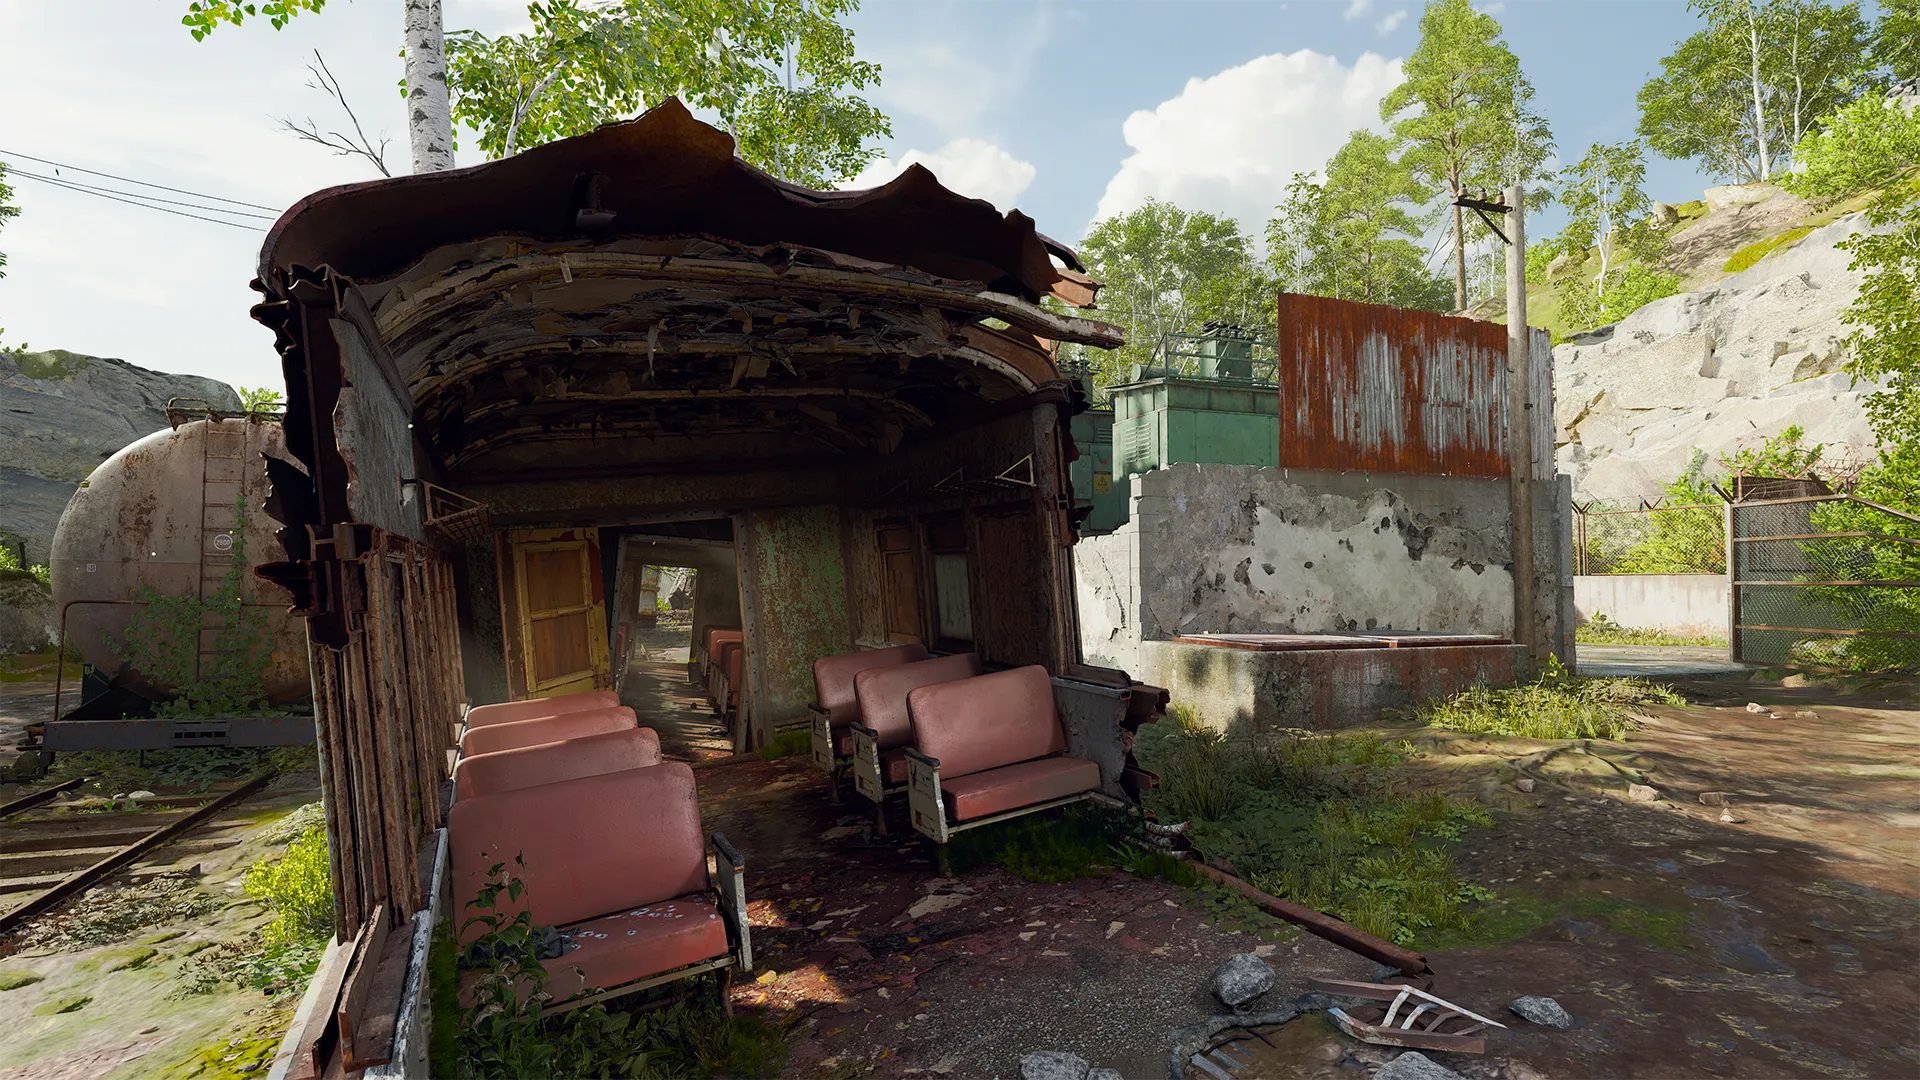
Coach Choke Point — Alpha (A)
Between the Yard and the Tracks is one of the major choke points that can dictate the victor of any given match, especially in modes such as Domination and Hardpoint. There is a small path that runs between the Coach and Tanker, so those attempting to push the objectives past this point as the Rogue Black Ops is difficult. Avoiding this area is nearly impossible when moving toward the western half of Derelict. The choke point can be seen from the center, Coach, Relay, Yard, Creek, and certain parts are visible from the Tower, which makes it a vulnerable place to hold but a powerful point to control.
Defend Choke Point Alpha from the outside unless you have a Trophy System to protect yourself from incoming explosives. It’s also good practice to set up Blast Traps in locations like this one simply because of the sheer amount of foot traffic.
Engine Choke Point — Beta (B)
Almost dead center of the map and just in front of the Engine is a choke point that is very powerful, but difficult to control. Flanked by the Tower, Depot, and Tracks, there is a plethora of cover from the outside of the choke point and very little at the center of it all. Bring enough firepower to lay down some cover fire and work with your team to set up crossfire lockdown positions. Being able to control this location will force the opposing team to rotate around it and cost them more time while possibly splintering their forces. If the other team wants to take over, they’ll have to break your line of defense.
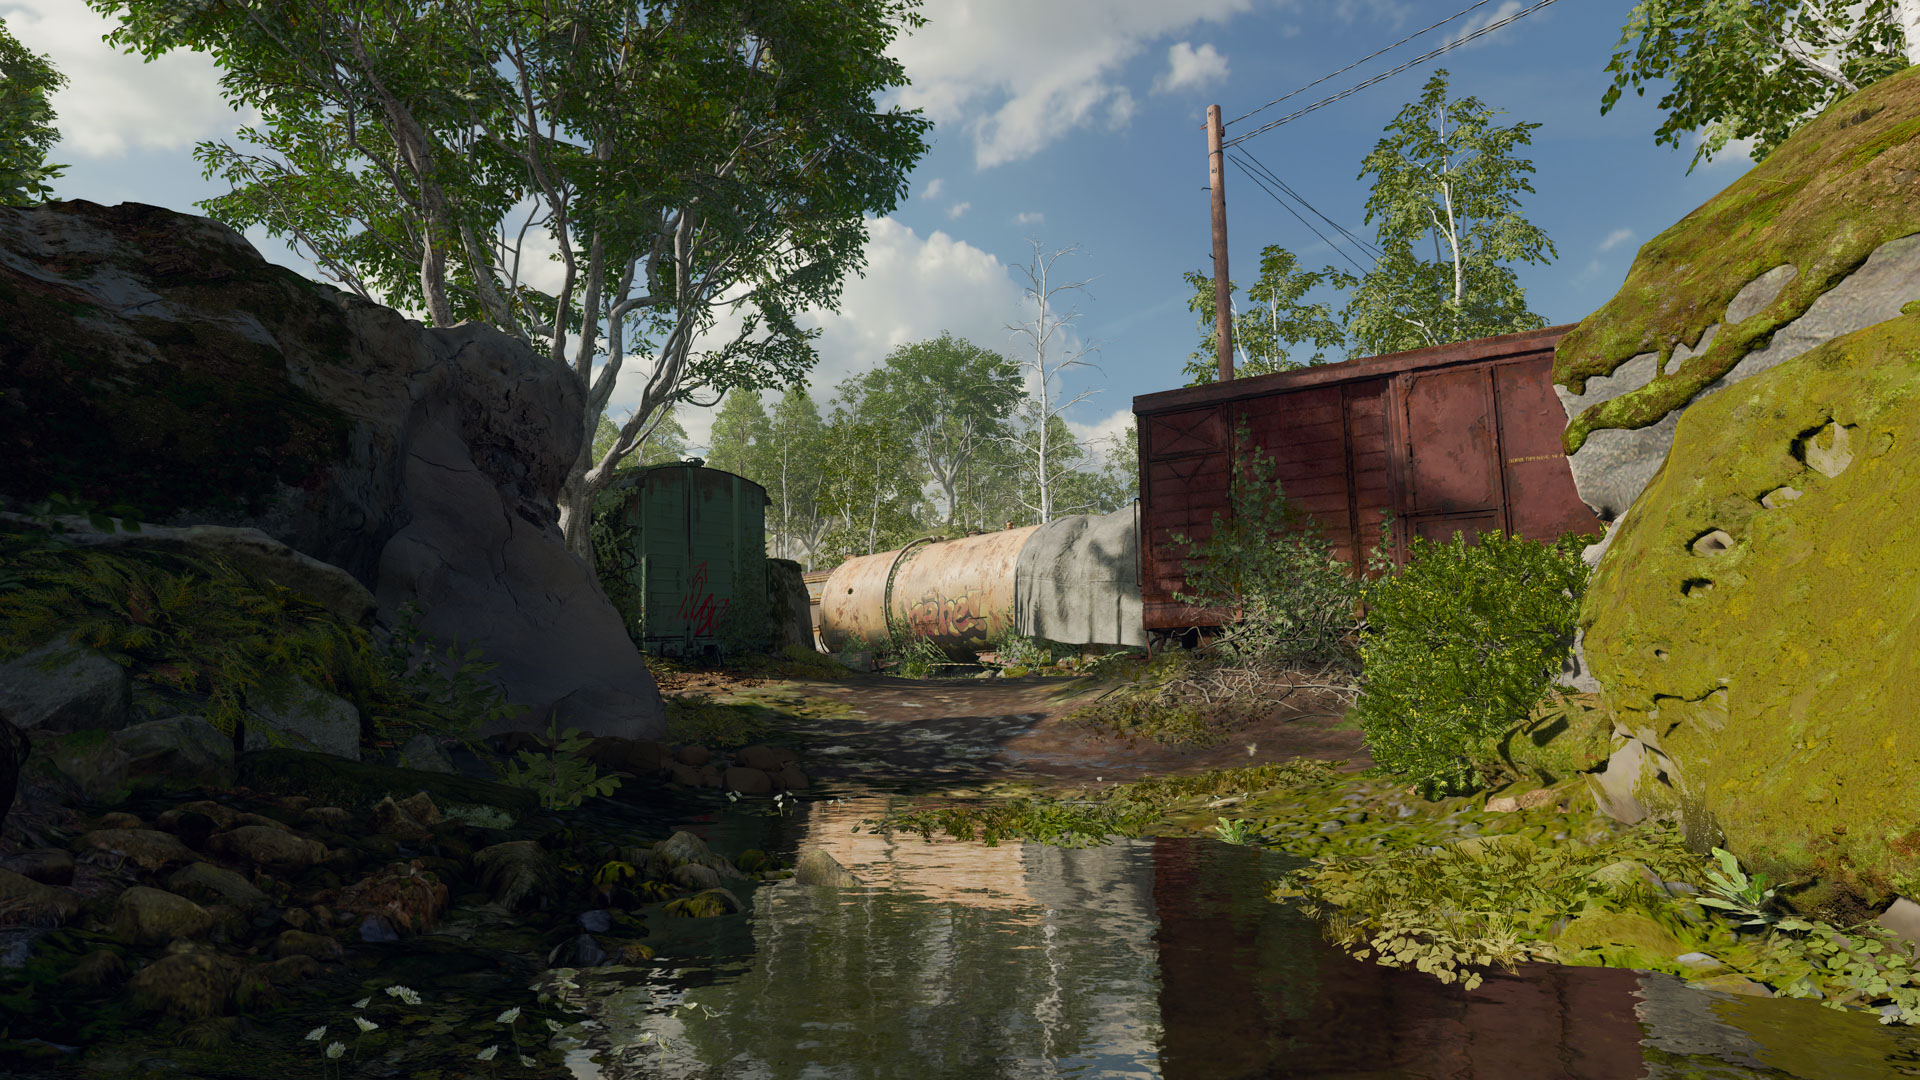
Tower/Creek Sightline — Gamma (Γ)
Beware of the sniper angle from the Tower to the East as well as anyone climbing over the Depot wall instead of using the gate opening to the South. There is also a direct line of sight from a piece of Rockslide all the way to northern half of Creek. So, if you’re moving through this section, do it fast or use some of your own sniping abilities to take them out first.
Tower Escape Maneuver — Delta (Δ)
The very top of the Tower can see almost the entirety of the map. There are many obstacles in the way of controlling every part of the map, but there isn’t much that the enemy can use to slip by without revealing themselves at least once. This does mean that the Tower is always highly contested and being here will most definitely make you a target. No matter what, always be ready to make a daring escape and lay down as much fire as possible on your way out.
Map Focused Loadouts
Here are a few loadouts that serve as great starting points when you’re unsure how to succeed on Derelict.
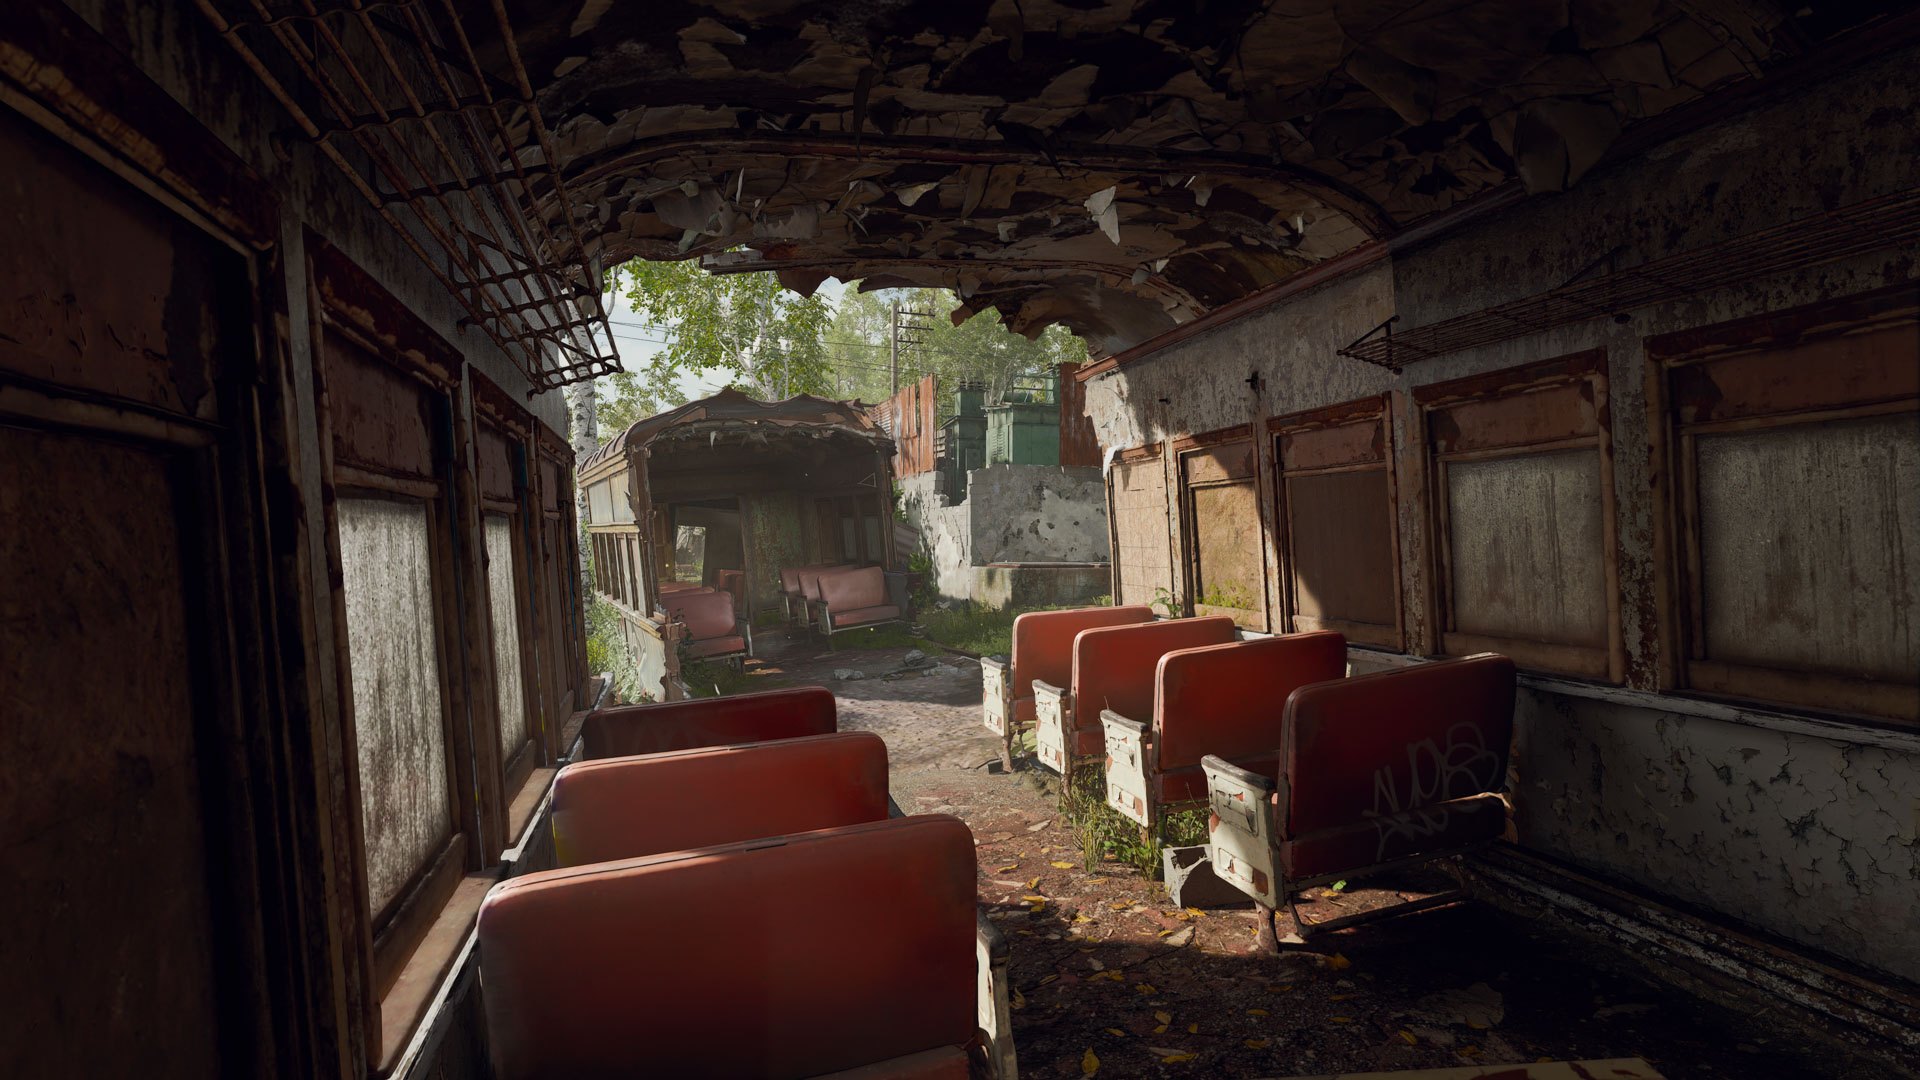
Train Car Robber
Shotgun, Enforcer
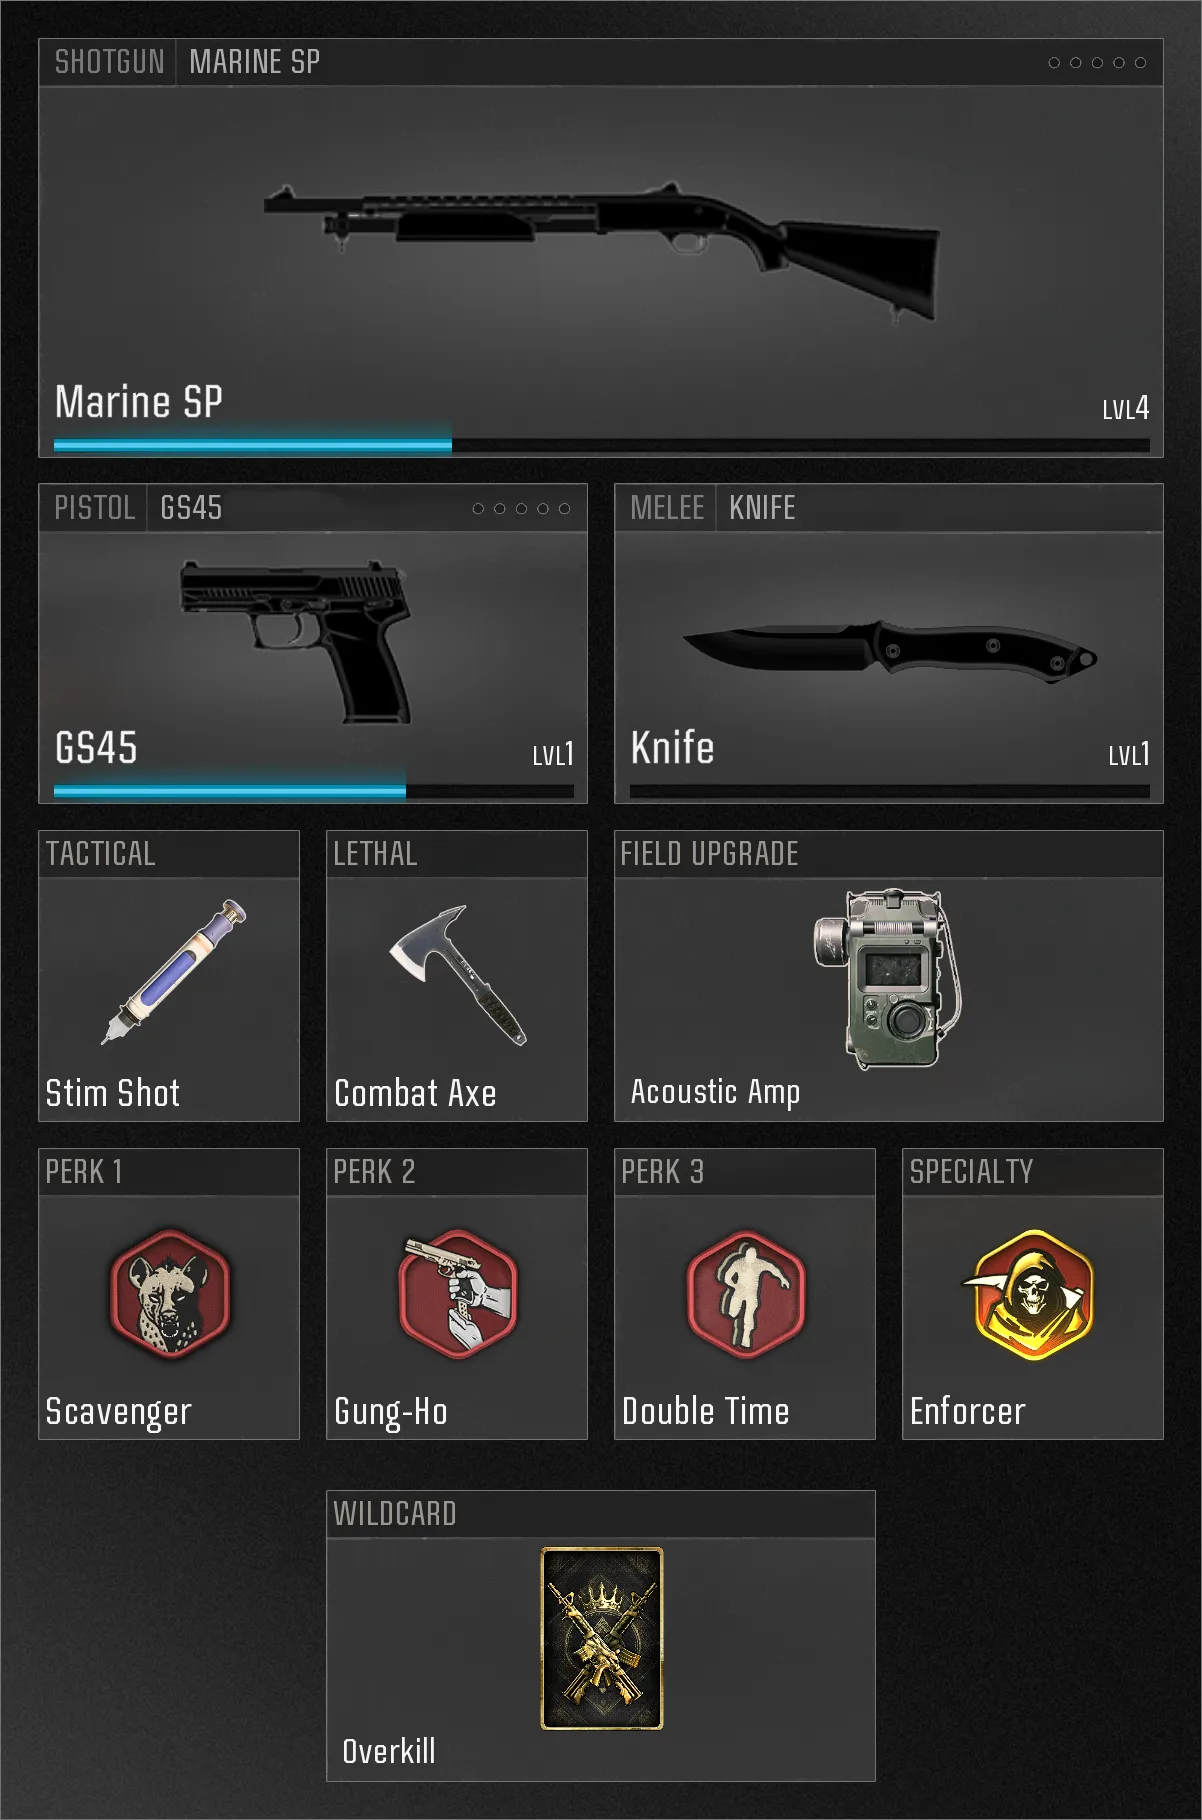
Derelict has a lot going on. Its layout maintains smooth transitions from POI to POI making the map is easy to navigate and encourages a number of short-ranged gunfights. The engagements you may experience on Derelict may be something where the Marine SP would excel. And SMG would also succeed in this Loadout.
Lucky But Tactical
Assault Rifle, Strategist
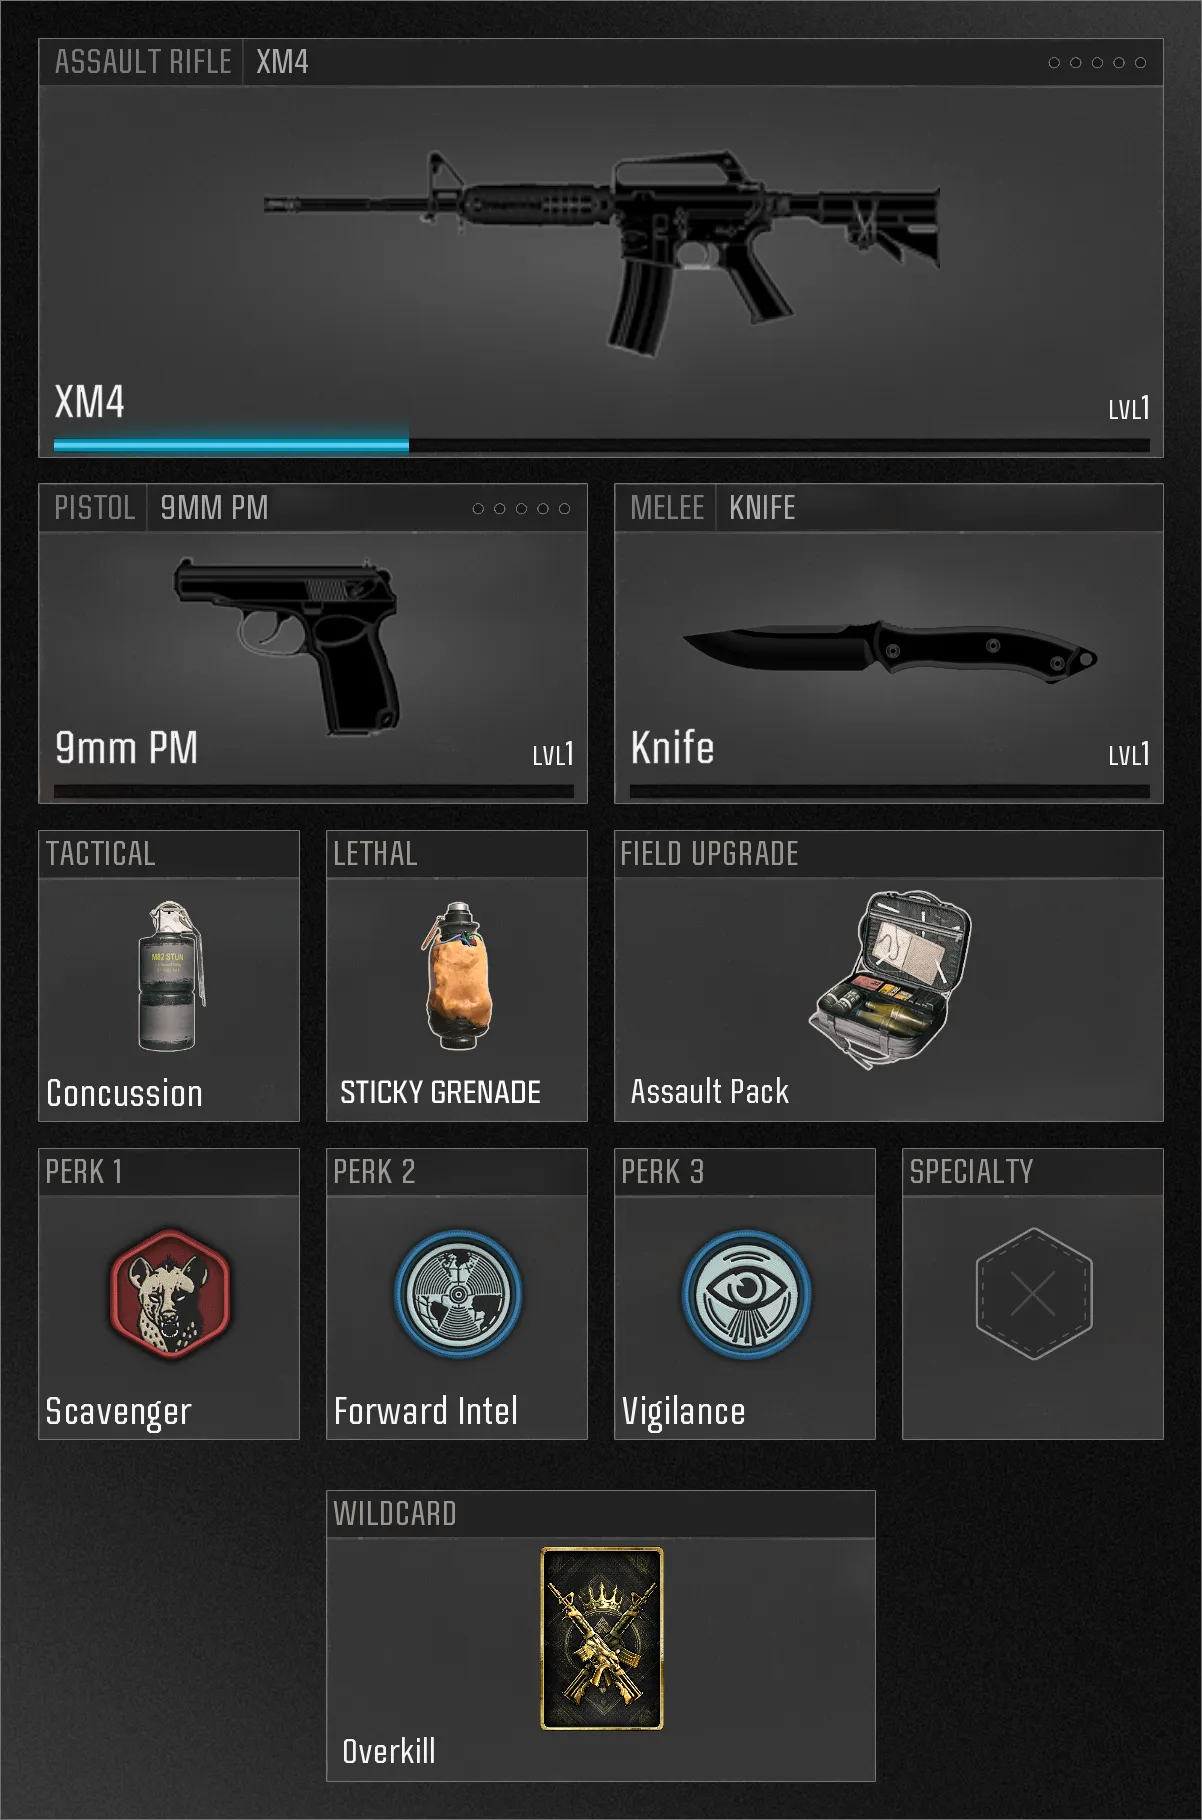
Derelict maintains a temperate number of walls and cover, but several of these cover points are penetrable. But to do a decent amount of damage through a wall, you’ll need something with a high rate of fire and a bit of a punch to finish the job. Use the XM4 and the Assault Pack to lay down fire, even if you’re not entirely sure where the enemy has run off to. Don’t be afraid of giving away your position because you’ll still be light enough to make an escape before they find you.
Long Road Recon
Sniper Rifle, Recon
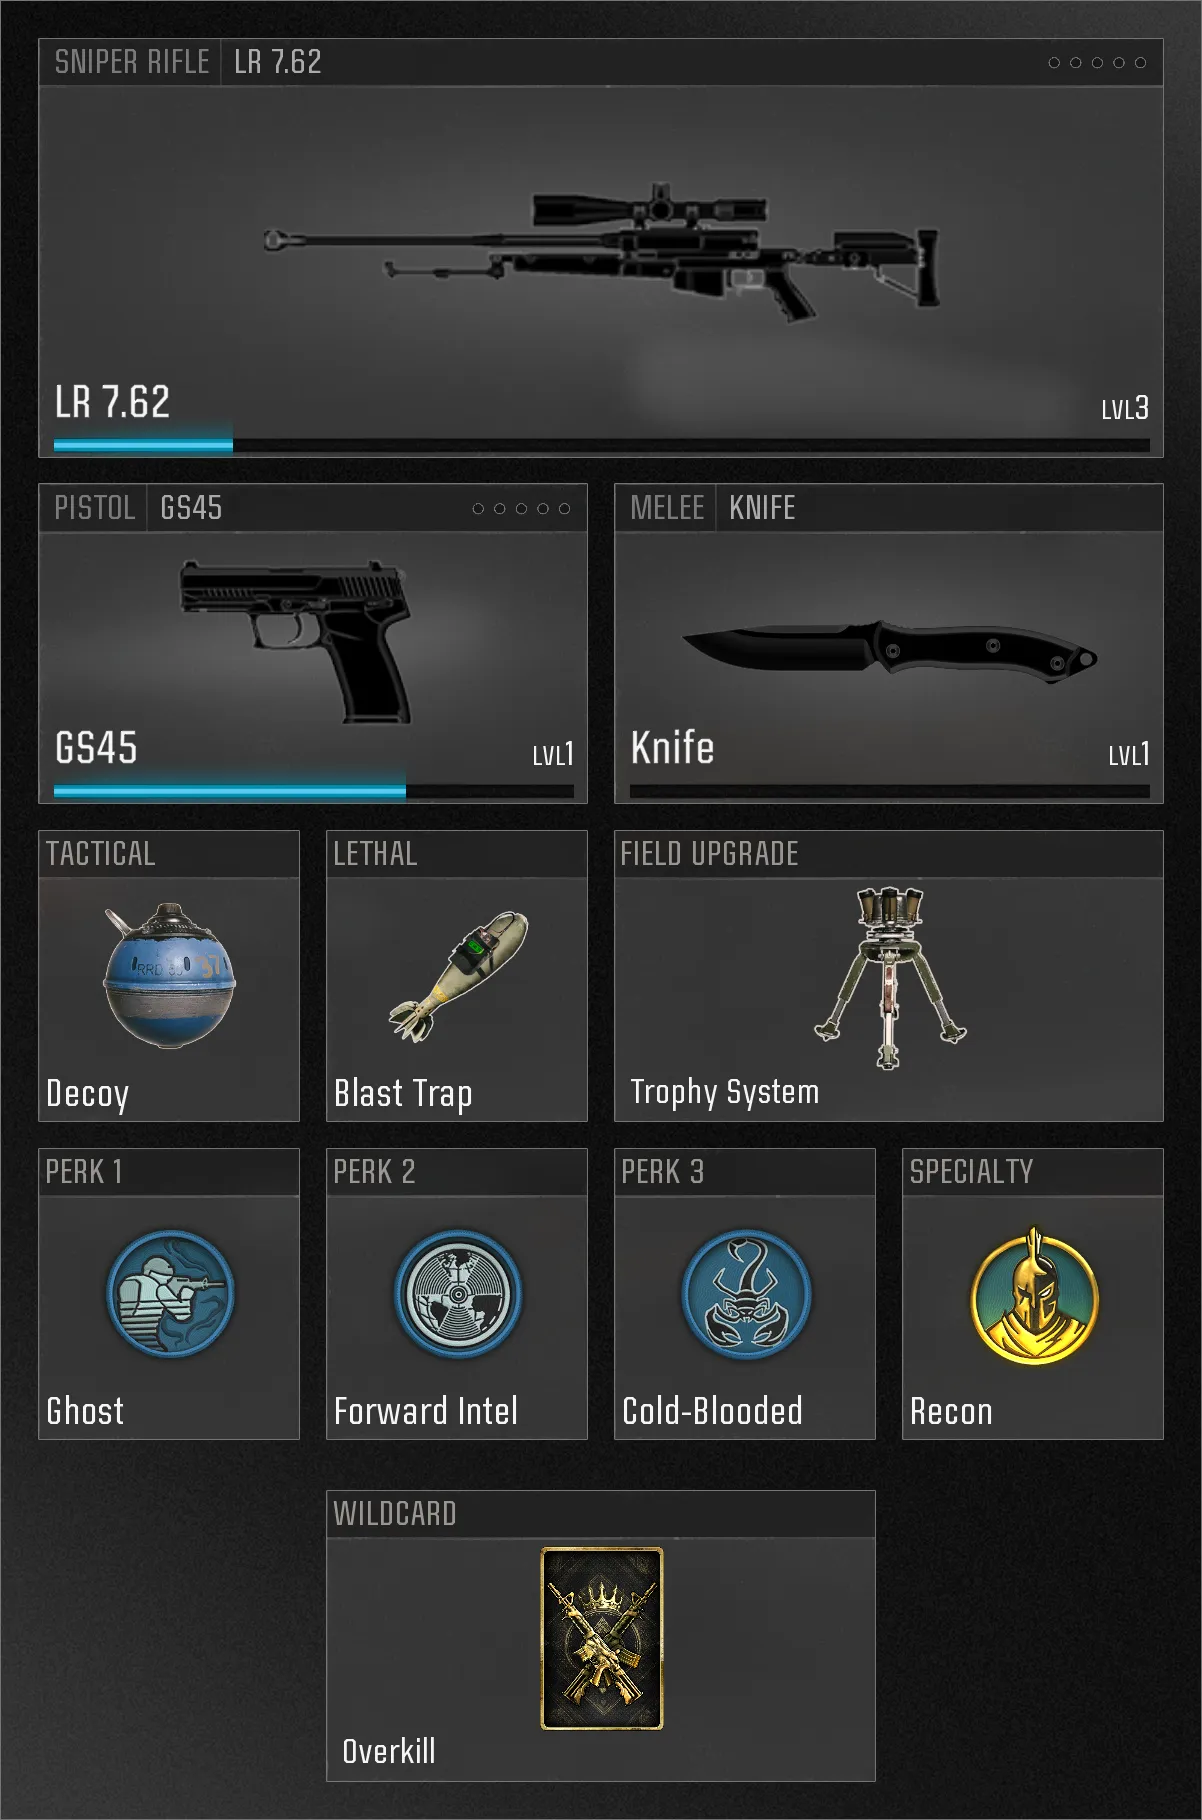
Derelict may not be a haven for snipers, but it has more than enough cheeky sightlines to make a rifle very dangerous in the right hands. It’s all about having a sharp eye and staying on the lookout for where the enemy is spawning. Watch your back, but make sure that the other team is always worried about where the end of your rifle is pointed. You may want to equip your rifle with an optic that has a little less zoom but enough to reach from one end of the tracks to the other.
Derelict is a playground for any playstyle you and your team wish to bring to a match. Use some of the tips in the guide to get you started, but it’s important to remember a few things. Remember that these strategies can easily be made your own, and as always be sure to remember:
© 2024 Activision Publishing, Inc. ACTIVISION, CALL OF DUTY, and CALL OF DUTY BLACK OPS are trademarks of Activision Publishing, Inc. All other trademarks and trade names are the property of their respective owners.
For more information, please visit www.callofduty.com and www.youtube.com/callofduty, and follow @Activision and @CallofDuty on X, Instagram, and Facebook. For Call of Duty Updates, follow @CODUpdates on X.