Hideout
Advanced Map Tips
Map Focused Loadouts
Prebrief
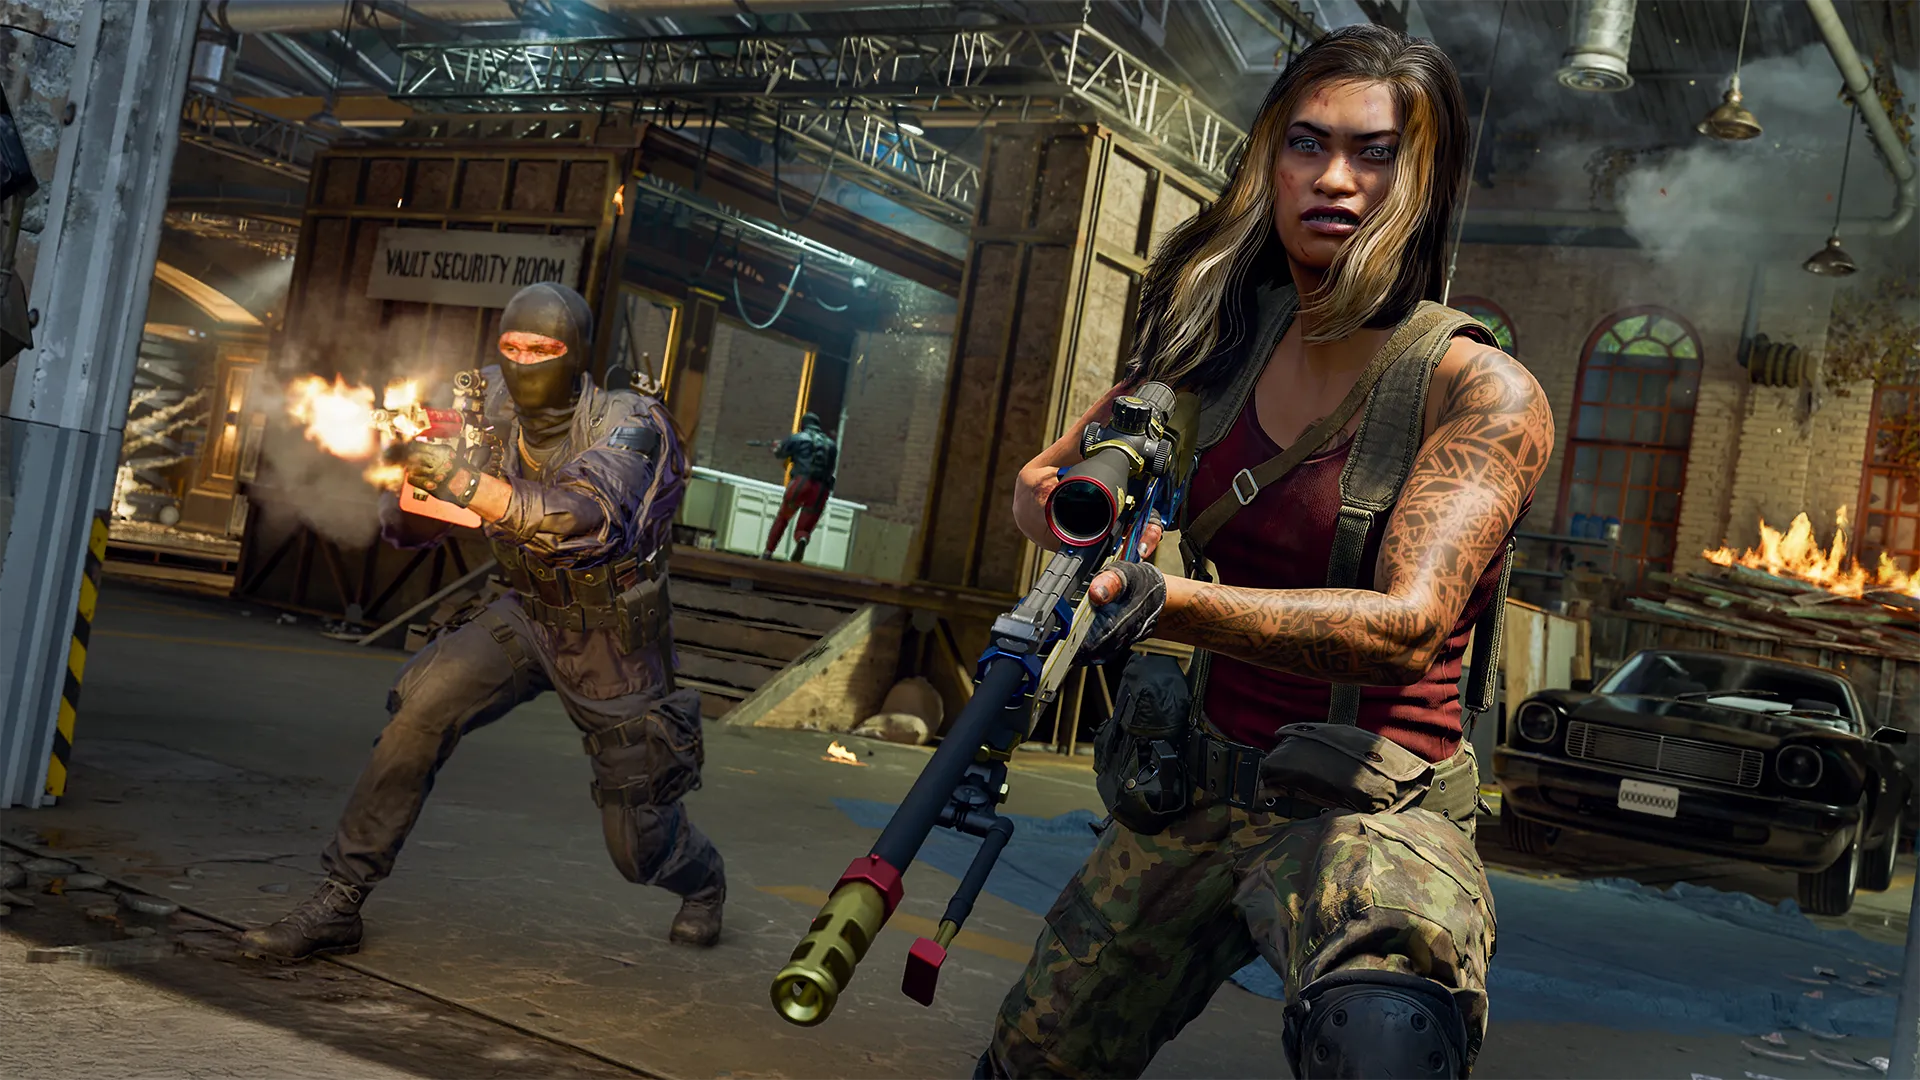
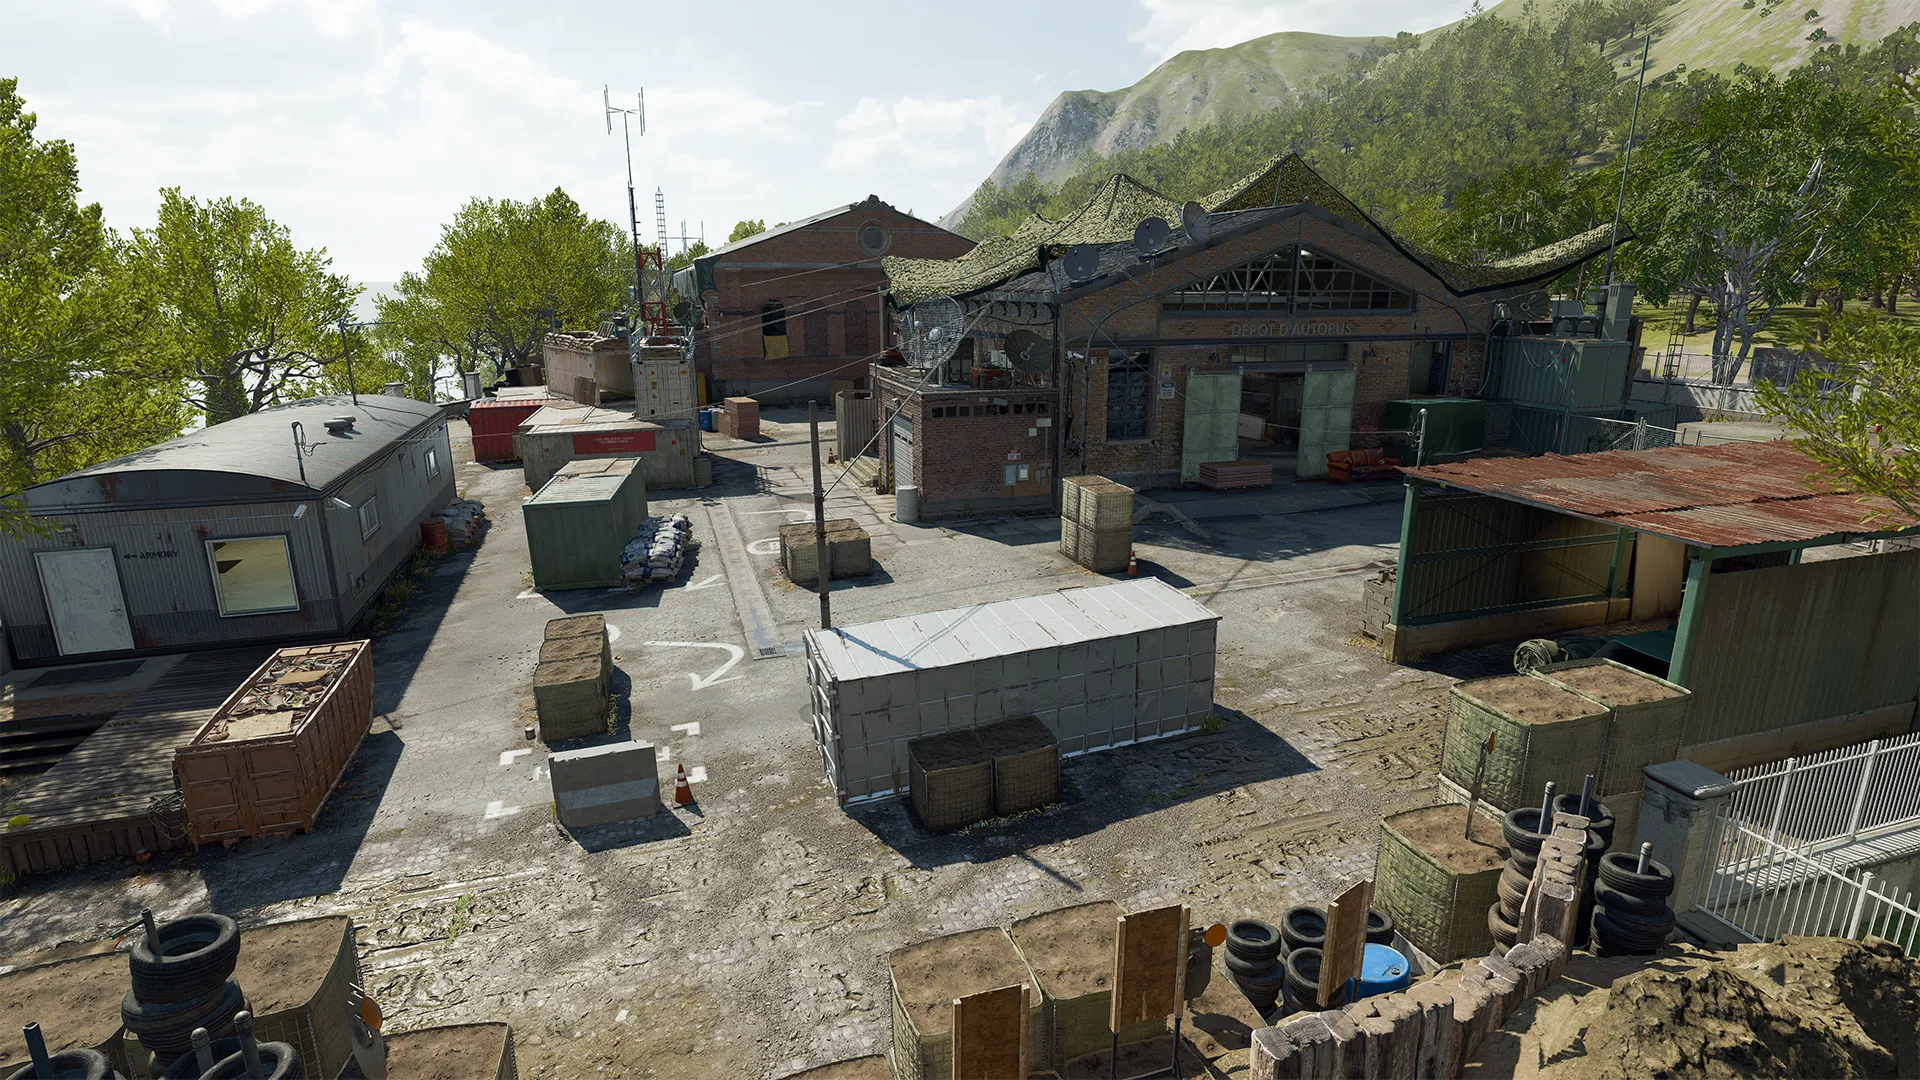
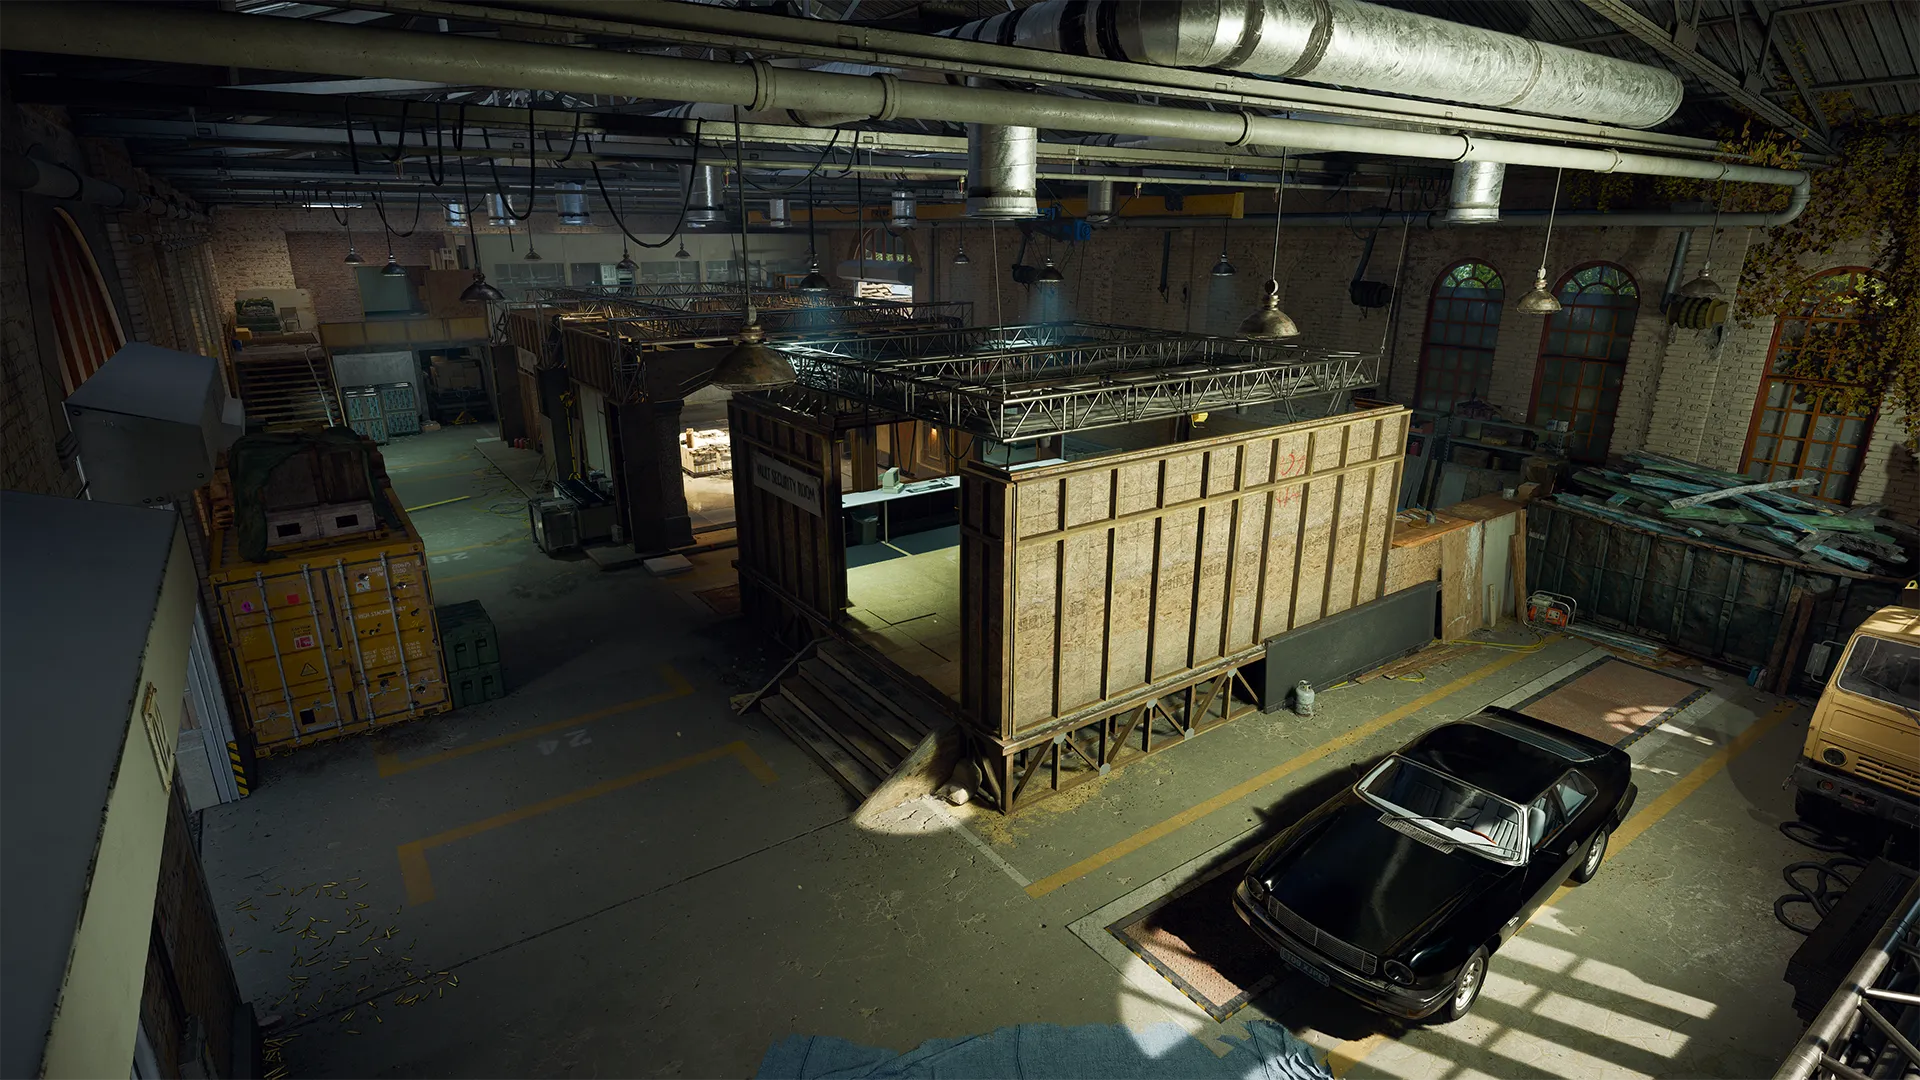
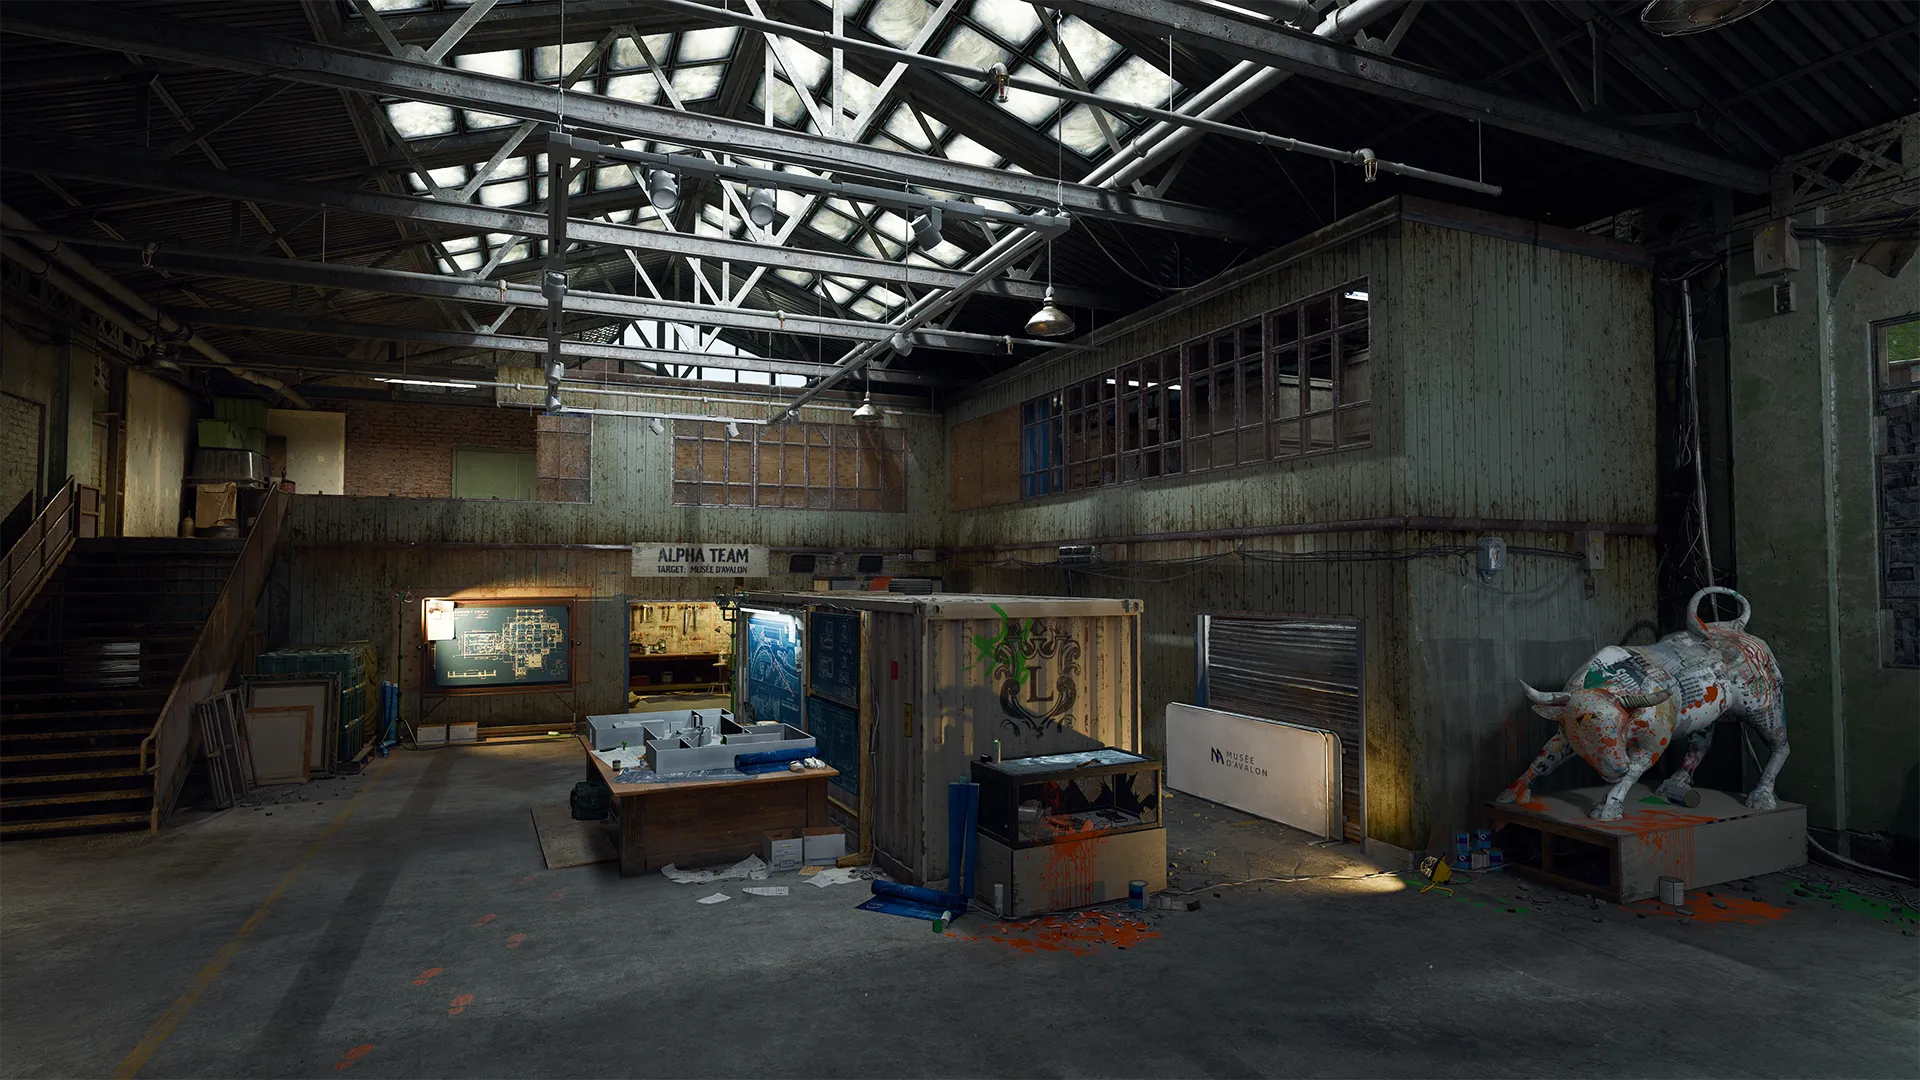
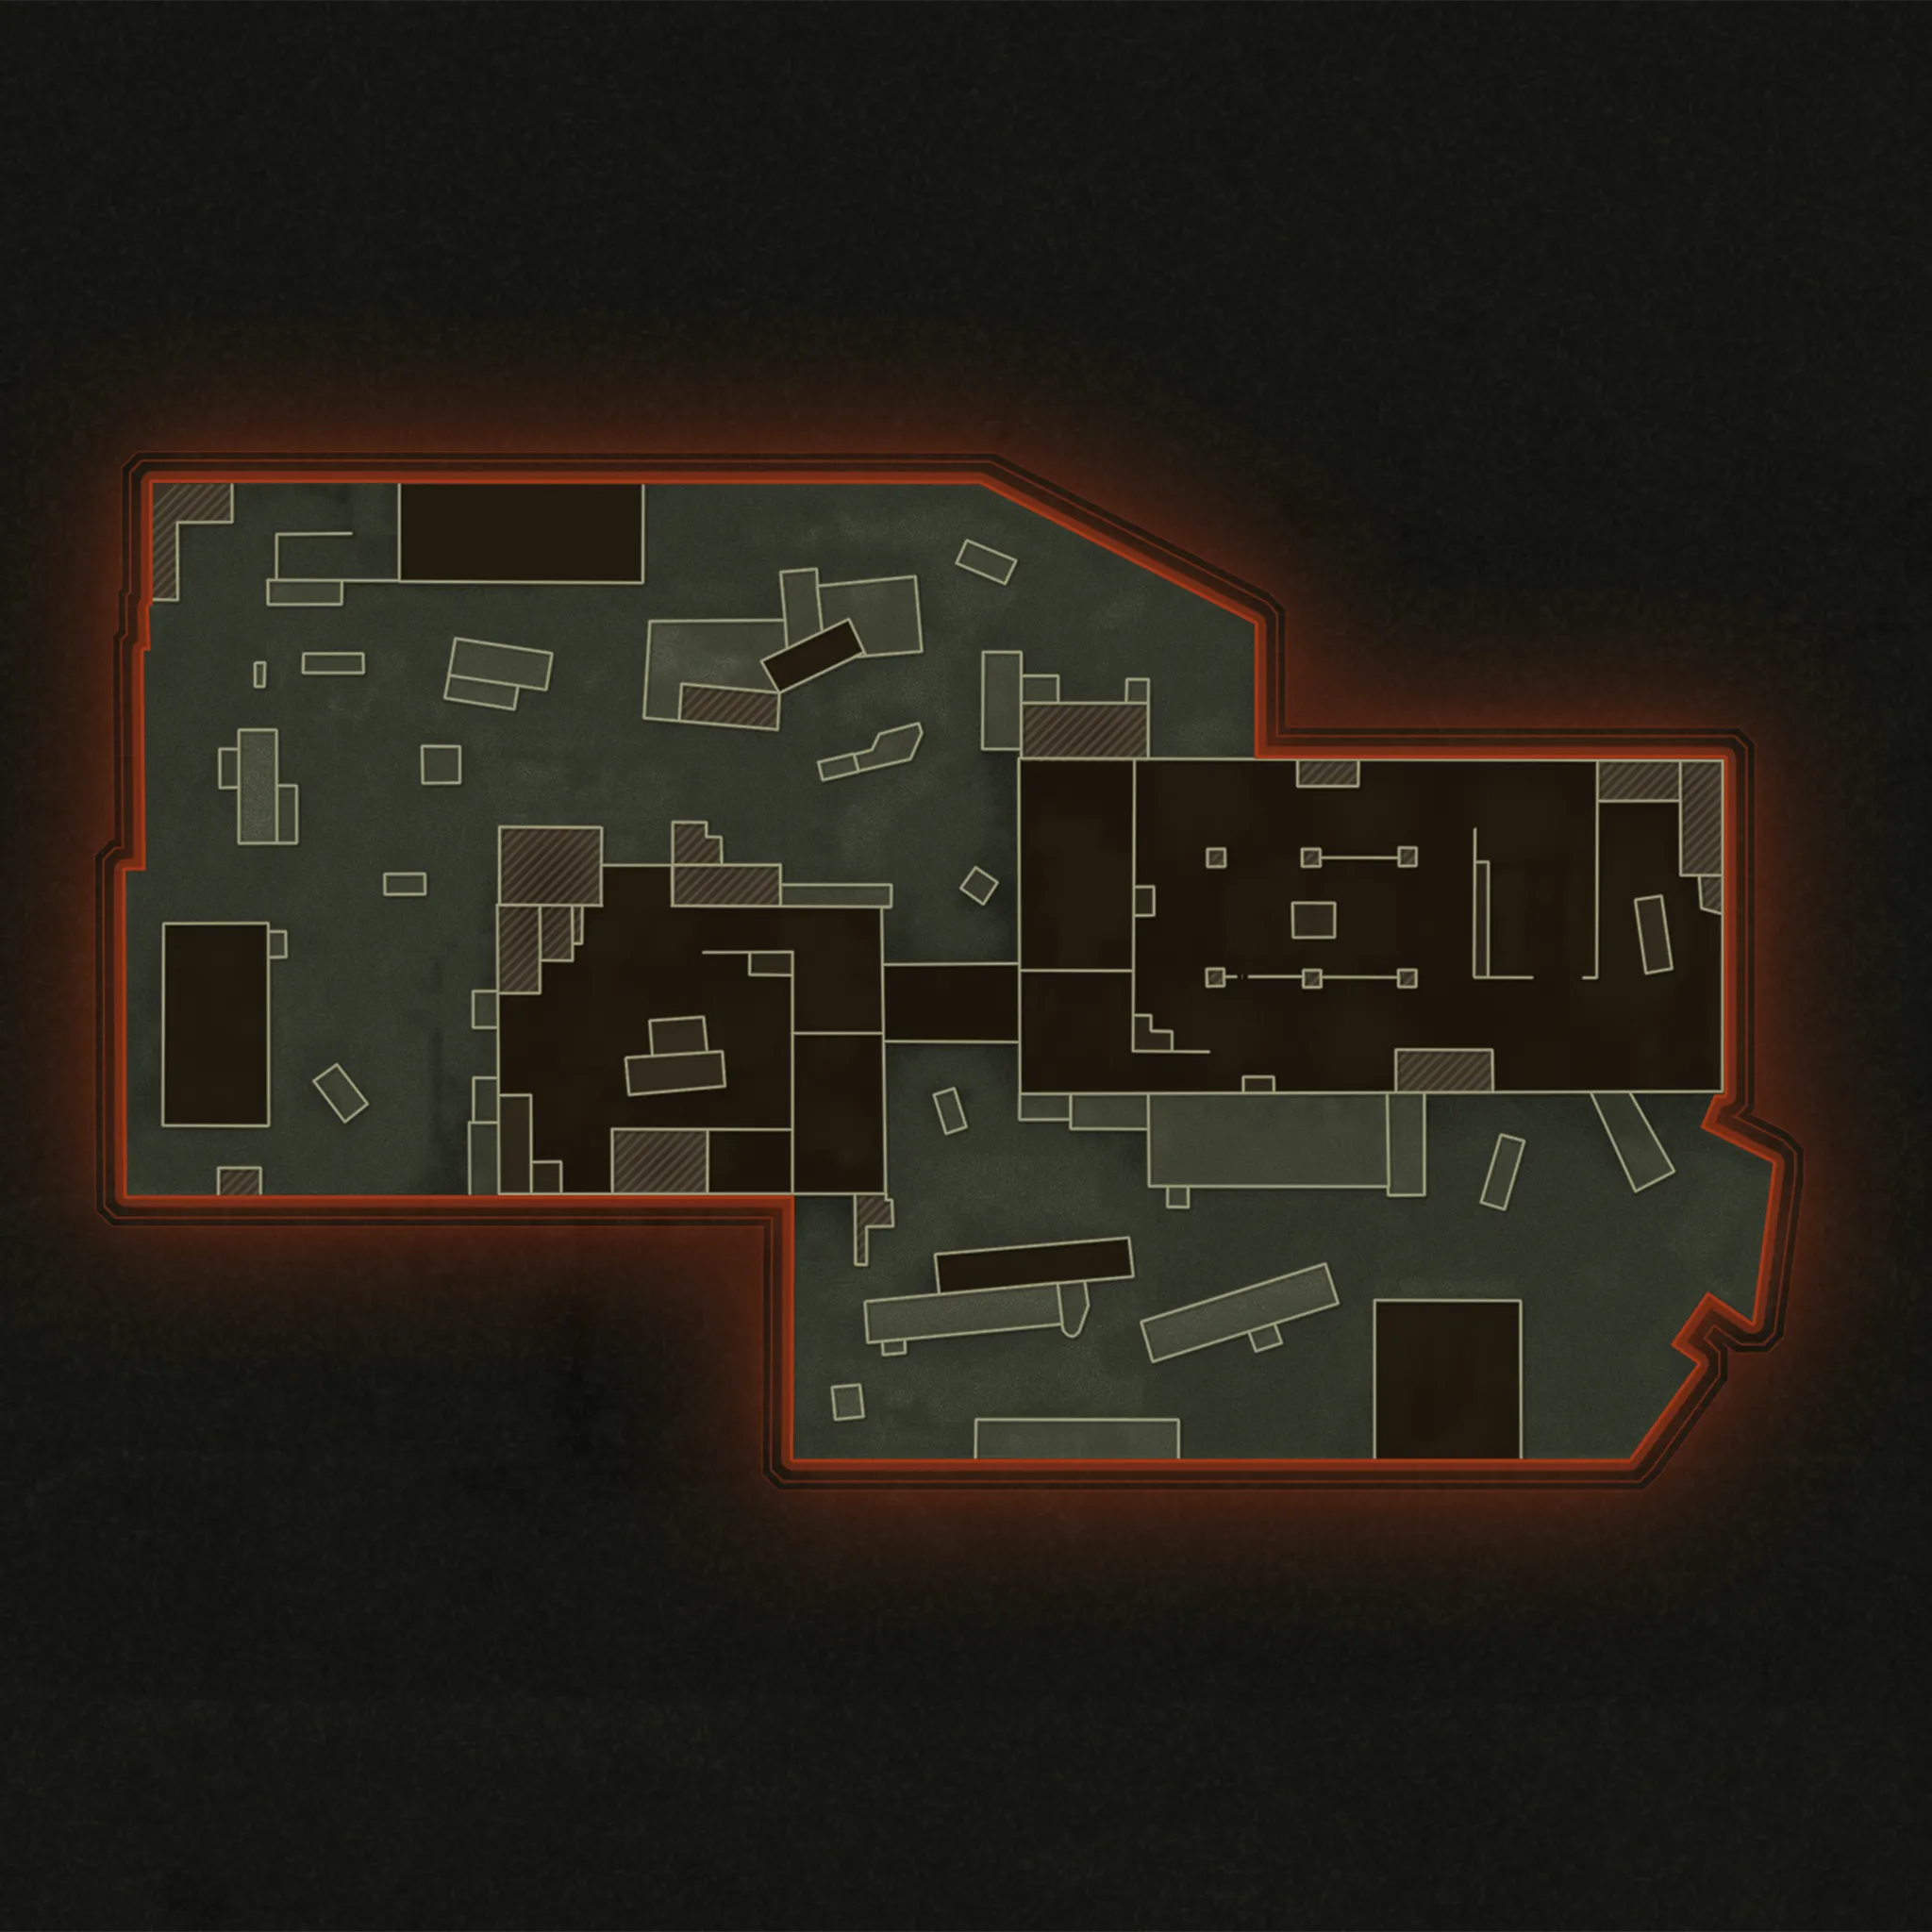
Descend on a mid-sized training site featuring its own obstacle course and firing range to keep Operators in top fighting shape. Outflank enemies in the Bus Depot and move into the Vault for heist drills. Hideout provides all you need to perfect your tactics, so get out there and ace the fundamentals.


-
Show areas

-
Show hardpoints

-
Show domination flags

-
Show search & destroy sites
-
Show spawn points

-
Reset all overlays

POI Overview
Explore the following points of interest based on key areas around Hideout. Click “Learn More” at the bottom of each image for additional tips and insights on the POI.
// INTEL CARD
- BO6
Hideout
// MULTIPLAYER // CORE
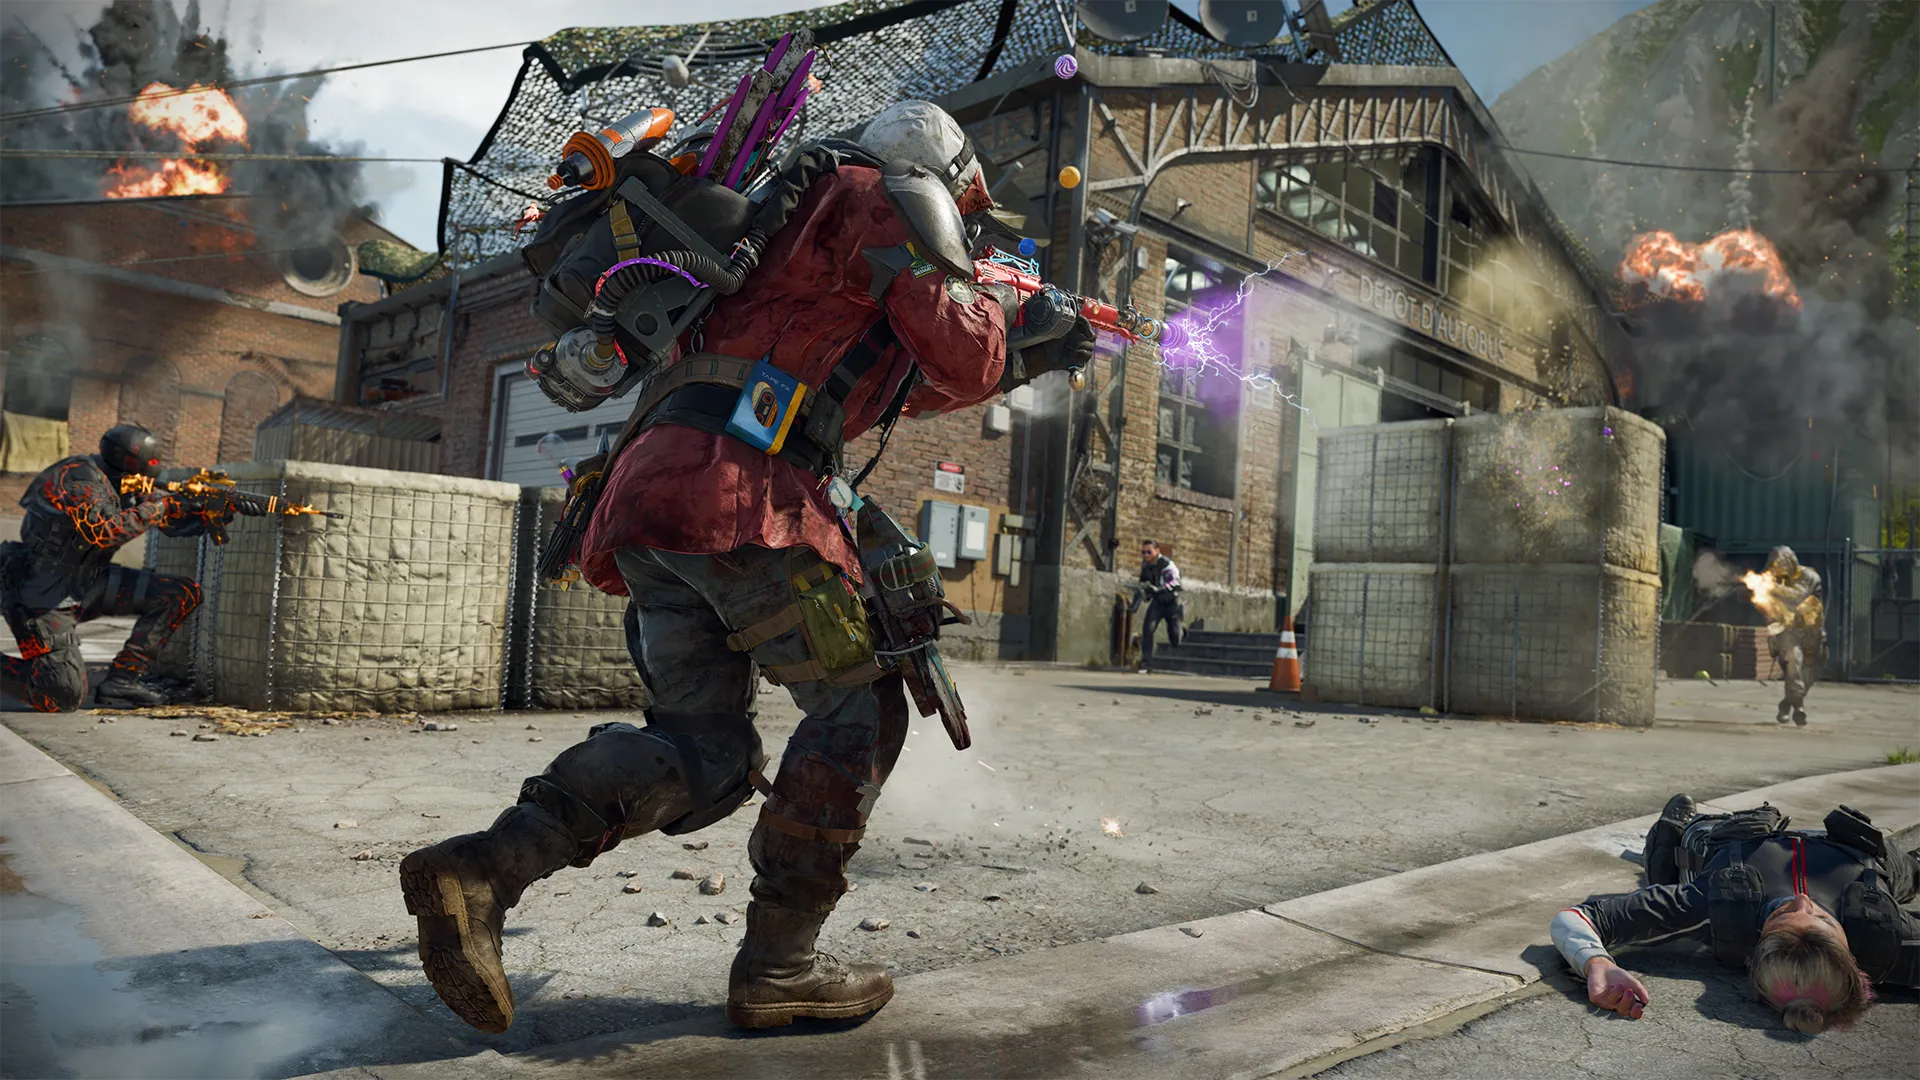
View from the Bridge: The center Bridge looks over a huge swath of the Bus Depot and Training grounds with quick connections into the Vault and Blueprints. Take control of it to dominate the middle map.
A better radar: Equip Forward Intel in Perk Slot 2 and change your Minimap Shape to Square under Interface > Gameplay HUD > Minimap Shape. With this combo, you can track the action in and around the map’s two major buildings with ease.
Ground control: While getting above the enemy is always a good tactic, Hideout features plentiful ground floor cover to keep you defended while on the move. Optimize your ground game by moving between these objects for added protection against sudden attacks.
Advanced Map Tips
Through the Window — Alpha (A)
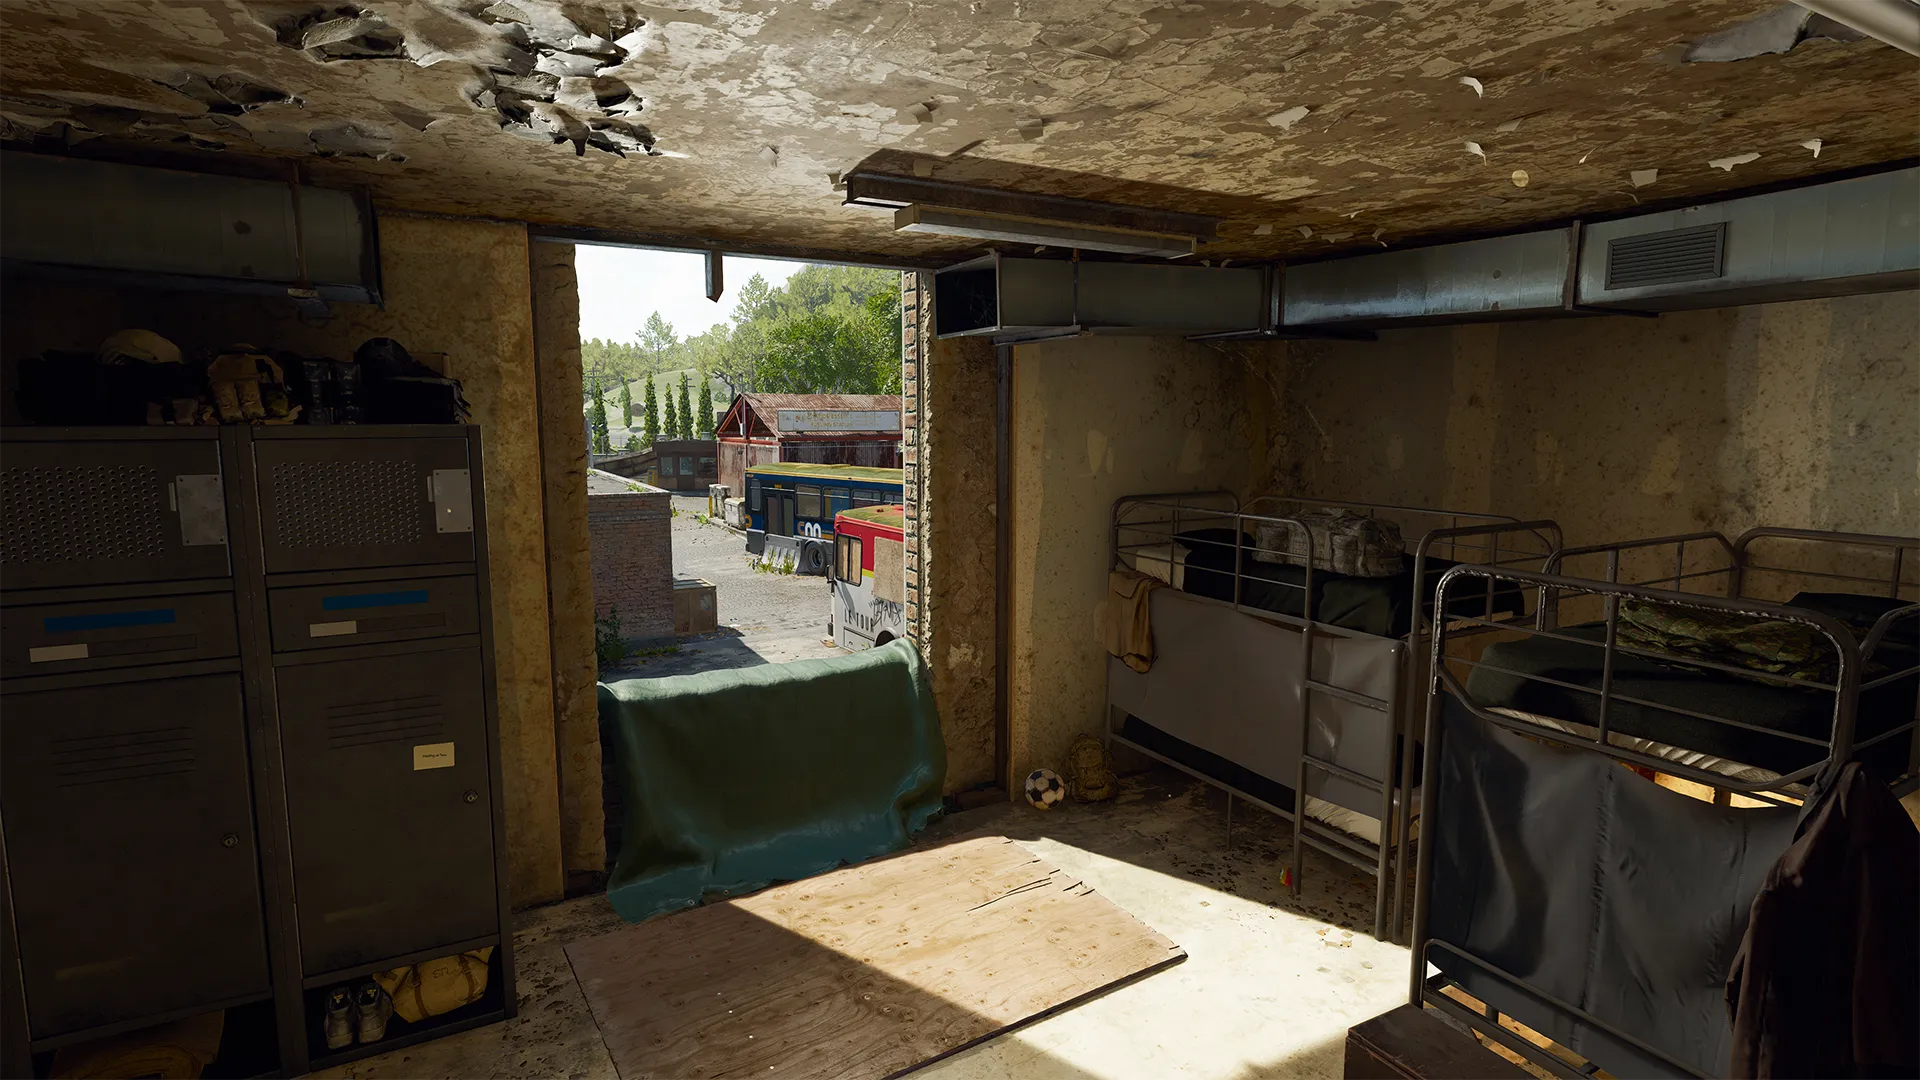
Look for the hanging tarps indicating open windows along the Vault and Blueprints building. These are prime locations for sharpshooters and double as entryways to the interior. Drop in and surprise enemy Operators expecting company through the ground floor doorways.
Bunker Up — Beta (B)
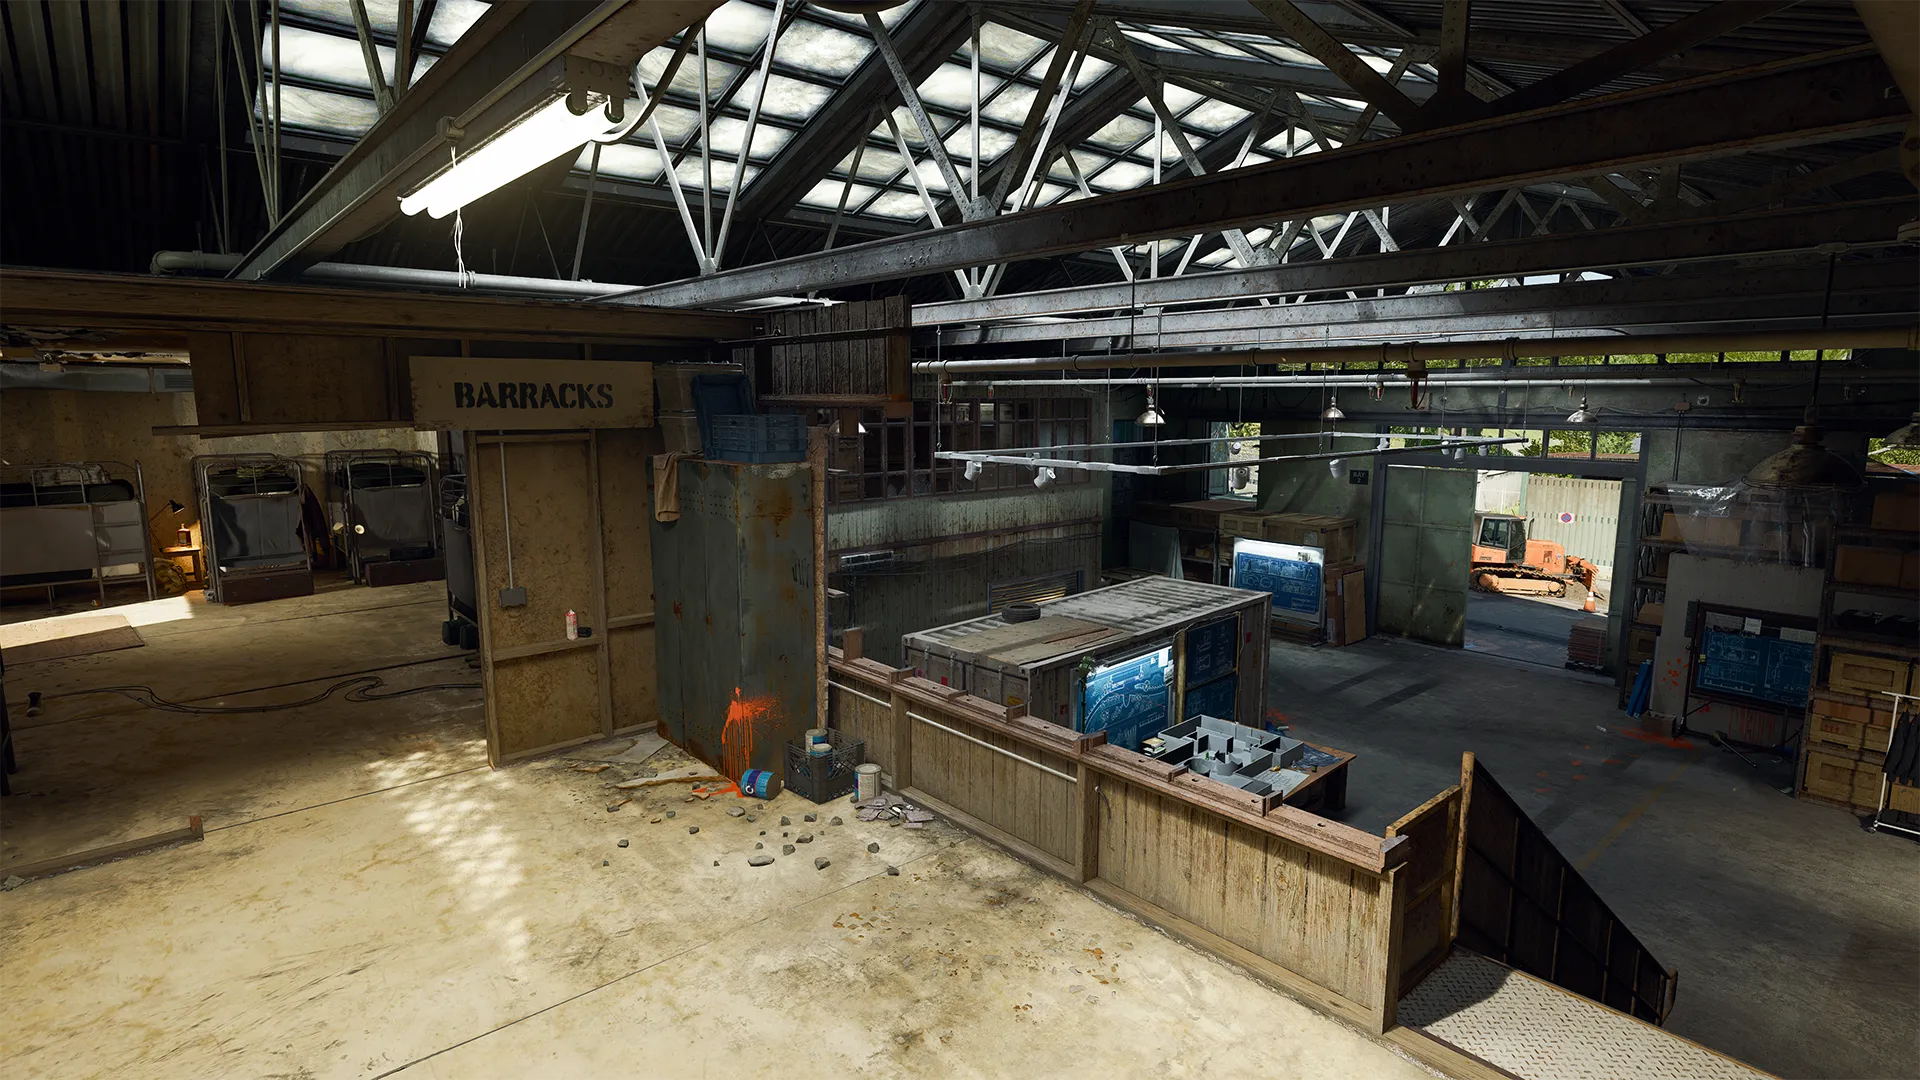
The security room on the Vault side of the Bridge and the barracks on the Blueprints side offer great vantage points in key areas of the map. The Vault room provides a straight view through the stage sets while the Blueprints room looks out over the Bus Depot. Use both to ambush enemy Operators moving along the Bridge and within the interior of each building.
50 Meter Zinger — Gamma (Γ)
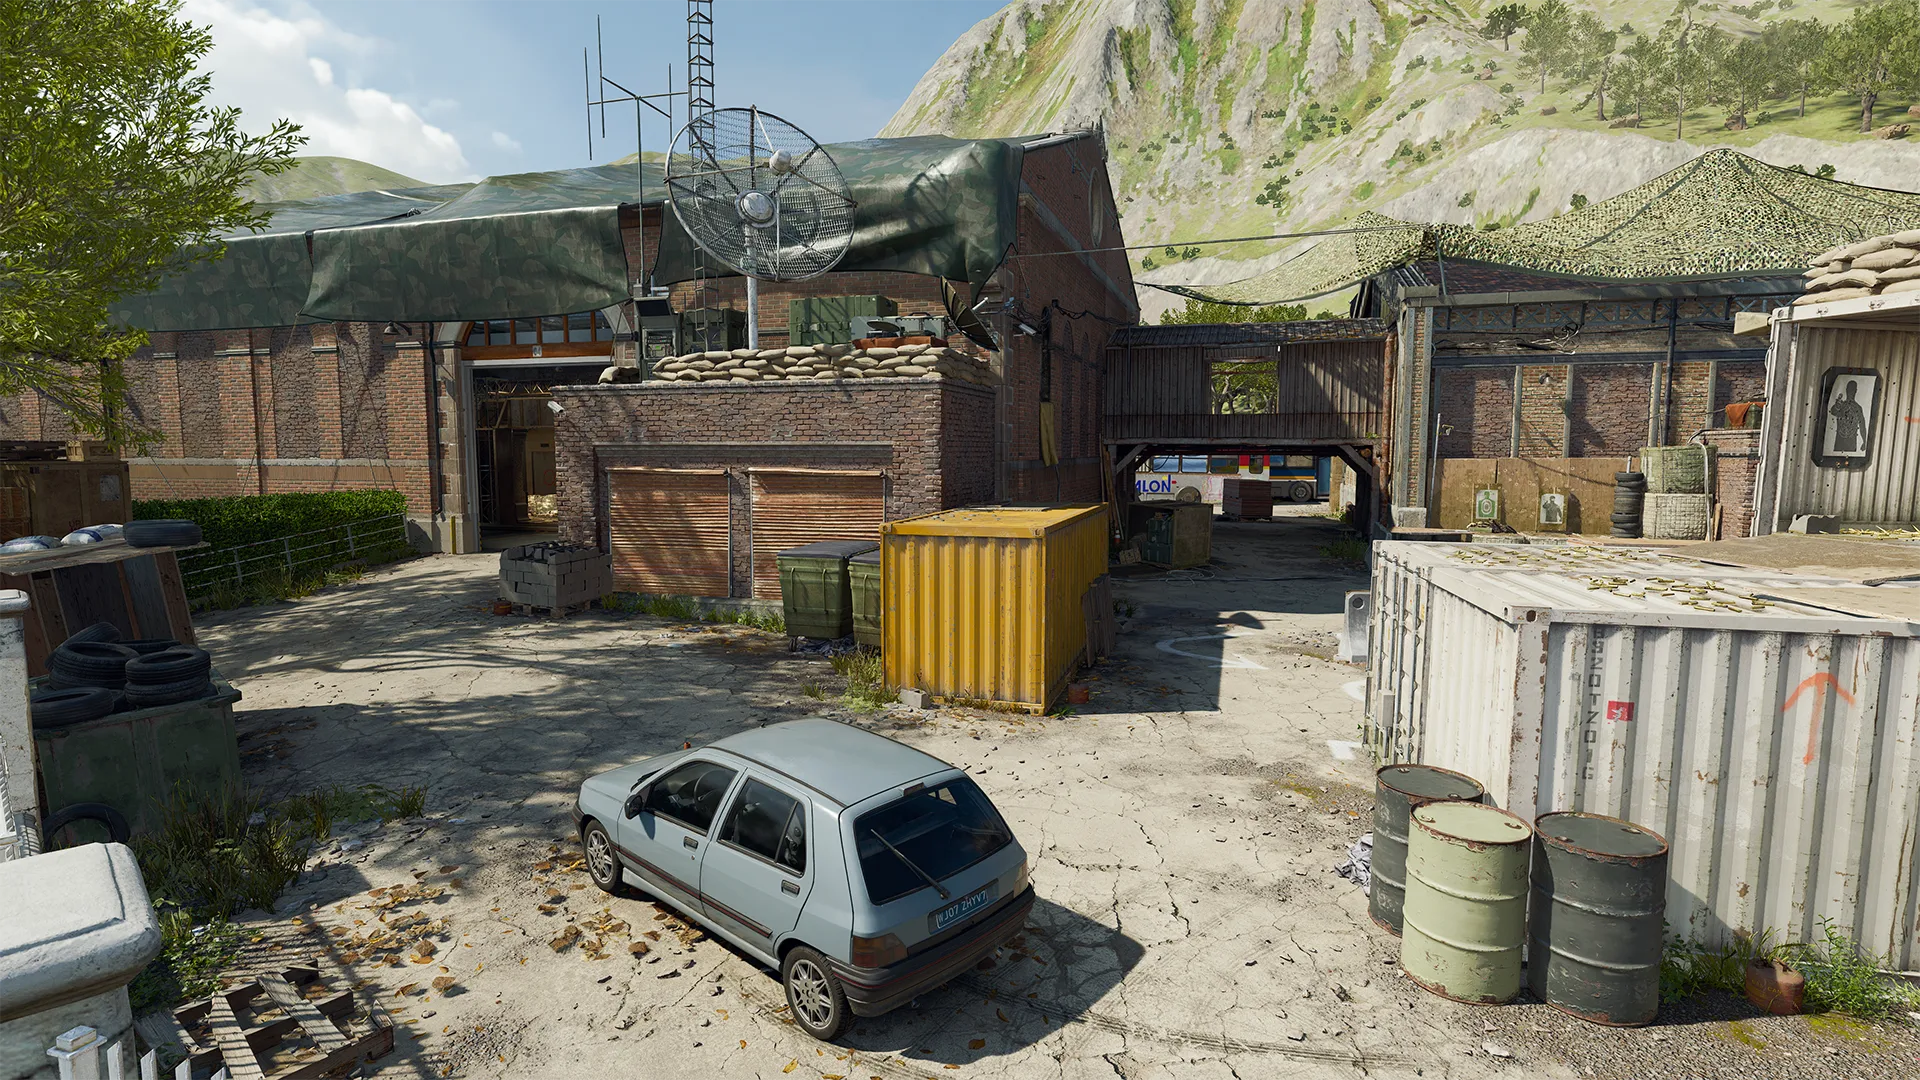
Crouch down behind the yellow container on the east side of Training to land 50-meter shots against targets near the opposite firing range. Landing eliminations along this viewpoint prevents enemies from melting into the obstacle course and thus becoming more difficult to track.
Map Focused Loadouts
Deploy to the scene of the heist ready to slay with these suggested Loadouts for Hideout.
Tactician
Assault Rifle, Strategist Combat Specialty
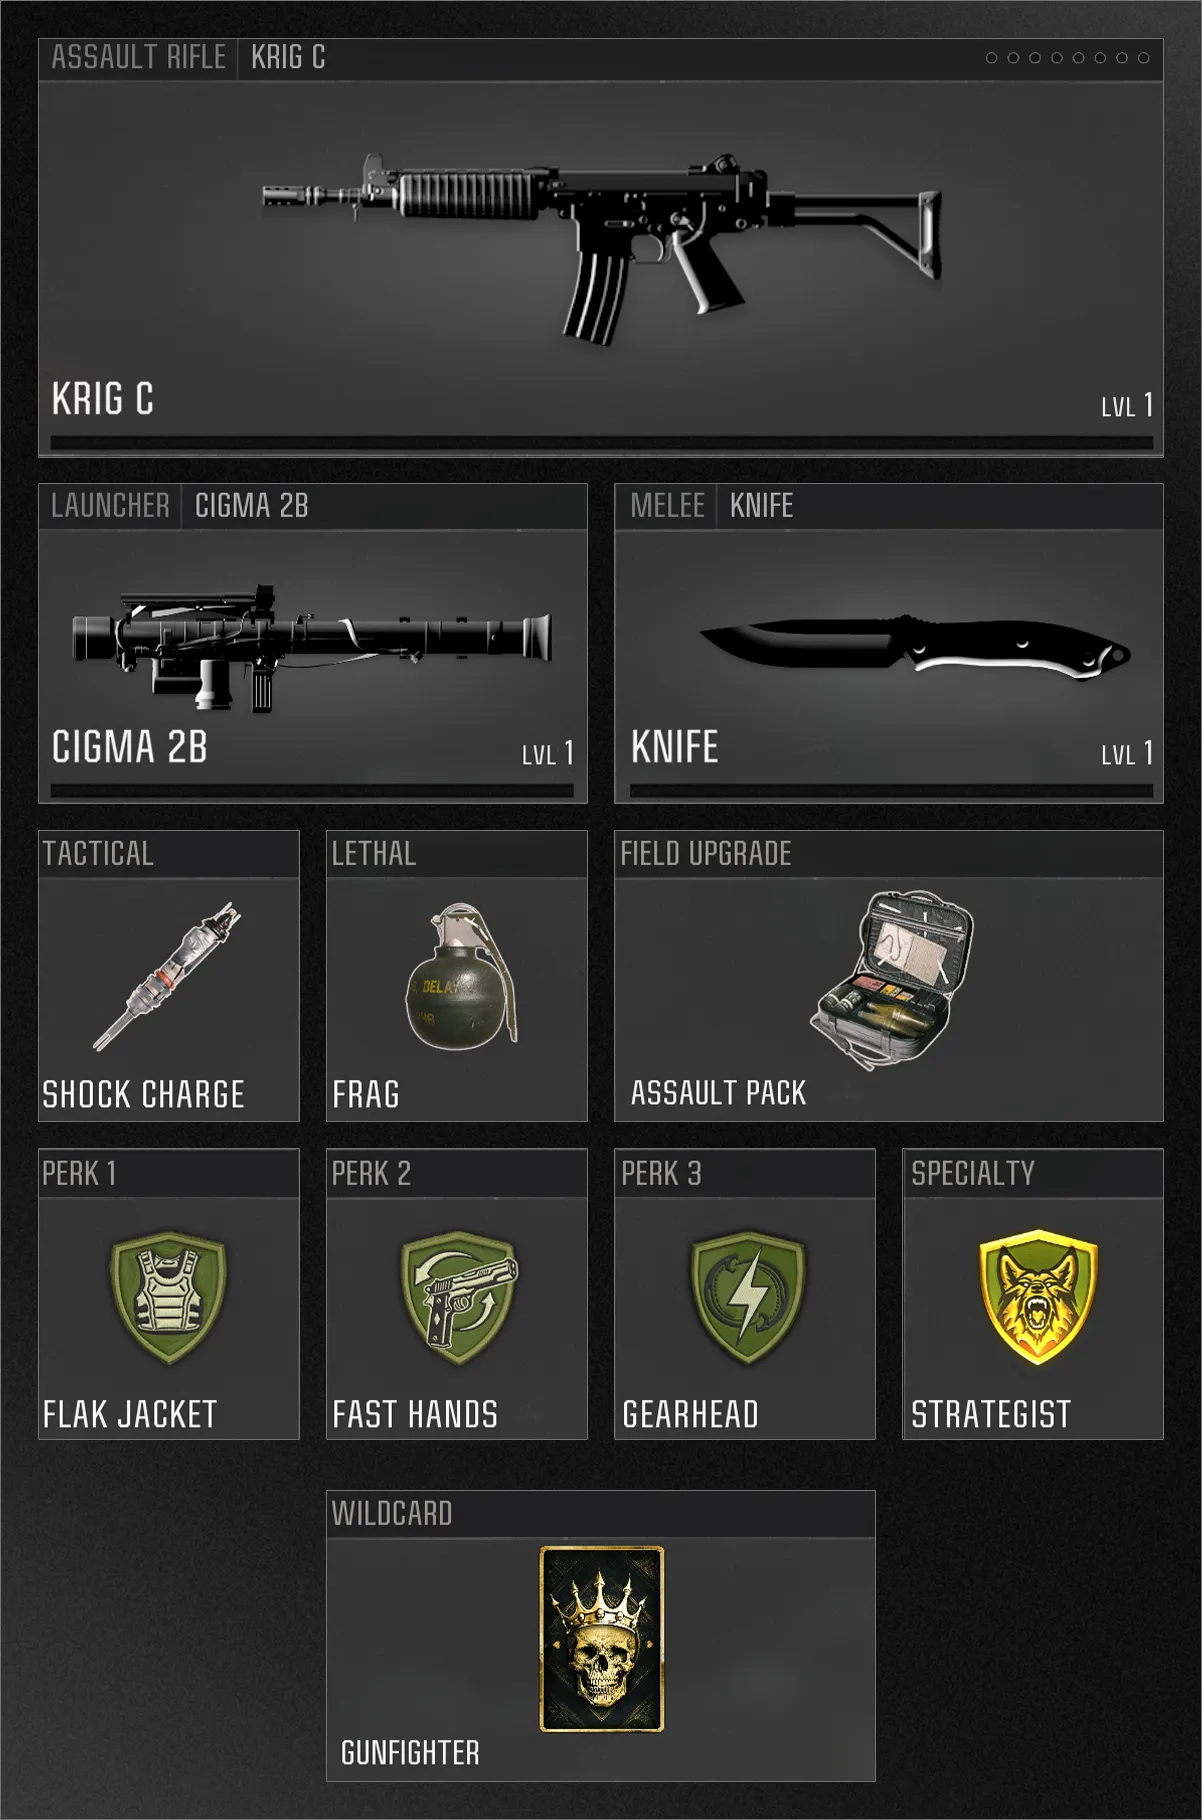
Control the battle with this Loadout pairing the high-damage Krig C Assault Rifle with a Launcher and Assault Pack to keep your ammo reserves stocked through sustained combat.
The combination of Flak Jacket, Fast Hands, and Gearhead helps you to absorb incoming damage, swap between weapons quickly, and hack enemy equipment while carrying two Field Upgrade charges. By unlocking the Strategist Combat Specialty, you’ll gain a score bonus for objective plays and destroying enemy equipment. Stay active in the match and start rolling through those Scorestreaks.
Stinger
SMG/Shotgun, Enforcer Combat Specialty
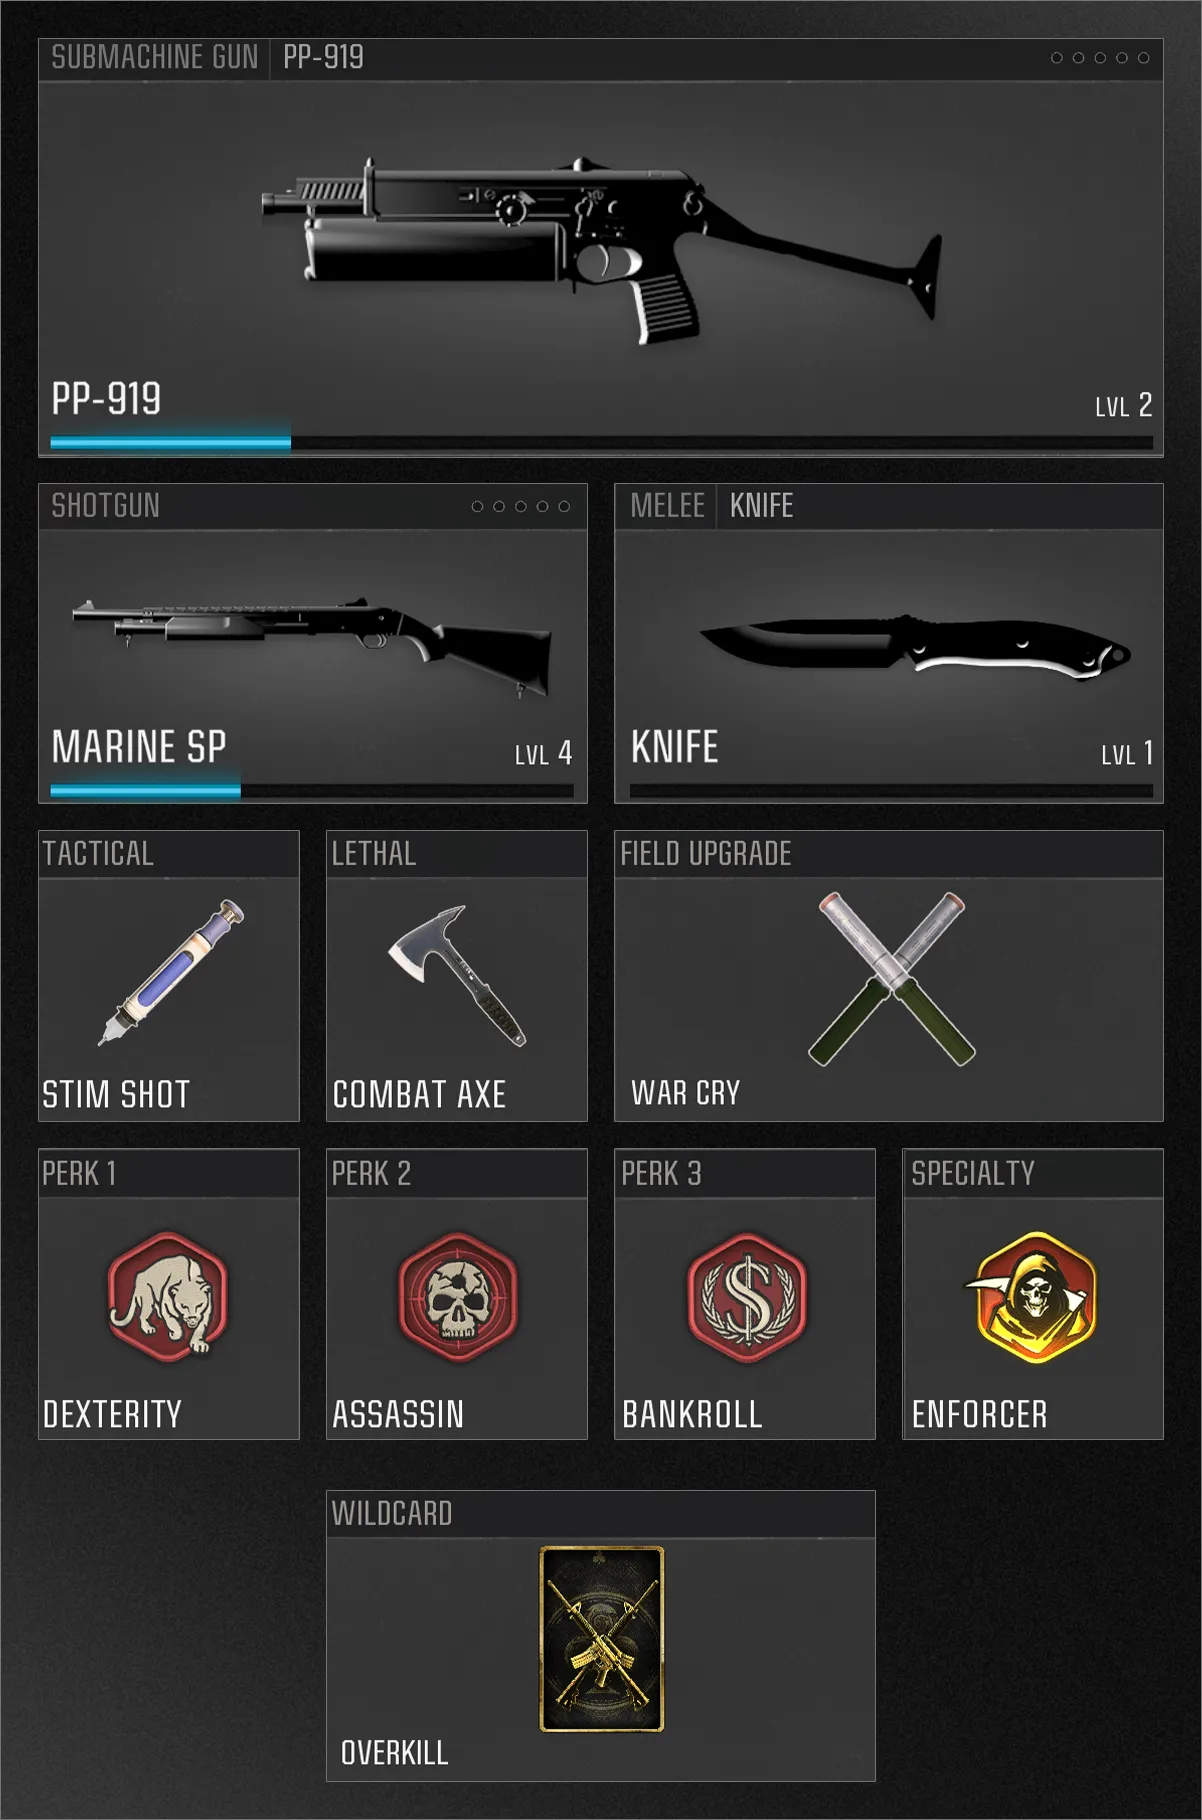
The Stinger shines in tight spaces like the Blueprints building, Bus Depot, and Training course. Overwhelm enemies with the high-capacity PP-919 and swap to your Marine SP for a quick finish in close range. Top off lost health with the Stim Shot and swiftly dispatch foes with a toss of the Combat Axe.
Let out your War Cry near teammates when pushing an objective or attacking an enemy stronghold. Stay light on your feet with Dexterity and get a streak going to make use of Assassin and Bankroll, helping you reach Scorestreaks more quickly. The Enforcer Combat Specialty rewards you with bonus movement speed and health regen after each elimination, so keep slaying.
Scout
Marksman Rifle, Recon Combat Specialty
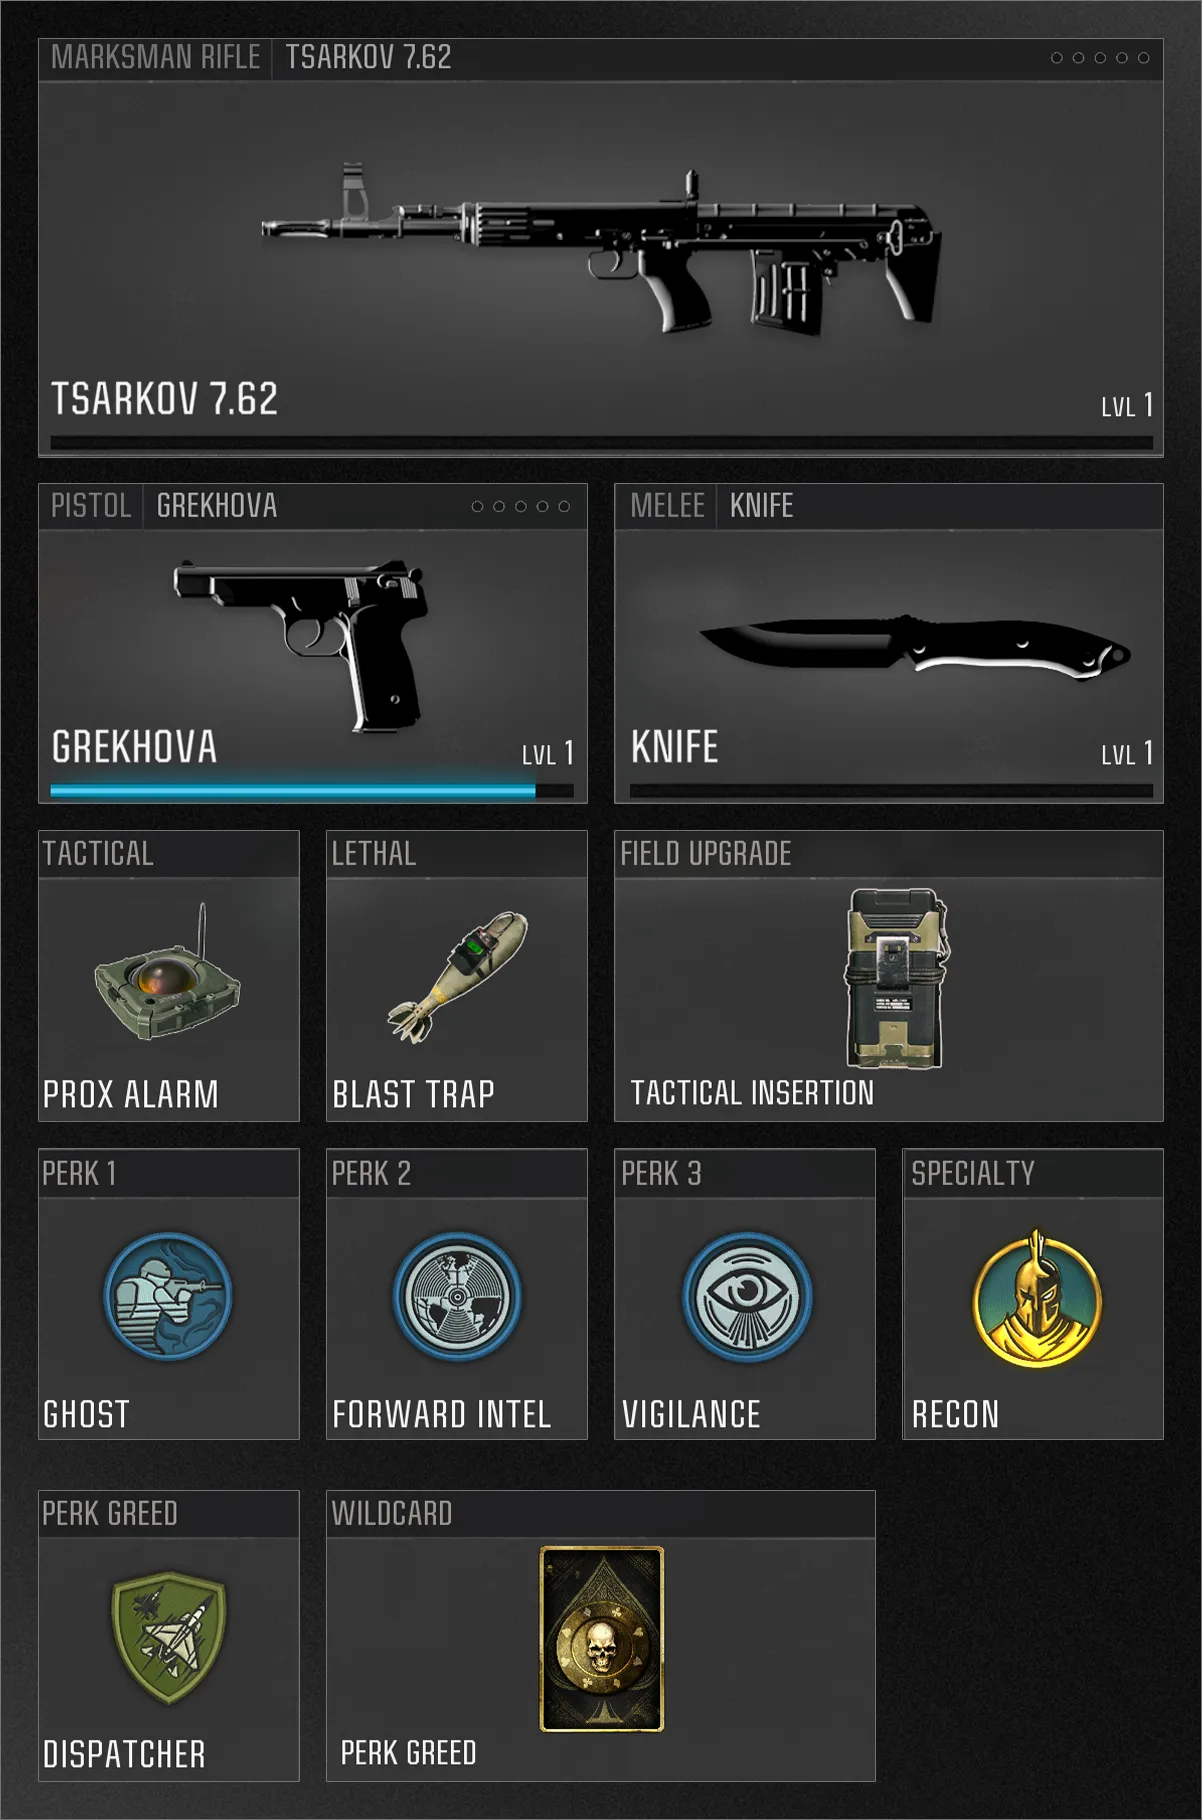
Operators aiming to take advantage of Hideout’s longer sightlines need look no further than this Loadout. Pair a hard-hitting Marksman Rifle for distant fights with a full-auto Pistol to help manage corners and tight spaces.
Take out flankers with careful positioning of your Blast Trap and lay the Prox Alarm to warn of incoming traffic. The Perk Greed Wildcard allows use of the ever-useful Dispatcher Perk for reducing the cost of non-lethal Scorestreaks while earning the Recon Combat Specialty with the use of Ghost, Forward Intel, and Vigilance. There’s no throwing this Loadout off track. With an improved radar and undetectable movement, it’s your battle to control.

© 2024 Activision Publishing, Inc. ACTIVISION, CALL OF DUTY, and CALL OF DUTY BLACK OPS are trademarks of Activision Publishing, Inc. All other trademarks and trade names are the property of their respective owners.
For more information, please visit www.callofduty.com and www.youtube.com/callofduty, and follow @Activision and @CallofDuty on X, Instagram, and Facebook. For Call of Duty Updates, follow @CODUpdates on X.


