Multiplayer Map Guide — Grime

Prebrief
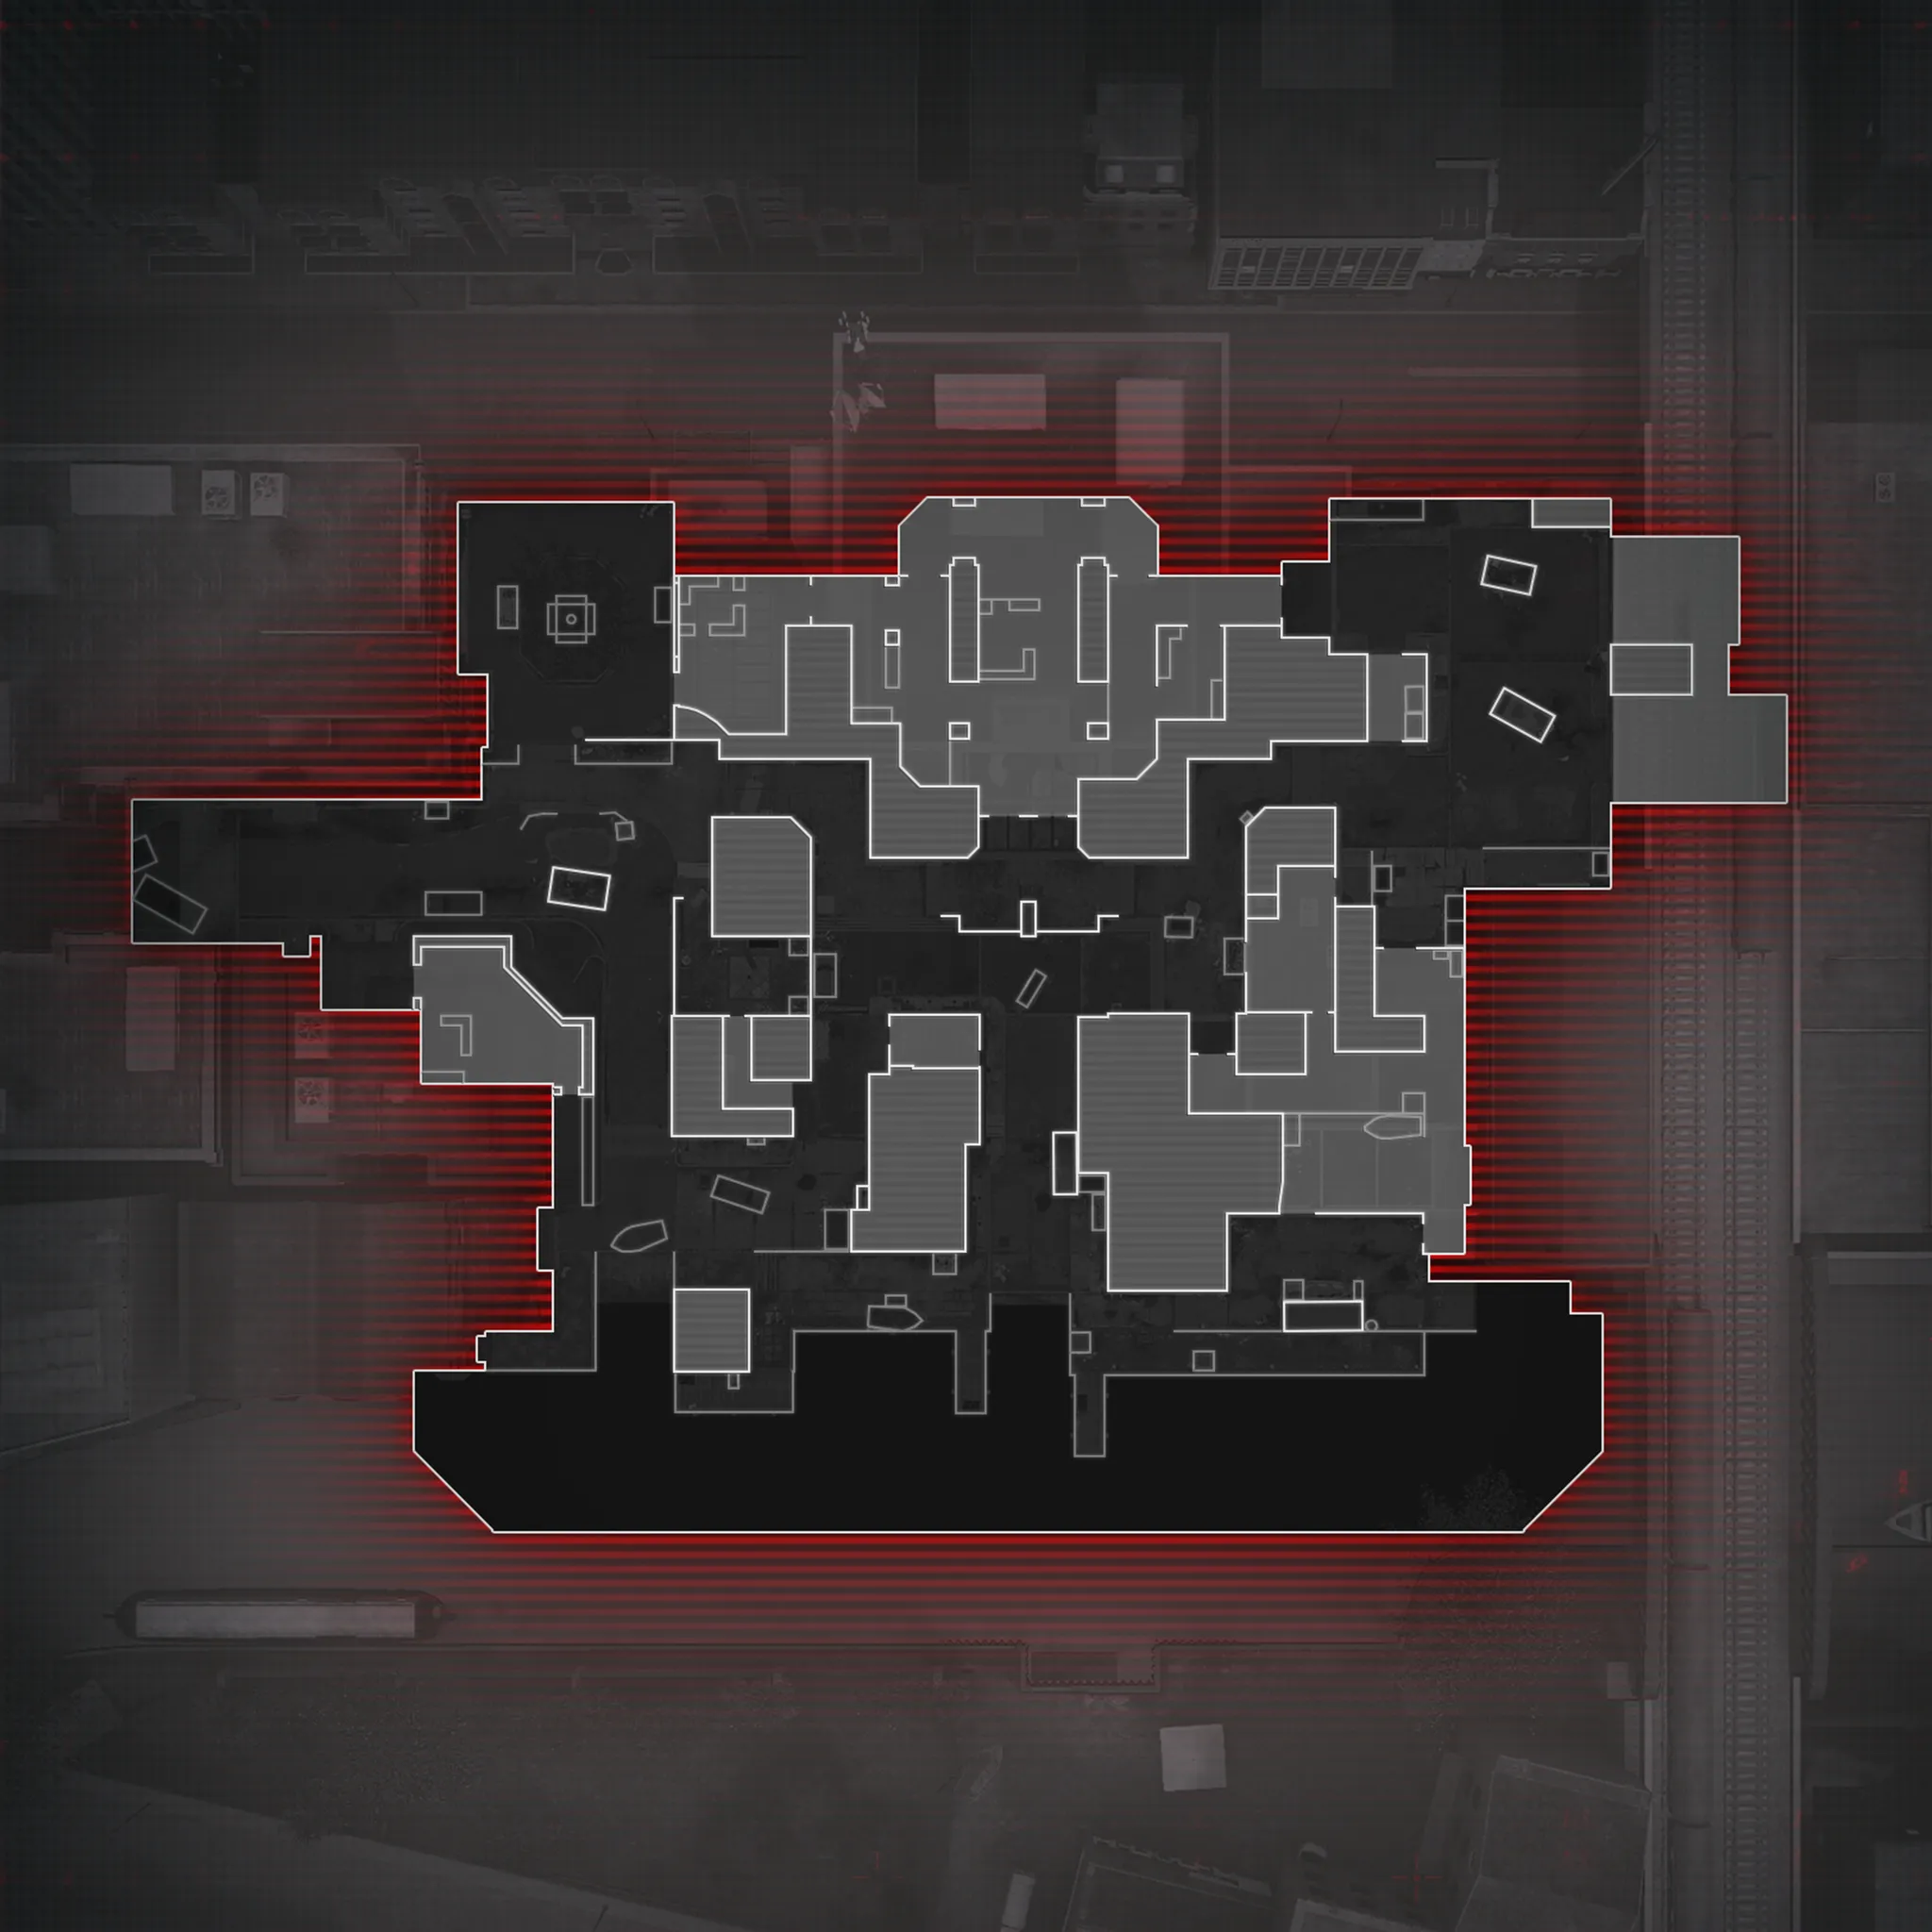
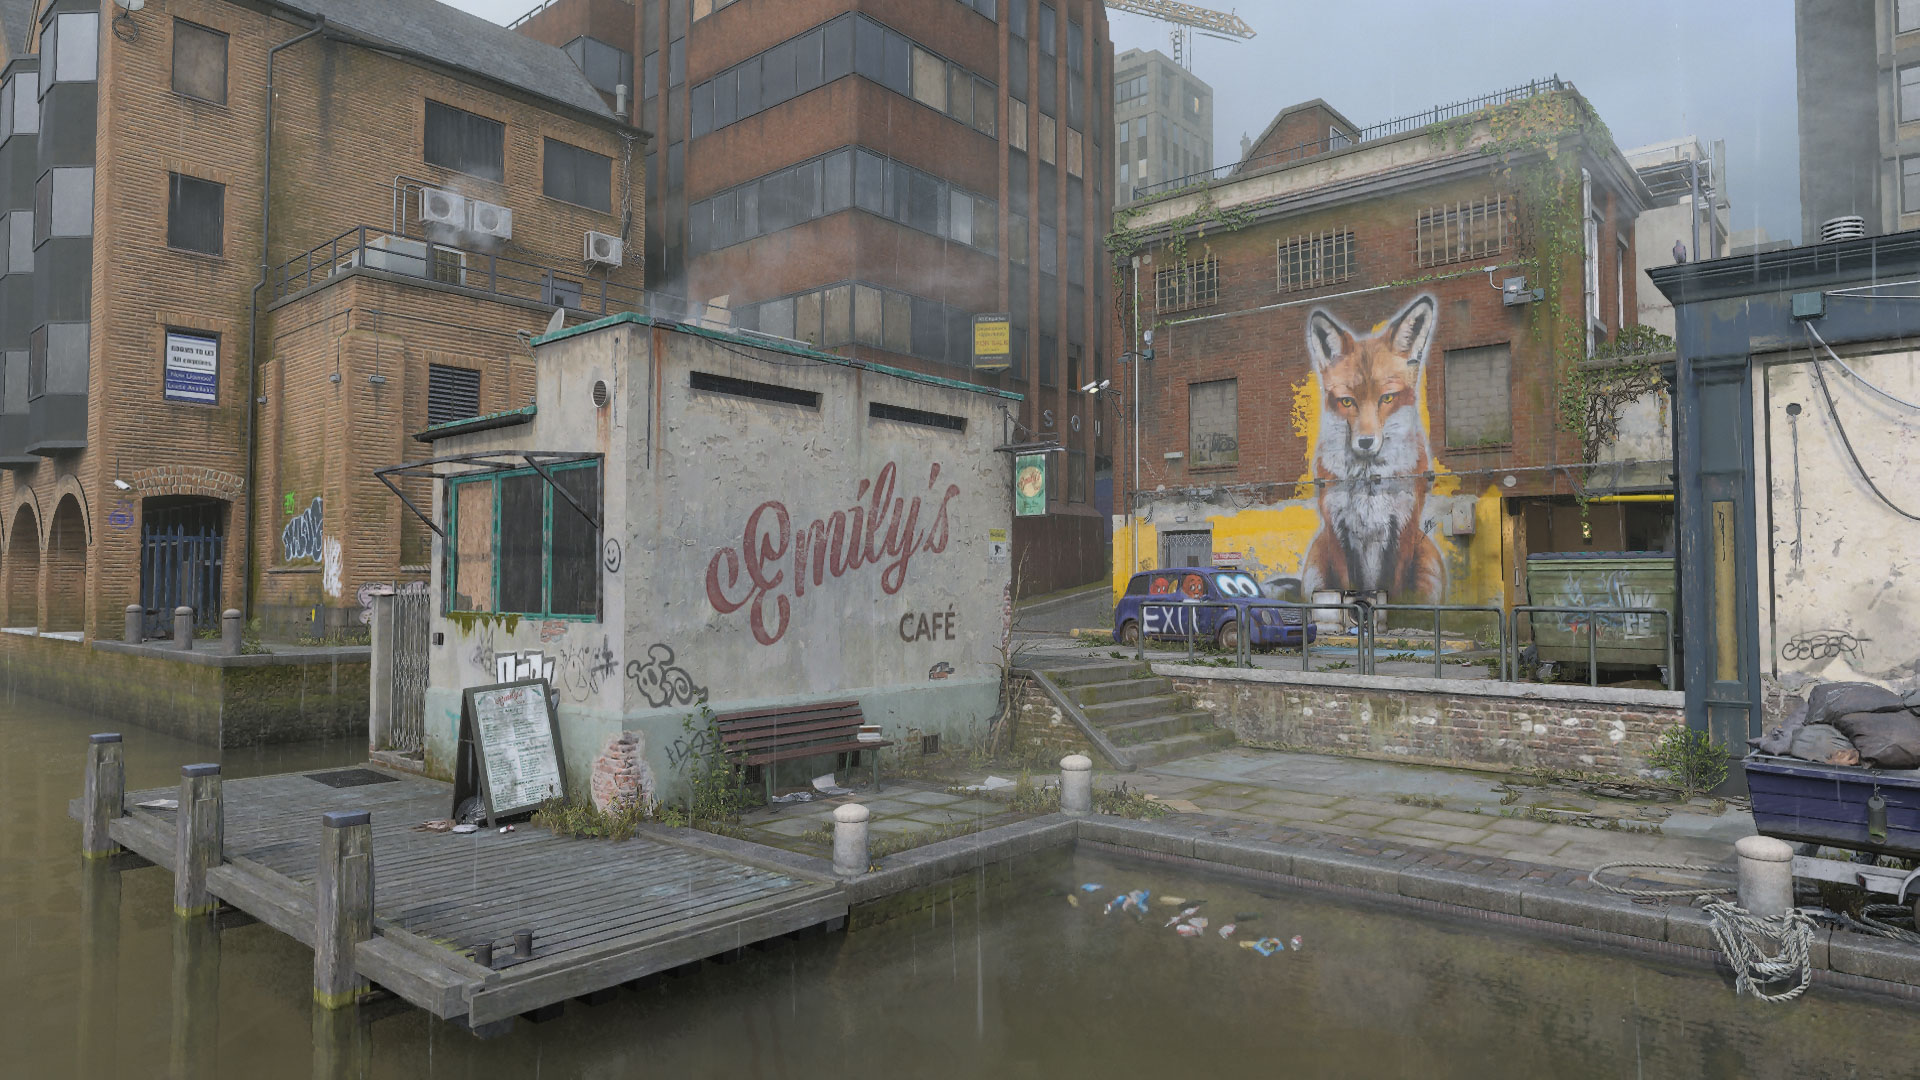
Deploy to an abandoned hub on the bank of a derelict London canal. The deprecated SKN Comms building looms over the center near a boat launch, bar, and café offering the glimpse of a once active corner in England’s capital city.
The small- to mid-sized urban landscape offers a mix of alleys and thoroughfares paired with tight interior locations, the canal at the bottom providing a stealthy means of crossing to the other side. Use this guide to familiarize yourself with Grime and get the advantage over your enemies from the start.


-
Show areas

-
Show hardpoints

-
Show domination flags

-
Show search & destroy sites
-
Show spawn points

-
Reset all overlays

// INTEL CARD
- MWIII
- WZ
- WZM
Grime
// MULTIPLAYER MAPS // CORE
Needle and thread: Use the Balcony and Apartment vantage points found to the sides of the central Tower Loop for a clear sightline over the main thoroughfare, the front entry of SKN Comms, and down toward the Dock. Fall back and move down the map’s side when it’s time to relocate.
Pepper the walls: There’s not much concern over property damage in this abandoned hub. Pull out a Shotgun or SMG when traversing the map’s small indoor sections and start spraying at the first hint of danger. The more mobile and hard-hitting, the better.
Bring your goggles: Don’t expect clear waters in this metropolitan canal. The swim is worth it, however, to pivot around the enemy’s defenses without needing to fight on street level. Equip your favorite Handgun to improve your chances of winning underwater skirmishes.
Tactical Overview
In team-based modes, squads will either spawn in the Alley (west) or under the Arches (east).
A derelict comms center and the remnants of an urban dockside community lie between the two points, graffitied walls and rubbish paving the way.
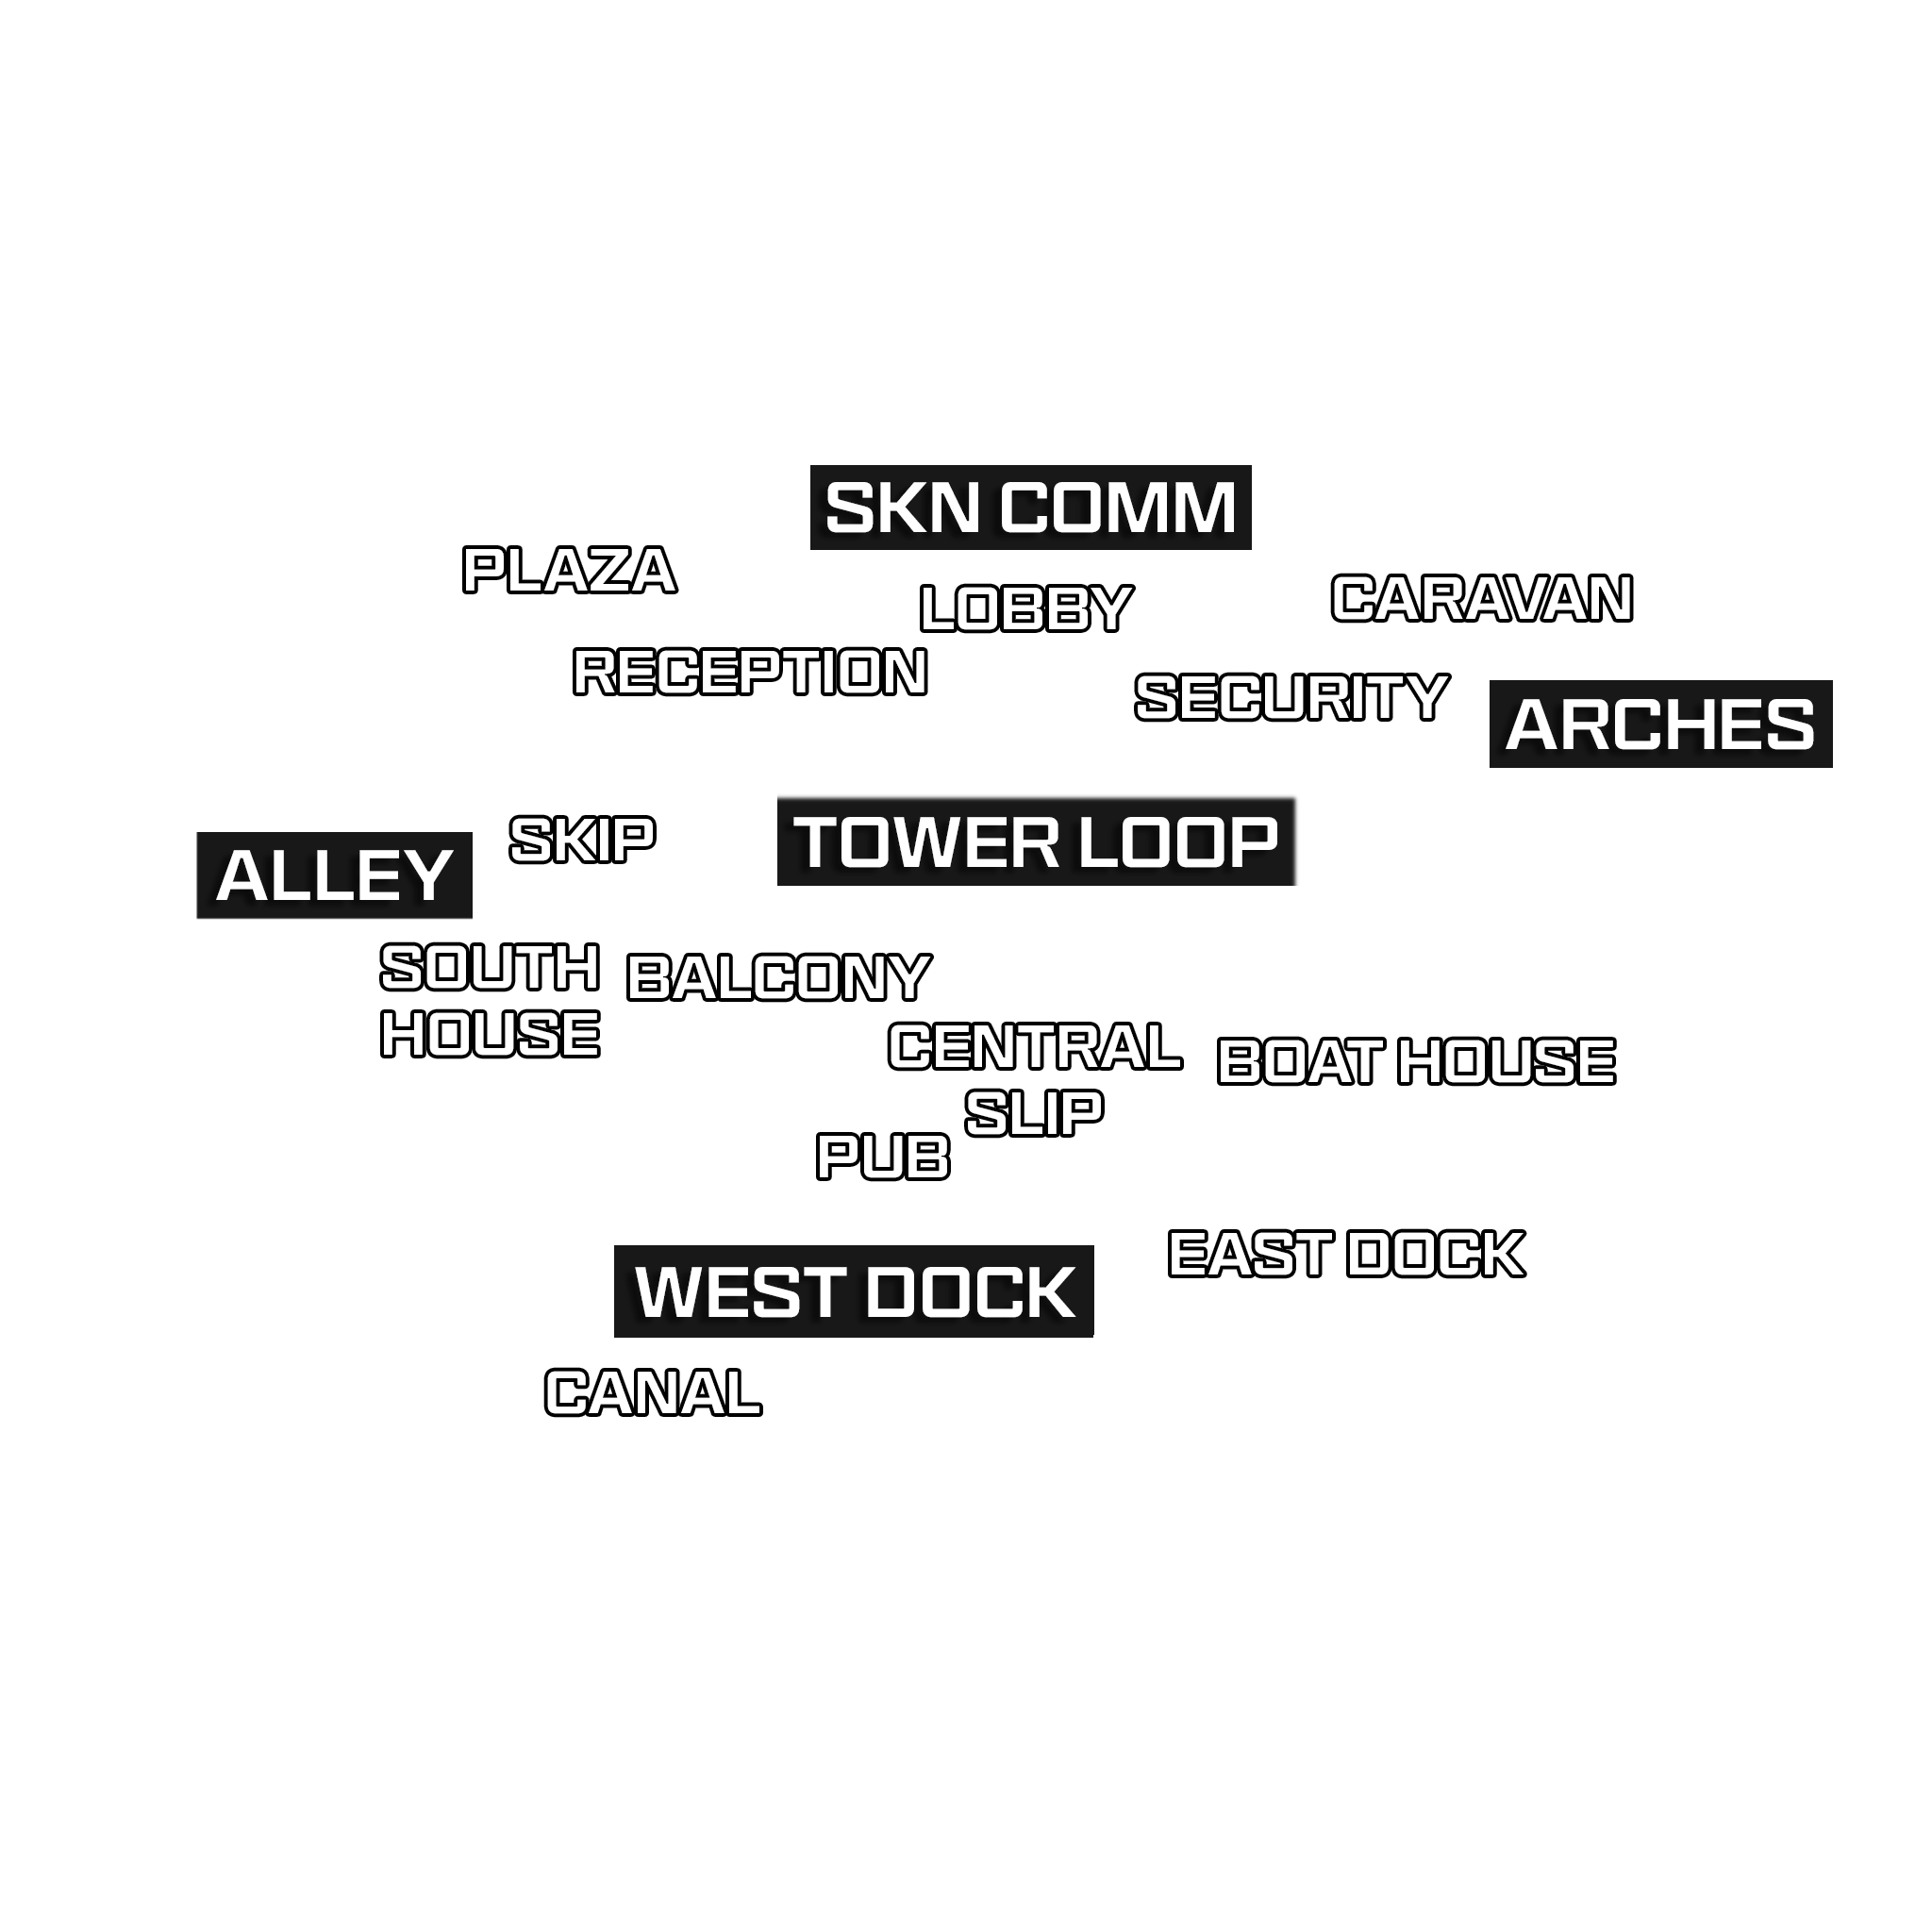
We’ve divided Grime into five sections based on key areas around the map:
MAIN SPAWN POINT: Alley (+ Plaza, Skip, South House)
MAIN SPAWN POINT: Arches (+ Caravan)
ADDITIONAL AREA: SKN Comm (+ Lobby, Reception, Security)
ADDITIONAL AREA: Tower Loop (+ Balcony, Pub, Boat House)
ADDITIONAL AREA: West Dock (+ East Dock, Central Slip, Canal)
MAIN SPAWN POINT: Alley (WEST)
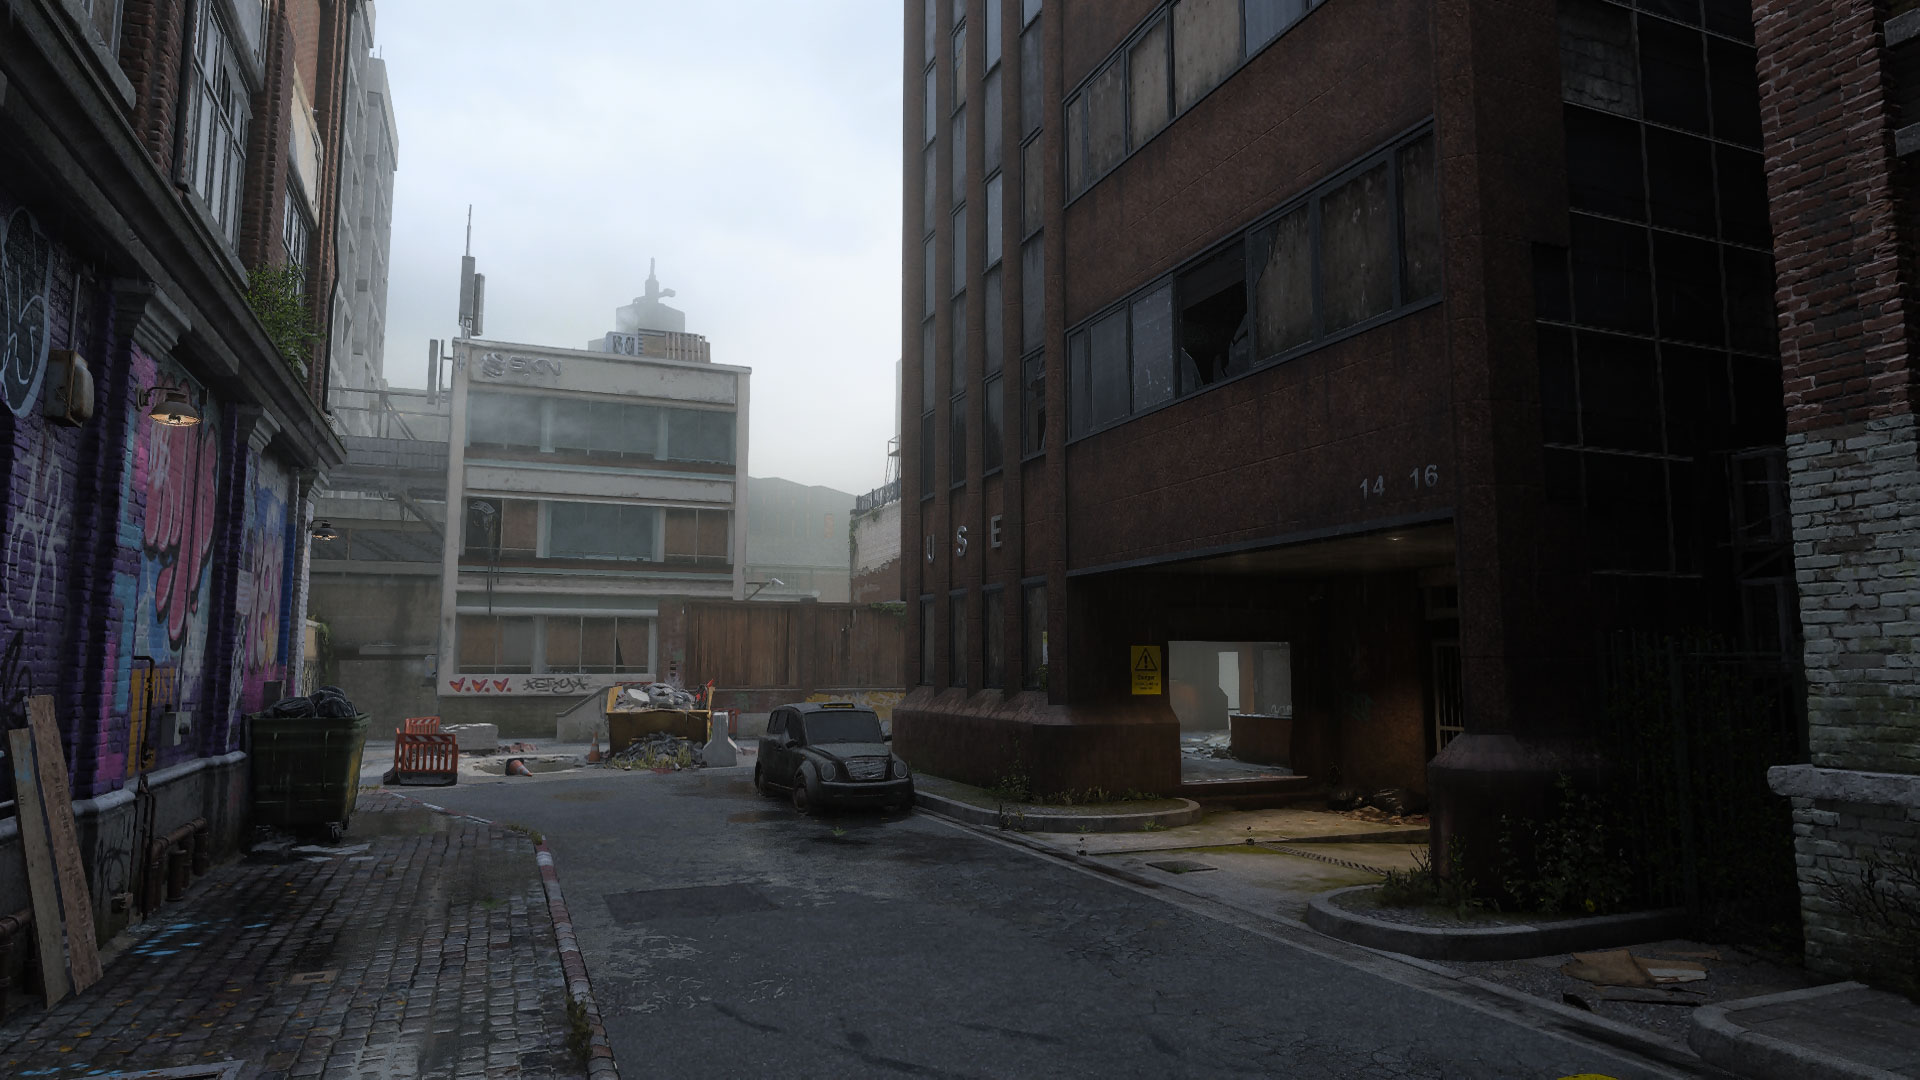
Though the upper windows of the SKN Comms building may appear deadly from the Alley, it’s street level where your attention is best directed. Mid-ranged weapons work well here against enemies incoming from the Plaza and Skip. Move into the South House if you’d rather avoid the streets. While the Plaza-facing windows do pose some threat, these ground floor areas will generally see the most action.
Cover becomes more abundant as you leave the Alley. Skip, though the most exposed, offers the best cover with the yellow dumpster and its surrounding barriers. From here you have several forward options: move up the small staircase to the Balcony overlooking the Tower Loop, head down the steps straight into the Tower Loop, or swing north into the open Plaza and the double doors leading into SKN Comms. You can also avoid the bustling center area entirely and move south toward the Docks and the Canal.
MAIN SPAWN POINT: Arches (EAST)
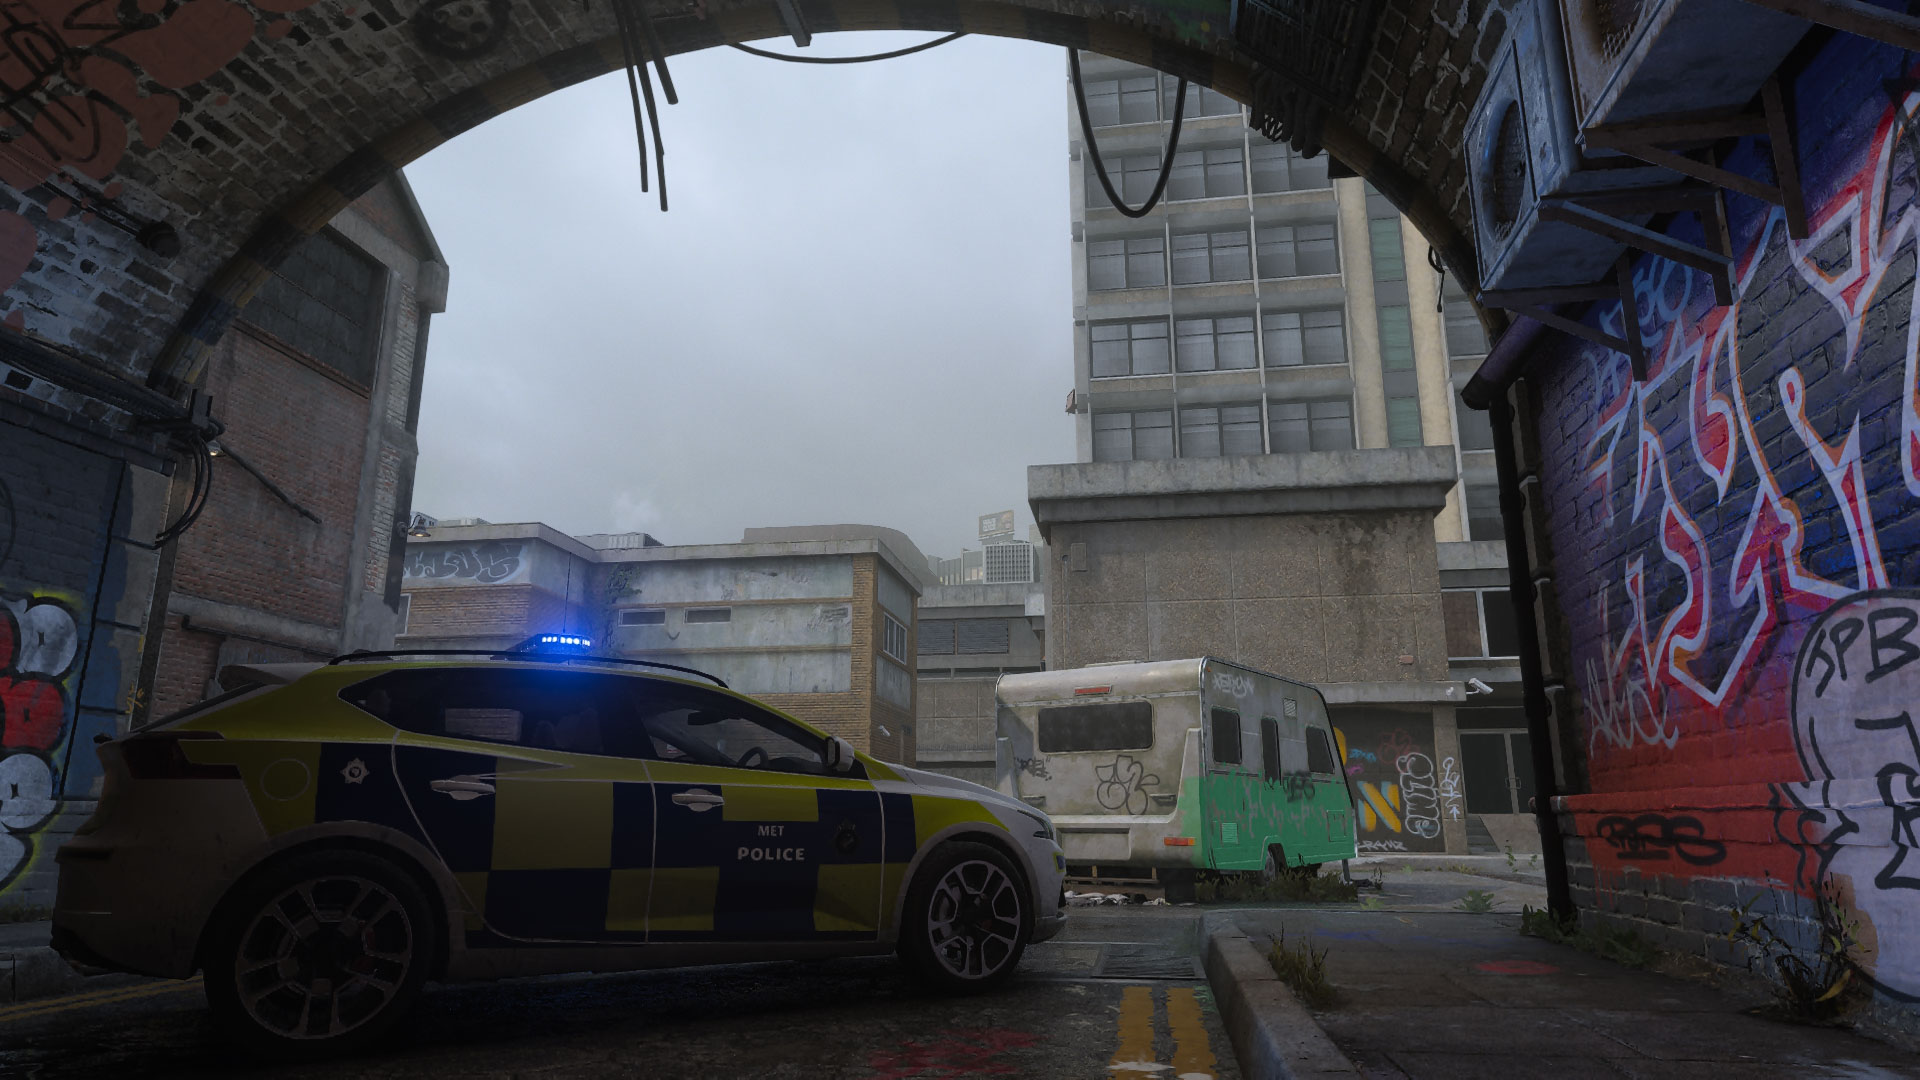
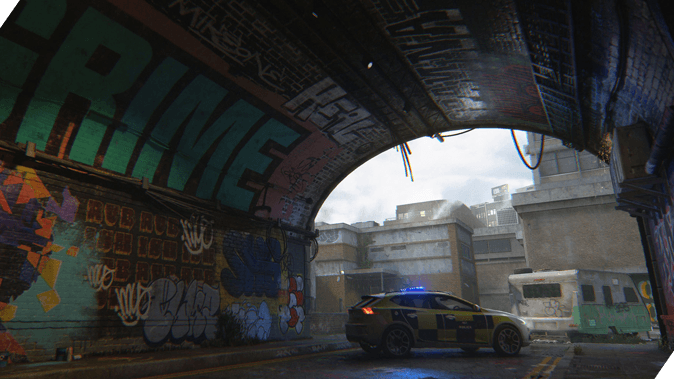
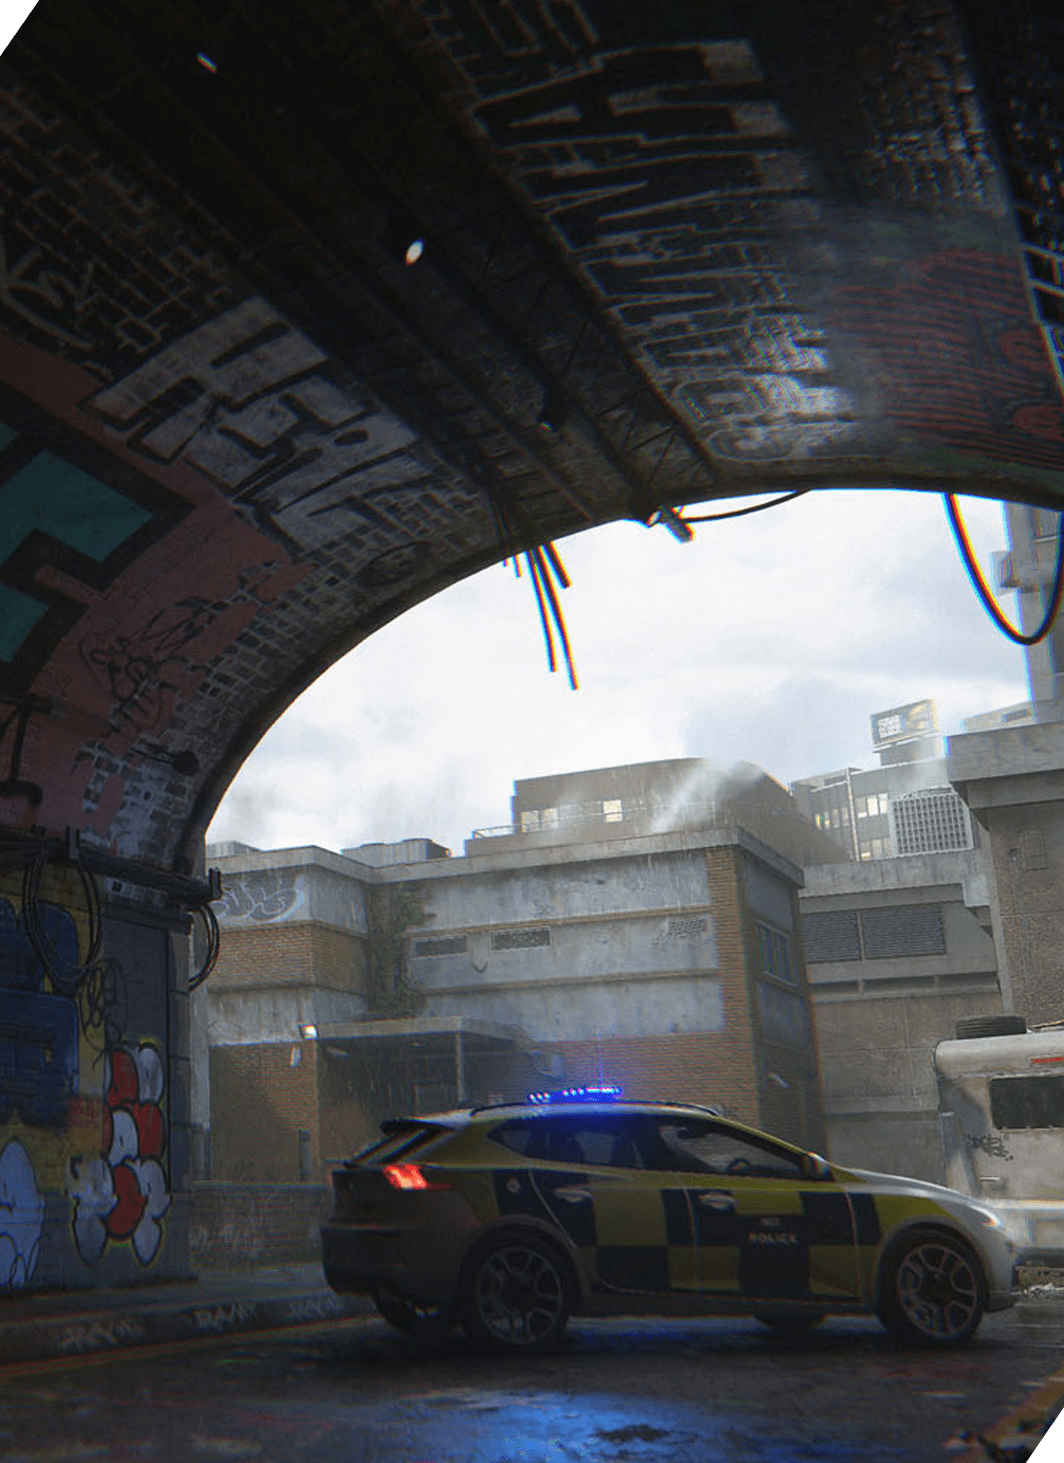
Hear the tube train rumbling overhead from within Arches. This lane doesn’t reach as far back as the opposing Alley, bringing the fight up close and quick. Duck into the nearby garage and weight room to focus on the top border of the map or move straight up toward the trailer to cover the whole area. You can also take the steps leading into the upper Apartment, granting a commanding view over the map’s center.
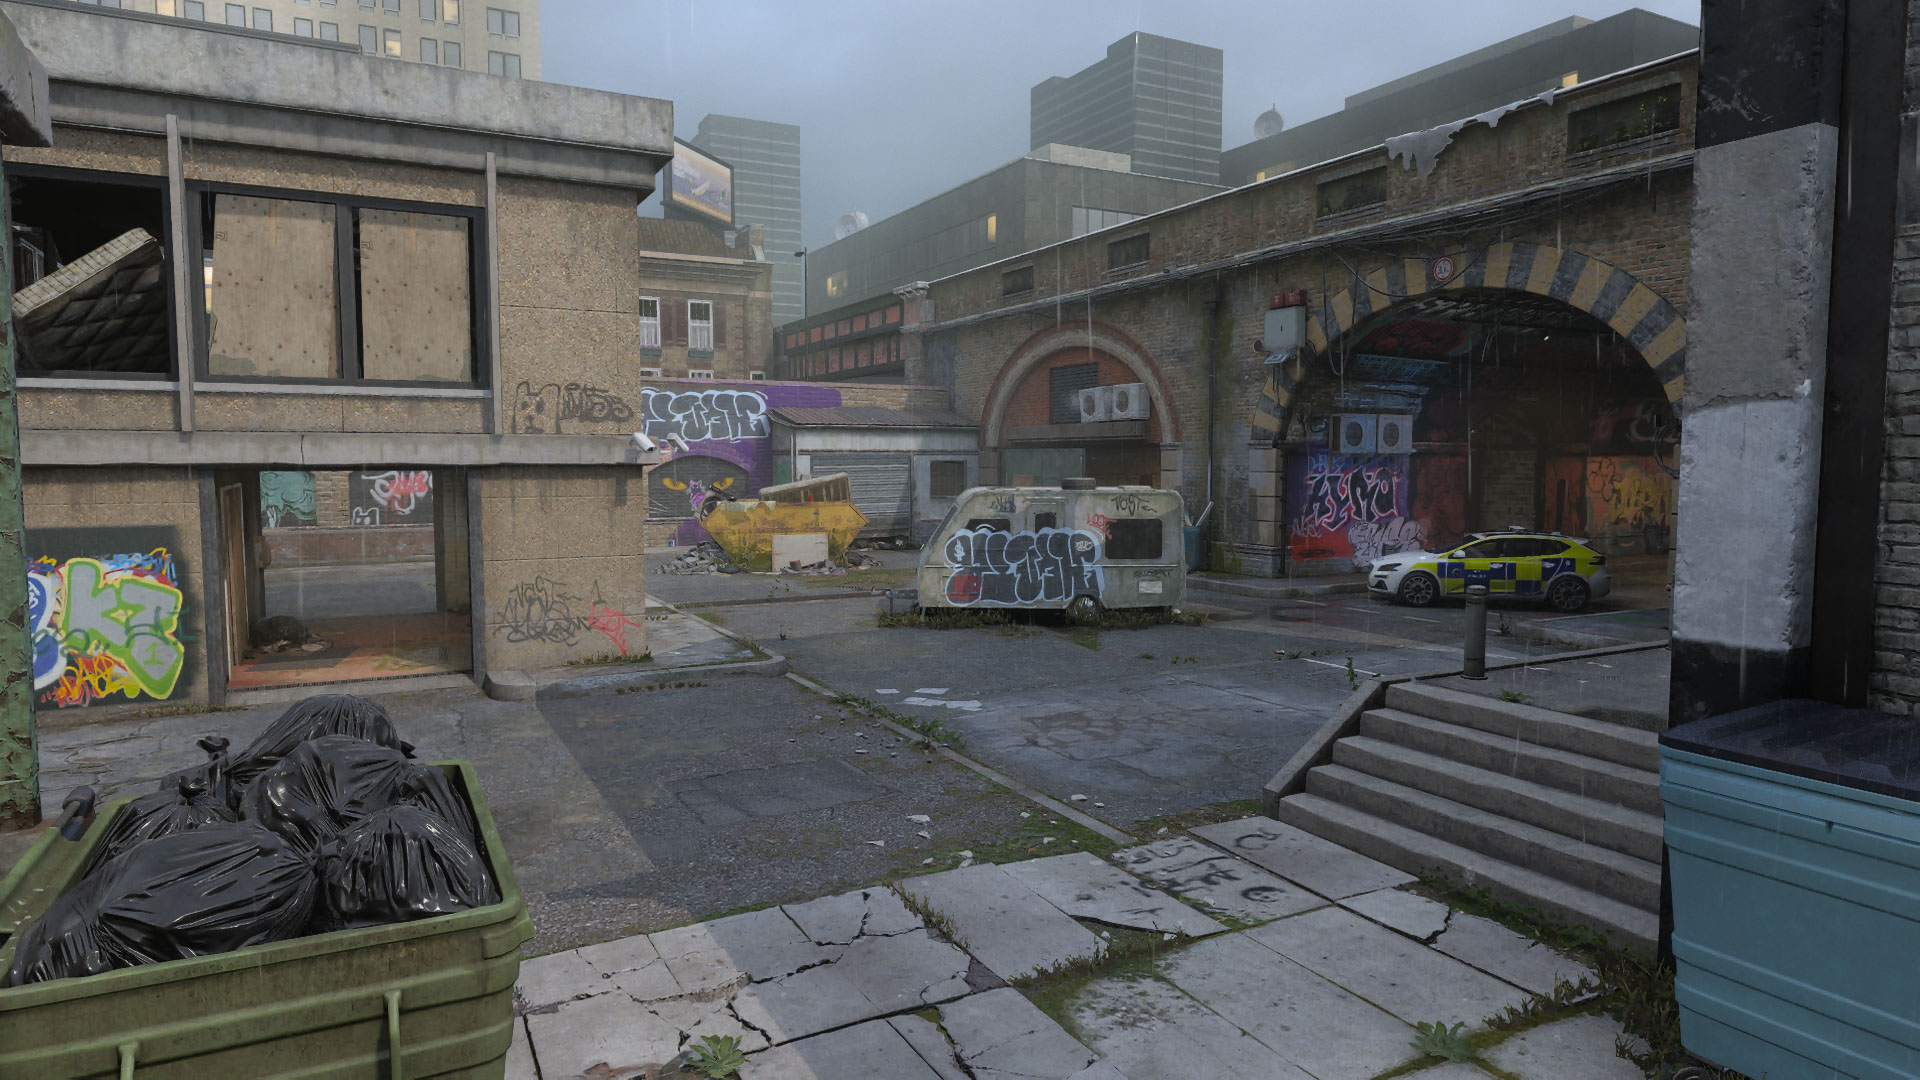
Note the path through the garbage dump behind the red “Hello” painted on the wall. Though it’s a short passage, beware of potential ambushes from here when entering the area, and use it yourself to get out of sight mid-battle or when setting up your own trap. For a greater view over the area, mantle up on top of the yellow dumpsters, the trailer or police car, or any of the various other trash bins pressed against the area’s borders.
ADDITIONAL AREA: SKN Comms
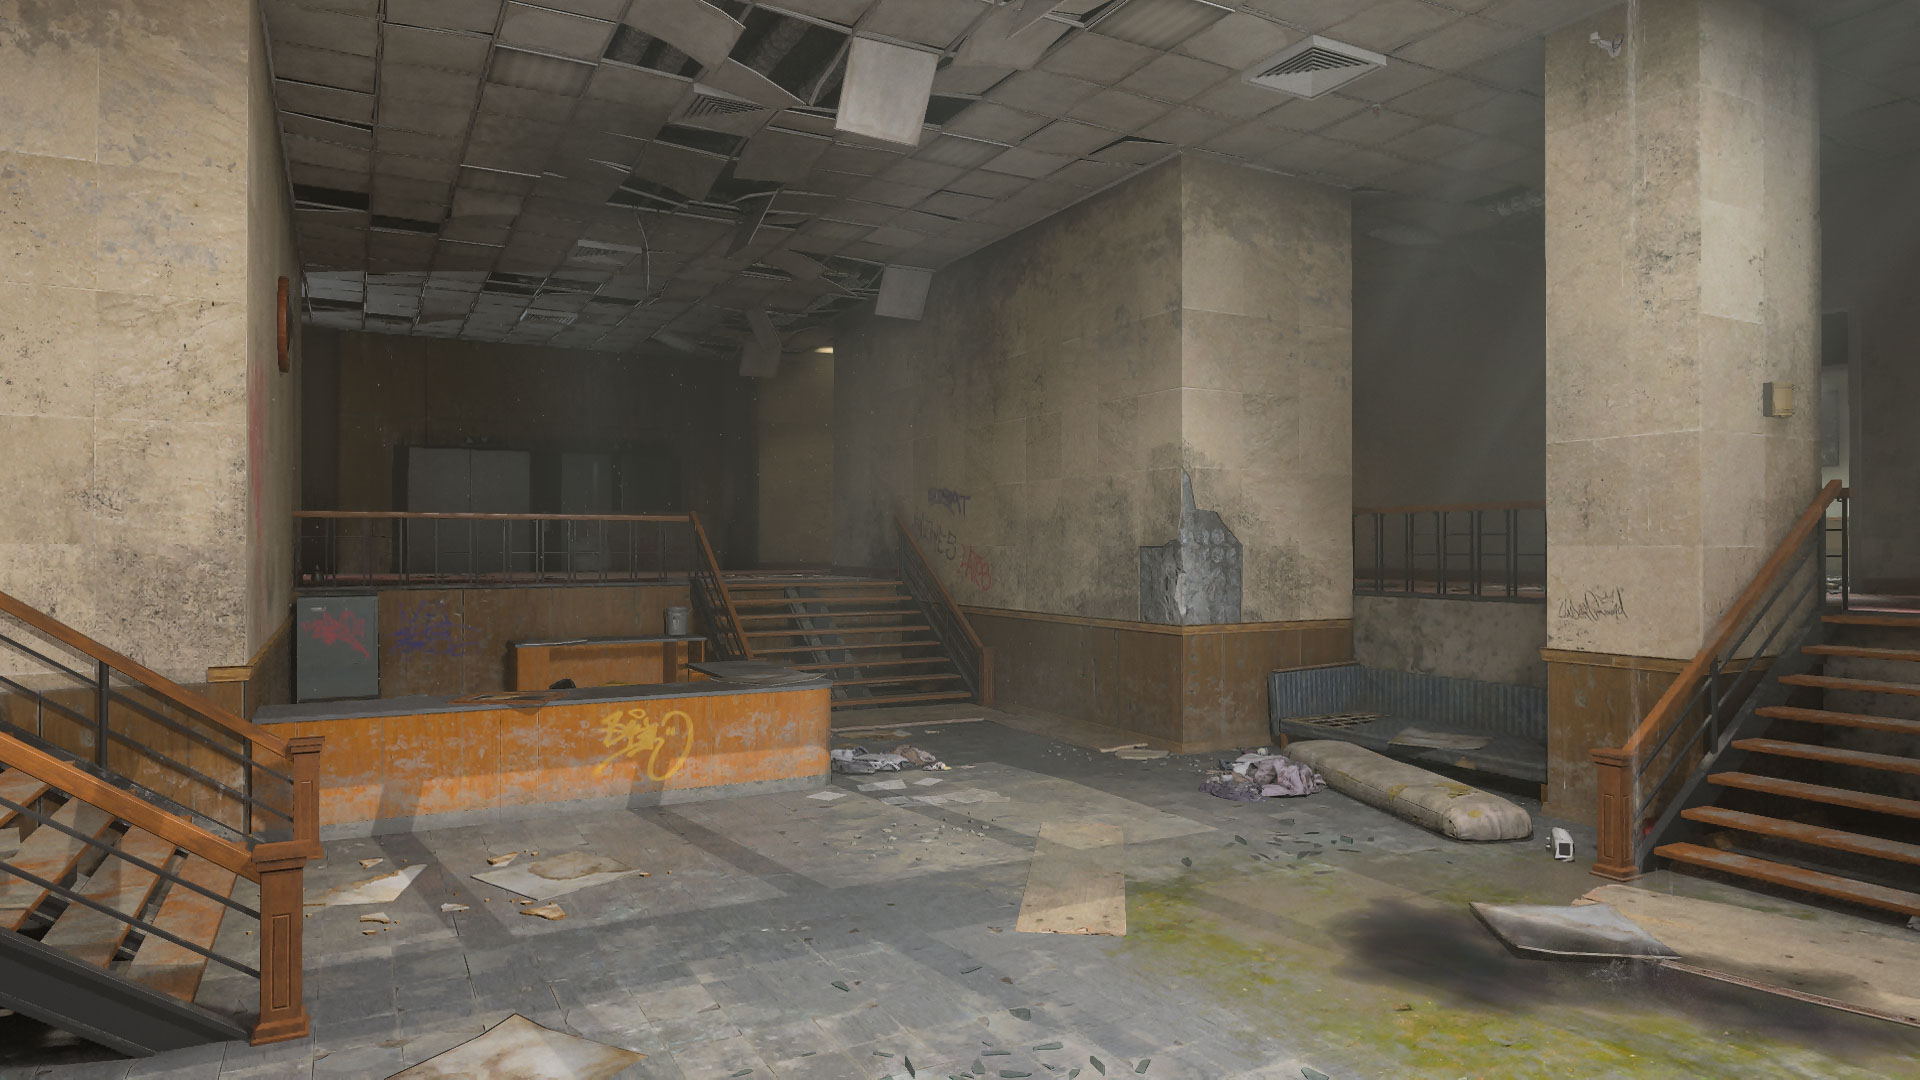
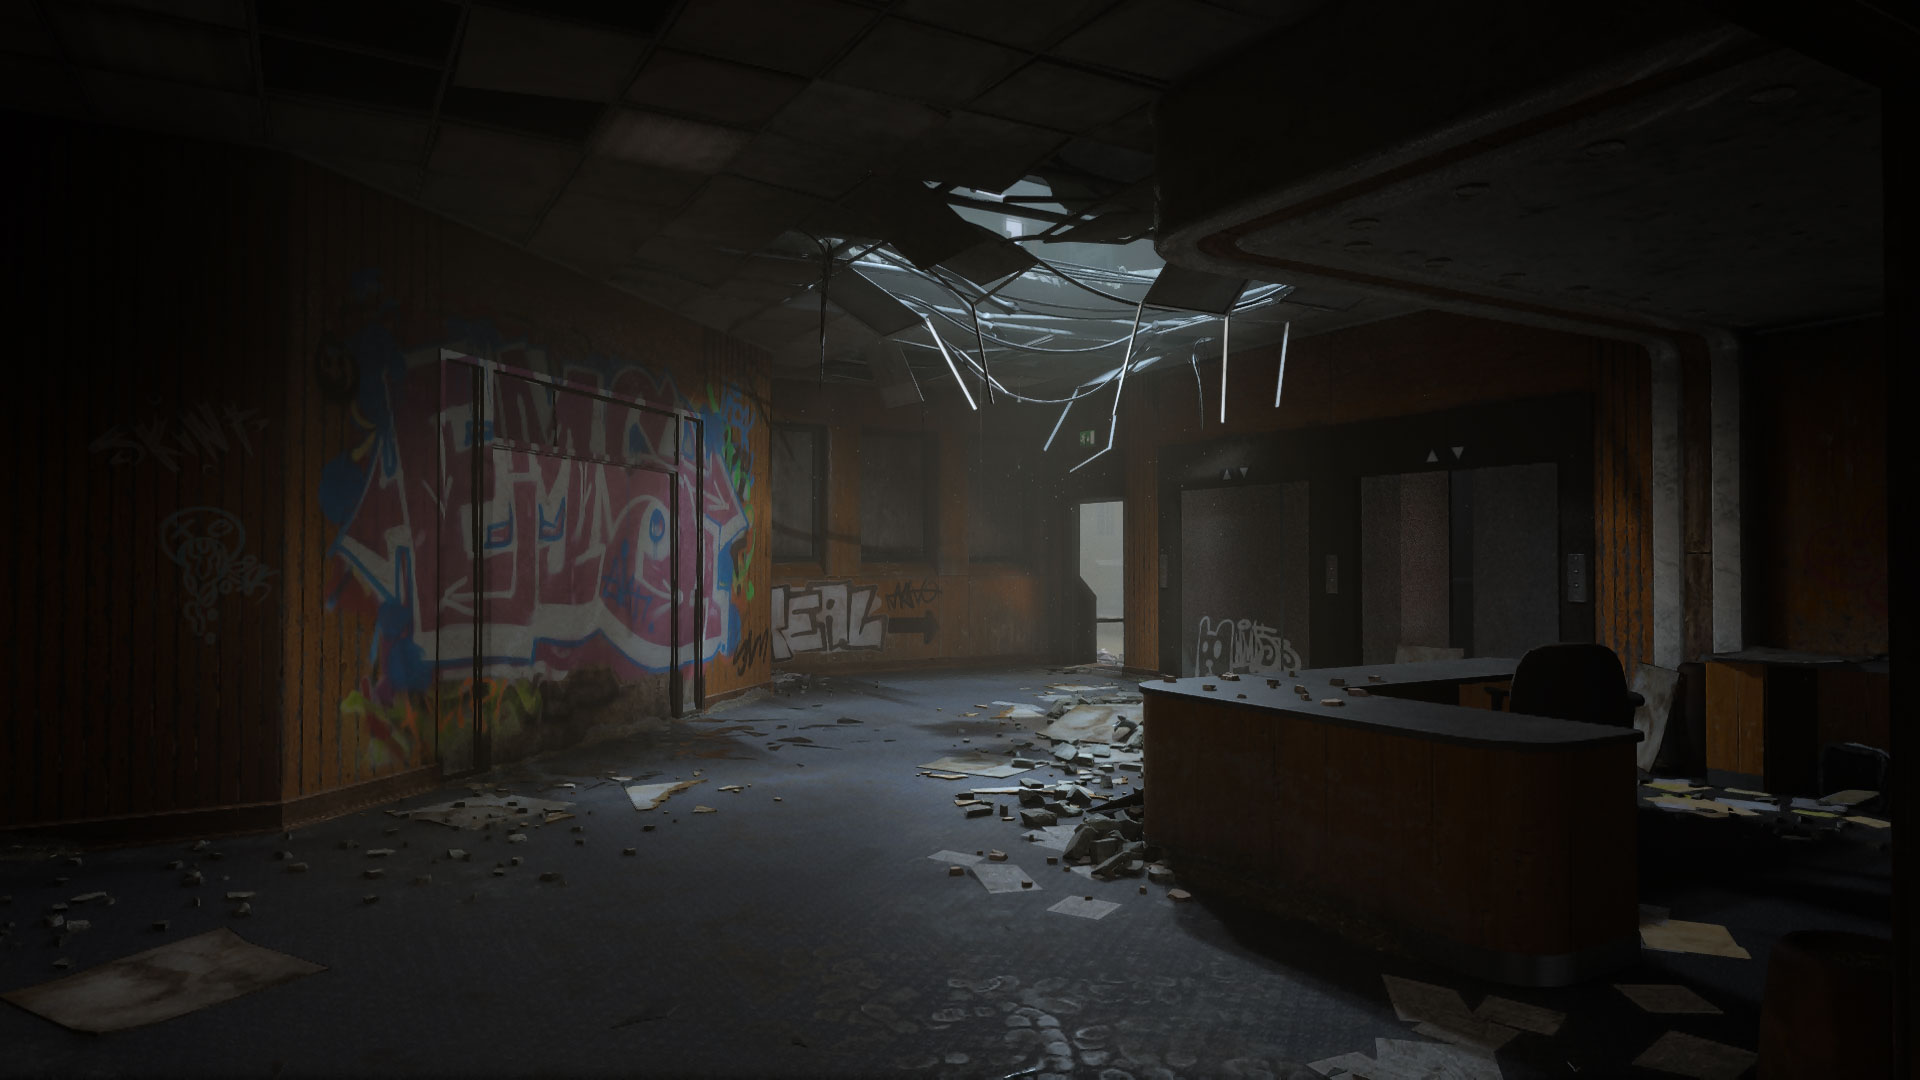
Despite formerly being the life blood of the area, the SKN Comms building has long been abandoned and now suffers vandalism and water damage with its walls and ceilings beginning to cave in. Its two wings funnel into the Lobby, composed of a lower center portion surrounded by an elevated walkway. Thick walls break up the view between the two areas, punctuated by three staircases and their guardrails.
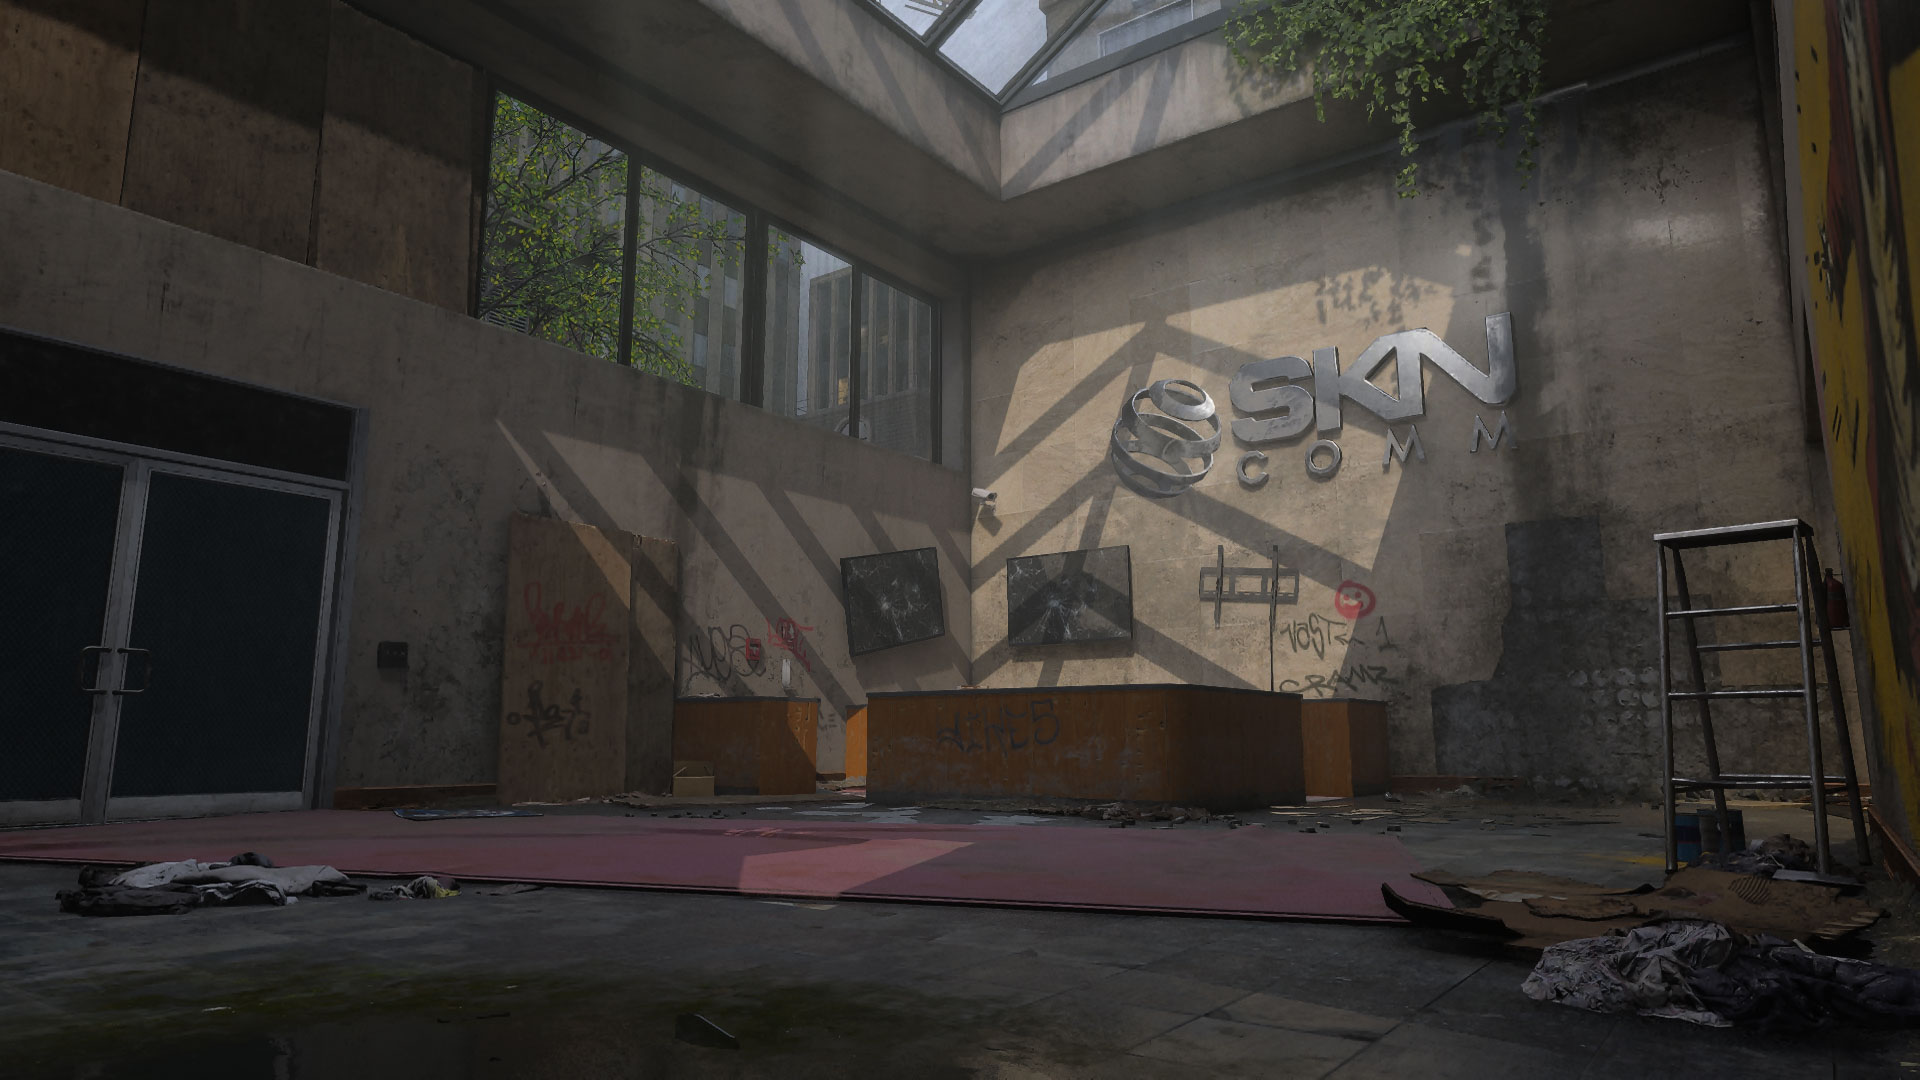
Move to the west wing to reach Reception, empty except for the corner desk offering mild cover. The room is otherwise wide open, so be ready to engage the moment an enemy appears; use Tac-Stance to combine speed and accuracy if you suspect an incoming fight.
The east wing pivots through the long-defunct Security room, a tight space with busted electronics offering ambush potential against enemies in the Lobby and bursting in from Caravan. When there’s a lot of action inside, hop up onto the longer desk and attack enemies as they pass through.
ADDITIONAL AREA: Tower Loop
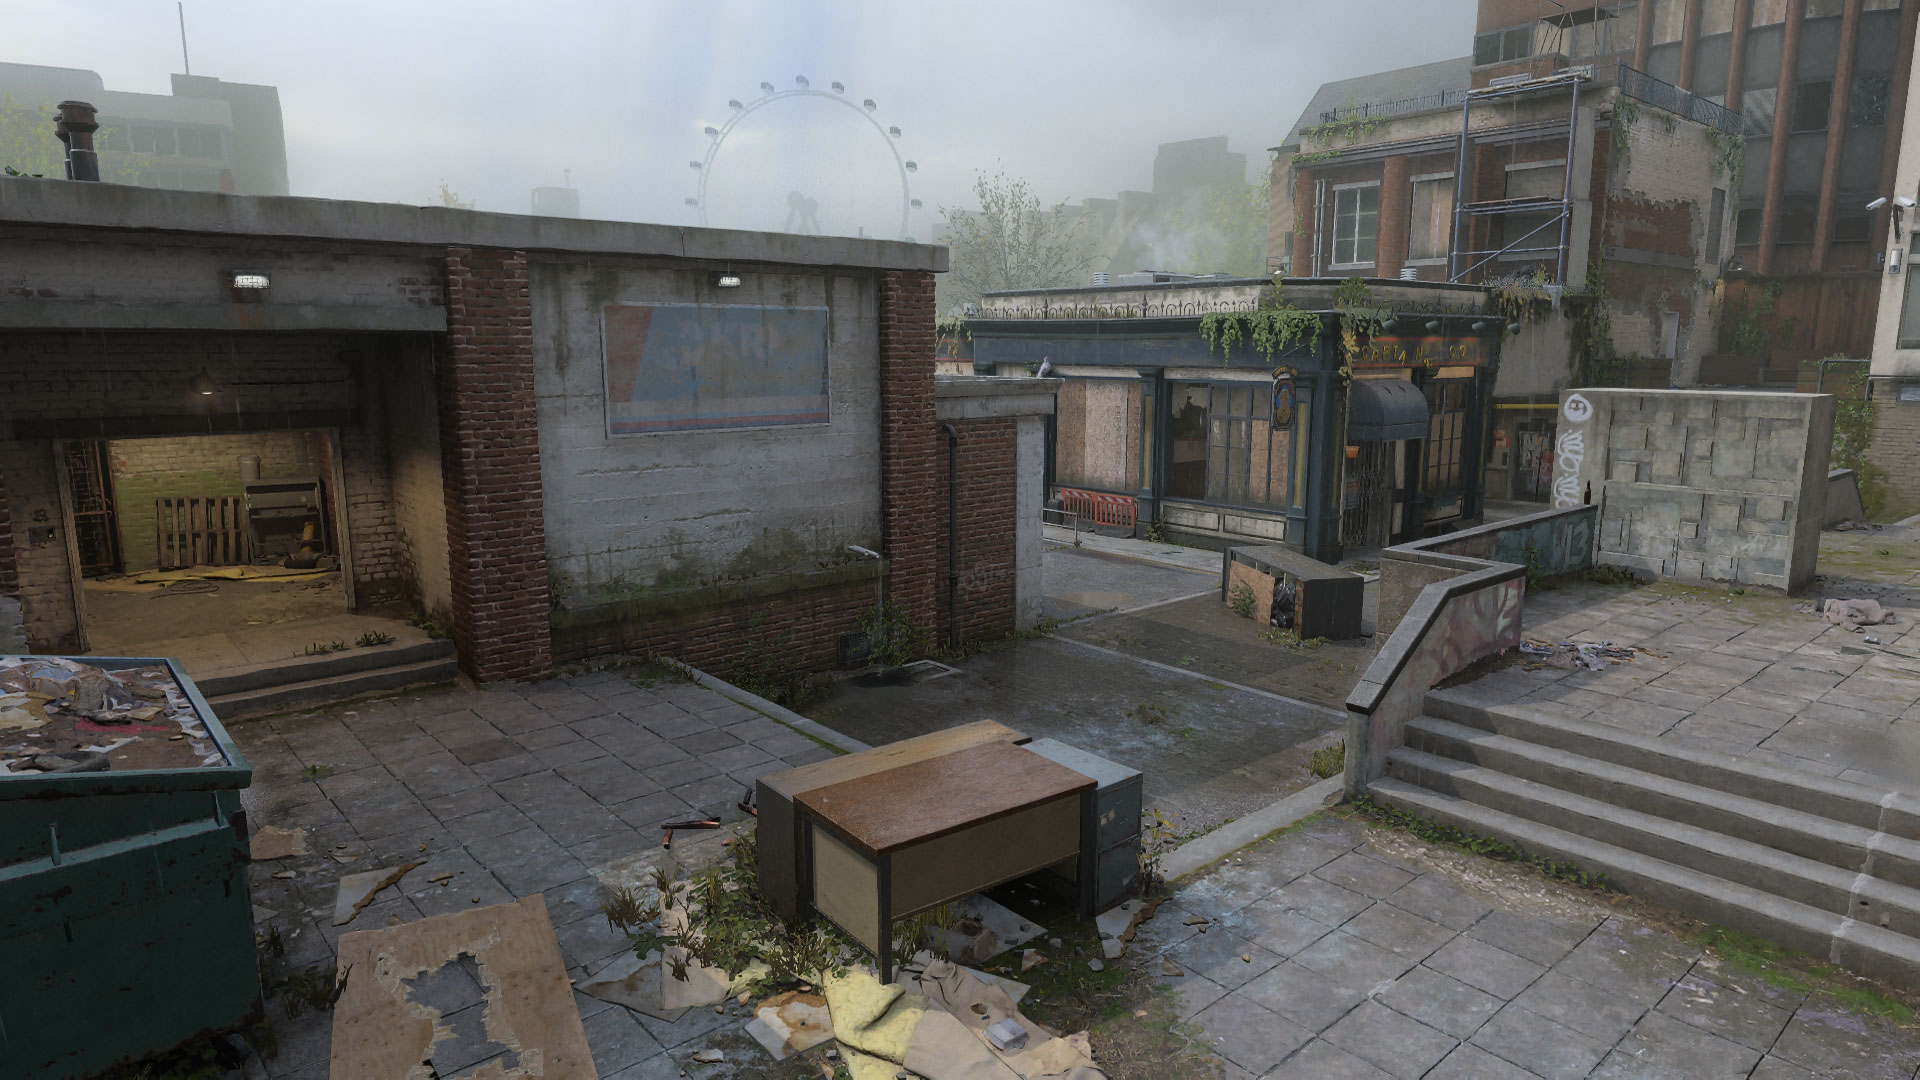
All pathways lead back to the central Tower Loop, consisting of the steps and tiled walkway in front of the SKN Comms building and the lower street passing by the Pub and Boat House and sloping down toward the Docks.
Situational awareness is crucial when moving through here to help pinpoint the best available cover. Unless there’s imminent danger from SKN Comms, the upper walkway is generally the safer route, its low stone walls and the thick center slab providing some protection against attacks from the south and to either side respectively.
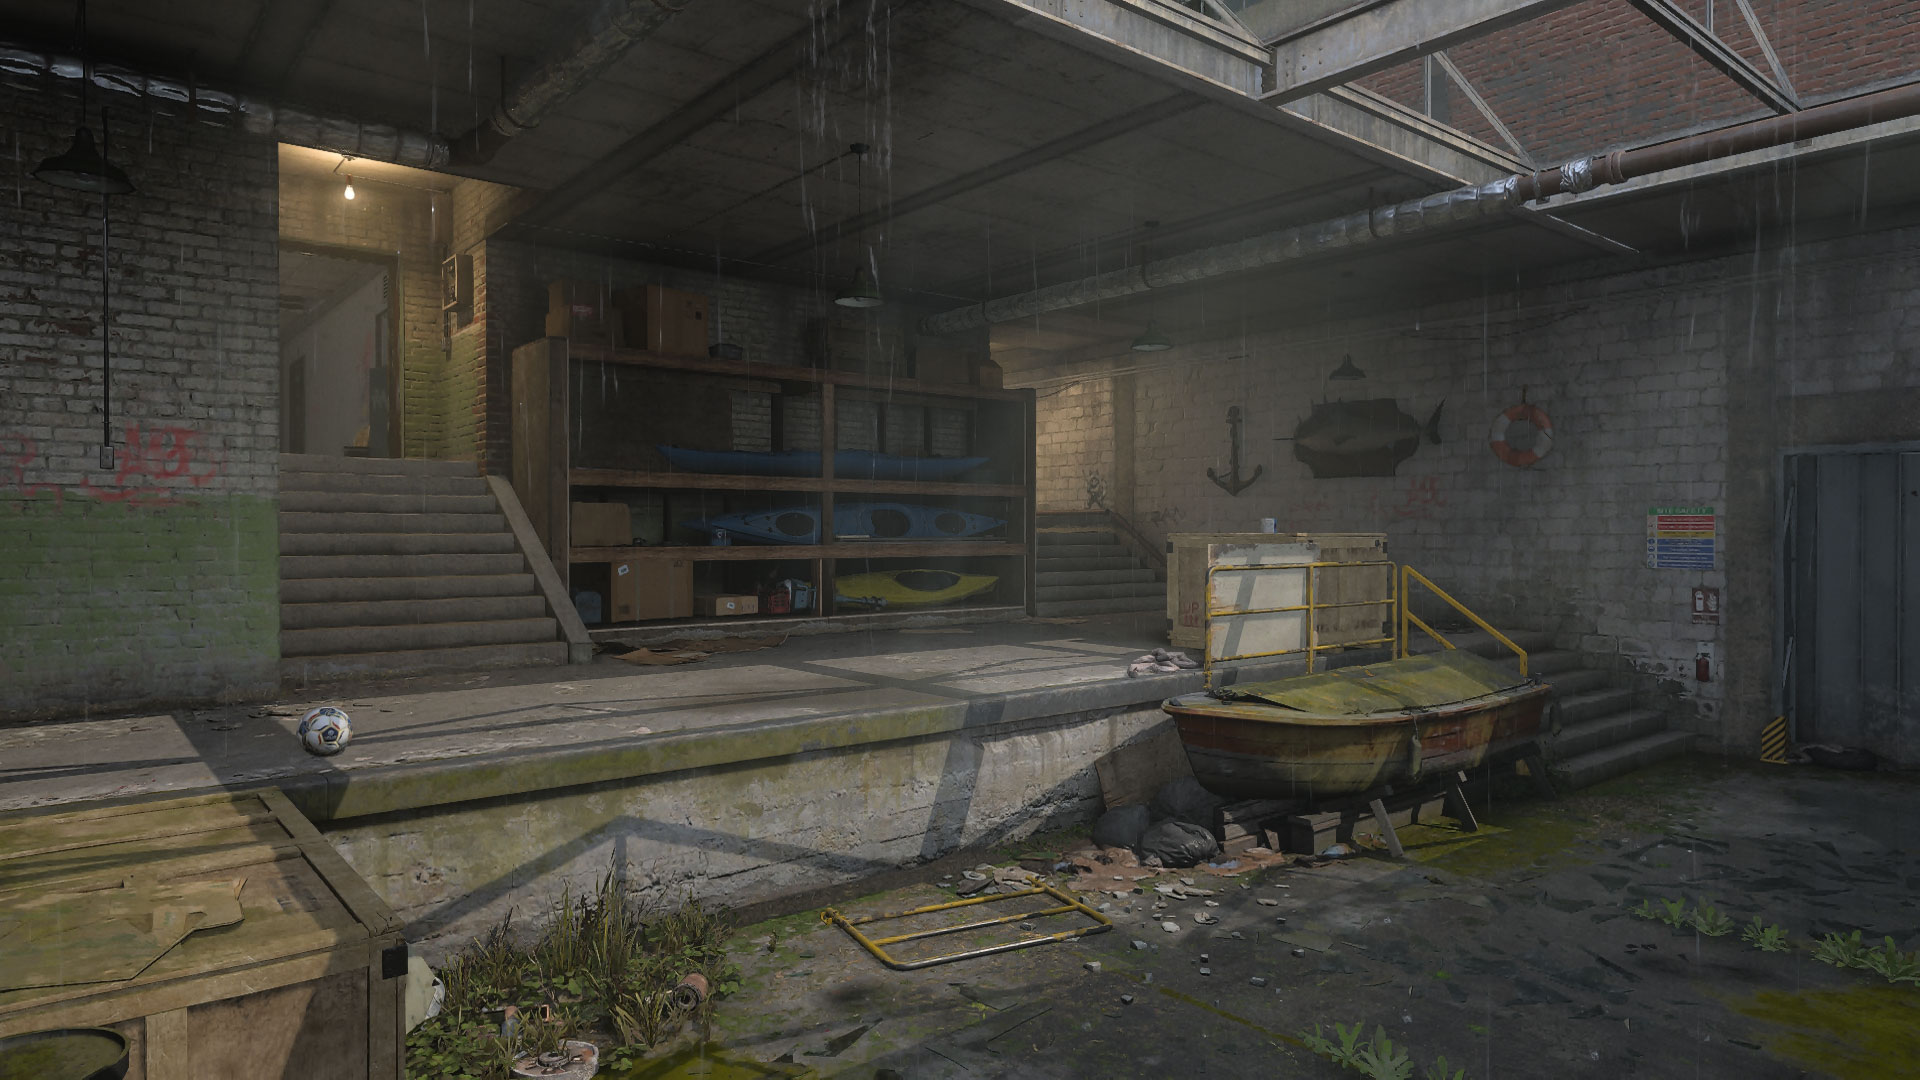
Toward the Dock, the Pub and Boat House offer additional interior spaces to traverse. Only the front of the Pub is accessible, as furniture and plywood have been stacked up to prevent further access within. This makes the interior more of a pathway to pivot between lanes, or as an ambush point to eliminate enemies moving between the Dock and Tower Loop. Be ready to move once you’ve drawn attention, as its tight confines make the area susceptible to grenades and rush attacks.
The Boat House provides more substantial room with entryways from the East Dock, Caravan, Apartment, and the Tower Loop. Cover is sparse in here, so use the walls and staircases to manage your angles and elevation and watch that minimap to help anticipate the next attack. Be ready with a Trophy System when defending objectives here.
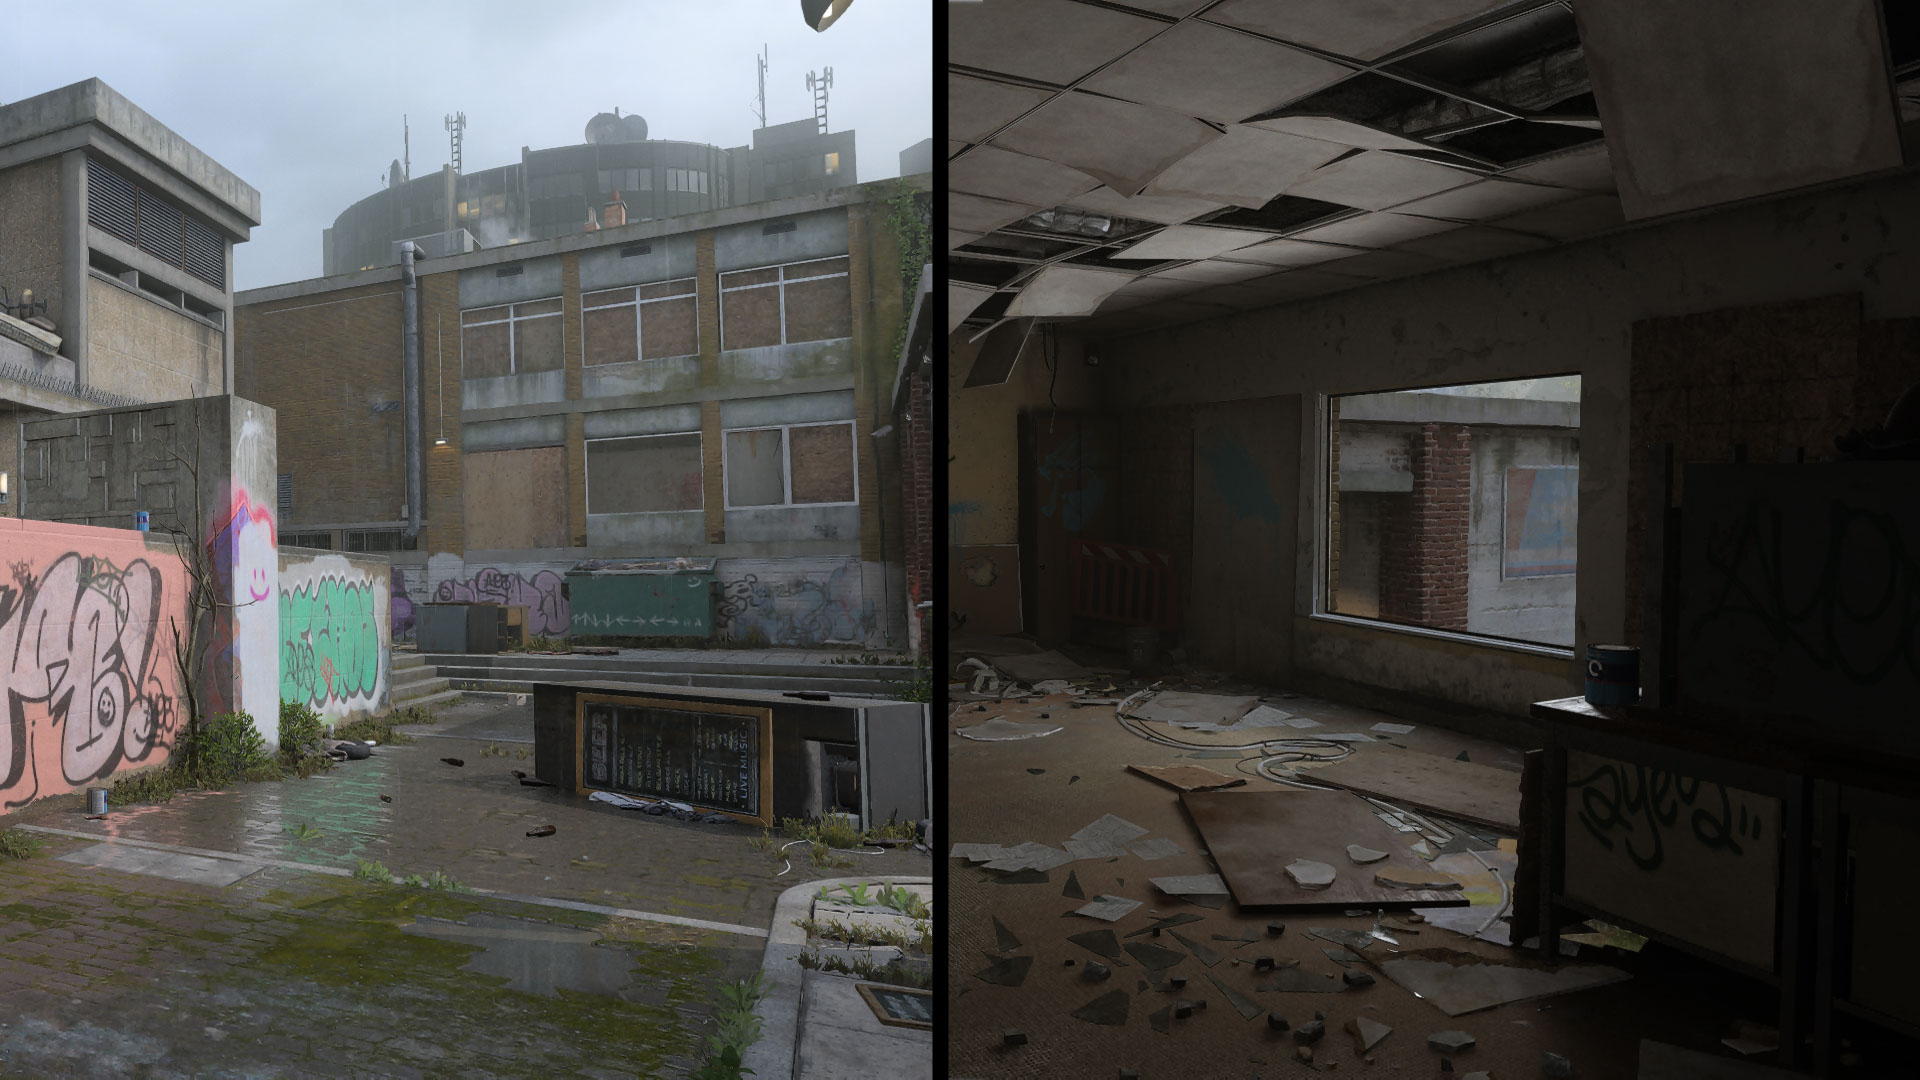
If you spot an enemy in either position, take them down head on or sneak up from behind and eliminate them with a Finishing Move to usurp their position and be ready to fight back when they come seeking vengeance.
ADDITIONAL AREA: Dock
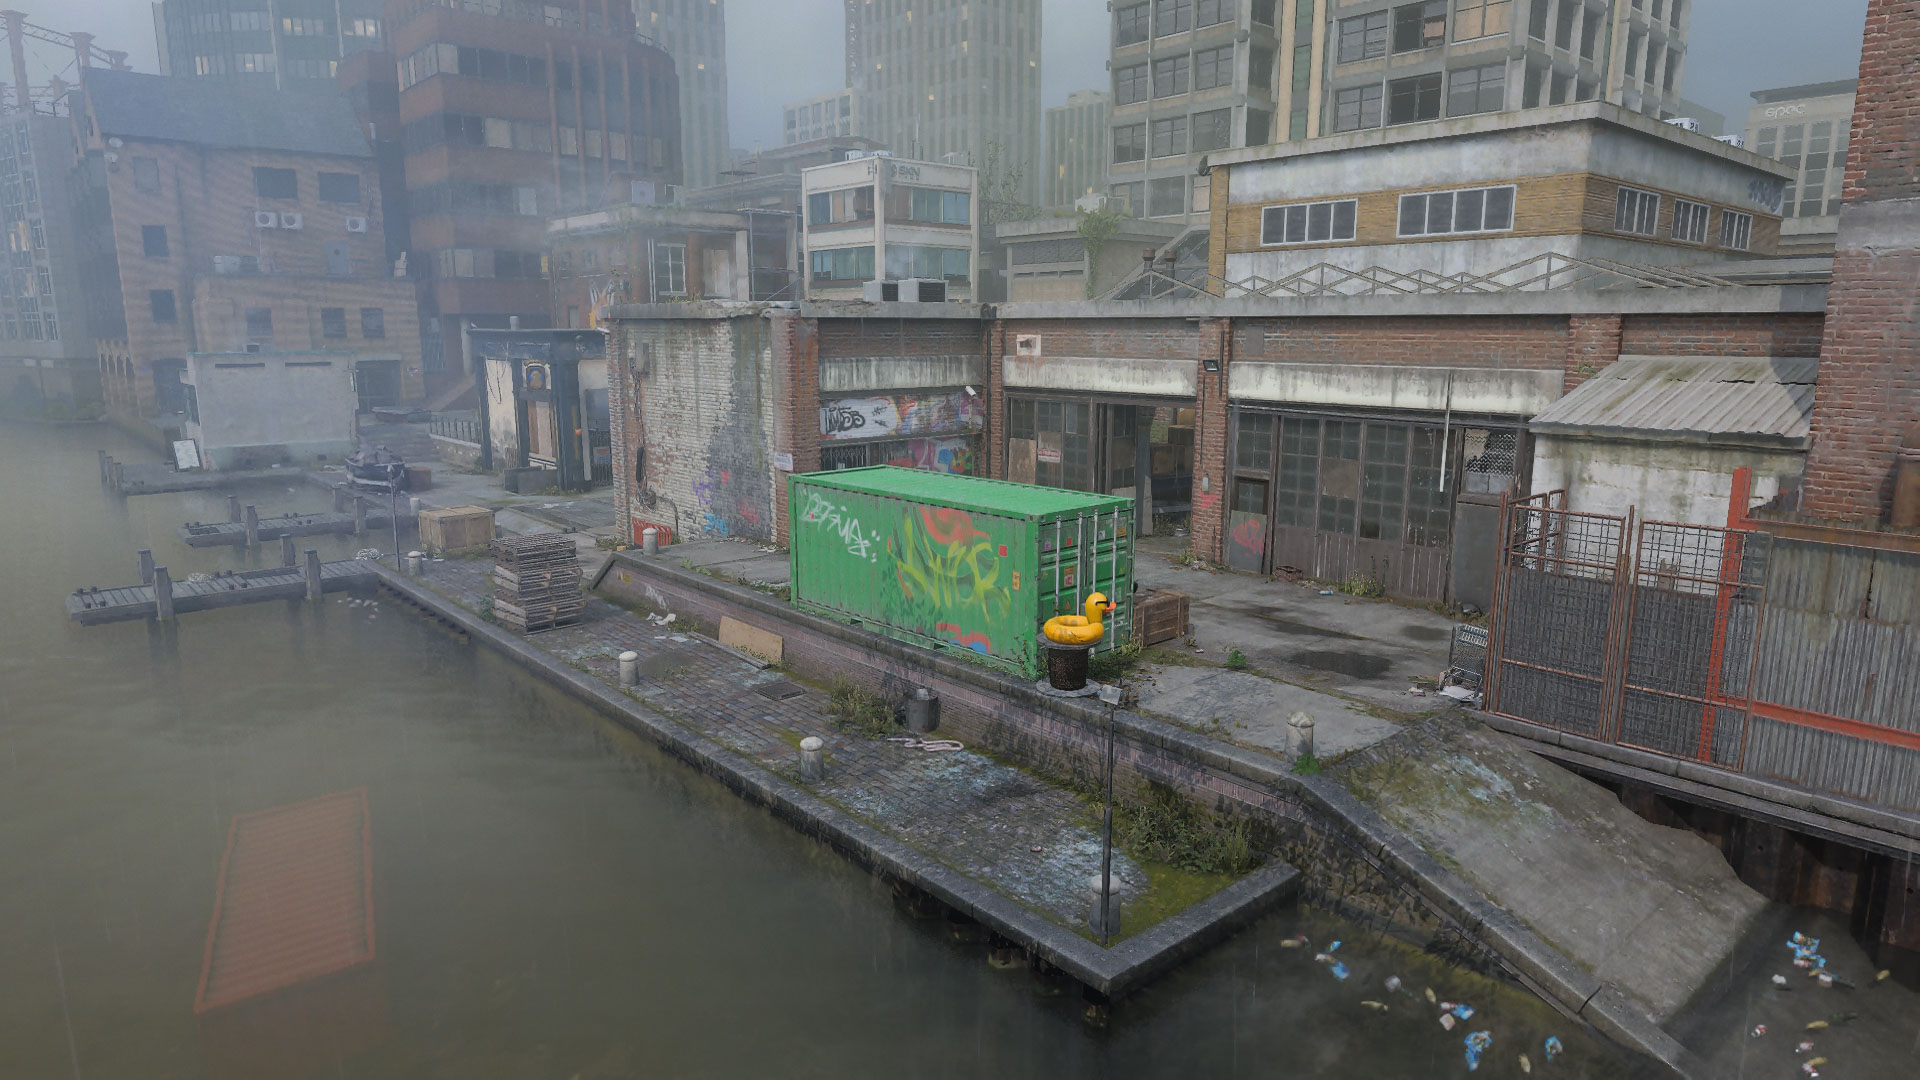
The Dock offers the greatest opportunity for long-ranged combat, stretching over the whole length of the map. From the Boat House, you’ll emerge onto the East Dock, dominated by the large green container which can be used as a vantage point or a cover object against incoming fire. Stay on the upper platform to better control your angles when moving along the Dock or drop down to take advantage of a longer view.
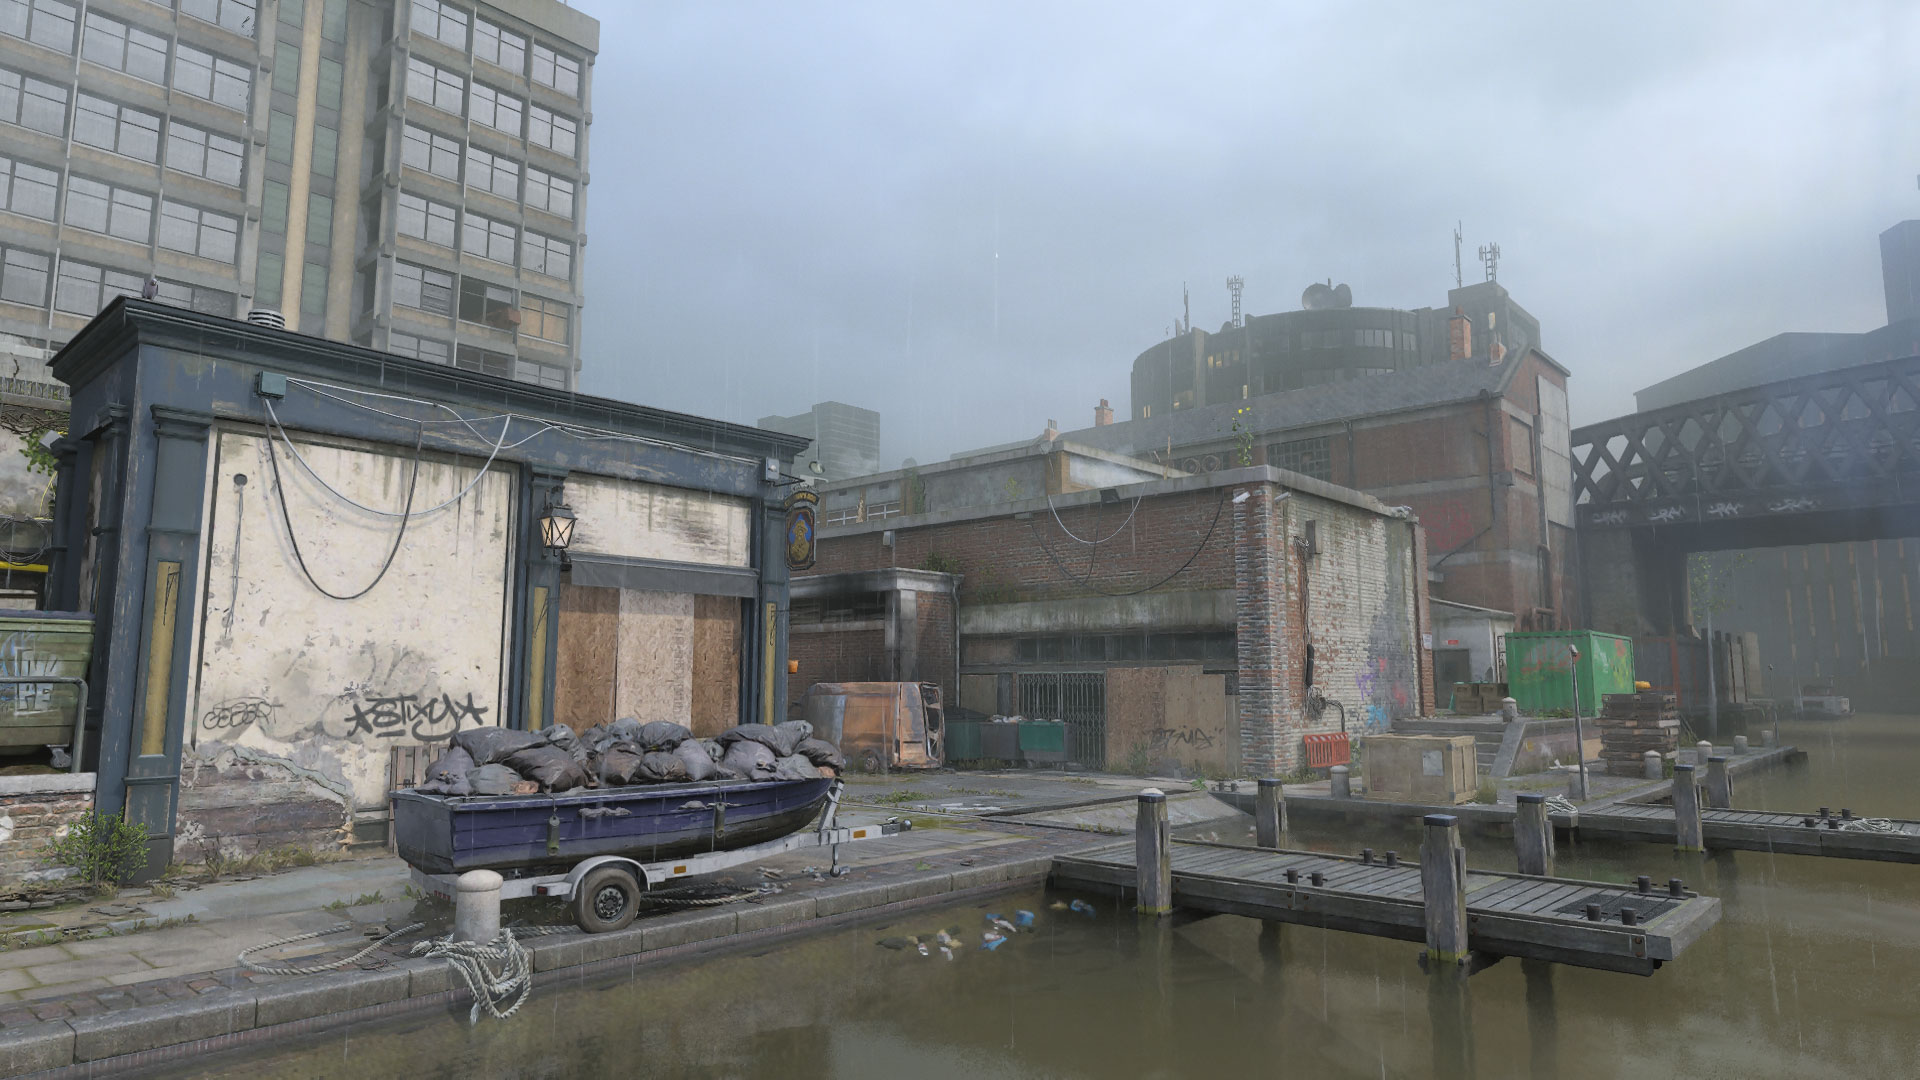
Be careful when crossing over the Central Slip, open as it is to views from the Tower Loop. The wooden crate here is your best cover option when battling enemies from that direction.
If a fight starts going downhill, you can always jump into the Canal, its murky waters offering Operators the chance to escape or slip by the enemy. You’ll need to stay somewhat near the Dockside when swimming here, as navigating too far toward the other side or on either end will lead you outside of the combat zone.
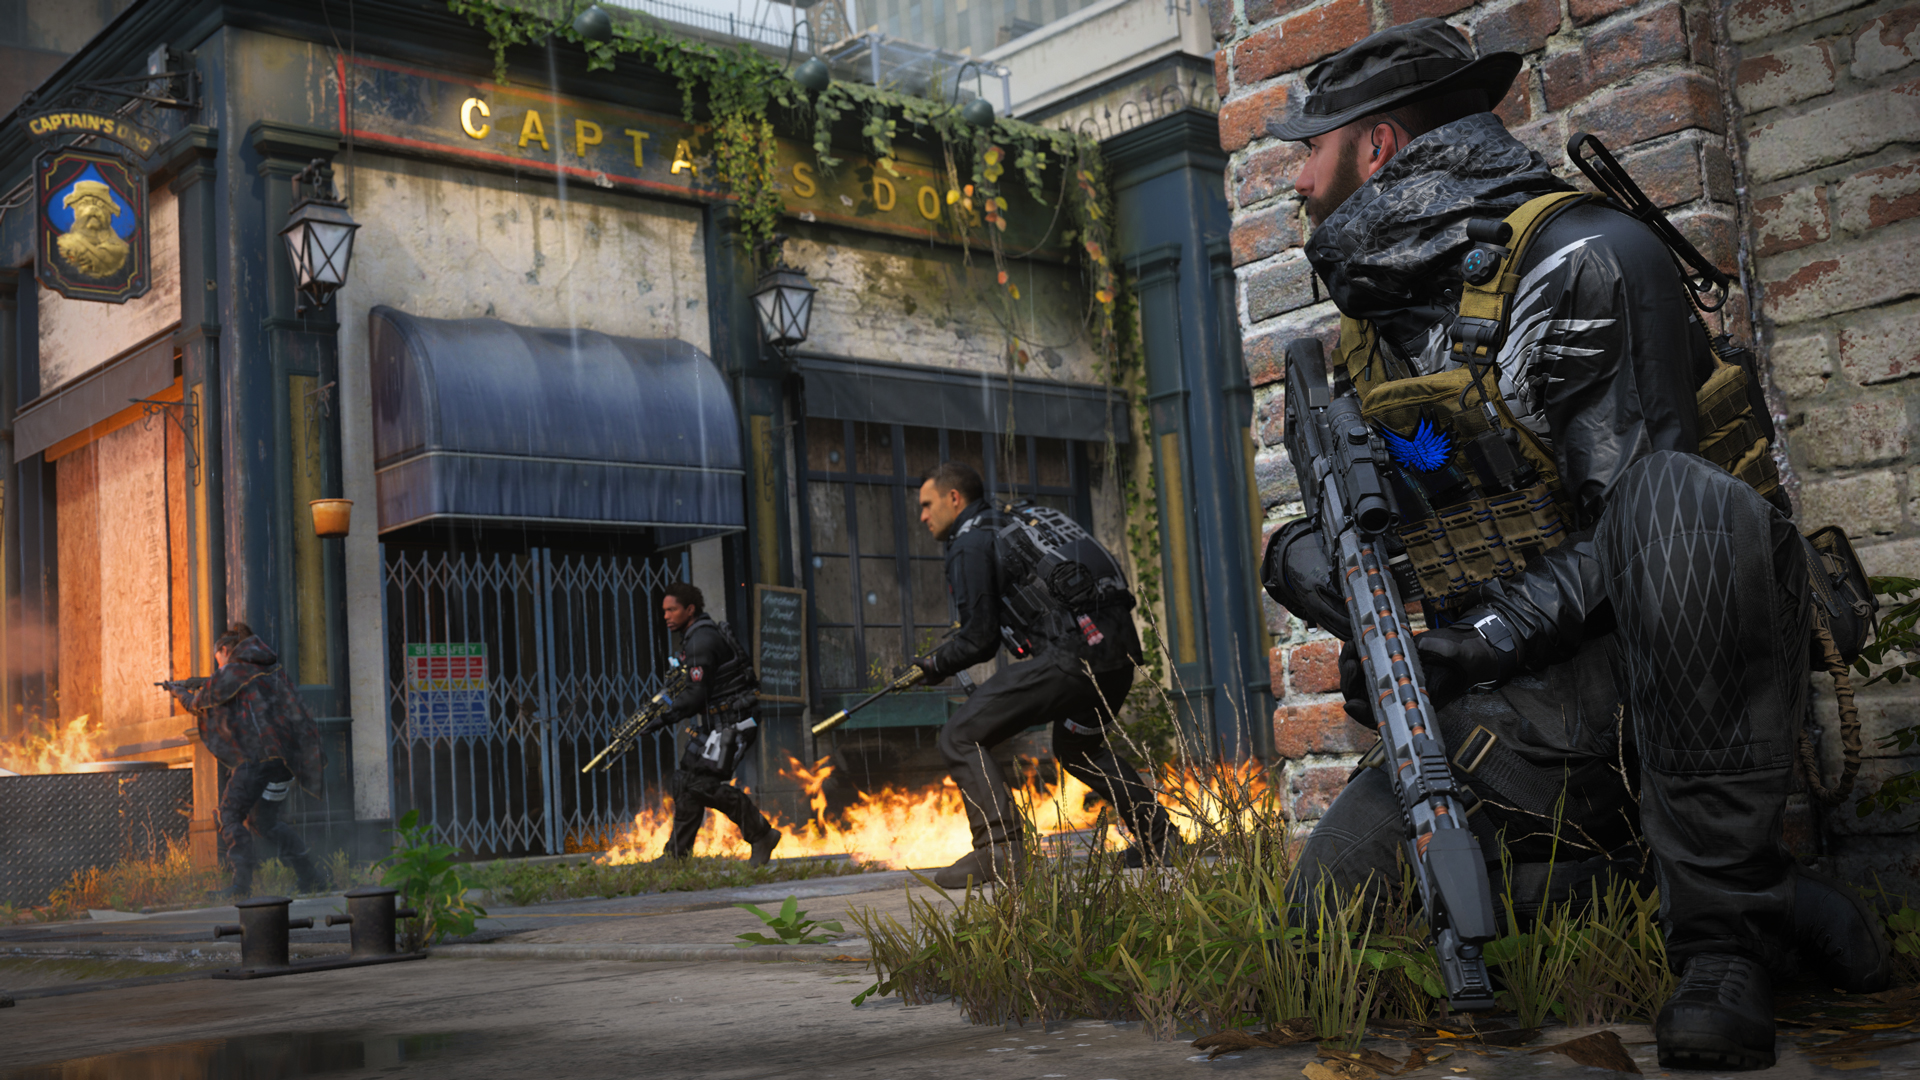
1. Get dirty. In this part of town, everything’s fair game. Get down and dirty with mean tricks like dropping a Proximity Mine in the Pub, holding up in the Boat House with a Shotgun, and setting up a Remote Turret in the Apartment overlooking the Tower Loop. Whatever it takes to get the job done, do it.
2. Entrenched. The Lobby and Boat House are often the site of objectives on Grime. Utilize your entire Loadout when attacking and defending these locations. Lead with grenades, activate your Field Upgrade, and swap weapons when the fighting gets intense and there’s no time to reload. The more tools you bring to bear, the better your chances of securing the point.
3. Find a way. Climb over the dumpster in the western Plaza to reach the upper windows of Reception, also accessible with a jump from the desk over the plywood sheets inside. Though you’re confined to a slim ledge, the view over the Plaza and Alley — and a sliver of the West Dock if you edge out the window — is well worth the limited mobility.
4. Mount up. Grime features a variety of waist- height cover such as the desks in Lobby and Reception, the kegs behind the Pub, and the overturned beer fridge in the middle of the Tower Loop. When using these for defense, mount your weapon to crouch down and limit your exposure while improving the accuracy of your shots.
5. Underwater operations. Swimming in the Canal doesn’t have to be a mad dash back to the safety of the surface. Equip your favored Handgun and attachments to become a force underwater, eliminating opposing swimmers with ease.
6. Pinch ‘em. Coordinate with a teammate to lock down the center by having one of you set up on the western Balcony and the other in the eastern Apartment. By holding down both vantage points over Tower Loop, enemies will be torn over how to respond before falling to your damage. Be aware that you’ll draw attention fast, so prepare the necessary defenses to help hold down your position.
7. Knocked off their perch. Fighting solo from the Balcony or Apartment? Bring along a Breacher Drone and send it over the Tower Loop to blast enemies who appear on the opposite vantage point. Equip the new Season 3 Modular Assault Rig Vest to resupply the Breacher Drone from fallen players to keep your stock filled.
8. Marked up. Equip the new EMD Mine arriving in Season 3 Reloaded and set it up in the SKN Comms building or the Boat House. When triggered, tracker devices shoot out toward nearby enemies, lighting up their position on the minimap. Their attempts at outmaneuvering you in these tight spaces are now futile.
9. Shrug it off. Equip Season 3’s Compression Carrier Vest for its ability to regenerate health after eliminating an enemy Operator or capturing an objective. This allows you to play more aggressively without the need to fall back and recover after every skirmish, helping to move more quickly through high-traffic areas like the Lobby, Tower Loop, and Docks.
10. Reboot comms. The comms building may be down, but that doesn’t mean you can’t perfect your own team communication. Get on your mic and call out enemy positions, coordinate attacks, and get your squad working together. Group up with some friends to further tighten your teamwork and benefit from additional XP bonuses.
And most importantly:

© 2024 Activision Publishing, Inc. ACTIVISION, CALL OF DUTY, and MODERN WARFARE are trademarks of Activision Publishing, Inc. All other trademarks and trade names are the property of their respective owners.
For more information, please visit www.callofduty.com and www.youtube.com/callofduty, and follow @Activision and @CallofDuty on X, Instagram, and Facebook. For Call of Duty Updates, follow @CODUpdates on X.
