Modern Warfare III Multiplayer Map Guide — Paris

Prebrief
Battle erupts in the City of Love as Operators deploy to Paris, fighting around a Police Station and Gallery with the iconic tower looming in the background. The two center buildings dominate this mid-sized map while the streets around them pass by apartments, shops, and cafés.
The city’s wide roads leave plentiful room for action on the ground in addition to some smaller interior spaces providing the means to get out of sight or set up an ambush. Consult this guide before heading into the metropolis for the full lay of the land.


-
Show areas

-
Show hardpoints

-
Show domination flags

-
Show search & destroy sites
-
Show spawn points

-
Reset all overlays

// INTEL CARD
- MWIII
- WZ
- WZM
Paris
// MULTIPLAYER MAPS // CORE
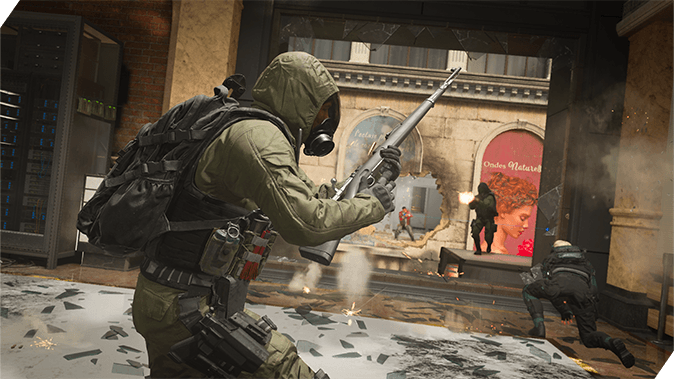
Survey the main buildings: The Police Station and Gallery hold predominant positions on the map. Take a tour through each and note all the windows and entryways. Internalizing their layout will pay off in future matches, whether you’re inside seeking out the next vantage point or on the street aiming to counter them.
Control the streets: Dominating the streets requires strategic planning of your every move, namely the way you control sight lines from the main buildings or down the other side of the road. Use vehicles and other large cover objects to reduce your visibility while traveling.
Mind the noise: Consider equipping a suppressor attachment to stay off the enemy’s radar when firing. Not knowing whether you’re inside or out will throw off the enemy’s ability to fight back. Bring a Launcher to down UAVs before they can spoil your play.
Tactical Overview
In team-based modes, squads will either spawn near the Backlot (north) or the Plaza (south).
A Police Station and Gallery lie between the two points, the surrounding streets leading toward the famous landmark towering in the background.
We’ve divided Paris into four sections based on key areas around the map:
- MAIN SPAWN POINT: Backlot (+ Street, Upper Street, Bookstore)
- MAIN SPAWN POINT: Plaza (+ Street, Upper Street, Shop)
- ADDITIONAL AREA: Police Station
- ADDITIONAL AREA: Gallery
MAIN SPAWN POINT: Backlot (NORTH)
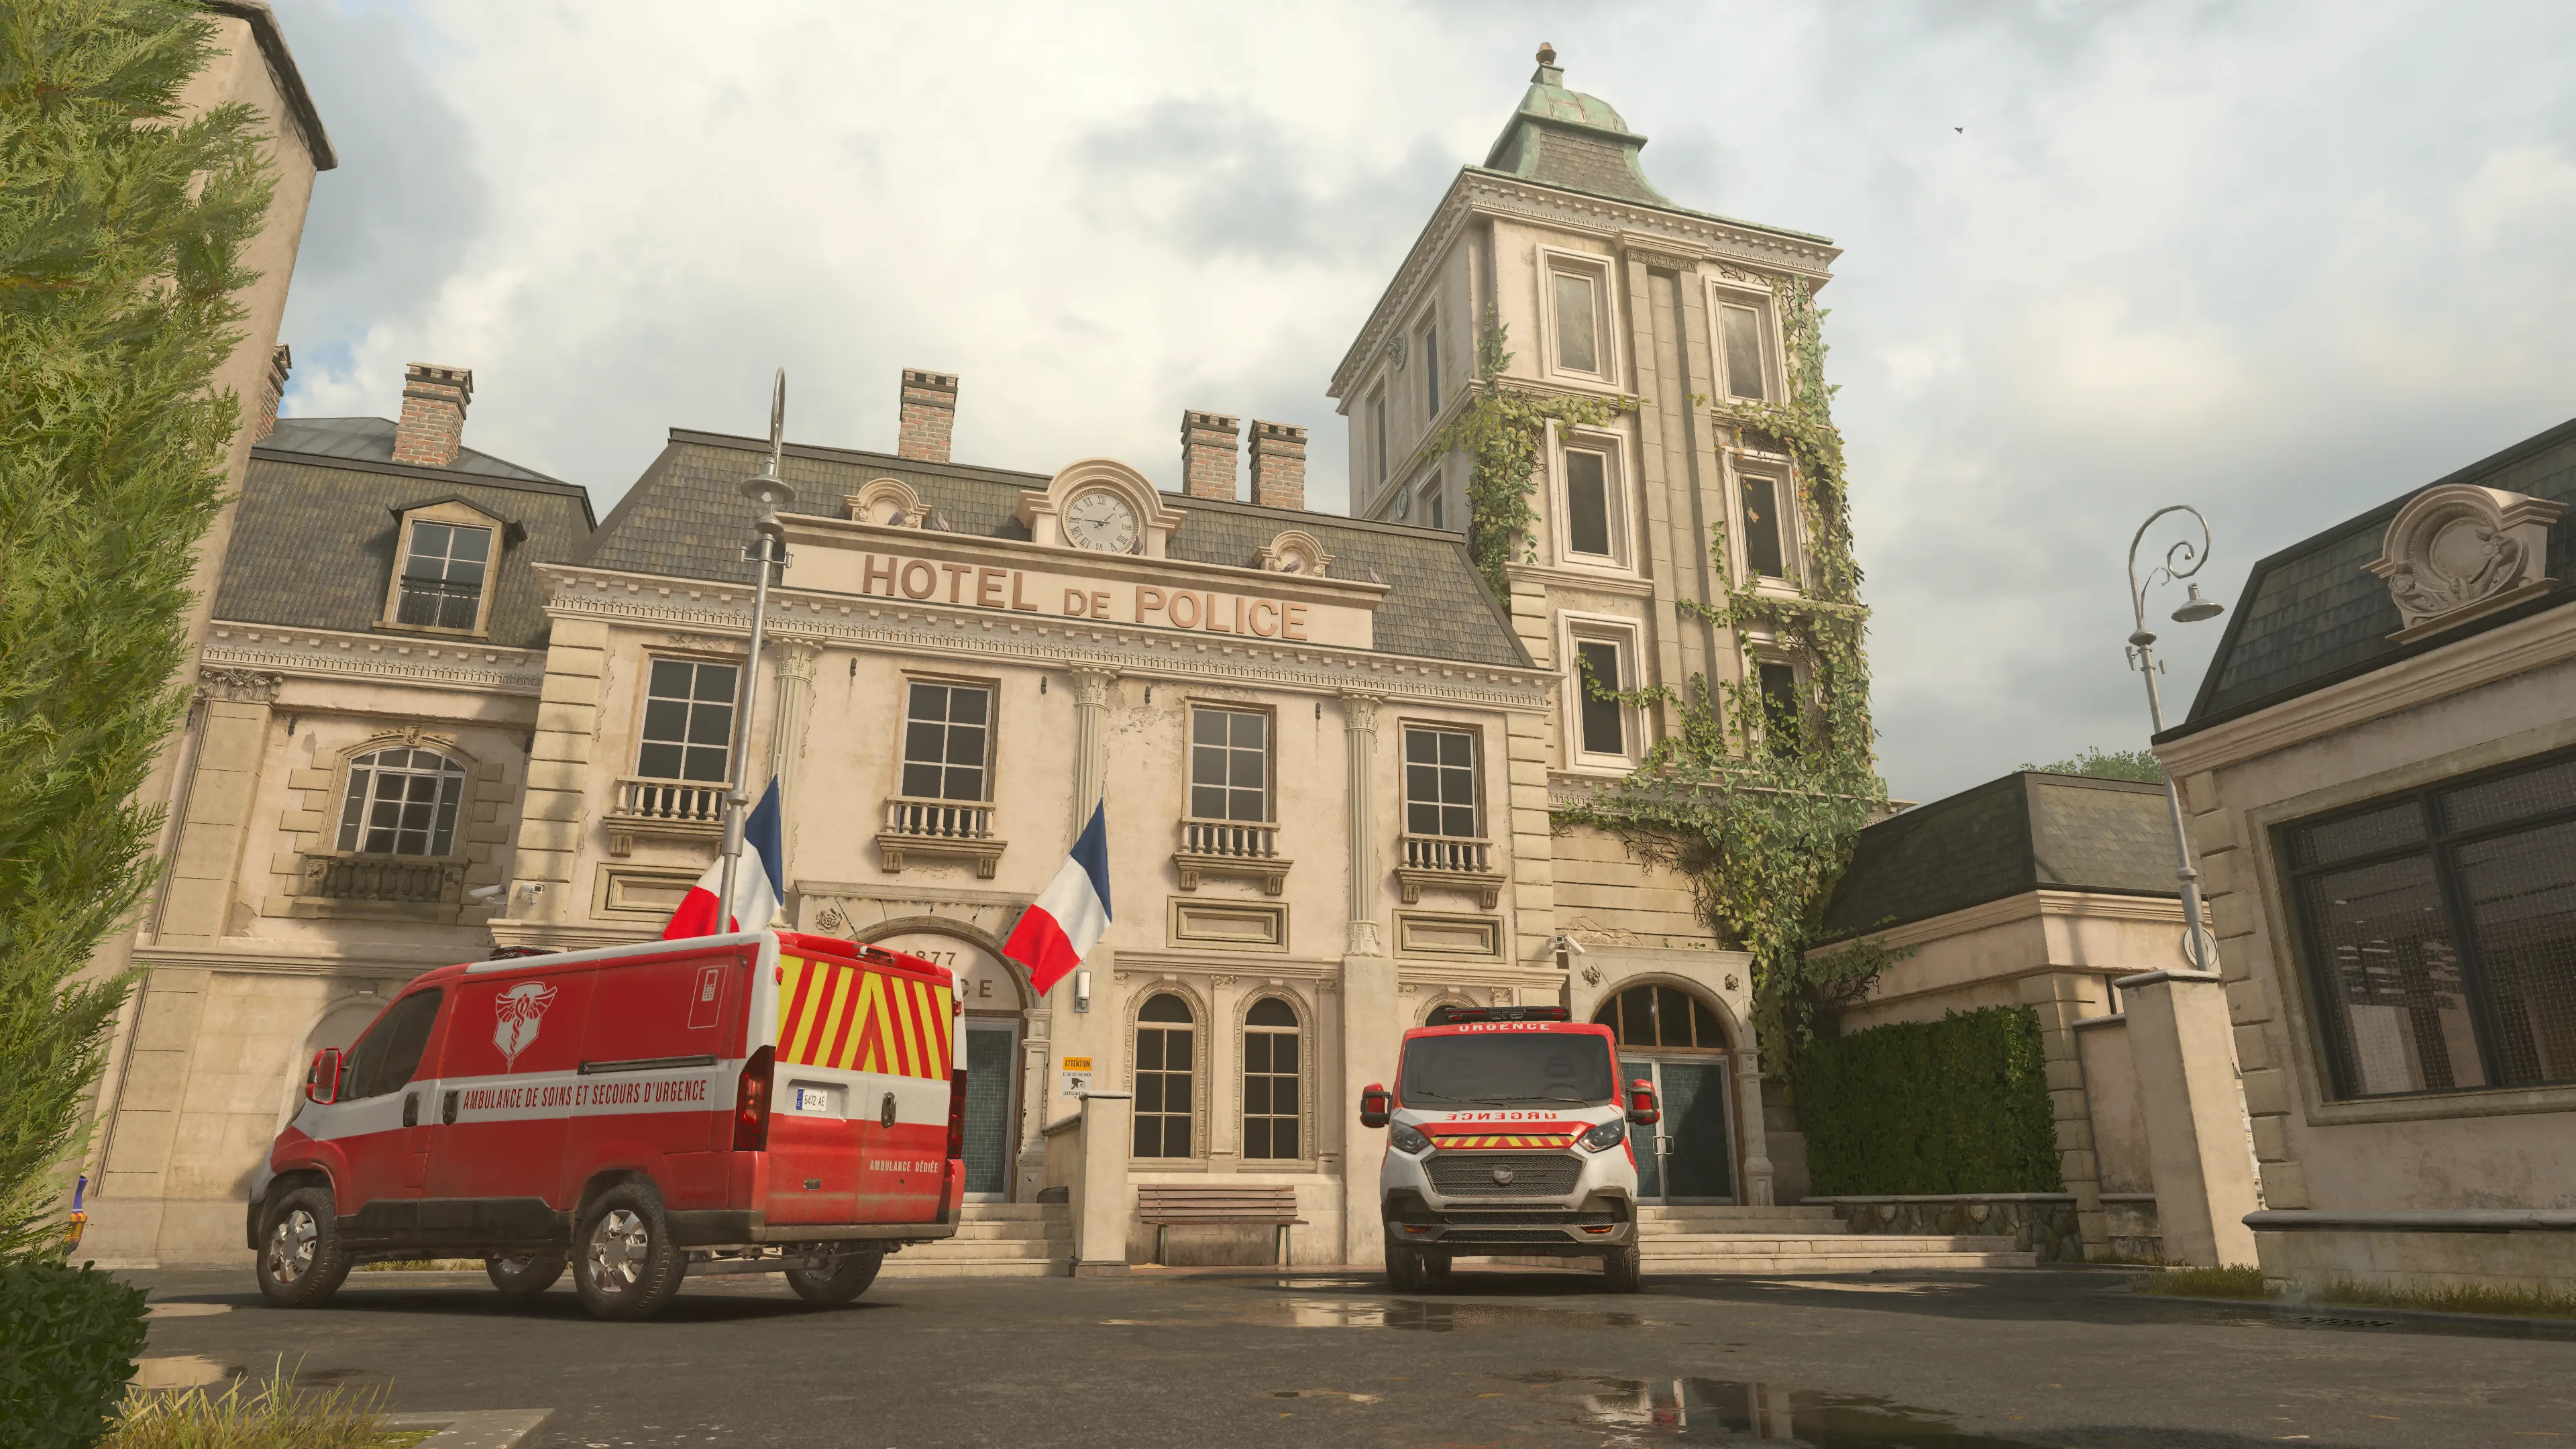
The Backlot places Operators on flat open ground with the parked vehicles being the main sources of cover when moving through the area. Climb on top of an ambulance for a better look around or use their bulk to control your sight lines on the ground. There are multiple pathways inbound to the Backlot from the Police Station and the outer streets, so you may not want to linger too long unless the objective calls for it.
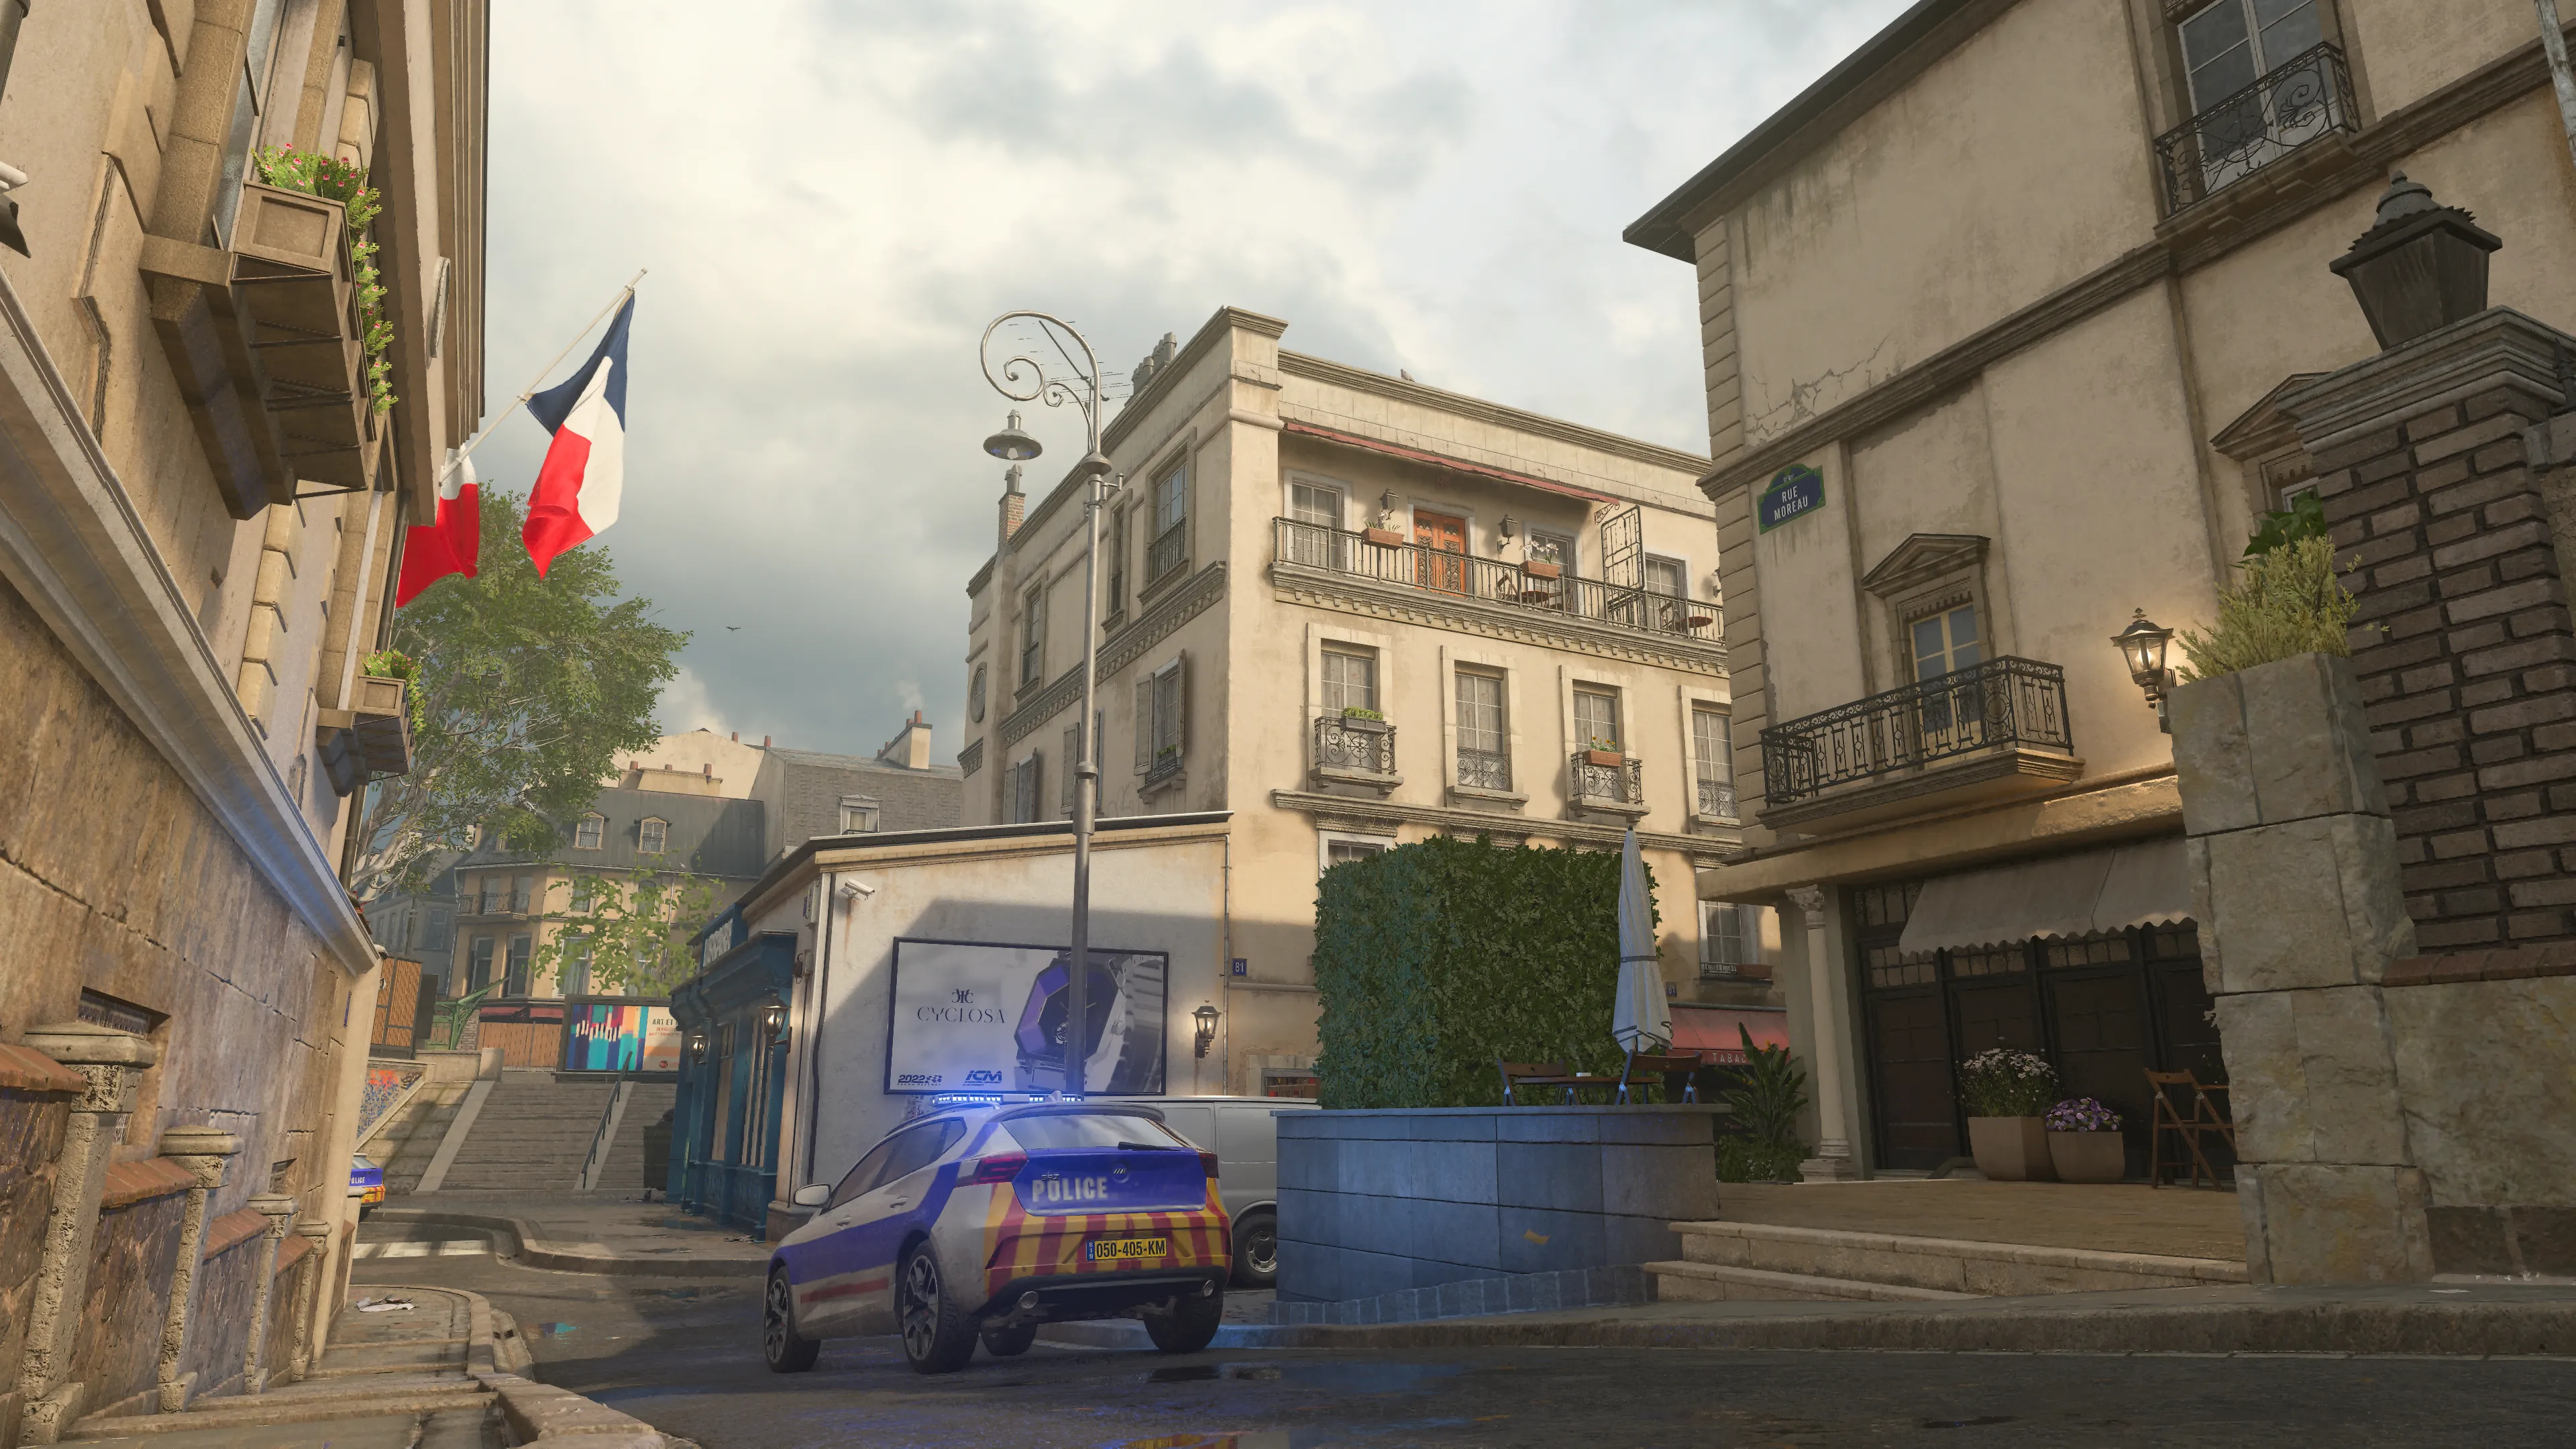
Players with long-ranged weapons may want to pivot directly to the western Street running down the map’s left side. There’s a clear view across—a sharpshooter’s dream—but scattered vehicles and the surrounding buildings offer ample opportunities for every playstyle to shine. Just keep in mind that whenever you’re out in full view, you’re gambling against the odds of running into a potential sniper of your own.
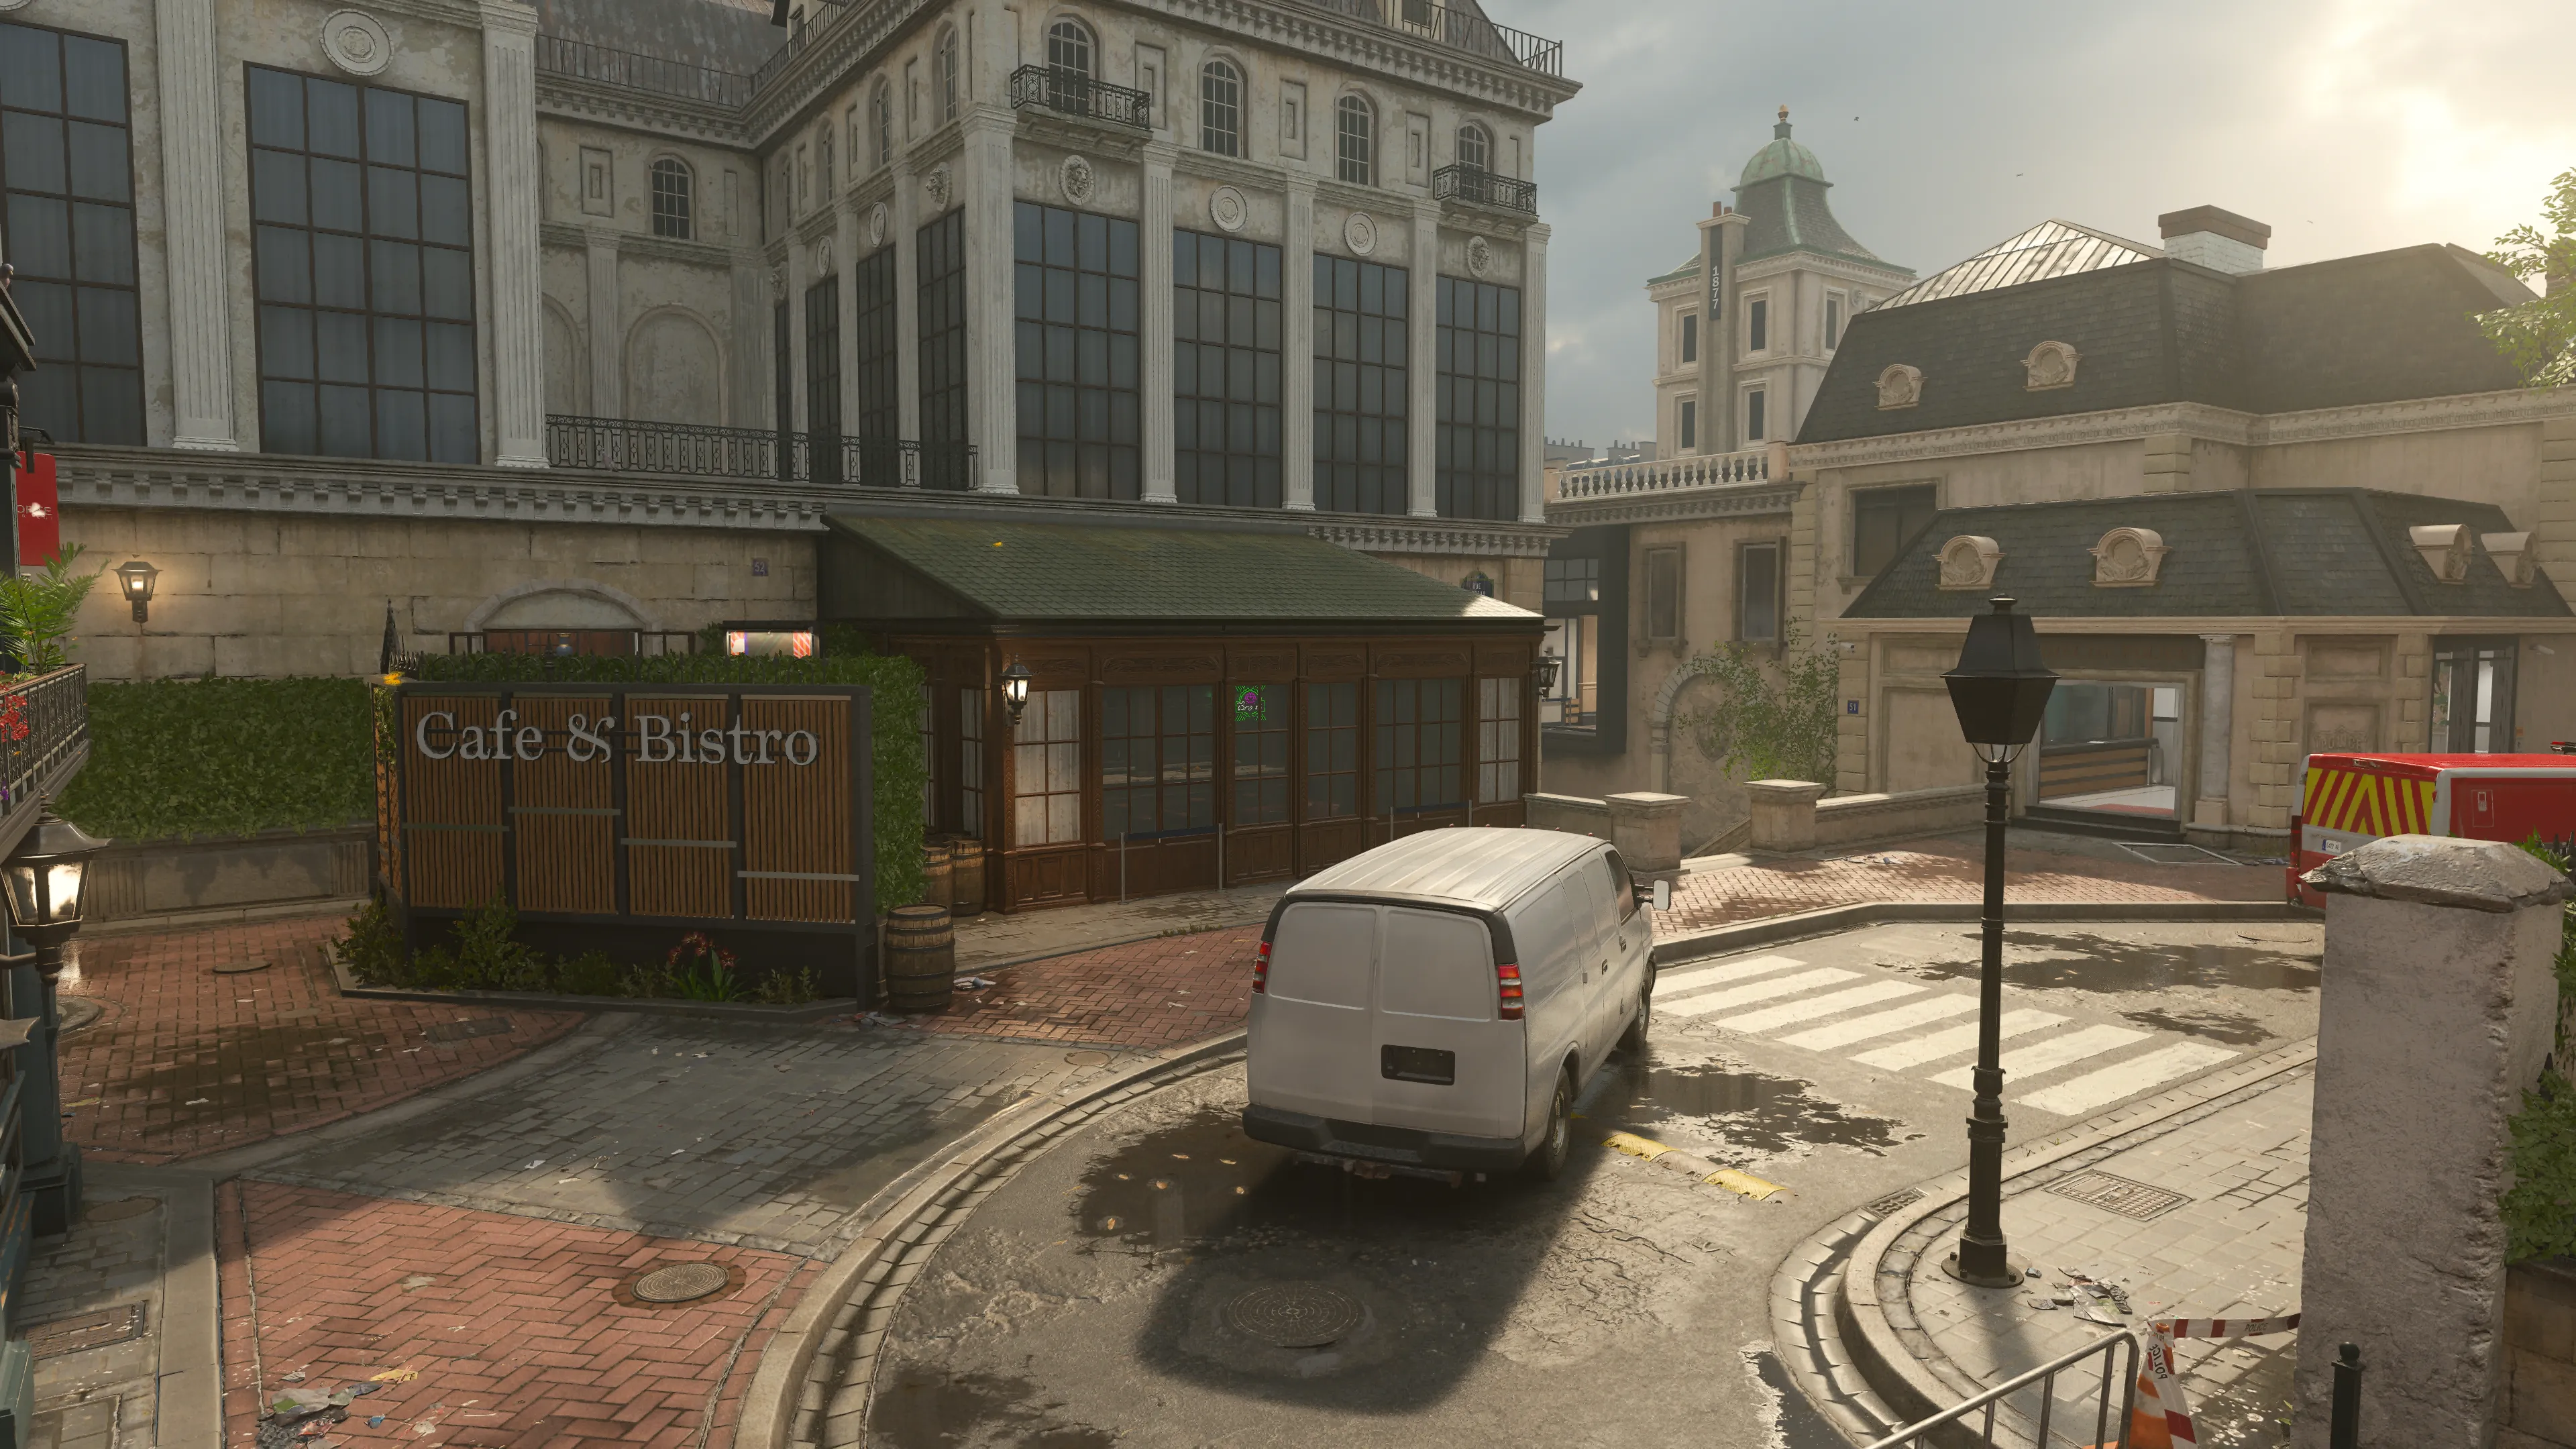
Upper Street on the map’s right side also provides longer sight lines, though at greater risk. The blasted hole in the Police Station wall and the large panes of glass in the lobby offer prime flanking paths into the area. The layout of the vehicles also makes it possible to cross Upper Street without overly exposing your position, allowing Operators to move into their ideal range. Watch that Gallery window, as it’s perfectly positioned to attack players moving through.
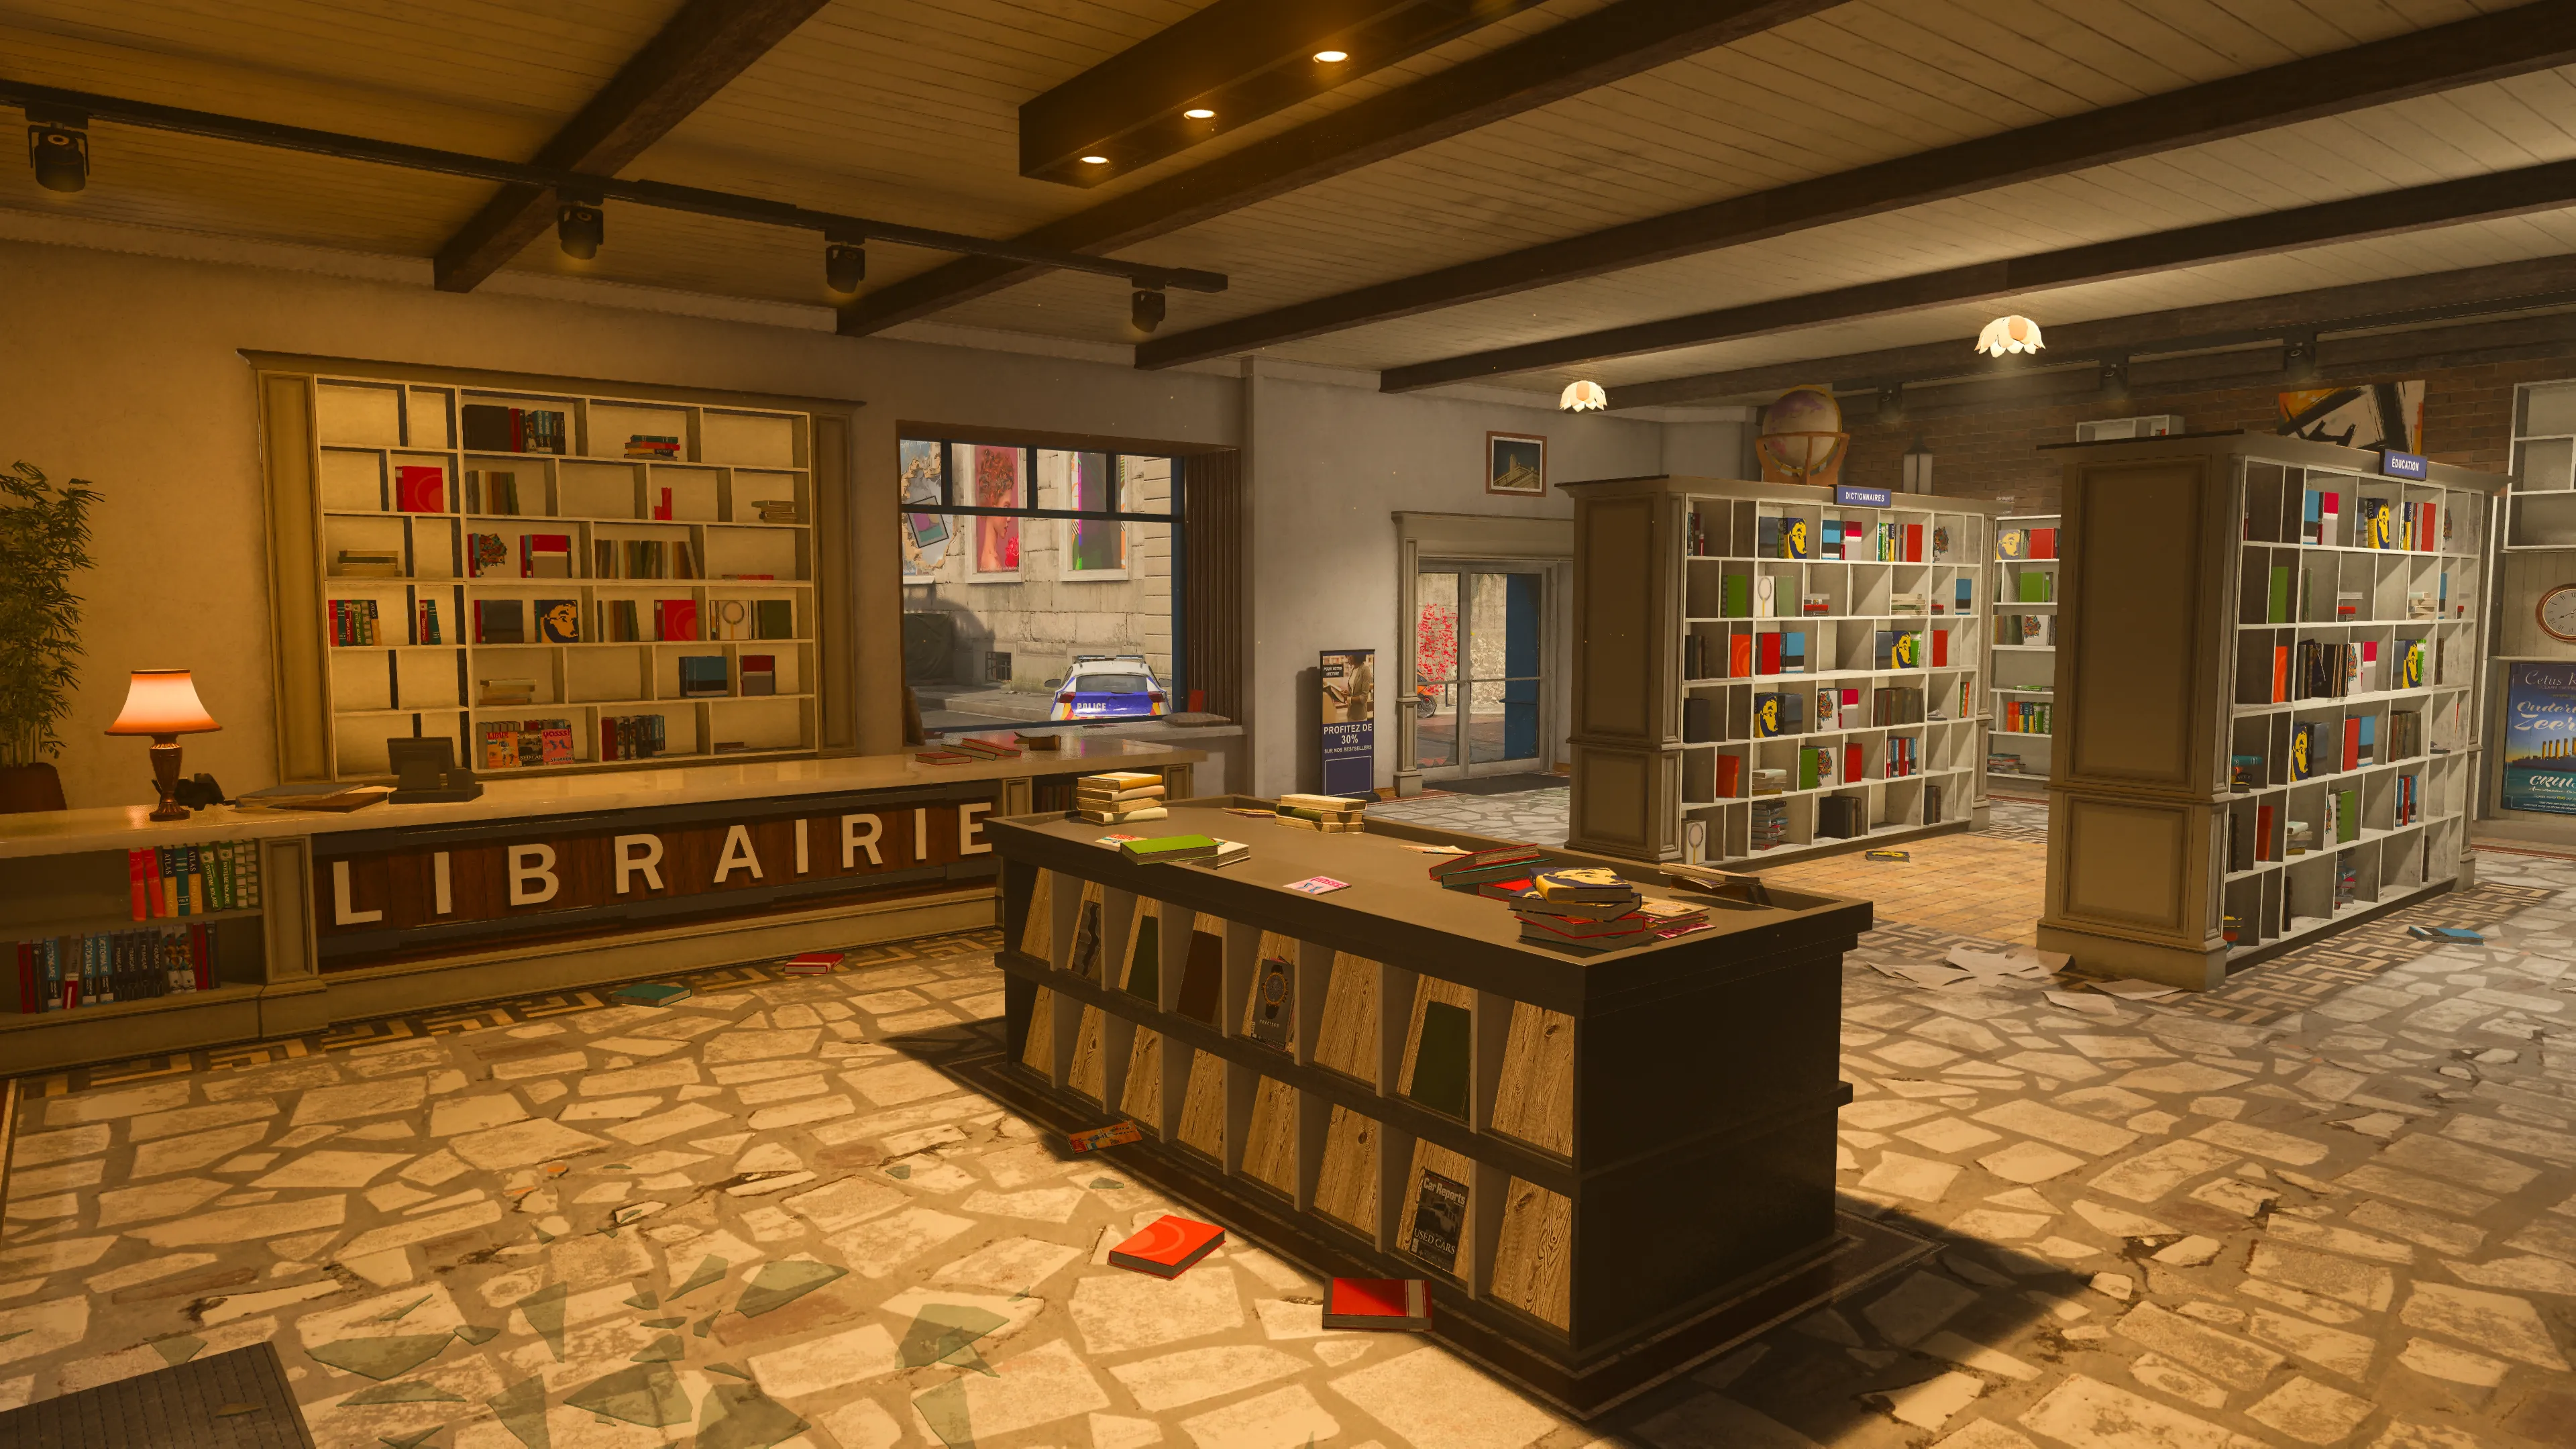
MAIN SPAWN POINT: Plaza (SOUTH)
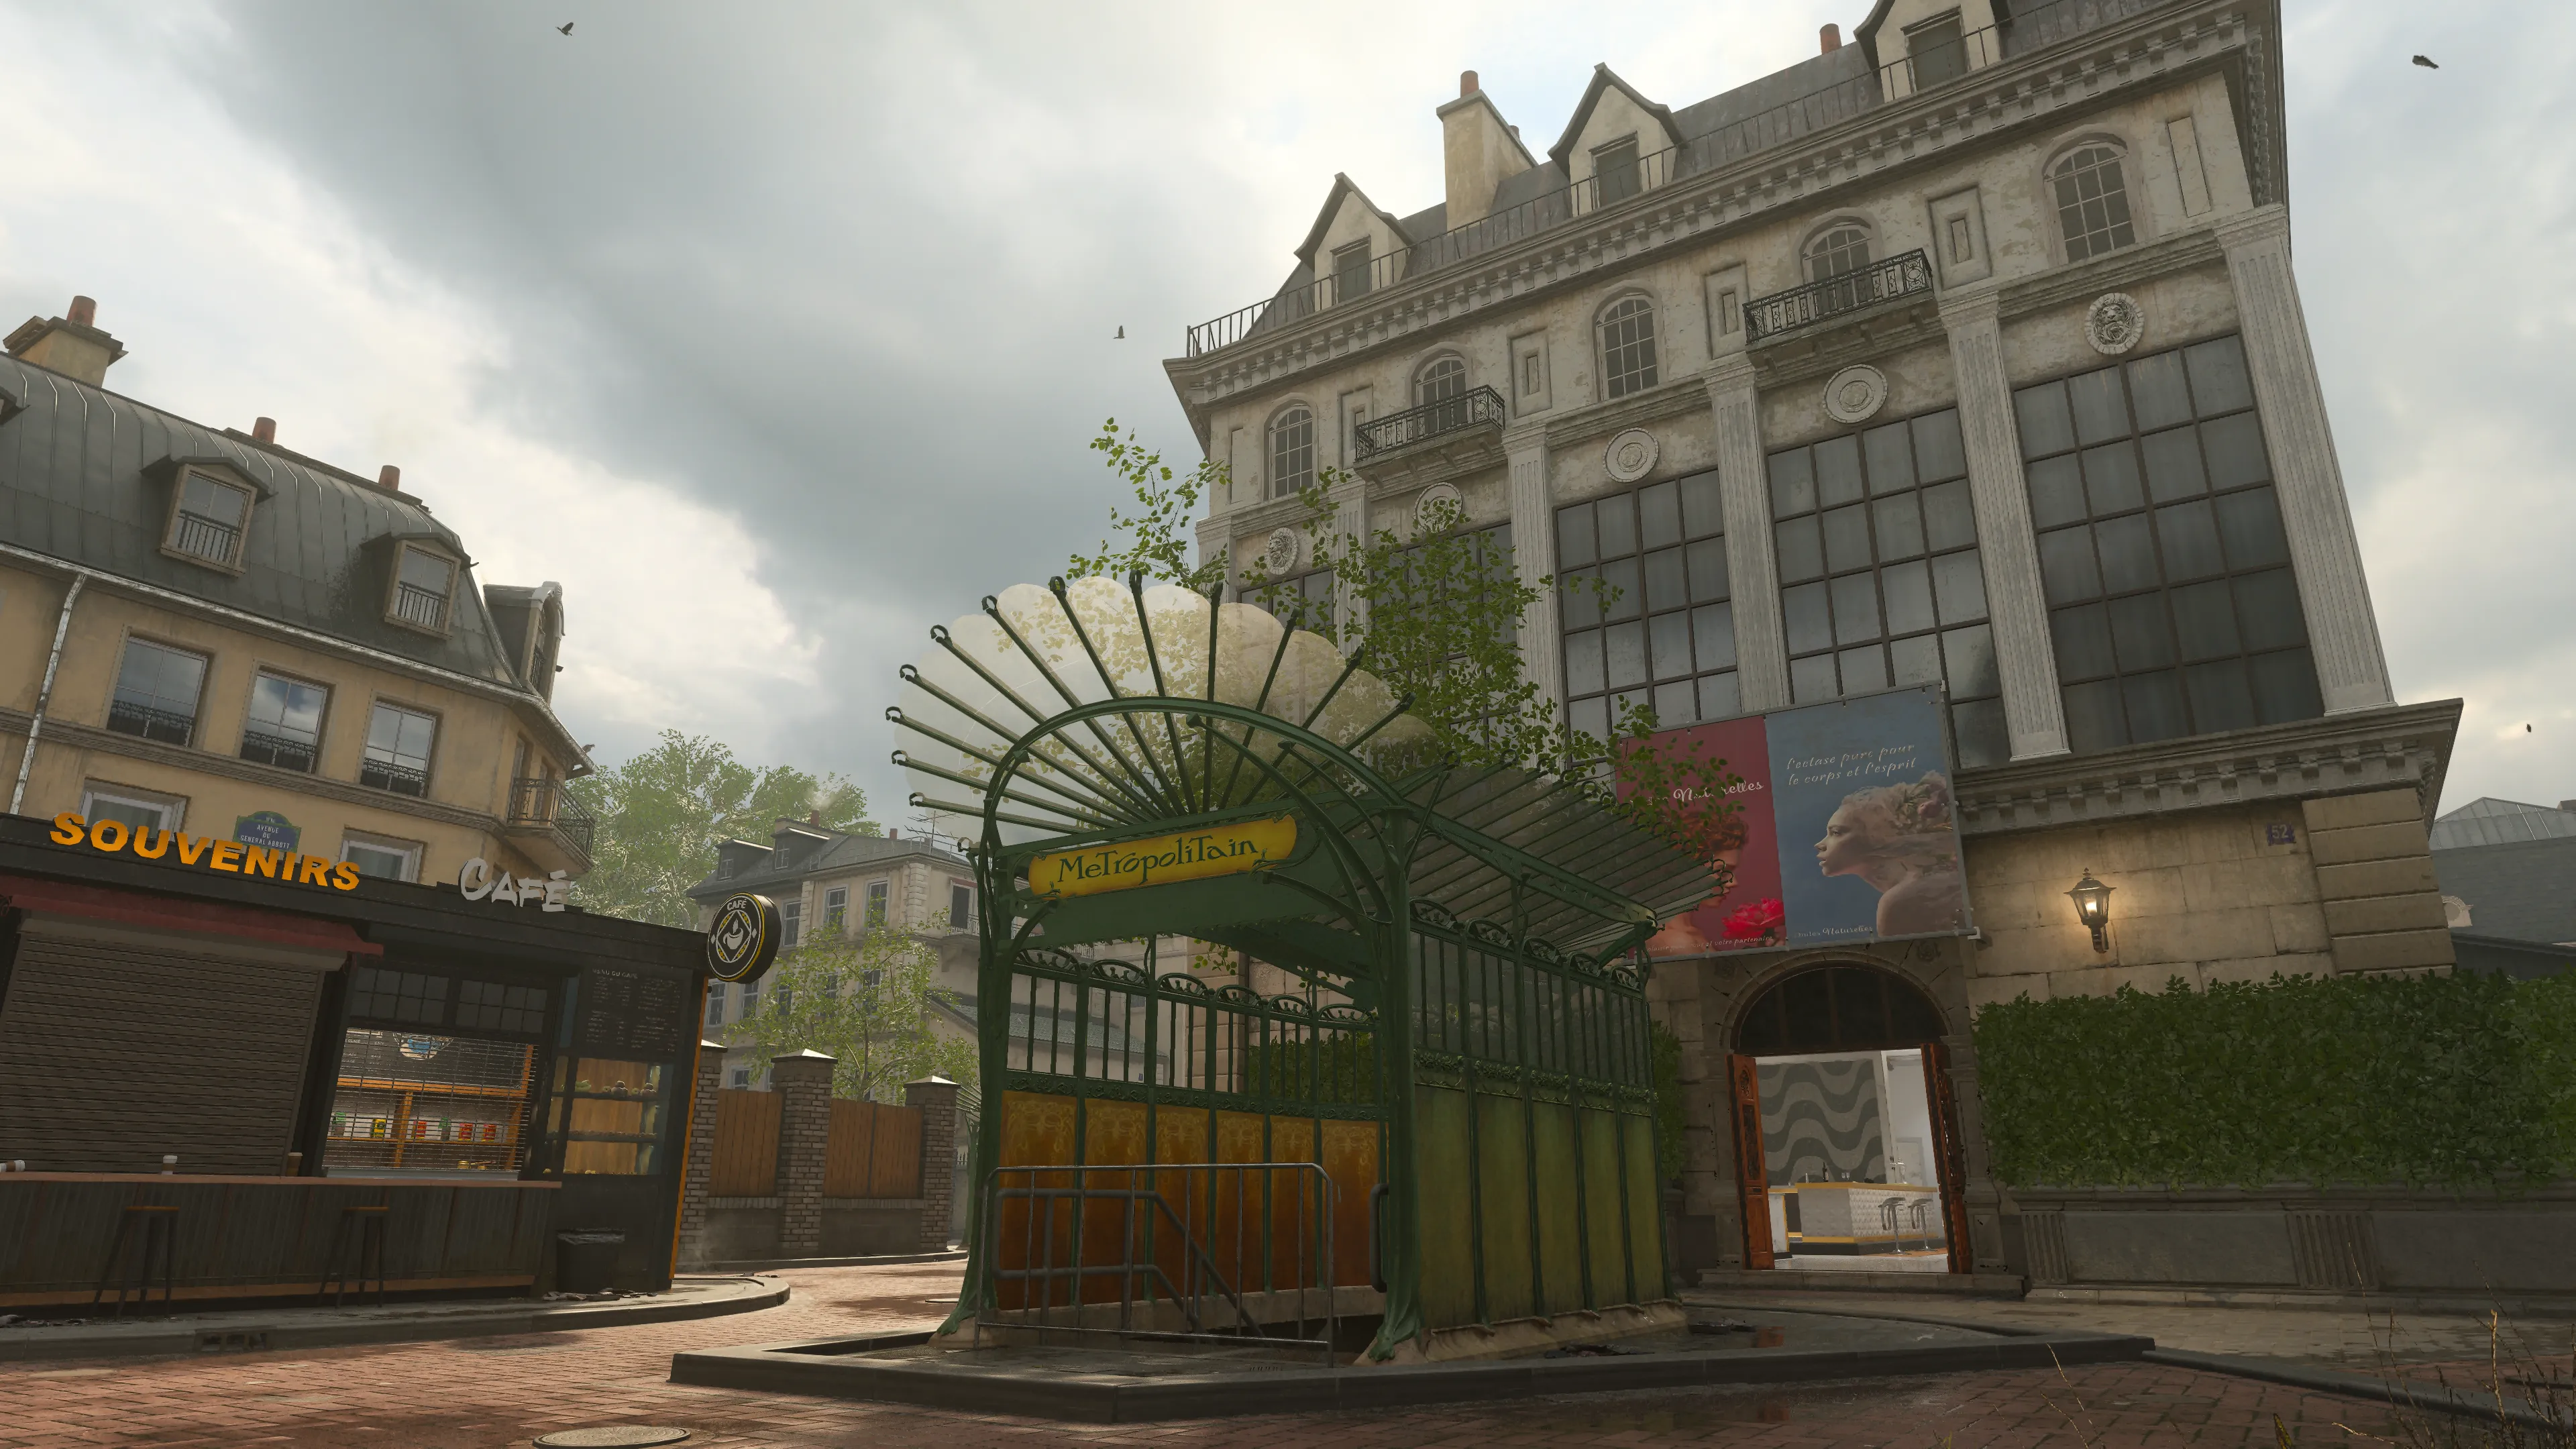
The south starting spawn brings Operators to the Gallery side of the map in a space that offers more room to maneuver compared to the opposing Backlot. A kiosk and closed off subway entrance provide some cover in the Plaza along with the high fence lining a dining nook in the southeast corner.
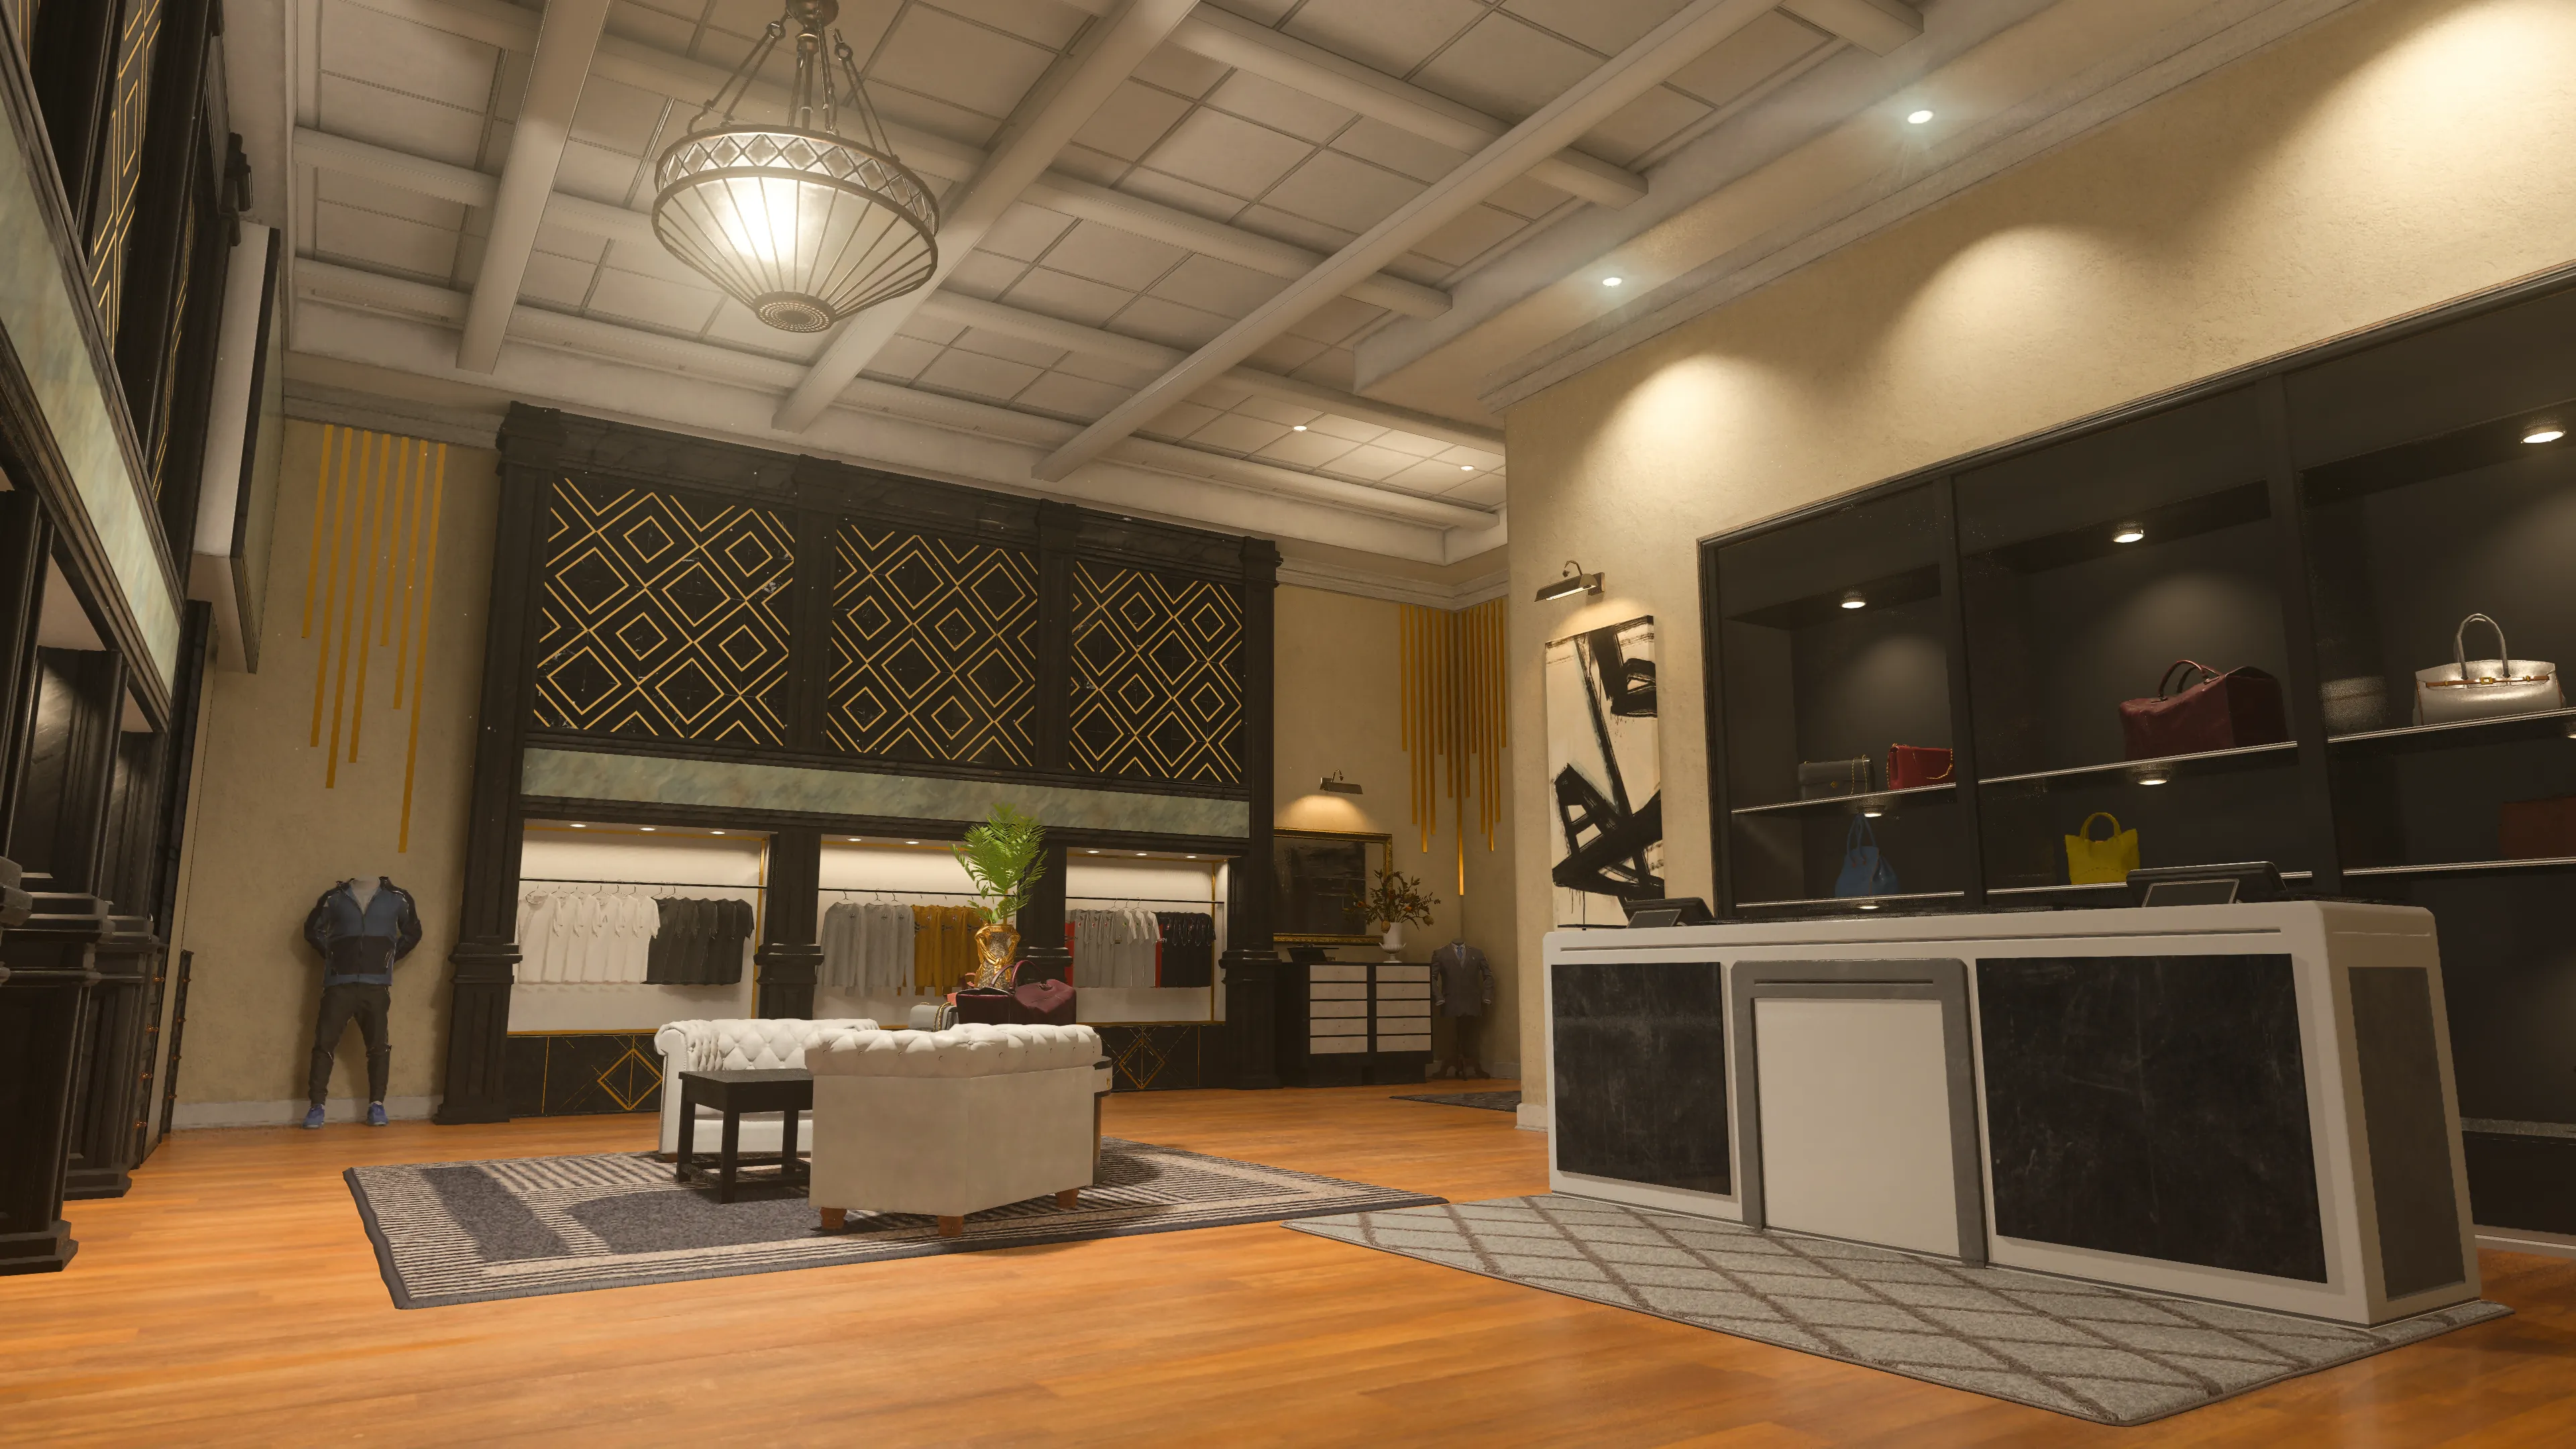
The Shop located on the opposite corner provides a quick pivot from the Plaza to Upper Street. Though small, the interior here offers overhead cover against enemy streaks, a valuable hideaway that avoids the busier Gallery. Note the Upper Street-facing window, the perfect opening for grenades.
Like Backlot, the Plaza splits off toward Street on the left and Upper Street on the right. Take a long-ranged weapon to the billboard or the low stone wall at the top of the steps over Street for a commanding view down the road. Operators with close ranged weapons may prefer Upper Street or the tight layout of Gallery.
ADDITIONAL AREA: Police Station
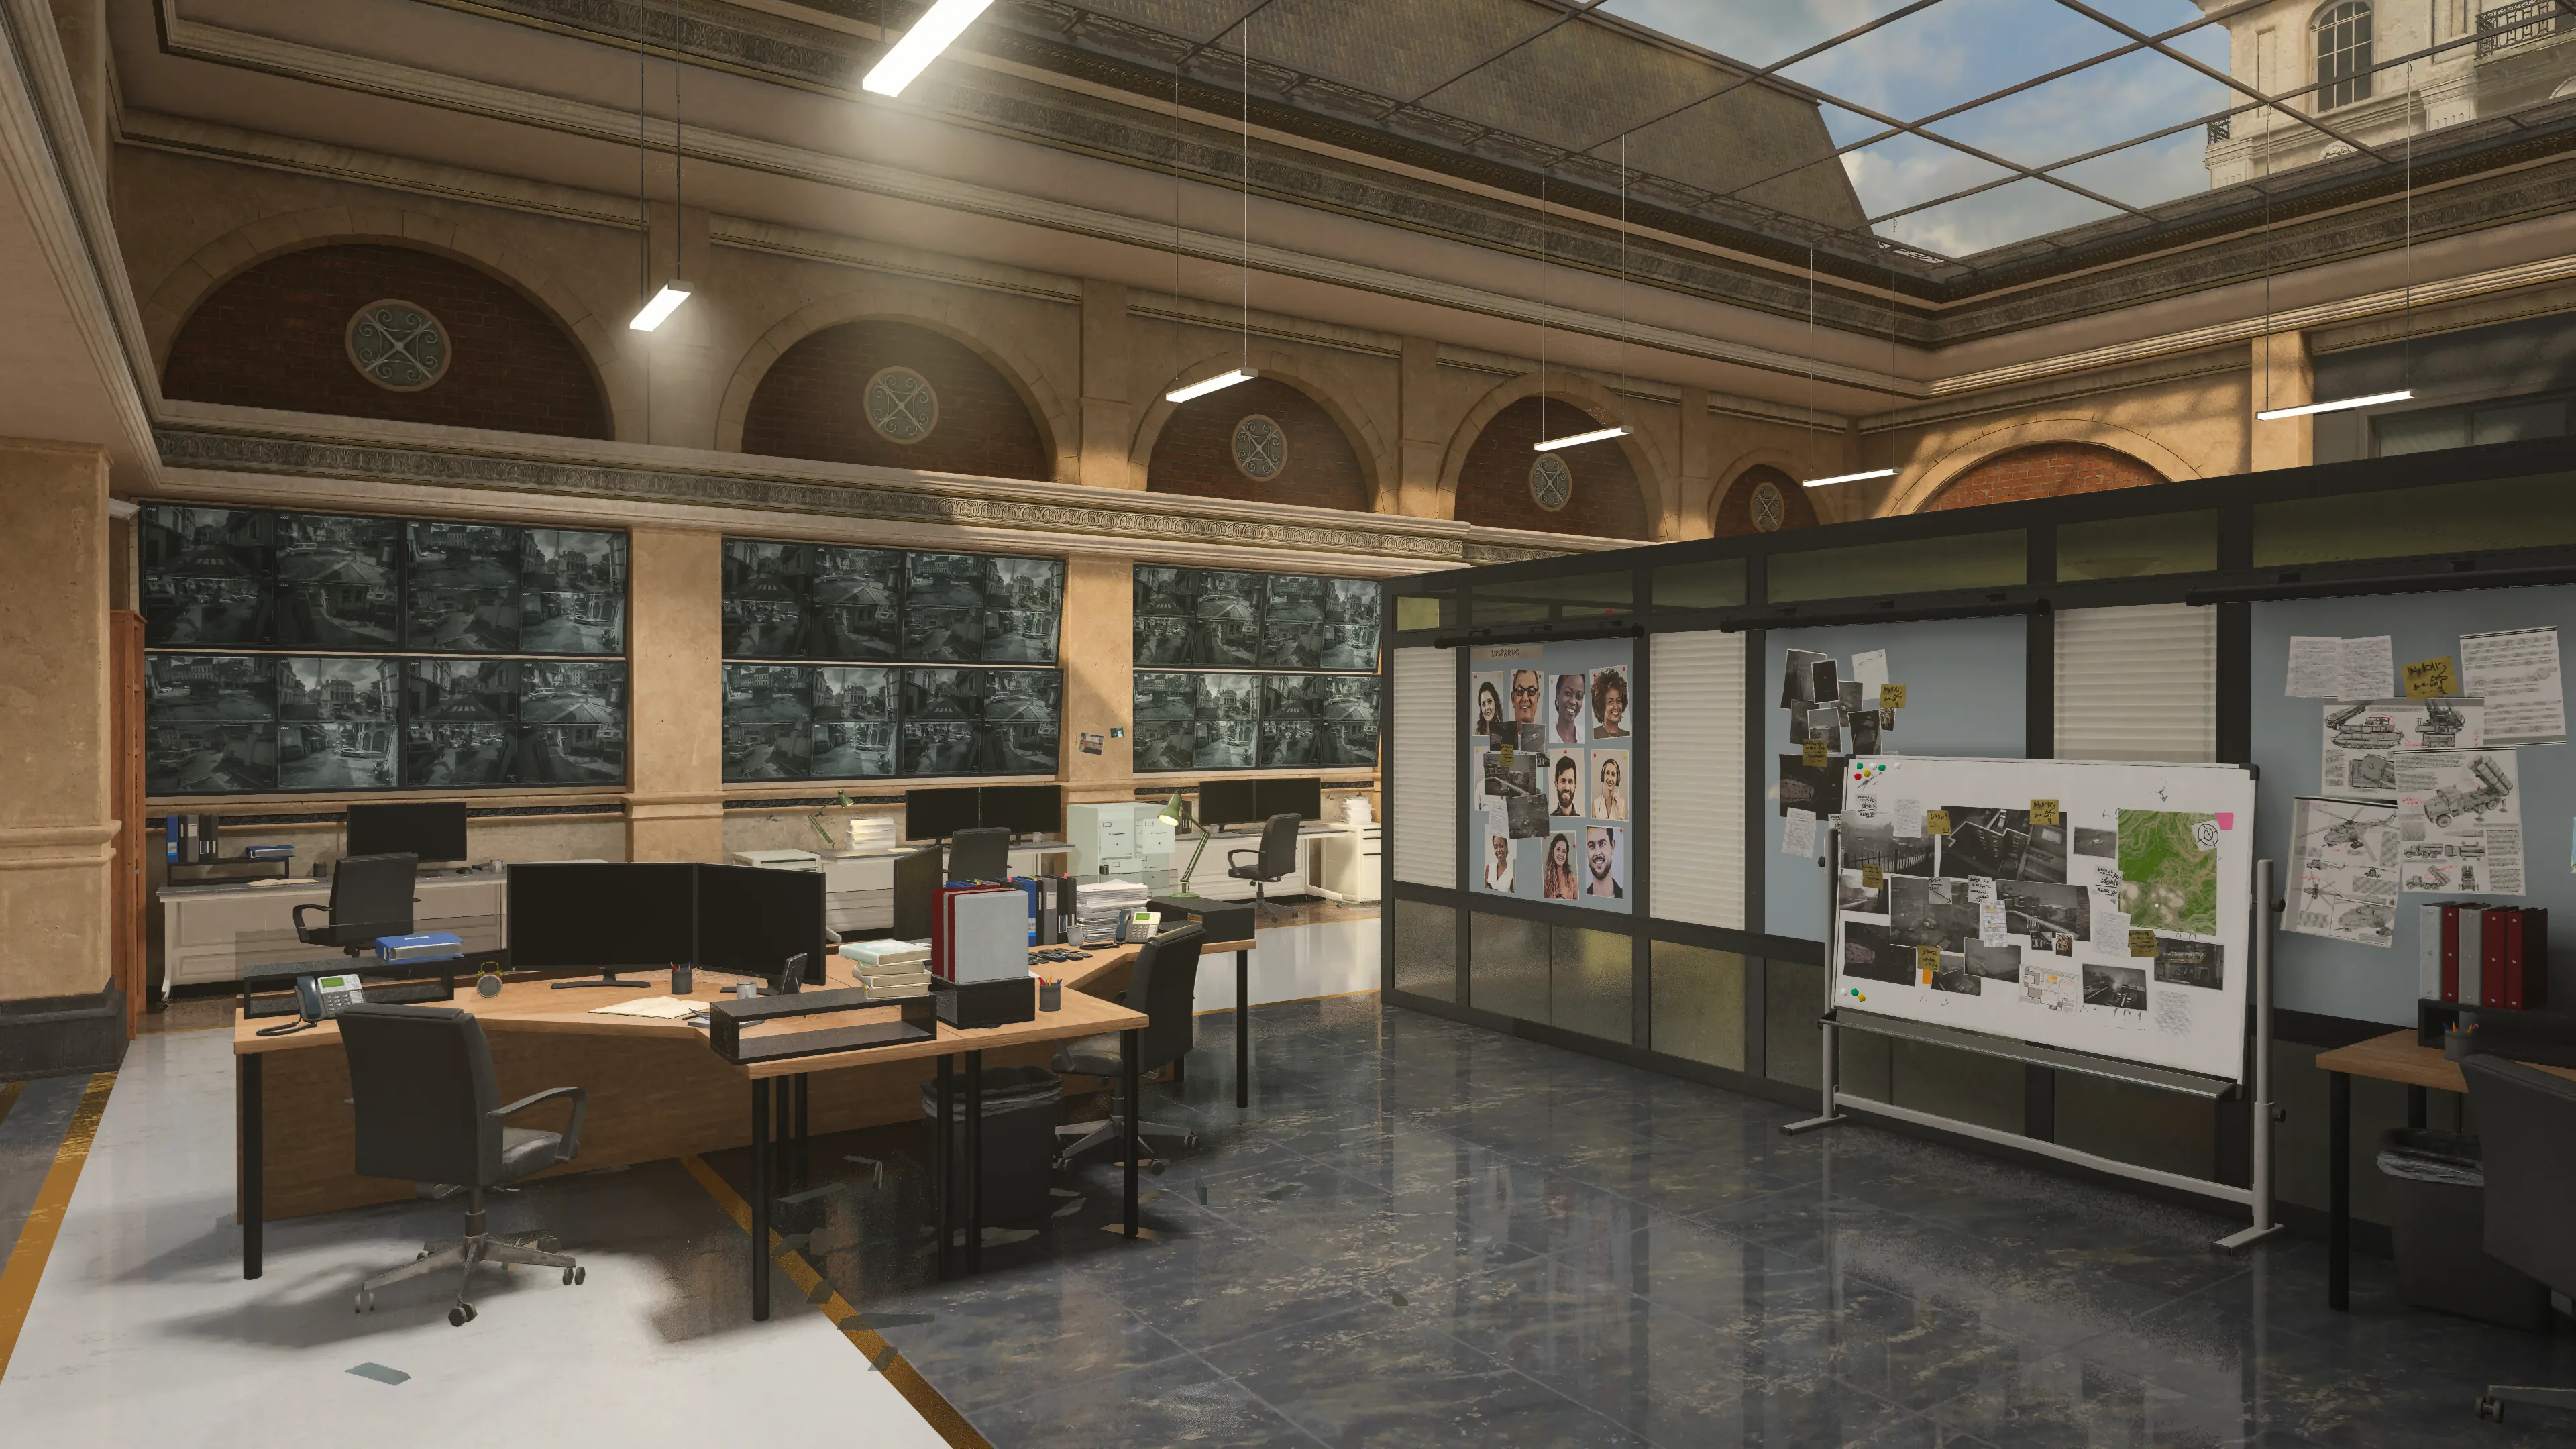
The larger of the two main buildings, Police Station features a central office that wraps around an L-shaped cubicle, preventing Operators from taking in the room at a single glance. Expect some cat and mouse encounters around the obstacle and toss grenades over the cubicle when facing enemies on the opposite side.
There are seven direct points of entry into the central office, so you can bet that there will be a lot of movement in and out of the building. Check your minimap to track incoming threats and keep your senses sharp for flank attacks. Hug the inside of the center L-shape by the desk to make a stand in the room; when it’s time to move again, you’ve got plenty of options to choose from.
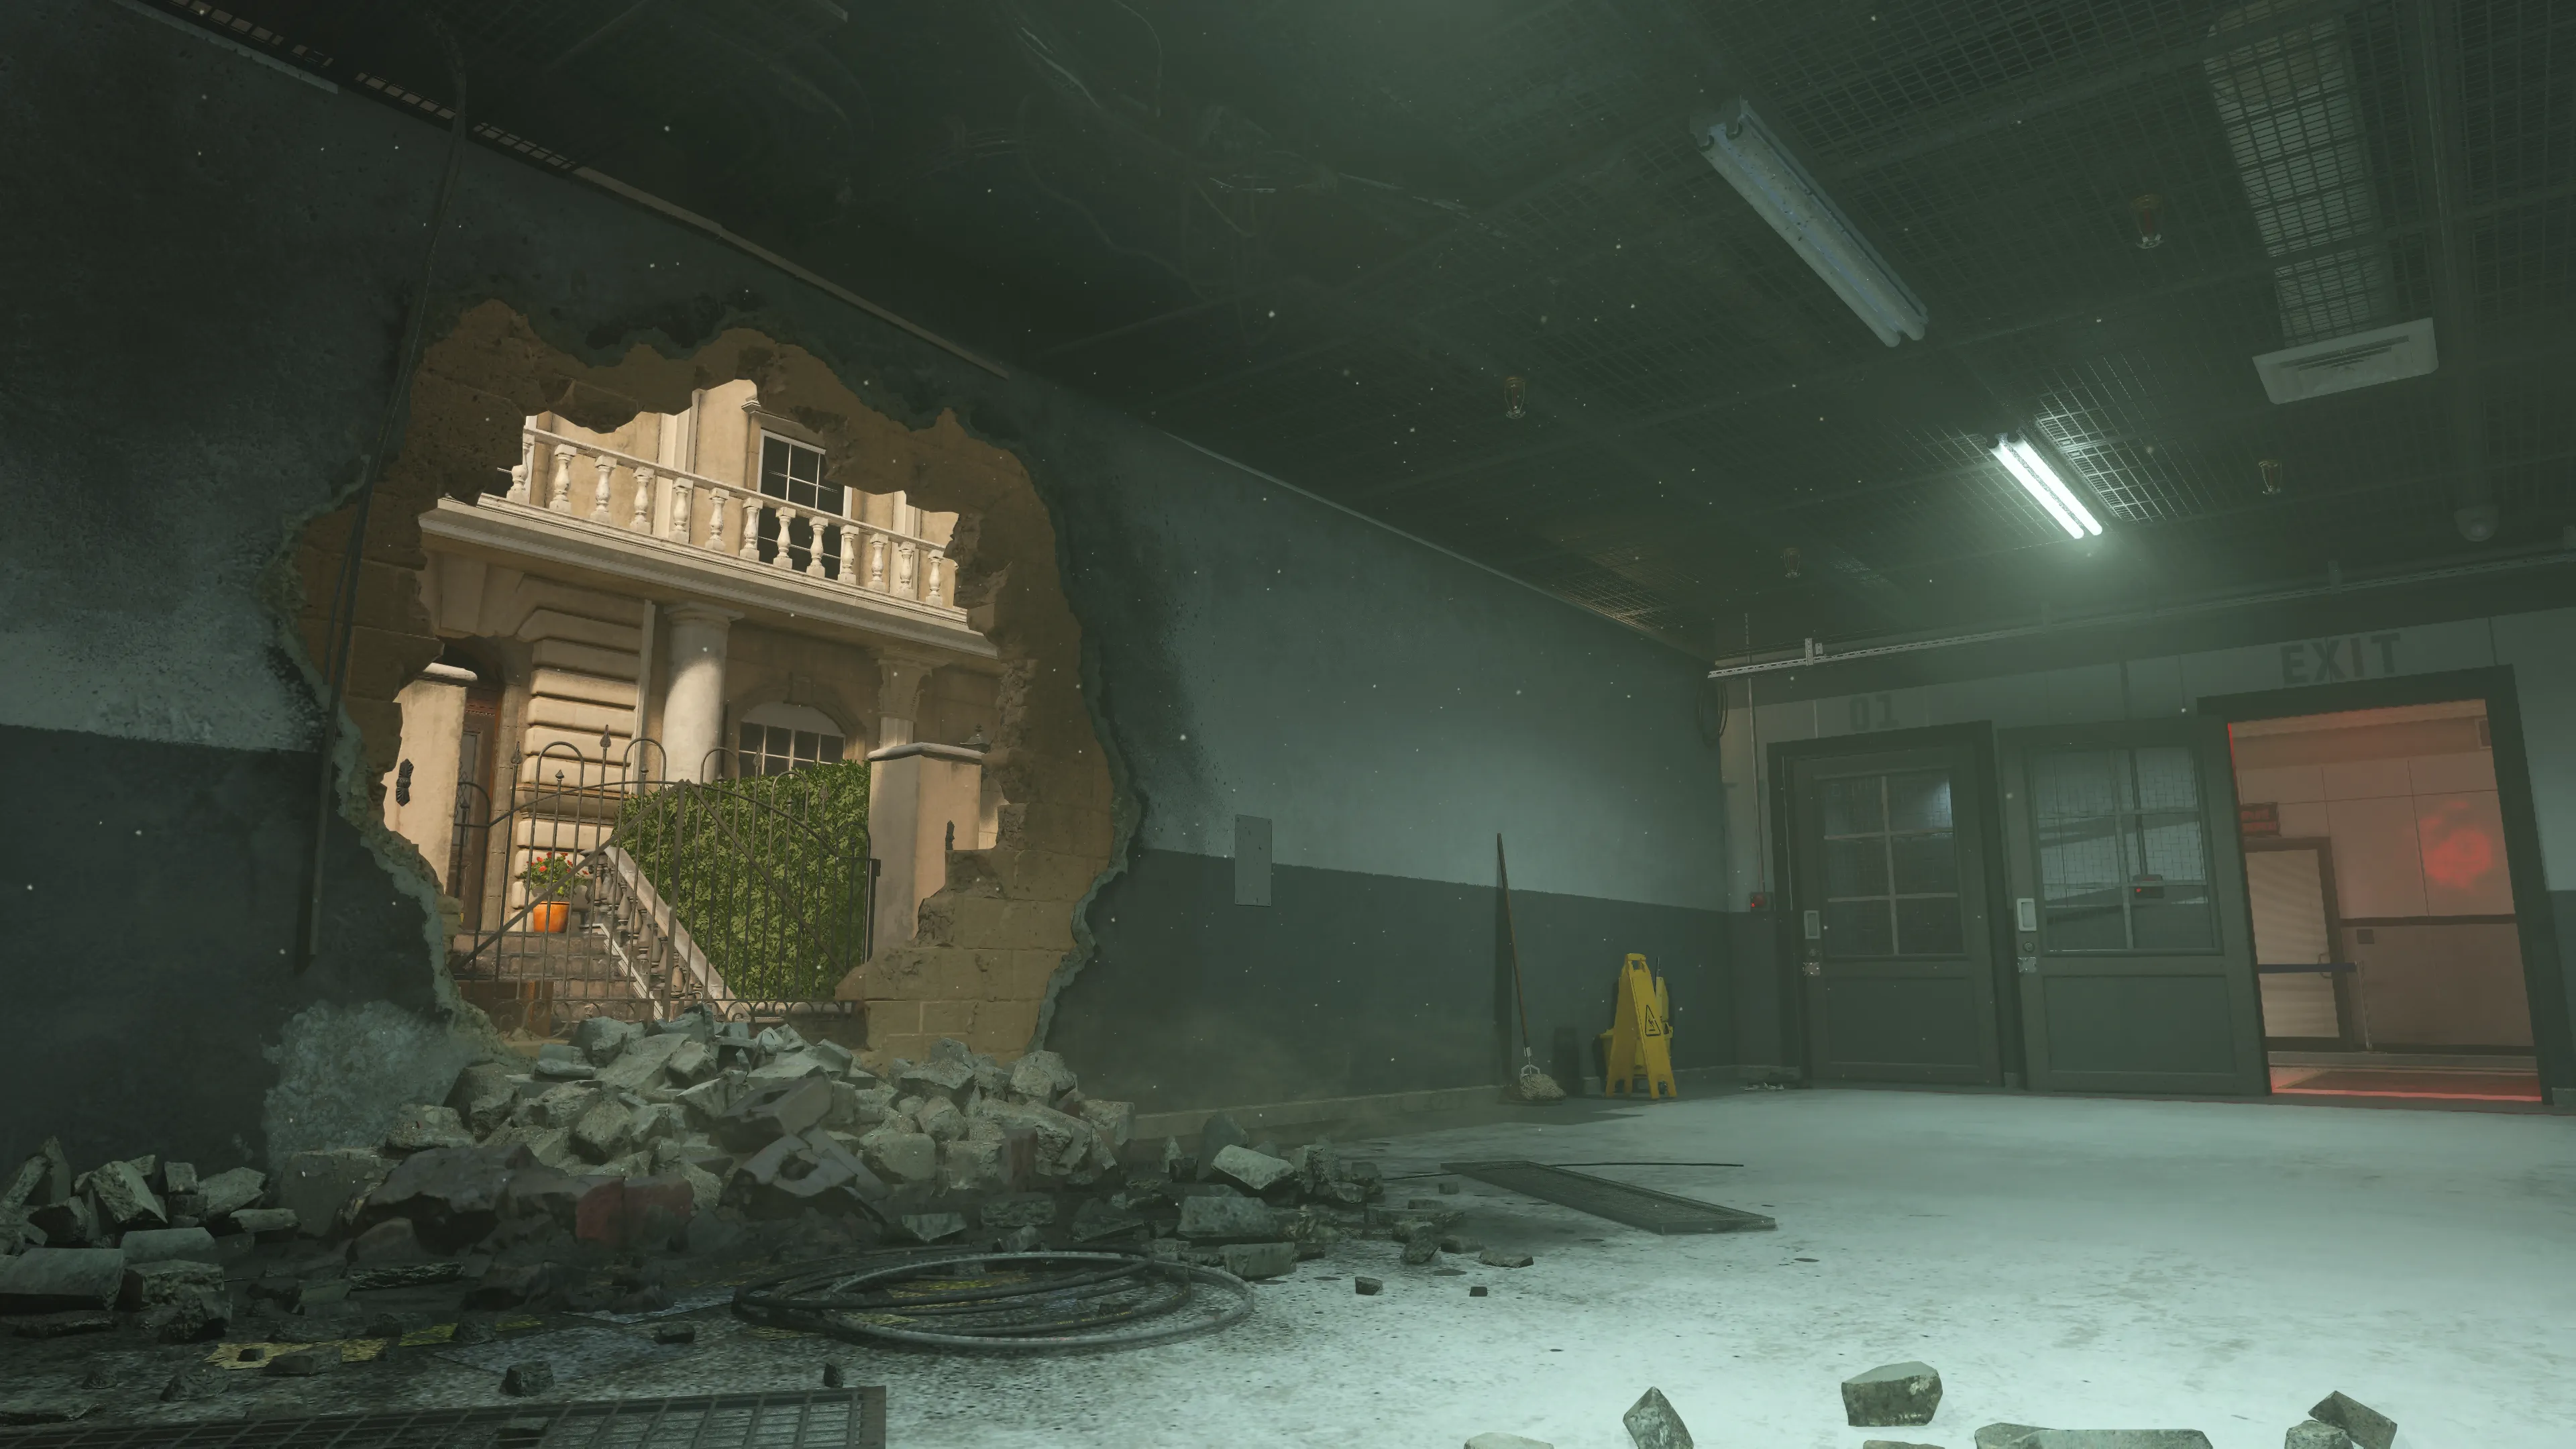
The station’s east wing swings through the cell block and a blasted hole in the wall before turning down through the lobby. Prepare for close fights along this winding path punctured with multiple exits onto Upper Street. Use this route to avoid the center office or as a means to flank it from a more discreet angle.
ADDITIONAL AREA: Gallery
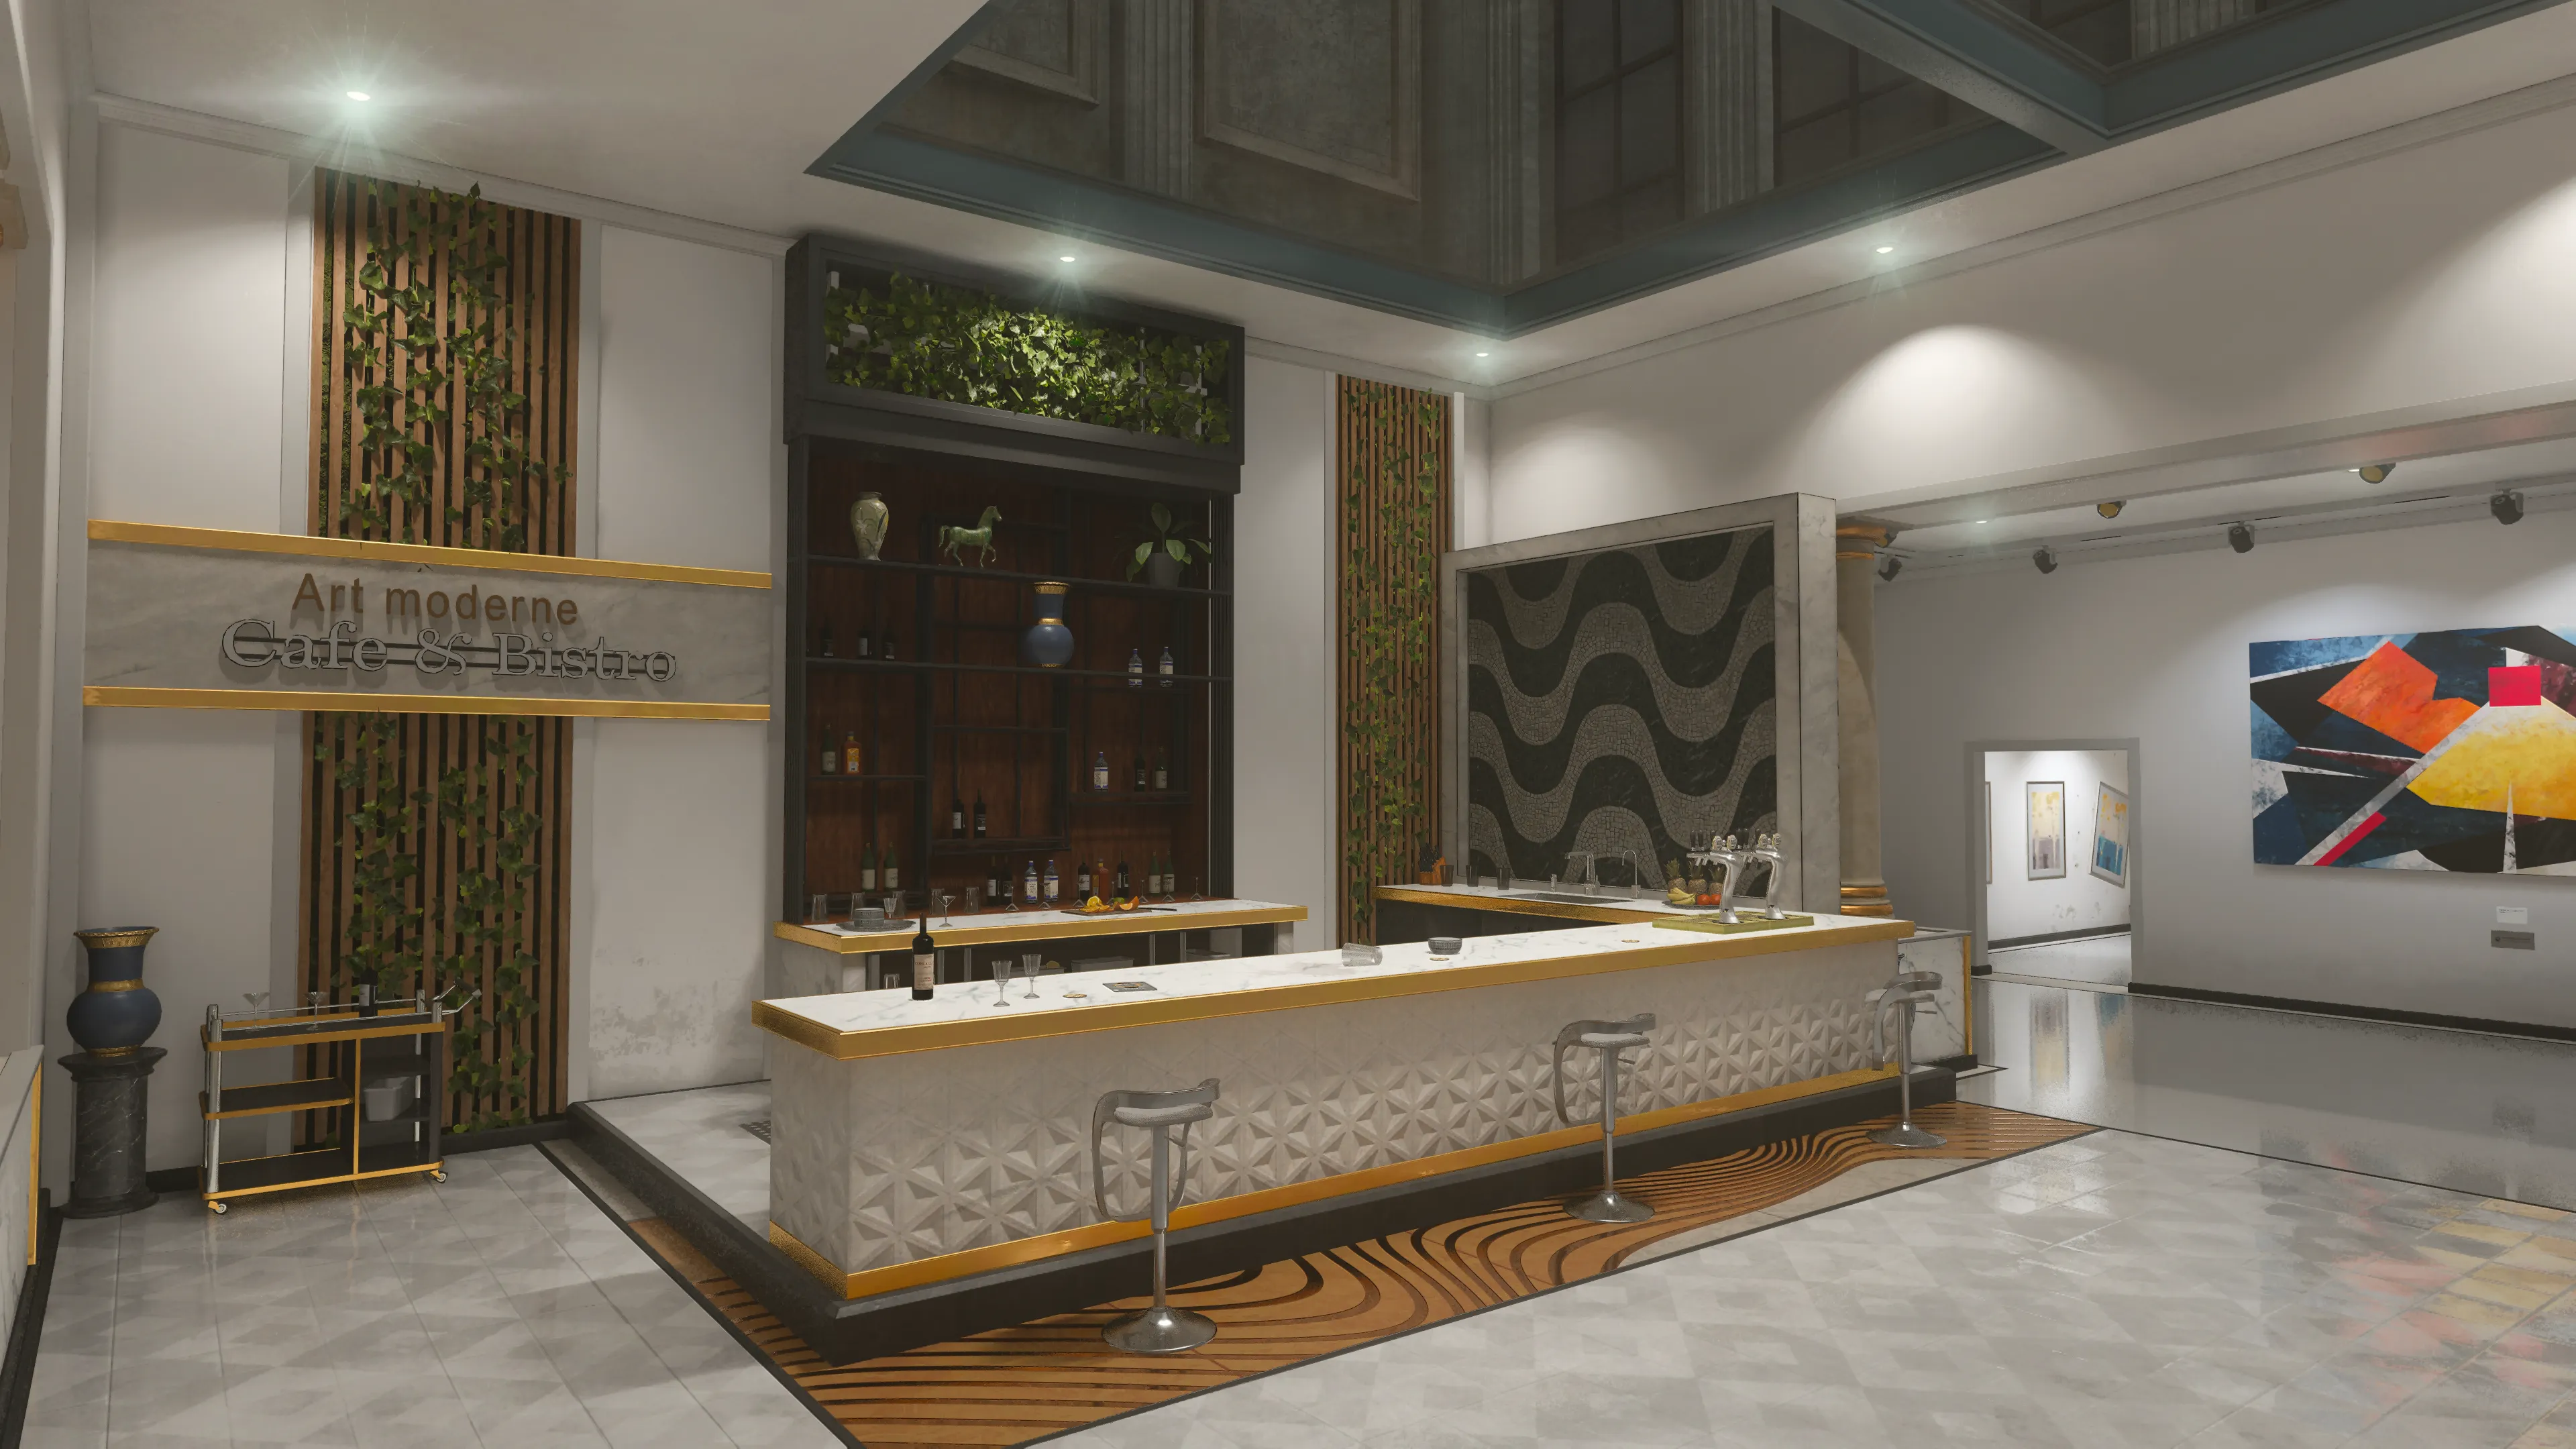
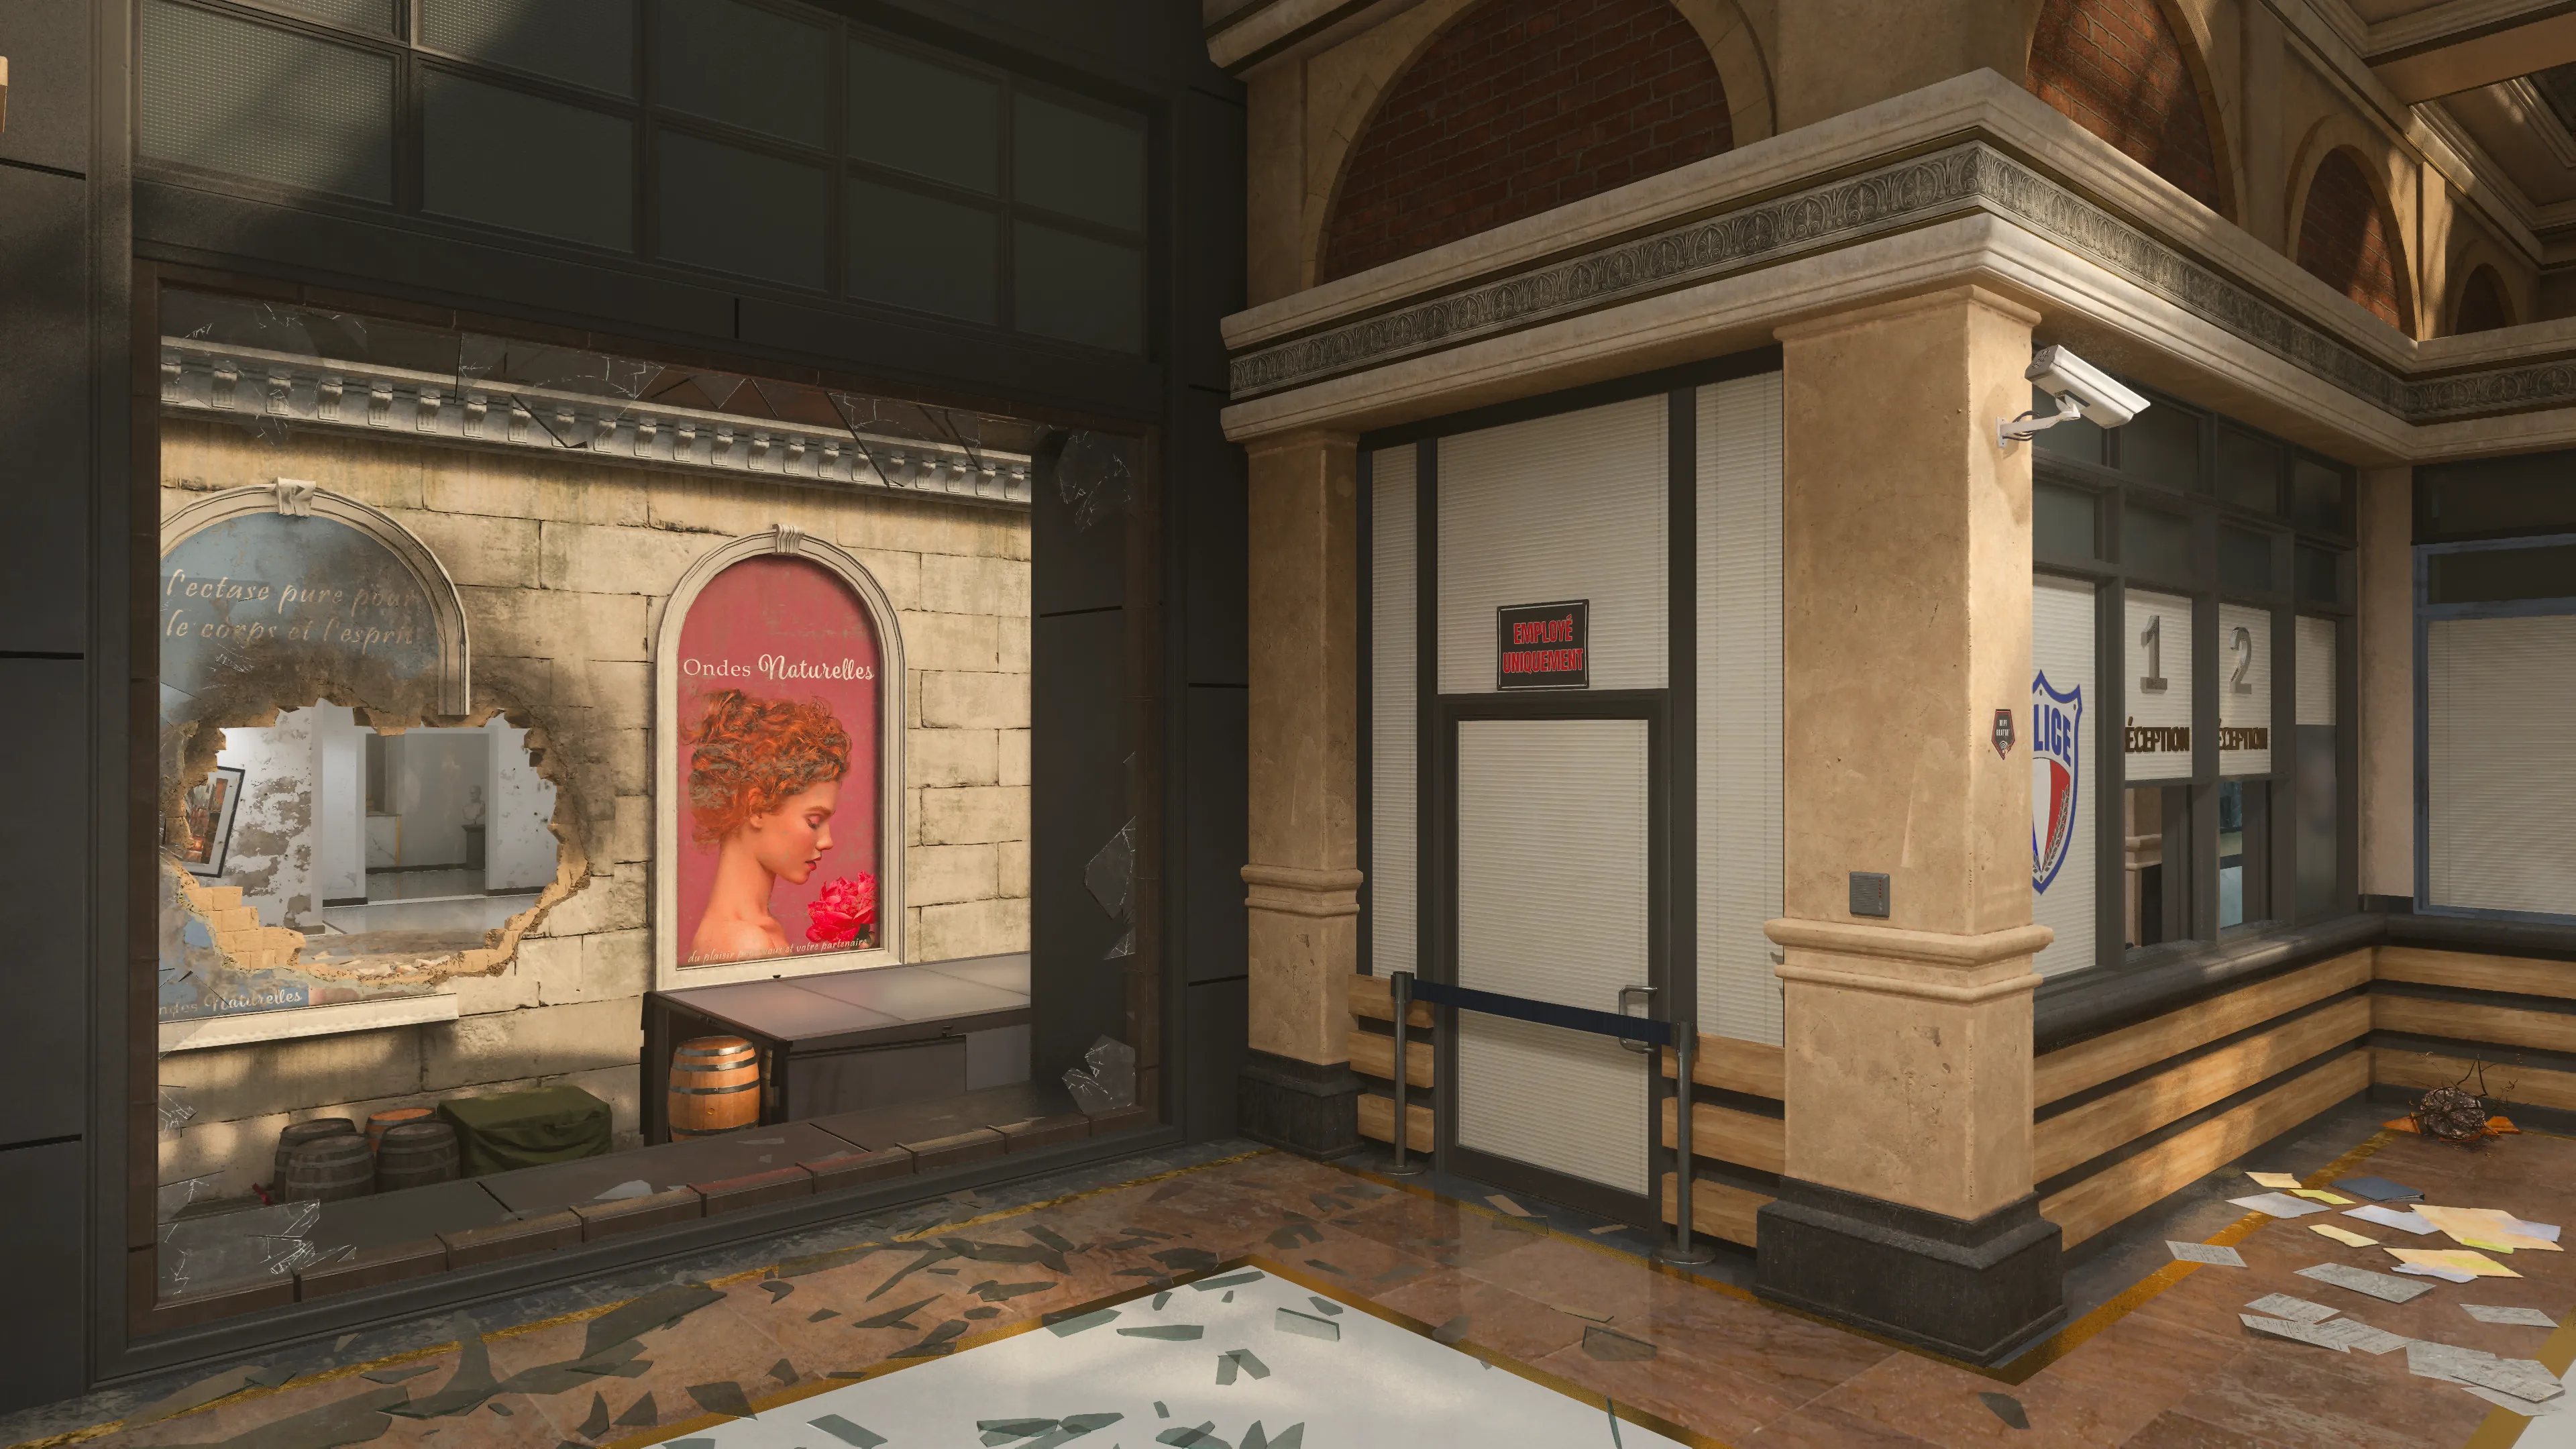
The Gallery presents its own challenges, namely its tight layout divided between the front bar area and the adjacent hallways branching to opposite sides of the building. Access to the upstairs is closed off, so use the countertop and the base of the columns for cover when fighting inside the bar. You’ll need a quick draw here, as there’s little room to maneuver once a skirmish breaks out.
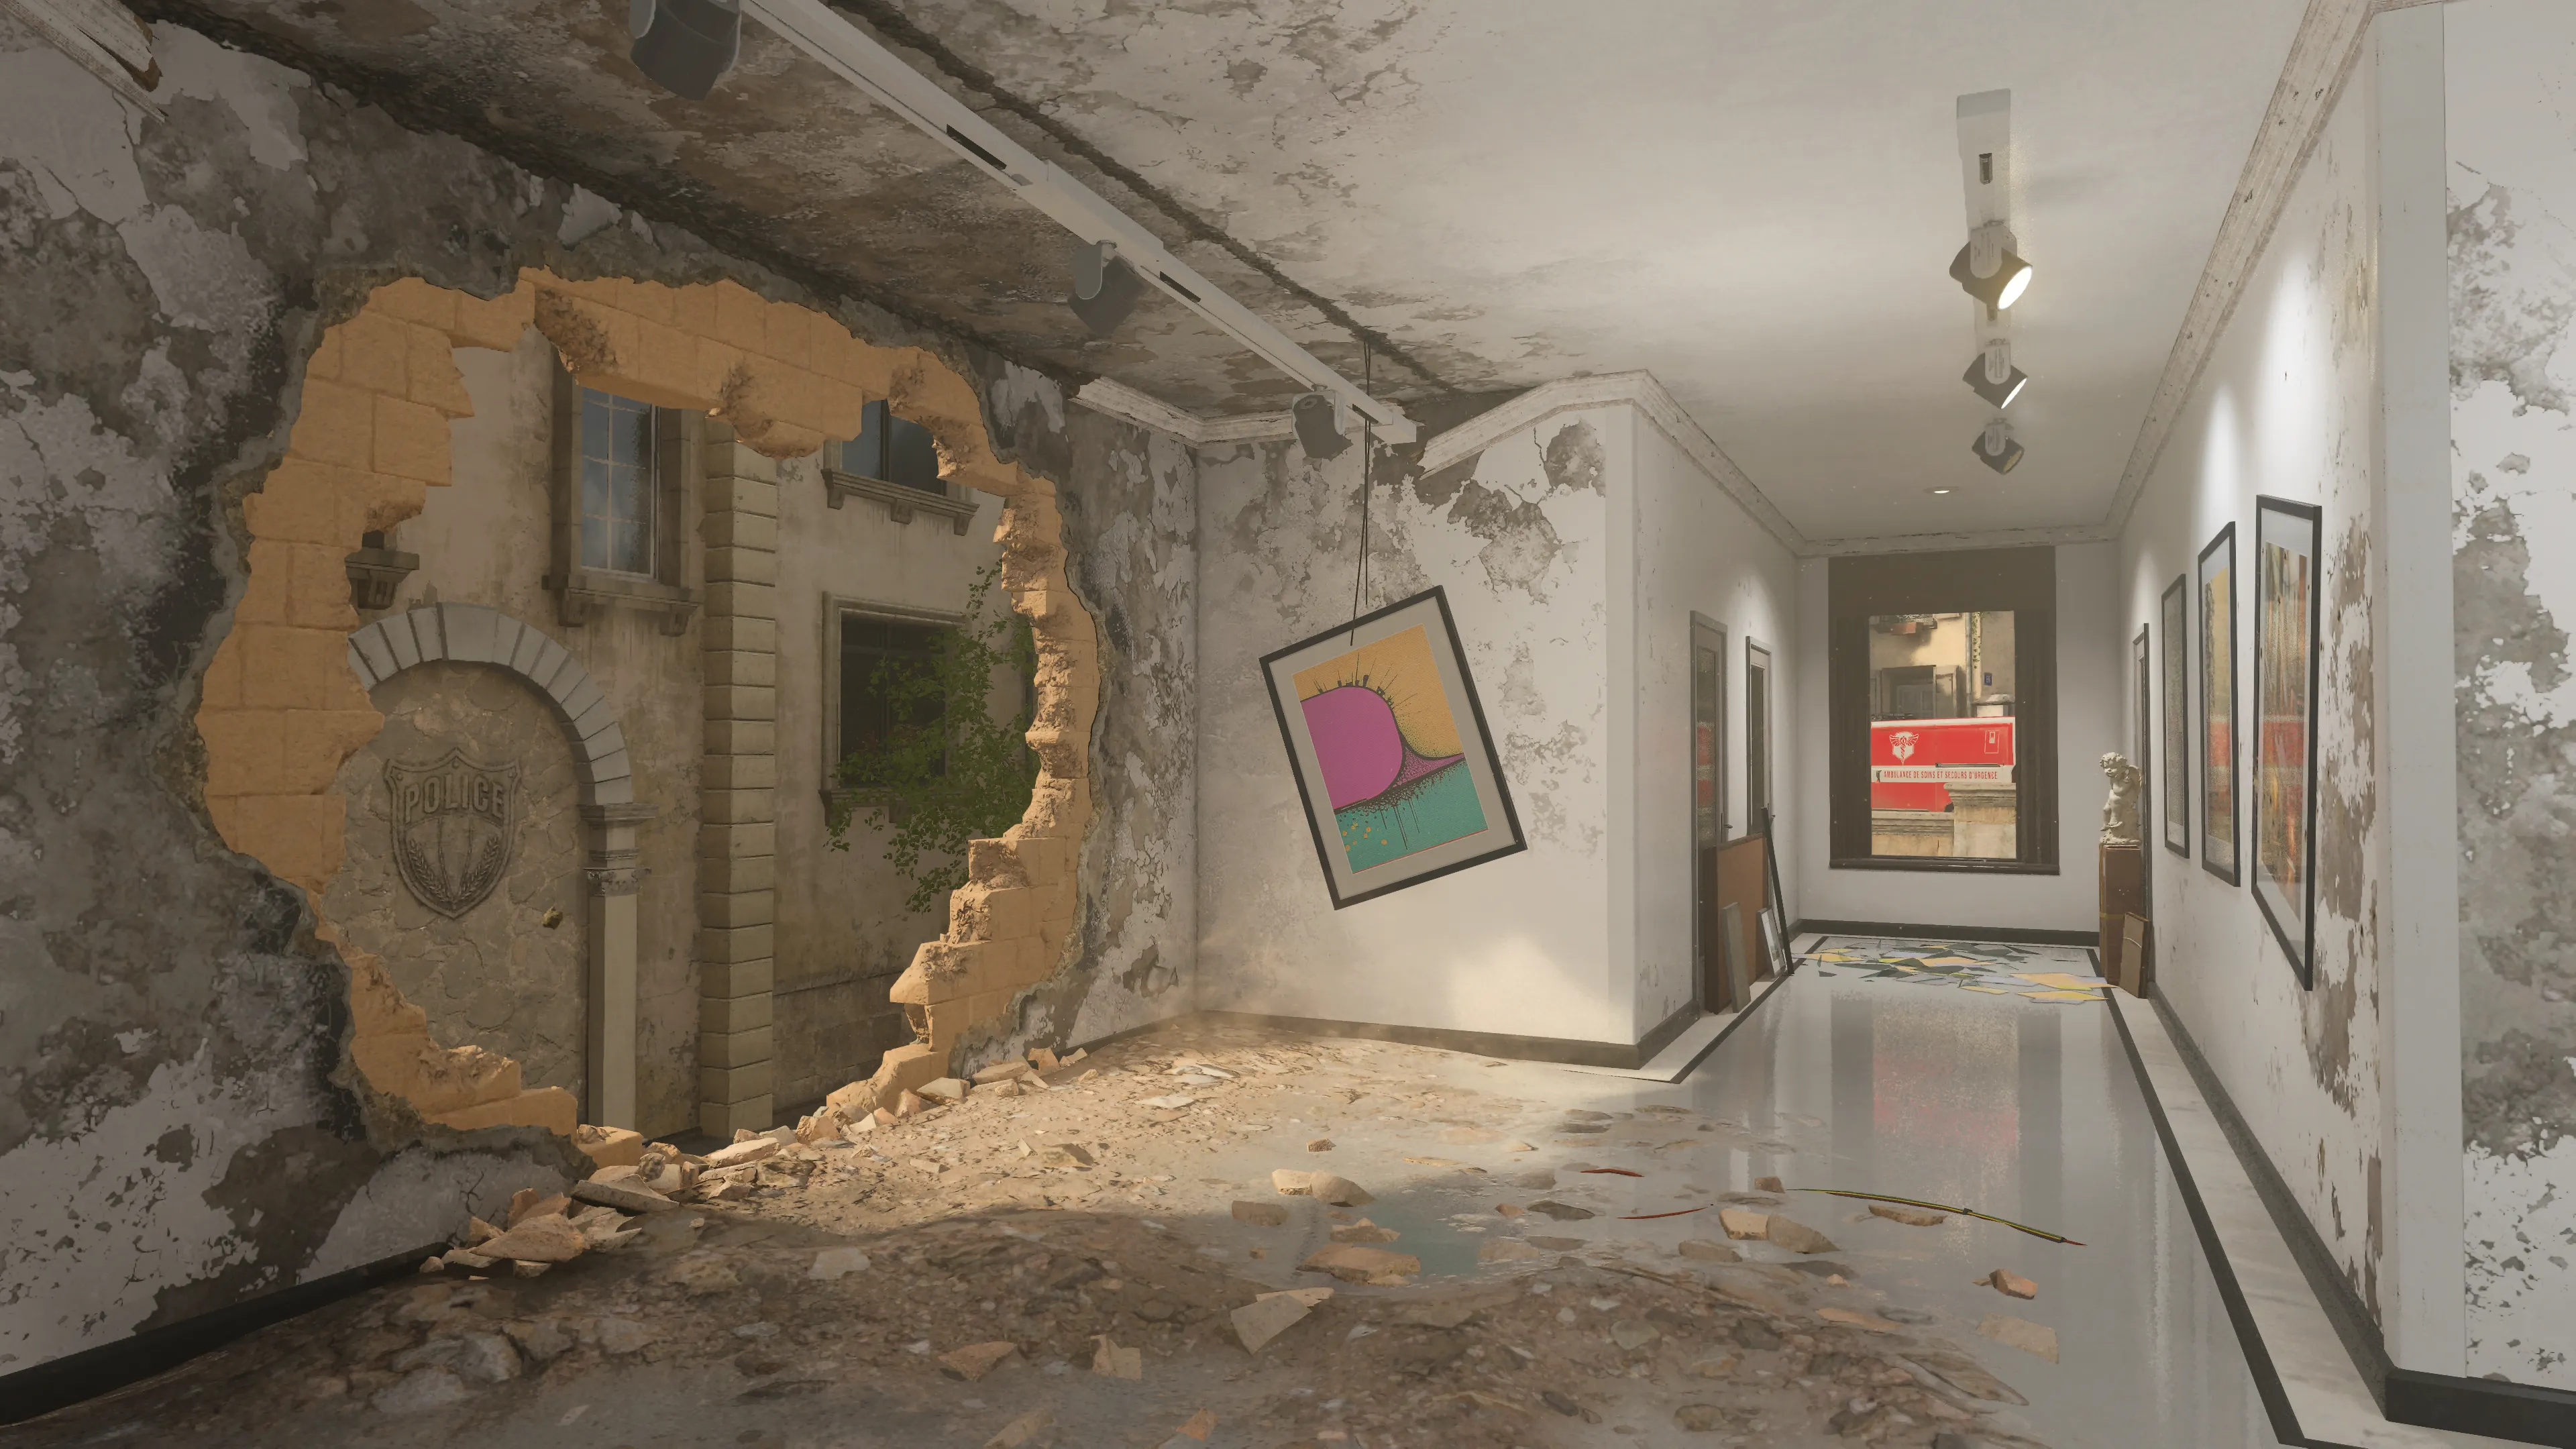
The first hallway north of the bar leads out onto the Plaza by the stairs, setting up a great longshot position over the Street. The next hallway is scarred by a hole in the wall facing the Police Station and a powerful overwatch position via the window looking out over Upper Street. Both hallways are short; success requires finding a balance between the close-quarters needs of fighting within these spaces and the mid-ranged needs of firing out on enemies in the street.
Top 10 Tips
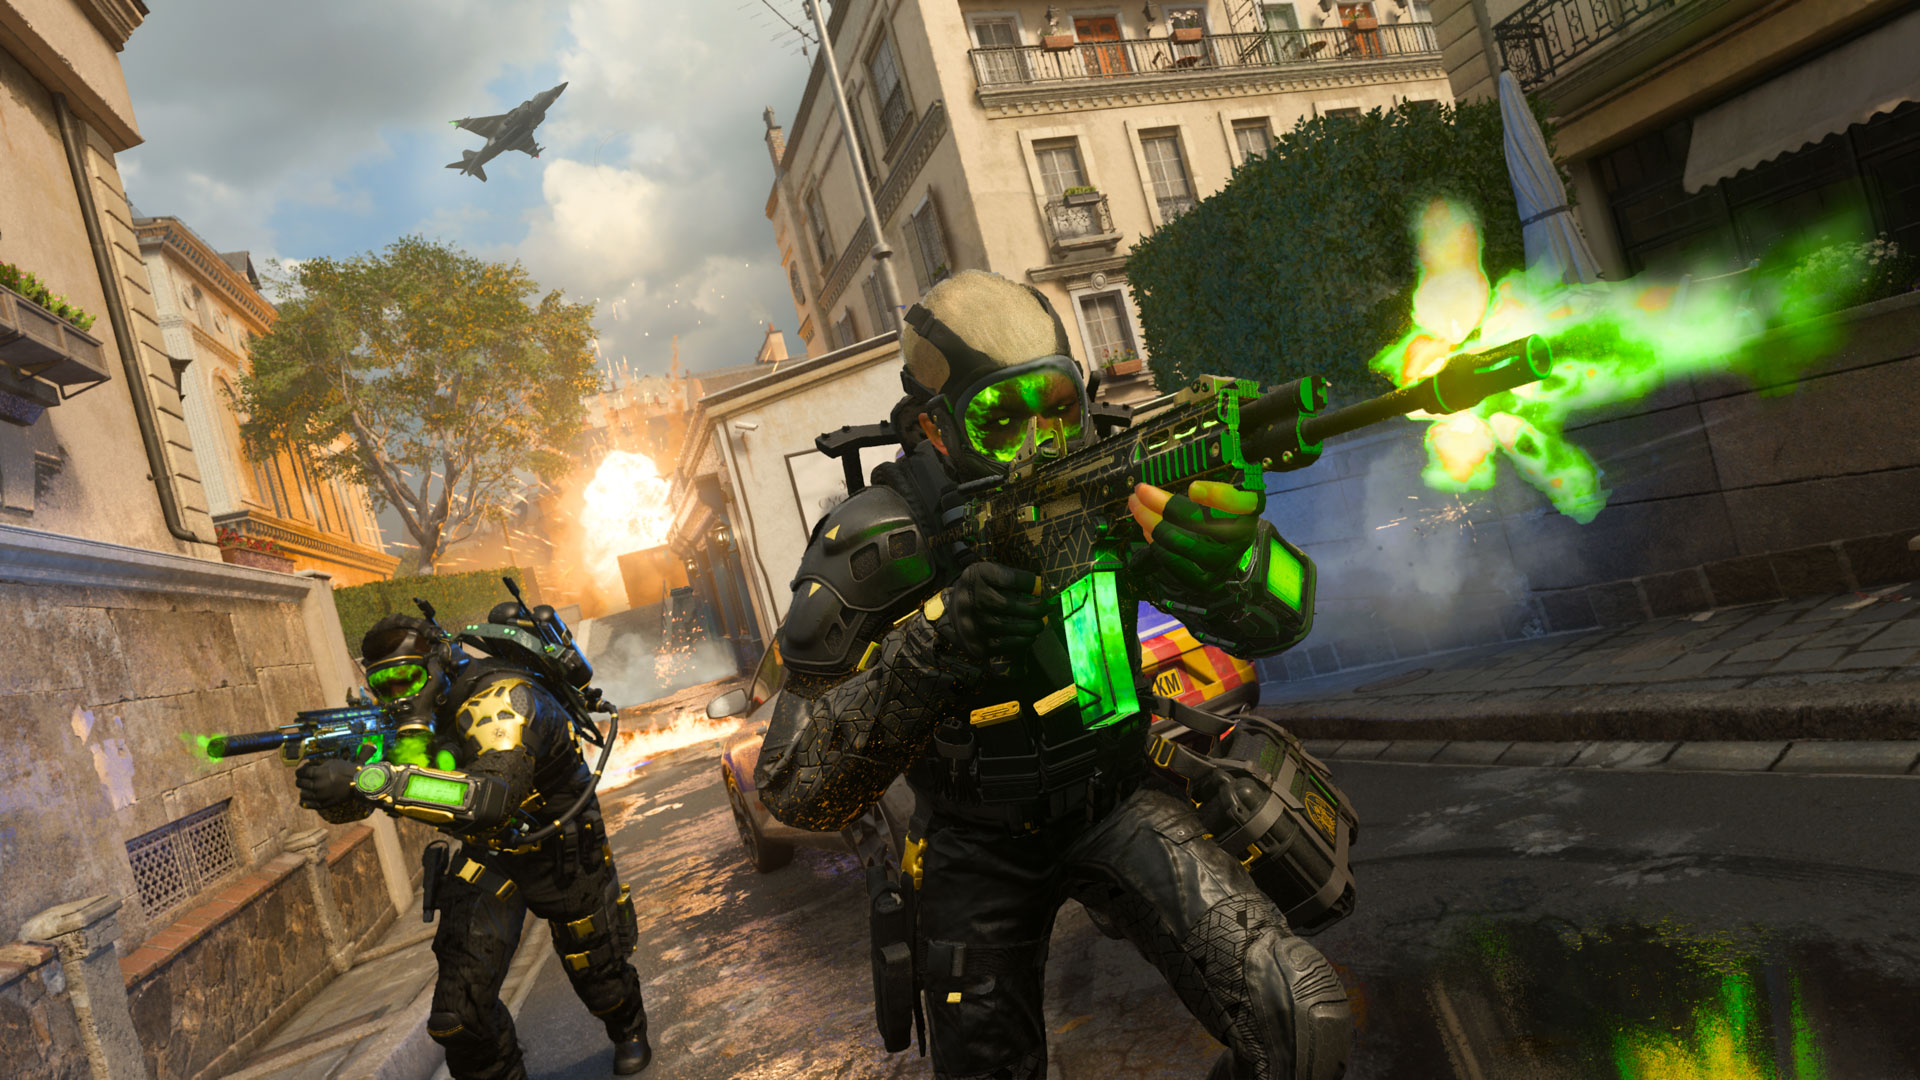
1. Know your ground. Moving through the streets versus playing inside the Police Station or Gallery offers wildly different challenges. Inside, expect to slug it out up close with incoming threats; outside, there’s more room to breathe with longer sight lines. Any playstyle can adapt, however, so be prepared for anything.
2. Take in the sights. Paris is a beautiful city that shouldn’t be rushed. Take a moment to scan your surroundings when you have good cover. Check your corners and watch for movement near the ambulances and other large objects. Staying covered while enemies move out into the open gives you a significant advantage.
3. Don’t forget the little guys. While not as prominent as the two center buildings, the Bookstore and Shop are both valuable interior spaces. Use them as defensive hubs from which to target enemies at a distance or lure them to your position.
4. Makeshift perch. Climb on top of the ambulances and other vans liberally scattered throughout the map to quickly get a better view. The height afforded by these vehicles extends your sight lines in a pinch, a valuable tool when seeking out targets in the city’s winding streets.
5. Care Packages are a go. The initial spawns on Paris are well protected in being placed away from the side streets. If the enemy’s focus is elsewhere, these are generally safe areas to call in a Care Package. Throw on the Bone Conduction Headset for a boost in acquiring the streak.
6. Confuse and distract. Try out the Inflatable Decoy Field Upgrade in the Police Station or Gallery. Operators moving through these areas are already on edge anticipating imminent attacks, making them more susceptible to distractions.
7. Test out new forms of attack. Operators who slay should try out the new Missile Drone streak arriving in Season 4. Players who achieve its 11-elimination or 1375 score requirement can pilot a drone that fires guided missiles, the perfect tool for clearing enemies off the perimeter.
8. Refresh yourself. The bar counter in the Gallery offers a great defensive position when covering the area. It’s right by the C flag in Domination, too. Mount your weapon on the countertop for extra accuracy when targeting enemies in the Plaza and consider Tac-Stance for downing foes incoming from the Upper Street and inside the Gallery.
9. Make it quick. Use the Scavenger Gloves for the ability to resupply throwing knives from fallen Operators. The close quarters of the Police Station and Gallery create ample opportunities to land eliminations with the throwing knife, maintaining a low profile in the process.
10. Your trip, your choice. Play fast and furious, bouncing between buildings and weaving through the streets, or opt for a more tactical approach, using the map’s plentiful cover to gain ground methodically. Whatever your preferred playstyle, Paris supports it.
And most importantly:

© 2024 Activision Publishing, Inc. ACTIVISION, CALL OF DUTY, and MODERN WARFARE are trademarks of Activision Publishing, Inc. All other trademarks and trade names are the property of their respective owners.
For more information, please visit www.callofduty.com and www.youtube.com/callofduty, and follow @Activision and @CallofDuty on X, Instagram, and Facebook. For Call of Duty Updates, follow @CODUpdates on X.
