Multiplayer Map — Scrapyard

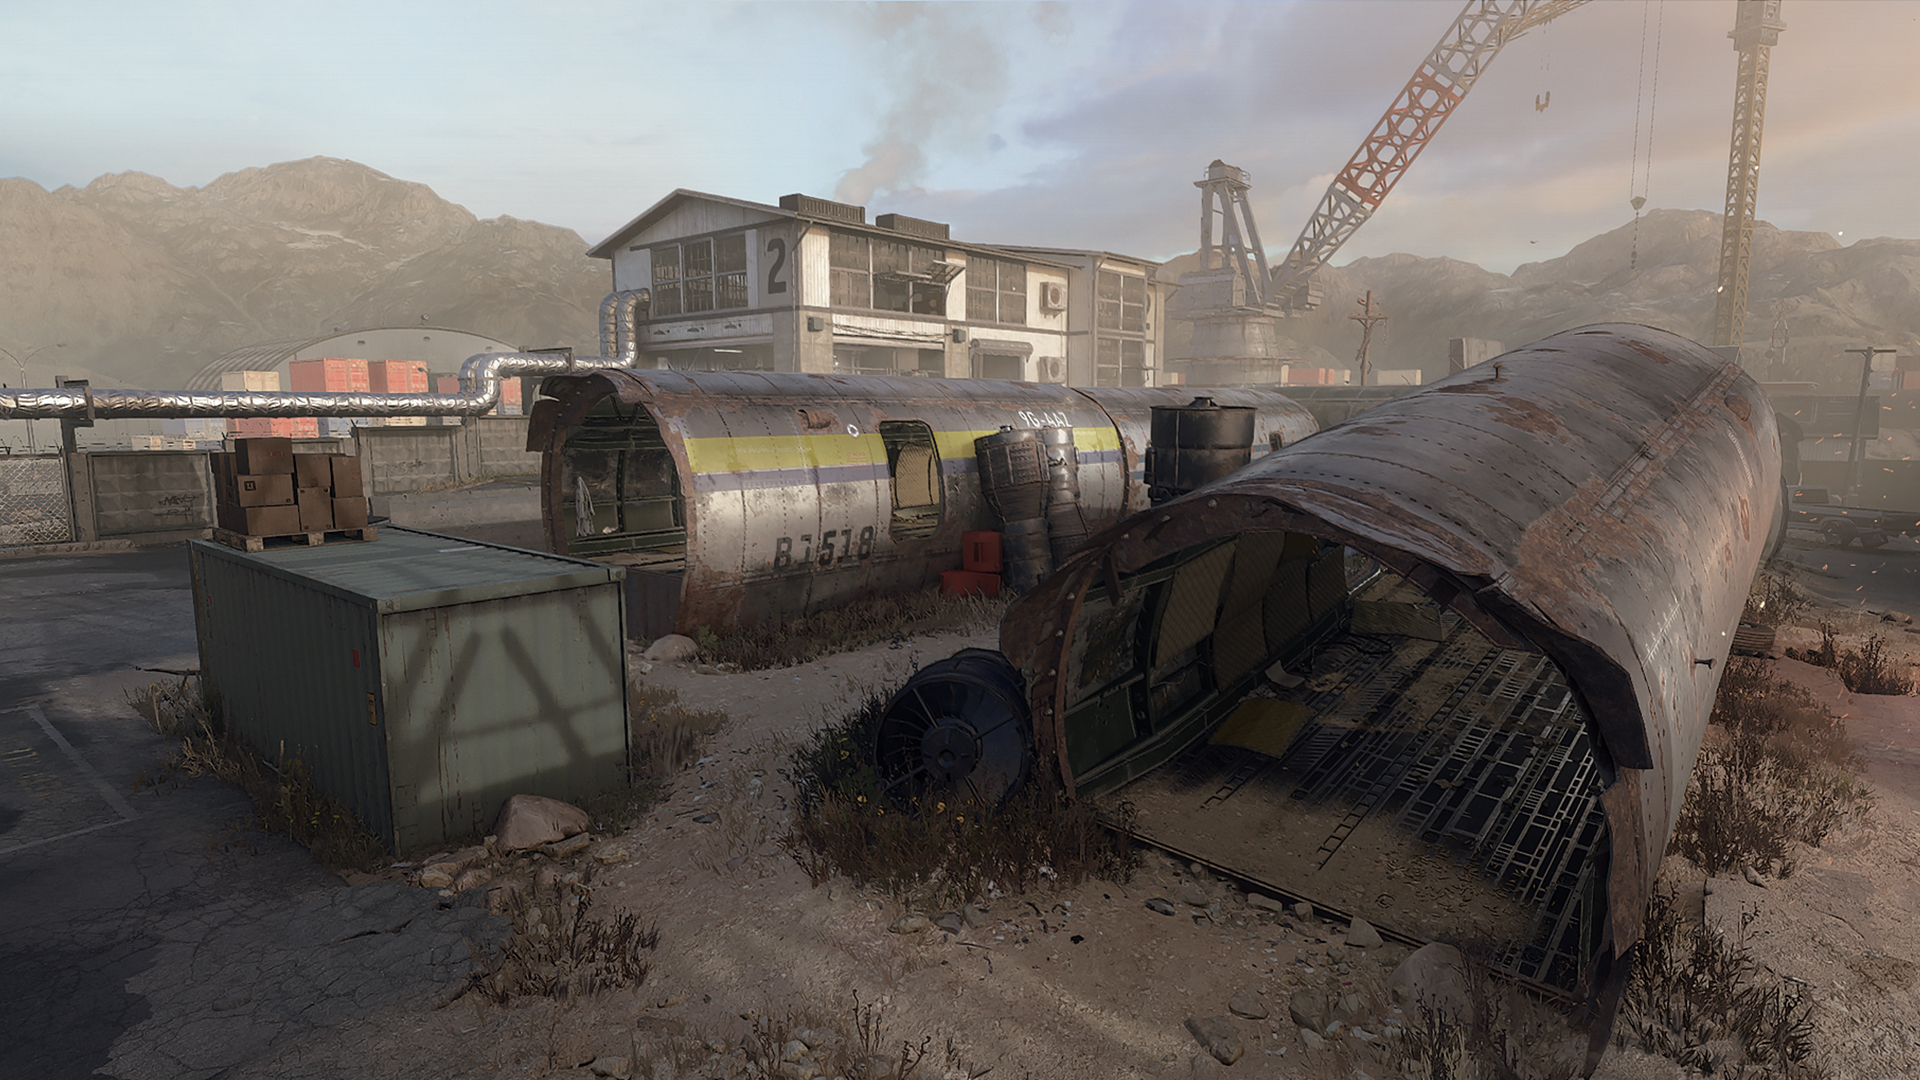
Battle in an aircraft boneyard surrounded by buildings overlooking the wreckage within. Flank enemies by racing through the fuselages and watch your head when sniper battles erupt between the two main warehouses.
Prebrief
Nearly 15 years ago, Scrapyard made its debut in 2009’s Call of Duty®: Modern Warfare® 2 Campaign level “The Enemy of My Enemy.” Since then, it has been featured as the Zhokov Boneyard in Verdansk in the original Call of Duty: Warzone™ and reimagined as a Multiplayer map in 2019’s Call of Duty: Modern Warfare.
The iconic map returns for Call of Duty: Modern Warfare III. Just like its previous iterations, Scrapyard supports frenetic gameplay as Operators battle across the map from warehouse to warehouse, weave through the center fuselages, and set up shop in the surrounding buildings to force the fight up close.


-
Show areas

-
Show hardpoints

-
Show domination flags

-
Show search & destroy sites

-
Show spawn points

-
Reset all overlays

// INTEL CARD
- MWIII
- WZ
- WZM
Scrapyard
// MULTIPLAYER // MAPS
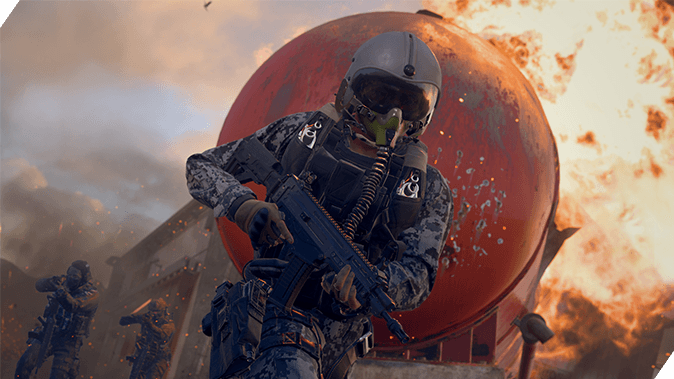
Try the Gunner Vest: Deploy with max ammo and improved reload speed by equipping the Gunner Vest, thus minimizing your downtime in battle and ensuring you have enough ammo to get through the thickest fights. If you’re set on another Vest, you can still improve your reload speeds with the Mag Holster.
Reload on the go: Equip the Commando Gloves to reload while sprinting so you can top off your weapon without hampering your momentum.
Extra intel: Equip the Data Jacker Gear piece for improved map awareness. Enemies you eliminate will drop a smartphone — collect it to generate a localized radar ping, improving your readiness against incoming Operators.

In team-based modes, squads will either spawn outside in the Loading Zone (northwest) or outside the Red Warehouse (southeast).
A graveyard of old fuselages lies between the two points, supported by the outlying maintenance buildings and warehouses. On a map this small, expect your matches to start off hot.
We’ve divided Scrapyard into five sections based on key named areas in the map:
- MAIN SPAWN POINT: Blue Warehouse (+ Loading Zone, Gas Tanks)
- MAIN SPAWN POINT: Red Warehouse (+ Shed, Helipad)
- ADDITIONAL AREA: Storage
- ADDITIONAL AREA: Forklift
- ADDITIONAL AREA: Center
MAIN SPAWN POINT: Blue Warehouse (WEST)
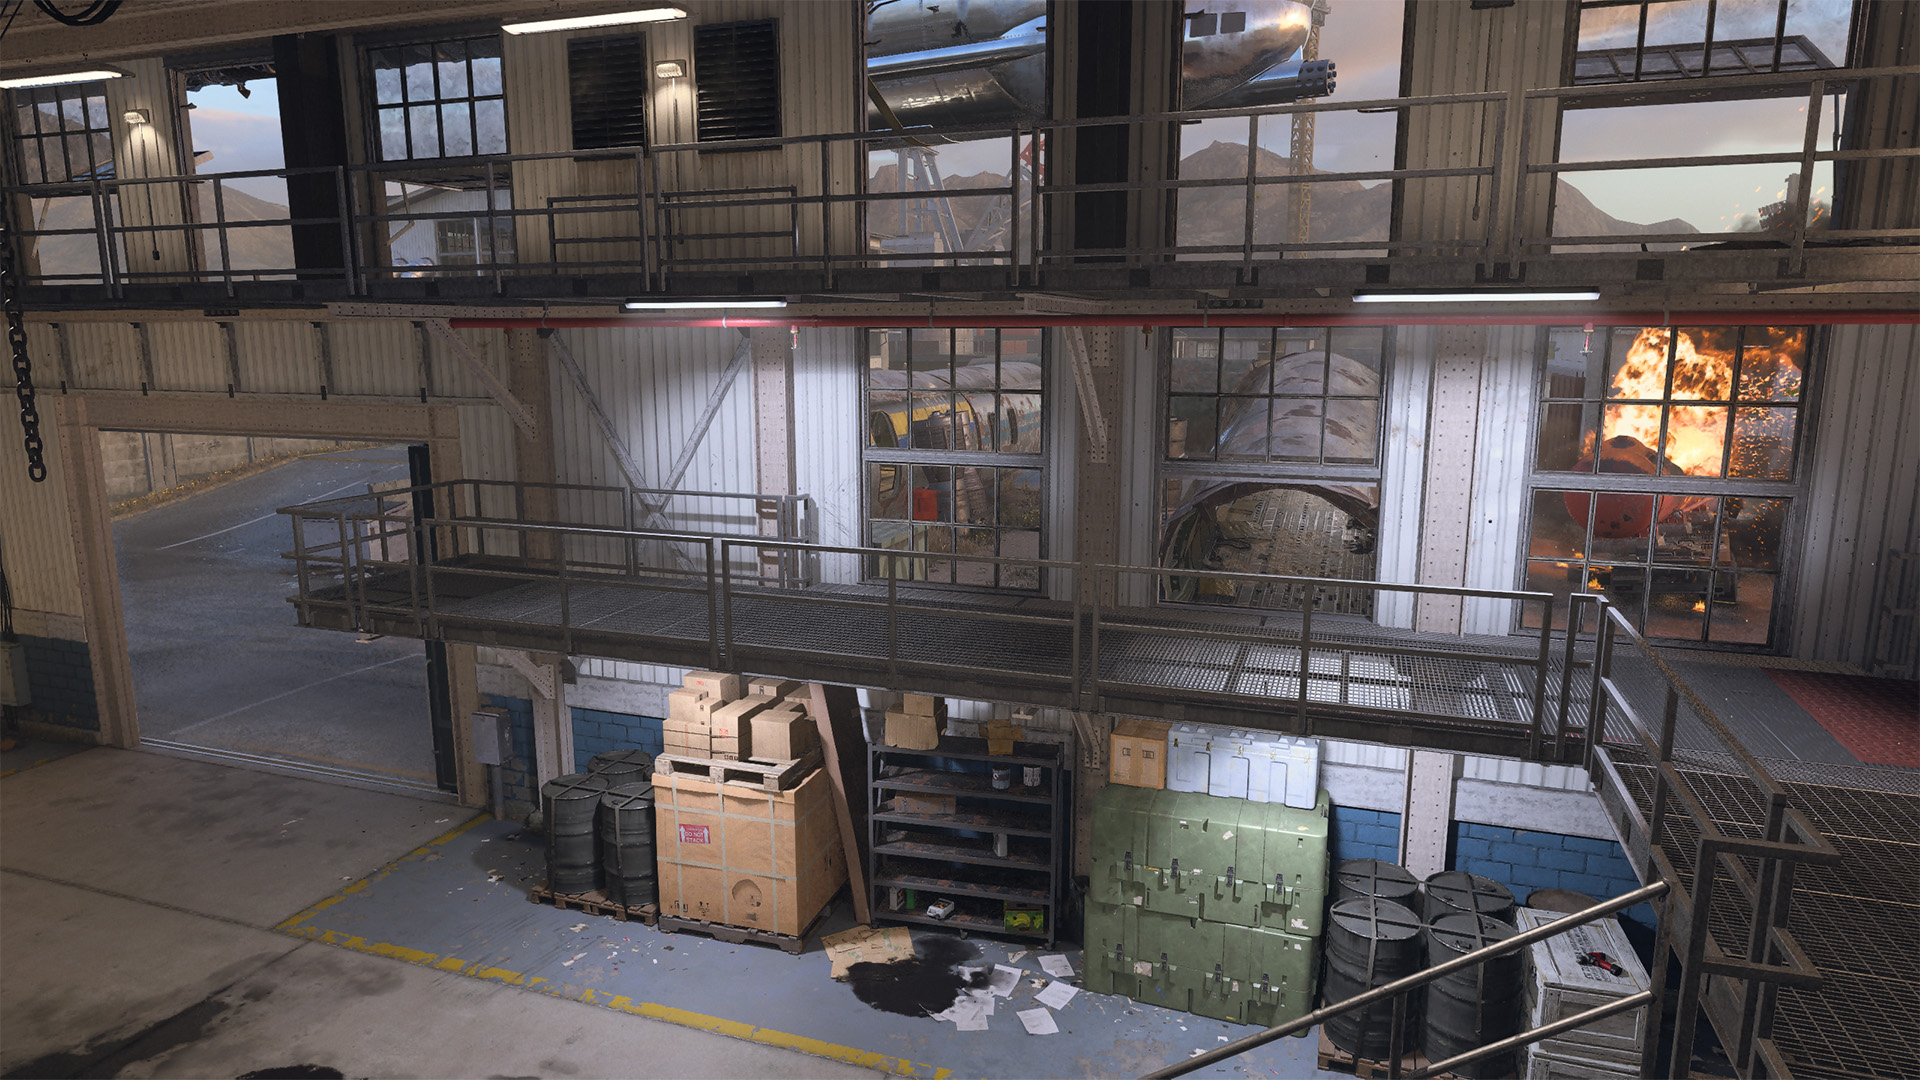
The Blue Warehouse dominates the western portion of the map, facing the opposing Red Warehouse on the map’s other side. The ground floor is open with nowhere to hide, so battles on this level will often come down to who’s the better close-range fighter. Upstairs, the second-level windows offer a clear line of sight toward the upper Red Warehouse, so be prepared to skirmish at long distances from here. To obtain even greater heights, climb the ladder to access the third level, the highest point on the map. Enjoy views over a huge portion of the environment.
When defending the area, close the two side doors if needed; the sound they make when opening will warn you of incoming enemies and cut off sightlines into the building from the Gas Tanks and Loading Zone. Get into an elevated position, and always be aware of where your Operator stands in relation to the Scrapyard.
Since there aren’t many places to take cover here, you can always reposition outside toward the Gas Tanks or Loading Zone, where larger cover items are available.
MAIN SPAWN POINT: Red Warehouse (EAST)
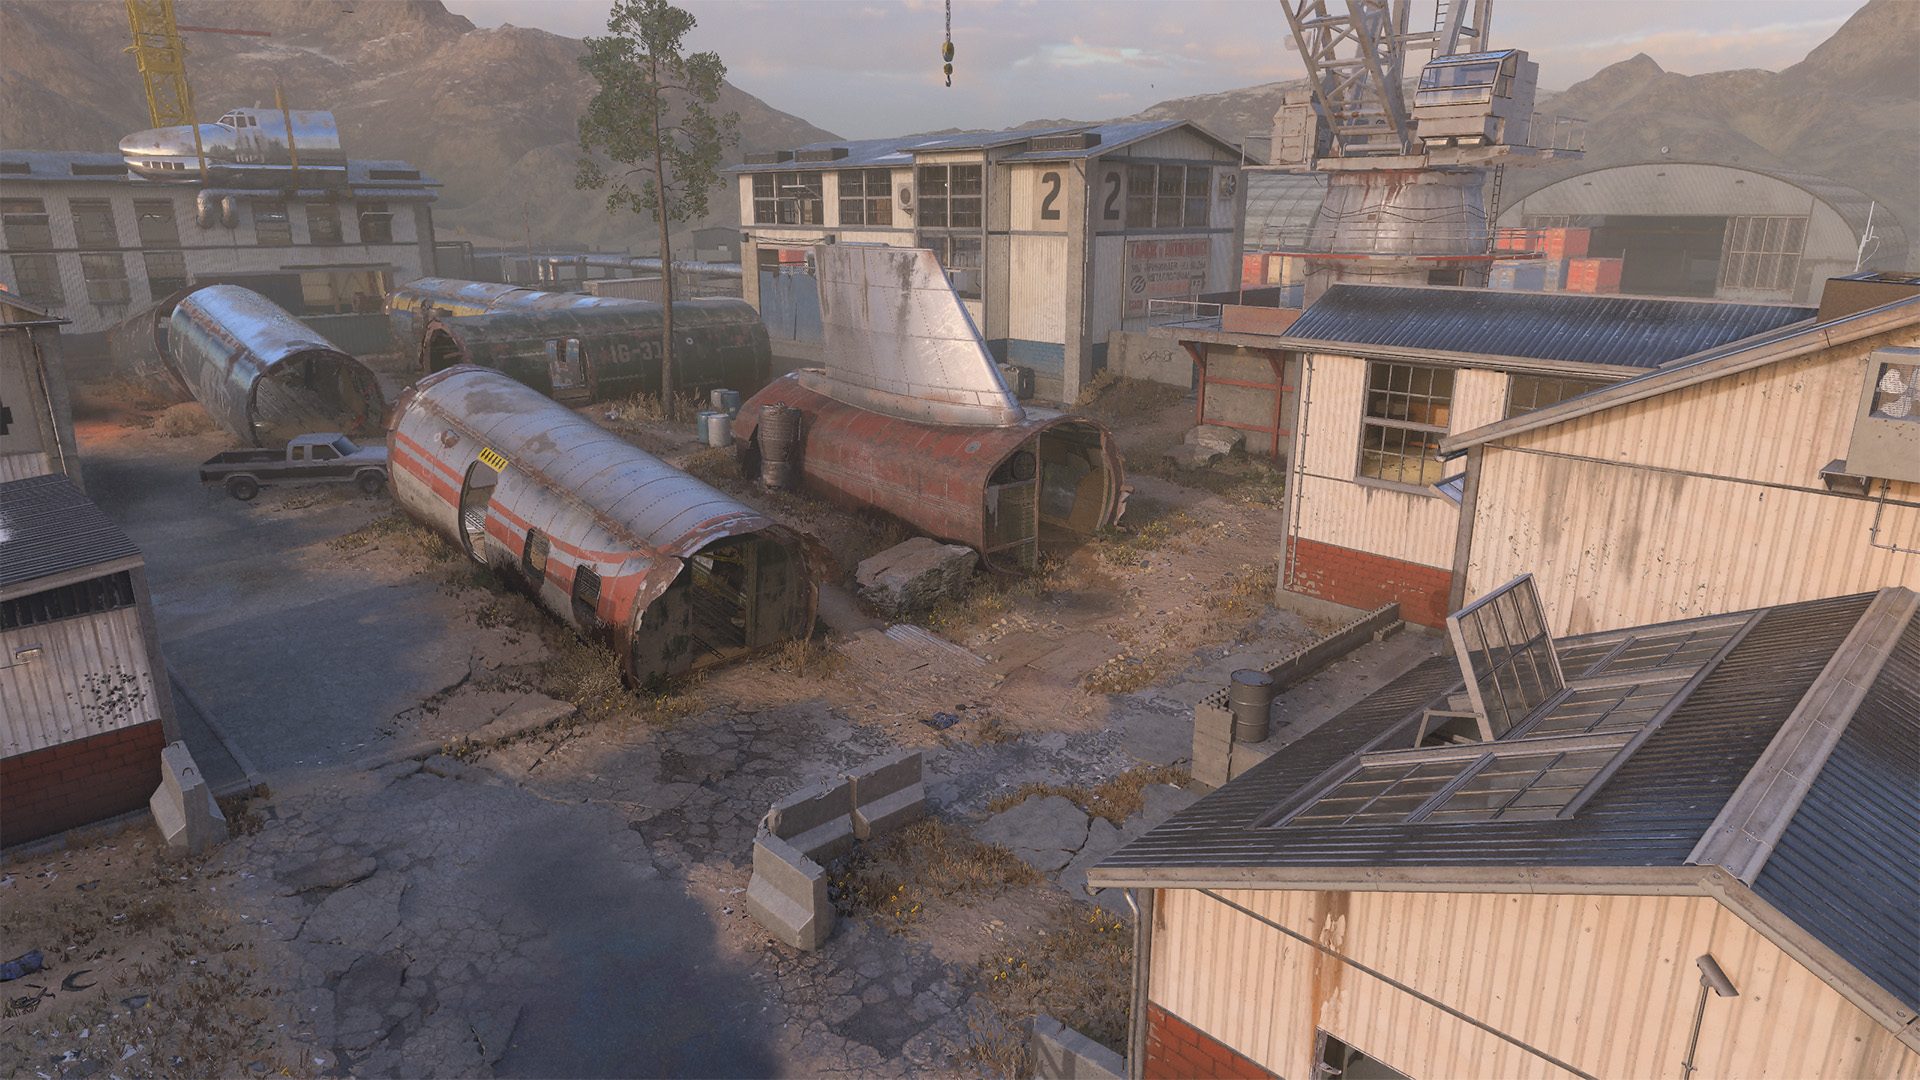
If you can hold it down, there are major advantages to taking up a position in the Red Warehouse. Of most obvious use are the front-facing windows looking out over the Center, though its south-facing windows offer a more low-profile view that’s ideal for eliminating Operators rushing toward the building’s front entrance.
The layout here is a bit more complex compared to its Blue Warehouse counterpart, with some cover provided by the downstairs kitchen and upstairs offices. Watch the side rooms on both levels, acting as close-quarters pivot points into the greater part of the building.
If you’re on the attack and need to dislodge an enemy sniper on the top floor, consider approaching from behind the nearby Shed; wait until they’re focused on the central Scrapyard and then line up your shot. To avoid getting spotted altogether, take the ground-floor entrance near the Helipad.
ADDITIONAL AREA: Storage
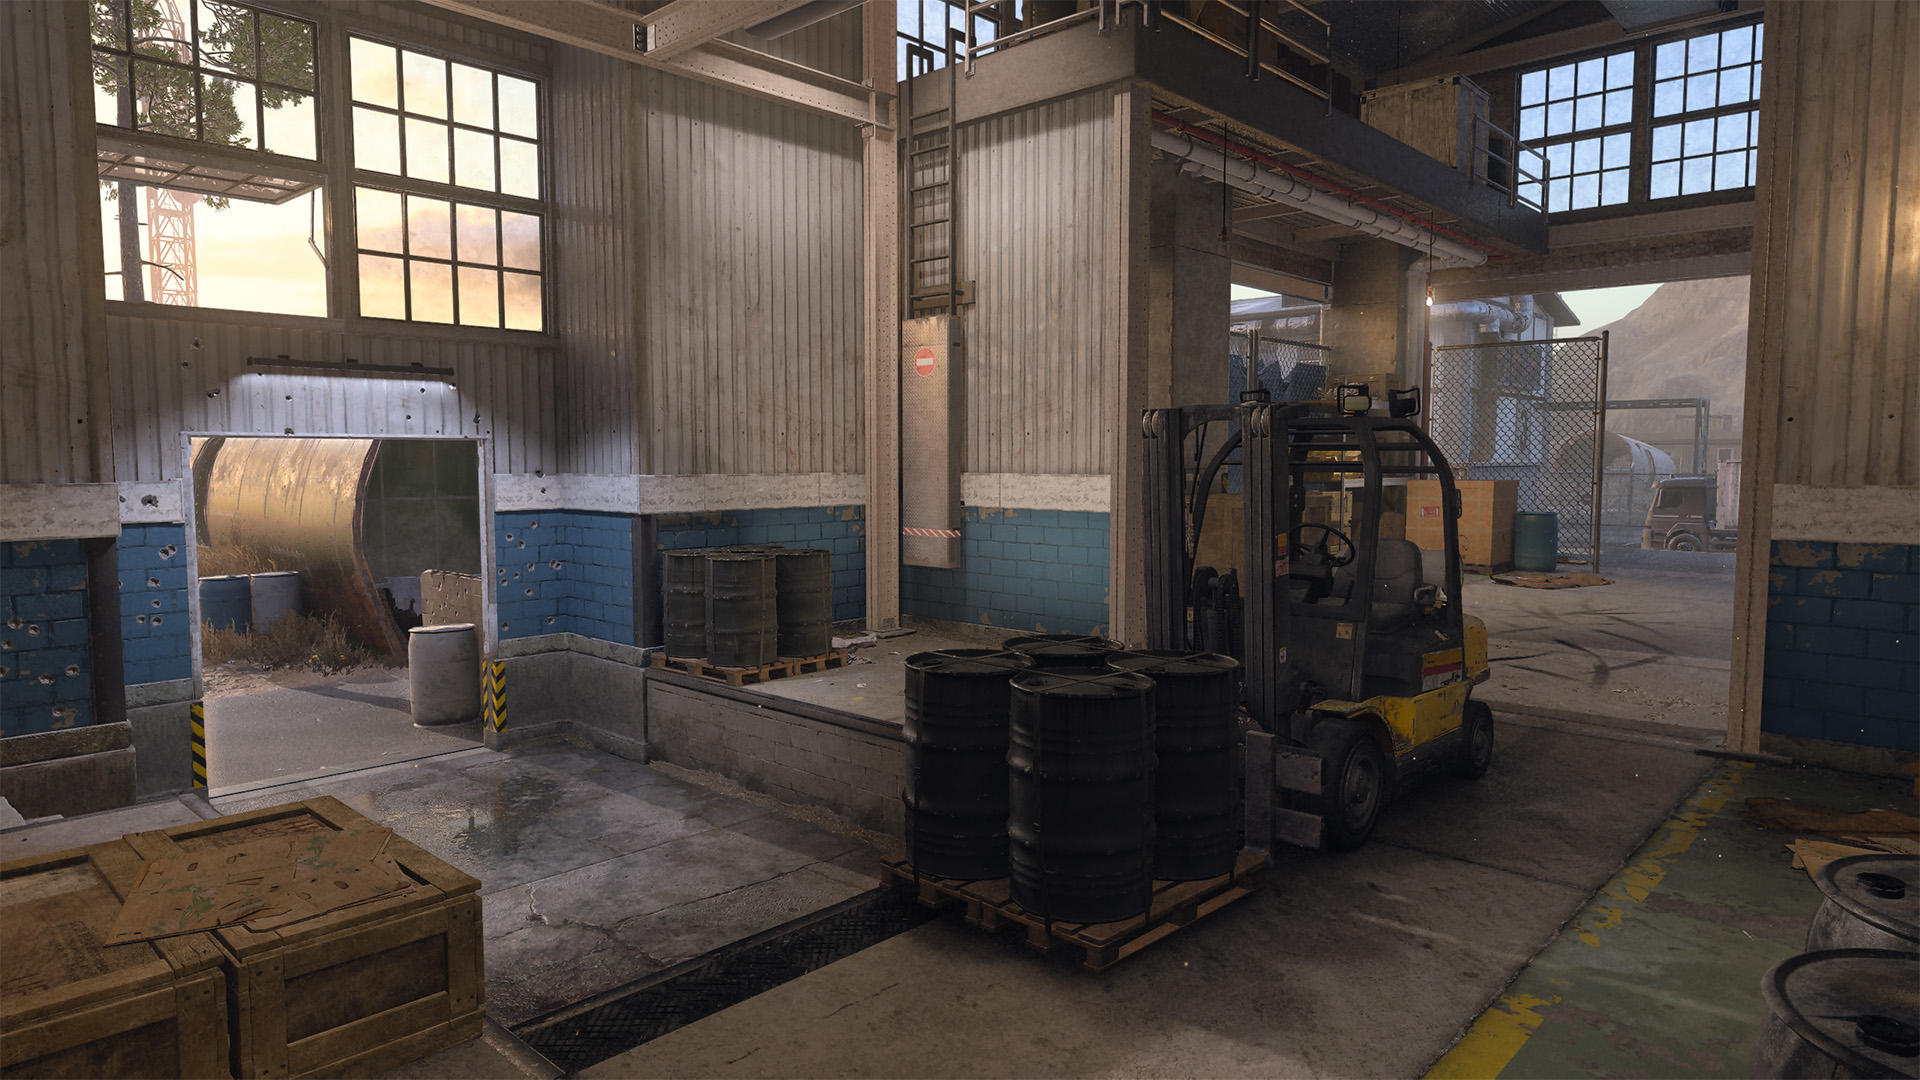
Don’t let this area’s simple design fool you: The Storage building can be extremely dangerous. While the layout consists of a single floor, there are just enough cover obstacles, climbable supplies, and partial walls to provide Operators with the means to ambush incoming enemies. With four entry points into the building, you’ll need the element of surprise to ward off foes.
Take note of the low stone wall extending along the front of Storage, as well as the dumpster and white container on the building’s west end. You can climb on both for an elevated view; jump from the top of the white container to the roof of the truck and onto the fuselage for a daring play into the Center.
ADDITIONAL AREA: Forklift
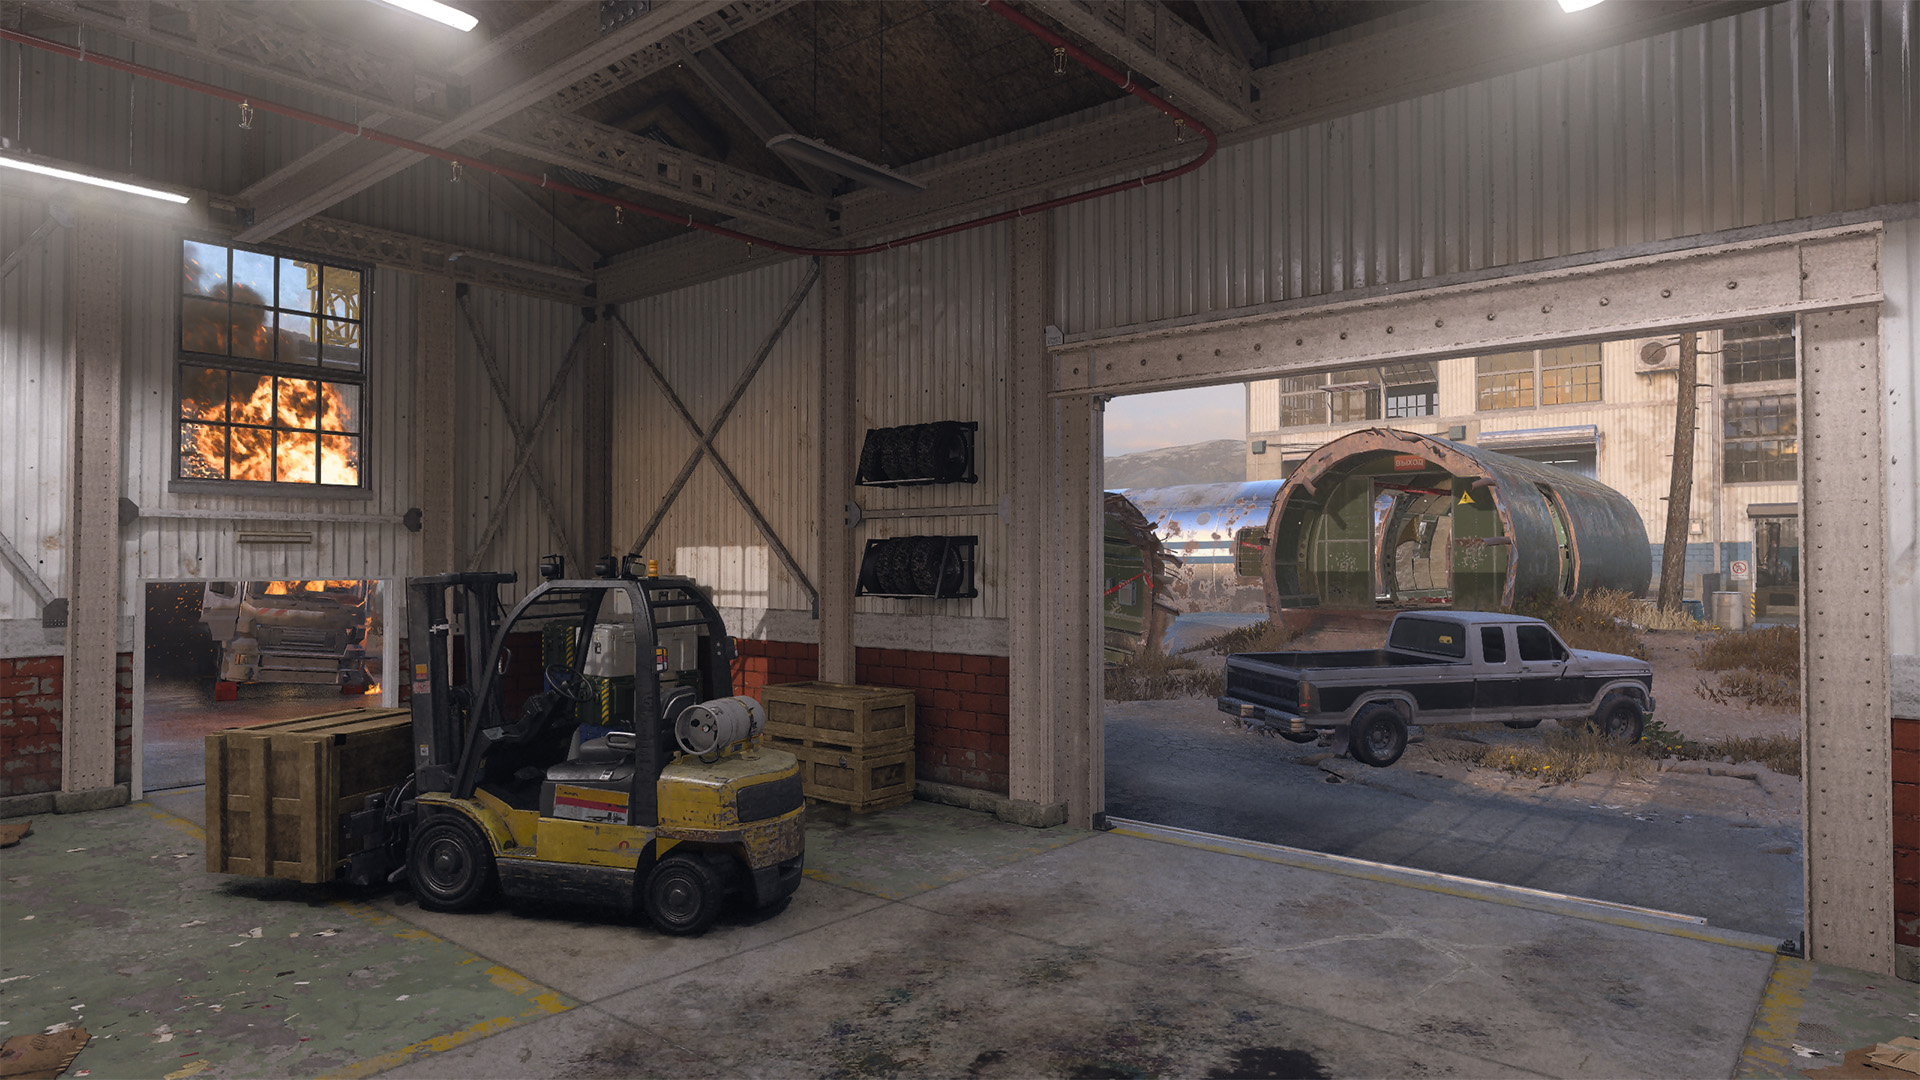
Except for the eponymous Forklift in the middle, there’s not much in the way of cover here. Its tight layout forces players into close-ranged combat, often circling around the vehicle for the moderate cover it provides. When skirmishing, be aware of the large opening facing the Center, where enemies can get a view inside Forklift as far away as the Storage building. Climb on top of the vehicle or the nearby stacked crates to get above enemies coming in after you.
The Gas Tanks west of Forklift mark another dangerous point, as they may conceal an enemy on the other side, not to mention the thick smoke rising from the burning truck, reducing visibility in the immediate area.
ADDITIONAL AREA: Center
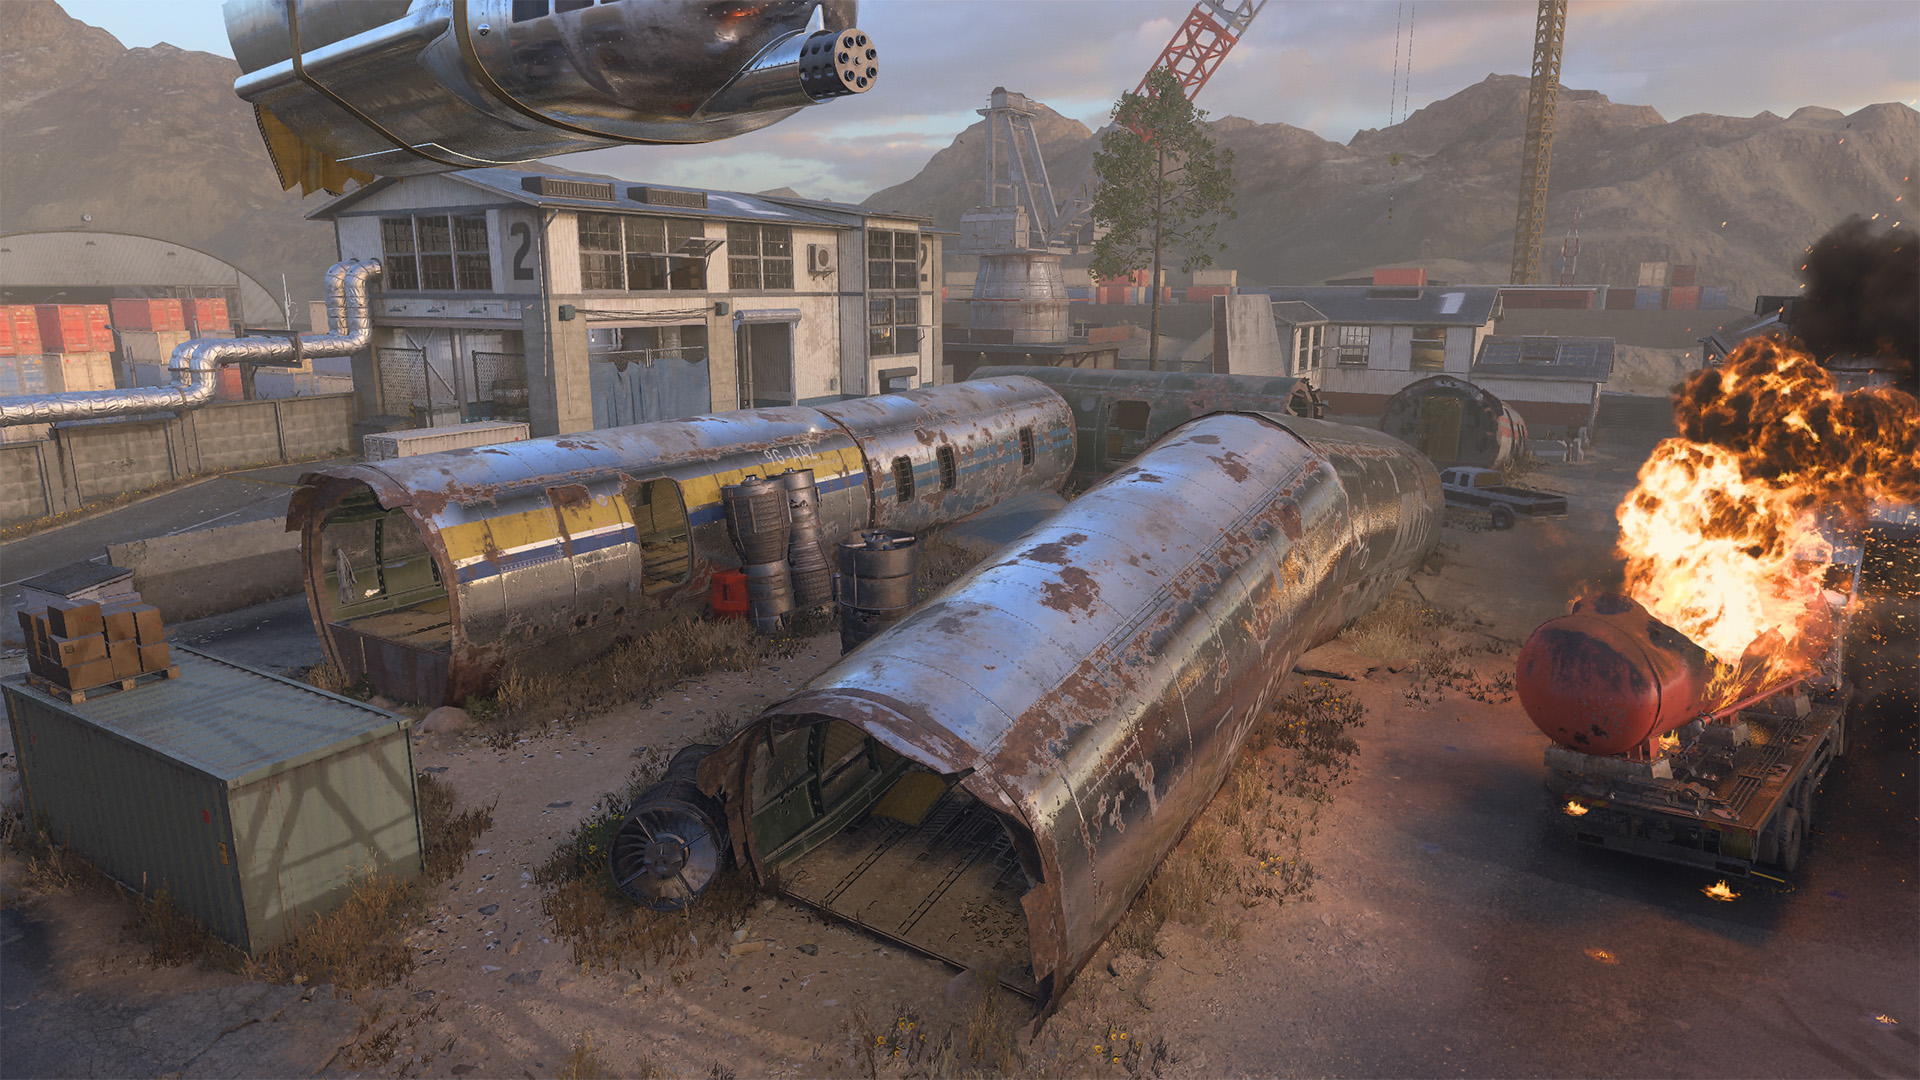
Center marks the site of the scrapped aircraft fuselages spread out around the open ground. While CQB is abundant here, there are plenty of midrange opportunities when moving from fuselage to fuselage as well as when looking out the planes’ various windows, doorways, and sheered ends. There are several points around the Scrapyard that provide access to the top of the fuselages, a risky though rewarding play that can help you get the jump on enemies below.
When moving through Center, keep in mind the various sightlines offered by the surrounding buildings so you can better judge where to move when skirmishing with enemy Operators. Sure, the fuselage is tight, but moving onto open ground presents danger from every corner.
Objective Overview
Overall Tactics
Scrapyard gets wild in objective modes by further focusing the fight on an already small map. But make no mistake: All playstyles can perform well here.
Prepare for the match ahead with at least one dedicated Loadout each for close-range, midrange, and long-range combat. Pair a Shotgun with the Gunner Vest for max ammo and faster reloads; try an Assault Rifle with the Demolition Vest to bombard objectives from midrange; combine an LMG’s suppressive fire with the Engineer Vest to spot and mark enemy equipment.
Consider activating Scorestreaks instead of Killstreaks to optimize the benefits of playing the objective. Select low-cost Streaks to improve your chances of earning them in the match, or go big and aim for something like the Overwatch Helo or VTOL Jet. Support your efforts by equipping the Mission Control Comlink to reduce their overall cost.
By getting your gear in order before the fight begins, you’ll be in good shape to handle whatever Scrapyard throws your way.
Domination
On a map of this size, all flags are up for the taking, with objectives often switching hands multiple times throughout the match. A and C being in the open forces Operators to brave the outside where sightlines are abundant, while the B flag occupies one of the map’s tightest spaces.
Communicate with your team and focus on holding down two flags at a time. Whether they shift throughout the match is of little importance as long as you maintain the overall 2:1 advantage.
Note the upper corner office in the Red Warehouse with its commanding view over the A flag. If you’re going for the capture, toss a grenade through the window on your way to the objective. For B, rush the building from multiple entry points to initiate a pincer attack; for C, a Shotgun can do wonders, giving you a better chance of connecting with targets obscured by the billowing smoke.
Hardpoint
Expect a tough fight ahead with all five Hardpoints located in interior positions. While long-ranged weapons will serve an important role in eliminating enemy Operators crossing the Center, it’s the close-quarters fighting that will ultimately determine who gains each Hardpoint.
When defending the objective in either Warehouse, keep in mind that the Hardpoint boundary ends at the start of the second floor in each building, so don’t get carried away by defending from the upper levels if someone isn’t already on the point.
Grenades are bound to play a big role in breaching the confined Hardpoints here, so be prepared with countermeasures like the Trophy System, EOD Padding, and/or the Tac Mask to help withstand attacks. By improving your defensive capabilities, you improve your ability to keep the score rolling.
Cutthroat
It won’t take long for the action to kick off here, which can be a blessing and a curse. Aggressive players will look to end the round as fast as possible, pushing for the total elimination, while more tactical minded Operators may wish to seek their preferred vantage points first to optimize their sightlines.
The opening moments of the match will determine how much time you have to prepare. One or both enemy teams may come rushing right after you, in which you’ll need to stop planning and start fighting; or the other two quads might collide before you’re pulled into the fight, letting you choose the best angles before engaging.
For stealth-minded Operators, move through the buildings and fuselages as much as possible, keeping your time spent outdoors to a minimum. Use quick maneuvering to strike out at nearby enemies and then reposition for the next one. Work your way to the overtime flag to secure another means of winning the round.
Search & Destroy
Think fast, but don’t lose your head. Starting by the Shed in the southeastern corner of the map, the attacking team can push straight up toward B or hook across the map toward A. Because of the map’s smaller size, the squad can also just make a general push forward and quickly pivot to the preferred site in the moment.
While you can always win the round by wiping out the other team, never lose sight of the bomb sites. There are plentiful opportunities to slip away under cover of the center fuselages and the perimeter buildings; while the others are busy skirmishing, you plant the bomb.
On the defending side, beginning in the Blue Warehouse, consider sending two teammates up the ladder to the upper gangway, each tasked with watching one side of the map. Your team’s total visibility skyrockets this way, while the others stick to the ground floor and move up. If you’re on the receiving end of this tactic, equip a Sniper Rifle in the next round and counter them from way out.
Top 10 Tips
1. Watch your head. We’ve mentioned it before, but the opposing Warehouses are hots spots for snipers. Thankfully there are ample means of moving through the map while minimizing your exposure to their sightlines. If you need to take one out, try lobbing your equipment through the window or attacking from an unexpected angle.
2. Move it, soldier! Remember that your Tactical Sprint refreshes even while sprinting. Use your enhanced movement speed to cross open areas quickly in pursuit of vantage points that better suit your Loadout.
3. Intel in the air, attacks on the ground. The regular spacing of the perimeter buildings means that overhead cover is never far off, a point worth keeping in mind when selecting your streaks. While UAVs and Counter-UAVs retain their always useful intel capabilities, consider using ground-based streaks like the Cluster Mine or Remote Turret when you need extra firepower.
4. If you can’t beat them, avoid them. Still can’t seem to avoid that cross-map sniper fire? Instead of taking them head-on, try sticking to the perimeter, using the small interior spaces to force enemies into closer contact.
5. Toe-to-toe. The buildings here are tight, bringing Operators into close contact with one another. Consider equipping a Melee weapon as your secondary weapon, providing you a fast weapon swap to better handle enemies in close proximity.
6. Where the . . . ? Don’t get caught off guard when moving through the buildings, especially the larger Warehouses. As you play more matches, take note of all the various entry points from which an enemy may appear. While there’s always the chance that you’ll be surprised, knowing the layout will help you better anticipate enemy movements.
7. Step softly. Tromping over the metal floors of the fuselages makes a lot of noise. If you’re traversing the fuselages a lot to flank enemy Operators, consider adding the Covert Sneakers to your Loadout so they won’t hear you coming first.
8. Overkill in the fuselage. While SMGs and Shotguns perform well within the fuselages, you might want something more effective at a distance when looking out through the various openings. Use the Gunner Vest to equip both a short- and mid- to long-ranged primary weapon, so you’ve got the right tools for all your sightlines.
9. Best of both worlds. While Scrapyard contains plenty of areas where either CQB or long-range combat shines, you may find greater success in opting for a midrange Loadout that performs well in multiple situations. It lacks the precision of wielding two primary weapons each with their own purpose, but you’ll also be able to use that Vest slot on something else.
10. Same destination, different journey. When attacking or defending an objective, it’s often better to spread out your forces en route than to beeline it as a full group. While brute force can be effective, fanning out provides greater total visibility around the map.

© 2024 Activision Publishing, Inc. ACTIVISION, CALL OF DUTY, CALL OF DUTY WARZONE, and MODERN WARFARE are trademarks of Activision Publishing, Inc. All other trademarks and trade names are the property of their respective owners.
For more information, please visit www.callofduty.com and www.youtube.com/callofduty, and follow @Activision and @CallofDuty on X, Instagram, and Facebook. For Call of Duty Updates, follow @CODUpdates on X.
