Call of Duty: Modern Warfare III Movement

One of the first things to learn in any first-person shooter, and especially in any Call of Duty game, is how to move your Operator. This guide is written to support any player who steps into the Call of Duty universe. No matter your skill level, this guide will teach or refresh some skills that will help you maneuver while in game.
Prebrief
In Call of Duty®, new players and world championship winners have more in common than you think.
Namely, regardless of skill level, every player can learn something new or work on the fundamentals of movement.
By the end of this section, you will know the simple techniques — when to go prone, what type of sprinting is best, and so on — as well as the most advanced strategies that can shave milliseconds off Time-to-Kill (TTK) and potentially save your in-game life.
// INTEL CARD
- MWIII
- WZ
- WZM
Movement
// MULTIPLAYER // TRAINING
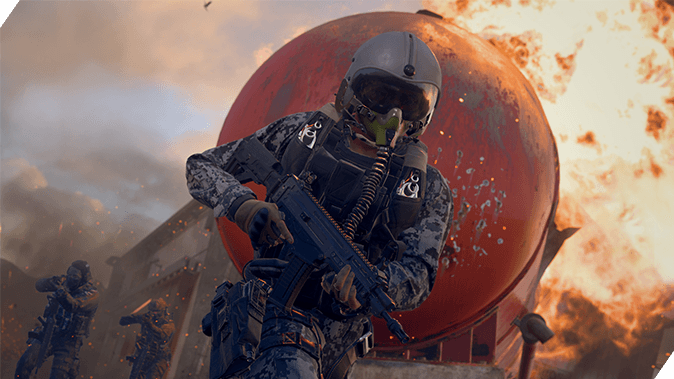
Call of Duty: Modern Warfare III is fast. Practice moving around each map as much as possible until movement becomes instinct, so you can focus on putting rounds on target.
Adjust your sensitivity so that it fits most situations. You may not know every situation that you will be in, but make sure the setting is fast enough to turn a corner, yet slow enough that you can hit your target accurately.
Always remember that crouch and prone will slow your movement, but they will also help you shoot more accurately.

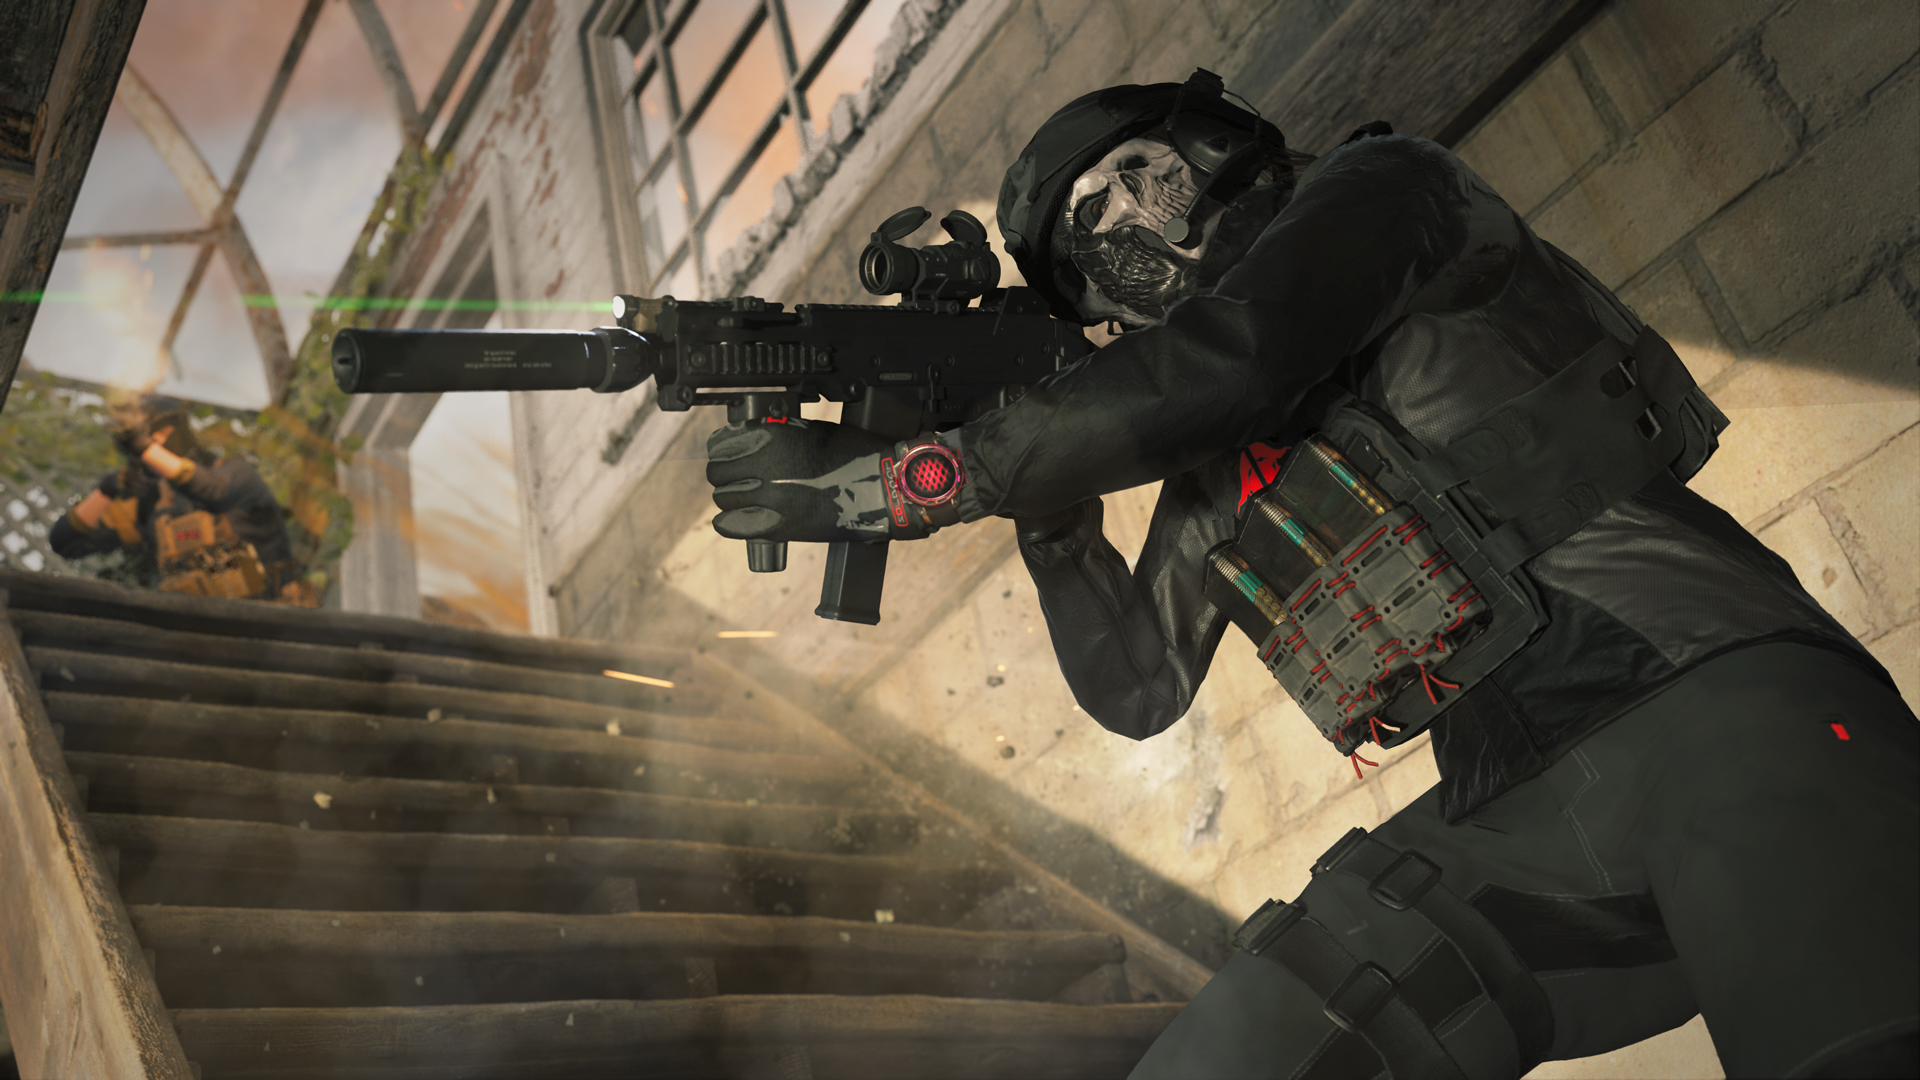
In Call of Duty, where you look is where you move “forward.” So, before we can walk, or even stand, let’s learn how best to “look.”
How fast — or slow — you look in game is based on Sensitivity. For controller users, there is a 20-point system for Vertical and Horizontal Sensitivity in the settings. By default, both these values are set to 3, with 1 being low and 20 being high.
For mouse users, there are two settings, your mouse’s DPI (dots per linear inch) which is something you would adjust outside of the game, which is a system setting, not a game setting. This is one of the challenges when getting your sensitivity just right on PC. Then, there is the in-game sensitivity which is something much simpler and if you use the DPI on your mouse that you always use, this is a far more important setting. The in-game Settings have a sensitivity slider that you can adjust to your liking, and we recommend adjusting this in the Settings before changing anything about your mouse DPI as that may affect things outside of the game.
Sensitivity while aiming down sights can also be adjusted in the Settings menu — this is important for those who want to quickly look around when on the move but want slower movements when precise shots are needed.
There are no hard and fast rules for sensitivity; player preference will always be better than a “perfect sensitivity.” But for those with nowhere to start, here is our recommendation:
New players should start at the default (3-3), then adjust higher as they get more familiar with the game.
Great players will advise you to use high sensitivities and learn how to make micro-movements with your fingers out of game. This gives the best of both worlds, but those light touches for minor movements may take some practice.
Choose the Stance to Fit the Moment
// INTEL CARD
- MWIII
- WZ
- WZM
Tac-Stance
// MULTIPLAYER // TRAINING

Tac-Stance can be toggled on and off while aiming down sights (ADS).
When you need a middle ground between Hip Fire and ADS, Tac-Stance is the perfect compromise.
Clear buildings in more tactical modes by utilizing Tac-Stance. It allows a clearer and wider field of view, while also being ready to engage at any moment. Note that while these advantages are great, there is still an accuracy spread disadvantage, albeit not as great of a disadvantage as using hipfire.
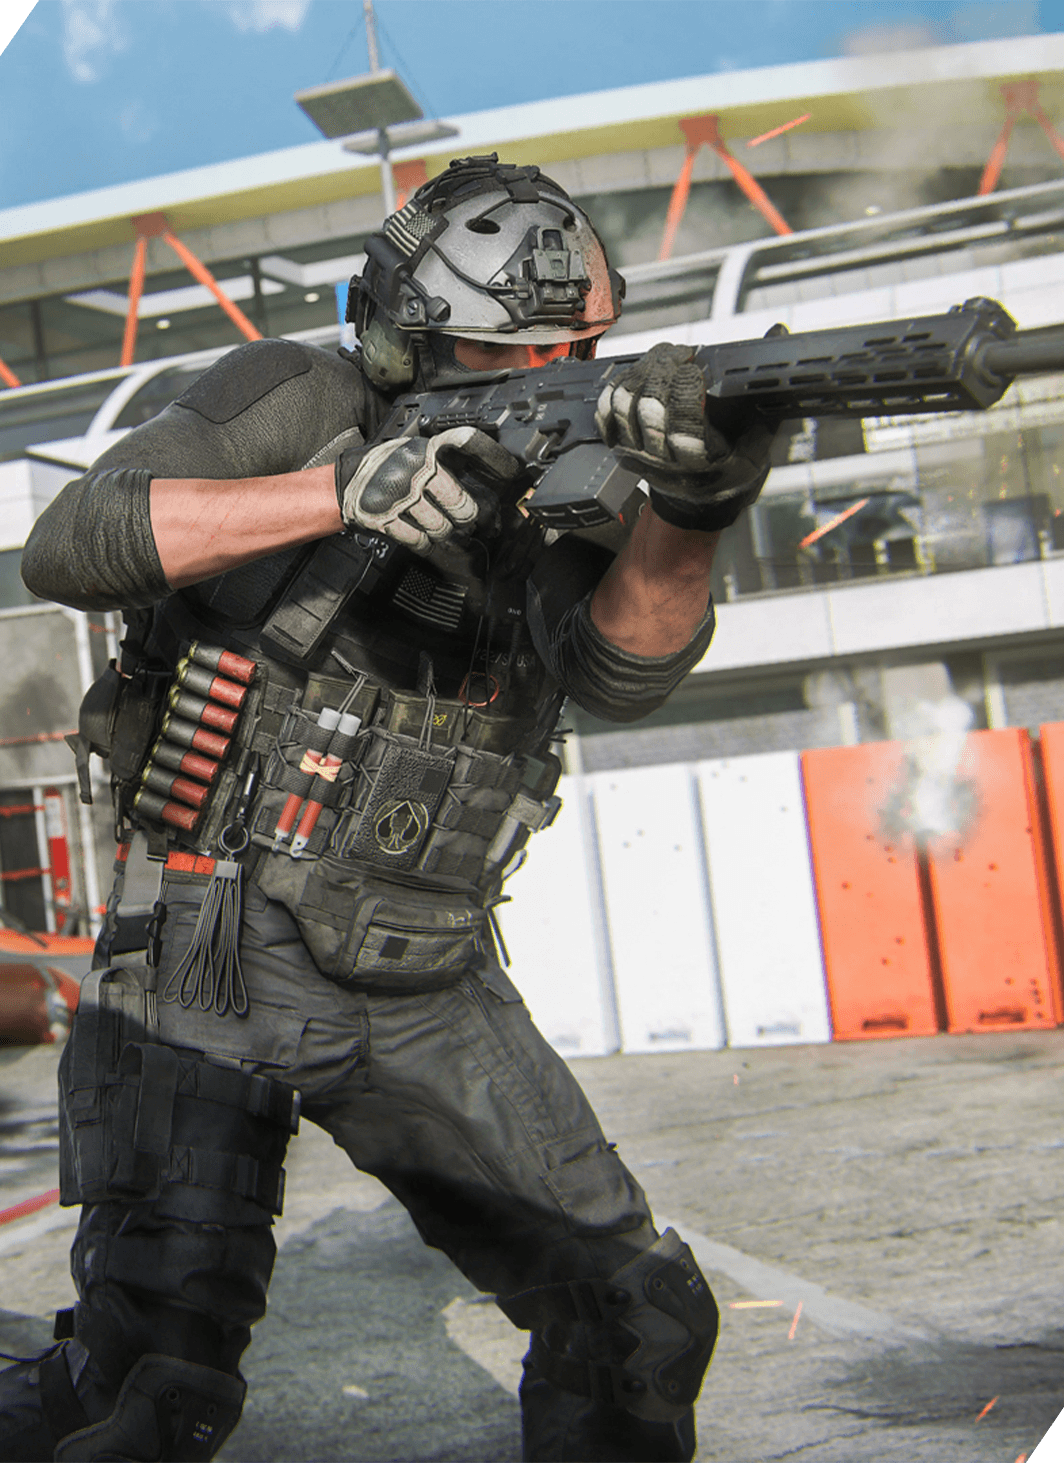
Tac-Stance
What is Tac-Stance? Tac-Stance is a different way to hold your weapon while aiming down sights. As you likely know, there are different accuracies to your weapon when you are either aiming down sights or firing from the hip. This is something that fits in between. When you’re just not hitting your target while hip-firing, but you don’t have the time or Loadout to accurately aim your weapon, Tac-Stance can help you; in fact, it is made for exactly this situation.
You can toggle Tac-Stance while aiming down sights and hitting the appropriate button on and off. It is important to know that this is the only time you can toggle it on and off.
Advanced Tactics for Tac-Stance:
Tac-Stance is something fairly new to Call of Duty. There have been things in the franchise that have given us a taste of what Tac-Stance can do, but nothing like the real deal.
Tac-Stance can be used on most weapons but not all, especially if you have something equipped via Gunsmith that disallows this feature. If this is your preferred method of firing, then use it. It’s fast, agile, and more accurate than hip-firing. So, when ADS just doesn’t feel like the right move, Tac-Stance away. Use the combination of speed and accuracy to clear corners and scan a room as you enter it, especially in modes like Cutthroat and Search & Destroy.
Additionally, Tac-Stance is incredibly useful when you are equipped with a Loadout that is set for mid- to long-range engagements. Of course, there’s always the option to run a Secondary Weapon that you can switch to in an emergency. But instead of sacrificing damage or the time to switch weapons, standing ready to fight with Tac-Stance will often win you the fight against an opponent who thinks they have the drop on you.
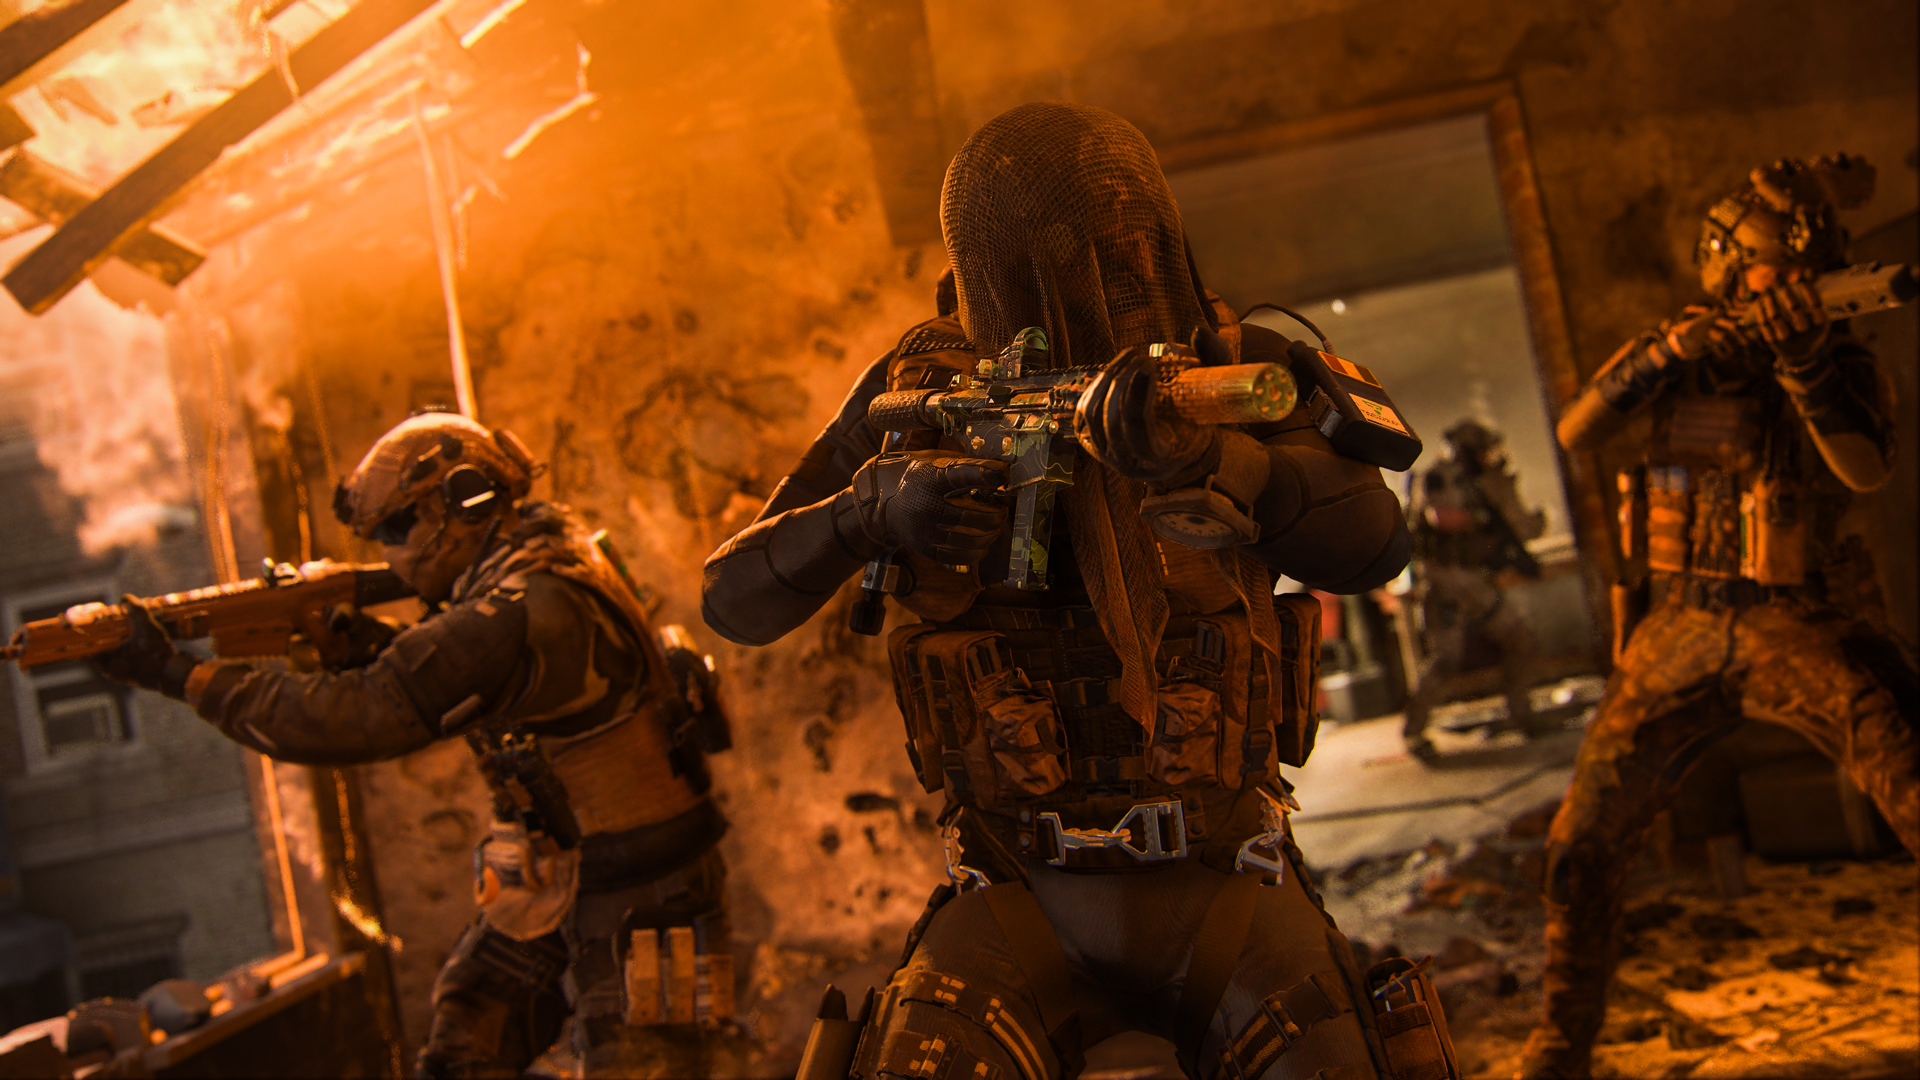
In a game like Call of Duty, remembering to watch your back — and every other side — is crucial for survival, lest someone go for the humiliating Finishing Move.
Remember to look around, even when standing still. Utilize Tac-Stance to clear corners while on the move to give yourself a wider POV and not force yourself to miss an opponent.
Modern Warfare® III has some features to help you pick out threats, both as standard (e.g., grenade icons and certain accessibility settings) and as temporary or player-choice bonuses (e.g., the Engineer Vest).
But still, there must be a conscious choice to anticipate threats from all directions. Along with using audio cues — footsteps, weapon noises, breaking of glass, that squadmate yelling, “HE’S LITERALLY ONE SHOT IN FRONT OF YOU” — be aware of your surroundings. If it means wasting a few milliseconds to slightly turn your head to see around a corner or check behind you, it is statistically worth it.
Otherwise, when an enemy comes out of nowhere right where you were originally looking, JUST as you turn to look elsewhere, and gets the jump on you . . . well, we in the community call that “COD timing.”
A higher sensitivity setting makes it easier to look around and adjust your aim with fewer movements from your analog stick or mouse. Micro-adjustments are a must on higher sensitivity settings, as too much of an analog stick or mouse move can leave your Operator spinning and overshooting a target. And if you’re on the move, higher sensitivity can allow for more unpredictable serpentine movements, as it’s harder to hit a moving target if it’s not going in a straight line.
Standing, Crouching, and Prone
Operators have three different stances: standing (default), crouching, and prone. The latter two are done with simple button presses.
Each stance has its pros and cons:
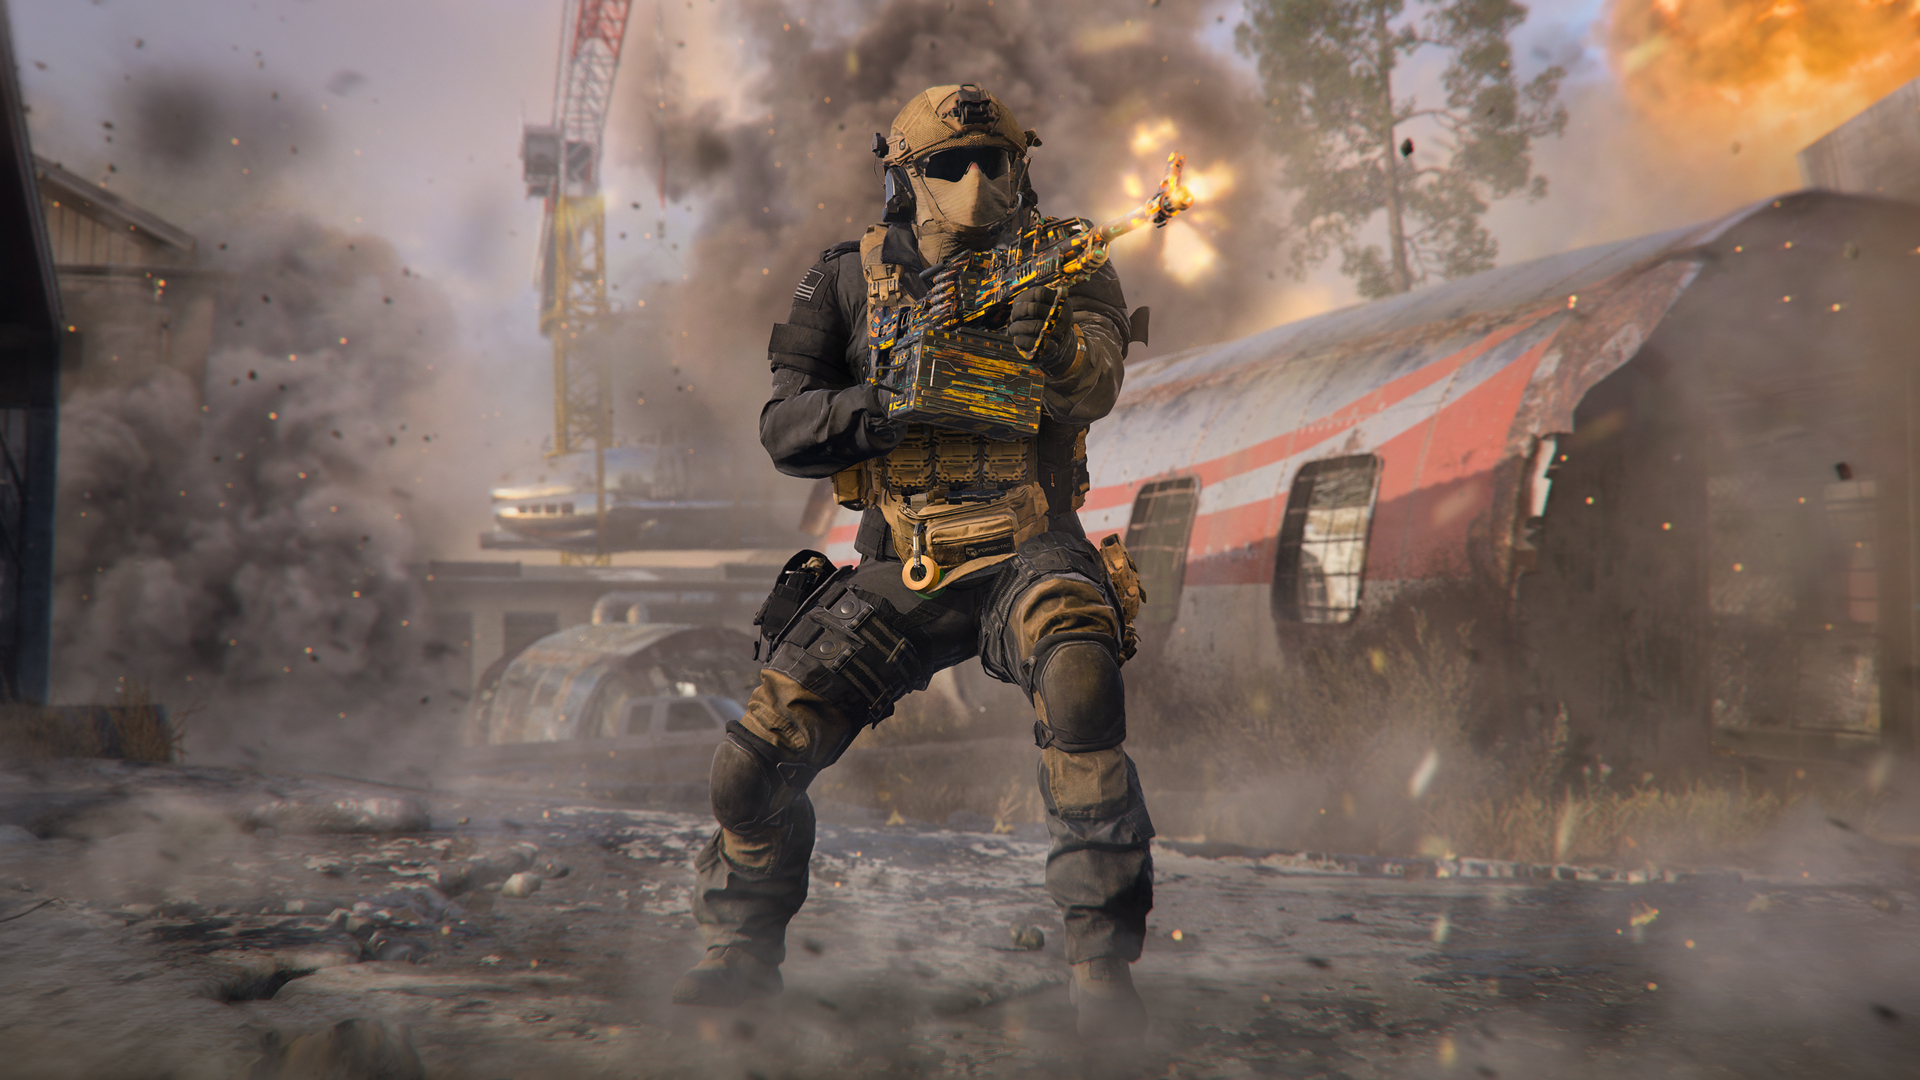
Standing is the fastest way to move with two feet, whether by walking or sprinting. However, standing shows 100% of your Operator’s profile, making them most vulnerable to damage. Accuracy while standing is also the baseline accuracy for any weapon; the other two positions allow you to make more accurate shots, but standing and firing is better than moving while firing.
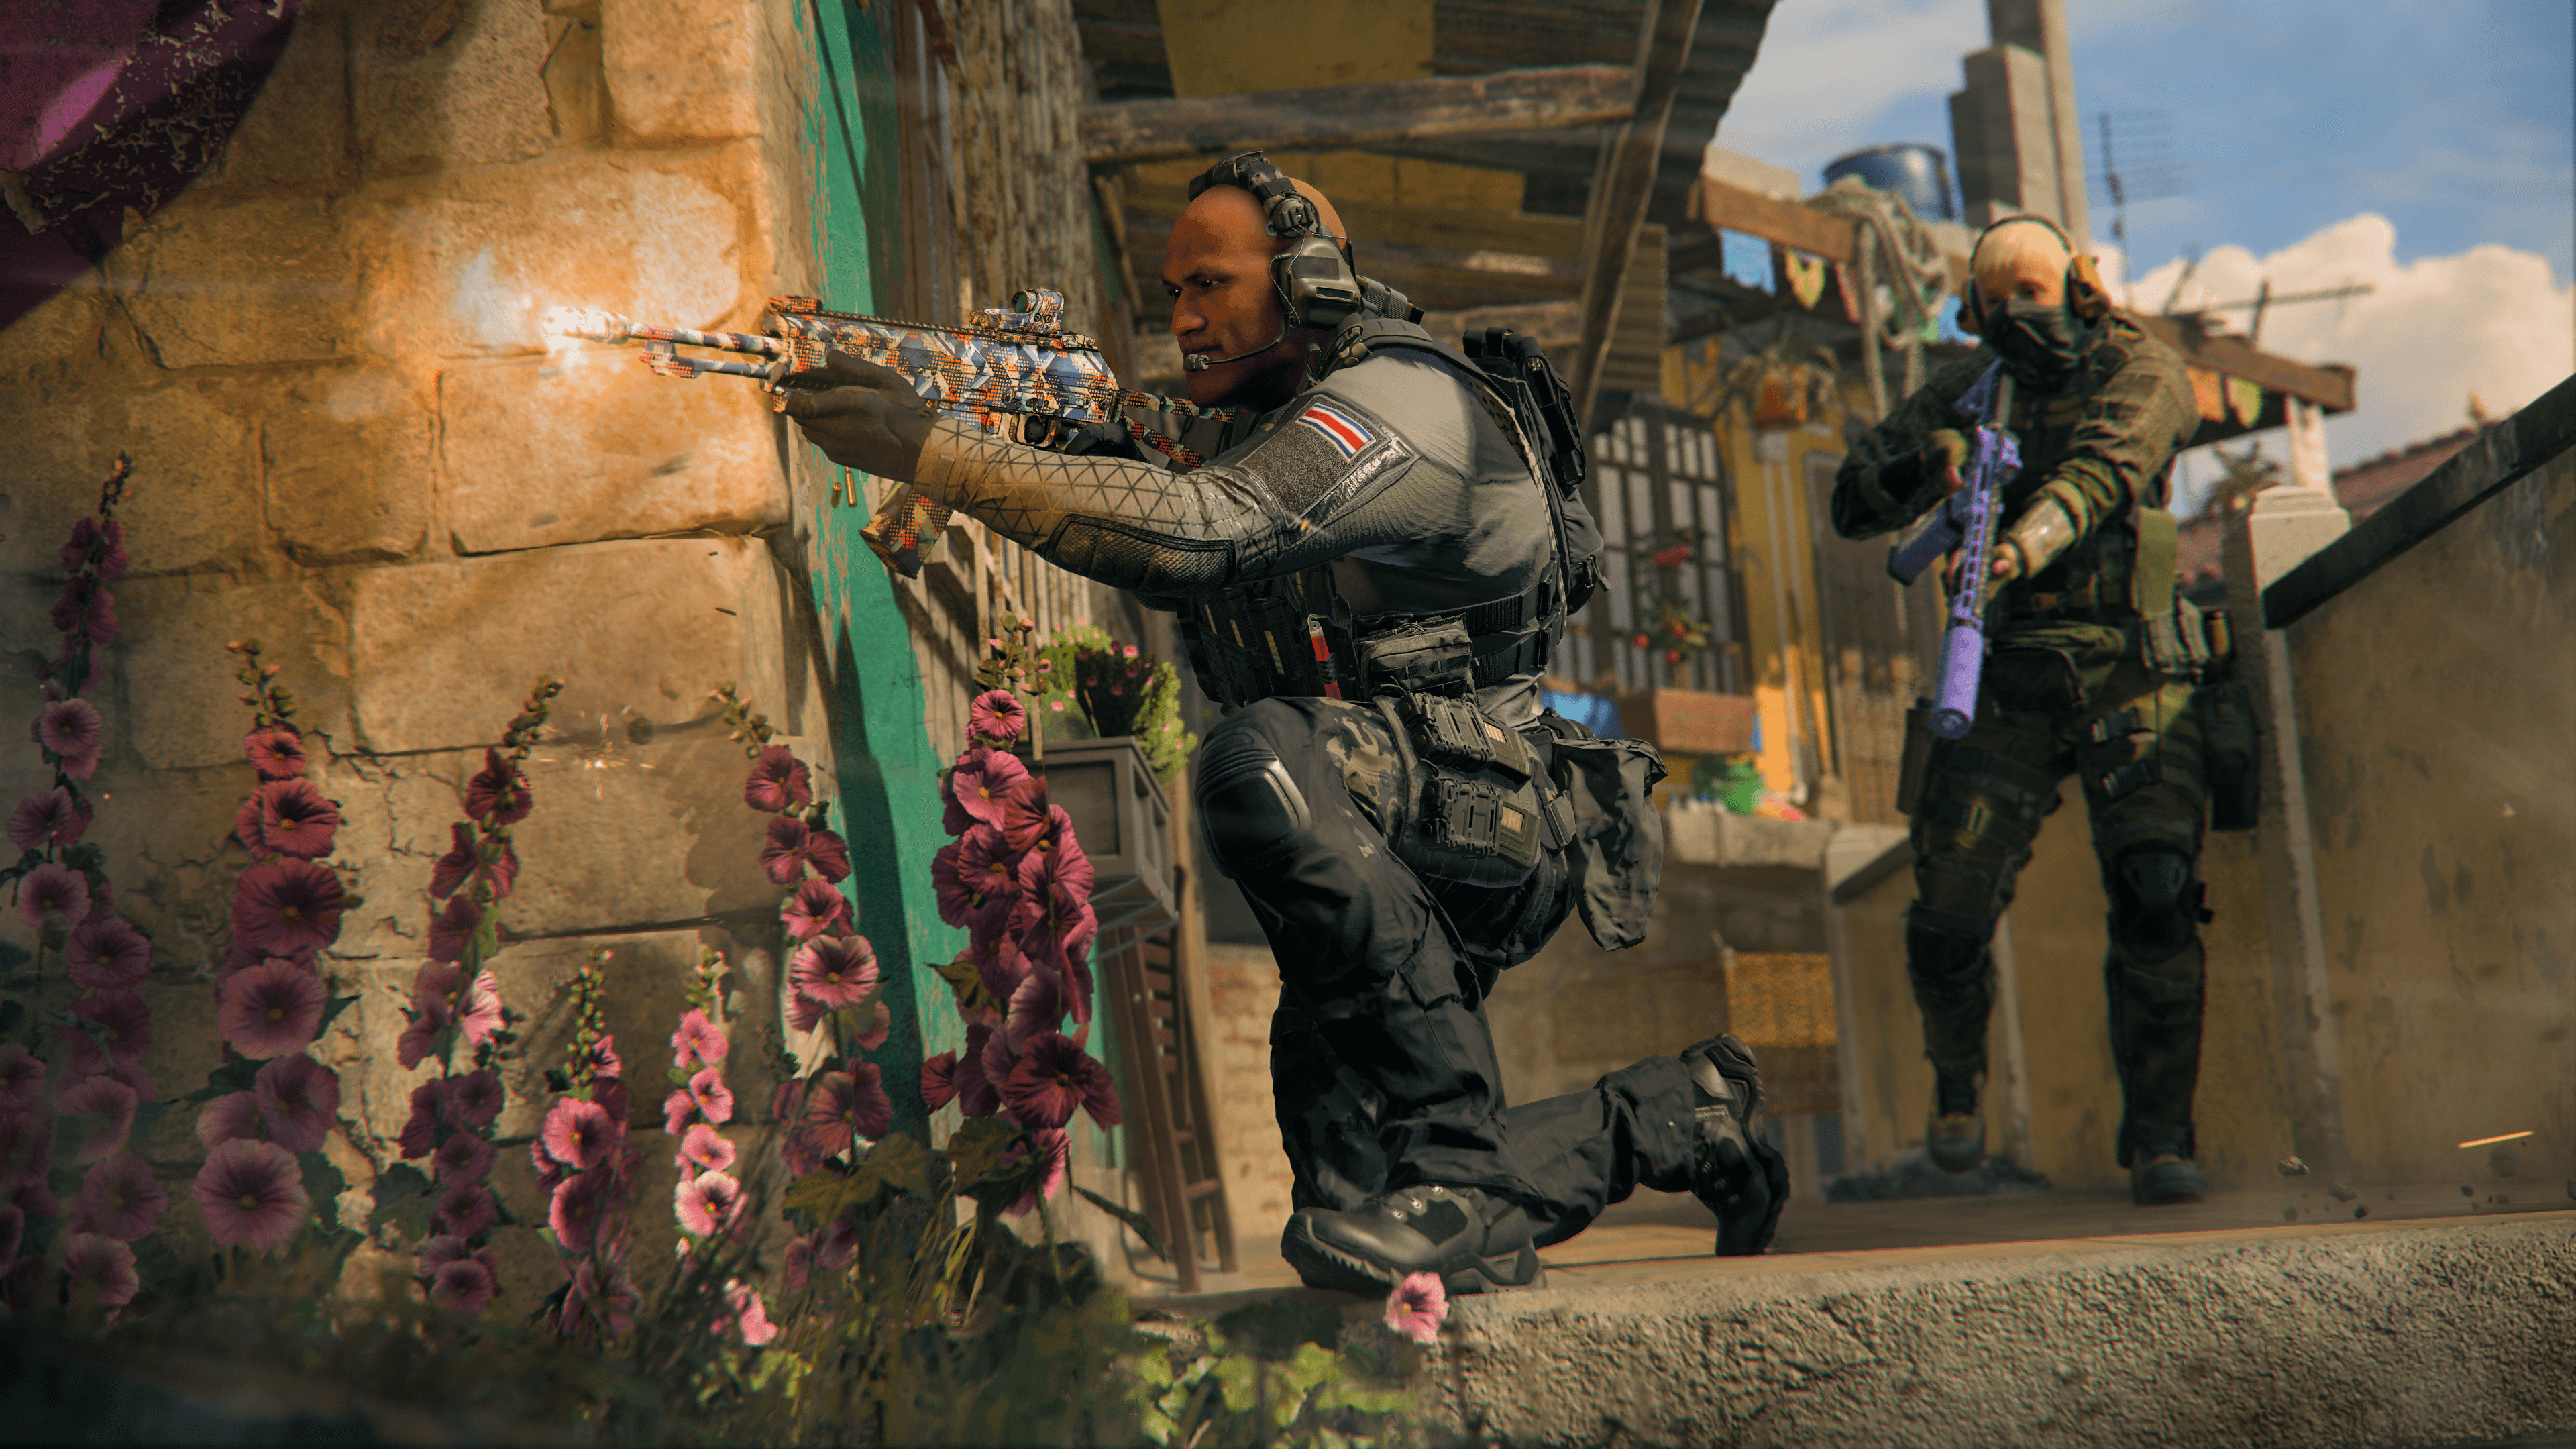
Crouching is the median stance for movement, Operator vulnerability, and movement speed. The slight accuracy boost and recoil reduction bonus can be great when using a weapon with a wilder recoil pattern, such as an SMG. It also makes footsteps quieter, ideal for stealth operations. Transitioning from standing to crouching after you locate your target can give you a slight edge, but the trade-off is the time it takes to do so. Practice will hone your instincts.
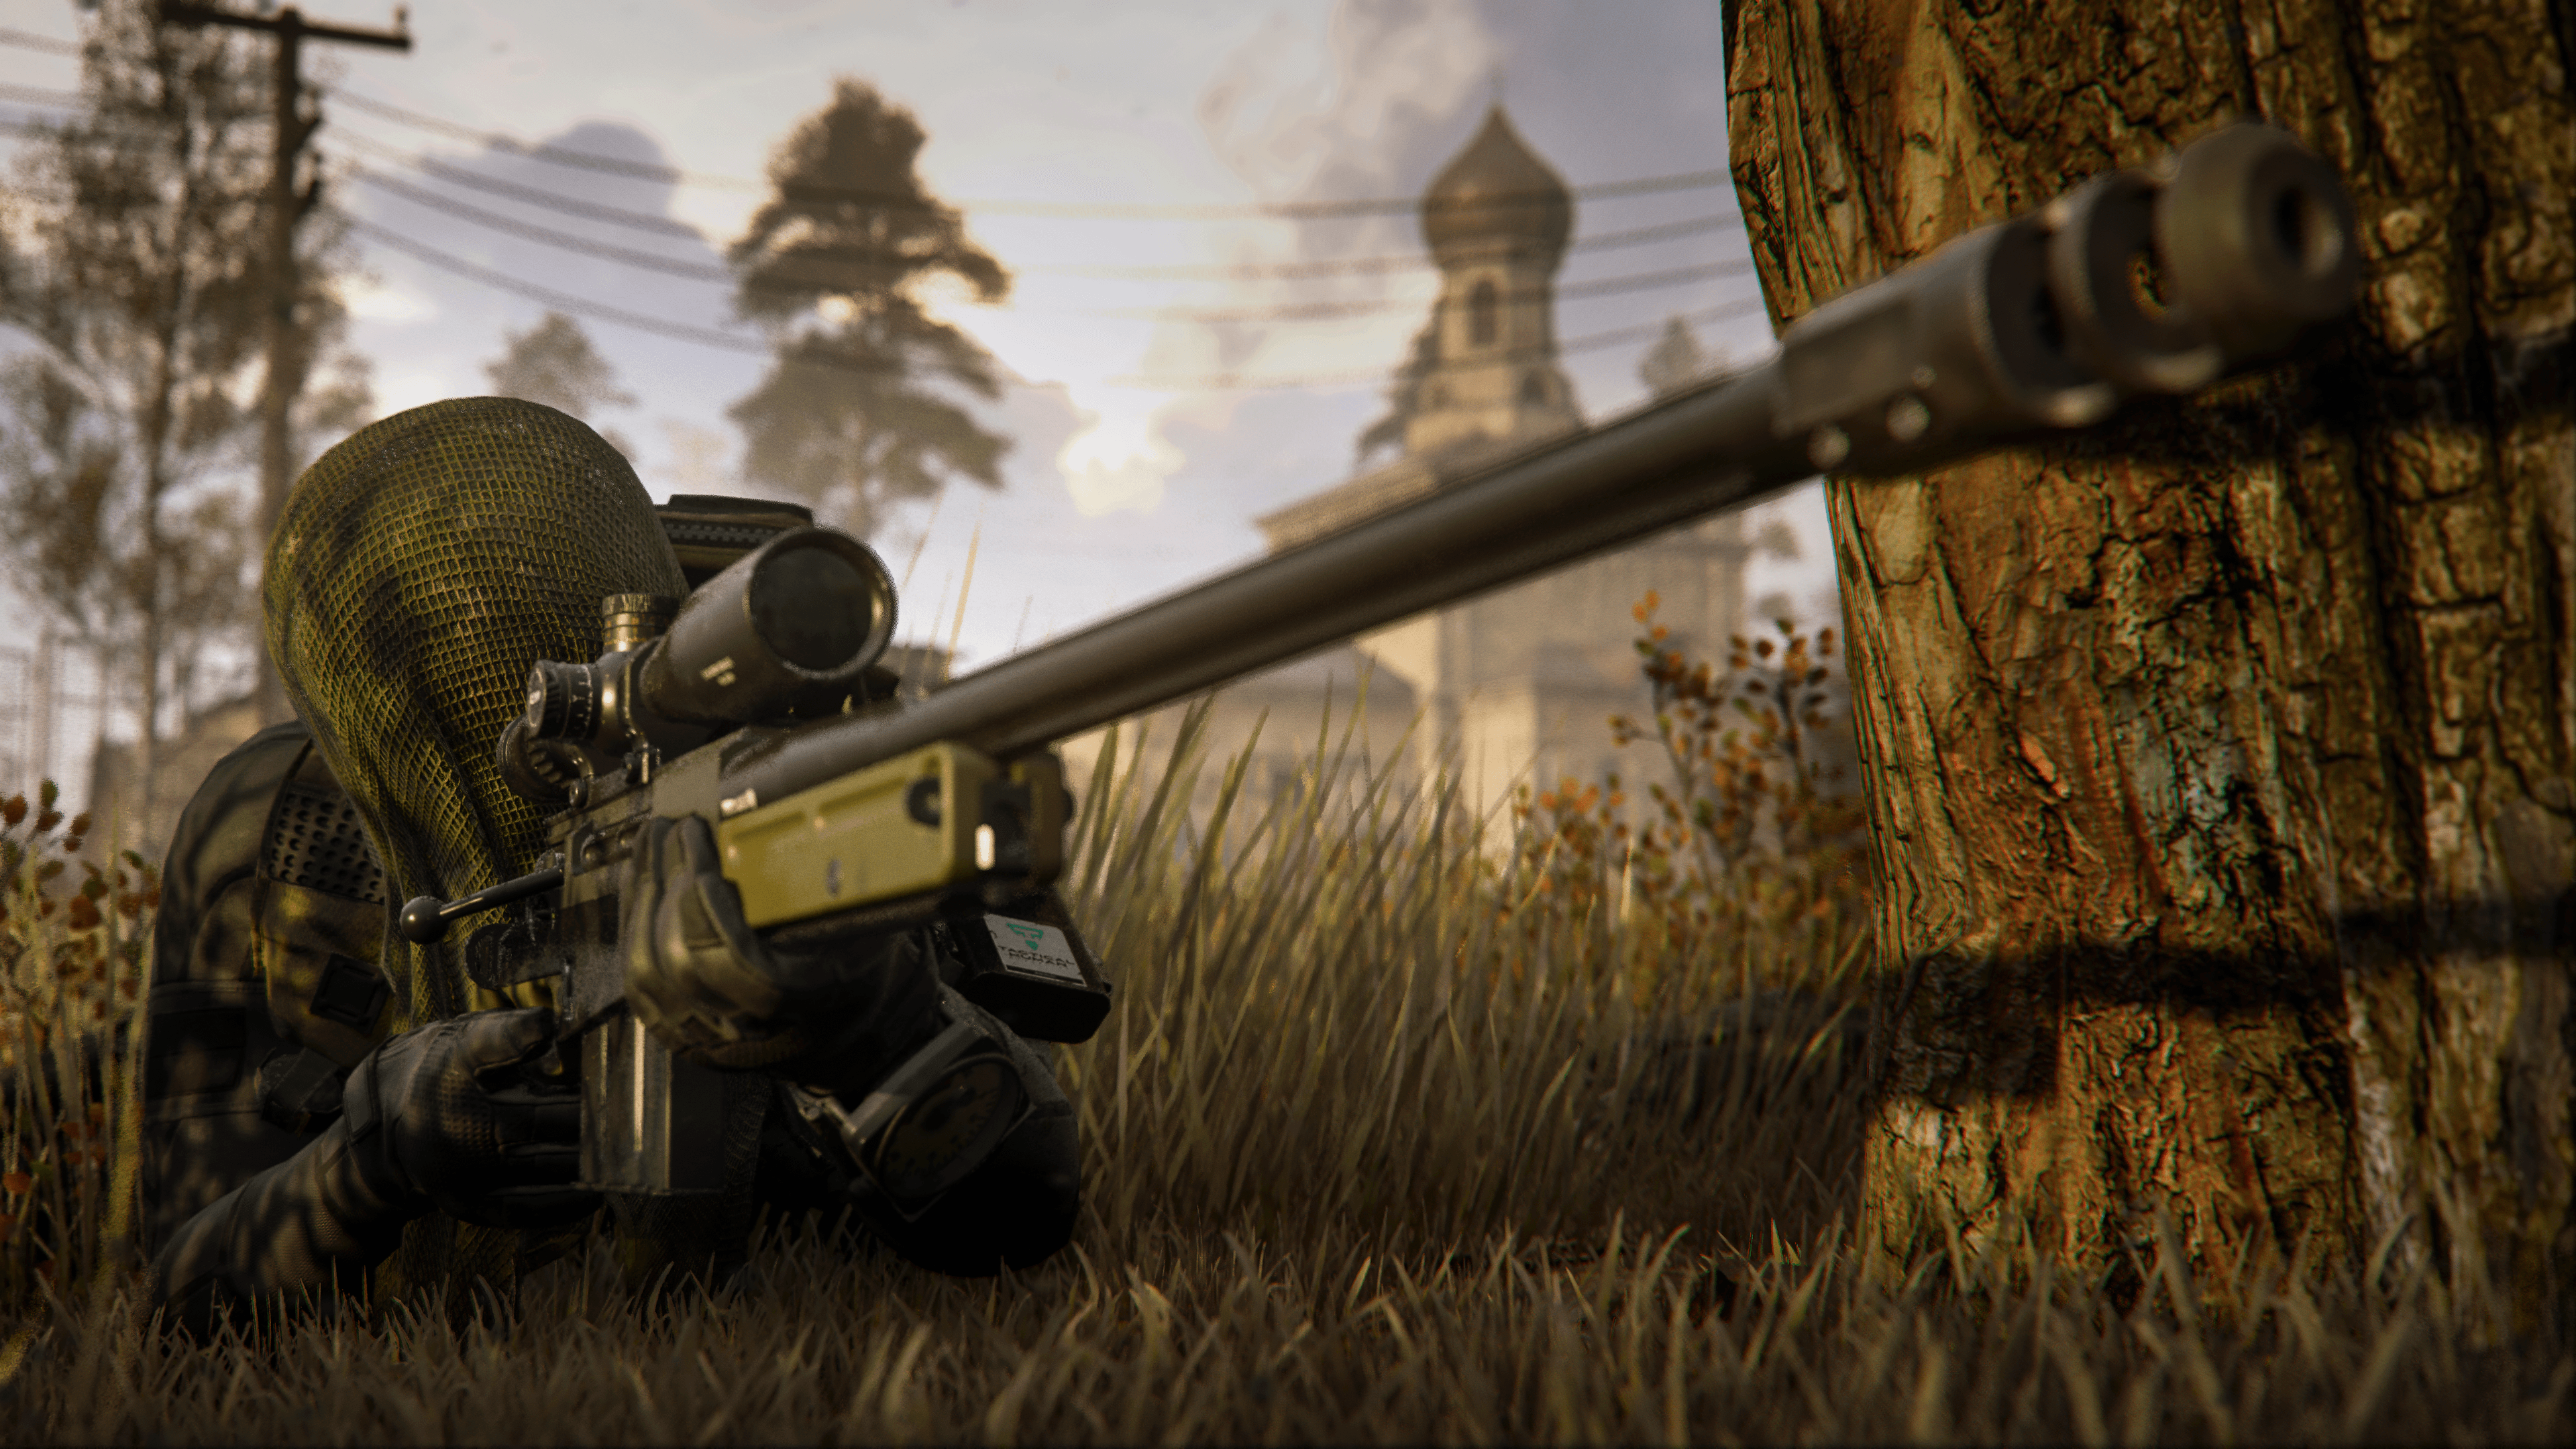
Prone offers the most accurate position to fire from (without mounting) but is the slowest form of movement. This is the position you end up in after falling from a dive. Of course, you are fully vulnerable while prone if someone attacks from the side and you’re a sitting duck from behind. However, the average player tends to target the chest area in surprise engagements, making it possible to cause them to miss shots in this position. . . .
Which leads us to discussing the oldest techniques in Call of Duty history:
Drop Shotting
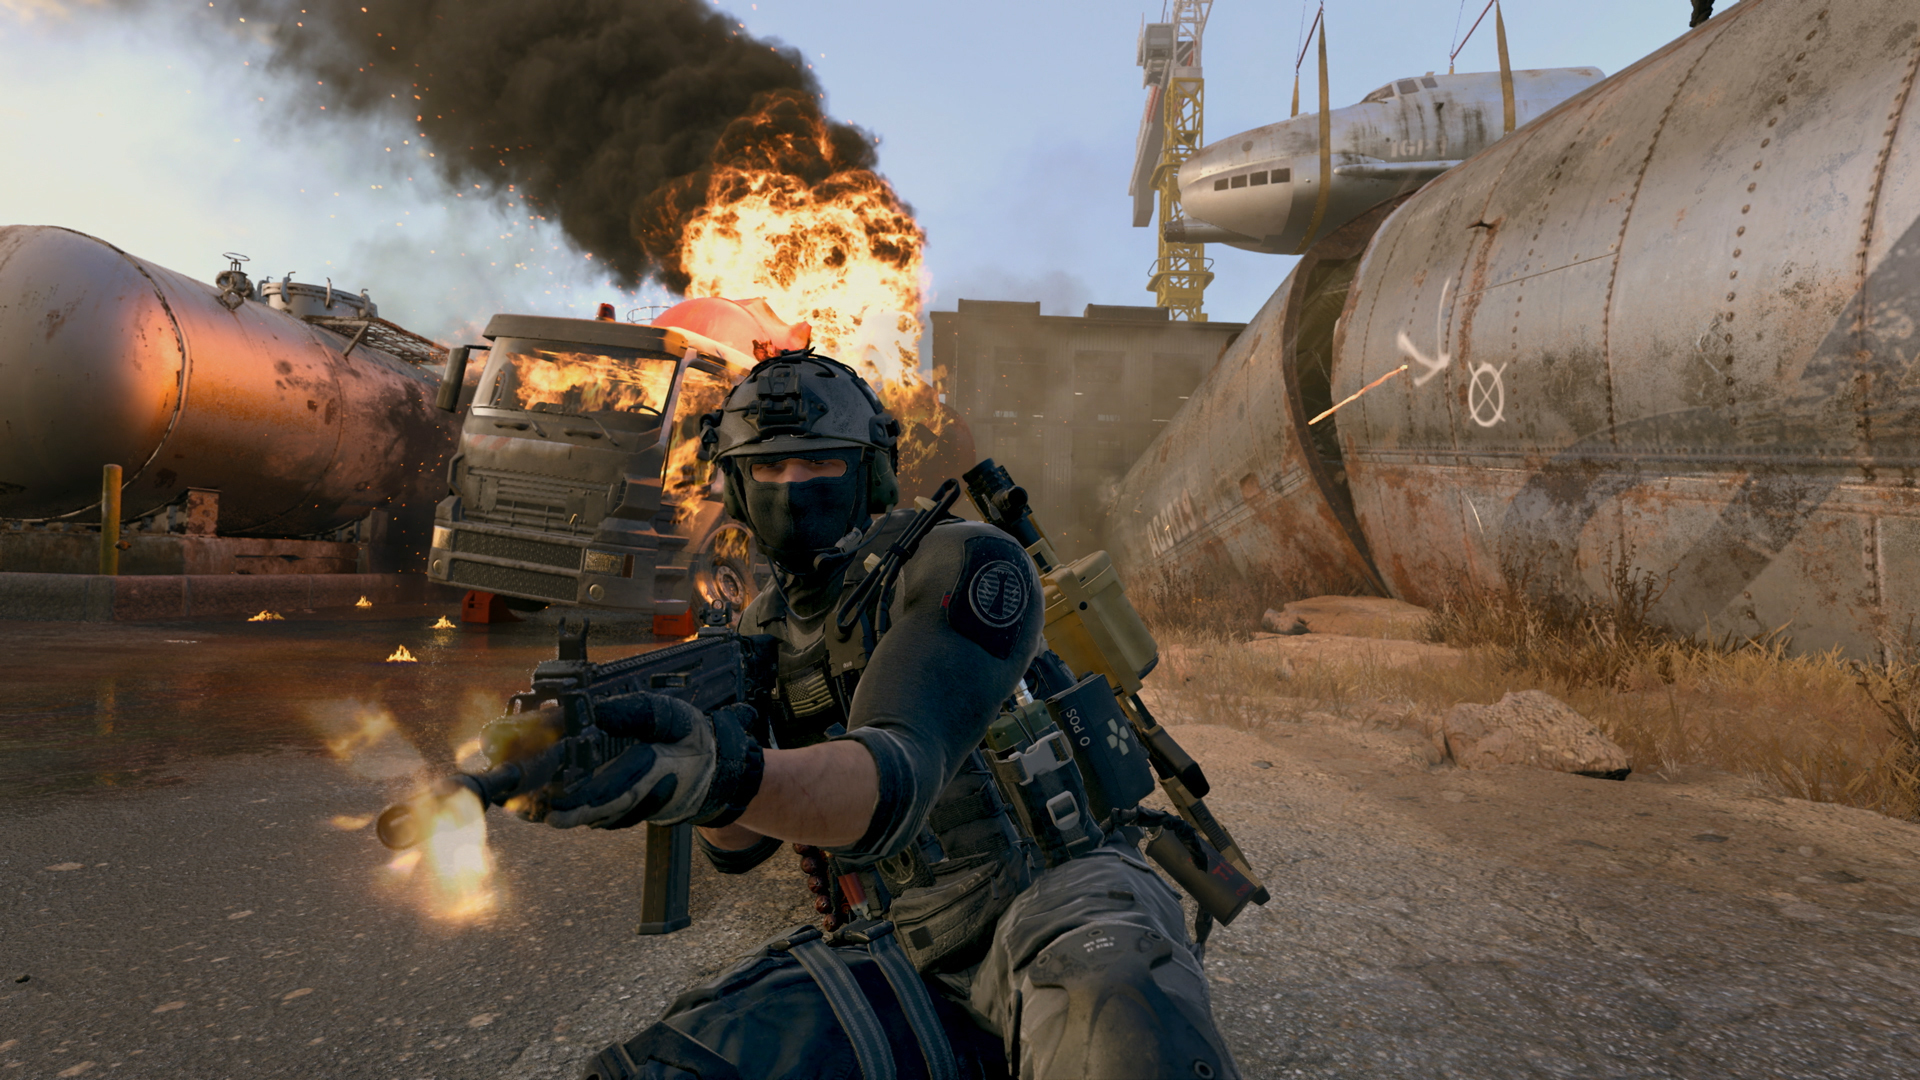
By rapidly changing your stance from standing to prone, an enemy could fail to adjust their aim and miss, usually shooting above your head.
Firing while Drop Shotting and aiming slightly upward is a simple and effective movement and firing technique. This technique does have its drawbacks, however. There is an accuracy penalty while dropshotting, so although you may be avoiding fire from the enemy you will also need to focus a little more to hit your target.
Walking, Sprinting, and Tactical Sprinting
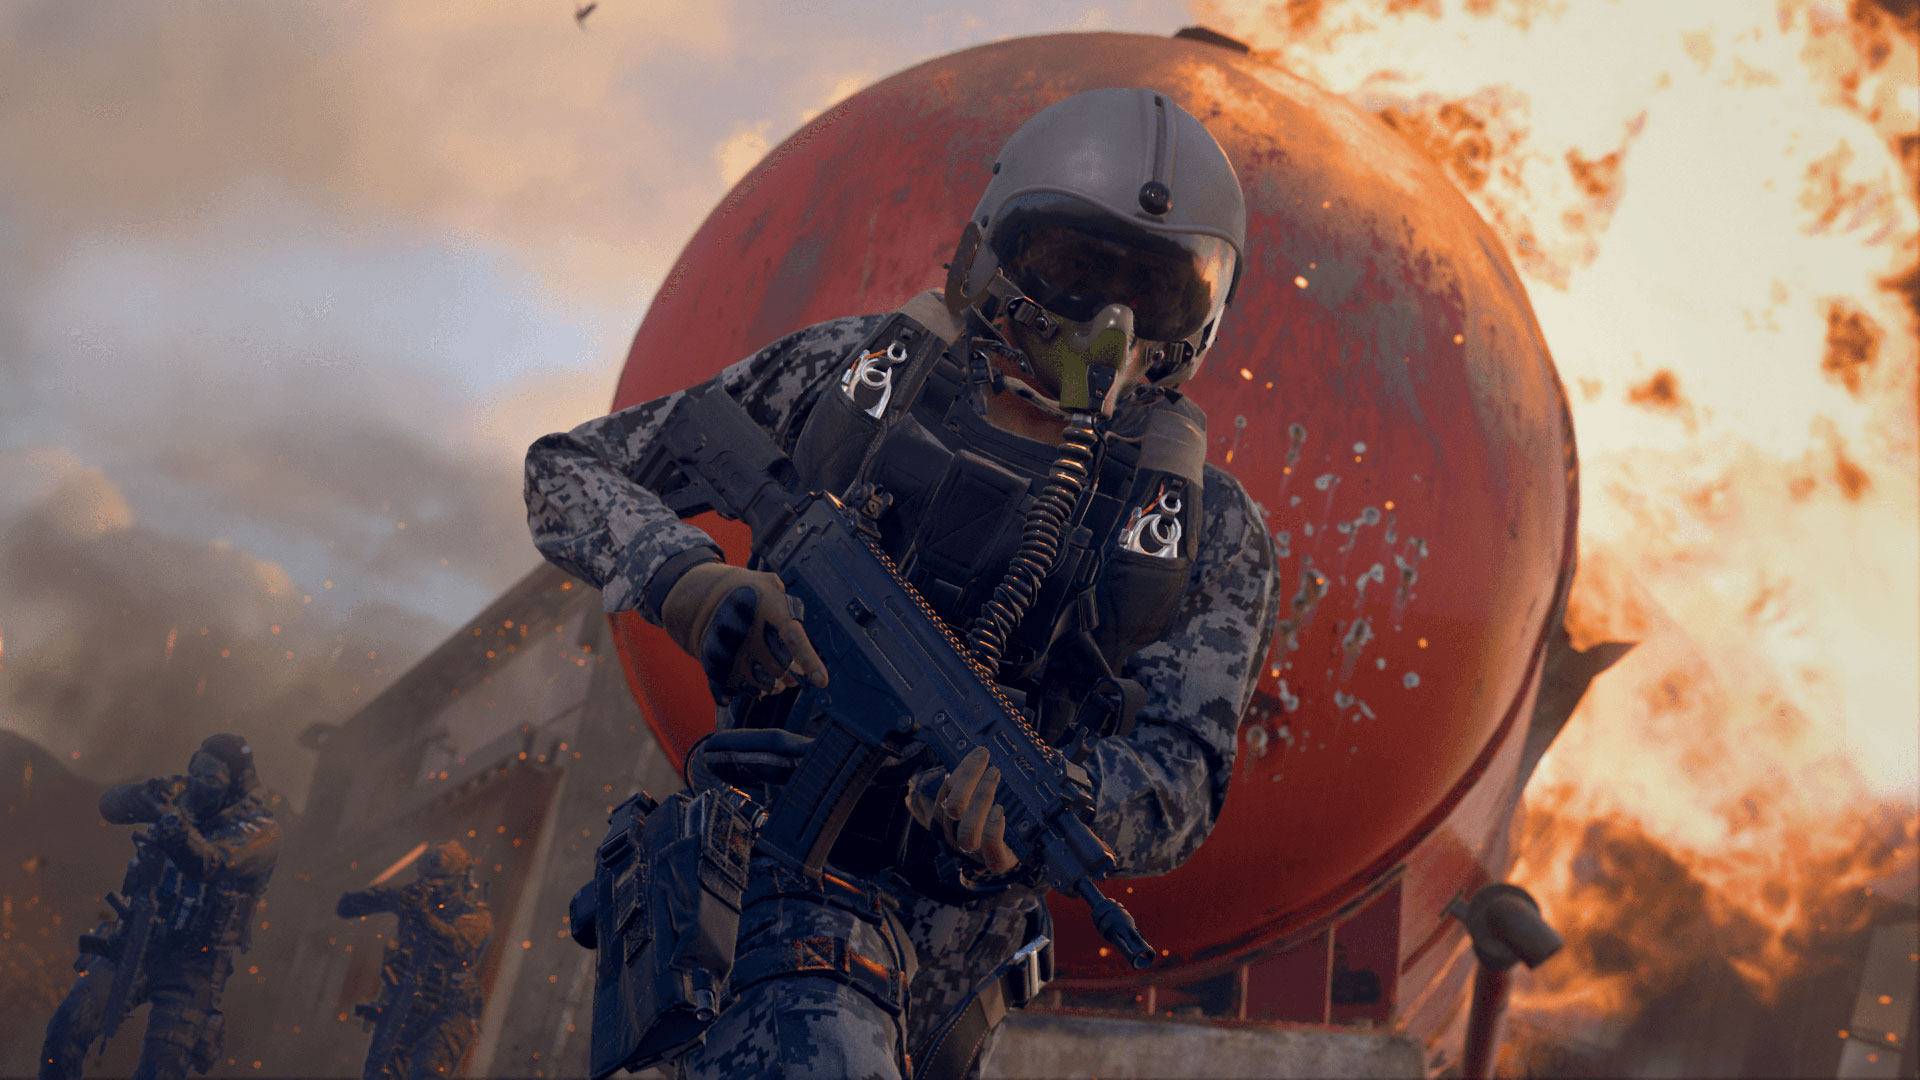
Step three of this movement guide: taking a few steps.
Jokes aside, here’s what the three standard movement options do:
Walking, strafing, and walking backward can be done by simply moving the left analog stick or by using WASD (by default) on a keyboard. All these movements make less noise than sprinting or Tactical Sprinting, making it better for when stealth is needed. It also offers only minimal penalties when firing a weapon.
Strafing is great for evading fire as you move side to side while firing and/or aiming a weapon. So long as the pattern is not predictable, strafing can be a great micro-movement to use within engagements, as a few missed bullets by your enemy could be the difference between life and death. If you are having trouble making a micro-adjustment while aiming, strafing can be an alternate method to lining up a shot that you might not have exactly on target.
Sprinting is done by pushing down the left analog stick on a controller or L-Shift on a keyboard by default. It is a faster movement option, but it amplifies footsteps and slows ADS speed, and you are unable to use weapons while sprinting without a Perk that allows for hip-fire shots. Still, it’s great for getting around the map efficiently.
Tactical Sprinting is the fastest movement option in the game on two feet, requiring either a double-stick tap or a tap/hold on a controller, or another hotkey on a keyboard. During a Tactical Sprint, you hold your weapon toward the sky, making it even slower to ready that weapon for firing after a sprint. Furthermore, unless it is refreshed by way of a Perk, a Stim, or a Field Upgrade, there is a long cooldown between each use of Tactical Sprint.
In other words, make it count. Use Tactical Sprinting to run through open spaces with little cover, or use it after a respawn to get back into the action or when your squad tells you to get out of enemy territory as quickly as possible.
How to Slide and Dive
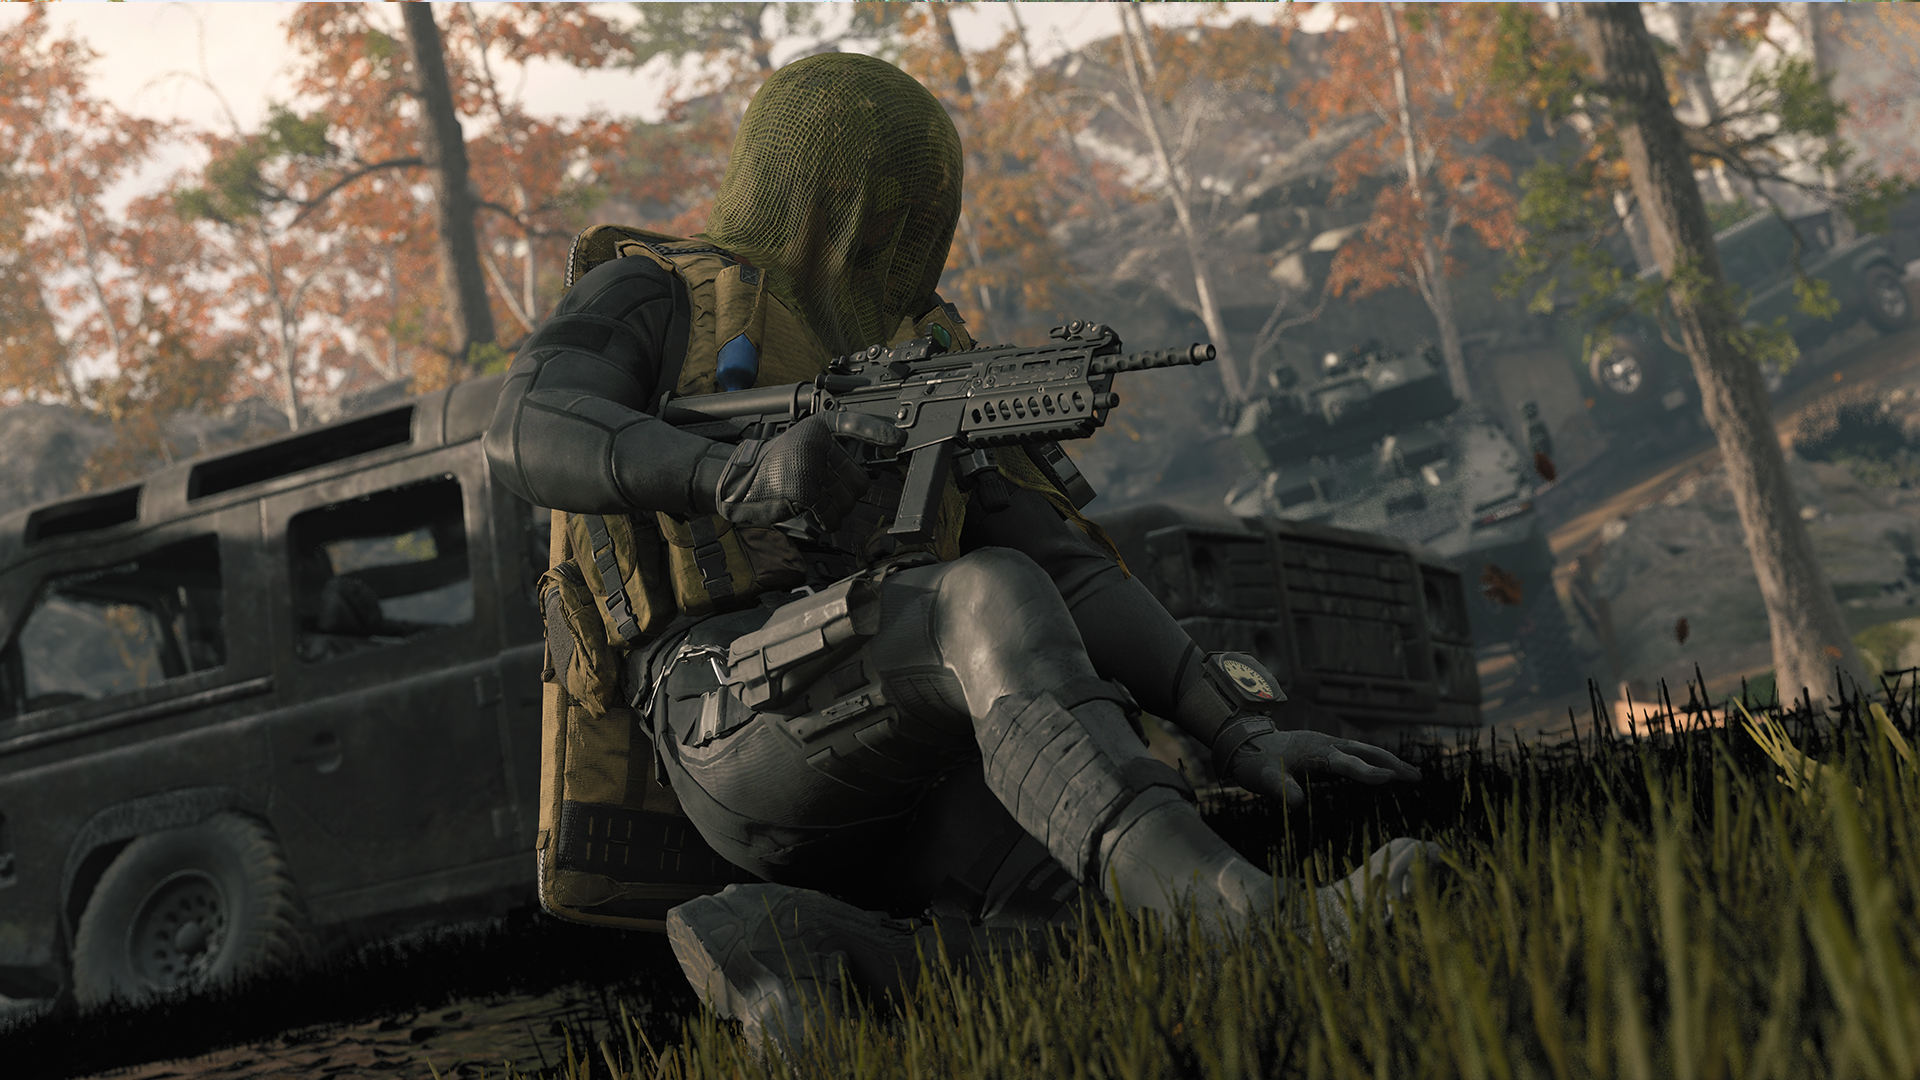
What happens when you’re running and you want to hit the deck as quickly as possible? Depending on how fast you’re moving, you can either break into a slide or dive to the floor.
To activate a slide, start sprinting or Tac-Sprinting, then “crouch” to slide a few feet. On a controller, do this by pressing your “crouch” button, by default (circle) for Playstation Players or (B) for Xbox Players. On keyboard, the “crouch” button is a dedicated button (C), by default, that will cause you to slide if you are sprinting. This gives you a few more feet of movement while changing your stance to a crouch, which is great for throwing off enemy shots.
As for diving, this is activated by sprinting or Tac-Sprinting as well, then holding the “crouch” button for controller users or pressing the prone (L-Ctrl) button, by default. A dive may not get you far horizontally and breaks up an advanced strategy known as a slide cancel, but it has its own benefits in action.
Need to navigate through the window of a building to escape combat? What about dealing with an enemy that thinks you’ll end up in a crouch stance? Or is there a movement montage that could use a dive into a triple-collateral quickscope? In all those situations and more, diving can help.
Advanced Tactics for Sliding and Diving:
Sliding and diving have a ton of uses in pretty much every mode in Modern Warfare III. However, it is important to remember that knowing when to slide or dive is a skill and those who do it well have practiced their moves for many hours.
Sliding can be canceled at any point during the slide itself. So, if you need to get past a dangerous hallway and round an immediate corner as quickly as possible, slide past the hallway and cancel your slide before you get to said corner. It can also be used to catch an opponent off guard, as they’re anticipating the end point of your slide.
// INTEL CARD
- MWIII
- WZ
- WZM
Vertical Movement
// MULTIPLAYER // TRAINING
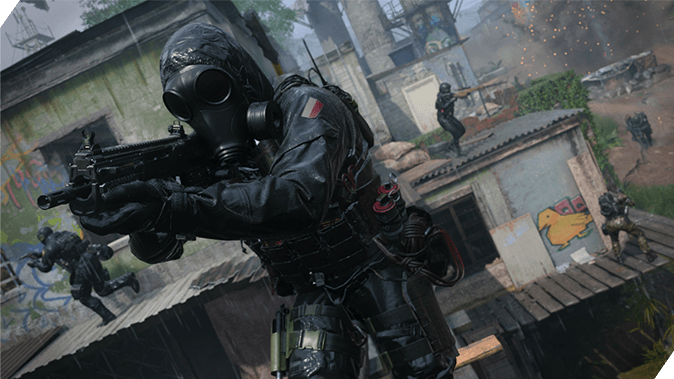
Modern Warfare III is not only fast, but also vertical. When we say check your surroundings, we mean 360 degrees in a 3D sphere, not just in a circle.
Jump, mantle, jump, mantle. If there’s a ledge and/or a gap, there’s likely a way to get over it and on top of it.
Think with your mantling eyes. It’s easy to flank an opponent using the map’s ground pathing. However, it’s also easy to anticipate. Get above them and around them before they even know what hit ’em.
Vertical movement is defined as Leaps and Bounds that your Operator makes in order to move vertically instead of horizontally. Use these methods to help yourself understand how to read the minimap a little better and reach places that aren’t obvious on the minimap.
Jumping is necessary to get across small gaps but greatly decreases accuracy. That’s why we call those “jump shots.”
Mantling is when you grab on to a box, ledge or other grabbable edge when there is a prompt to “mantle” it or if it is close by and the setting for Automatic Mantling is turned on. While mantling, you are unable to use weapons.
In Modern Warfare III, mantling provides an interesting change to how you can traverse maps compared to the original. If it does not look like you can make the jump from one platform to another, trust in the mantle.
Advanced Mantling Tactics
Modern Warfare III is fast, and there isn’t much to slow down a player from doing what they want on any given map. There are many Loadouts that can be built to enhance your experience as a run-and-gunner. Now, this doesn’t mean that you shouldn’t set up traps for those who run before they look.
Visualize the mantle. If it looks like you can mantle, the odds are that you can. So, once you’re in the mantling mindset, you are one step ahead of your opponent. Look to see where players might be headed at any given point in a match and try to place down a little present for them.
Hanging, also known as Ledge Hanging, is done on certain edges that are too high to mantle from. While hanging, the only weapon you are able to use are Handguns before either dropping off or continuing to Mantle. You can also peek over the top of the ledge to see what’s behind it, which is good for gaining intel without completely revealing yourself.
Climbing usually happens with a ladder, which you will often find in larger maps. While on a ladder, you can only use Handguns, which gives these smaller weapons additional viability.
Here’s a hint that most players tend to forget or discover randomly: Holding down on the left analog stick or the S key (default bindings) allows you to slowly descend a ladder, while moving down and performing a crouch allows you to slide down.

Parachuting mostly happens on large map modes, such as in Ground War. Your Operator comes conveniently equipped with an unlimited supply of parachutes, so when you fall from a lethal height, you can open a parachute to slow falling speed and allow better movement in the air.
Cutting the parachute early will allow you to fall faster. In between cutting the chute and reentering free fall, you can use your weapon for a few seconds.
Also, parachuting unlocks third-person mode, even if you’re playing a first-person game. Use it to check behind, above, and all around you to look for the best landing area or to spot enemies dropping in behind you!
Out of Bounds: Don’t Fall Off the Map
Even with a parachute, you should still be aware of map boundaries that contain a large drop.
Don’t travel out of bounds, you may not realize you’re doing so until it’s too late.This terror-striking mistake can cost even the most skilled Operators a crucial match due to a lack of map awareness or under-correction of movement.
Movement — Swimming
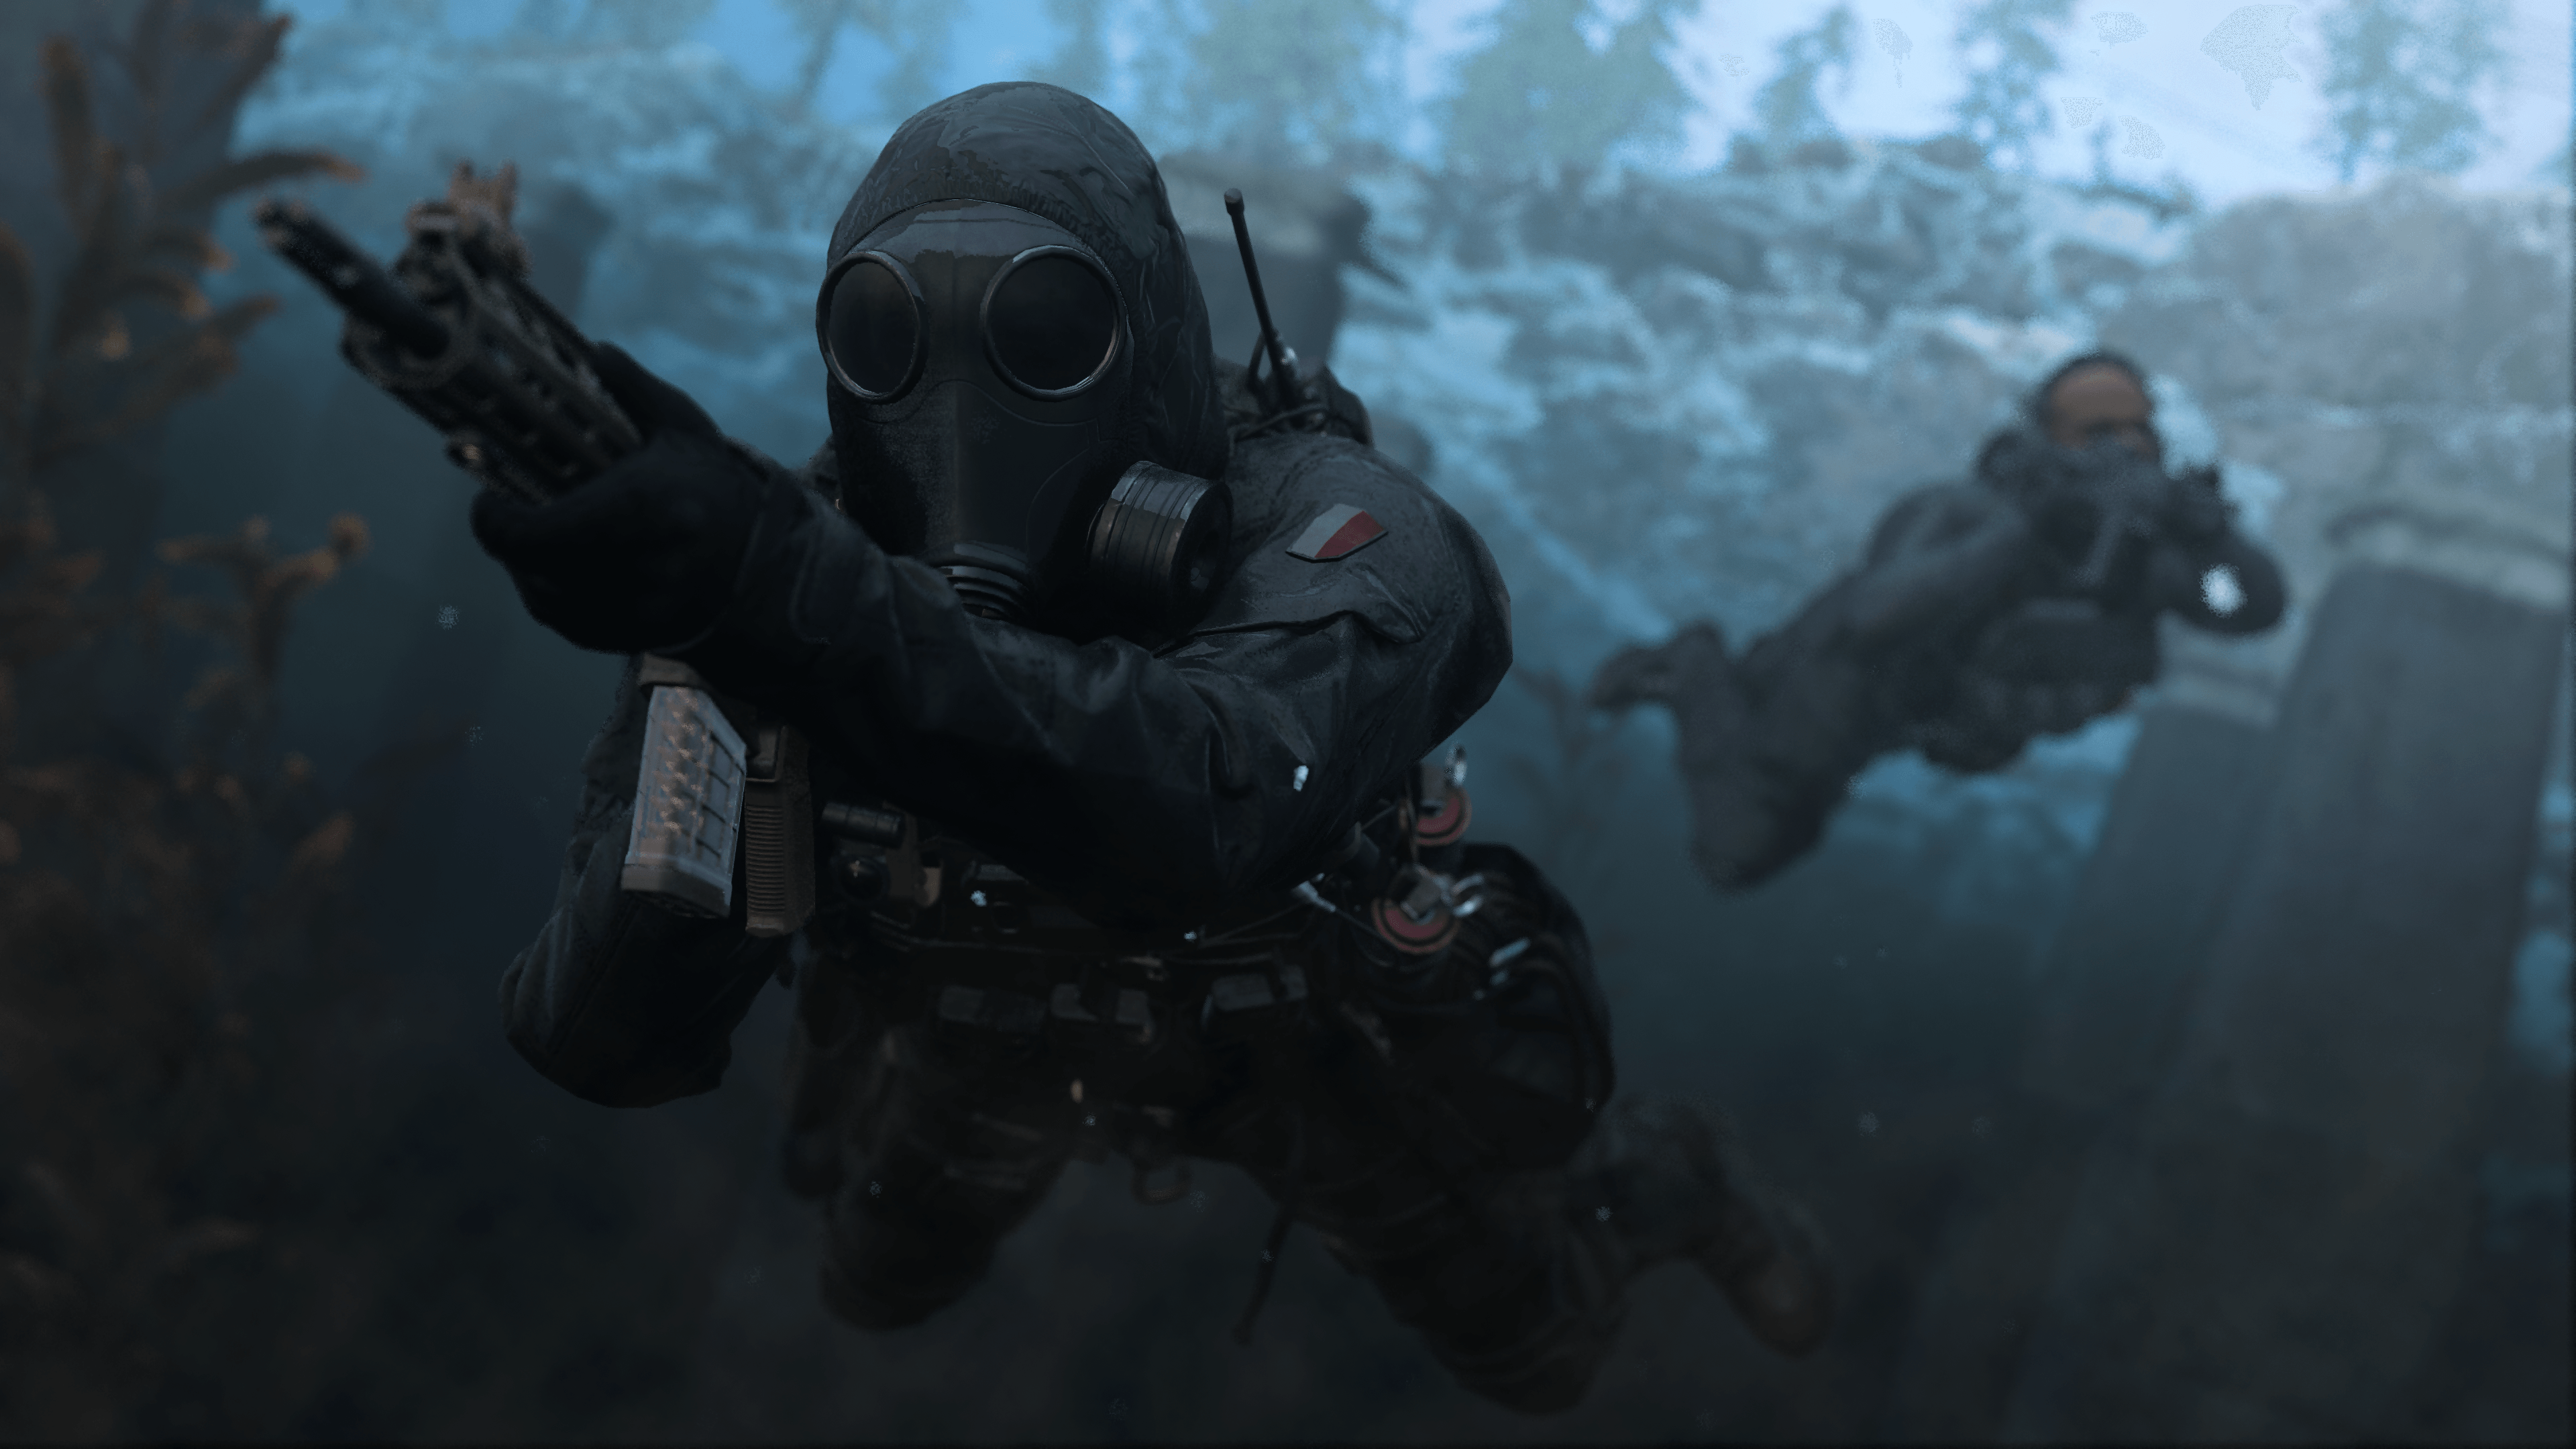
In Modern Warfare III, Operators not only need to go undercover, but also underwater.
Across larger maps, such as the ones in Ground War, your Operator may need to swim through bodies of water.
Don’t be afraid to get more than your feet wet, soldier! You cannot swim in every map, only the multiplayer maps that support the mechanic. To swim, simply enter the water and move as you would normally. If the water is deep enough, sprint and look down to plunge underwater (this can be toggled in the settings so that only looking down and moving forward is needed to plunge). You can also maneuver underwater by changing stance.
Once underwater, you have a limited amount of air before you start taking damage and eventually drown. Swimming to the surface replenishes your air gauge.
Underwater movements tend to be stealthier than those on land; while also keeping your lung capacity in mind, try using water to sneak around enemies or attack them from the depths.
External Peripherals, Internal Settings
For aiming, adjusting internal settings is only half the battle for getting it “just right.” Having the right peripherals — a working controller/keyboard and mouse — is crucial, as quality in affects the quality out.
Does it mean getting the Official Controller of the Call of Duty League? If you want, but the in-game settings should help optimize any functional controller or keyboard and mouse.
Controller users should pay close attention to Dead Zone values — this is where you can adjust what defines a “minimum” and “maximum” input on an analog stick. In other words, if your view drifts slightly to the left when the analog stick is at rest, try upping the Dead Zone Minimum Value slightly to account for that stick drift.
As for mouse users, look at Mouse Calibration options like Mouse Acceleration, which might be pulling your aim off during rapid movements; Mouse Filtering, which could add movement from previous frames and may disrupt current movement; and Mouse Smoothing, which could be taking the average position of the last two frames. And for those who may stare at a monitor, try adjusting the Monitor Distance Coefficient, which scales mouse movement to the size of the screen.

© 2024 Activision Publishing, Inc. ACTIVISION, CALL OF DUTY, and MODERN WARFARE are trademarks of Activision Publishing, Inc. All other trademarks and trade names are the property of their respective owners.
For more information, please visit www.callofduty.com and www.youtube.com/callofduty, and follow @Activision and @CallofDuty on X, Instagram, and Facebook. For Call of Duty Updates, follow @CODUpdates on X.
