MODERN WARFARE ZOMBIES: HOW TO PLAY

- Prebrief
- Intel Card — Modern Warfare Zombies
- What Is Modern Warfare Zombies?
- Operation Deadbolt
- Intel Card — Operation Deadbolt
- Lobby
- Intel Card — Modern Warfare Zombies Lobby
- Gear
- Strike Team
- Your First Deployment
- Intel Card — Your First Deployment
- Threat Zones
- Intel Card — Threat Zones
- Your First 10 Deployments
- Intel Card — Your First 10 Deployments
- Explore Modern Warfare Zombies
Ready to jump into your first game of Modern Warfare Zombies? Before diving headfirst into the infested Urzikstan to fight off the hordes of zombies and deadly mercs, read through this How to Play guide first.
Prebrief
Welcome to Urzikstan, except this time you’ll notice something is a little strange about this version of the region. In Call of Duty®: Modern Warfare III Zombies, you'll be traversing the entire region to complete missions, fight hordes of zombies and groups of enemy mercs, and progress your way to the center of the map to take down the most dangerous enemies MWZ has to offer. Before jumping into Operation Deadbolt, read and utilize this guide to prepare everything you need to be ready.
// INTEL CARD
- MWIII
- WZ
- WZM
Modern Warfare Zombies
// MODERN WARFARE ZOMBIES // TRAINING

Worry not about PVP: There is a maximum of 24 players in each server, but Modern Warfare Zombies (MWZ) is a PVE-focused game mode within Call of Duty: Modern Warfare III. Work together or ignore other players entirely.
Combine up to six: Whether you load into MWZ as full squad of three or not, you can combine squads as many times as it takes to reach a total of six players in one squad. This is completely optional, but a six-player squad will increase your survivability exponentially.
One-hour sessions: With a 45-minute timer and a 15-minute shutdown event, you can spend an entire hour in a single run, but you don’t have to. Feel free to extract as soon as you see an extraction point or play the entire run out and explore Urzikstan. Don’t forget to extract before you’re consumed.
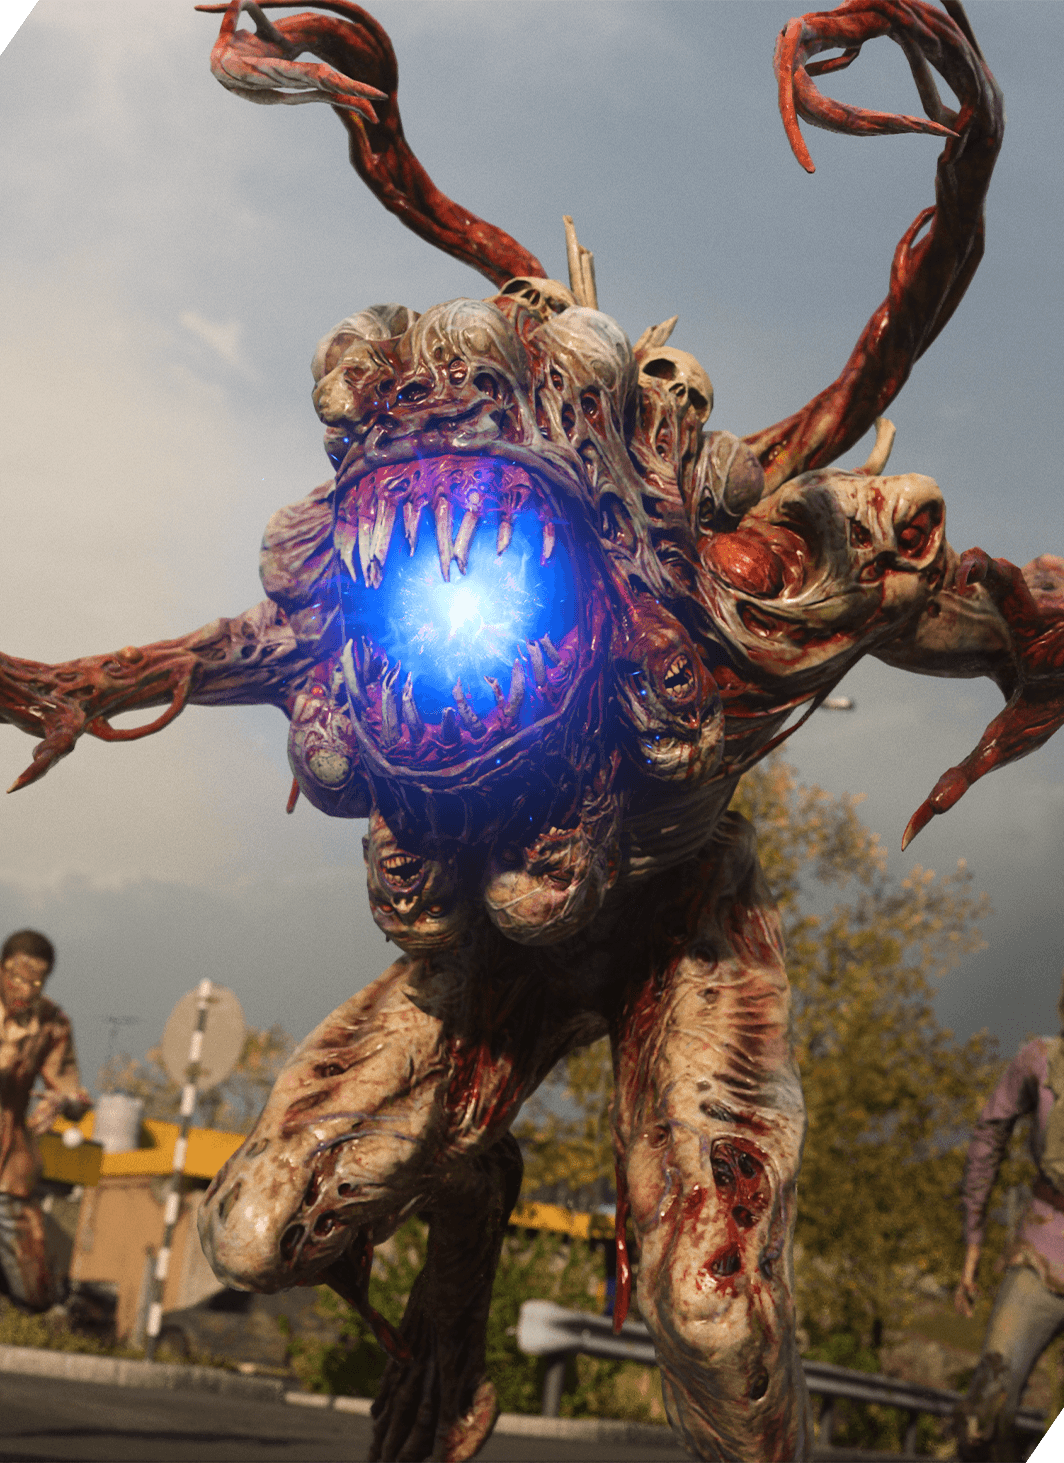
Within Call of Duty HQ, make sure you’re in the Modern Warfare III section and select the Modern Warfare Zombies tile. MWZ is exclusive to MWIII, so you must own MWIII to play. Once you’ve selected the Modern Warfare Zombies tile, you will have an entire menu of MWZ options to wade through. Follow this guide to ensure you’re ready to complete each mission and complete your investigation.
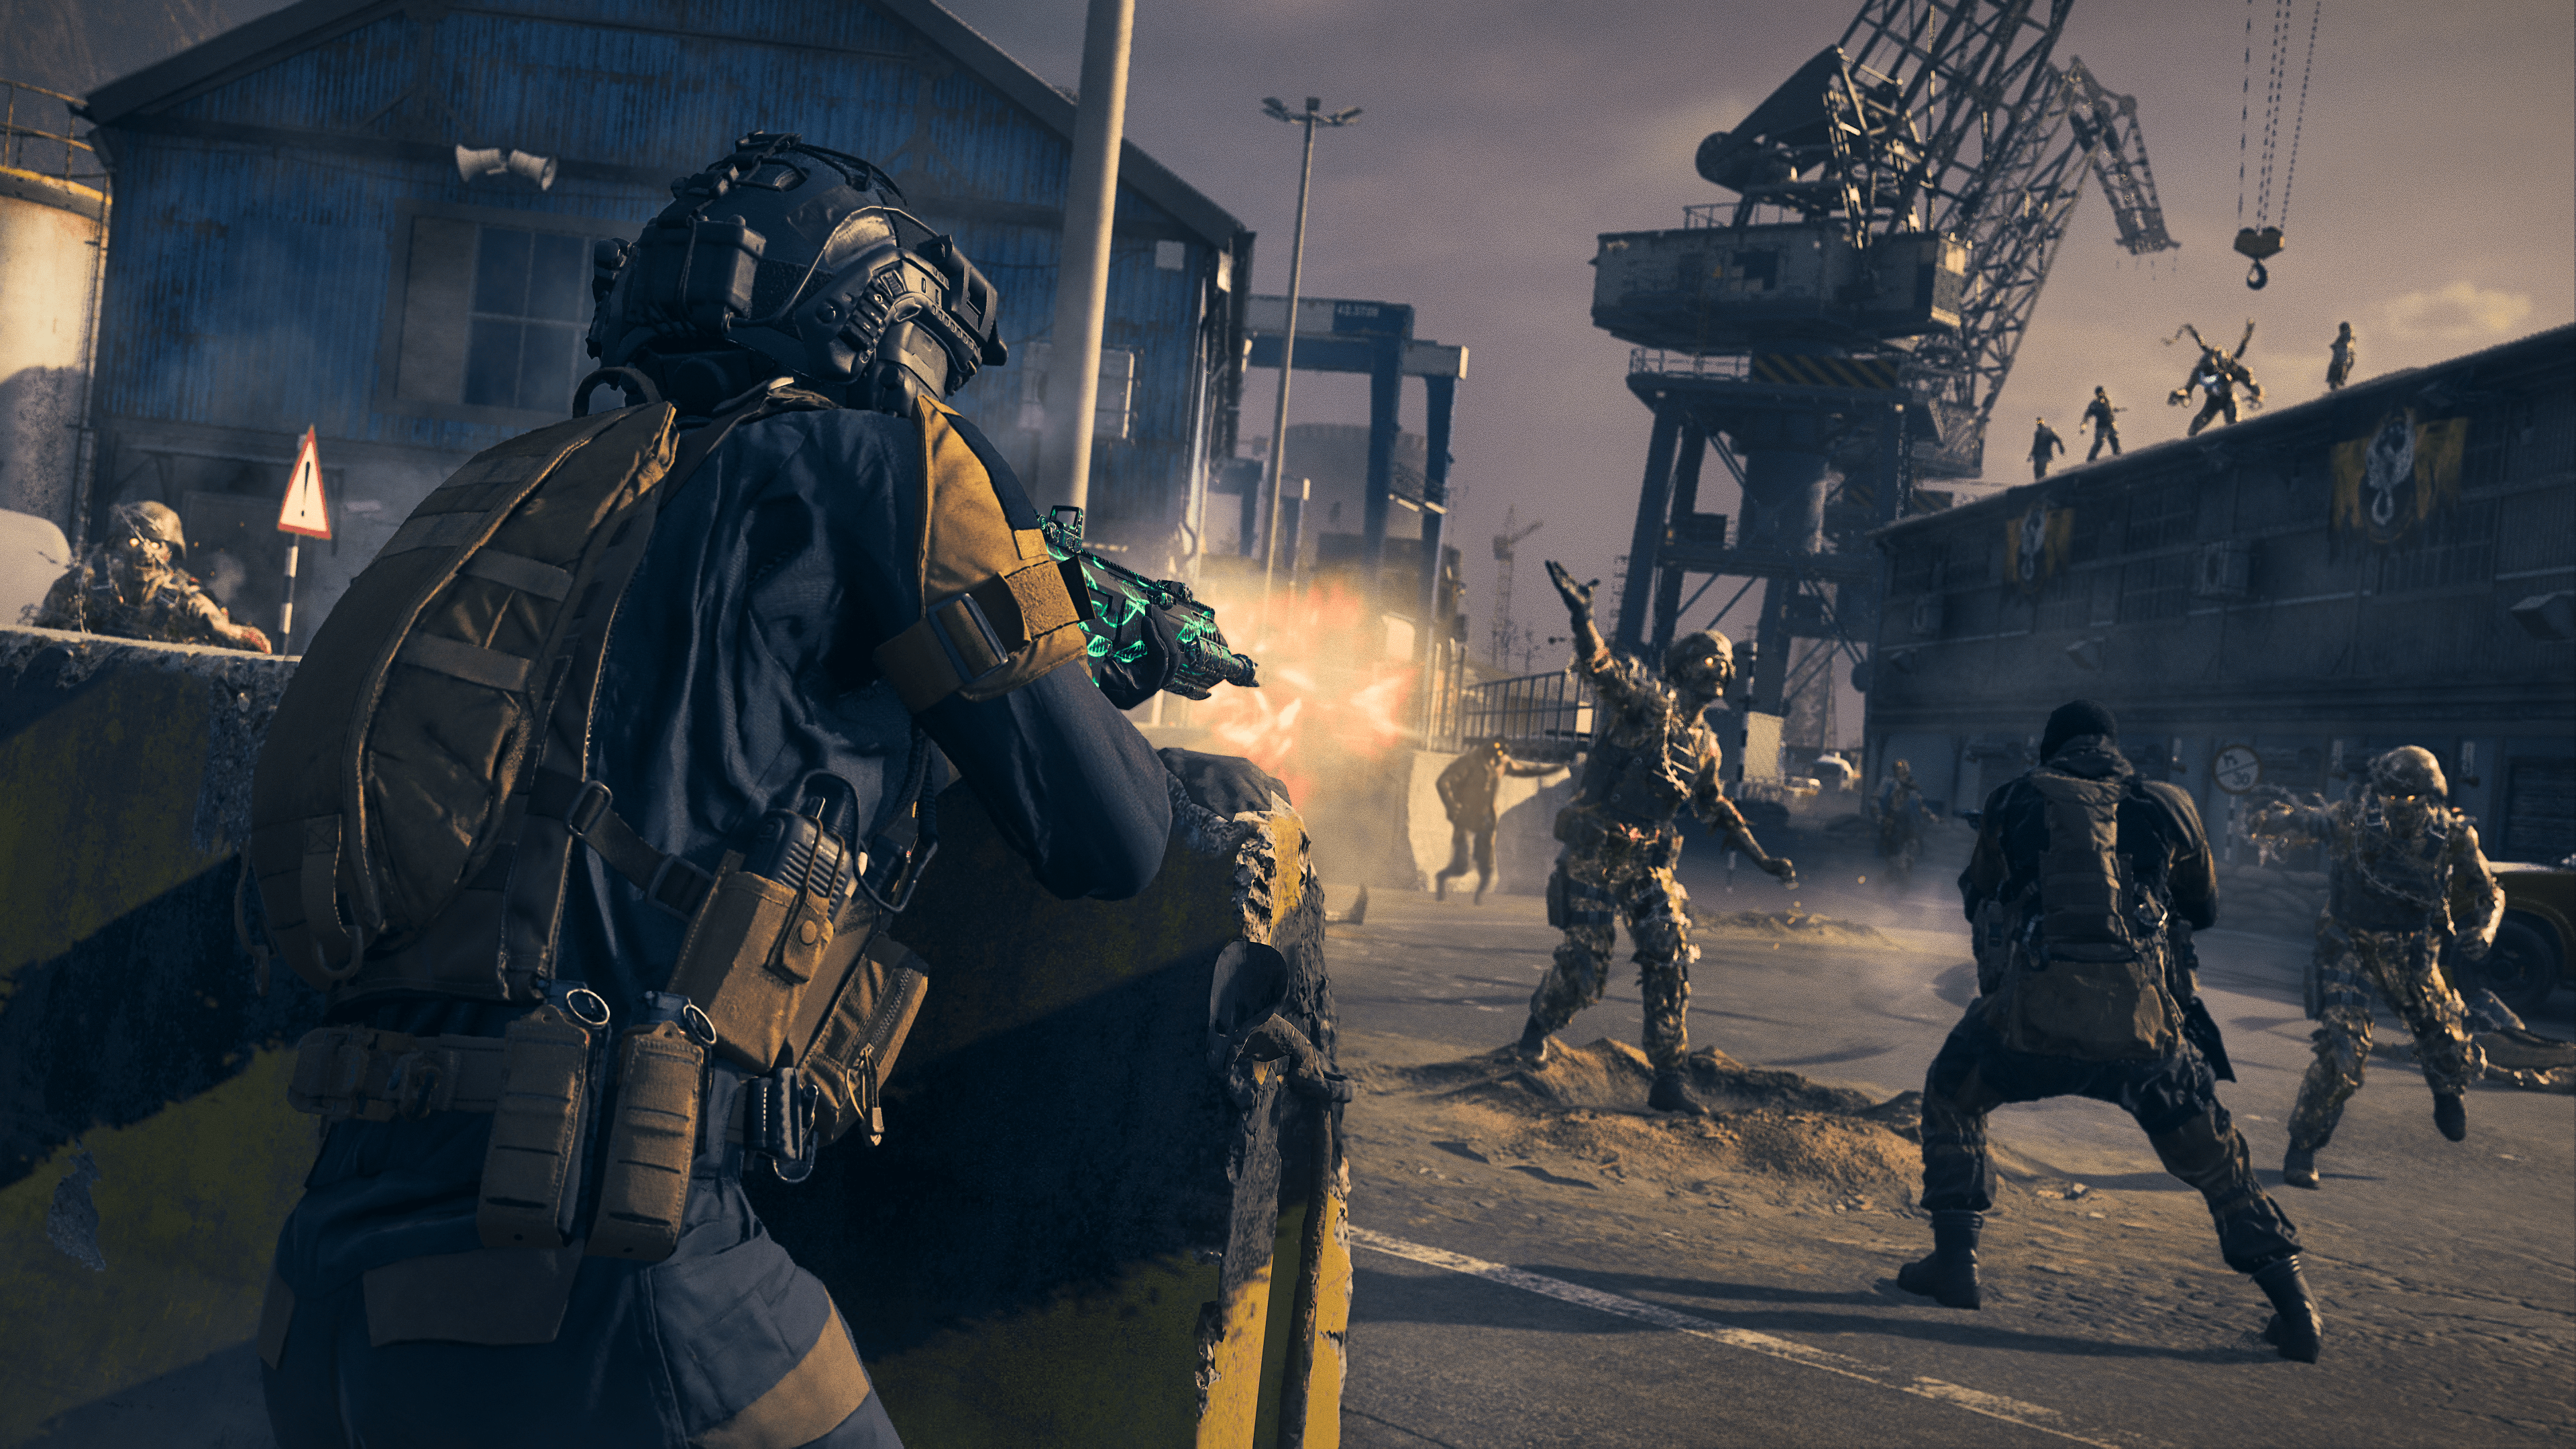
Taking place in the extremely infected Exclusion Zone of Urzikstan, Modern Warfare Zombies has you investigating the motives of Viktor Zakhaev and his crew of mercenaries, Terminus Outcomes. Modern Warfare Zombies starts slowly and ramps up fast as you progress within each deployment. Before you deploy, you can select story missions, Loadout acquisitions and gear, and the Operator you wish to send into action.
Deployment (or Infil)
To begin a deployment, all you need to do is hit the start tile in the bottom left-hand side of the screen. From here, you can double-check and change any missions, if needed. Then you’ll have a final chance to edit your Loadout. Once you’ve done all of that, you can load in with your squad. Remember that everything you infil with is at risk and can be lost if you drop it or are eliminated with it. Losing these items means you’ll have to find another in a future deployment.
Operation Deadbolt
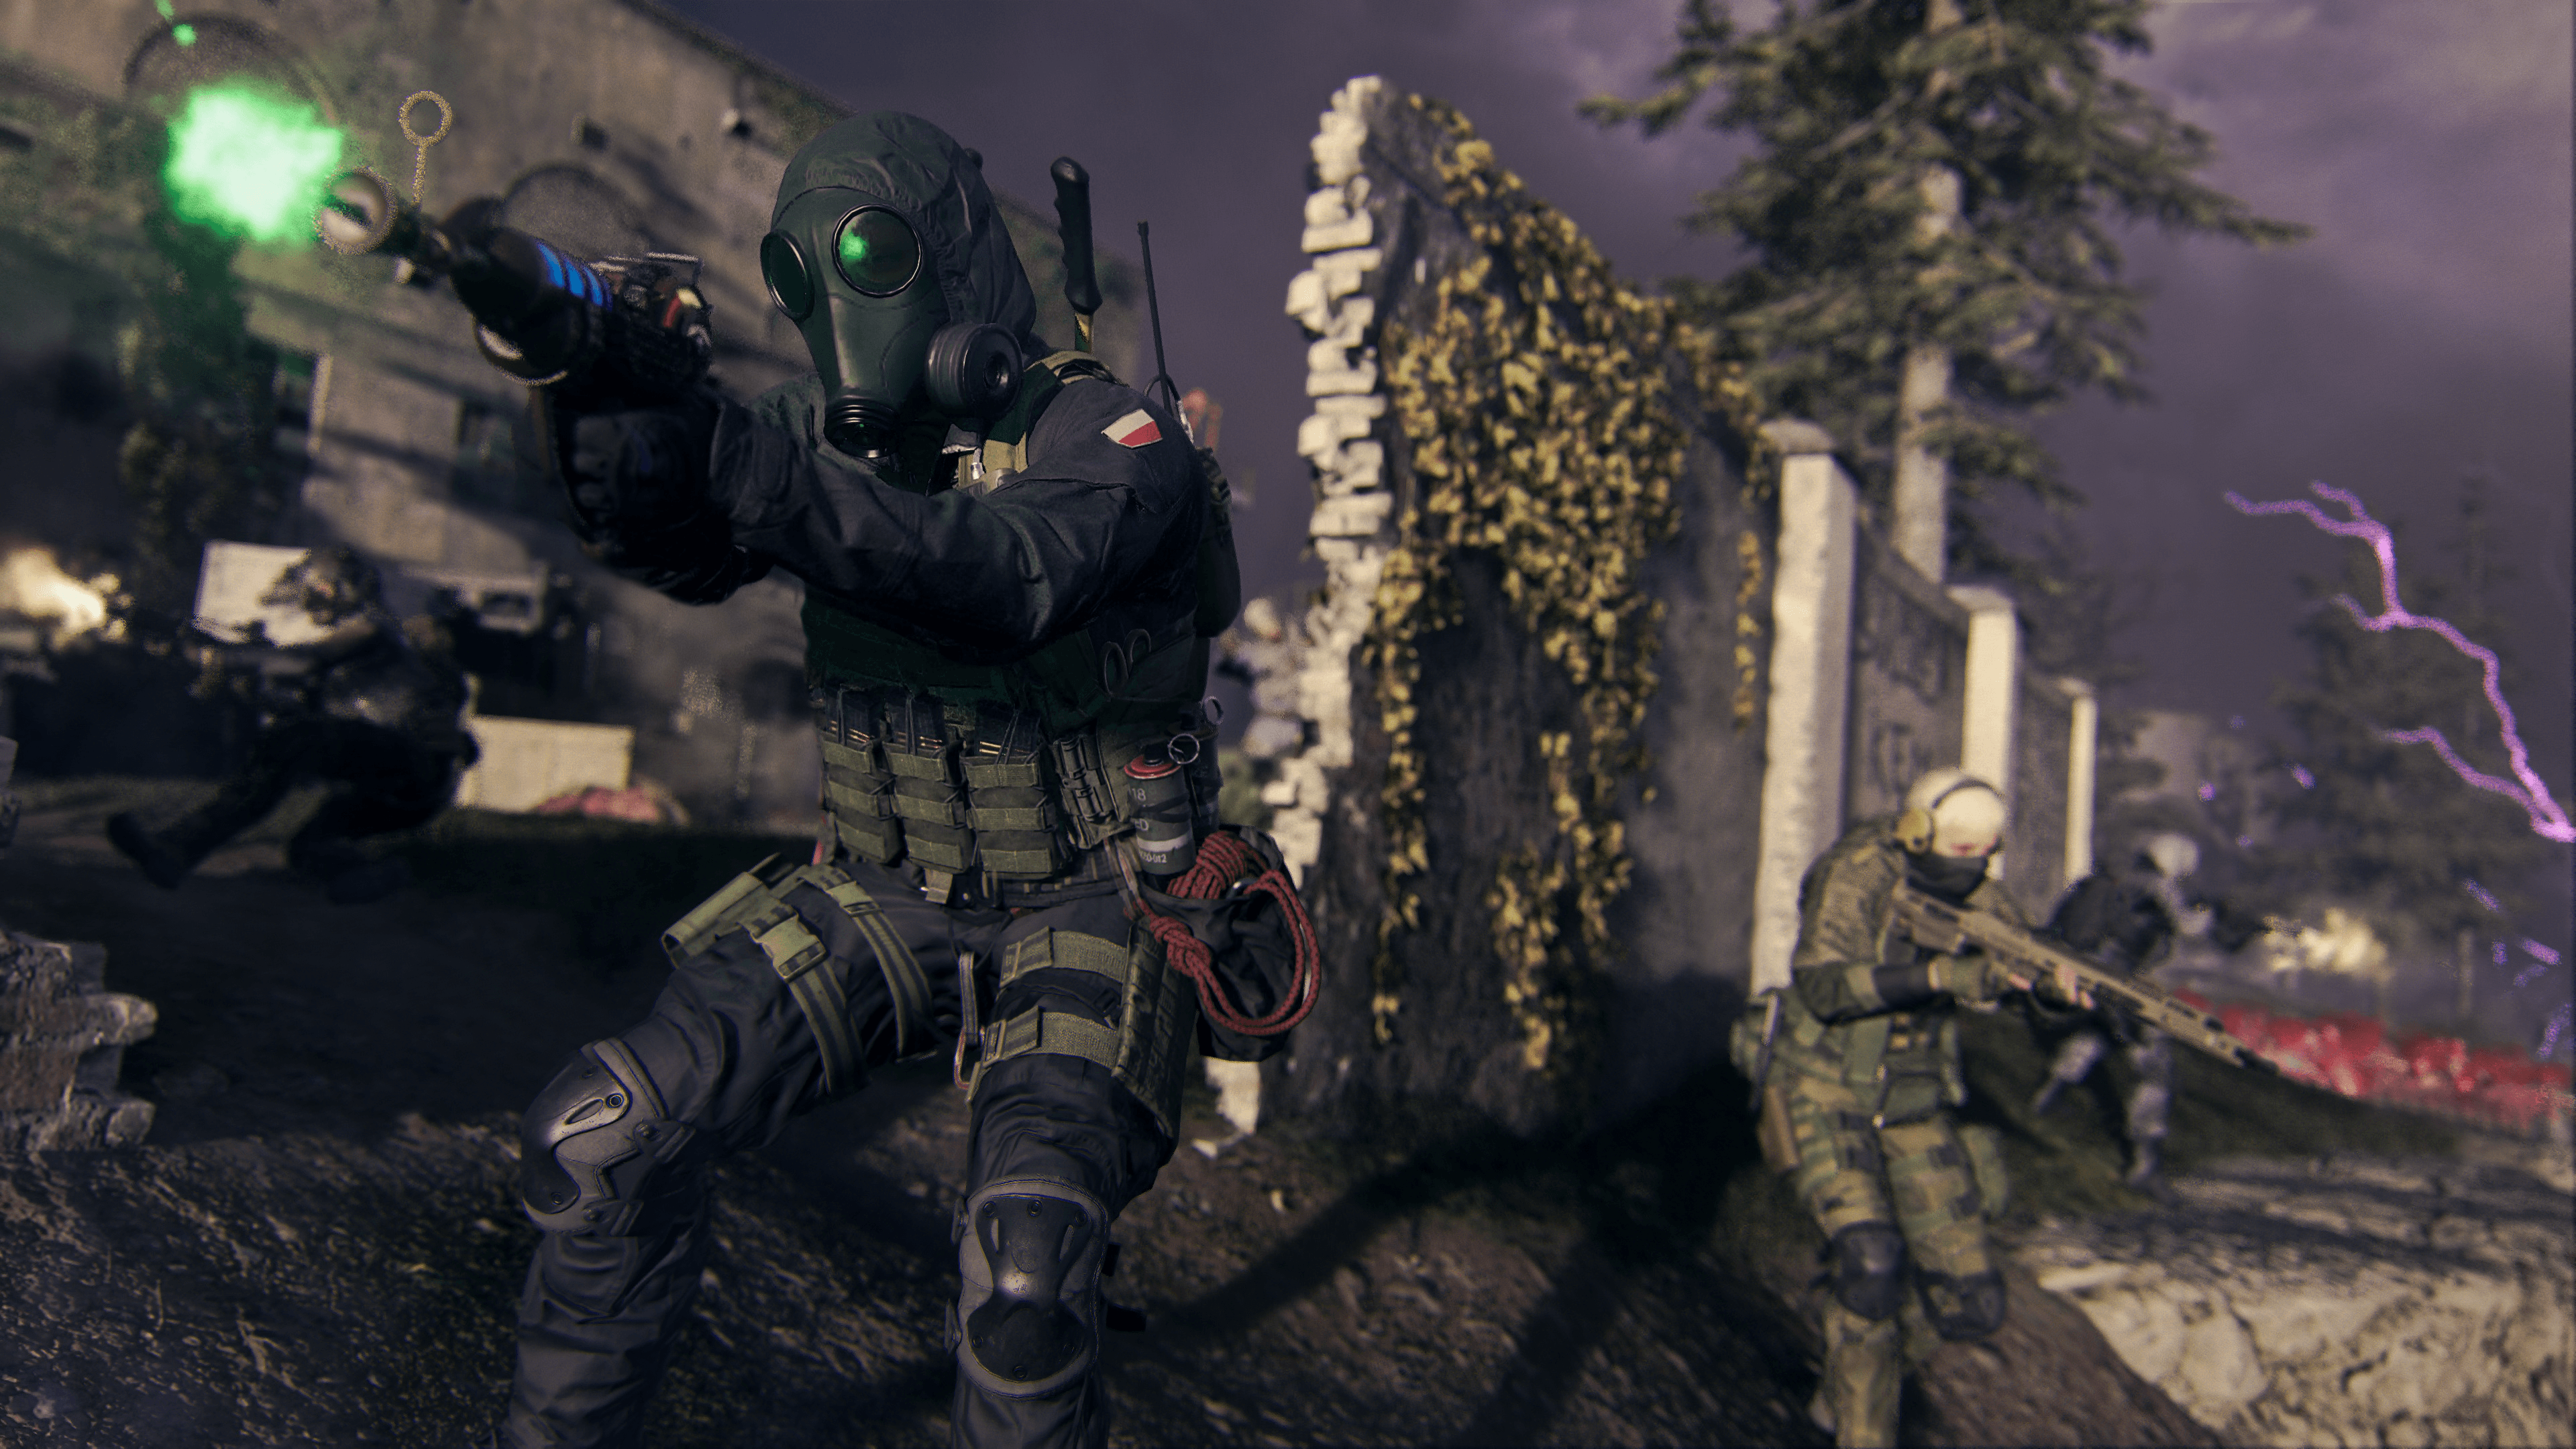
Operation Deadbolt is the story that you will progress as you complete the missions available to you. After Zakhaev was thought to have been killed, he has emerged again and has taken the fate of Urzikstan into his own hands. After stealing the vials of Aetherium and unleashing it on the Exclusion Zone, your job is to investigate.
// INTEL CARD
- MWIII
- WZ
- WZM
Operation Deadbolt
// MODERN WARFARE ZOMBIES // TRAINING

One at a time: You can equip one Mission as you deploy, but as soon as you finish that Mission, the next Mission will begin immediately, and you can continue progressing. You can also stay to battle alongside other playerss or collect additional weapons and Acquisitions.
Explore to find out more: There are many Easter Eggs hidden throughout Operation Deadbolt. Take your time and explore. Most missions don’t require you to survive in order to complete them, so why not risk it and search for more cool stuff?
The center of danger: The center of the map is the most dangerous area. This is where Zakhaev started this whole mess. To have the highest likelihood of survival, be prepared before journeying toward the center of Urzikstan.

Operation Deadbolt is the story that you will progress as you complete the missions available to you. Taking place after Zakhaev was thought to have been killed, he has emerged again and has taken the fate of Urzikstan into his own hands. After stealing the mysterious bio-weapon and unleashing it on what is now known as the Exclusion Zone, your job is to investigate.
Selecting “Story Missions” in the bottom right of the screen will bring you to the “story board” of the Modern Warfare Zombies campaign. Obviously, beginning in Act I, you can replay each act’s cinematic to catch you up on what is happening, or remind you of the situation if you haven’t played in a bit.
Within each act is a library of missions spread across six different tiers. Each act contains a set of Story Missions that will progress the story within Operation Deadbolt. However, there is a slightly different experience when attempting to complete a Story Mission. Before you deploy, you have the option of selecting a mission to have active. If you select a mission from any of the missions within one of the Tiers, you will infil normally with 23 (24 total) other players, including up to two other members of your squad. However, if you are planning to complete a Story Mission and have one equipped, you and your squad, or you alone if you’re solo, will need to locate the special exfil location that will take you to Story Mission Location. You can see this special exfil on the Tac-Map, then when you arrive you’ll know it is the right one via it’s red smoke instead of the normal green. Once you’ve entered the Story Mission Location you and your squad will be alone and without the support of any other players.
// INTEL CARD
- MWIII
- WZ
- WZM
Modern Warfare Zombies Lobby
// MODERN WARFARE ZOMBIES // TRAINING
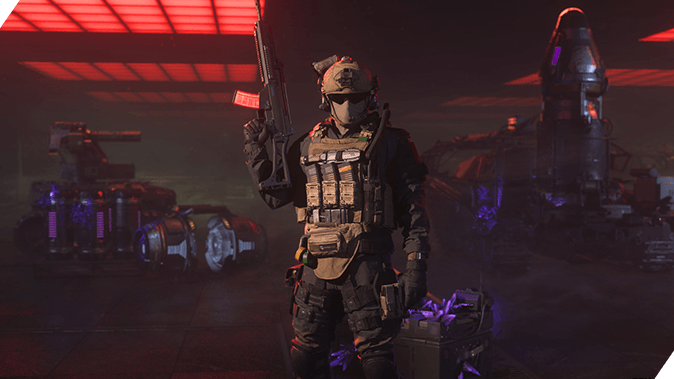
Important prep: It is always important to make sure you’ve got everything set the way you want it to before deploying into Operation Deadbolt. Double-check all of your inventories.
Use what you have when you need to: Sure, you could lose important gear by taking it into a deployment, but you can also lose everything if you’re not well equipped. If you’re doing an easier mission, maybe you don’t want to take your best gear, but coming in underequipped could be your demise.
Weapons reset rarity In Lobby: Both when you upgrade your weapon, the rarity as well as Pack-A-Punch level of your weapon in Urzikstan, it will reset when you extract. Keep upgrades on hand and don’t bring weapons home only because their rarity is good. Bring them home because you like them.
Now that you’re familiar with the general idea of what you’ll be getting into as you progress through Modern Warfare Zombies, let’s take a look at the lobby in its entirety.
In the top left corner of your screen is the Daily Challenges screen, which displays each of the immediate challenges and their rewards, as well as how much time is left before they reset. If you haven’t completed your Player Level journey to Level 55, these challenges are generally pretty easy and will reward you with a significant amount of XP compared to the amount of extra effort you’ll need to put forward to complete them. Leveling up via MWZ is a very viable method for both your Player Level as well as the weapons you use throughout each infil.
Next, the Start button in the screen’s bottom left corner is what you will select when you’re all ready to infil with your squad. You will have another chance to change both your equipped mission and your Loadout. Be sure you have everything set the way you want — you don’t want to leave behind anything you might need to complete your tasks. On the other hand, don’t bring anything into Urzikstan that you aren’t planning to use; anything that you bring in and either drop or get eliminated with will be gone until you find another.
If you wish to infil solo, toggle the Squad Fil tile (located next to the Start tile) to “Off.” It’s important to note that it is incredibly dangerous to Infil solo; however, finding another squad to attach yourself to and request to join is not hard. Making friends is easy in MWZ.
Next, in the bottom right of the screen, is the Story Missions tile, which will show you all of the missions within the Acts that you have available to you. If you are just starting, the only missions available are the Tier 1 missions in Act I. As you complete Tier 1 missions, you will unlock later Tiers and eventually the Story Missions.
When you complete the tiered Missions you will have access to the Story Missions in Act I and this will repeat through each Act. Remember that Story Missions are instanced only to your squad and often the objectives are in locations that are more difficult to survive unless you’re well equipped. So, spend some time during the initial Deployment to upgrade as much as possible before entering the Story Mission Location. The rewards you receive from normal missions are great ways to equip your squad with the defenses and items they need to complete the more difficult missions.
Finally, right above the Story Missions tile is the Bonus XP selector. Modern Warfare Zombies is a playground with opportunities for a lot of zombie kills as well as plenty of mercenaries to eliminate. This means there is a ridiculous number of opportunities to gain XP and ranks on both your Player Level and the vast number of weapons you can use throughout each infil. Utilize the XP Bonus Tokens that you earn throughout the Battle Pass, Bundles, and other various methods.
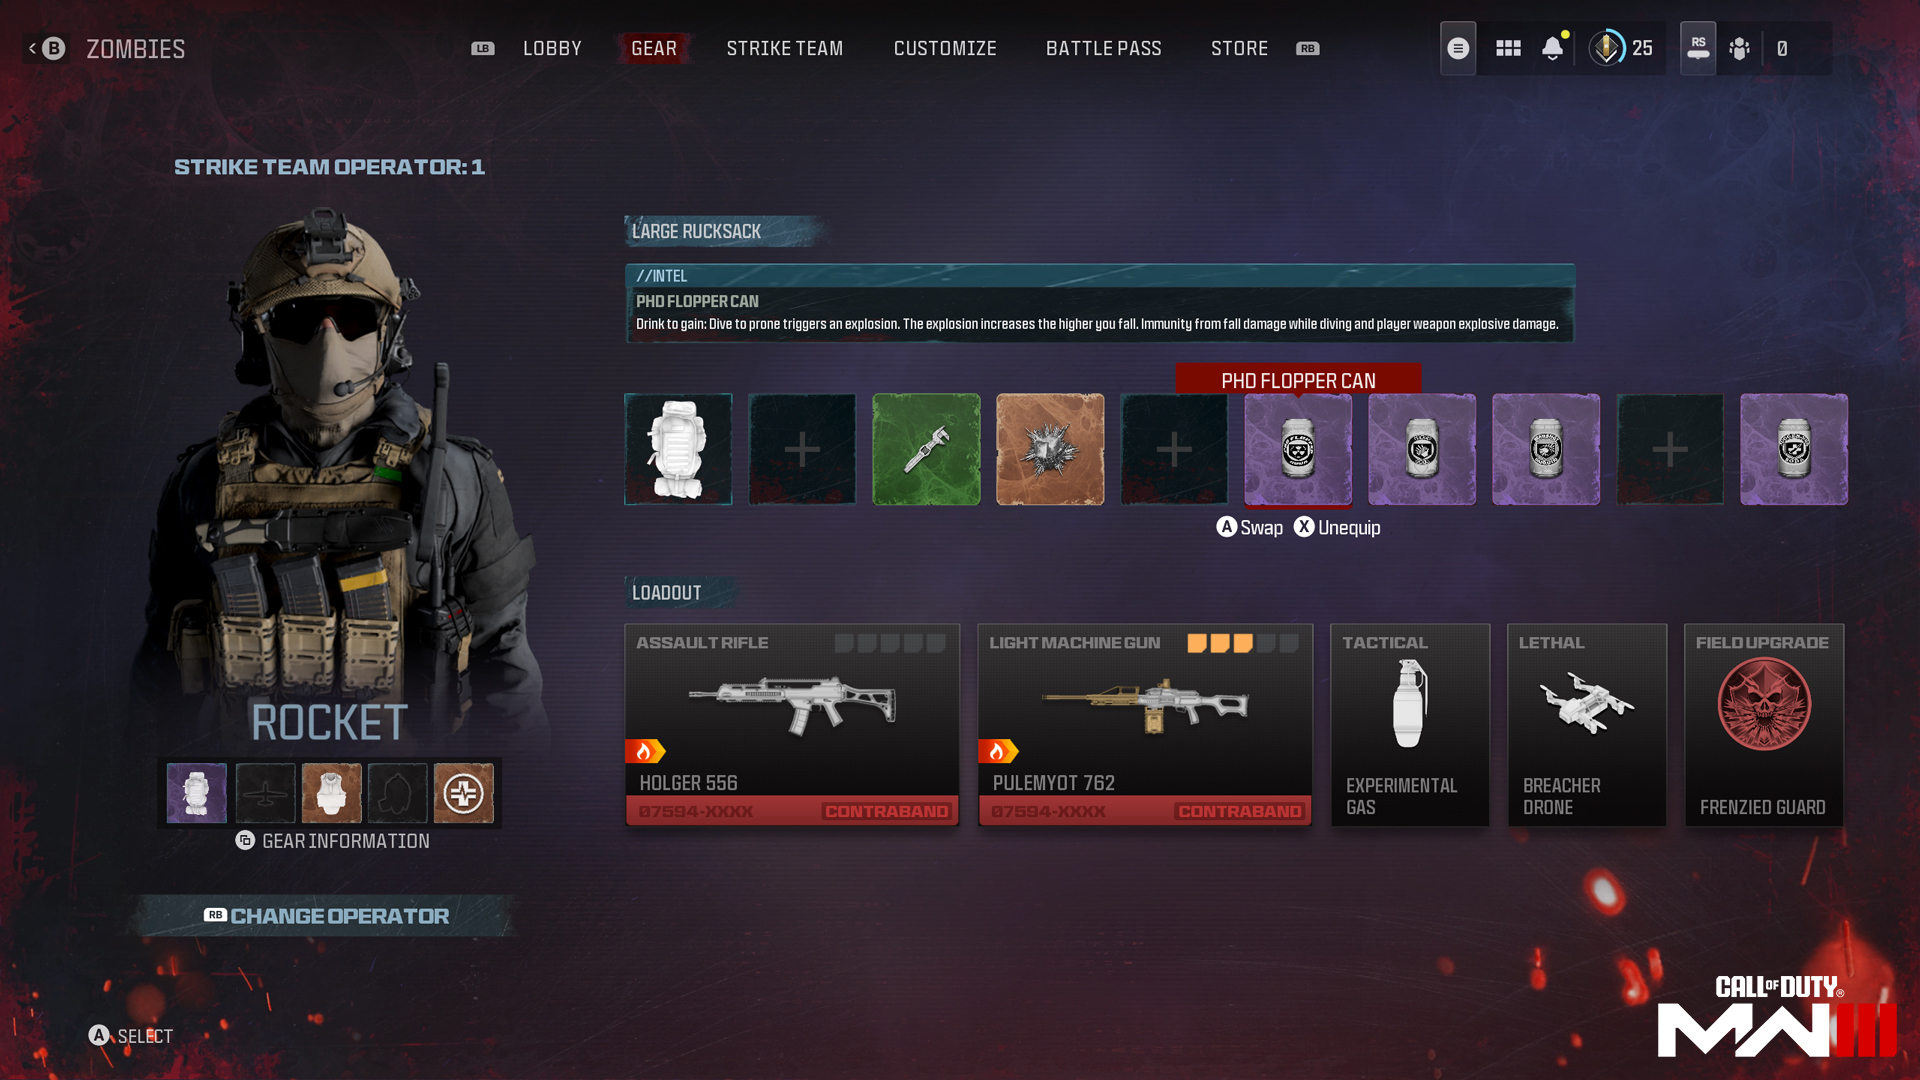
Before you infil into Operation Deadbolt, ensure you’re equipped sufficiently to do the job done you’re setting out to do. If this is your first run, or you’re just plain out of gear, there isn’t much that you can put on your Operator, but there are some free things that should grab your attention.
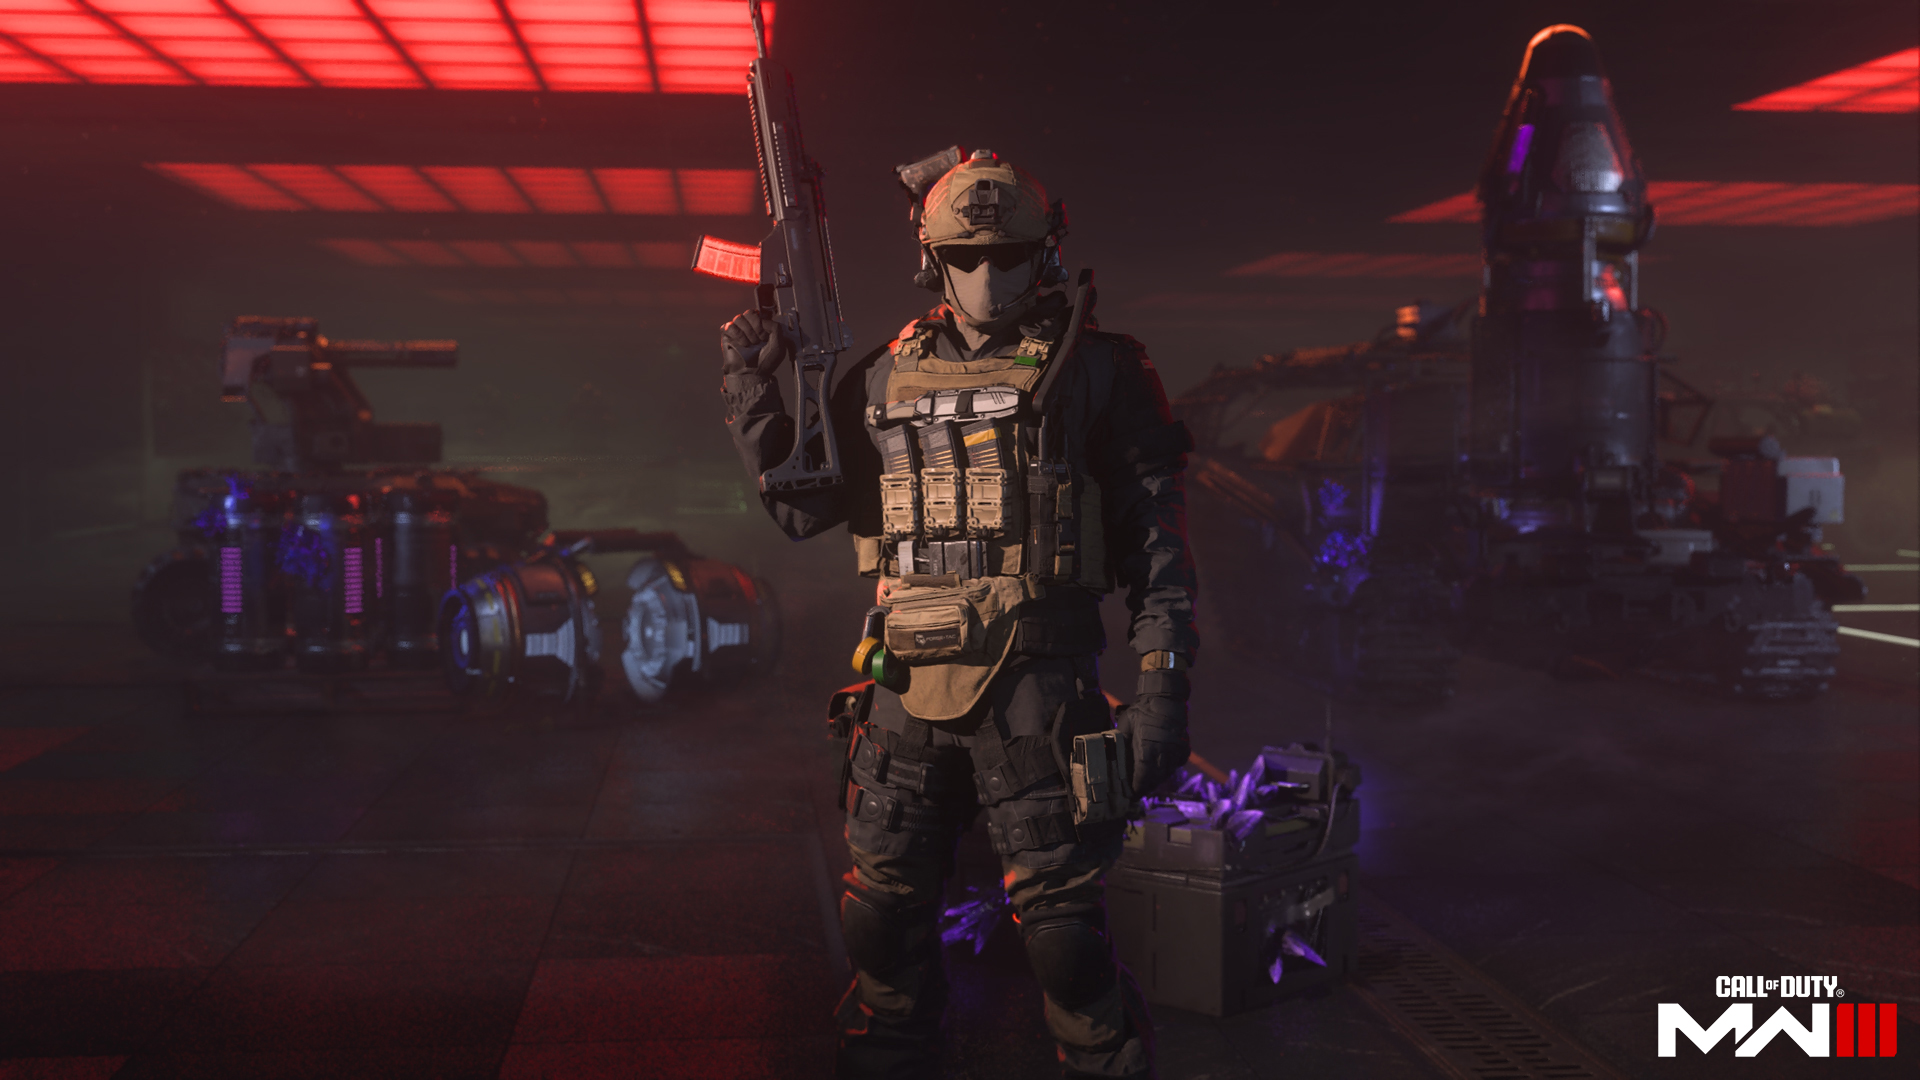
Your first infil is very straightforward because you don’t have many items or weapons to equip. In the Gear menu, you’ll find your Operator. Each Operator is their own character with their own Loadout. By default, you have access to three different Operator slots. Fill these with the Operator Skins of your choice.
Once an Operator has gear on, meaning you have successfully extracted from a Deployment in Operation Deadbolt, the gear that you’ve extracted with will stay on that Operator until that Operator is eliminated. The gear that will stay on each Operator includes a Rucksack, Killstreak, Plate Carrier, Gas Mask, and Self-Revive Kit. These items will stay on each Operator until you lose them.
Items that you’ll want to store from this menu into other storage locations include the acquisitions and weapons that you don’t want to bring on the next Deployment. The crafting Schematics that you can bring back cannot be used during a Deployment, they are only used to unlock Crafting Abilities back at your Stash. Once you’ve unlocked an Acquisition to craft, you can craft that at as there isn’t currently a Crafting Cooldown.
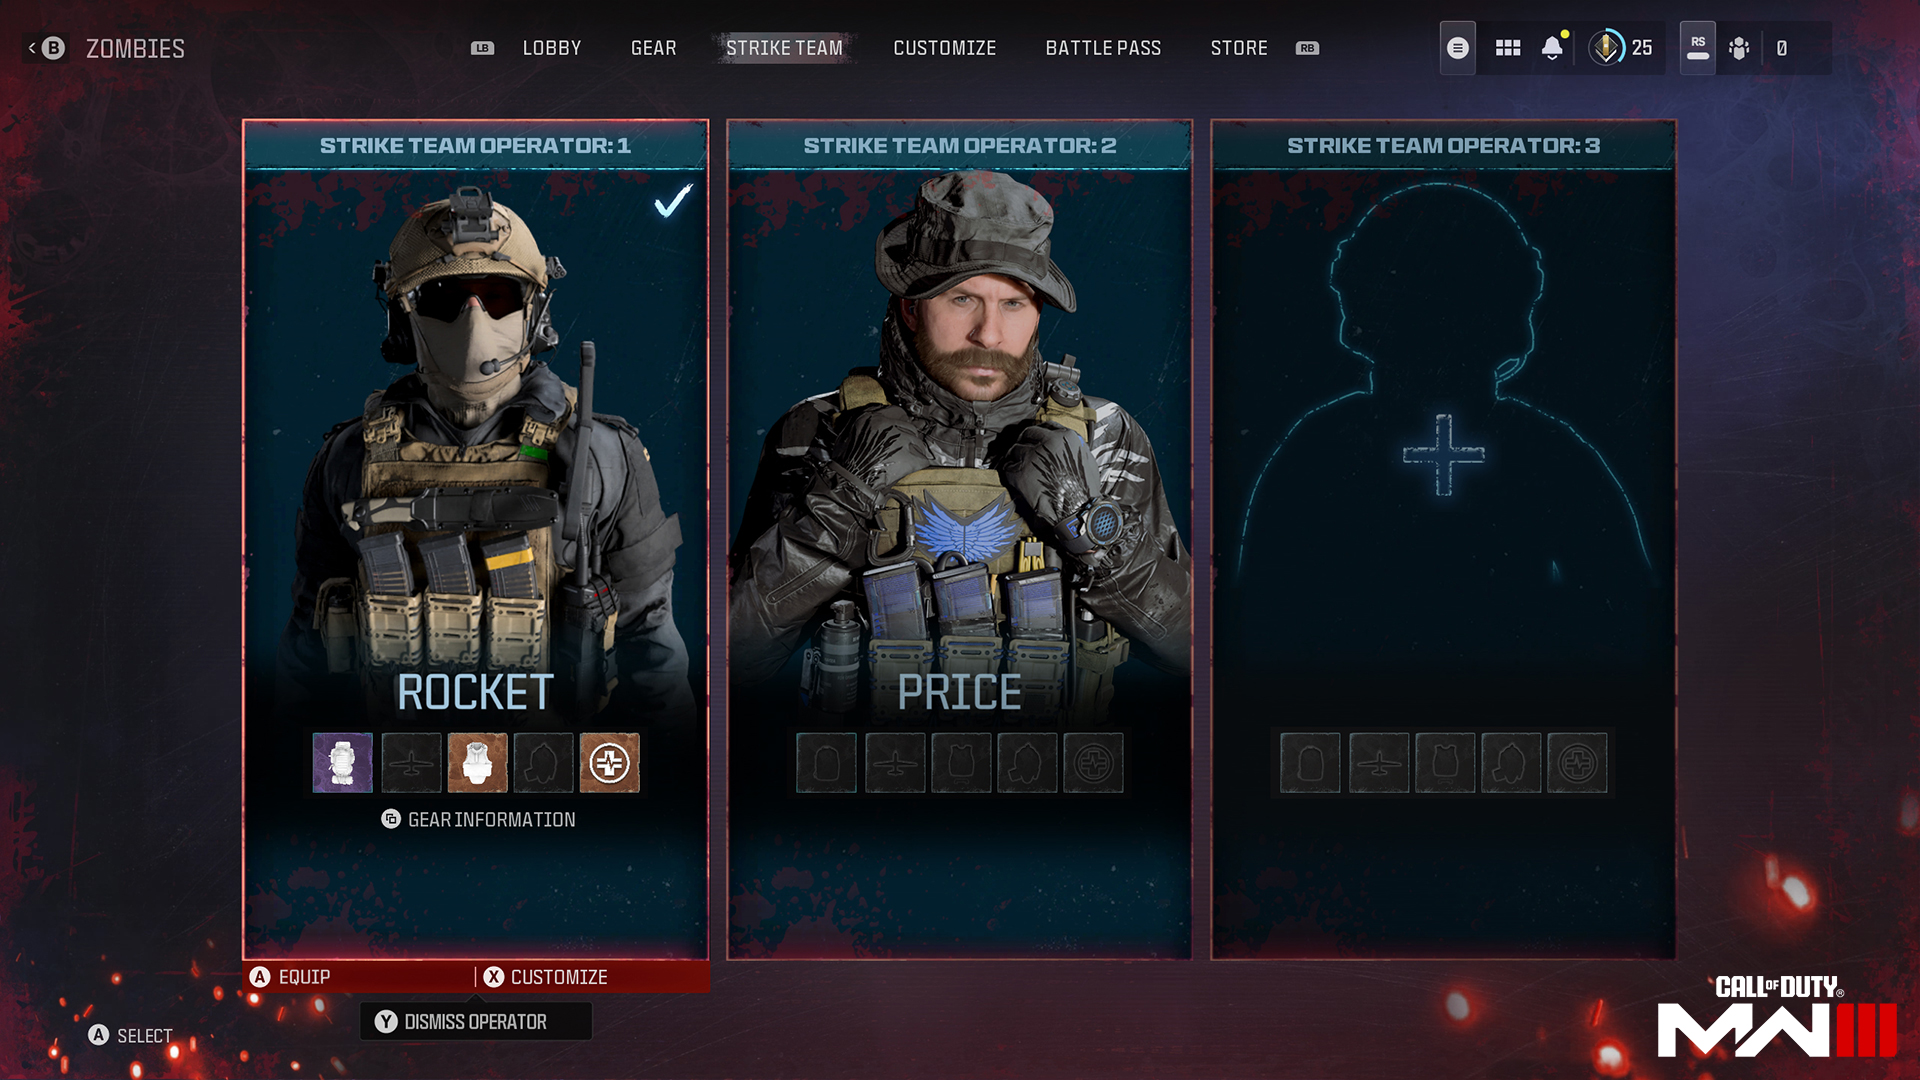
Tabbing past the Gear menu is the Strike Team menu, where you can see all of your available Operator slots. By default, there are three Operators you can have active at any one time with more slots available via certain Bundles in the Store. You can use one Operator slot throughout your entire experience in Modern Warfare Zombies to keep things simple. However, building up your armory and outfitting all of your Operators will help you make a long attempt at a more challenging mission. If you have a good crew together, spend some time outfitting all of your available Operators before risking one on a more challenging task.
Your First Deployment
Welcome to your first run of Modern Warfare Zombies and your first attempt to progress Operation Deadbolt. Now it’s time to hit the Start button. You’ll be prompted with your final checks of which mission you have equipped as well as the gear on your Operator. After that, you’ll be loading into Urzikstan.
// INTEL CARD
- MWIII
- WZ
- WZM
Your First Deployment
// MODERN WARFARE ZOMBIES // TRAINING

1. Get your bearings: When you deploy, open the map and figure out where you are. Select your first Contract or Activity and tag it for you and your squad.
Complete contracts: Completing contracts is the easiest way to earn essence early on. Essence is how you upgrade almost every aspect of your power, so get started and keep earning.
Wall Buys and Mystery Boxes: In your first deployment, buy a weapon from a Wall Buy slot or try your luck with a Mystery Box. Your chances of getting an automatic upgrade are rather high in your first deployment.
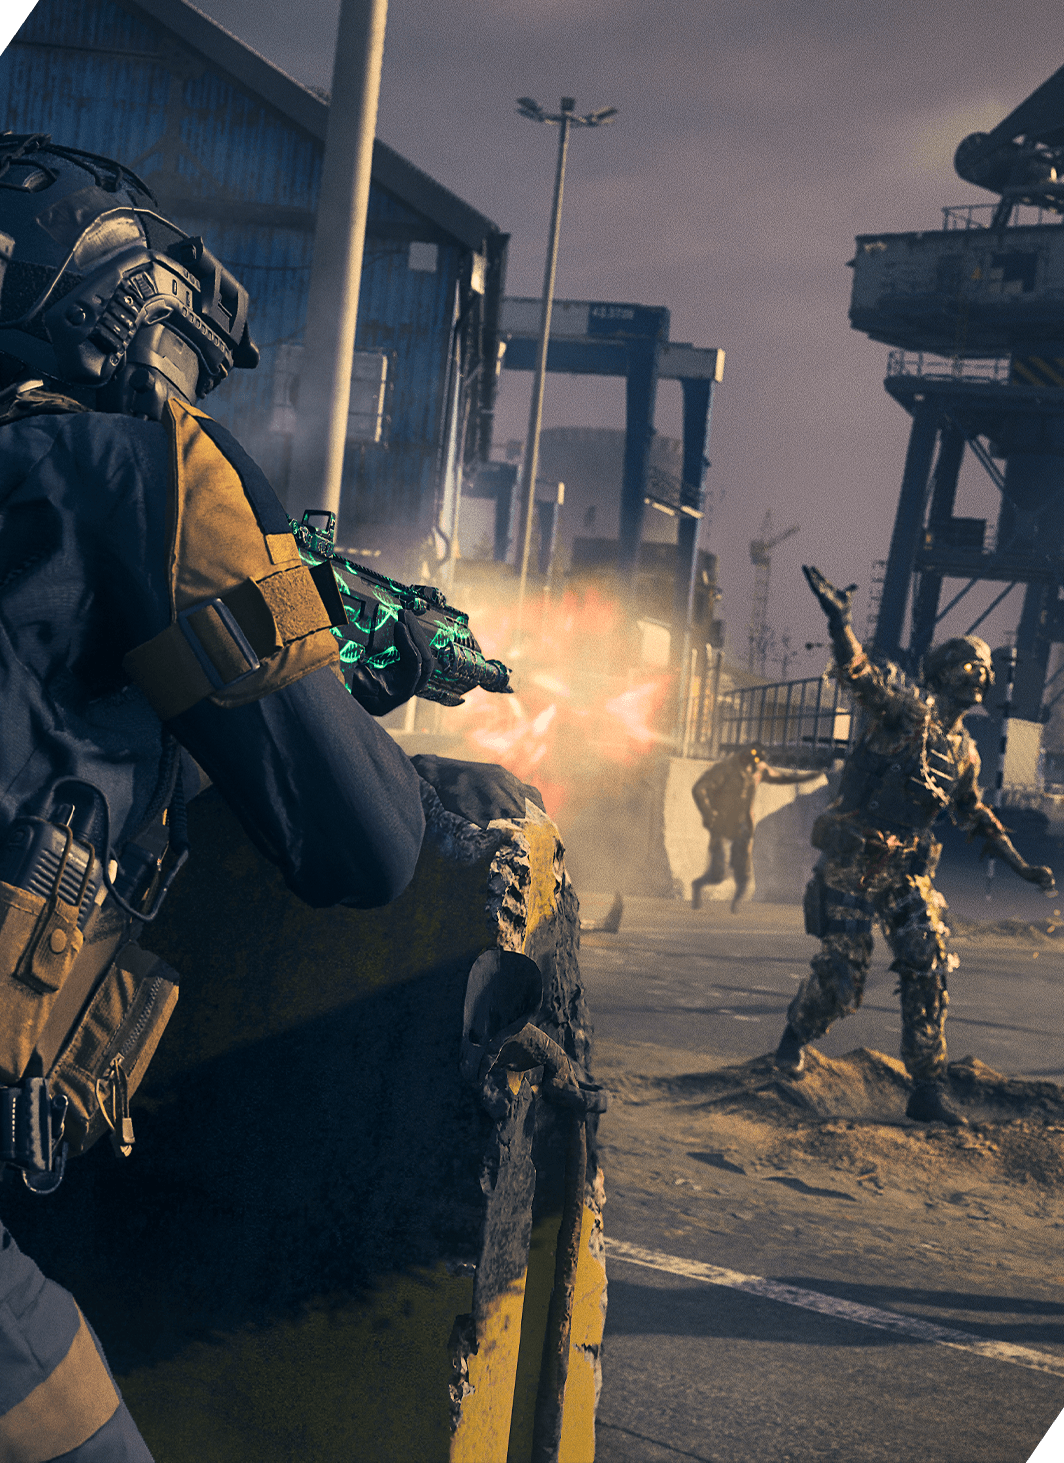
Now that you’ve deployed, you and your squad should pull up the map. The two things to pay the most attention to are contracts and Threat Zones. Contracts are the easiest ways to gain Essence, which is the main resource in MWZ and the currency used to purchase Wall Buy weapons, Pack-a-Punch Upgrades, Perks from Perk Machines, and Mystery Box weapons. Listed below are some of the different contracts that you can take and what you will need to do to complete them. Remember that your squad can have only one contract active at a time. So, once you take a contract, you’ll need to either complete it or abandon it to take another.
Contracts
- Spore Control: Destroy the spores that cause a large infection in a specific area, usually a building.
- Outlast: Locate and Activate the PND. Then eliminate the incoming horde once the PND has been activated.
- Defend Ground Station: Collect important data that needs to be uploaded to Operation Deadbolt HQ. Then, begin the upload and defend the upload station from enemies until the upload is complete.
- Escort: Escort your target from one area to another without letting them be overwhelmed by Zombies or enemy mercs.
- Eliminate the Bounty (A.K.A. Big Bounty):C contract that gives you a well-guarded target. Your job is to eliminate said target, which is a more difficult enemy than normal.
- Aether Extractors: Clear and deactivate three Aether Extractors being operated by Terminus Outcomes.
- Deliver Cargo: Find and operate the target vehicle. The vehicle is loaded with precious cargo that you must deliver to the correct location without it being destroyed by enemy Zombies or Terminus Outcomes Mercenaries. Watch out for incoming gunship attack squads.
- Raid Weapon Stash: The Raid Weapon Stash Contract gives you a target to clear of Zombies and begin breaking into a weapon stash. Stay in close proximity with the Weapon Stash and try not to become overwhelmed by Zombies. Then, loot the Stash and leave before things get too hairy.
Activities
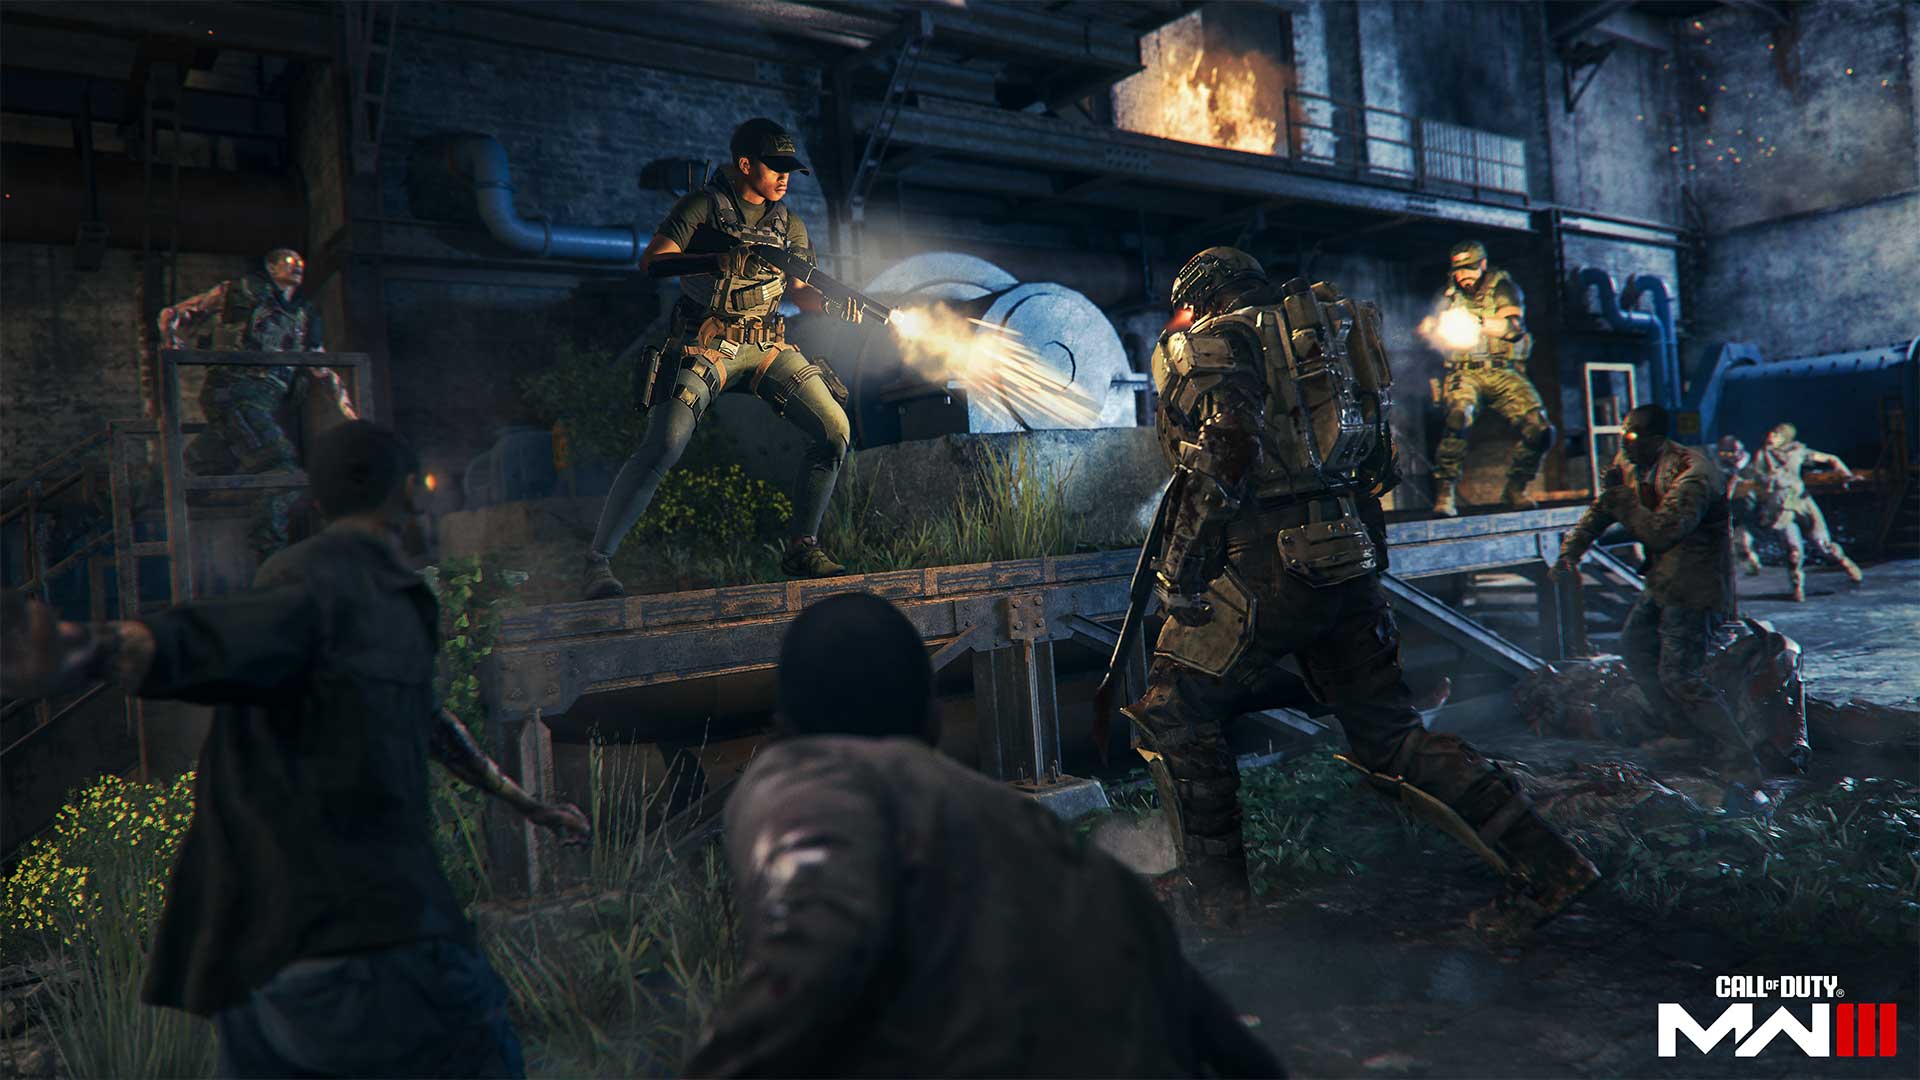
Activities are events that are located all around the map. Activities aren’t necessarily things that you can just mark on the map and go to; they are mostly small events that you can seek out or randomly roll into during your run. Complete these activities for useful rewards.
- Aether Nest/Zombie Stronghold: This area is extremely toxic and infested with Aether. Your job is to infiltrate the Stronghold, then find and eliminate the Aether nodes to stop the infestation.
- Harvester Orb: Floating Orbs that are difficult to destroy, but rewarding when destroyed.
- Merc Camp: Participating in a three-faction fight, Zombies will also attack Mercenaries. Eliminate the Mercs and earn your reward for doing so.
Threat Zones
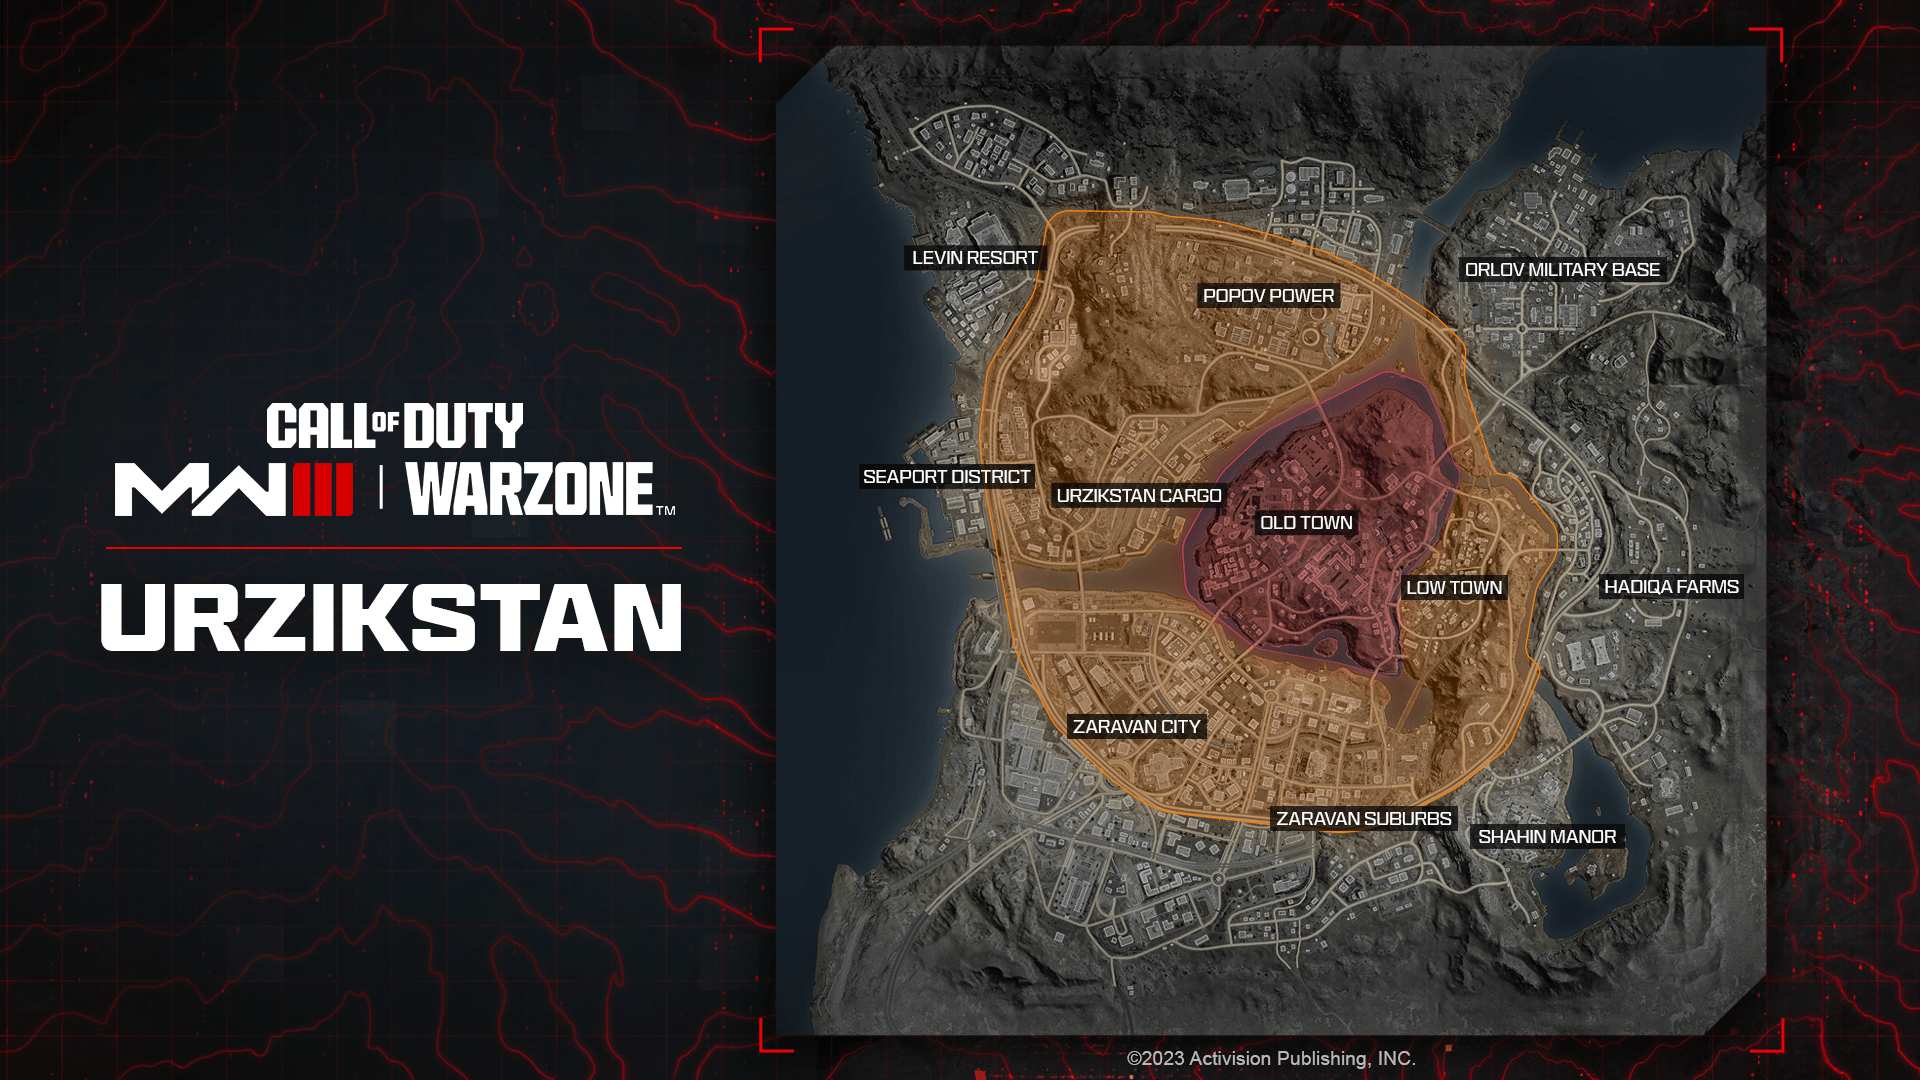
You may notice that the map is split into three different zones. When you deploy into Operation Deadbolt, you and the rest of the players in your lobby will start on the map’s outer edges, in the Low Threat Zone. As you progress closer to the center of the map, everything gets more difficult. These increases in difficulty are not gradual but are more Tier based as you cross into each zone. Refer to the Tac-Atlas to see exactly where these transitions occur.
// INTEL CARD
- MWIII
- WZ
- WZM
Threat Zones
// MODERN WARFARE ZOMBIES // TRAINING

Prepare before going deeper: With 45 minutes on the clock before you’re pushed to extract, there is plenty of time to go from nothing to having enough upgrades to push into higher Threat Zones.
Pack-a-Punch before zone increase: Look for a high-rarity weapon, then Pack-a-Punch (PAP) it before moving to the Medium Threat Zone. PAPs are limited per zone, meaning each Threat Zone has a maximum level that you can PAP your weapon: Level I in Low Threat, Level I and II in Medium Threat, and Level I, II, and III in High Threat.
You can always regress: Just because you entered a harder Threat Zone doesn’t mean you're stuck there. If you’ve entered a harder zone and don’t feel ready for it, go back and continue your preparation.
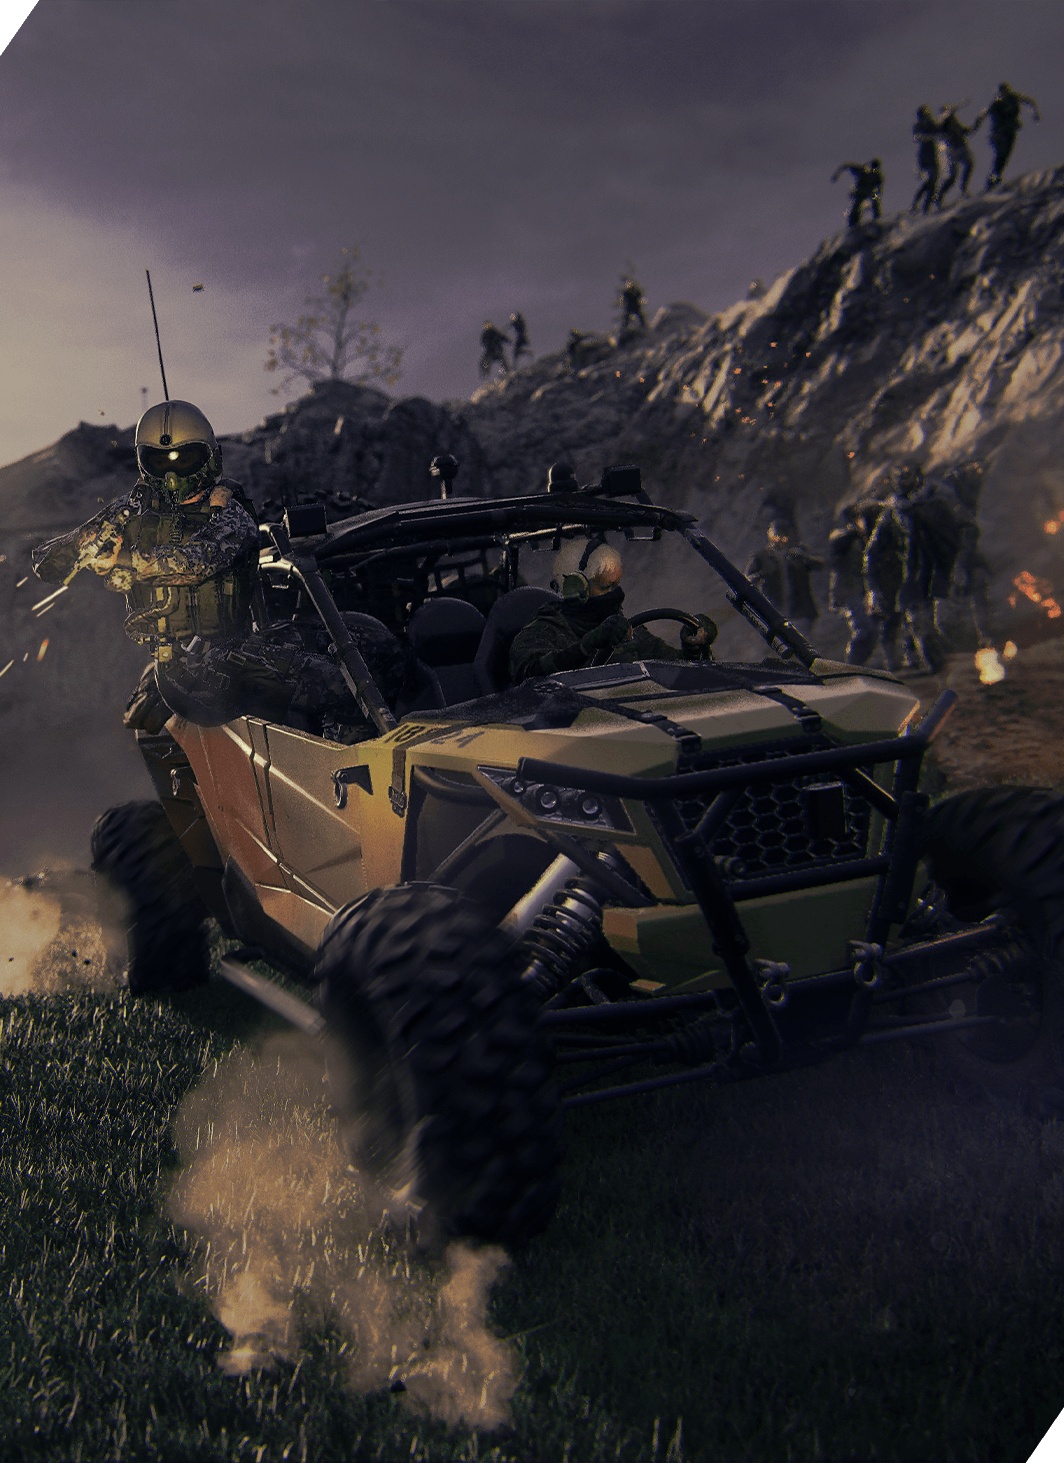
Tip: Rule of thumb: Pack-a-Punch your weapons before moving on to the next Threat Zone.
Tip: Try to save your essence to Pack-a-Punch weapons of high rarity. Focus your essence spending on purple- and orange-colored rarity weapons, and blue if you must. The weapon image background shows the rarity color.
Wall Buy Weapons or Wall Buys are great ways to upgrade your basic gray rarity weapons that you start off with from your early game inventory. Every weapon, other than Wonder Weapons, that you pick up in a run are considered contraband. This means that these weapons cannot be customized. It does mean that you can collect Contraband, and as long as you extract with weapons, you can use them in a future run. You can start your first run with two weapons, but if you choose to leave one at home, try to find a Wall Buy early and equip a second weapon of a different ammo type, so that you have a backup or a weapon for a different purpose than the one you started with.
Extract
Once you’ve successfully completed a contract or two and maybe even completed the first mission, it might be a good idea to extract. On your first run of Operation Deadbolt, there is no need to risk everything you’ve gained by traveling deeper into the danger zone. You will be right back — might as well gain some XP and start the next mission.
Open your map and look for an exfil location. If you haven’t spent enough time in the run, you may not see any yet. In that case, try doing a couple more easy-to-complete contracts until some show up. Every run can last up to only one hour. Feel free to spend the entire hour completing contracts and collecting essence, but claiming the rewards from missions will help you in the future. However, you don’t have to successfully extract for most missions to complete, so extracting now or later is completely up to you.
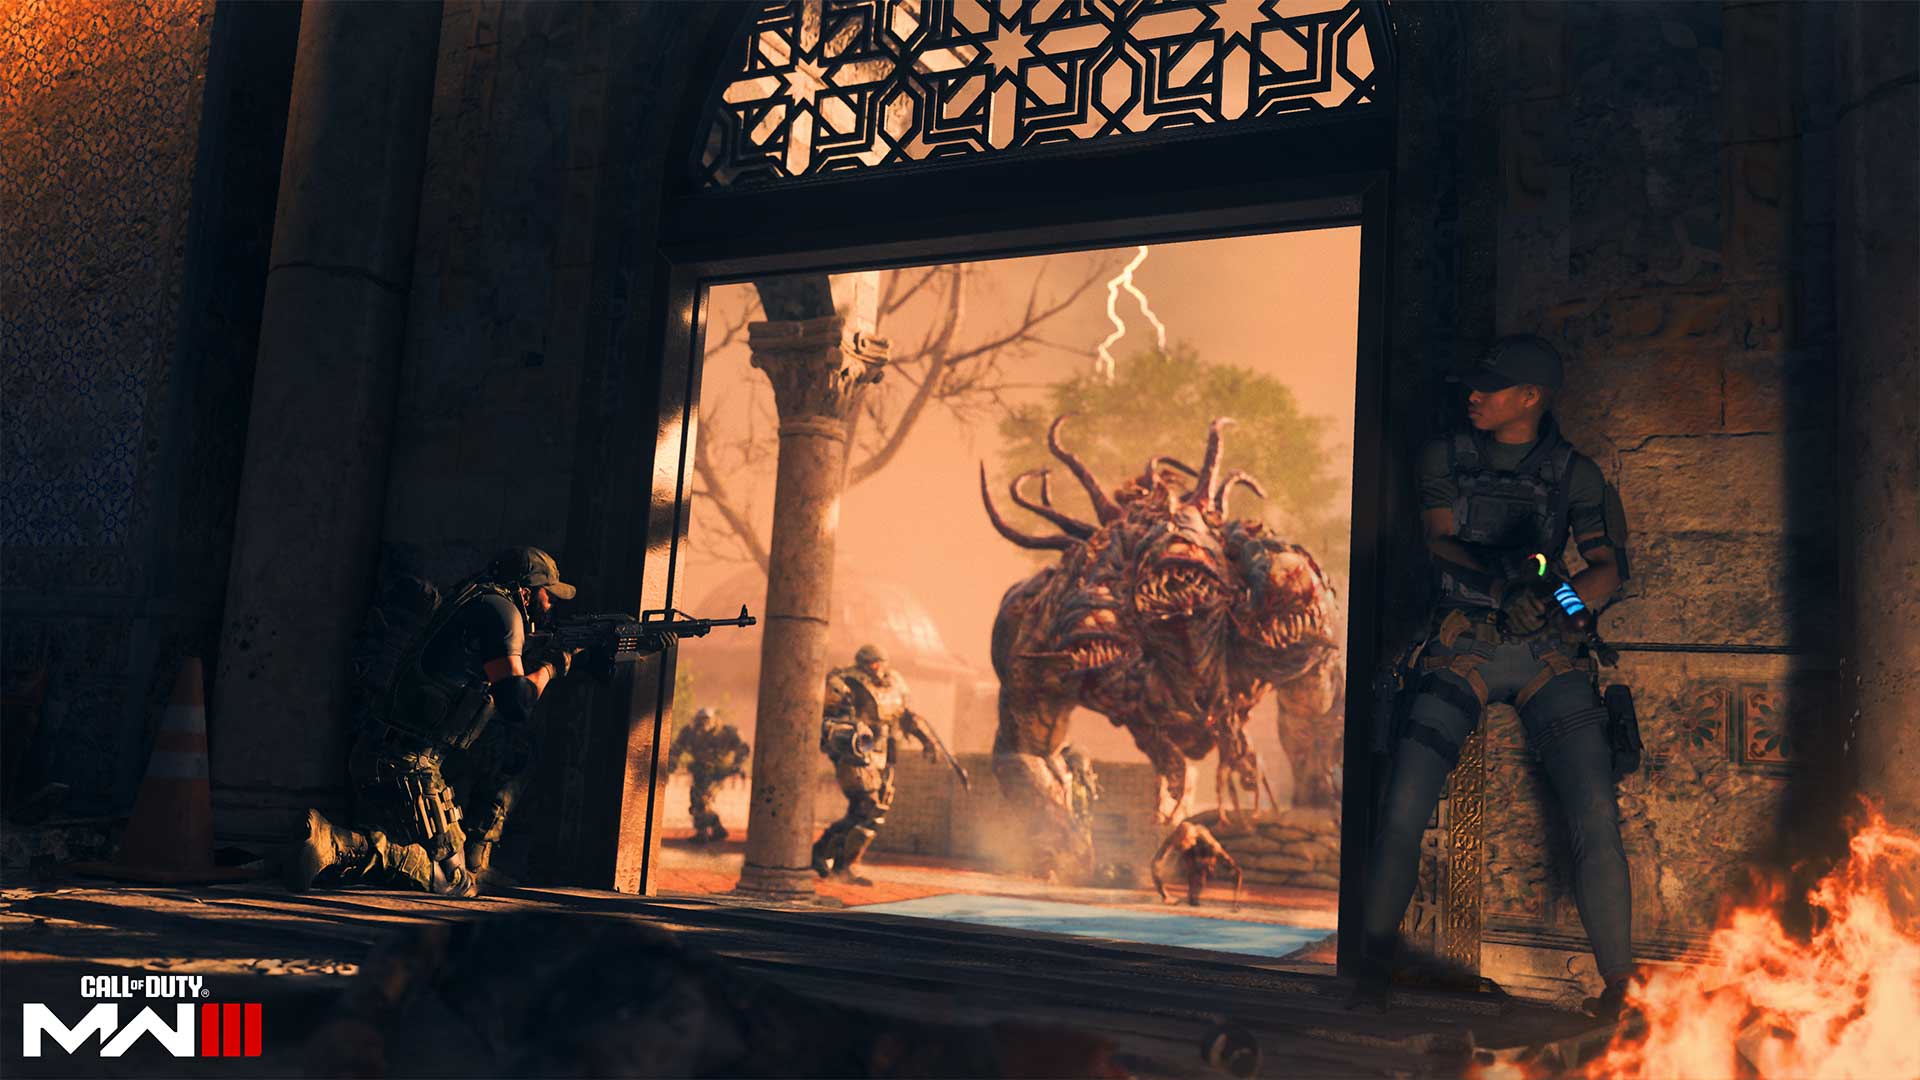
Now that you’ve successfully extracted from your first run in Operation Deadbolt, or you extracted the quick and painful way, an extract is still an extract. Either way, you’re back in the lobby and now have the option to send yourself right back in. Before doing anything, be sure that you’re not taking anything back in that you don’t wish to. In other words, make sure you have at least one weapon and unequip everything from your rucksack. Once you get more comfortable with the strategy of how to travel to the higher Threat Zones, you may want to bring acquisitions like Wonder Weapons and Aether Tools. However, for your first handful of runs, don’t bring anything in you aren’t sure you will use. Do bring items that will help you succeed in a run. Everything that you can lose can also be gained again; everything in Modern Warfare Zombies is borrowed.
// INTEL CARD
- MWIII
- WZ
- WZM
Your First 10 Deployments
// MODERN WARFARE ZOMBIES // TRAINING
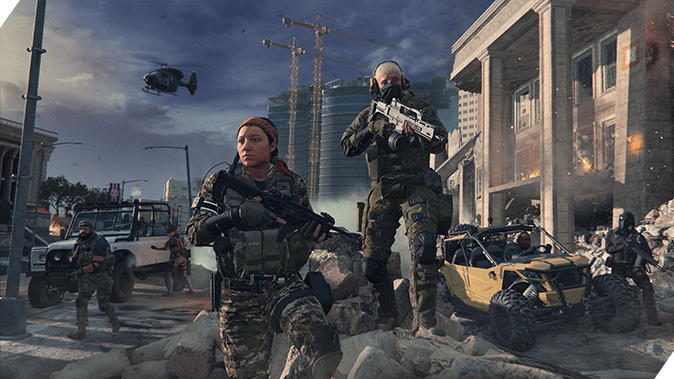
Use your gear: Especially after you’ve had some successful extractions, you should have some gear saved up. Whether you have some lower Aether Tools or lots of saved weapons, use them to help you get further than you did last time.
Testing Ammo Mods: Test the Ammo Mods you pick up. The damage they deal to different types of enemies will depend on the Ammo Mod, but you also may like how they perform differently than others.
Schematics are gold: Schematics are a very rare type of acquisition, so if you find one, do your best to extract with it. This will allow you to craft that item on a cooldown and bring it into Urzikstan whenever you have it ready.
Tip: Not completing a mission during a run does not mean that you have failed the run. XP, acquisitions, and overall experience are always an increase in progression.
There are a few different ways you can spend your first 10 deployments, but because of the open format of MWZ, how you go about these options and/or combine these options is completely fluid.
Option 1
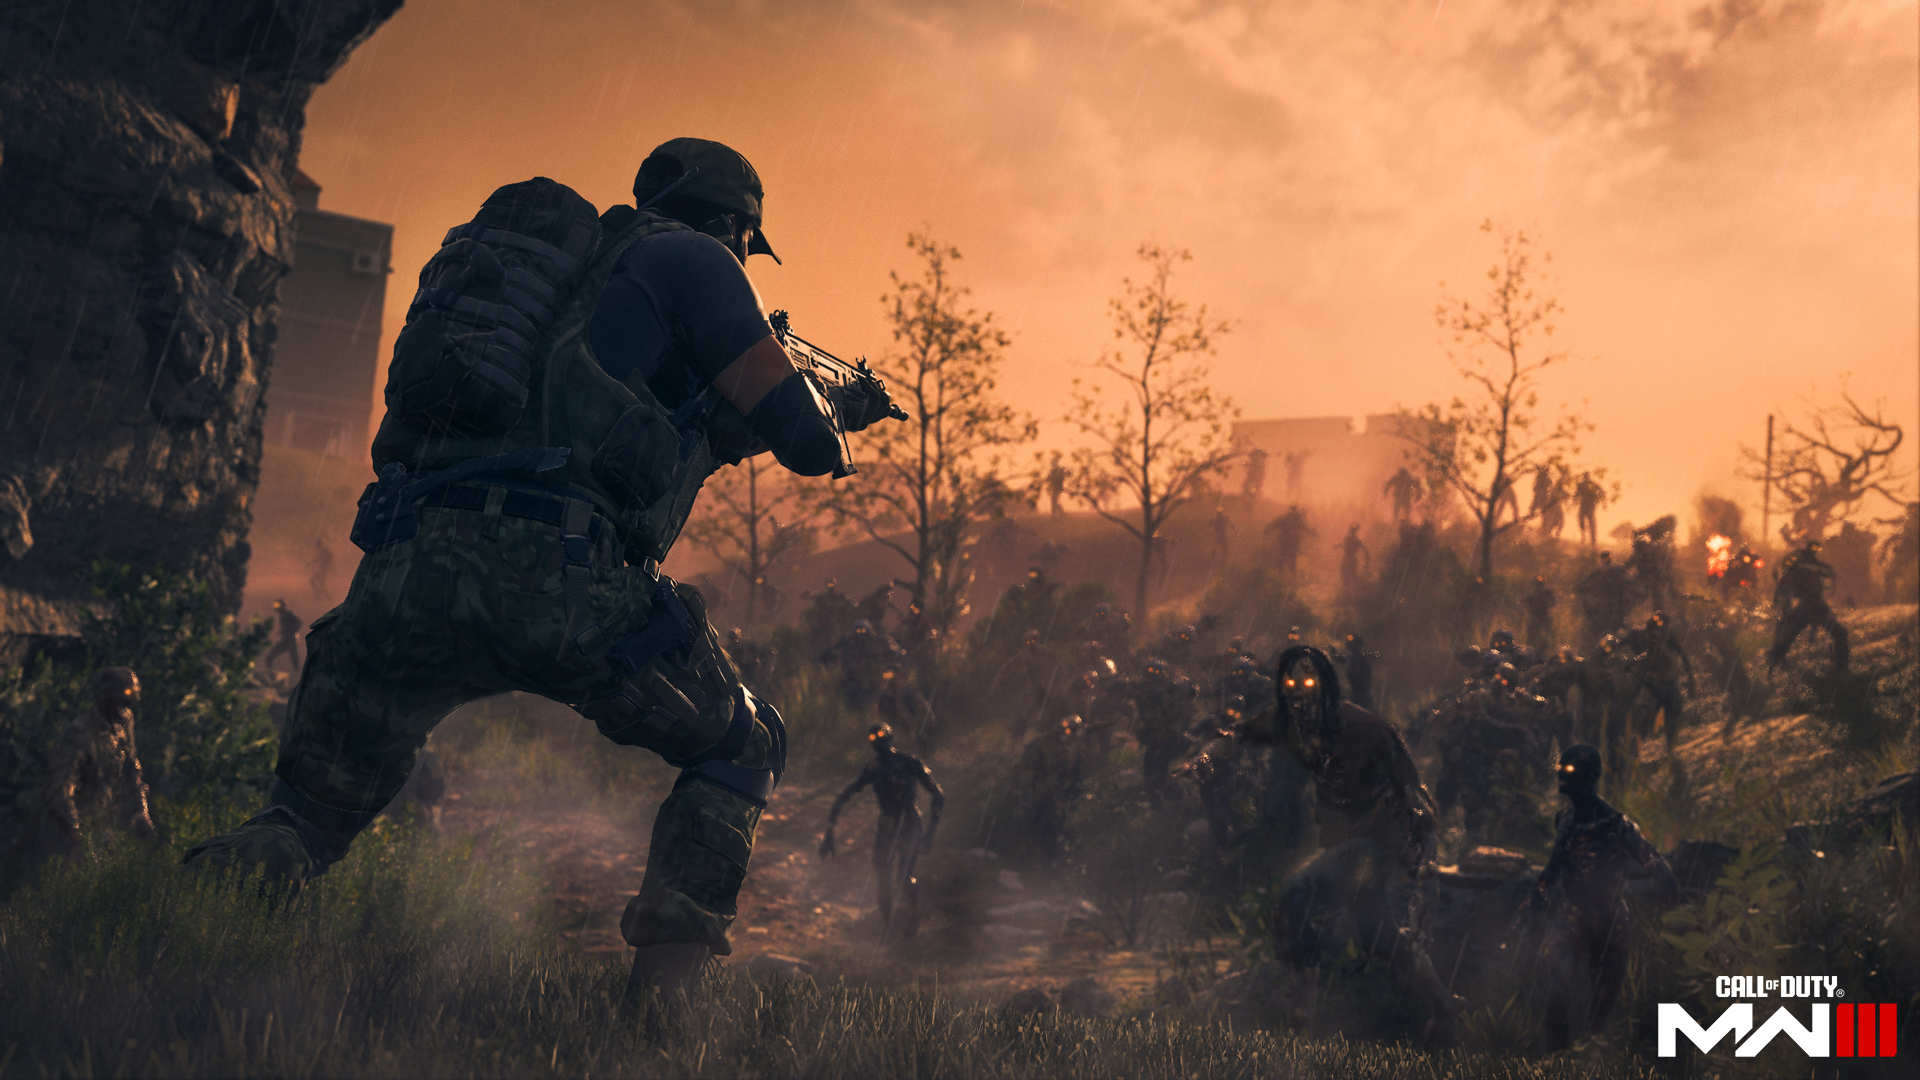
Spend some time running around the entirety of the Low Threat Zone, collect some weapons, and get a feel for what it’s like to Pack-a-Punch said weapons. Acquire some Ammo Mods and see which ones you enjoy using on the regular. Keep in mind that different Ammo Mods do more damage to specific enemy types, so play around and test these functions.
The most important purpose of this option is to experiment. Get a feel for what each of the acquisitions does and how they may help you in a more difficult zone. If you don’t survive, you don’t survive, but at least you will have learned something and that run was not wasted.
Option 2
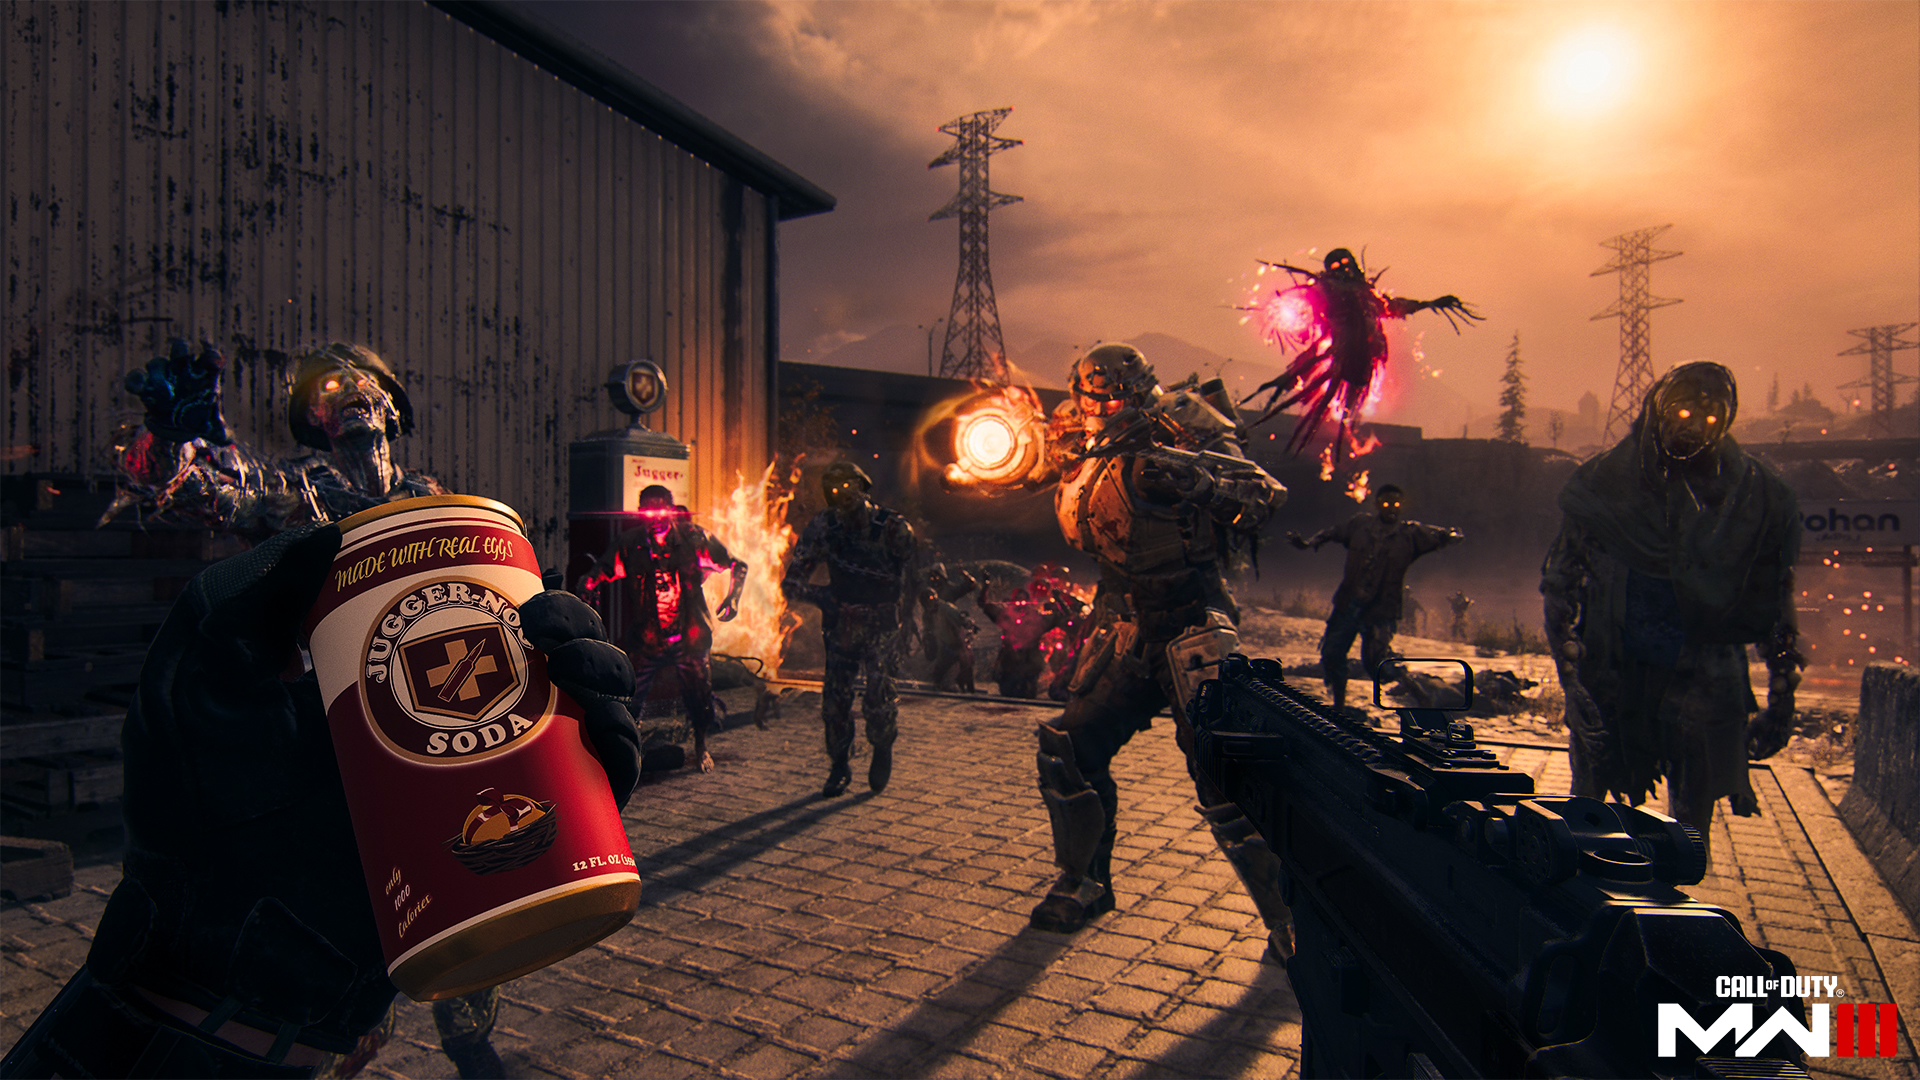
Begin collecting weapons, upgrades, and other acquisitions. Acquisitions like Wonder Weapons, Ammo Mods, Aether Tools, Aetherium Crystals, and Schematics all things that you can bring back to your inventory and store for a later run. Obviously, there is a limit to how much you can collect, both per run and in total because there is a limit to how many things you can keep in your inventory, which is why it is recommended to spend the first 10 deployments doing this.
If you are successful in at least half of these runs, you will have built up an armory that will at least get you started on the first Act of Missions without having to spend too much time equipping yourself. This will be a good base for you to move forward in your MWZ experience.
Option 3
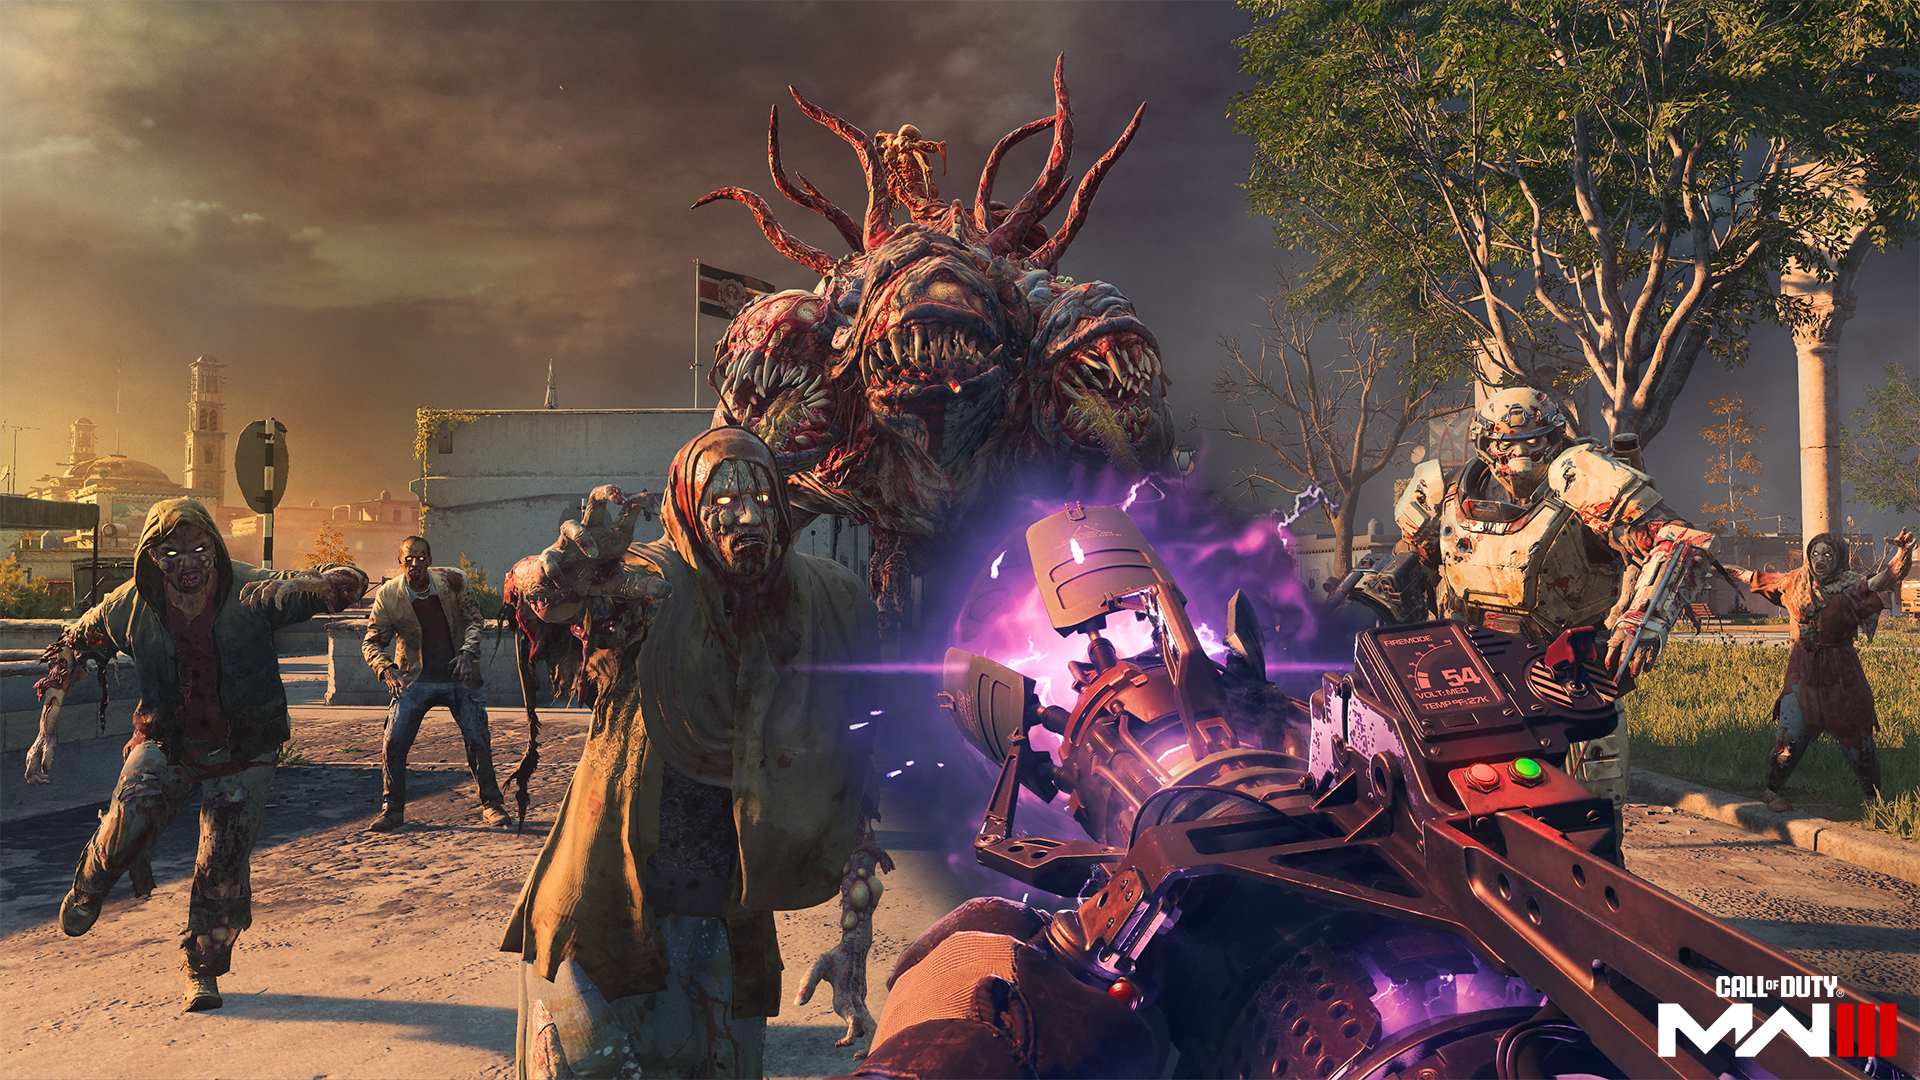
If you’re confident in your skills after the first couple of runs, then attempt to complete some of the Tier 1 and 2 missions. Just remember to Pack-a-Punch and upgrade your weapons before you move too far into the center of the map.
It may also be a good idea to befriend some of the people you may have grouped up with in previous runs. Teaming up with other players will always increase your survival rate. You cannot go into a run of Operation Deadbolt with more than three people at a time, but having enough people to keep your squad maxed at three is always a good idea. If your squad happens to be on the same missions, that is also helpful. Not everyone will be at the same level of progression as you, but helping each other complete missions can at least keep everyone progressing and gaining rewards.
Explore Modern Warfare Zombies
Now that you’re familiar with what Modern Warfare Zombies is and how you can start progressing through the story of what is happening with Zakhaev in Urzikstan, you have the tools you need to explore everything MWZ has to offer. There are tons of activities to participate in and even more to experience throughout the seasons.
Build your armory and make sure you have a weapon for every situation you might encounter. Assault Rifles and Shotguns are great combinations to make sure you’re equipped for most of what the game will throw at you, but there is a situation for every weapon.
Pay attention to the challenges and do your best to complete them, because MWZ is a great way to gain XP, and completing the daily and weekly challenges only further proves this fact. Completing challenges may also reward you with things that may help you in future runs.
Stay on the lookout for Bundles in the Store tagged with MWZ because they may contain items or unlocks that are guaranteed to help you in future runs of Modern Warfare Zombies. Whether it’s a permanent Ammo Mod unlock or another useful boon, these little bonuses can really make a difference and help you maximize your time during a Deployment, allowing you to spend more time completing Missions and Contracts rather than searching for the basic essentials.

© 2024 Activision Publishing, Inc. ACTIVISION, CALL OF DUTY, and MODERN WARFARE are trademarks of Activision Publishing, Inc. All other trademarks and trade names are the property of their respective owners.
For more information, please visit www.callofduty.com and www.youtube.com/callofduty, and follow @Activision and @CallofDuty on X, Instagram, and Facebook. For Call of Duty Updates, follow @CODUpdates on X.
