Le Contrat de Licence et de Service Logiciel va être mis à jour. Veuillez suivre sur ce lien [https://www.activision.com/ca/fr/legal/ap-eula] pour voir ces modifications.
How to effectively deal damage is one of the first lessons to learn in Warzone and is the main mechanic of the mode itself, yet it is a common place of improvement across all skill levels.
Whether you are new to Call of Duty® or a veteran looking to level up their game, this is your guide to dealing damage in Warzone:
Firing a weapon is achieved by simply tapping the fire button, which varies per console, but you can find and change your fire button in the Options menu. Depending on the weapon, pressing fire can provide a single shot, a burst, or continuous fire for fully automatic weapons.
The fire-rate of your weapon is displayed in Gunsmith and in most cases, the bottom of your HUD next to your ammo count. Many weapons can toggle between two select fire modes, which is usually a fully automatic and a semi-automatic setting.
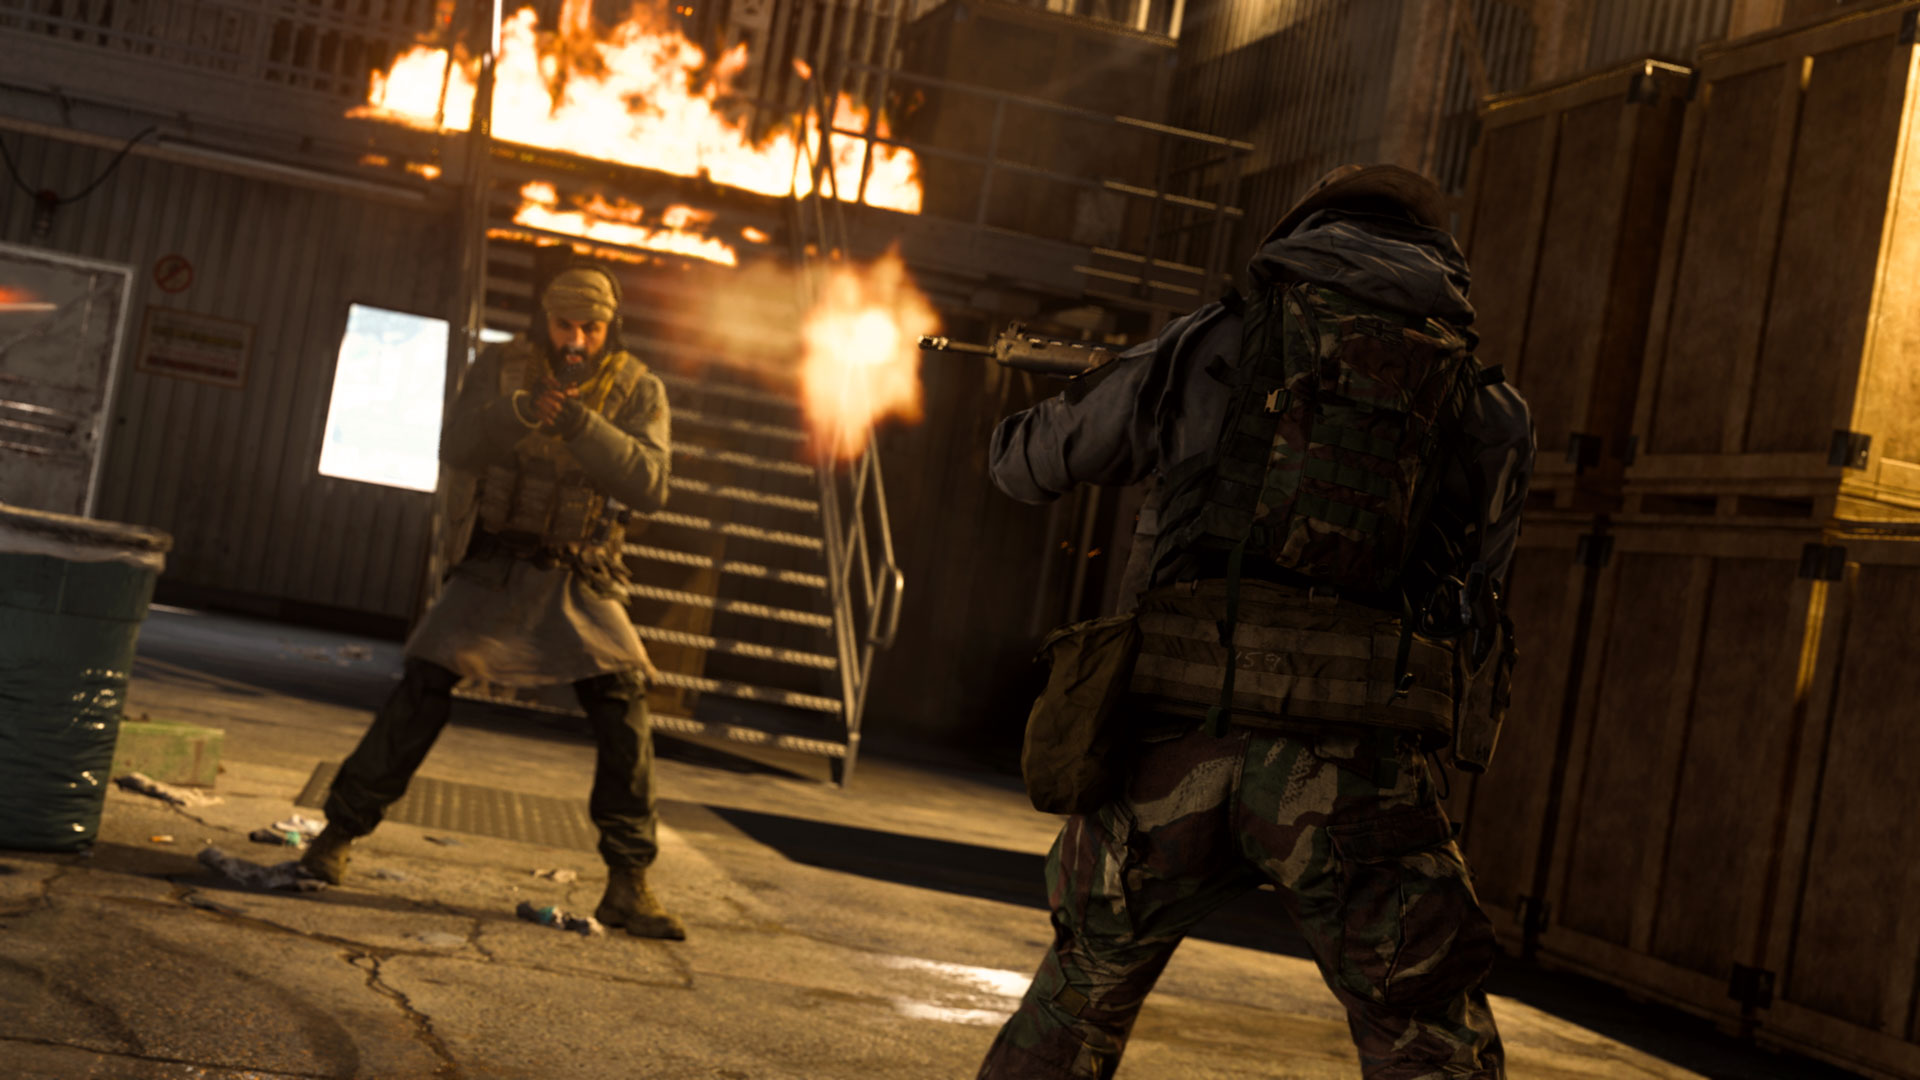
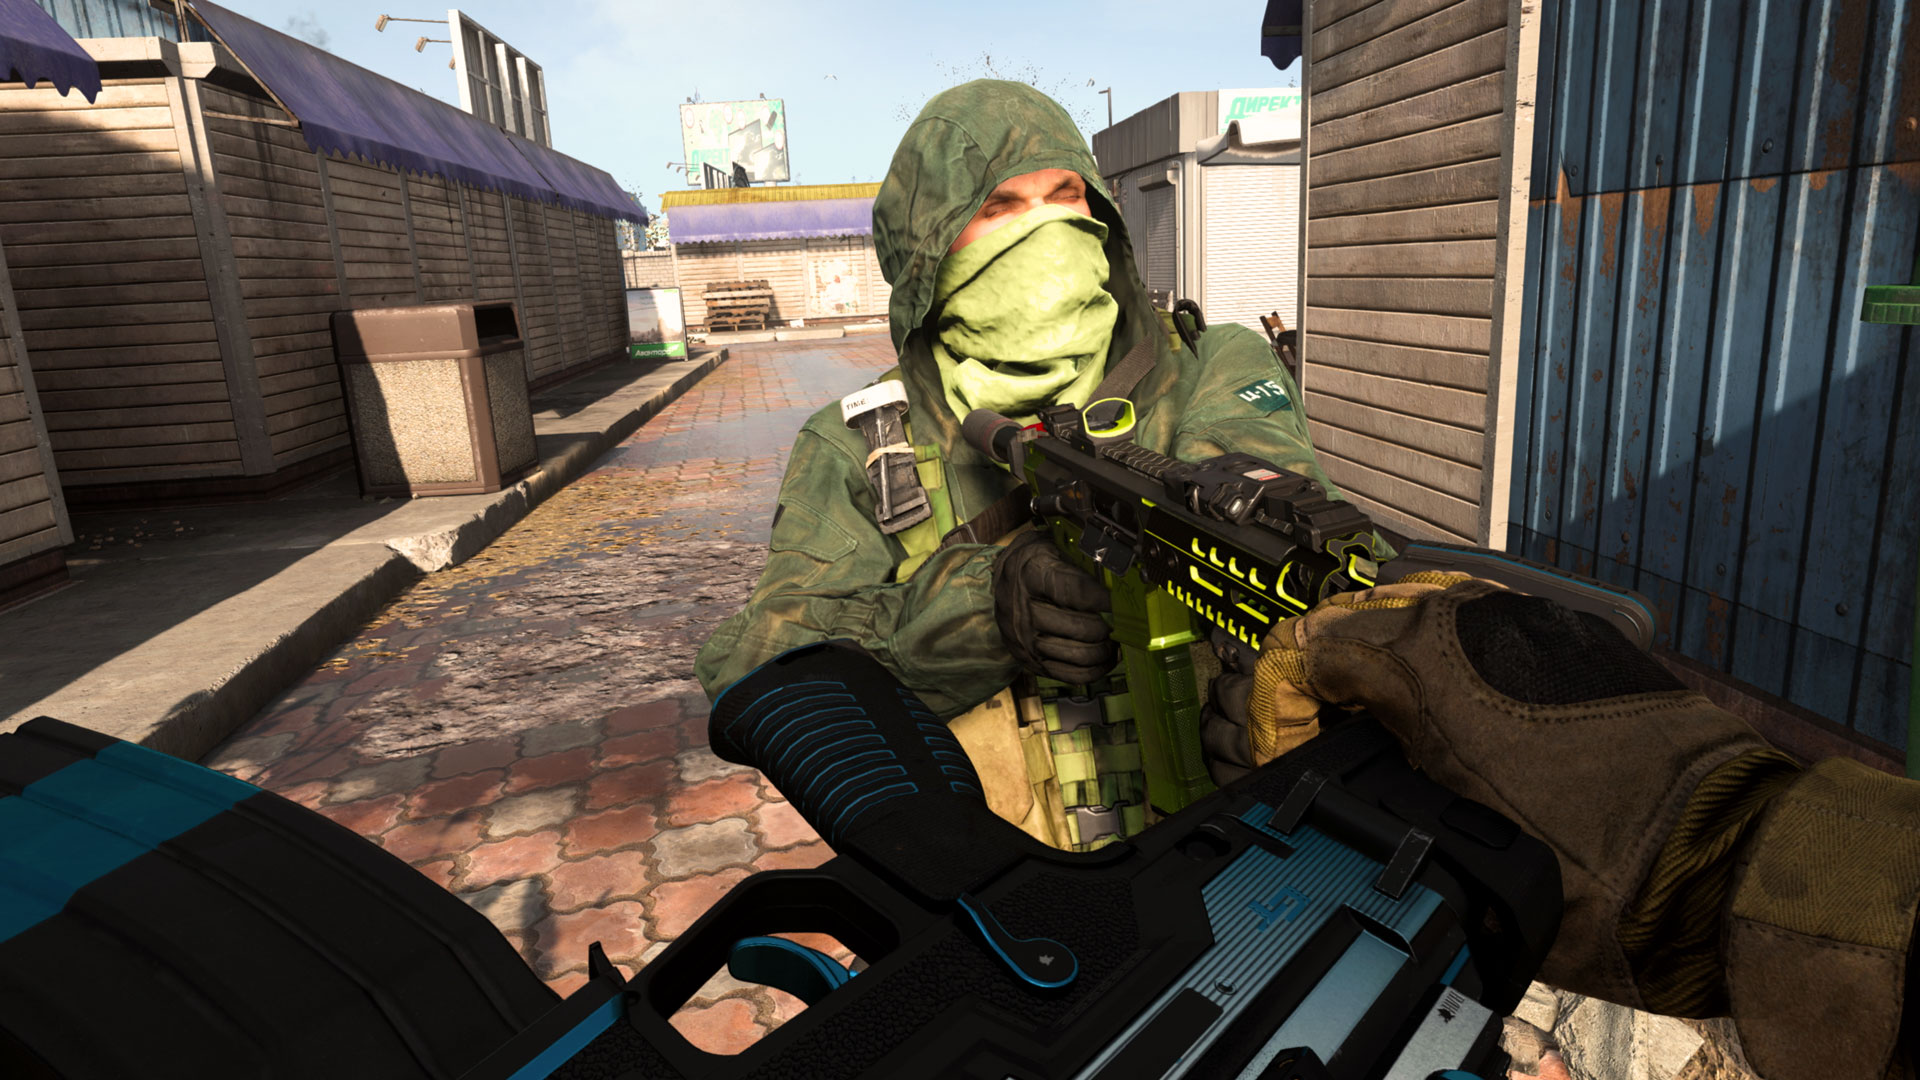
Now, if you just hold down the trigger, this will most likely happen:
0:00 / 0:00
An example of hip-firing (above).
This is called hip-firing. It’s the fastest way to fire a weapon but lacks accuracy. If you need to get off a quick shot or turn a corner into an enemy that’s out of melee range, hip-firing a weapon, particularly one that excels at close range, is an ideal strategy to consider.
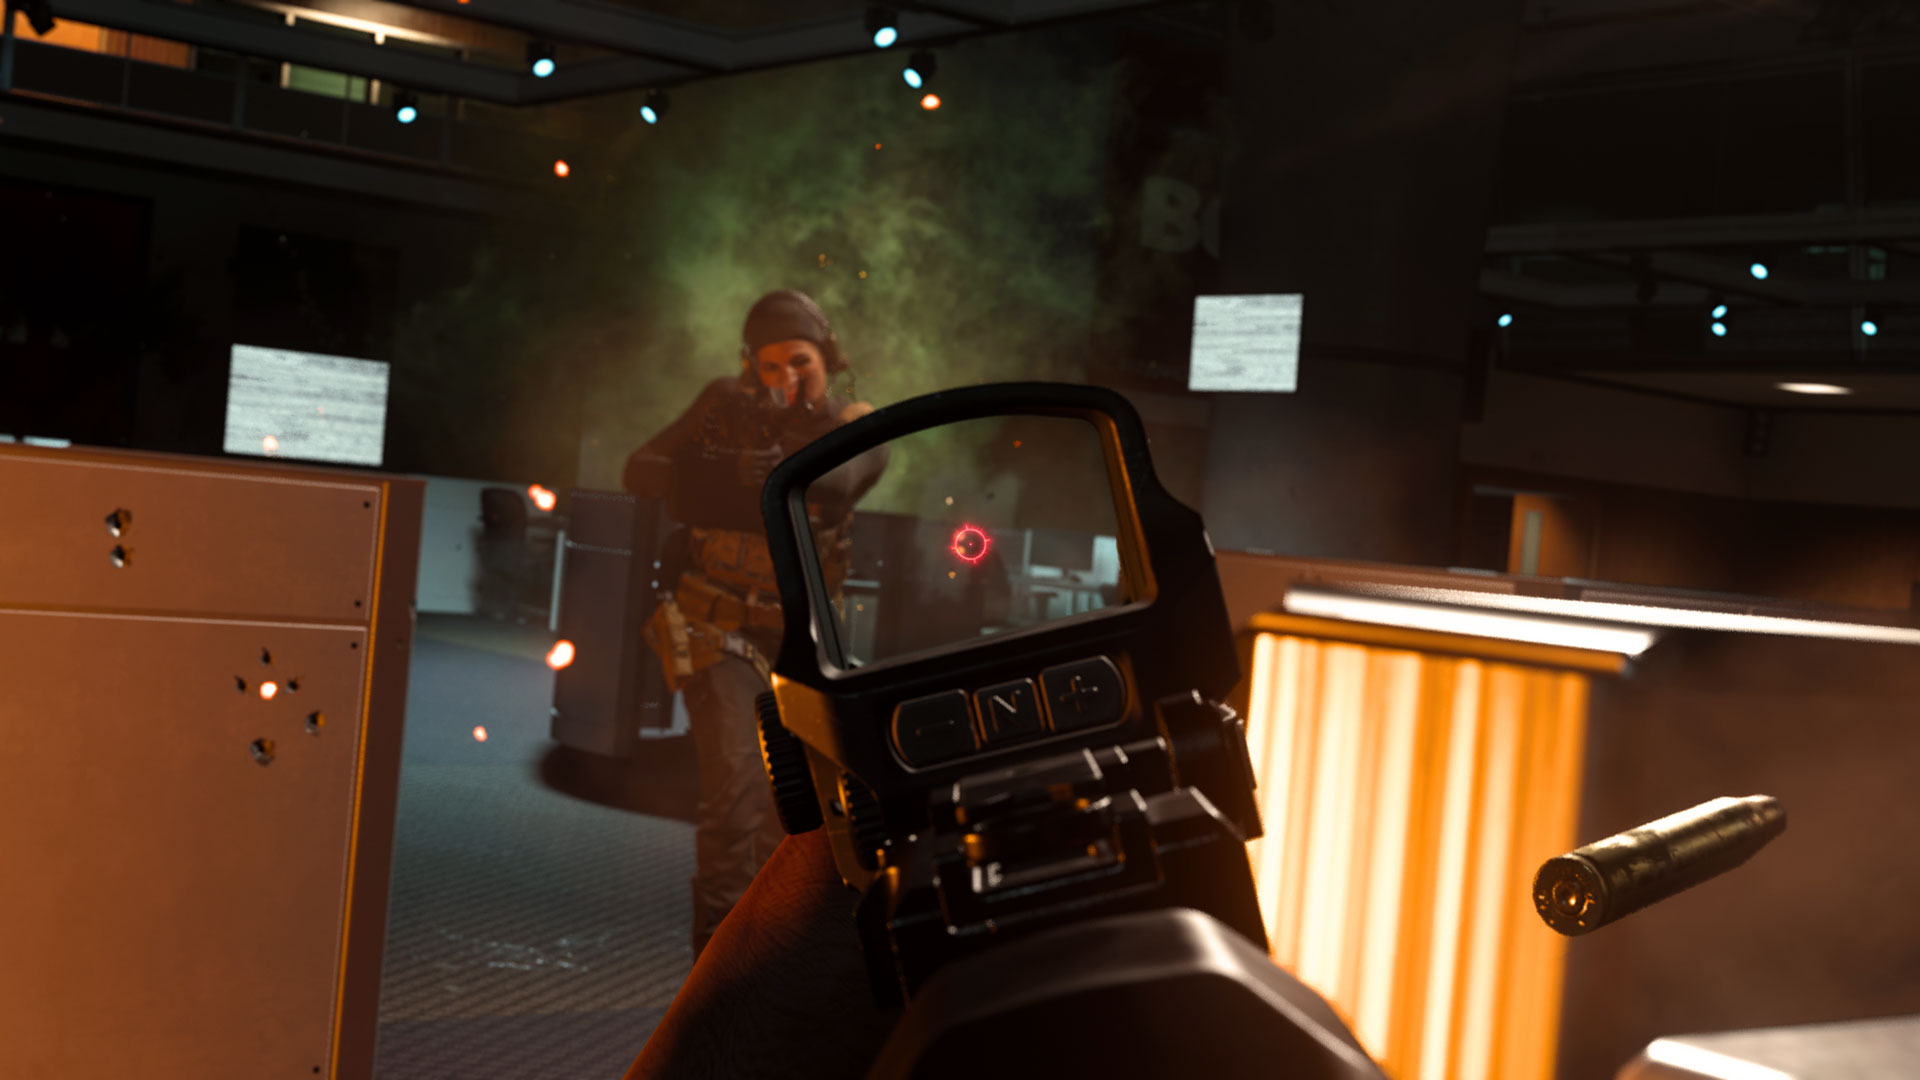
The Firing Range: Aiming Down Sights
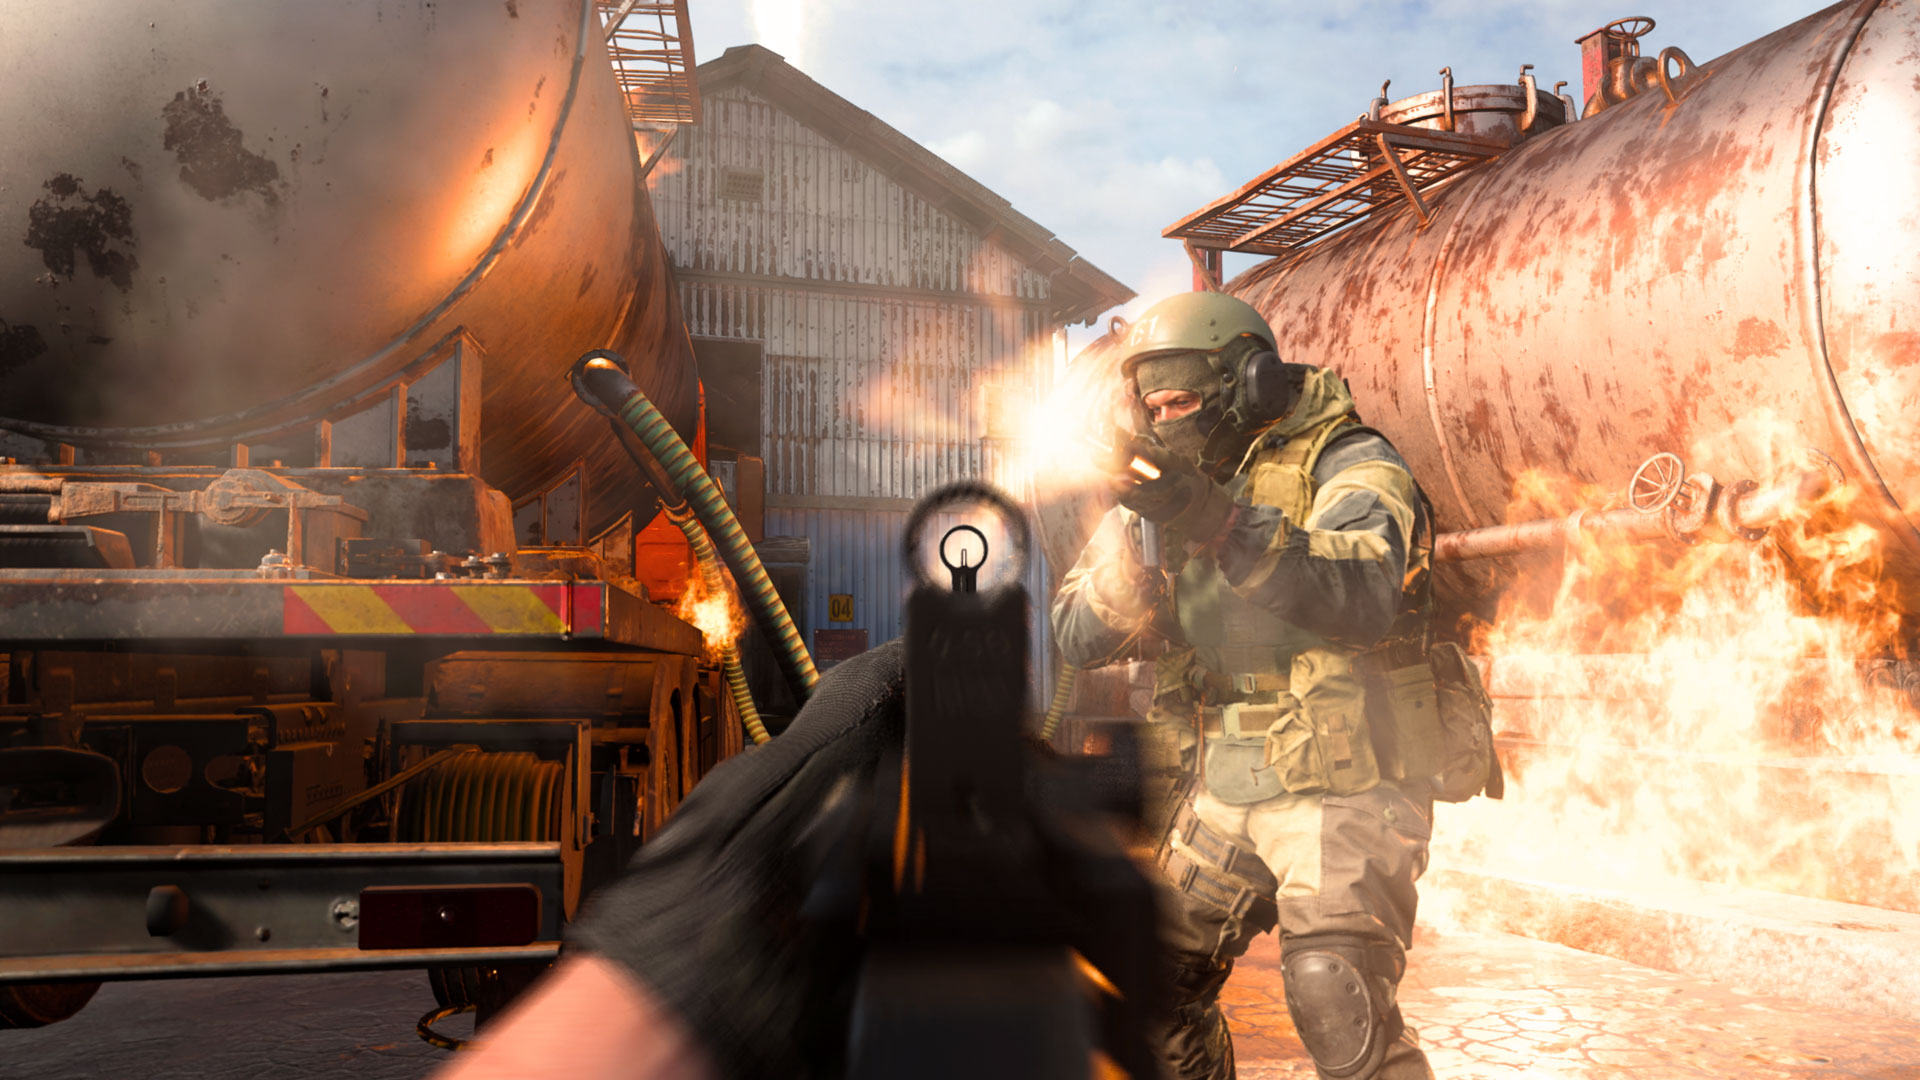
Pressing the ADS button, typically left trigger, will cause your Operator to aim down a weapon’s sights. This is what it will look like:
0:00 / 0:00
An example of aiming down sights firing (ADS) (above).
In almost all cases, firing while ADS is more accurate than firing from the hip. Aiming down sights is nearly essential for dealing damage at a distance, especially when the enemy is several hundred feet across the map.
The one big caveat to ADS is that it significantly slows movement. While you are aiming, your Operator will physically slow their speed, and by default, slow down the speed in which you can identify and lock-on targets. This is done to help you make tighter movements for precise fire.
Furthermore, ADS, means you are looking through the weapon’s native sights, which may or may not be obstructive depending on personal preference. This could be remedied by either learning how to work with the weapon’s built-in sight, or by putting an optical attachment on your weapon.
Adjusting Aim
Whether you decide to hip-fire or aim down sights, your Operator will not be able to hold the weapon steady after it is fired, especially if the weapon is fully automatic.
According to Newton’s Third Law, every action has an equal and opposite reaction. In the case of a weapon, that equal and opposite reaction is called recoil. This translates to a weapon “kick” that typically trends upwards.
Recoil is a major part of using weapons in Warzone and it varies by weapon. Some may kick straight up dramatically, while others will drift over, up, and to the right.
In short, recoil is why the previous two videos show our Operator’s weapon drifting upwards and to the right. In order to have accurate and sustained fire, one must account for the recoil pattern and manually adjust aim accordingly.
The easiest way to show this is when firing while aiming down sights: look below and see what manually adjusting aim to account for recoil can do for bullet spread.
0:00 / 0:00
An example of ADS firing with directional aiming (above).
Manually adjusting aim can also be done while hip-firing (below).
0:00 / 0:00
An example of hip-firing with directional aiming (above).
Now, look back at the bullet spread for each of the four methods. Far and away, adjusting aim for recoil provides a tighter spread – which means more accurate fire – to the point where the aim adjusted hip-fire looks tighter than aiming down sights without adjusting!
Every weapon in the game has a different recoil pattern, which can be learned over time. Predicting the weapon recoil pattern could be a game-changer for even the most experienced player, and all it takes is paying a little bit of attention to how your weapon operates.
Advanced Tactics: Hip-Fire to ADS and Pre-Aiming
So, hip-firing gets a faster first shot off than waiting to aim down sights, while aiming down sights most often provides more accurate fire. But, what can you do in a situation to have a fast first shot AND accurate fire?
This brings up a technique that many Call of Duty players try to master: the hip-fire to ADS mechanic.
Hip-Fire to ADS (above)
At the beginning of a close engagement, try simultaneously pressing the fire and aim buttons to potentially get a quicker and more accurate first shot off. Hip-firing to ADS also allows you to “snap” to a target down range, as your look speed while hip-firing is faster than it is while aiming (unless you adjust this option in your settings).
Alternatively, consider this scenario: you are about to walk outside a tight room to a large open field, and have a good idea that the enemy would be too far away to hit with a hip-fired weapon.
This is where “pre-aiming” comes into play; if you know that you will need more accurate fire down range, it doesn’t hurt to aim down sights before rounding a corner or entering a new area.
Around the Arsenal
Not all weapons are created equal. Certain weapon types are better suited for ADS or best when hip-fired, and their effective ranges – the distance at which they might be most valuable in combat due to their damage profiles – all differ.
We dive deeper into these various firearms in the more comprehensive Weapons chapter, but for now, here’s a quick overview of each weapon type that only covers effective ranges and recommended firing rates:
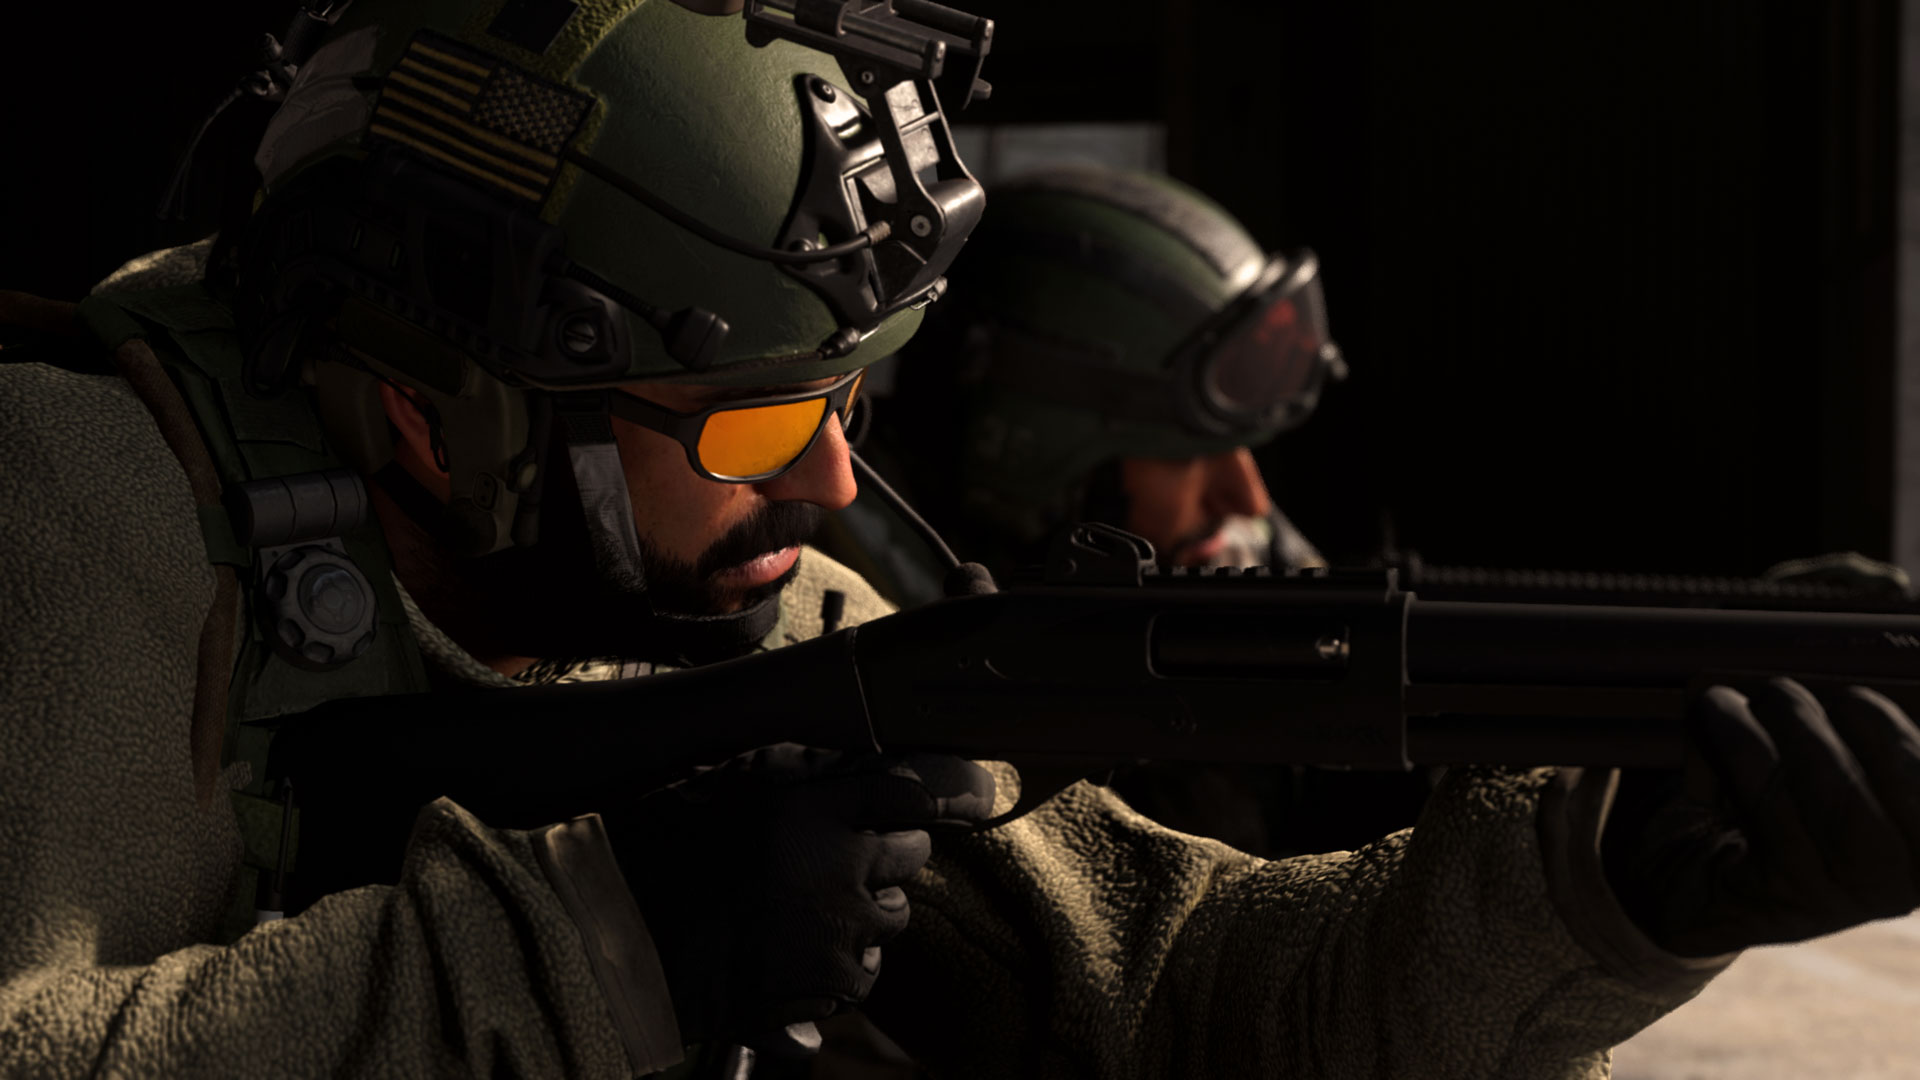
· Shotguns – Extreme close range, hip-fire or aiming down sights.
· Pistols – Close range, aiming down sights or hip-firing.
· Submachine Guns – Short range, aiming down sights or hip-firing.
· Assault Rifles – Medium range, aiming down sights.
· Light Machine Guns – Medium-long range, aiming down sights.
· Marksman Rifles – Long range, aiming down sights.
· Sniper Rifles – Extreme long range, aiming down sights.
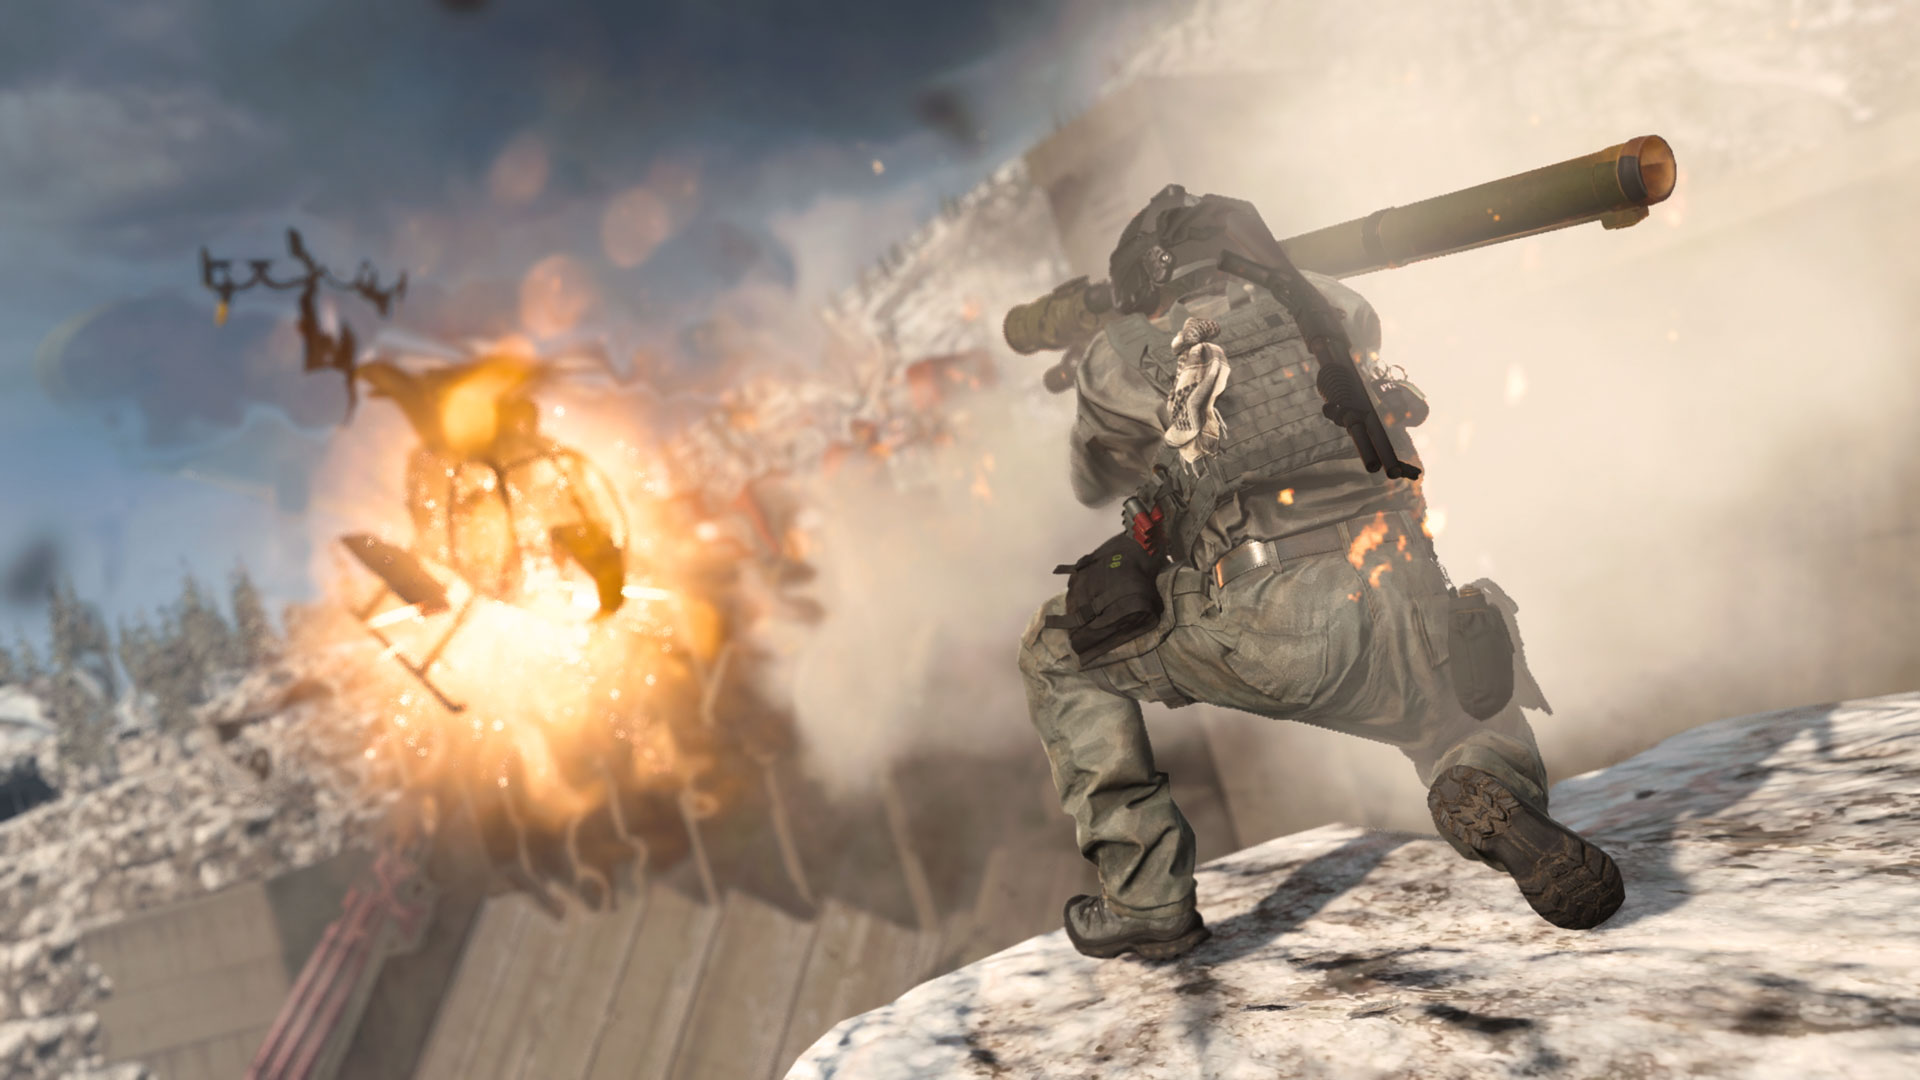
· Launchers – Any range against technology or large groups, aiming down sights.
Advanced Tactics: Weapon Mounting (above)
Another way to significantly reduce recoil and idle sway is by mounting a weapon. To mount a weapon, simply aim down its sights near a ledge or wall and press the corresponding button prompt when it appears. Dismounting is as simple as another button press.
Even when using massive light machine guns with high caliber bullets, mounting can be key to getting a precise shot on your target and sustaining accurate fire.
Mounting does come with its downsides, however. While mounting, your aiming angle is limited to a maximum of 180 degrees until you dismount. Furthermore, your head will be visible while mounting, making it stick out and susceptible to enemy fire.
Fortunately, since you are mounting up on a wall or ledge, you’ll still have sizable cover. However, bear in mind that mounting up on a position for too long could give you some notoriety.
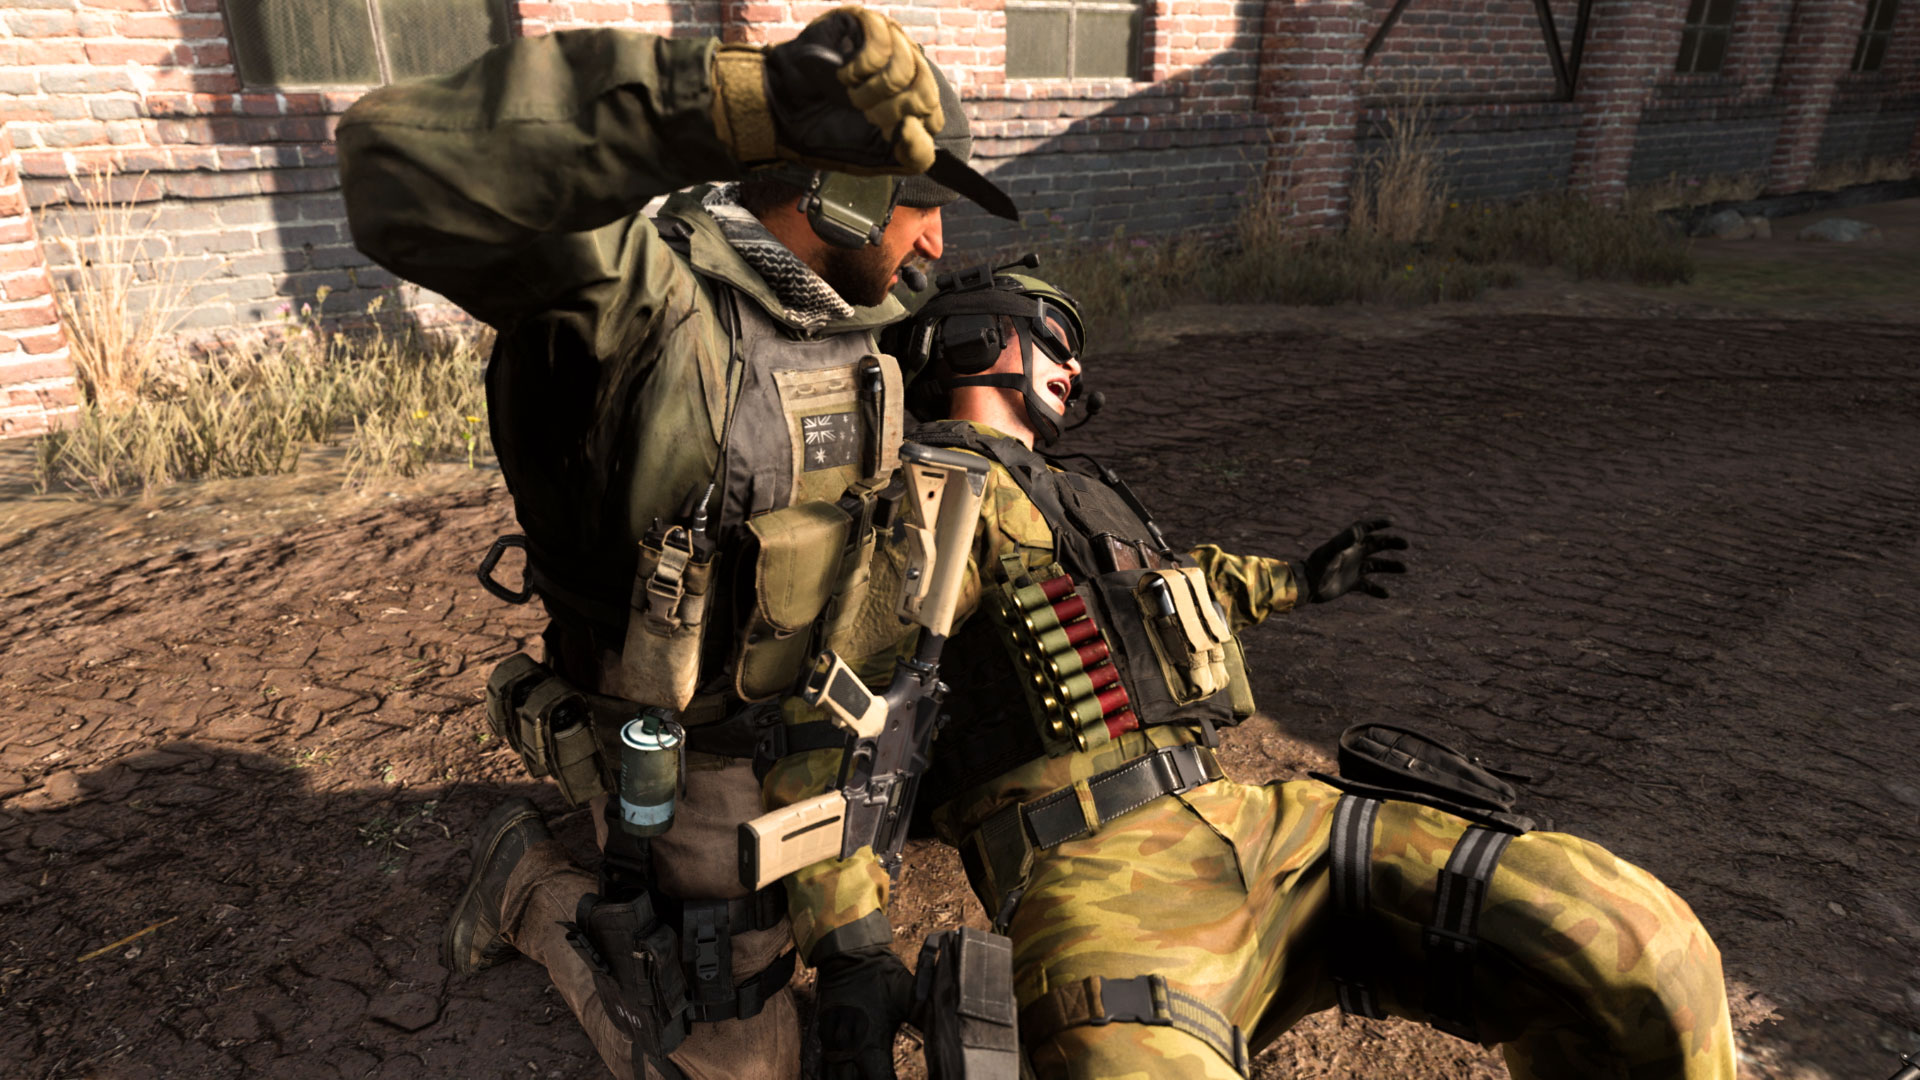
When in Doubt… Melee Out
While we can make a case for every weapon in the game, what if you are uncomfortably close to an enemy? Like, so close that you could smell the meal they had for breakfast? Or what if you suddenly find yourself right behind an enemy after going around a corner?
That’s where the melee button comes into play; press the melee button to bash the enemy with your weapon. If the enemy is within range of your Operator, a melee attack will deal significant damage to them and temporarily shock them.
Normally, melee attacks in Warzone aren’t one-hit knockouts; you may have to bash the enemy a second time to bring them down. However, there are certain weapons, such as a Combat Knife, and weapon attachments, such as a Breacher Device, that allow for one-hit melee kills.
A melee attack is the fastest way to deal damage at extreme-close ranges, becoming an essential part of an Operator’s toolkit in combat. It’s also the most silent way of dealing damage; hitting an enemy with a melee attack will not appear on the enemy’s mini map, making it a viable choice for when stealth is needed.
Furthermore, if you can get behind them and hold the melee button down, you can pull off a Finishing Move, a powerful move that will decimate your foe. You can read more about Finishing Moves here.