Le Contrat de Licence et de Service Logiciel va être mis à jour. Veuillez suivre sur ce lien [https://www.activision.com/ca/fr/legal/ap-eula] pour voir ces modifications.
Read this First: Need to quickly learn all the basics of Warzone before immediately jumping into your first game? Then this is the chapter to read!
Whether you are a grizzled vet of the franchise or jumping into Call of Duty® for the first time through Warzone, the experience comes complete with a Tutorial section that teaches you the fundamentals before you’re shipped off into Verdansk; the conflict zone you’ll be battling through.
Bullet Points:
Welcome to the Armistice Training Facility
Warzone: How to Play
Warzone initially arrives with two distinct modes of play: Battle Royale and Plunder. Need to get to grips with both modes instantly? Here’s the very basics of how each mode plays out:
Battle Royale: How to Play
Loot: Drop in with your squad and gear up for combat. Gather weapons, ammo and armor.
Upgrade: Complete Contracts, visit Buy Stations, and access your custom loadouts when Loadout Drops appear.
Survive: Be the last squad alive to win. Eliminate opponents and escape the gas.
Plunder: How to Play
Find Cash: Loot, complete Contracts, and of course, steal it from rival players!
Protect Your Cash: Deposit your cash at helipads and with portable deposit balloons. Deposited cash is safe and cannot be stolen!
$1 Million Wins: First team to $1 million wins. Players carrying the most money are shown on the map.
Warzone Training – The Recommended Tutorials
When you select Warzone for the first time in the main menu, you will be greeted with a short introduction to the mode. This is the required tutorial that everyone must play before dropping into Warzone.
Get ready to learn the basics of both Warzone and general Call of Duty: Modern Warfare mechanics. Here’s what you can expect in the three Warzone Tutorials:
Warzone Orientation: Play the Warzone Orientation mission “Mission: Warzone Training” to learn all the new mechanics introduced into Warzone.
Battle Royale Practice: Play “Mission: Battle Royale Practice” to gain confidence and competence in a simulated match in a map with enemy bots.
Plunder Orientation: Watch the Plunder Orientation video to ascertain all the additional mechanics introduced in Plunder mode.
You can replay these tutorials at any time by visiting the Play section of the main Warzone menu
Welcome to the Armistice Training Facility
Mission: Warzone Training
Combat Basics
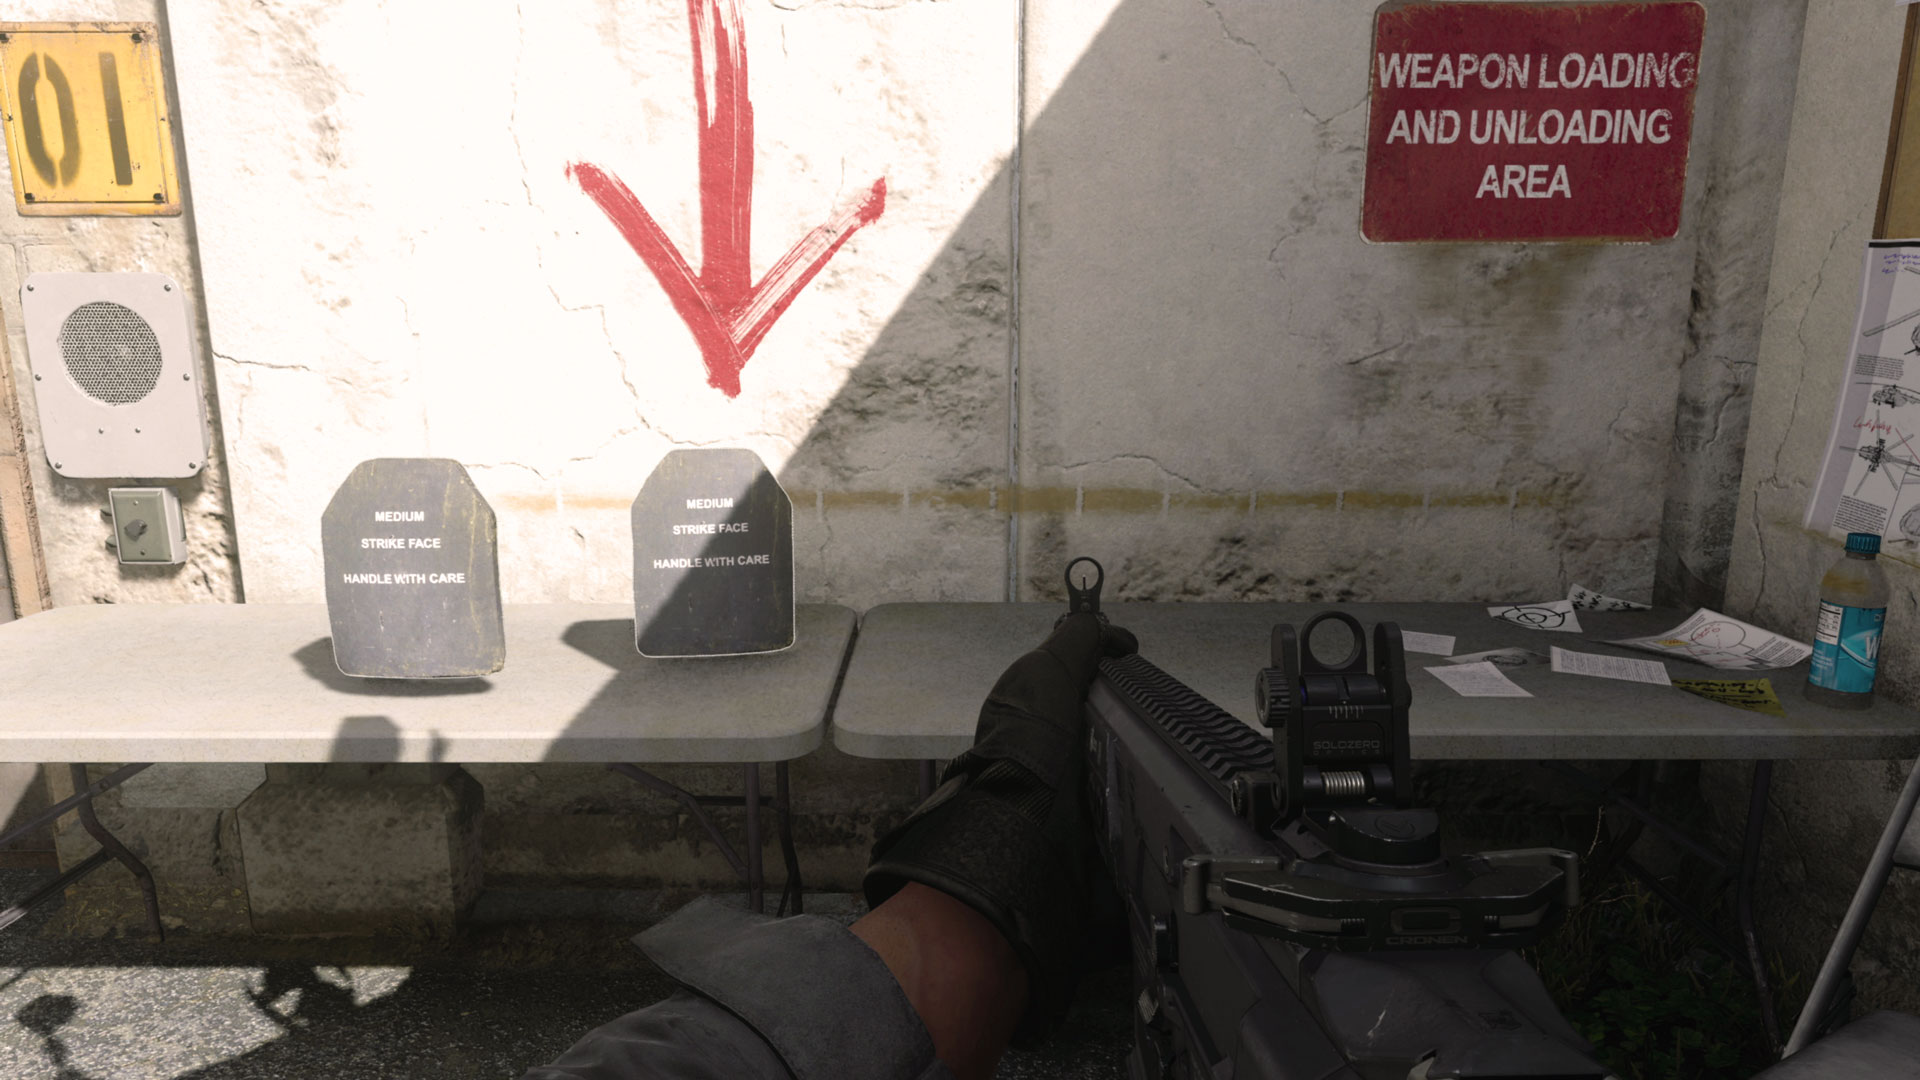
1. Armor Plates: As soon as you load into the Armistice Training Facility, you are formally greeted into Warzone and told to pick up an Armor Plate. Two of them are sitting in front of you. Once you grab one, you are then instructed to equip it by using the designated command on your screen. Although this part of the tutorial is complete after only equipping one Armor Plate, you could equip the second one as well.
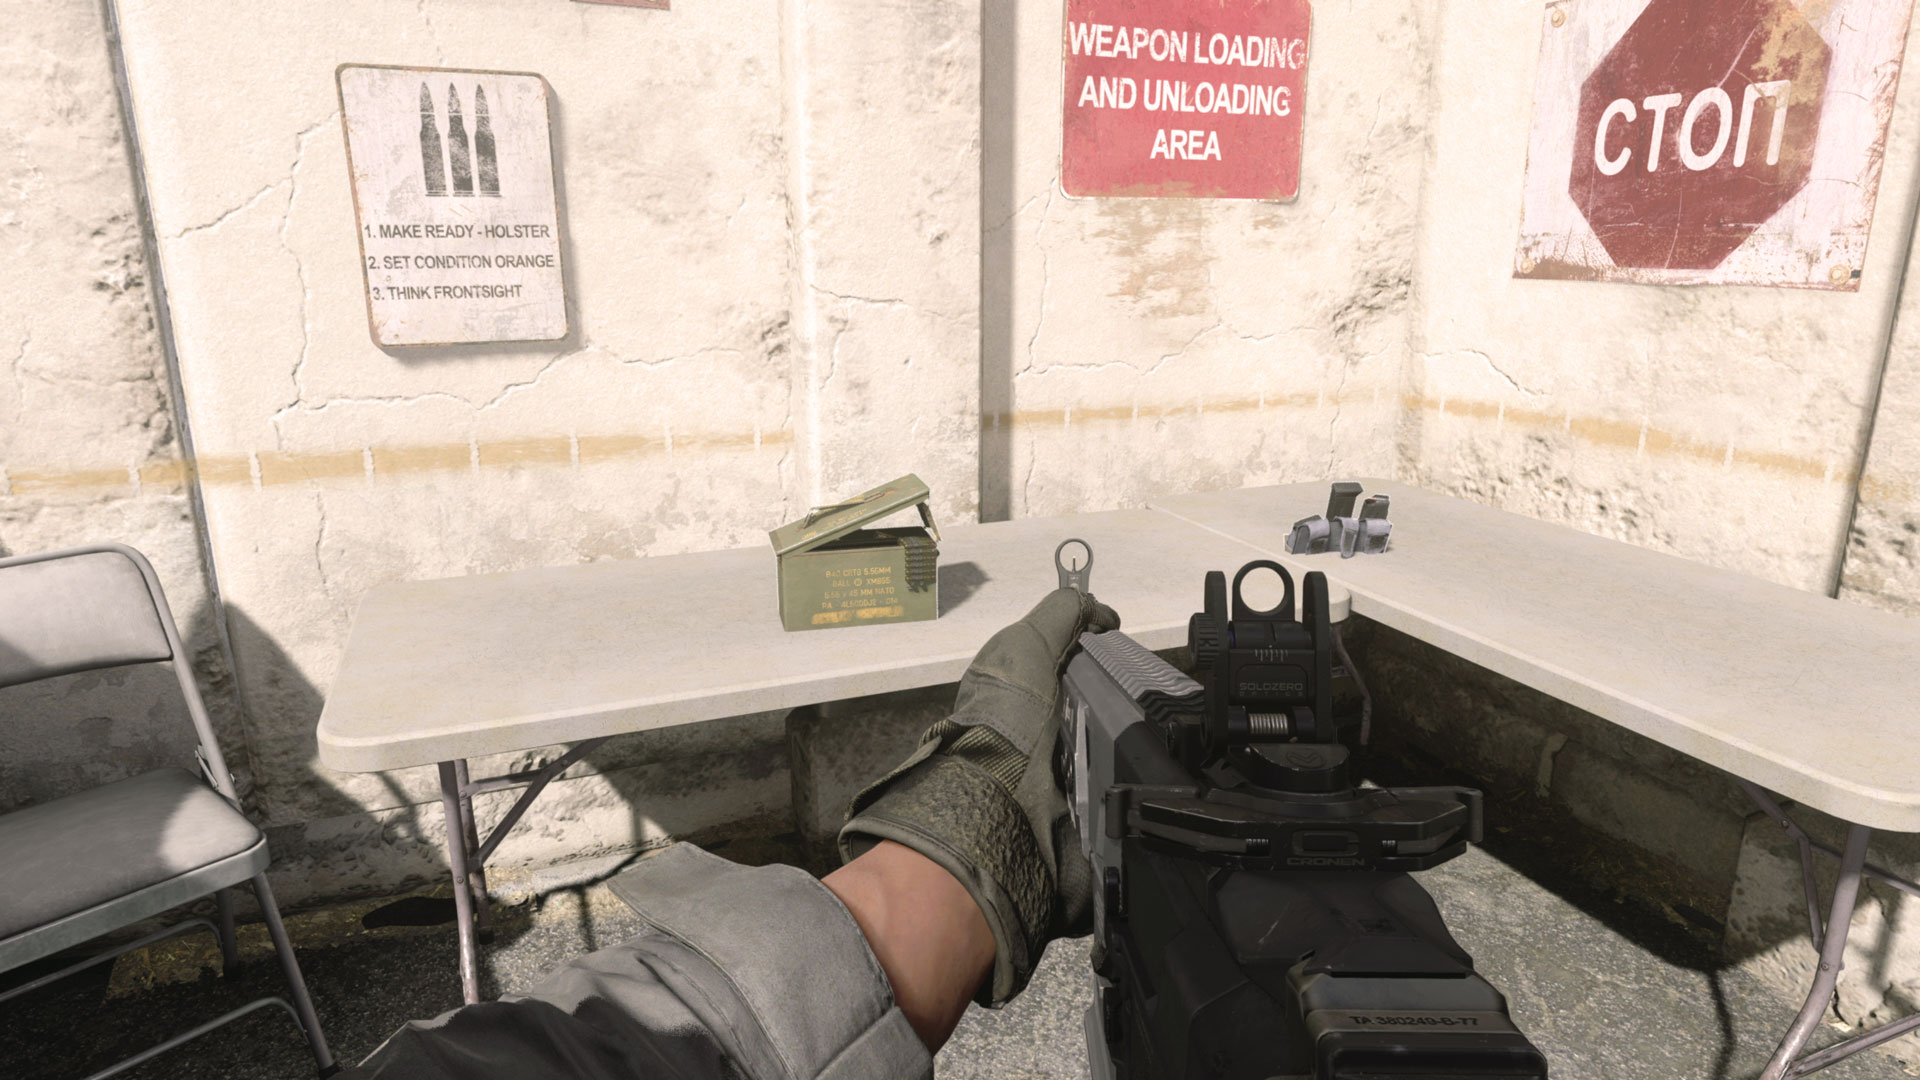
2. Ammunition: After equipping the Armor Plate, you are then told to grab some ammo. This could be found on the table to the left of the Armor Plate table. You can either pick up this ammo the same way you picked up an Armor Plate, or simply walk over them.
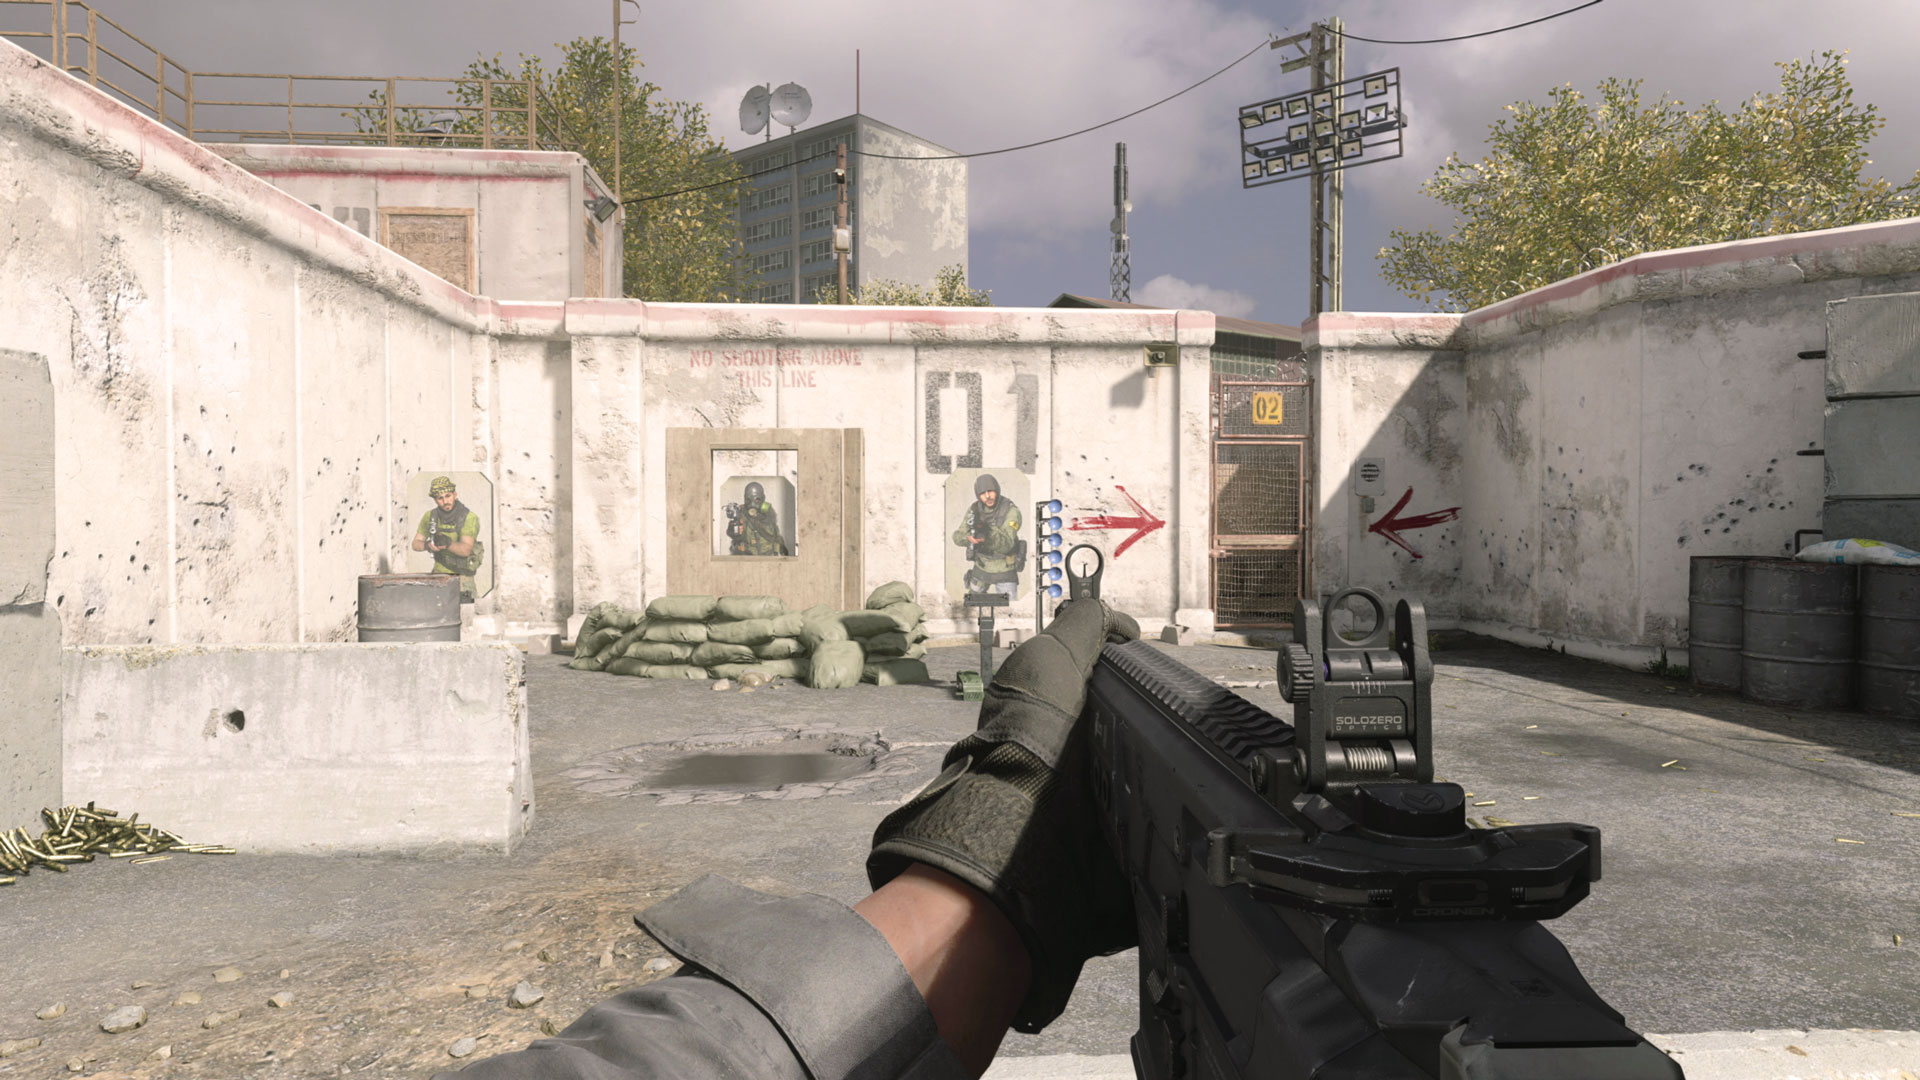
3. Firing Your Weapon: Once you have Armor and ammo, you are instructed to enter the next room. Here, you’ll learn the basics of firing a weapon. Go ahead and fire at the detailed metal enemy targets with your pistol. Don’t worry about running out of ammo; it’s impossible to fail this tutorial.
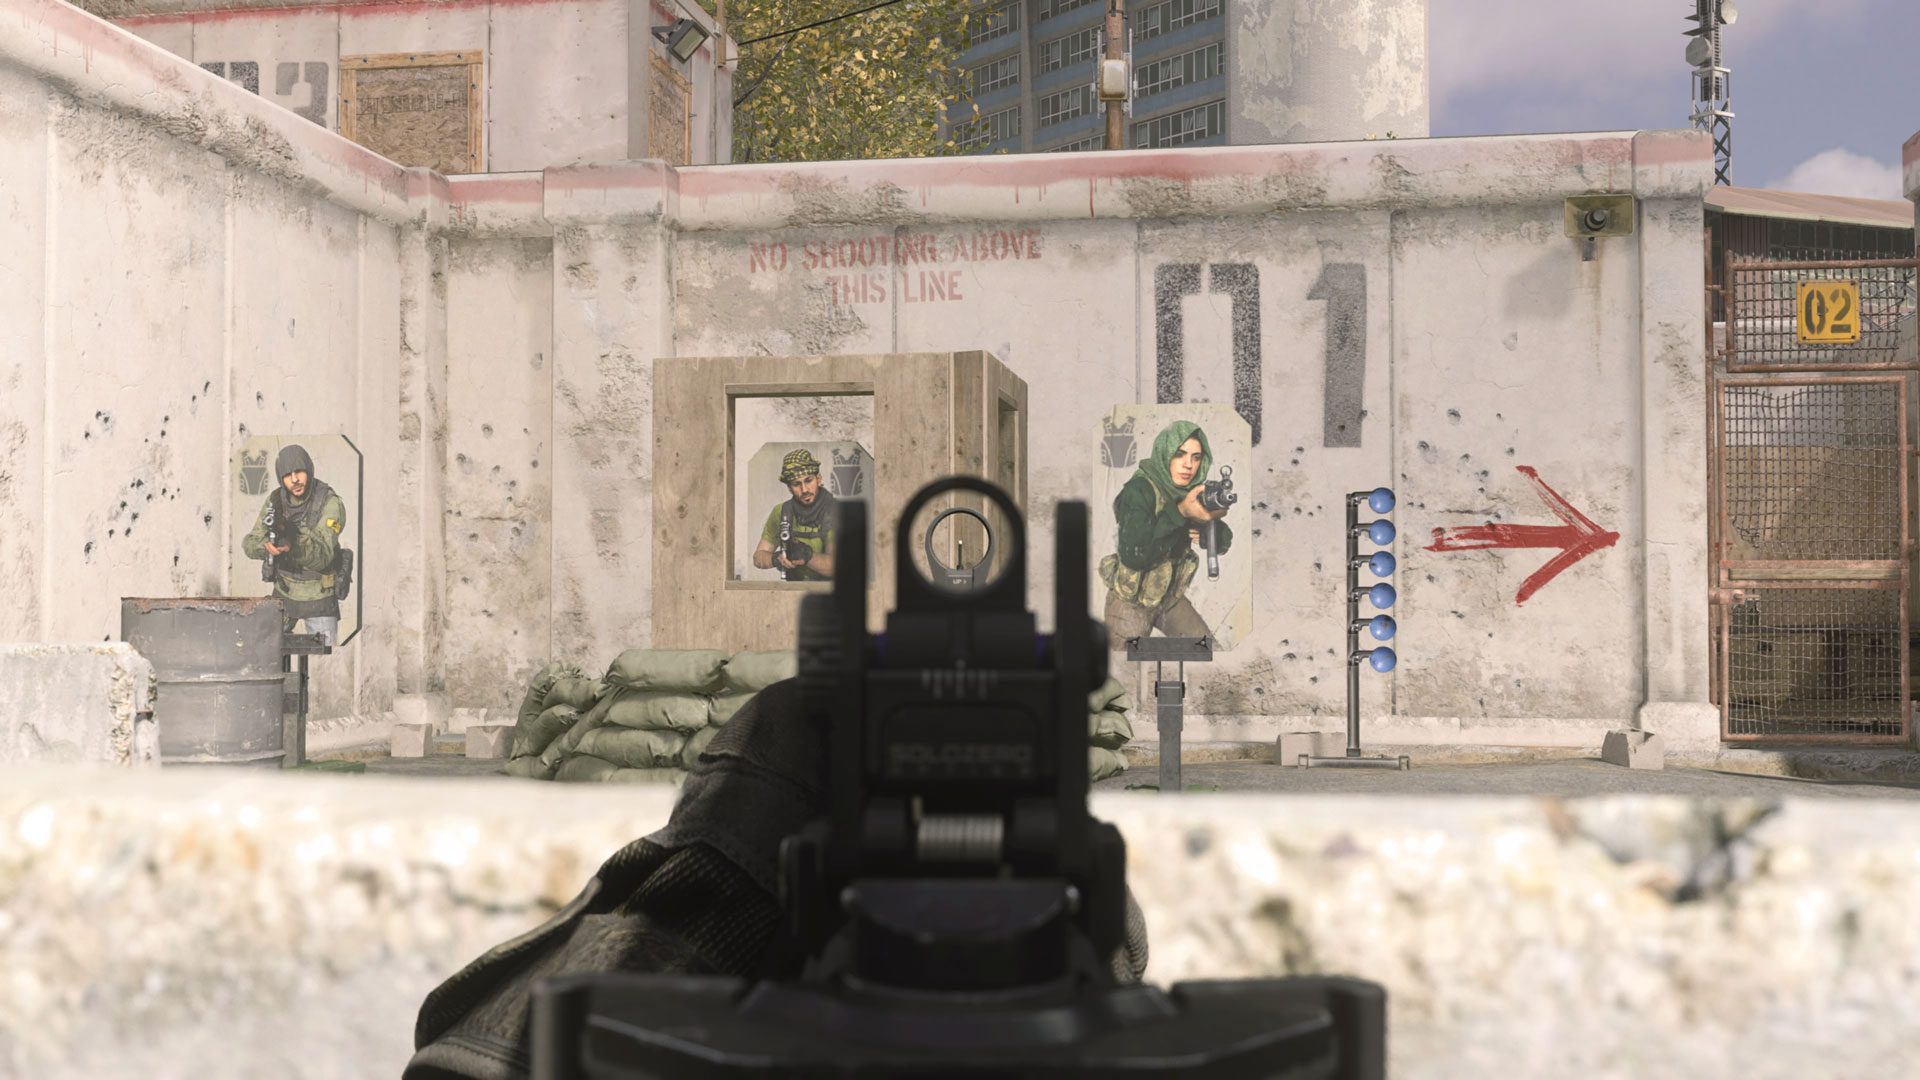
4. Mounting: After knocking down all three targets with your pistol, you’ll then be instructed to switch to your assault rifle. Swap to this weapon, and you’ll be asked to mount it on a piece of cover. Mounting, as the tutorial explains, is great for reducing recoil and engaging targets at medium to long range.
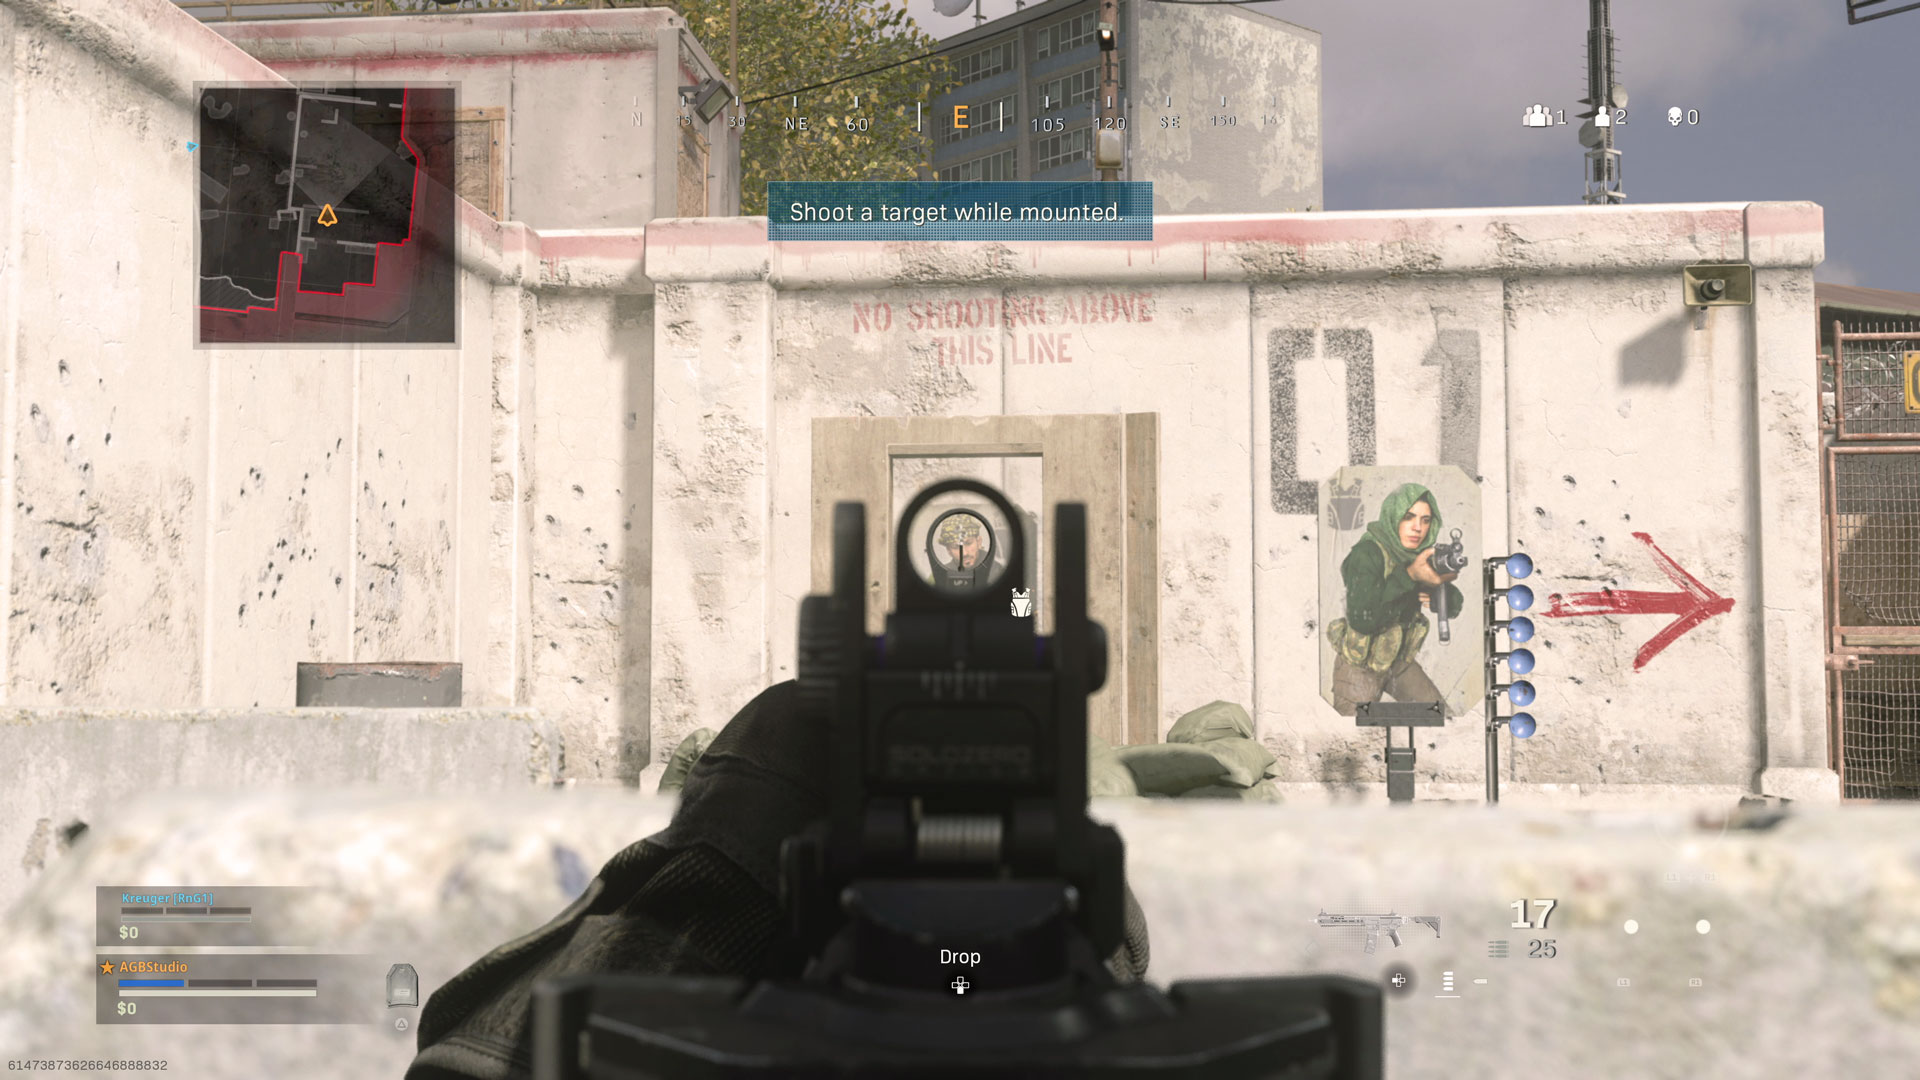
5. Armored Targets: Once you mount this rifle, try hitting the targets again. You’ll notice that some have an armor icon on them; this is where the tutorial introduces the advantages of armor, which offers temporary defense against gunfire. Keep firing until you hear a crack sound – this is how you’ll know the armor is broken, along with a helpful icon of an armor body being pierced – and down that last target.
Tac Map, Loot, and Contracts
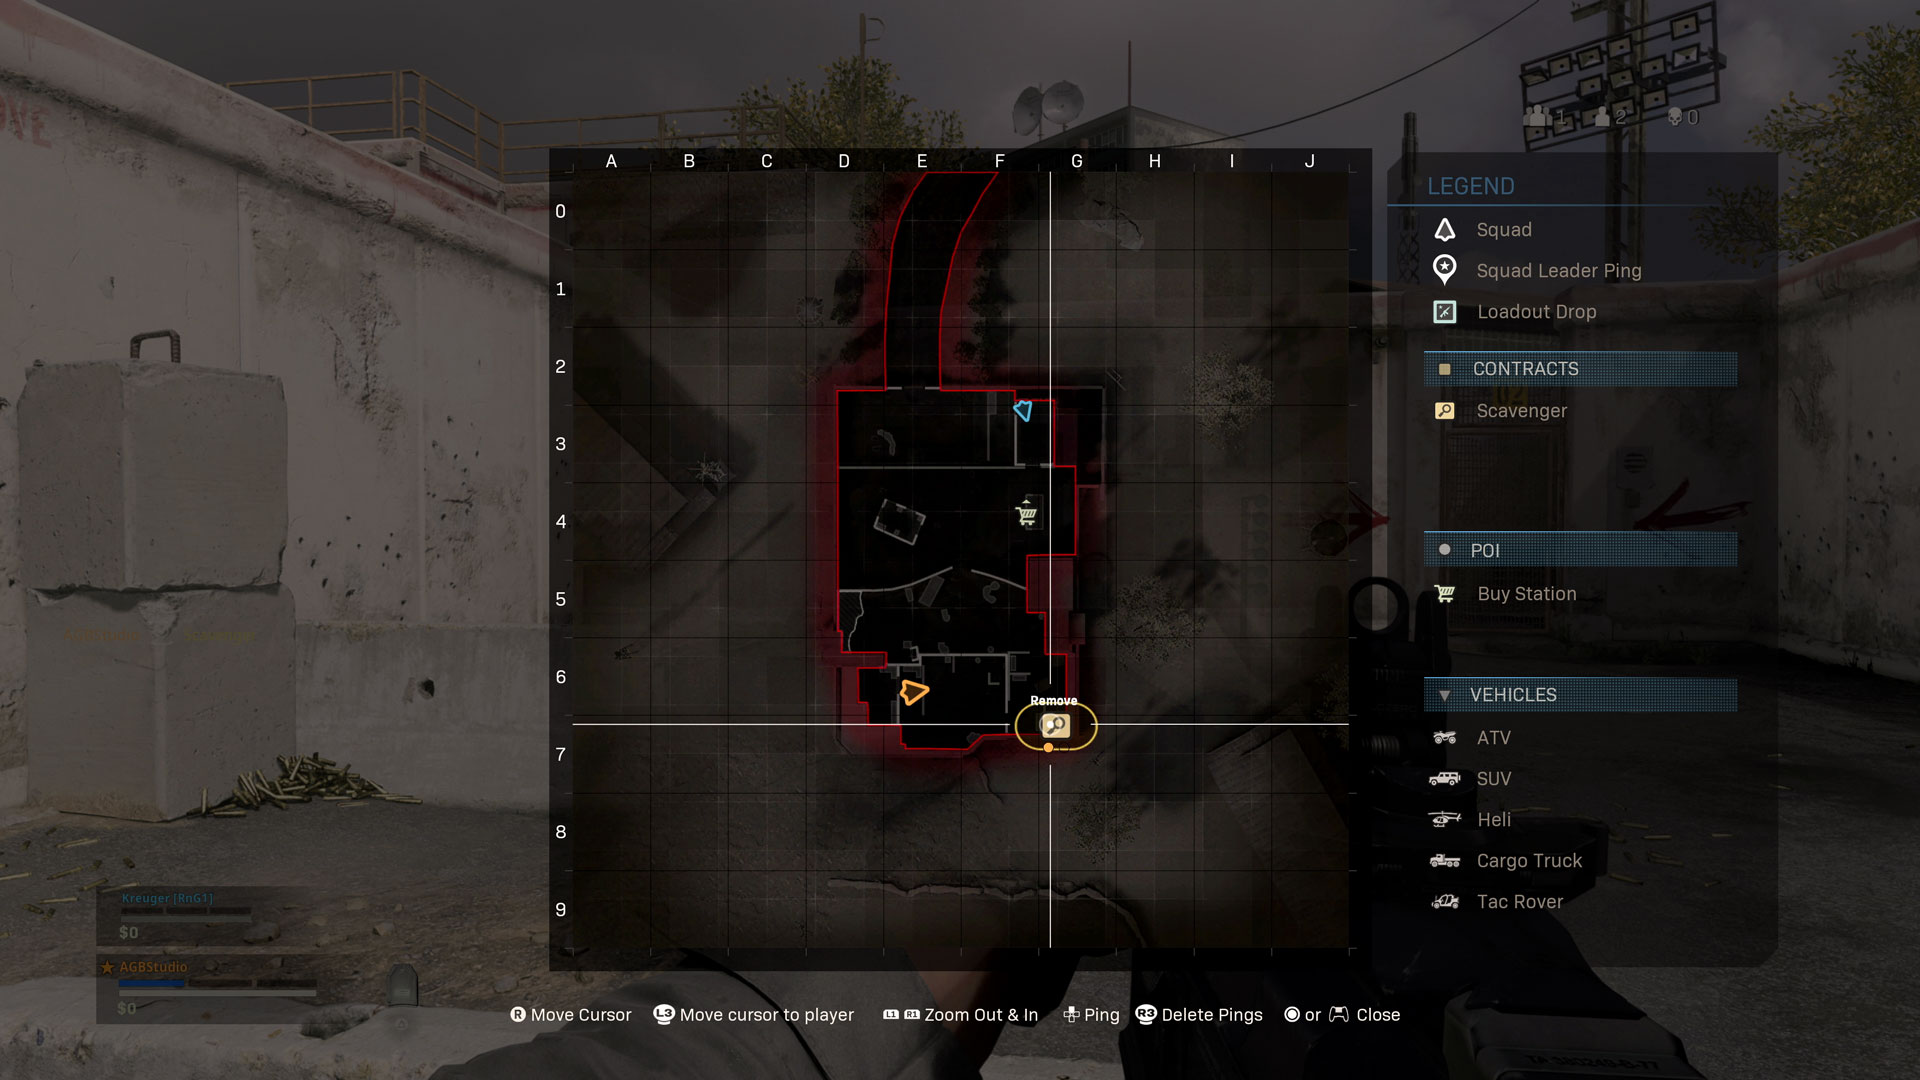
6. Tac Map: Next, you will be instructed to open your Tac Map. This is invaluable in the warzone, as it shows a multitude of useful data.
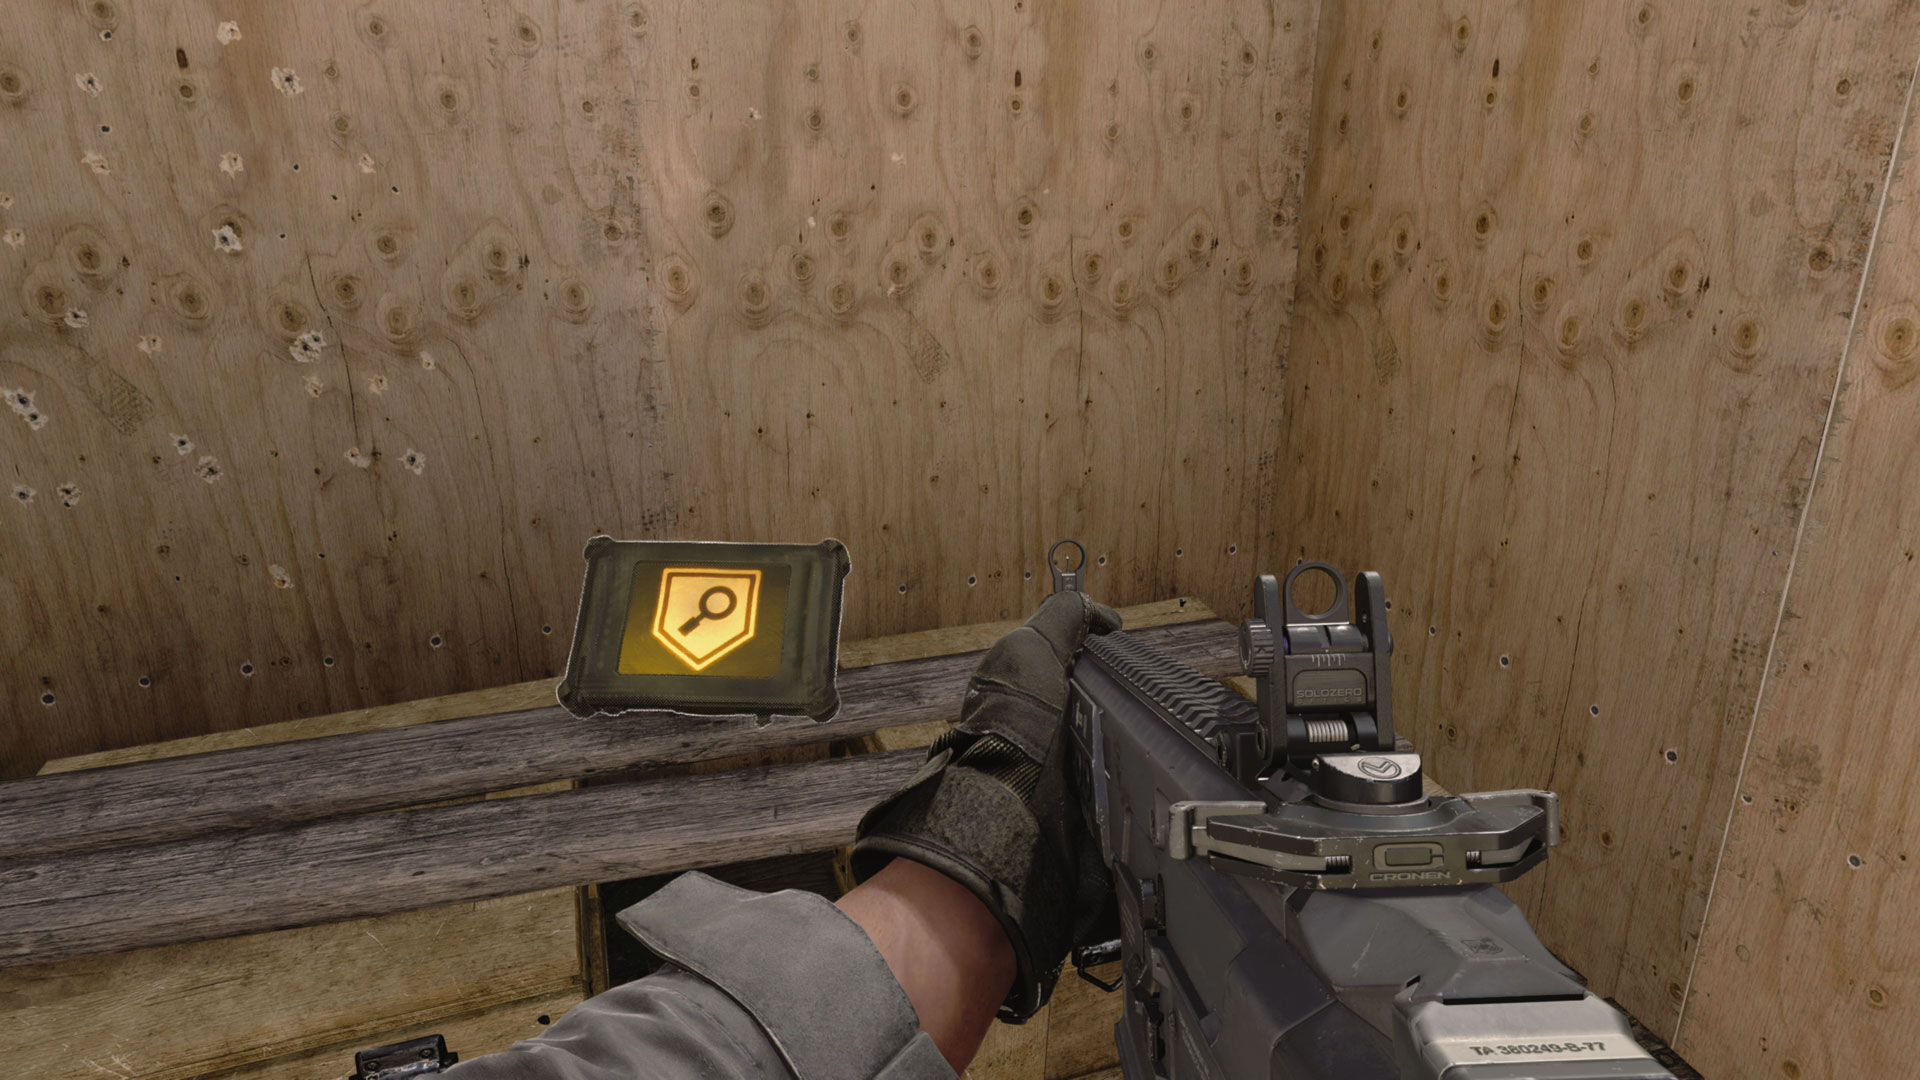
7. Contract Acquirement: Use the Tac Map to view where a Scavenger Contract is within the facility. Walk over to it – optionally taking down some more targets along the way – and pick it up in order to accept the contract.

8. Contract Completion: The Scavenger Contract requires you to collect three Supply Boxes within a time limit. Luckily for you, these three Supply Boxes are all in the same general area. Using the mini Tac Map in the top-left corner of your screen, search the next area for the boxes, opening each as instructed.
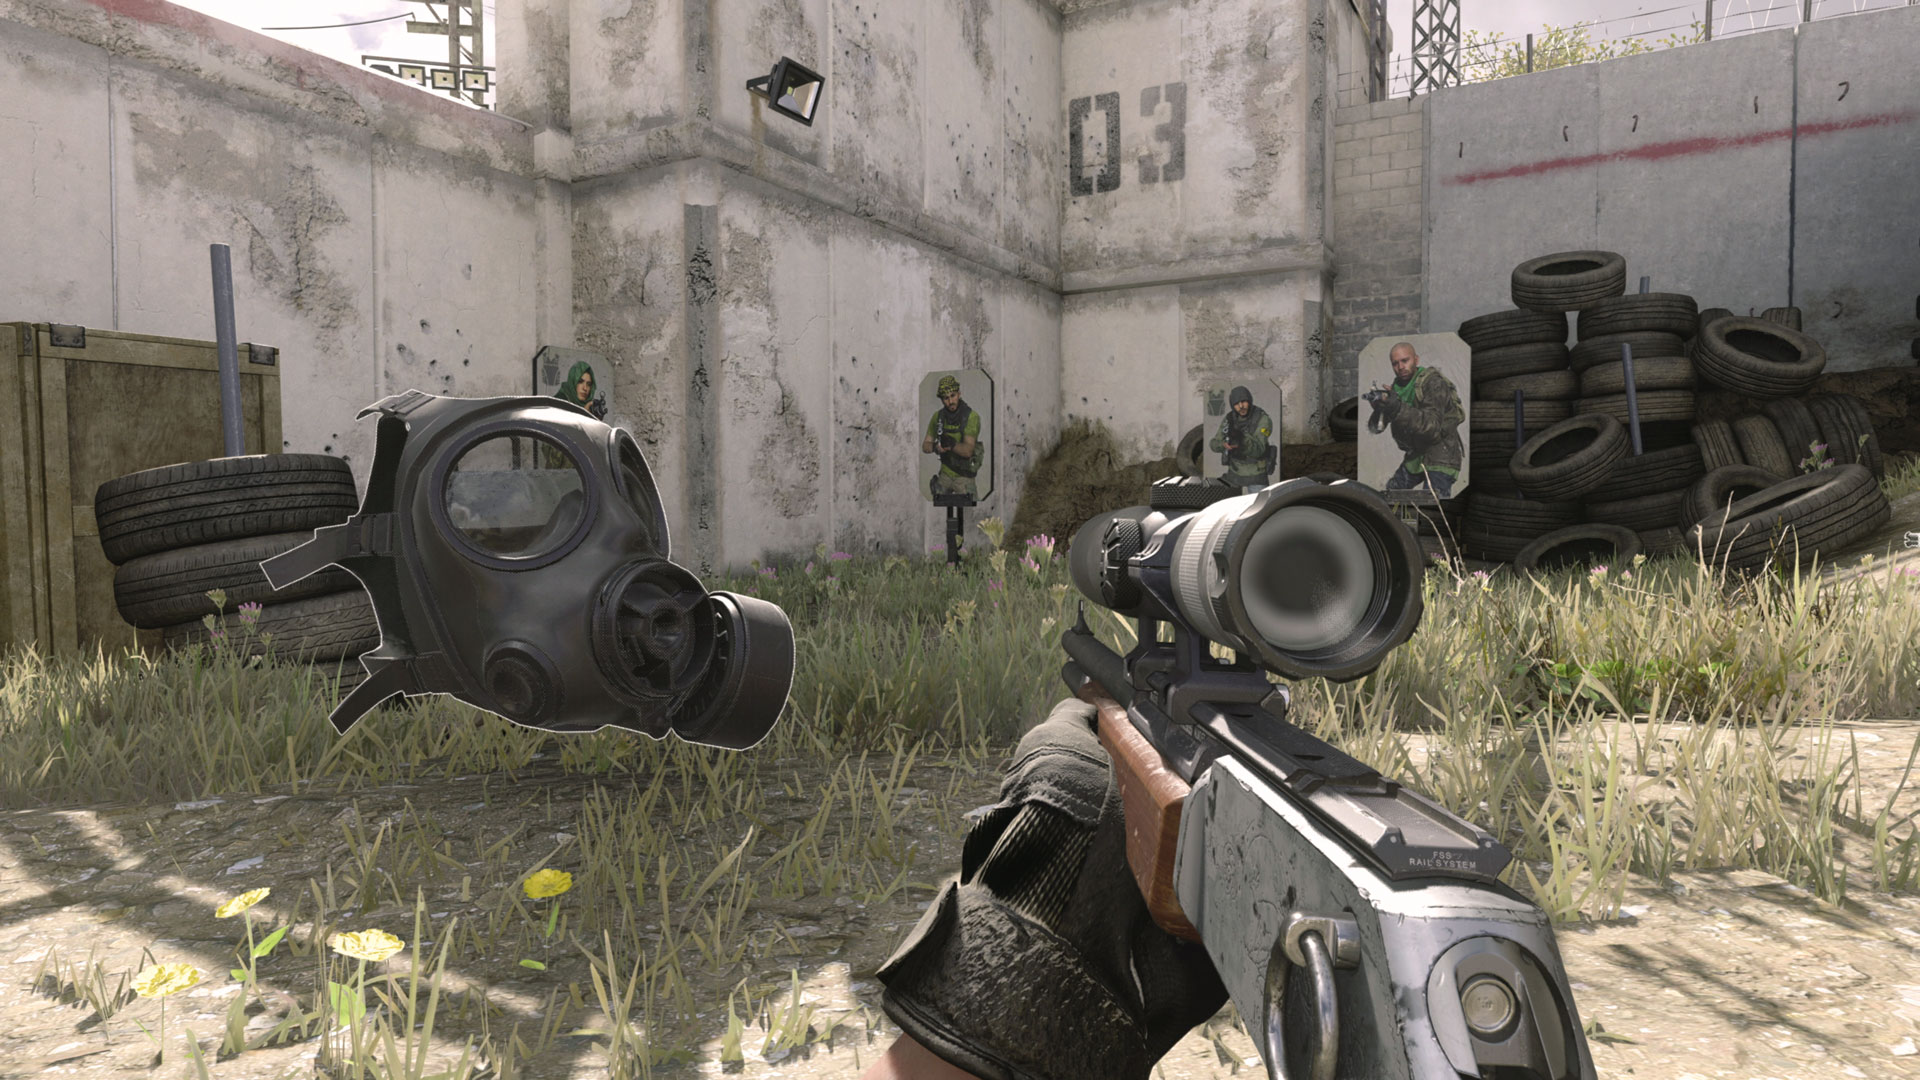
9. Weapon Rarity: After opening them, you’ll see some different types of loot, such as more Armor Plates along with Equipment and other Weapons, some of which have a different Rarity (notice Common, Uncommon, Rare, and Legendary weapon rarities). Feel free to experiment with them against the targets within this area.
Cash and Purchasing
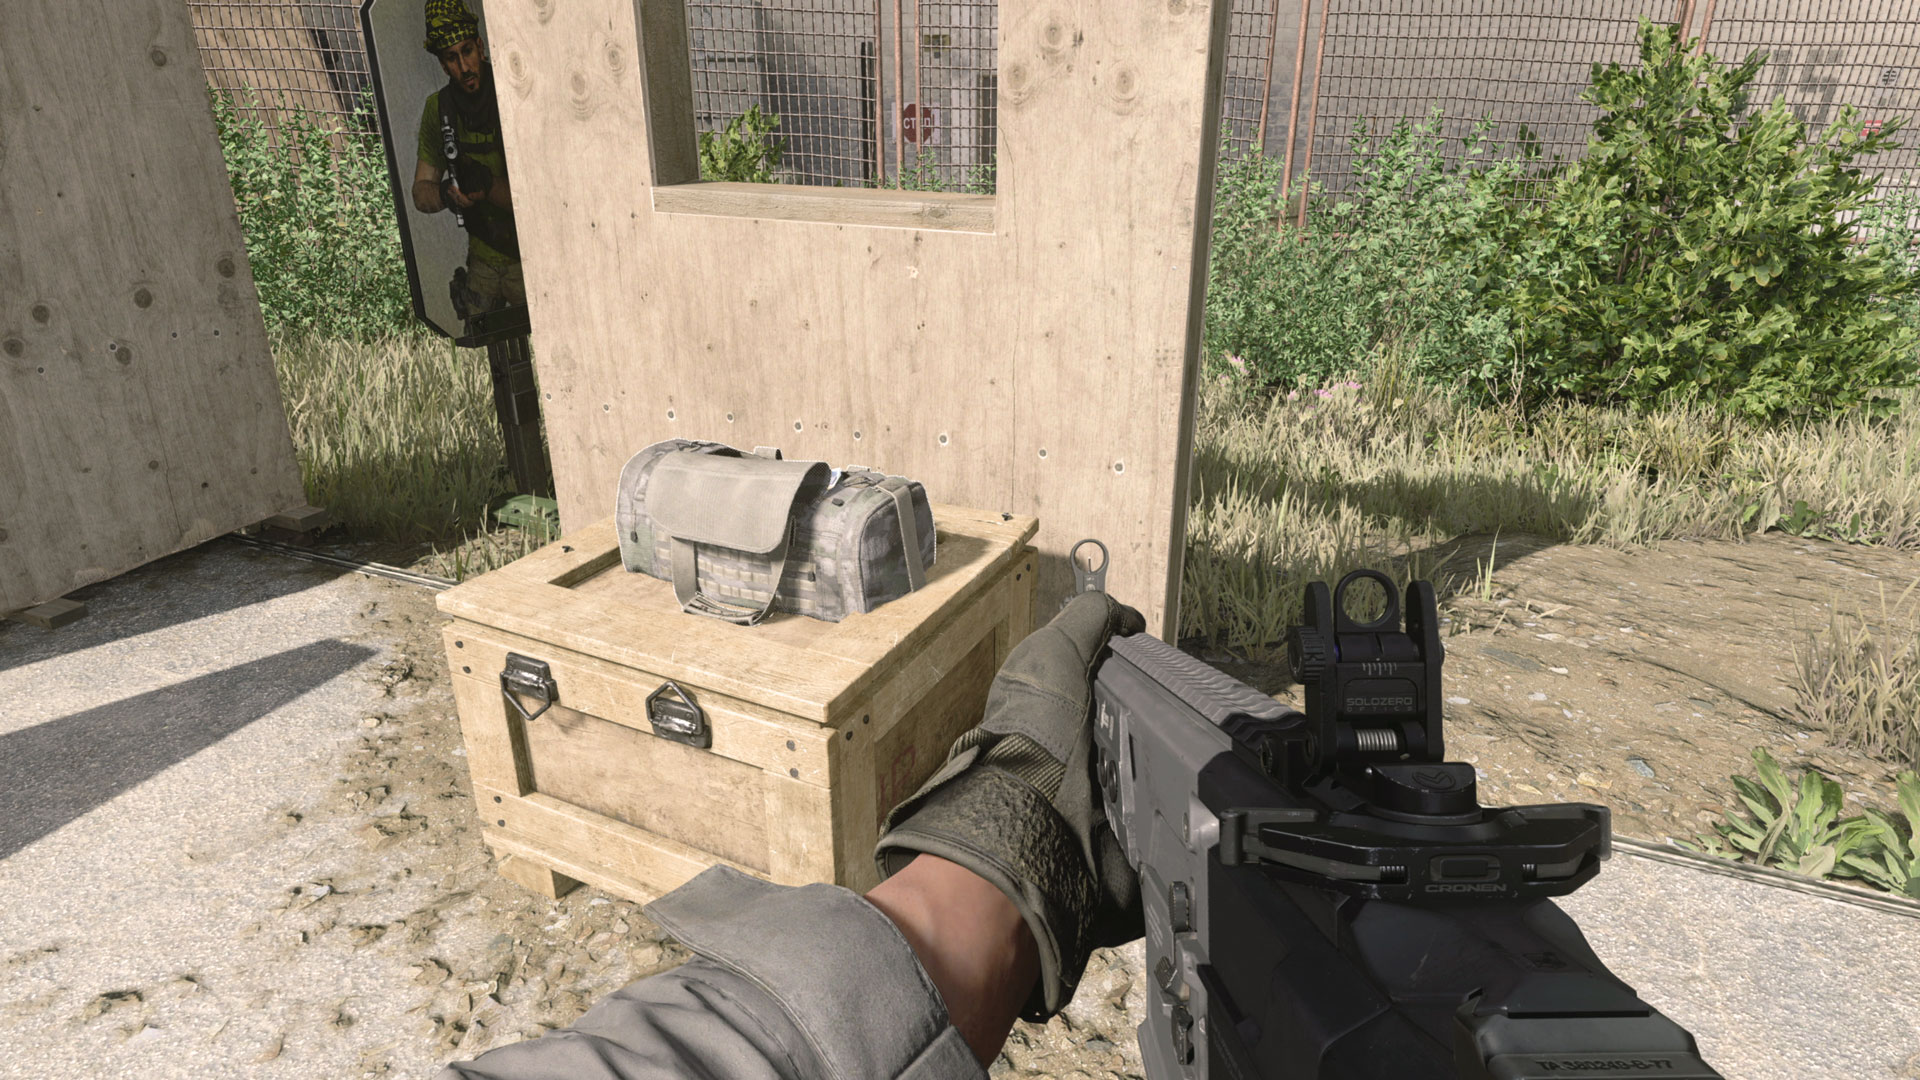
10. Acquiring Cash: Your next task is to find $6,000 in Cash within the next room to buy a Loadout Drop Marker at the Buy Station. Cash can be found within Supply Boxes or, like in this tutorial, loose on the ground. Head over to the lone wooden structure in this area to find Cash, which appears in three different quantities:
Small pile ($500)
Large pile ($2,000)
Satchel ($5,000)
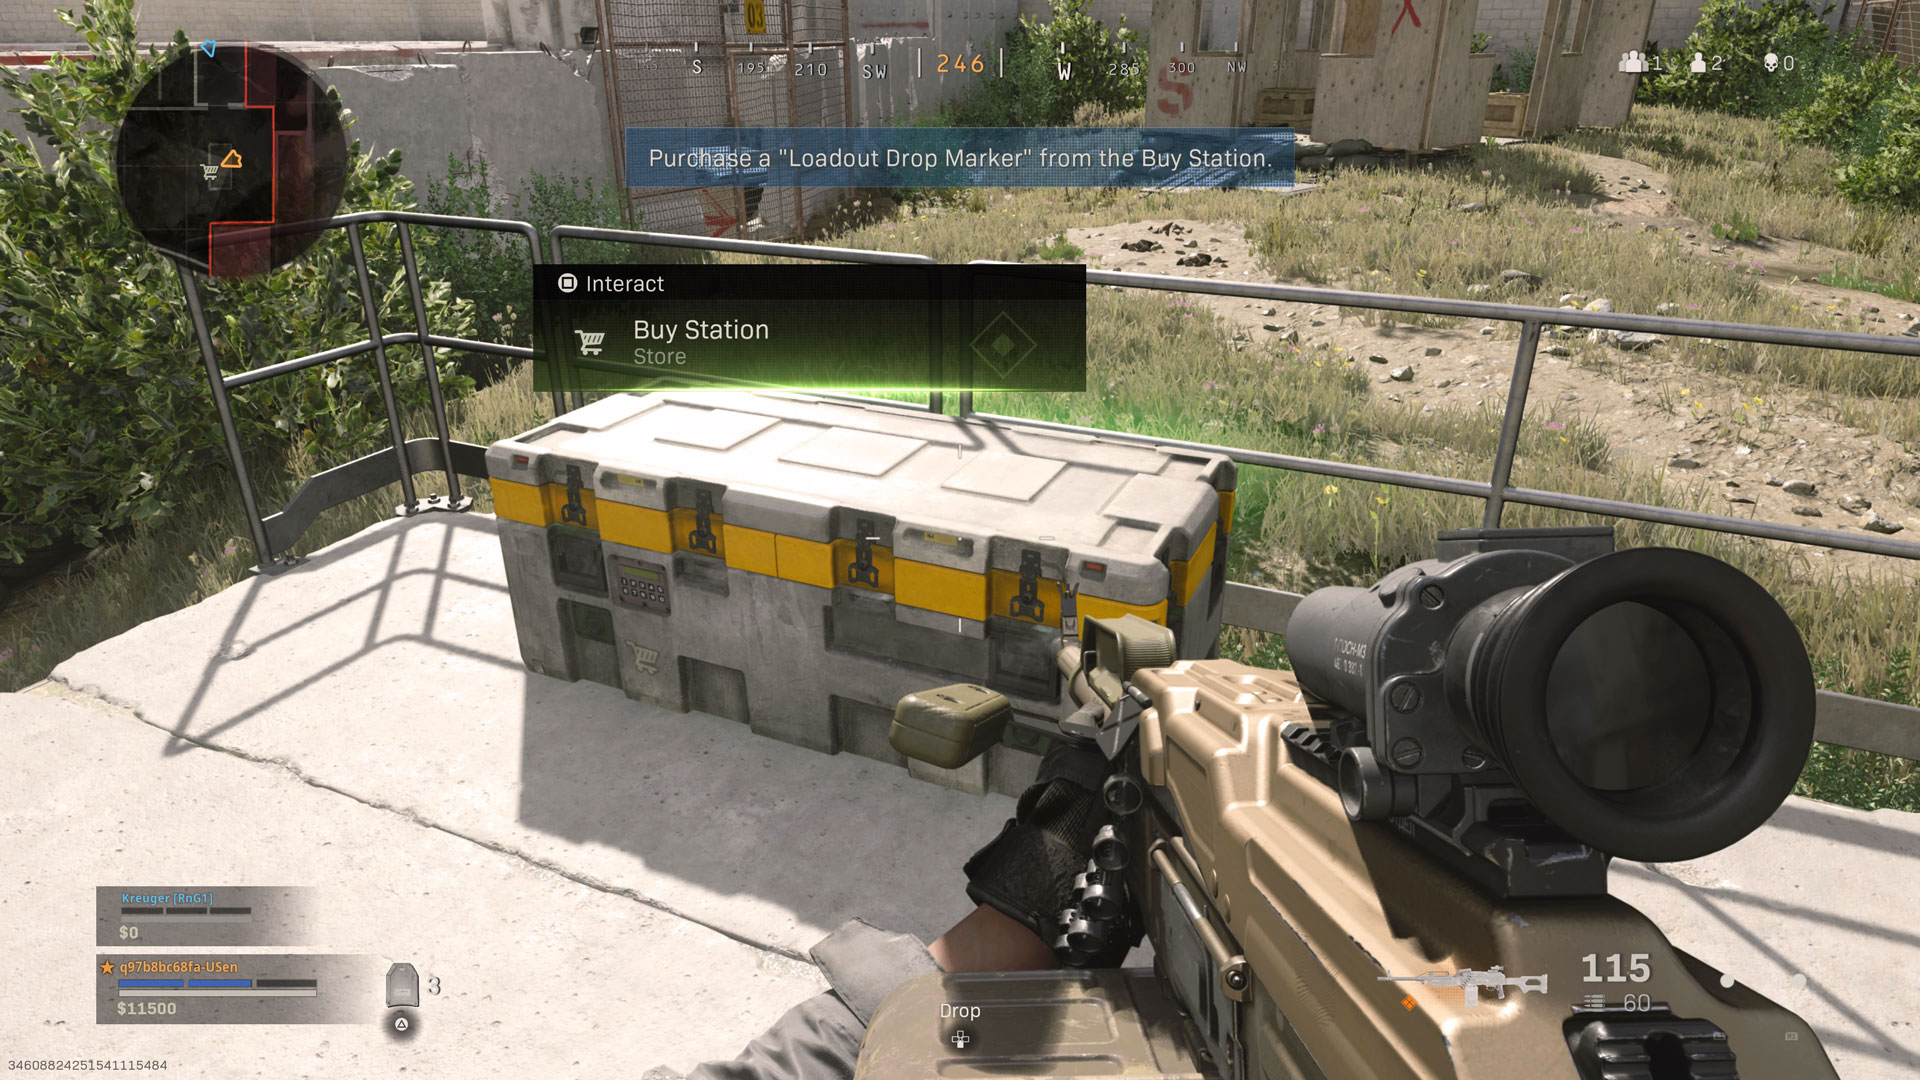
11. Accessing a Buy Station: With four loose piles of Cash now gathered, this is more than enough to purchase a Loadout Drop Marker at the Buy Station, which is marked by a shopping cart on your Tac Map. Head over to the Buy Station and interact with it.
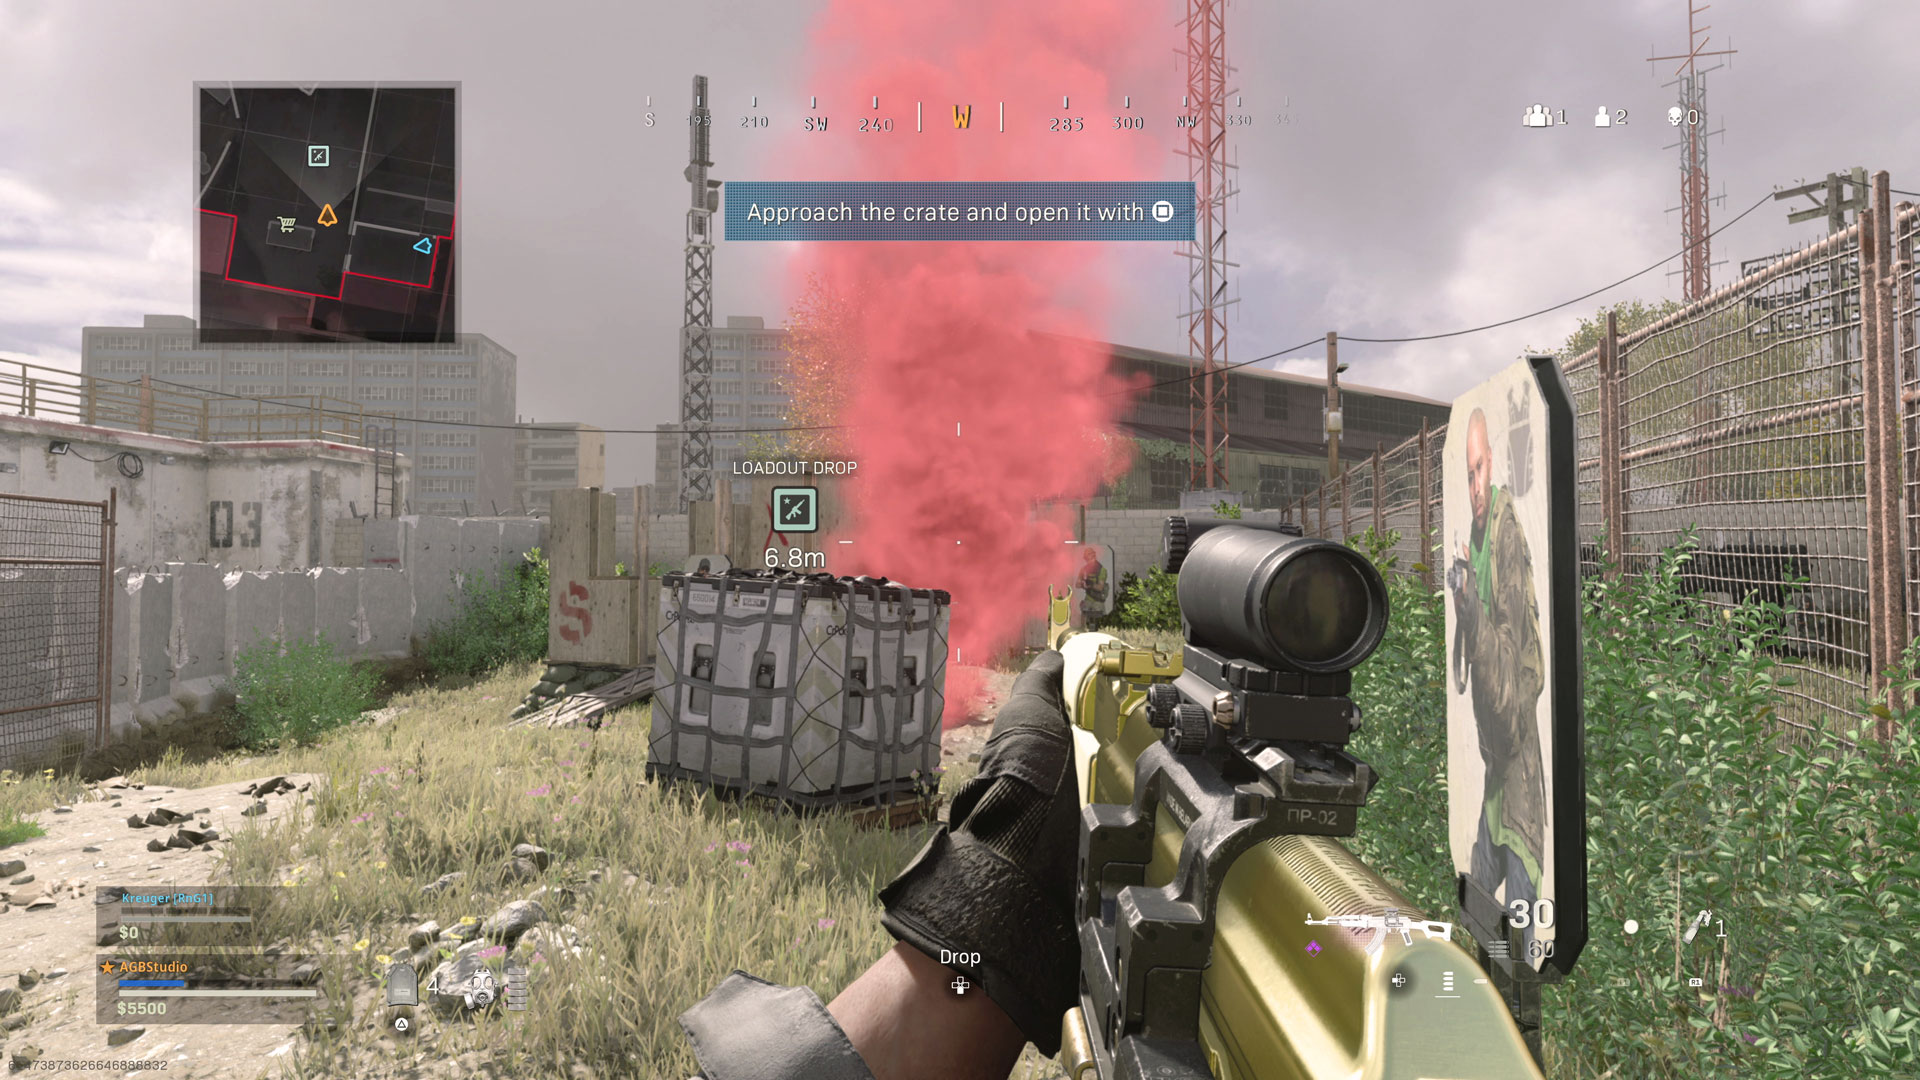
12. Access a Loadout Drop: At the Buy Station, scroll down the menu to purchase a Loadout Drop Marker, then throw it onto the ground. Once the Loadout Drop descends from the sky and lands, collect one of the Loadout Drops and experiment with whatever weapons and equipment it has.
Reviving, Pinging and Teamwork
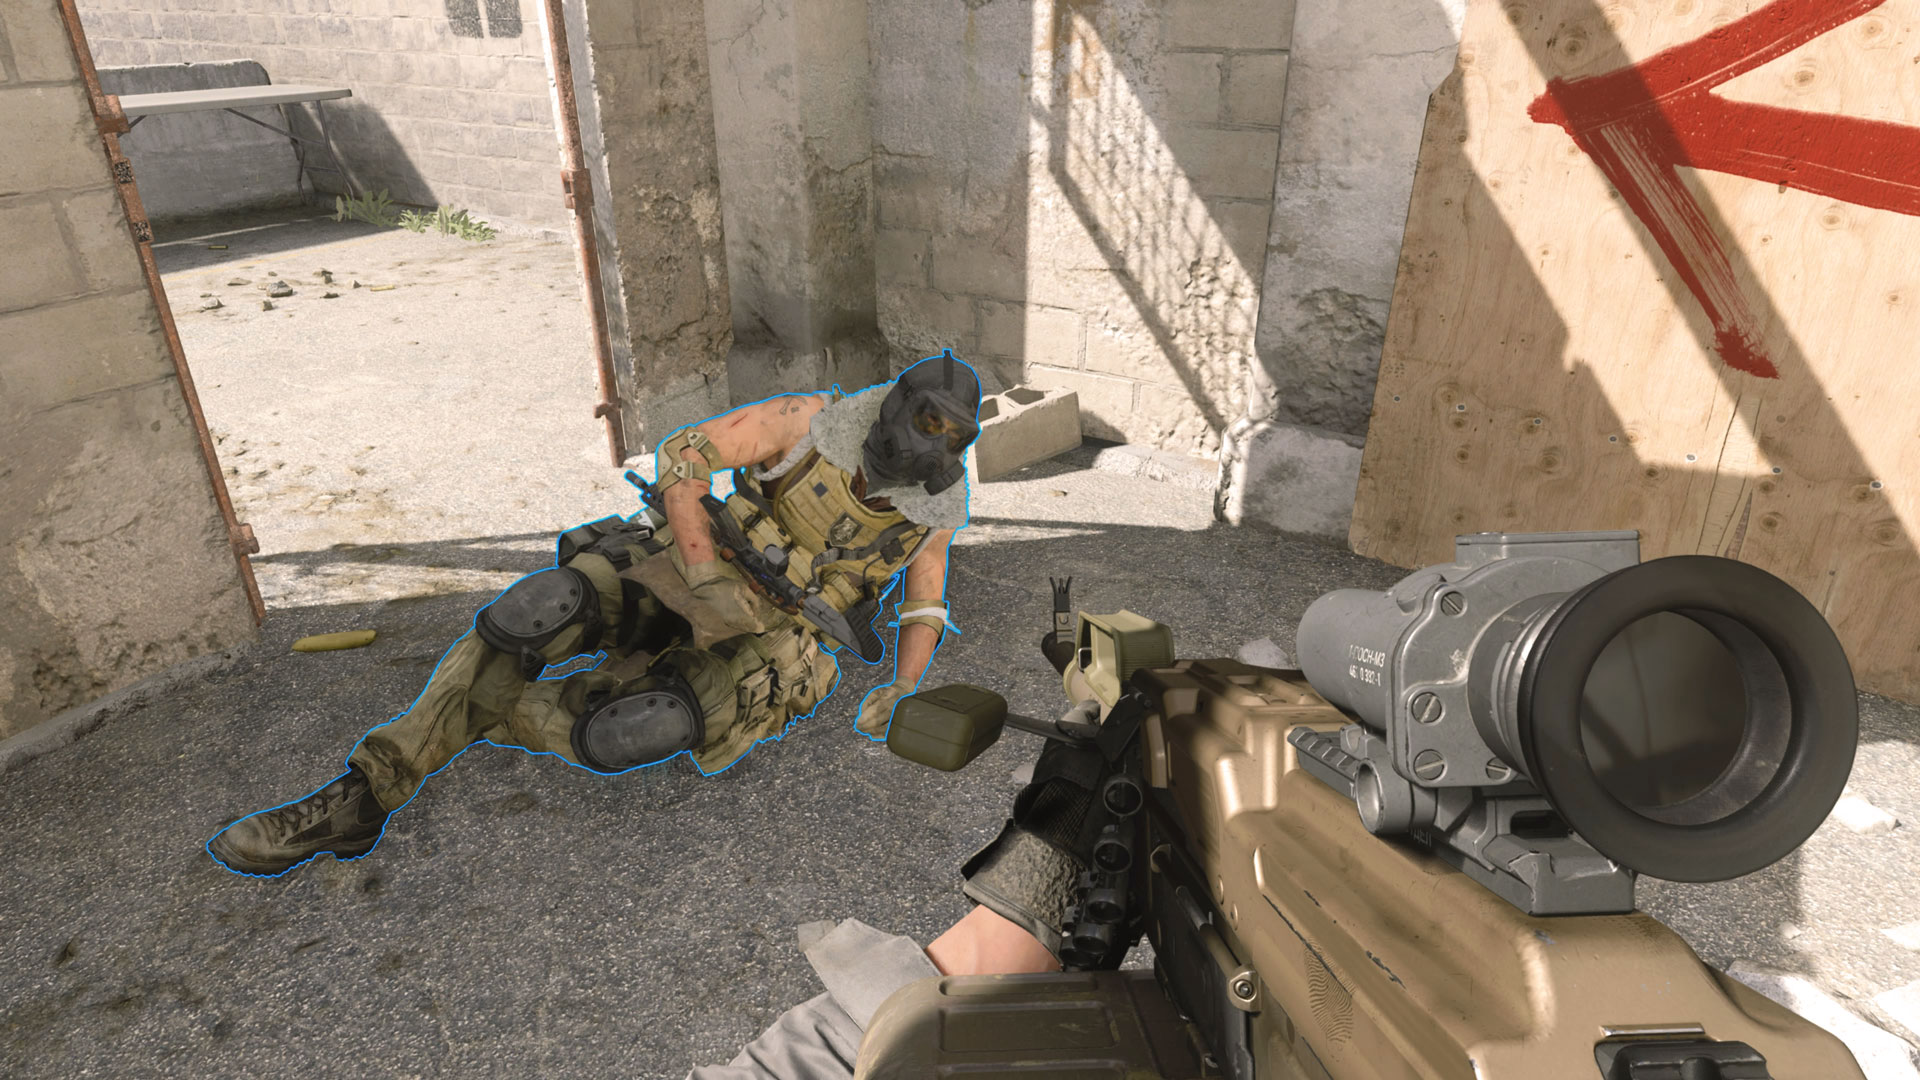
13. Reviving: With the contents of a Loadout Drop to hand, advance and complete to the final section of the tutorial: teamwork. After entering the last area in the training facility, your squadmate Krueger falls to the ground, and you must revive Krueger by following the on-screen prompt.
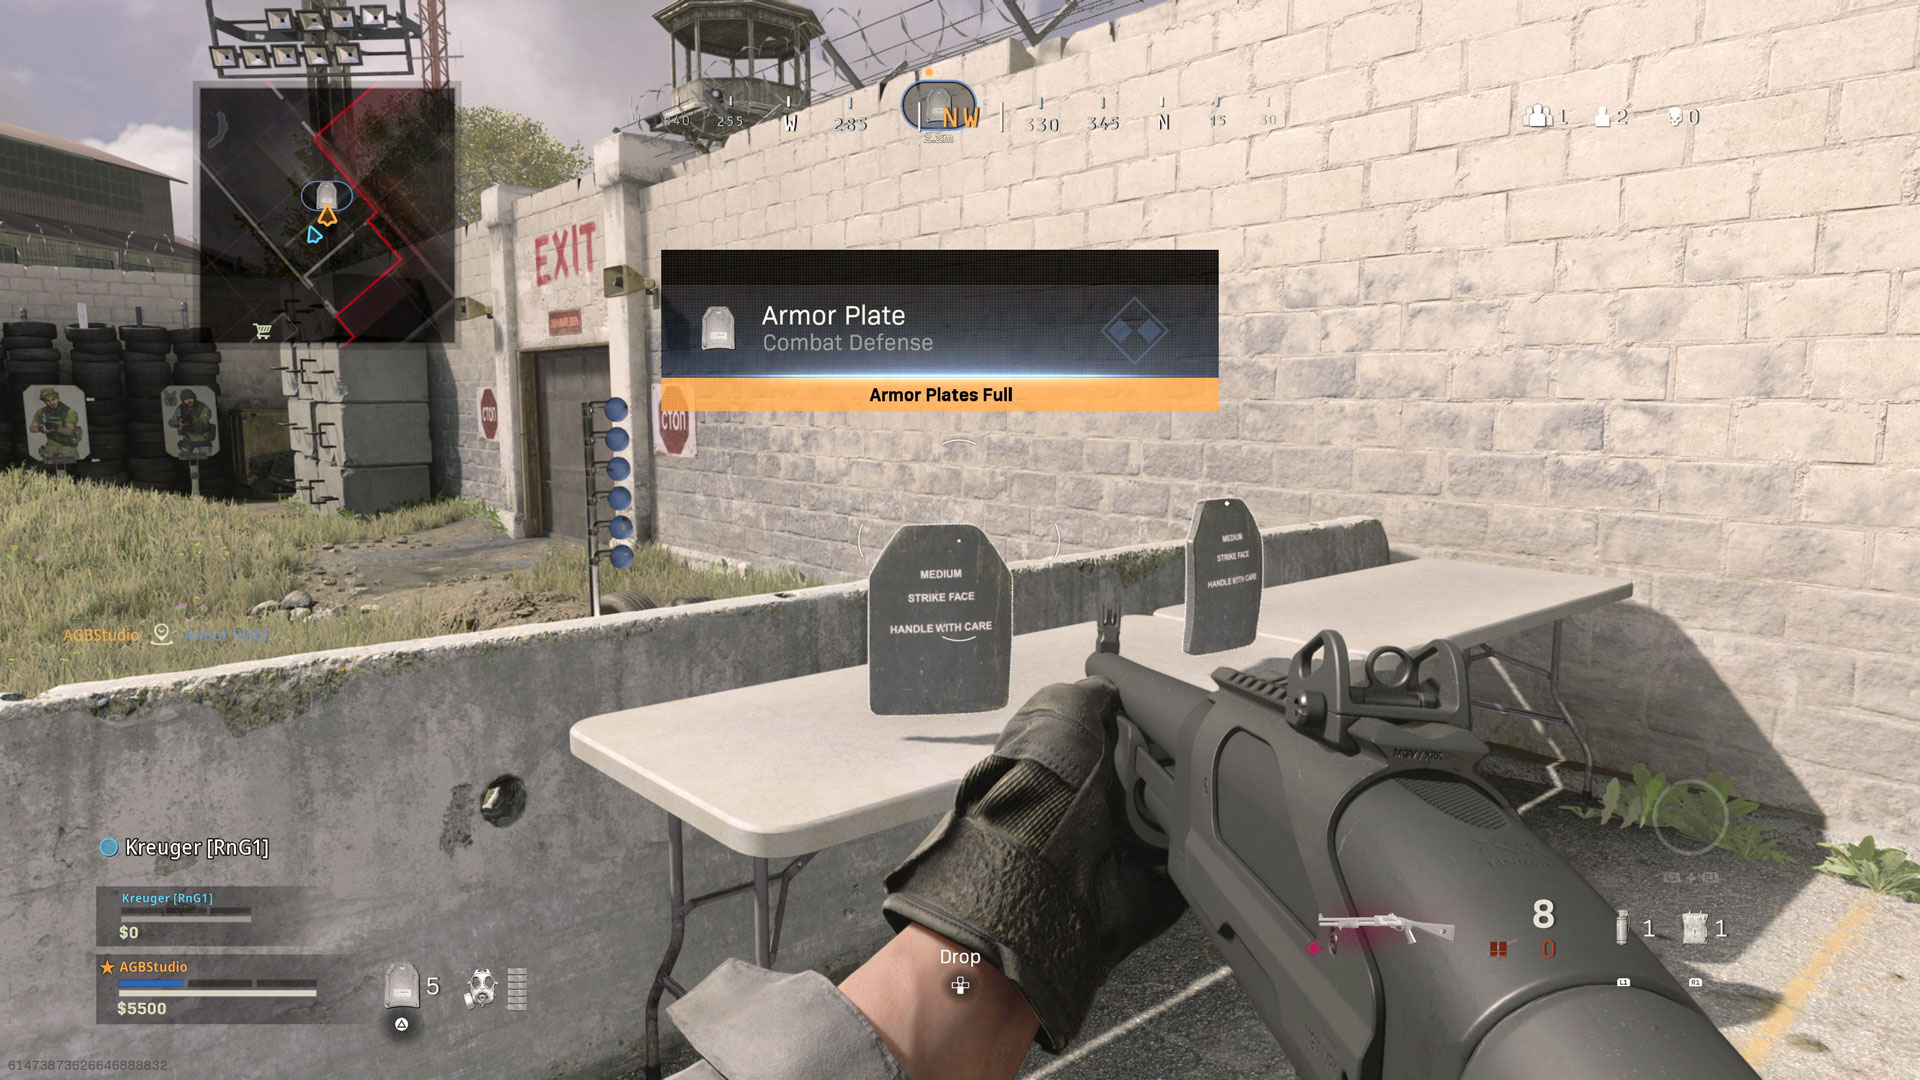
14. Pinging (Armor Plates): Krueger will then advance to the second half of the final area. Here, you will be asked to ping an Armor Plate for Krueger. Look at and be close to one of the Armor Plates on the table, then press the ping command on-screen to ping an Armor Plate for your squadmate.
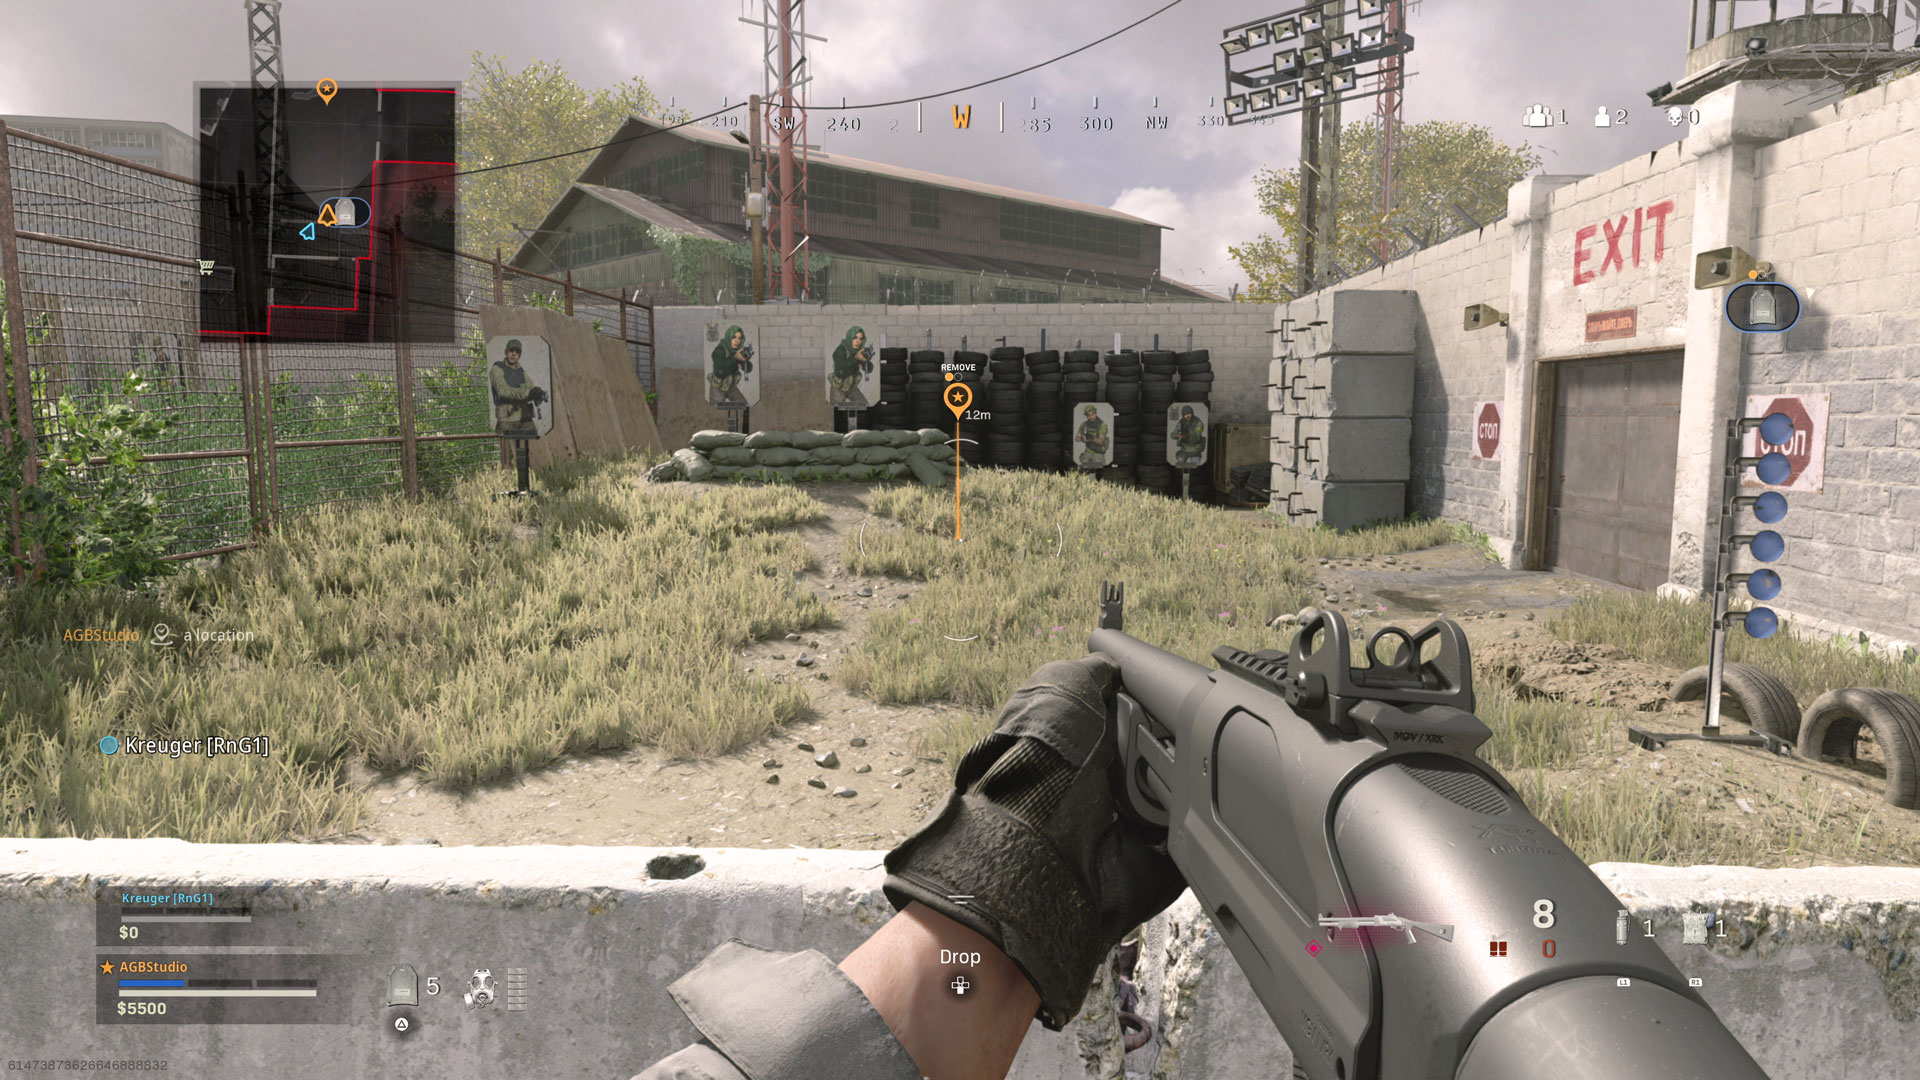
15. Pinging (Command Pinging): Pinging can also be done without a prompt, which this tutorial shows in this section. Tapping the ping command button – the same one used to ping an item – will ping a point in the world that you are currently looking at.
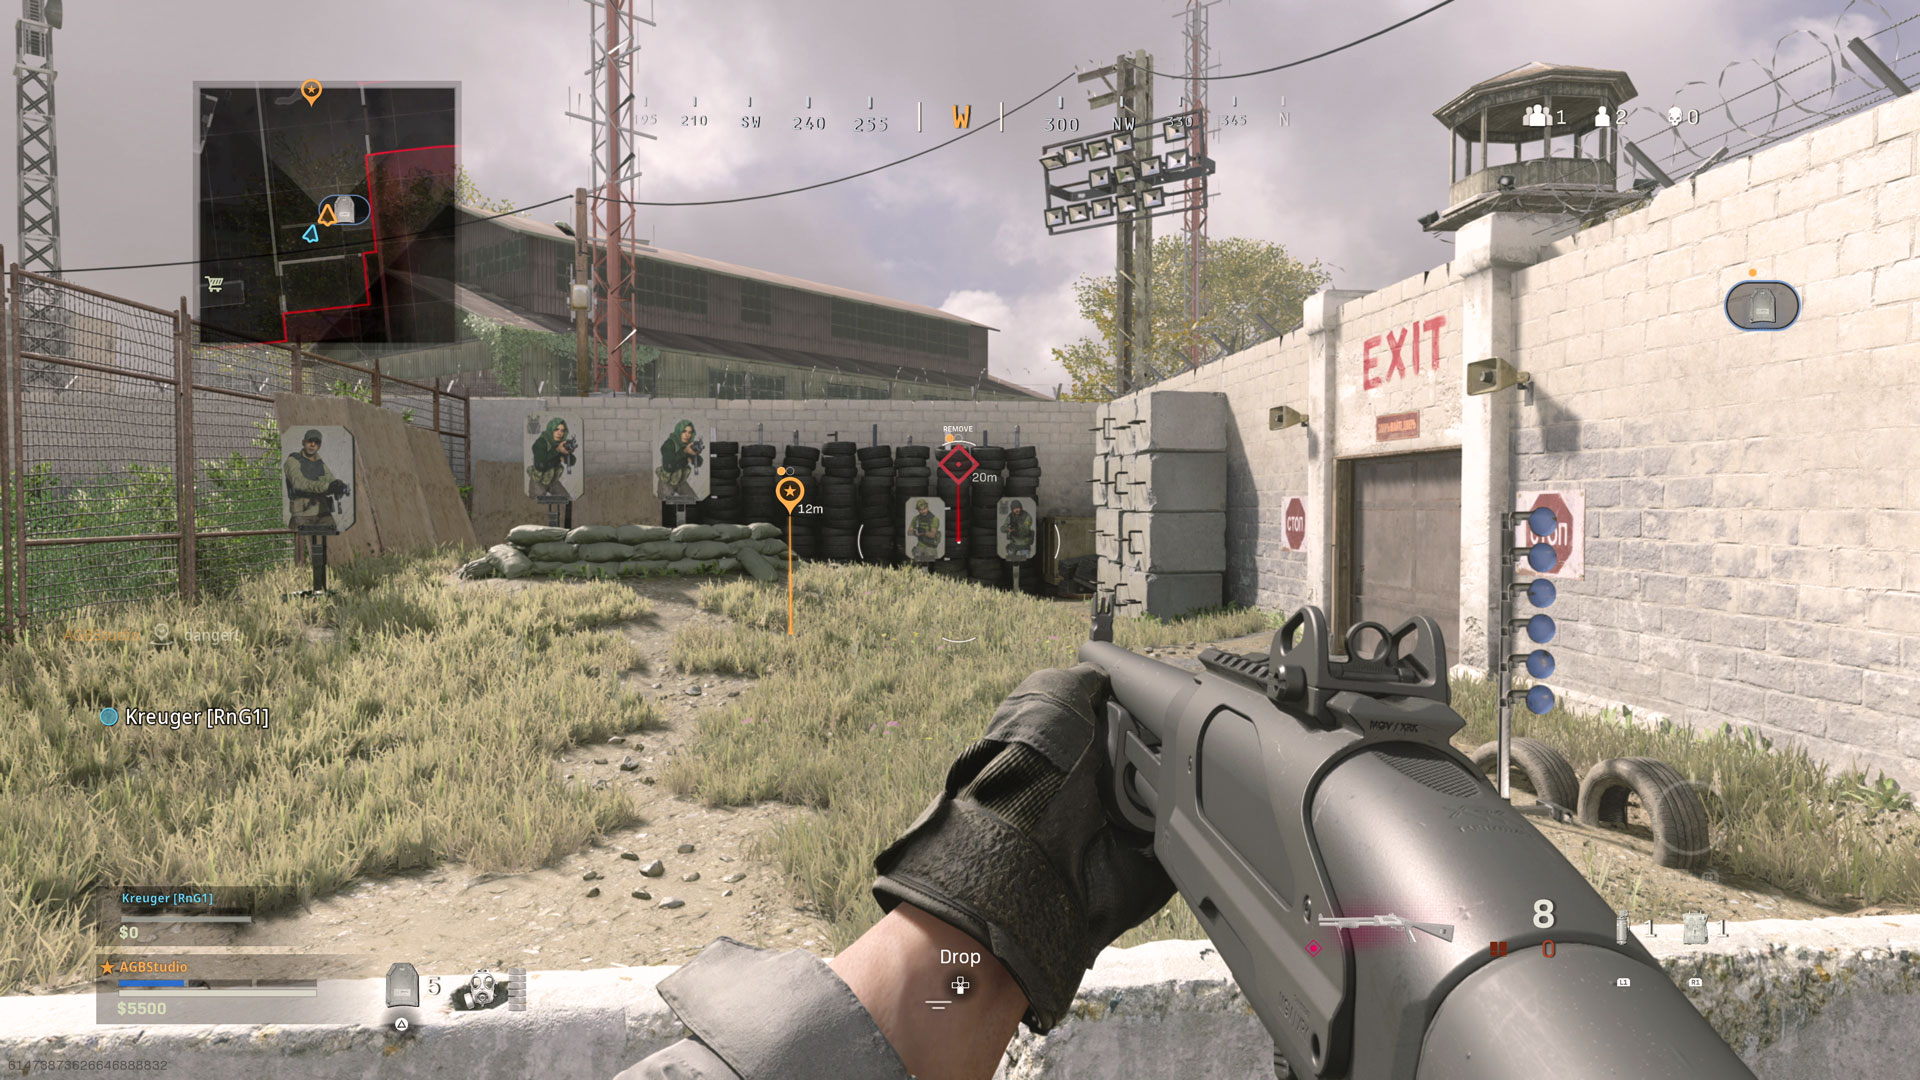
16. Pinging (Enemy Pinging): Double tapping the ping command will mark the area as dangerous. This appeara as a red mark to alert teammates that enemies may be in that area.
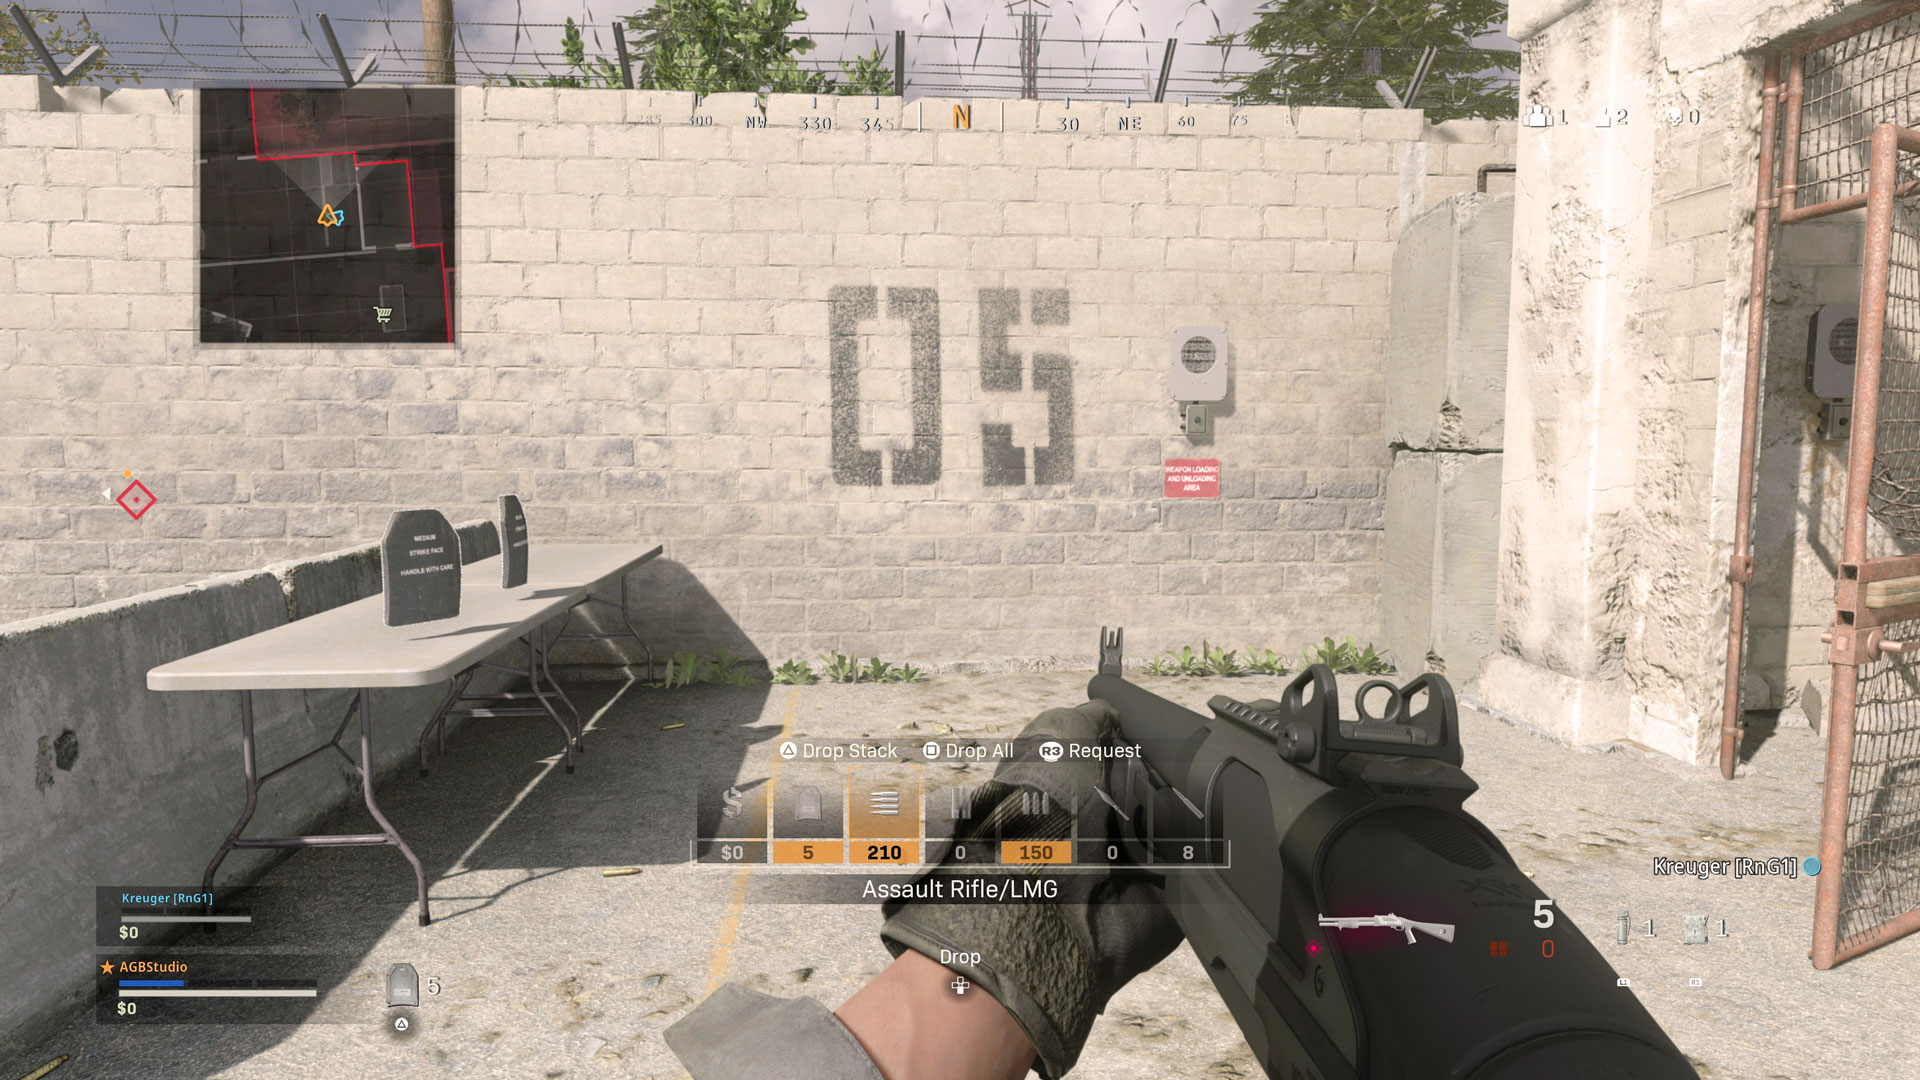
17. The Drop Menu: The final part of the tutorial is allows you to see additional items you may have picked up. Access the Drop Menu by pressing the command shown at the bottom of your screen. Once there, you can see what you can drop for your squadmate.
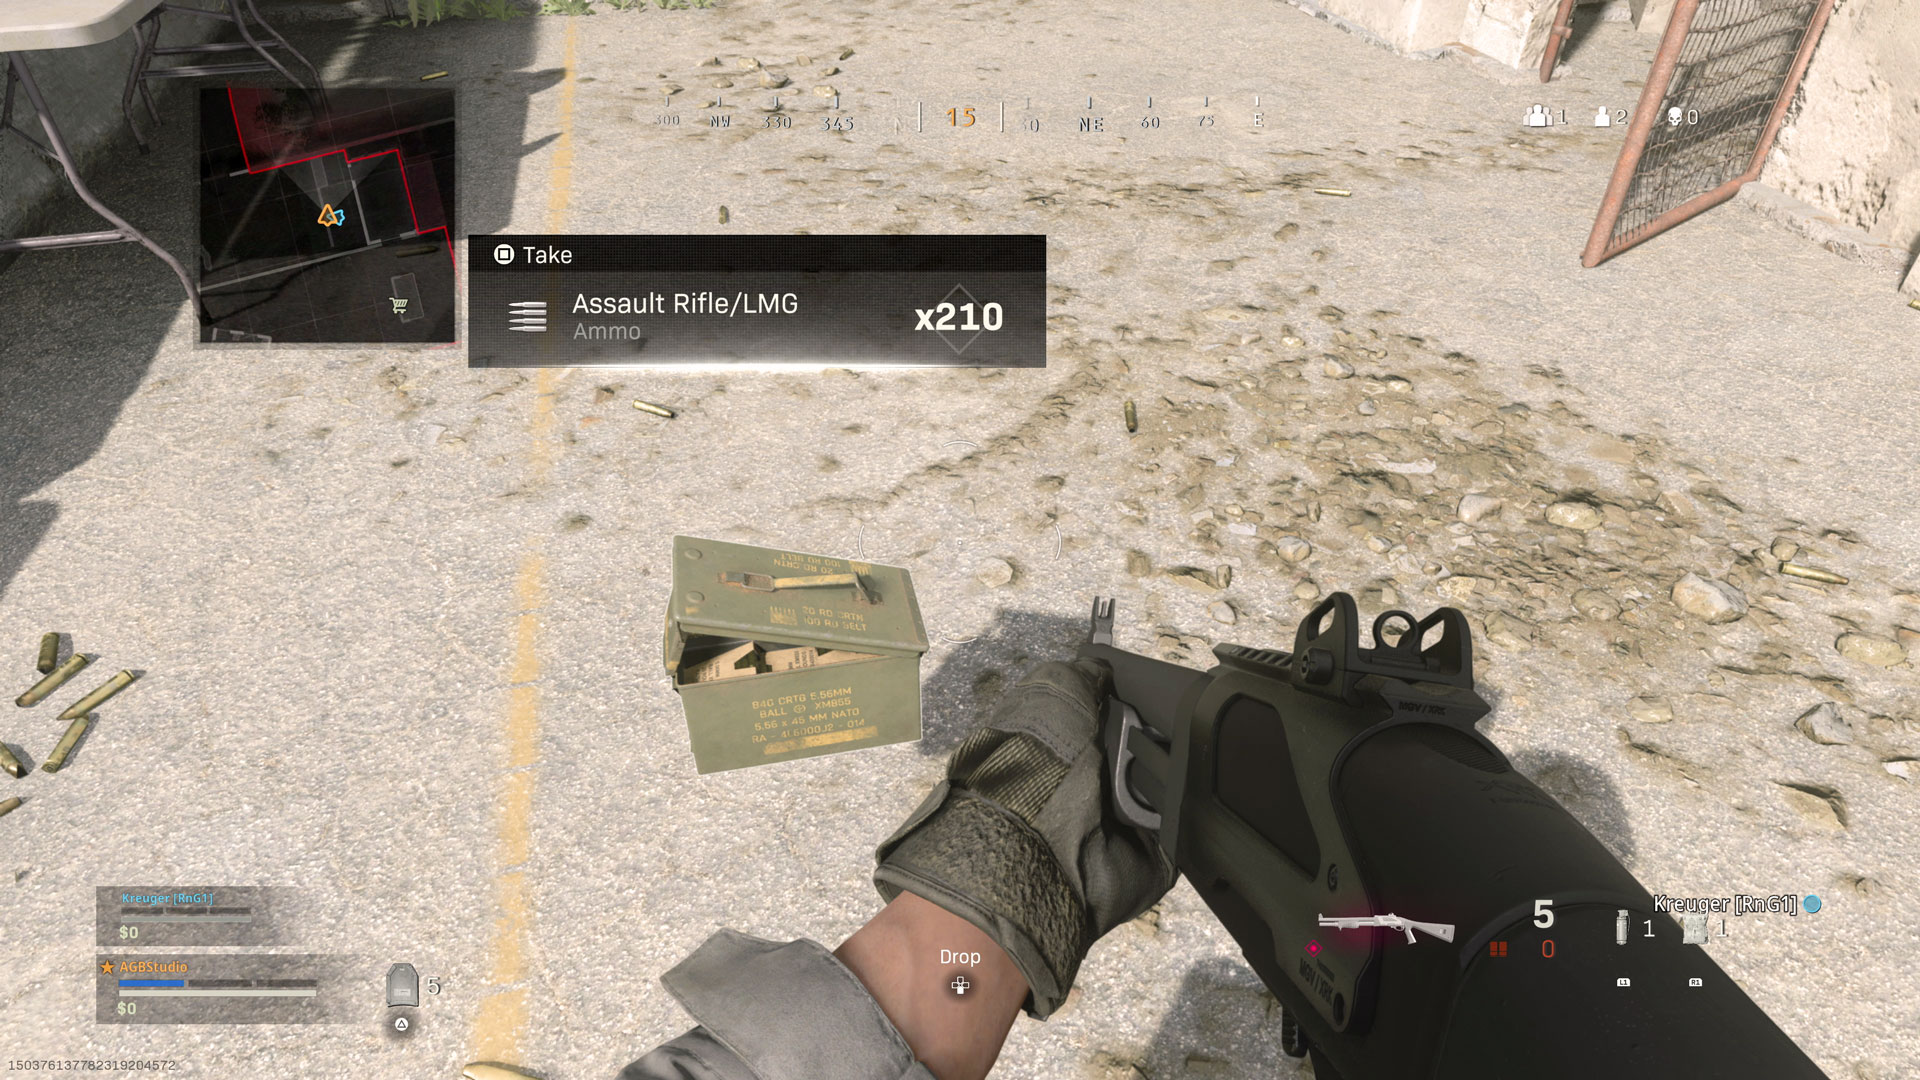
18. The Drop Menu: Don’t overlook the Drop Menu in the heat of battle; you can place (and Ping) Cash, Armor Plates, the five different ammunition types, and request redeploys from squadmates.
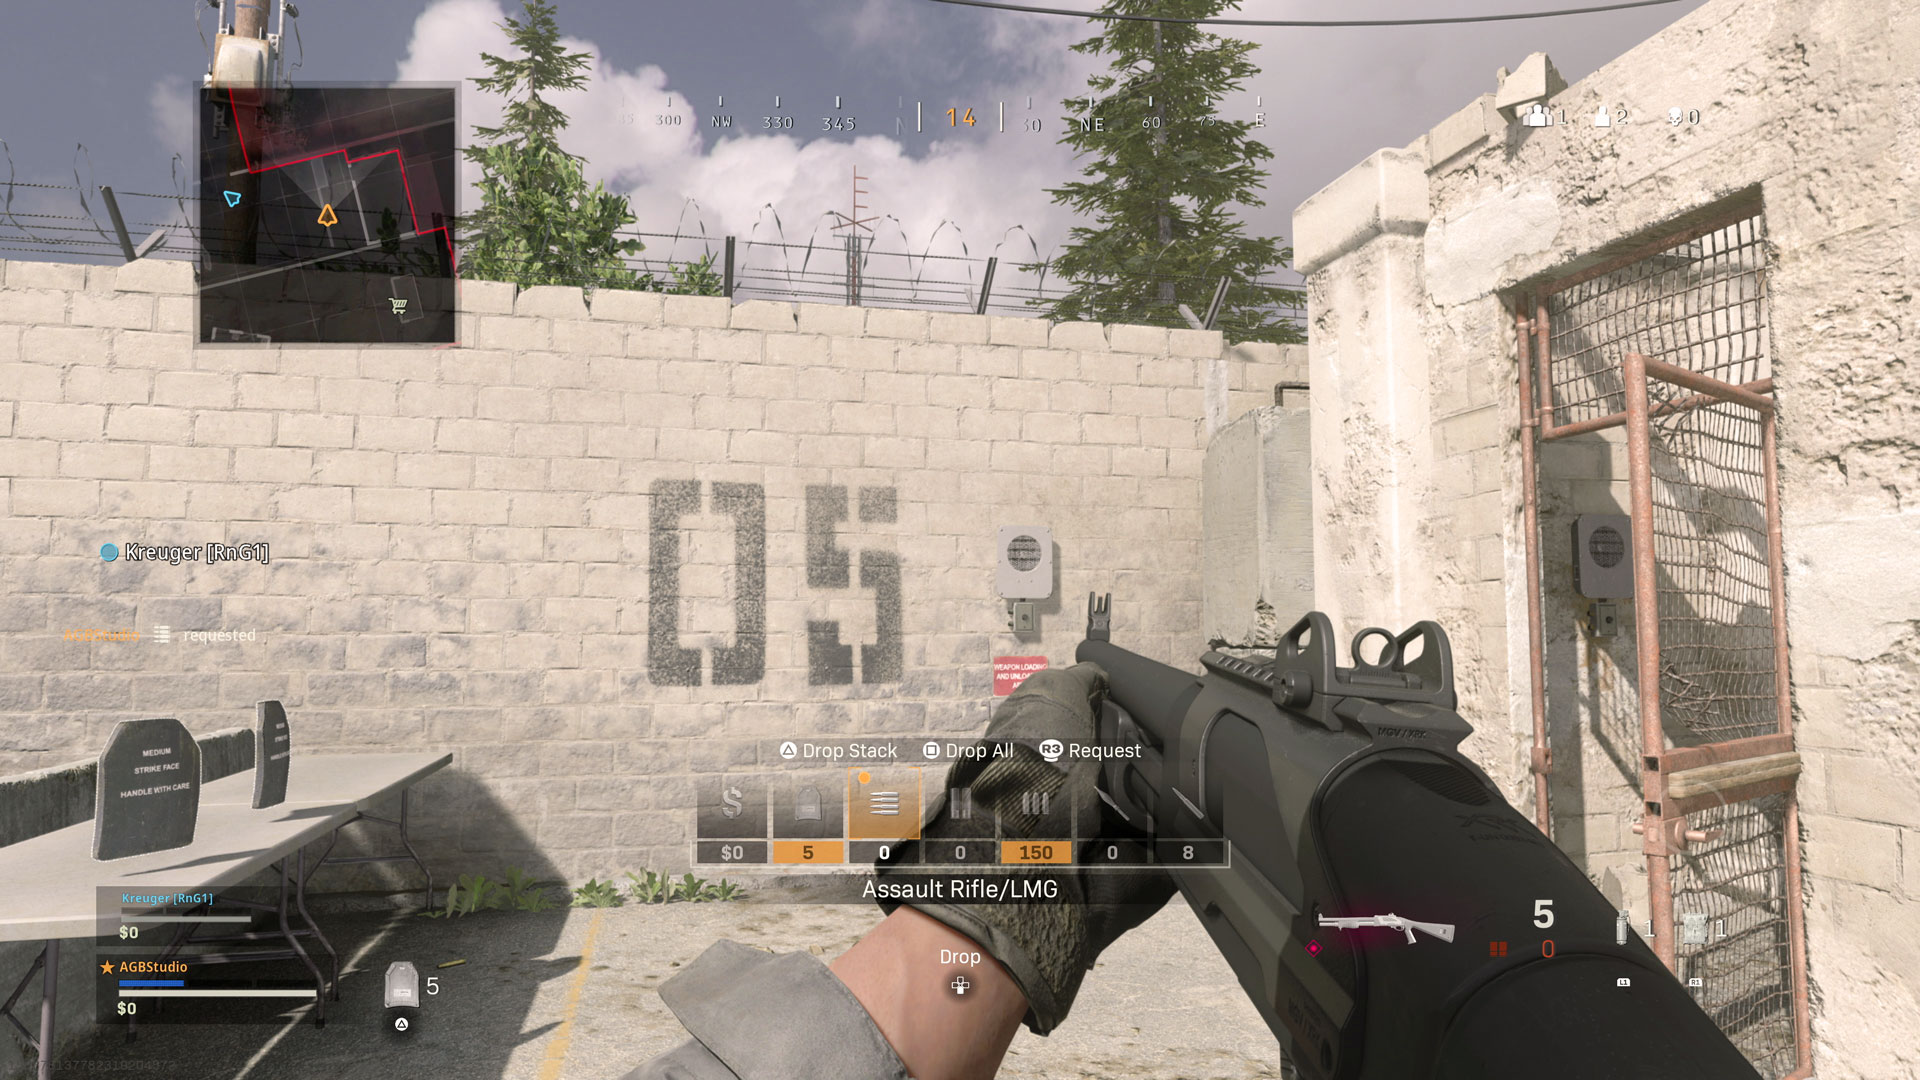
19. Pinging (Requesting Items): As well as Ammo Dropping, you can call out for items you are lacking by pressing the ping command while highlighted over a loot type.
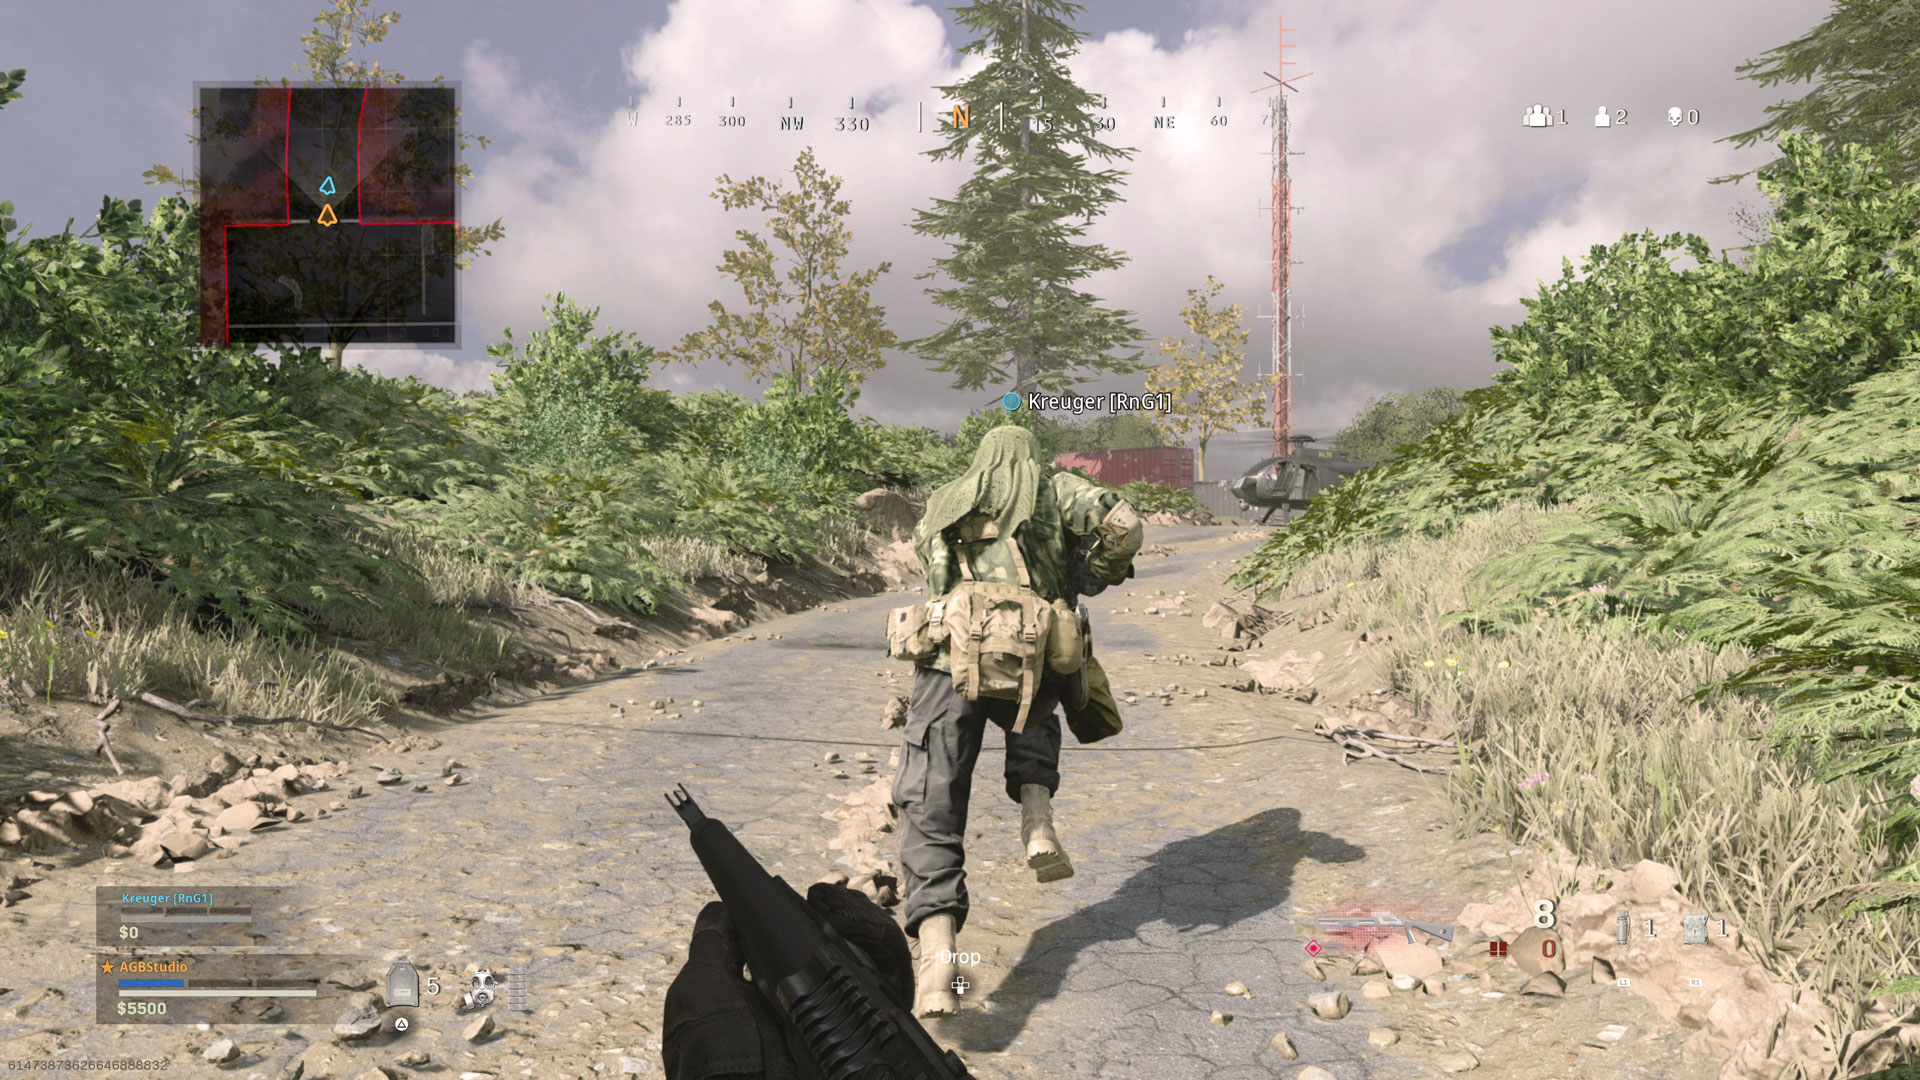
20. Conclusion: Get Some! Following your generosity towards Krueger, the tutorial will end with a sprint towards a helicopter and a fade to black. Your first tutorial concludes.
Reward: If this is the first time completing this Tutorial, you are granted a reward. Look for the green square appearing in your Main Menu; this shows where newly unlocked game elements (such as Operator Skins, Equipment, Items, Weapon Blueprints, and anything else) are accessed.
Welcome to the Armistice Training Facility (Verdansk)
Mission: Battle Royale Practice
Operation: Karst River Quarry
In order to give you a small taste of the large-scale combat to come, it’s worth practicing your dropping and combat skills within a section of Verdansk. Note that additional gameplay aspects, like Buy Stations and Loadout Drop Kits, can be attempted, but aren’t mandatory in this Battle Royale Practice.
Preparation and Landing
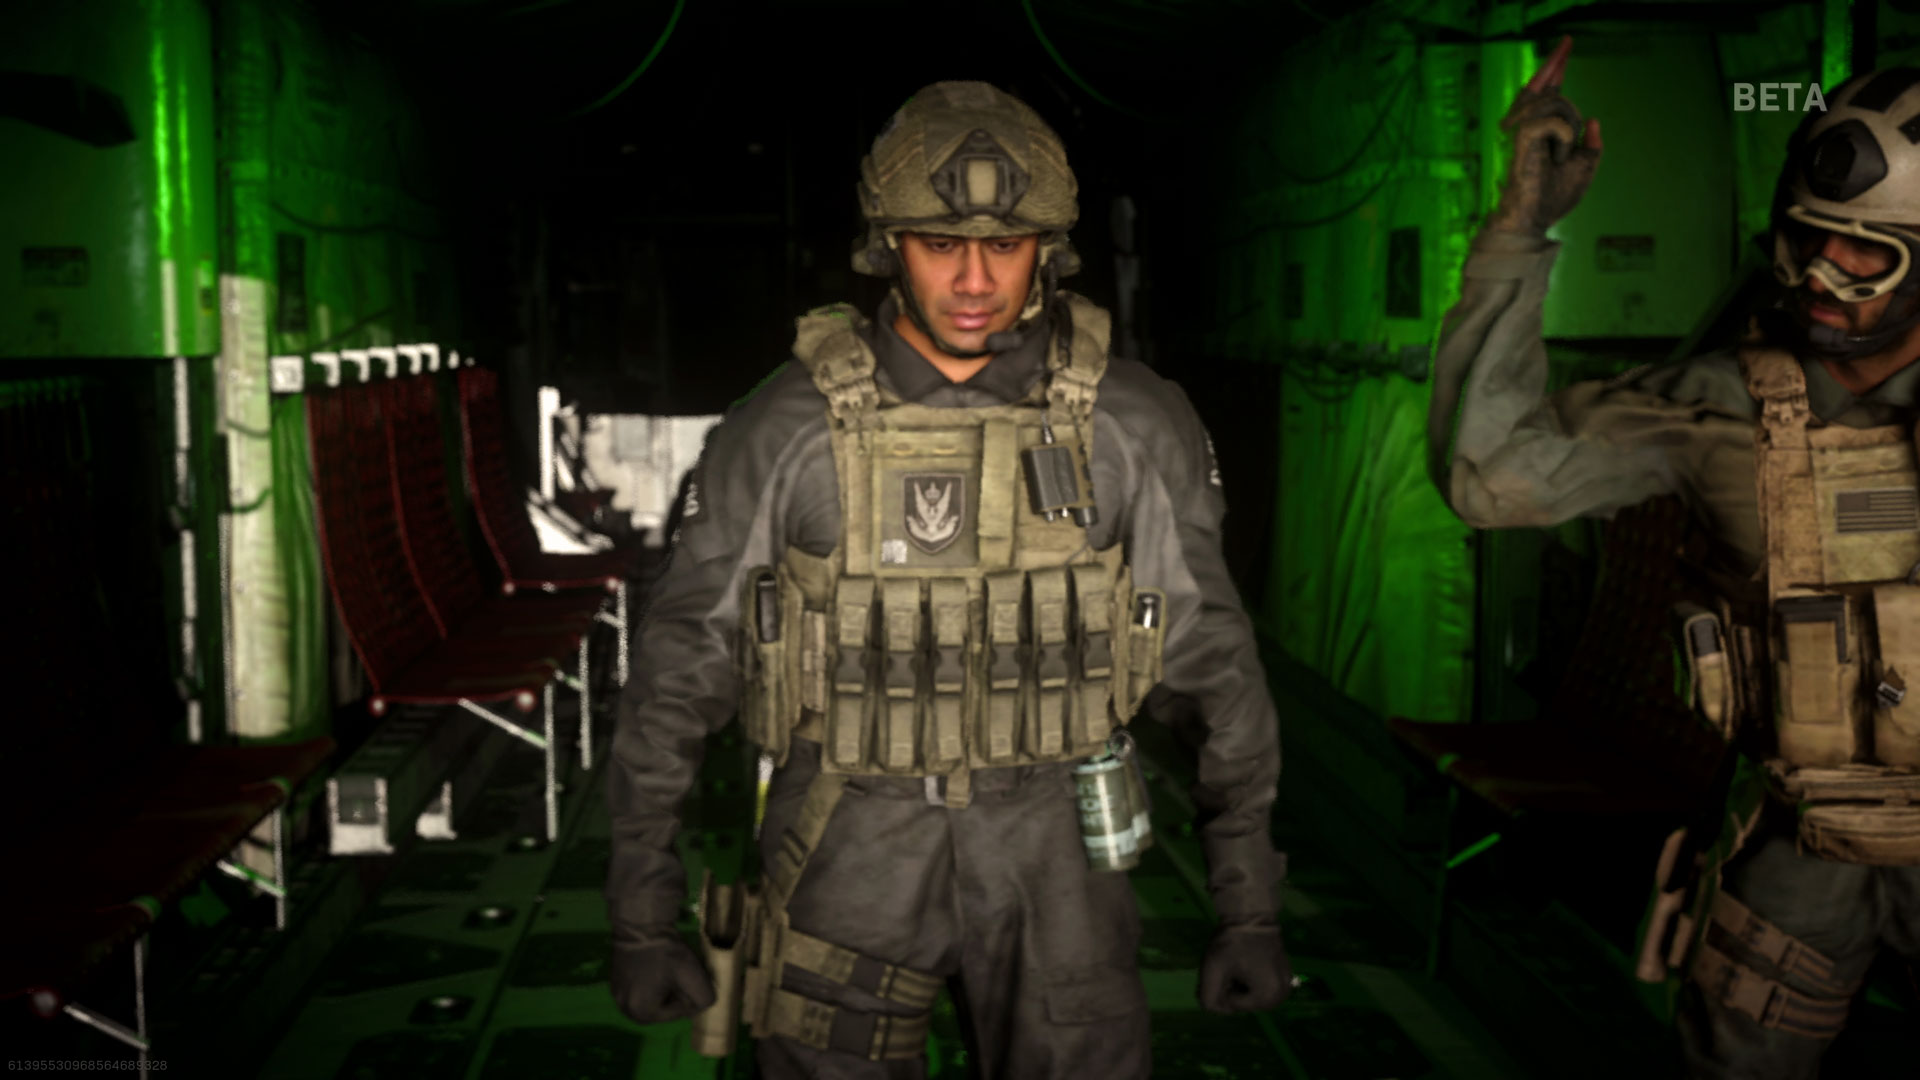
1. Ready for the Drop: To begin a Battle Royale or Plunder game, you, your squadmates, and a total of 150 players all drop from a military cargo plane. As the drop begins, you can elect to drop or wait, though your drop must begin before the plane leaves the warzone.
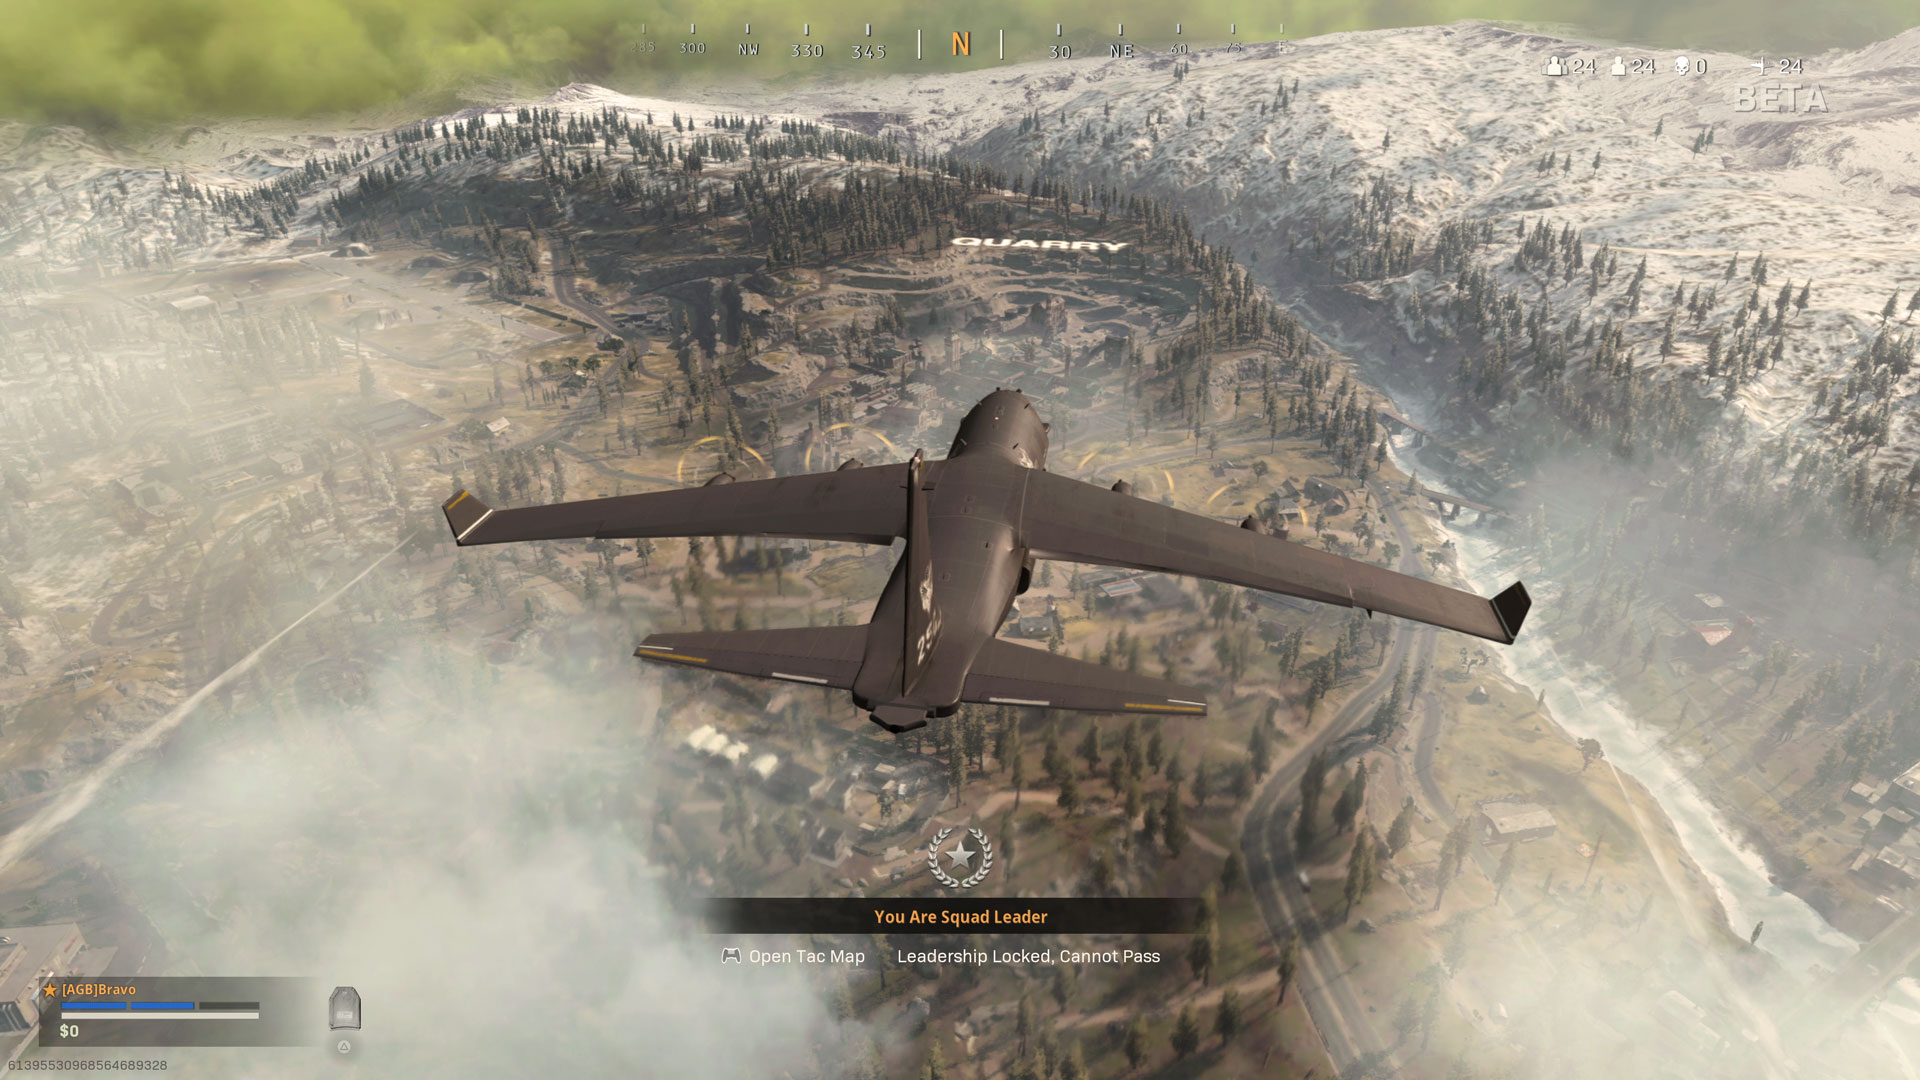
2. You are Squad Leader: During the main Battle Royale and Plunder mode experiences, you have the choice to be the Squad Leader, or grant it to a teammate. On this occasion however, you are an army of one.
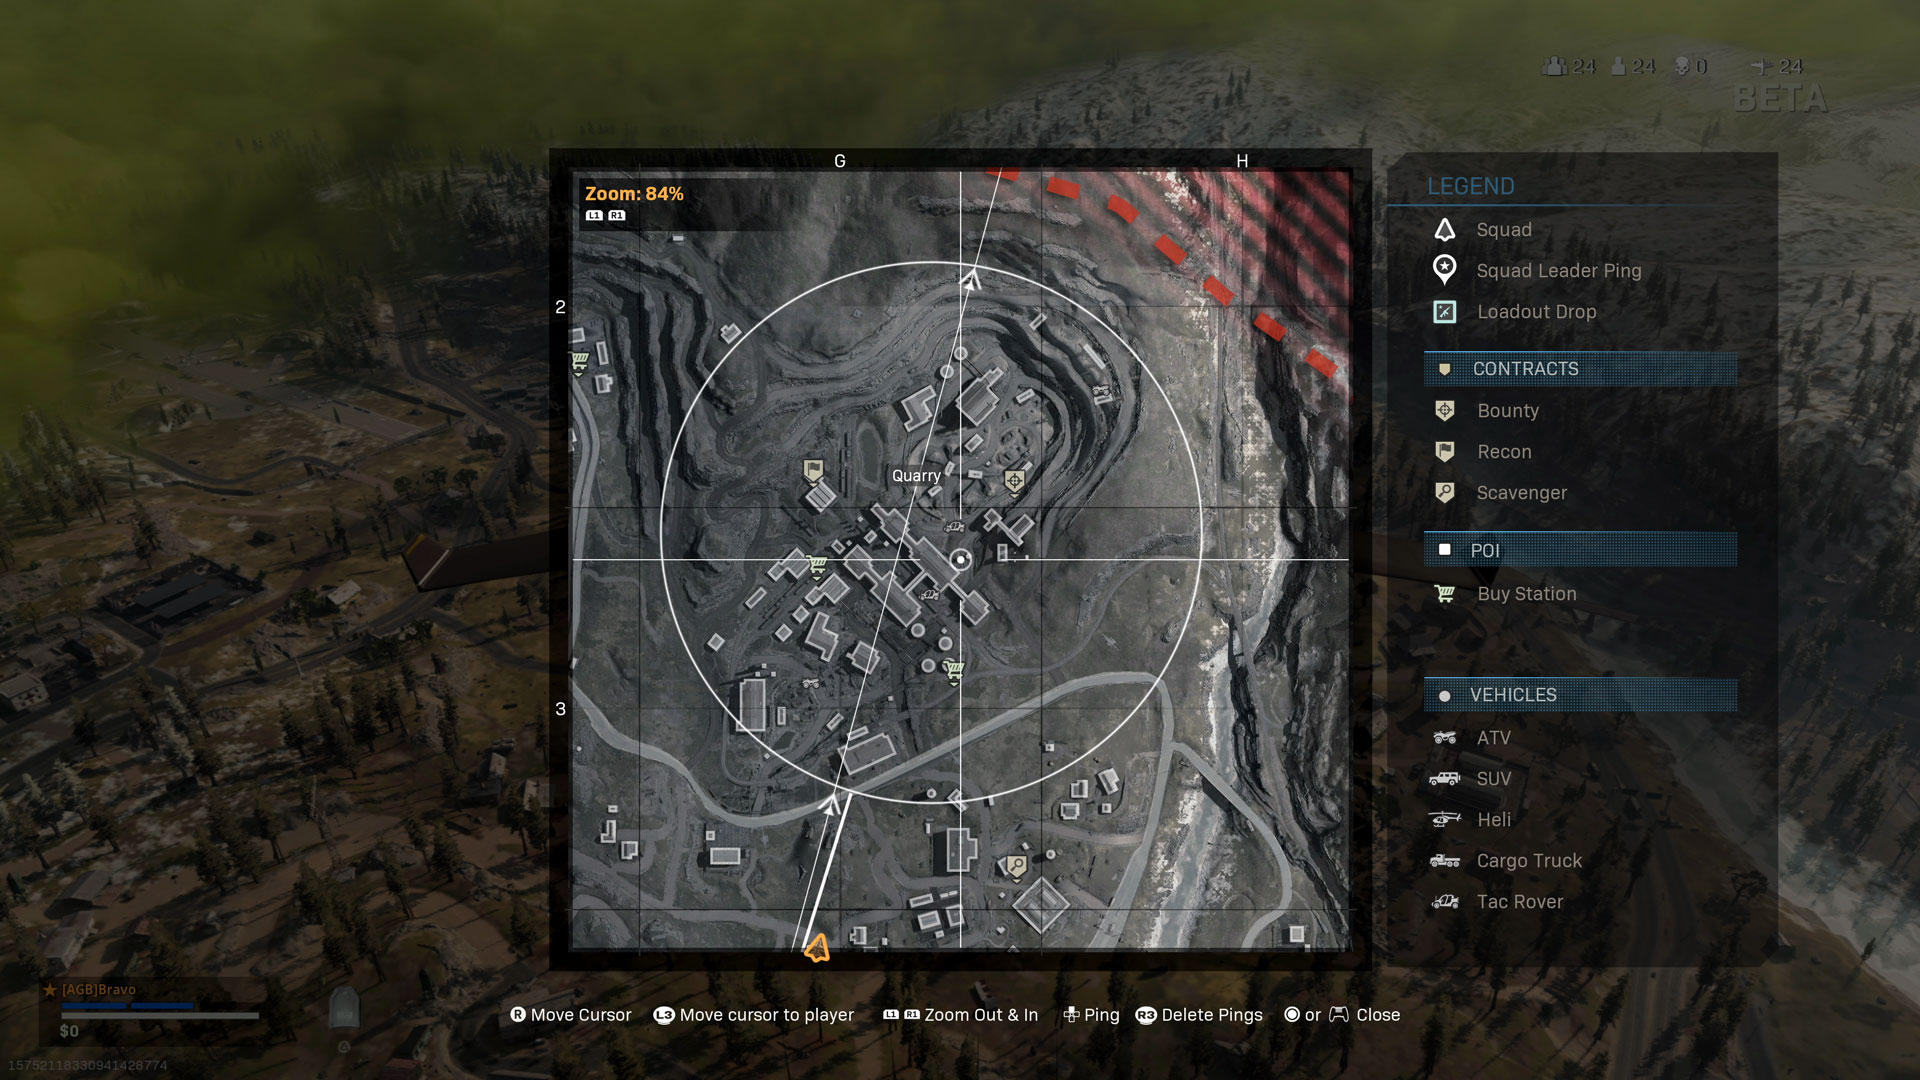
3. Tac Map and Circle Collapse: It’s important to bring up your Tac Map before you drop, so you can quickly ascertain where you’re wanting to land, the nearby areas of interest, the named areas and where they are in relation to you, and where the Circle Collapse is likely to start. Note the Circle Timer, which in this practice session closes quickly around Karst River Quarry, in the northeast corner of Verdansk.
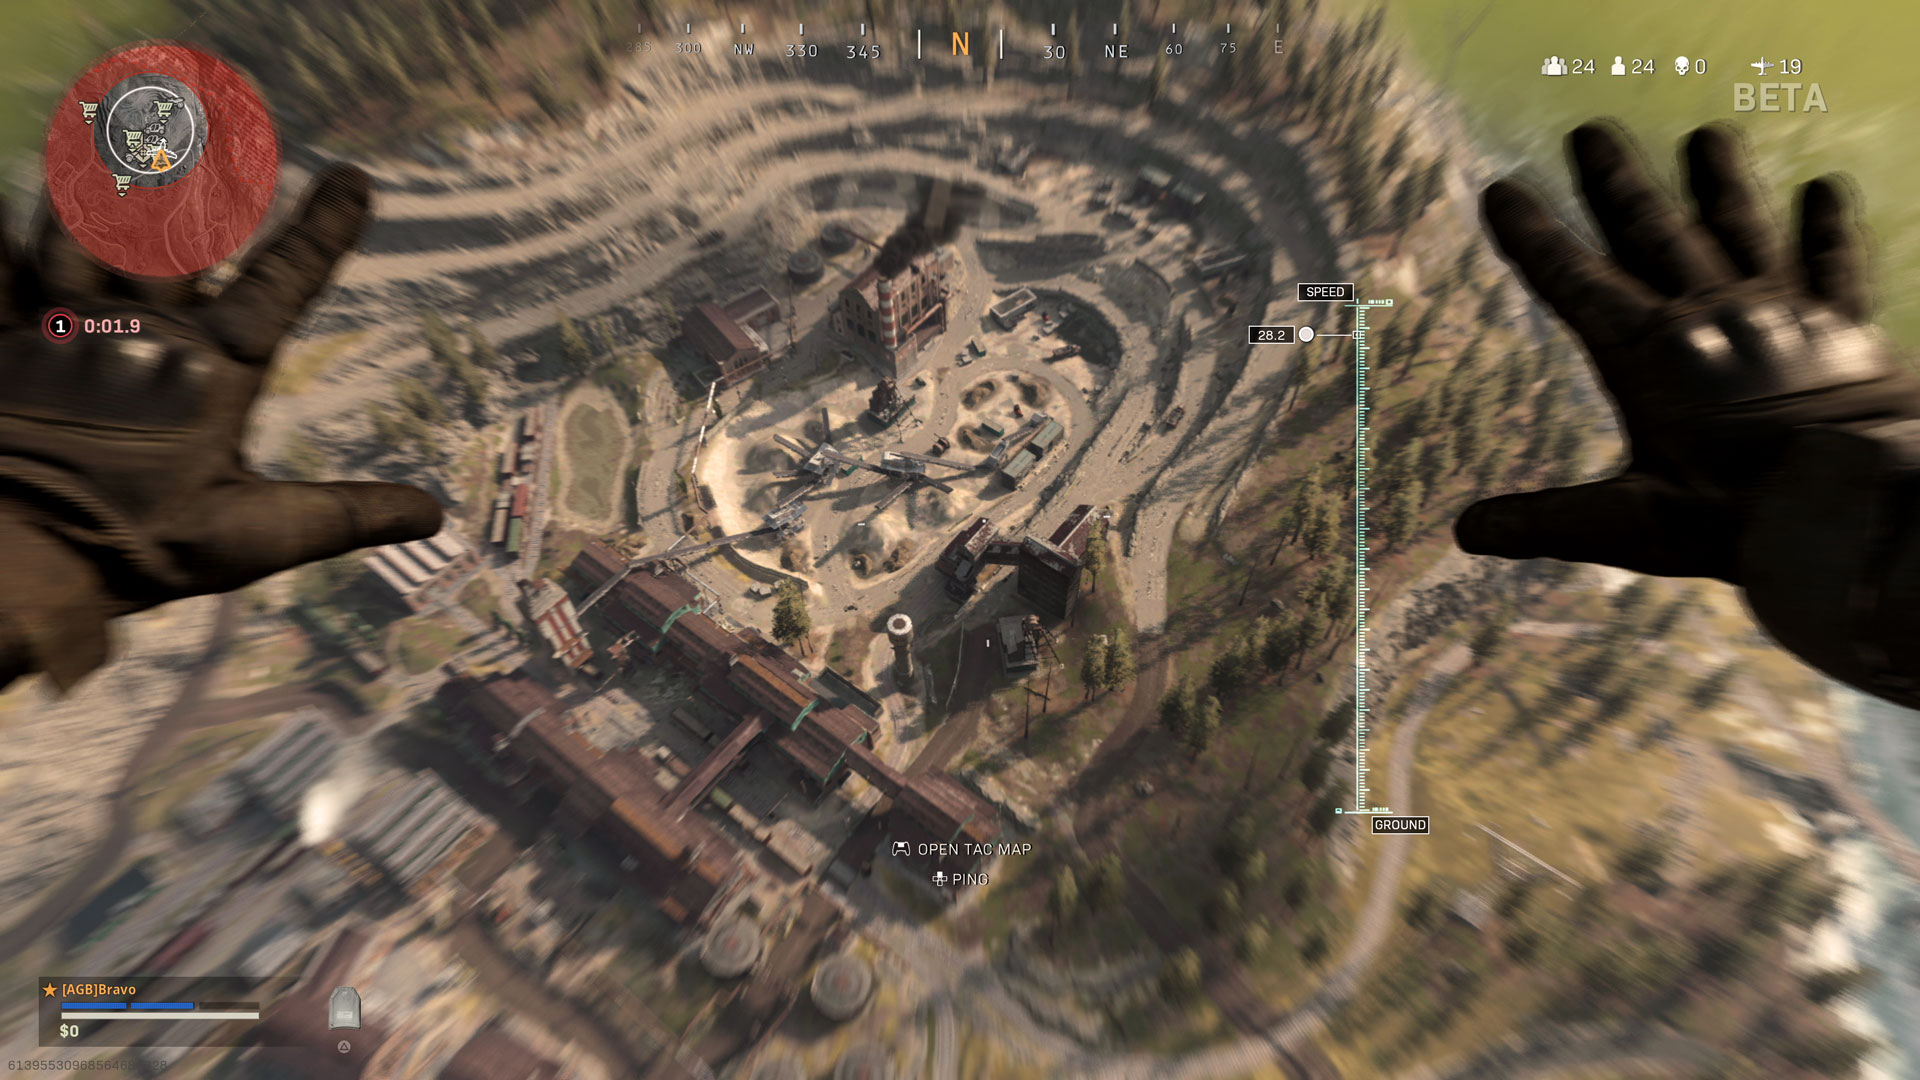
4. Drop from the Plane: Simply follow the on-screen prompt and drop from the plane when you feel the time is right; when you’re over a zone you wish to explore, when your squadmates have just dropped, or when most of the enemies have left the plane: The choice is yours. You’re forced out of the plane before it leaves the warzone, so drop before you’re pushed!
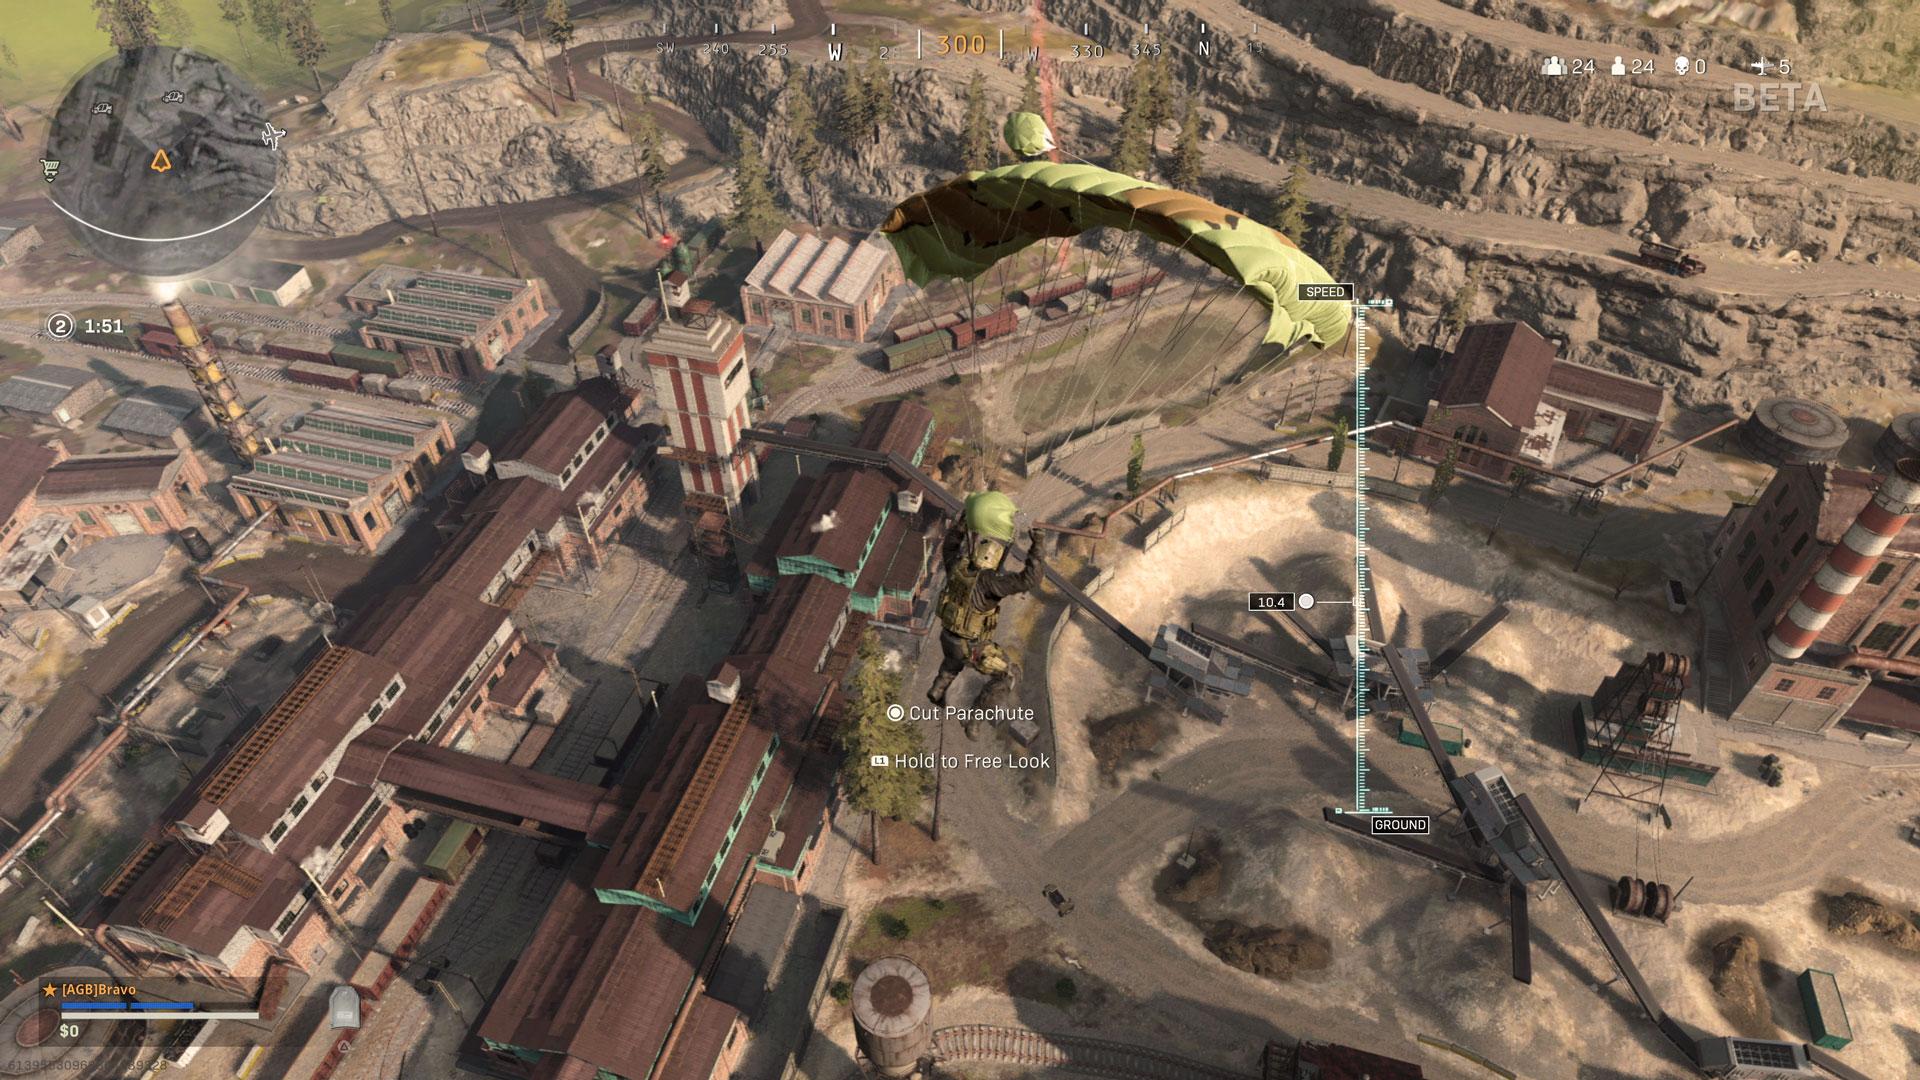
5. Parachute and Land: Deploy your parachute at any point between the drop and around 20 feet above the ground (or an object you’re wanting to land on). Then optionally Cut the parachute to freefall again, or choice Free Look to see a third-person view of your descent. You automatically deploy your ’chute in this practice tutorial: That doesn’t happen in a real game!
Initial Activities: Looting and Contracts
You are given a pistol, seven bullets, and 20 enemies to defeat. The practice ends when all 20 foes are eliminated. This means you can complete any of the following, but most are optional activities:
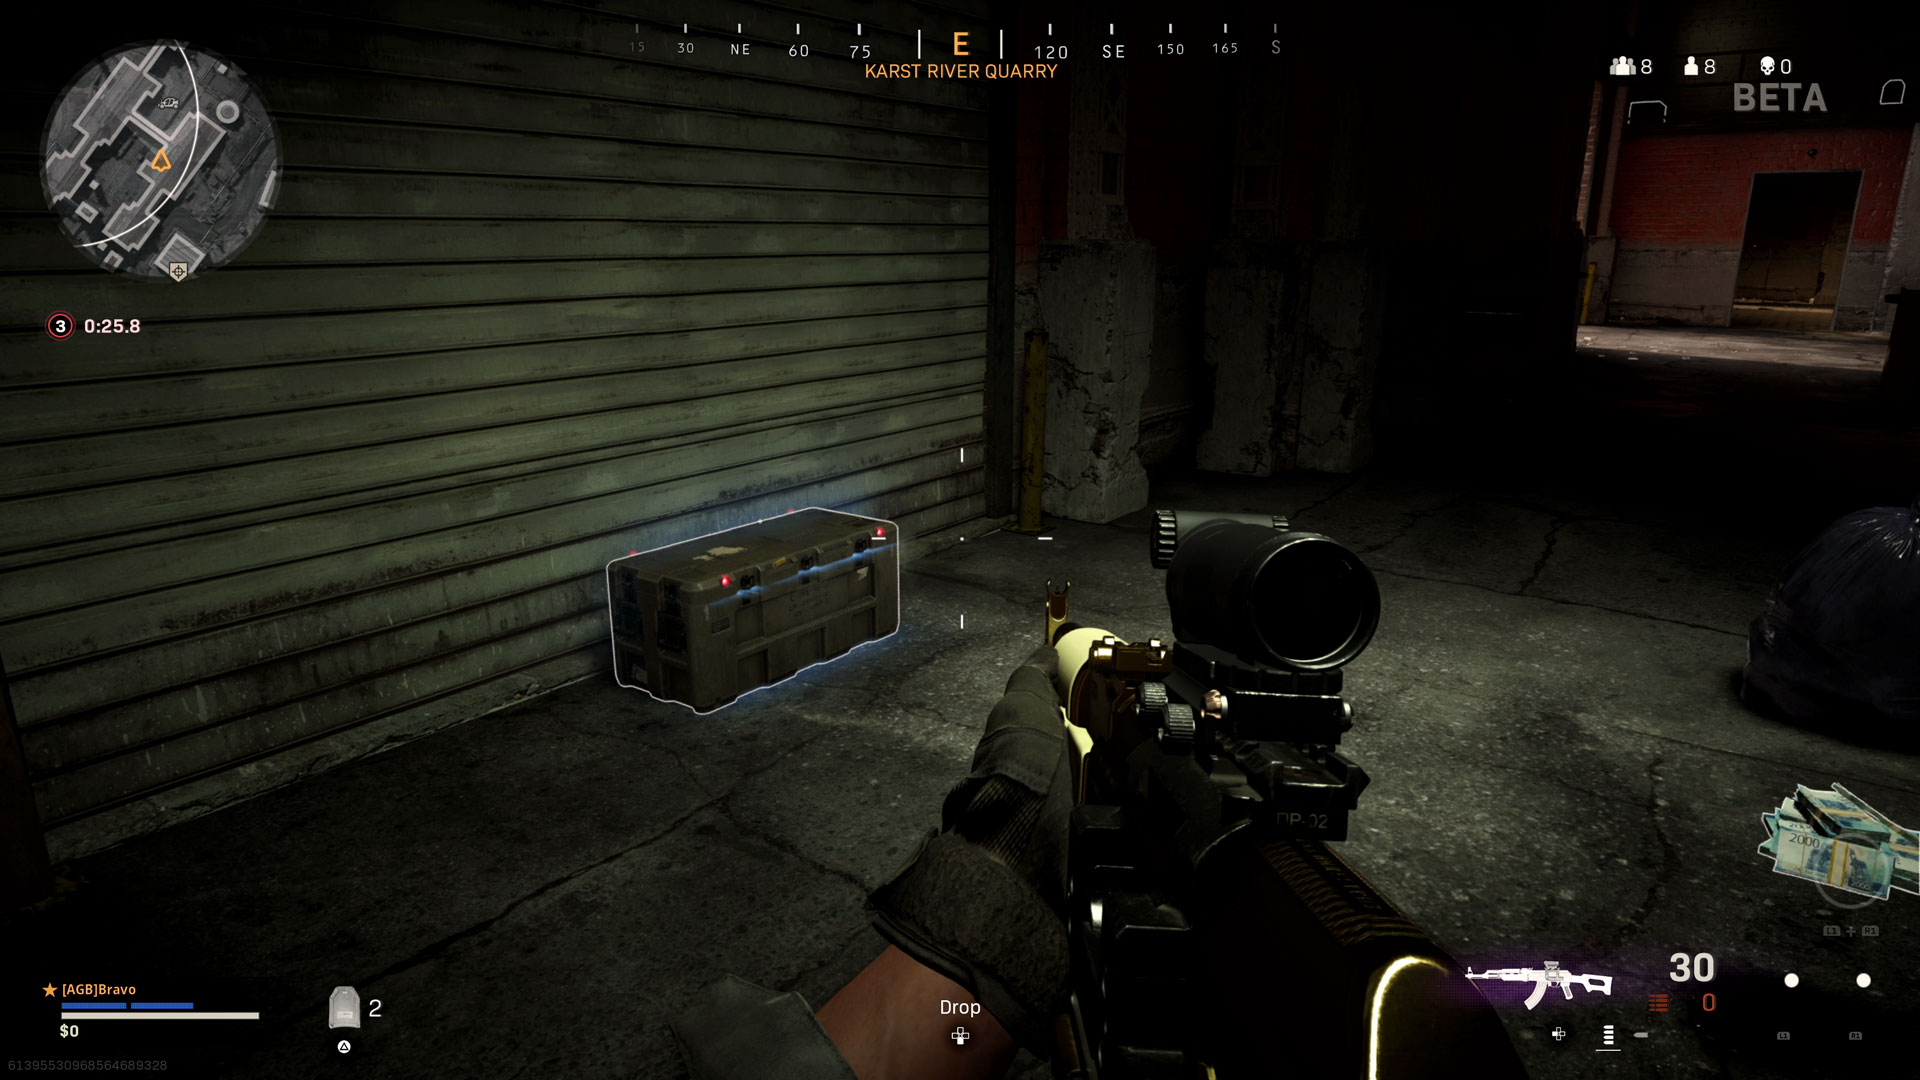
6. (Defeat 20 Enemies) Looting Equipment: Switch to your pistol (unless you’re wanting to punch enemies). Begin a sweep of the vicinity you’ve landed in, looking for single items or Supply Boxes which open and spill out multiple items. Your focus should be obtaining a Primary Weapon; grab and equip it. Try the interior of the quarry buildings for better initial loot.
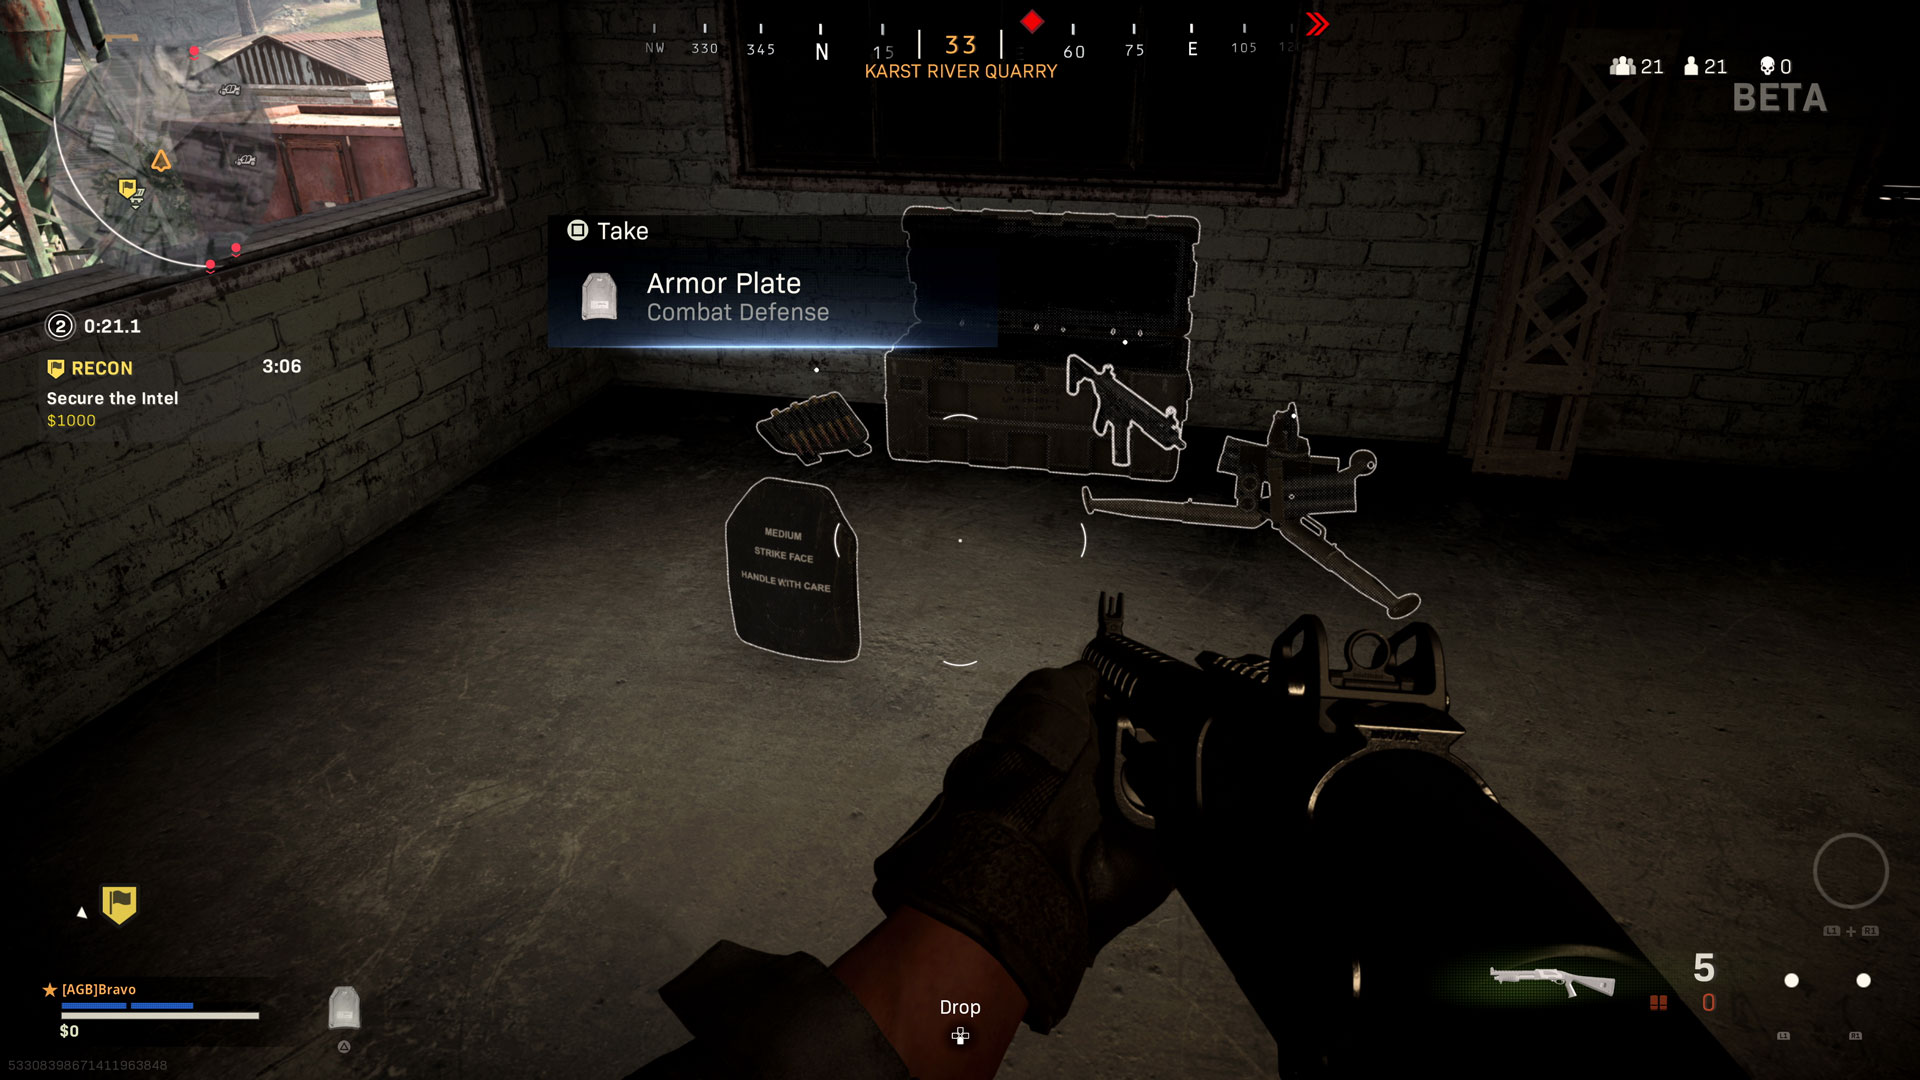
7. (Defeat 20 Enemies) Equipping Armor Plates: Look for Armor Plates lying around in situ, as part of a Supply Box you’ve opened, or as a bundle of five you can purchase from a Buy Station. Grab them, and then equip them. Find three or more if you can, so you’re fully armored and protected for the duration of this practice sortie.
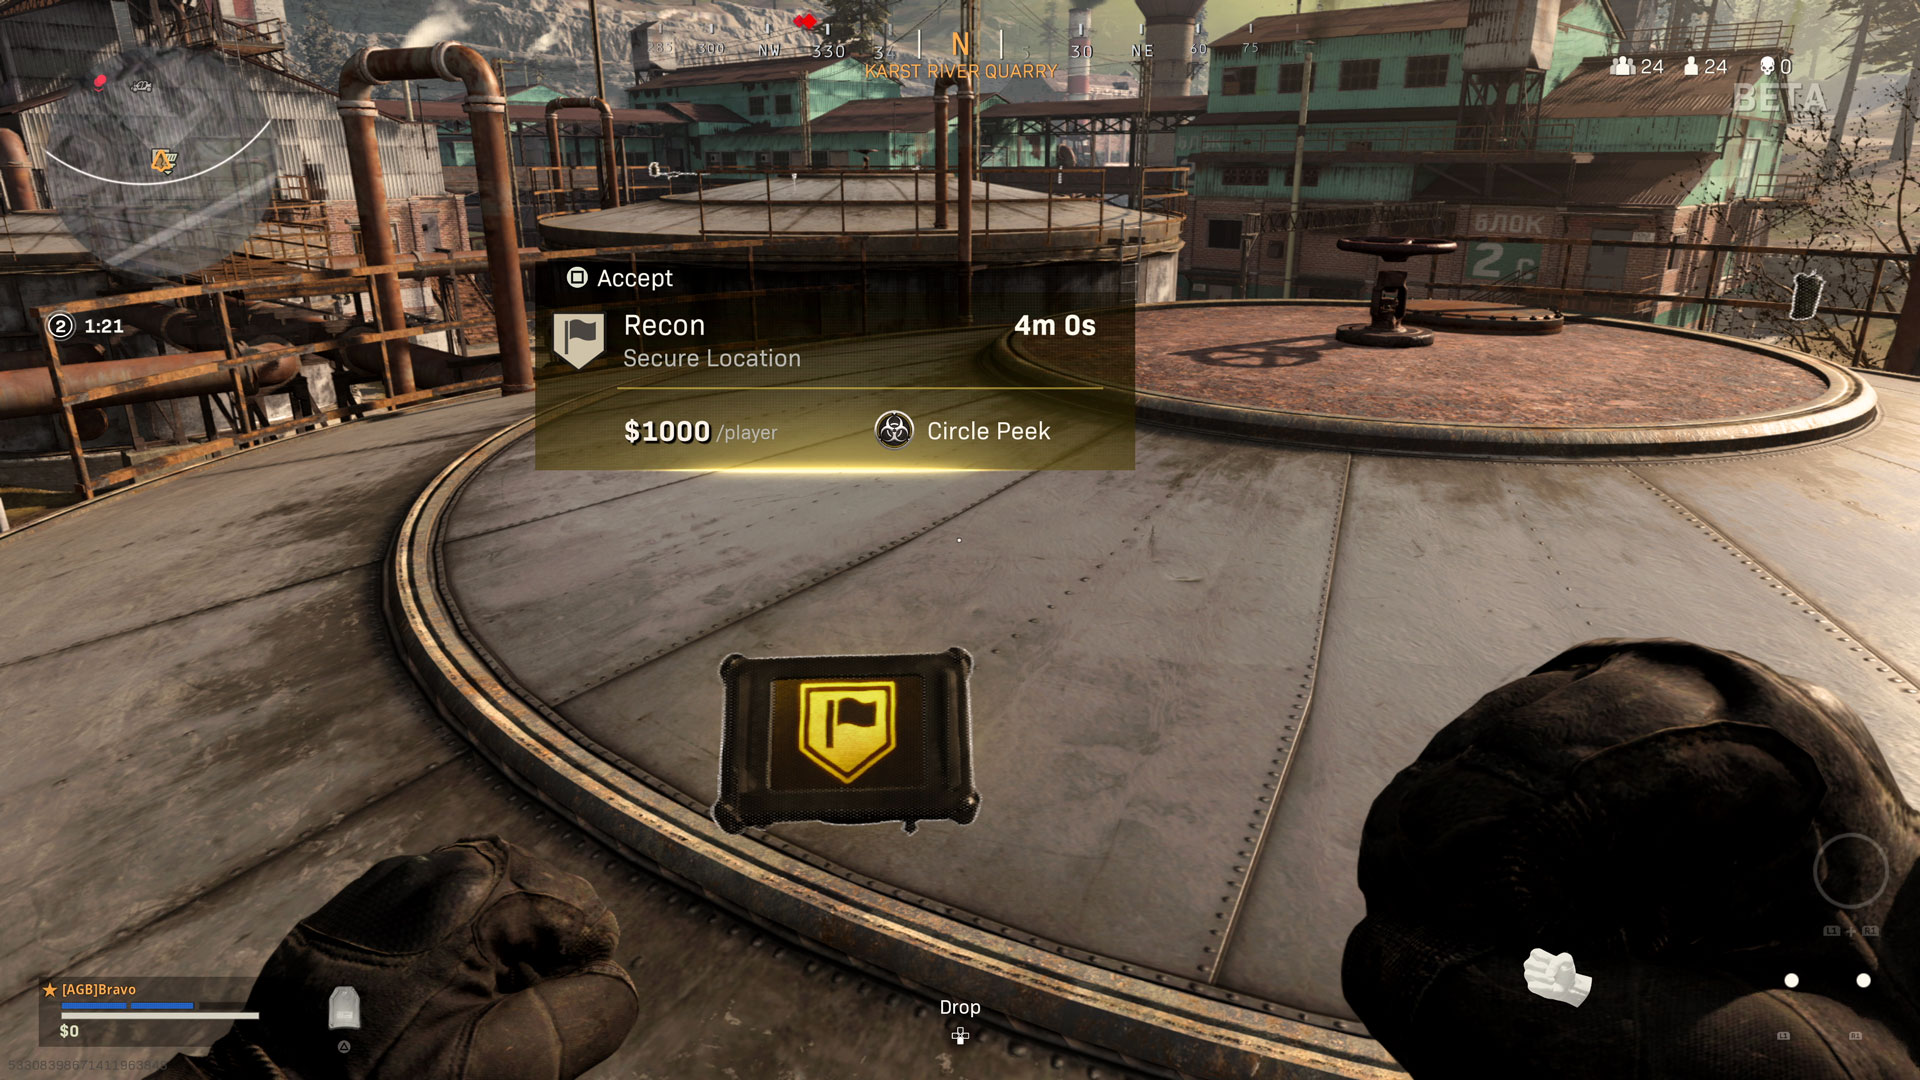
8. (Defeat 20 Enemies) Acquiring Contracts: Look for Contracts (which appear both on the mini-map and in situ), activate one by reaching the tablet and accessing it, and complete it for additional Cash and/or Equipment. There are three possible Contract types to try.
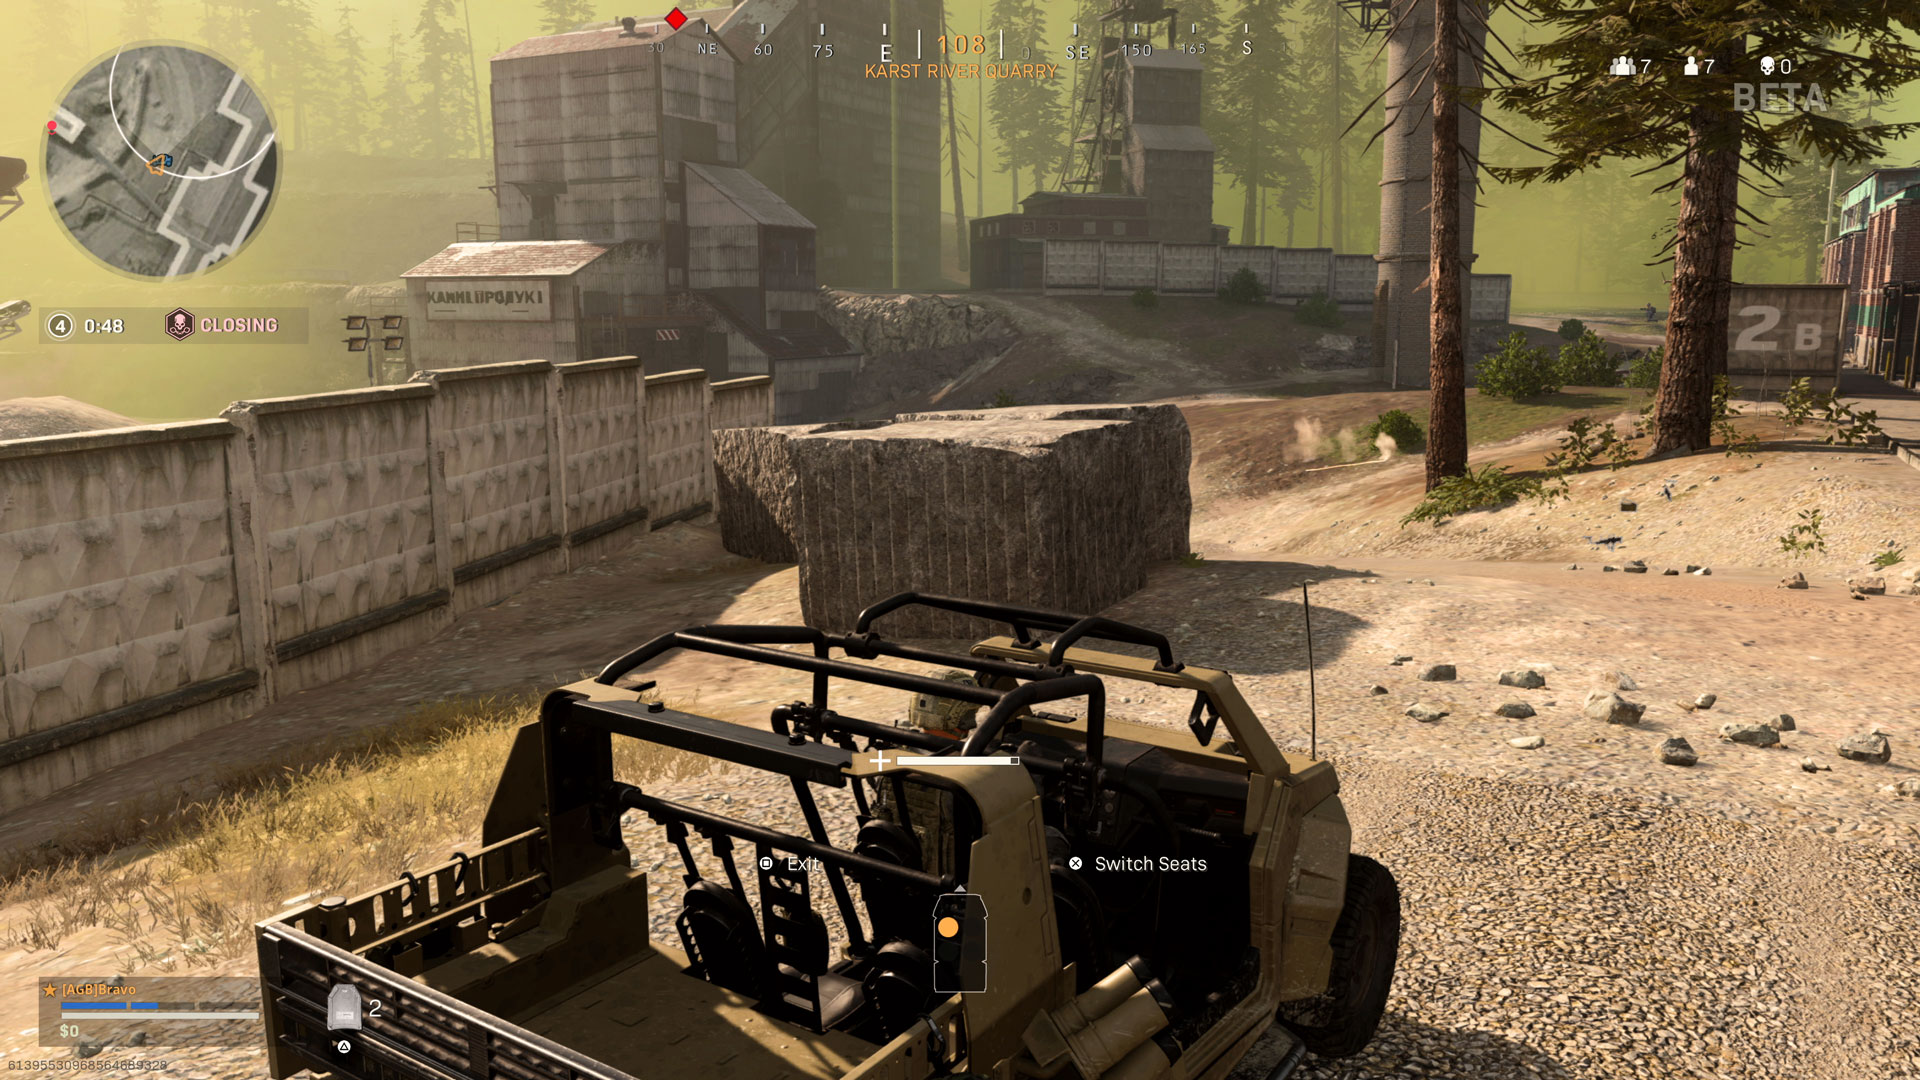
9. (Defeat 20 Enemies) Drive Vehicles: Look for vehicles on your Tac Map (both the main and mini versions) and jump into the driver’s seat. Use the vehicle to move quickly around the map, take jumps and maneuvers that would normally kill you, and ram into enemies to dispatch them, which can save on ammunition.
Initial Activities: Buy Stations
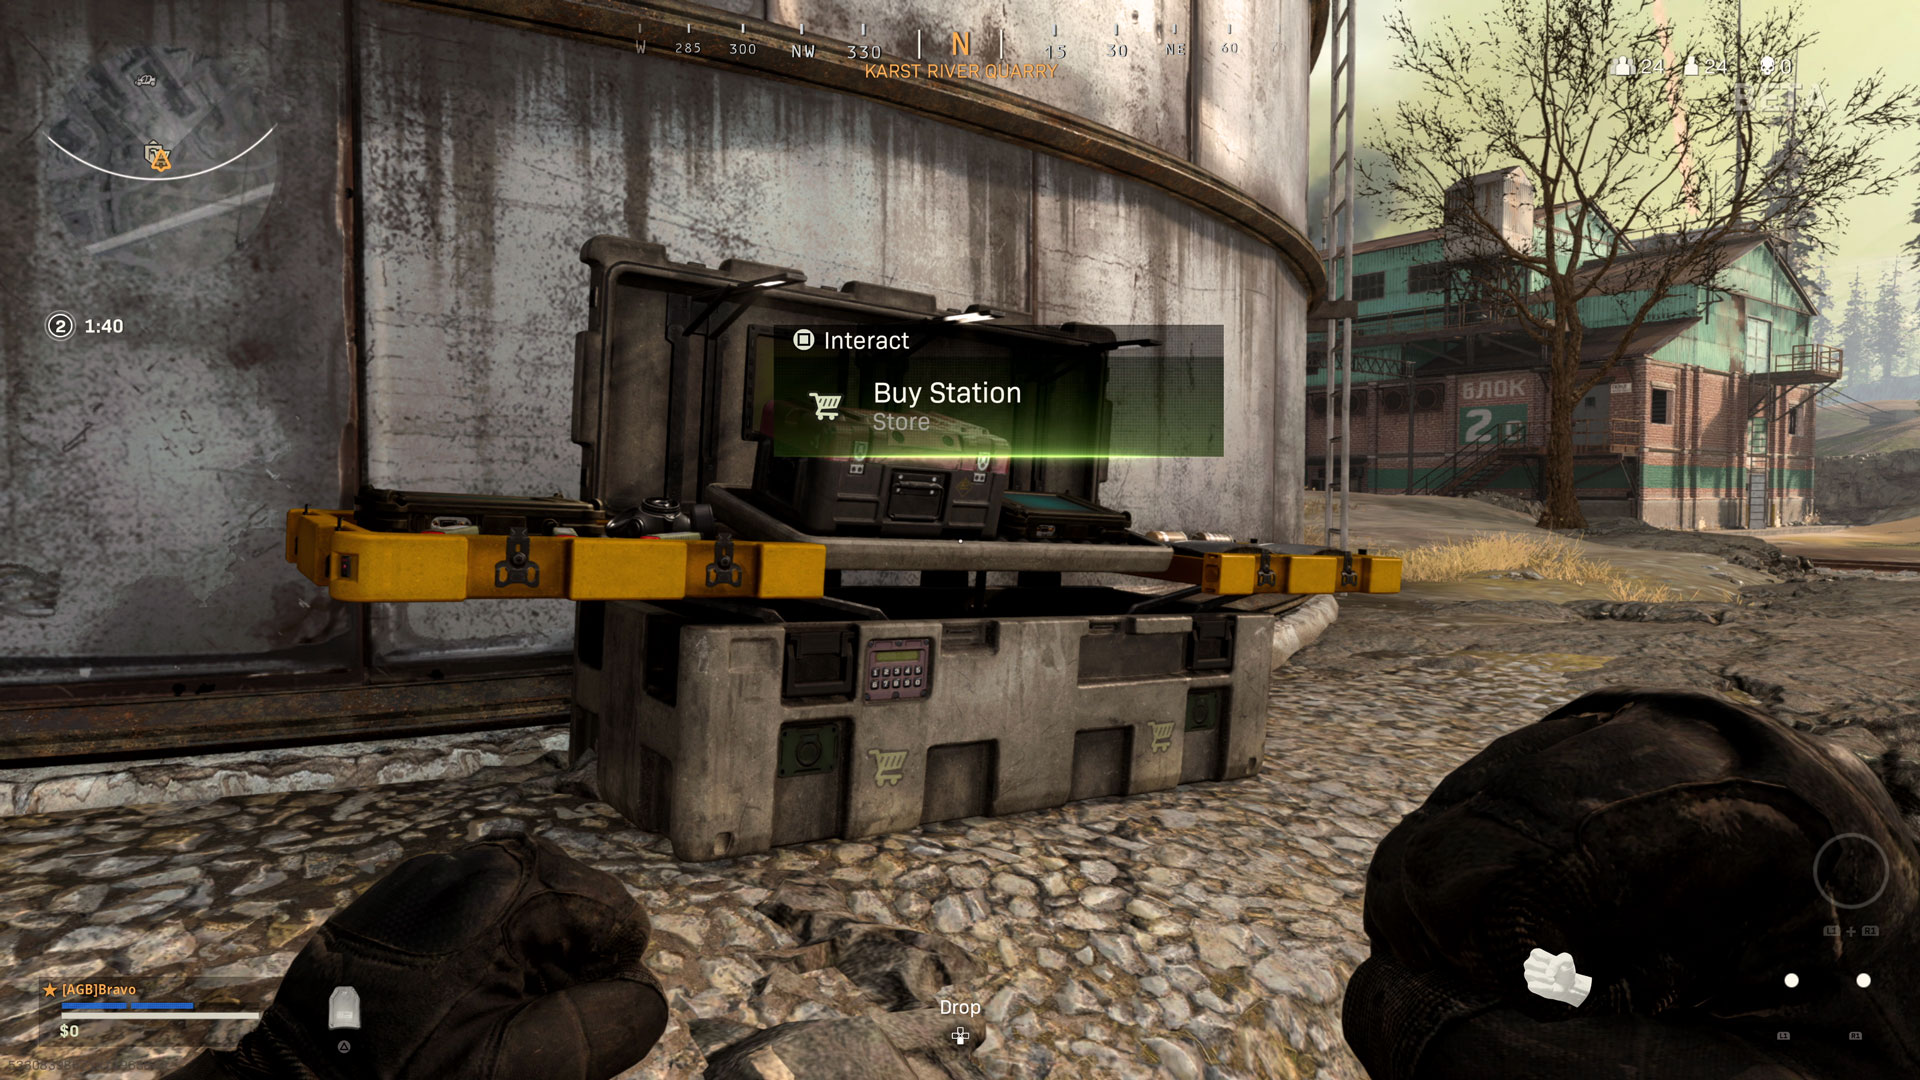
10. (Defeat 20 Enemies) Buy Stations: Though optional, should you start collecting Cash (by completing Contracts, finding Cash in the environment, or looting foes), you can spend Cast at a Buy Station. Simply find one on the Tac Map (the Shopping Cart icon), visit it, and purchase Armor Plate Bundles, Gas Masks, Killstreaks, a Self-Revive Kit, and even a Loadout Drop.
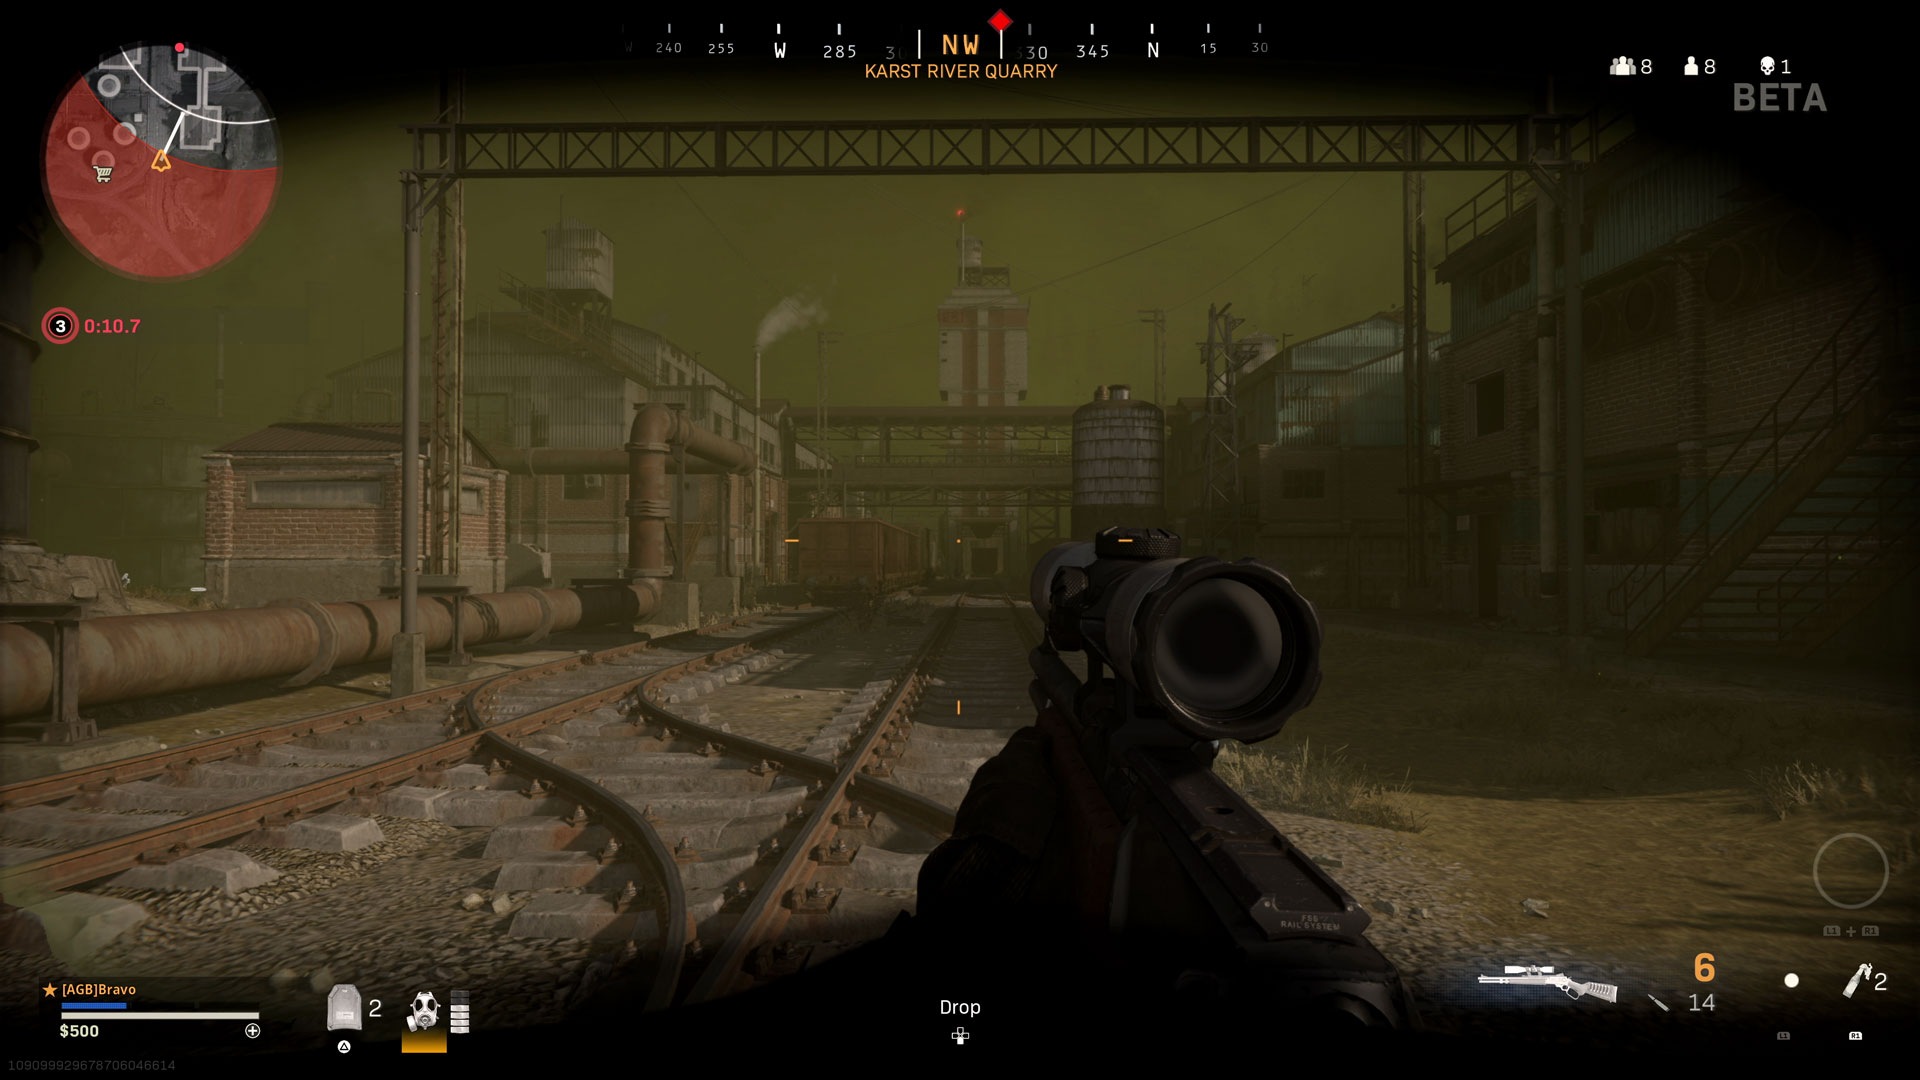
11. (Defeat 20 Enemies) Gas Masks: Found in Supply Boxes, lying in situ, or purchased in Buy Stations, Gas Masks allow you to survive for around 12 seconds while inside the encroaching gas cloud that the Circle Collapse comprises of. Otherwise, expect to start choking, and losing health, after around two seconds.
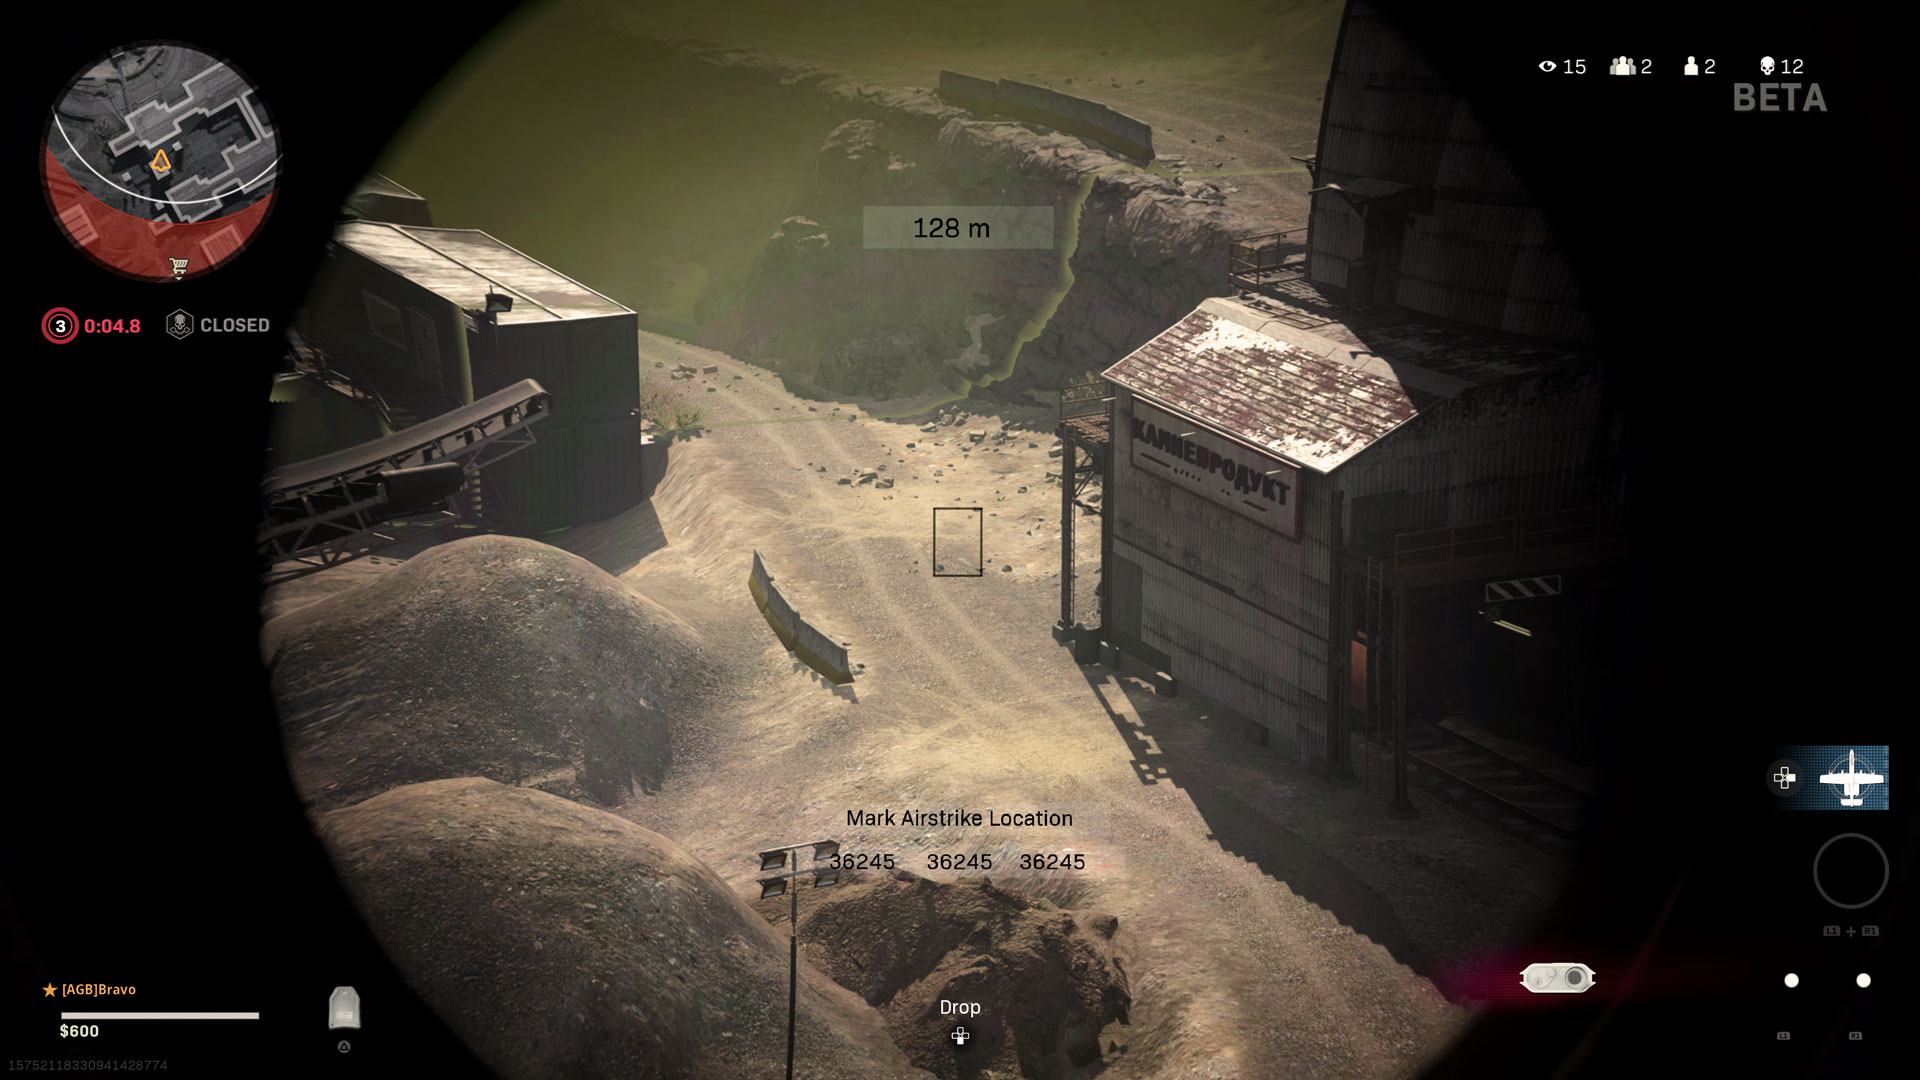
12. (Defeat 20 Enemies) Killstreaks: Purchased from a Buy Station, Shield Turrets, Cluster Strikes, Precision Airstrikes, UAVs, and Munitions Boxes are all available to employ. These are worth testing out, but are purely optional, and overkill for this practice tutorial.
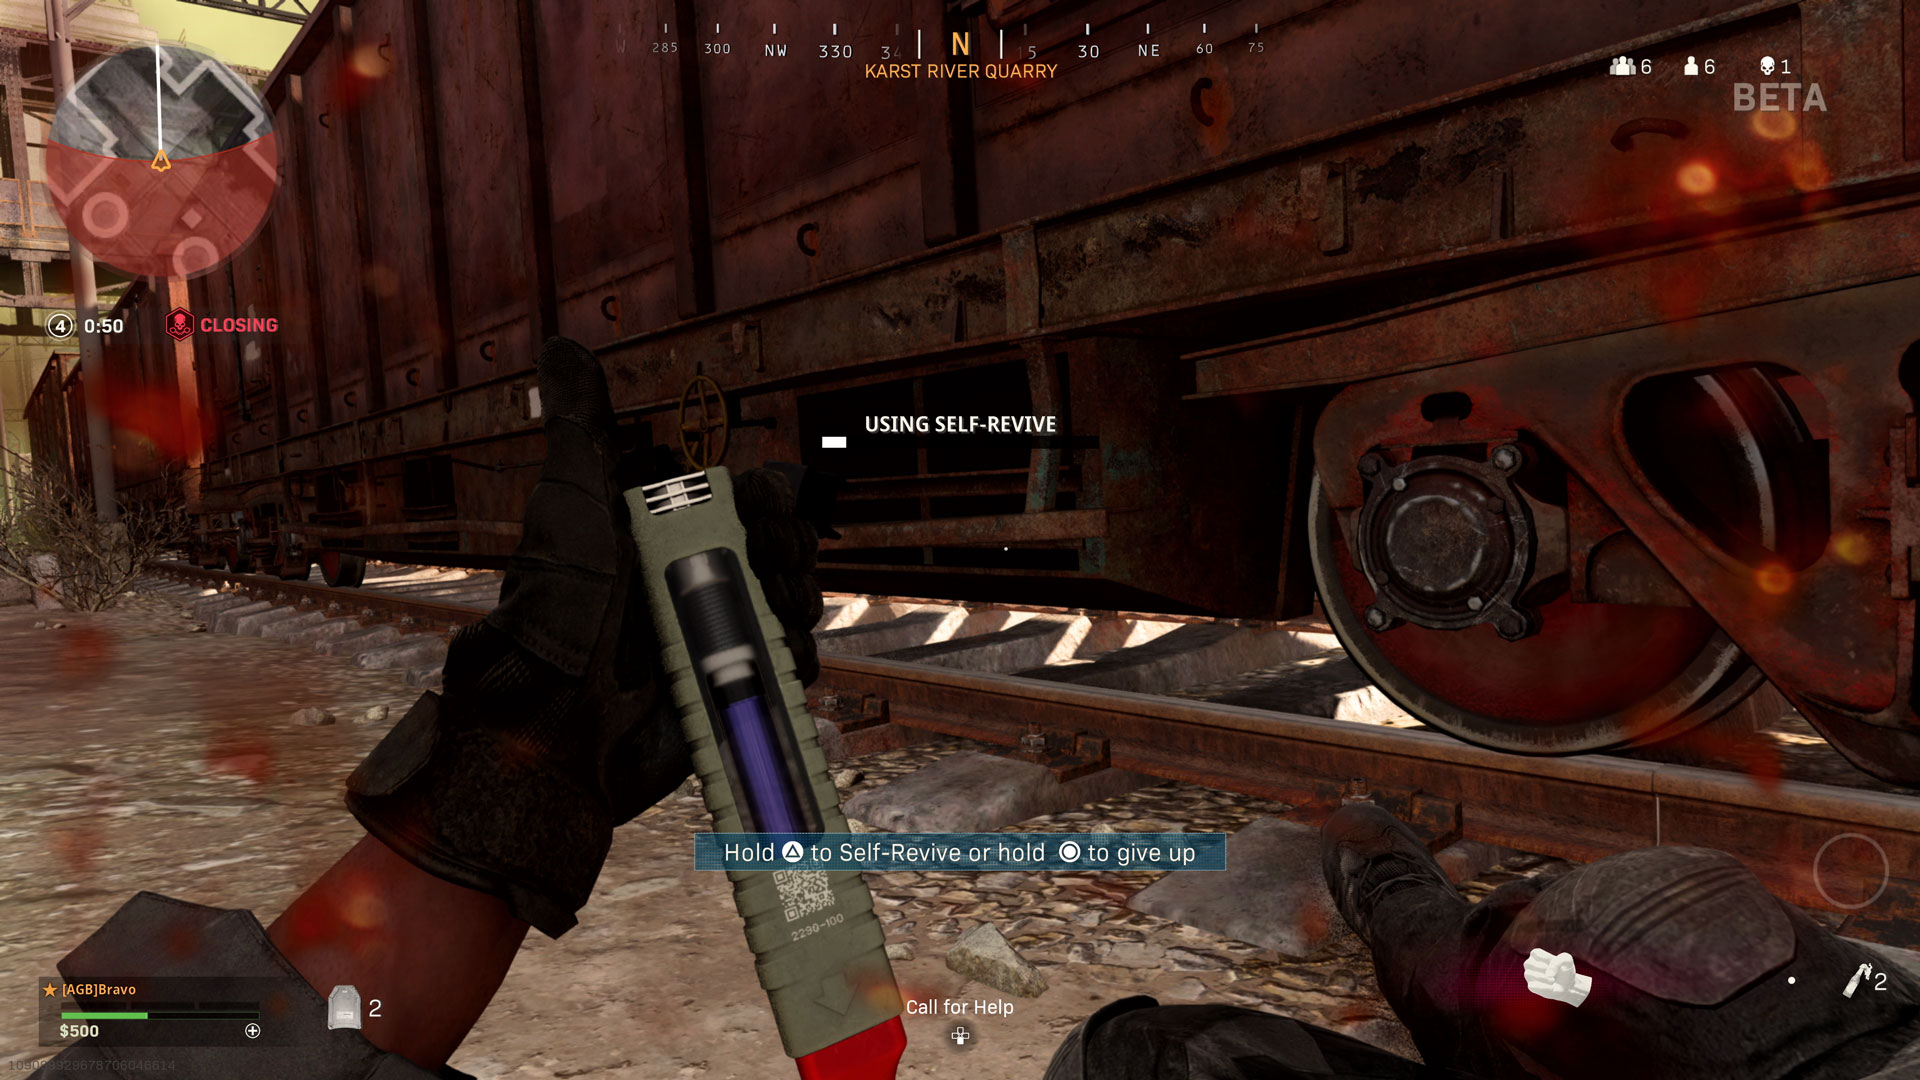
13. (Defeat 20 Enemies) Self-Revive Kits: If you engage the enemy and they get the better of you, you’ll drop to the ground and start to bleed out; known as being “Downed”. If you aren’t revived by a squadmate, you will either die, or (in Battle Royale) visit the Gulag. A Self-Revive Kit allows you to heal up and instantly return to battle from a Downed position, though it’s purely optional to use in this tutorial.
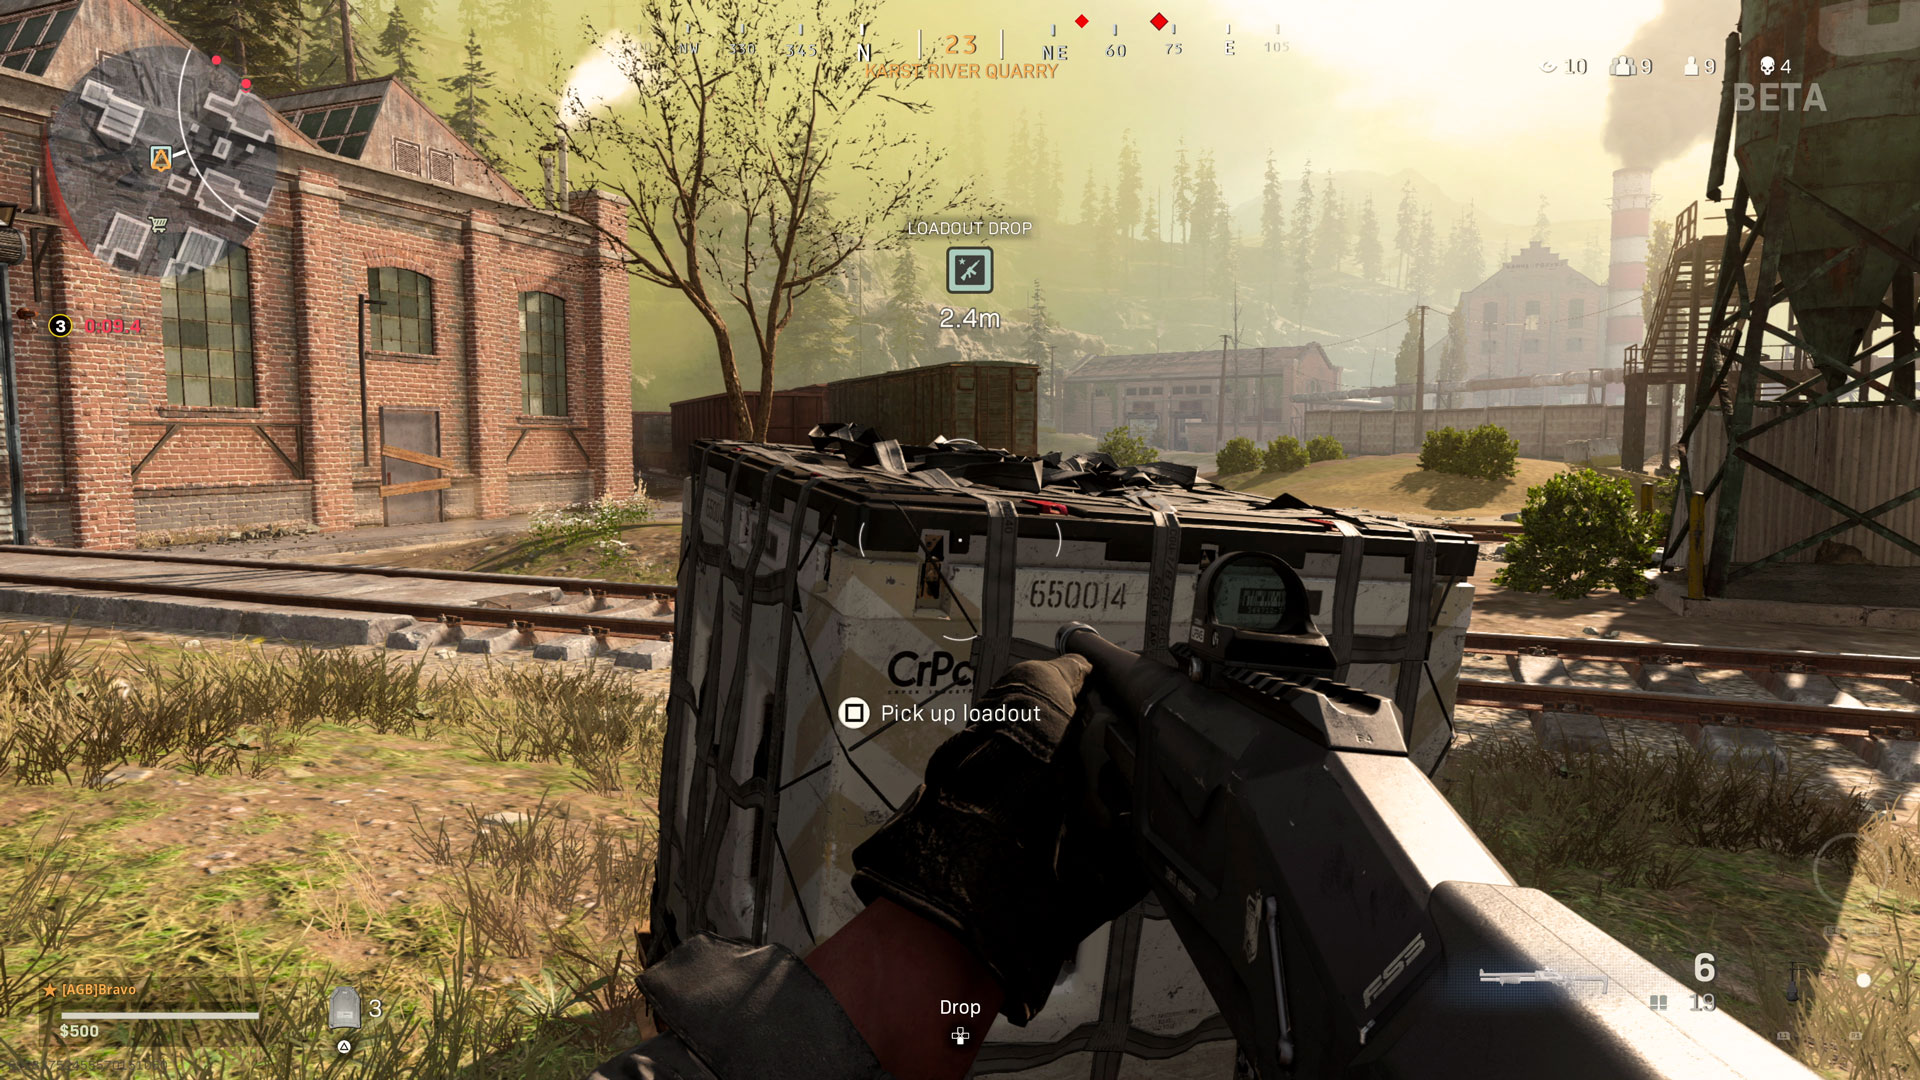
14. (Defeat 20 Enemies) Loadout Drops Kits: Purchase a Loadout Drop Marker from a Buy Station and use it to mark a location where a supply drop is deployed. Loadout Drops allow you to pick up a predetermined Loadout, including Perks (which are otherwise not accessible) during Battle Royale mode. When you have the funds, these are extremely helpful, as you can choose from any Loadout you have previously saved before the game started.
Enemy Engagement
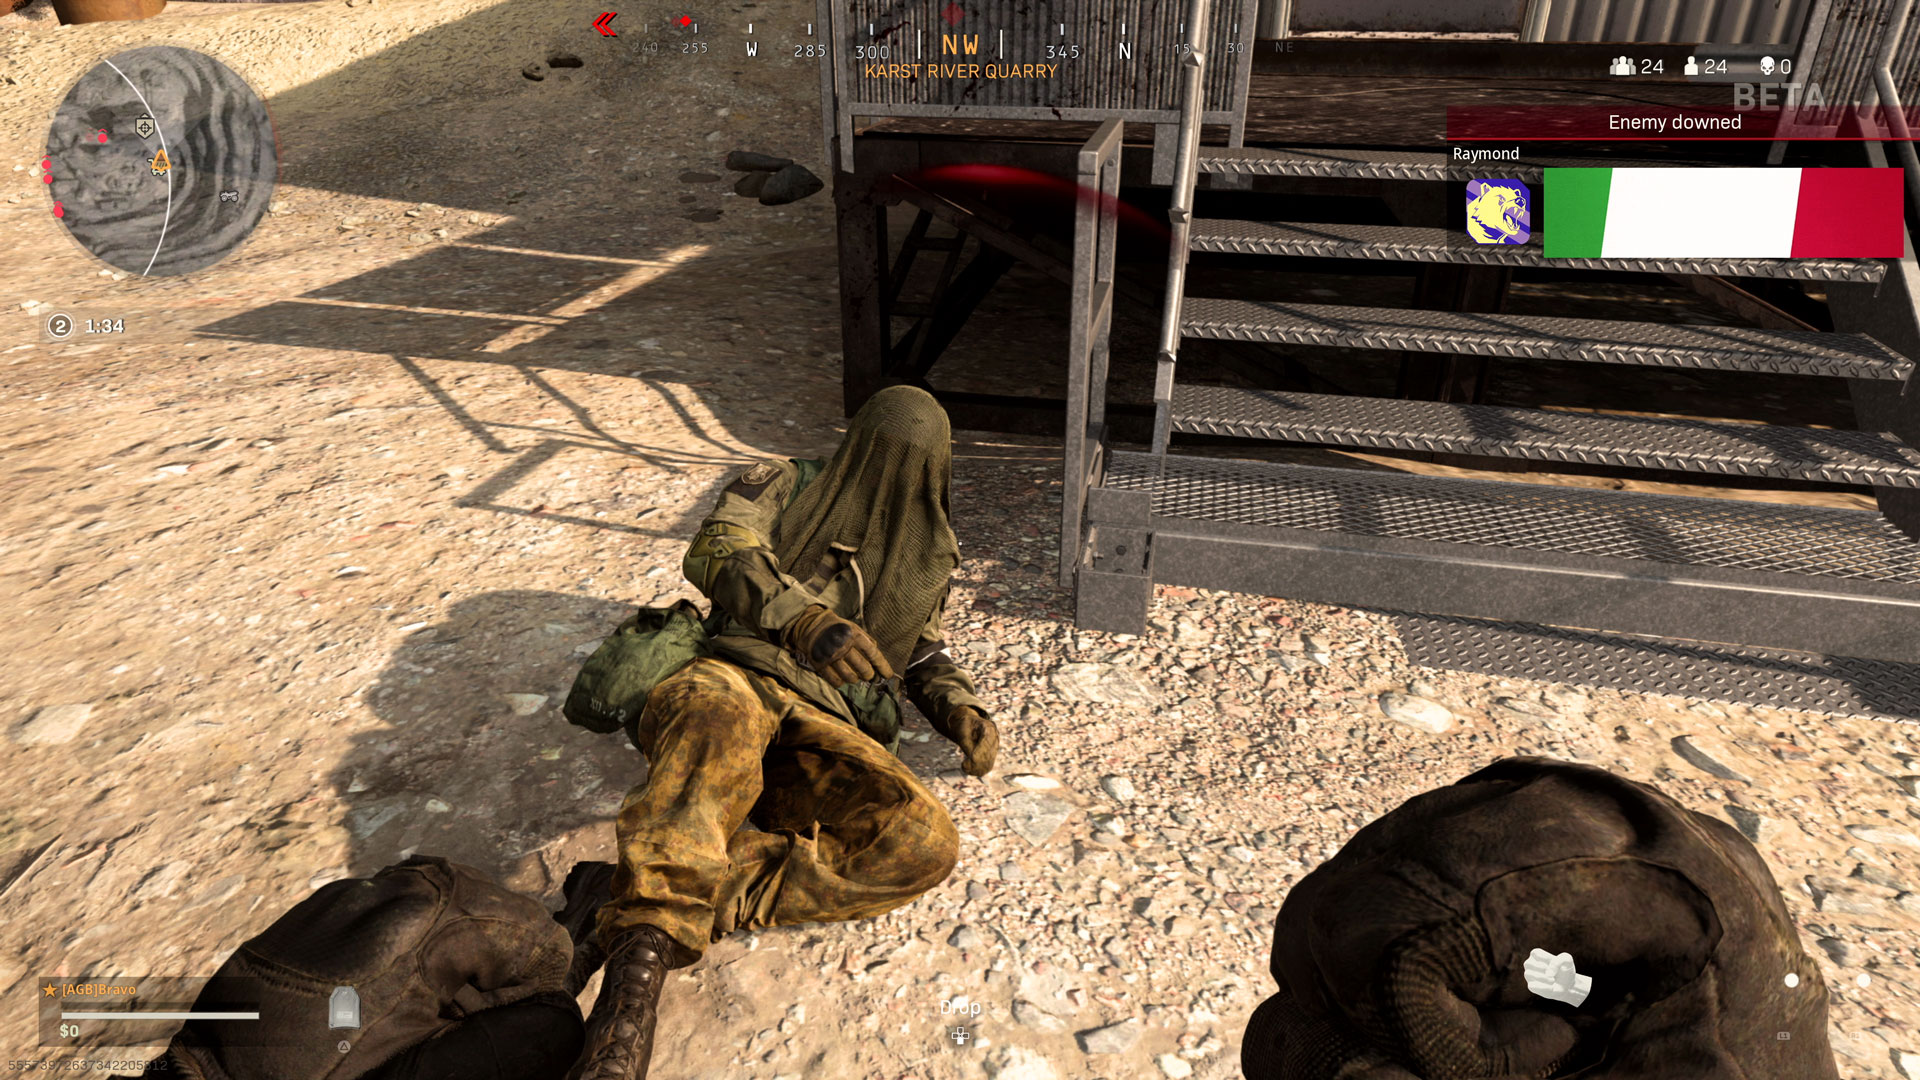
15. (Defeat 20 Enemies) Punching and Firing at Enemies: With the full range of scavenging techniques now learned, it’s worth figuring out how best to gain the upper hand against the enemy: This involves neutralizing them proficiently. You can punch them to death, though this is dangerous. Better to fire at them using any Primary Weapon or Secondary Weapon you’ve scavenged.
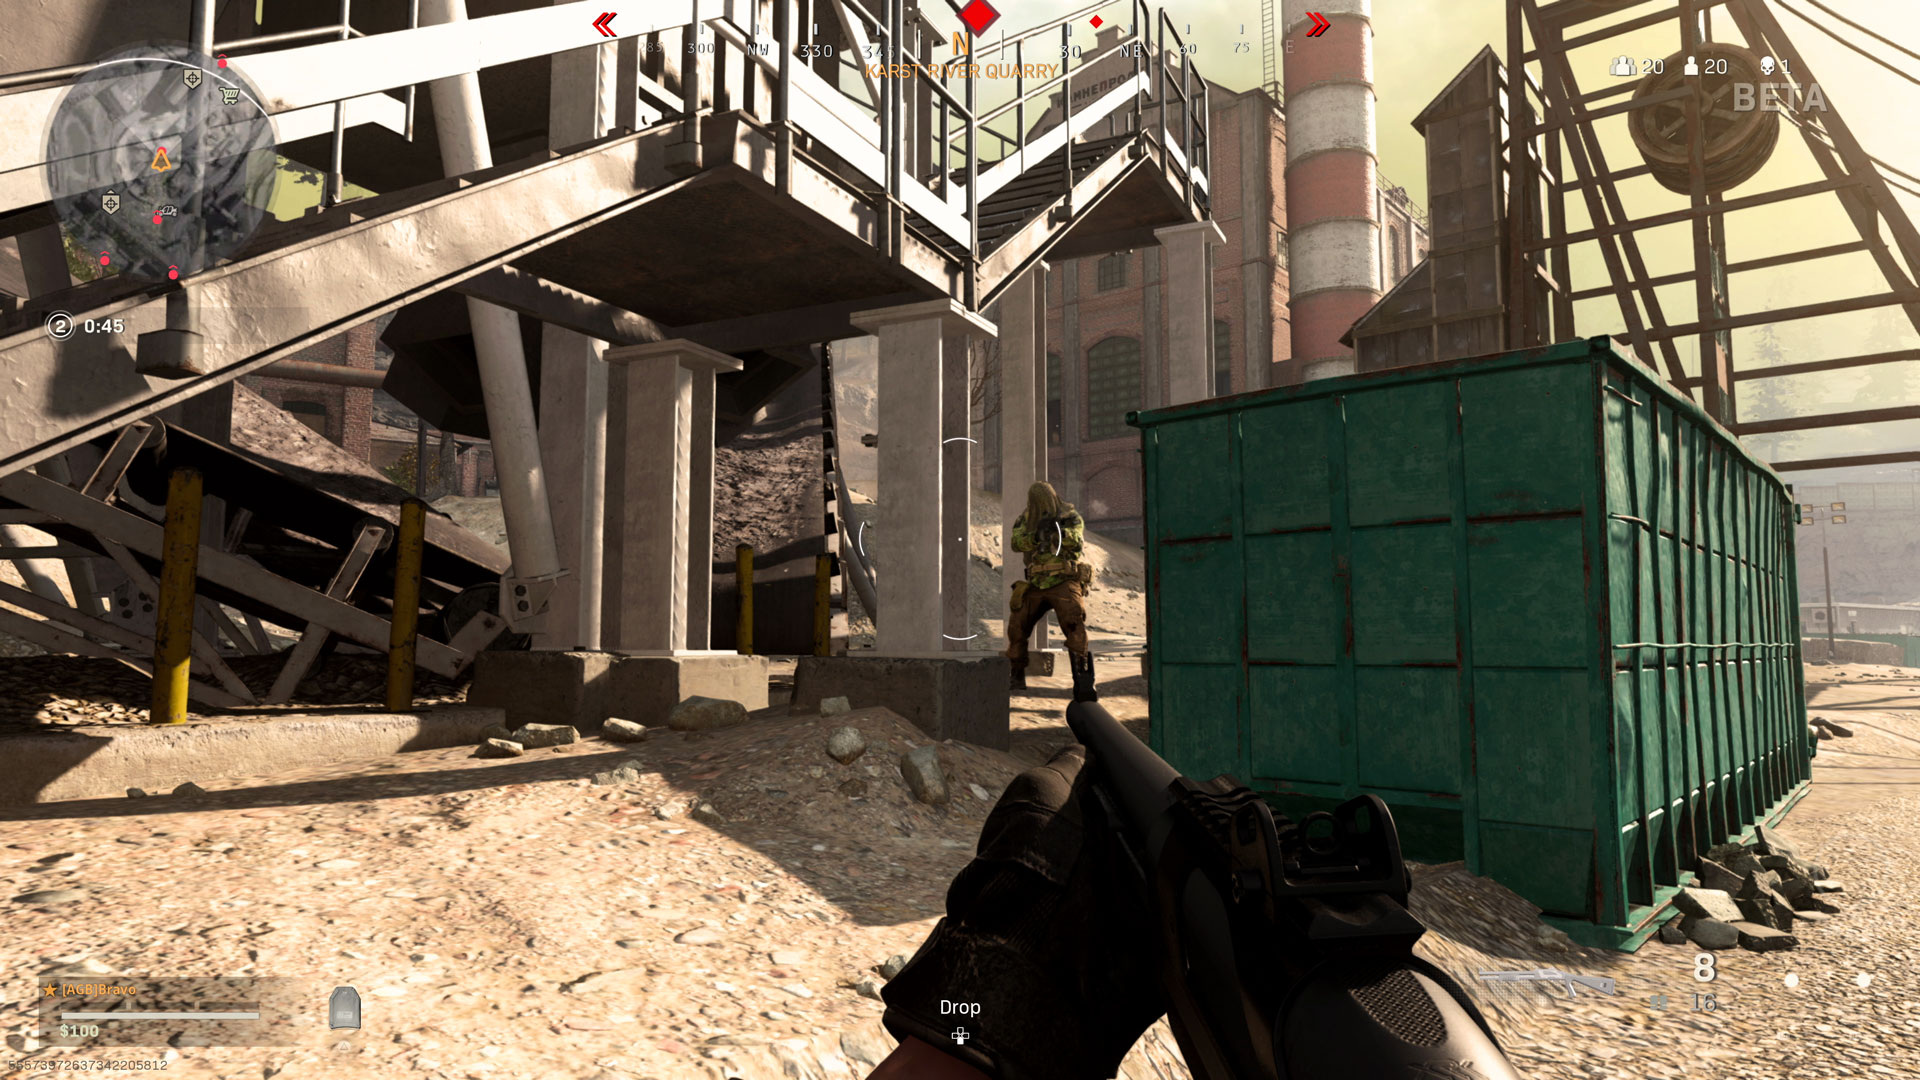
16. (Defeat 20 Enemies) Downing and Defeating Enemies: When you’ve shattered their armor (if they were wearing any), and wounded them severely, enemies drop to the ground and they enter a Downed state. They eventually bleed out but can be revived by their squadmates or if they use a Self-Revive Kit. Better to keep firing at or hitting them until they die.

17. (Defeat 20 Enemies) Looting Enemies: You’ll know when an enemy has expired, as the majority of their loot drops from their corpse. You can now quickly loot these items, sifting through the items quickly to secure the ones you need, before continuing on your way.
End Game
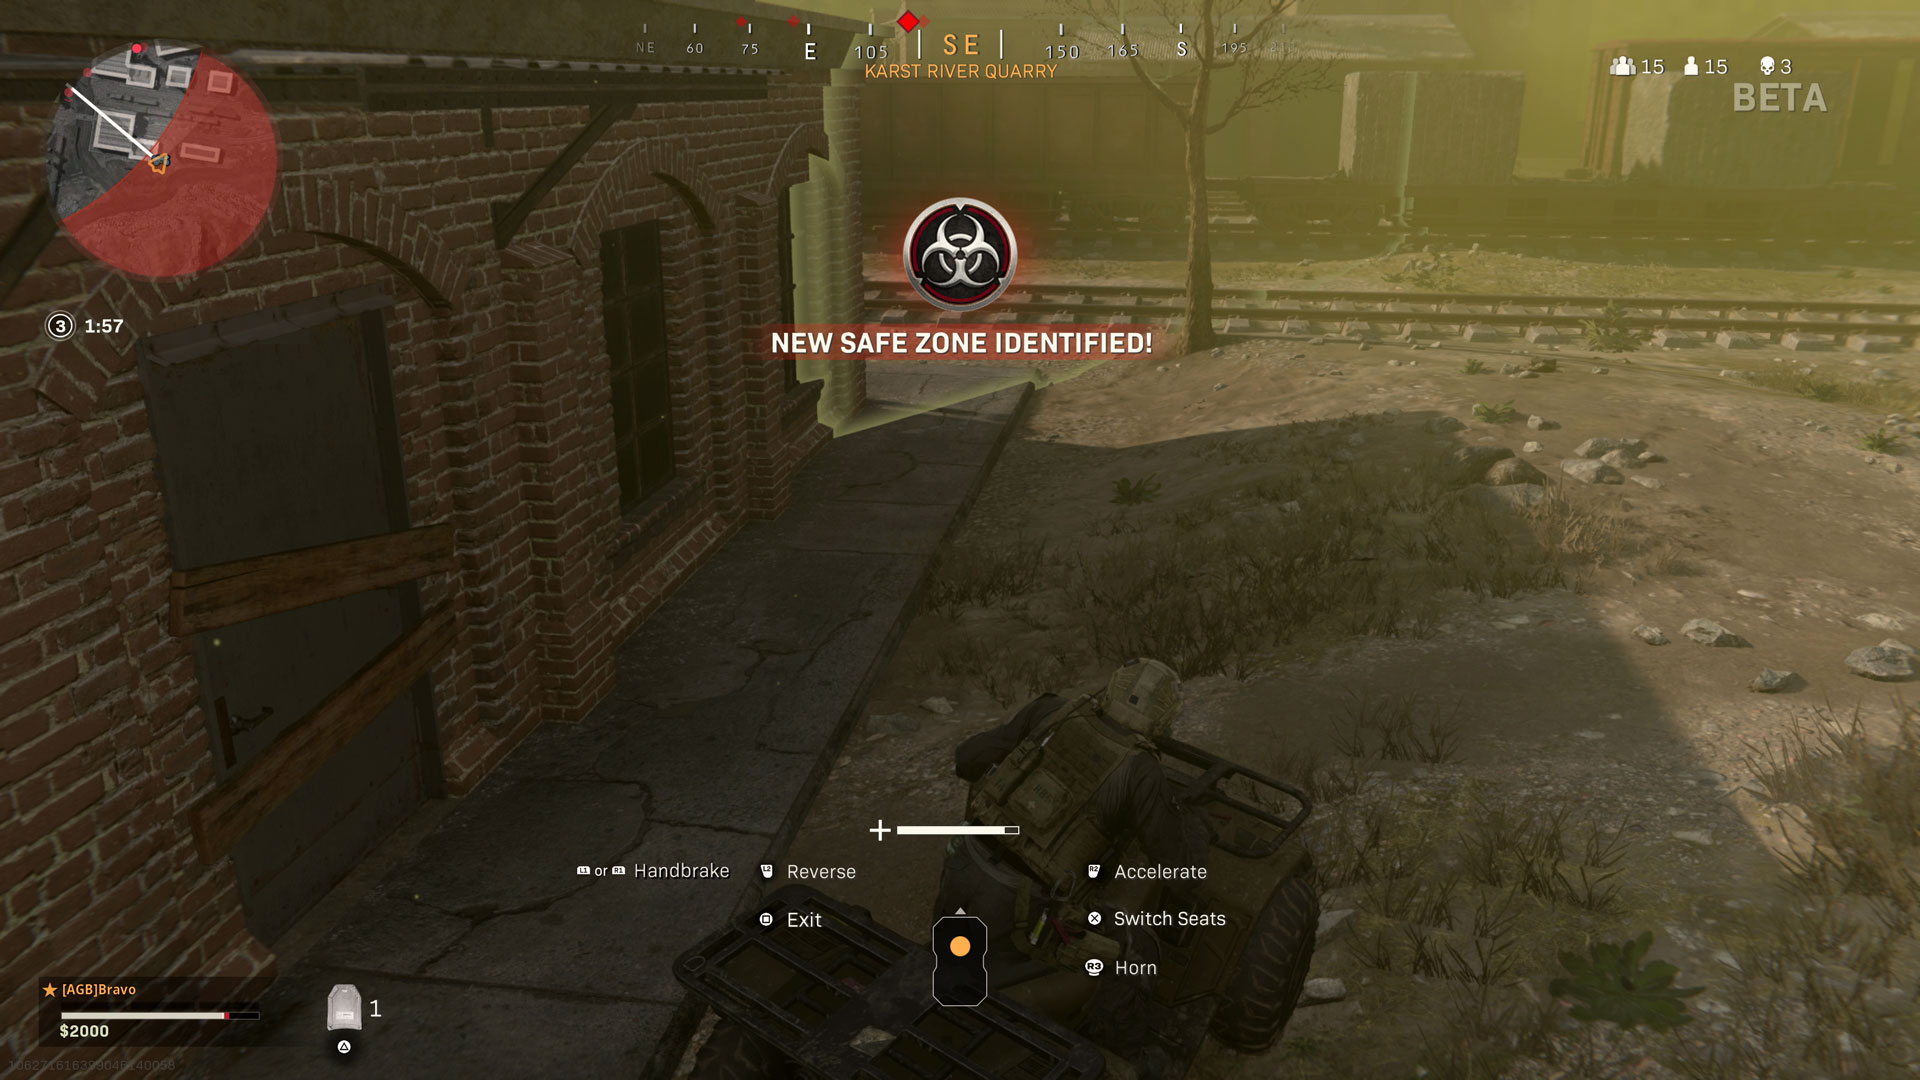
18. (Defeat 20 Enemies) Circle Timer and Safe Zones: Keep an eye on that ominous gas cloud and stay within the breathable air of the Safe Zone, or you’ll succumb to the noxious vapors. As the circle collapses, the play area becomes smaller and smaller, and the battle more fraught. Predict where the circle will collapse, keep an eye on the timer under the mini Tac Map, and use vehicles to move more rapidly from an encroaching circle, if necessary.
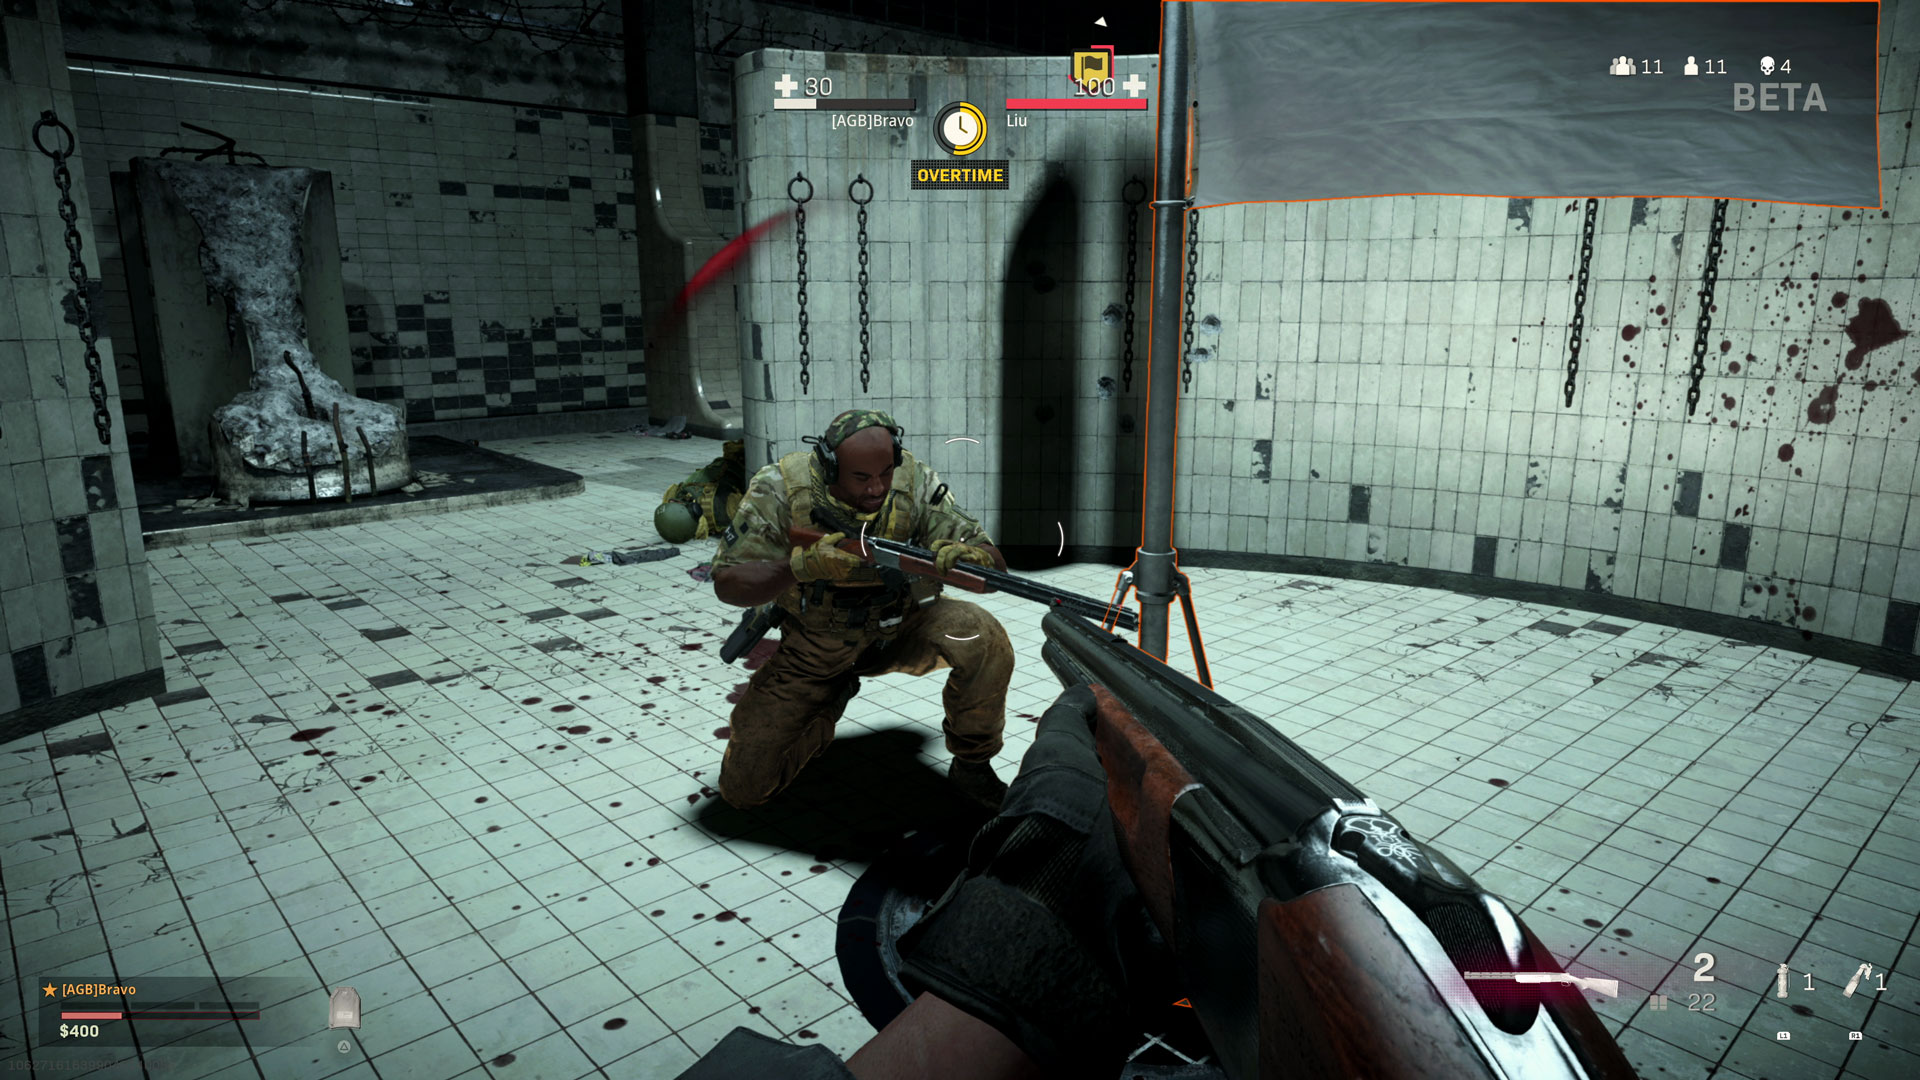
19. (Defeat 20 Enemies) The Gulag and Gulag Closure: If you’re defeated by an enemy in Battle Royale mode for the first time, and not revived by yourself or a squadmate, you’re hauled into the Gulag, and forced to battle against another player in a quick and vicious 1v1 Gunfight. The winner automatically parachutes back into play. The loser can wait for a squadmate to purchase a redeployment for them, or else is out for the remainder of the game. Note that the Gulag closes when the Circle Collapse reaches a specific stage (usually after four initial collapses).
20. Defeat 20 Enemies: Get Some! For the purposes of the in-game Tutorial, you achieve victory once 20 enemies have been defeated. While you’re able to employ all of the various tactics previously mentioned, victory can be as simple (or drawn out) as punching everyone to death or finding a preferred firearm and employing it.
The Practice Mode will end when all enemies are eliminated, or if you unfortunately meet an untimely end to an artificial opponent.
Reward: If this is the first time completing this Tutorial, you are granted a reward. Look for the green square appearing in your Main Menu; this shows where newly unlocked game elements (such as Operator Skins, Equipment, Items, Weapon Blueprints, and anything else) are accessed.
Welcome to the Armistice Training Facility (Verdansk)
Briefing: Plunder Practice
The third tutorial is a video you should study, as it runs down the basics of the other initial Warzone mode called Plunder.
Mode Overview
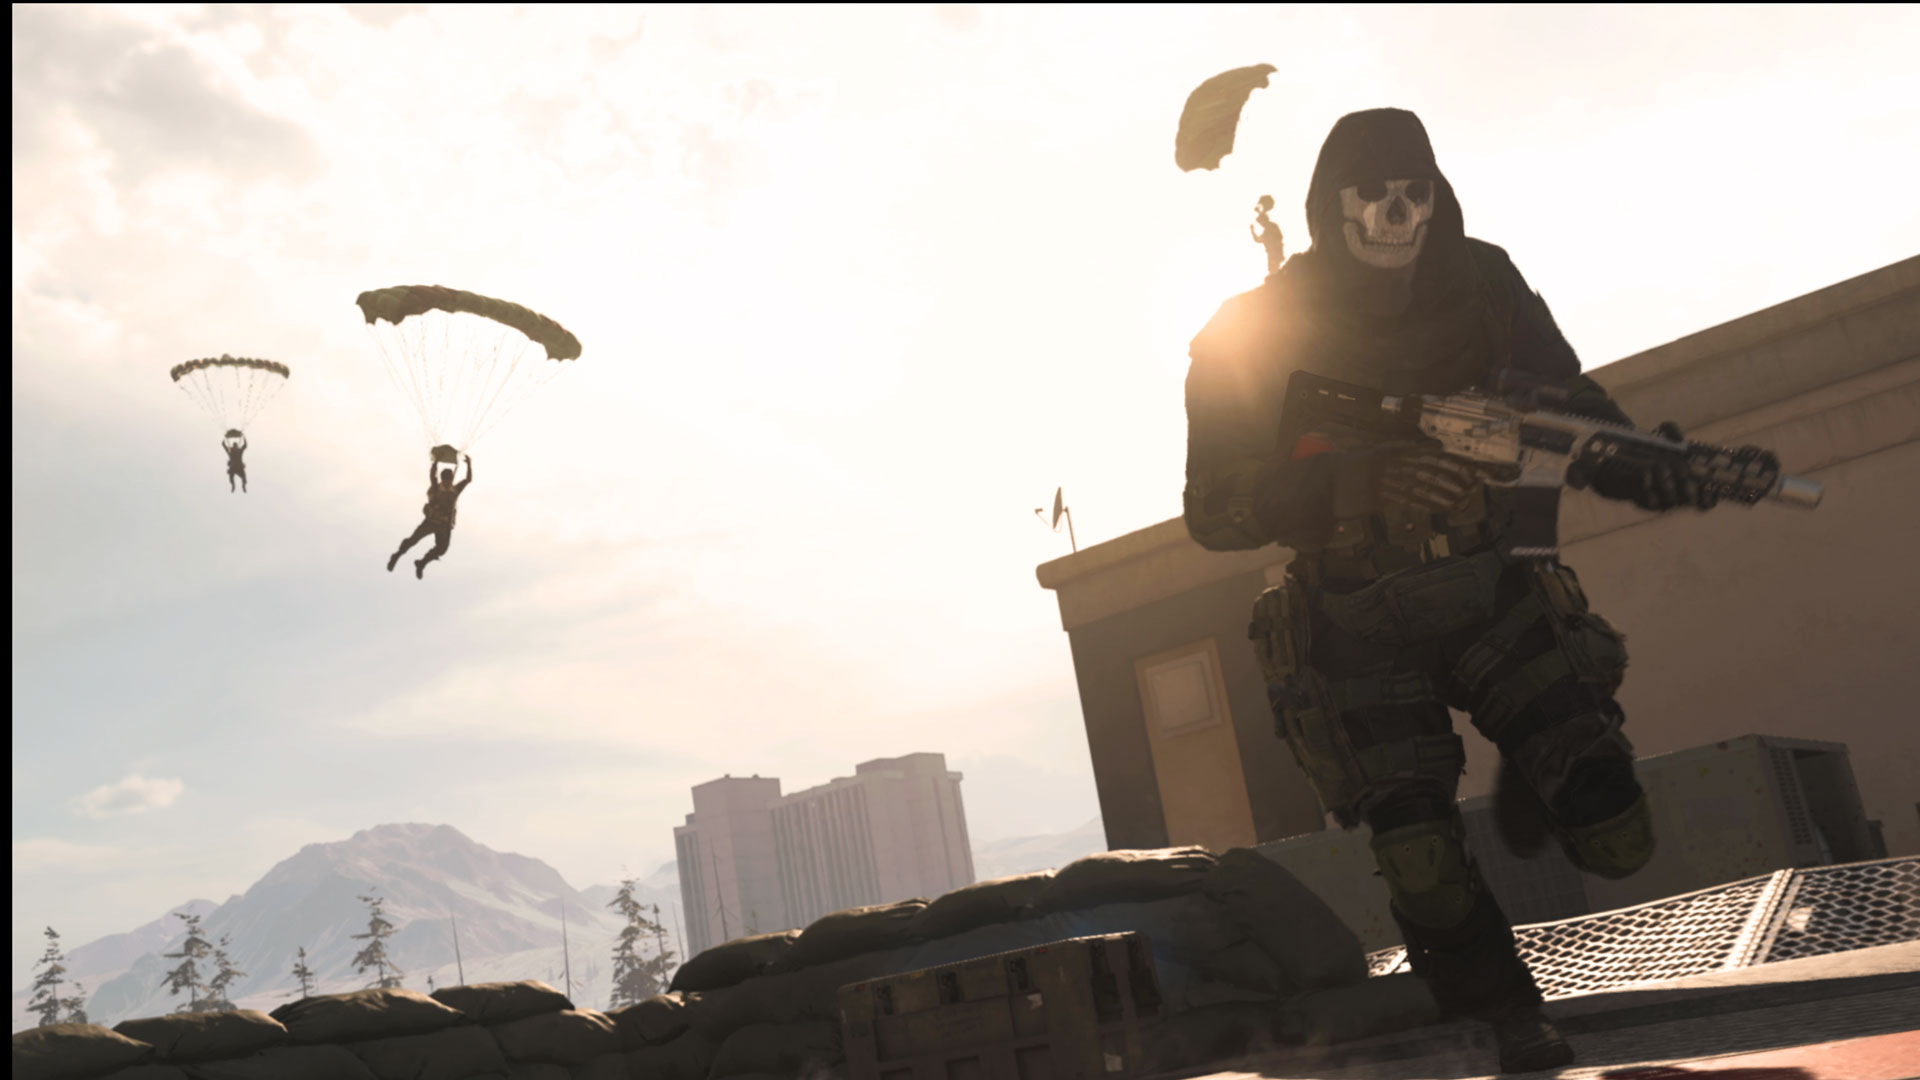
1. Win Conditions: Here is the lay of the land. In this mode, you drop as a fireteam comprising three members (you and two others). Each team fights (against up to 49 other teams of three) to be the first to collect $1 million in Cash. This is achieved by battling other fireteams, hunting, scavenging, and defending; all in the name of hitting your million-dollar objective. Fight to become the first to collect the most Cash!
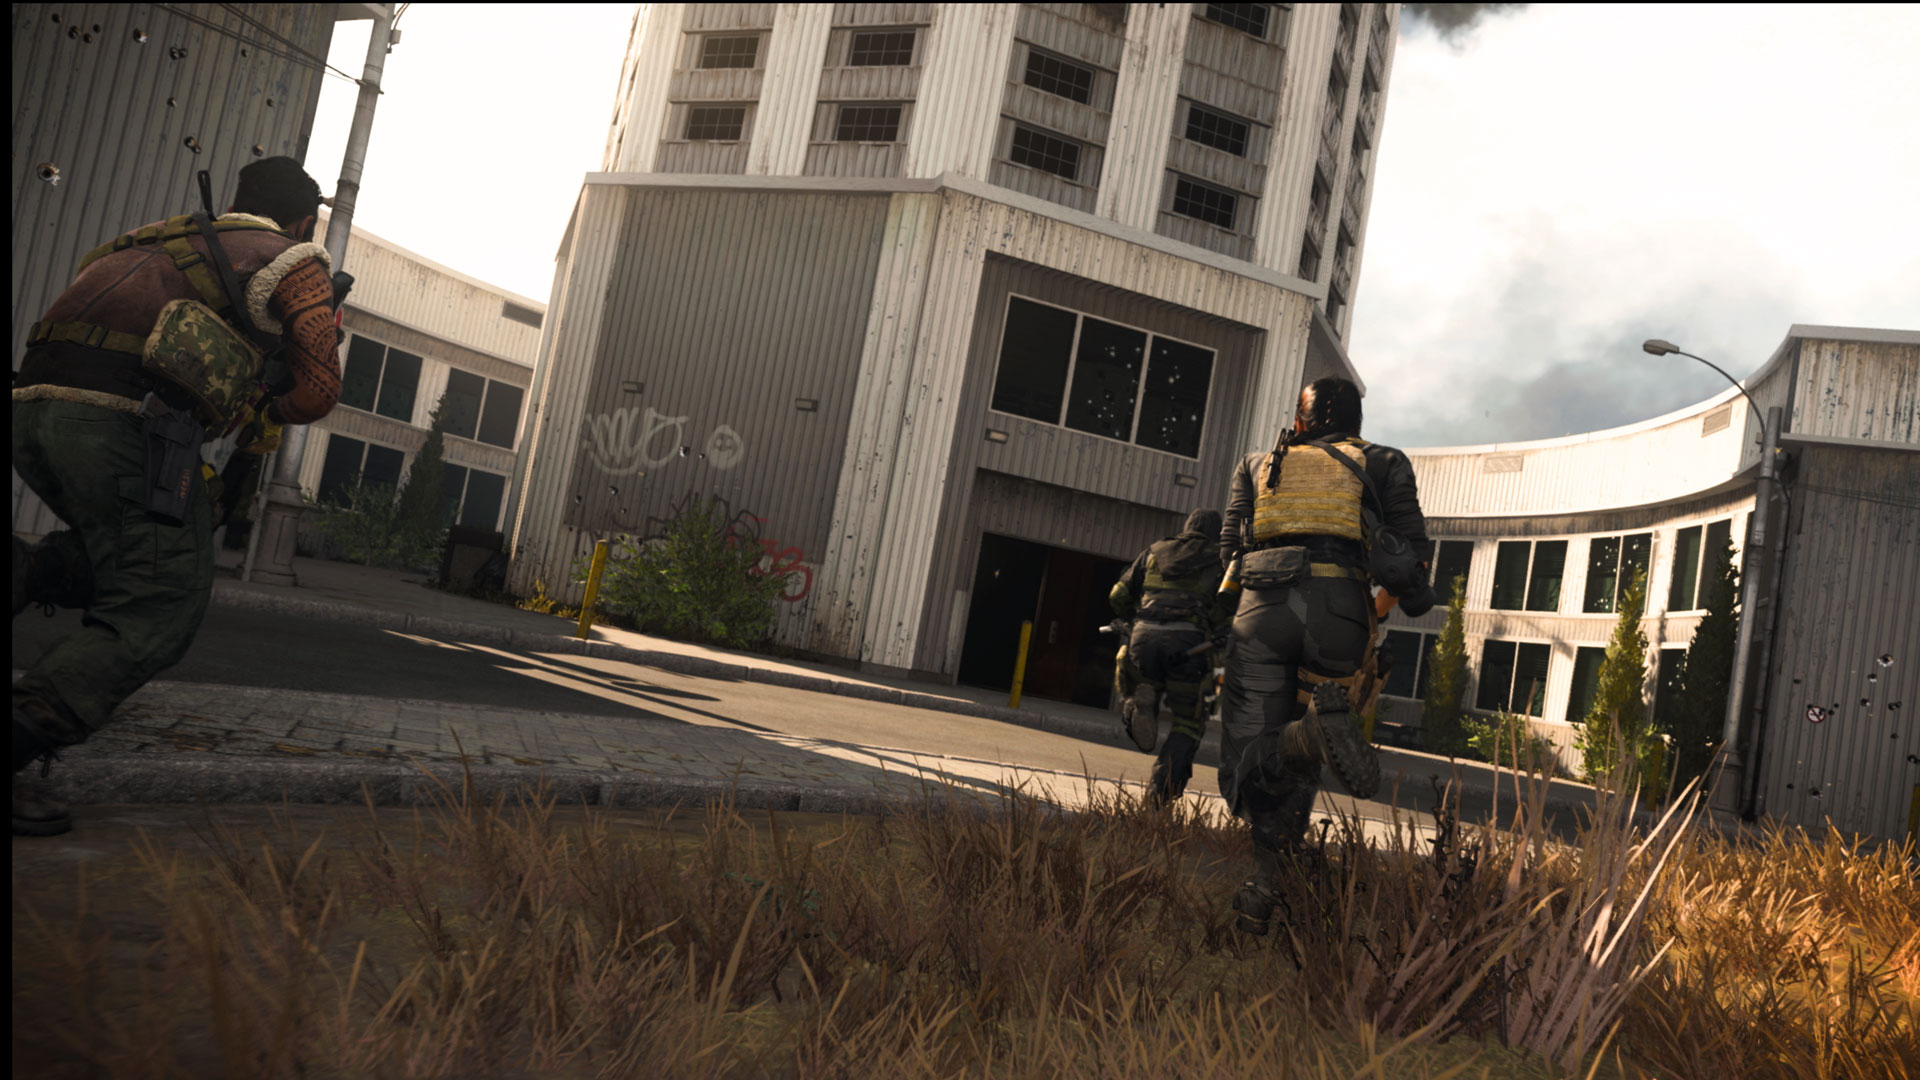
2. Complete Freedom: You are free to maneuver about the entirety of Verdansk; creating a whole new set of strategies as you can continuously move anywhere. Do you find an out-of-the-way area and gather loot and Cash, or risk areas where higher-value Cash reserves are available, but more hostiles are likely to be? The choice is yours.
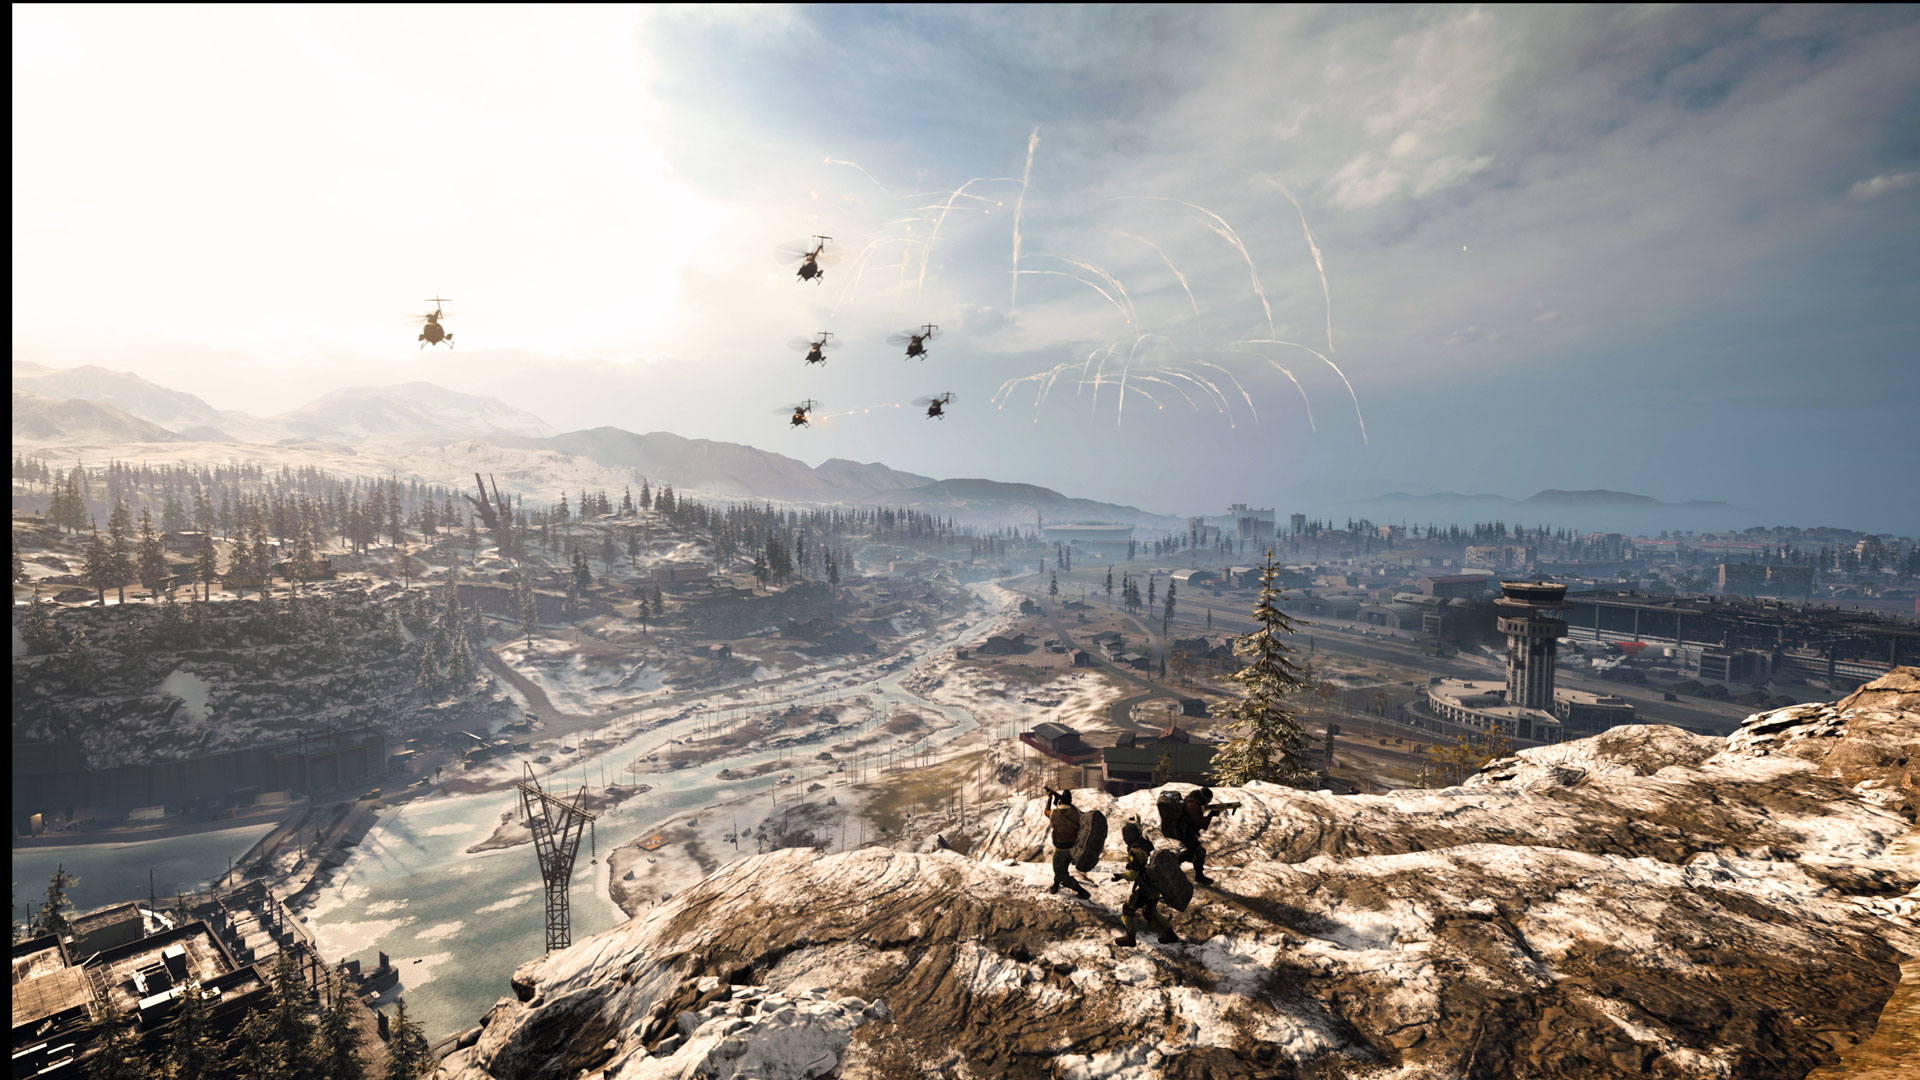
3. No Circle Collapse? No Problem: Forget your Gas Masks and don’t worry about ever-decreasing Circles; there is no Circle Collapse in Plunder mode. This means you don’t need to plan to outrun a gas cloud; just find and accrue Cash!
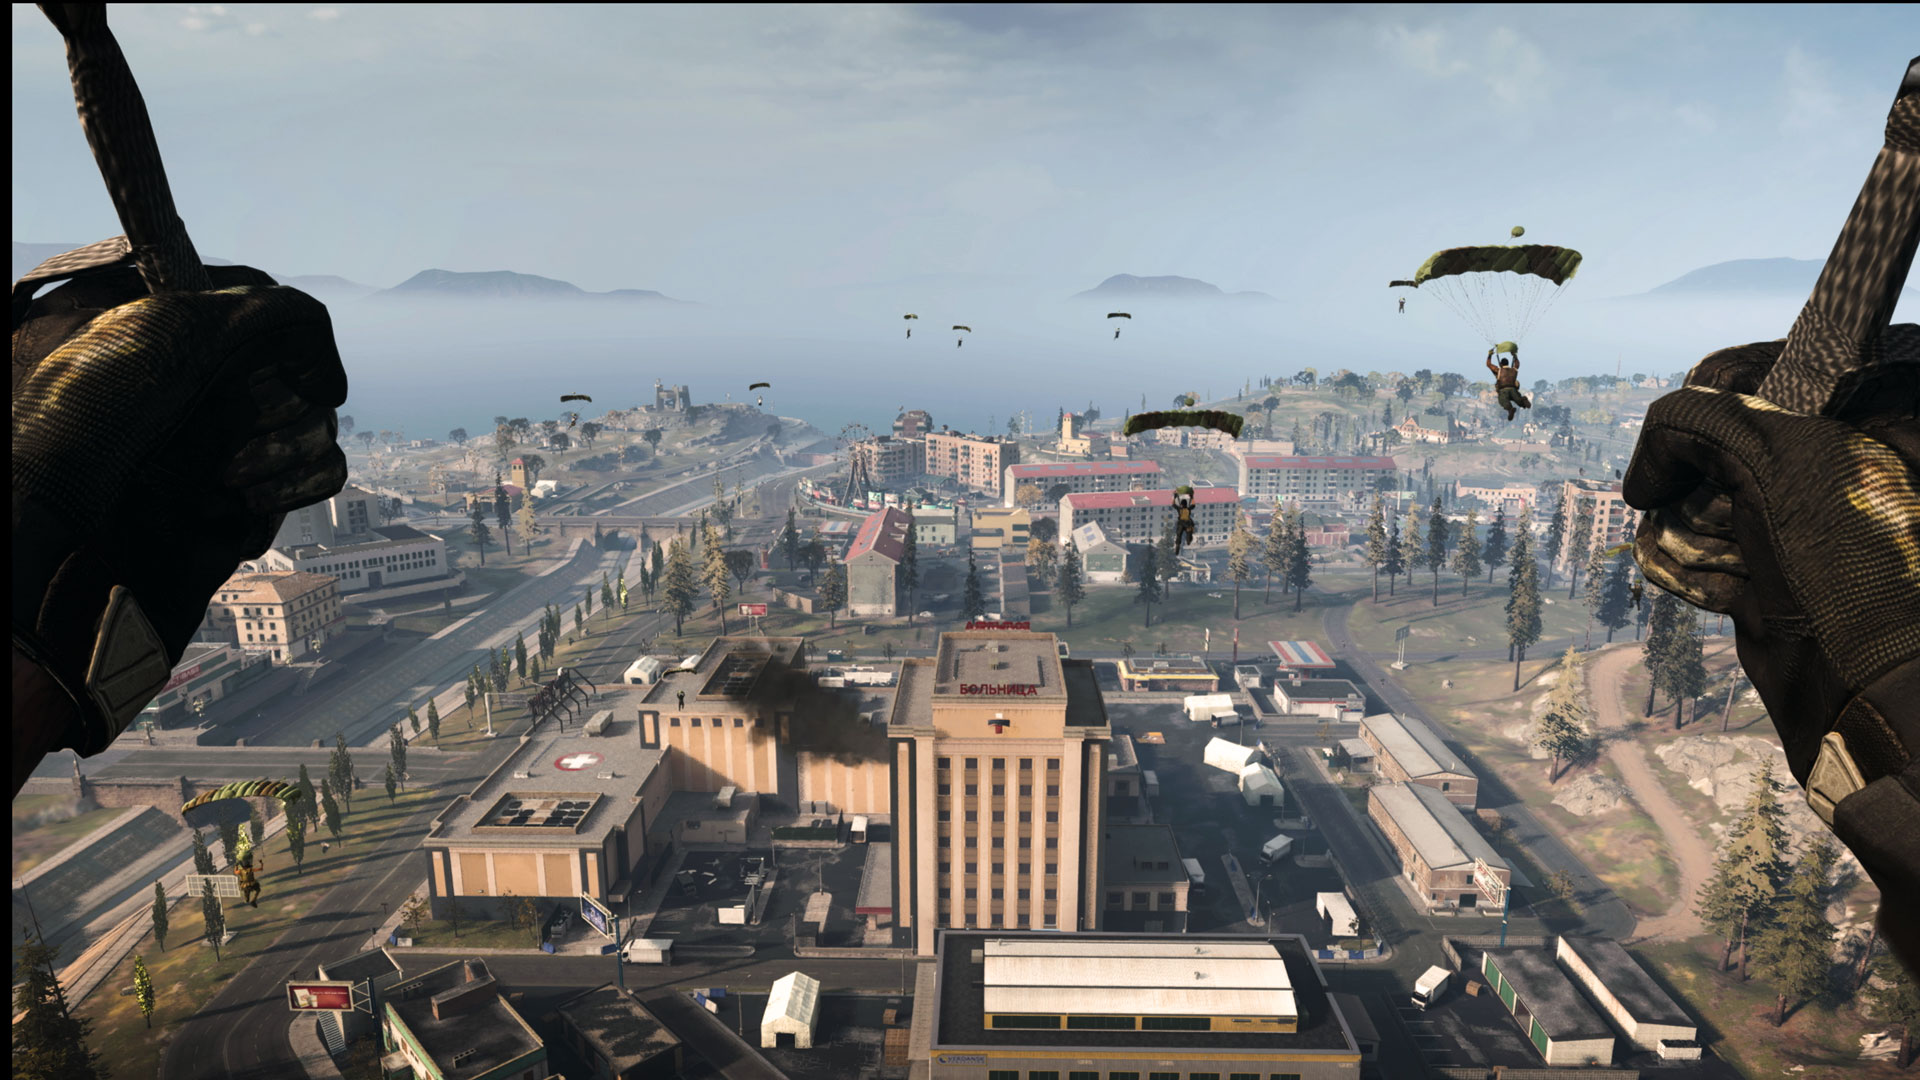
4. Infinite Respawns: You and your team may be on the receiving end of enemy fire under a variety of circumstances. Don’t fret; you redeploy (via parachute) 15 seconds after you die, whether at the hands of the enemy or after a self-defeating maneuver. Deploy more quickly by using a Self-Revive Kit.
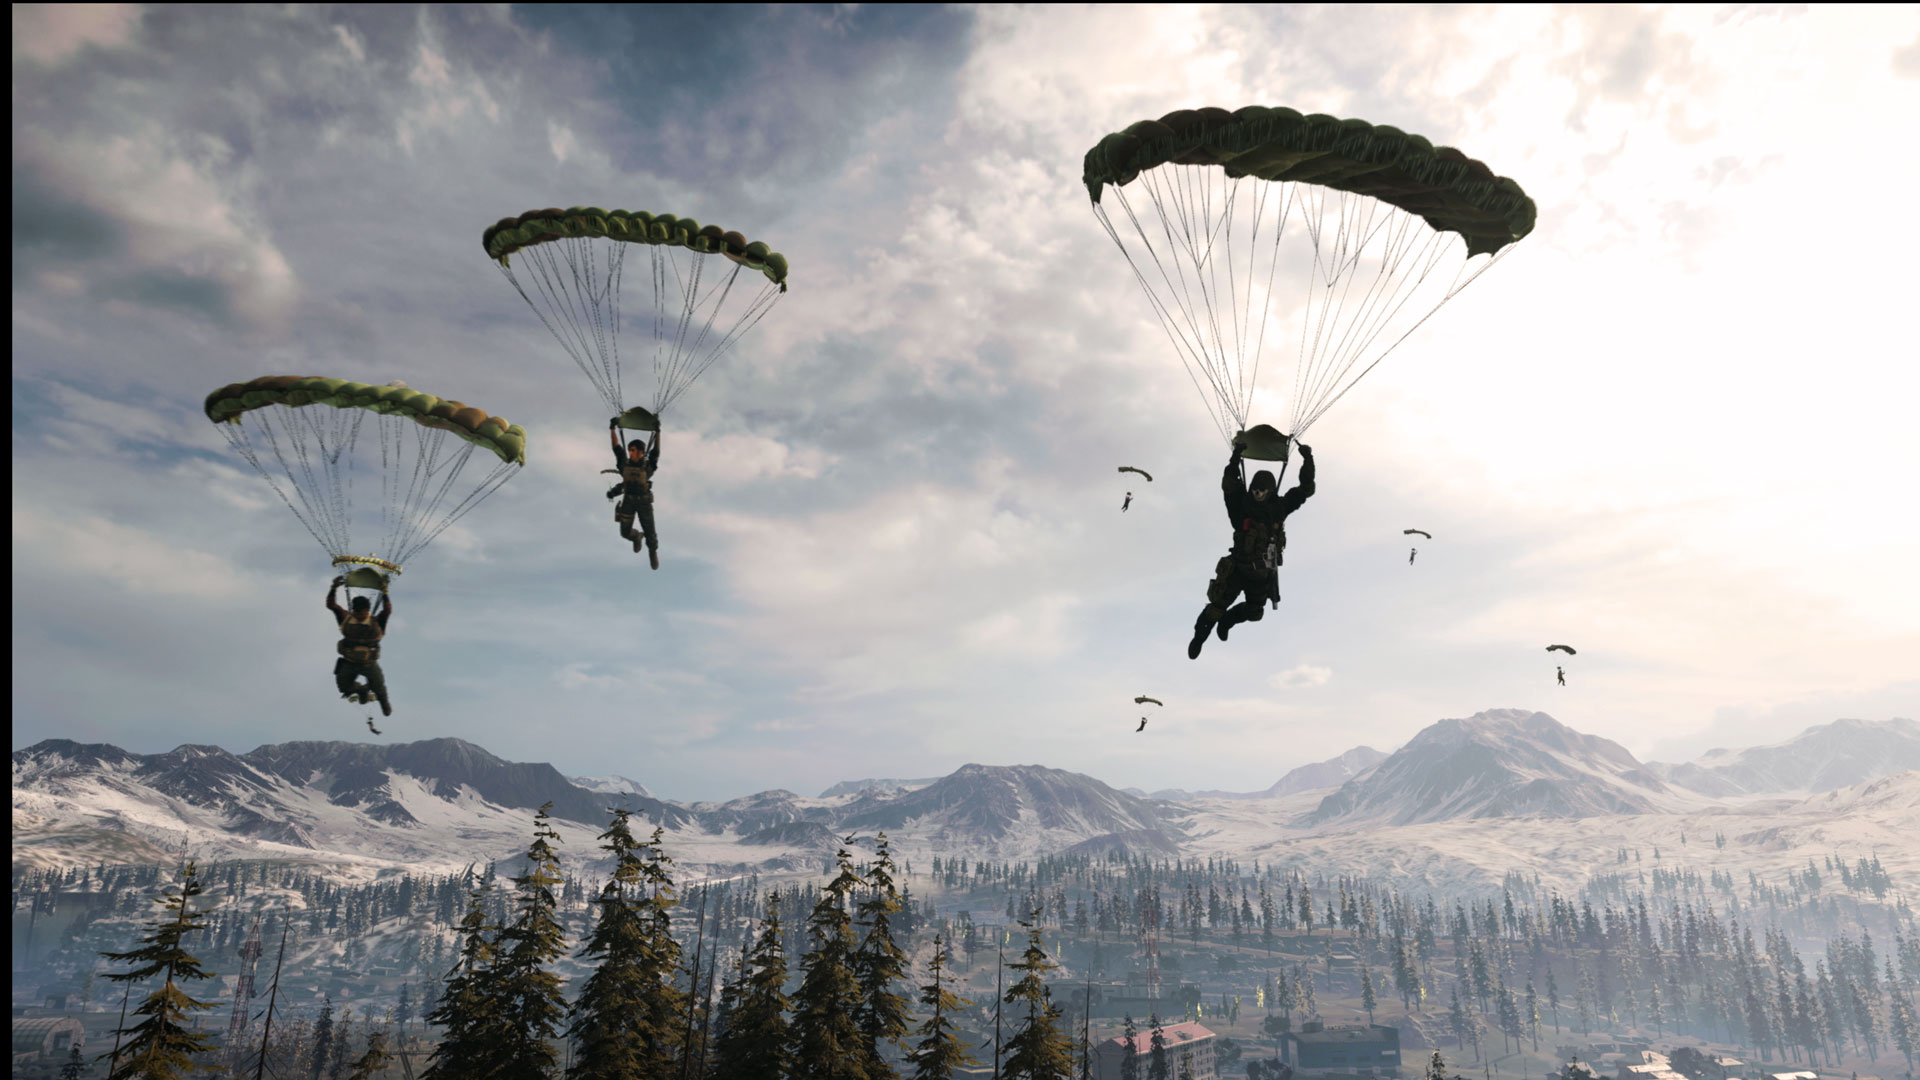
5. No Gulag? No Problem: The 1v1 Gunfight Gulag is closed during this game mode, as you redeploy instantly after dying. Note you can still visit the Zordaya Prison Complex in southeast Verdansk where the 1v1 Prisoner of Warzone Gulag Showers originated. However, the current 1v1 Gunfight Gulag map is inaccessible.
6. Tac Map Changes: Note there are subtle changes in the Tac Map during this mode. Aside from a lack of Circle Collapse and the associated Timer, you can spot Cash Extraction Points dotted throughout the map; these become invaluable in airlifting your ill-gotten gains to safety as the game progresses.
Collecting Cash
Cash can be collected in a variety of ways:
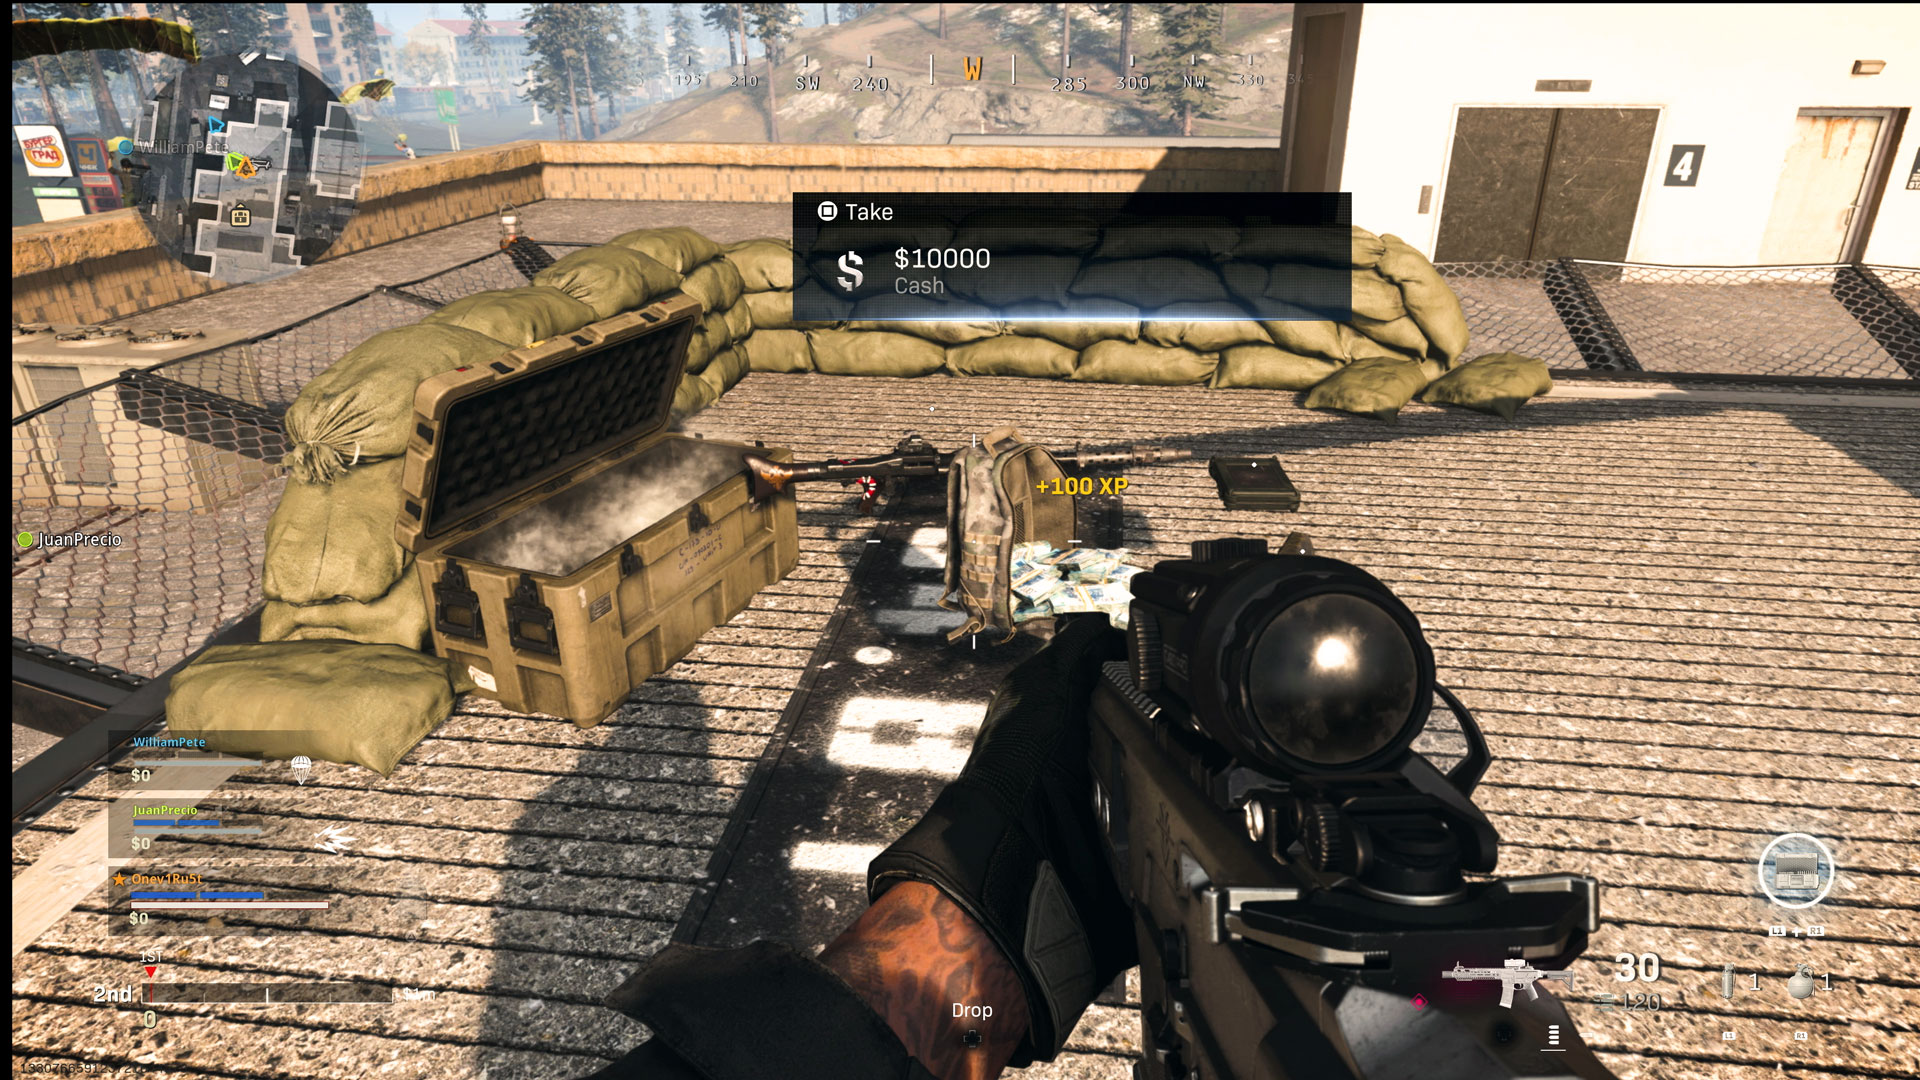
7. Supply Boxes and Cash Piles: The most surefire method of acquiring Cash is by finding it in Supply Boxes stashed in and around buildings and by completing Contracts. You can also find Cash in piles of various denominations ($500, $2,000, $5,000).
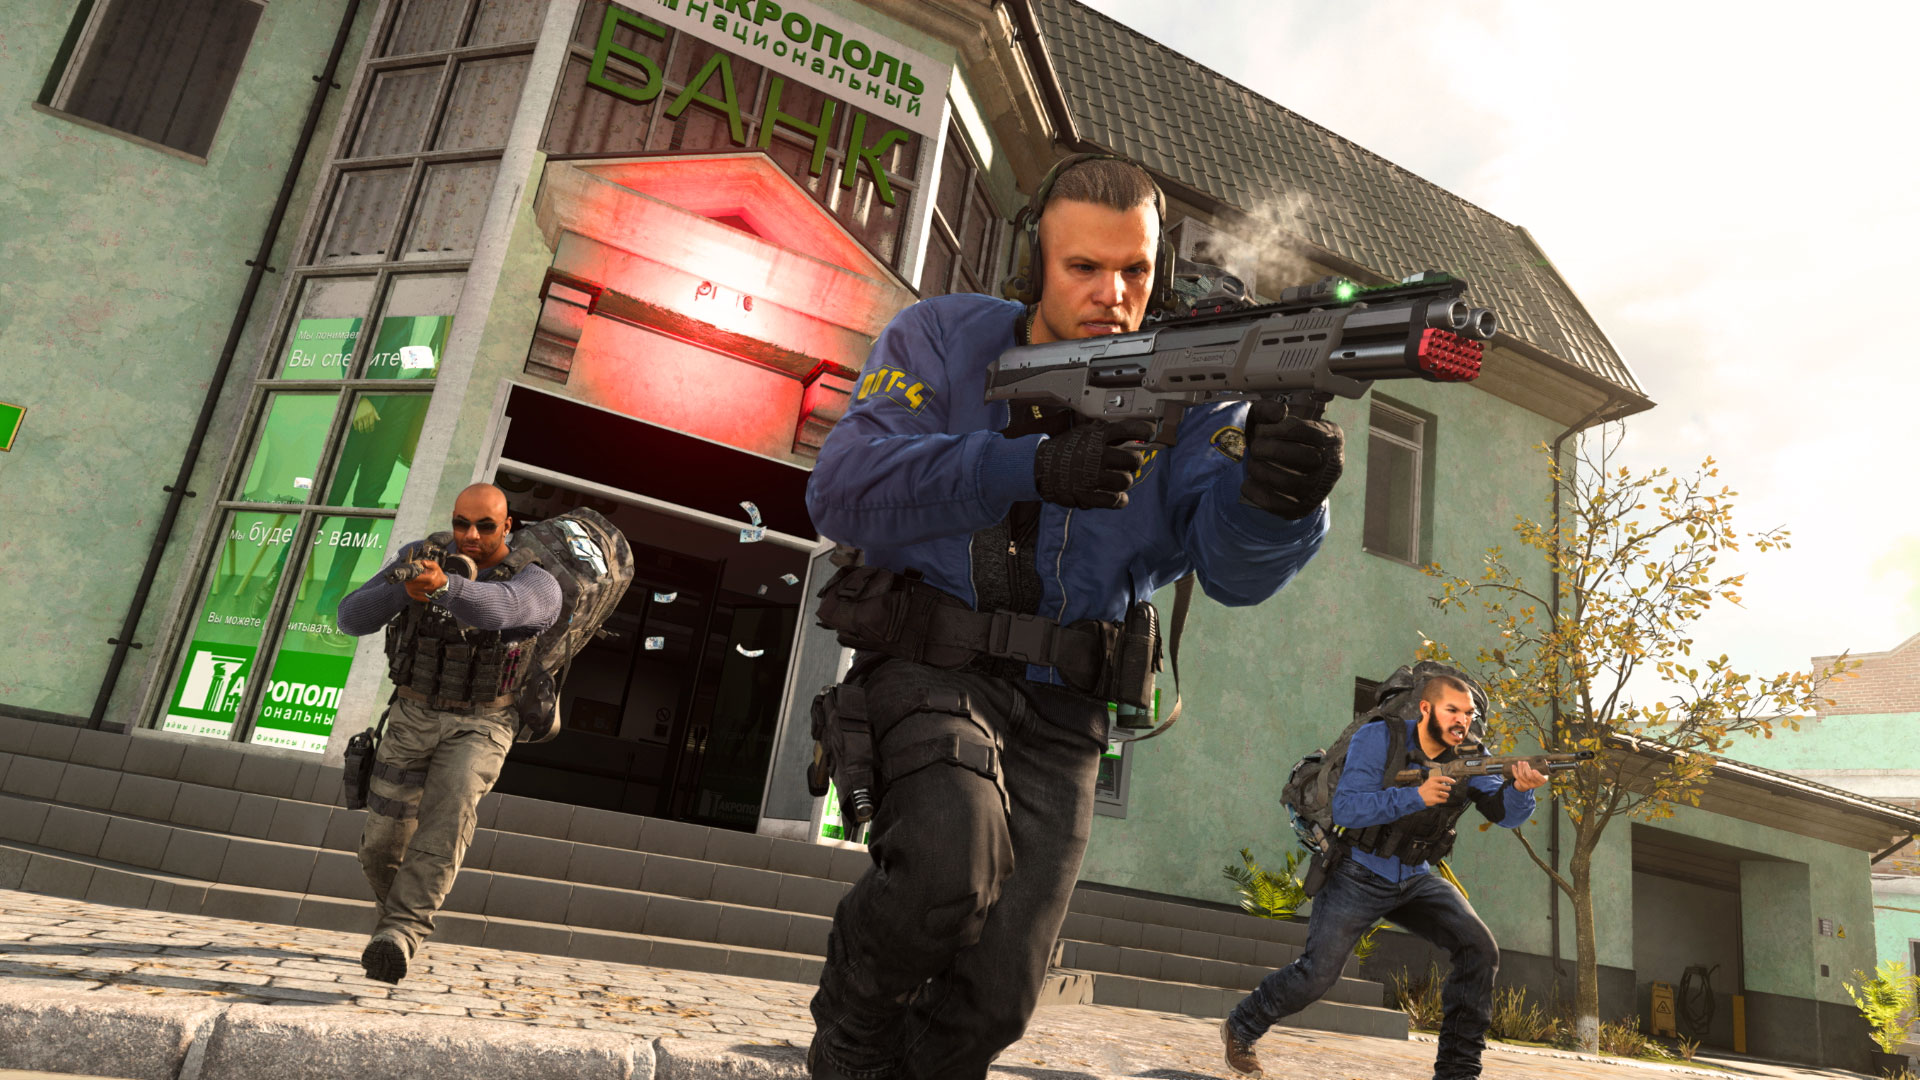
8. Banks: Don’t forget to raid a Bank or two during Plunder mode: These specific buildings, which aren’t flagged on the Tac Map, but are shown in this Guide, have a higher amount of Cash than other buildings. The only problem? As soon as you raid a Bank, an alarm is triggered, alerting all nearby enemies to your presence!
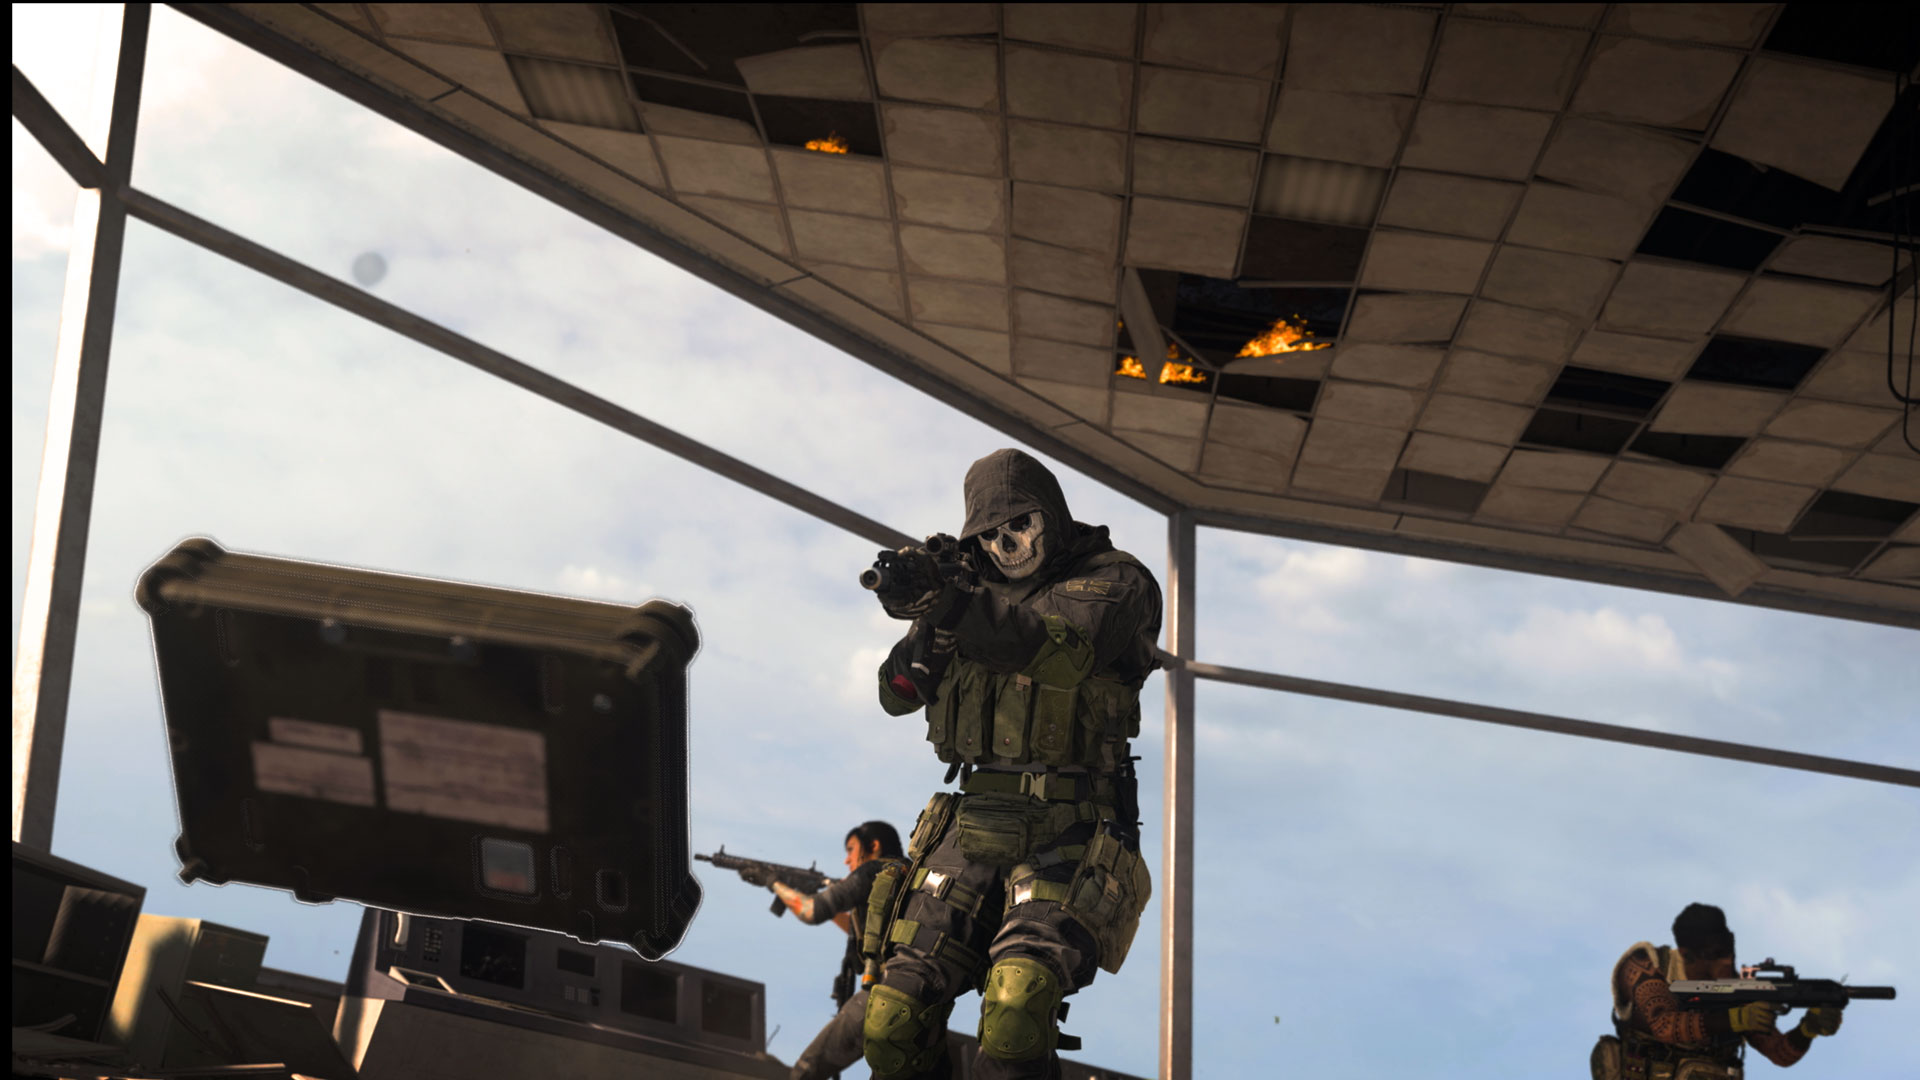
9. Contracts: These are optional mini missions scattered throughout Verdansk. These can be found by searching for “Contract” icons throughout the map. After taking on a Contract, complete the objectives for a Cash payment.
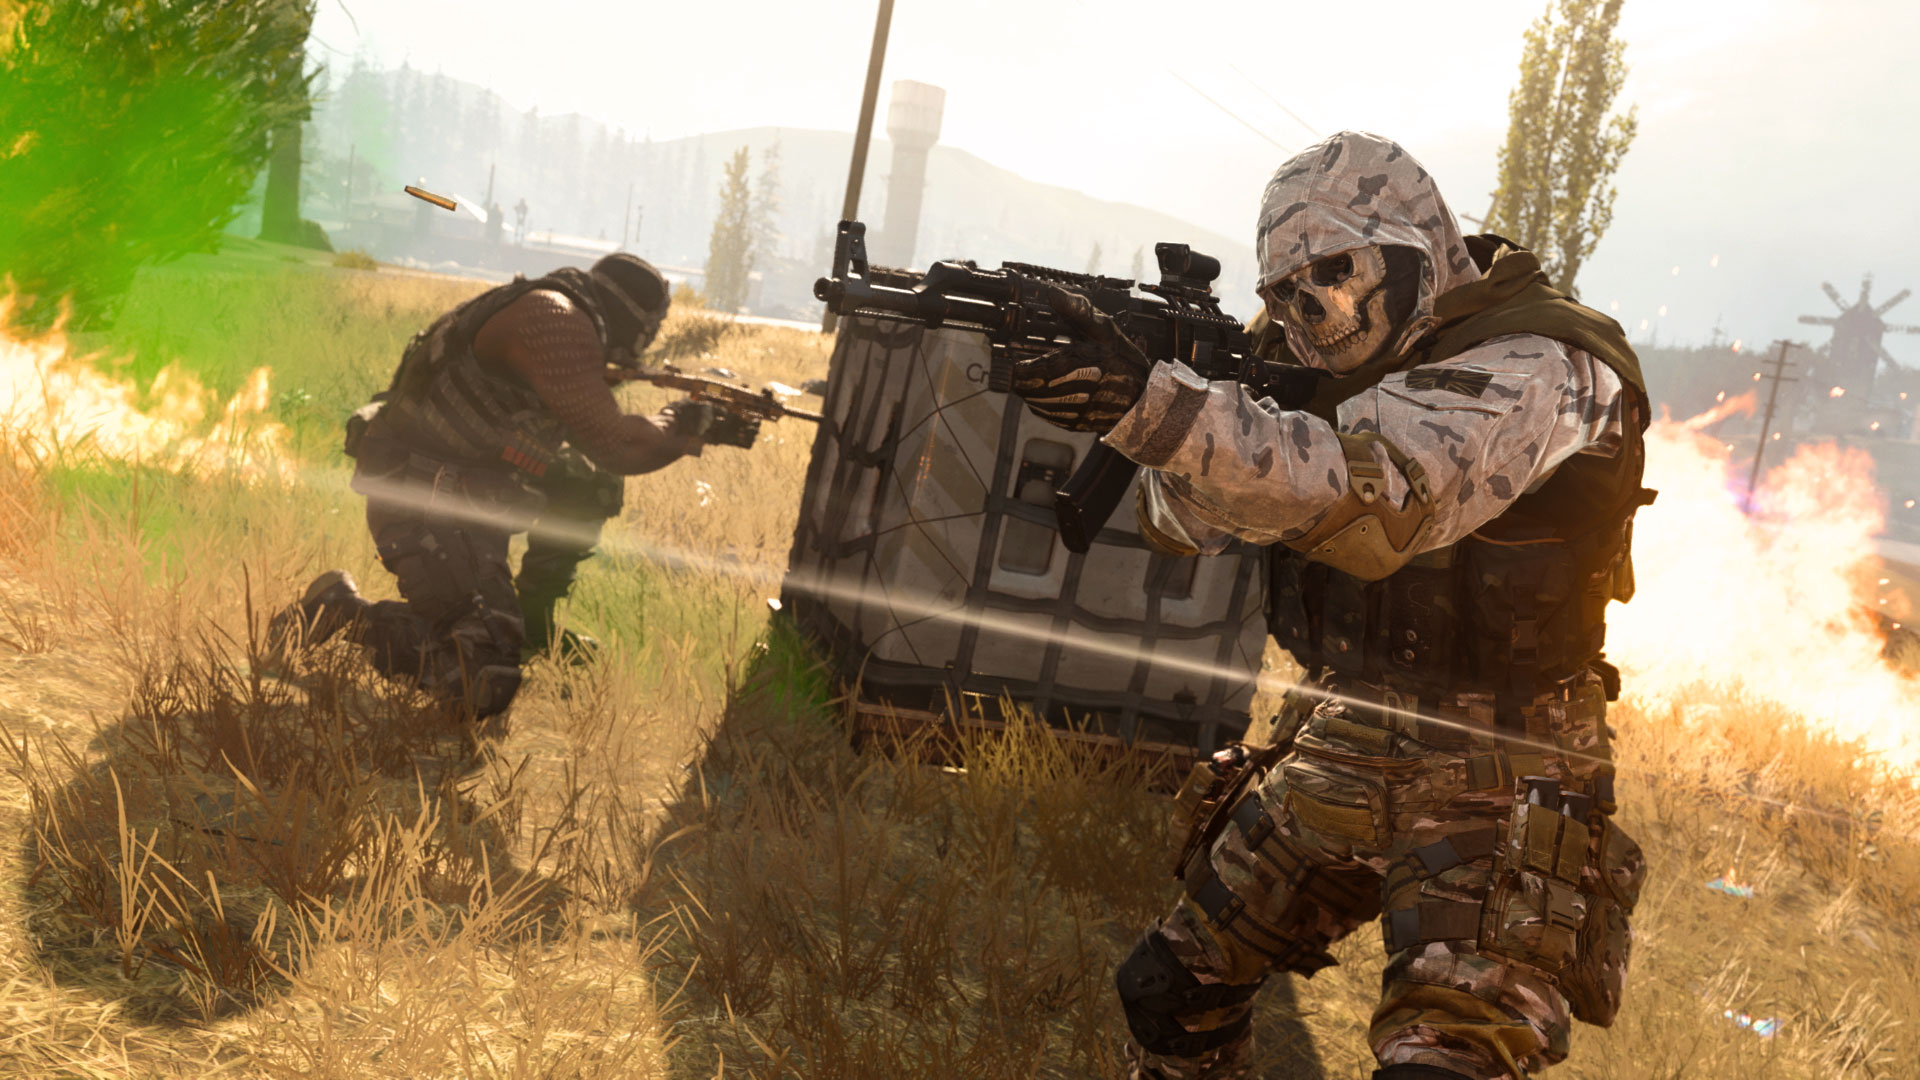
10. Cash Drops: If you’re ready for a firefight, you can loot Cash Drops. Delivered by cargo plane, Cash Drops offer another way to earn you and your squad more money. Stocked with cash, these crates can be very lucrative for those prepared for a firefight. Watch for a visual announcement of an incoming Cash Drop and ping the location on your Tac Map for you and your team.
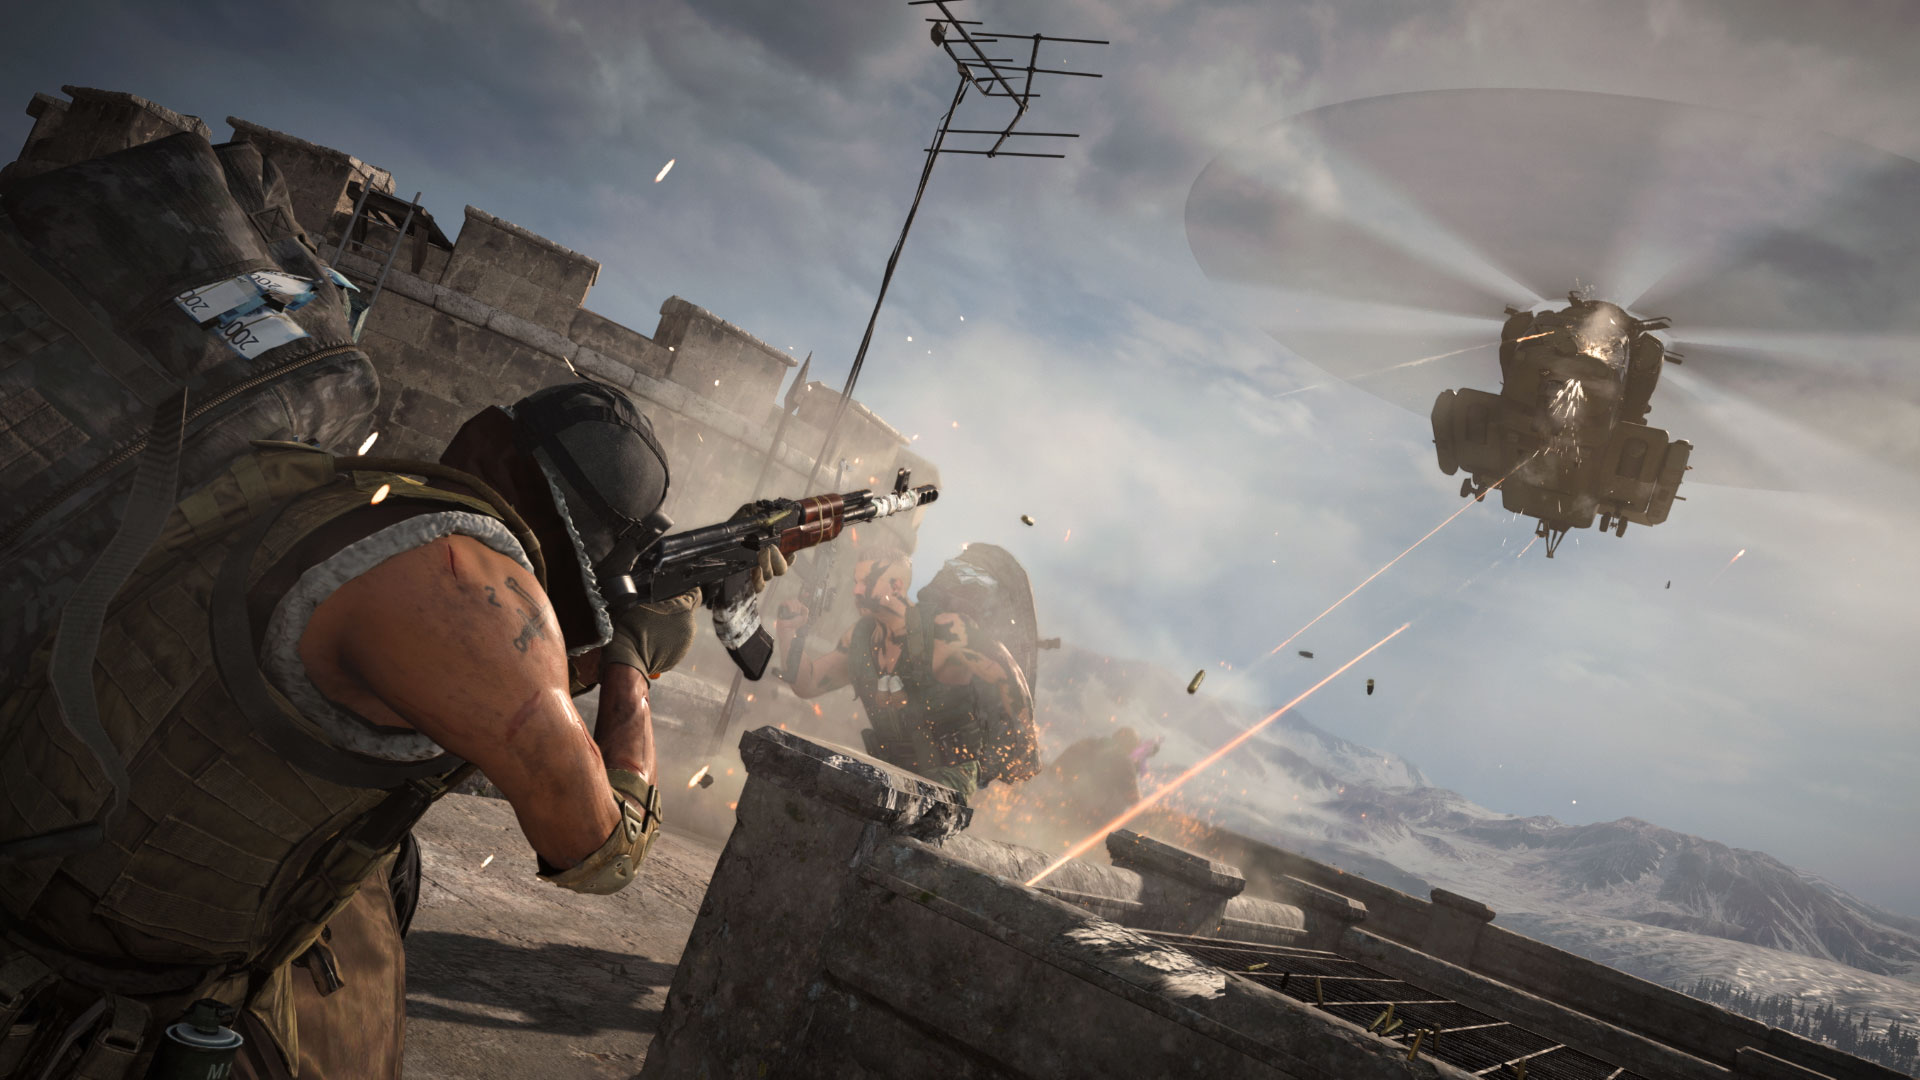
11. Attack Chopper Takedowns: A high-risk way to earn cash is to shoot down Attack Choppers. When destroyed, Attack Choppers drop a ton of cash, but be aware; they will shoot back!
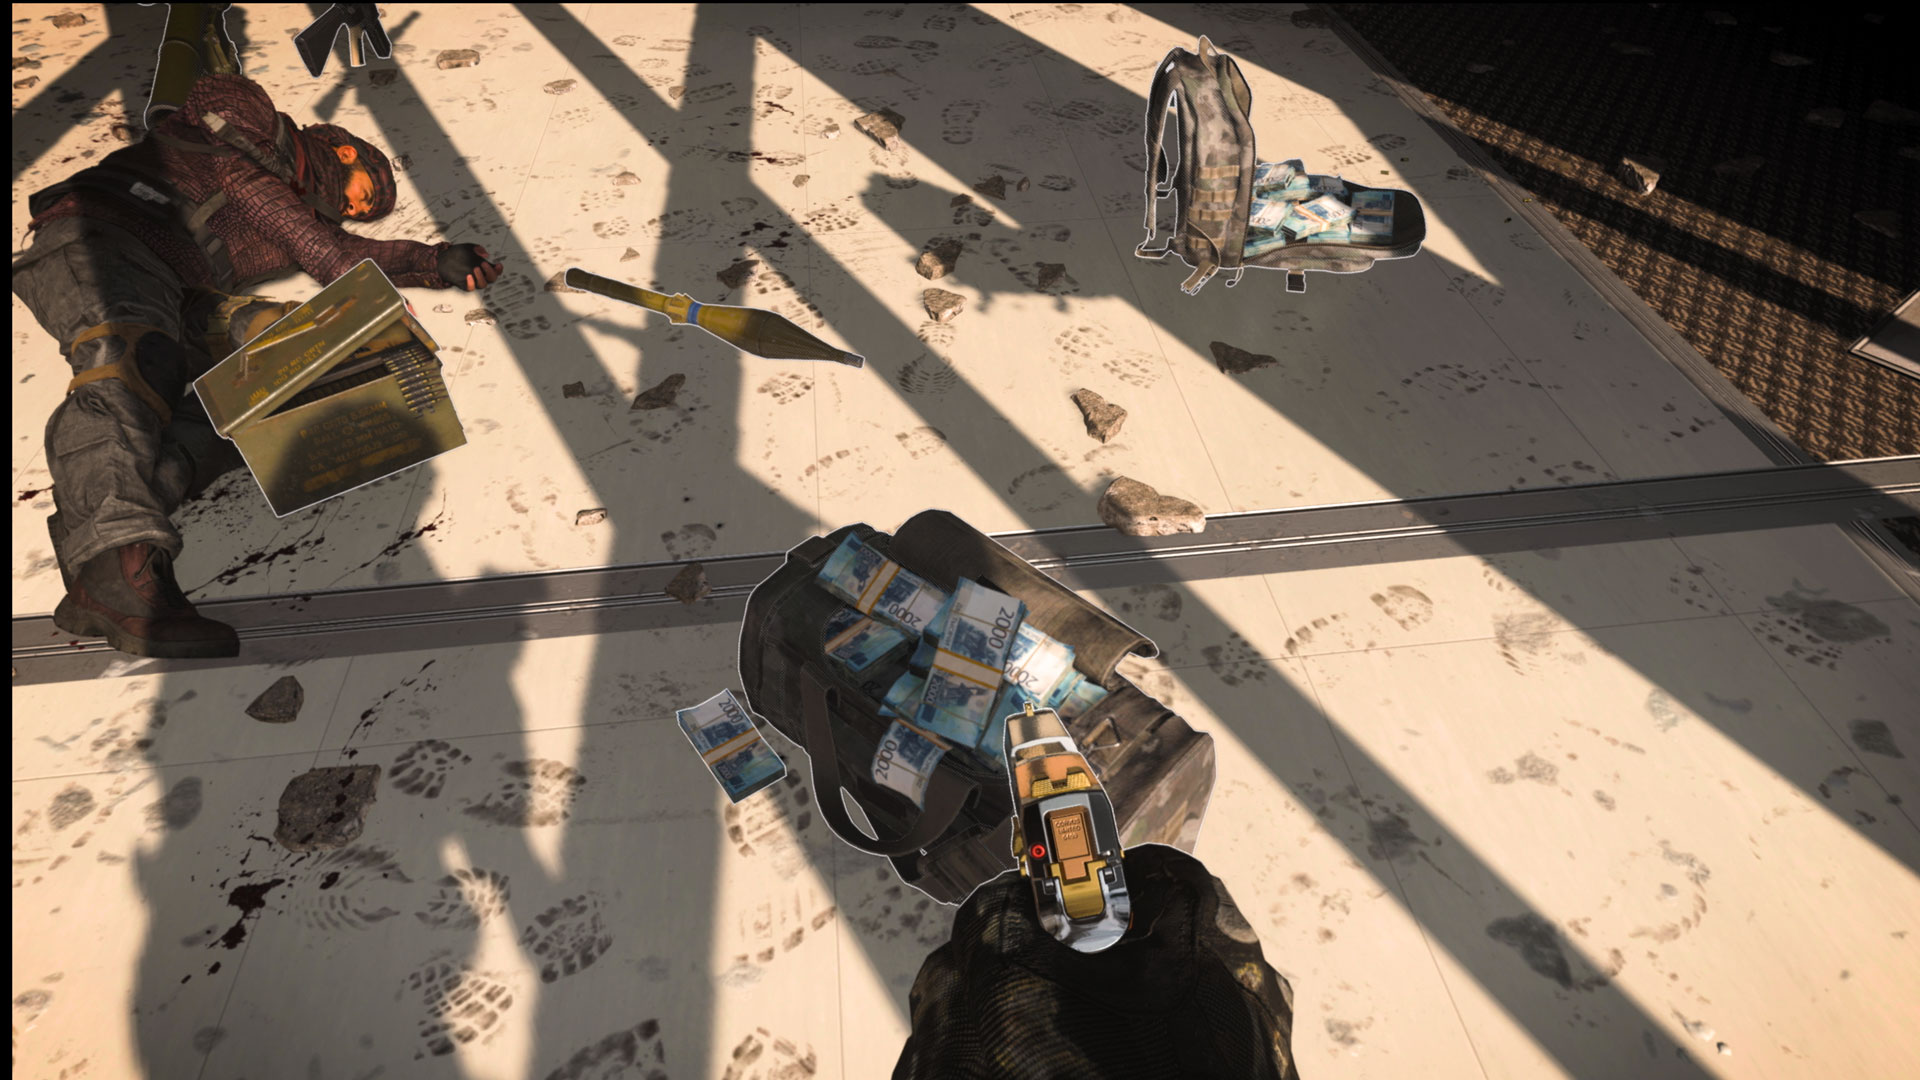
12. Looting Enemies: When players die, they drop most of their cash which can then be picked-up by other players. For the bold and brazen, taking out players carrying the most cash is a high risk, high reward way to accumulate wealth while sending the competition tumbling down the ranks.
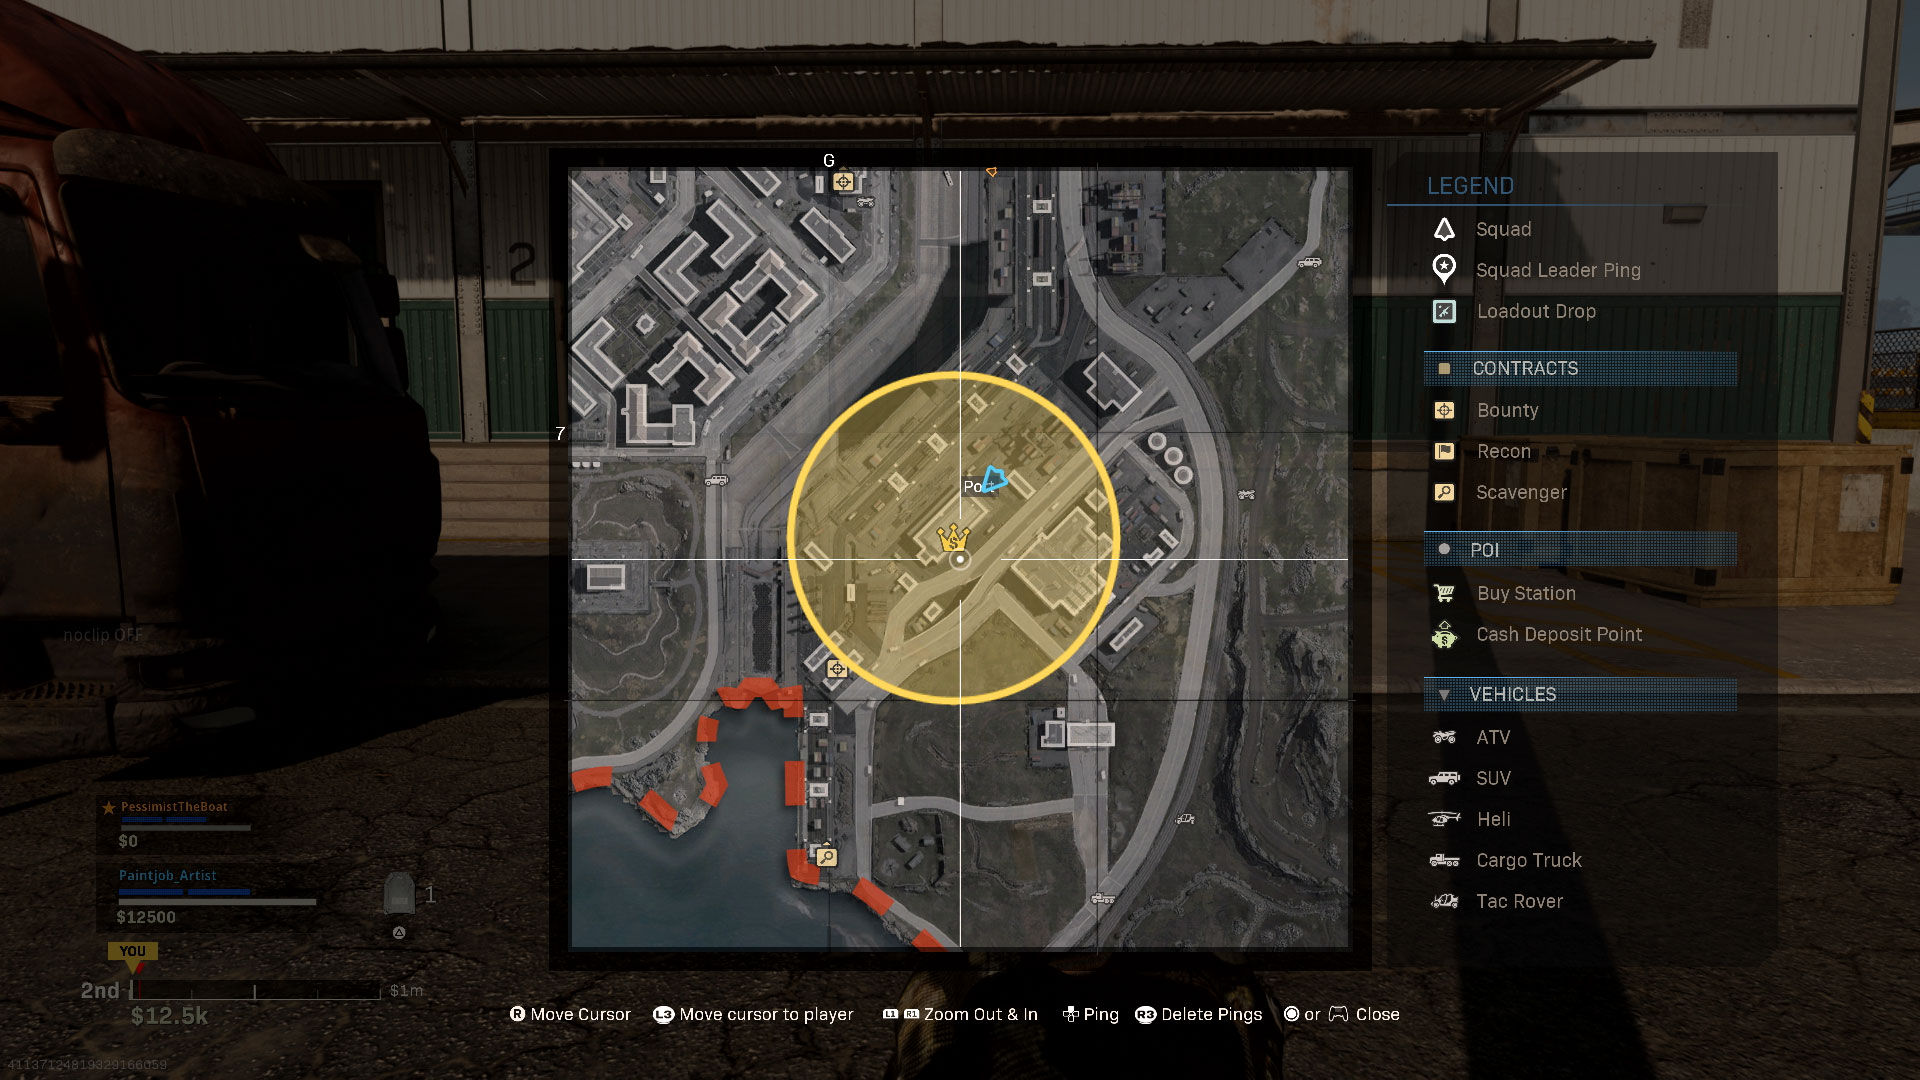
13. Top Earners are High Value Targets: Top Earners are specially marked on the Tac Map, so if your pockets are deep, and you’ve amassed an exceptional amount of Cash, make sure to watch your six.
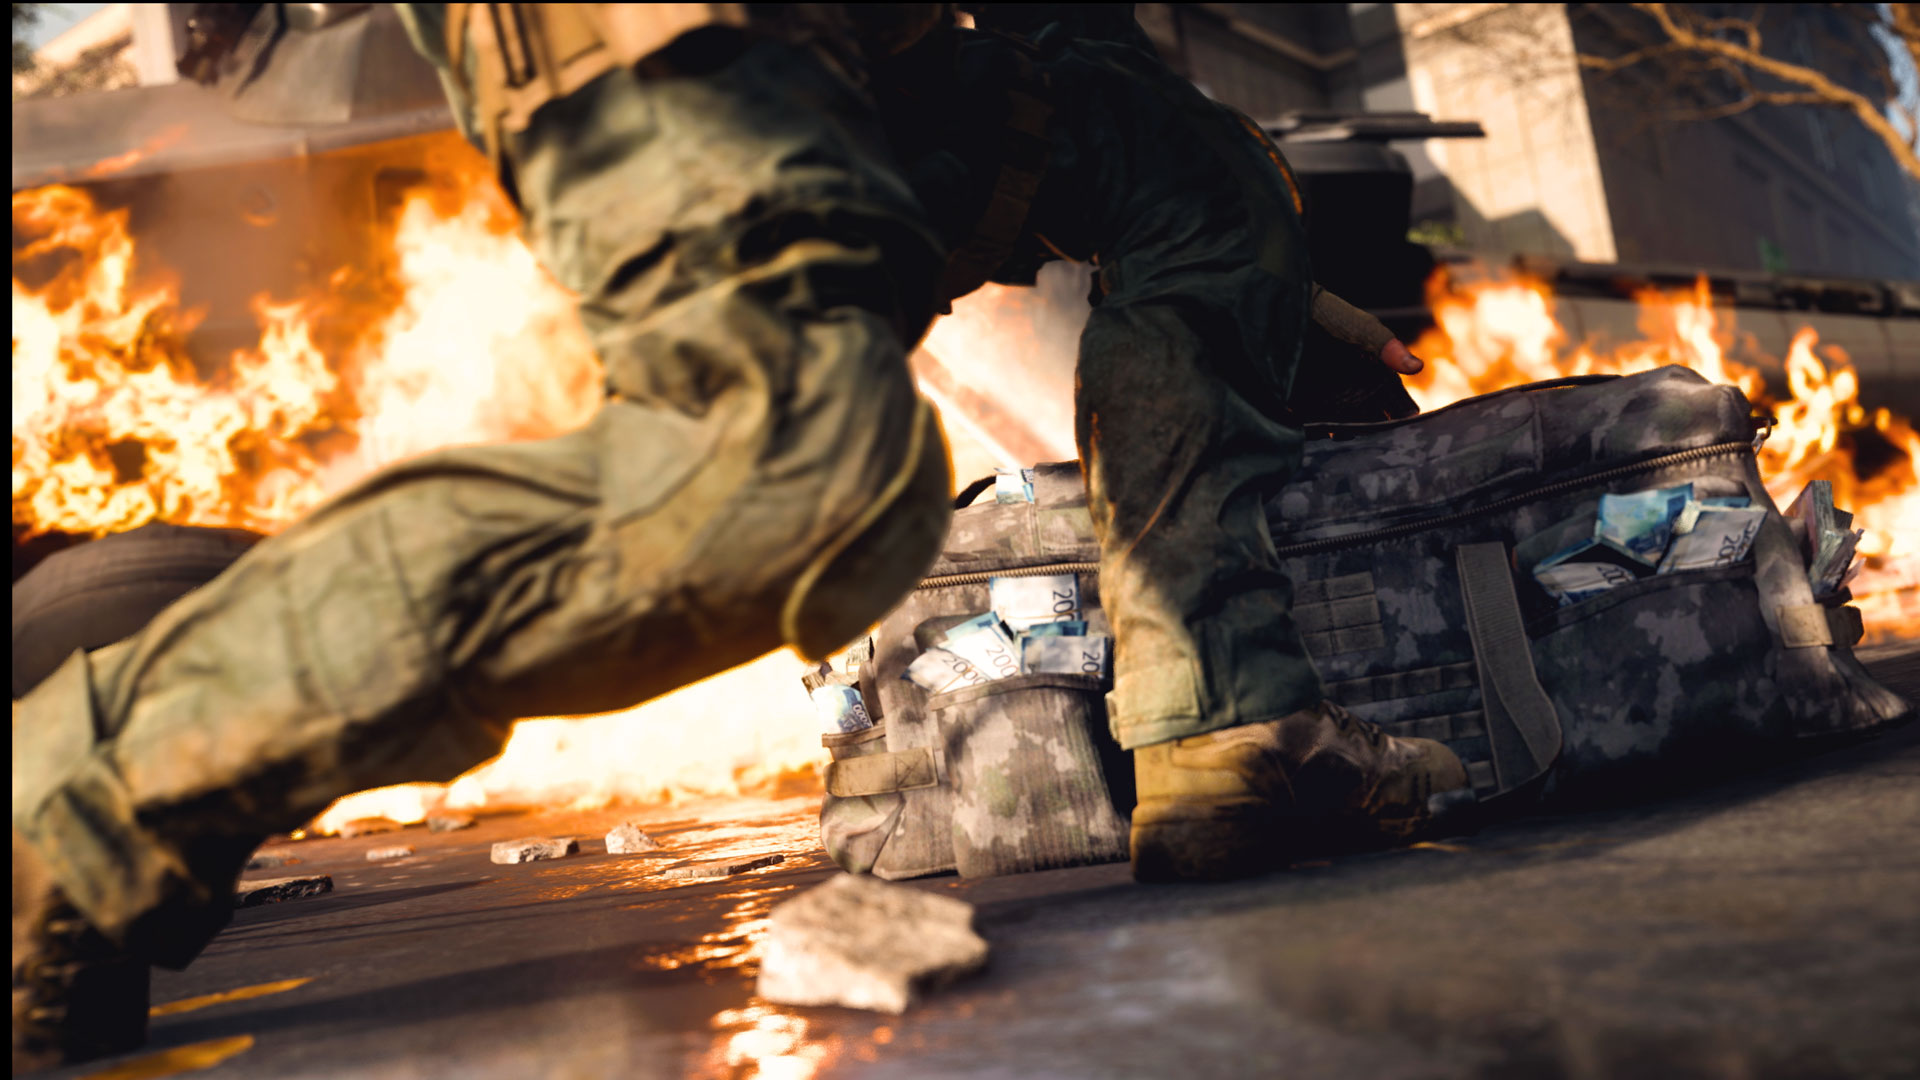
14. Losing Cash: But be advised, when you die, you drop cash, too. Prevent enemy scavenging by using a Self-Revive Kit or having your squadmates avenge your death.
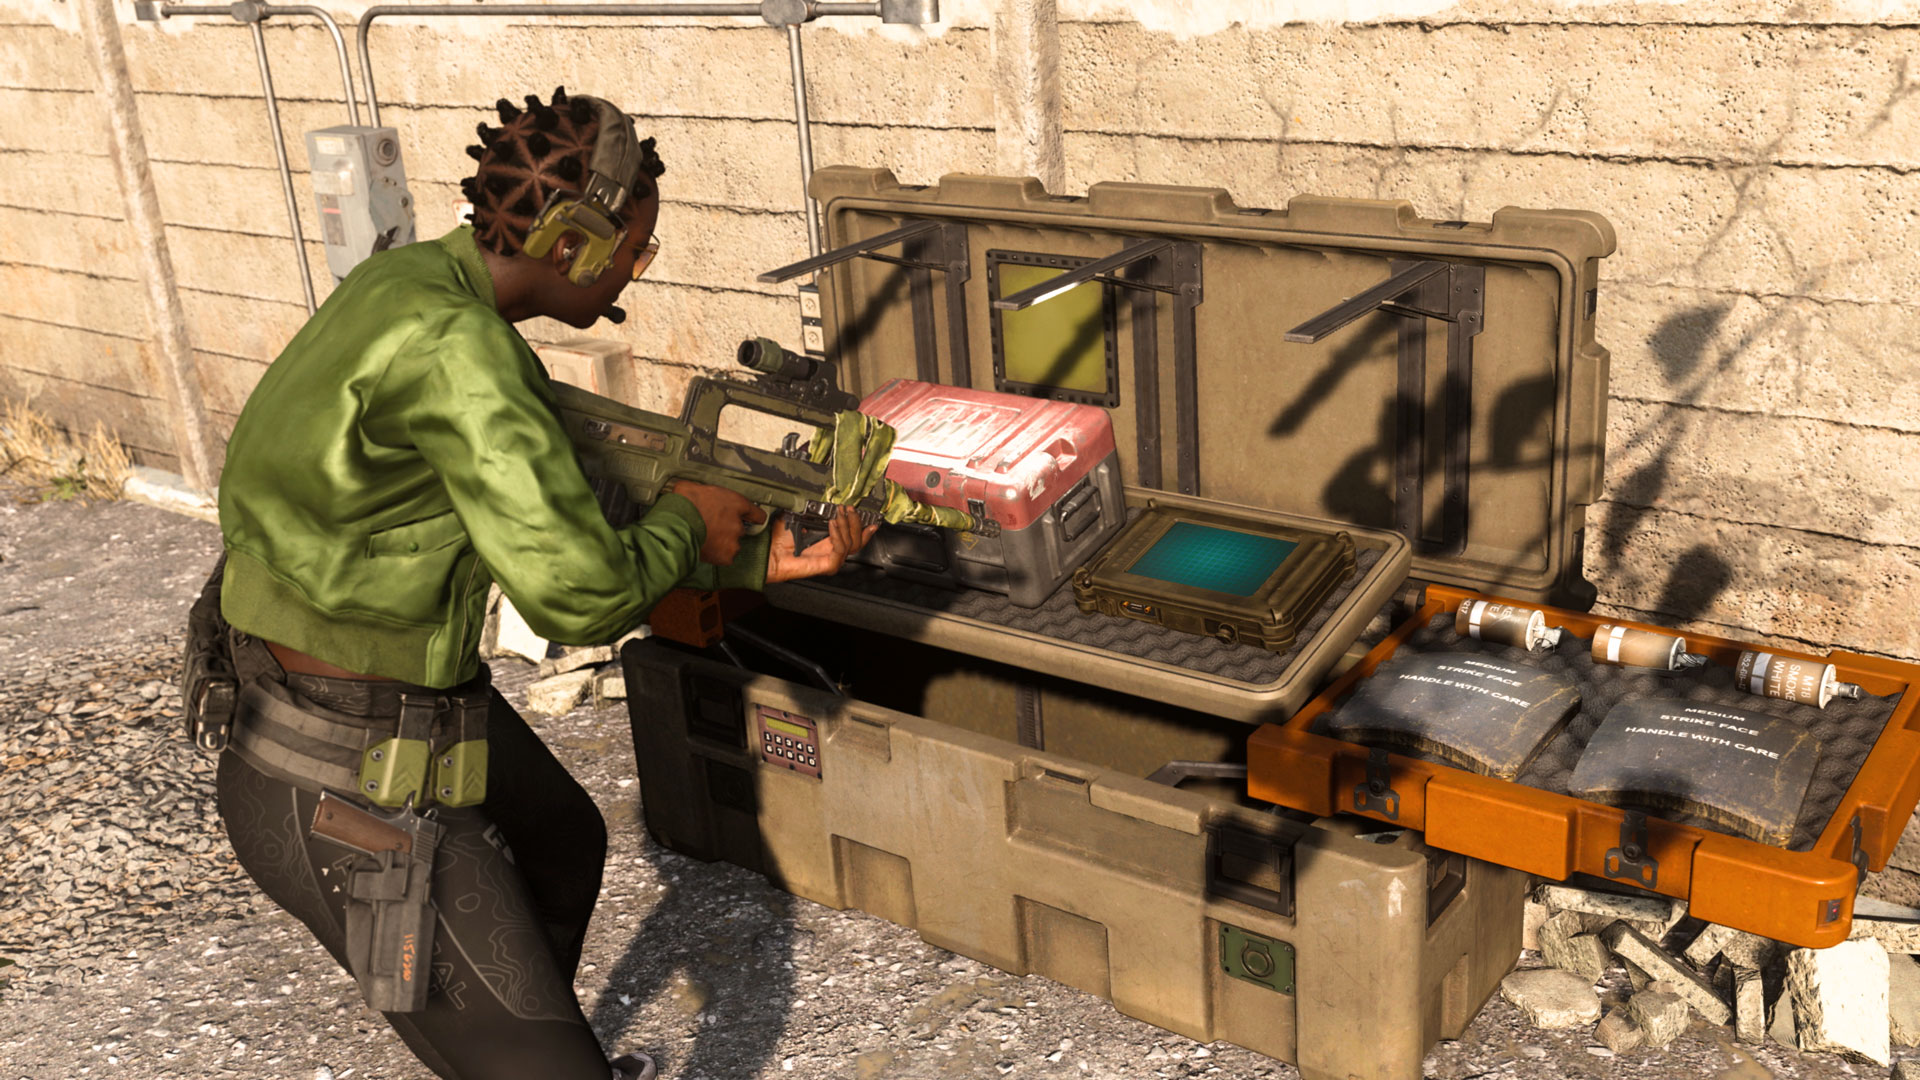
15. Spending Cash (Buy Stations): If you’re needing to gather as much Cash as quickly as possible, why would you want to spend some of it at a Buy Station? Because you and your team could benefit more in the long run from the enhanced inventory you can receive; like Armor Plate Bundles, Cash Deposit Balloons, Killstreaks, Self-Revive Kits, and Loadout Drops.
Protecting and Banking Your Cash
In Plunder, death comes with a heavy tax. You can safeguard your cash two ways within a match: Deposit it in a Cash Deposit Balloon, or at a Cash Extraction Point.
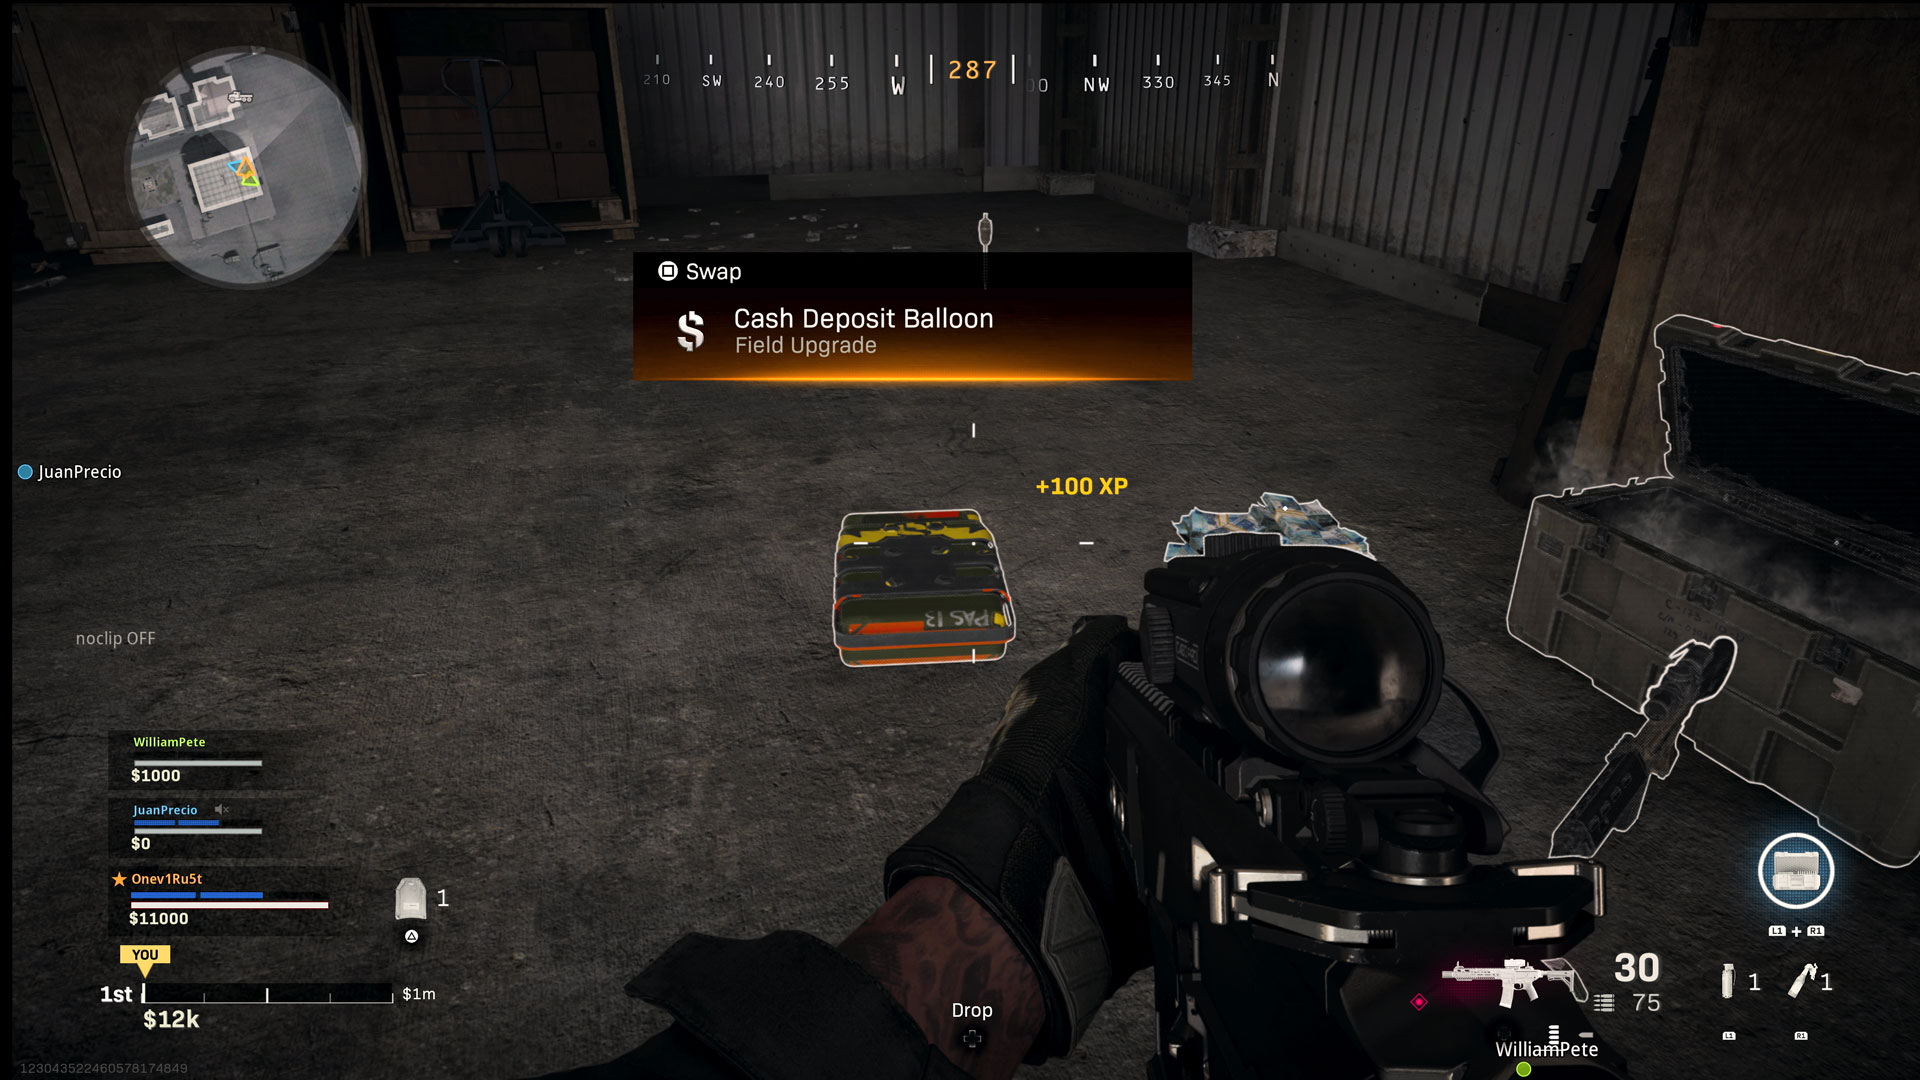
16. Cash Deposit Balloons (Acquiring): Cash Deposit Balloons can be found in Supply Boxes or can be purchased from Buy Stations located throughout the map. They replace your current Field Upgrade.
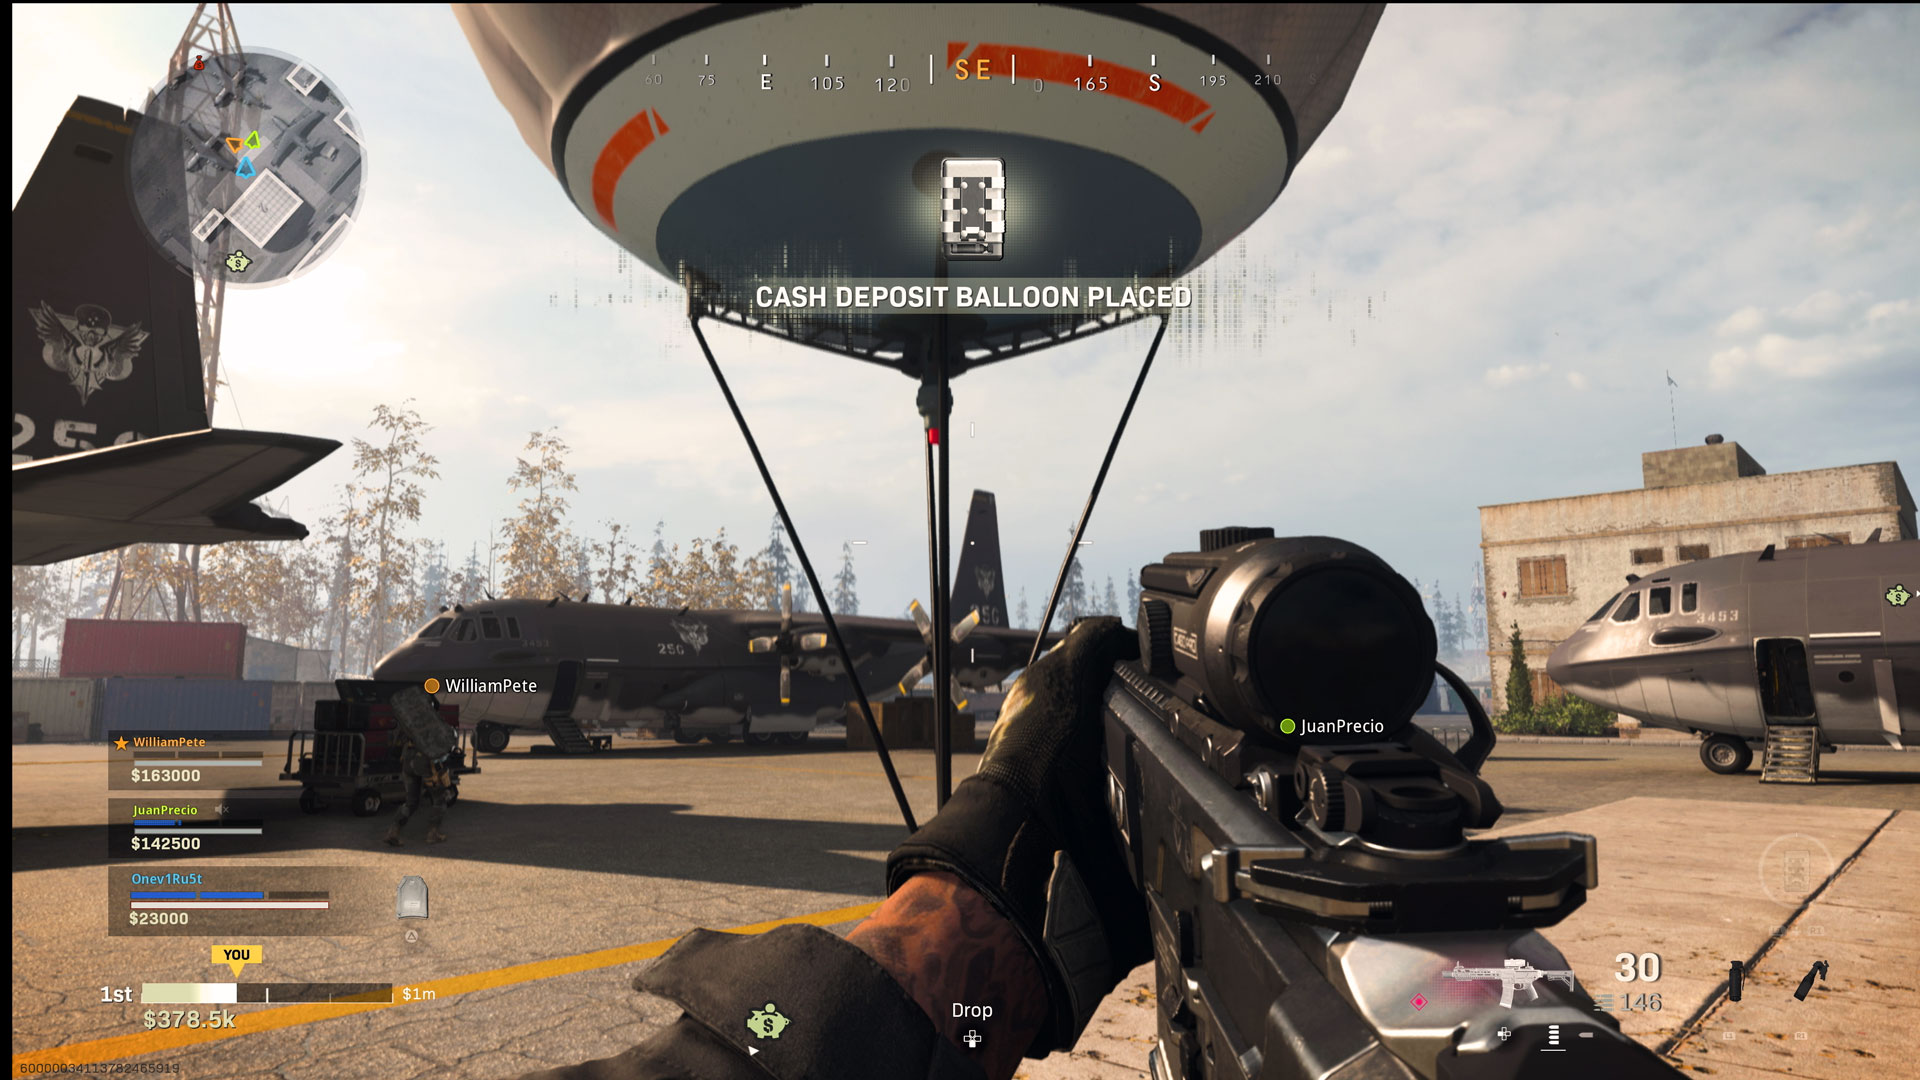
17. Cash Deposit Balloons (Utilizing): Deploying Cash Deposit Balloons are a quick and mobile way to send your cash back to base for protection. Within around 15 seconds of time, you can deploy the balloon, and then you (and nearby squadmates) can load it with your ill-gotten gains. Just be aware of enemies thwarting this plan; release the balloon in low-trafficked areas.
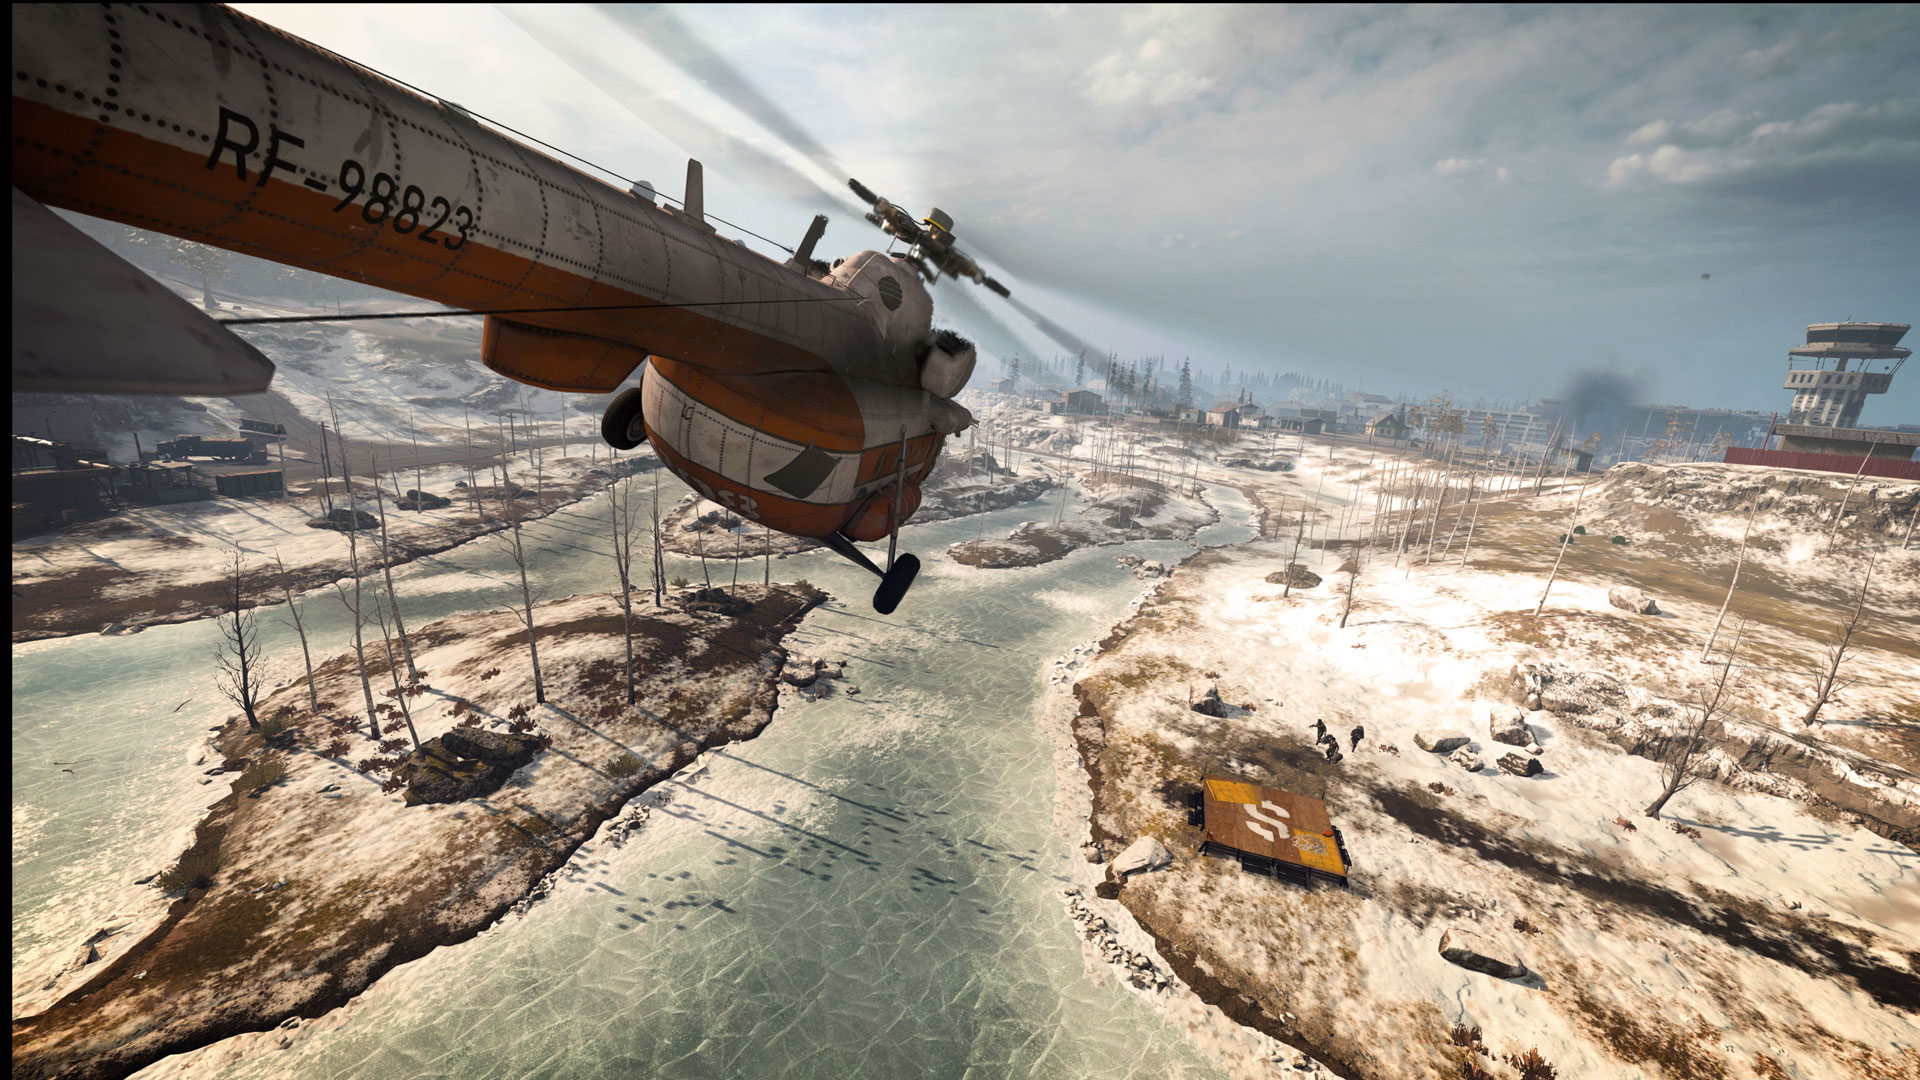
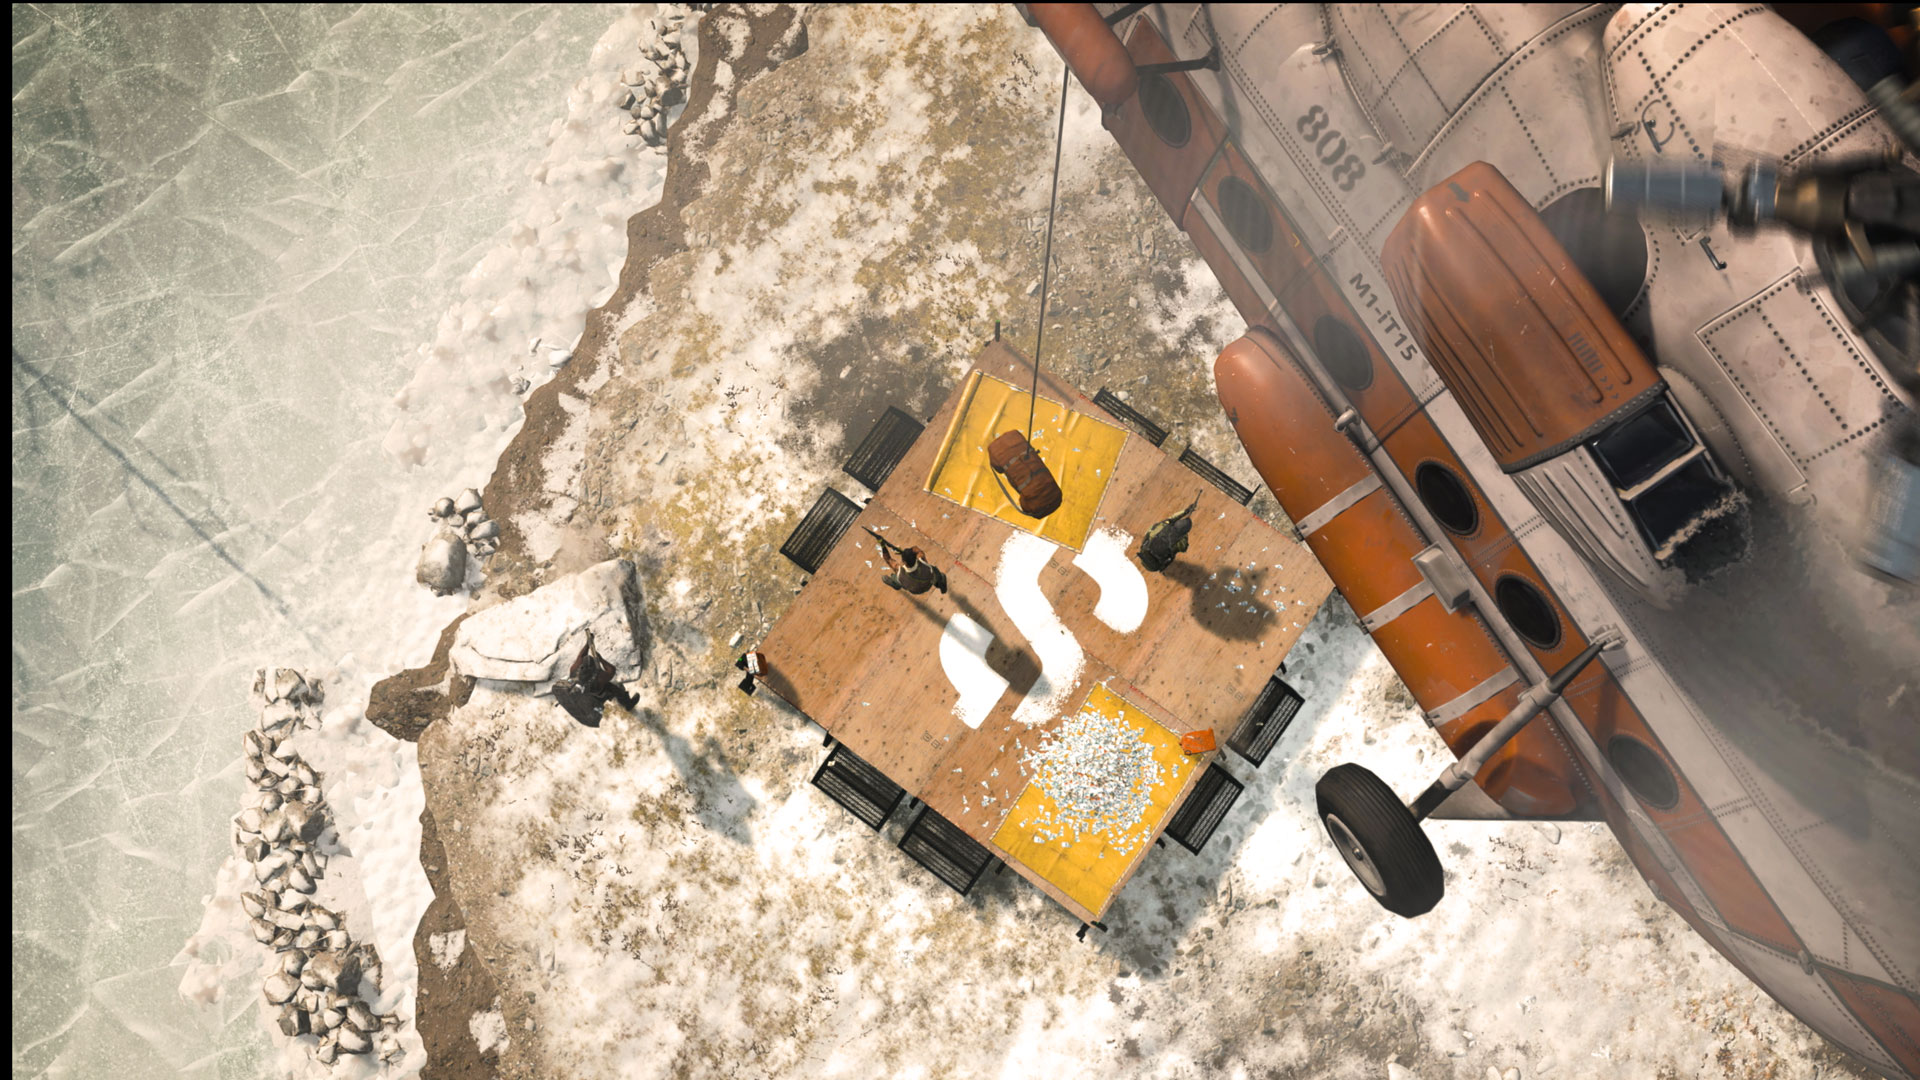
18. Cash Extraction Helipads (Accessing): Cash Deposit Helipads are another way for you to secure your cash. When you get to one, call in a helo and fill it with your cash.
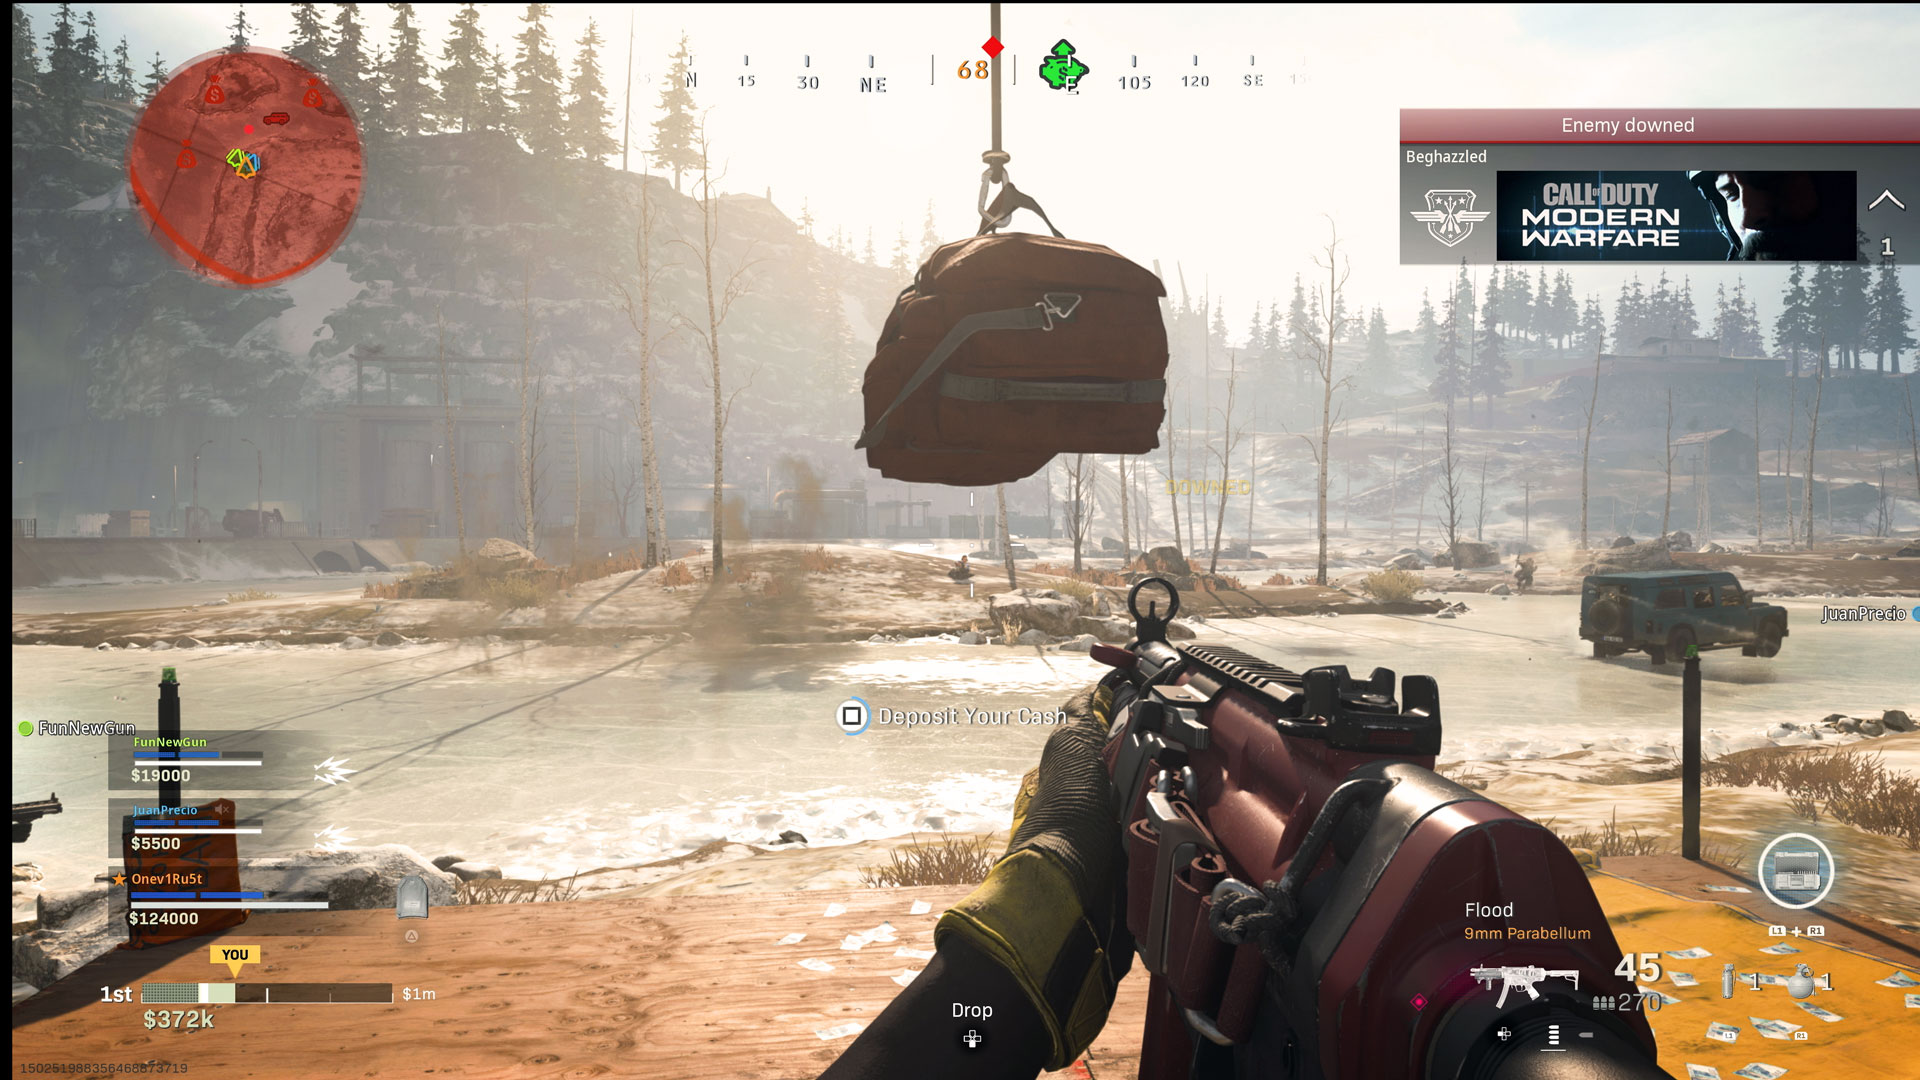
19. Cash Extraction Helipads (Utilizing): As the helo descends and hovers above the helipad, it dangles a money bag that hovers at around head height. Deposit as much Cash into the bag as it is safe to do so, and after around 15 seconds the helo will ascend and your Cash is safe.
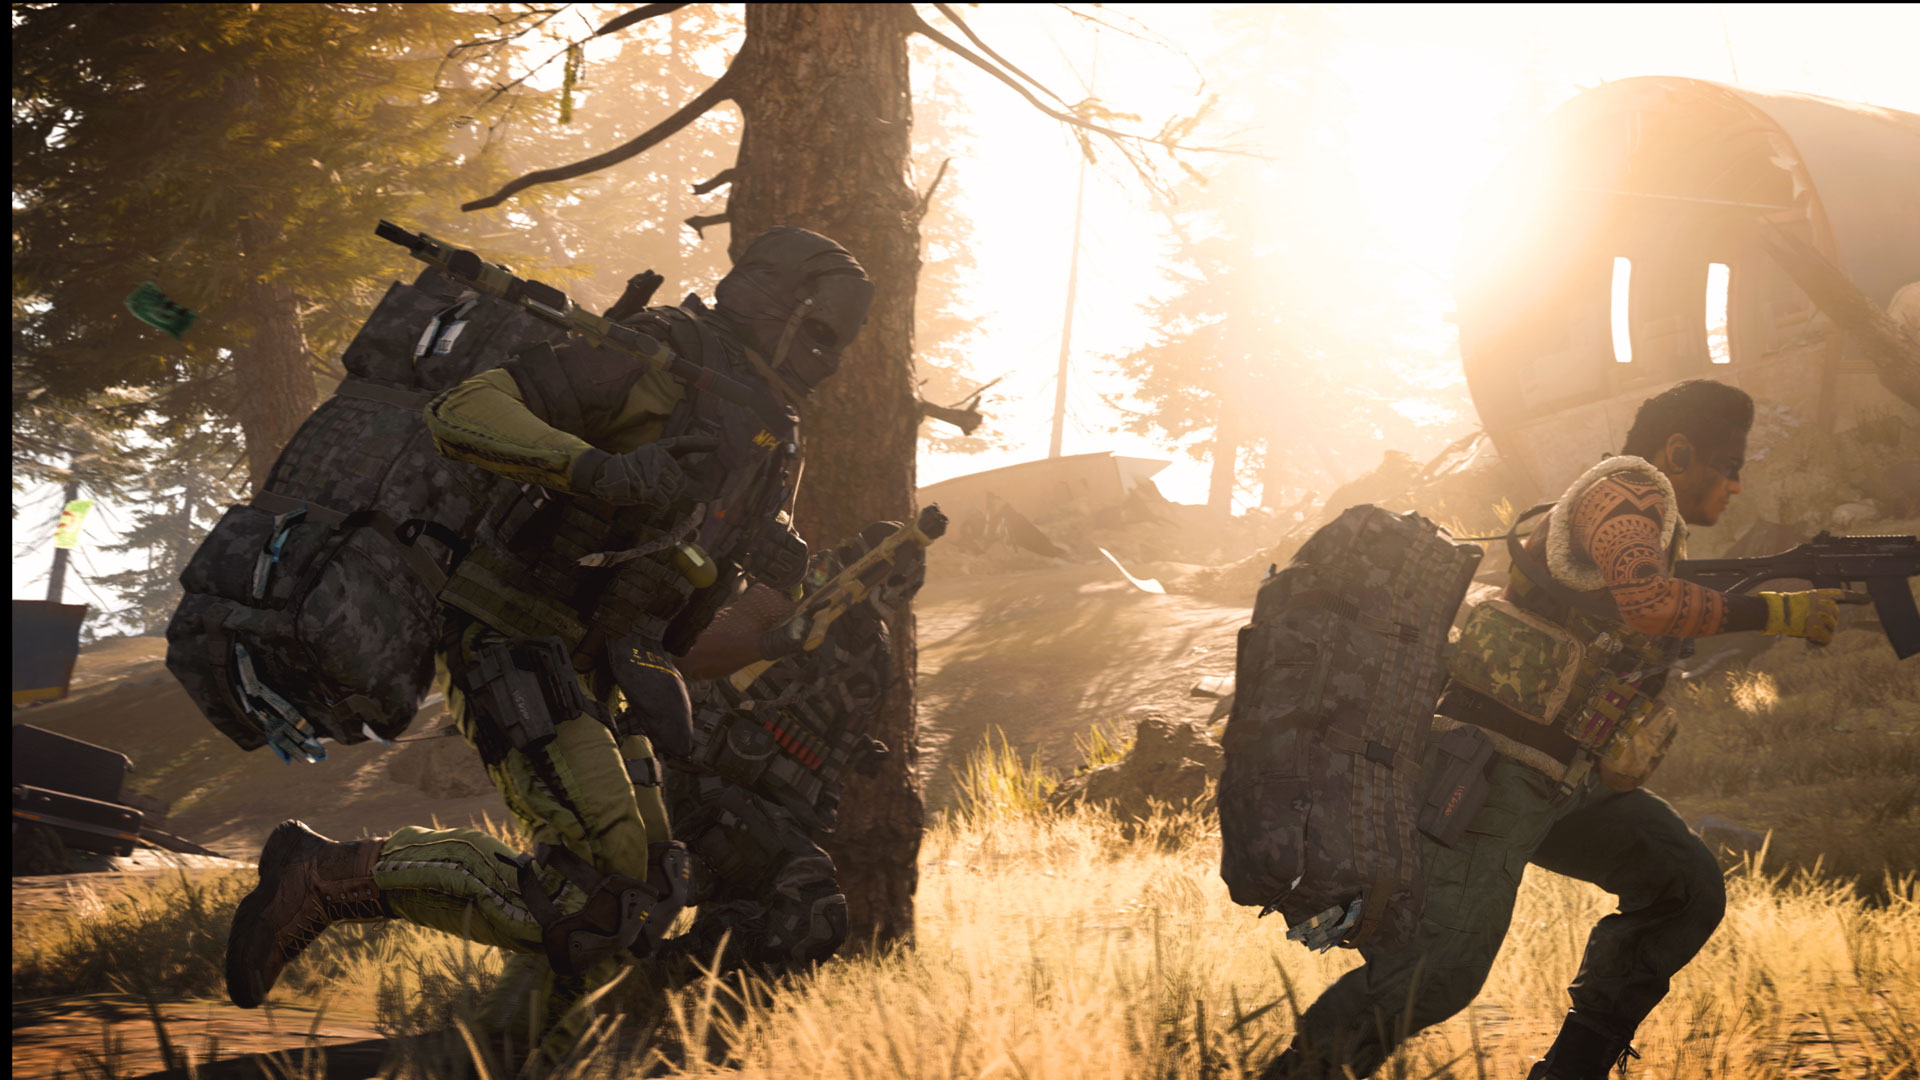
20. Plunder Completion: The total squad Cash amount equals the Cash you and your squad have collected but not dropped or had looted (from your corpse), plus any Cash you have successfully extracted via balloon or helo. The trick is knowing when to extract your cash, and how much risk to take carrying a massive amount of Cash on your person.
These are the essentials of Plunder.
Now get in there and get some!
Useful Links: Other Guide Chapters: