Le Contrat de Licence et de Service Logiciel va être mis à jour. Veuillez suivre sur ce lien [https://www.activision.com/ca/fr/legal/ap-eula] pour voir ces modifications.
You may be wondering what happened to those Loadouts you set up prior to a match, which were discussed in the Pre-Game Preparation chapter.
During your time in the Battle Royale game mode of Warzone, you may have the opportunity to call in or come across a Loadout Drop package. These packages are directly airlifted in from outside the theater of war and contain all of your Loadouts that you set up in the pre-game menus.
During Plunder game modes, Loadout Drops do not appear, as you drop in with your own Loadout.
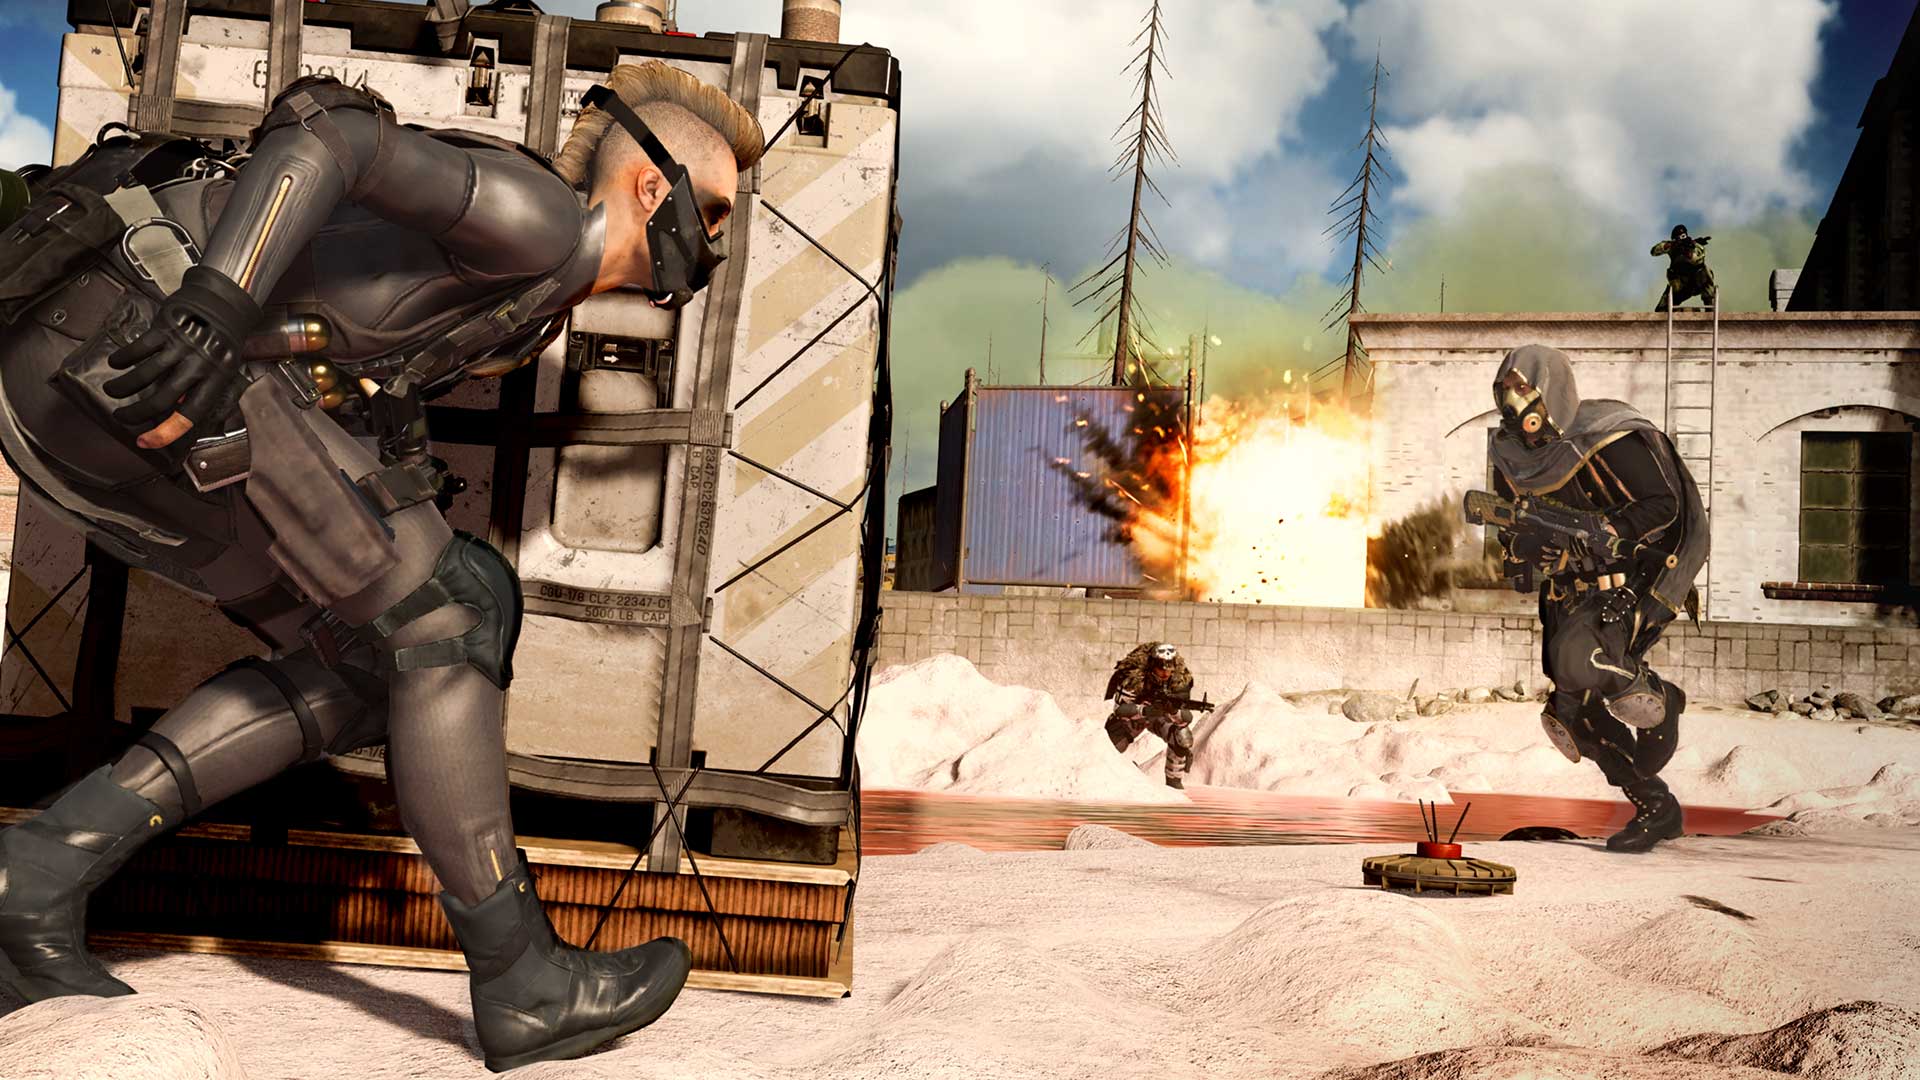
For a Battle Royale Warzone Match, here is how you’ll be able to pick up Loadout Drops in the middle of your campaign to victory:
Calling In, Finding, and Using a Drop Kit
Loadout Drop Markers are your main way of calling in Loadout Drops. These can be purchased at any Buy Station for a few thousand cash. There are also two Loadout Drops that will drop during the match – one within the first two circle collapses and one in the late-game – that anyone can grab.
Loadout Drops do come with some pomp and circumstance as they arrive; other players will be able to see smoke and the helicopter drop in the package, turning that immediate area into dangerous territory. It may be wise to scout ahead before and while your Loadout Drop arrives, as you may not be the only one looking for a serious loadout upgrade.
Once you arrive at a Loadout Drop (and no matter who has requested the Loadout Drop), interacting with it will open a menu where you can choose between your custom Loadouts, as well as some Default ones. After choosing a Loadout, the weapons and equipment you currently are carrying will be dropped in front of the package, allowing you or your squad-mates to pick them up like normal loot. Meanwhile, you are automatically equipped with the Loadout you chose.
Ten Loadout Archetypes
If you need more practice with a specific Loadout, you can try the full Call of Duty®: Black Ops Cold War or Modern Warfare® experience and try our specific weapons. The loadouts you create in Warzone are only for Warzone, as they use weapons from both Black Ops Cold War and Modern Warfare.
Below are some Loadout Ideas we have for any player – from a newcomer to hardcore veteran – to consider. One major note with these: with an ever shifting meta, these ideas should be seen as examples of what you can build your loadout around, based on popular choices made by players today.
Also, if you don’t feel like going for Loadout Drops, think of these loadouts as inspirations to shoot for; gathering and equipping as you discover loot around the map.
Note: References are made to Blueprint weapons. These are specially designed weapon variants typically customized for a specific playstyle. Blueprints have rarity levels that indicate the overall strength of the variant in respect to the specific playstyle. Blueprints can be purchased at the Store or given as rewards for completing certain missions and challenges. If you don’t have the Blueprint mentioned, feel free to construct it from a base weapon using attachments you unlock.
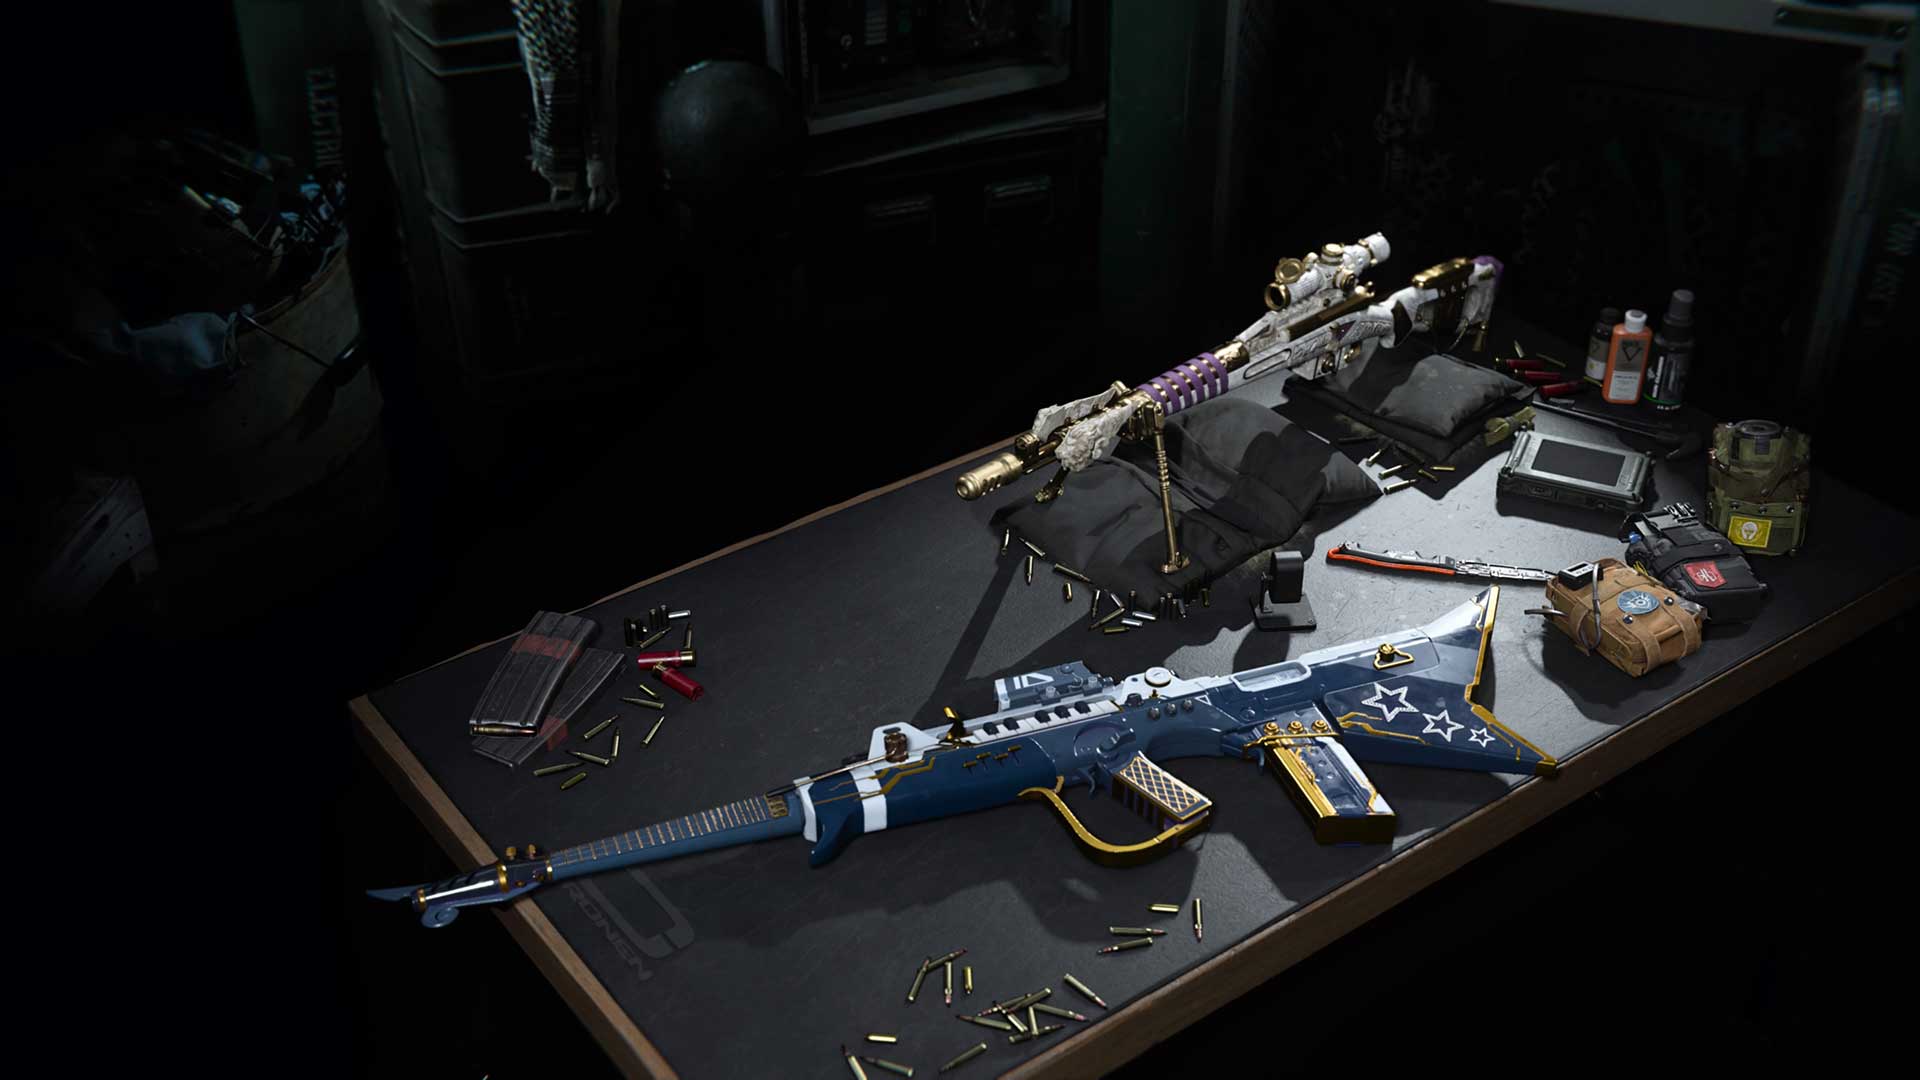
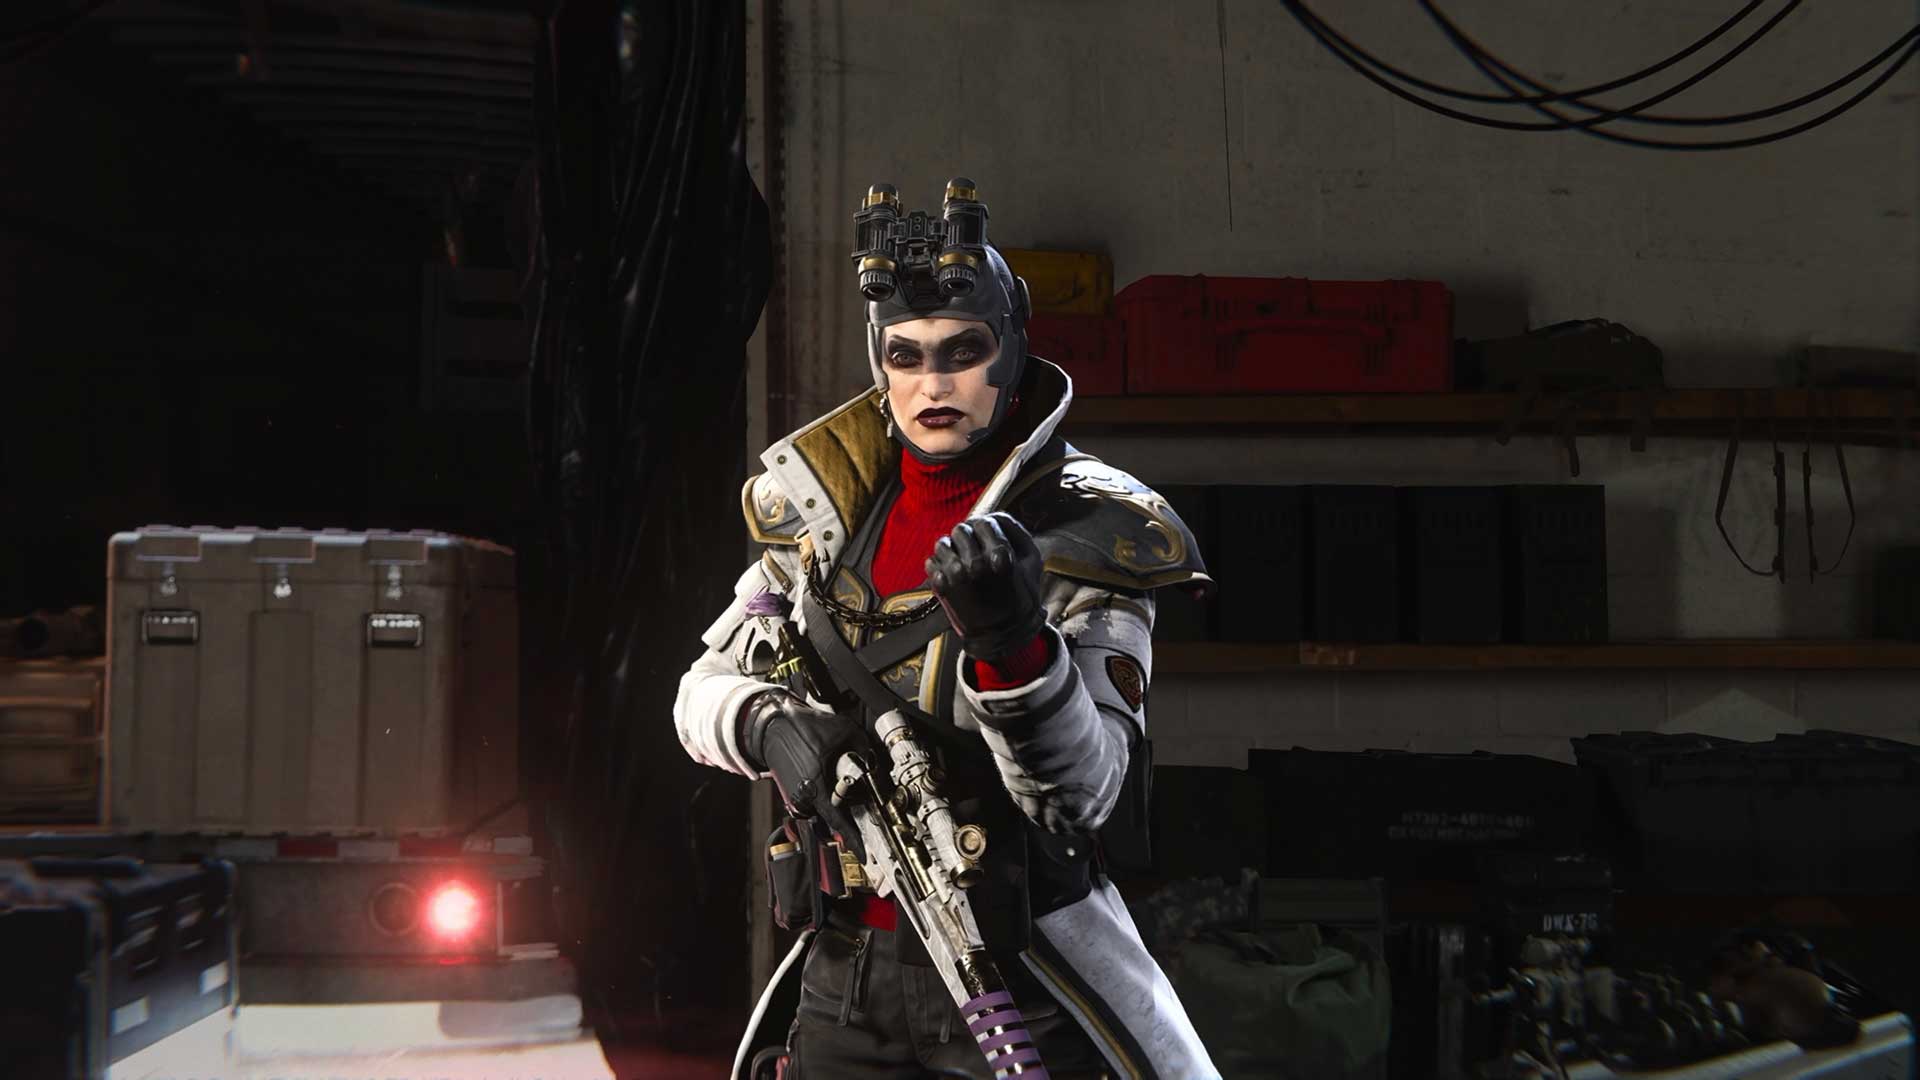
Elite Sniper/Assault Rifle
Typically, the top Warzone players have a minimum of four loadouts set aside for their most popular Loadouts. This is the first of the three that use Overkill Perk, which allows you to bring two of your custom Primary Weapons into battle, an invaluable benefit for those who rely on their own weapons for victory.
For this first of three Overkill “meta” classes, we are opting for a sniper rifle for long-range combat, and an assault rifle to deal with threats at short-to-mid range.
The new sniper rifle family is perfect for our first Primary, our long-range option, and we personally chose its “Roman Standard” Blueprint. Ideally, your Sniper Rifle should have attachments that maximize its bullet velocity (so your shots reach the target faster and have less bullet drop), but the rest is a matter of preference for optics, reload speed and mag capacity, handling statistics, and more.
The second Primary is our assault rifle: a fast-firing beast that we call the “Shredder” Ultra Rarity Mastercraft Weapon Blueprint, or simply, the “Shredder.” Play around with this weapon, and you’ll find that it can be great in short to mid-range encounters. But whatever assault rifle you choose, it’s good to ensure it has enough ammo to wipe entire squads and plays to its strengths.
As for the rest of the Loadout, we are rounding out our Perk selection with E.O.D., for reduced damage from explosives, and Battle Hardened, to reduce the effects of certain Tactical Equipment pieces. These tend to be the most popular Perks among the top-level players, as they want their Operator to focus on the gunfight at hand, and not worry as much about explosives or other equipment pieces.
Speaking of Equipment, we decided to use a special Throwing Knife – but any one of them will do – as it is an automatic elimination on a downed enemy and can be picked up repeatedly. For a Tactical Equipment, we chose the Heartbeat Sensor, as it can be used to seek and destroy non-Ghosted Operators.
Elite Tactical/SMG
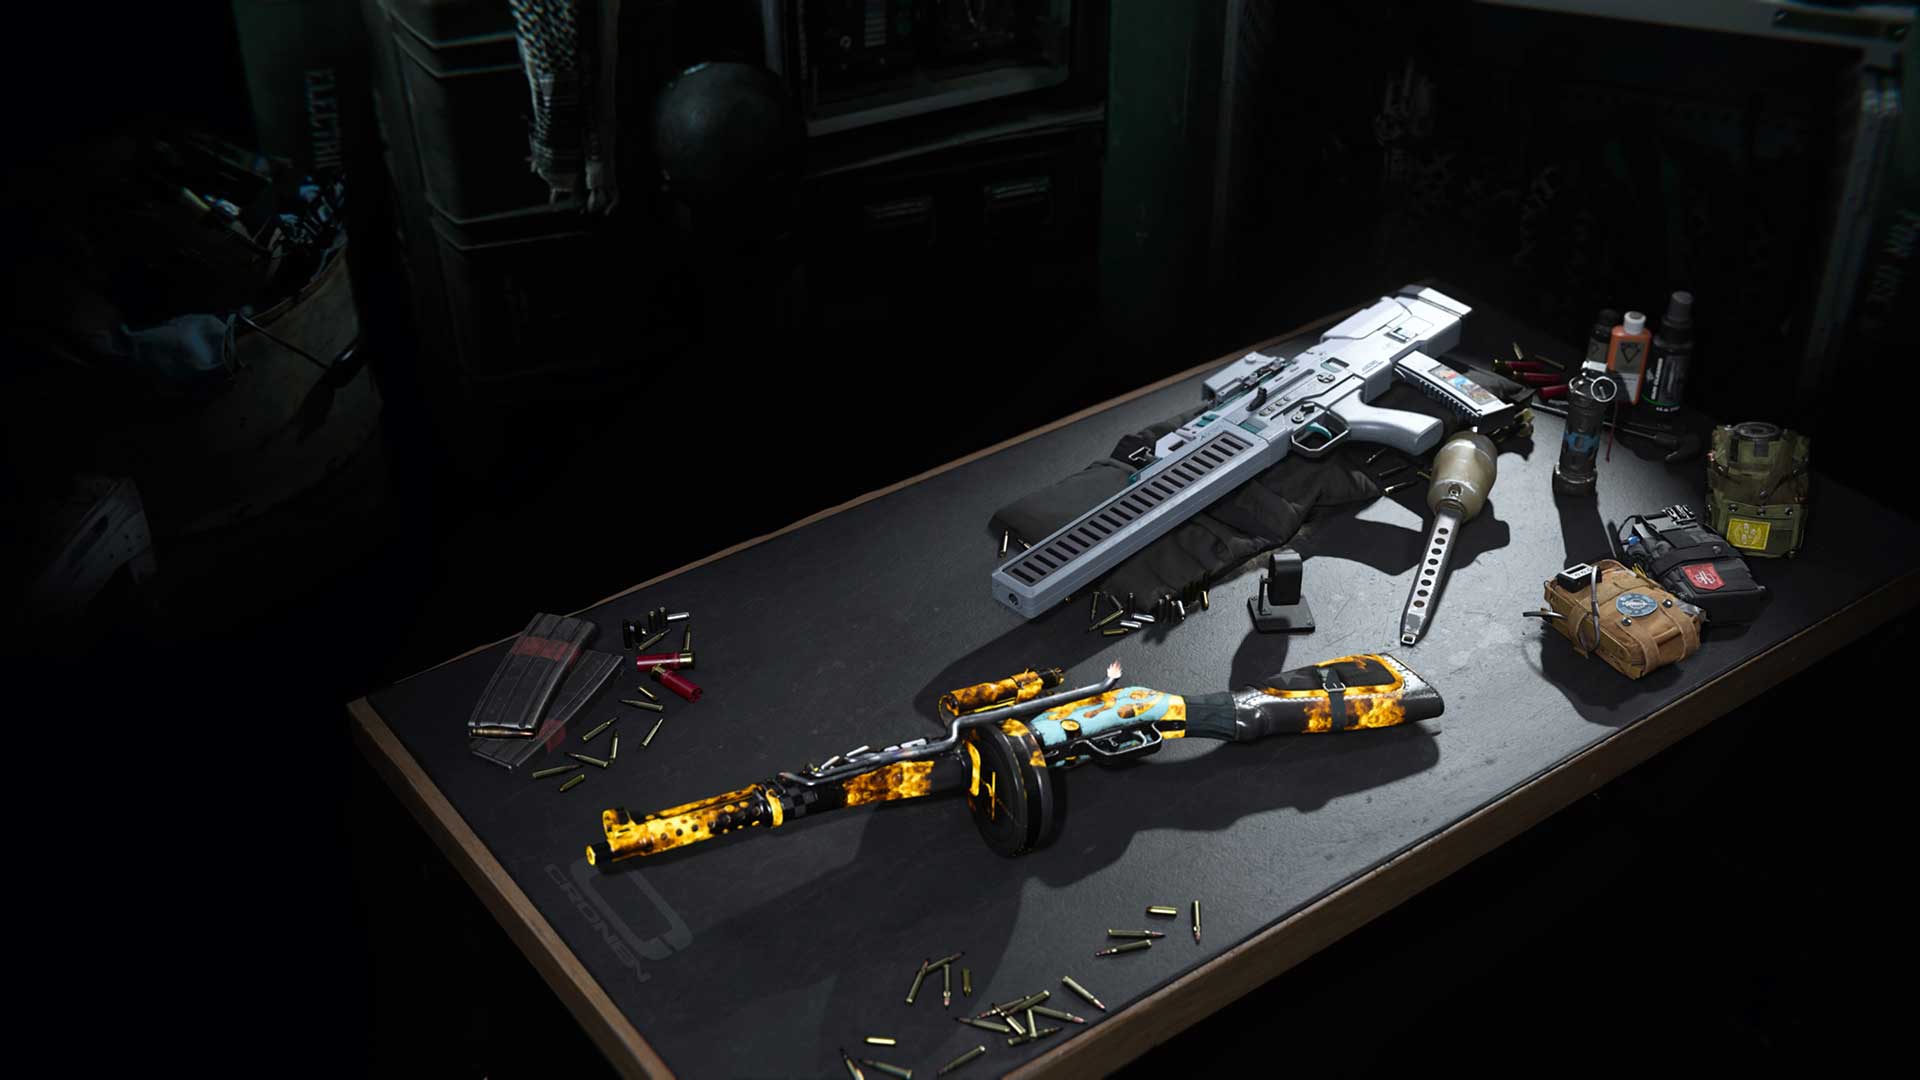
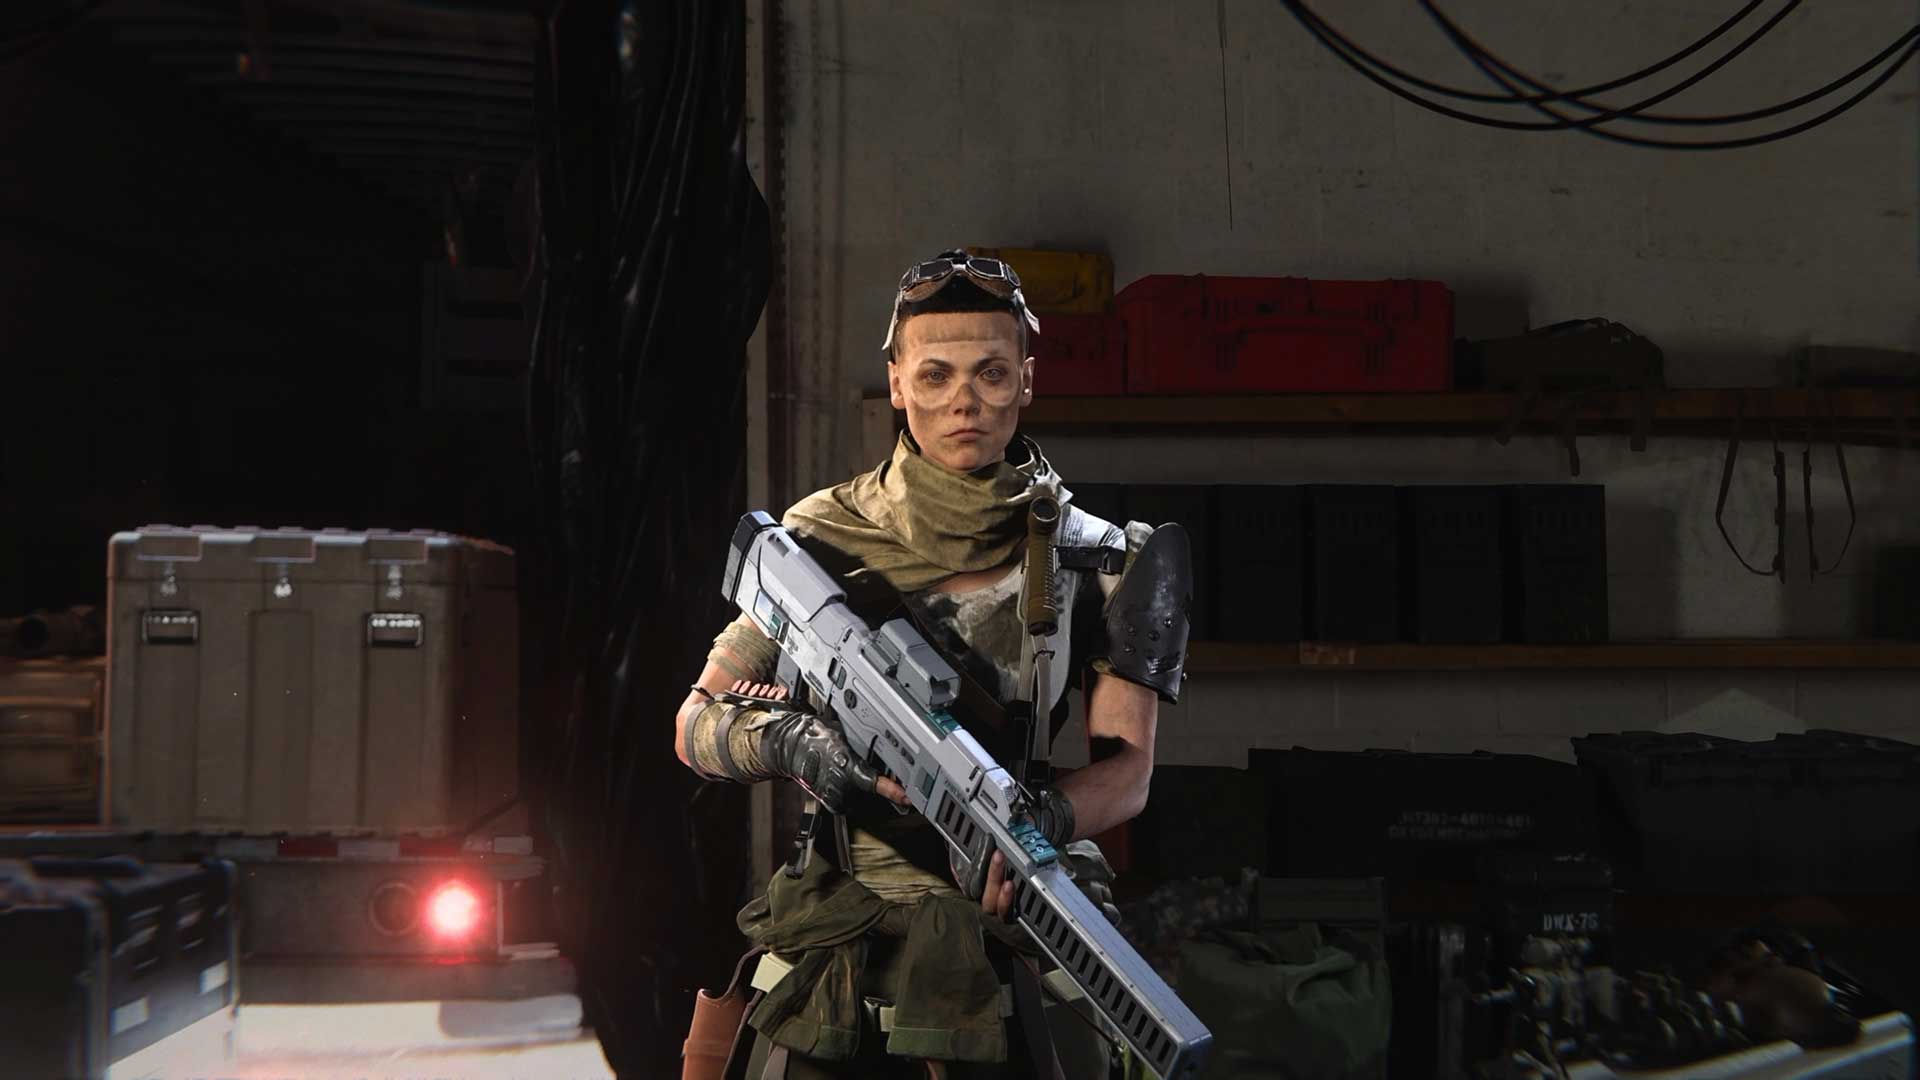
Our second Overkill class identifies two more weapon categories that are popular for their own reasons: the three-round burst tactical rifle and SMGs
Our choice of tactical rifle is one unlocked via challenge during Season Three of Black Ops Cold War, or in a bundle where it has the “Konsole” Weapon Blueprint. For these weapons, bullet velocity and fire rate boosting attachments are great to keep those bursts tight, while extended mags help ensure you don’t run dry during a teamfight. But overall, three-round burst tactical rifles find their stride in medium to long distances.
For the SMG, we want something fast-firing to deal with enemies in close quarters. Enter the “Loud Pipe” Weapon Blueprint, based on the SMG introduced to Black Ops Cold War and Warzone in Season Three. Although there are a few other weapons with higher fire rates in the SMG category – the MAC-10 and Fennec come to mind – this weapon will do well in CQB situations without eating up too much ammo (especially thanks to an extended mag) or being rough recoil wise.
For Perks, we’re showcasing two alternate choices that are popular for the other two slots: Quick Fix, which speeds up health regeneration, and Tracker, which allows you to see enemy footprints. Combined, these perks will help you hunt down enemies and heal quick before the next engagement.
The same goes for Equipment, where we have some other top choices. In the Lethal category, Thermite Grenades offer a direct hit kill over time on an Operator, and otherwise chip away at enemy health and visibility, especially if one is on their vehicle.
Our Tactical choice is the Stun Grenade, for its ability to slow a target’s movement speed down. We like this in combination with aggressive, CQB weapons like the one in this loadout, as in those situations, faster swivels and movements may be key to survival.
Elite LMG/Shotgun
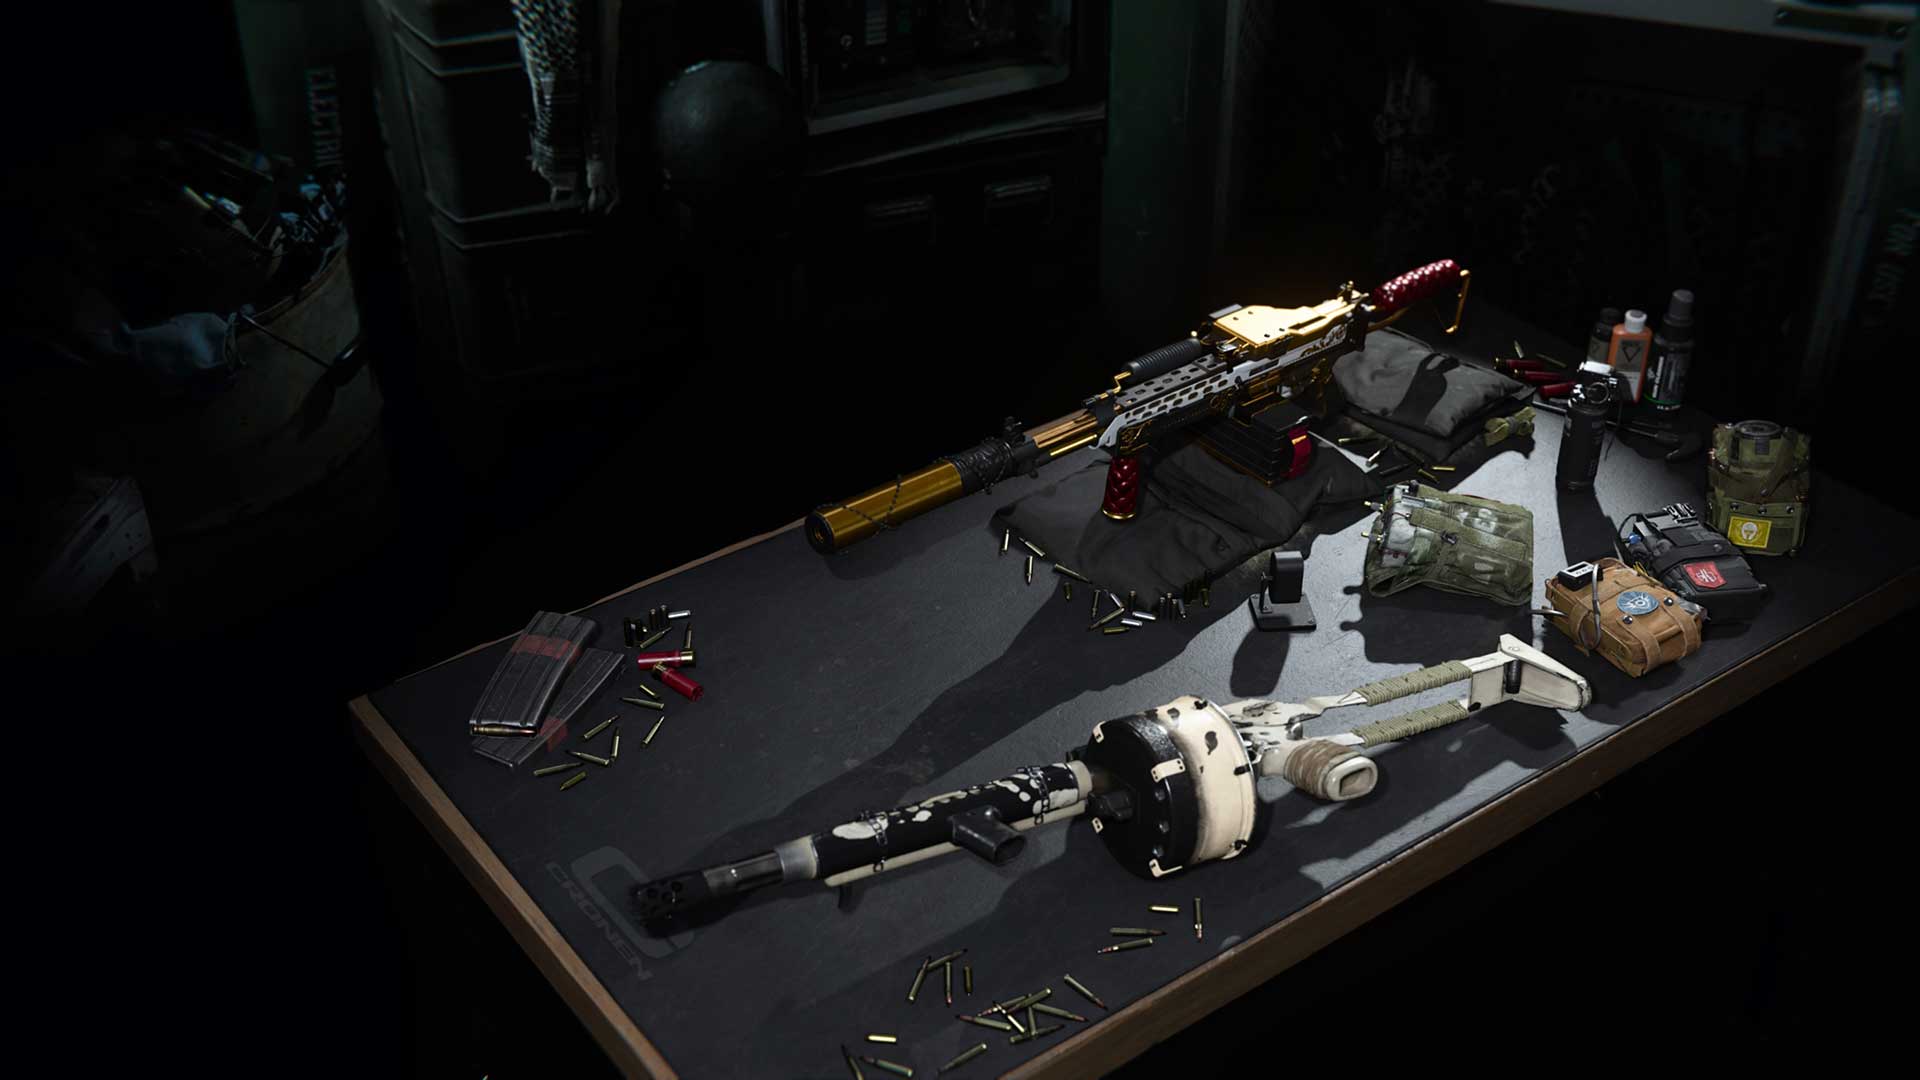
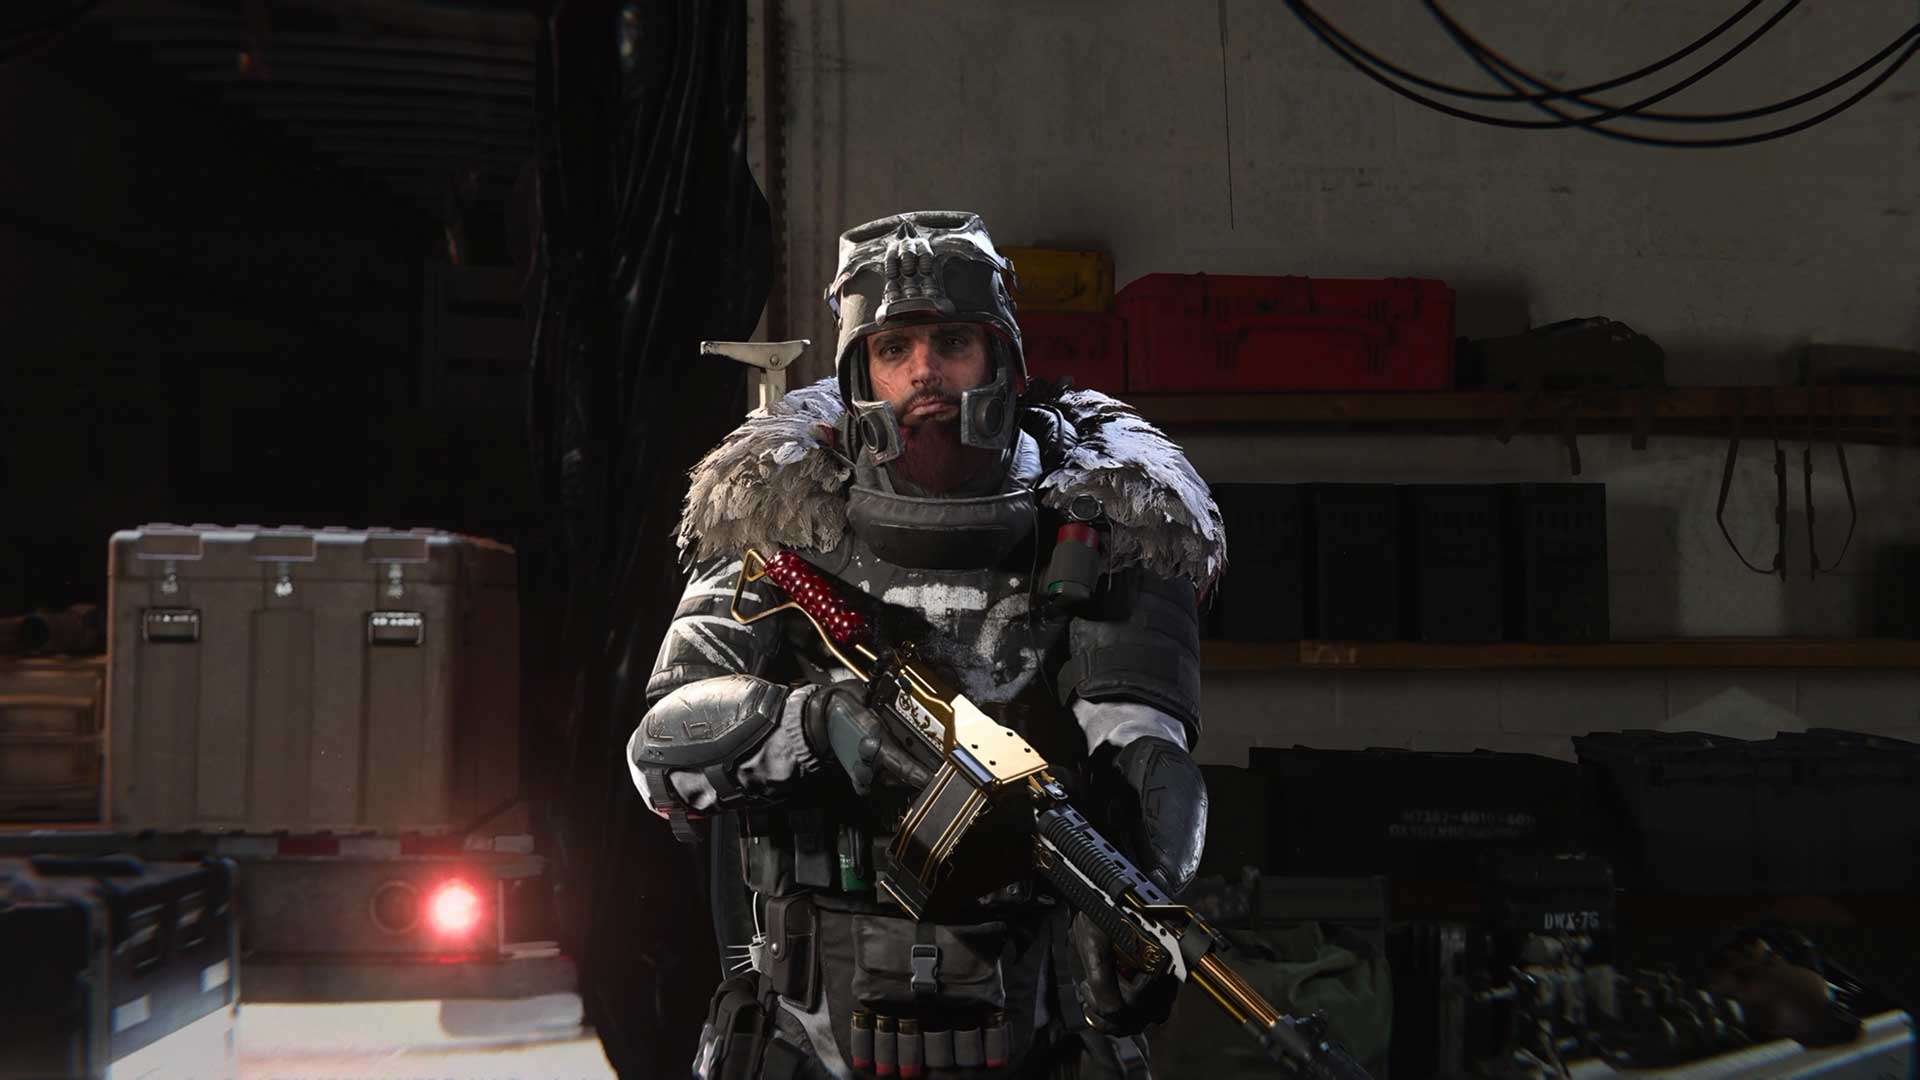
Rounding out the primary weapon categories from Black Ops Cold War, we have two that sometimes don’t get as much love as they should: the LMGs and shotguns. Despite their lack of depth there is plenty of opportunity here; in other words, kit these weapons right, and you’ll be popping off in no time
First, LMGs tend to be bulky to balance their incredible magazine size and damage. Take the “Queen’s Guard” Weapon Blueprint from the first Black Ops Cold War LMG weapon family, which already has an awesome set-up thanks to a massive fast magazine. You could reconfigure that weapon to be more agile, or you can slap on a mid-magnification optic, tone down its recoil, and turn it into a monster at longer distances.
As for Shotguns, we chose the fully-automatic shotgun from Black Ops Cold War, shown here as the “Blotter” Weapon Blueprint. For these kind of weapons, boosting their magazine capacity and their range are great ways to counteract their weaknesses in these departments, although it may come at the cost of movement speed and other handling properties, which is where these weapons shine. Just note: some shotguns, like all the ones from Black Ops Cold War, are reloaded shell-by-shell, so ensure you have cover before doing this.
This time, we’ll only change Equipment around for this Loadout. C4 is our choice for a Lethal Grenade, as its versatility against vehicles and Operators is something to behold. Then, we’ll go with a Flash Grenade to obscure our enemy’s vision and hearing before and during an engagement.
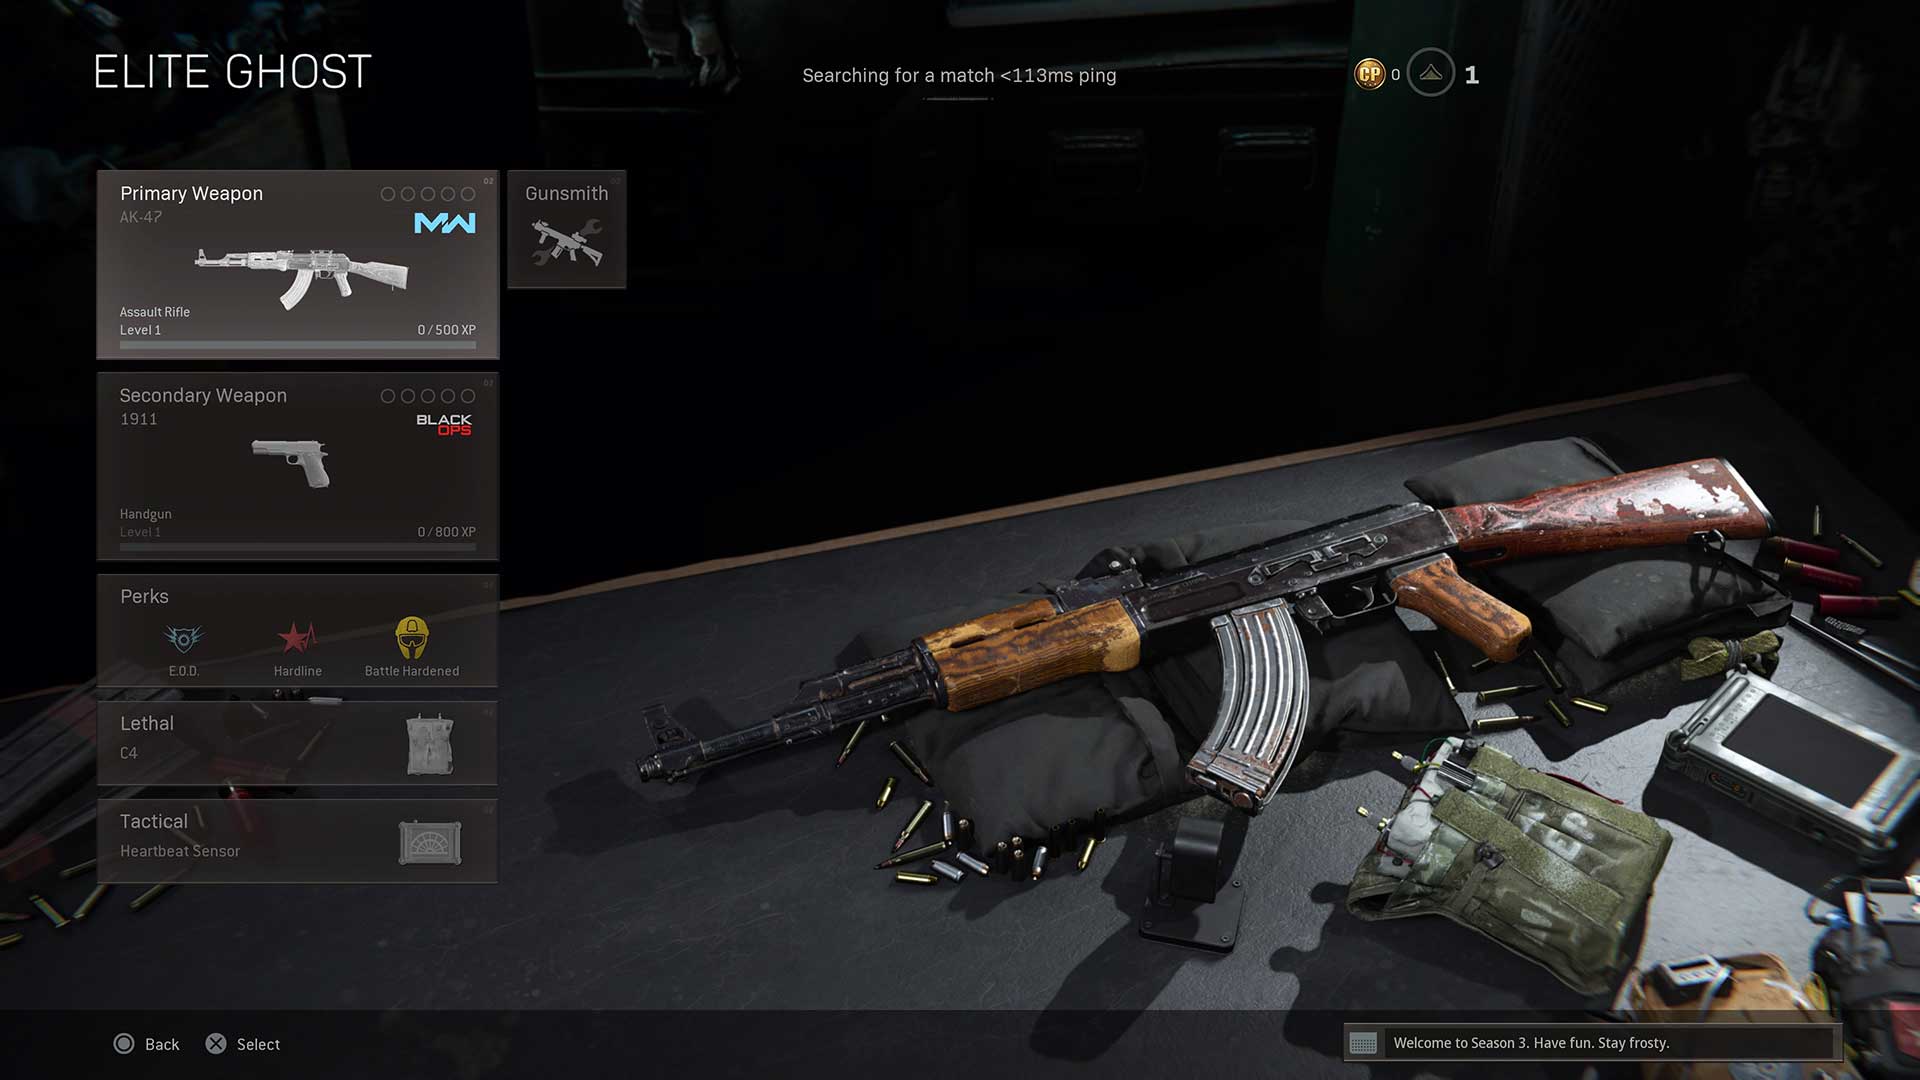
Elite Ghost
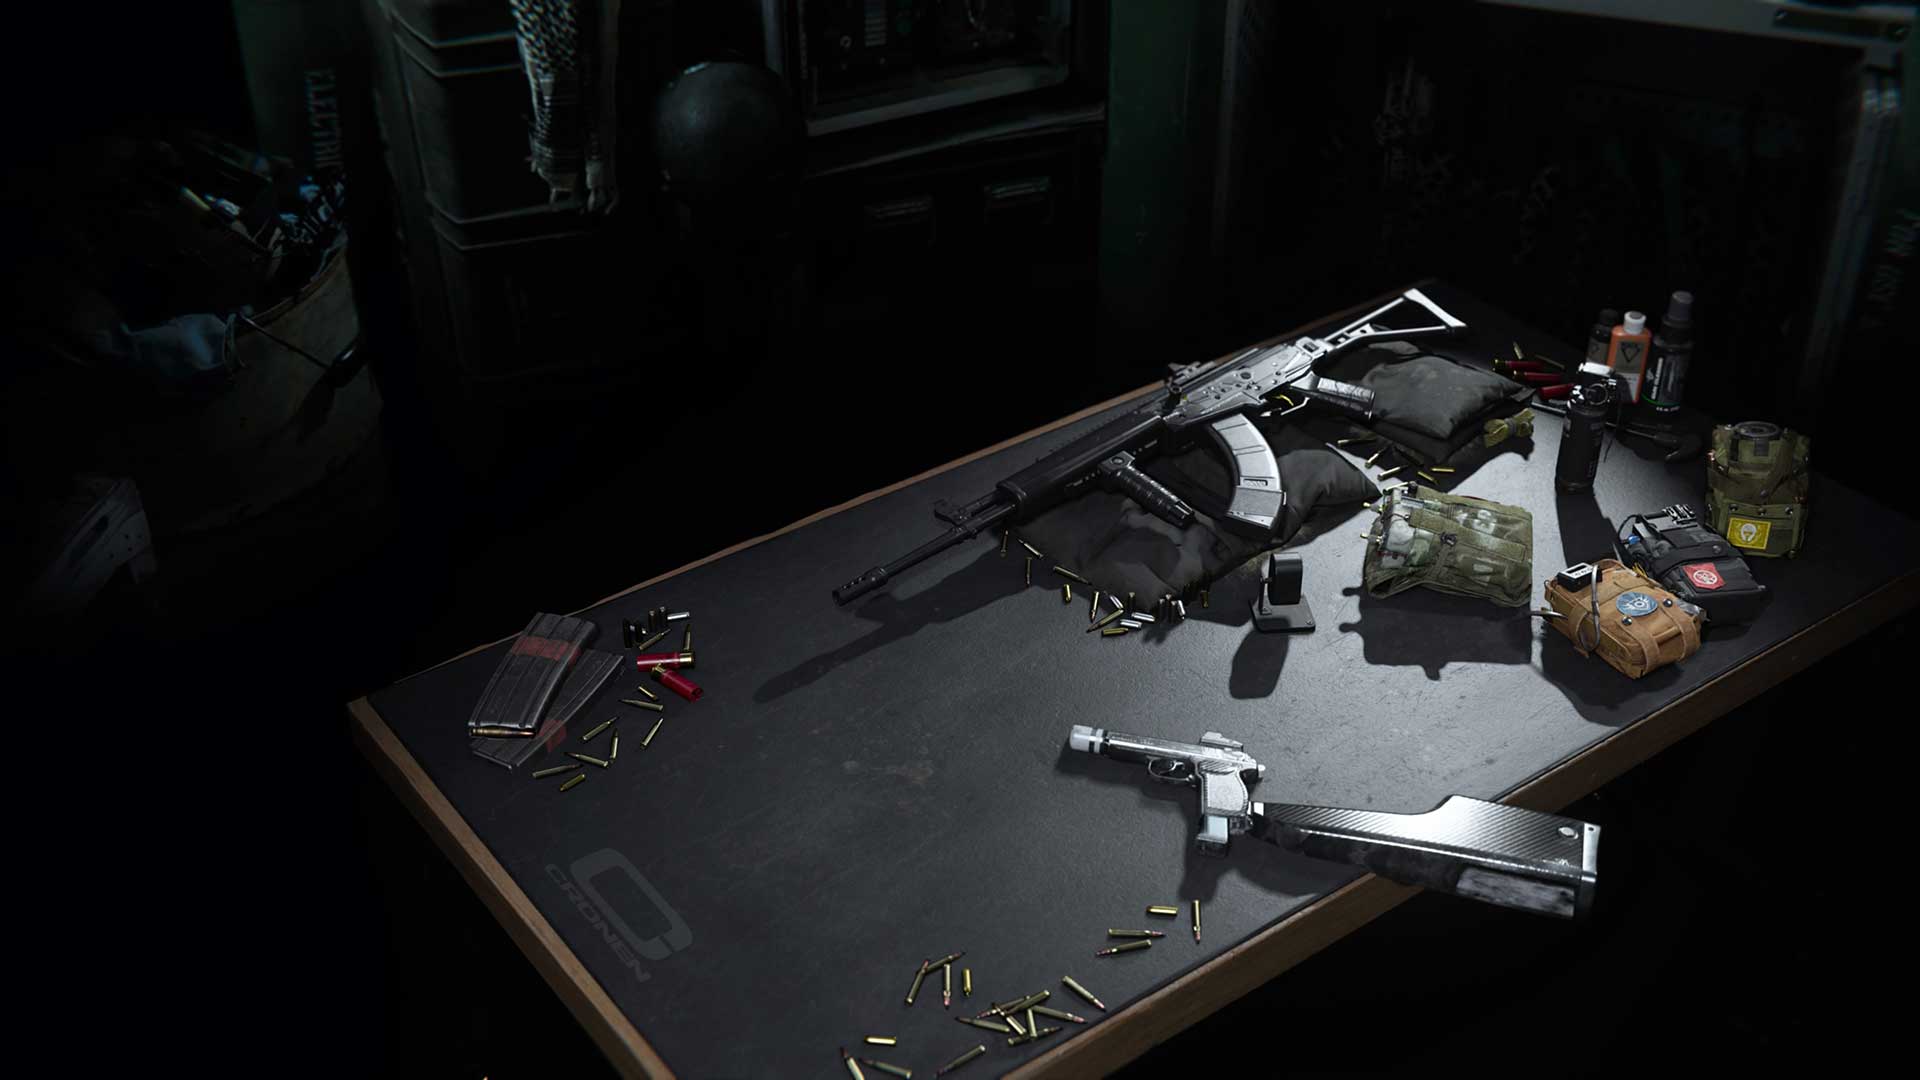
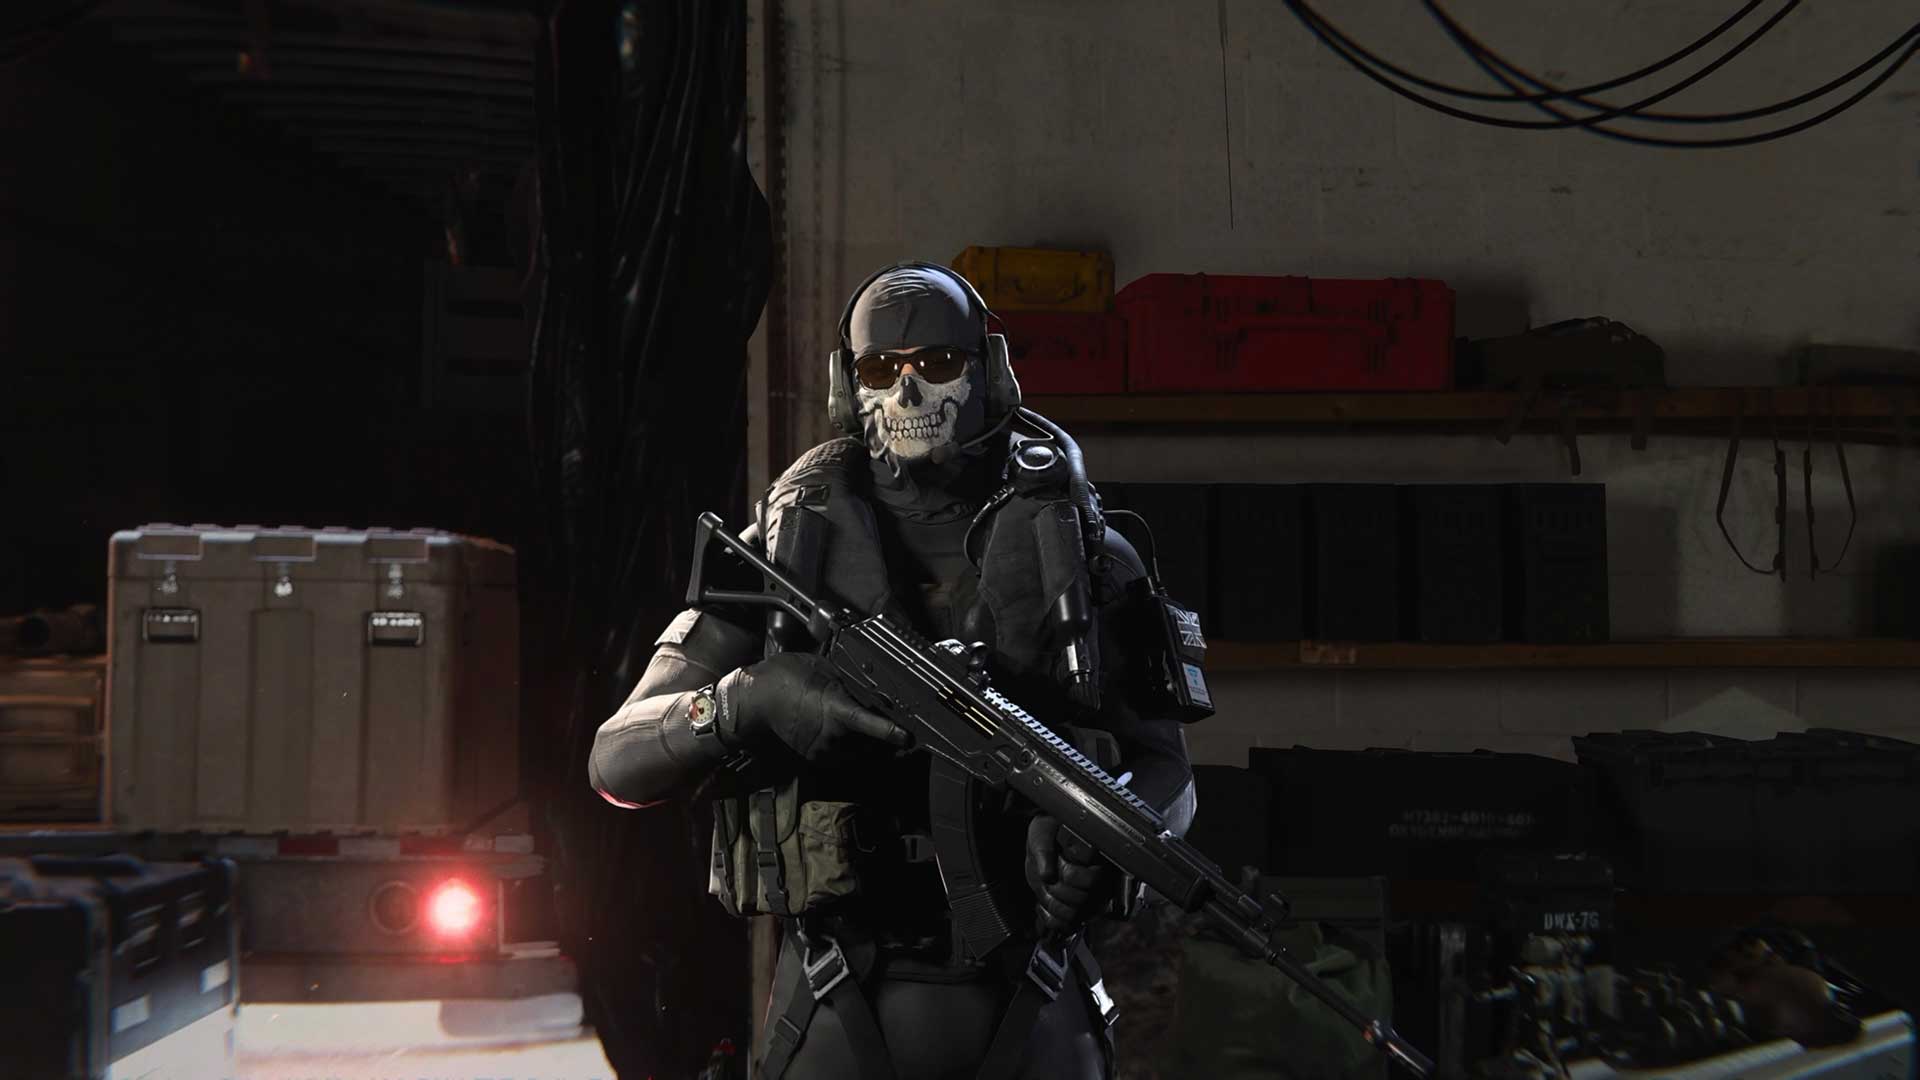
No matter what weapon you decide to fall upon, your Loadout Drop should not just be limited to Overkill classes. In the final circles, elite players love to use UAVs and Heartbeat Monitors to gain valuable intel, but with the Ghost Perk, you will remain off their radars.
Whatever loadout you pick up first that has Overkill, your goal is to find – or buy – another Loadout Drop to get a similar Elite Loadout, but with Ghost.
For this example loadout, we’ll keep a lot of popular Perks and Equipment pieces and explore some other weapon options, specifically from Modern Warfare.
First, let’s look at the Primary, which we are taking from the Assault Rifle Kilo family. This could be a CR-56 AMAX, but for the purpose of showing off some cool Shadow Tracer Rounds, we have the “Shadow Realm” Weapon Blueprint here instead. No matter the blueprint, the same rules of Assault Rifles apply: more ammo, keep bullet velocity and damage range in mind, and also keep recoil tight.
As for the Secondary, we’ll look at a weapon that went under the radar in Modern Warfare, the game’s only fully-automatic pistol. The “Monviso” Weapon Blueprint equips the weapon to fire in full-auto, and if you really want to amp up the pain, we could use this Akimbo with its largest magazines.
Of course, another option for a Secondary is a Launcher, just in case you find vehicles to be troublesome in squad game modes, but we’ll cover those in one of our later Loadouts.
Elite Rebirth
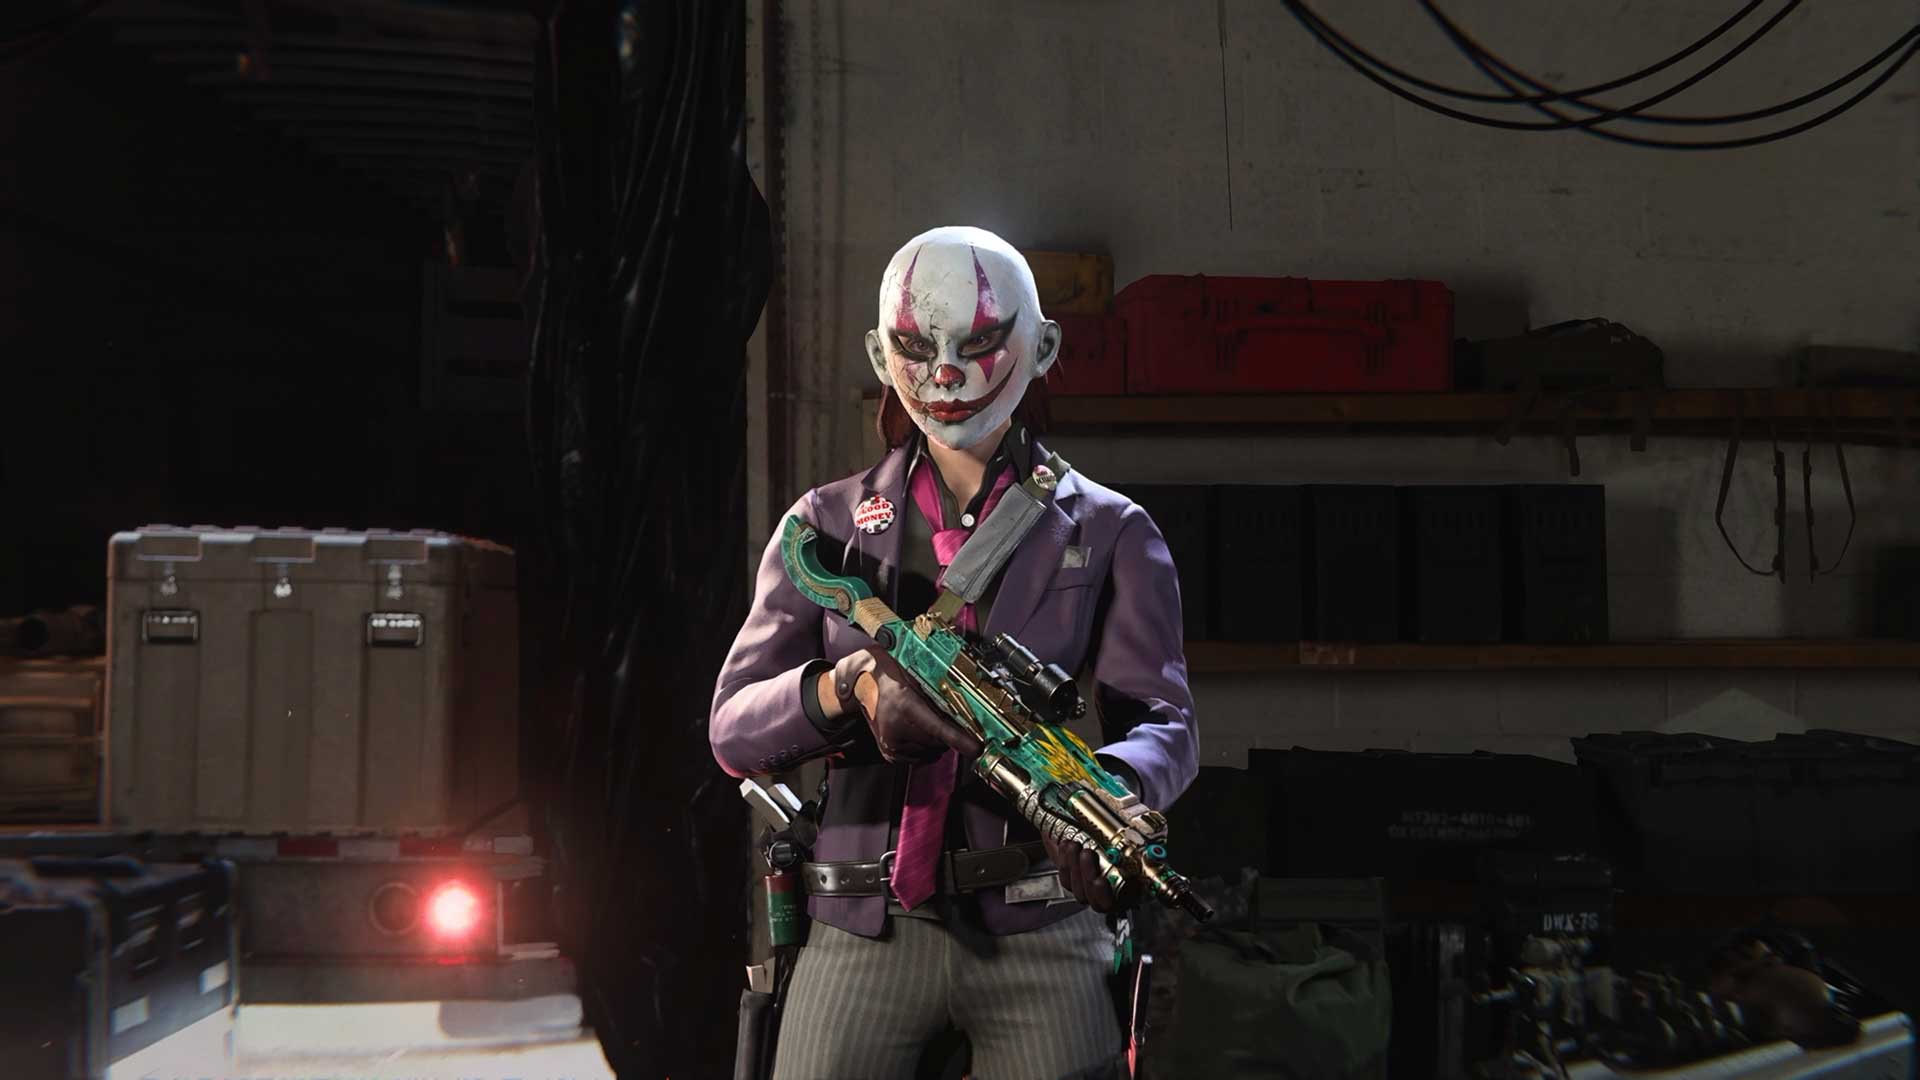
Because Rebirth Island is a smaller map, CQB weapons tend to be more useful across the map, as there is a bigger ratio of corridors, interior spaces, and other tight areas to the general map size compared this similar ratio on Verdansk. Therefore, you might want to have a Loadout that solely focuses on punishing Operators up close, or at least, out to the mid-range.
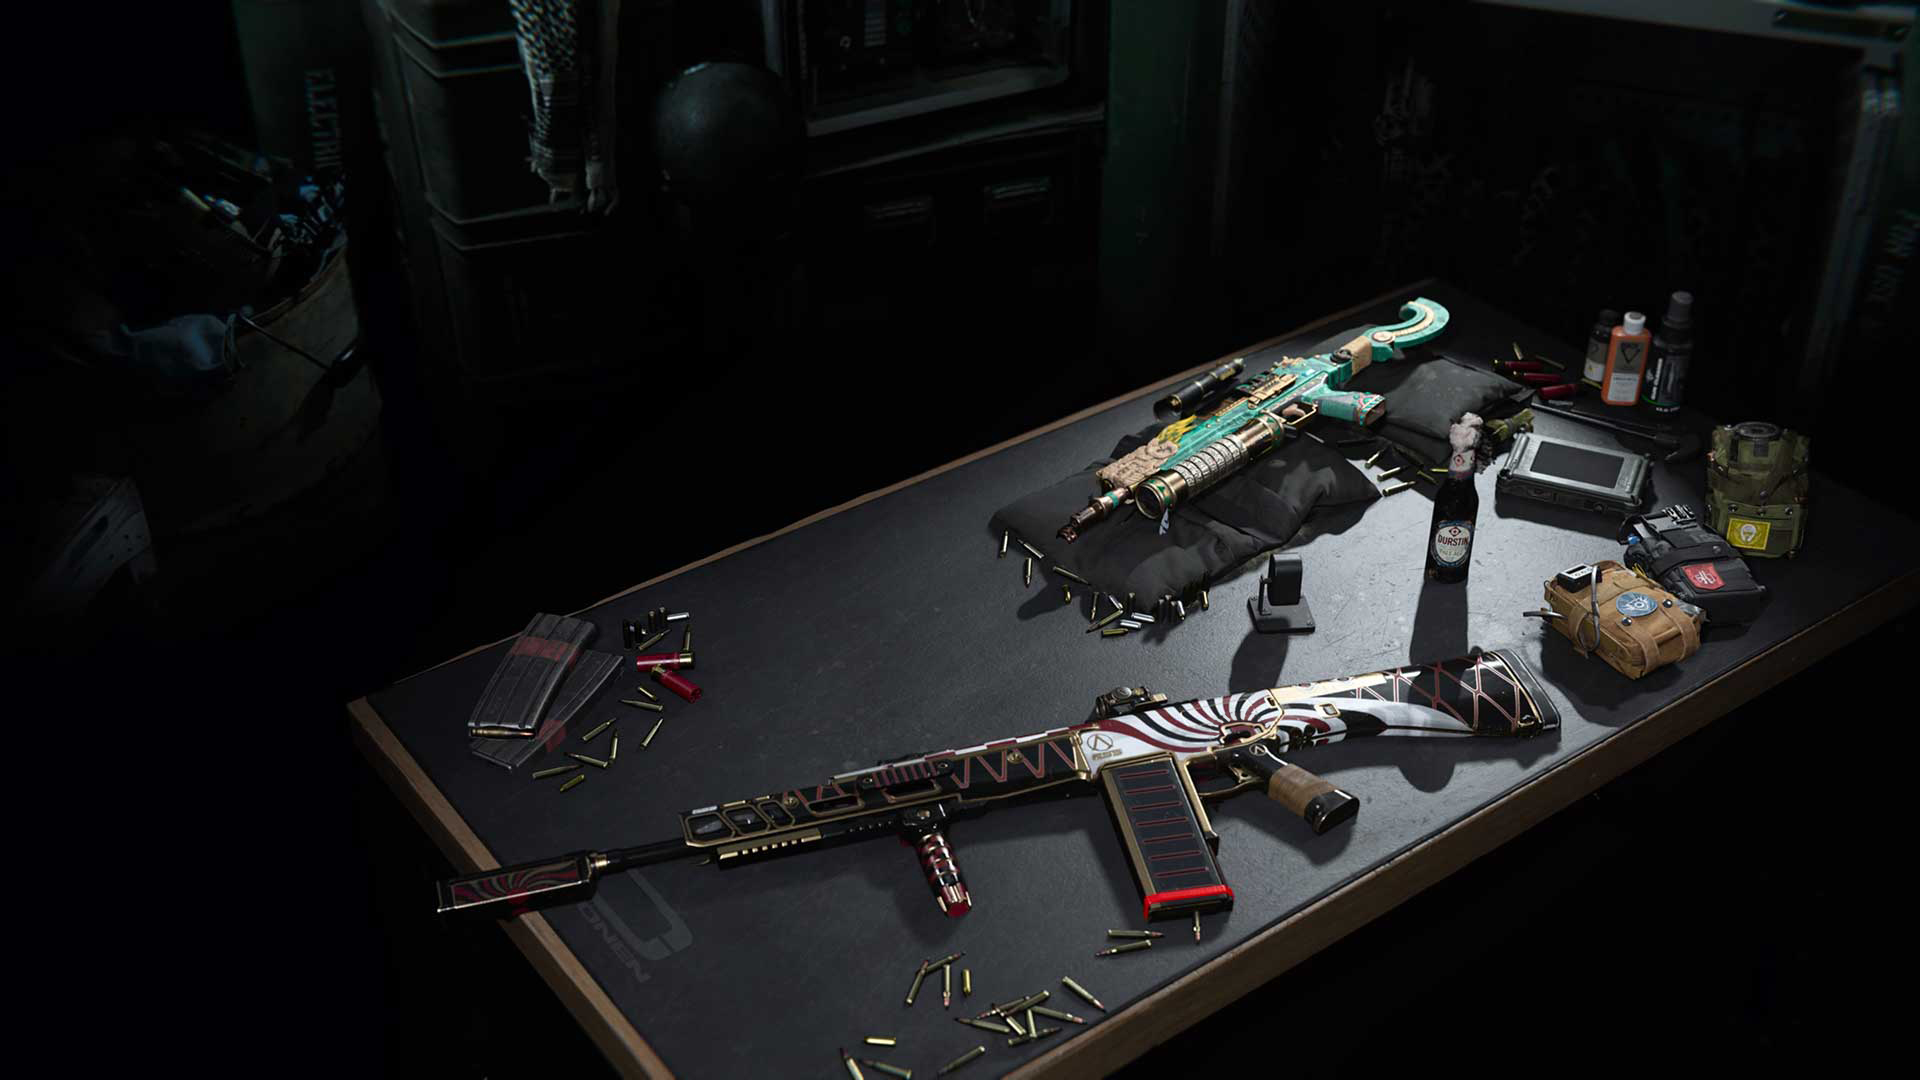
We’ll take a typical elite Overkill loadout, and be as radical as possible by pairing an SMG with a fully-auto Shotgun. However, you can also do well with an assault rifle, tactical rifle… Or nearly any other weapon if you kit it right, but for the sake of argument, let’s build ourselves up for ultimate close quarters success.
First, let’s take an SMG with a more methodical fire rate so that it still does well at mid-range. Such an SMG can be the “Mayan Malediction” Mastercraft from Black Ops Cold War, which comes from a weapon family that boasts an awesome magazine size along with manageable recoil and solid damage.
As for the second Primary, we’ll show some love to Modern Warfare’s fully-auto shotgun and one of its weapon blueprints the “Kopis.” It’s a great rival to the Black Ops Cold War Streetsweeper, so try it out and you may find its nuances to fit your playstyle more – or less – than it.
Plunder Operator
Plunder is a different beast than Battle Royale, and although your regular loadouts could work well, there are some changes you could make to adopt another, equally as viable playstyle.
Because Supply Choppers exist in Plunder, let’s kit ourselves for dealing with those and enemy vehicles, which are sure to rule the skies and land during matches.
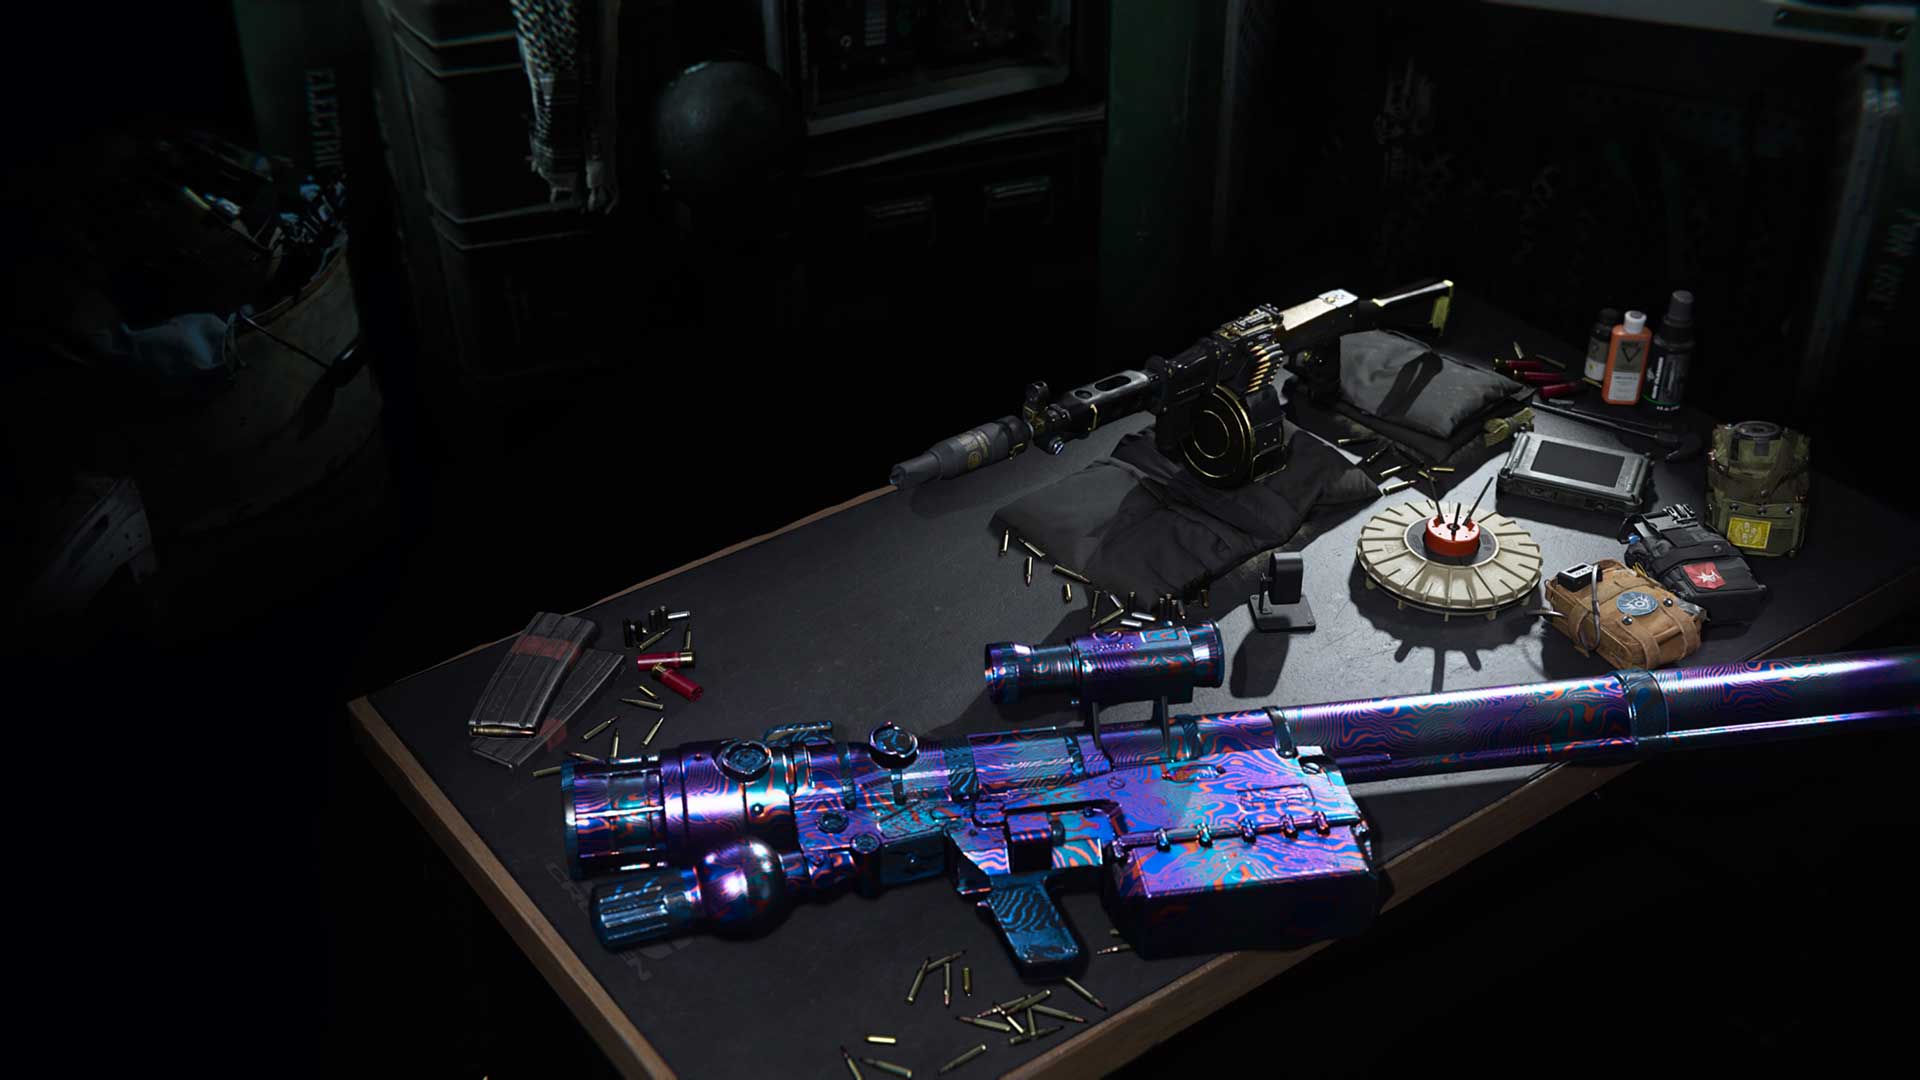
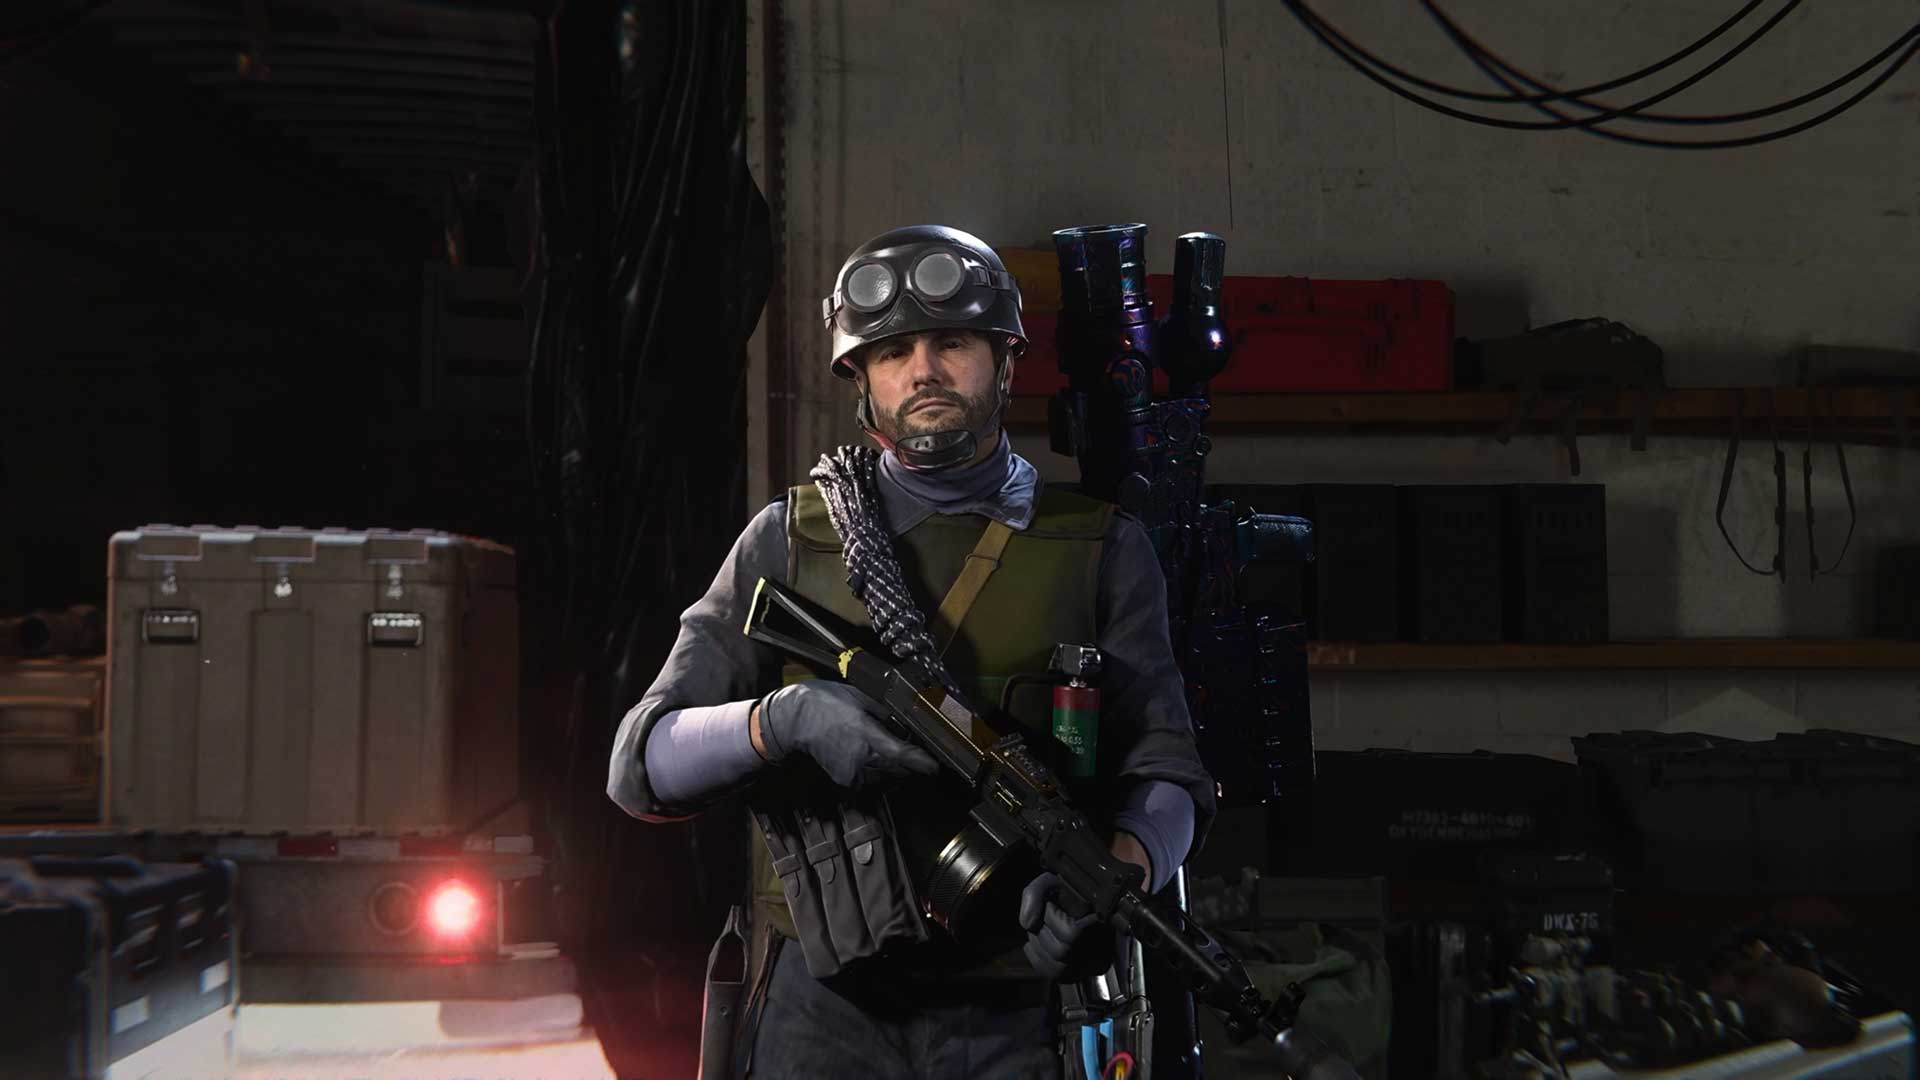
First, we’re going back to the well of LMGs, but we’re going to specifically kit it for dealing with vehicles, since these weapons pack more penetrative power against them compared to most weapon classes that this weapon category does well with. The “Carbon Composite” Weapon Blueprint does this well, since it comes pre-equipped with a Cavalry Lancer Barrel, which further increases the damage done to vehicles.
Next, take a Launcher – we have the Modern Warfare PILA launcher here in stunning Damascus camo – in order to deal with vehicles directly. Operators with tons of Cash will want to fly around the map by any means necessary, so being able to track them down with a Lock-On Launcher will prove to be useful.
We’ll keep the Battle Royale-style perks save for one: Hardline reduces the prices at Buy Stations for certain purchases by a fixed percentage. This is incredibly helpful in Plunder, where Buy Station prices are inflated heavily, so the percentage discount takes more off of it. Then for equipment, we have a Proximity Mine, which can pop up and destroy vehicles or defend areas well, and a Heartbeat Sensor for scoping out non-Ghosted players.
Plunder Operator 2
Another way to look at a Plunder loadout is to switch up your Perks to ones that could be more advantageous in this mode.
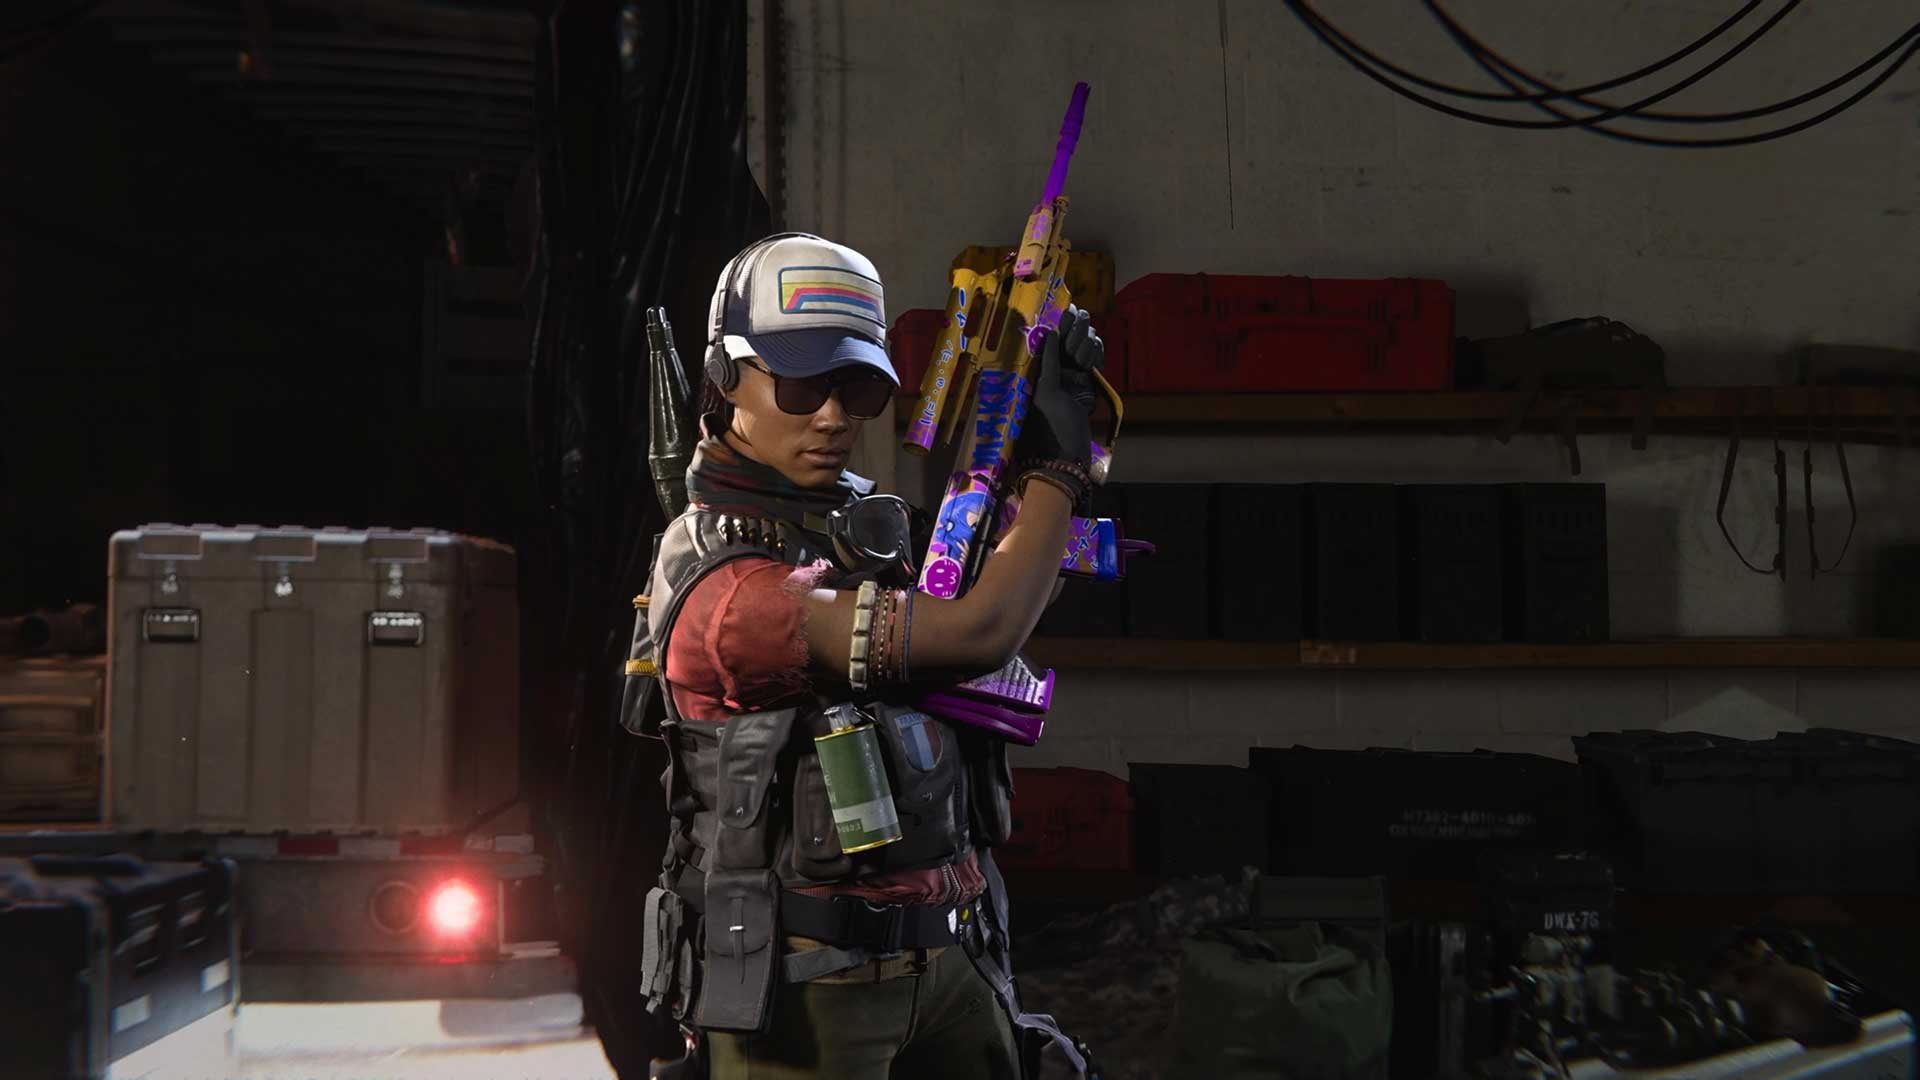
For example, let’s look at Pointman. When equipped, it boosts the payout for Contracts for the whole squad if you help them complete one. In Plunder, Contracts are a great way to rack up Cash, so having Pointman as a perk will directly help with these efforts.
Cold-Blooded can also be solid too, as it will make those dangerous Supply Choppers ignore you when they come to rain down fire on Operators. Even outside of Plunder, Cold-Blooded is a great hard counter to Thermal Optics and targeting devices.
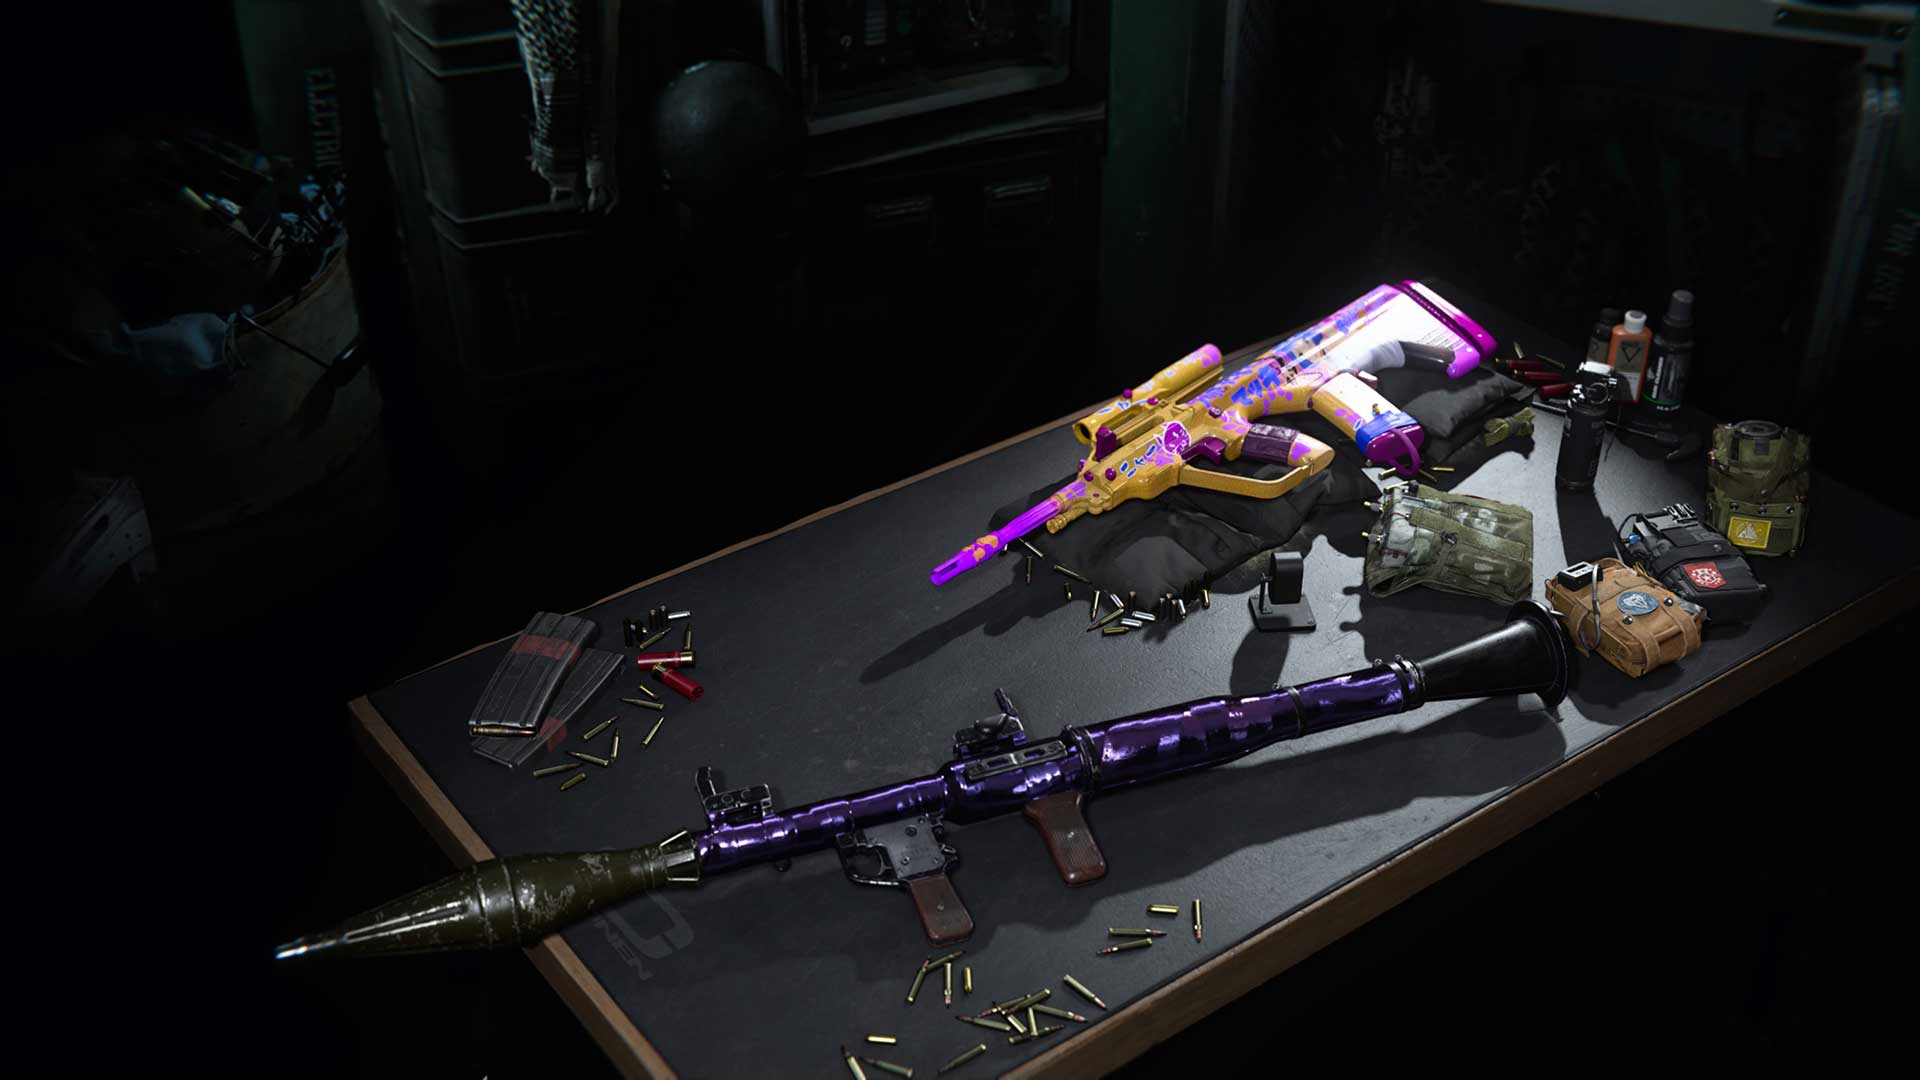
Then for Perk 3, what about Shrapnel? It gives you an extra Lethal Equipment – in our case, a C4 – and explosive damage from it and launchers reduces enemy health regeneration by three seconds. That’s great when combined with gunfire, as those precious seconds can be crucial to winning gunfights.
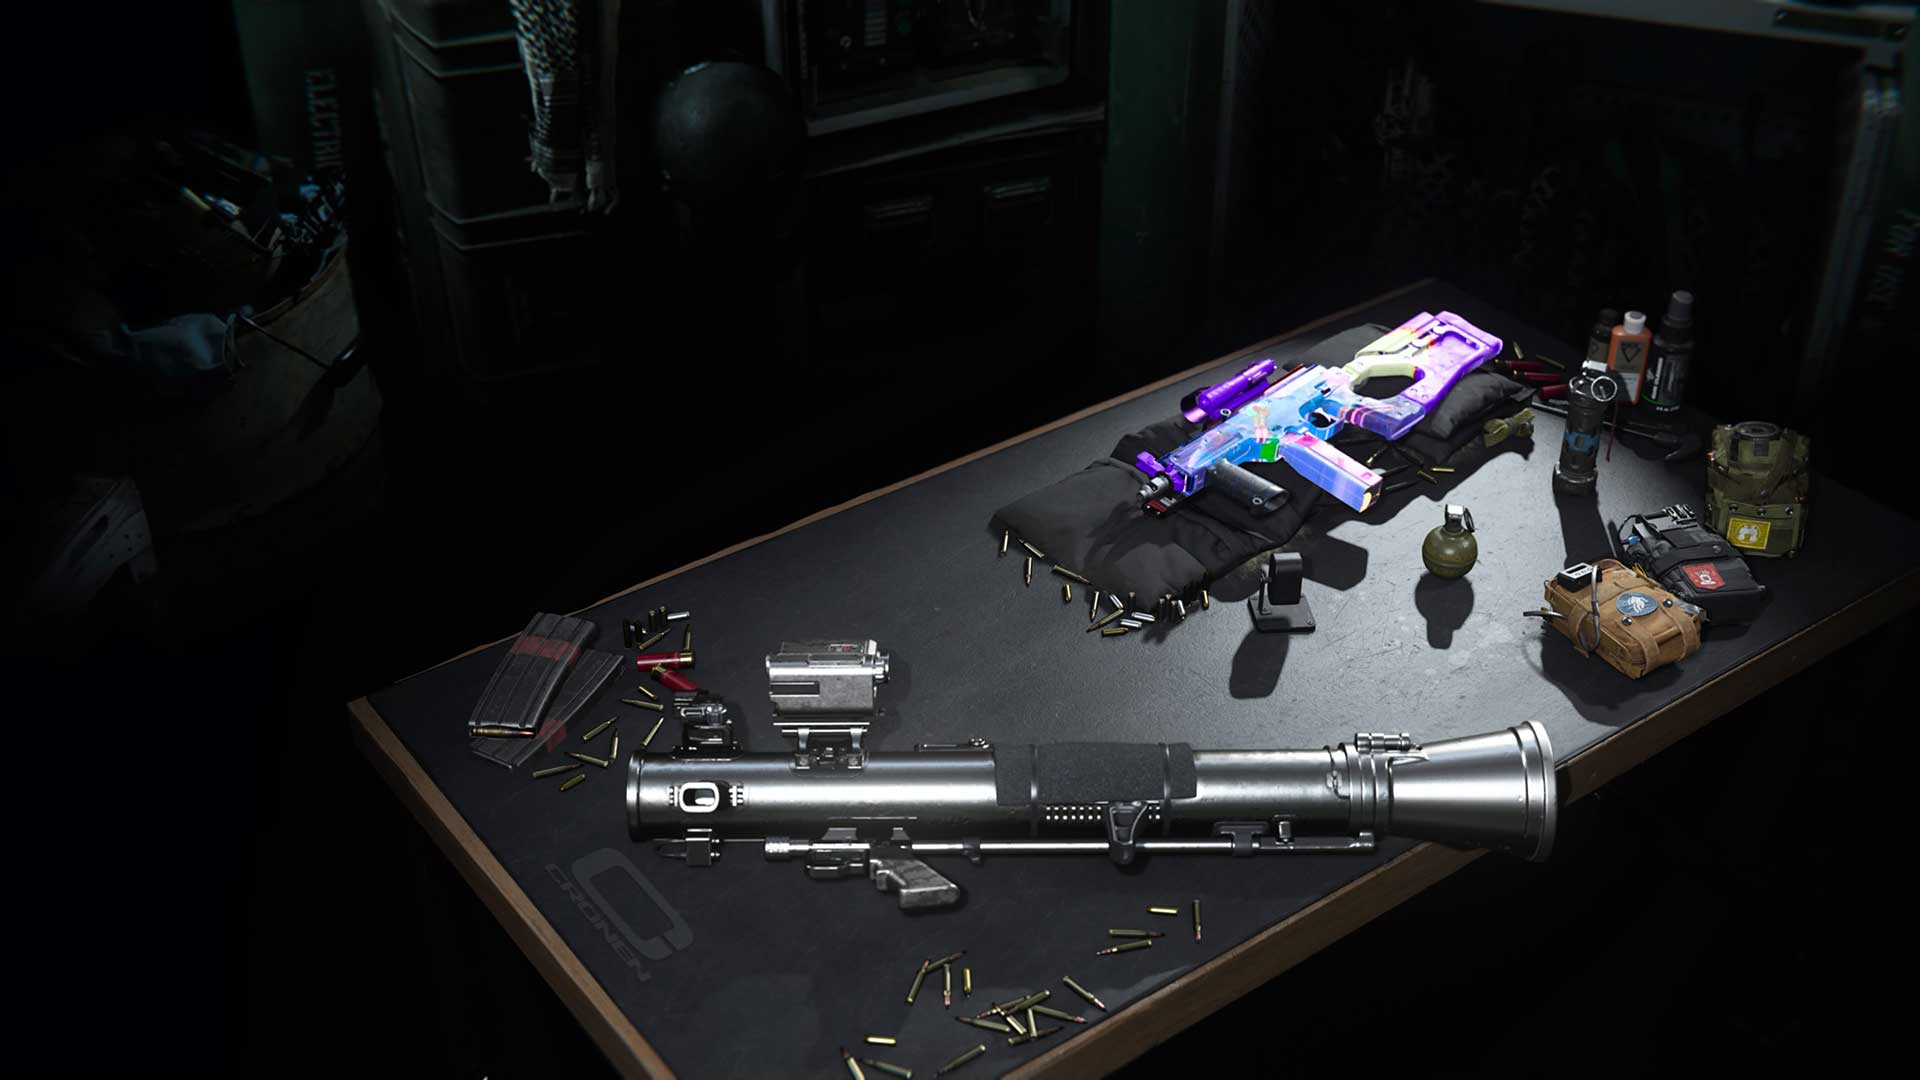
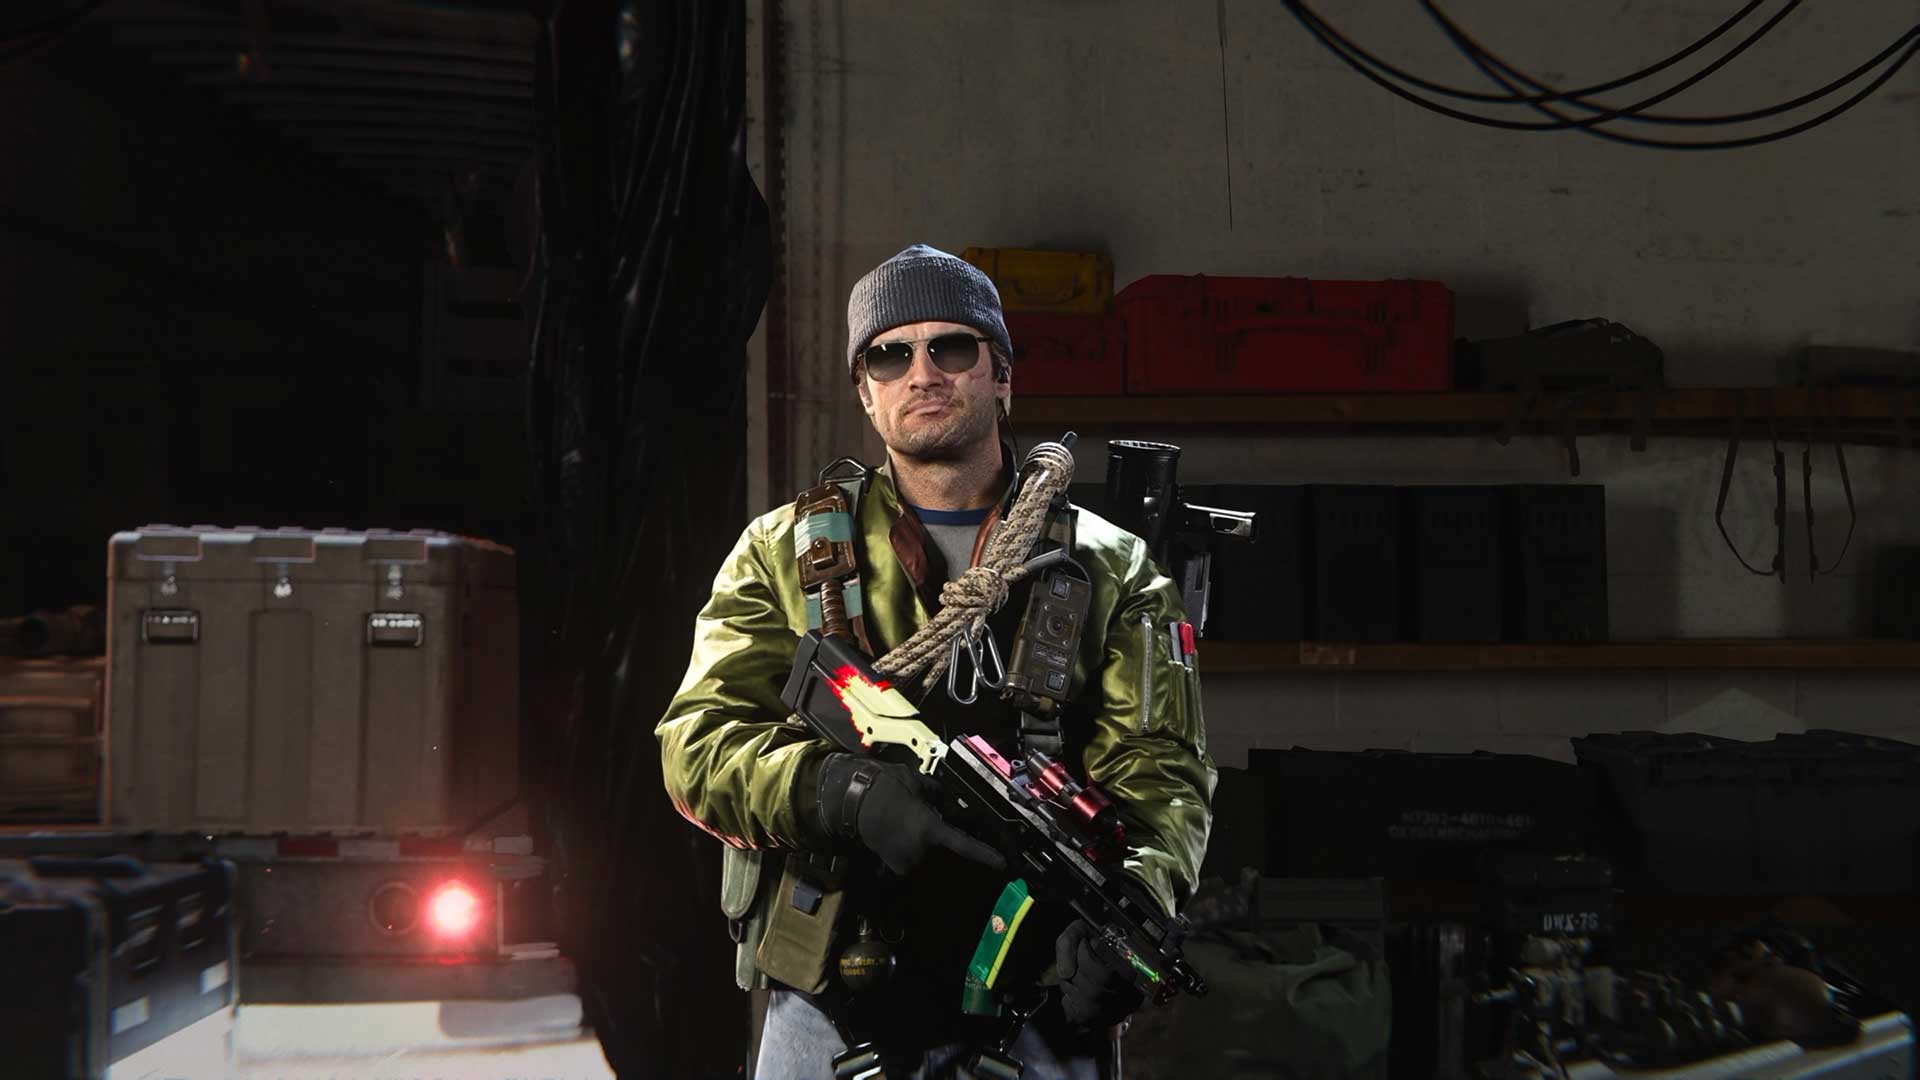
With these Perks, we’ll take some equipment we already highlighted, another launcher (RPG-7 from Black Ops Cold War), and a weapon of our personal choosing… What? The “Pop Star II” tactical rifle is deadly as it is cute, and there are plenty of Warzone faithful out there that appreciate some great anime as well!
Experimental
Now we start getting into your final loadout slots. Normally, you could round these out with more Elite setups for other modes, or alternative loadouts for Battle Royale. But no matter what you do with your other nine loadouts, one should always be reserved for experimentation for new or rarely used weapons.
Take for instance the secondary weapon on this loadout, which at the time of the Season Three guide update, will drop during after its mid-season update. We have to spend some time levelling it up in Warzone, so we might as well put it on a Loadout rather than hope it’s in the game’s item pool or dropped by a fellow Operator.
Our Primary Weapon is an SMG first introduced in Black Ops Cold War’s Season Two Battle Pass. In Season Three, it got an awesome Ultra rarity Reactive Weapon Blueprint called the “Dog Fighter.” If you have yet to fully unlock the Mastery camos on a weapon – such as this newer one to the game – then this loadout space is where you can level it up and unlock camos. Just remember to check your progress across all those camo challenges in the Gunsmith!
Your Perks and Equipment for these kinds of classes can also be tied to experimentation… Or challenge completion. What if you have a challenge to earn eliminations with Frag Grenades? Better have a loadout with them. Or is there an Operator Skin that can be unlocked by hacking equipment with the Spotter Perk? Then use this loadout space to edit and tweak to your heart’s content.
You can try these weapons out in Plunder, various limited-time modes and whenever you are ready, Battle Royale. Who knows? Maybe your experimentation will yield a new favorite weapon for your Elite loadouts, or get you ahead of the popular meta curve!
Melee Only
In Warzone, you may think that ranged weaponry will always win… But even among the most elite Operators, a melee-only Operator can easily throw them off their game. Even if you don’t go full melee with a loadout, you should consider the following:
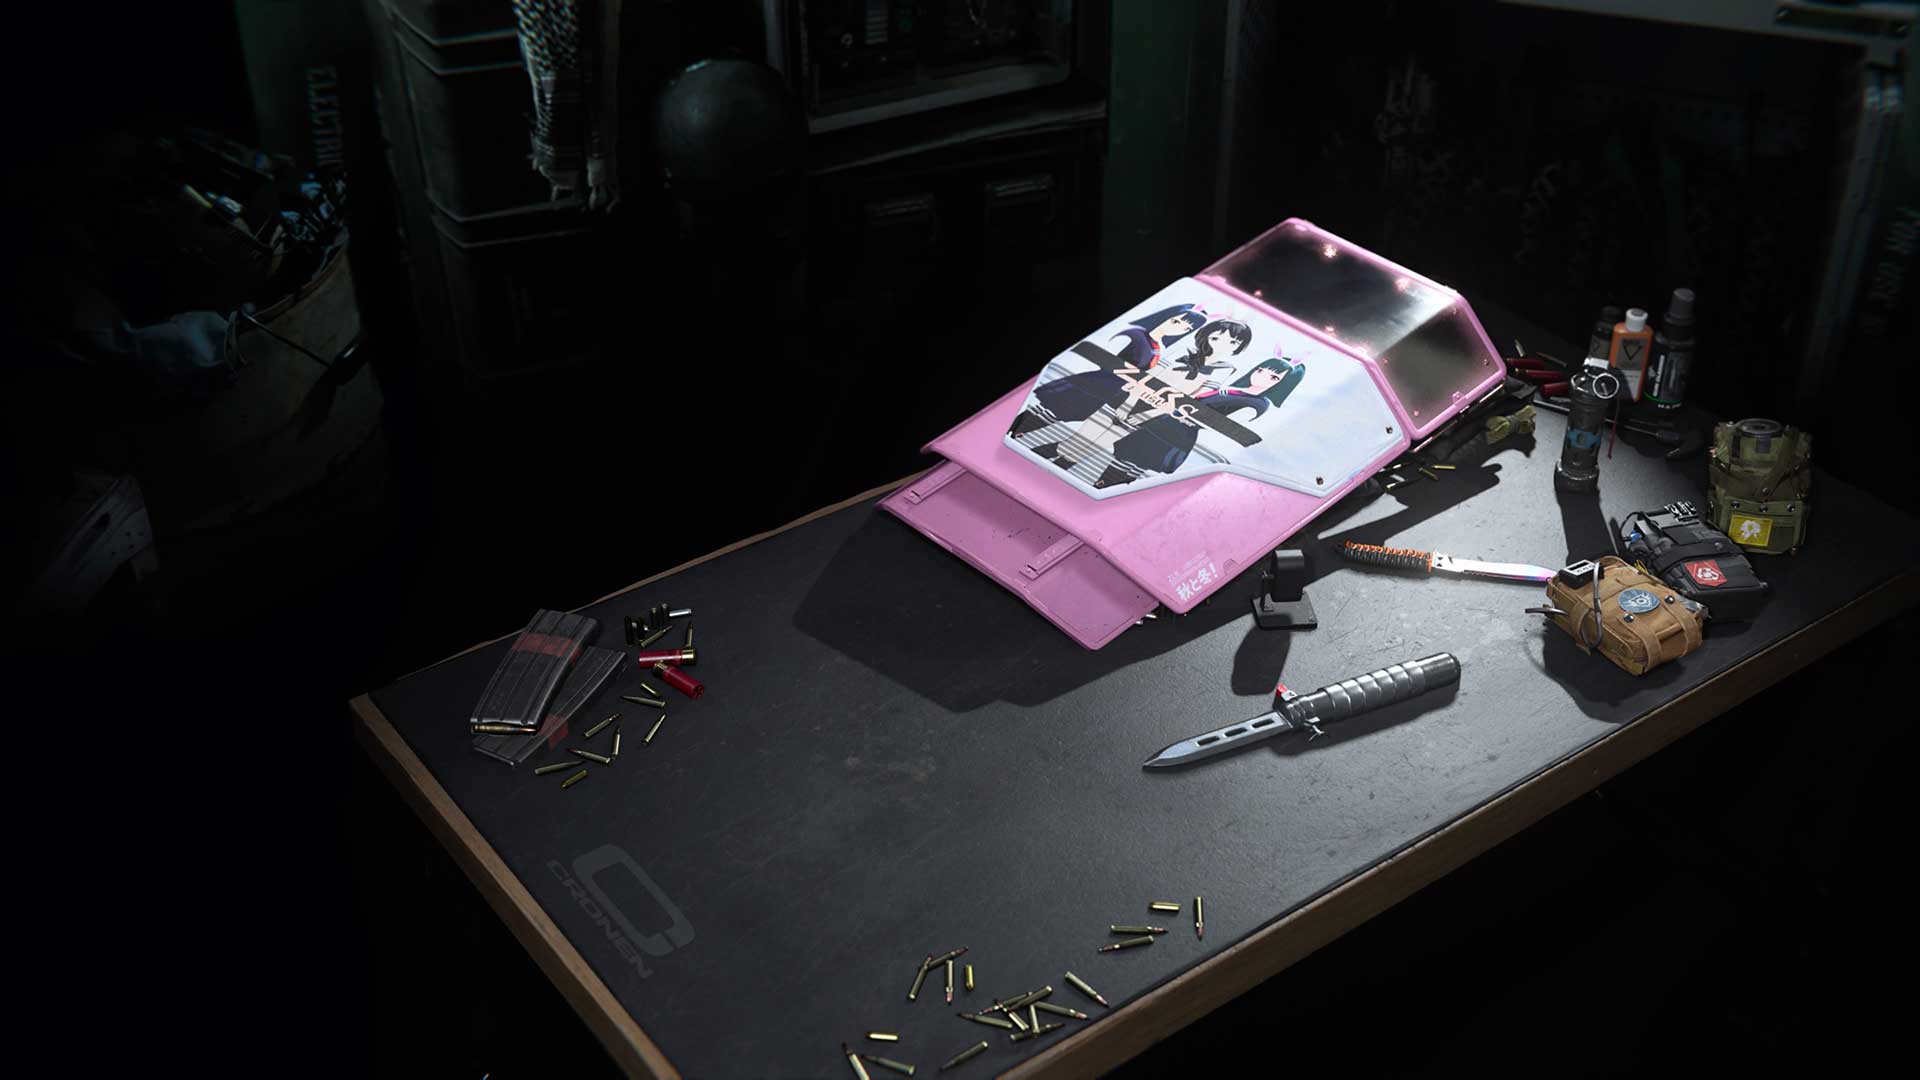
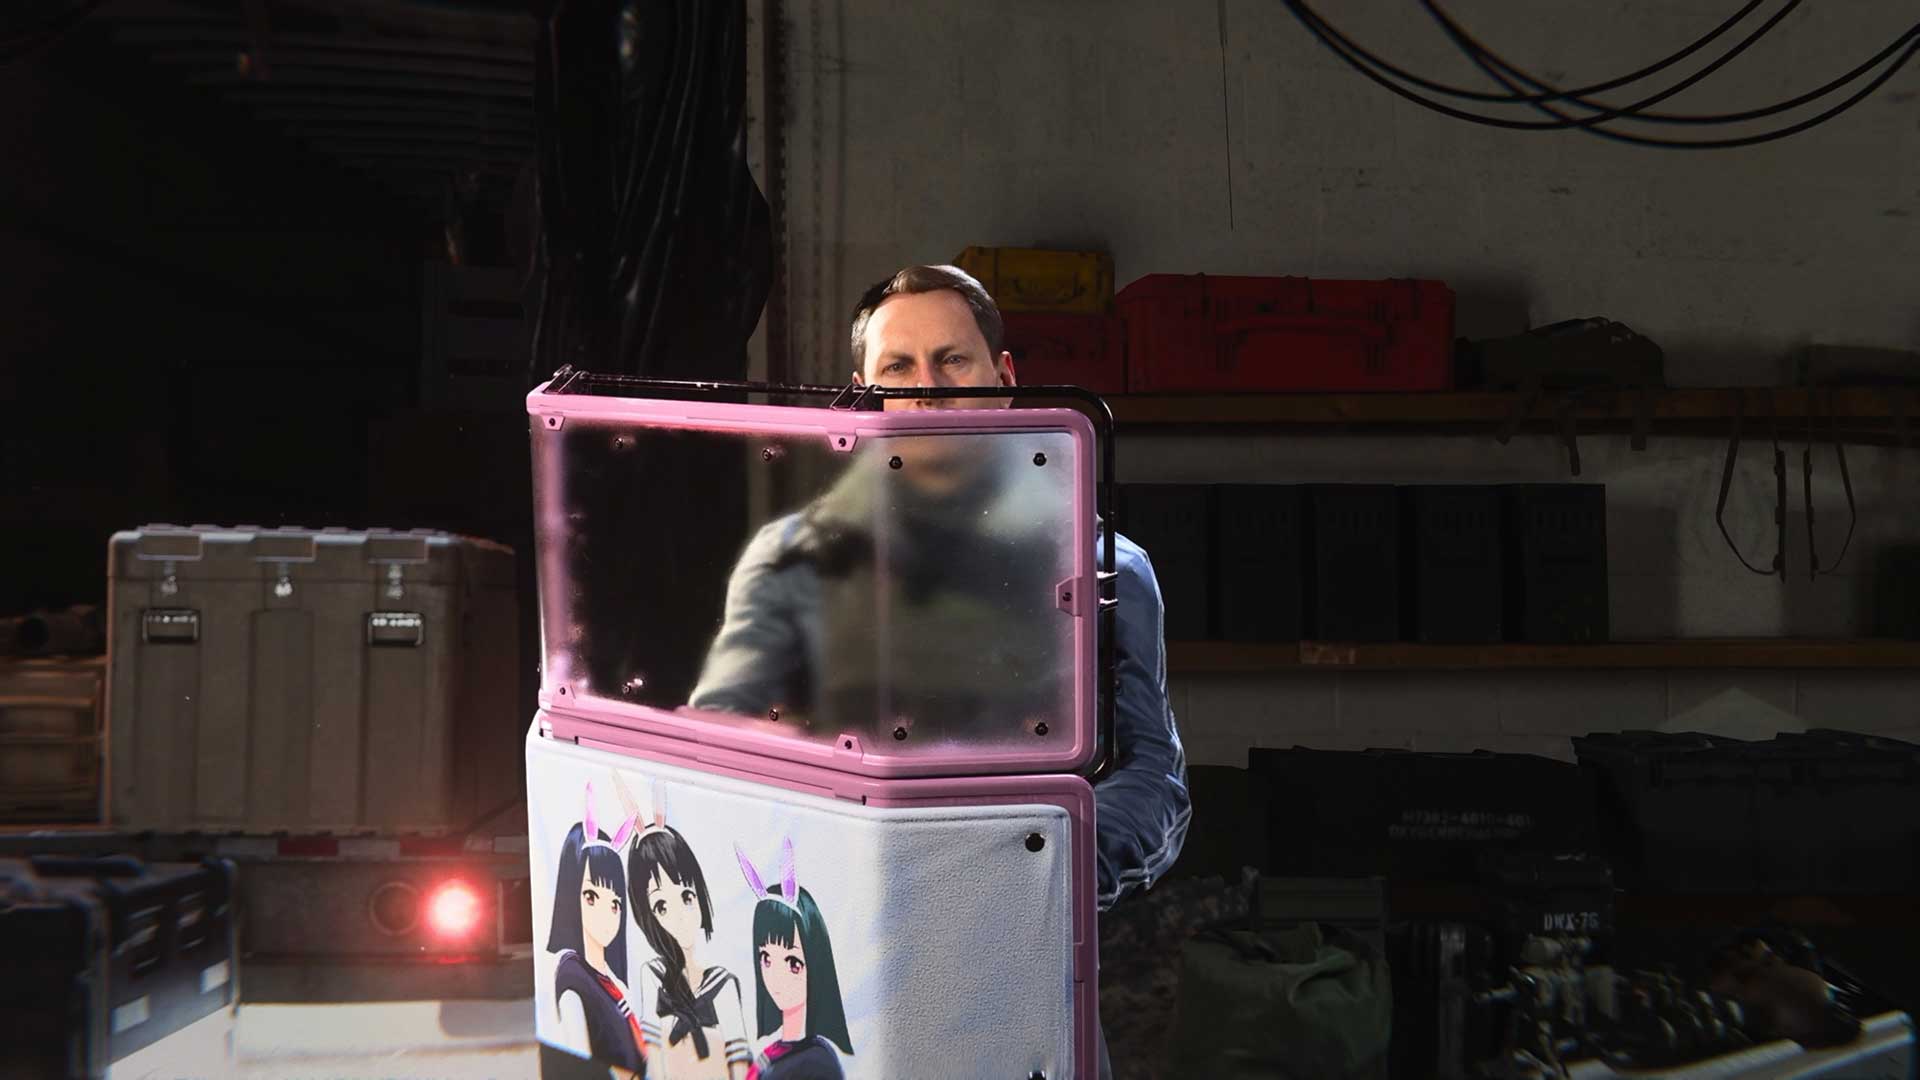
The Riot Shield is the only Primary Melee Weapon and can be a phenomenal tool to distract squads or act as a defensive barrier for when you are pulling off revives. If you are trying to do the latter as a “designated medic” of your group, we recommend pairing this shield with the Tune Up Perk, as that will reduce revive times by a considerable amount.
For our main melee weapon, we’ll use the Ballistic Knife. It’s a phenomenal melee weapon with great movement speed benefits, so it will help us get across the map quickly while being a lethal melee option. Plus… Okay, we also want it for its ability to fire its knives out at enemies, which is super effective. But with that said, there are plenty of melee tools that only have an extreme close-ranged attack that are also viable – just learn its strengths and weaknesses, and you’ll be a melee assassin in no time.
Our Perks will be E.O.D. to mitigate explosive damage, Restock to be able to carry once additional Throwing Knife and restock our equipment, and Amped, for faster weapon swap speed so that our Riot Shield goes on our back quicker when we are ready to strike.
Outside of our choice of Throwing Knife, we’re taking the Stun Grenades, as the disorienting effect on an enemy player is incredibly useful to us if we are trying to get behind them for a Finishing Move.
The Unexpected
Sometimes, you just want to play Warzone for a unique experience, and with so many combinations for loadouts, we’ve definitely had fun – and even won a few games with – a few that are off the beaten path.
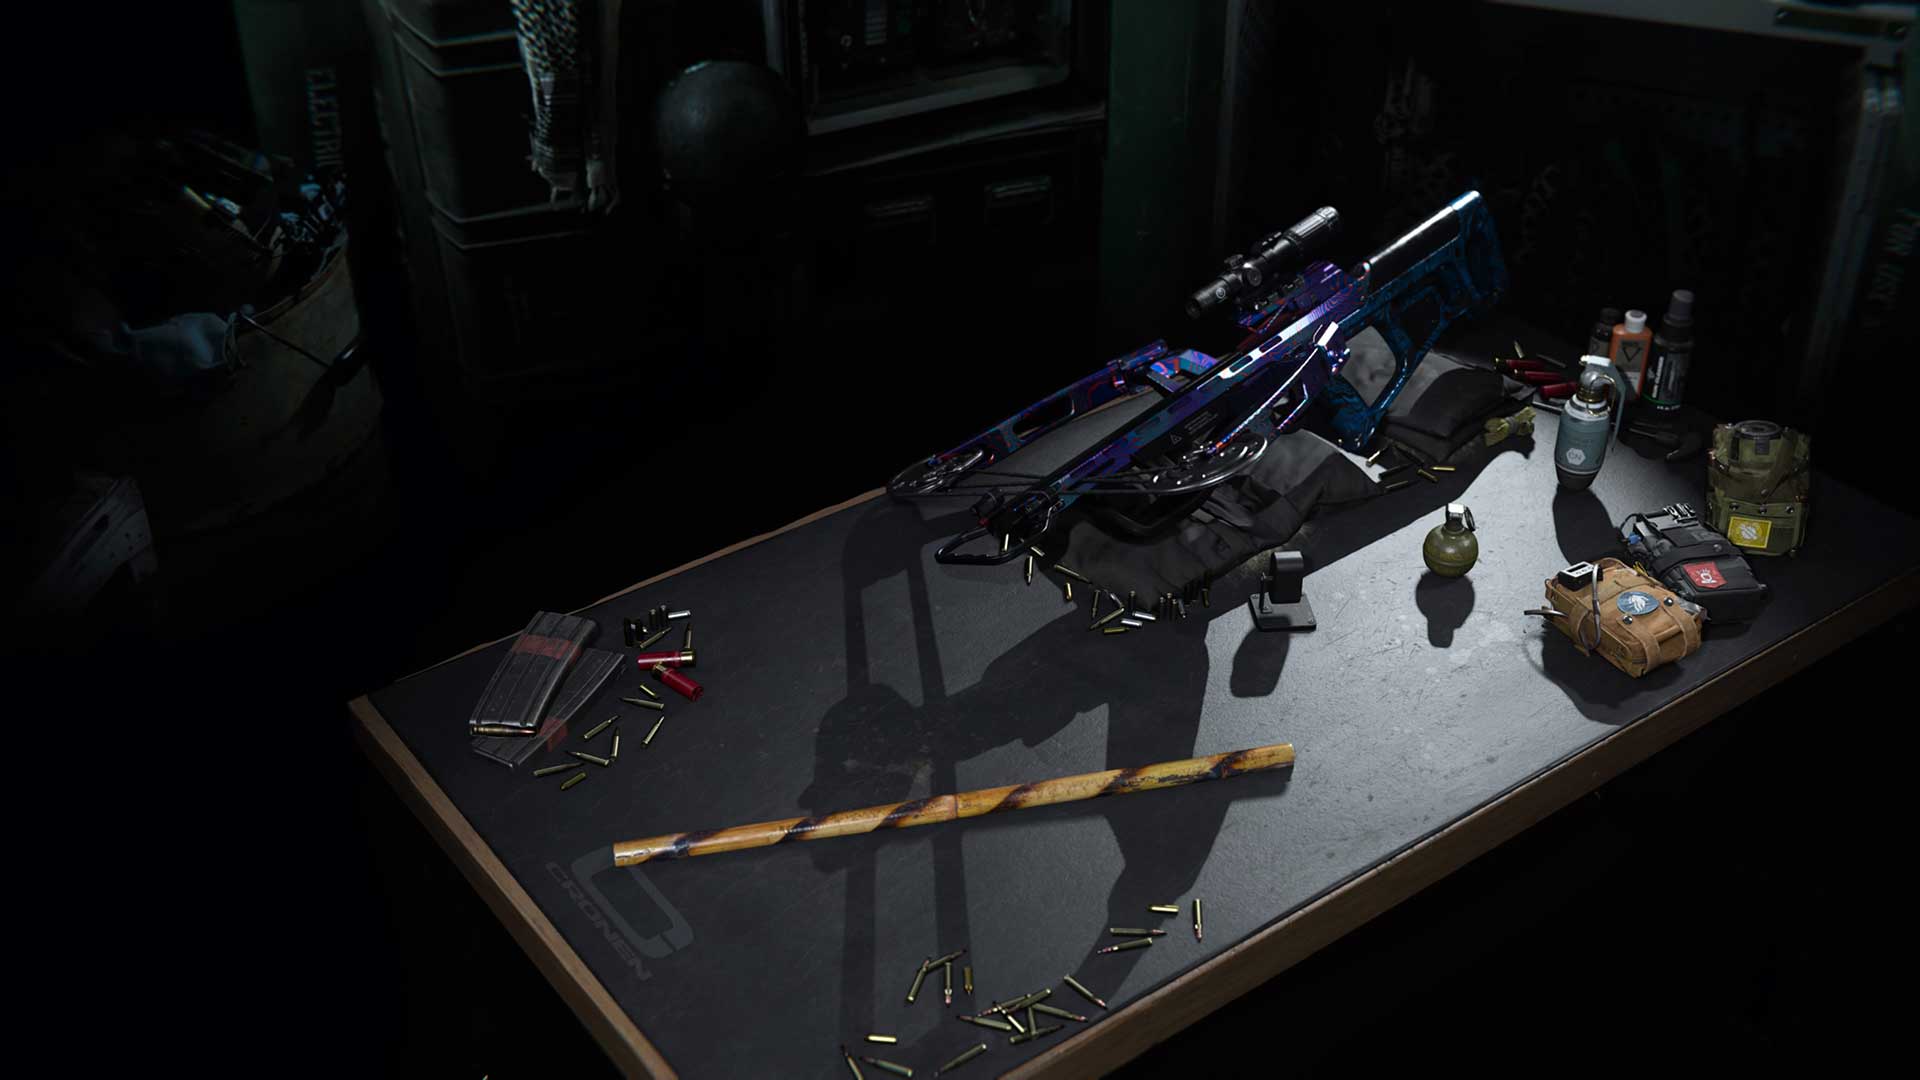
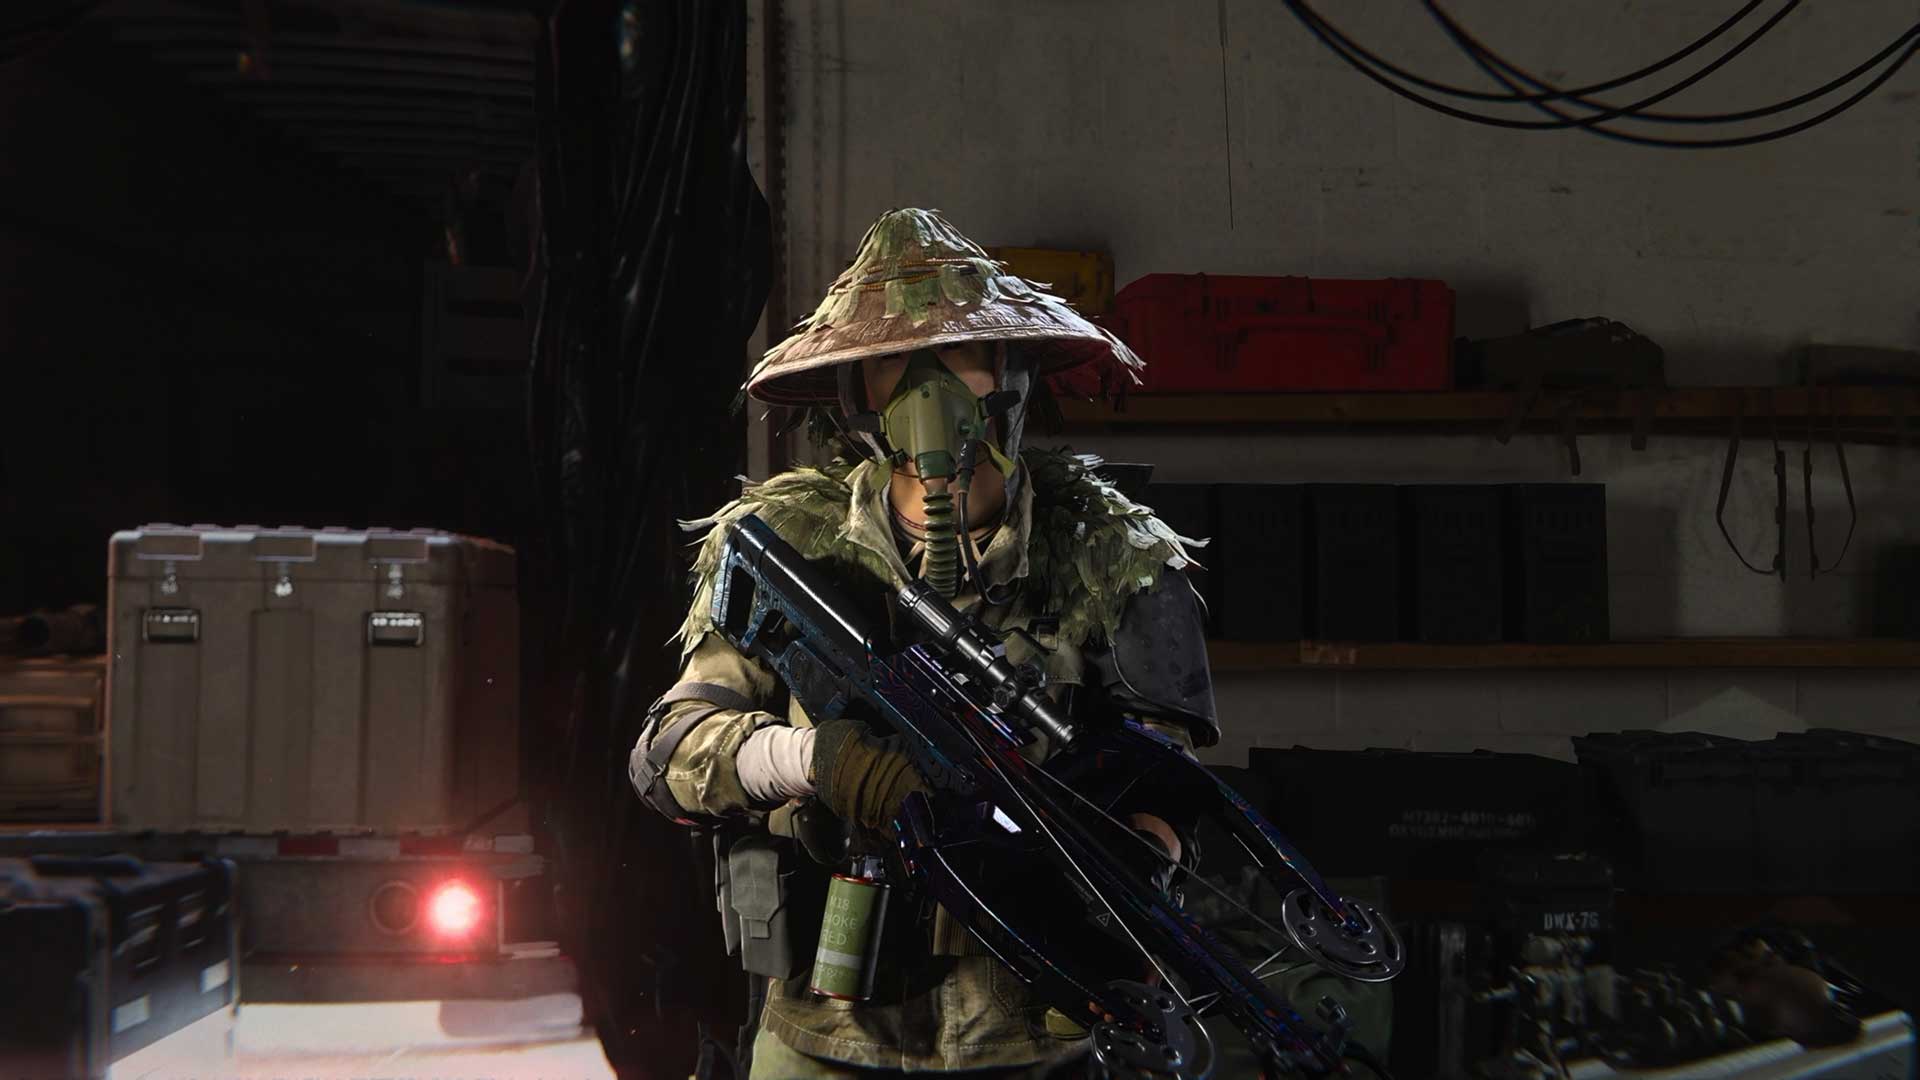
Take the Modern Warfare Crossbow. Why would you want a weapon that only fires one bolt at a time? Because if it hits the head with the explosive bolts we have attached to it, an enemy will not only go down, but be eliminated after the explosion. These kind of nuances only are found when you really explore the armory and experiment, and while every weapon has its drawbacks, you can find ways to make it shine with the right set-up.
Another hidden gem is the Kali Sticks from Modern Warfare. Again, like a Crossbow, why bring two pieces of wood into battle when everyone is firing a modern-age gun? Because it’s the fastest movement speed option in the game, and has very quick melee speed and a long lunge distance to boot.
As for Perks, why not Scavenger to really ensure your ammo reserves are stocked up, or in this case, Double Time for more Tactical Sprint and crouch movement speed? For Perk 2, don’t be afraid to consider High Alert, which can help with your in-game awareness as it gives a visual alert when someone is aiming at you from off-screen. And for Perk 3, we’ll take Tune Up as we mentioned earlier, because quicker revive times are pretty good.
The same applies for equipment; it’s not like Frag Grenades and the Gas Grenades are useless, or any equipment piece for that matter. It’s all a matter of using it to its strengths rather than its weaknesses.
Loadout Combos
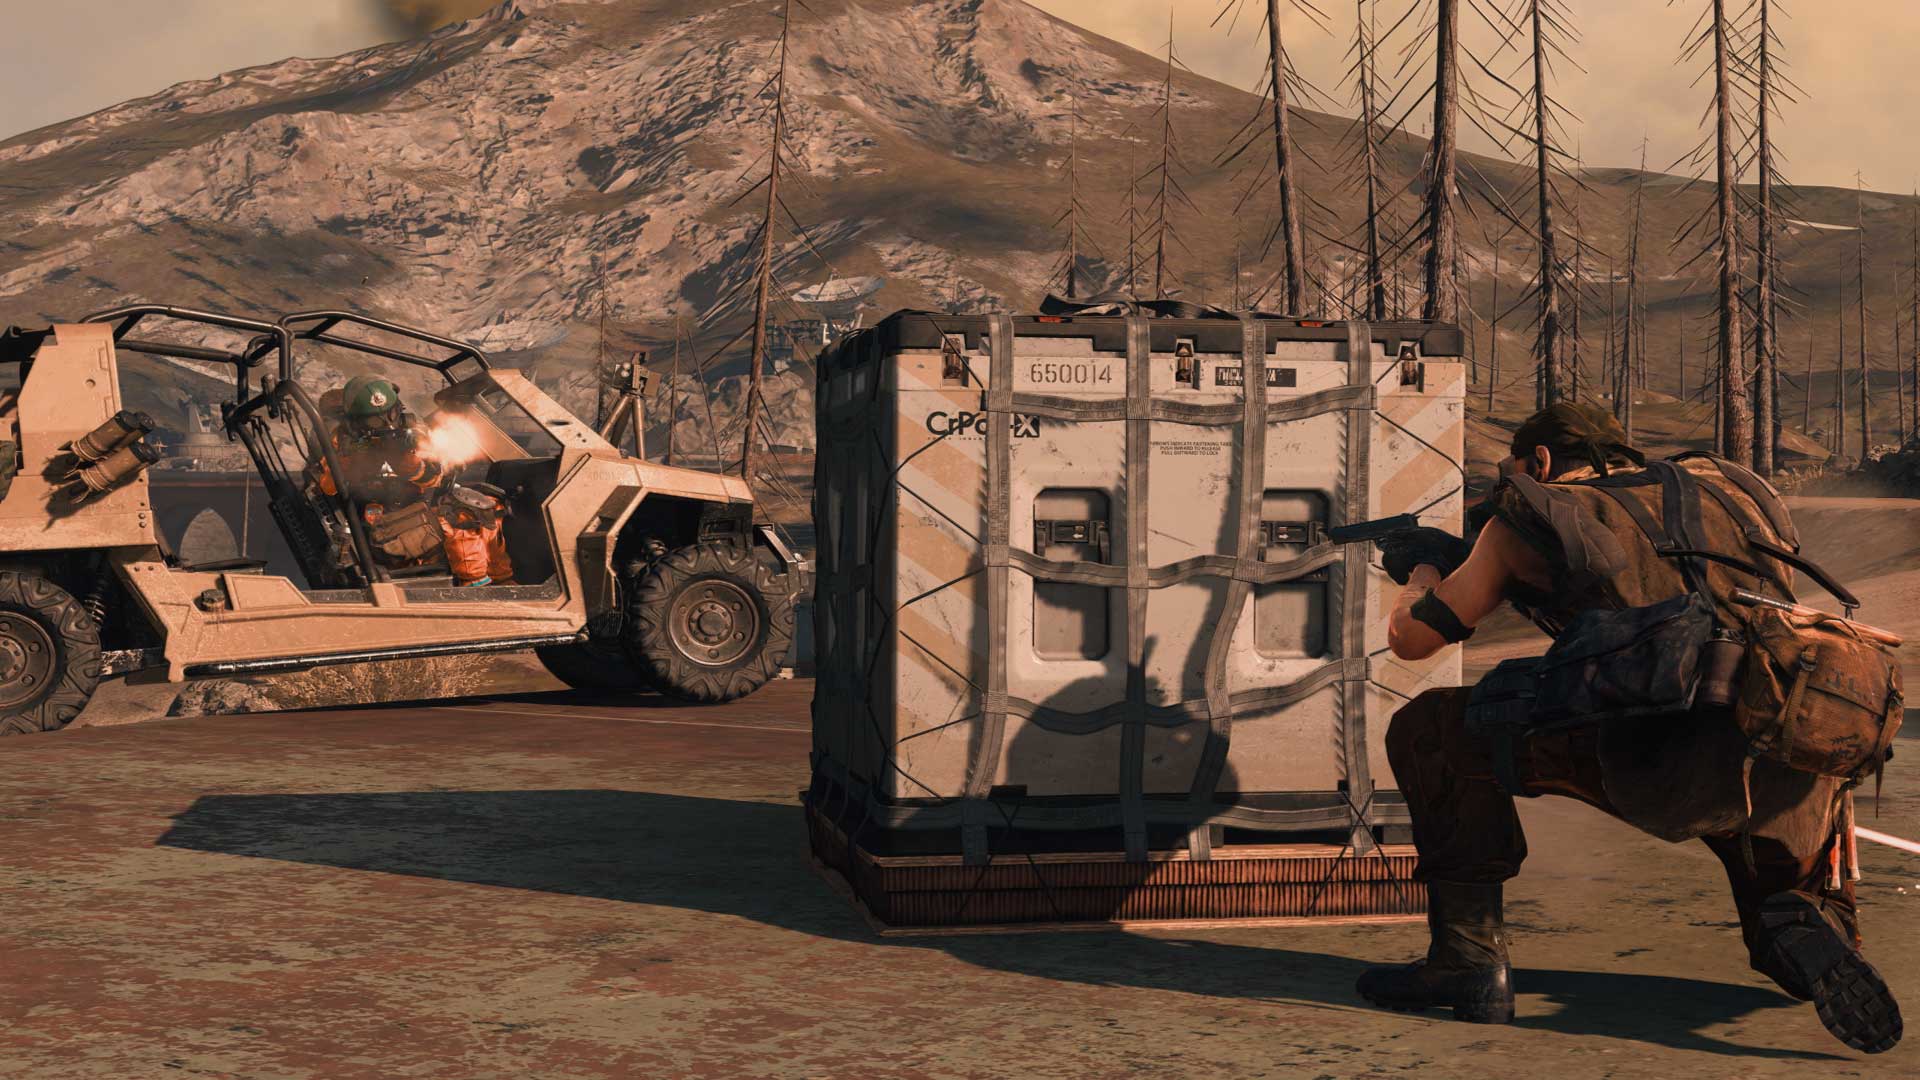
While getting the weapons, equipment, and perks you are most comfortable with is great they may not fit all your squad’s needs. A well-rounded squad is one that has each Operator being able to fit specific combat situations, ensuring that the squad is prepared for a variety of situations around Verdasnk.
For example, if everyone on your squad is using Sniper Rifles, then your squad will be in trouble if the final safe areas are in interior-heavy locations. Similarly, a squad full of CQB weapons is just asking to be sniped from a distance while travelling across the map.
Therefore, ensure that your squad is using a variety of weapons based on their comfort level with them:
Useful Links: Other Guide Chapters: