Le Contrat de Licence et de Service Logiciel va être mis à jour. Veuillez suivre sur ce lien [https://www.activision.com/ca/fr/legal/ap-eula] pour voir ces modifications.
Bullet Points – Weapons
· The Weapons Menu: Your Home for Loadouts and Much More
· Loadouts and Loadout Drops (Preparation)
· Gunsmith and Blueprint Weapons
· Armory
· Black Ops Cold War and Modern Warfare Weapons
· Shotguns
· Melee
· Lethal and Tactical Equipment
· Perks
· Field Upgrades / Watches / Vehicle Customization
In a similar manner to Call of Duty®: Black Ops Cold War Multiplayer and Zombies, or Modern Warfare® Multiplayer and Co-Op, all Operators can customize their Loadouts, special weapon and equipment selections that are accessible within Warzone in two different ways:
During matches based in Battle Royale (including Resurgence), Loadouts become available by opening a Loadout Drop box that can be airlifted into the Verdansk environment. These are large crates dropped into battle that contain any of your pre-prepared Loadouts. These can appear randomly or are purchased at Buy Stations using Cash.
During Plunder matches or in other select Limited Time Modes, Loadouts can be brought into the field of battle at the start of the match, and Loadout Drops do not occur.
On your in-game progression path, you won’t be able to create a custom Loadout until you achieve the rank of Private IV (Rank 4) in the Military Ranks. Instead, you have a choice between a few competitive pre-set kits. However, after you earn enough experience to reach this rank, the customization floodgates open.
Need to know more about ranking up, including Prestige? Head here.
The loadouts you create in Warzone are only for Warzone, as they use weapons from both Black Ops Cold War and Modern Warfare.
This section is here to help you not only navigate the Weapons menu, but also meticulously detail every weapon category you can choose from, as well as the Equipment and Perks available to round out a Loadout.
In other words, this section is one of the largest in the guide, as the weapons of Warzone – currently over 100 and counting – are crucial to surviving this experience. With that said, it’s time to ready up those reading spectacles and eload on your beverage of choosing, because this is a deep dive on one of the most core features in Call of Duty: Warzone: Weapons.
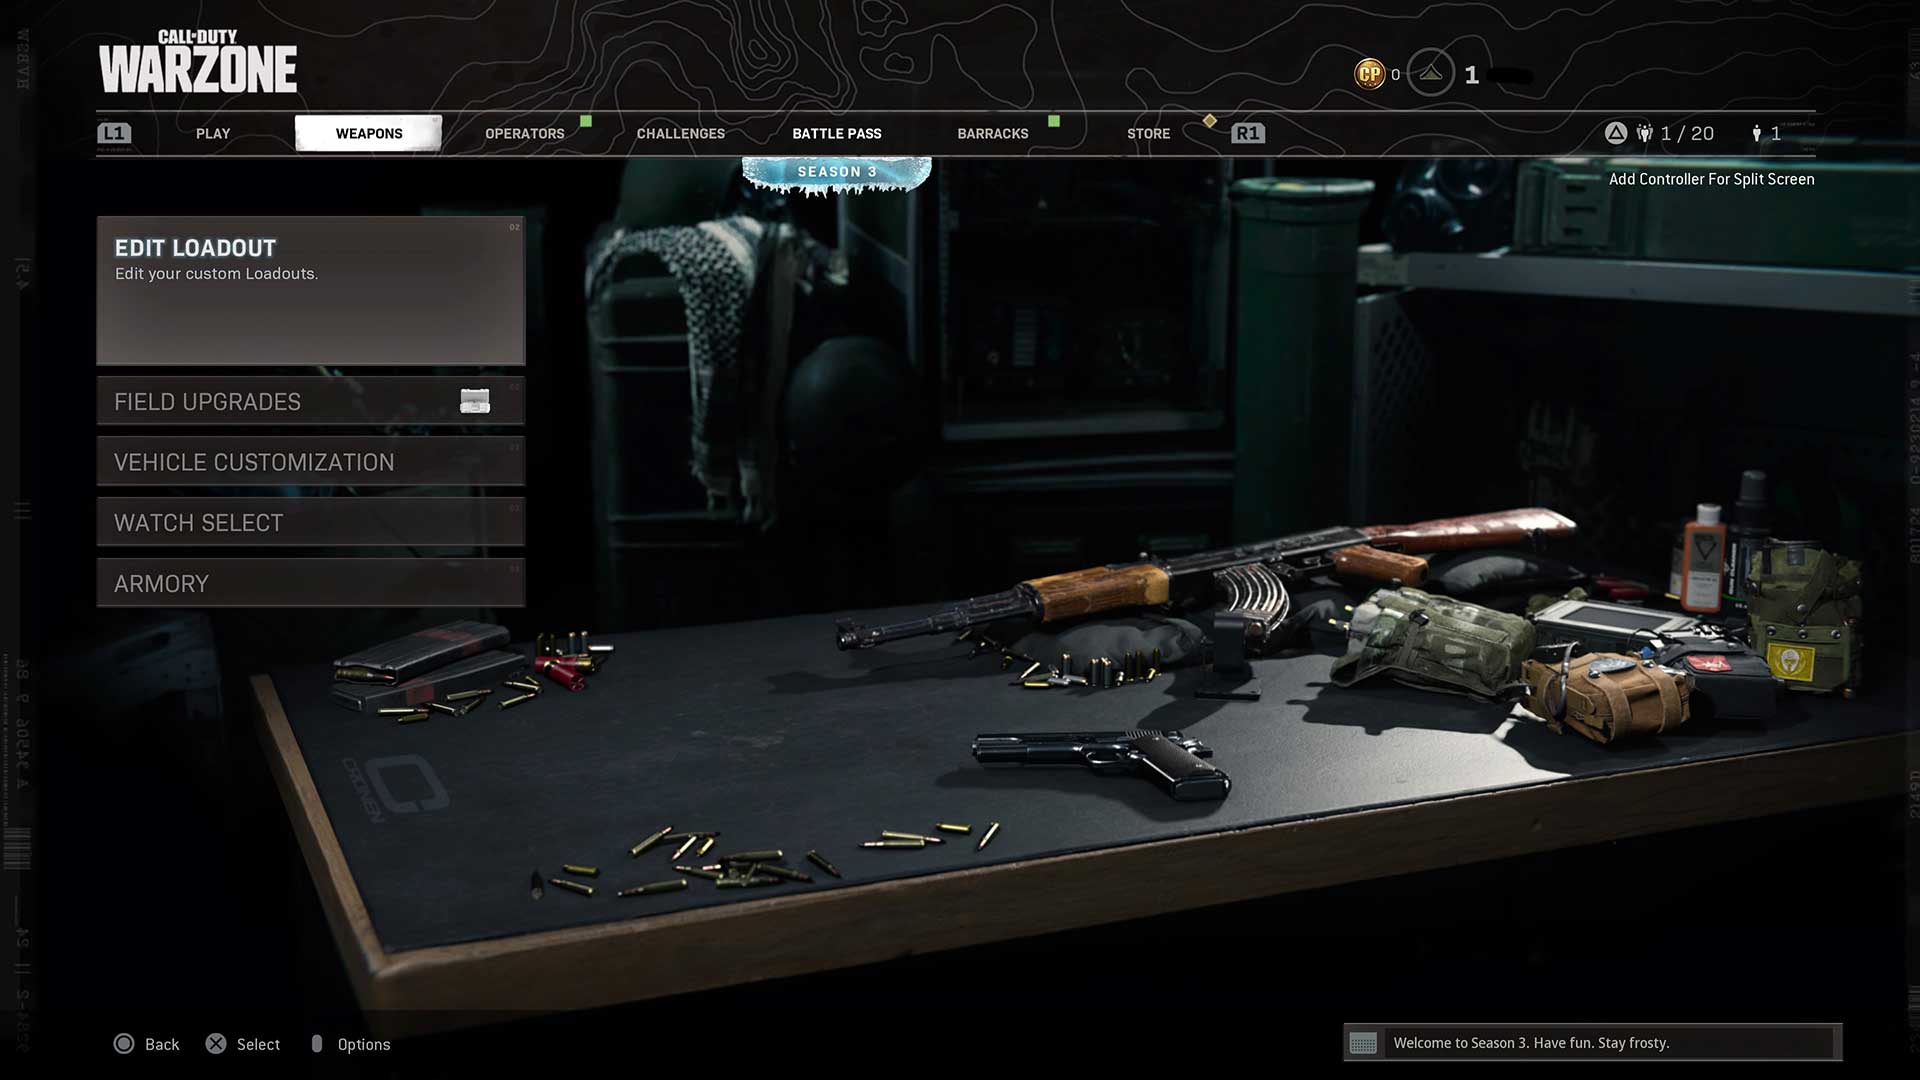
The Weapons Menu: Your Home for Loadouts and Much More
While in the main Warzone menu, tab one menu over to access the Weapons menu. Here, you can see your Armory of Blueprint Weapons, select a Watch… and, at the very top of the menu, edit your Loadouts.
Selecting this will bring you to the gun bench, where you can check out a selection of your chosen hardware and view your entire Loadout. As you customize your selected Loadout, the gun bench visual updates to match your selections.
In Warzone, Loadouts are designed to allow any player, with any playstyle, a wealth of gameplay options. To begin with, you can select from several custom Loadouts, which you can tailor to the type of gunplay you’re hankering after. Perhaps you want a sniper’s loadout? Or a close-quarter combat specialist? Or something in-between? Or maybe even something that doesn’t use an actual gun? There’s a custom Loadout ready for you!
The Loadout system is here to provide quick, easy-to-understand and easy to navigate menus to get you topside and into the action almost immediately. Or after a lengthy tinkering with the Gunsmith mode: It’s all about your preference.
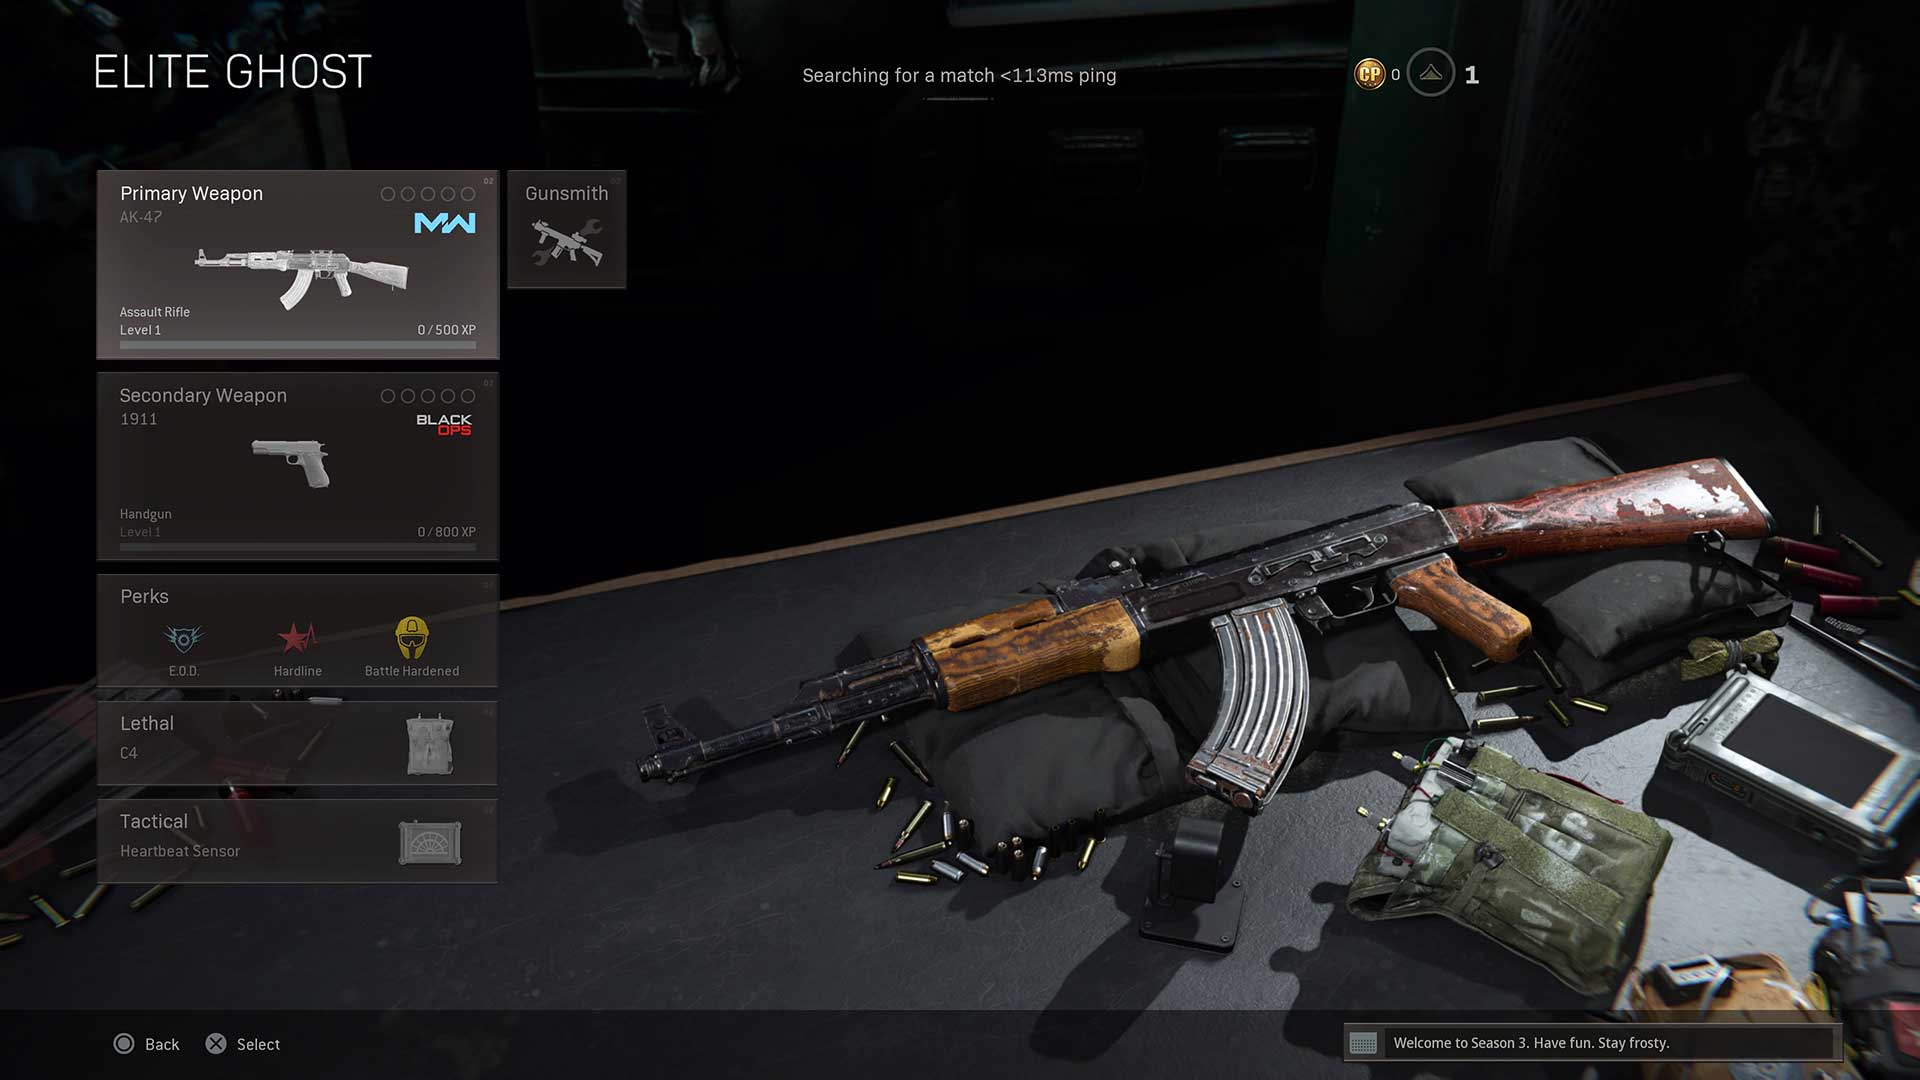
Loadouts and Loadout Drops (Preparation)
Loadouts (used in Battle Royale and Plunder modes), and the Drops you’ll receive in the Battle Royale mode of Warzone, are comprised of the following items:
Primary Weapon – Your main source of dealing damage. A primary weapon could be an assault rifle, submachine Gun (SMG), shotgun, light machine gun (LMG), marksman rifle, sniper rifle, or melee (specifically the Riot Shield).
Secondary Weapon – This usually serves as a back-up armament and typically has a different purpose. A secondary weapon could be a handgun, launcher, or melee weapon, such as a Combat Knife.
Either weapon can have attachments added to them, if the weapon type allows it.
Perks – Also known as Operator Perks, these are represented by satchels with sewn-on patches on the gun bench, and collectively offer a wide range of benefits your Operator receives in-game (once a Loadout Drop has been accessed in Battle Royale mode). Perks are broken down into three categories, and only one perk can be chosen per category.
In Warzone, there are multiple perks that have a different effect compared to their mechanics featured in Multiplayer and Special Ops. Pick them up only after understanding how they work if you’re readying your Loadout for Warzone!
Lethal Equipment – These items are designed to maximize harm to your enemies. In this menu, you’re treated to a tutorial so you can quickly learn the basics of taking down foes with Frag Grenades or other explosives.
Tactical Equipment – A compliment to lethal equipment, these items are often used to confuse or stagger the enemy or offer a unique benefit on the battlefield.
Want to see an example of a tailored Loadout? Pay attention to the default Loadouts; they are the guideposts that serve as potential inspiration for what your in-game arsenal could be!
Or, if you want to see ten recommended Loadouts from our in-house experts, our Loadout Drop section has what you need… But we highly recommend going through the full Weapons chapter, or having a general understanding of the basics of Warzone, before checking that out.
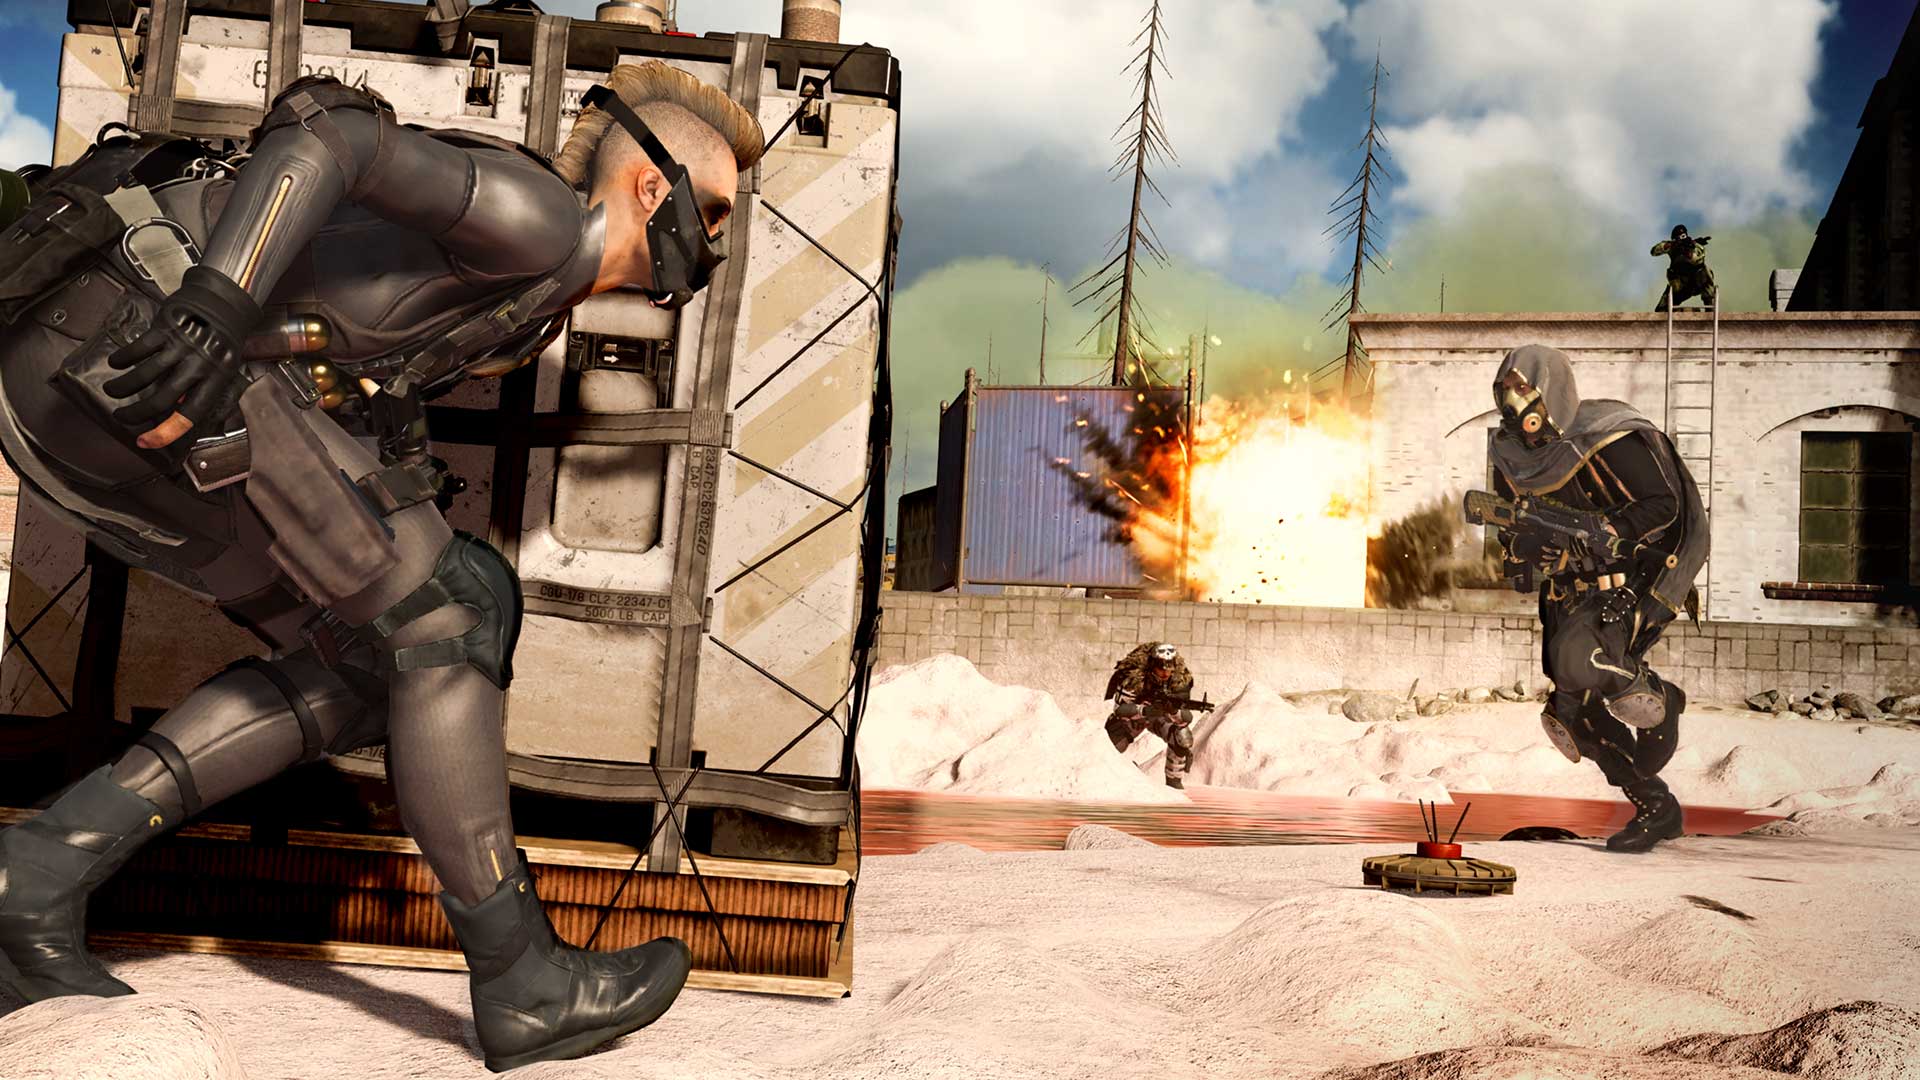
How Can I Access My Loadouts?
Unlike a Multiplayer or Special Ops experience available in the full game, Loadout Drops in Warzone’s Battle Royale mode can only be earned by finding a Loadout Drop package in the world, once your Warzone match has started.
Be on the lookout for an on-screen alert and audio cue indicating a Loadout Drop delivery, and keep your eyes peeled for a marker in the overworld – and on your Tac Map – that shows exactly where it is.
Note: Loadout Drops do not occur in the Plunder mode.
We cover the physical Loadout Drop package in more detail over on our Loadout Drops section here.
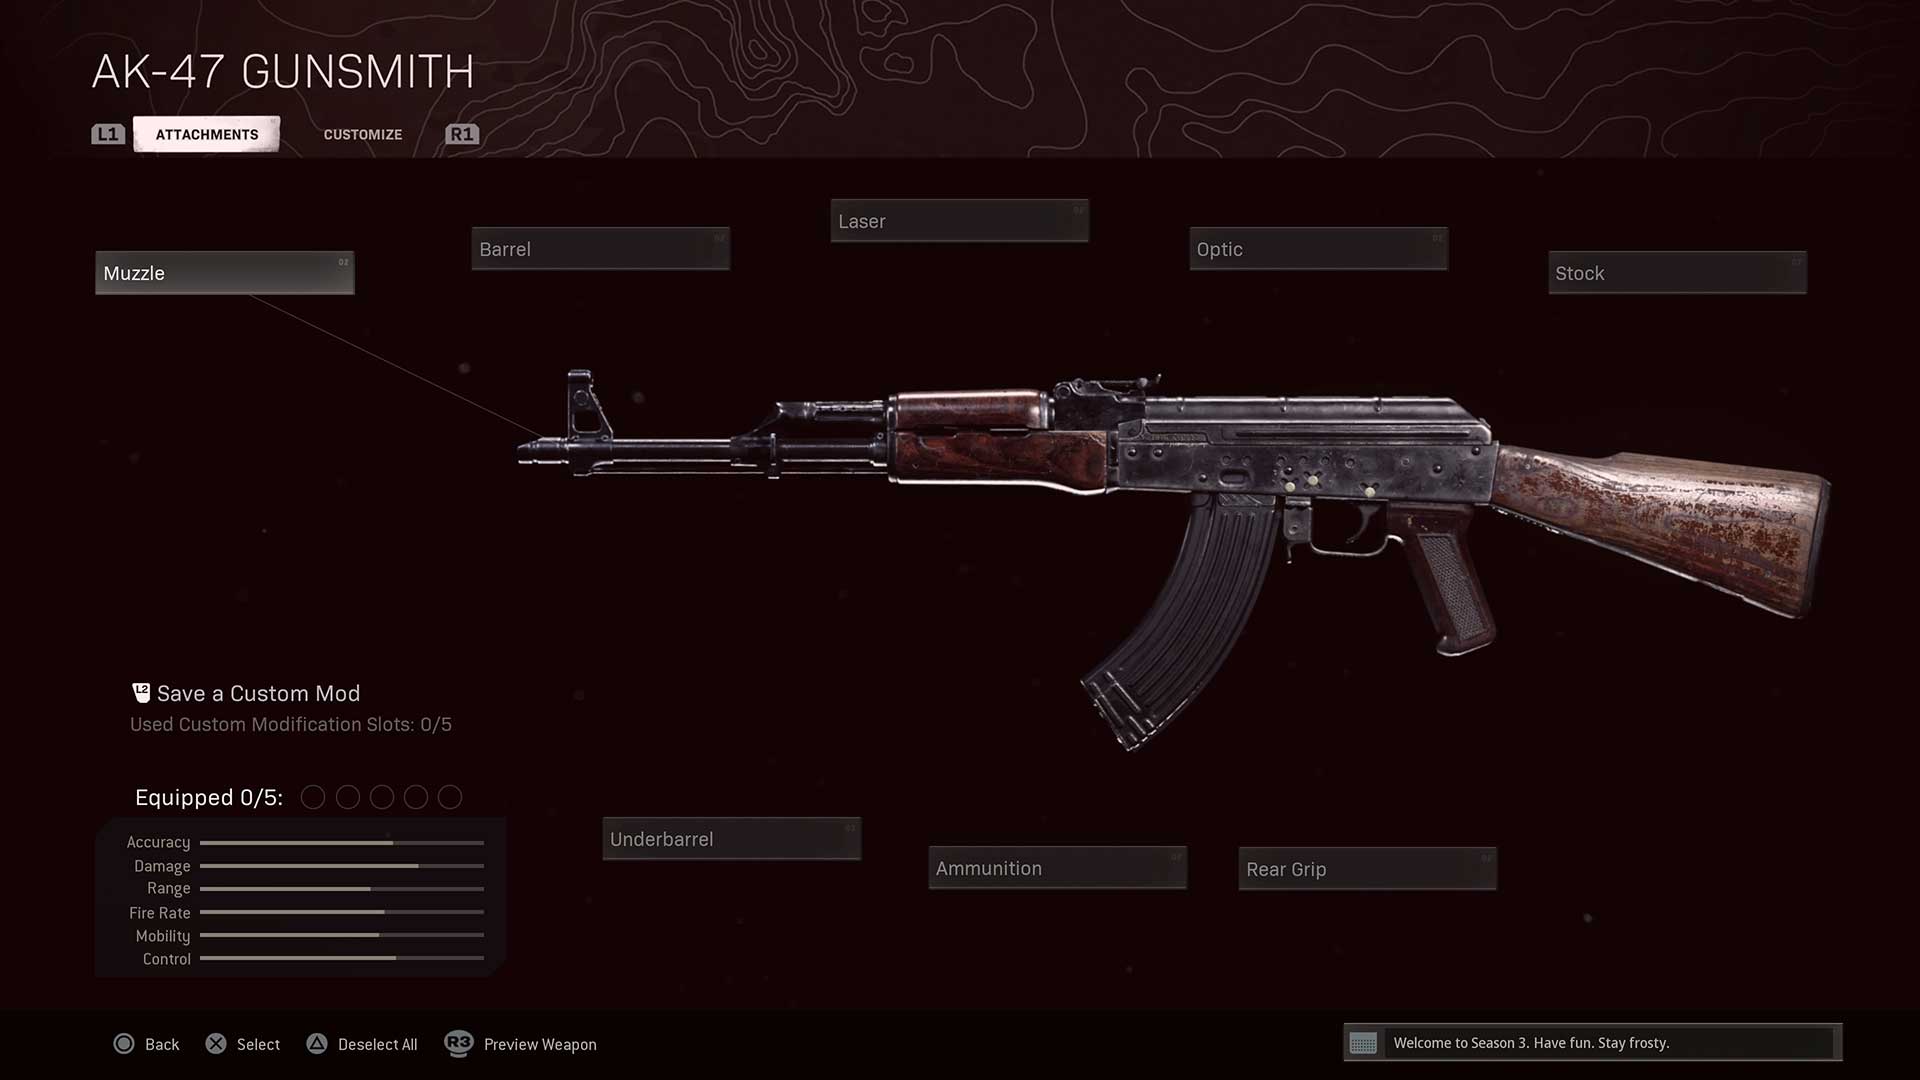
Gunsmith and Blueprint Weapons
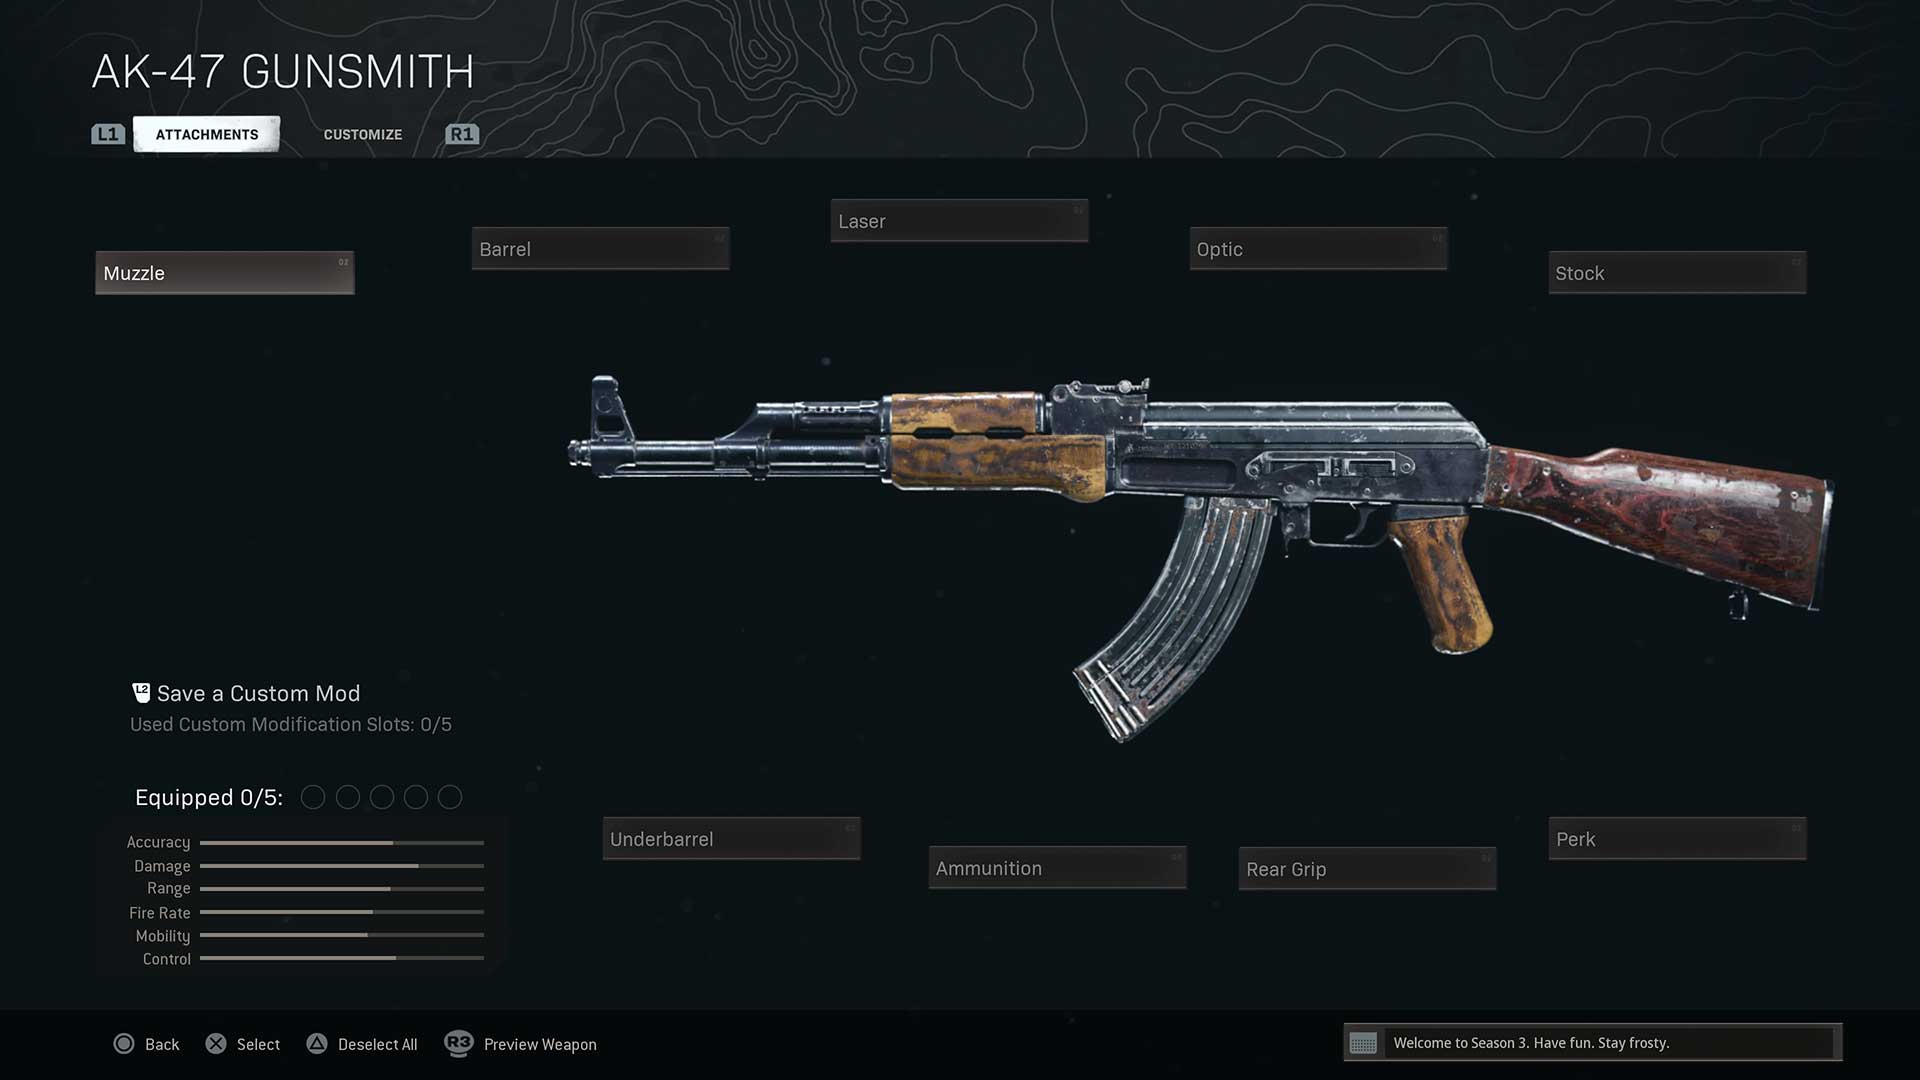
After selecting any primary or secondary weapon for a Loadout (and by extension, a Loadout Drop), you can access the Gunsmith menu. Here, you are presented with a wealth of options to craft your chosen armament from its base version to a fully outfitted and customized weapon (except for launchers, which have no attachments).
Within the main Gunsmith screen (attachments), you will see:
Equipped: This indicates how many of the (up to) five augmentations you’ve added. You can elect to attach less than five attachments, or none at all. It’s up to you. Note that some weapons may have fewer or more than five attachment slots.
Attachments: Using an assault rifle from Black Ops Cold War as an example, there are eight different areas on the weapon you can augment: The muzzle, lasers, optic, stock, rear grip, magazine (or ammunition), underbarrel, and barrel.
In addition, for most weapons from Modern Warfare you can add a weapon perk, which doesn’t affect the look of the weapon, but offers a single additional effect, usually bestowed upon the Operator.
Bear in mind that attachments available differ by weapon, and especially by game of origin (Black Ops Cold War or Modern Warfare). Each attachment gives an in-game description as well as a pro and con for using it, which can be viewed when hovering over it within each individual attachment menu.
As you play with a given weapon, it will gain Weapon XP, which ultimately levels it up. Each weapon level corresponds with a new attachment or perk, and in some cases, a weapon camo.
Weapon Stats: A bar chart displays six stats that are essential to evaluate when choosing your weapon. These stats are…
· Accuracy – How accurate the weapon is when fired from the hip.
· Damage – The damage an enemy takes when shot by the weapon.
· Range – How far the weapon can fire before accuracy tails off.
· Fire Rate – How rapidly the weapon can shoot.
· Mobility – How deftly you can move, as well as aim the weapon.
· Control – The sway and recoil the weapon has; the less the better.
Generally, the higher each of the stat bars is, the better your weapon is.
While hovering over each attachment within its menu in the Gunsmith, the bars will rise and fall to match the pros and/or cons of that specific attachment.
Preview: You can rotate, zoom and pan around the weapon you’re customizing in Gunsmith to make sure you’re happy with the overall look.
Customize: One tab over from the main Gunsmith menu is the Customization options. Here, you can choose to outfit your weapon with any camo, custom reticle, charm, and stickers that you’ve unlocked.
We detail all cosmetic options that add flair to your Operator within the following chapters:
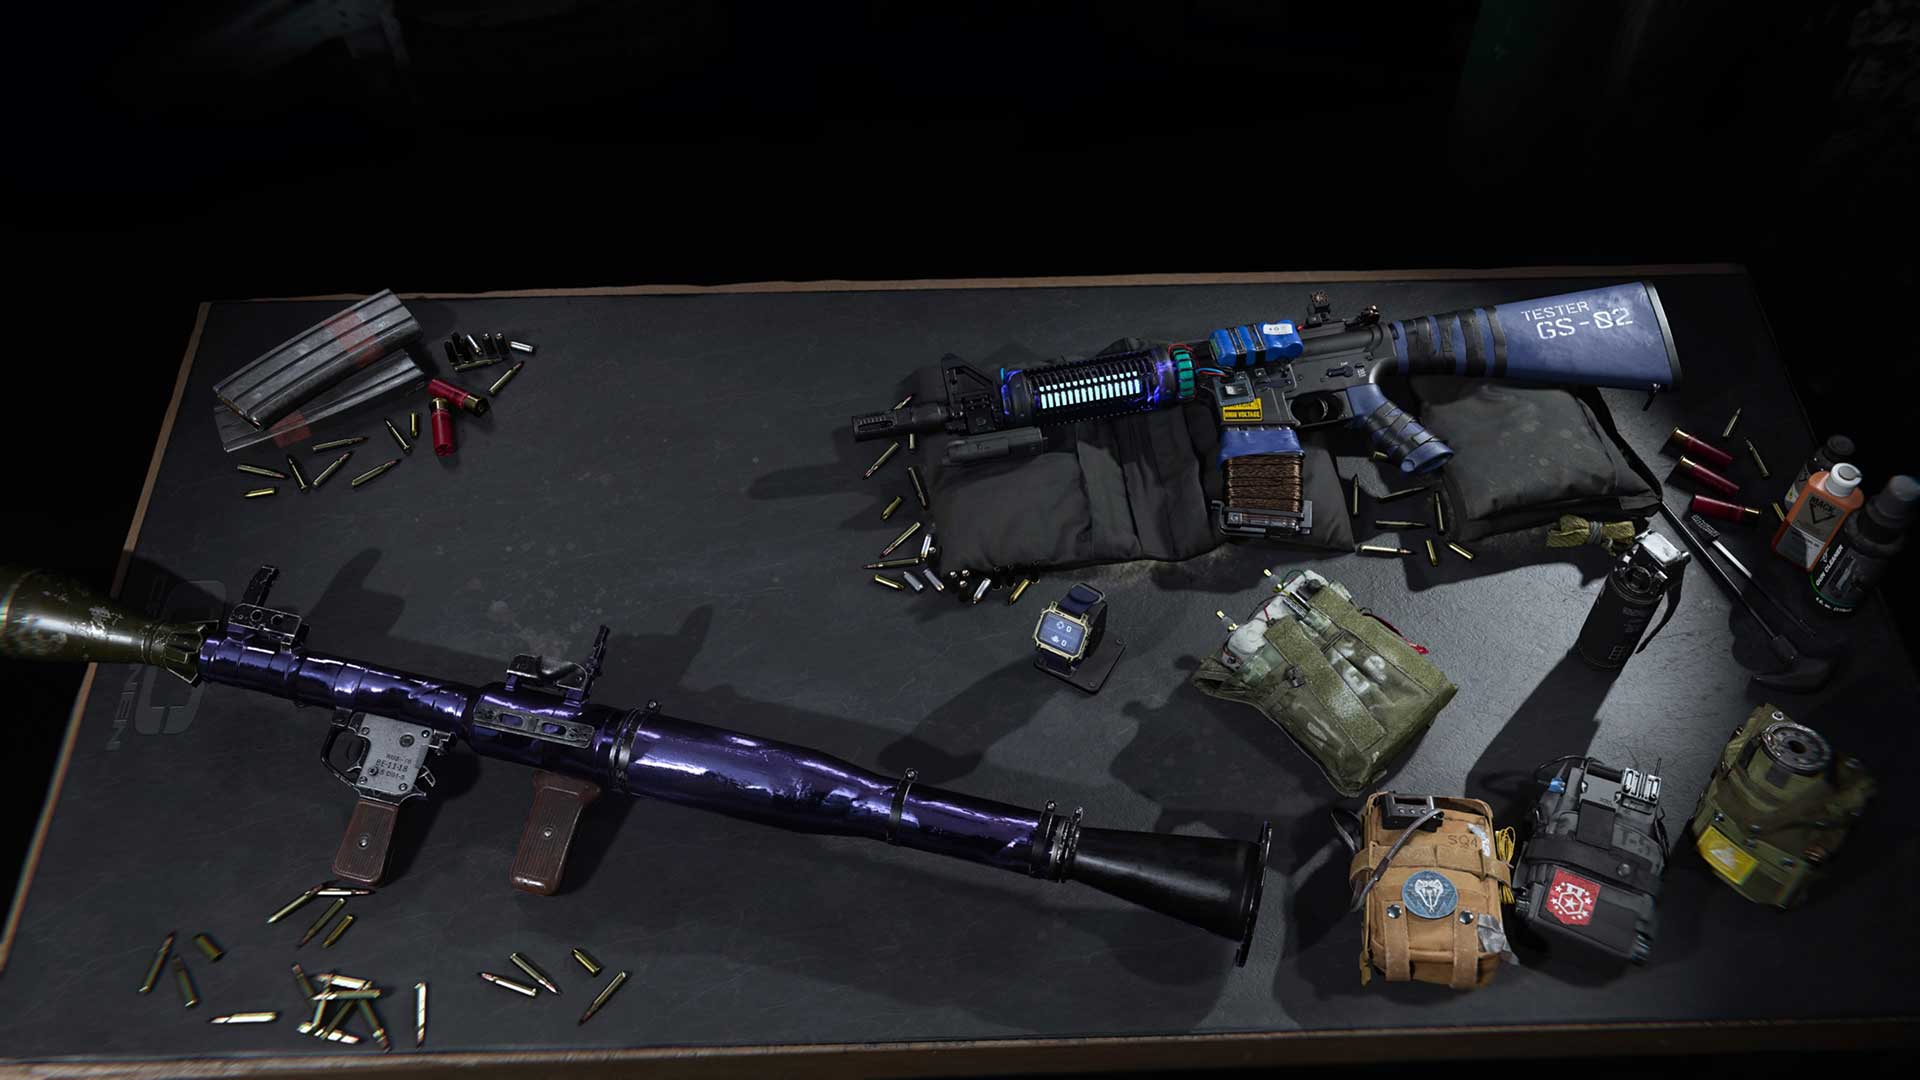
Although it’s the last submenu within Weapons, the Armory is synonymous with the Gunsmith.
Within the Armory, you can blueprints you may have received during your Warzone, Black Ops Cold War, or Modern Warfare experience.
Weapon Blueprints
A Weapon Blueprint is a variant of a base weapon within Modern Warfare. Blueprints have different names than their base counterparts – i.e. instead of the Model 680, a Model 680 blueprint can be called the “1337 Skeet”. Weapon Blueprints can have cosmetic differences to their base weapon counterpart (such as paintwork, or the ability to fire color tracer bullets, for example) and may come pre-equipped with attachments.
These attachments are given to you on this specific Weapon Blueprint without needing to level up the weapon to earn them. This way, you can utilize specific cool attachments before you earn them by leveling up. You can still earn all weapon attachments organically and swap out – or add – attachments to Blueprints that are earned organically through leveling up that weapon.
In other words, Weapon Blueprints look cool and offer a few attachments you may not already have for that weapon but can still earn in the long run. You can unlock Blueprints either by completing special events, such as a Contraband Contract or a Seasonal Event, reaching Prestige Level 50 in a Season, or receive them within Battle Pass Tiers or by purchasing Store Bundles.
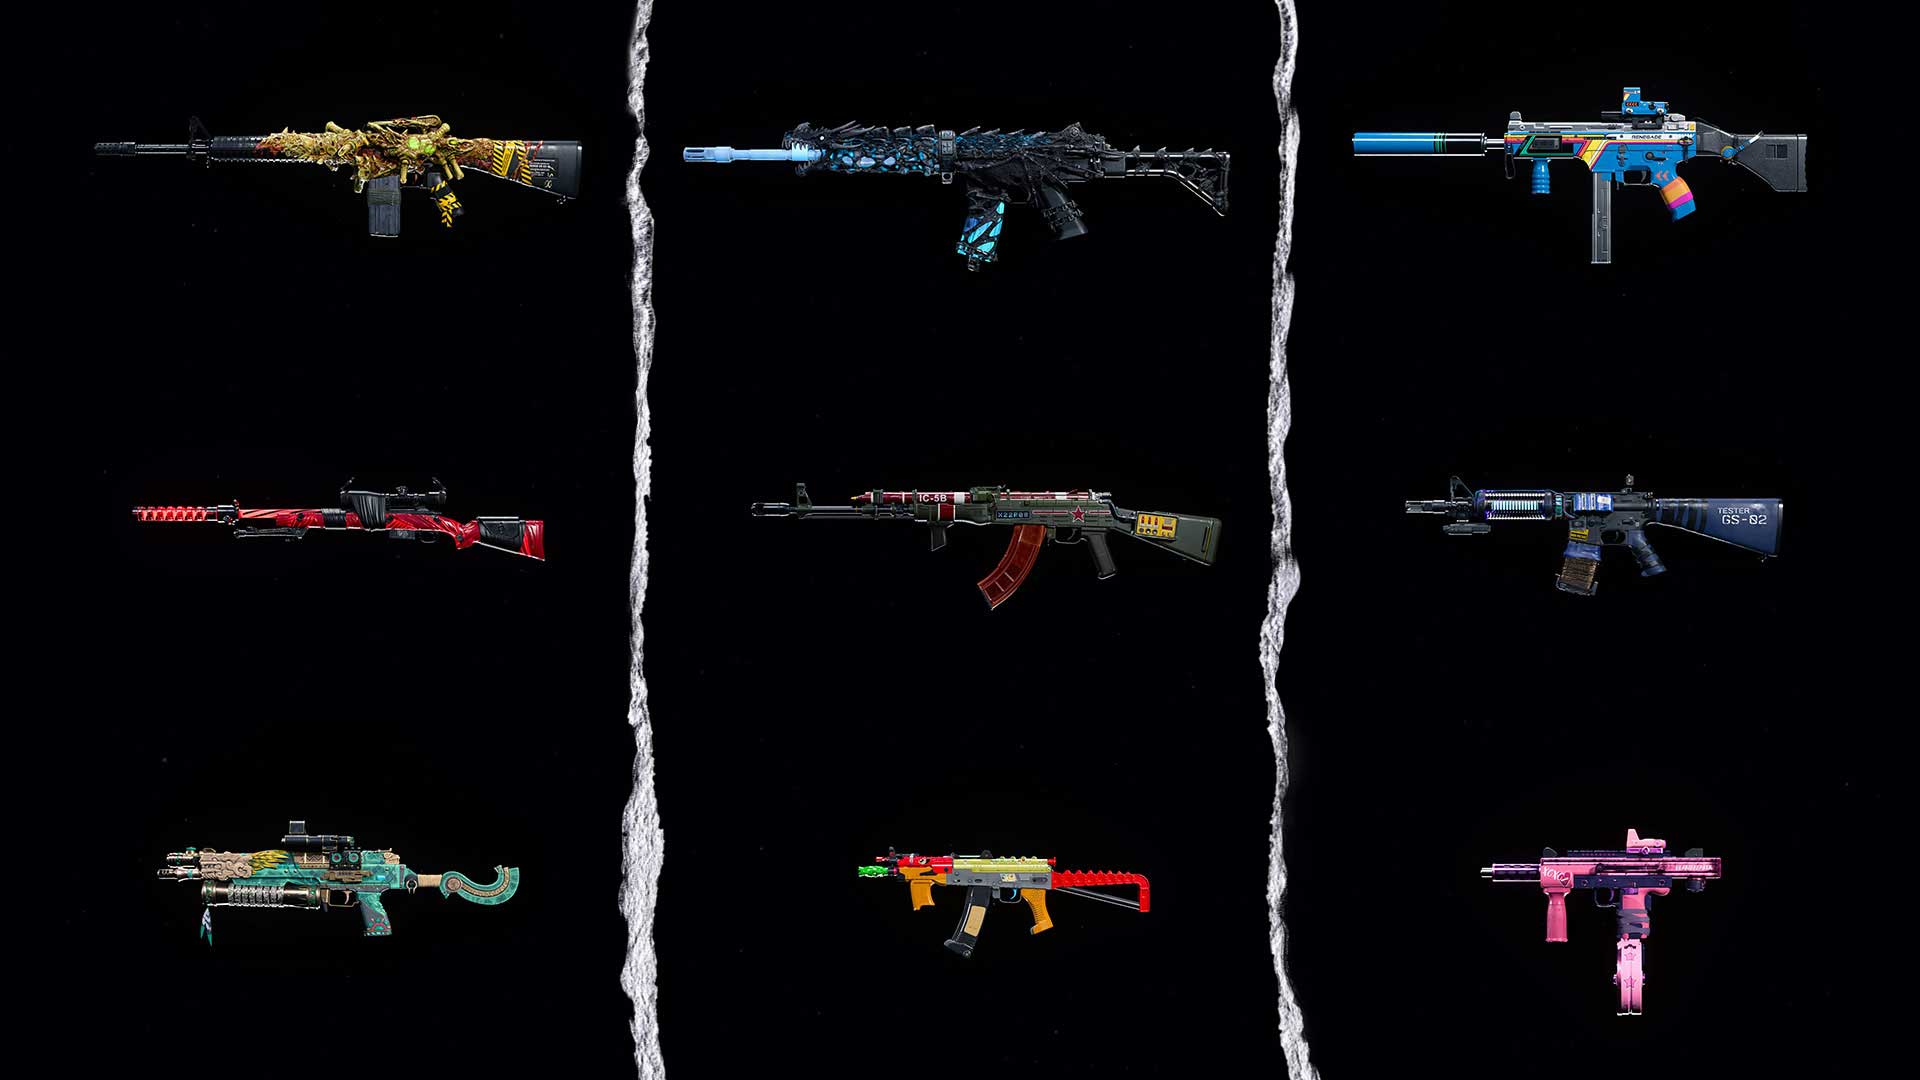
Ultra Rarity – Mastercrafts and Reactive Weapon Blueprints
Weapon Blueprints exist across a variety of rarities from Common to Legendary, with a varying number of pre-configured attachments at each level. Legendary Weapon Blueprints can also have unique effects, such as Tracer Rounds or rounds that add flair to eliminations, which are purely cosmetic, but might make that enemy you just eliminated jealous.
However, there is one greater rarity than Legendary when it comes to Weapon Blueprints, and its one reserved for the rarest of the rare: Ultra.
Introduced in Black Ops Cold War and available within Warzone, Ultra rarity is a special designation given to wild and badass Weapon Blueprints that fit one of two criteria:
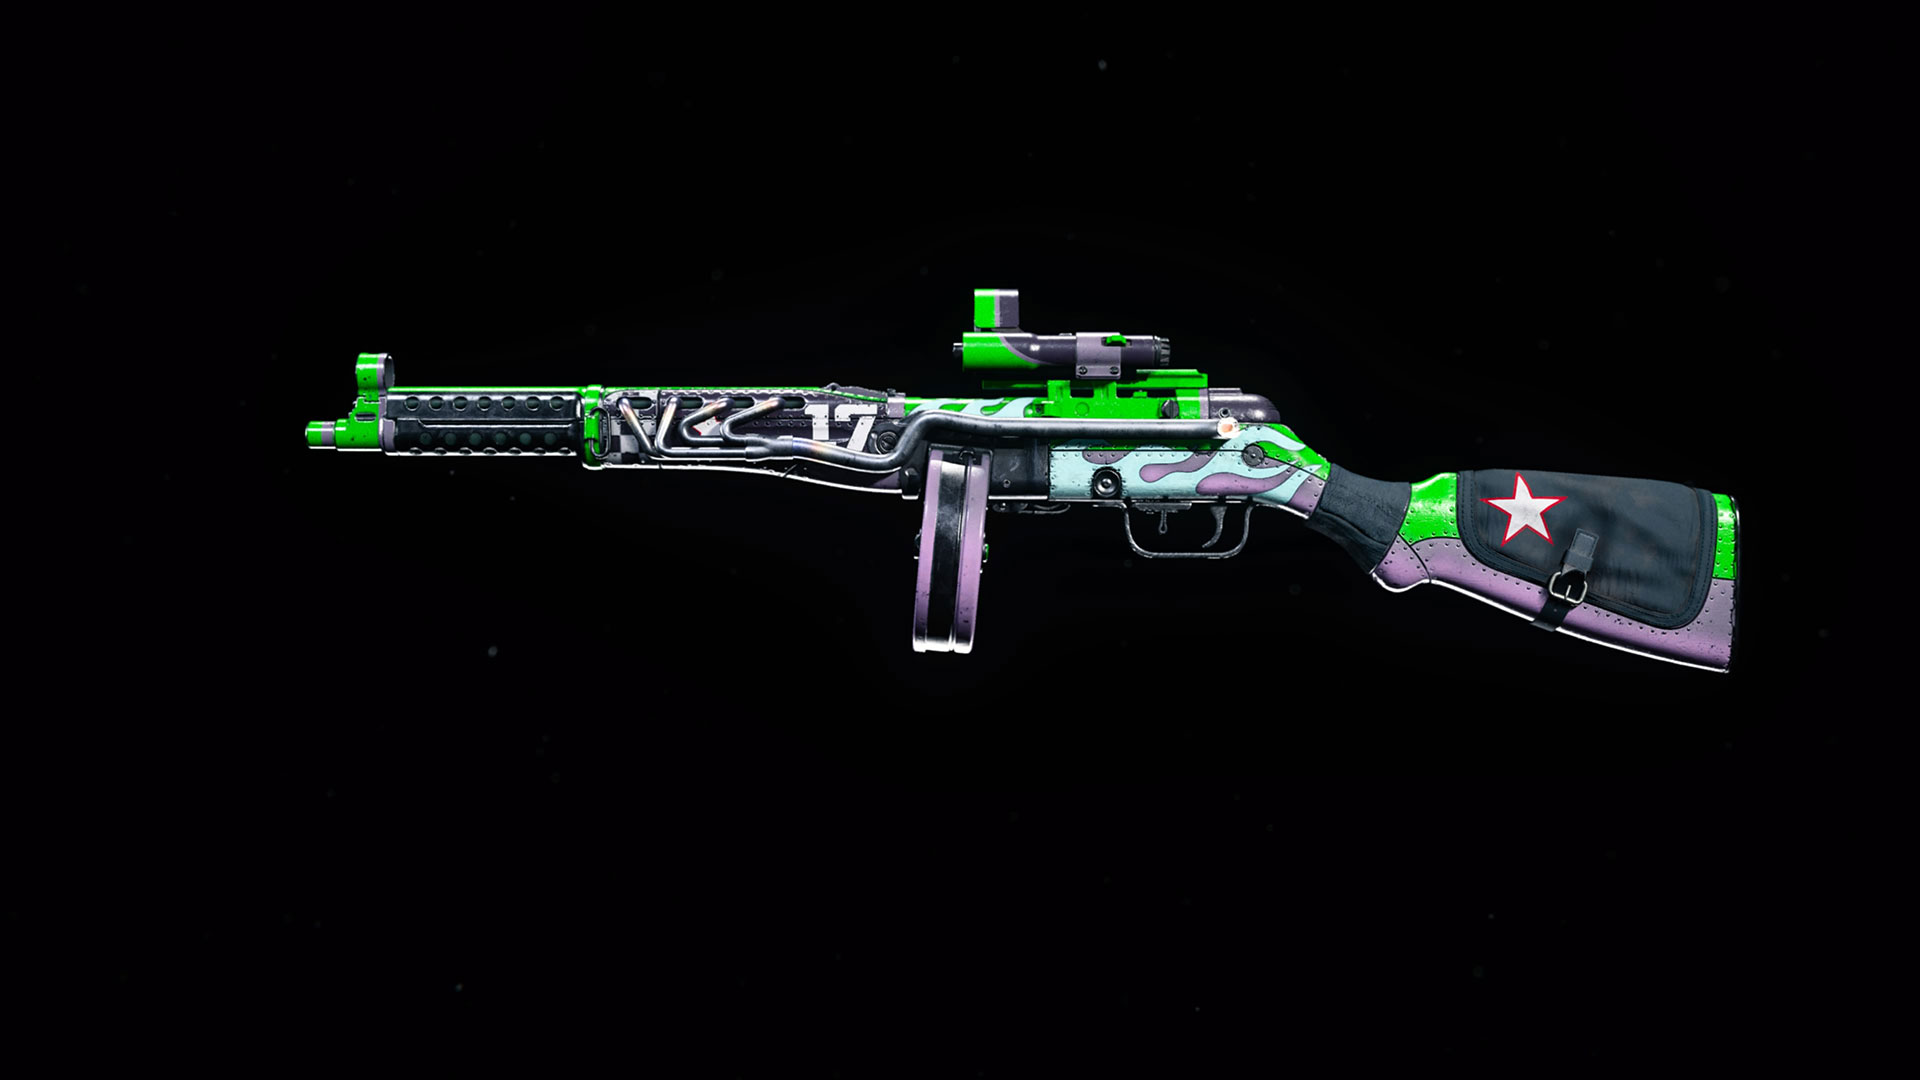
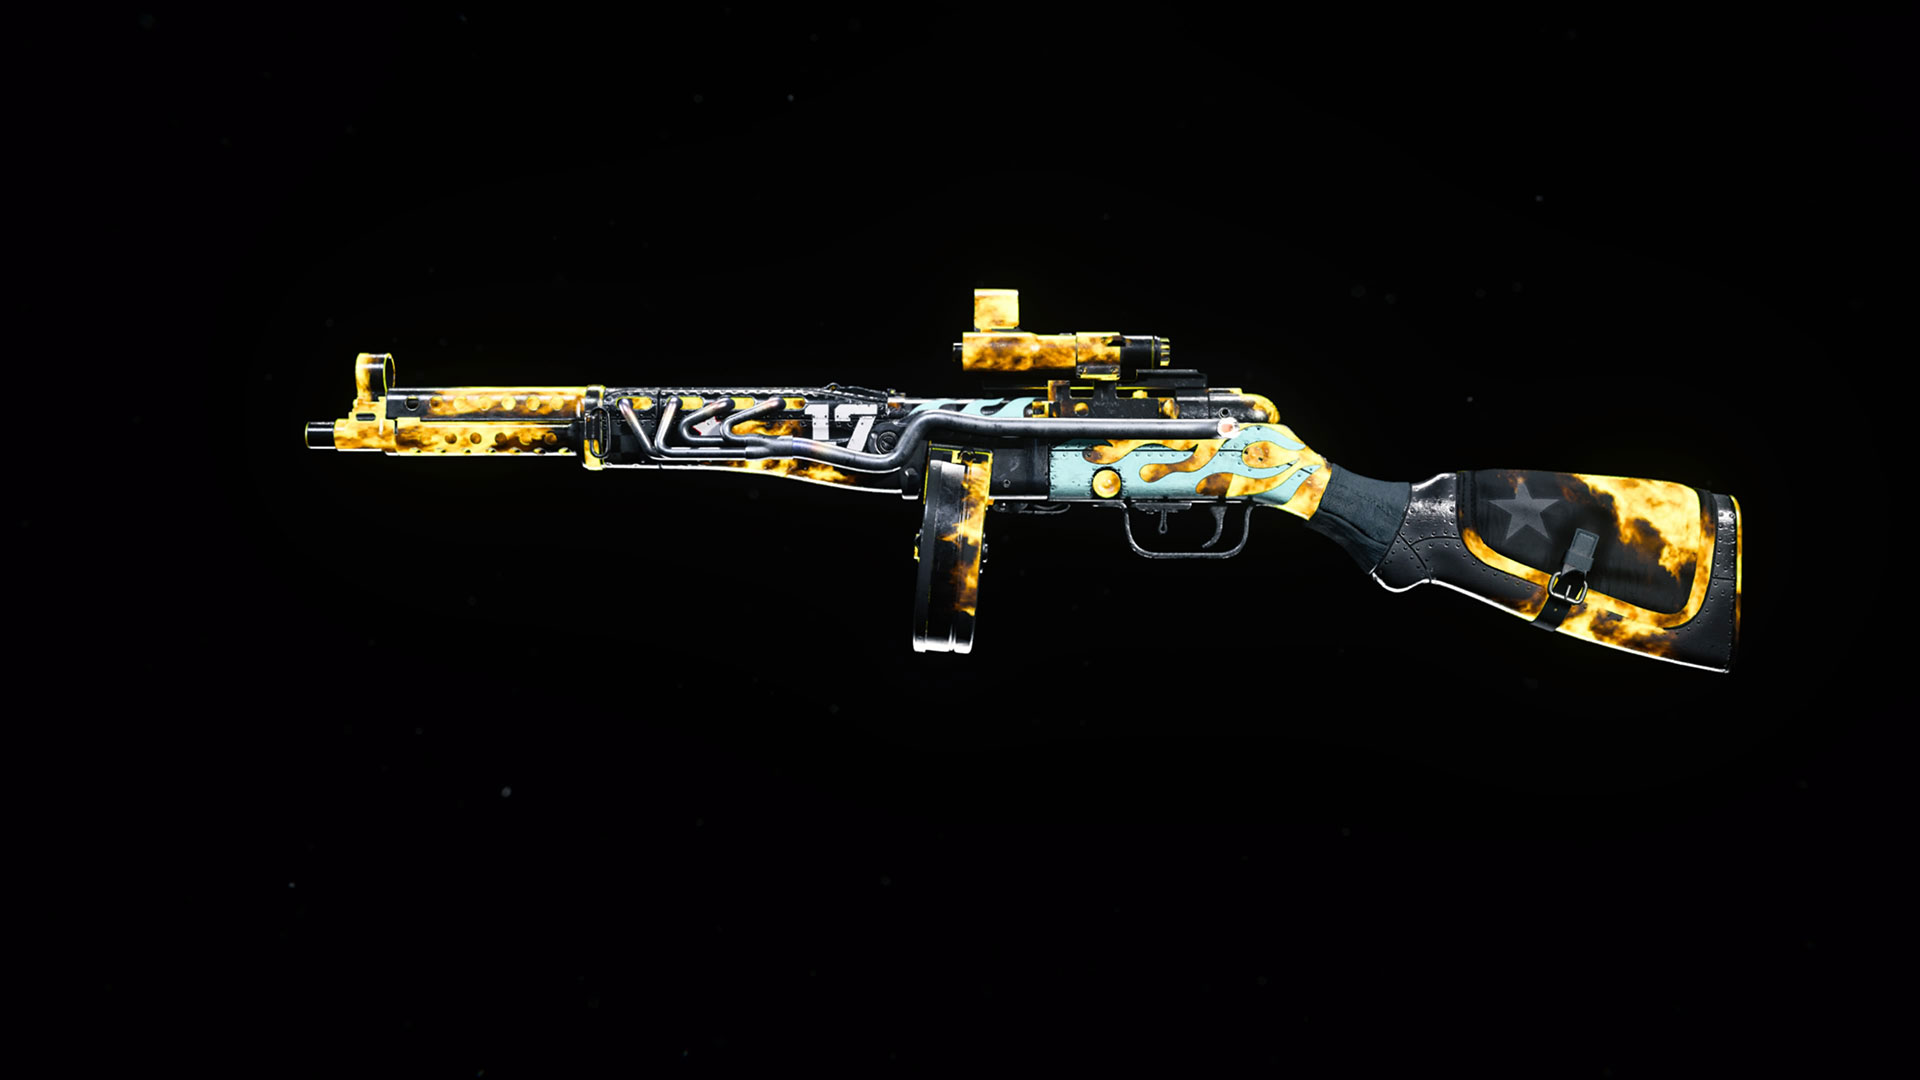

The first is that they have the Reactive property, meaning that the camo on them evolves visually as kills are earned in a single Warzone match. While viewing the Weapon Blueprint, the game will cycle through the effects that occur at each kill threshold – 3, 6, 9, and the final one of 12 – with each tier making the weapon more badass-looking than the one prior.
The reactive Weapon Blueprint look resets from match to match, so consider yourself a true master of that weapon should you make it evolve into its final form during a Battle Royale session!
Black Ops Cold War and Modern Warfare Weapons
Warzone features weapons from both Black Ops Cold War and Modern Warfare, making it one of the largest arsenals of weaponry ever seen in a Call of Duty game.
Every single weapon from these games Is unique, complete with its own attachments and tuning that is specific to Warzone. This includes weapons that share the same name – looking at you, AK-47 from Black Ops Cold War and AK-47 from Modern Warfare – which may have some similar looks and characteristics, but ultimately are two separate weapons.
In terms of specifics, weapon XP and levels are tied to a specific weapon no matter the game its used in, so that progress is shared between games, while customization content that applies to all weapons from a certain game – e.g. a Weapon Sticker or Weapon Charm – is specific to that game. Here are a few examples of how this works, including with unlocking weapons via challenges and level-ups:
Example One: Military Ranks – As a new player, you started your progression journey within the Military Ranks within Warzone and unlocked the Krig 6 assault rifle from Black Ops Cold War for use in your Loadouts. Congratulations! You can now use it in both Warzone and Black Ops Cold War! (This also applies to weapons from Modern Warfare on the same Military Rank progression path!).
Example Two: Battle Pass – The Swiss K31 is found at Tier 31 of the Season Three Battle Pass. After reaching this Tier across Black Ops Cold War and Warzone, you’ll unlock the Swiss K31 for use in both games!
Example Three: Weapon Levels – Now imagine you played with your new Swiss K31 in Warzone to earn a few weapon levels. You can then hop into Black Ops Cold War Multiplayer or Zombies to continue its progress, and enjoy it at that level – including with its unlocked attachments – in both games! This also applies to weapons level progress between Warzone and Modern Warfare.
Example Four: Weapon Challenges – As of Season Two of Black Ops Cold War, the R1 Shadowhunter Crossbow can unlocked by getting three One Shot, One Kill Medals in 15 separate matches. Let’s suppose you get three One Shot, One Kill medals in 14 Multiplayer games in Black Ops Cold War. You could then hop into Warzone, get your 15th game of three One Shot, One Kill medals, and unlock the weapon for use in both games! No matter where or how you complete the challenge, so long as you meet its criteria, its yours across its game of origin and Warzone.
Example Five: Weapon Cosmetics – Remember that “Mortal Anguish’ Sniper Rifle from earlier? Well, the Store Bundle it’s a part of – the “Hellscream Mastercraft” Bundle – comes with a sinister “Pin Cushion” Spiked Heart Charm. This can be equipped to any Black Ops Cold War weapon that can equip a Charm, but not any Modern Warfare weapons that can equip a Charm. Don’t worry; there are hundreds of badass Charms that are also available for these Modern Warfare weapons.
How can you tell where a weapon originated from? Within the Warzone Weapons menu, look for visible Black Ops and Modern Warfare logos on every weapon’s tile so you can immediately tell where your armament originated. You can also use the sort features when selecting a Primary or Secondary Weapon to filter and sort between games, as well as by weapon data (highest level first, lowest level first, and new/unlocked/locked first).
However, there is one major note specific to those who own both Black Ops Cold War and Modern Warfare: Warzone is the only place where you can play with weapons from both games. In other words, while your Modern Warfare and Black Ops Cold War weaponry will be shared with Warzone, you will not be able to use your Modern Warfare weapons in Black Ops Cold War, and vice versa.
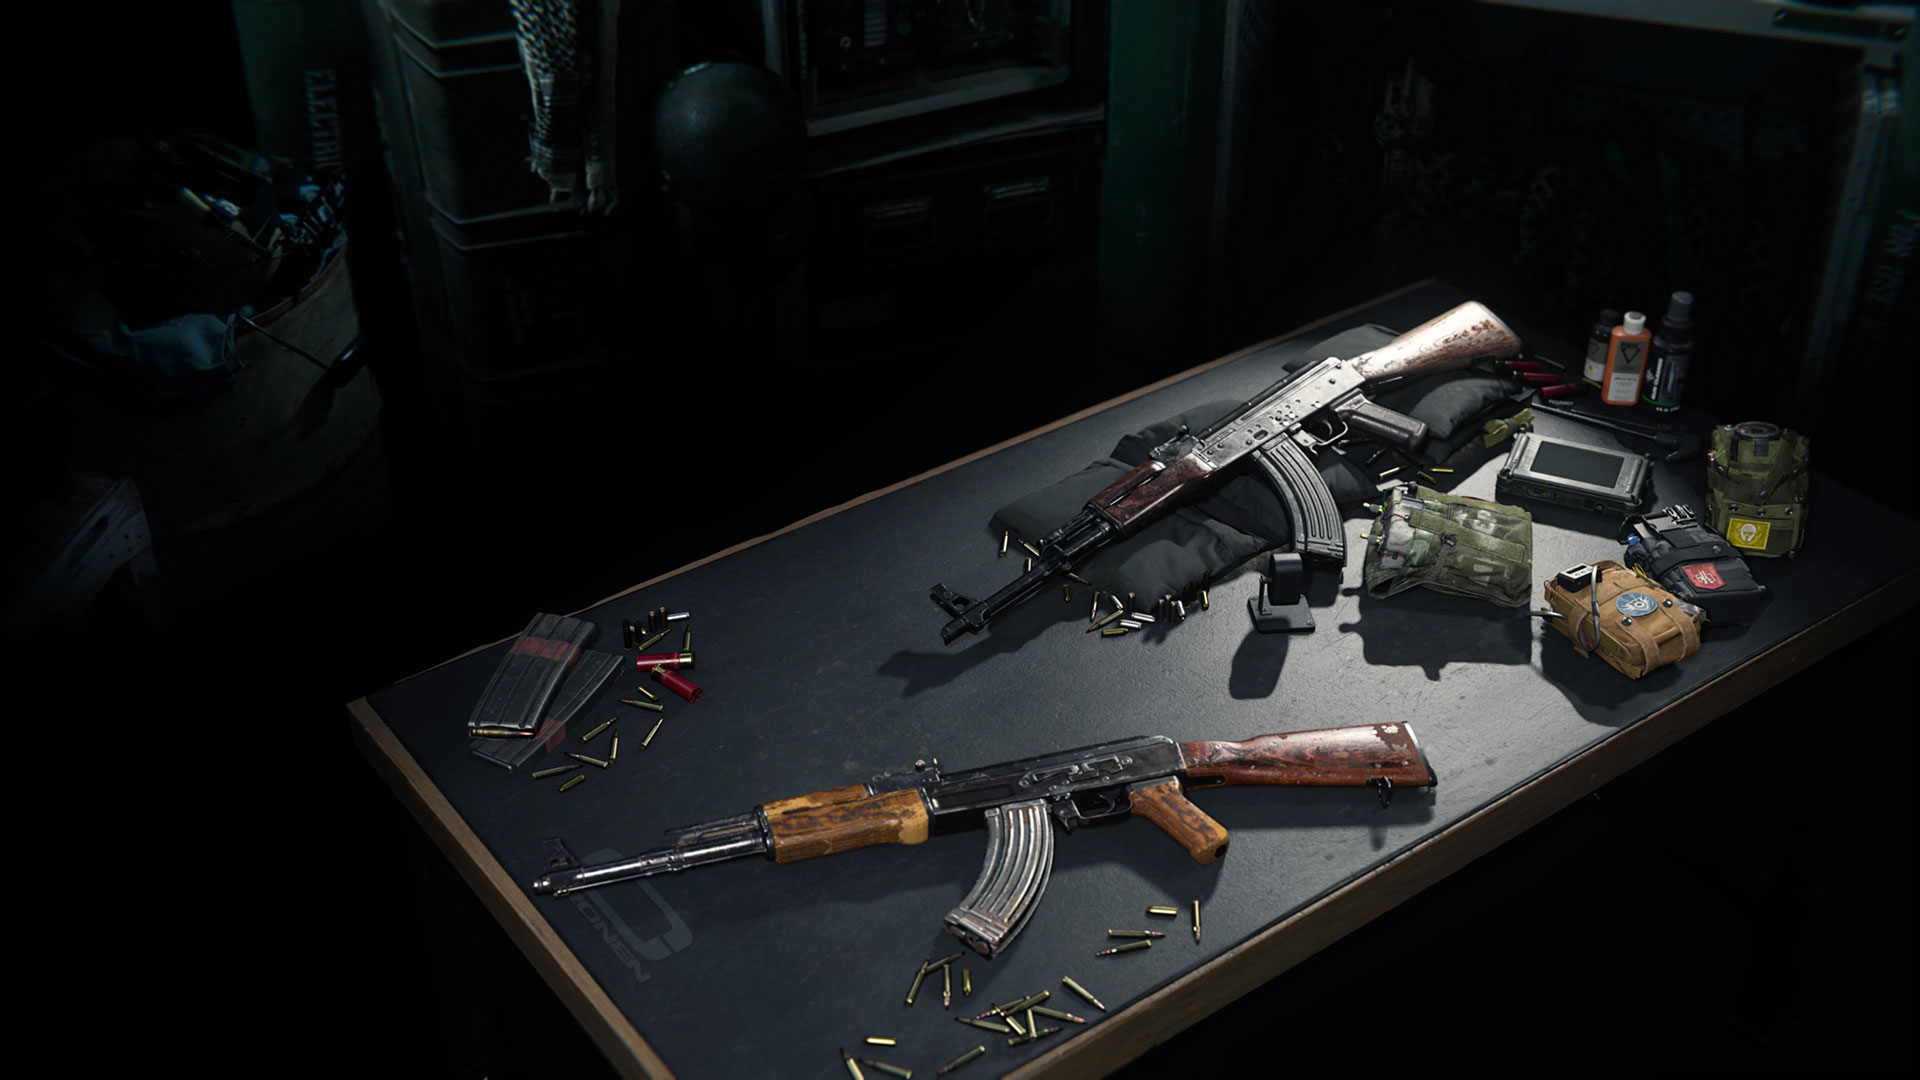
Although Warzone is Call of Duty Multiplayer on a massive scale, those who have played Black Ops Cold War and Modern Warfare will be at home with the familiar weapons from the full game.
In the Warzone, a weapon is a weapon; beggars can’t be choosers when looting around Verdansk or Rebirth Island, and whether you find a Ballistic Knife or a .50 caliber Sniper Rifle, it’s better to have a weapon than to be caught without one. Don’t believe us? Try winning a game of Warzone with just your fists… (and if you do so, then we want proof!)
However, within Loadouts and Loadout Drops, there is some segmentation between primary weapons and secondary weapons. Primary weapons are, in the main Modern Warfare experience, the primary way of dealing damage to enemies, and there are eight different categories that these weapons fall under.
If you recall from our Firing chapter, these Primary Weapon categories excel at the following, in general terms:
· Shotguns – Extreme close range, hip-fire or aiming down sights.
· Submachine Guns – Short range, aiming down sights or hip-firing.
· Assault Rifles – Medium range, aiming down sights.
· Light Machine Guns – Medium-long range, aiming down sights.
· Tactical Rifles – Medium-long range, aiming down sights.
· Marksman Rifles – Long range, aiming down sights.
· Sniper Rifles – Extreme long range, aiming down sights.
And then there is the final “Primary Weapon” that stands watch as the lone defensive guardian of the Melee category: the Riot Shield
Here’s a deeper dive into all eight types of primary weapons – assault rifle, submachine gun (SMGs), shotguns, light machine gun (LMGs), tactical rifles, marksman rifles, sniper rifles, and melee (Riot Shield) – that you’ll find both in Verdansk with pre-determined attachments where applicable, as well as your Loadouts to level up and fully customize to your personal preference:
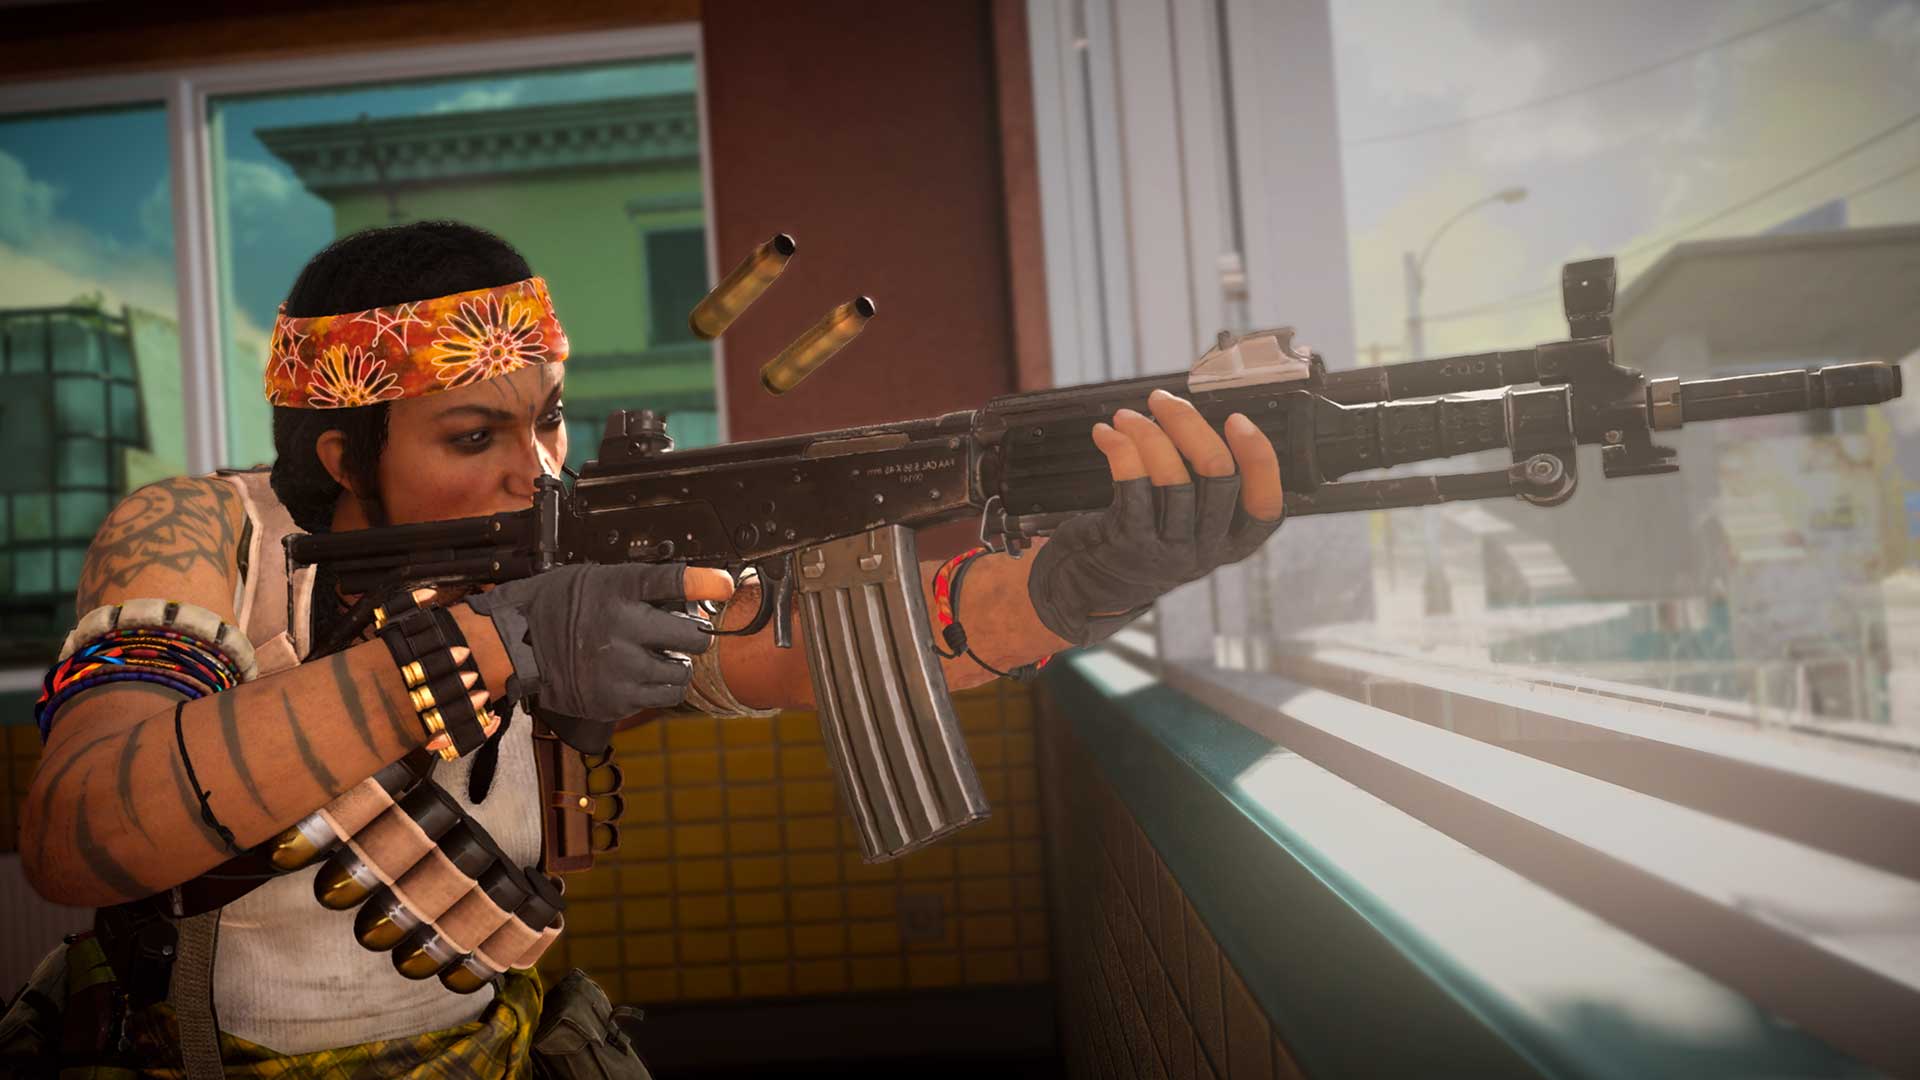
Out of all the primary weapon categories, assault rifles are king by sheer size alone, and therefore, will take a bit longer to explain than any other weapon category in this section.
As of Season Three of Black Ops Cold War, there are twenty – yes, 20 – unique Assault Rifles to unlock and choose from. Only one other category comes close to that number of unique weapons after Black Ops Cold War was introduced to Warzone,
The largest weapon category is also the most diverse; from high-damage battle rifles to fast-firing compact rifles to even weapons that integrate hyperburst features and subsonic rounds, one could theoretically create a variety of Loadouts with every assault rifle and still fit nearly every combat situation. And while being a jack of all trades can sometimes mean “master of none,” weapons in this category tend to excel most with medium range engagements.
Take the first assault rifle you’ll unlock from Modern Warfare – the Kilo 141 – for example. On one hand, it can be customized to be a stealthy CQB (close quarters battle) option thanks to an integrated suppressor barrel…
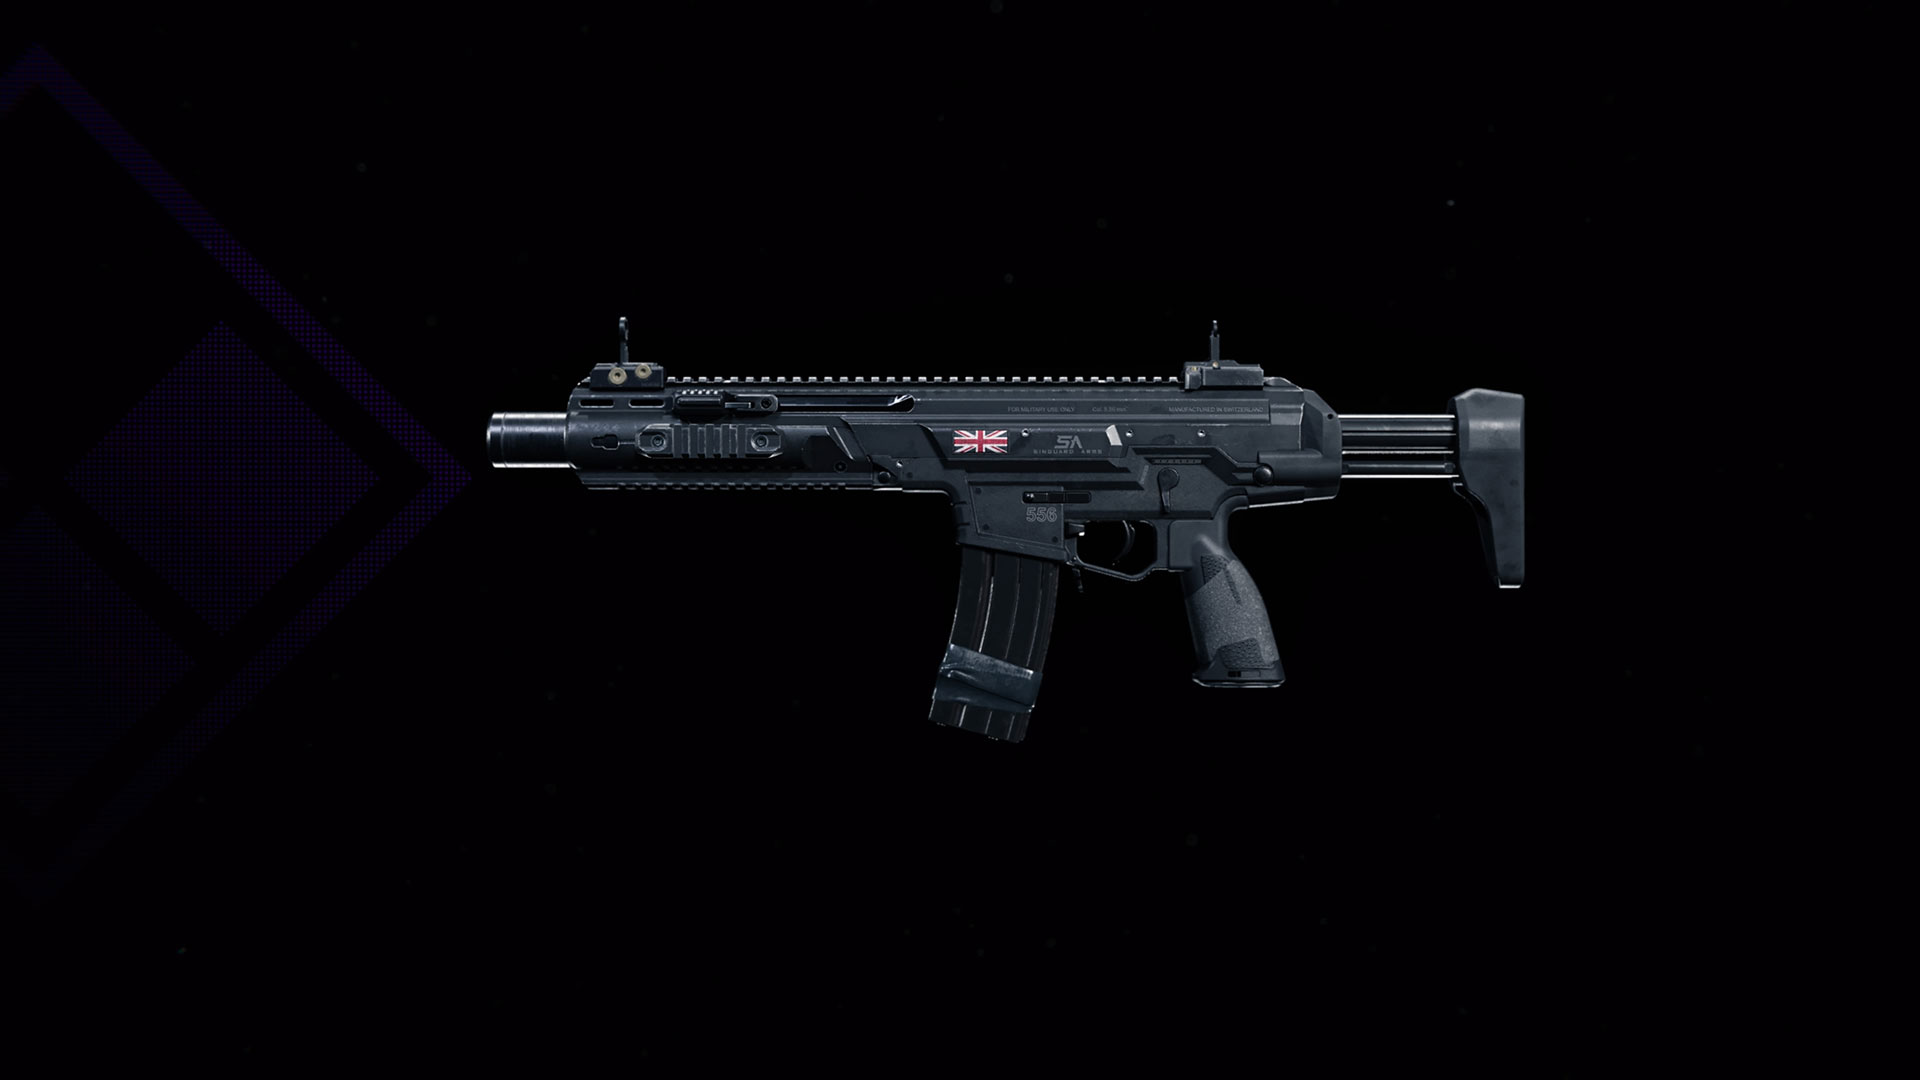
But, with four other completely different attachments, its design resembles a Light Machine Gun, especially with a 100 Round Drum.
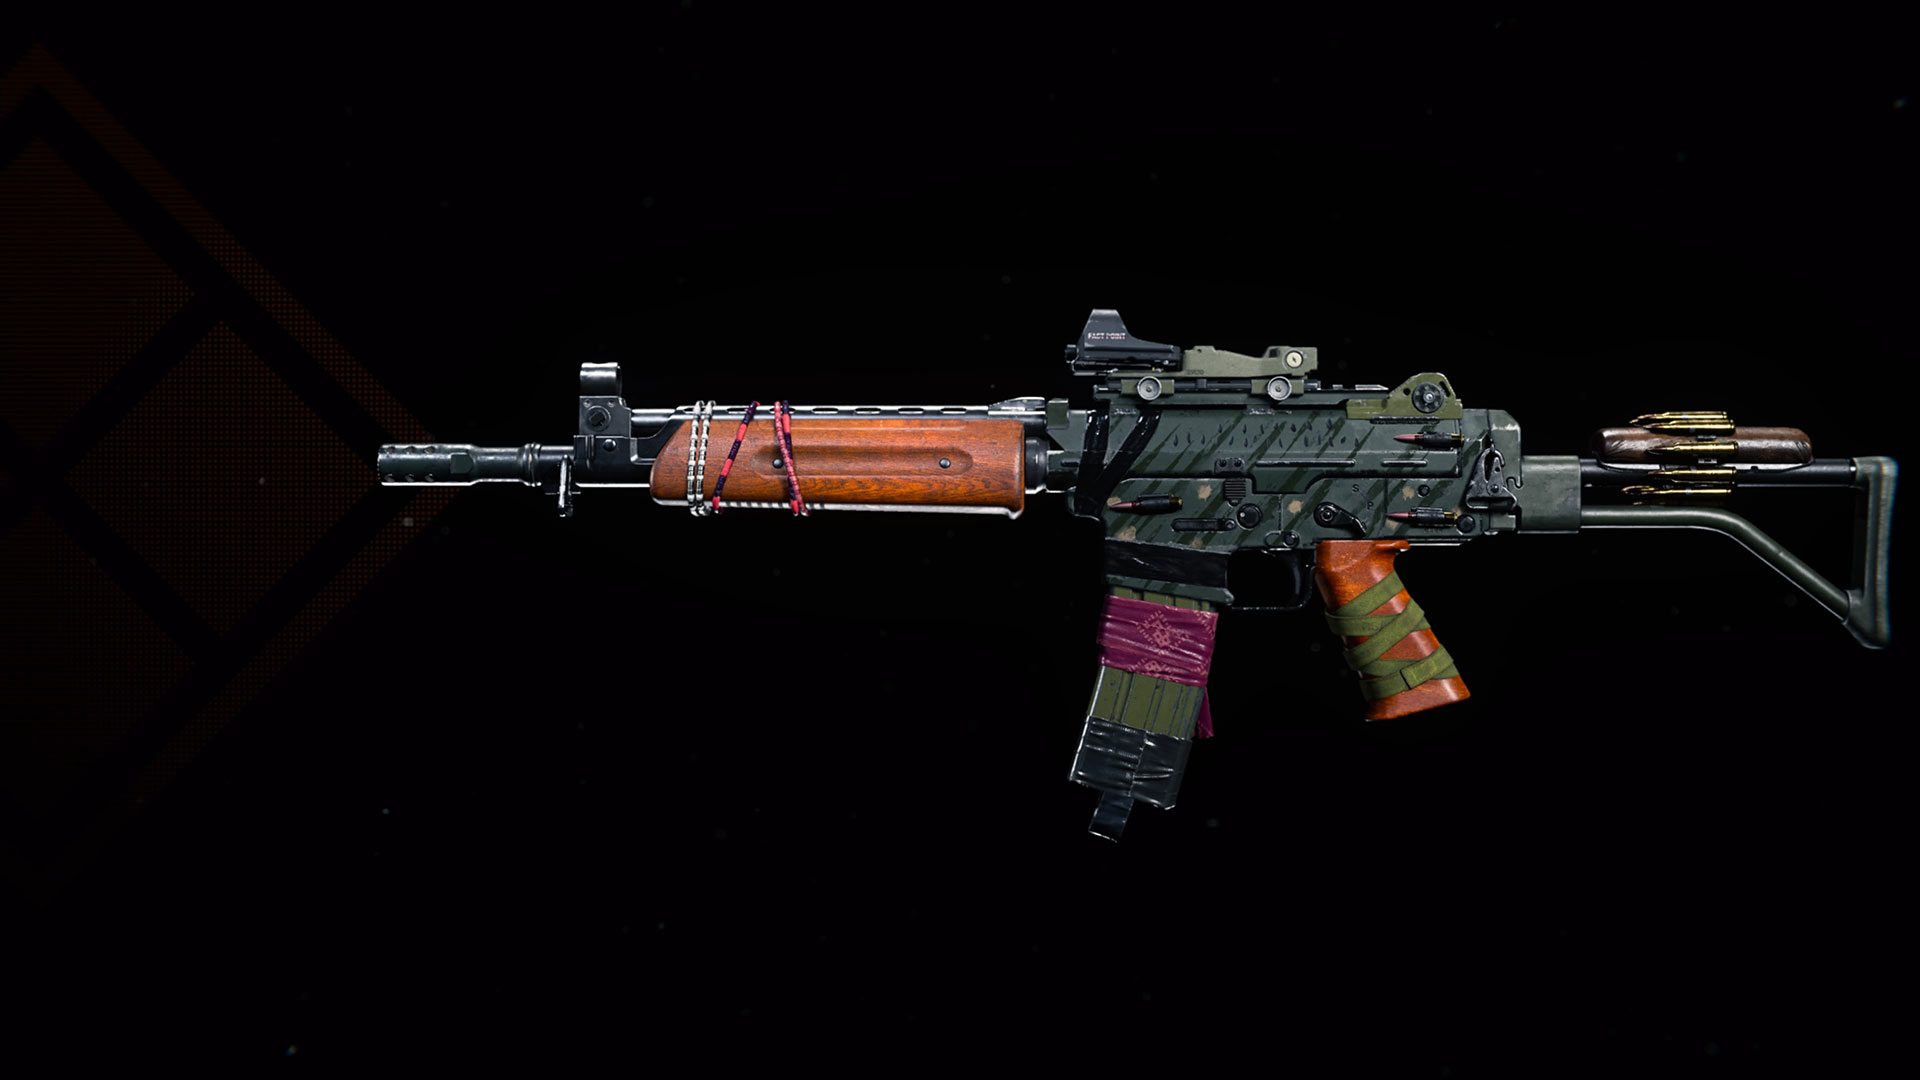
That’s just one assault rifle from Modern Warfare, and we have not even talked about the armaments that arrived from Black Ops Cold War. Just take one look at some of the members within weapon family that the Krig 6 belongs to; on one hand, the “Barbarian” is built for Mobility with faster strafe speed, slide speed, and reload speed among other benefits with its five pre-configured attachments…
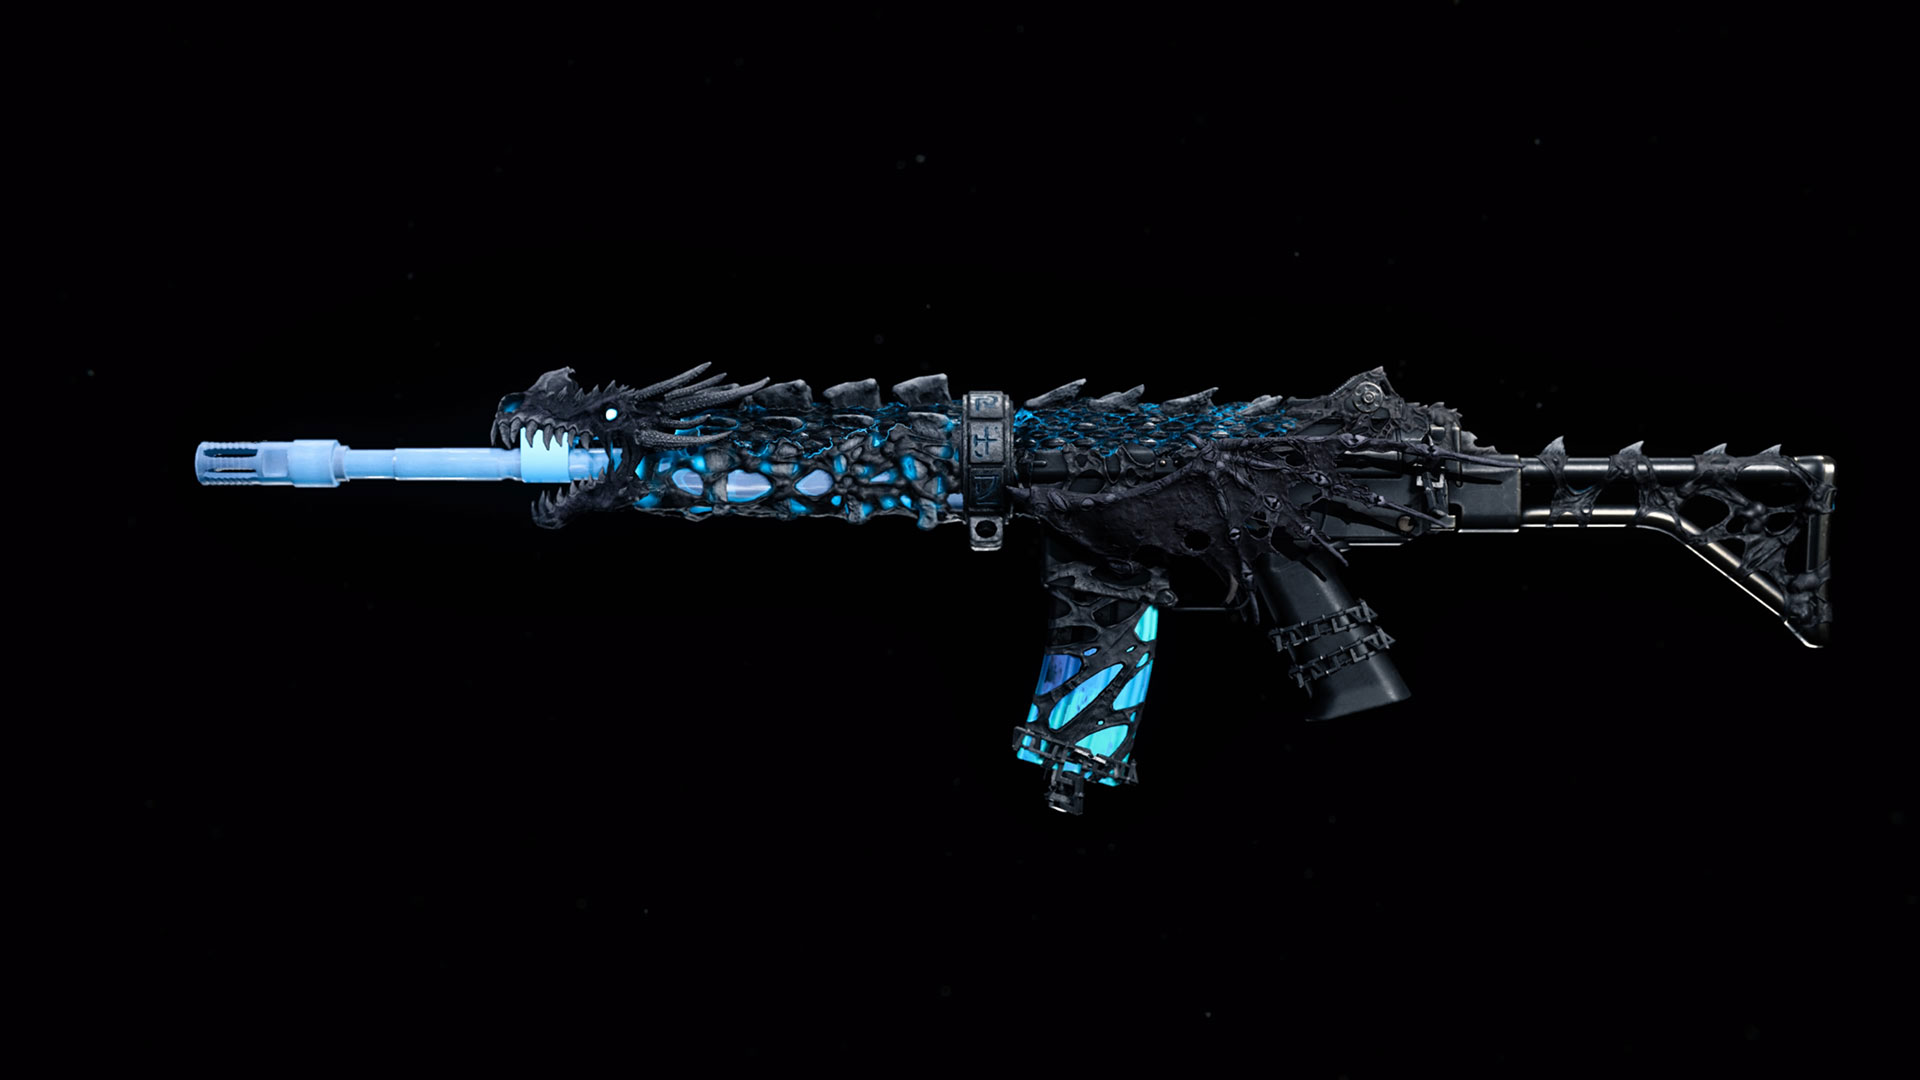
While another blueprint, the “Ice Drake,” resembles a more balanced configuration through its attachments… and literally resembles a menacing dragon by its own appearance!
No matter how you customize these weapons – and the majority of assault rifles, for that matter – it will usually be a reliable 3-5 shot kill within a few dozen meters against an opponent with zero armor.
A standard assault rifle will usually come with a 30-round magazine, allowing you to get in multiple engagements in quick succession, or at the very least, down three fully armored enemies with a few errant missed shots taken into account. These magazines and the overall size of these weapons hinder your Operator’s mobility slightly, but it usually puts them the middle of the pack compared to Operators holding other weapons and are not that slow to reload.
When picking up an assault rifle in the wild, it’s okay to assume all the above generalizations. However, the assault rifle category exists on a broad range of damage per bullet and fire rates; here are some examples:
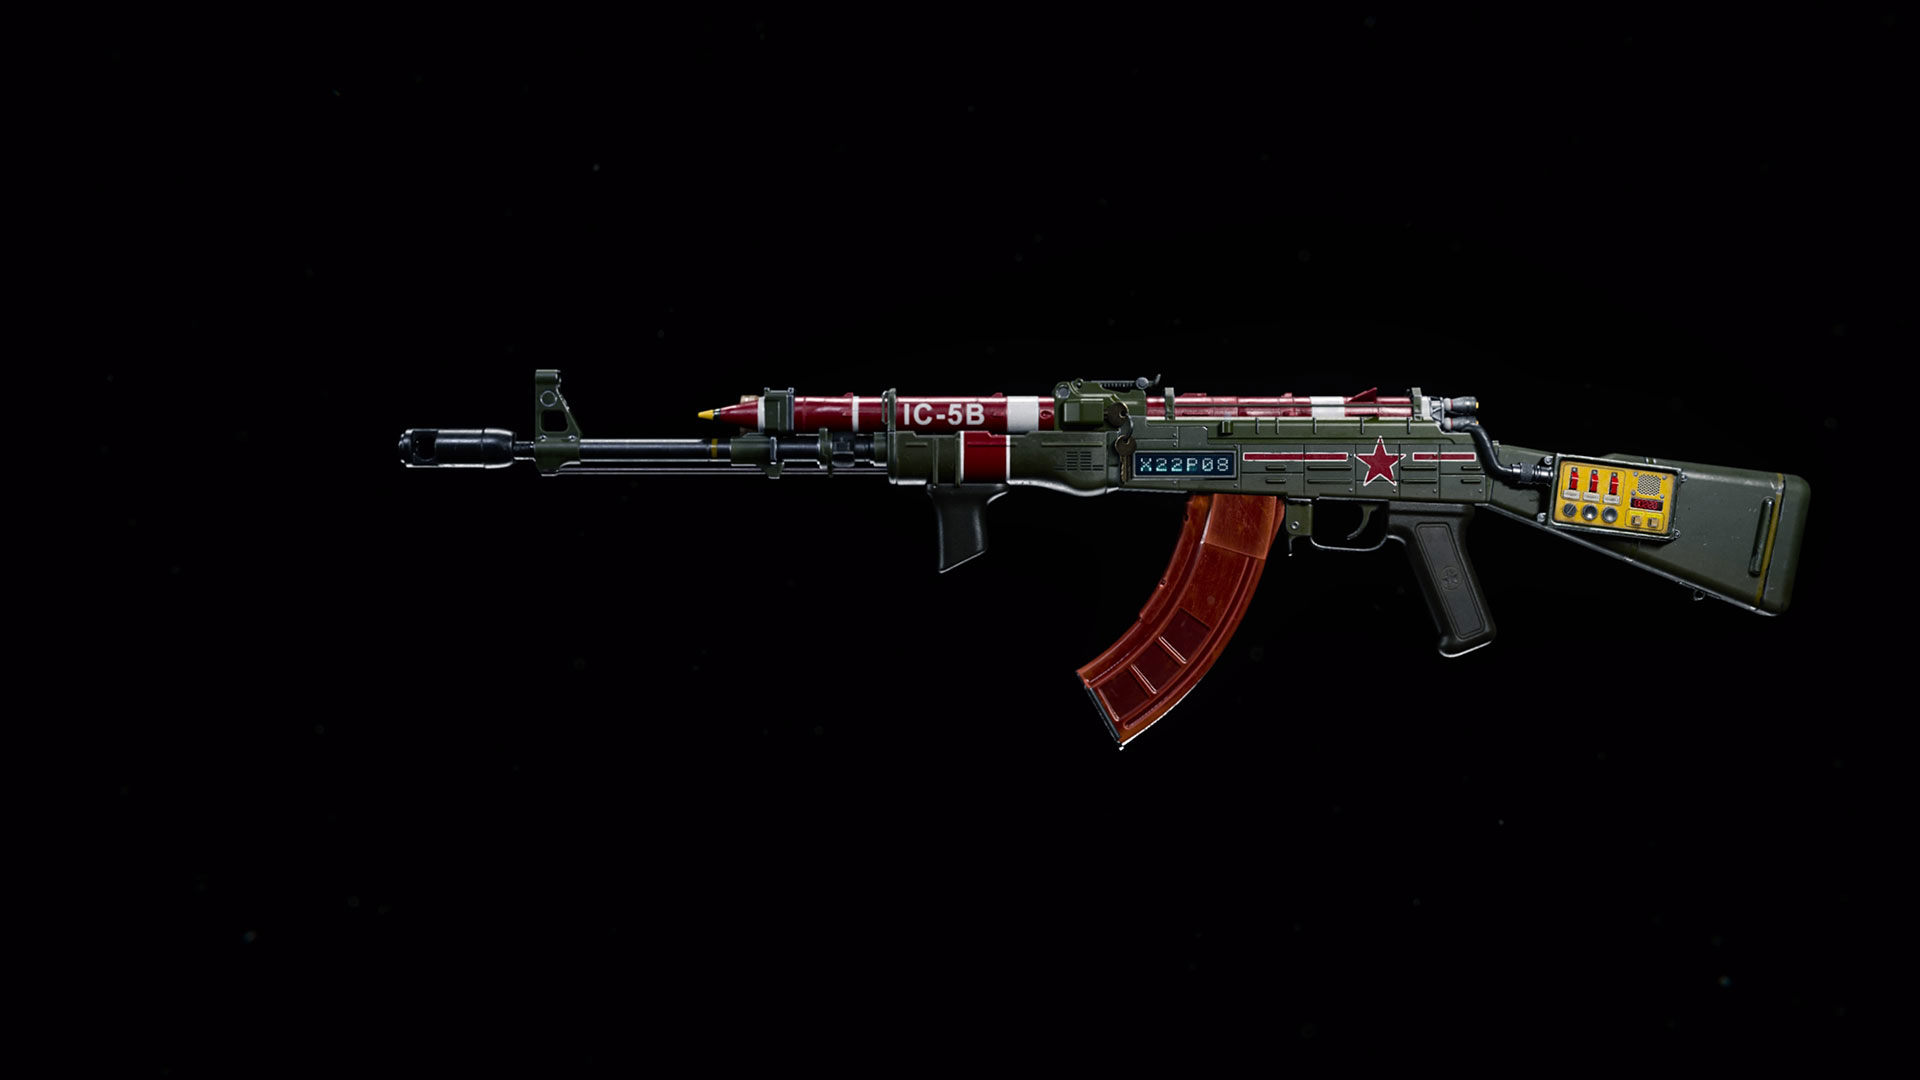
The Heavy Hitters
On one end of the assault rifle spectrum are those labelled as “battle rifles,” or have a description that highlights “high damage” or “slow cycle rate.”
This includes weapons like the AK-47, both from Modern Warfare and Black Ops Cold War, and the Oden from Modern Warfare, which is the more dramatic example of a heavy-hitting assault rifle.
The Oden is a fully automatic bullpup assault rifle that can theoretically down an enemy with no armor plates with just two shots. And, if that wasn’t impressive enough, equipping some attachments can even bring that two-shot range out to a distance that would even make some LMGs, tactical rifles, and marksman rifles – all weapon categories built for longshots – insanely jealous.
Consider these weapons to function as a bridge between proper assault rifles and marksman rifles; they can down enemies more reliably at range with fewer shots but are far slower in terms of handling and fire rate compared to other weapons in their class. As in-game loot, these weapons may come with a high-magnification scope, allowing you to see enemies at greater distances and lay down that high-power fire on them.
Fast-Firing Phenoms
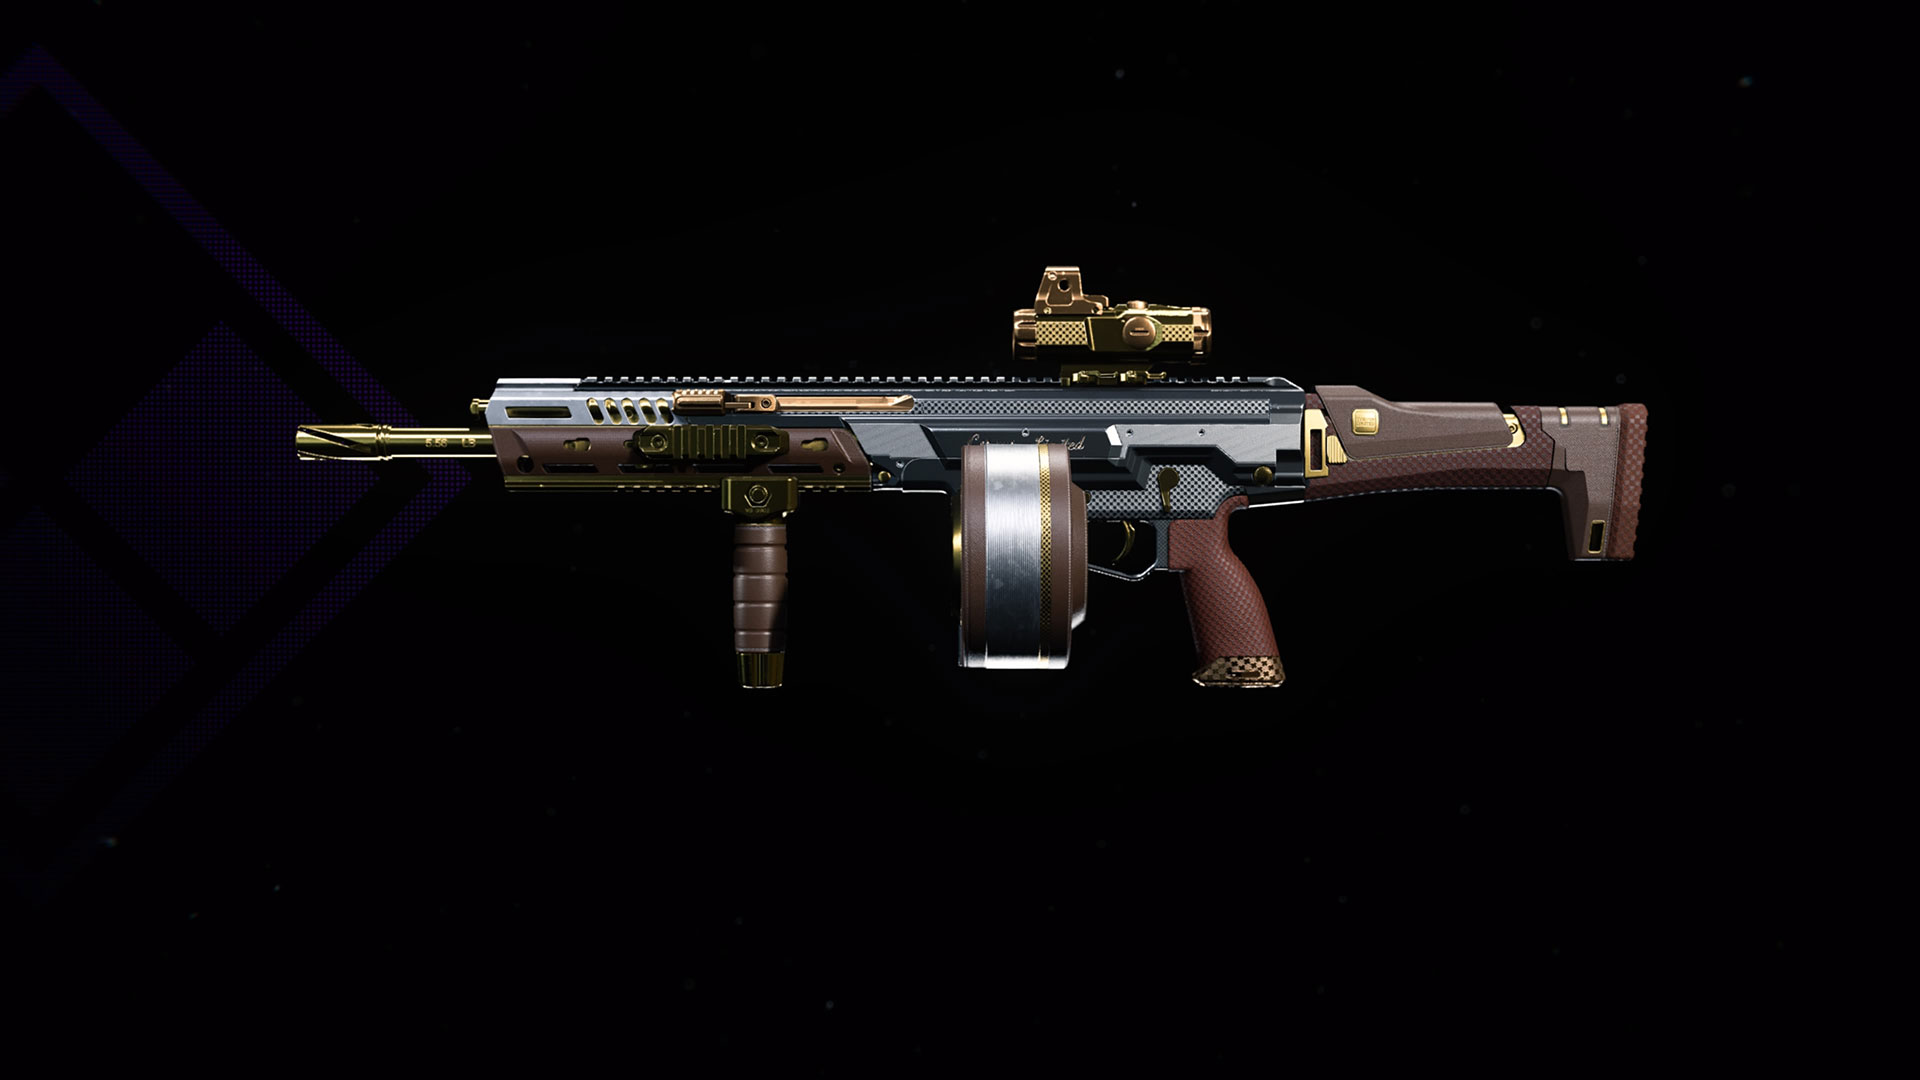
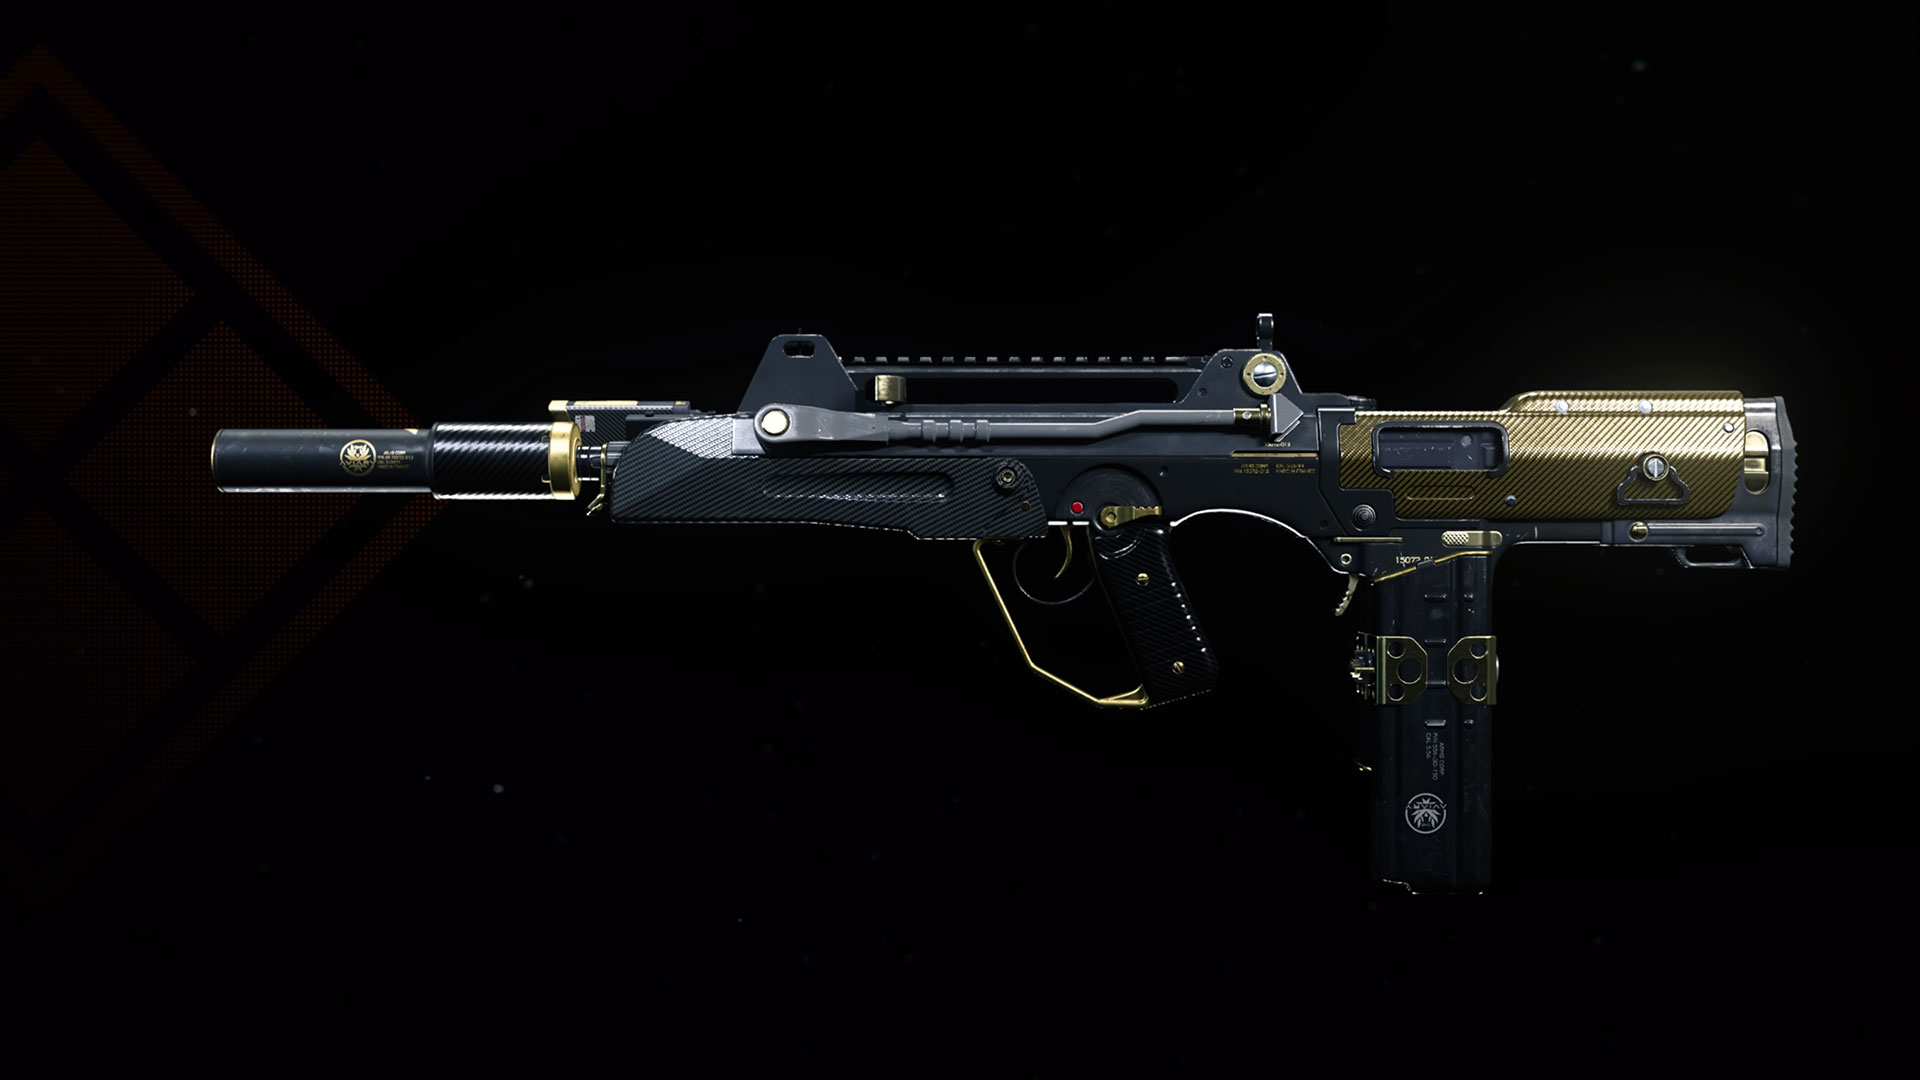
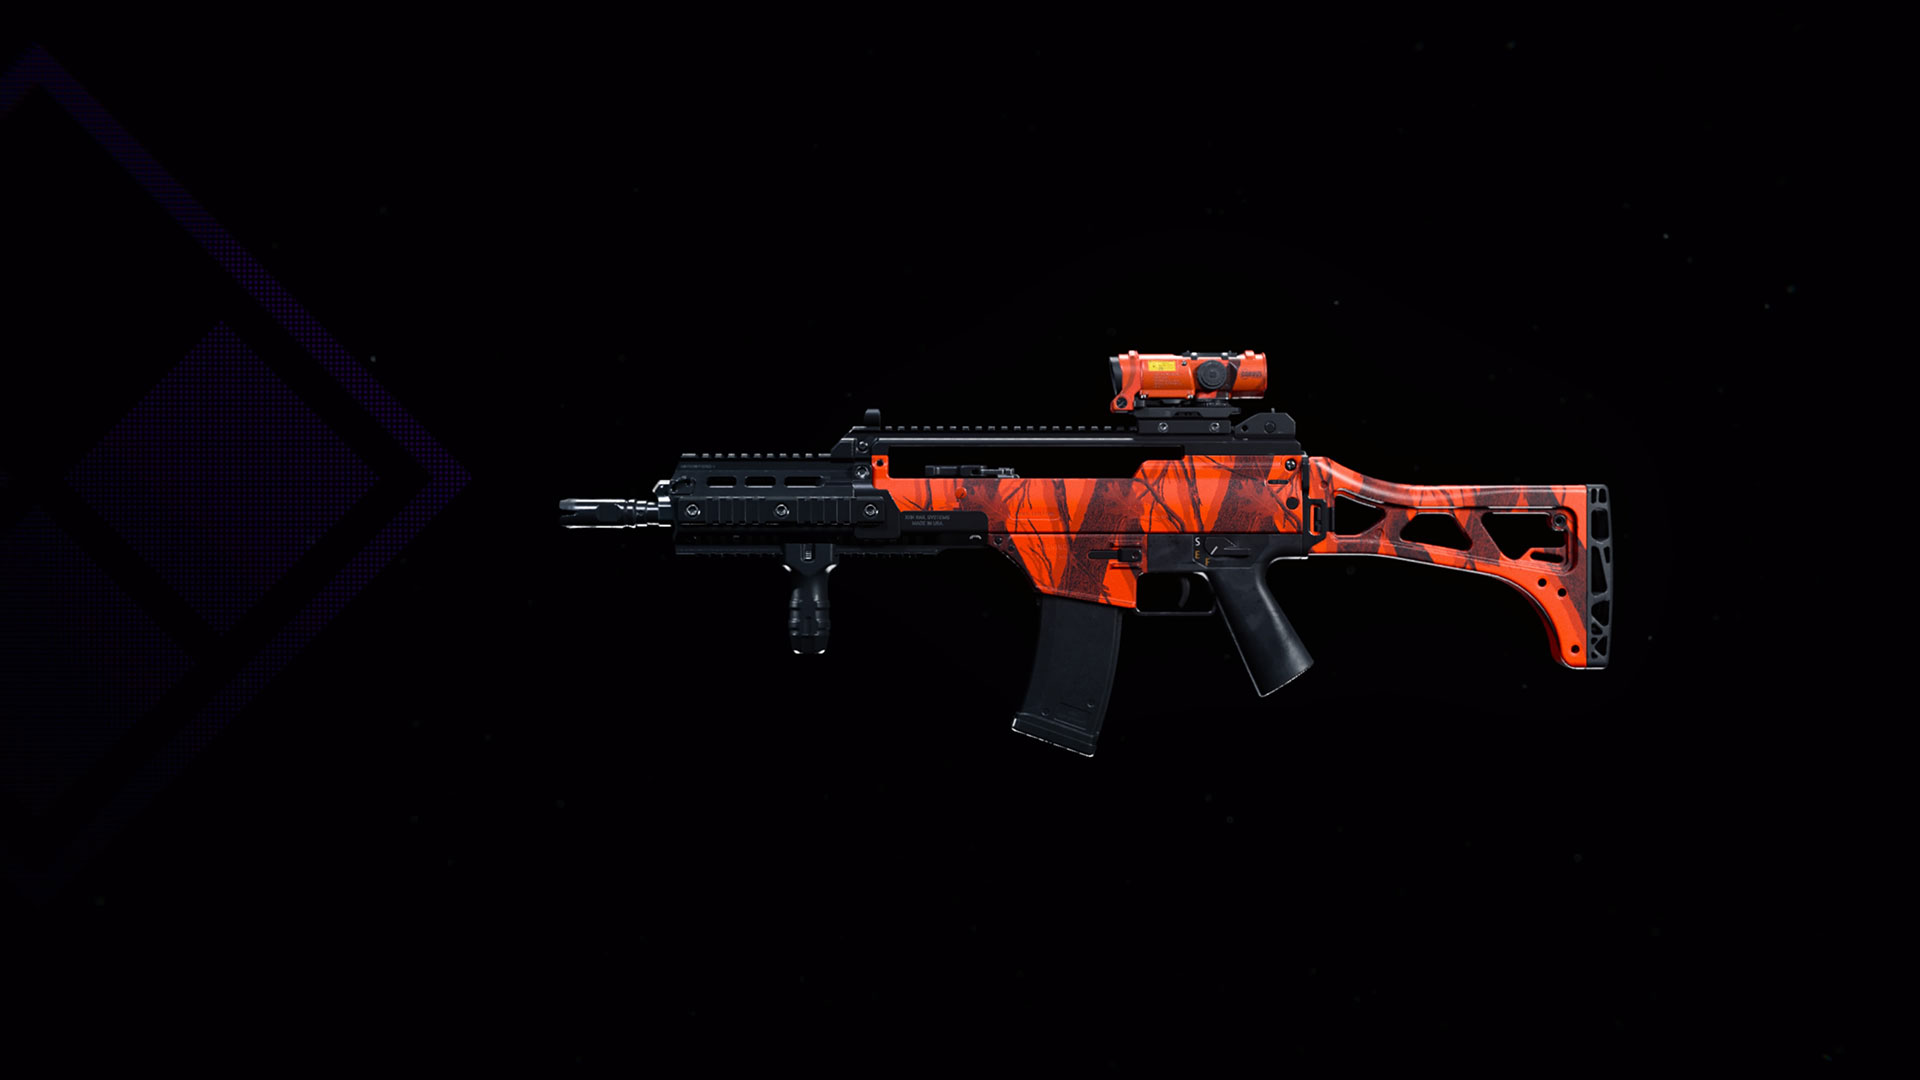
At the other end of the spectrum, there are assault rifles that boast a fast fire rate, usually at the cost of damage per bullet or recoil. This includes weapons like the M13 from Modern Warfare, and a Black Ops Cold War weapon family whose Weapon Blueprint is shown above.
Found in the “Gilded Age III: Pro Pack” Bundle, the Carbon Steel Weapon Blueprint represents a weapon family that saw plenty of play following the introduction of Black Ops Cold War to Warzone, especially among the most elite Operators.
Outside of what a fast fire rate does to damage and/or recoil, it acts as a double-edge sword when it comes to engagements. Of course, a fast fire rate means that a magazine will deplete quicker than the average assault rifle, but it also makes for a more forgiving weapon when shots are missed. Reason being: if a few shots go off target, you won’t have to wait long for those follow-up hits to come firing out of the weapon.
As the “battle rifles” are to bridging assault rifles and marksman rifles together, these kind of fast-firing assault rifles act as a gateway to the SMG category. As in-game loot, these weapons may come with little attachments to control its recoil, making them effective enough in close-quarters but struggle at ranges. However, with the right attachments and an Operator who can control their recoil, these weapons can be downright deadly as a Primary Weapon.
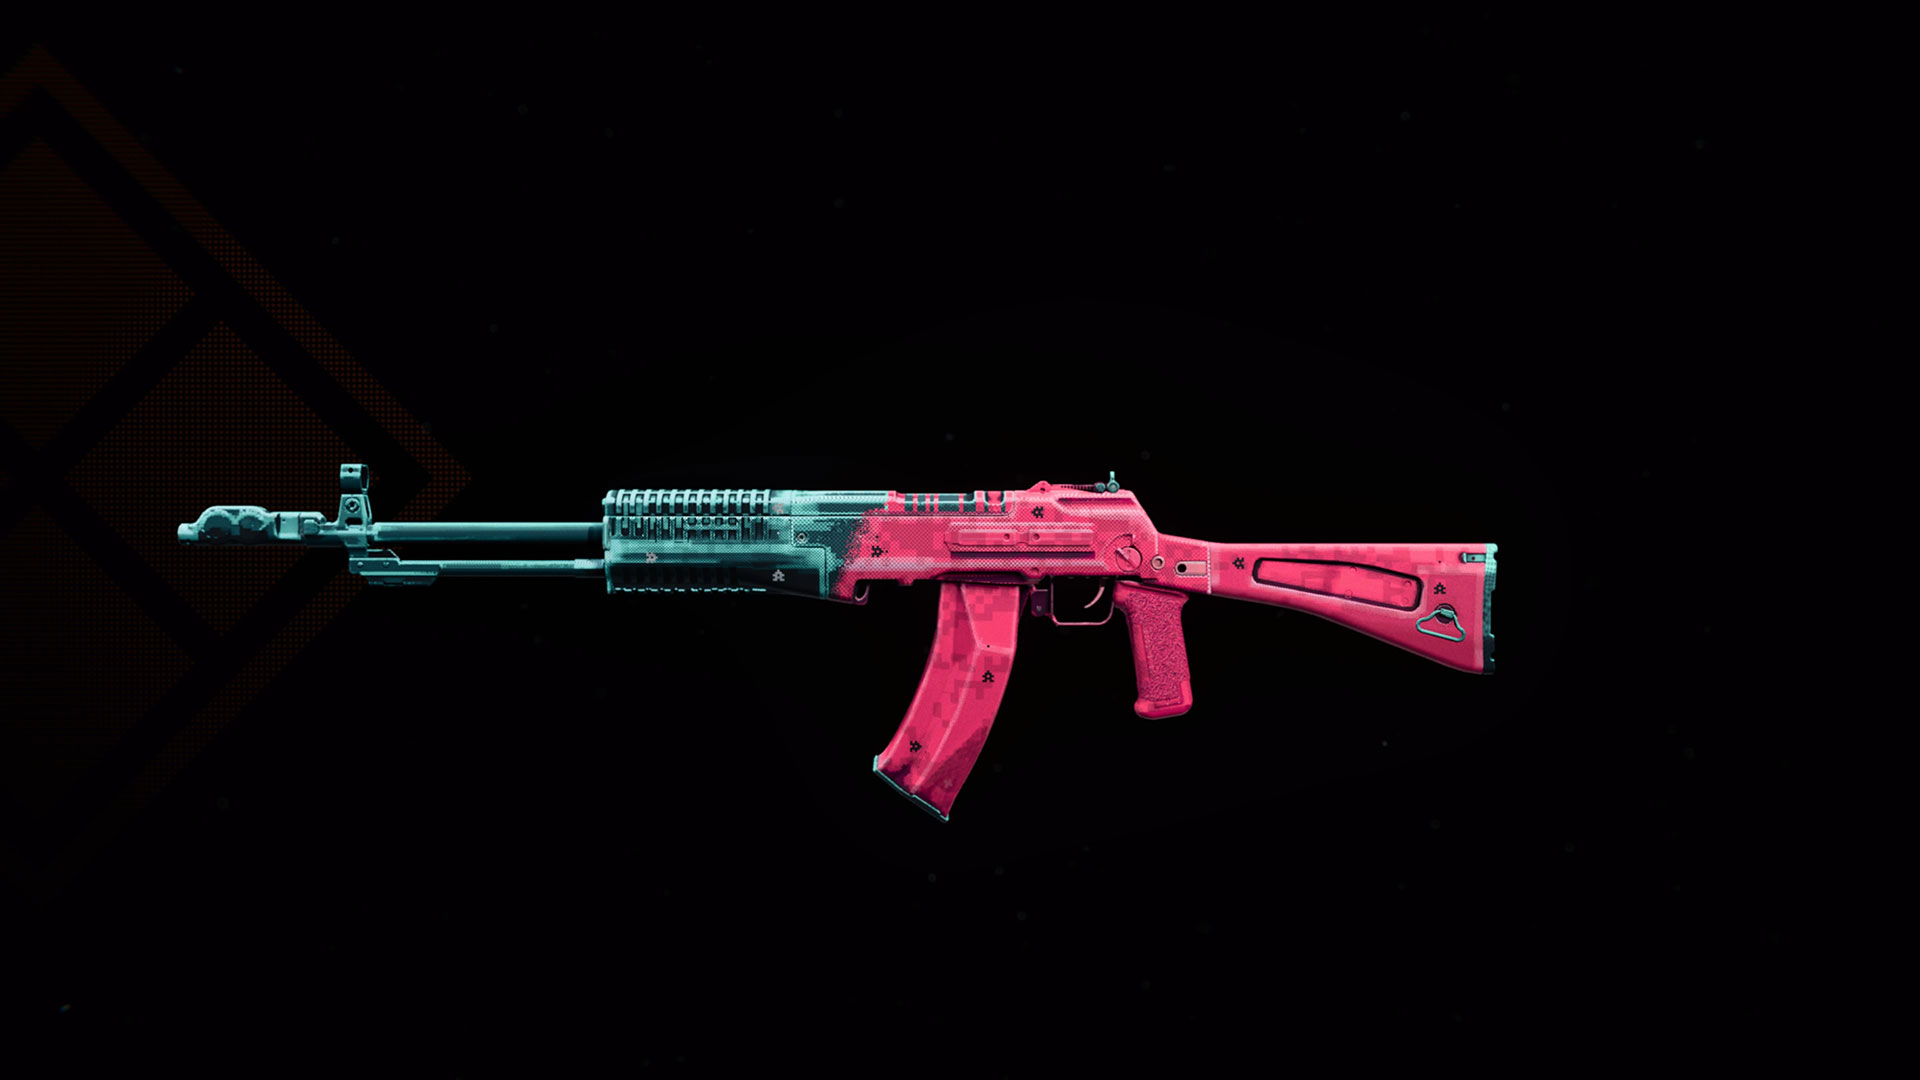
The Wildcards – Burst Fire, Select Fire, and Suppressed Tactics
Then there are two wildcards from Modern Warfare that have their own truly unique characteristics: the AN-94 and AS VAL, both unlockable via challenges.
The AN-94, a cutting-edge automatic 5.45x39mm assault rifle, has a unique hyperburst feature, whereas the initial shot from each trigger pull fires a rapid 2-round burst before perceived recoil is felt and the weapon continues steady automatic fire, should the Operator keep firing. In other words, expect two shots to come out extremely quick before it switches to a slower fire rate.
With the flick of a switch, the AN-94 can also be fired strictly in hyperburst, meaning each trigger pull throws out that two-bullet cluster. This comes with both a built-in delay, and the need for the user to pull the trigger each time they want these two bullets to come out.
Speaking of burst fire, every automatic assault rifle from Modern Warfare can be a three-round burst rifle via weapon Perk to mirror the lone burst-fired bullpup rifle and its three-round shot cadence in this category, or the burst-rifles within the tactical rifle category.
By equipping the weapon perk Burst on a non-burst fire Modern Warfare weapon (save for the AN-94), your chosen assault rifle will fire three shots in quick succession with each pull of the trigger. While there is a short delay between bursts, this method of firing offers a happy medium between the stability of semi-auto fire and the raw firepower of fully-auto.
Otherwise, all fully automatic and burst-fire assault rifles from Modern Warfare have a built-in select-fire option, meaning that they can fire fully automatic or with single fire. Single fire is fantastic for placing more accurate shots, as it forces you to pull the trigger manually to release each bullet in a magazine, giving you time to readjust aim and account for movement.
Just remember: you can figure out the fire mode for Modern Warfare assault rifles by looking at the iconography in the bottom right corner of your HUD underneath the currently-equipped weapon. Plus, it only takes one button press to switch between fully-automatic and select or burst fire.
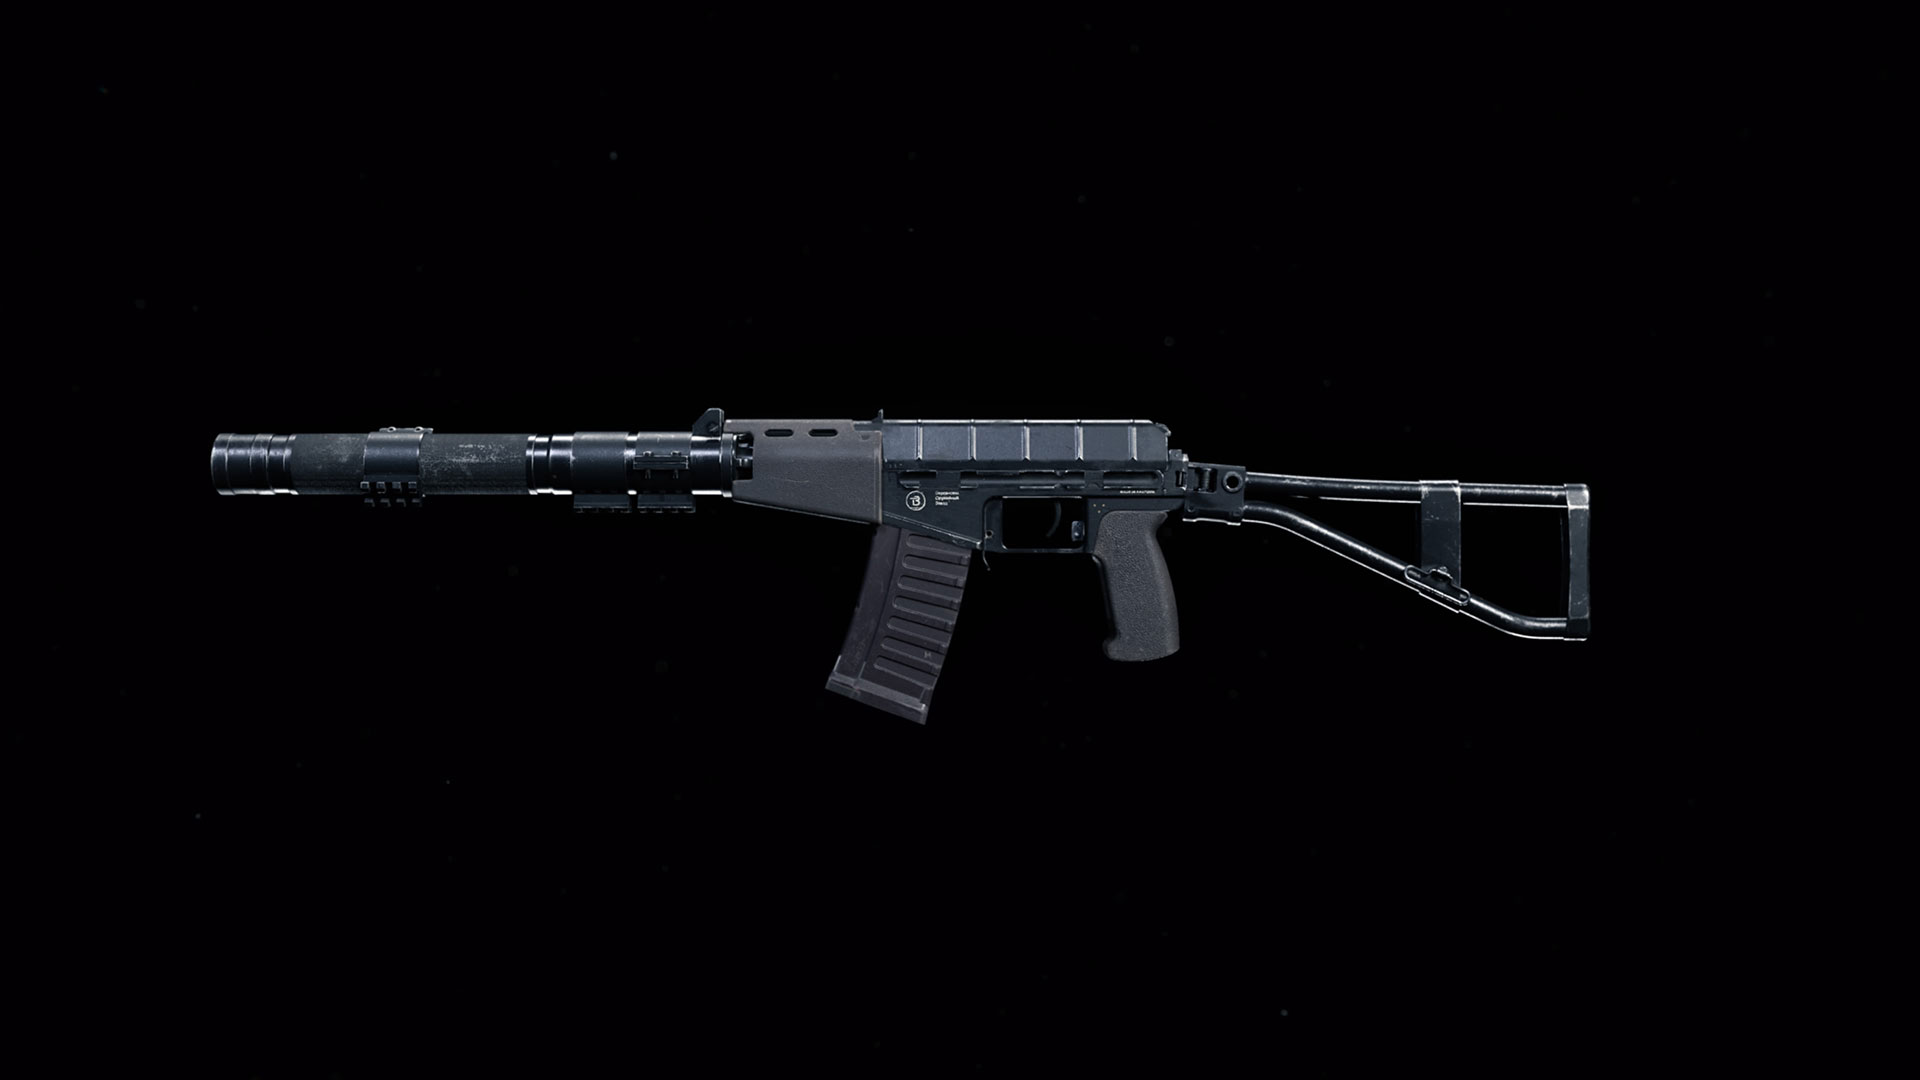
The other wildcard is the AS VAL, which is chambered in subsonic ammunition and integrally suppressed by default. It also can be equipped with 10-round armor piercing rounds to make it semi-auto, but for the purpose of its usual function, let’s focus on its use as a “stealth” weapon.
When a weapon is suppressed, not only does the weapon sound softer when fired, it also conceals your position on the Tac Map. In other words, you do not show up as a red dot on the minimap when firing a suppressed weapon.
This is ideal for Warzone situations when stealth is key, such as when the squad wants to join an engagement in progress (or “third-party”), or when they do not want to alert everyone in a high-profile area of their presence.
The AS VAL weapon essentially represents the greater use of assault rifles as solid stealth options within Warzone, especially ones that are faster firing and more suited for closer engagements.
Whether it’s using a weapon’s built-in integrated suppressor, or the elite-favored “Agency Suppressor” or similar range-boosting, sound suppressing attachment for a good majority of assault rifles, this weapon category tends to excel with these equipped. Relying on your senses is a major key to survival, and anything that can hinder your opponent’s senses could be a major boon to success.
With all this said, at the top levels of Warzone, the select and burst-fire features are rarely used outside of the AN-94 in niche cases. But that should not stop you from experimenting with them, or with the thousands upon thousands of other attachment combinations across every weapon in this category.
Bearing in mind how deep the assault rifle category of Warzone is, we only have strong recommendation: it is easy to get lost in this one weapon category, so be sure to check out the others as well, such as the one next to it in the Primary Weapon menu…
The second-largest weapon category by number of unique weapons (17, as of Black Ops Cold War Season Three), SMGs are compact fully-automatic (with one exception) armaments, which compared to assault rifles, sacrifices some effective range and damage in exchange for being faster firing and more effective in close-range situations, such as inside buildings or in tight alleyways.
This boils down to these weapons’ overall design and the caliber they chamber. As a standard, the minimum magazine size of these weapons is 20-rounds (with some able to go below this due to special attachments), but usually, a SMG in the wild will come with a magazine size of about 30 to 32 rounds. Sometimes, you may find an SMG that can carry 50 or 64 rounds as a standard or, with the help of attachments, go up to an 85-round magazine that even puts some LMGs to shame.
Why do these magazines have so many bullets? Because SMGs deal less damage per shot, on average, than an assault rifle. There is plenty of differences between the members of the SMG family when it comes to damage, and this is usually tied to its fire rate or recoil.
For example: the AK74u from Black Ops Cold War and the Striker-45 from Modern Warfare both deal more damage per shot than the average SMG, but do not fire as fast. Rather take a trip to the fast and furious side of this weapon category? Then use the Fennec from Modern Warfare or the MAC-10 from Black Ops Cold War; these directly compete for the title of fastest-firing gun in the game, with the MAC-10 barely edging out the victory, but both these weapons also have low damage per shot and high recoil. Something more on the tamer side is the newest SMG as of Season Three – Black Ops Cold War’s PPsh-41 – which has a higher fire rate than the average SMG.
On top of the varying fire rates and damage profiles of the SMGs by default, some from Modern Warfare have additional magazine attachments that change the caliber of bullets they fire, enabling them to be on-par with their assault rifle cousins.
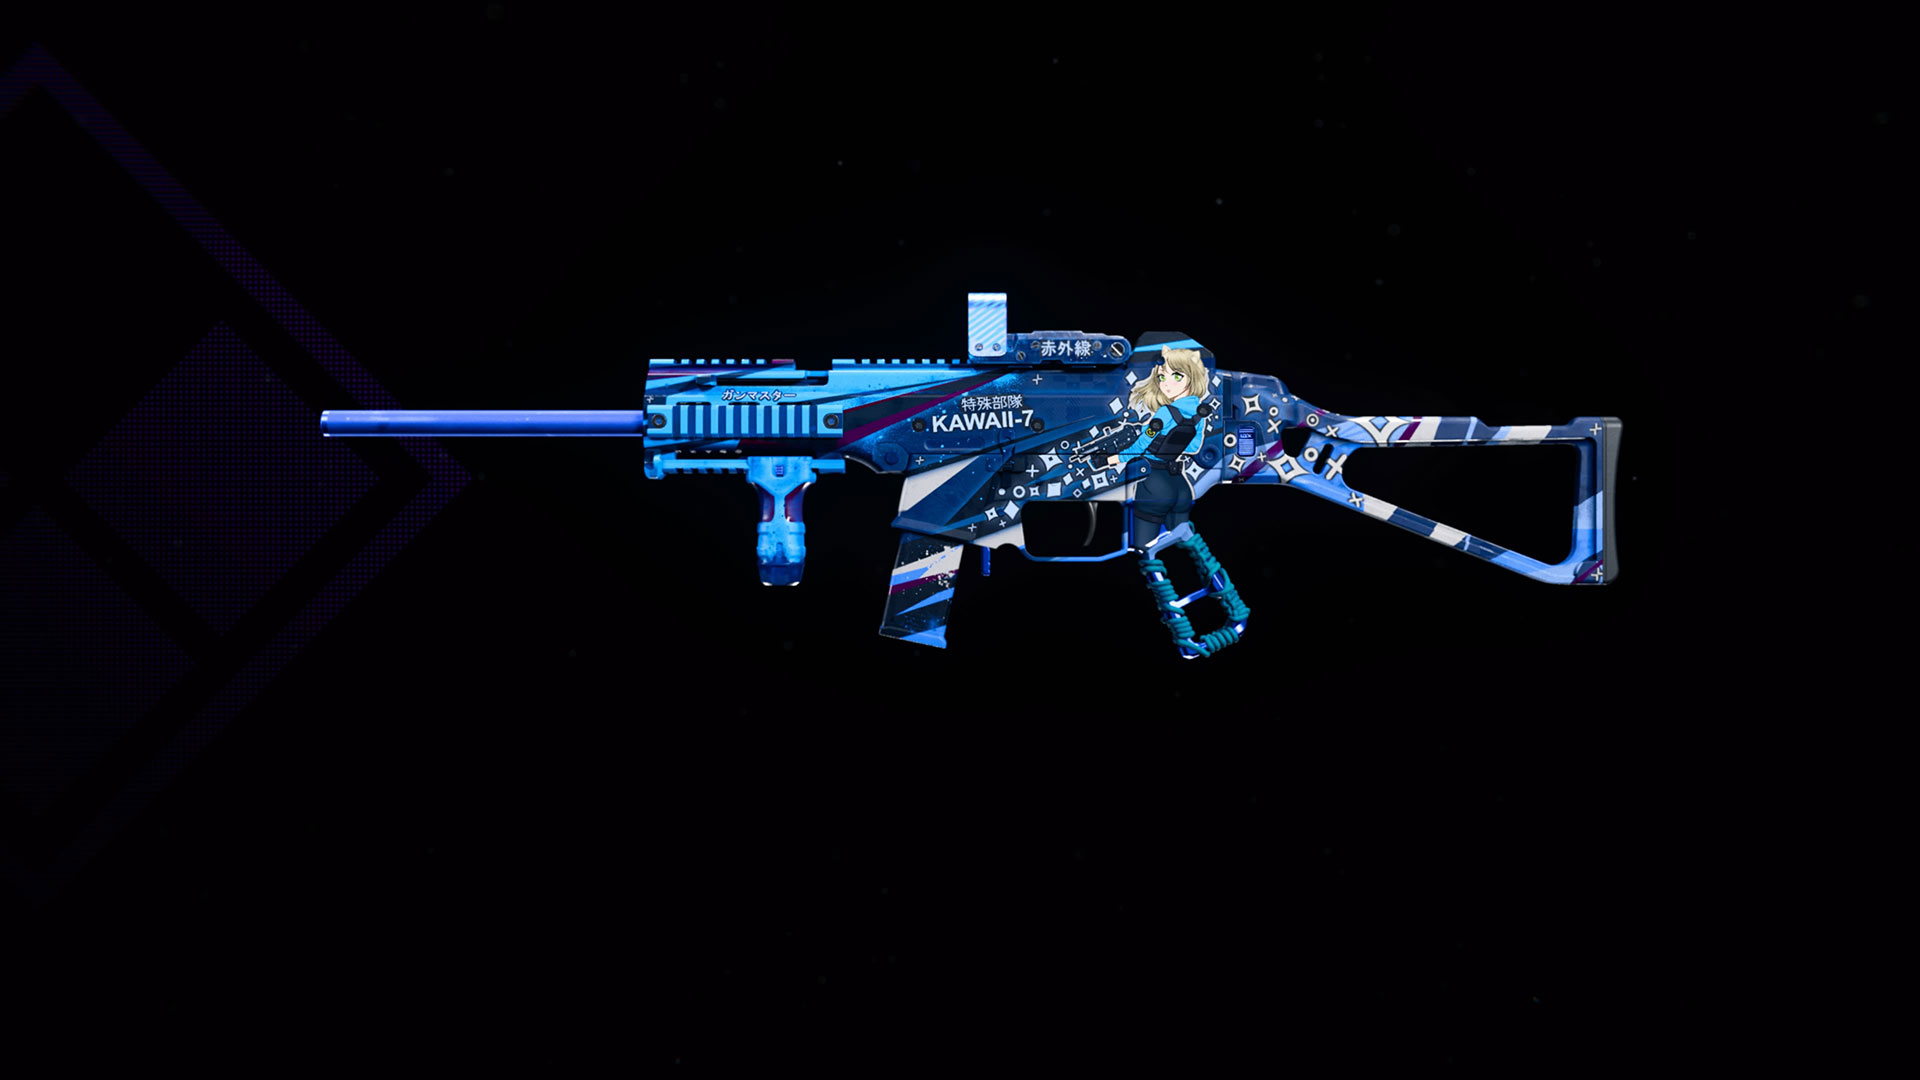
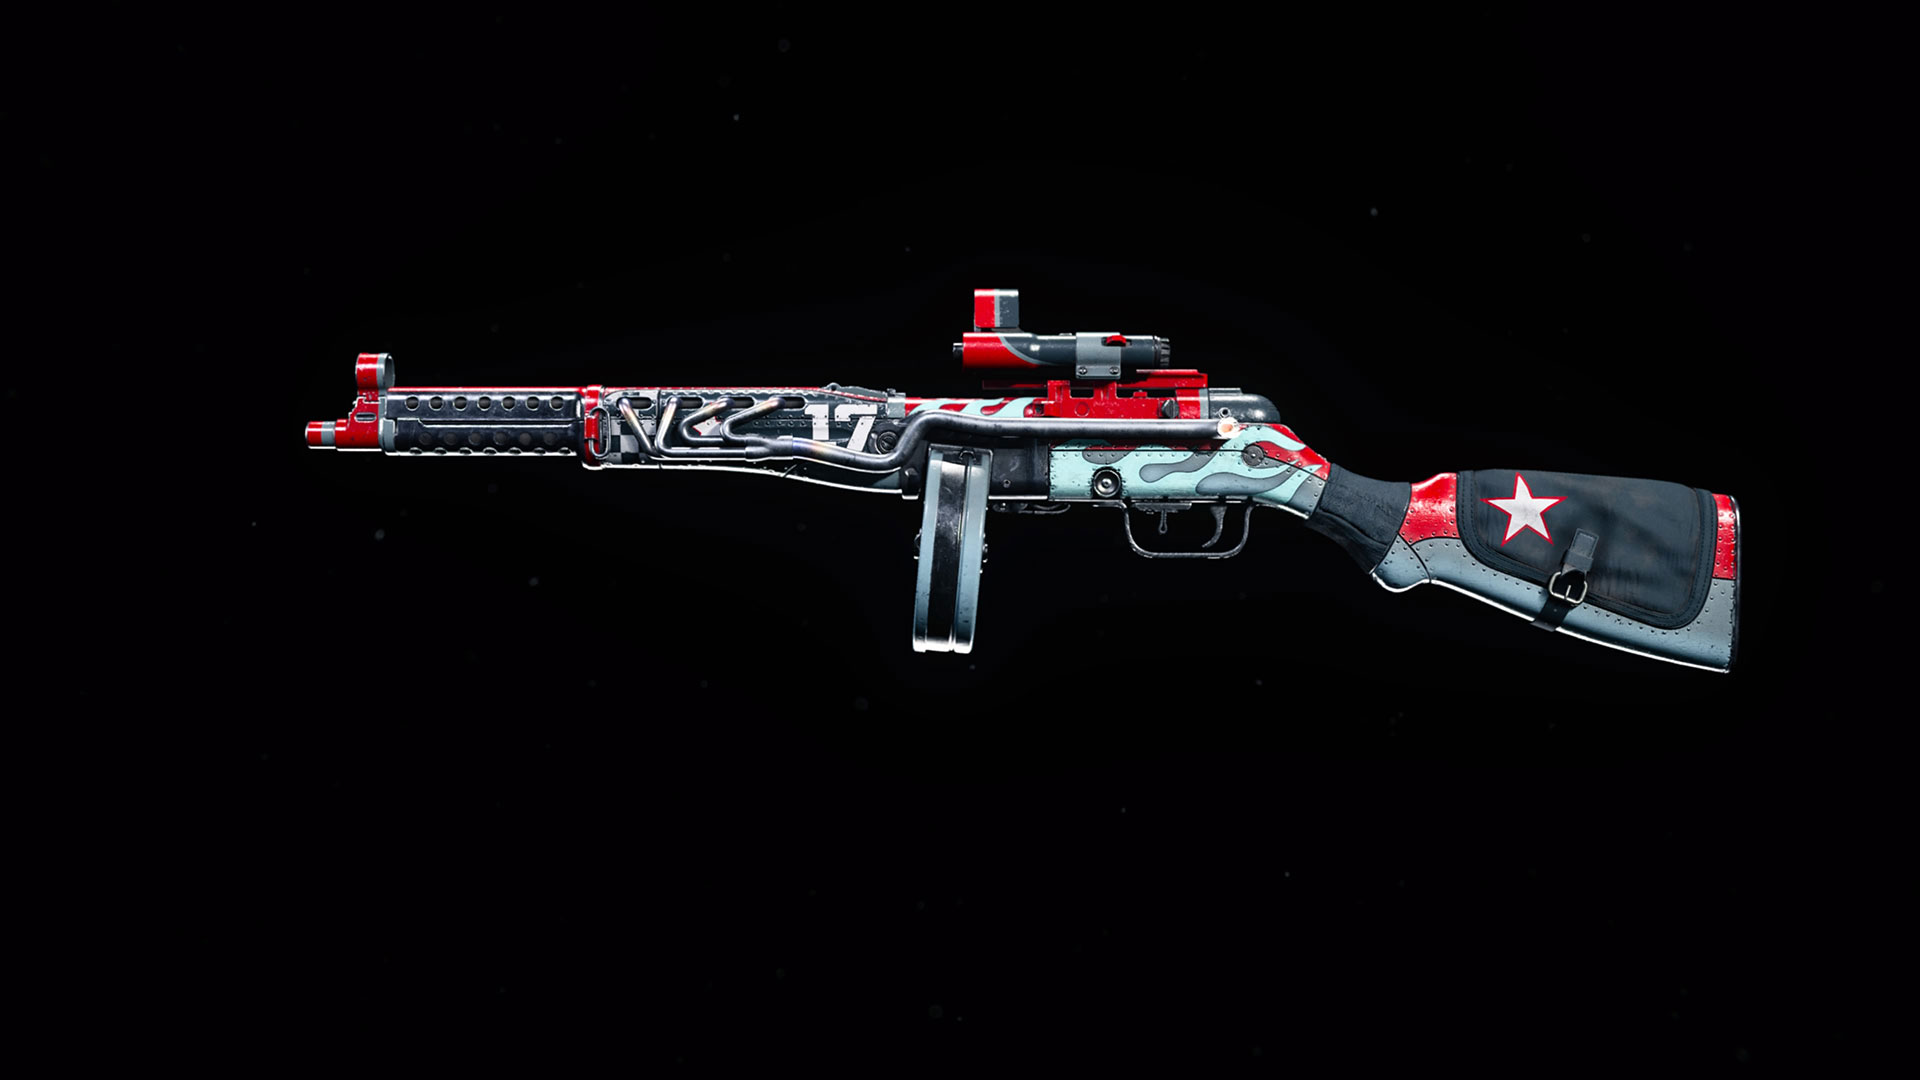
Take the Striker-45 and its weapon family, which includes the “Dream Dasher” Weapon Blueprint shown above. It has a special 12-Round Hollow Point attachment that change the weapon to a two-round burst SMG, along with maximizing its damage, especially through headshots.
However, in general, expect an SMG to take down an enemy with no armor in 4-6 shots up close with their standard caliber of ammunition. Taking out enemies that are more than a few dozen meters out will be tougher, given the higher recoil tendencies and significant damage drop-off these weapons have at longer ranges.
That high recoil comes with the territory of having small caliber bullets being fired out at a high fire rate. In other words, you won’t have to worry about laying off the trigger in close-range, or aiming down sights, for that matter, when it comes to extremely tight engagements.
The hip-fire spread on SMGs is some of the lowest out of all primary weapons, with some like the Milano 821 from Black Ops Cold War being more accurate from the hip than others. This hip-fire accuracy can even be close to ADS (aim down sight) accurate with certain attachments, such as the 5mW Laser. However, these attachments do come with drawbacks, especially the 5mW Laser, which can expose your position since it is visible to anyone nearby.
Outside of close-quarters engagements, learning and controlling recoil – either with attachments or with trigger discipline – is a must even at a dozen meters out. All SMGs from Modern Warfare do have a semi-automatic mode, although it often contradicts the strengths of this weapon category. However, if you lack any other weapon to deal damage at range, this fire method could be swapped to in a pinch.
There is also a three-round burst SMG from Black Ops Cold War that tends to behave like a CQB Tactical Rifle, but we’ll leave it up to you in-game to meet this oddball of the dozen-plus weapons in this category.
The world of SMGs is dominated by those who adopt a run-and-gun playstyle; weapons in this category share high mobility to couple their fast-firing tendencies. On average, SMGs can be considered the second fastest primary weapon category when it comes to movement speed, aiming down sights, and firing out of sprint, and can become even faster by equipping certain attachments for your Loadout Drop SMG.
These attachments do come with some downsides; for example, taking off the stock and shortening the barrel of some SMGs may make you a hostile, mobile, and agile Operator, but be prepared to deal with some serious recoil issues.
On the flip side, SMGs can also stretch out their range to be somewhat competitive with assault rifles. Attachments specific to Black Ops Cold War that do this, such as a Task Force or Reinforced Heavy Barrel, will achieve this range boost, but they do come at the cost of recoil control and sprinting movement speed respectively.
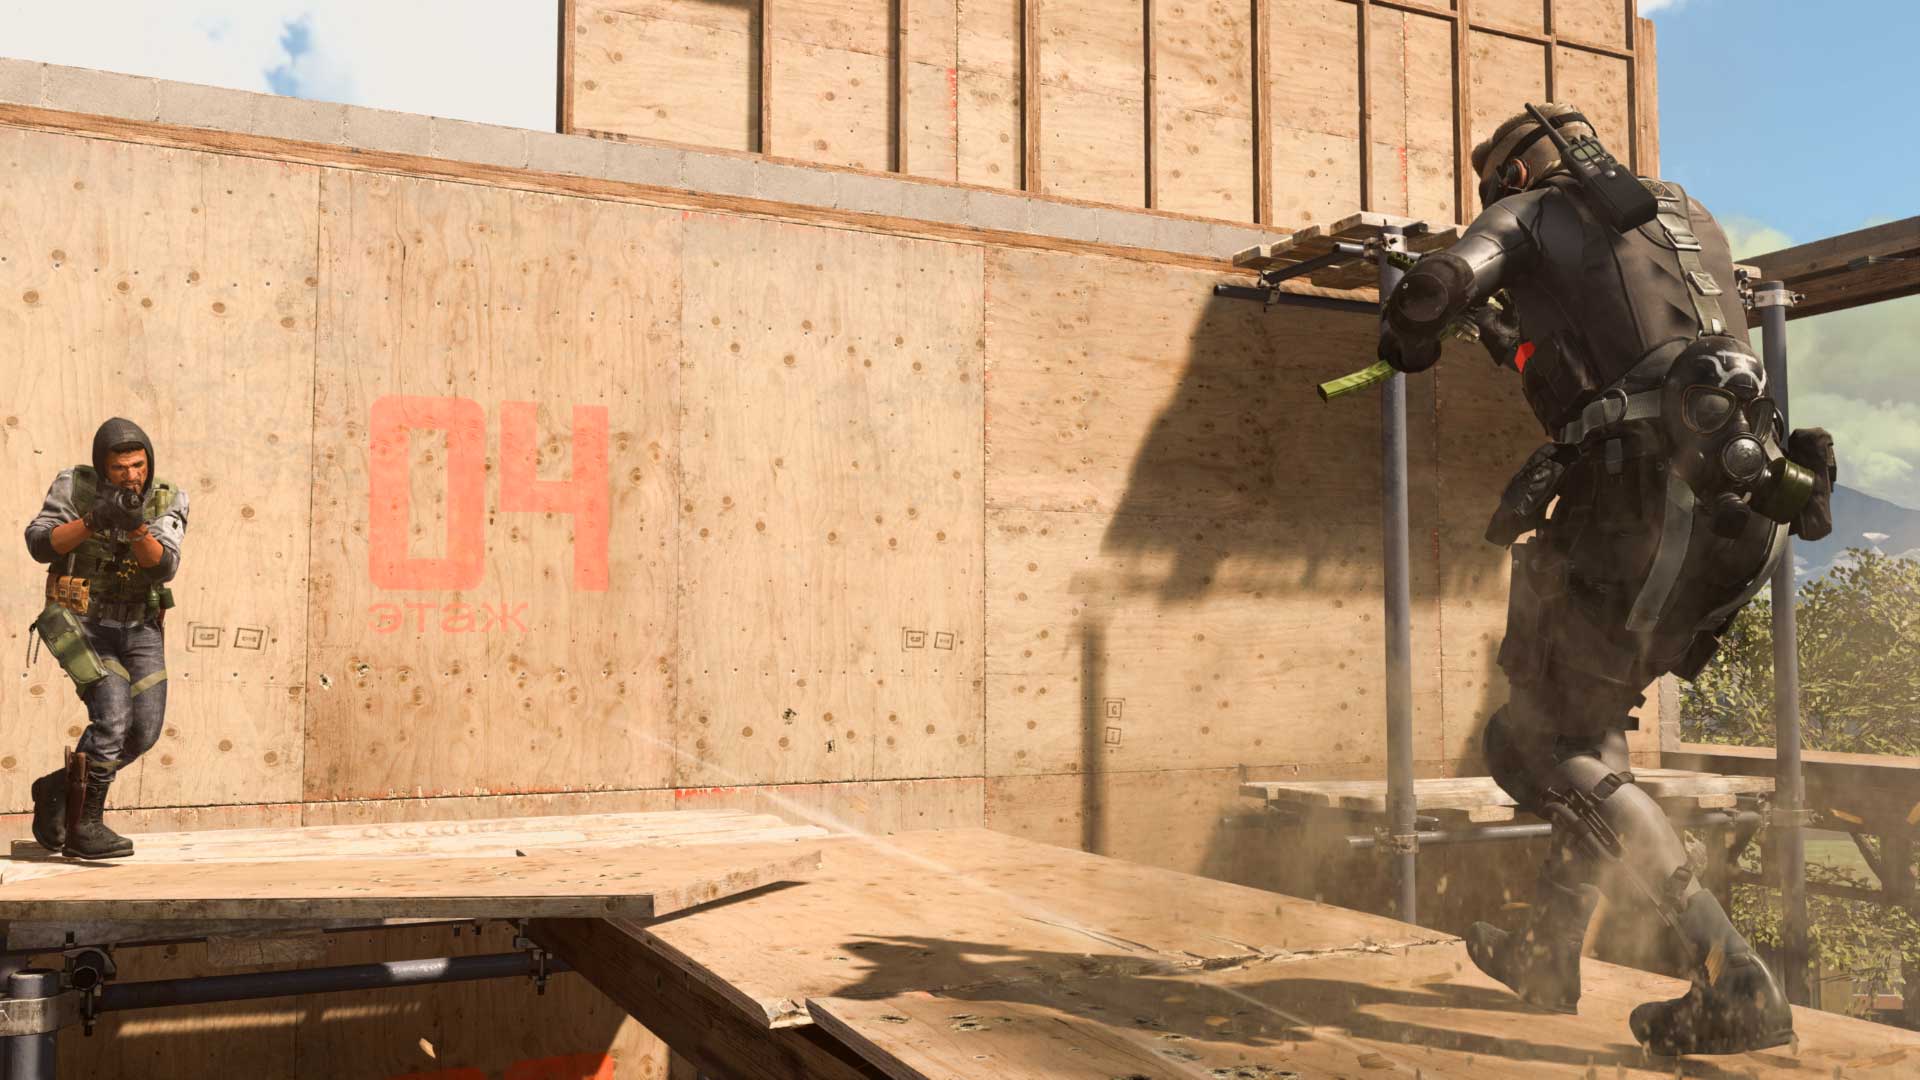
Finally, when it comes to reloading, SMGs are notorious for being quick. Their small, interchangeable cartridges are not only light, but also easy for Operators to slot in whether they still have some ammo inside or are completely spent.
The Sleight of Hand weapon perk on Modern Warfare weapons will make these reloads even more ridiculously fast, while Fast or Speed magazines on Black Ops Cold War weapons can also quicken reloads to lightning speed, but then again, you’ll have to weigh that option with the dozens of other awesome attachments that can be had on these weapons, or whatever cons are listed for equipping a specific ammunition attachment.
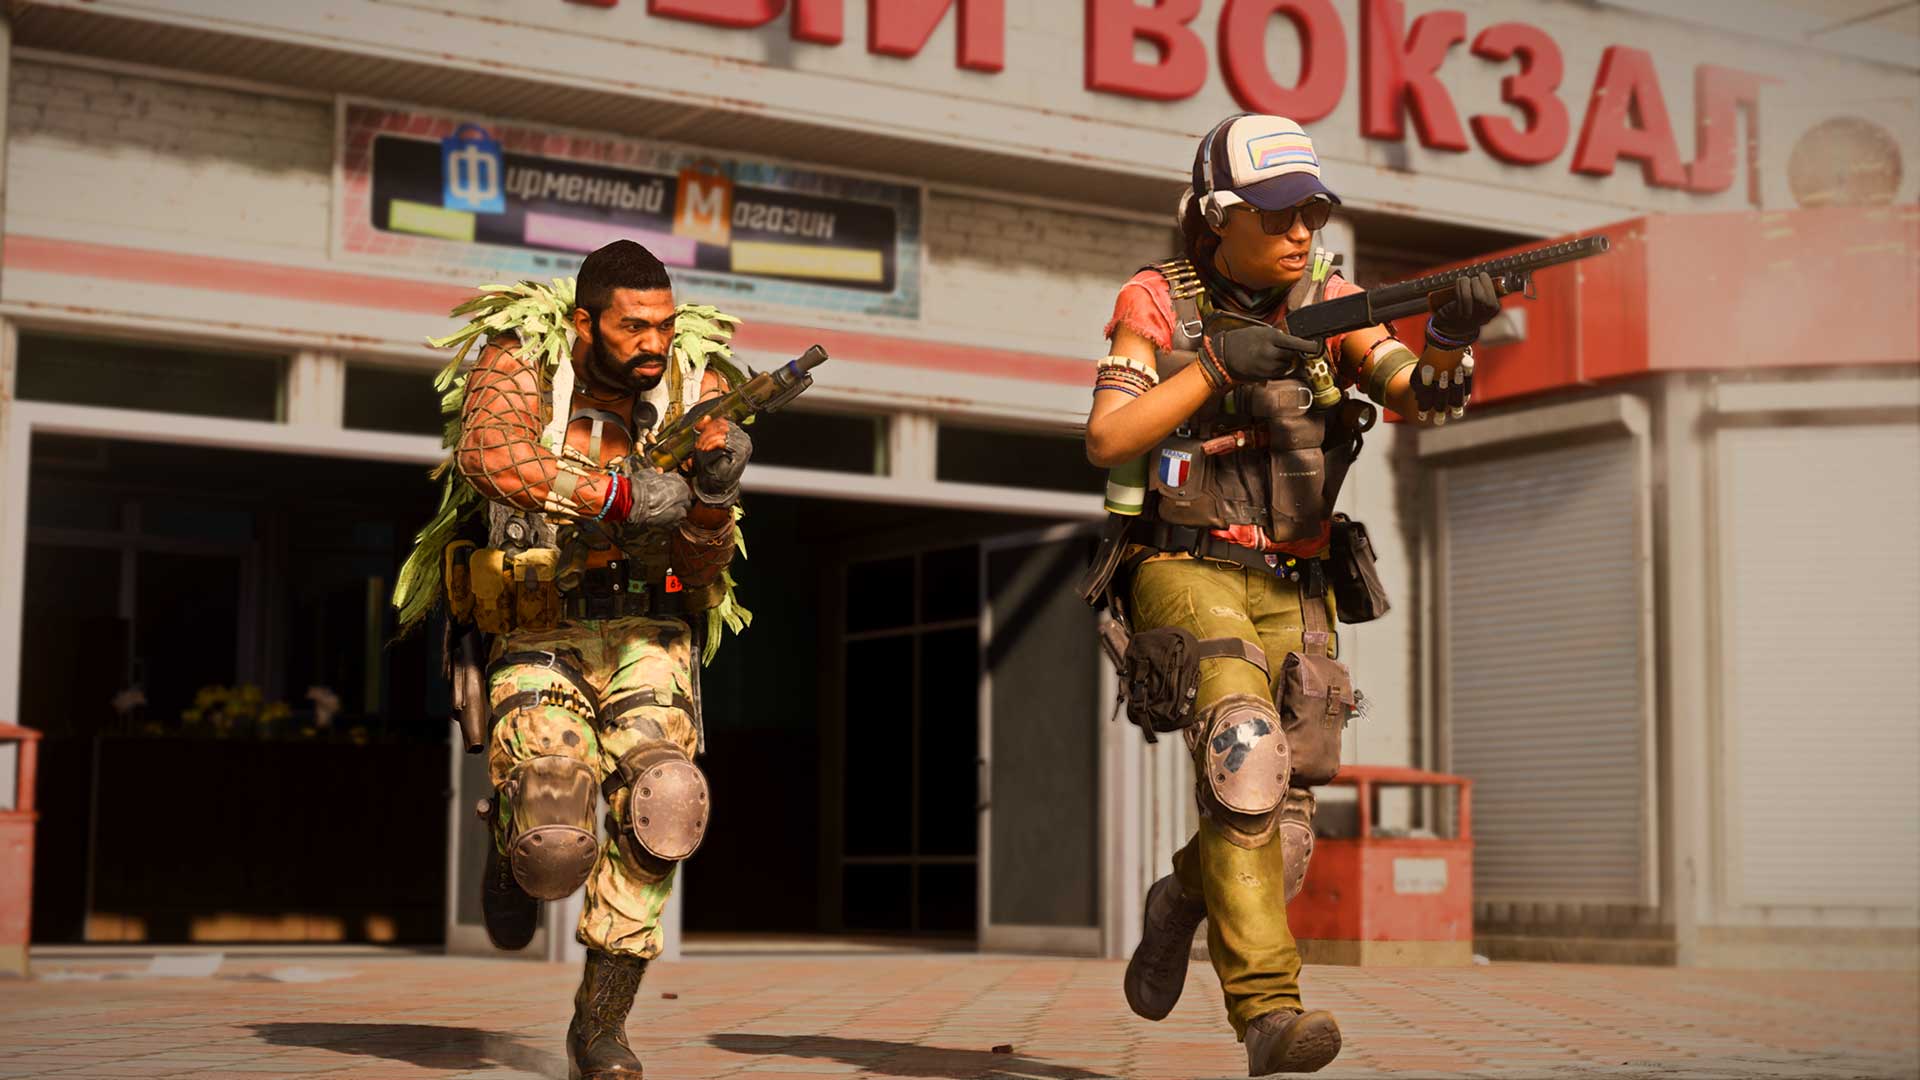
Shotguns are the ultimate CQB weapon choice, with some of them having the capability of ripping an enemy without armor – or even two or three packed together – to shreds with only a single shell.
By default, all shotguns within Warzone fire buckshot; unlike a rifle, pistol, or machine gun that fires a bullet, a shotgun fires out smaller pellets from a shell. When you fire a shotgun, these pellets spread out from the barrel, with each individual pellet dealing damage.
In other words, pellets can spread to multiple targets, especially at longer range. This happens no matter if you aim down sights or hip-fire, and if you do the latter, your crosshair will be a circle that represents the pellet’s potential spread area.
There are exceptions to this, specifically with shotguns from Modern Warfare.
First, all these shotguns can be outfitted with an optional slug round attachment. These 437 gr hardcast slugs are powerful bullets that concentrate all the damage you would output with a regular shotgun shell into a single heavy projectile.
Unlike pellets, slug rounds deal with bullet drop. All slug rounds are zeroed in at 30 meters, meaning that they will maintain a straight line when fired until they go past 30 meters or hit an object or – hopefully – an enemy.
After 30 meters, the slug will drop down due to physics. You can account for this drop by aiming up slightly when firing at a target. Furthermore, if that target is not stationary, you may have to lead your shot – predicting an enemy’s movement and aiming slightly to the left or right to catch them on the move.
The other unique ammunition types are Dragon’s Breath, which add an incendiary effect on top of base pellet damage, and specifically for the JAK-12, FRAG-12 ammunition, which combines a slug with a lethal explosive. Both of these ammunition types increase the damage of these shotguns significantly, but do come with multiple drawbacks (mainly stock ammo), and can be countered by the E.O.D. Perk, as it mitigates fire and explosive damage.
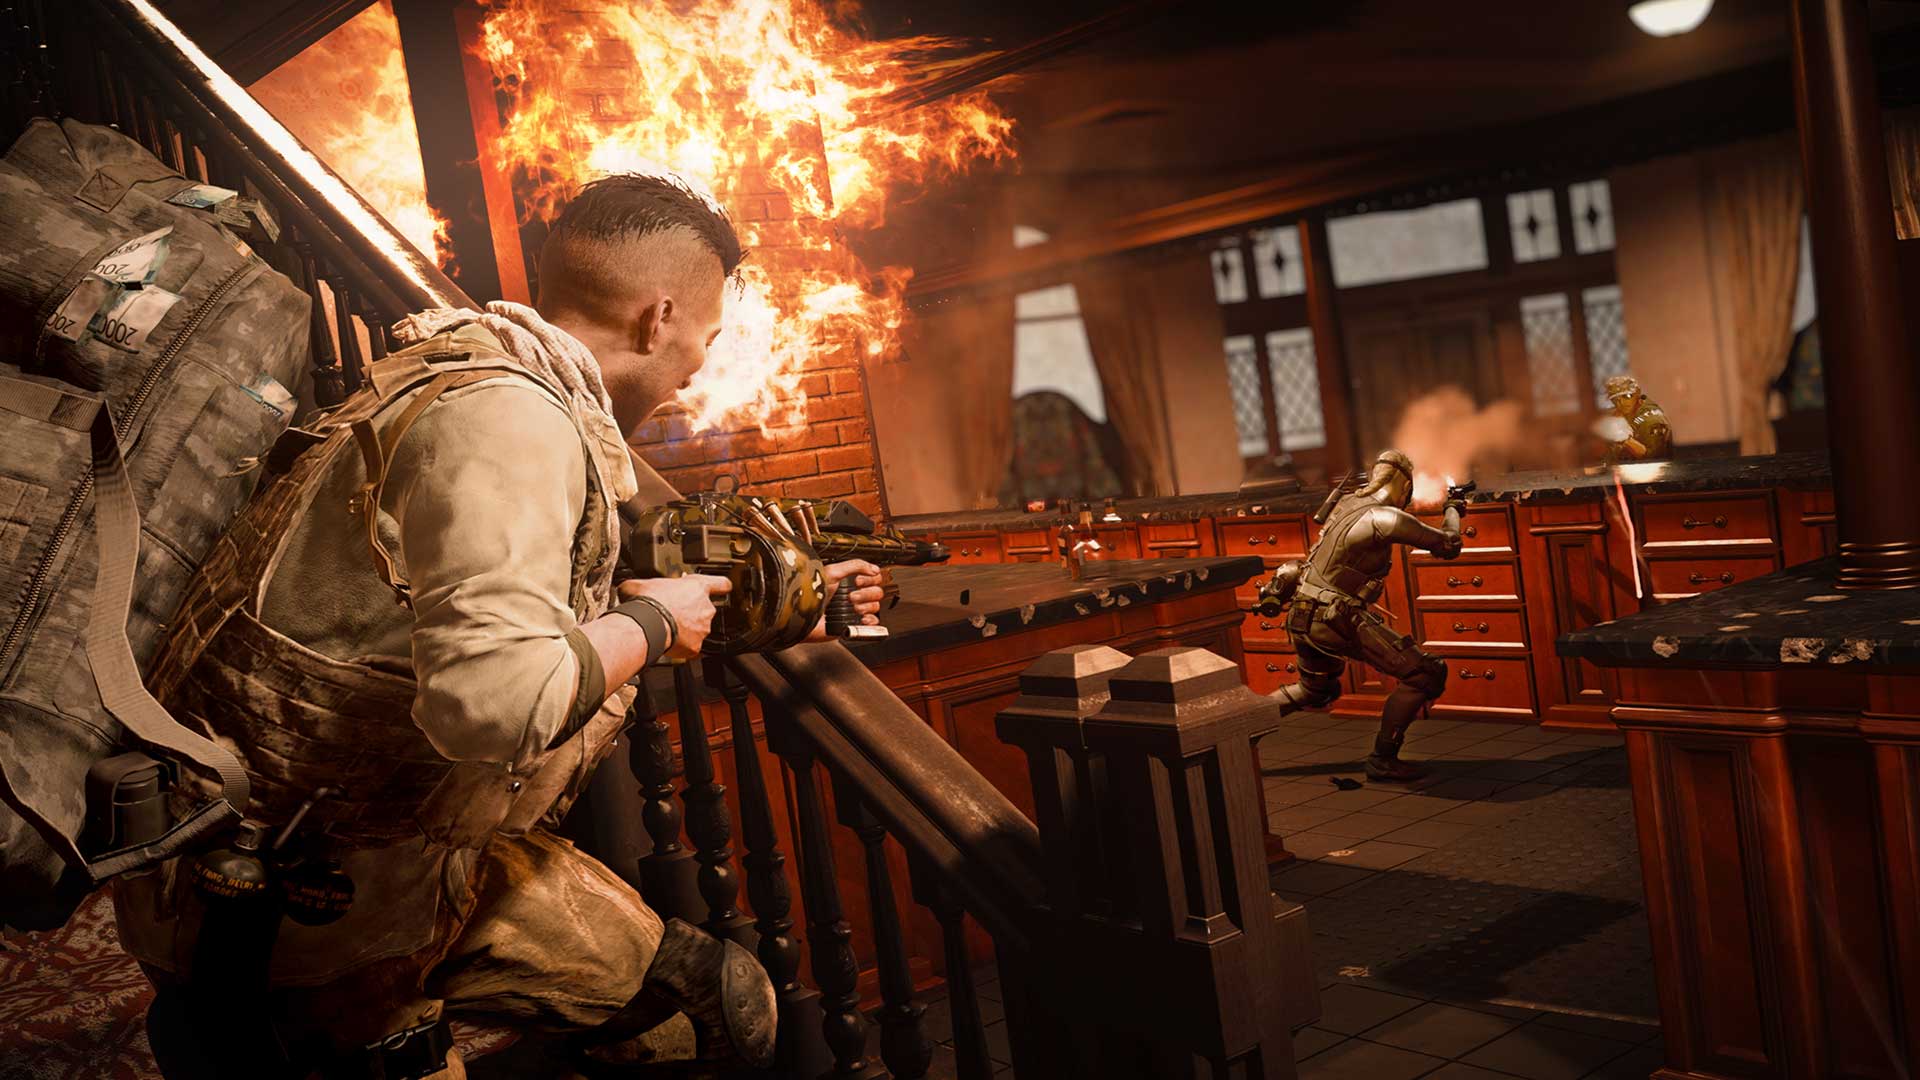
Outside of ammunition types, the type of action mechanism that a shotgun uses also has a role in its fire rate and damage output. These action mechanisms can be broken down into three groups:
Pump-action shotguns, such as the Hauer 77 from Black Ops Cold War, tend to have the slowest fire rate, as the operator needs to manually slide a handguard back to expend a shell, then slide it forward to prime the next shot. Out of all shotguns, these deal the most damage per shell.
Semi-auto and break-action shotguns, such as the 725 from Modern Warfare, also need a trigger pull to fire each shell, but have a faster fire rate than a pump-action shotgun. In terms of damage and range, these tend to rank towards the middle of the pack, with the 725 being exceptionally better than the rest.
Finally, there is fully-automatic shotguns like the Streetsweeper from Black Ops Cold War, and JAK-12 from Modern Warfare. In exchange for having the friendliest firing mechanism – just hold down the trigger for as long as it needs to be shot – these weapons have the lowest damage per shell and have more severe damage range drop-offs.
Other than providing fantastic damage up-close, whether by a solid pump-action punch or rapid automatic fire, shotguns are the most mobile weapons out of all primary weapons, and even rival handguns as the armament with the fewest penalties to movement speeds. These penalties can be even less significant with certain attachments, such as shorter barrels or removing the stock, whose recoil-increasing effects do not matter as much given how these weapons fire.
Like all weapon categories, shotguns aren’t perfect; one of their biggest drawbacks is their magazine capacity. While there are attachment choices that boost specific shotgun’s individual mag capacity to 12 rounds, or in rare cases rivalling an SMG with 32 shells per drum magazine, you’ll usually pick up a shotgun with less than double-digit rounds in a magazine. Then there is the case of the 725 which, despite its damage and range, only holds two rounds of ammunition before needing a reload.
This also brings up the potential issue of reloading. The 725 and magazine-fed shotguns tend to be quick, but other, larger shotguns may have to be reloaded shell by shell. Examples include every shotgun from Black Ops Cold War, including the Hauer 77, where you can either wait to reload the whole weapon, or stick a few shells in and immediately get back to the fight.
Having a bigger magazine is not always the answer to shell-by-shell reloading. Take for instance, the Streetsweeper: It may have strong and fast fully automatic firepower, but like any other Black Ops Cold War shotgun, it is reloaded shell by shell, meaning that if the entire drum runs dry, you may want to switch to another weapon…
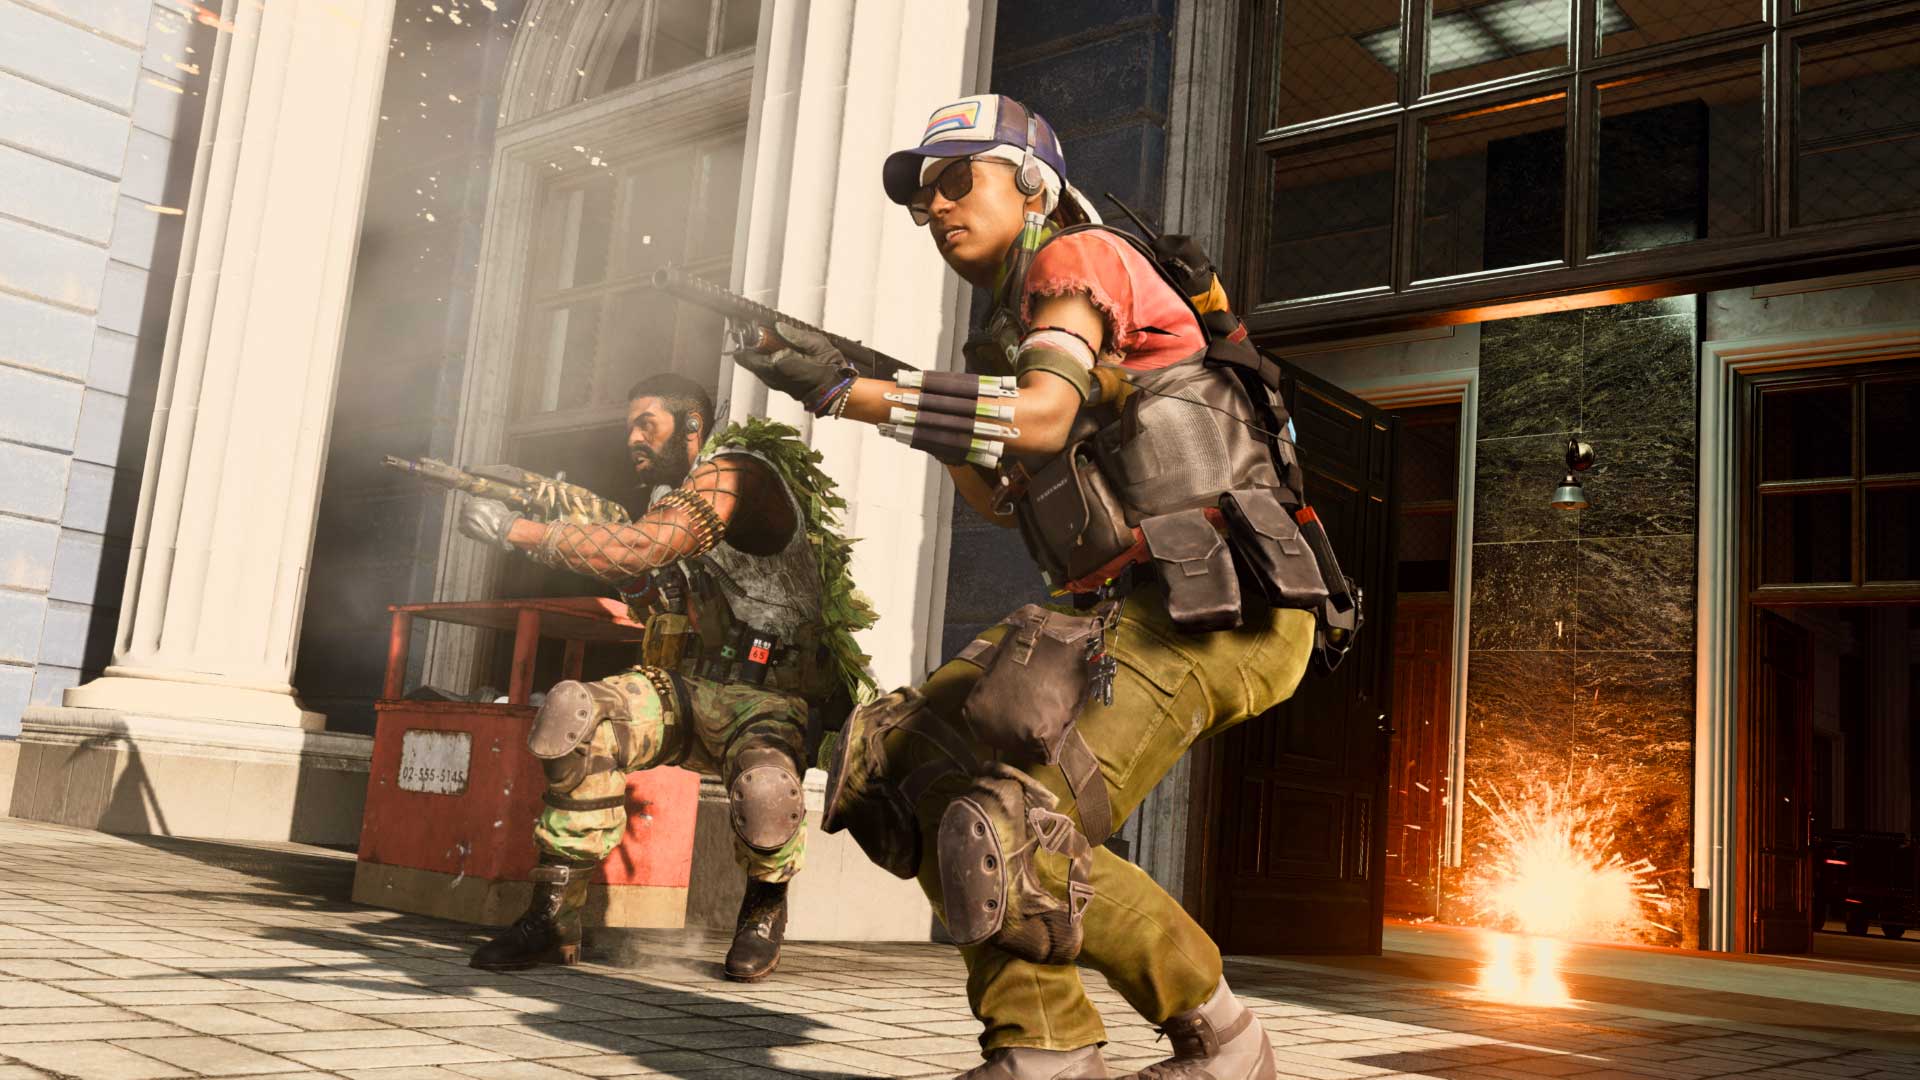
Much like carrying capacity, shotguns lack range. A typical shotgun’s effective range is, at best, the length of a standard apartment room and, at worst, about the length of a standard desk. Although slug rounds can directly remedy this issue, they are severely unreliable when hip-fired, and make a shotgun tougher to use as they significantly reduce your margin for error.
However, range should not matter to a veteran shotgun user; these weapons are meant for close engagements, whether that be inside individual rooms, in tight alleys, or right up in a rival Operator’s face.
While their use in Verdansk has fluctuated over time, Shotguns hold a more powerful foothold on Rebirth Island, where its smaller size and abundance of indoor points of interest allows for more frequent CQB play. On that experience more than any other, be wary of rounding corners or entering buildings, as there may just be someone – or some squad – ready to shell out some pain.
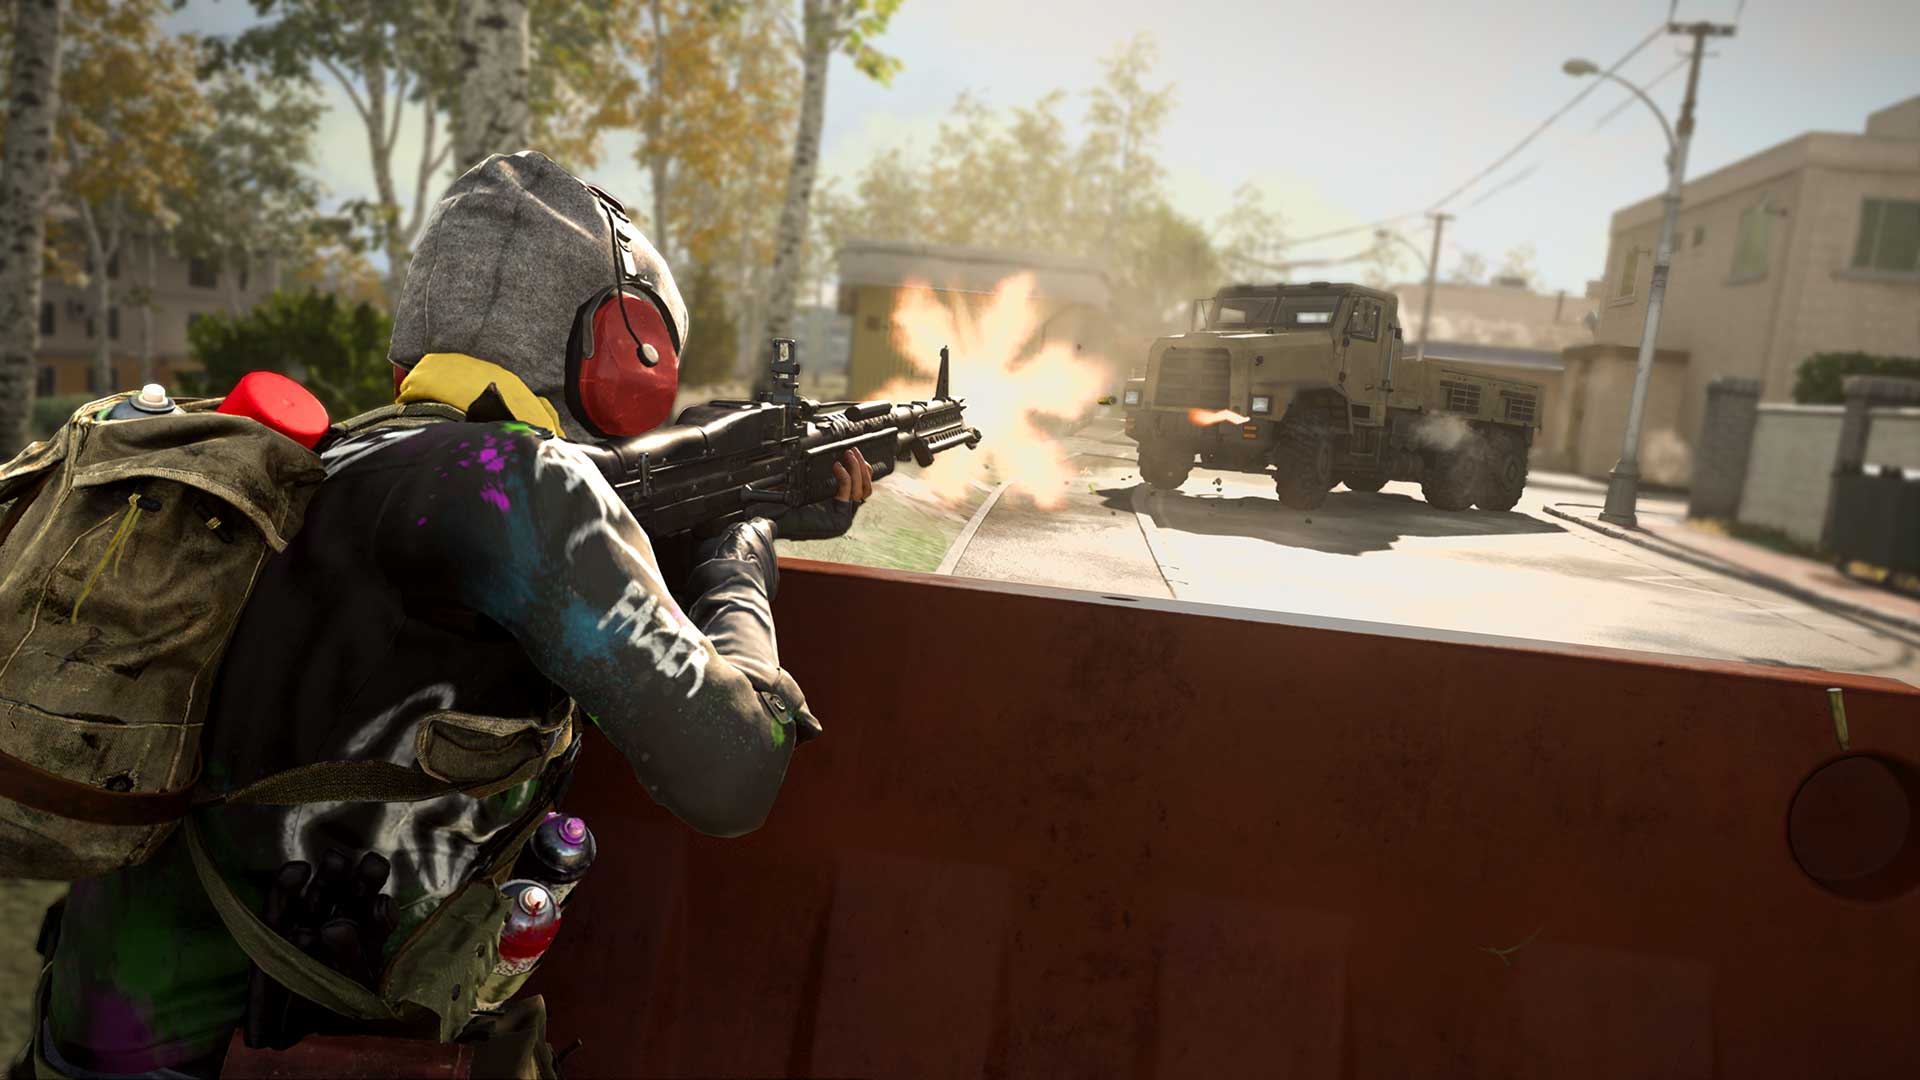
Welcome to the land of the heavyweights: the LMG Primary Weapon category.
These fully automatic weapons fire high-caliber bullets that can punish opponents at any range, save for a few hundred meters out where automatic fire is useless. Most LMGs come with high-capacity magazines; while some only carry a measly 30-rounds, don’t be surprised to see 100, 150, or even 200-round magazines on an LMG out in the wild.
Their damage is like that of a slower-firing assault rifle; typically, an LMG will take three to four shots to down an enemy player not wearing armor, with headshots usually reducing this number down to two for some cases. This weapon category also has a bit of diversity by way of fire rate, ranging from slow and methodical to the FiNN LMG from Modern Warfare, which has a set of Adverse Barrel attachments that increase its rate of fire to 1,000 rounds per minute, faster than most SMGs in the game!
Another benefit to LMGs in general is their super-effectiveness against vehicles. This is especially true for Black Ops Cold War LMGs, such as the RPD, that are equipped with a Cavalry Lancer barrel, as that directly increases vehicle damage.
LMGs, of course, have their downsides, the most obvious being their sheer size and weight. All that metal is going to weigh down any Operator in the field, making mobility tough compared to a slimmer SMG or Assault Rifle.
Doing anything with an LMG, whether that is switching to it, aiming down its sights, or firing it after sprinting, will take longer than taking those same actions with nearly any other primary weapon. That includes reloading these massive weapons; expect to wait upwards of double-digit seconds to swap out a magazine, especially when it comes to empty mags or those with incredible carrying capacities.
In general, these downsides make the arts of patience and picking your battles two key virtues of the LMG code. During team game modes, it may be wise to have a teammate cover you while you reload an LMG, while acting in a solo capacity, using recon and defensive tools could be necessary to ensure a safe reload.
An LMG doesn’t have to be a massive weapon, however; some LMGs, such as the Holger-26 from Modern Warfare shown above, have attachments that significantly reduce the weapon’s overall profile, making it easier to move around and aim down sights with. Those who may not feel comfortable with a standard LMG may want to try these weapons with these kinds of attachments, as it could help ease your way into this category.
However, no matter if you use the Holger-26 or the RPD from Black Ops Cold War or anything in between, one other issue needs to be accounted for: recoil. When fired as a fully automatic weapon, LMGs have some of the biggest vertical and horizontal kicks out of all weapons in the game.
There are a few things you can do to manage recoil, with the first being semi-auto fire on Modern Warfare weapons. Like assault rifles and SMGs, LMGs from Modern Warfare can be fired bullet-by-bullet, allowing you to selective expend ammo.
Selective fire can also be done with a bit of trigger discipline; the recoil on these weapons gets worse as you fire more bullets. Even without selective fire, grouping shots into five to ten round manual bursts with shorter trigger pulls rather than laying down suppressing fire – which has its own uses if you’re wanting to make a statement and drop multiple foes in a more chaotic manner – could make these weapons easier to manage down range.
Furthermore, it may be in your best interest to equip your LMG-based Loadouts with attachments that reduce recoil. This includes the Bipod, which reduces recoil while crouching or prone, two stances that most gunners take when firing these weapons.
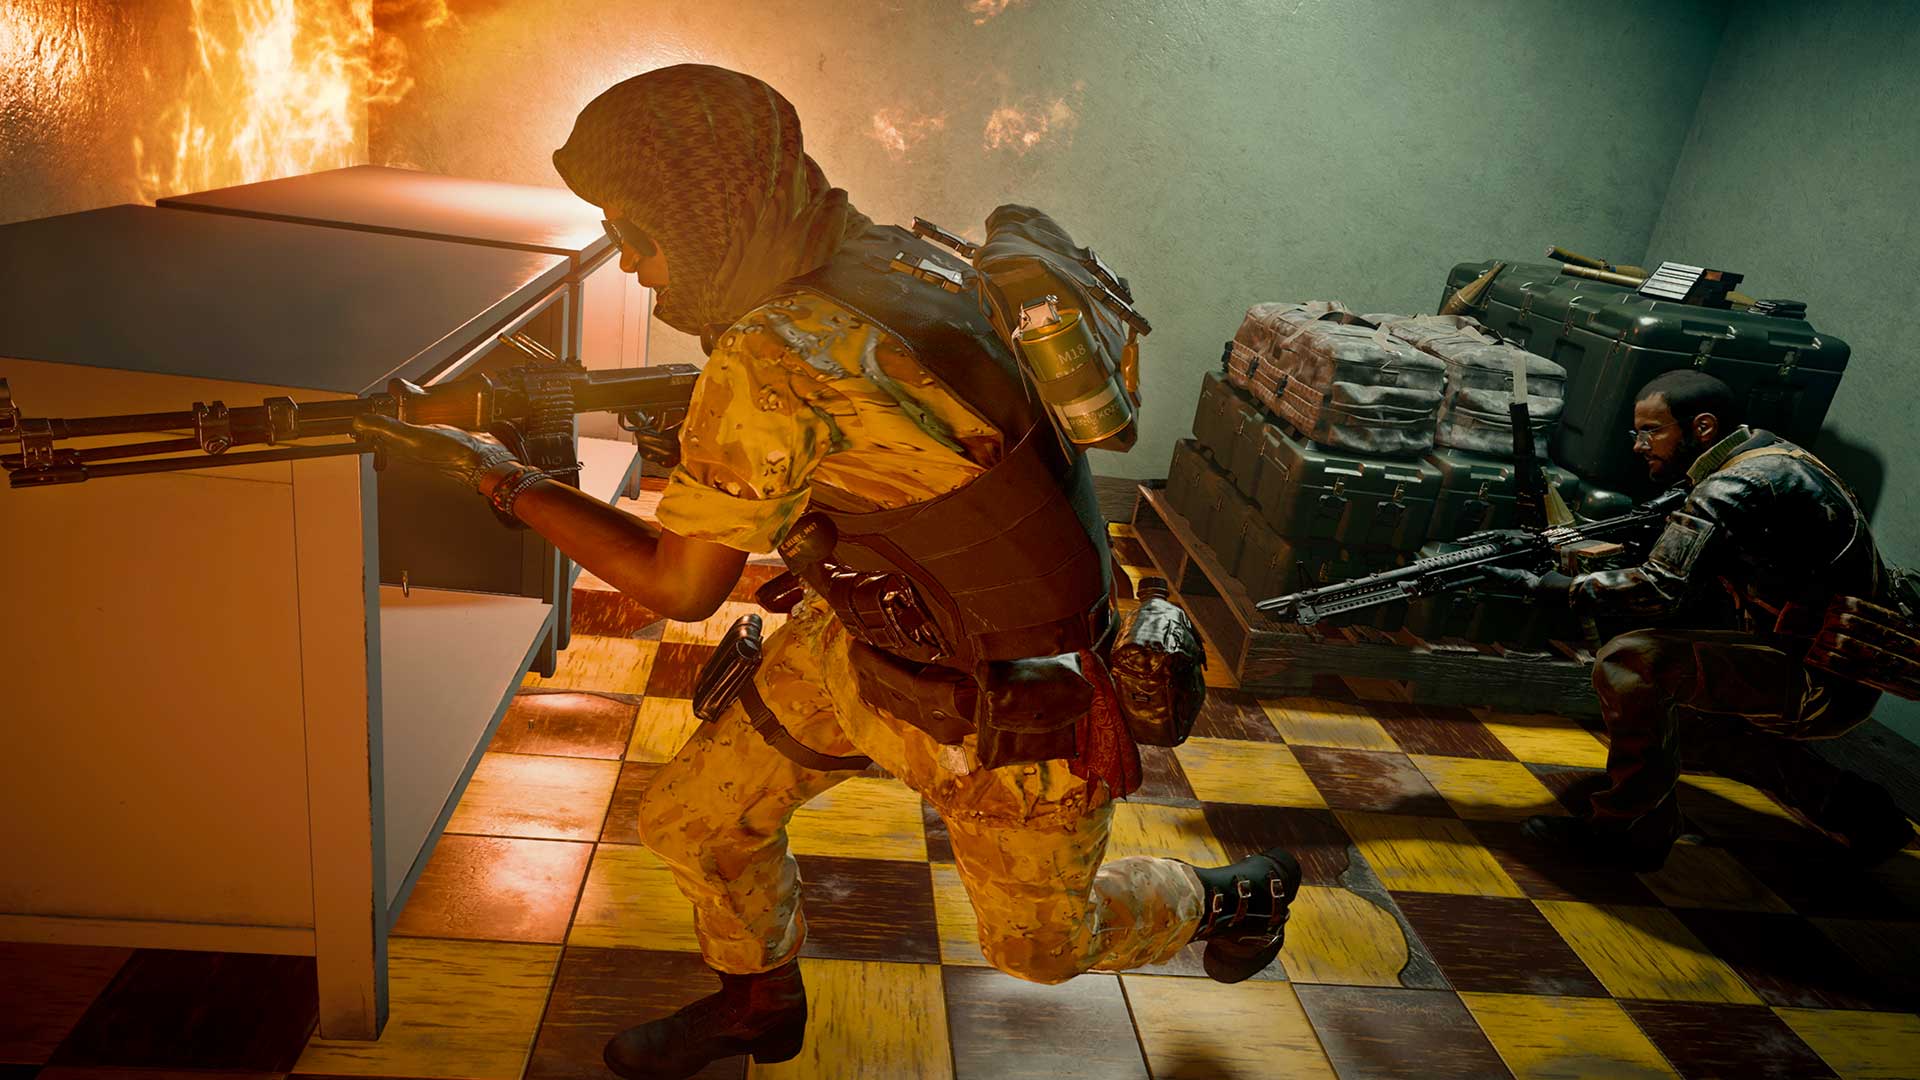
Then comes the subject of mounting: LMGs are built especially to be put down and mounted onto cover or walls (or even the Deployable Cover Field Upgrade). Mounting significantly reduces recoil, making it easier to fire dozens of bullets down range in a single trigger pull when it is necessary.
A mounted LMG may be an LMG in its most useful state. These weapons may be tough to move around with and reload, but when it comes to laying down fire, few can match the sheer power of these massive guns.
In terms of viability within Warzone, LMGs are highly regarded at all skill levels for ensuring their magazine never runs dry in a team fight, yet may feel a bit too bulky for the most elite Operators. Often, if an LMG finds its way to popularity en masse, it will be a weapon that either sits on an Operators back outside of combat, in order to not weigh down their movement speed as much, or is used in tandem with vehicles.
Because of its combination of high damage and high capacity, the LMG category could be a great place for a new Warzone player to start from, should they feel overwhelmed by the sheer size of the assault rifle category and unable to deal with opponents at longer ranges while using a shotgun. The lack of damage drop-off and high magazine capacity take a bit of guesswork out of an ideal range and the issue of missing too many shots to deplete your ammo, and even if the recoil becomes an issue, this is the category where you can learn to correct it.
The proper movement techniques and more aggressive play will come with time, and when it does, this category might lose a bit of luster to a growing soldier. But for a greenhorn dropping into Verdansk for their first time with little experience – or for the 1,000th time without a win – an LMG can be a great jumping off point for a Warzone career.
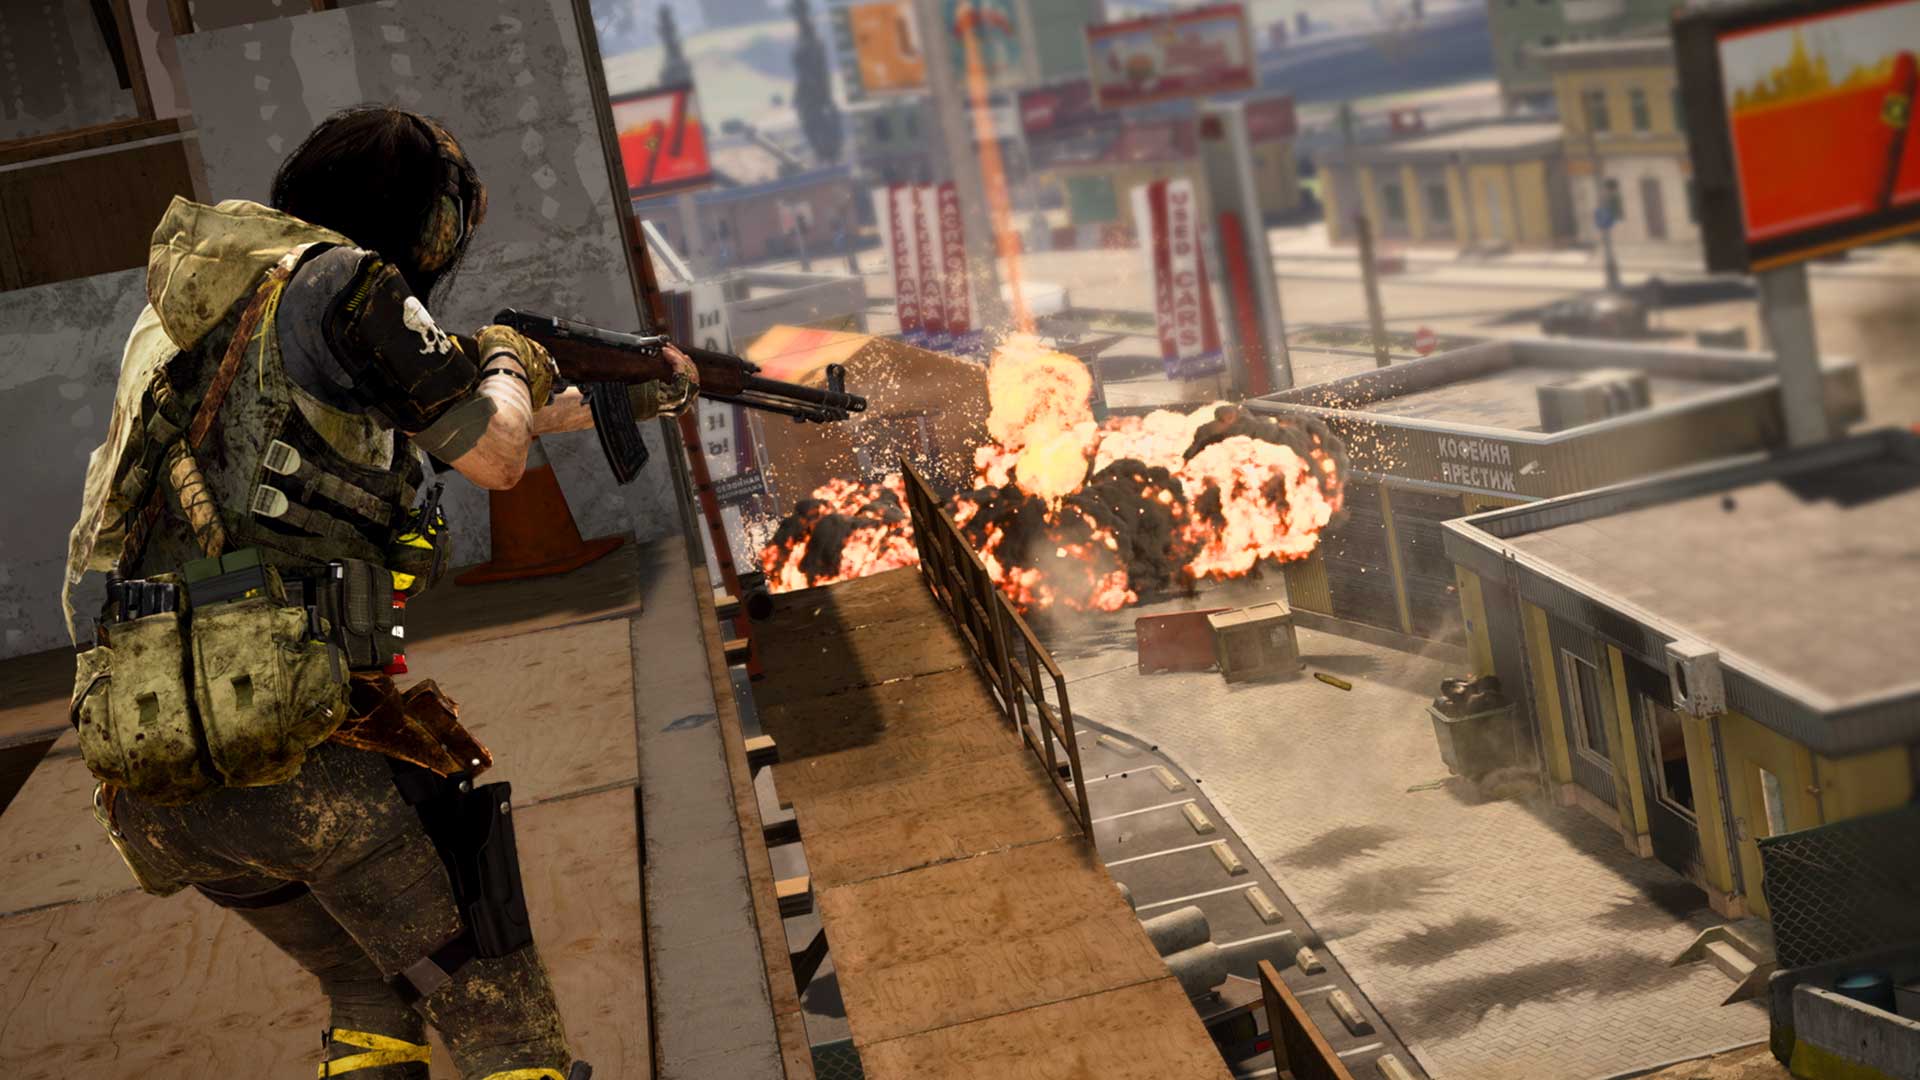
Exclusively comprised of weaponry from Black Ops Cold War, tactical rifles are built for precise and accurate fire, demanding a combination of steady hands, trigger discipline, and ability to control recoil to accurately place shots down range. If all these conditions are met – and they usually are among Warzone’s elite players – then they can do phenomenal work at mid-range out to about 100 meters.
Tactical rifles are more similar to assault rifles in their design but have one key difference: unlike their fully-auto brethren, these rifles are all burst or semi-auto fire by default, meaning each pull of the trigger sends out only a few bullets or a single round rather than outputting sustained fire. Therefore, they are more similar to the lone three-round burst and semi-automatic assault rifles in that category.
When using a tactical rifle, it takes about two or three shots to eliminate an opponent with no armor, depending on if it’s a burst or semi-automatic, and you can either wait for the recoil to settle before taking another shot, or manually adjust your aim, fight through it, and potentially get a quicker elimination following the end of the firing delay.
Each tactical rifle also has the ability to have its fire rate increased via Rapid Fire, Strike Team, or Titanium Barrels, with the first only upping the RPM slightly with no downsides, and the other two increasing it further at the cost of effective damage range. For semi-auto weapons, this translates to a direct increase of shots fired per second, while for burst weapons, the fire rate increase only applies to the shots within a burst and does not affect burst delay. In other words, equipping one of these barrels to a burst-fire tactical rifle will make the second and third bullets of a burst follow the first out of the barrel quicker, but won’t have an impact on the few hundred milliseconds it takes to fire each burst.
On average, tactical rifles also boast the highest bullet velocity compared to other weapon categories. After firing a tactical rifle, expect the bullet to reach its target faster than most of the Black Ops Cold War guns across Warzone, allowing you to aim more on target at a distance rather than needing to adjust your aim to account for travel time.
The category is split roughly down the middle between semi-auto and three-round burst weapons at launch. Here’s what to expect with both, starting with the semi-auto representatives:
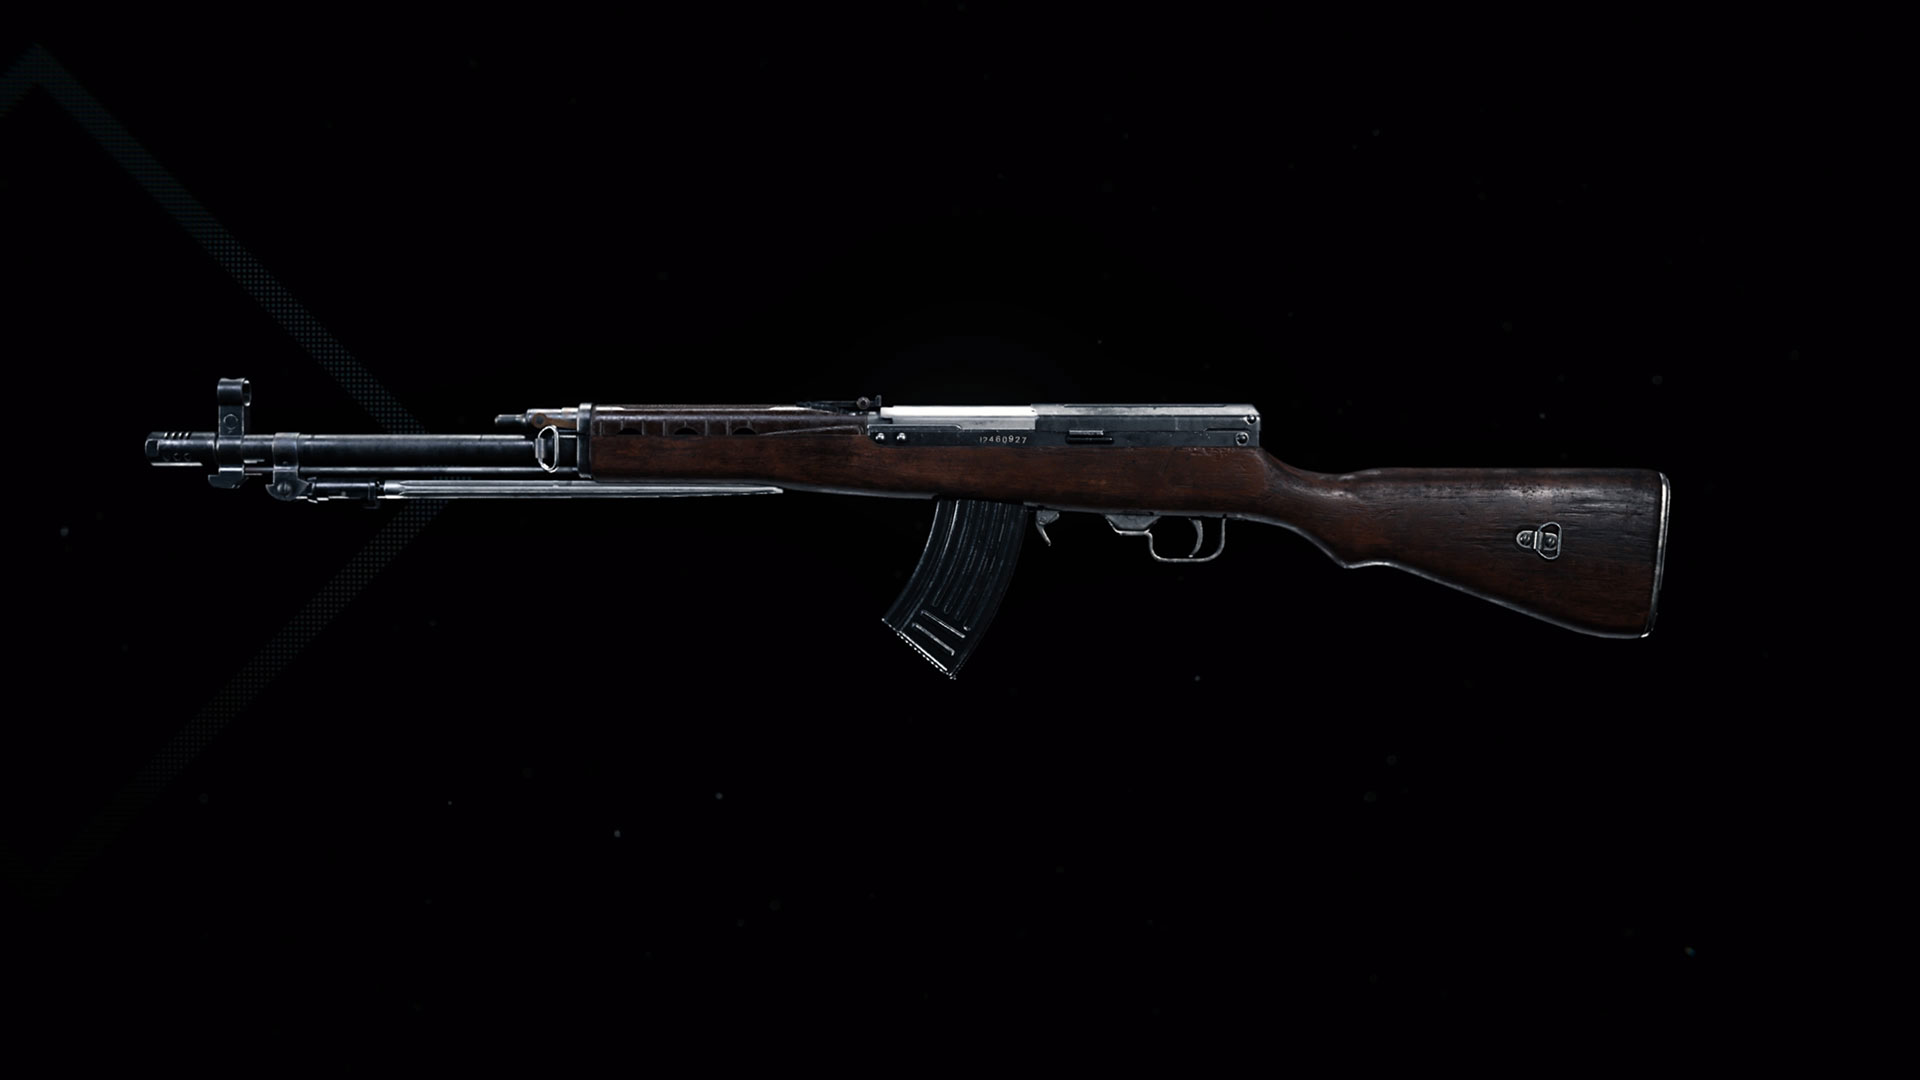
The Type 63, unlocked with Create-a-Class at Military Rank 4, deals the most damage out of the two semi-auto tactical rifles at ranges closer than 20 meters, yet has a slightly slower rate of fire and larger damage drop-off past that range. Its iron sights are also less obstructive, and it has five more bullets in its standard magazine, in addition to larger magazine sizes via attachments.
So, is the Type 63 more CQB friendly? Technically, yes, but look at it this way: if its damage within 20 meters is higher than the other semi-auto weapon in this category, then it may be worth a look to attachments that boost effective damage range. That way, you can hit that one-shot headshot on an enemy with no armor out to greater distances, or keep tapping that trigger consistently to whittle down a foe’s HP. If you are trying to use it at a distance, though, be sure to wrangle its higher recoil, otherwise those follow-up shots are going to be sent skyward.
At Level 49, the DMR 14 becomes available for use in loadouts, playing the role of the more accurate, precision-focused battle rifle that also comes with a slightly faster fire rate. With lower recoil, superior muzzle velocity, and slightly better range out of the box compared to the Type 63, it could be considered the more long-range tool out of the two, especially when equipped with high-magnification optics and attachments that further reduce its recoil.
However, thanks to a faster fire rate, the DMR 14 could be the weapon that can be fired in close-quarters during desperate times. Because it too boasts a one-shot headshot potential in its close damage range, one could throw on one of the barrels that boost fire rate and mash their trigger.
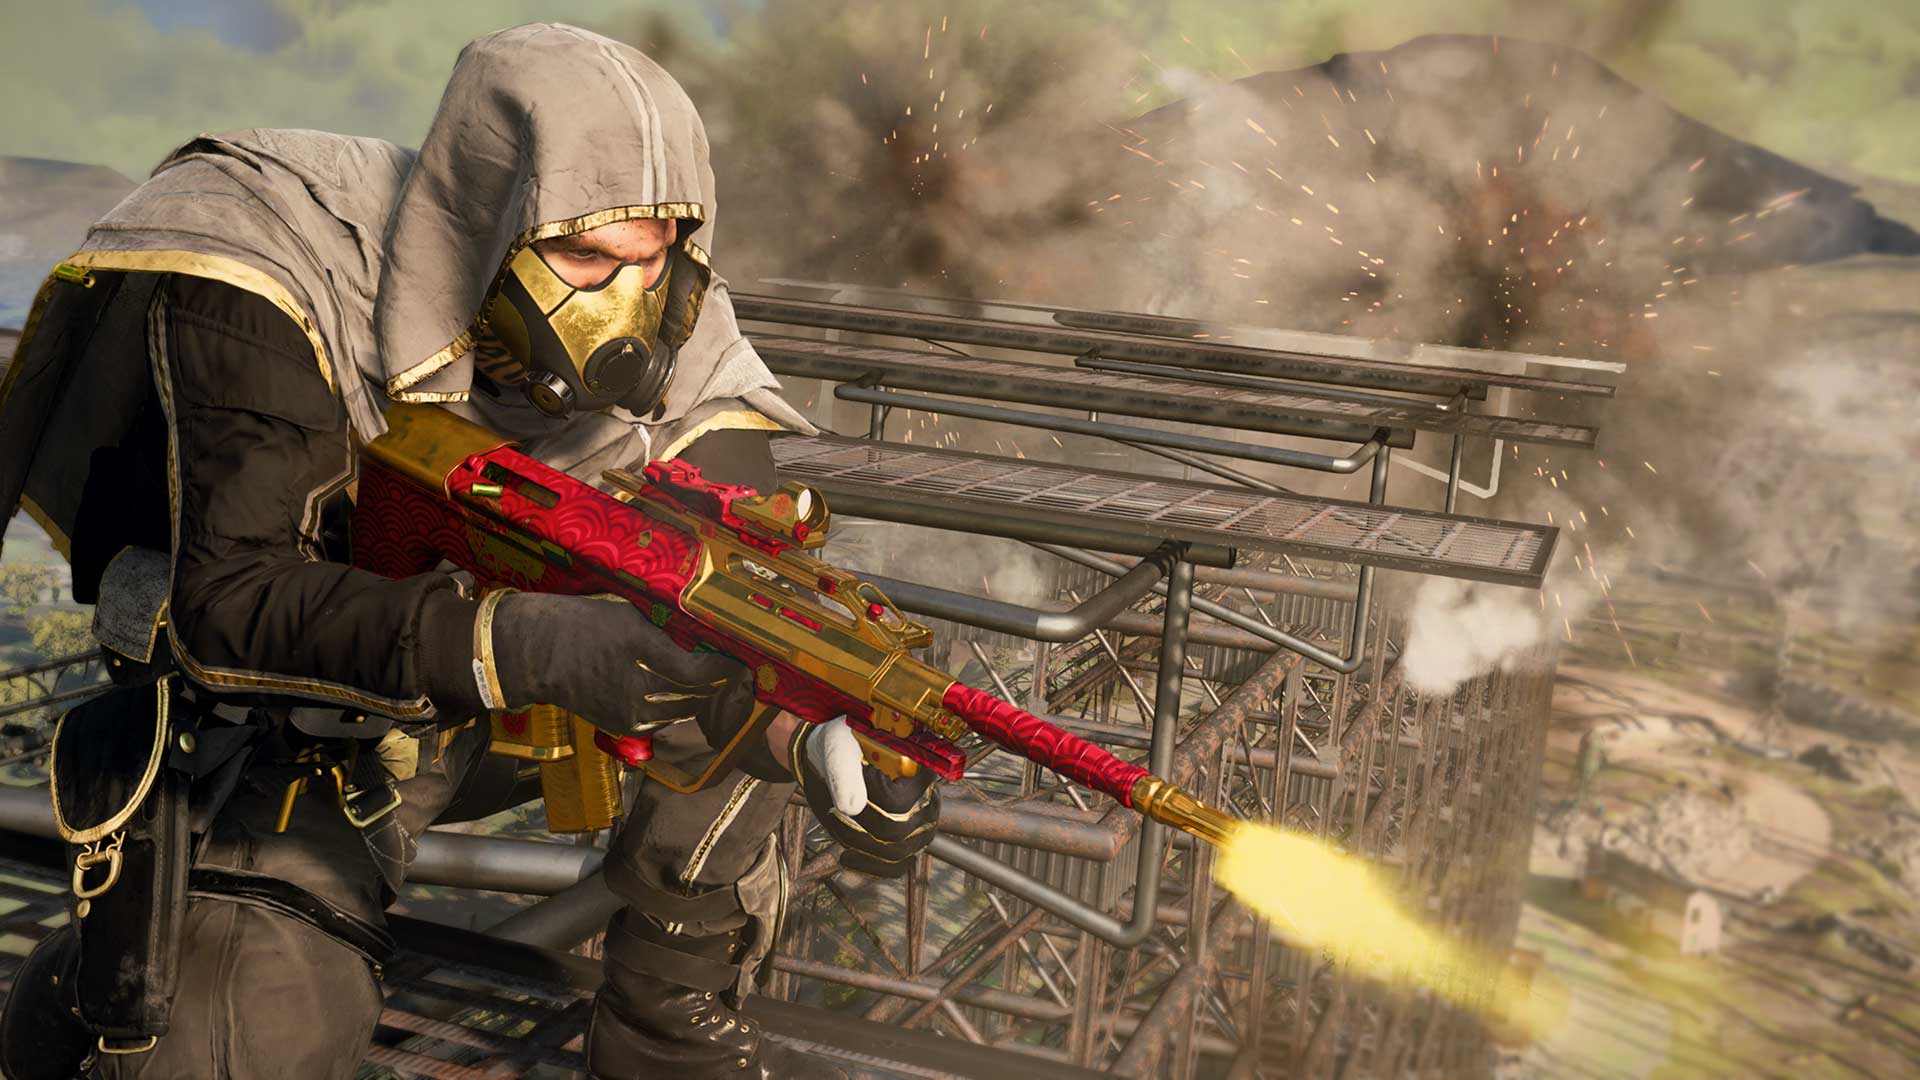
As for the three-round burst tactical rifles, the first that can be unlocked is the M16. There is a slightly pronounced delay between bursts that manages recoil control, which increases this weapon’s already excellent accuracy. A well-aimed single burst of bullets can down an enemy operator with little armor, and two can tear through a whole armor set plus the operator, making this weapon highly lethal in the hands of players who fire with precision.
Bursts from the M16 are tightly grouped together, so if the target down range moves, there is a better chance that they all hit it. Still, it might be a good idea to equip some recoil-mitigating attachments to this weapon, as it tends to only be accurate at short to medium range.
While the M16 is more suited for more mid-range engagements, the alternative three-round burst rifle, shown above as the “Golden Augx” Weapon Blueprint, is meant for fights at slightly longer distances. Compared to the M16, it has a more pronounced burst delay, longer effective range, and built-in 1.5x magnification optic, all of which add up to a powerful rifle for medium distance engagements.
The grouping within each burst of the rifle are also more spaced apart, which makes fire rate-boosting attachments something to consider if hitting all three shots in that first burst matters. That’s especially true when taking into account the weapon’s more pronounced recoil, which may further hinder the possibility of accurate follow-up shots.
Later in Season Three, expect another three-round burst weapon to rival the two available at launch, but even after it drops, the core four tactical rifles are forces to be reckoned with in the hands of an accurate Operator.
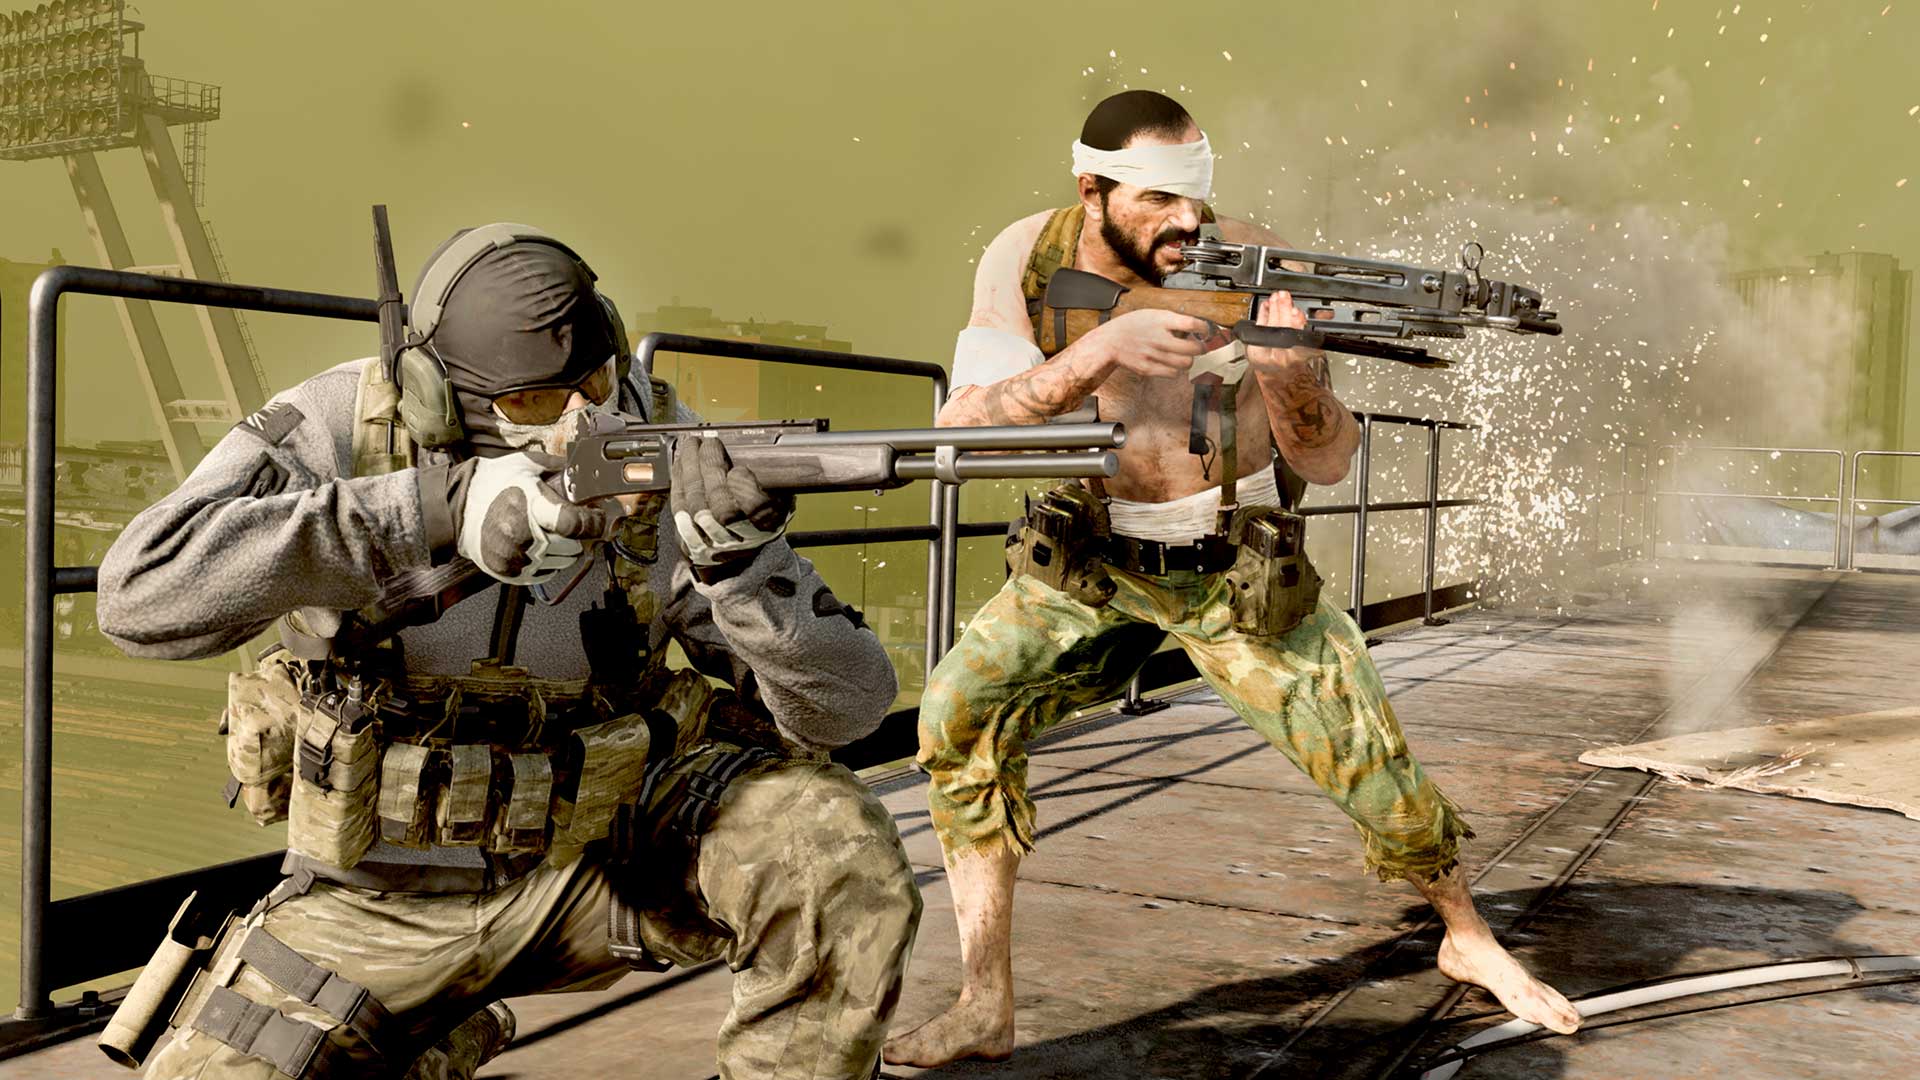
The marksman rifle category can be described as the “Misfit Rifle” primary weapon category. Here, you’ll find everything from battle rifles to bolt action rifles and even a Crossbow... Or two, to be exact.
However, these weapons share one common trait: in the hands of a skilled soldier who understands their individual strengths and weaknesses, they can be deadly.
At first, you may think this category is an extension of the sniper rifle category. And you would be right, to a point. Yes, these are slow-firing, high damage weapons that require a bit of skill to use, and that work extremely well with a high-magnification optic. On top of this, their reload times are slower than the average weapon, with some requiring a reload by the bullet or, in the case of the actual misfits of this category, one crossbow bolt for the only slot it can be placed in.
So, what’s the difference between this primary weapon category and the sniper rifles? Marksman rifles are more effective in close-range fights, trading off some of the bullet velocity and stability of a sniper rifle for better handling statistics.
In general, an Operator holding a marksman rifle can move, aim down sights, and fire out of a sprint more quickly than one using a sniper rifle. Therefore, marksman rifles are great for those who want to use a weapon that is powerful like a sniper rifle, but also want to be more mobile around the Warzone.
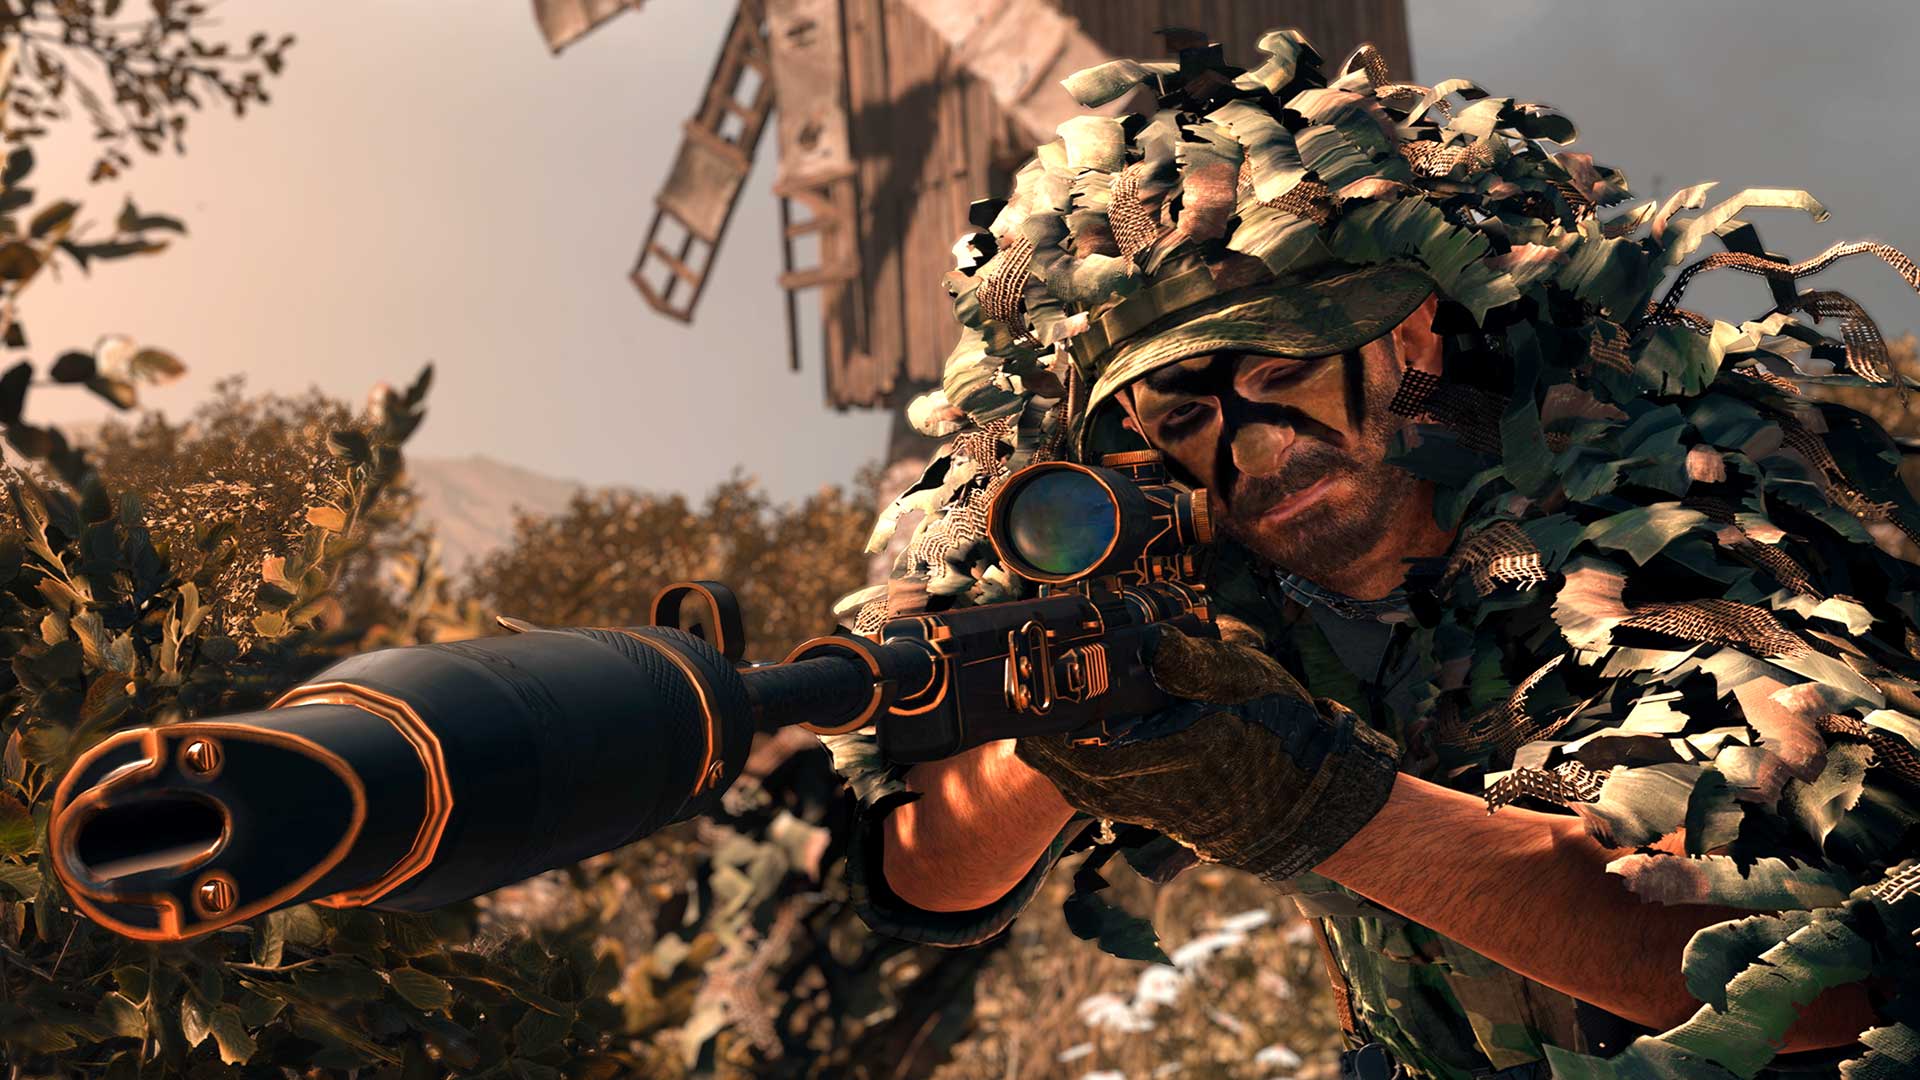
You can still use a marksman rifle like you would a sniper, especially when using certain attachments that boost range and provide a magnified sight picture.
Among Warzone’s most elite snipers, the marksman rifle shown above – known as “The Tower” Weapon Blueprint from Modern Warfare – is what they gravitate towards on top of the weapons within the sniper rifle category. With the longest barrel for the weapon and Monolithic Suppressor equipped, that Marksman Rifle essentially fills the role of a traditional sniper rifle, able to bring enemies down with a single headshot, all included inside a more mobile package.
Another weapon that fits this role is the SP-R 208 from Modern Warfare, which also boasts a similarly punishing damage output to a sniper rifle. Its two available ammunition conversion attachments give it more bullet velocity, which is great for Operators who don’t want to worry about accounting for bullet drop as much with their shot, but even the standard ammunition can deal a punishing one-shot headshot.
While using this kind of marksman rifle can work at a distance, it might truly shine in your hands when it is used aggressively. This brings up a style of play called quickscoping, or when an Operator acquires a target without aiming down sights then, when their crosshair is over a target, quickly snaps the aim button, firing when their reticle or iron sights is on the target, and releases the aim button after the shot is taken. Although it is a difficult skill to master, it can be used to maximize a marksman rifle’s more agile mobility and still-strong damage profile.
That damage profile translates to this rule of thumb: getting a headshot with any marksman rifle at any range can down any foe with full health and no armor. In some cases, such as for the elite-favored marksman rifles described above, this rule of thumb extend to an Operator with full armor plates, making these some of the best weapons in the game when it comes to damage with a single bullet.
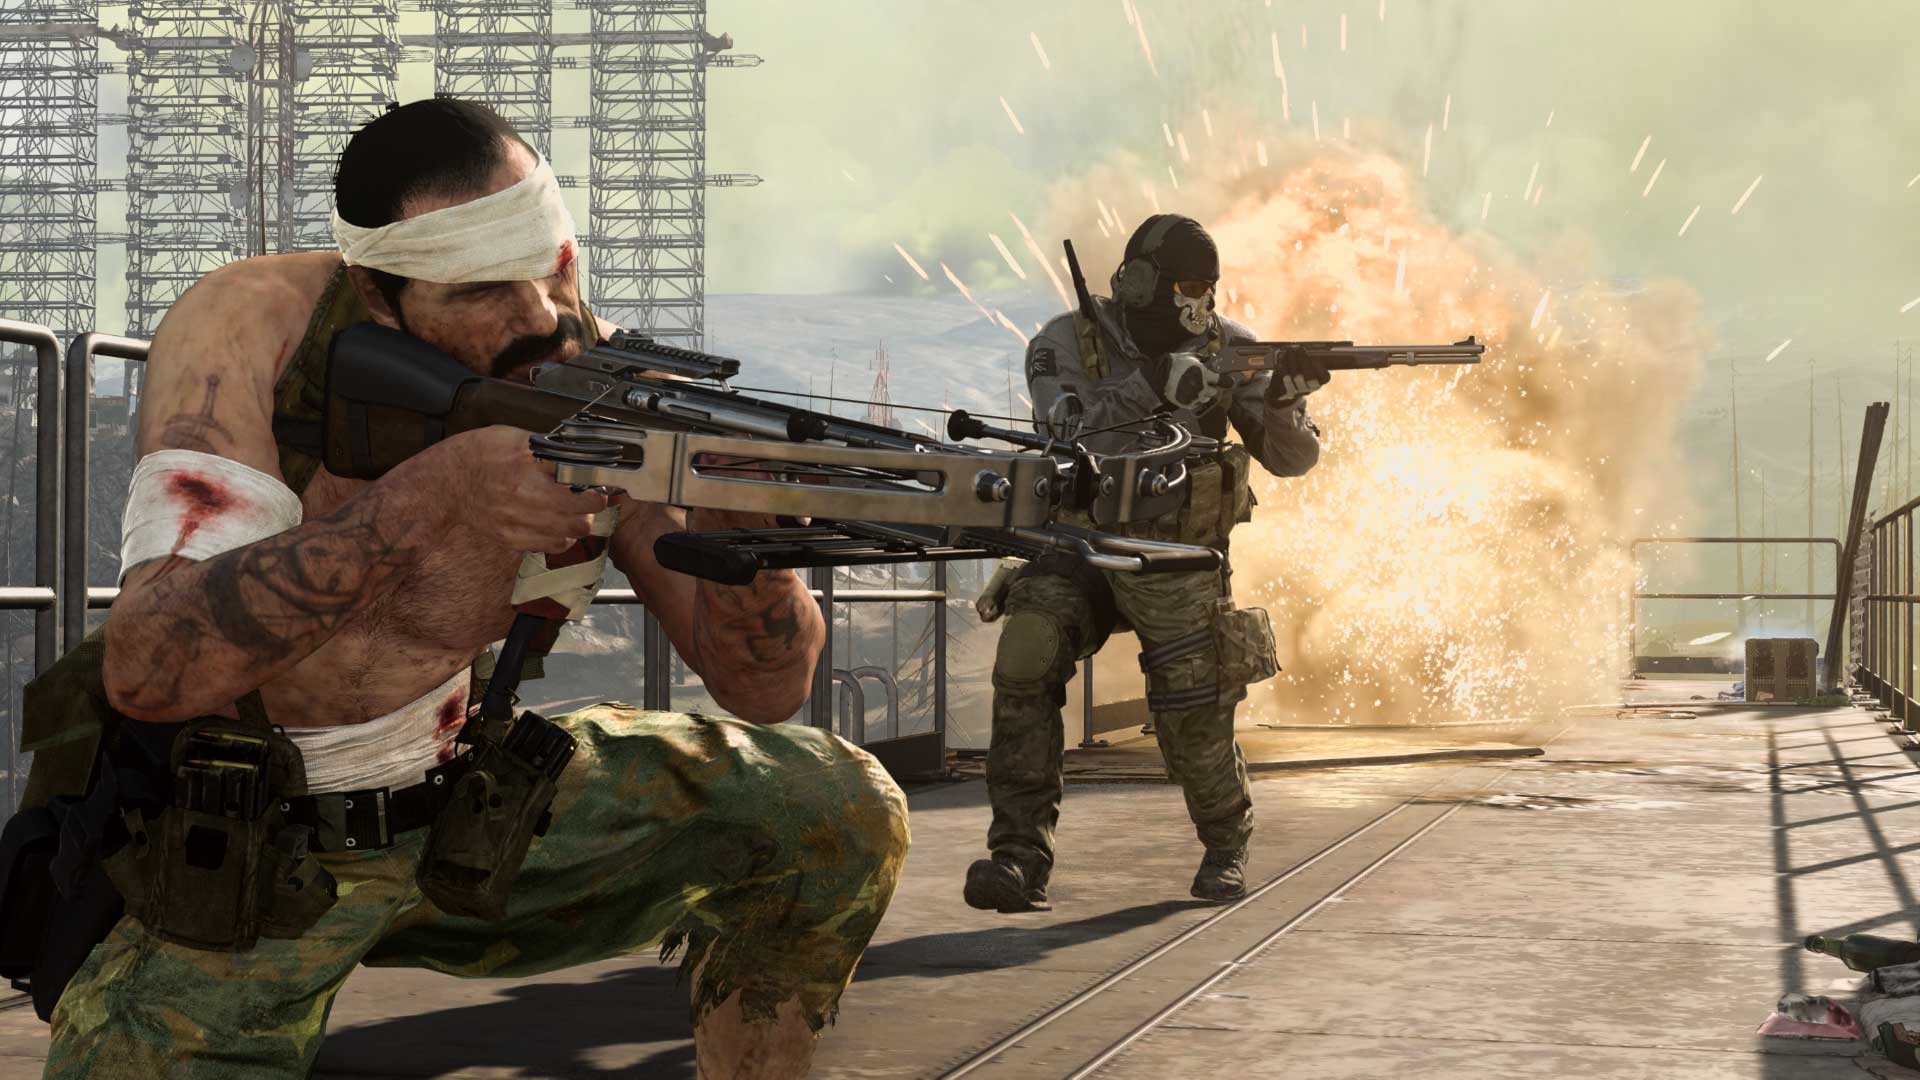
Outside of the actual “rifles” of the marksman rifle category, there are two weapons that truly fit the misfit nickname: the Crossbow from Modern Warfare, and the R1 Shadowhunter from Black Ops Cold War. Despite these two weapons being based on less modern technology, both crossbows have a damage profile that nearly identical to the most powerful sniper rifle in terms of damage per bullet within Warzone. In other words, it has enough stopping power to down an enemy wearing two armor plates at any range, and even if they are wearing a full set, the Crossbow or R1 Shadowhunter can both kill with a single headshot.
Of course, this all comes with major a catch: Crossbow bolts drop off significantly faster than bullets, making longshots a matter of calculating the correct angle to hit a distant enemy, not to mention leading your shot to meet a moving target. The R1 Shadowhunter suffers from this issue slightly less so than the Modern Warfare Crossbow, which can have its bolt velocity increased with attachments at the cost of worse handling or accuracy, depending on the attachment.
Speaking of attachments to the Modern Warfare Crossbow (the R1 Shadowhunter only has Optic attachments), it has bolt ammunition types allow it to fire timed explosive, gas, or thermite tipped bolts. These more deadly bolts all have gnarly effects on enemy players and/or equipment, with the explosive bolt able to both down and eliminate an enemy with a headshot… But you will be unable to recover these bolts as you would a standard Crossbow bolt.
With any attachment set-up, both these crossbows demand a different playstyle than a regular weapon, though the same could be said about the other weapons within this category, too.
Given the high skill floor of these weapons, less experienced players may want to get some reps in Multiplayer before deciding to make marksman rifles must-loot items or a standard in their Loadouts. However, once you’ve mastered one – or all – of these weapons, your enemies may regret leaving these powerful tools available for the taking.
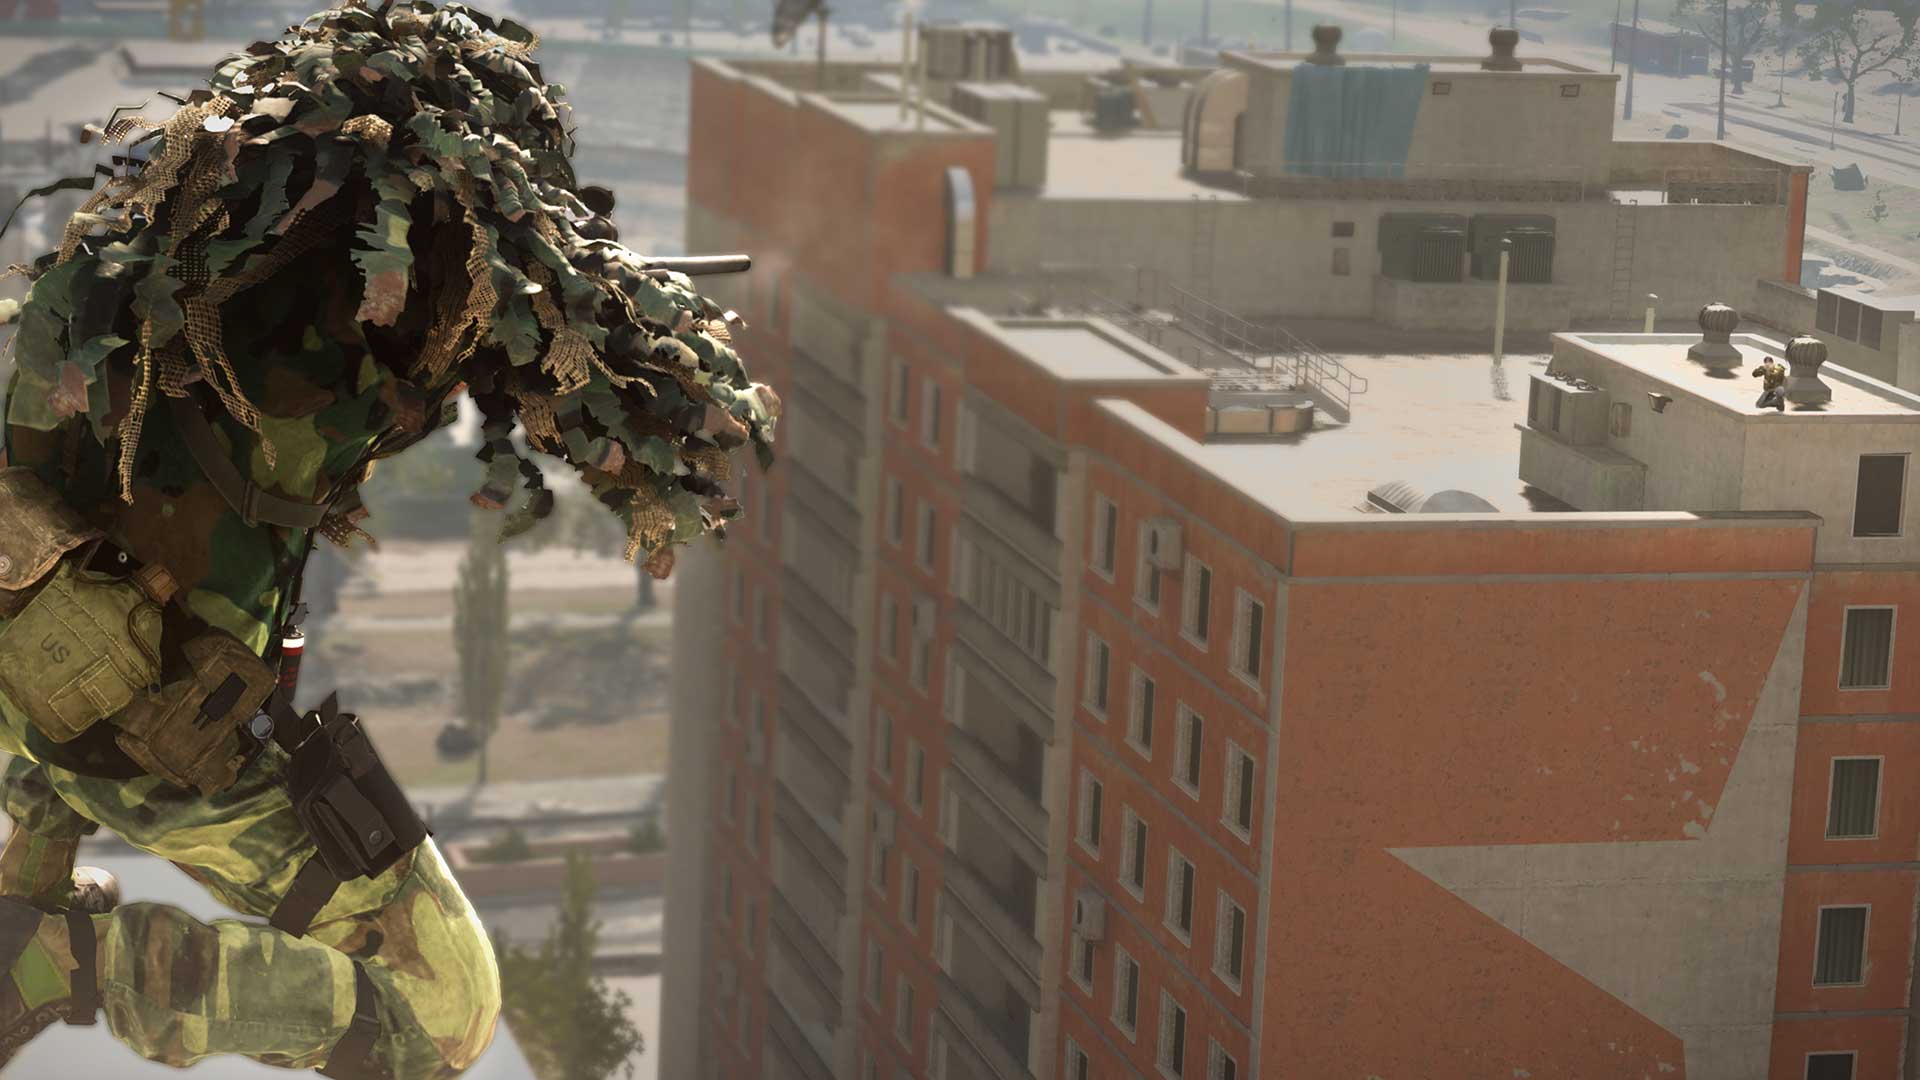
Sniper rifles live and die by one adage: one shot, one kill.
These weapons chamber the most powerful bullets in Warzone, able to knock an enemy down to the ground even when they are hundreds of meters away. Their bullet velocity is also the best out of all Primary Weapon categories, meaning that the shots from these weapons will reach their targets sooner than any other category on average. However, with great power comes great recoil; firing one of these weapons will leave your Operator reeling unless the weapon is mounted or outfitted with multiple recoil reducing attachments.
Furthermore, with all of these sniper rifles being mostly bolt-action, with three semi-auto exceptions like Modern Warfare’s Rytec AMR, don’t expect to make follow up shots at the same pace as you would with an assault rifle. This does make recoil less of an issue, but a sniper’s kick may still throw you off target for when you are ready and able to take that second shot… if it is necessary.
When using a sniper rifle, the fewer shots needed to take an enemy down, the better, as a limited magazine capacity with a longer-than-usual reload time is coupled with a high kick and low fire rate. So, whether you can take a shot with the enemy literally at the end of the barrel or three football fields away, accuracy is your main key to success with a sniper. And in terms of where to aim it, we strongly recommend headshots, as it is a near-guaranteed one-shot kill area.
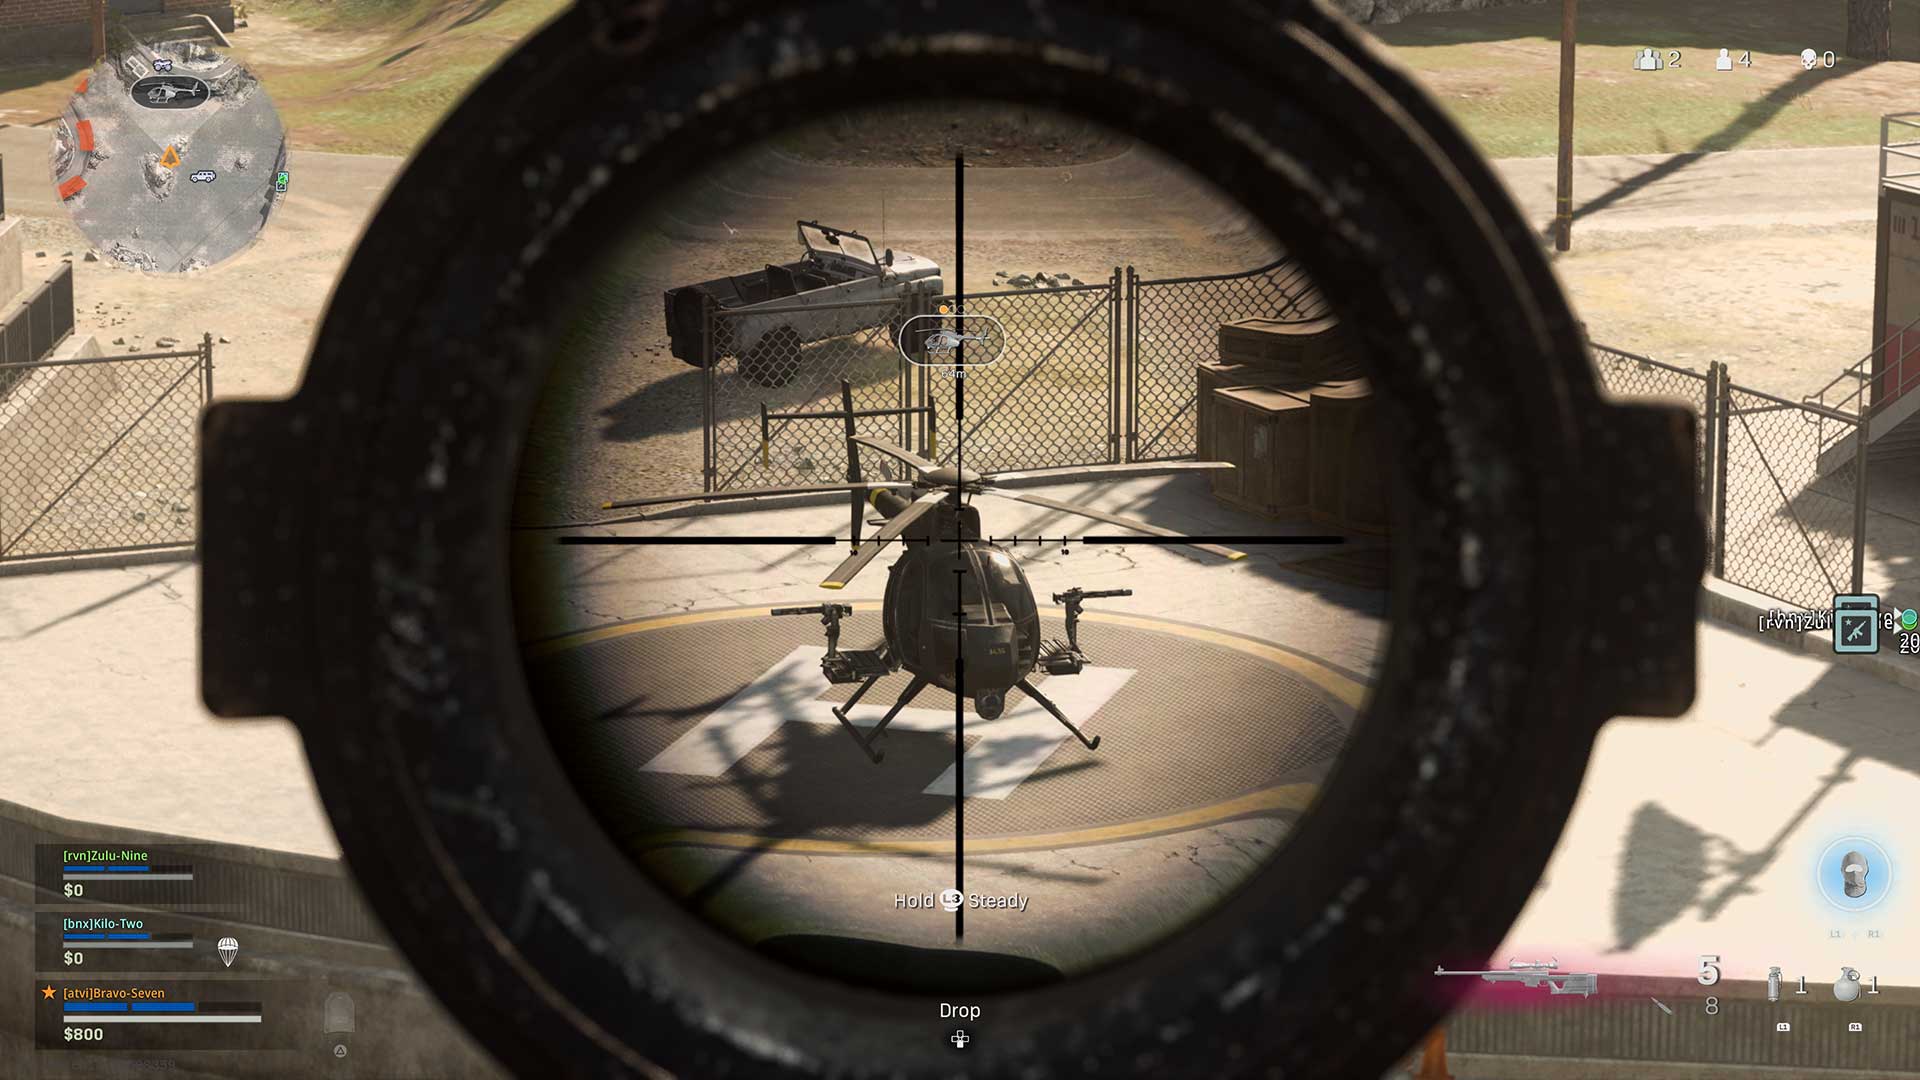
For your convenience, every sniper rifle is equipped with a high-magnification scope, with attachments allowing you to either reduce it to as low as its iron sight magnification all the way to 20x more powerful than the naked eye thanks to an ultrazoom scope. This makes sniper rifles phenomenal weapons to scout with, as you can use the scope to see distant landmarks or targets and plan your actions accordingly.
With that in mind, there is one big counter to scouting with a sniper rifle: scope glint. While a sniper is aiming through a scope, the scope will give off a bright white glint, giving away their position. Knowing where that glint is and using it against a sniper is key to counter-sniping an enemy, or at least useful for figuring out what areas are safe and when to take cover.
Most, if not all, scopes, including the standard Sniper Scope, have their targeting reticle complete with bars or dots below the main crosshair. This is your way of accounting for bullet drop; although all these sniper rifles will be zeroed in for about several dozen meters, or enough for mid-range engagements, these bullets will drop off when trying to hit a target at extremely long ranges. And we aren’t kidding extremely long ranges; technically, it is possible to snipe someone from the Zordaya Prison Complex all the way to Summit, although this is an extremely difficult shot to take.
But for more realistic extreme distances – think 300 to 600 meters – this is where these marks come in: they act as your guide to hitting a target at specific long ranges, with each scope having a different scale and way of showing these ranges. We recommend testing this within respawn-enabled Warzone modes to get a feel for it, as learning how to master a specific sniper rifle with a specific reticle boils down to practice.
One good way to learn the ins-and-outs of a scope is pinging an enemy target and seeing how many meters the ping calls them out on. Once you line up a shot with these marks under the main crosshair, take it and see if it hits. Adjust your aim accordingly and take notes as to what these marks mean for distance.
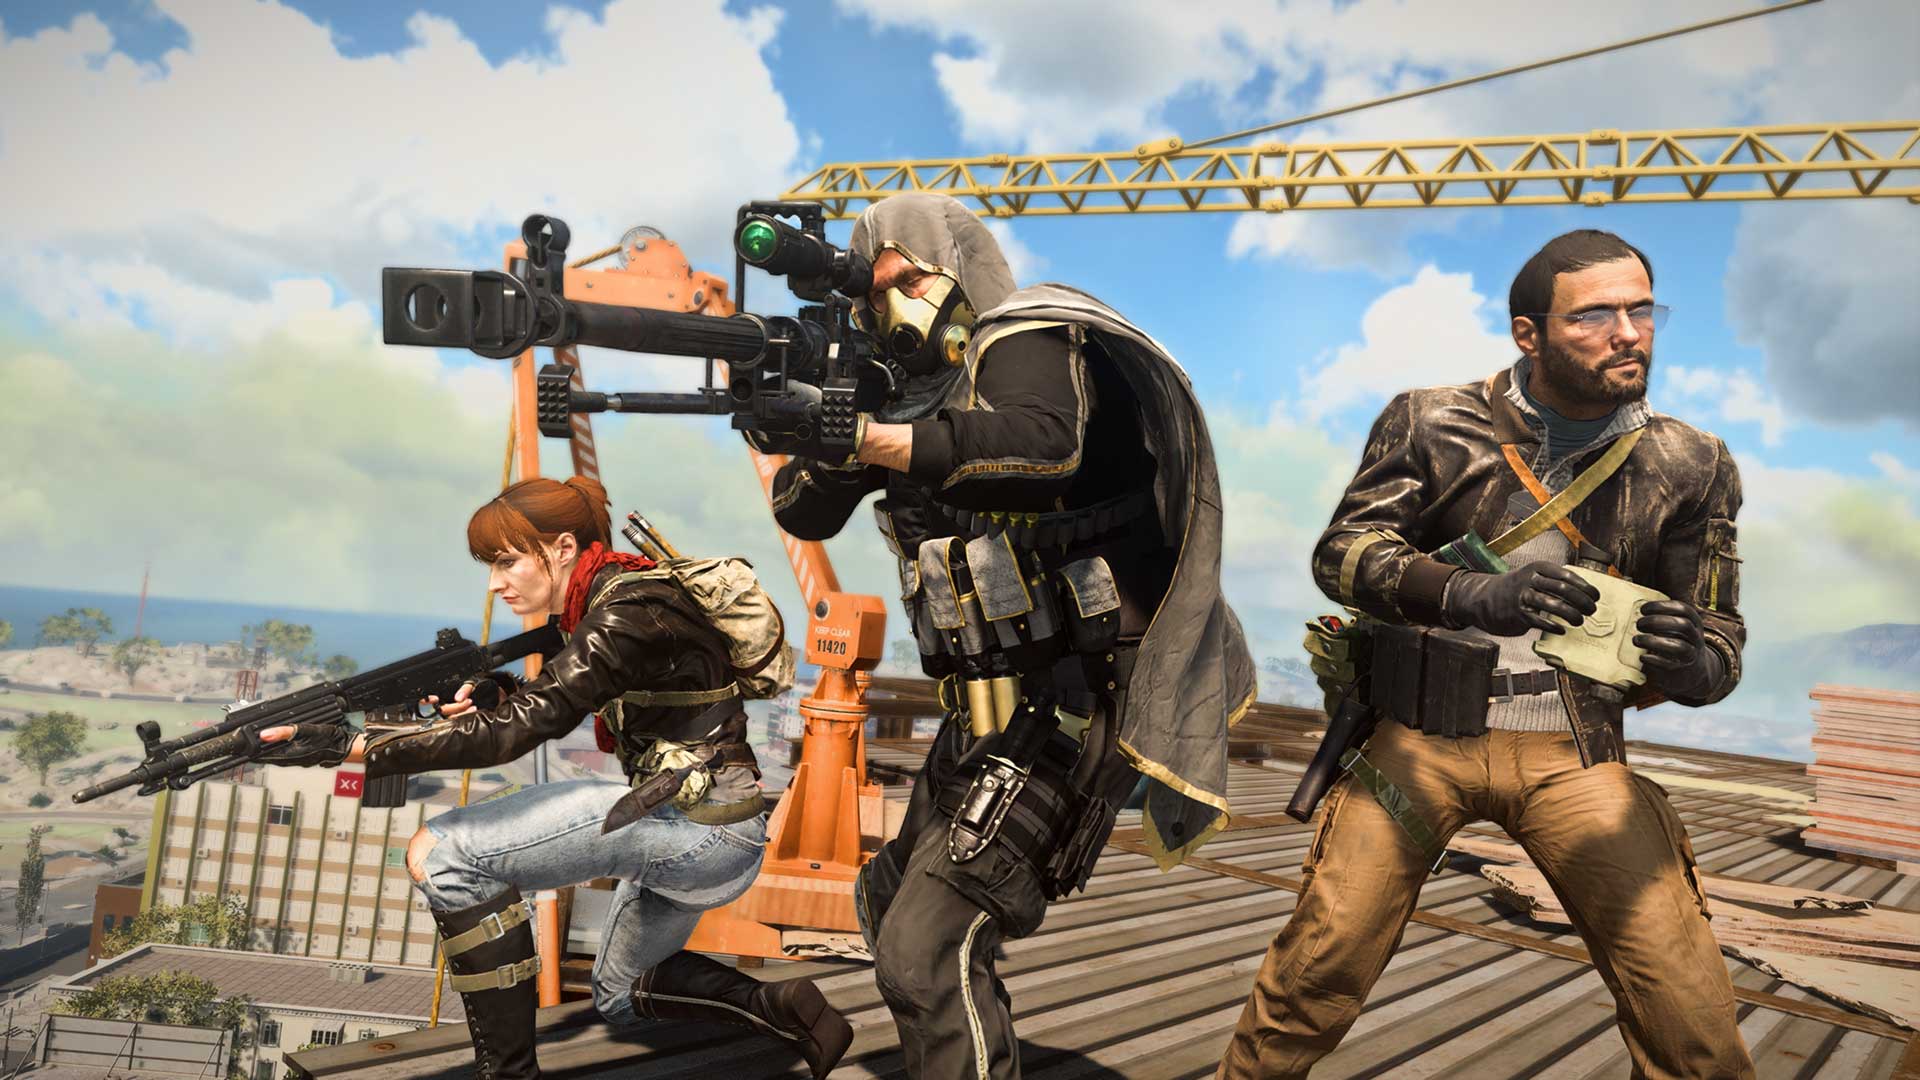
While this all may seem trivial, the best snipers in Warzone are smart with when, where, and how they fire. Sniper rifles may seem to have a low skill floor at first, but sniping masters can be able to wipe out an entire team without them knowing what exactly hit them.
For what specific sniper rifle fits your playstyle, it’s all up to your personal preference on aim down sight speed, bullet velocity, damage and general weapon feel.
The HDR from Modern Warfare tended to be a popular choice since Warzone’s launch, as it boasted the least bullet drop thanks to its 12.7x10⁸ ammunition and the addition of its Pro barrel attachment. To this day, it still finds itself as a mainstay in the most elite Warzone player’s loadouts for private tournaments.
Around the launch of Season Three, two of the three original Black Ops Cold War sniper rifles – the Pelington 703 and moreso the LW3 – Tundra – also started getting serious looks, especially when their bullet velocity is increased with attachments such as the Wrapped Suppressor and the majority of the available barrels. The Pelington 703 has a quirky reload mechanic, as it needs to be reloaded bullet-by-bullet but makes up for it with better handling speeds than the LW3 – Tundra.
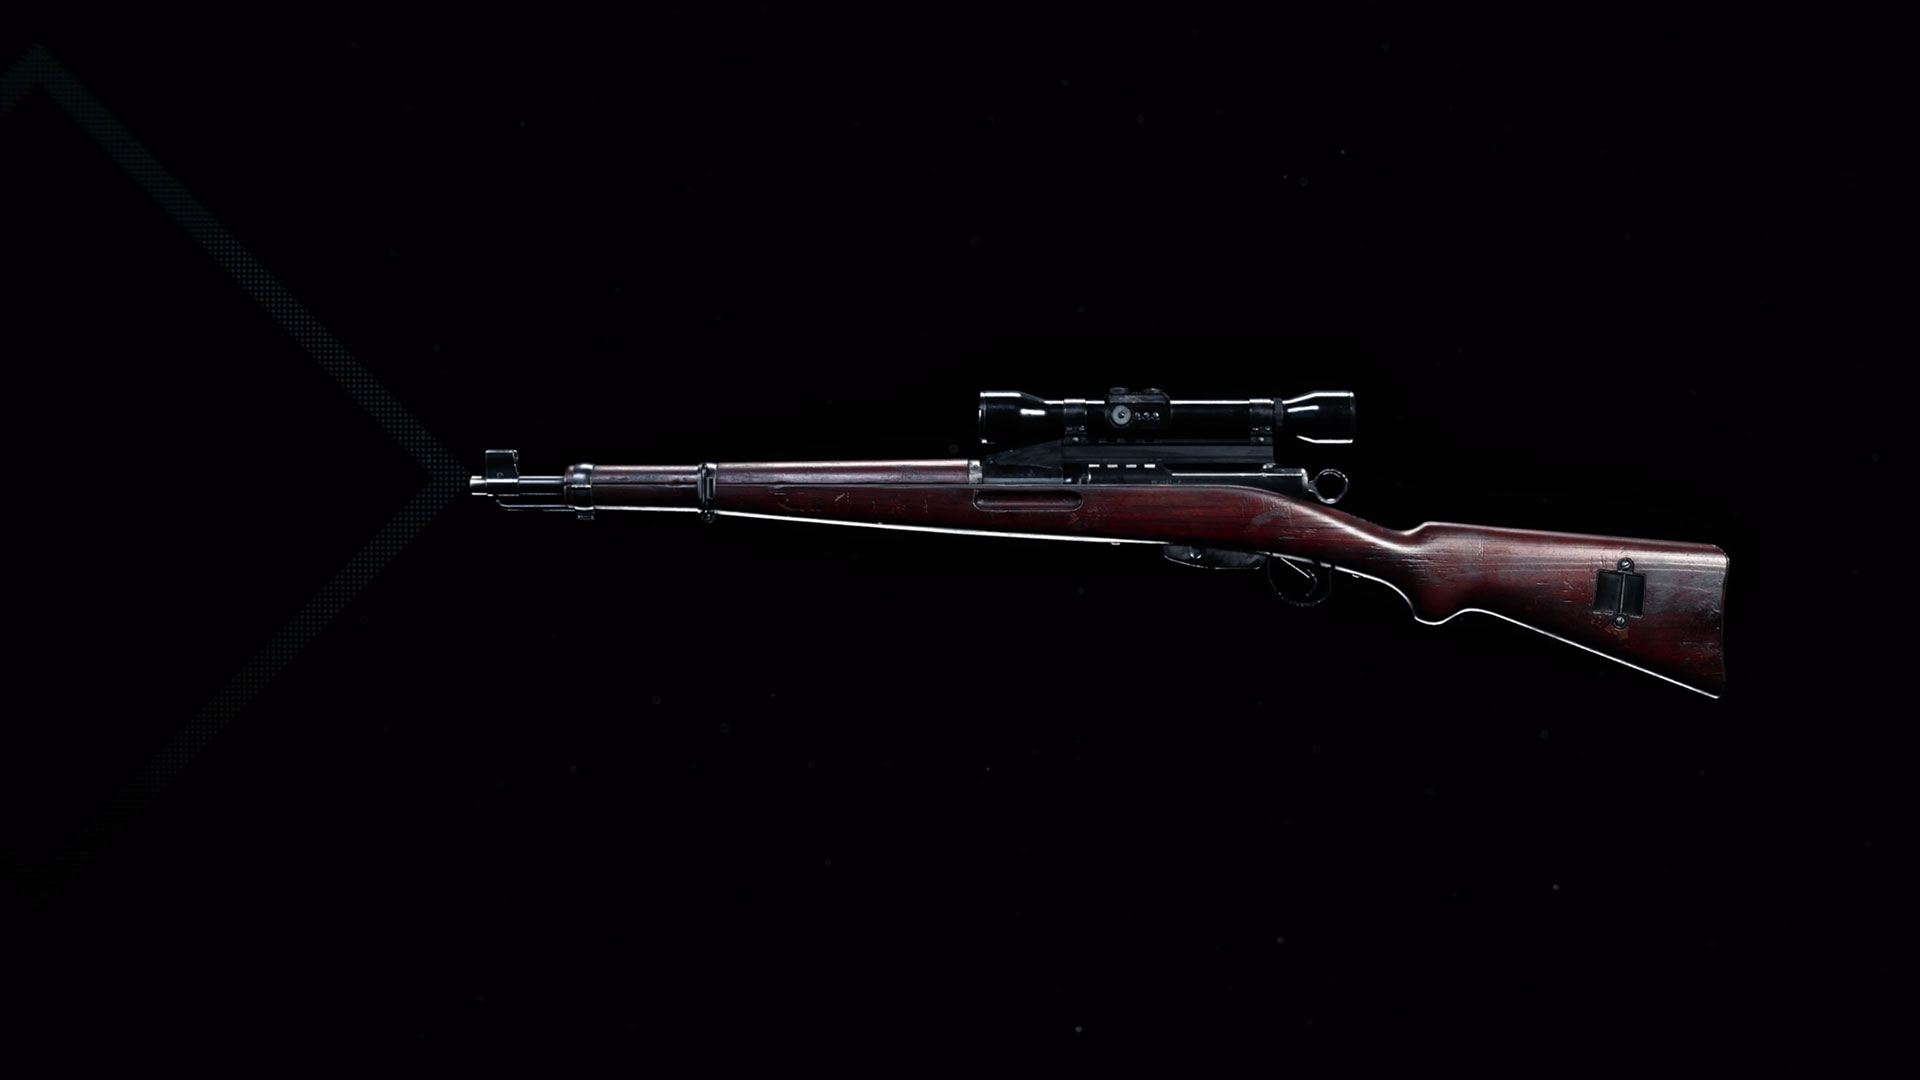
However, the two sniper rifle released following the launch of Black Ops Cold War are the most curious, with the Swiss K31, introduced in the Season Three Battle Pass, being a reliable rifle that can give those popular marksman rifle rivals a run for their money. There’s also the anti-material rifle known as the ZRG 20MM introduced late into Season Two, which only has room for three rounds of ammunition per clip by default but boasts powerful stopping power against both Operators and vehicles.
That’s just half of the offerings within this category, and all of them have their own pros and cons. It may take time to test each one and see which one best fits your sniping playstyle, but once you find it, it’s most likely to become one of your favorite weapons within Warzone.
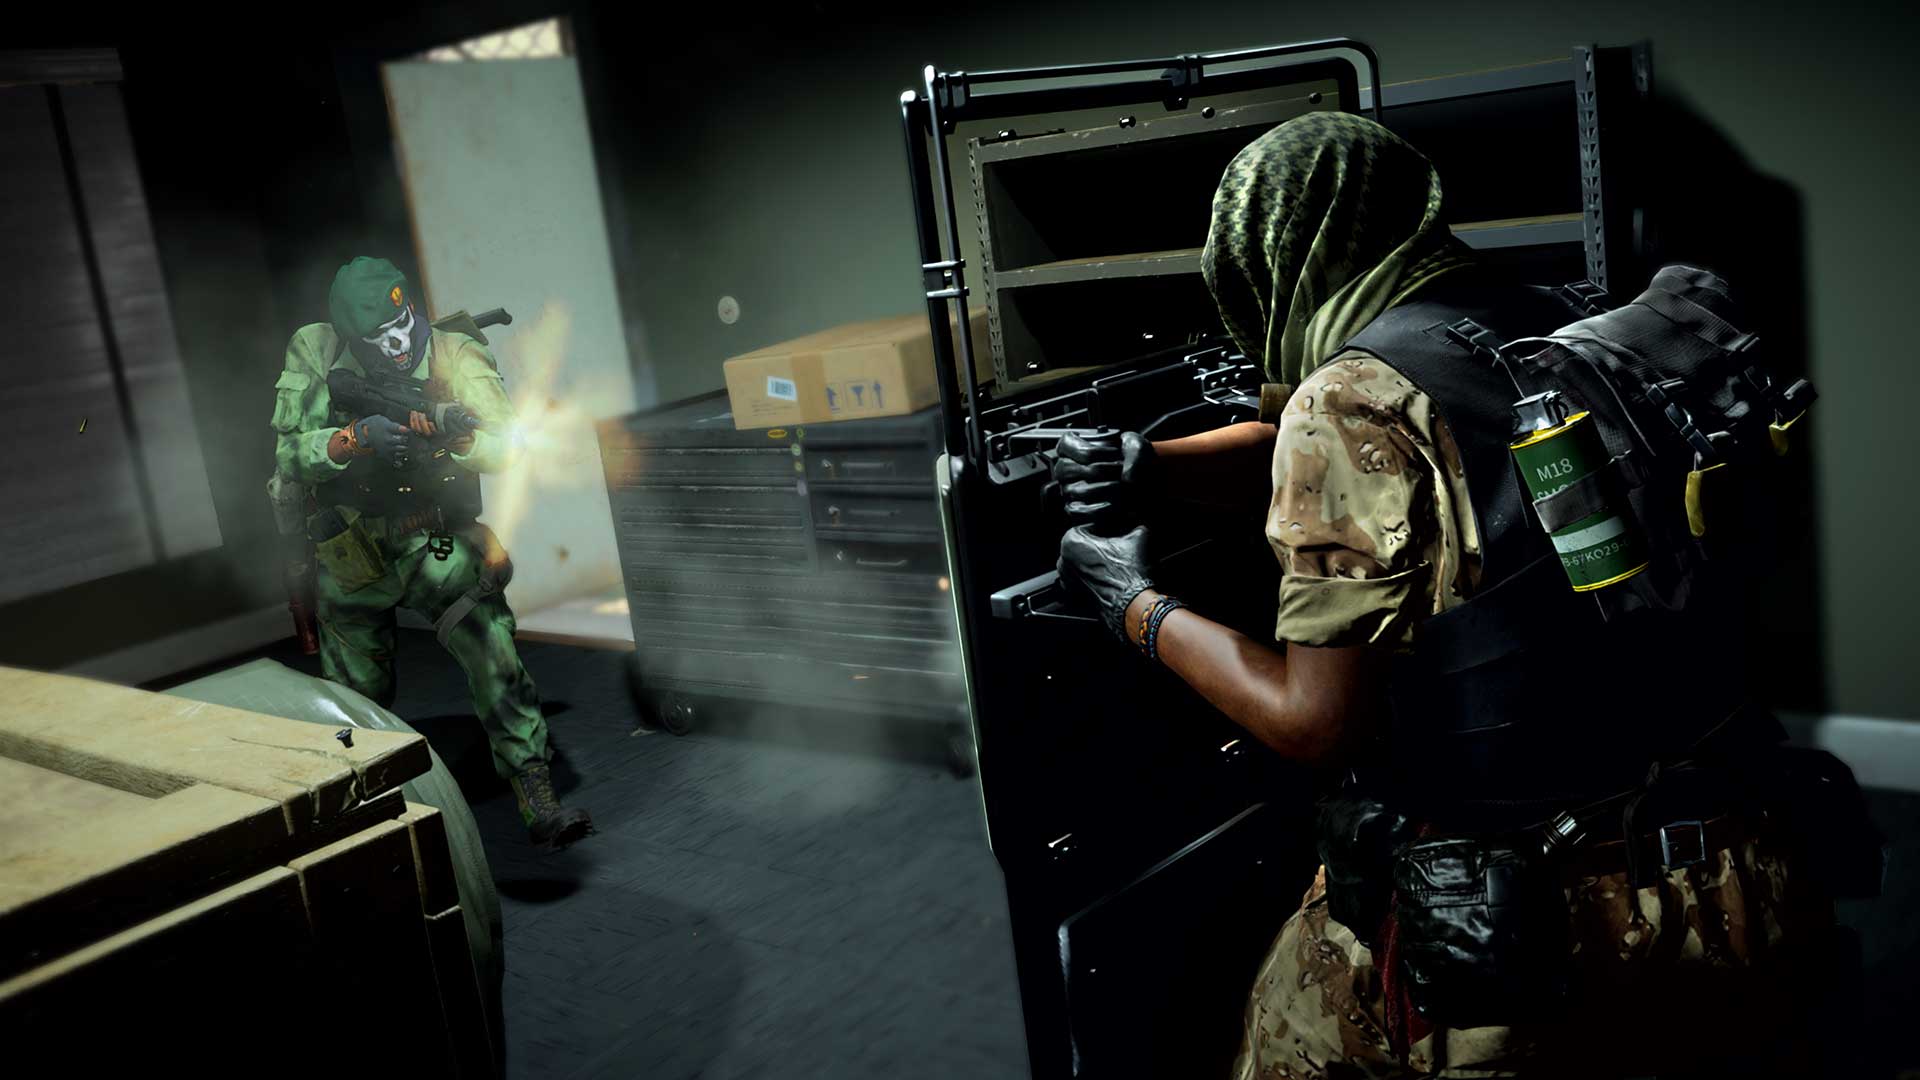
Rounding out the primary weapons is the melee category with only one truly unique option: the Riot Shield.
This weapon is unlike any other in Warzone, as it is based on an age-old premise: the best offense is a powerful defense. The Riot Shield is ballistic-proof and explosive resistant, or in other words, blocks bullets and reduces damage from all explosive devices.
Any bullet that hits this shield will be deflect off, protecting its user and anything else behind it. This can be helpful when defending an objective or a downed squadmate who is being revived by another.
Because this Riot Shield is large, it renders an Operator less mobile compared to some weapons, such as shotguns or SMGs. Despite its size, however, it does not cover an entire Operator; an Operator who is standing up straight will leave their ankles and feet susceptible to damage, and sprinting while using a Riot Shield will leave even more flesh out in the open … And, of course, any Riot Shield user will have a theoretical target painted on their completely exposed back.
Therefore, Riot Shield users will most often crouch to keep almost all their frontside covered by the shield. While crouch walking with this shield is slow, it is the most defensive tactic one can take while using it.
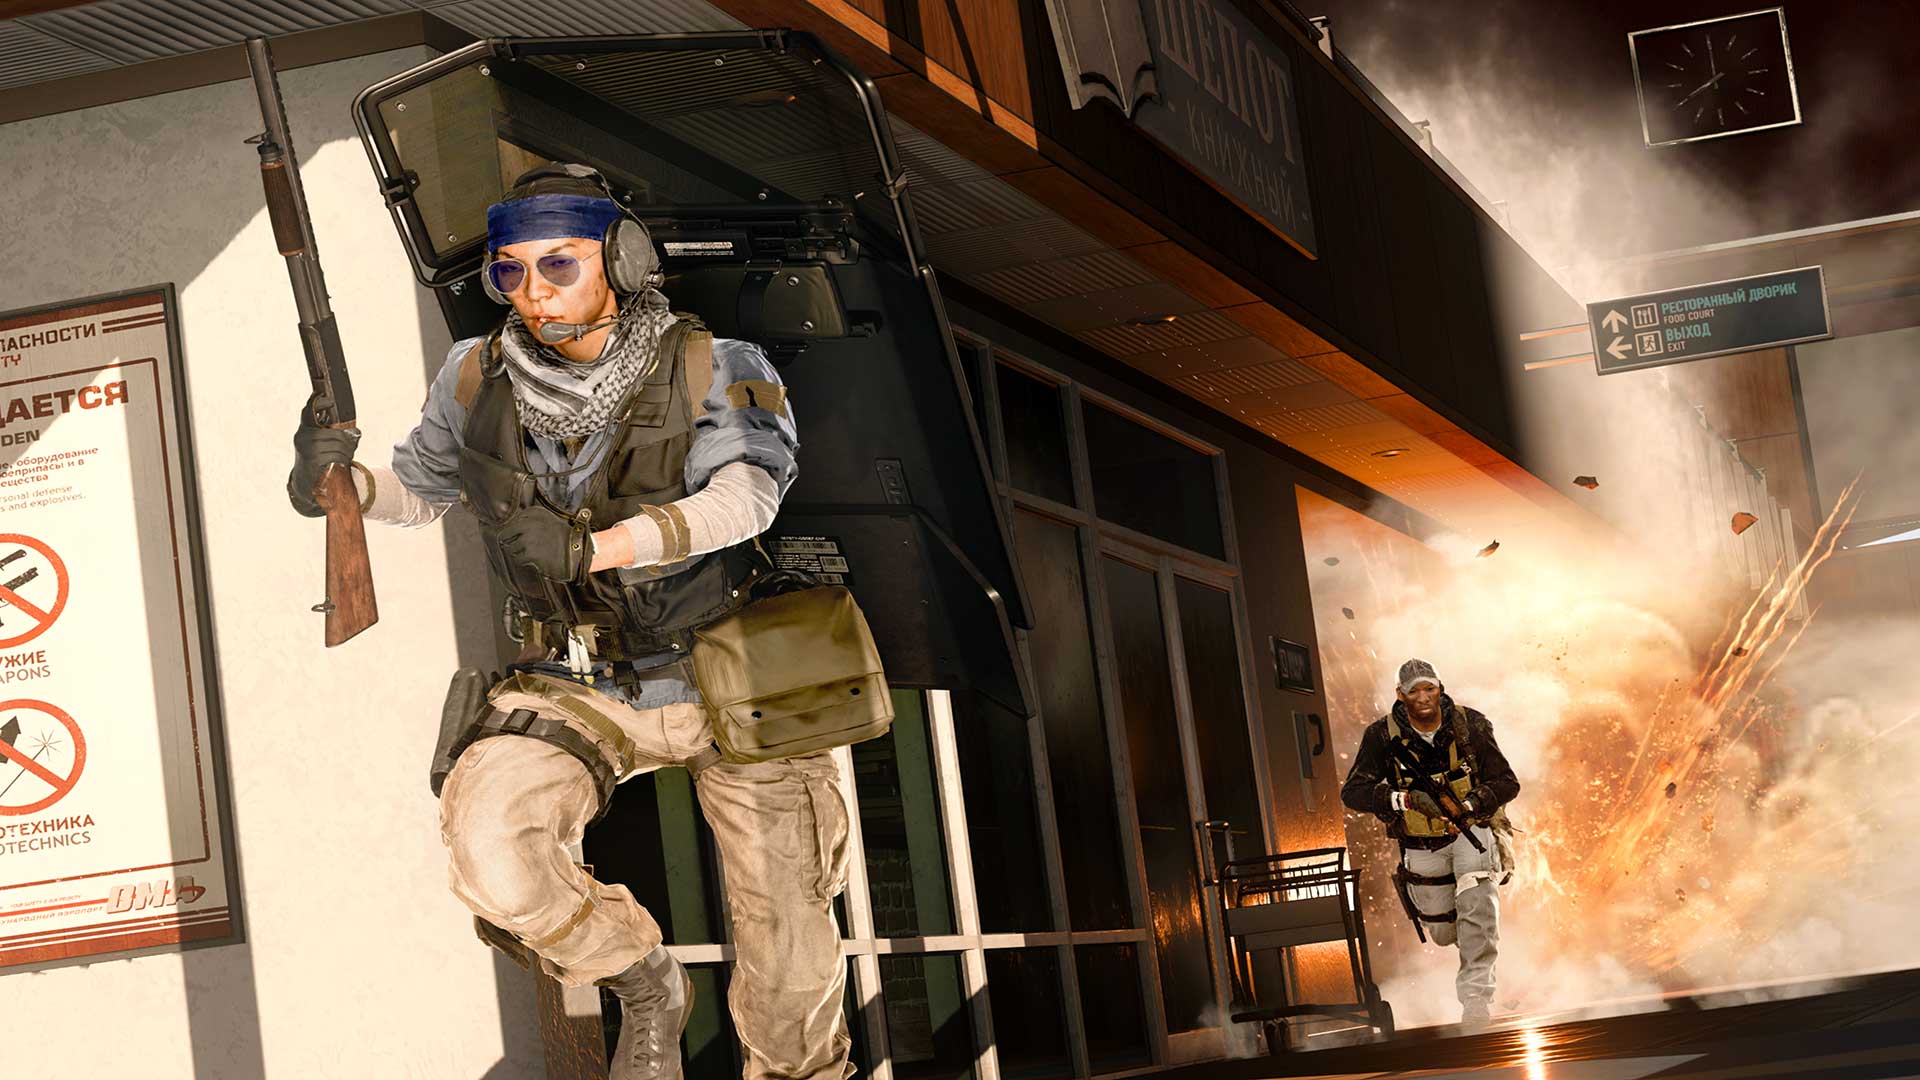
Another effective way to use this shield is to leave it on your back. Since it is strapped behind you, it will deflect any bullets that come into contact with it, leaving less surface area open for enemies to shoot you in the back.
Outside of bullets, the Riot Shield will act as a backboard for thrown equipment pieces except anything that can stick to it or catch it on fire, such as a Molotov. This can lead to some misdirection plays; an enemy Frag grenade could bounce right off and return to sender, or a teammate that needs to take cover can use it to ricochet a Snapshot Grenade into a doorway.
The last defining characteristic of the Riot Shield is that it deals melee damage in a safe, and effective, manner. An enemy with no armor can be knocked down with a Riot Shield in just two hits, and the shield user can remain mostly covered by the shield while attacking.
However, attacking with this shield should only be a last resort; defensive and otherwise unconventional tactics are recommended when using the Riot Shield, and while you have it on, be extra careful of anything sticky or flammable.
One final note on Riot Shield users pertaining to their use of unconventional tactics. When facing someone with a Riot Shield, they may exhibit some unusual behaviors, including the overuse of gestures and sprays, dropping large quantities of Cash and Ammo, and bouncing up and down to indicate that they are “friendly.”
While this may seem cute and/or generous, and love can always bloom within Warzone, we recommend not trusting them. Though these may seem like actions of gratitude and friendship, it will only take just a few seconds of you showing weakness – e.g. turning your back to them – for these Riot Shield users to turn on you, not only breaking your bones, but also your heart, and we hate to see an Operator fall victim to these truly devious traps of false friendship.
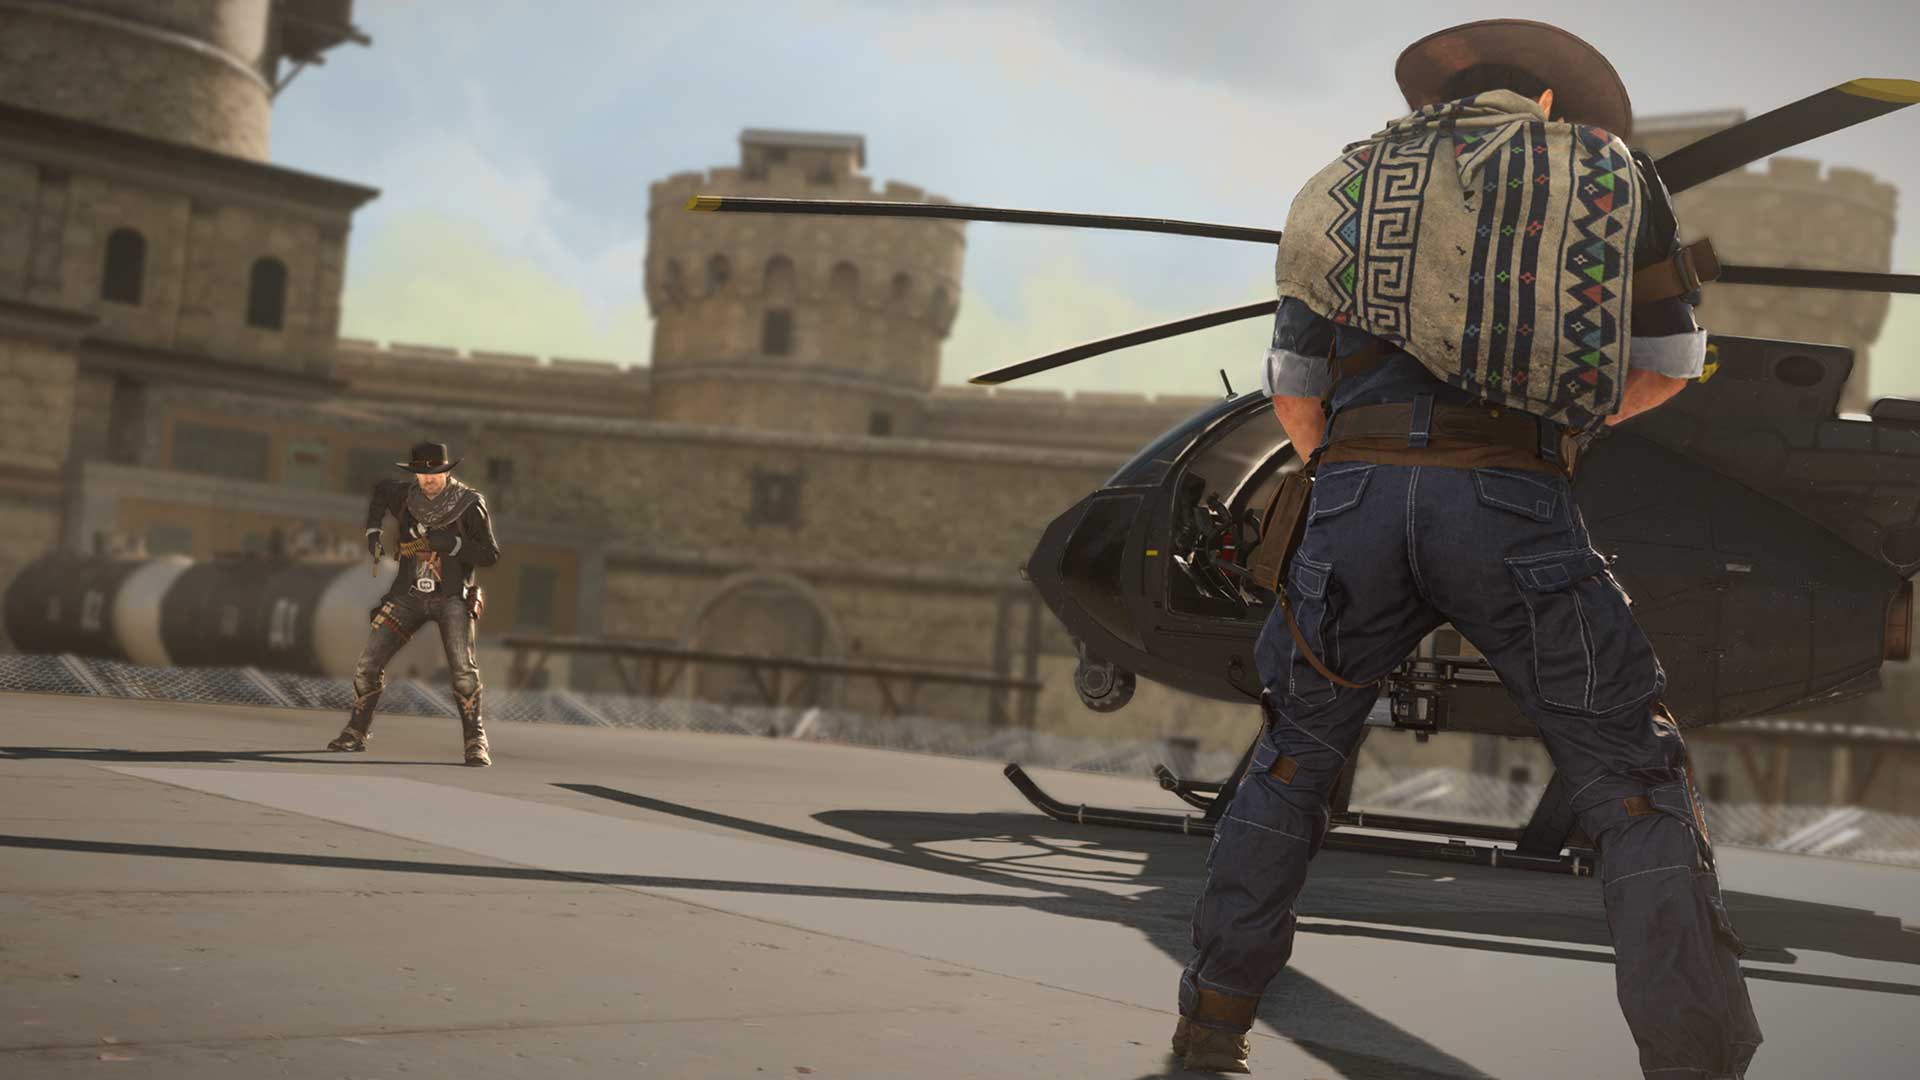
Just because these weapons are labelled as “secondary” doesn’t mean they should be a last resort. In fact, in specific situations, these weapons are second to none in Warzone, able to take down vehicles, deal immediate lethal damage, and even be your main source of reviving yourself.
A Secondary Weapon can be a handguns, launchers, or melee weapon. If you recall from our Firing chapter, this is the effective range of two Secondary Weapon categories:
Pistols – Close range, aiming down sights or hip-firing.
Launchers – Any range against technology or large groups, aiming down sights.
Melee weapons, of course, are best used within an arms-length of an enemy, but there is one exception to this rule that we’ll go over.
When creating a Loadout, you should try and cover a primary weapon’s shortfalls with an appropriate secondary weapon or use this slot to further augment a Loadout into even more of a niche role.
A wise Gaz once said, “Remember, switching to your pistol is always faster than reloading.”
Your handgun is your trusty backup option for when a primary weapon runs dry. Or, in the beginning of a standard Warzone match, you’ll drop in with only a handgun to your name.
Every fiber of your Operator’s being may direct you to swap out this pistol with two primary weapons (using the Overkill Perk), since you may think all of them can be outclassed by other weapons within Warzone after using that starting pistol in infiltration after infiltration on Verdansk. Here’s a few reasons why you might be wrong:
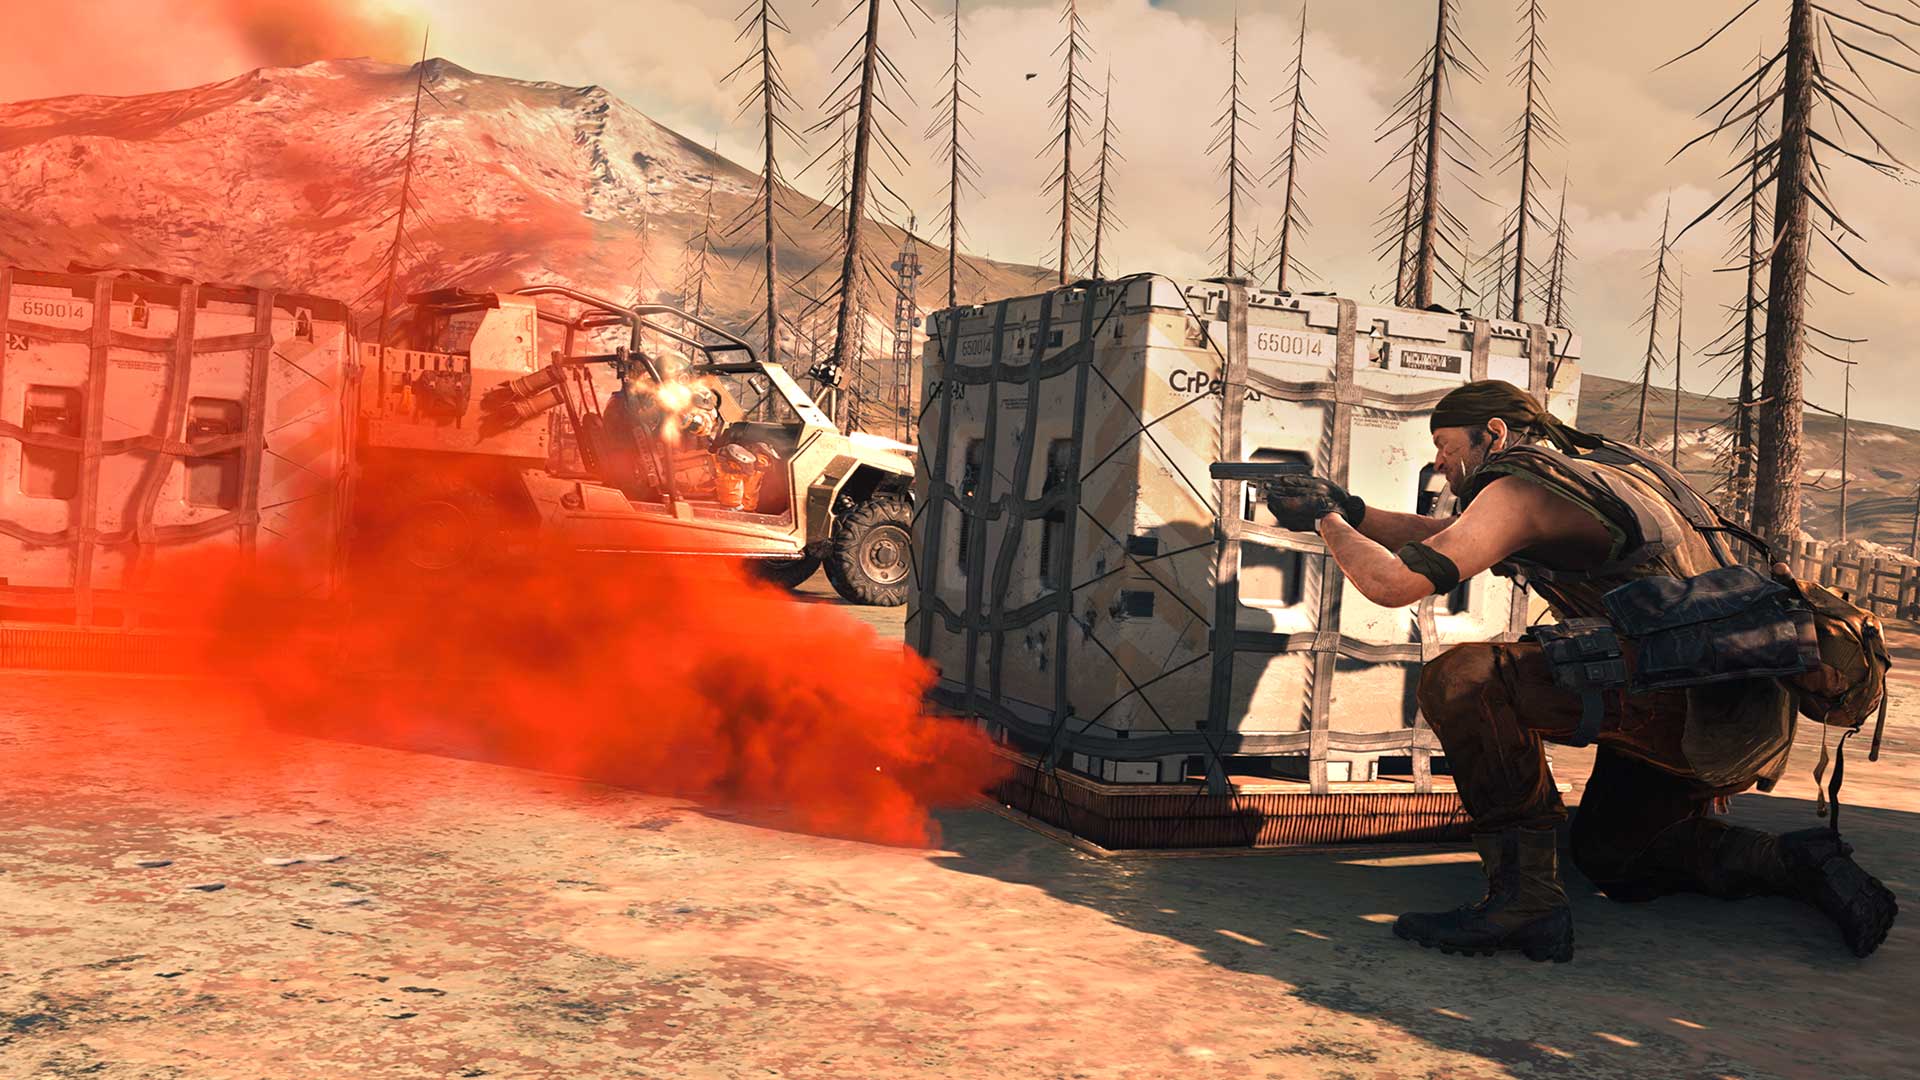
First, handguns have some of the fastest handling and mobility statistics in the game. When you need to run around the Warzone map quickly, taking out your sidearm will often speed you up (even if you’re carrying a slow-handling primary weapon). And, once again, it is a reliable choice whenever your main weapon is out of ammo in the middle of a fight.
Second, every handgun can fill still fill a niche hole within a loadout, complimenting types of primary weapons nicely. Need a rapid-firing, high capacity backup to a long-range beast of a sniper rifle? Look no further than the Sykov from Modern Warfare, a weapon that can turn from double-action to single-action, become fully automatic, and have a fire rate weapon with a strong magazine capacity that can be extended up to 80 rounds, which is higher than most LMGs by default. What about a powerful, longer-range option to go with your shotgun? The Magnum from Black Ops Cold War has the best range in this weapon class and can down an enemy with no armor in a single headshot.
How does a pocket-sized shotgun sound? The .357 from Modern Warfare has one attachment, Snake Shot, swaps out its .357 bullets for buckshot-filled shells, turning this pistol into a shotgun-like weapon without the need to use the Overkill perk in your Loadout. Rather fancy a burst-fire weapon? You have two options: one from Black Ops Cold War, and another from Modern Warfare, with the latter, the Renetti, having its own benefits as a semi-auto pistol rather than a three-round burst through its Mk3 Burst Mod attachment.
Then, of course, are the sidearms that many take as standard: the 1911 from Black Ops Cold War and the M19 from Modern Warfare, two gold standards for pistols that deal solid damage with great fire rates. Whether you are trying to fire at enemies while stationed on a ladder, or need to finish the job on a downed opponent, these two pistols find themselves in loadouts if there isn’t an Overkill to be found, and an actual firearm is needed in that slot.
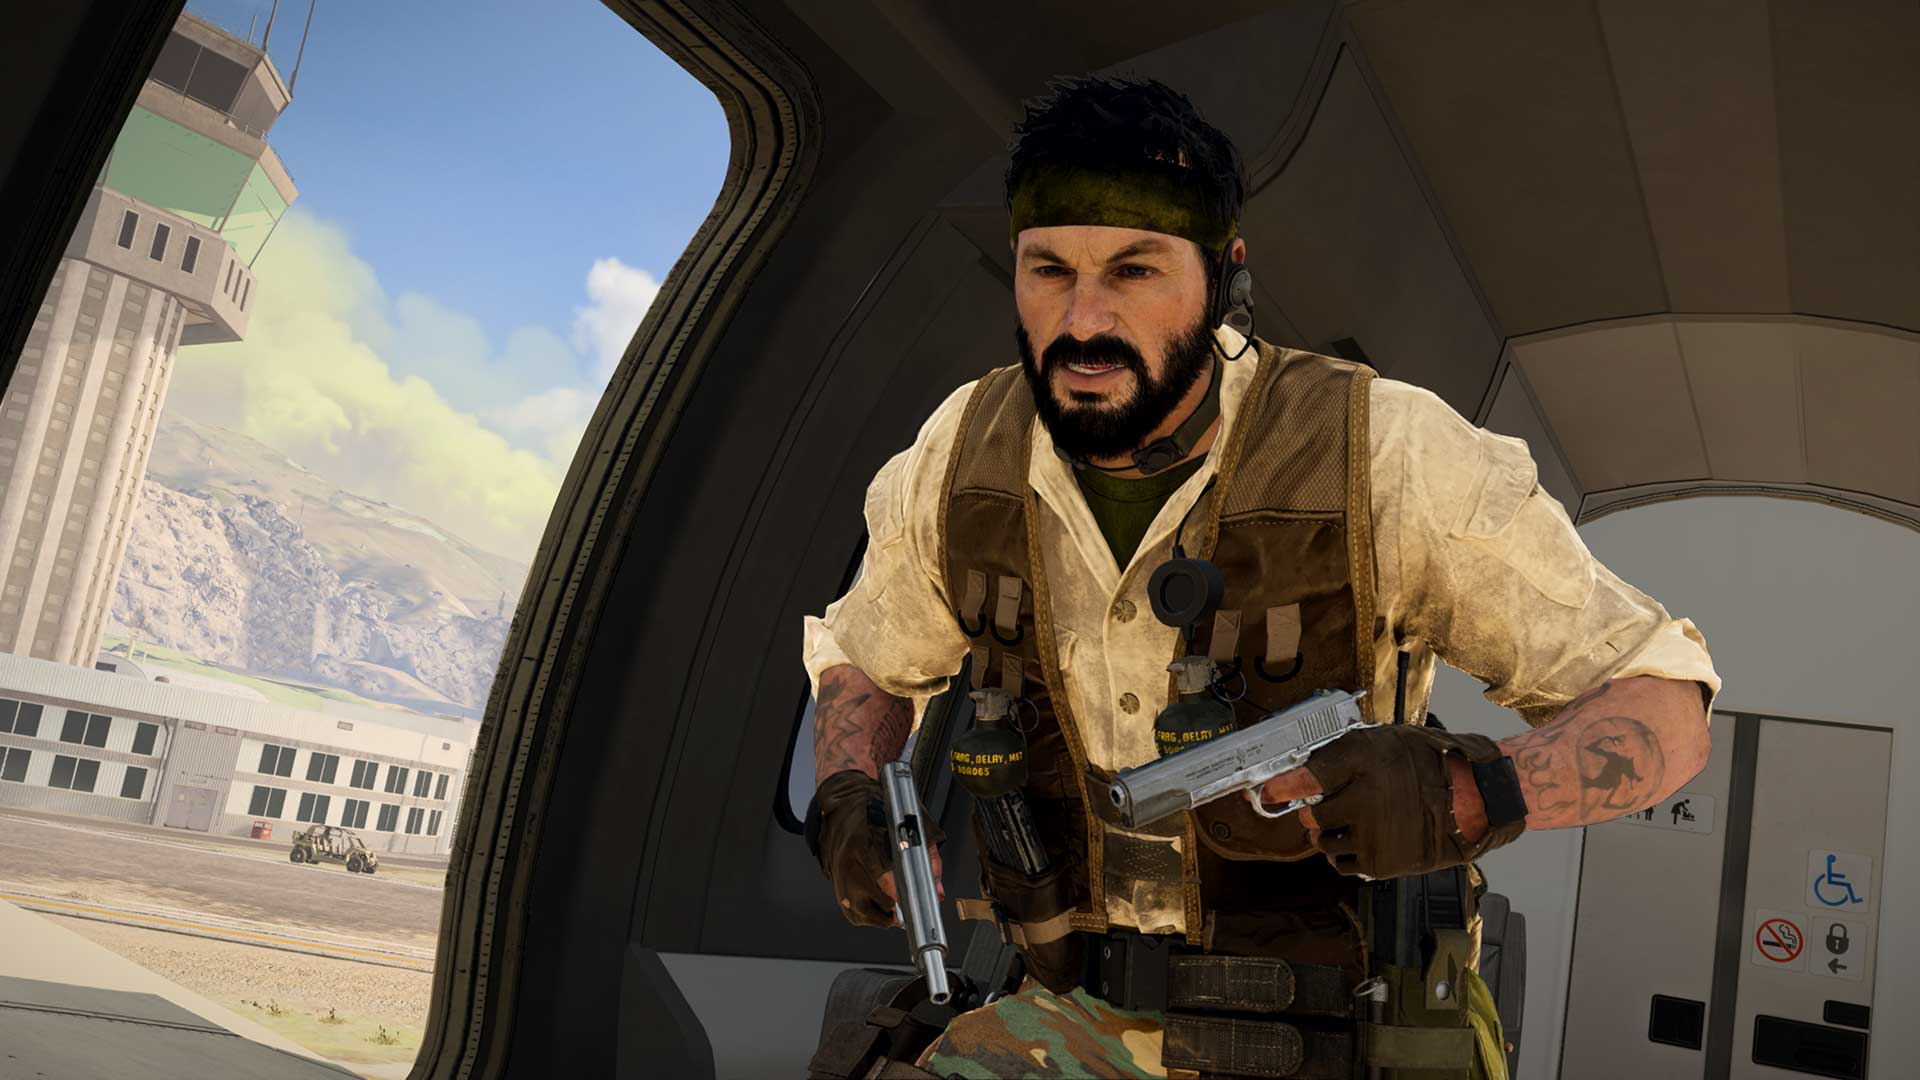
These two weapons often find themselves being the subject of Akimbo, but any pistol – including the Sykov and its ridiculous drum mags – can be dual-wielded thanks to the Akimbo Weapon Perk on Modern Warfare weapons, or Akimbo Stock attachment on Black Ops Cold War weapons.
Using an Akimbo weapon allows you to put more bullets down range. However, this comes at the cost of accuracy, as you are unable to aim down sights with Akimbo weapons in almost all cases, save for when you are on a ladder and can fire one of the sidearms as normal.
This can be partially remedied with available Laser attachments, but it still won’t come close to the accuracy of a shot aimed down sights. Then again, many of the sidearms do have great hip-fire accuracy statistics by default, so any concerns about accuracy is moreso for engagements that take place outside of a few meters down range.
In general, the most veteran Warzone Operators gravitate towards Akimbo sidearms, should they chose to use a secondary over another primary weapon, due to this raw damage output. But the accuracy of a single sidearm is far better at range than having to manage two of them from the hip at once.
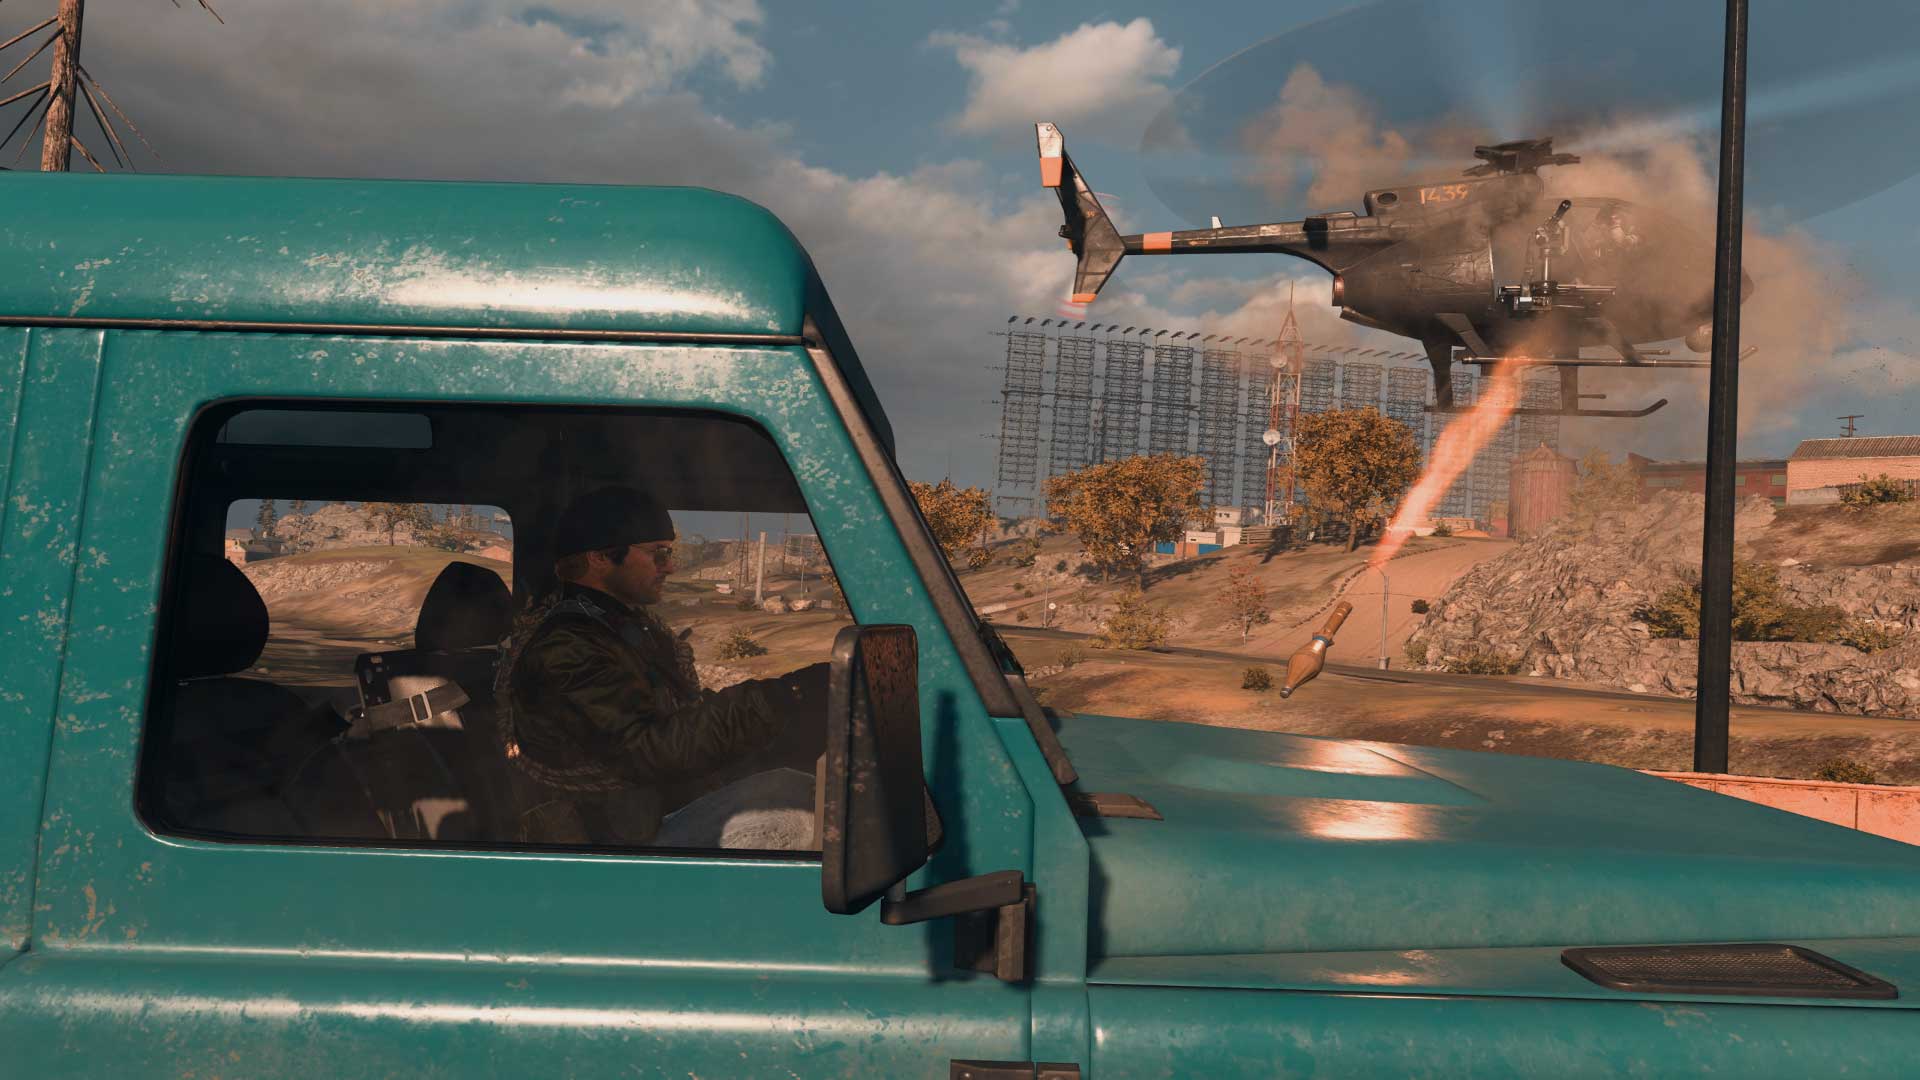
The launcher weapon class fills the most niche role in any loadout: vehicle and splash damage.
Within Warzone, most weapons will be more accurate and deal more reliable damage to rival soldiers. However, when facing enemy equipment and vehicles, few things are more devastating than a well-placed shot from a rocket launcher.
All the launchers that are available for Loadouts all have different tactics and usage tips, with the another launcher, a six-round grenade launcher that is considered Legendary loot, another effective tool for destruction. For the purpose of this guide, however, we’ll break down the main launchers you can equip in the Weapons menu.
The first launcher you’ll unlock for Loadouts from Modern Warfare is the PILA, otherwise known as your standard lock-on, fire-and-forget launcher, with a similar one also existing from the Black Ops Cold War universe as well. This launcher can knock out a UAV swiftly in just one missile, or do sizable damage to a helicopter, ATV, or Tactical Rover.
Locking on to a vehicle or drone with the PILA is as simple as aiming down sights towards the vehicle and keeping it within the sight picture for a few seconds. Once the targeting reticle blinks red, you can then fire and go about your business, as the rocket will follow the vehicle until it explodes or is misdirected by flares.
The PILA also has a free-fire function that can be used to hit enemies on foot, although its splash damage isn’t as powerful as other launchers in this category. In a pinch when there isn’t enough time to lock-on, free-firing the PILA at a fast-moving ground vehicle can be done, but usually, this is the launcher you would use to lock onto vehicles before turning them into scrap metal.
Those who want a free-firing rocket launcher should look to the Strela-P. This launcher has no lock-on function but has armor-piercing rockets that deal more damage to vehicles compared to the PILA.
While those armor-piercing properties won’t mean much to a flimsy UAV – or foot soldiers, since the actual explosive yield is technically smaller – it will do massive damage to the various player-driven vehicles of Warzone.
Think of this as the PILA with a higher skill floor: those who can lead these rockets well and make accurate shots can do more damage to vehicles than the PILA, but the lack of a lock-on makes the Strela-P unforgiving when you miss those shots.
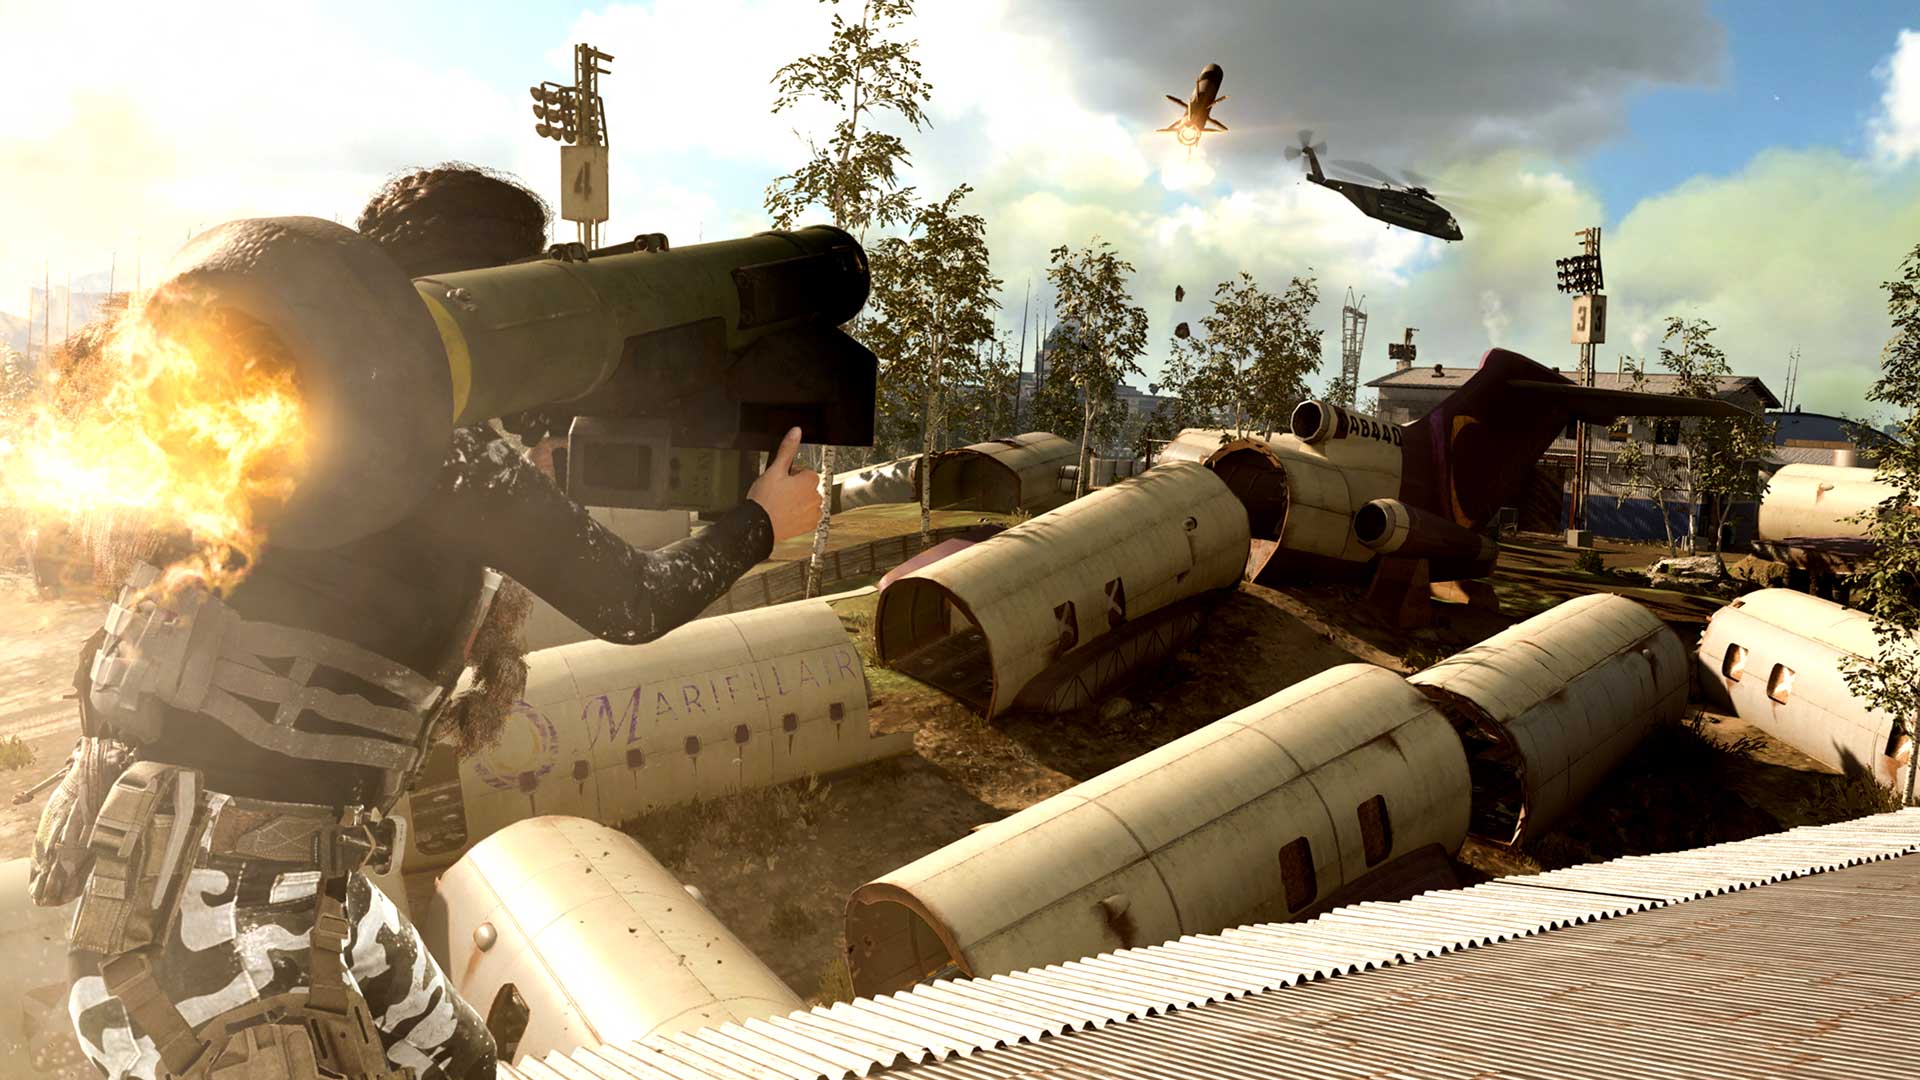
Then there is the JOKR, another fire-and-forget launcher that is a bit more complex than its PILA cousin. This launcher has a massive explosive yield and attacks vehicles or specific locations from the top down, although using it may take some practice.
When using the JOKR, you must first aim down sights and, if you want, turn on or off its optional thermal sight. Next, look towards the vehicle or location you want to target and lock onto it using the fire button.
If there are multiple potential targets in the area and it locks onto the wrong one, don’t worry; let go of the fire button, adjust the aim, and try again. If you are too close to the target, a big red X and a warning will pop up on screen to let you know that it won’t fire.
After holding the fire button for about three seconds, the HOLD pop-up will turn to FIRE a second before the missile leaves your JOKR. Once it does, it will either travel straight up and down towards the locked-on location or, if you locked onto a vehicle, travel with it until it explodes or is deflected by flares.
JOKR missiles will take a few seconds to reach their intended target, but when they do, they will deal significant damage to vehicles and/or enemy soldiers. Although its targeting mechanic may seem tough to master at first, the JOKR is not as difficult to use and can be an underrated part of any Loadout or in-game loadout.
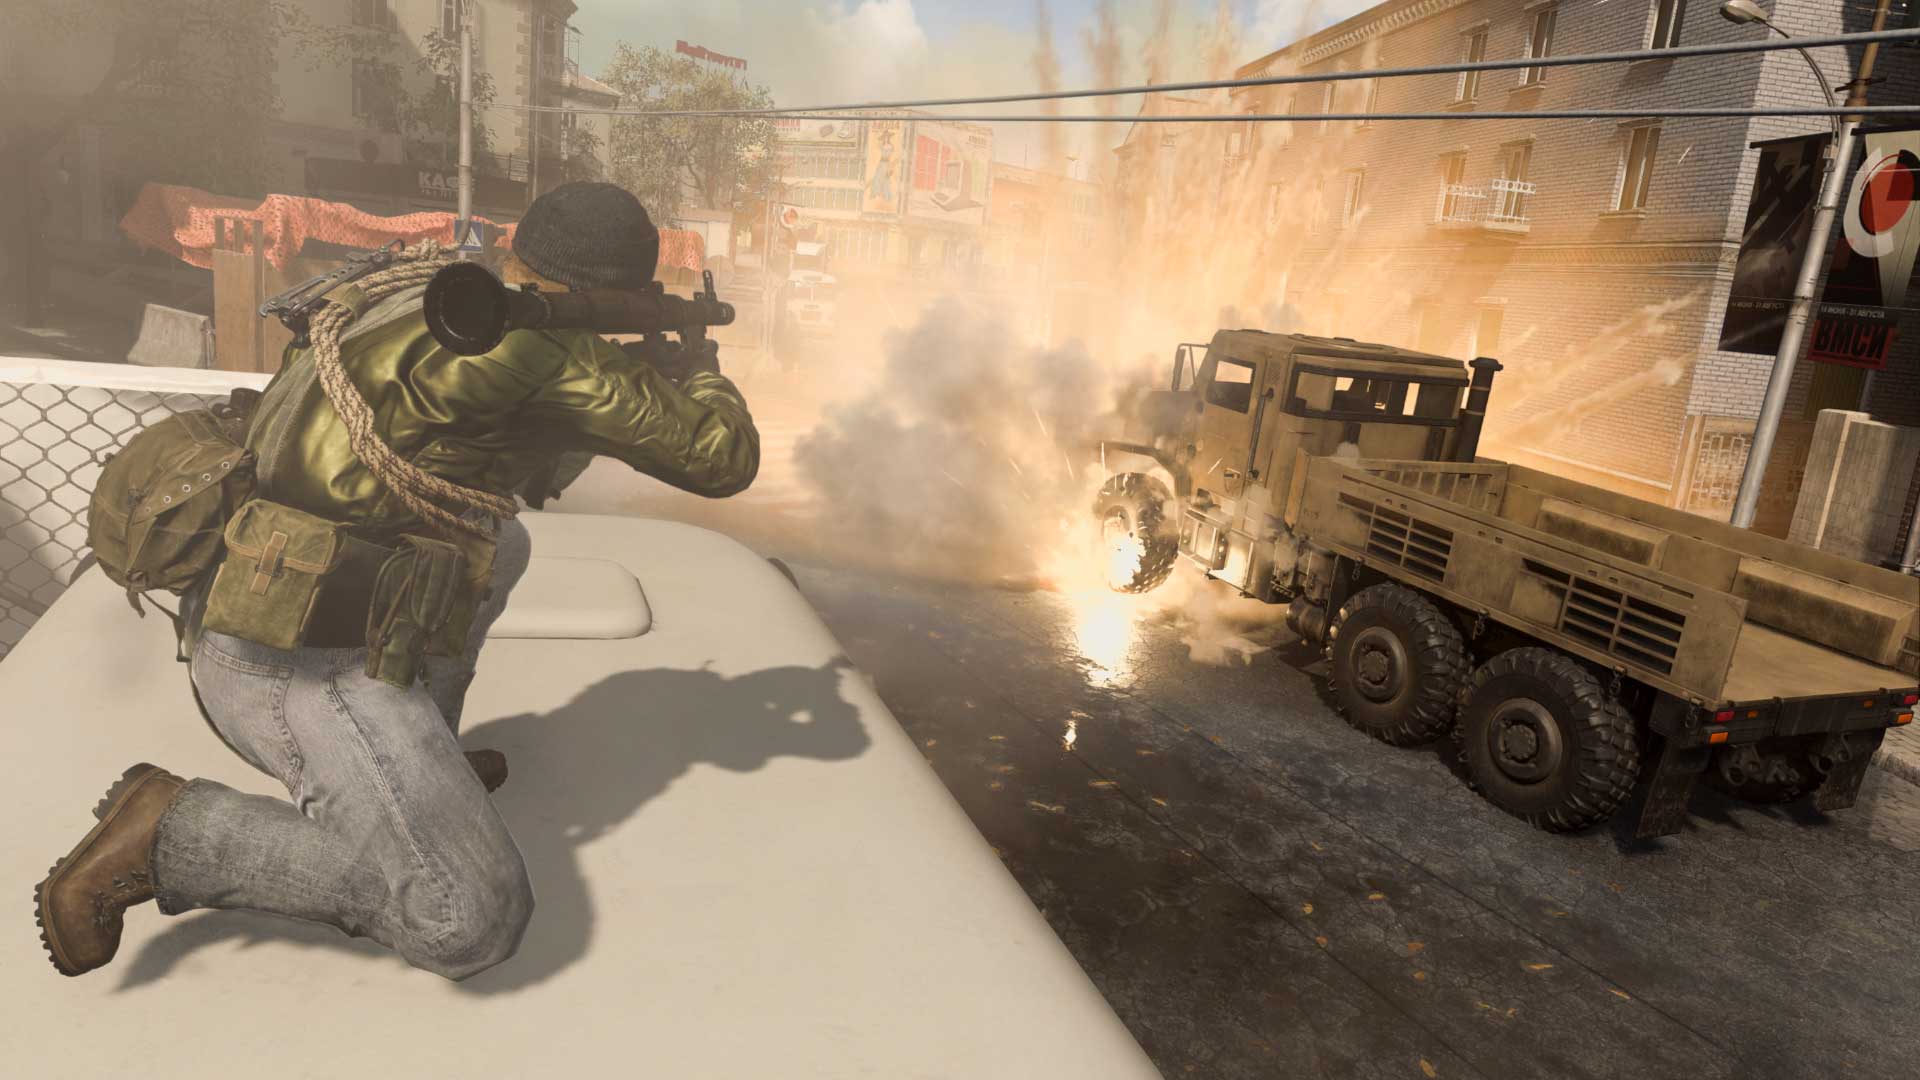
The final rocket launcher that can be equipped in a Loadout is the RPG-7, an unguided, self-propelled launcher that fires a rocket-propelled grenade (hence RPG). There are two versions of this weapon – one from Modern Warfare and one from Black Ops Cold War – that have incredibly minor differences outside of the choice of camos and stickers that can be put on it.
The RPG-7’s explosive yield can knock an enemy or two flat on the ground within a small area, or deal solid damage to every vehicle in Warzone.
Because this projectile leaves its launcher slower than other launchers, it may take some time to hit distant targets reliably with the RPG-7, since its flight path can get a bit unpredictable after a few dozen meters.
Still, the RPG-7 can be a deadly addition to any Loadout in the wild, adding a powerful explosive punch against tightly packed enemies or smaller vehicles to go with any primary weapon. And, when it comes to portability, no other launcher is as compact as this one, making it the most mobile option in a category where speed isn’t king.
On top of all of these rocket launchers, there is also one grenade launcher within this category, which acts similar to a grenade launcher found on the underbarrel of Modern Warfare assault rifles. Usually meant for infantry, but can work against vehicles in a pinch, this grenade launcher might get lost amongst the rest of this category.
No matter what launcher you use, there are a few constants: all of them pack little starting ammunition, slow down an Operator greatly, and take a while to reload. Amped, a perk in Slot 3, directly helps some of these concerns, as it speeds up the time it takes to take these launchers – and other weapons – out and quickens rocket launcher reloads.
When creating a Loadout with a launcher, it may be wise to take Amped along with it. However, there is a case to take Shrapnel, a perk that makes explosive damage delay enemy health regeneration for a few seconds, as well.
However, when finding these weapons in the wild with no perks to your name, it may be worth picking up at least one for your squad, or if you’re venturing about in Warzone alone, with vehicle-happy foes.
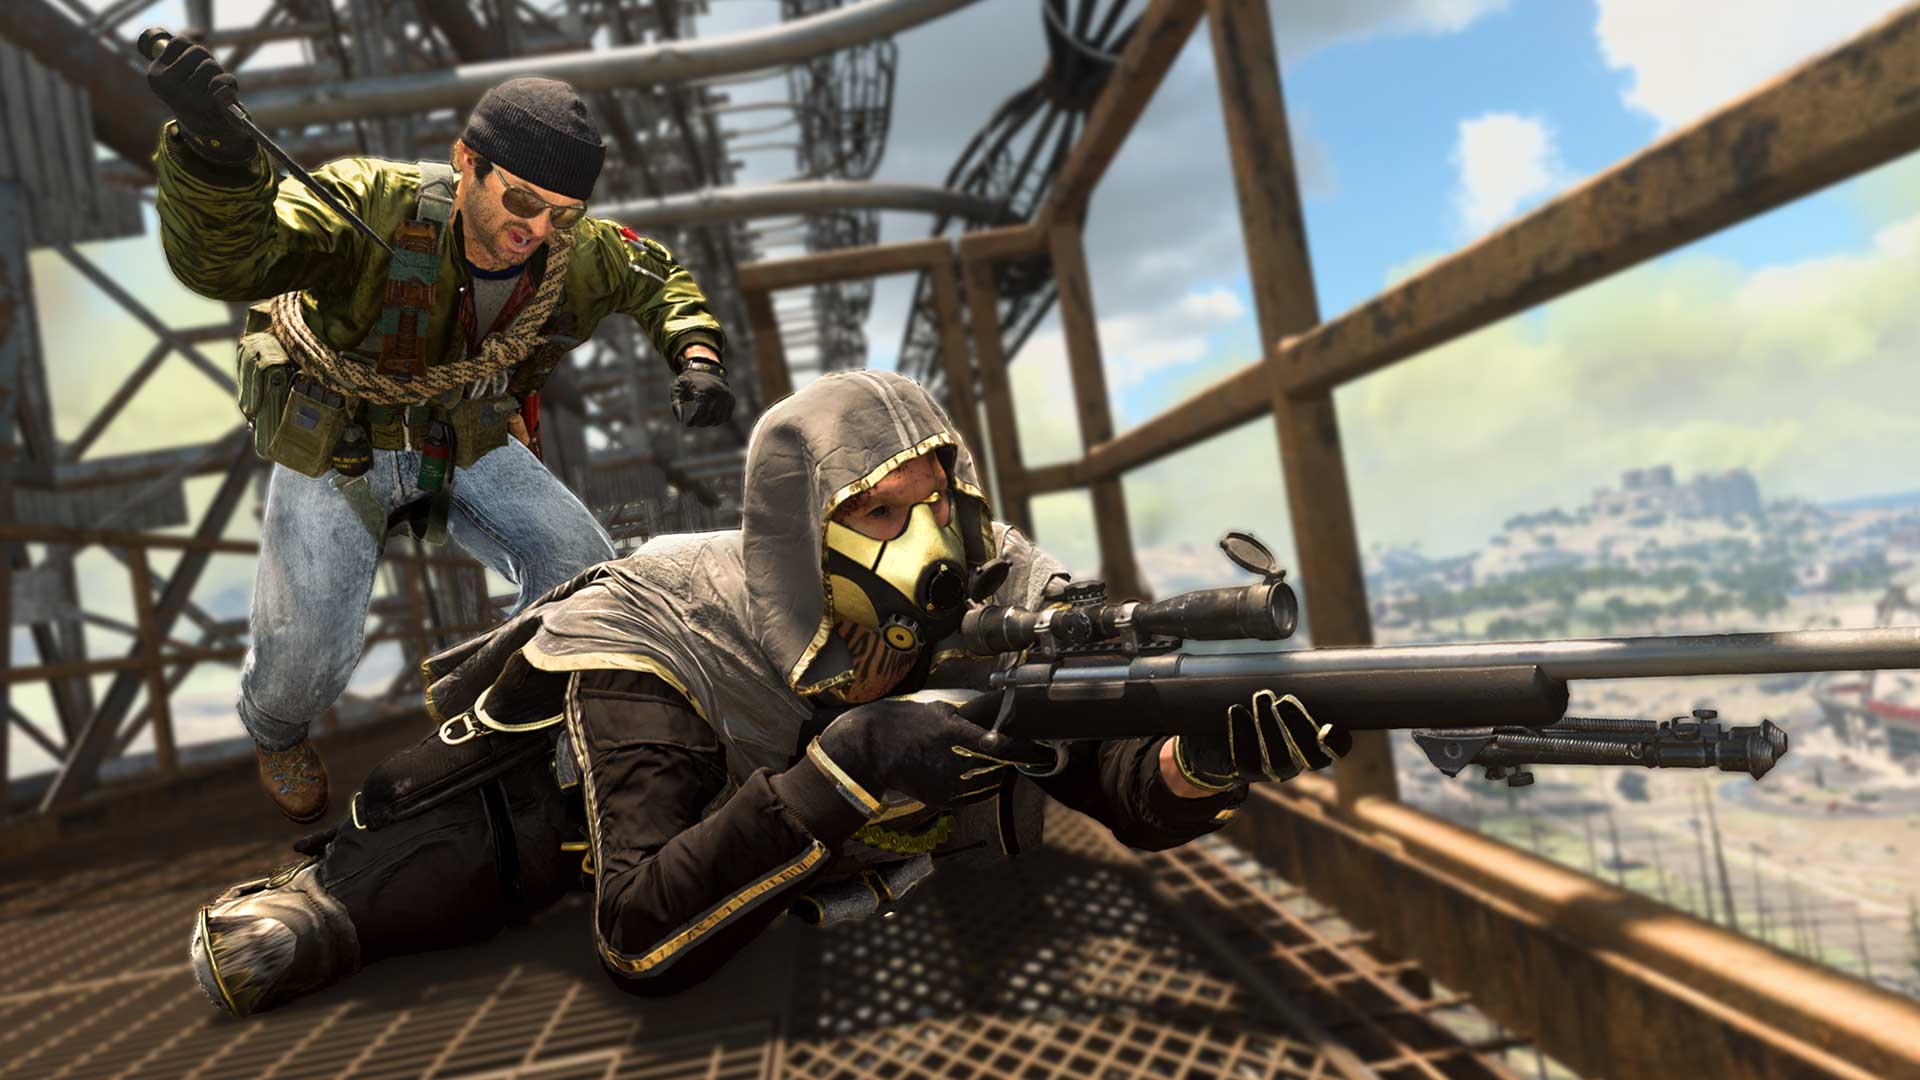
If you intend to get into a close-quarters brawl, then the weapons in this category are the ultimate tools for the job.
Although using your fists or a weapon can be done by default, their power is significantly weaker than the tools found in the melee weapon category. From the Combat Knife to the Machete, a Wakizashi sword and Dual Kodachis to a pair of wooden Kali Sticks, and a Sledgehammer to even a shovel by the name of E-Tool, this weapon category boasts a wide range of tools for hand-to-hand combat, with the Knife from Modern Warfare having plenty of Blueprints to change its form to an axe, ice pick, or even a barber’s razor (without any functional changes to the weapon itself).
No matter what melee tool you use, there are no red dot pings that can alert other enemies to your presence, which means manual callouts are the only way to notify teammates of an enemy knifer.
Because of these weapon’s limited range, it may take some practice to use it effectively. It won’t be active unless you physically take it out, meaning that if you are currently using another weapon in a loadout and need to knife someone, you need to switch to it to guarantee a quick melee takedown… Unless, of course, you are at their back and perform a Finishing Move (more on this in our Operators chapter).
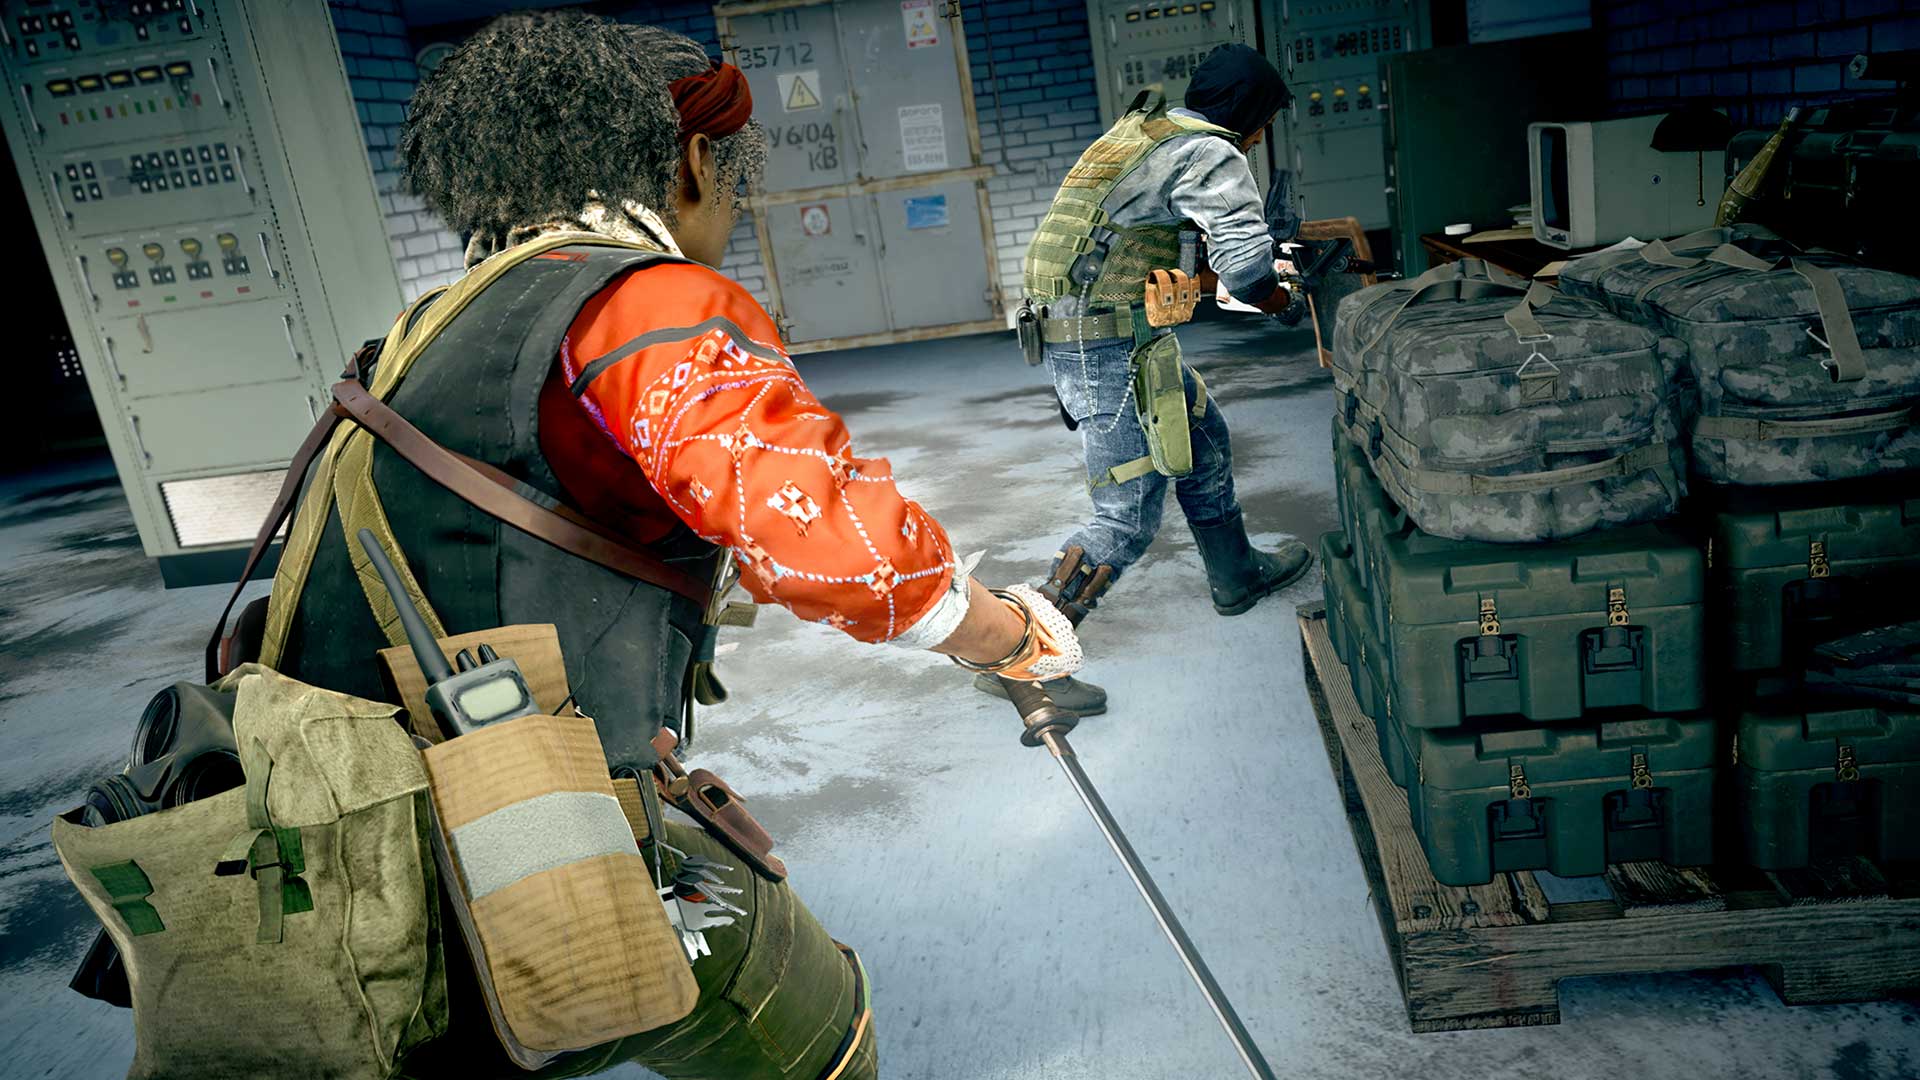
Fortunately, swapping to these melee weapons is one of the fastest weapon switches in the game, which makes logical sense considering it weighs only a pound or so. Its weight, or lack thereof, also makes it the lightest weapon to carry, which translates to a next-to-nothing movement penalty for your Operator.
In other words, outside of a wheeled vehicle, sprinting around with a melee weapon is the fastest way to move around Verdansk on the ground, especially if it’s that Kali Sticks, as these pieces of wood are so lightweight, they barely hinder an Operator’s movement.
Yes, each of these eight melee weapons have their own unique properties, including movement speed, damage per swing, speed of swing, cooldown, and range. All the one-handed weapons tend to be slower swinging and heavier hitting than the two-handed weapons, which offer two hits in rapid succession.
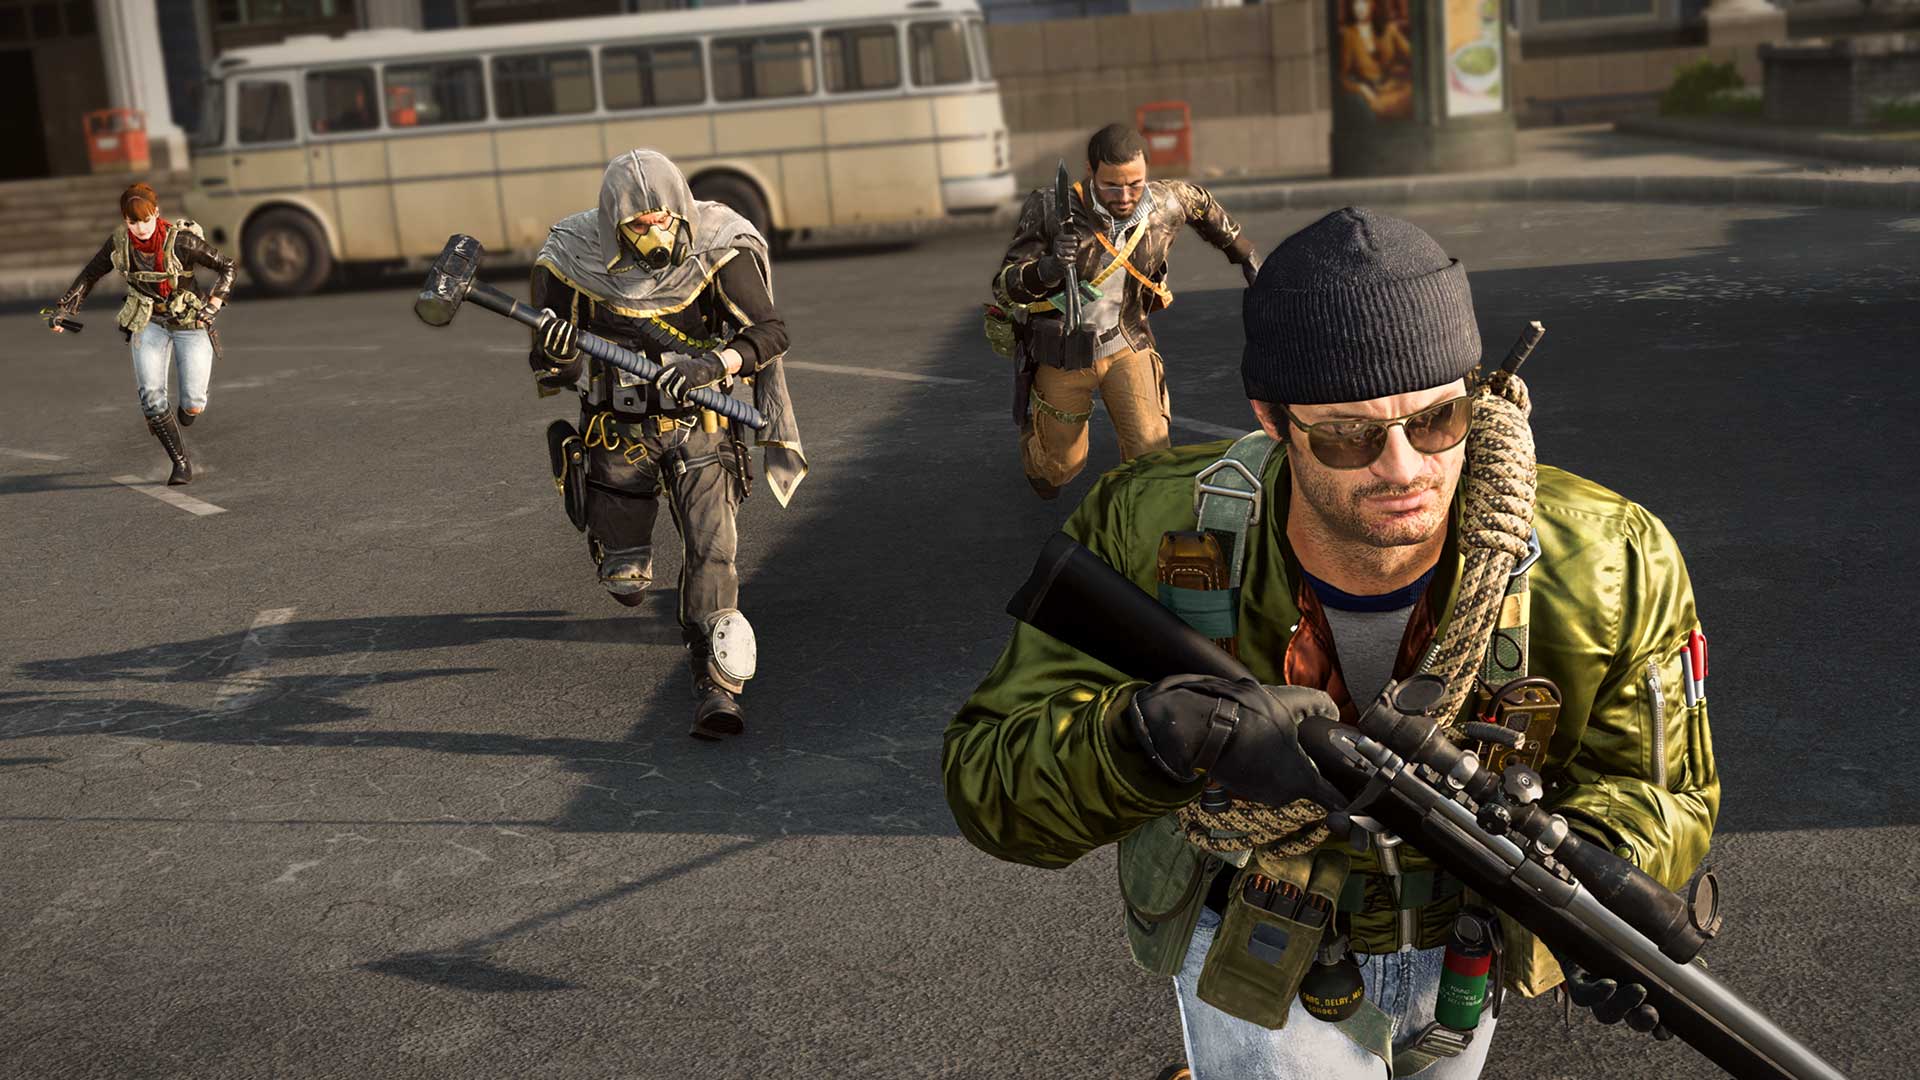
No matter the melee weapon, you will need to hit an Operator more than once to guarantee them going down or dying, especially if you aren’t using a single knife, sword, sledgehammer, or shovel.
We should note that within Verdansk or Rebirth Island, it is extremely rare to find a melee weapon as an item on the ground or in a Supply Cache, so the only time you will see them is in a Loadout Drop. Furthermore, among the most elite Operators, melee weapons do not see as much play outside of being ways to move quicker around the map, given how large both Warzone maps are.
But for some Operators, these knives (or hammers, sticks, etc.) only add to the fun of creating unique loadouts to go against the “meta” and go for impressive victories. Because melee weapons are rarely used within Warzone, an Operator wielding one could confuse and disorient enemies of all experience levels.
Which is exactly how you should use these weapons, should you want to have a bit of fun.
If you want to use a melee weapon as a primary means of damage, we recommend using some of the disorientation devices – Flash, Stun, and Gas Grenades – to hinder a ranged weapon user’s ability to react, then rush forward for an all-out attack. Furthermore, it’s wise to not give away your position and to stay off enemy recon devices, such as UAVs and Heartbeat Sensors, so that you can safely get within striking distance.
Like a marksman rifle and the Riot Shield, using these melee weapons requires a whole new set of strategies for playing Warzone, one that is a bit unconventional compared to just using an automatic weapon. However, should you choose to use one, and if you wind up earning a Battle Royale victory only using it, then consider yourself a true master of the melee arts.
Outside of weapons, lethal and tactical equipment are two of the most used tools within Warzone. A common find among loot and within a Loadout Drop, these equipment pieces either offer another way to deal damage to enemies or vehicles, distract or disorient enemies, or provide active benefits to you and your squad.
While each piece of equipment has their own unique tactics, they can be summarized into categories just like weapons. Specifically, here’s how we like to break down all lethal equipment in the game:
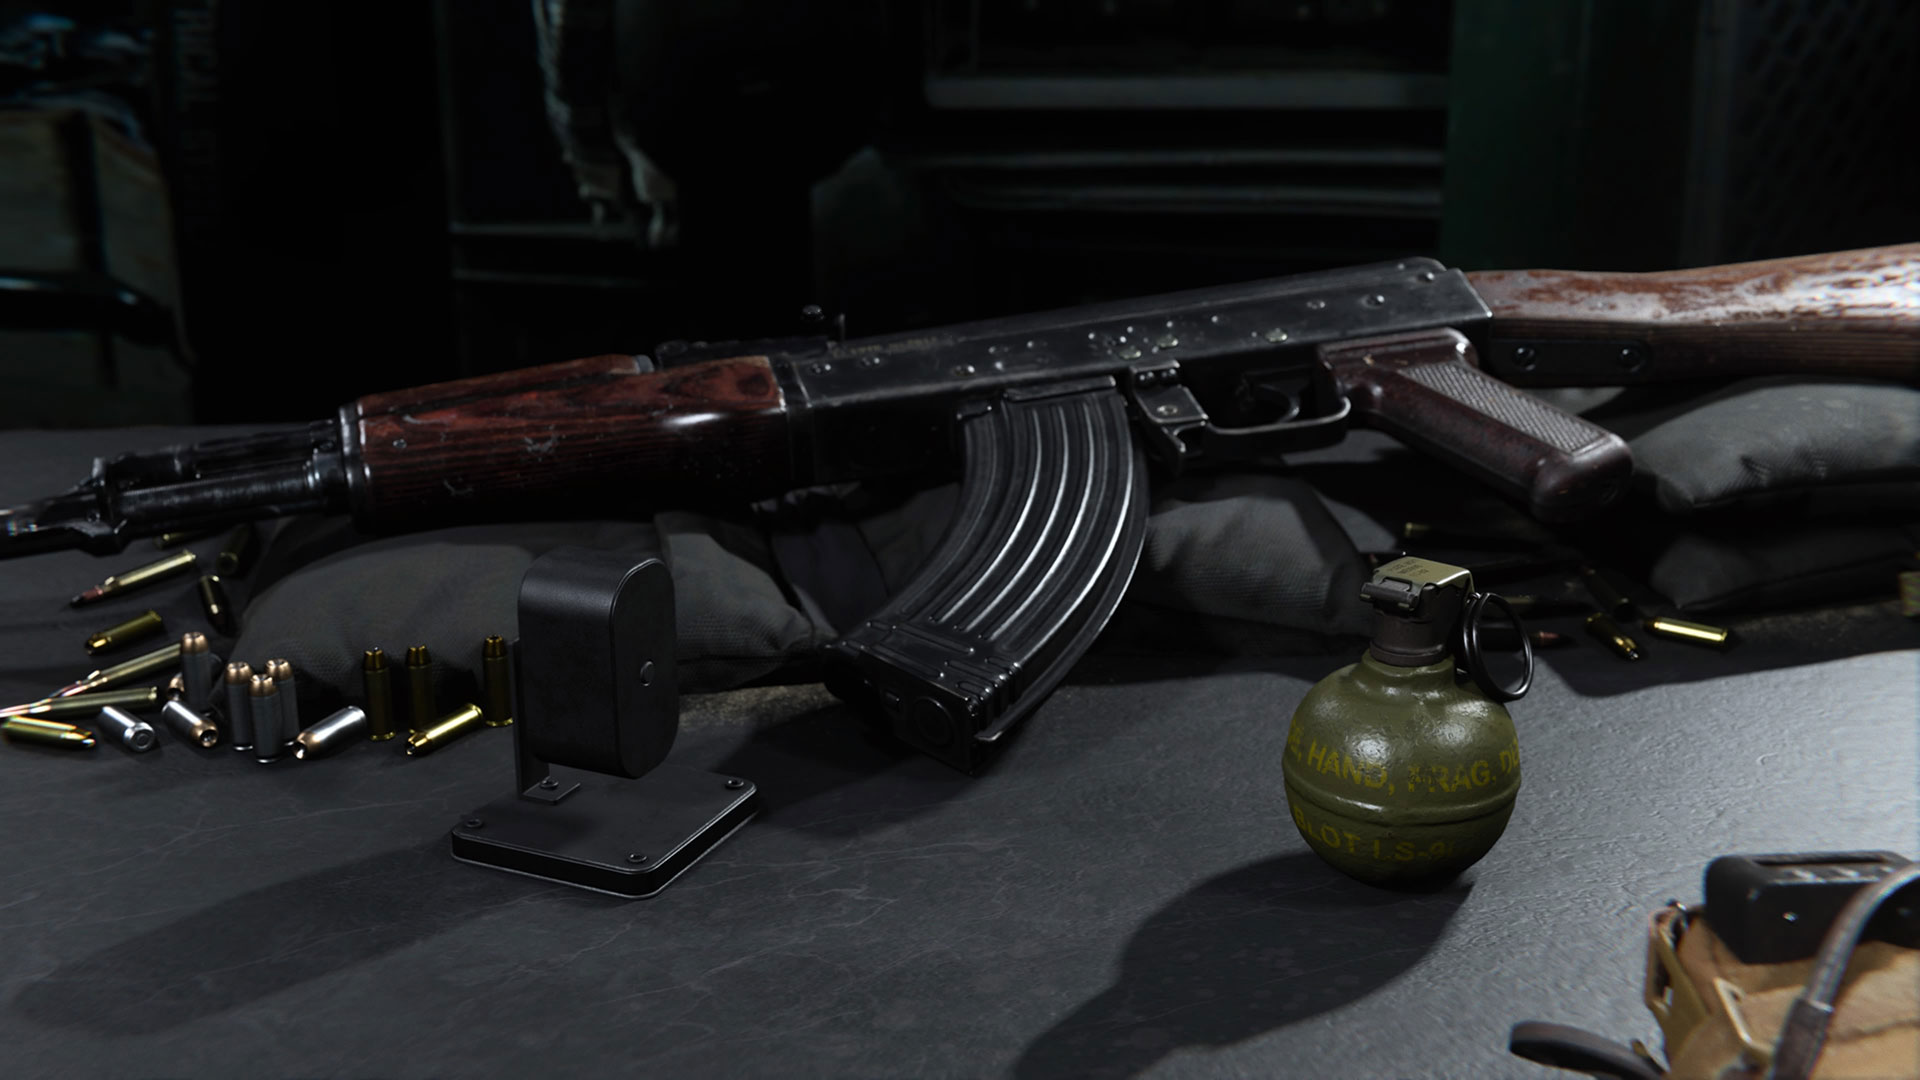
Grenades and Incendiaries
Whether it’s a flaming cocktail, a sticky bomb, or a standard issue Frag, half of the lethal equipment you’ll find in Warzone all works the same: throw it, preferably away from yourself and teammates, and watch it explode.
These weapons usually deal the most damage when they are directed towards enemy soldiers rather than vehicles; the further away from the blast radius, the less damage enemies will take from any of these four explosives. Some of these explosives, such as the Thermite and Molotov Cocktail, can also be stuck onto an enemy, which virtually guarantees their death and can potentially deal more damage to other players near them.
The Thermite and Molotov Cocktail can also do significant damage to vehicles, as their fire can overheat engines and otherwise scorch metal. Thermite specifically is known for being nasty towards vehicles, as it can latch onto surfaces and spark up, which can eventually make them explode. Also try them on foes using the Riot Shield.
No matter which of these grenades you find in the wild, they are the easiest to use and require little guidance. You may have to throw them in an arc to hit targets at a distance, but otherwise, these are solid additions to any Loadout, especially for new players, and are options you shouldn’t think twice about when finding them among other loot.
Triggered Explosives
The Claymore, C4, and Proximity Mine all have one thing in common: they are all explosives that activate with a specific trigger.
For the Claymore, it explodes whenever an enemy cross its laser tripwire, while for the Proximity Mine, it pops up when it is stepped on or near due to pressure. In the case of both weapons, these are solid defensive tools that can be used for area denial, as they can be placed in entryways to hinder or halt enemy progress.
They also have uses while you are downed; if you set a Claymore or Proximity Mine before you are downed and it takes an enemy out, you will gain Second Wind and get back in the fight. If you are running low on health and options, it may not be a bad idea to throw one down and hope for the best.
As for the C4, its trigger is a physical trigger that your Operator holds; after it is placed, pressing the lethal grenade command again will make your Operator pull out the trigger and detonate it manually. However, as most Call of Duty veterans will tell you, there is a faster way to detonate C4: pressing your reload command twice will also cause C4 to detonate, which makes exploding it in mid-air an easier task.
C4 can be used as a defensive tool much like a Claymore or Proximity Mine, or deal offensive damage using the double-tap reload trick, but its final, and potentially deadliest, use is its power against vehicles. A C4 device can be fixed onto any surface, including vehicles, and when it detonates, its explosive yield can either take plenty of health off, or even explode, any vehicle in the game.
Those with creative minds can figure out how best to use C4 in all three cases, especially when it comes to fixing it to vehicles, making it a versatile and unique threat among the lethal equipment.

Throwing Knife
Rounding out the lethal equipment categories is an item that stands alone: The Throwing Knife. It has no explosive yield, but can take down an enemy without any armor in a single hit.
Those who are accurate with sticky grenades may want to consider becoming a Throwing Knife expert, as there is some definite skill involved when trying to land a knife into an enemy. A Throwing Knife will arc in the air and take time to travel to its destination, making leading your knife and calculating the right-angle absolute musts if you want to hit an enemy at a distance.
One lesser known use of the Throwing Knife is that, when you have an unused Knife in the lethal grenade slot, it will be brought out whenever you perform a melee attack. When a Throwing Knife is used in this way, it will deal increased damage compared to a fist or butt of a melee weapon.
Another, more conventional, use of the Throwing Knife is that, when thrown, it immediately eliminates a downed enemy. This tactic is used by elite Operators to conserve ammunition in their loadout weapons, in addition to dealing a safe and effective finishing blow.
While it may not explode or deal much damage to vehicles, the Throwing Knife is a unique addition to any loadout, whether that is a Loadout Drop or a scavenged loadout with loot. Those who are untrained in the ways of the Throwing Knife may not see its use at first, but those who know its deadly powers and can use them effectively will make this underestimated tool one of swift lethal justice.
As for tactical grenades, those can also be broken down into three categories:
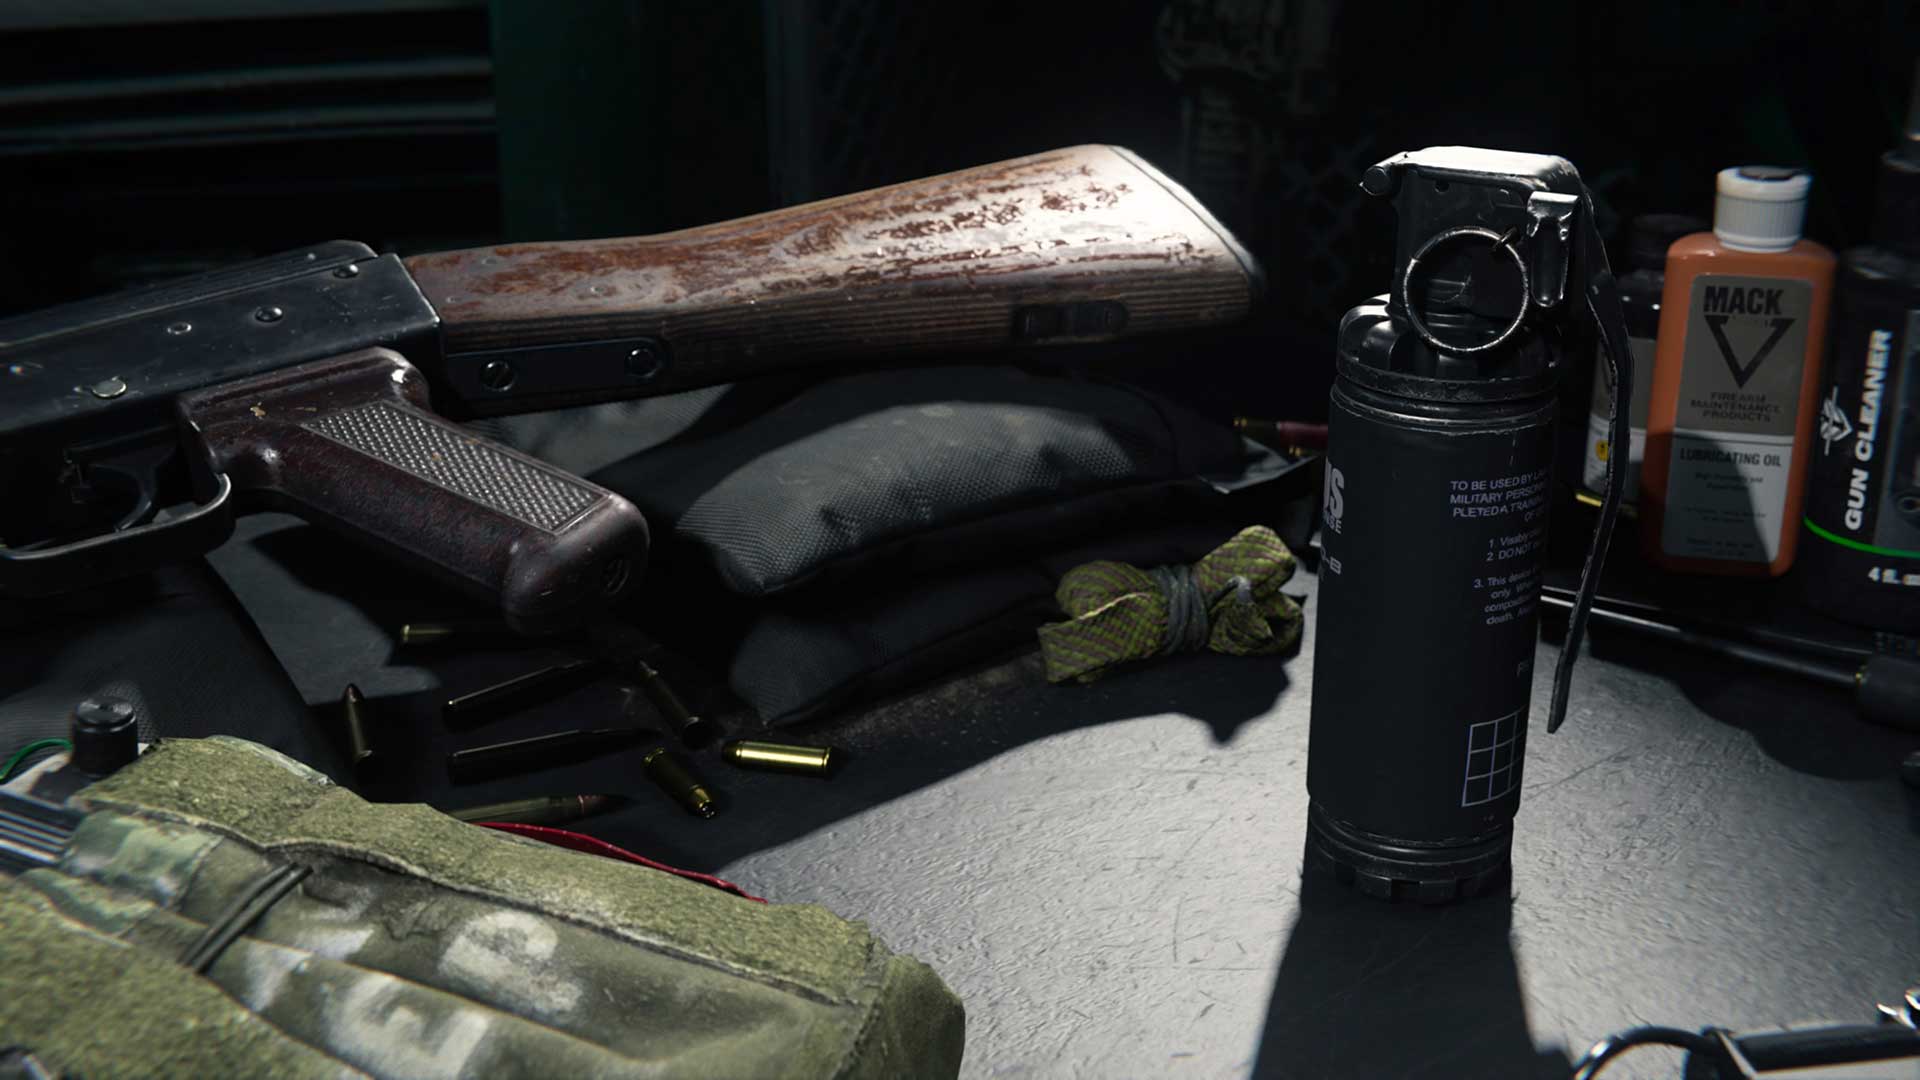
Disorientation Devices
Flash Grenades, Stun Grenades, and Gas Grenades all serve the same purpose with different effects. While they may not deal direct harm to enemies – unless you directly plunk an enemy with one for minor, but still potentially lethal, damage – their nasty effects can ruin an enemy’s ability to fight you.
These three grenades activate their effects a few second after they are thrown, and only affect enemies within a radius of a few meters.
The Flash Grenade, when it goes off, turns the screen of anyone who is caught within its radius a bright white, and slowly returns it to normal after a few seconds. It also emits a very loud screech noise that can also audibly disorient a player. This grenade is great against enemies who rely on sight and sound to take their shots, although it is possible to shake off these effects and fight through it with some practice, or with the Battle Hardened perk equipped.
Stun Grenades slow a victim’s movement and aiming, reducing their sensitivity and ruining their chances at running away or hitting you. Just like the Flash Grenade, the Stun Grenade’s effects wear off after a few seconds but can be countered by getting used to the slowdown in aim and movement.
The last unlocked grenade within this trio is the Gas Grenade, a device that explodes onto the ground and emits a lingering cloud of gas rather than a one-time payload of disorientation. Anyone caught in this gas will move slower, have their vision blurred, and begin to cough, which temporarily disables all action for a second, then only disables equipment use and reloading until the effects wear off.
No matter which of these three you find and use, their strategies are mostly the same: throw it at an enemy or an enemy team, then take the opportunity to knock them down before they come to their senses.

Distraction Devices
The Decoy Grenade and Smoke Grenade do absolutely no damage to enemy players – unless, of course, they make a direct hit – but when it comes to distracting enemies, these equipment pieces are at the top of this class.
A Smoke Grenade does exactly what you would expect: it creates a thick smoke screen that hinders enemy vision. Lasers and thermal scopes can cut through this smoke, but any targeting devices, such as the lock-on features of a PILA launcher, will be unable to target anything in or past this smoke. This also makes it an excellent choice for using defensively: To shroud an area where a downed squadmate is located so you can heal them, or to cover an area where you’re about to move, especially if it’s out in the open.
As for the Decoy Grenade, it too works as named, acting as a decoy against enemy players. This counter-intel grenade simulates fake gunfire and radar signatures that can confuse enemy teammates. In Warzone, an enemy player will see red dot pings and hear gunshots while this Decoy Grenade is in effect.
A trained Operator can eventually figure out that those radar pings and gunfire is fake, but even against master Warzone players, a Decoy Grenade definitely has the chance to confuse your enemies.
Combined, these two grenades are excellent tools for both general annoyance of enemy players and for escaping danger, as smoke screens or false fire can buy you and your team some time while planning an escape. Using these two grenades to be at their most effective may take some practice, but the potential results could save your entire squad from complete destruction.
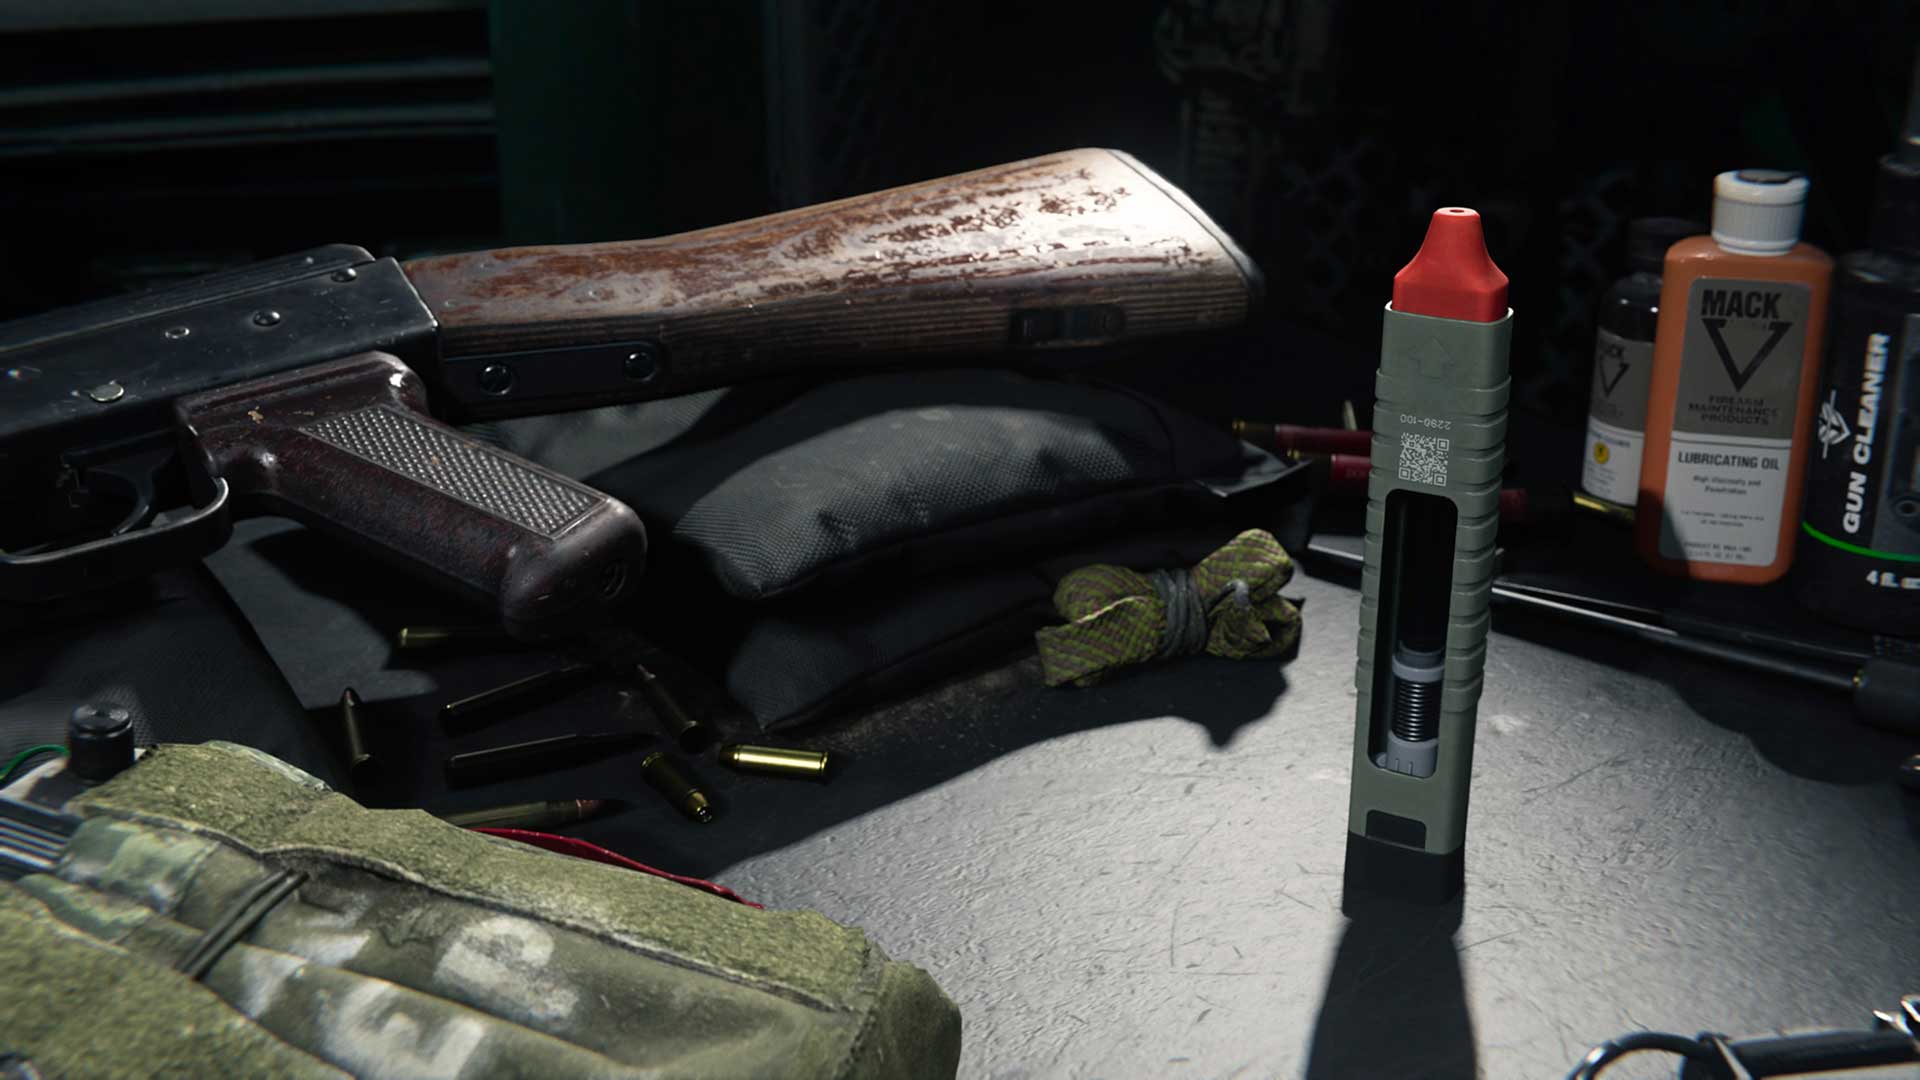
Active Recon and Health Tech
Rounding out the diverse tactical equipment pool are the Snapshot Grenade, Heartbeat Sensor, and Stim, three items that provide unmatched utility within Warzone.
In the massive environment of Verdansk, intel on enemy locations can be as powerful as a well-placed bullet, and the Snapshot Grenade and Heartbeat Sensor are like two .50 caliber shots of reconnaissance.
The Snapshot Grenade, after its thrown and it explodes, shows enemy profiles within its blast radius. These infrared signatures cut through walls and other materials, allowing you to see enemies behind cover. This glimpse on enemy profiles only lasts for a second or two, so it’s best to note these positions and act accordingly.
The Heartbeat Monitor also provides recon on enemy locations, although it is done via a small radar ping on a tablet. Every few seconds, the monitor will show enemy locations via green dots, and will read the exact distance of the closest enemy ping below the monitor’s radar. Unlike the Snapshot Grenade, the Heartbeat Monitor can be used indefinitely, making it the most durable tactical equipment in this category and a popular choice among
As for the Stim, it provides a shot of health and energy whenever you need it most. Warzone Operators can automatically heal back to full health after staying out of combat for a few seconds, but in moments where health is needed, such as after being revived in dangerous territory or in-between bouts of gunfire during a protracted gun battle, a Stim shot will take an Operator back to full health quickly.
Stims will also refresh Tactical Sprint, the fastest movement option on foot, allowing an Operator to flee combat if need be, or get that major movement boost back in the middle of a Warzone match.
Finally, there is a small Easter Egg on the Stim itself when viewed within the Weapons menu, or in this chapter, as it has a working QR code. Don’t believe us? Scan it!
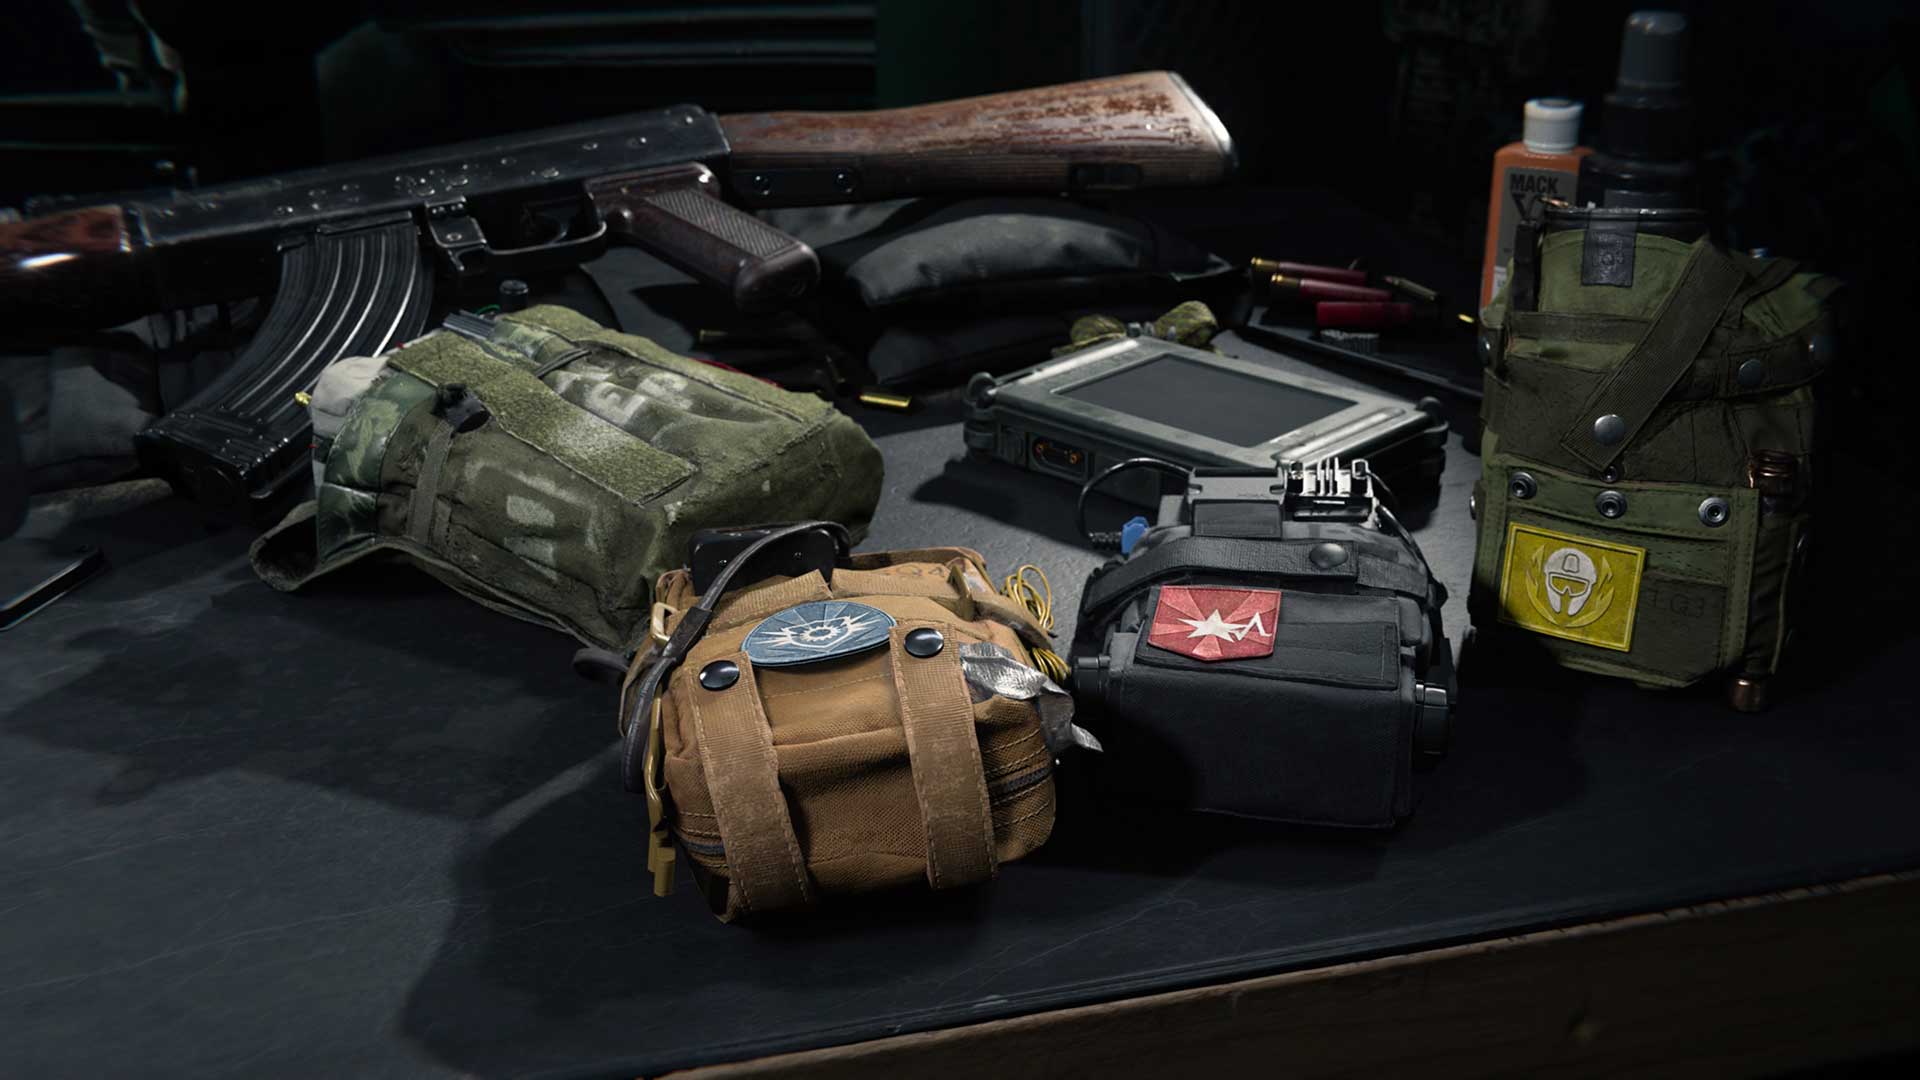
Perks are passive benefits given to Operators in Warzone, boosting their physical capabilities or adding unique in-game mechanics to their loadouts. Unlike weapons and equipment, perks cannot be found as loot, and are only obtainable through Loadouts.
Perks are put into three slots, allowing Operators to select one perk within each category for their Loadouts. Here’s a quick look at every Loadout perk, and how it can be useful – or in some cases, have different effects – within Warzone:
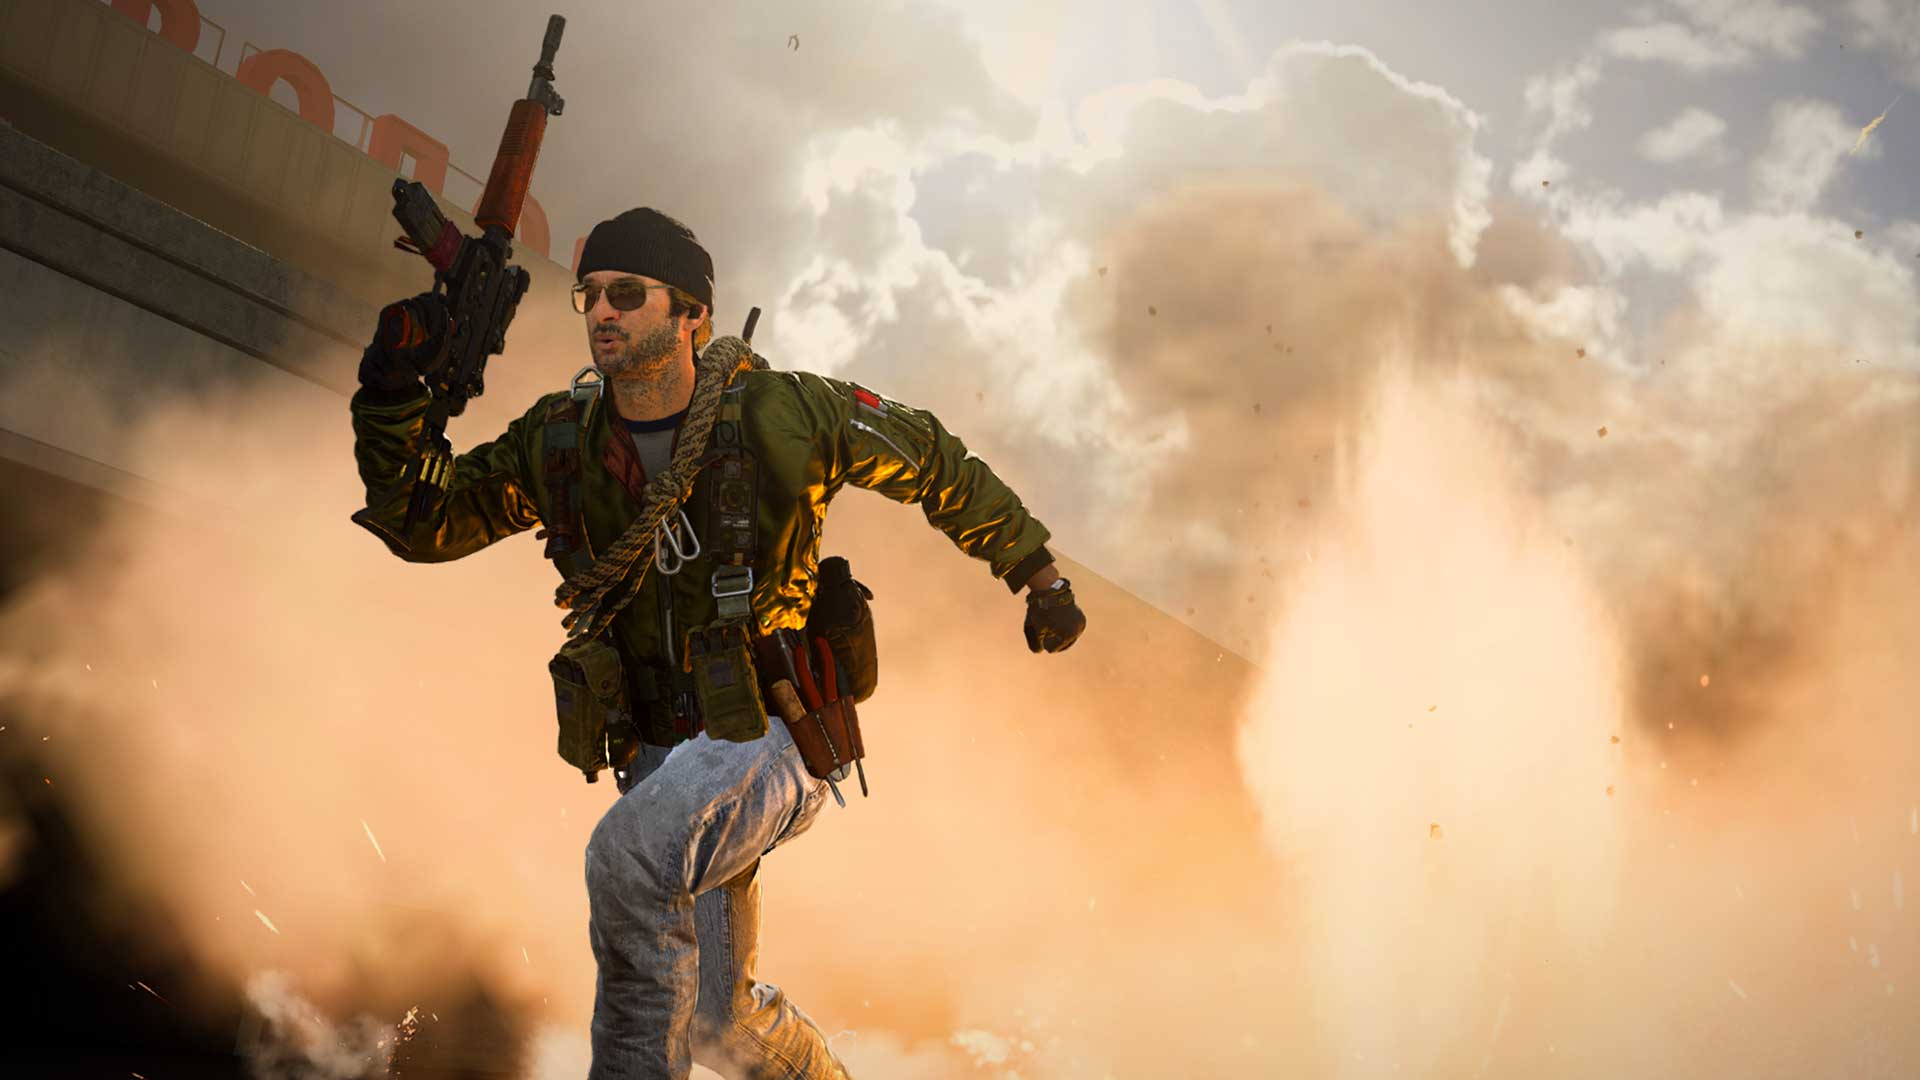
Slot 1 Perks
Double Time – Operators who opt for this perk get their Tactical Sprint duration doubled and their crouch movement speed increased. Those with a need for speed, such as Operators that tend to gravitate towards close-quarters weapons, may want to include this perk in their Loadouts.
E.O.D. – E.O.D. – A.K.A. Explosive Ordnance Disposal – allows you to take less damage from non-killstreak explosives and fire, as well as reset the fuse on enemy Frag grenades whenever you pick them up. This Perk is a popular choice among most Operators, as having a buffer from grenades and the like finds plenty of use in many engagements.
Scavenger – This grants your Operator the ability to resupply ammo from dead players without the need to loot individual ammo types. For those who want to spend less time picking up loot off the ground, Scavenger is a perk worth considering.
Cold-Blooded – Cold-Blooded Operators have zero heat signatures, making them undetectable to AI targeting systems and thermal optics. High Alert perk users (available in your second perk slot) also won’t be warned when a Cold-Blooded Operator is targeting them. You will still be visible to Recon Drones, but you will be unable to be marked by them. This perk is built for those who take stealthy approaches to combat but is also a great utility perk for those who want to avoid being easily spotted through thermal scopes.
Kill Chain – Within Warzone, Kill Chain increases your chance of finding Killstreaks in Supply Boxes. Because Killstreaks are very rare items within these caches, having a perk that boosts their drop rate could swing a match in your squad’s favor.
Quick Fix – The final Perk 1 option grants increased health regeneration rate after killing players, as well as capturing and holding objectives, such as Scavenger Supply Box caches or SPOTREP flags (consult the Contracts chapter for further information). Those who complete plenty of Warzone Missions or have an aggressive playstyle can take full advantage of this perk and should seriously consider it within their Loadouts.
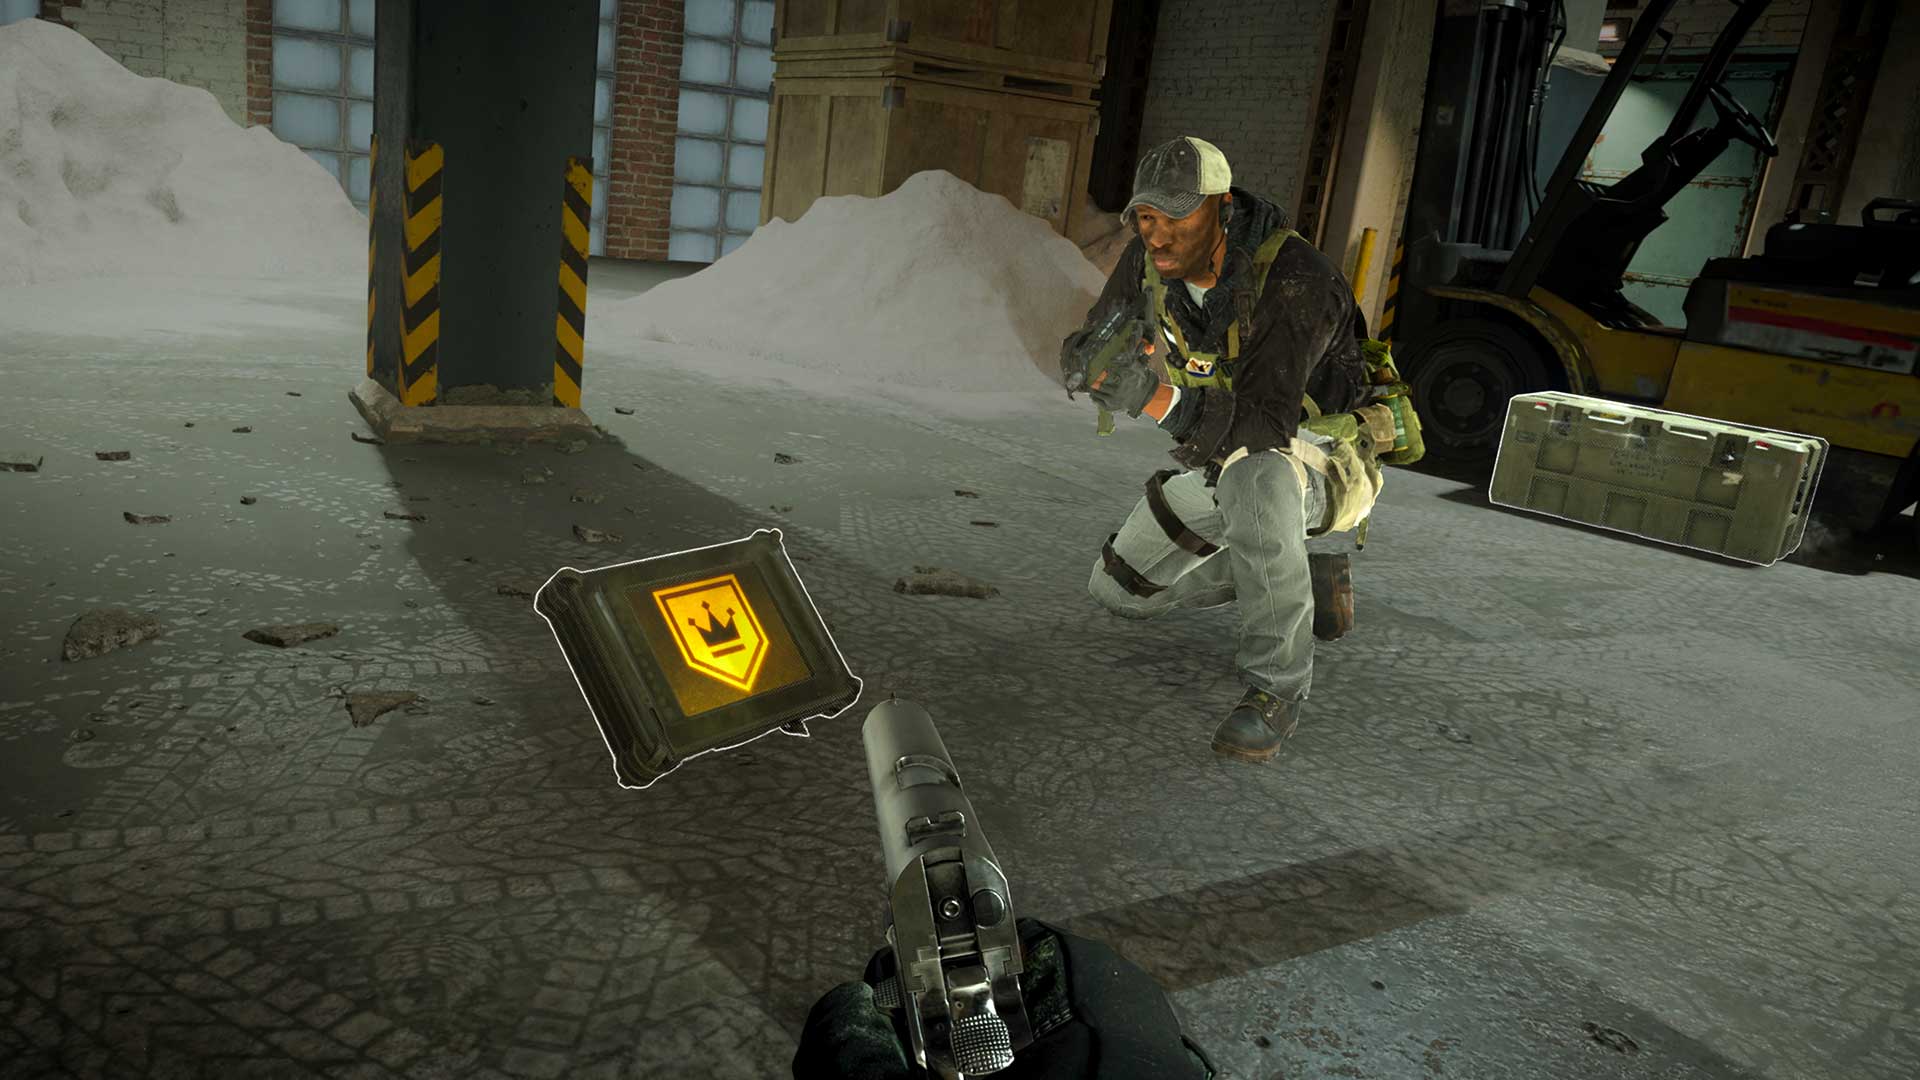
Slot 2 Perks
Restock – When used as part of a Loadout, Restock allows you to recharge equipment over 50 seconds after one is used. Furthermore, this perk allows Throwing Knives to recharge one extra knife, and both the Decoy Grenade and Stim Tactical Equipment pieces recharge twice as fast with this equipped. If you tend to stick towards one usable equipment piece or like to keep the one in your Loadout Drop throughout the rest of a Warzone match, this perk may be right for you.
Hardline – An Operator that has Hardline equipped gets a 25% discount on Buy Station prices for Killstreaks, Field Upgrades, Armor Plates, and Vehicles. This hefty discount can add up if you are planning on completing plenty of Contracts or carrying around a ton of Plunder, as you’ll be able to get more from a Buy Station than a non-Hardline player. Should you put this perk in your loadout, it may be wise to target your play around Buy Stations.
Overkill – This allows you to put two primary weapons in a Loadout, rather than a Primary and a Secondary Weapon. Overkill is great for operators who want to bring their own custom shotgun and a sniper rifle into the warzone, whether for themselves or for a recently redeployed teammate to pick up. It also allows you to carry a Riot Shield, and then equip yourself with a primary weapon instead of having to make do with a Secondary one. Choose this perk for a greater choice of Loadout options.
High Alert – Equipping this perk will make your on-screen HUD pulse when enemies outside of your view see you on their screen. In a game mode where intel means everything, having the ability to sense your enemies off-screen could save your life, which makes High Alert a perk worth thinking about putting in a Loadout.
Ghost – When included in a Loadout, this perk will make you undetectable and immune to UAVs, Heartbeat Sensors, and Snapshot Grenades. As mentioned with High Alert, intel is a powerful tool in Warzone, so having a perk that takes away the effectiveness of multiple reconnaissance devices is one worth considering. This does not make you immune to Advanced UAVs, which can either show up within Warzone as an item during a special event or be activated by a squad or Operator using three UAVs at once, but it does remove intel on where you are facing when an operator views your red dot.
Pointman – Pointman is a perk that increases contract payouts to not only you, but also your entire squad. Specifically, Pointman increases the amount of Plunder your squad earns from contracts. If your squad is keen on completing missions throughout Warzone, it may be smart to always have one member of the squad running this perk.
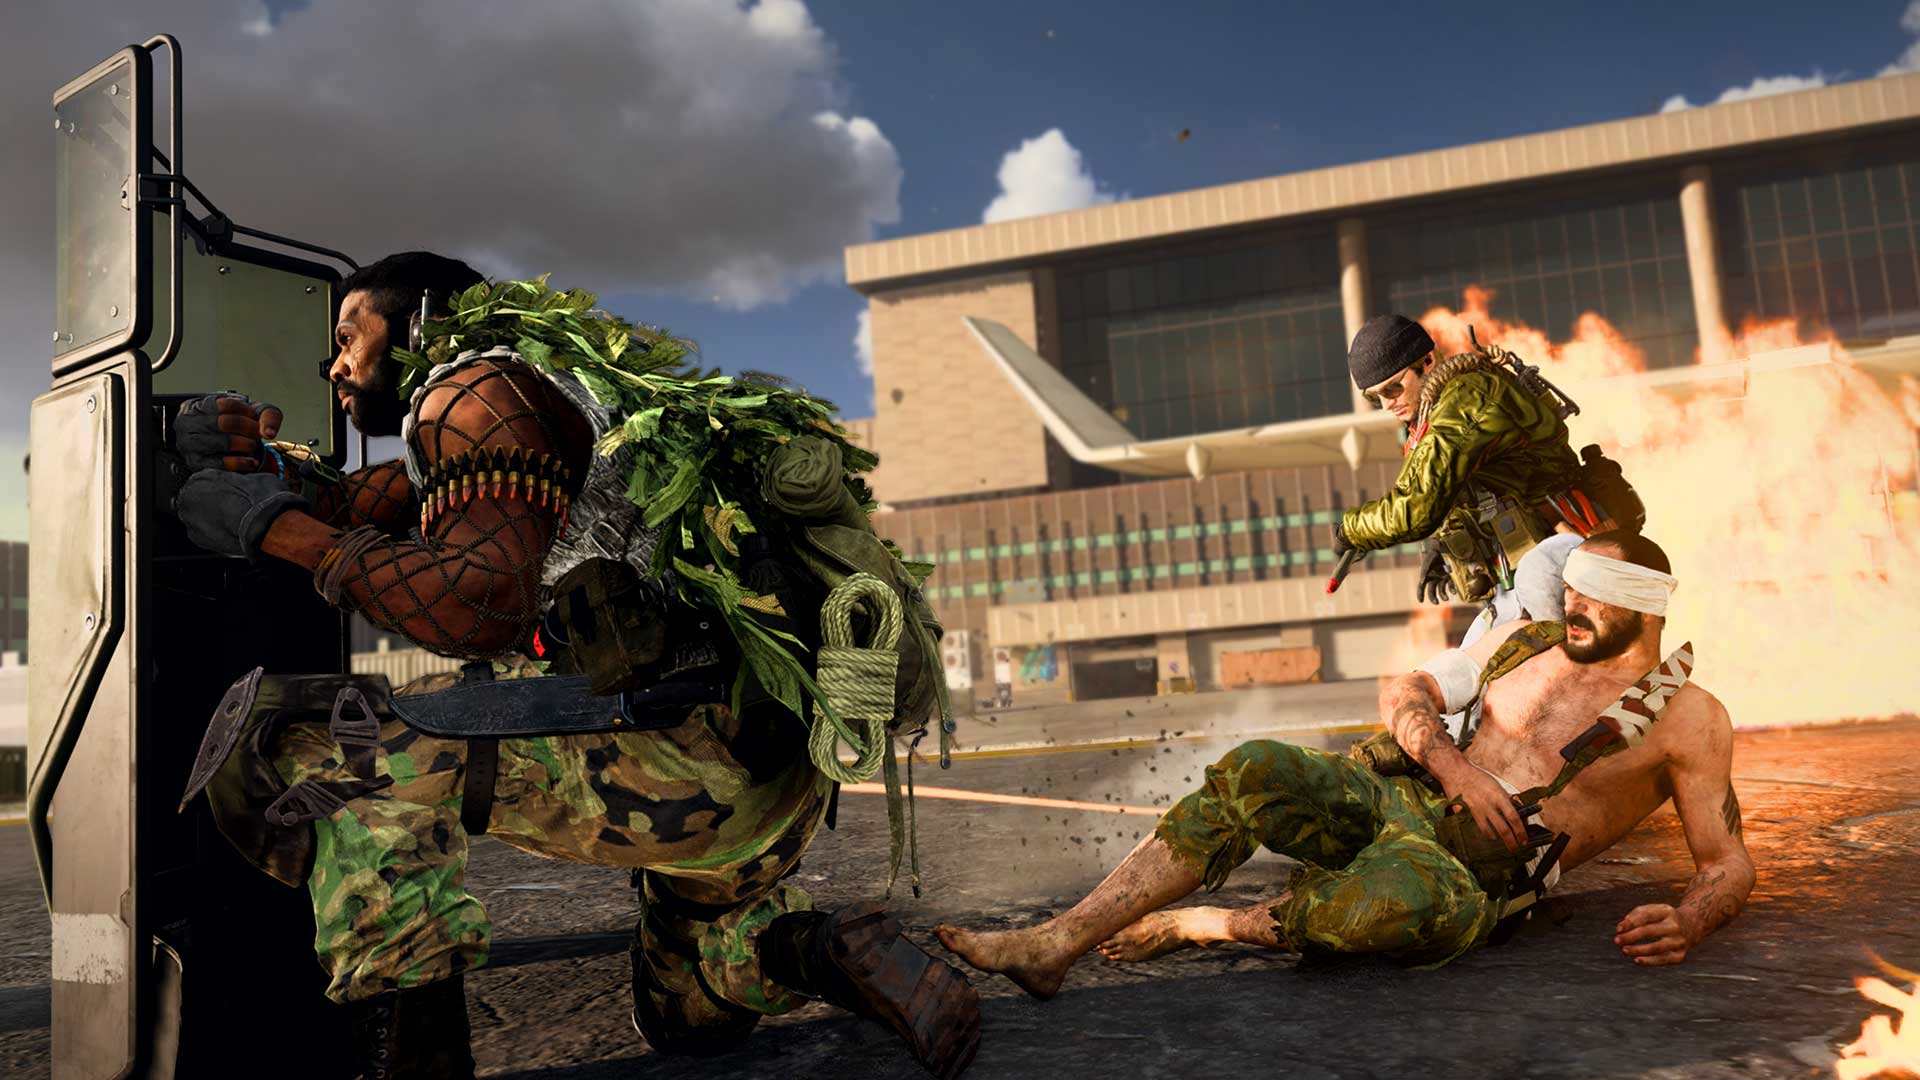
Slot 3 Perks
Tune Up – Tune Up is the ultimate perk for Warzone medics, as it reduces the time it takes to revive a teammate by 25%. When every second counts in the warzone, having a perk that allows you to get a teammate back into the fight faster helps. Remember: Stims do not effect revive times, but Tune Up does, so those who want faster heals should put this perk in their loadout.
Amped – Operators who are Amped can swap weapons faster – except for pistols and knives, which remain their normal lightning-fast swap speed – and reload their launchers quicker. Most equipment pieces are also used faster while an Operator is Amped. Cutting down time when it comes to these actions can be the difference between life and death, so definitely consider this perk within your Loadout Drops, especially ones that include launchers.
Shrapnel – This perk gives operators an extra piece of lethal equipment out of their Loadout, and makes any explosive damage dealt out by this Operator also delay enemy health regeneration. Those who love to use explosives, especially in a Loadout with a launcher, should think about building those kits around this perk.
Battle Hardened – Battle Hardened operators have resistance to enemy Flash, Stun, EMP, and gas effects (but not the gas from the Circle Collapse), making them some of the toughest soldiers in the warzone. Those who get concerned about running into Flash or Stun Grenades can find a place for this perk in a few Loadouts.
Spotter – This allows you to see enemy equipment, Field Upgrades, and Killstreaks through walls, as well as mark them for your teammates by aiming down sights and looking towards them. It also grants you the ability to hack into enemy Claymores, Proximity Mines, C4, and Trophy Systems, which makes them your own devices after the hack. For those who like to do some scouting ahead for their teammates – or pick apart an enemy’s technological defenses – this perk is one worth considering.
Tracker – When an Operator has Tracker, they can see footprint trails left behind by enemies. Furthermore, when active, it shows markers at enemy death locations and hide death markers of enemies you kill. In other words, this perk helps you track down foes and hide the evidence, making this utility perk a great choice among the deep Perk 3 pool.
Field Upgrades / Watches / Vehicle Customization
Don’t think we forgot about these additional submenus within the Weapons chapter.
You can find out more information on Field Upgrades in our Inventory chapter, as well as Watches and Vehicle Customization within the Store section of our guide.
Useful Links: Other Guide Chapters: