Bounty
Advanced Map Tips
Map Focused Loadouts
Prebrief
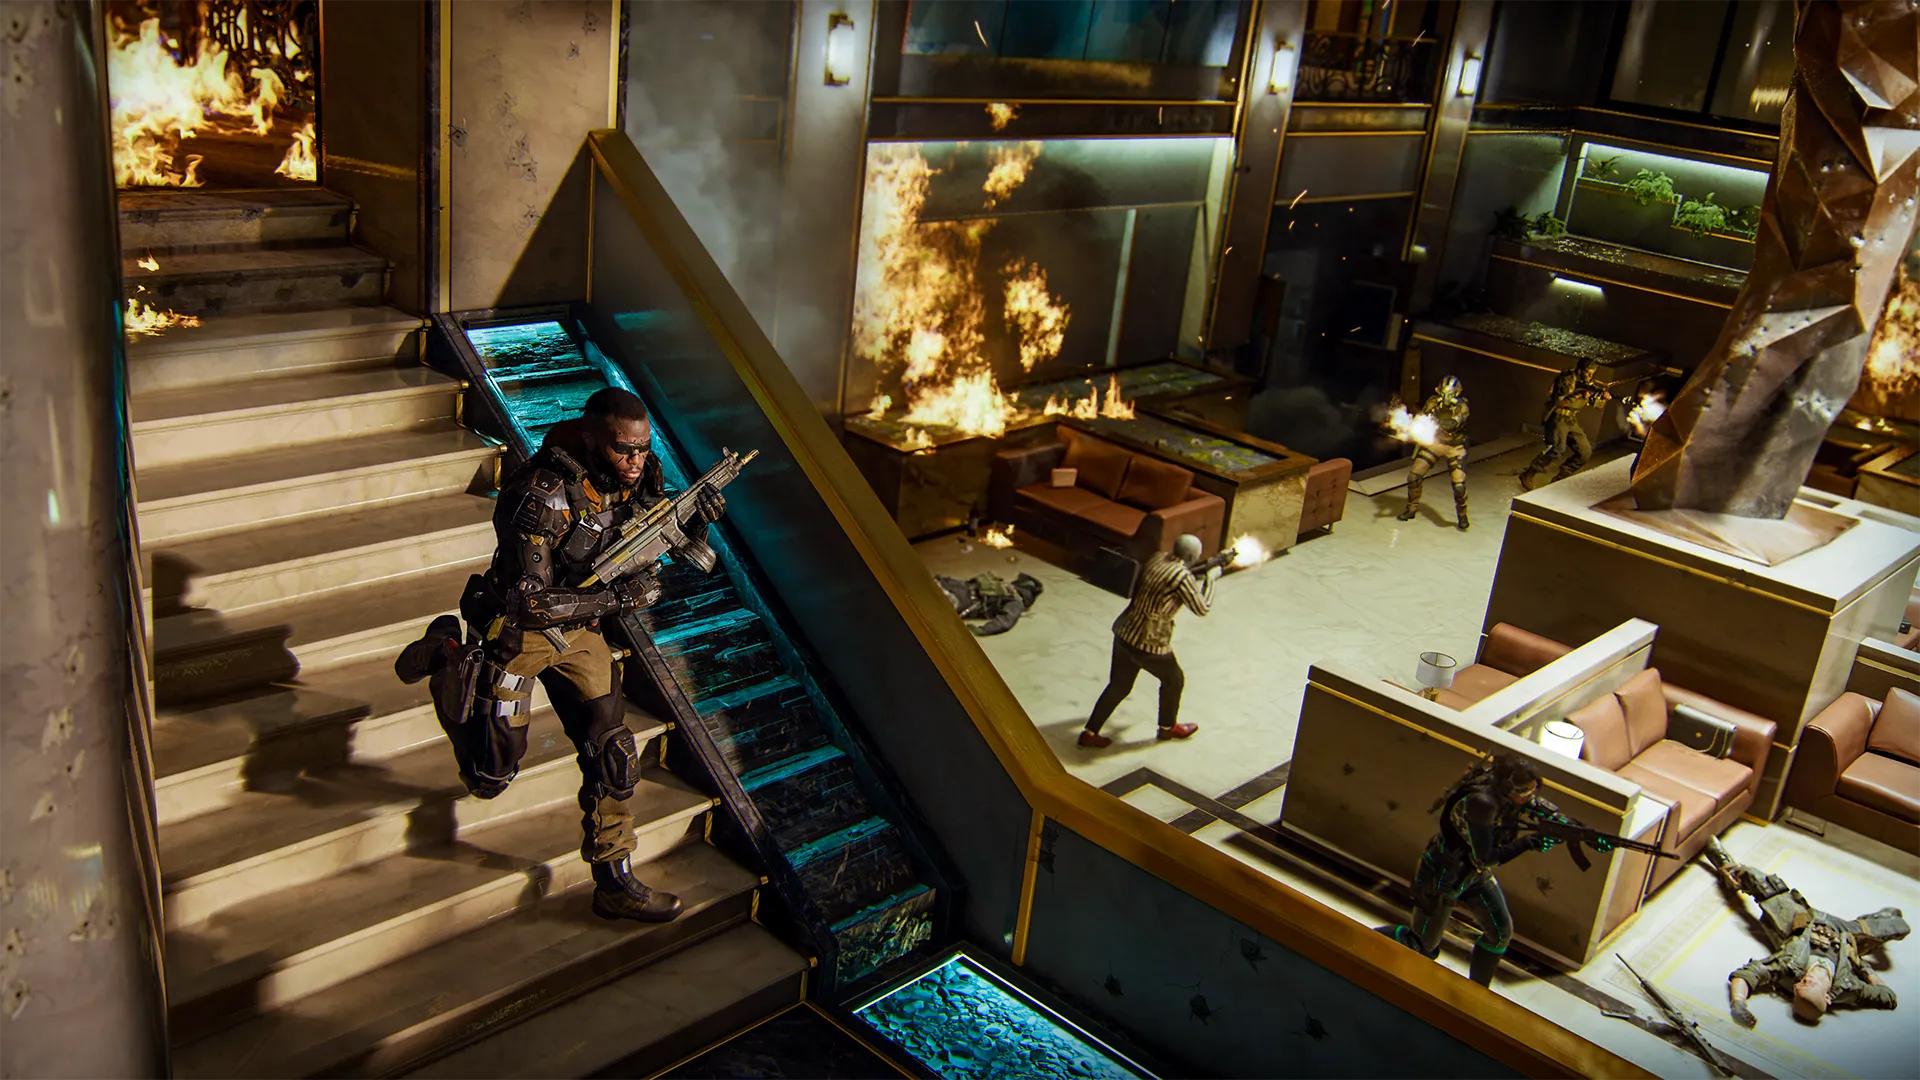
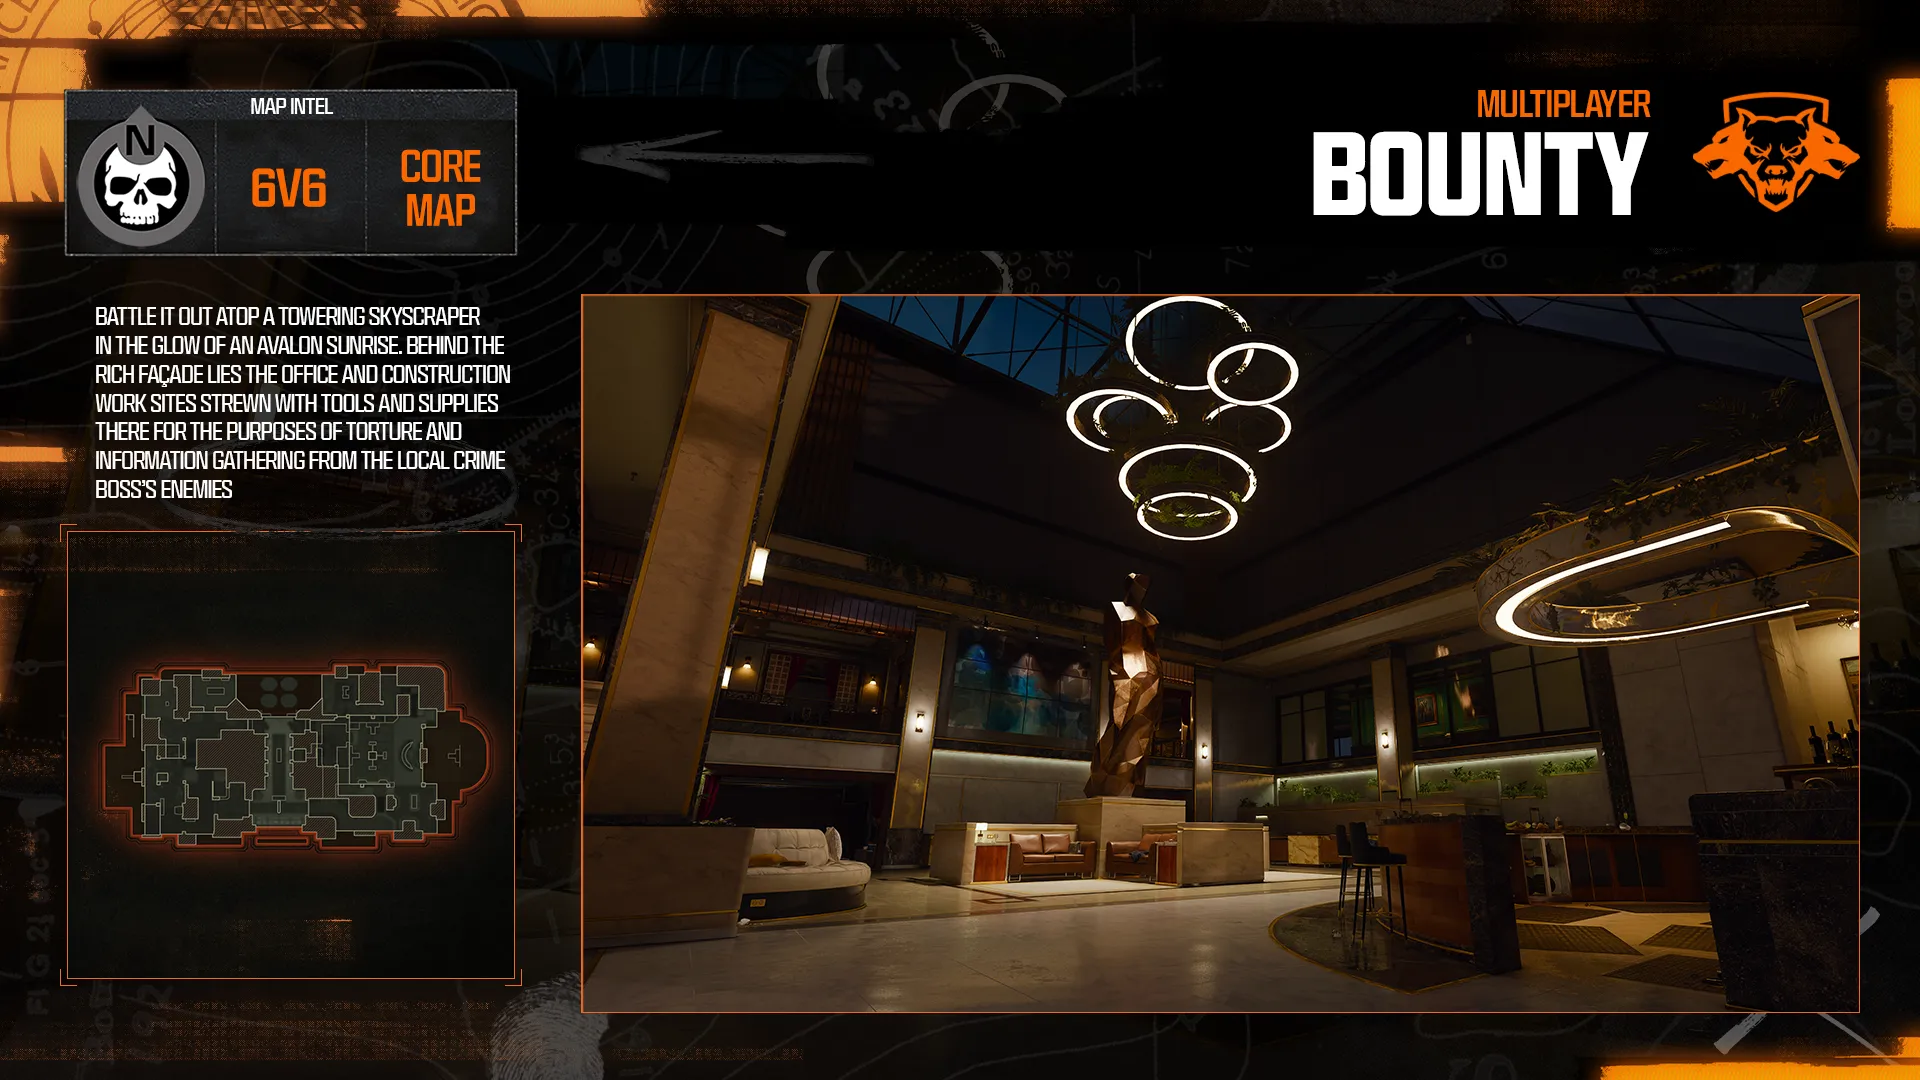
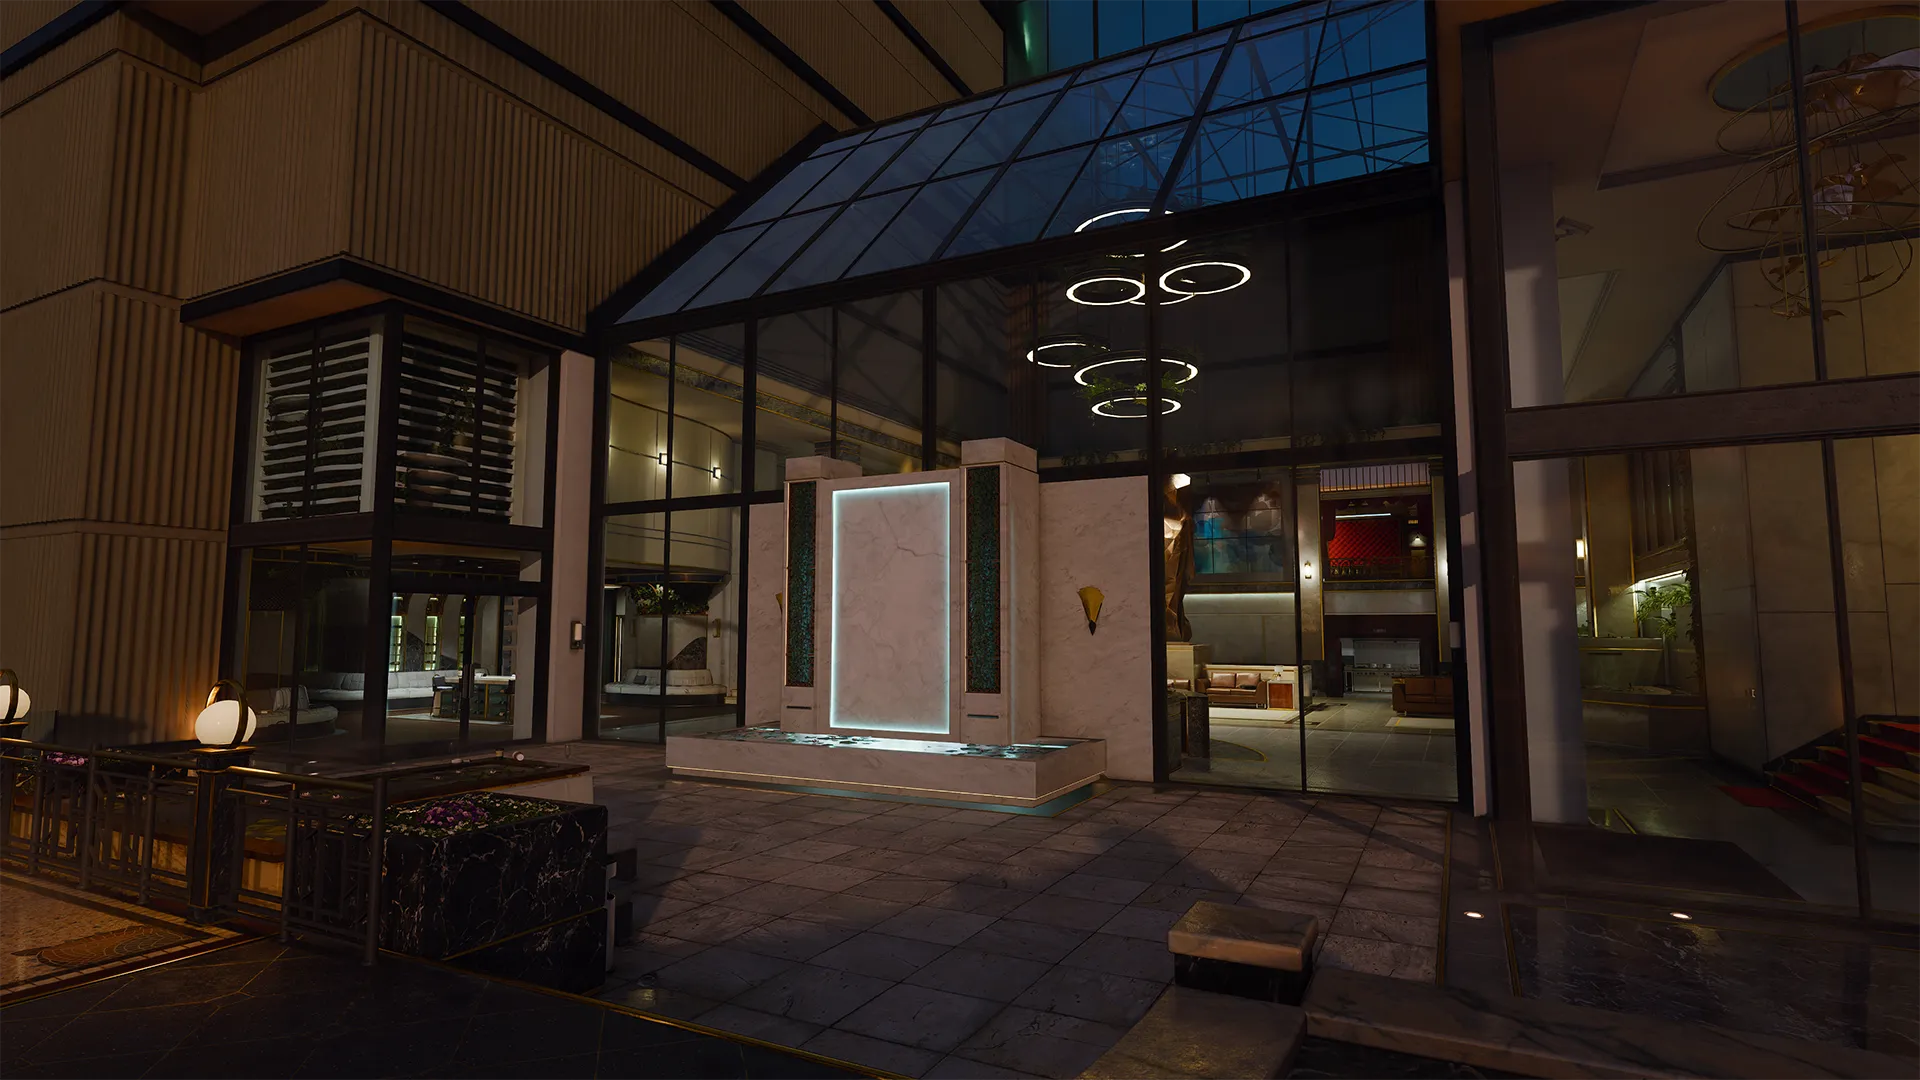
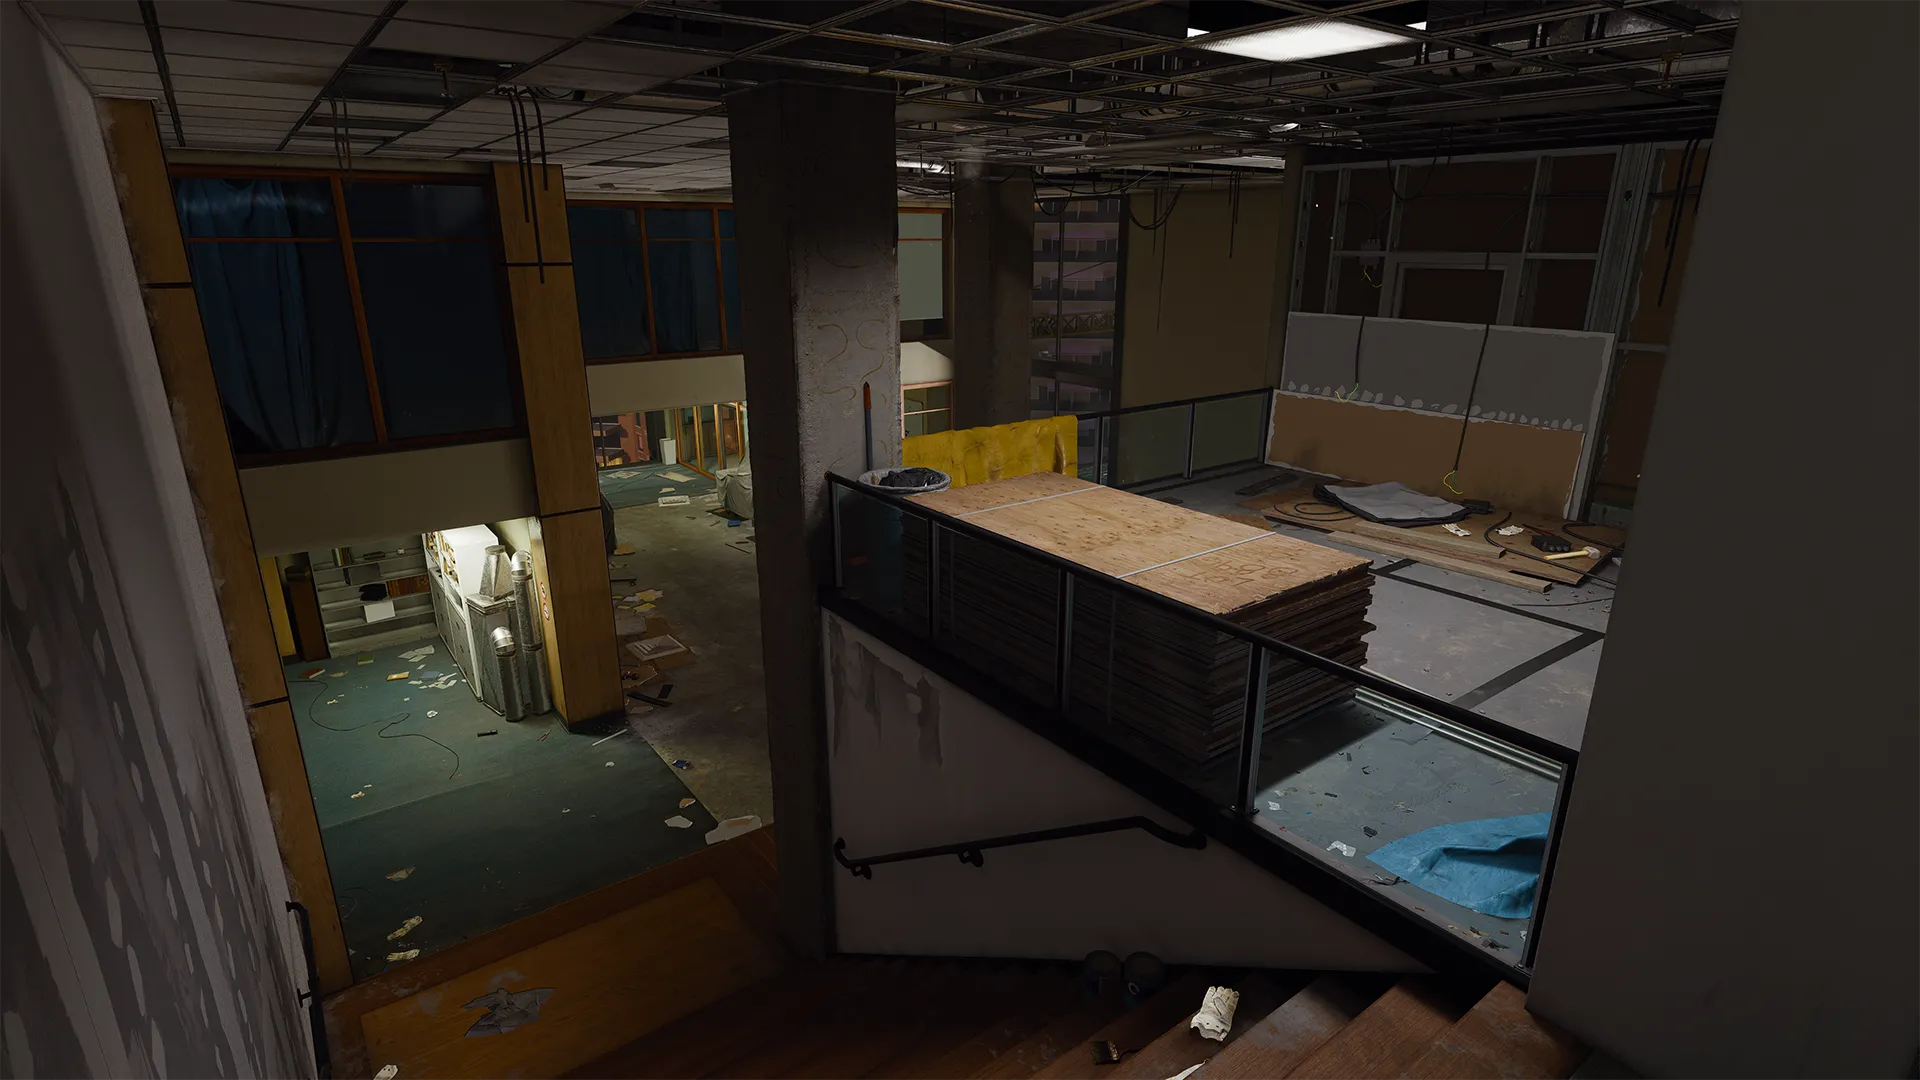
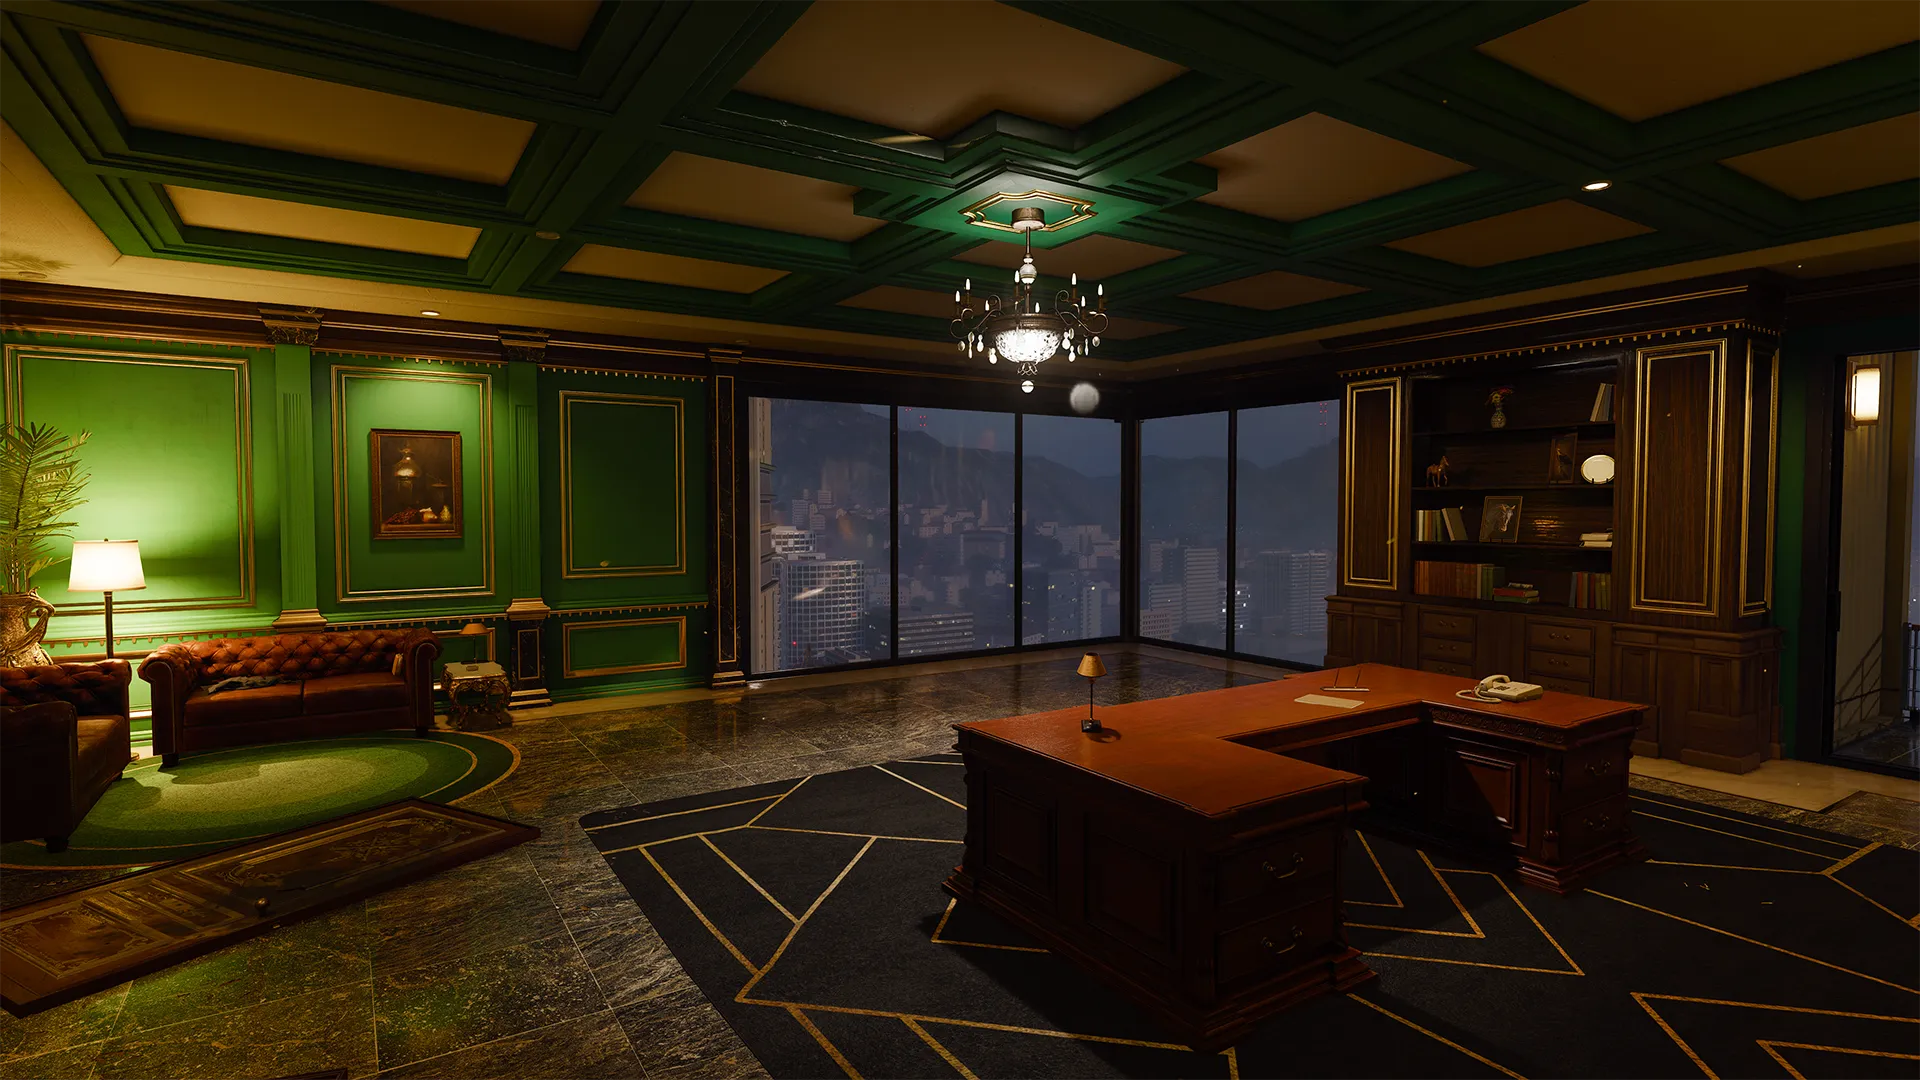
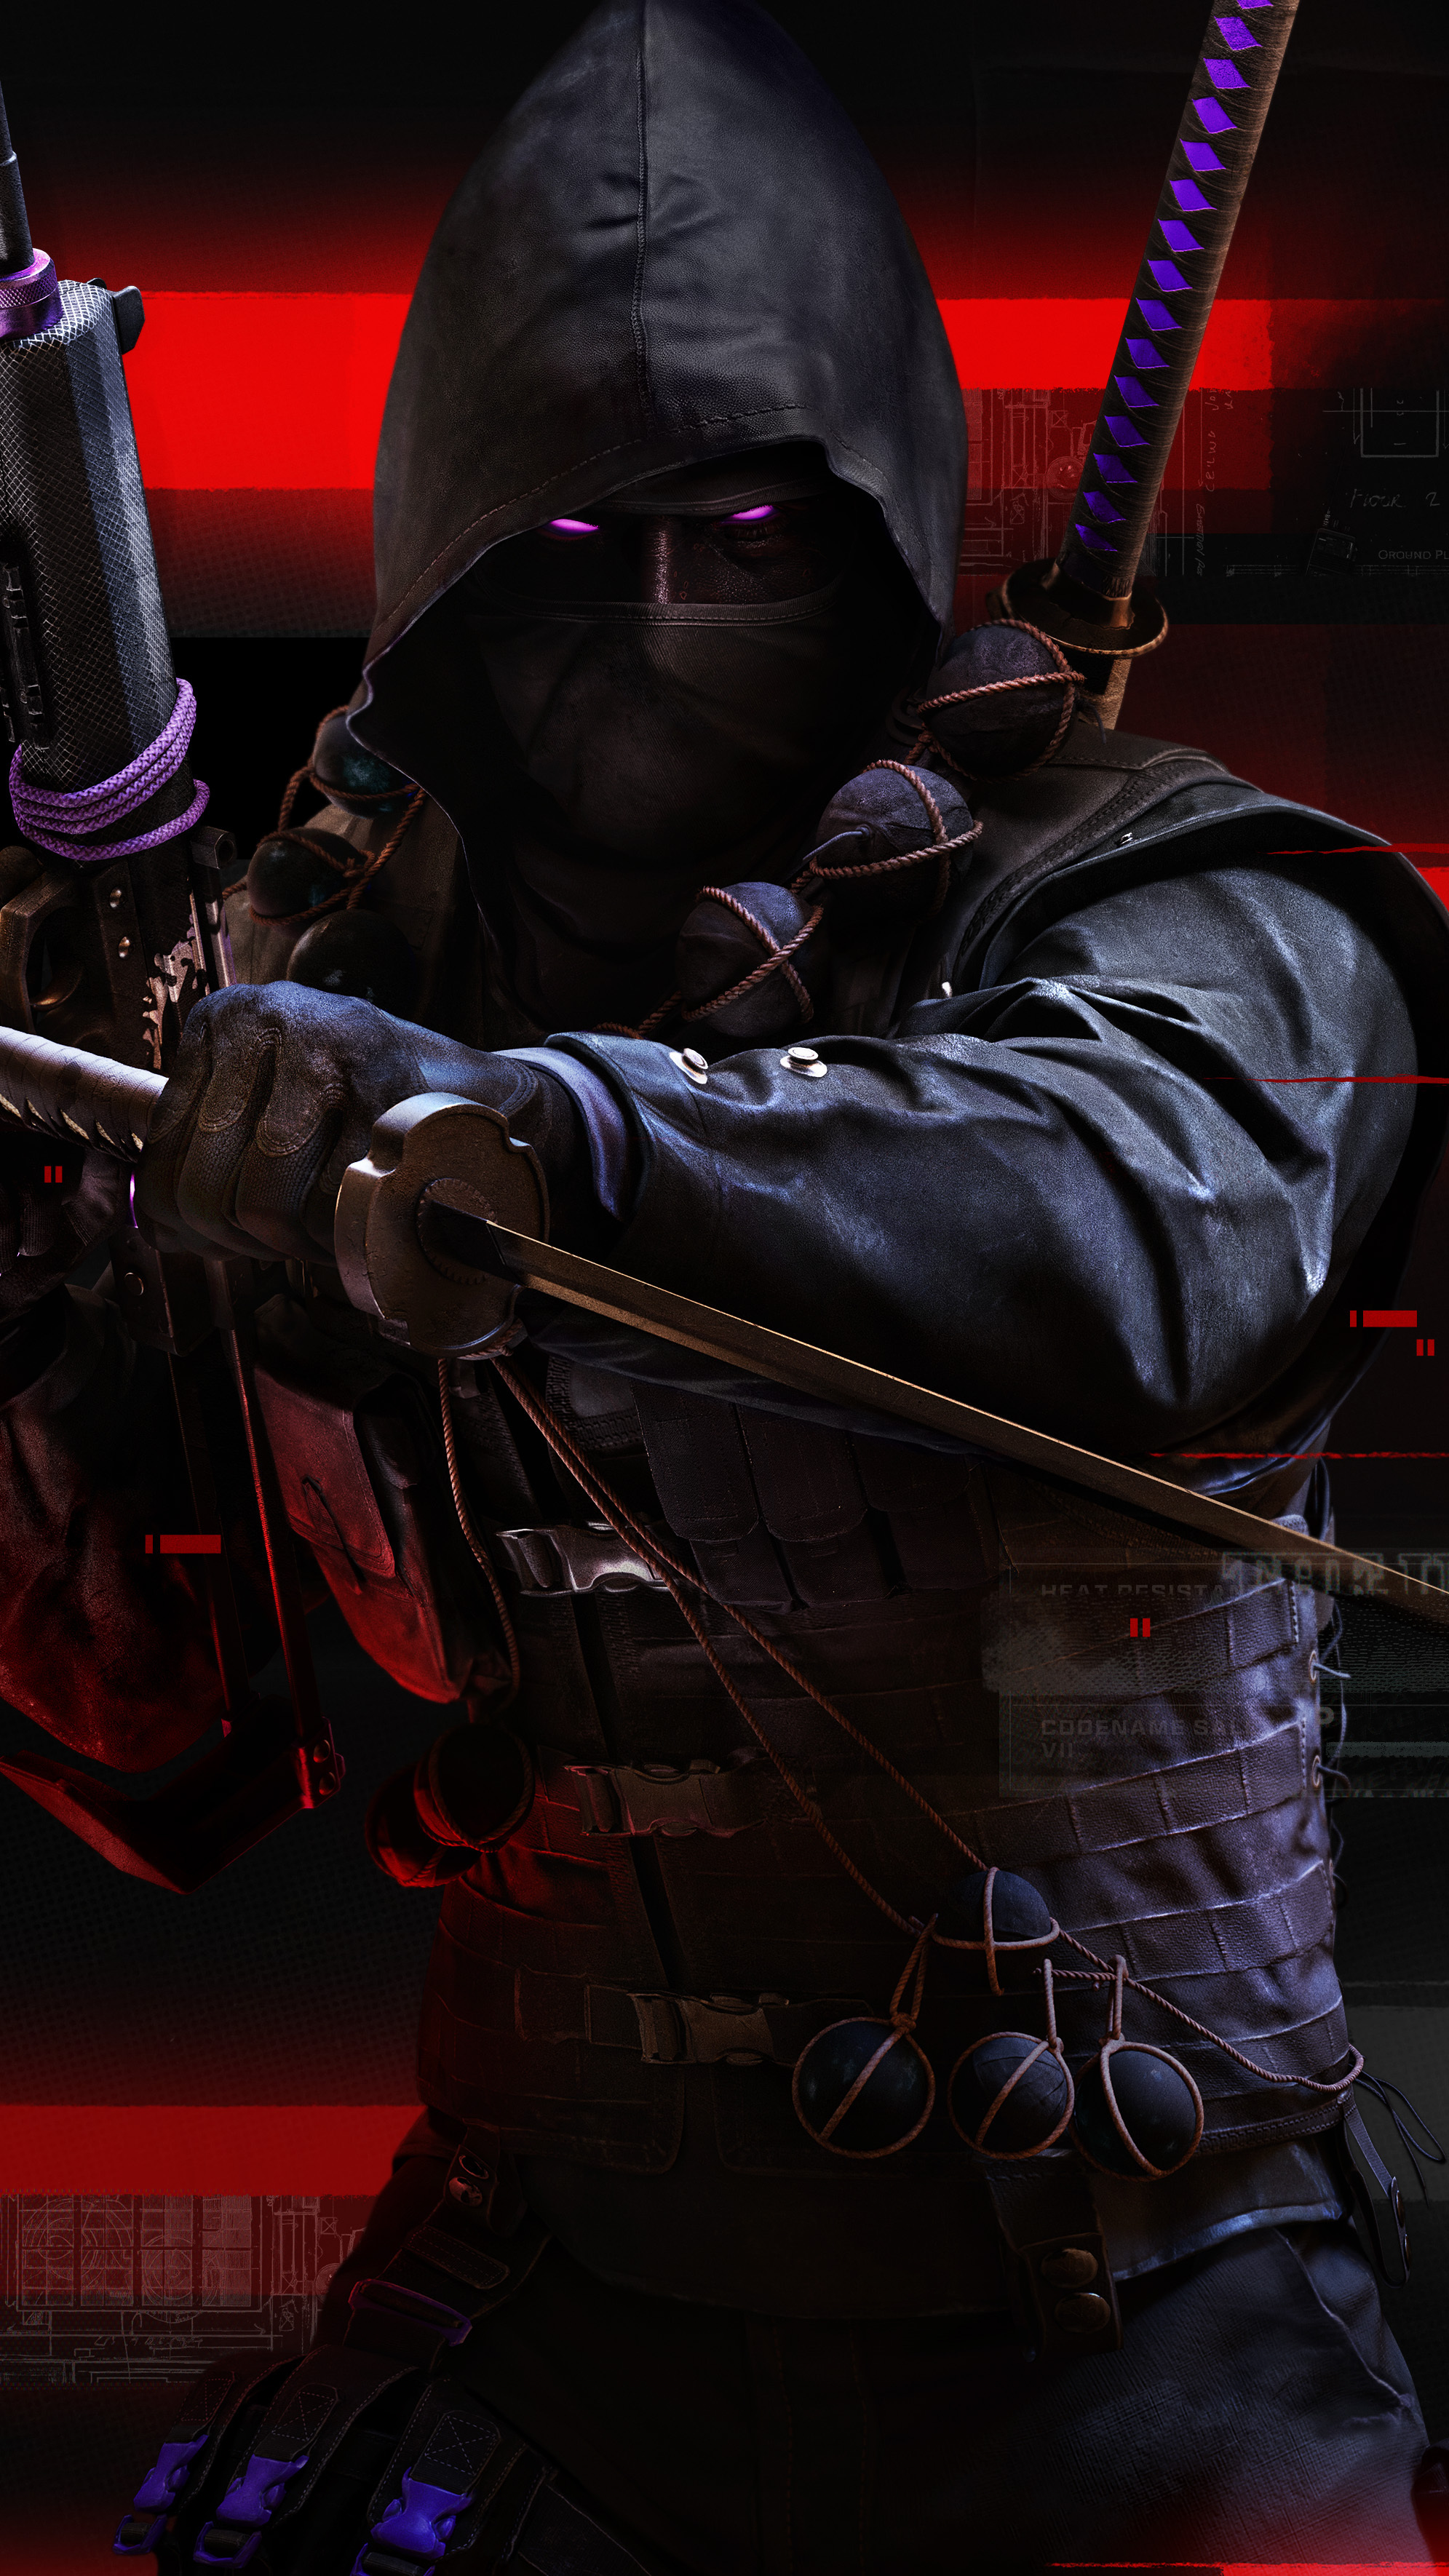
Battle it out atop a towering skyscraper in the glow of an Avalon sunrise. The French Syndicate has turned on the Rogue Black Ops team due to the influence of the Luttazzi family bounty on the team’s head. Hell has broken loose, and it’s time for the team to make their escape from this private criminal den. Behind the rich façade lies the Office and Construction, work sites strewn with tools and supplies there for the sole purposes of torture and information gathering from the local crime boss’s enemies. Head outside for a breath of fresh air, the wind whipping a cool breeze over the sheer drop.


-
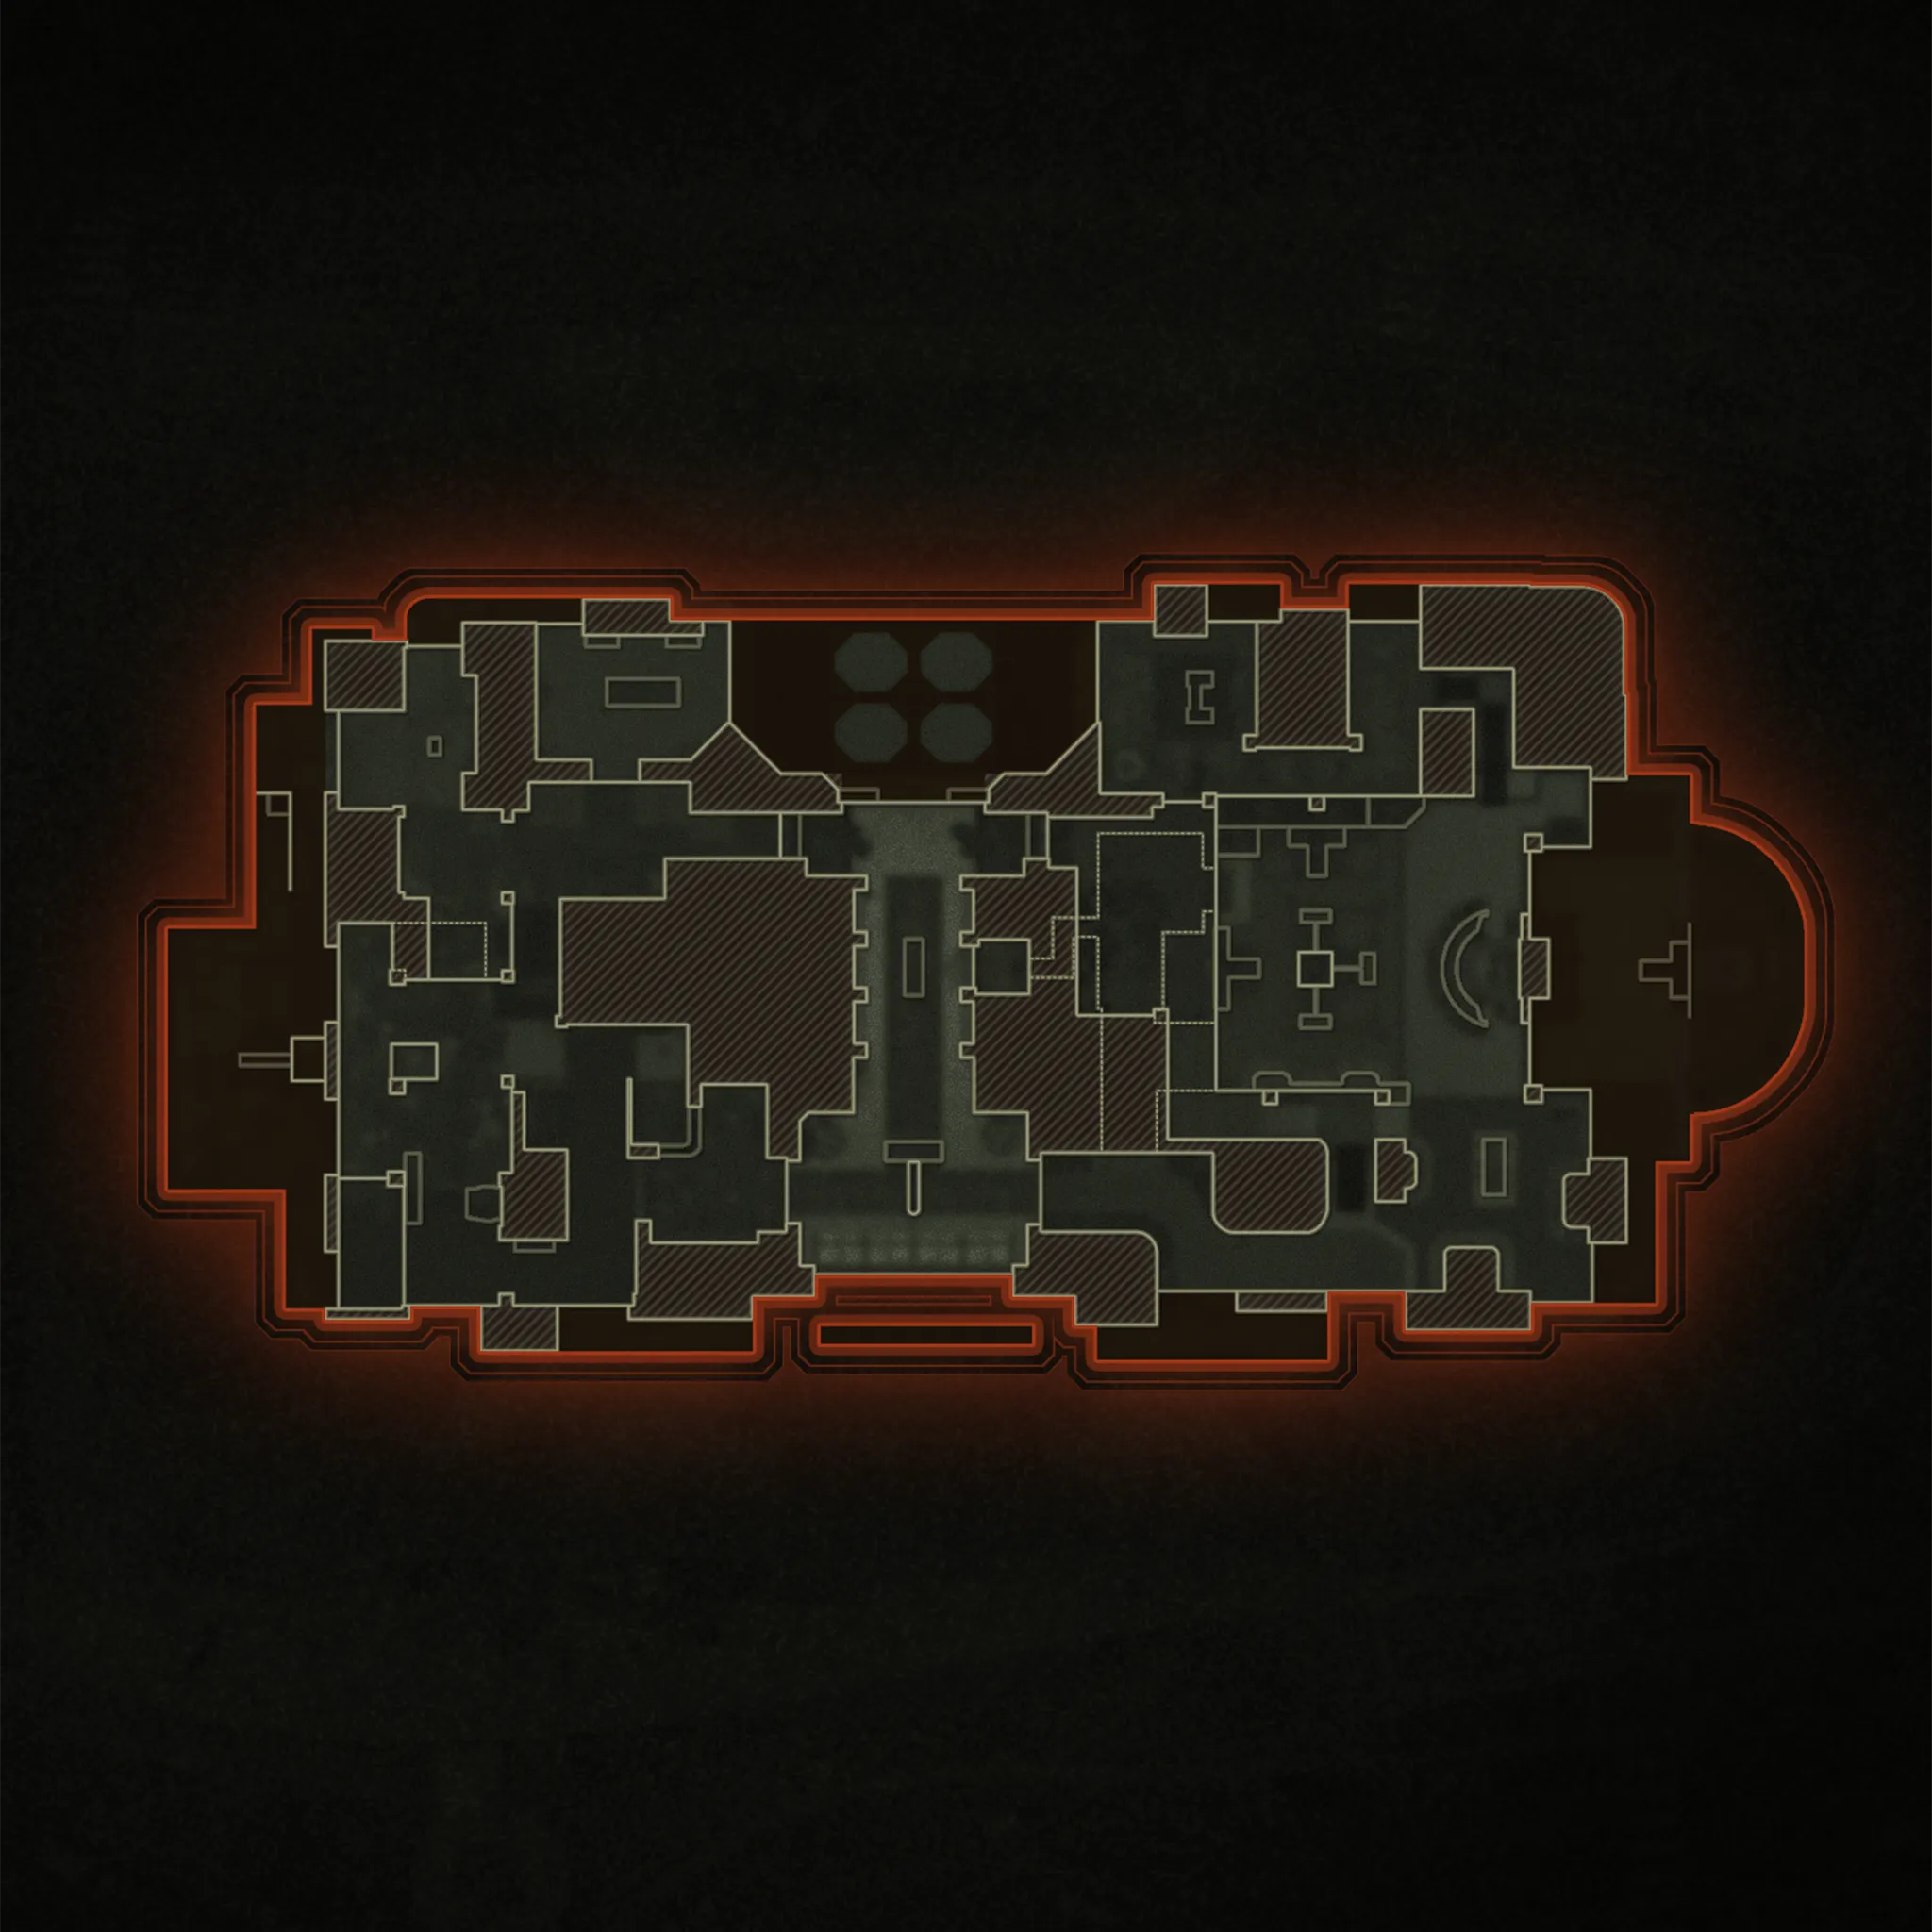
Show areas

-
Show hardpoints

-
Show domination flags

-
Show search & destroy sites
-
Show spawn points

-
Reset all overlays

POI Overview
Explore the following points of interest based on key areas around Bounty. Click “Learn More” at the bottom of each image for additional tips and insights on the POI.
// INTEL CARD
- BO6
Bounty
// MULTIPLAYER MAPS // CORE

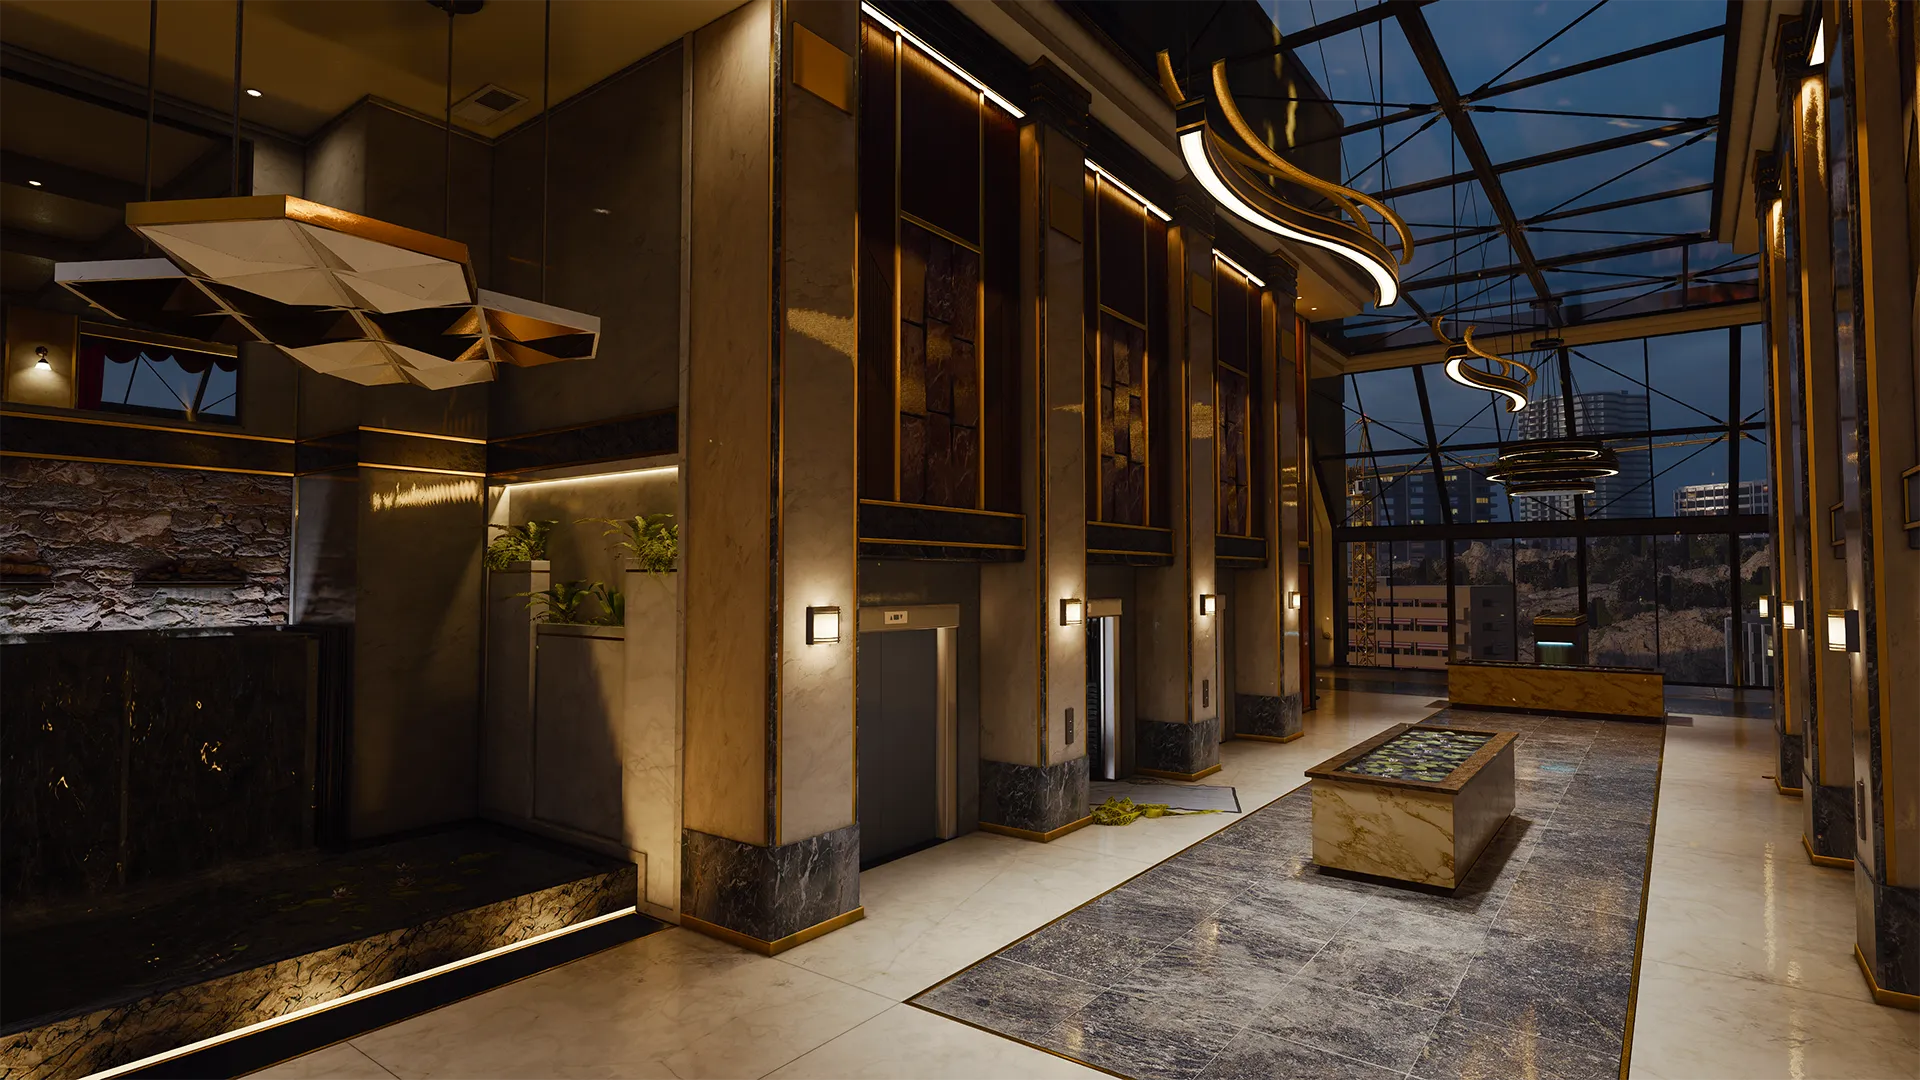
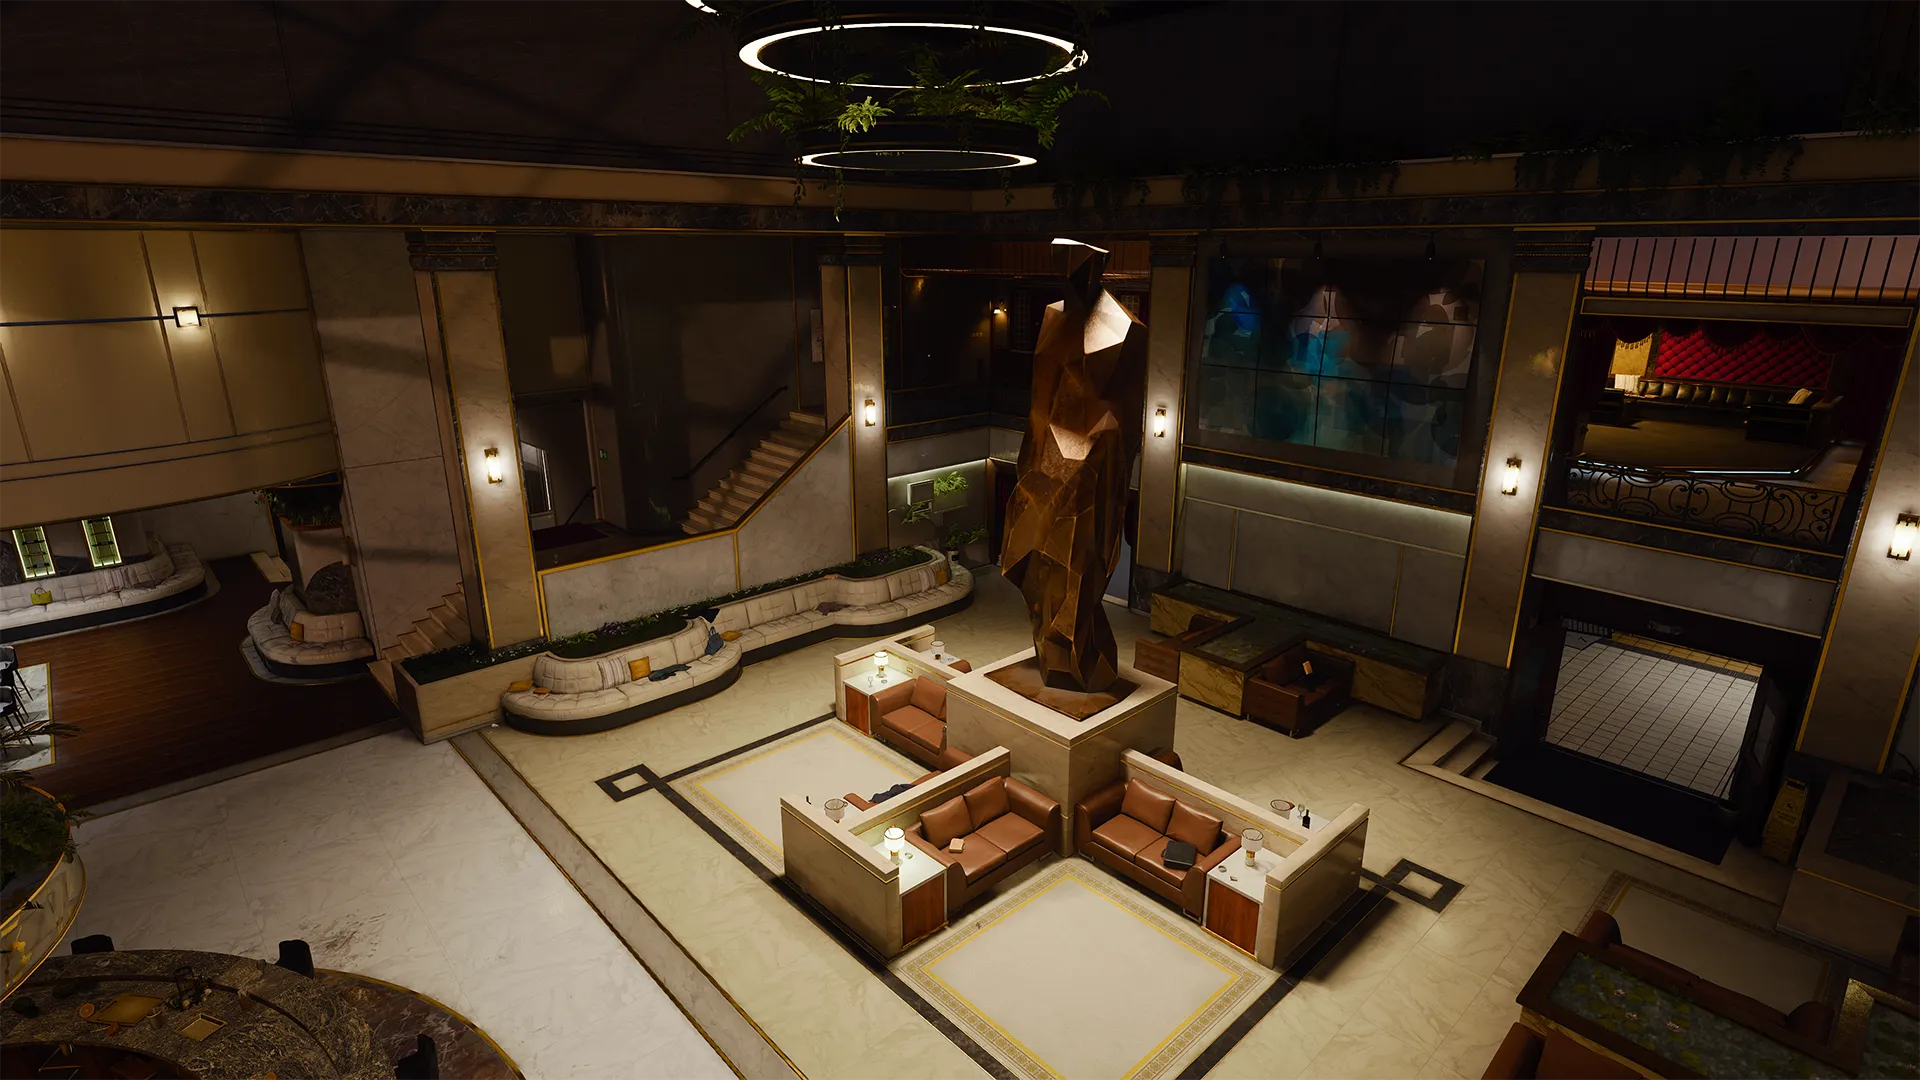
Order at the counter: Bounty features plentiful counterspace, in the Nightclub, Lounge, Lobby, Suite, and reception area to name a few. Use the waist-height cover for added protection; it might make the difference between winning the next fight or going down.
What a view: Drop a Tactical Insertion somewhere in or near the outer perimeter. Move along the map’s border until you spot the perfect entryway along its many windows or simply fire on unsuspecting targets before moving on to the next hapless foe.
Shoot out the floor: Set up the enemy to fail by shooting out the glass panes along the northern Skylight. Let your teammates know and check your own movement across to avoid falling into your own trap and taking the plunge.
Advanced Map Tips
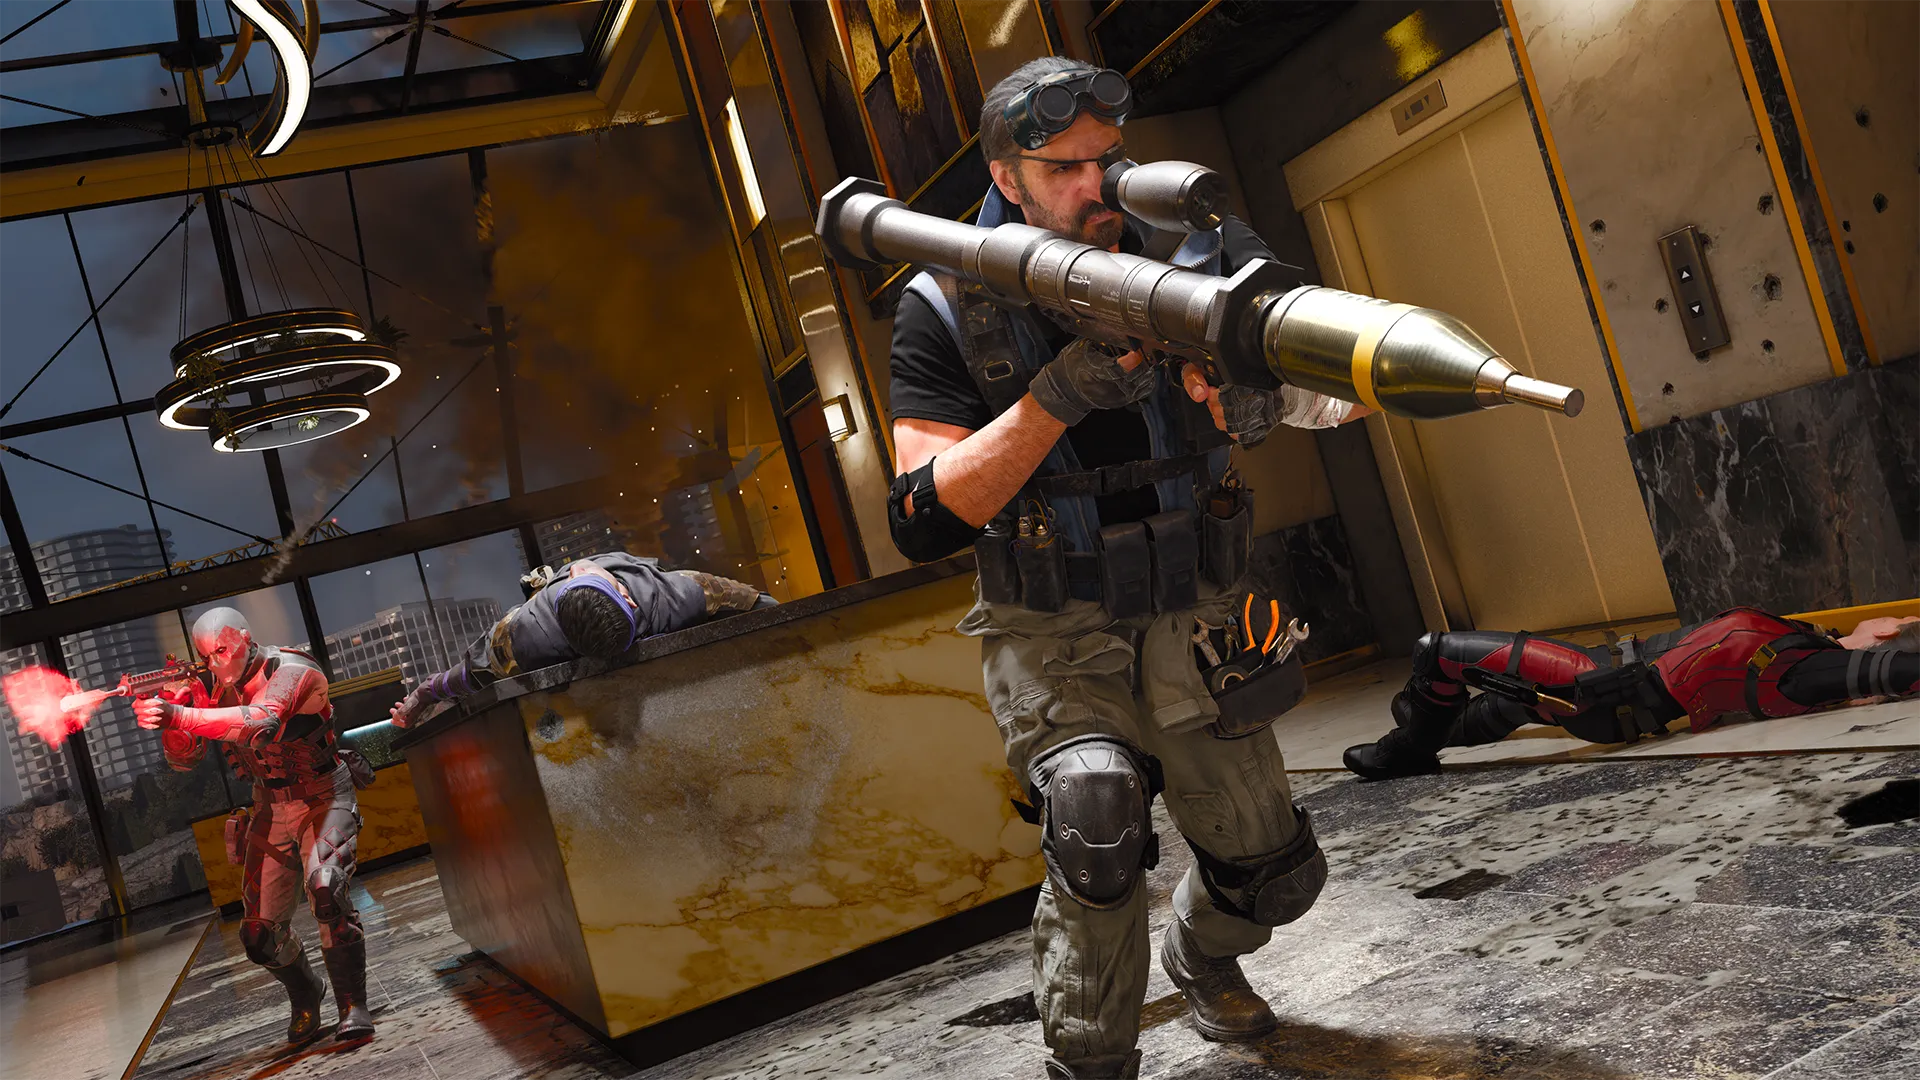
Out on a Ledge — Alpha (A)
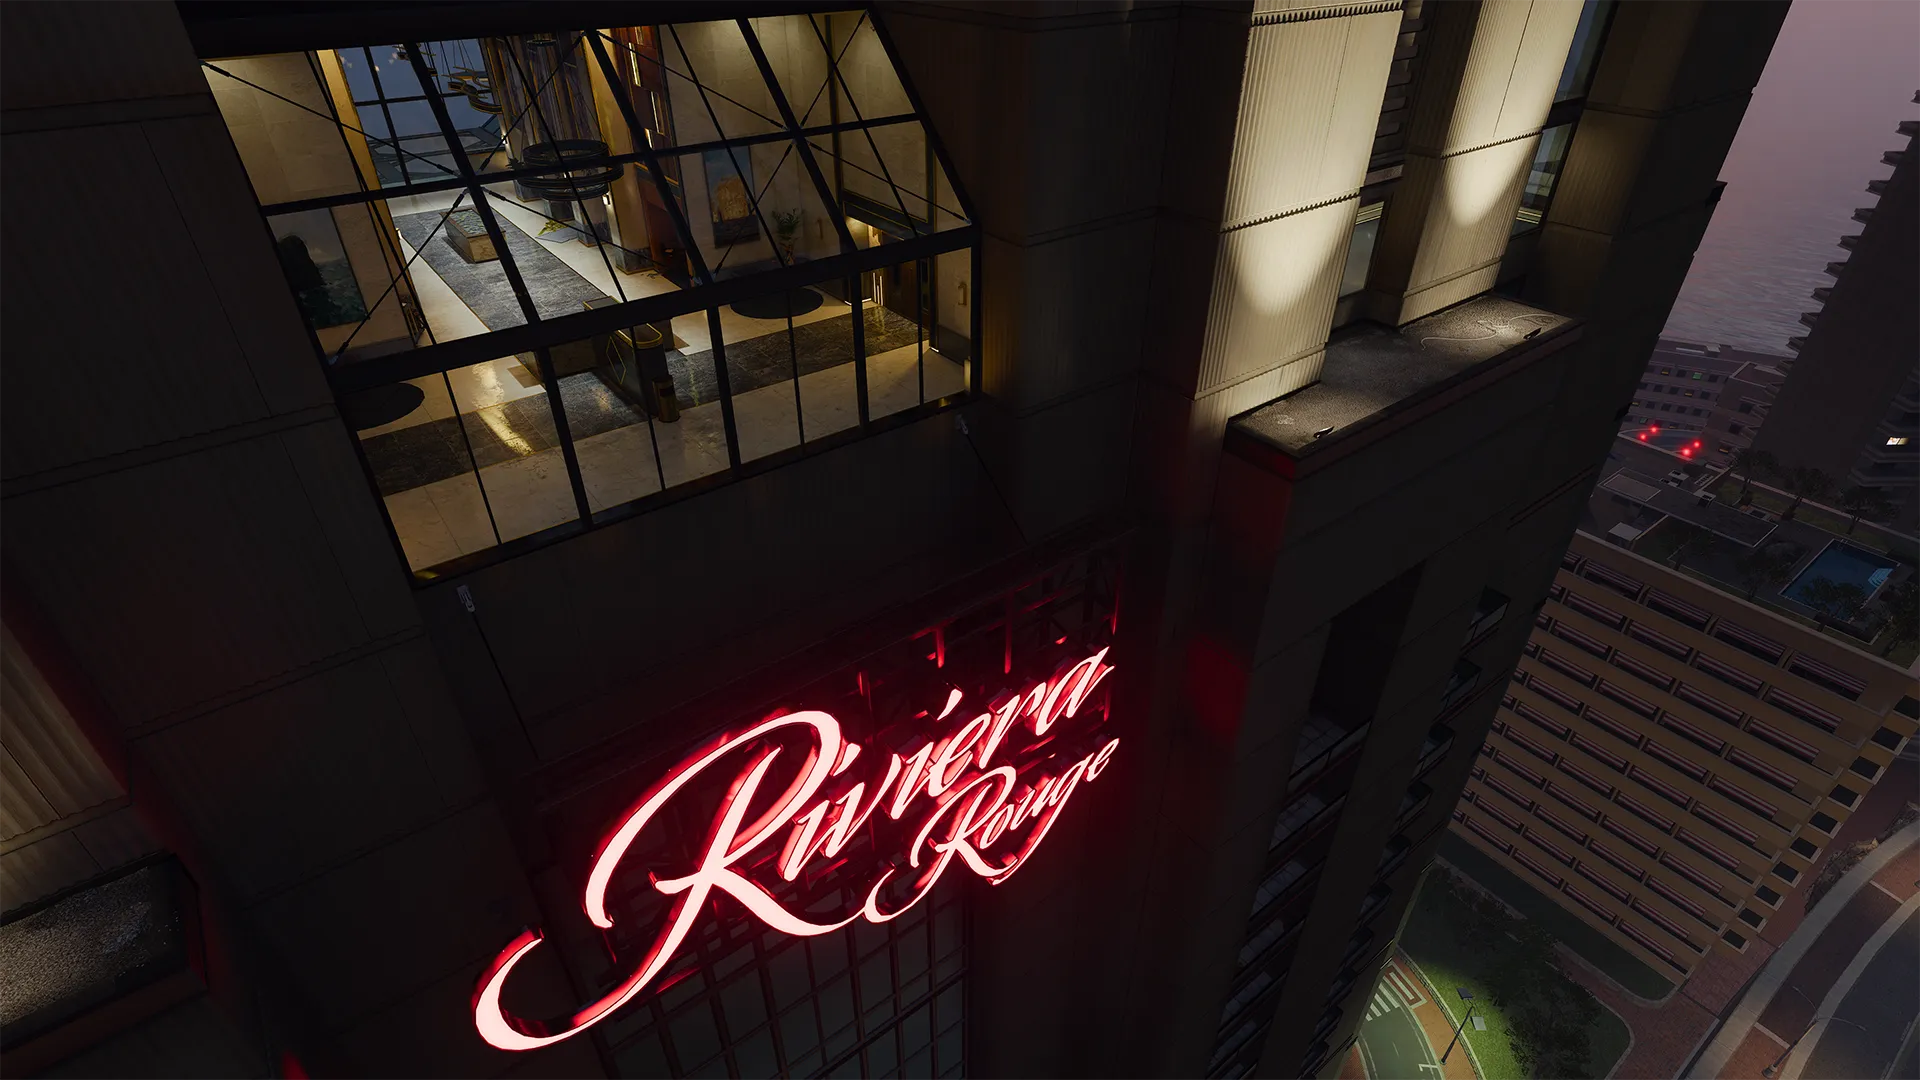
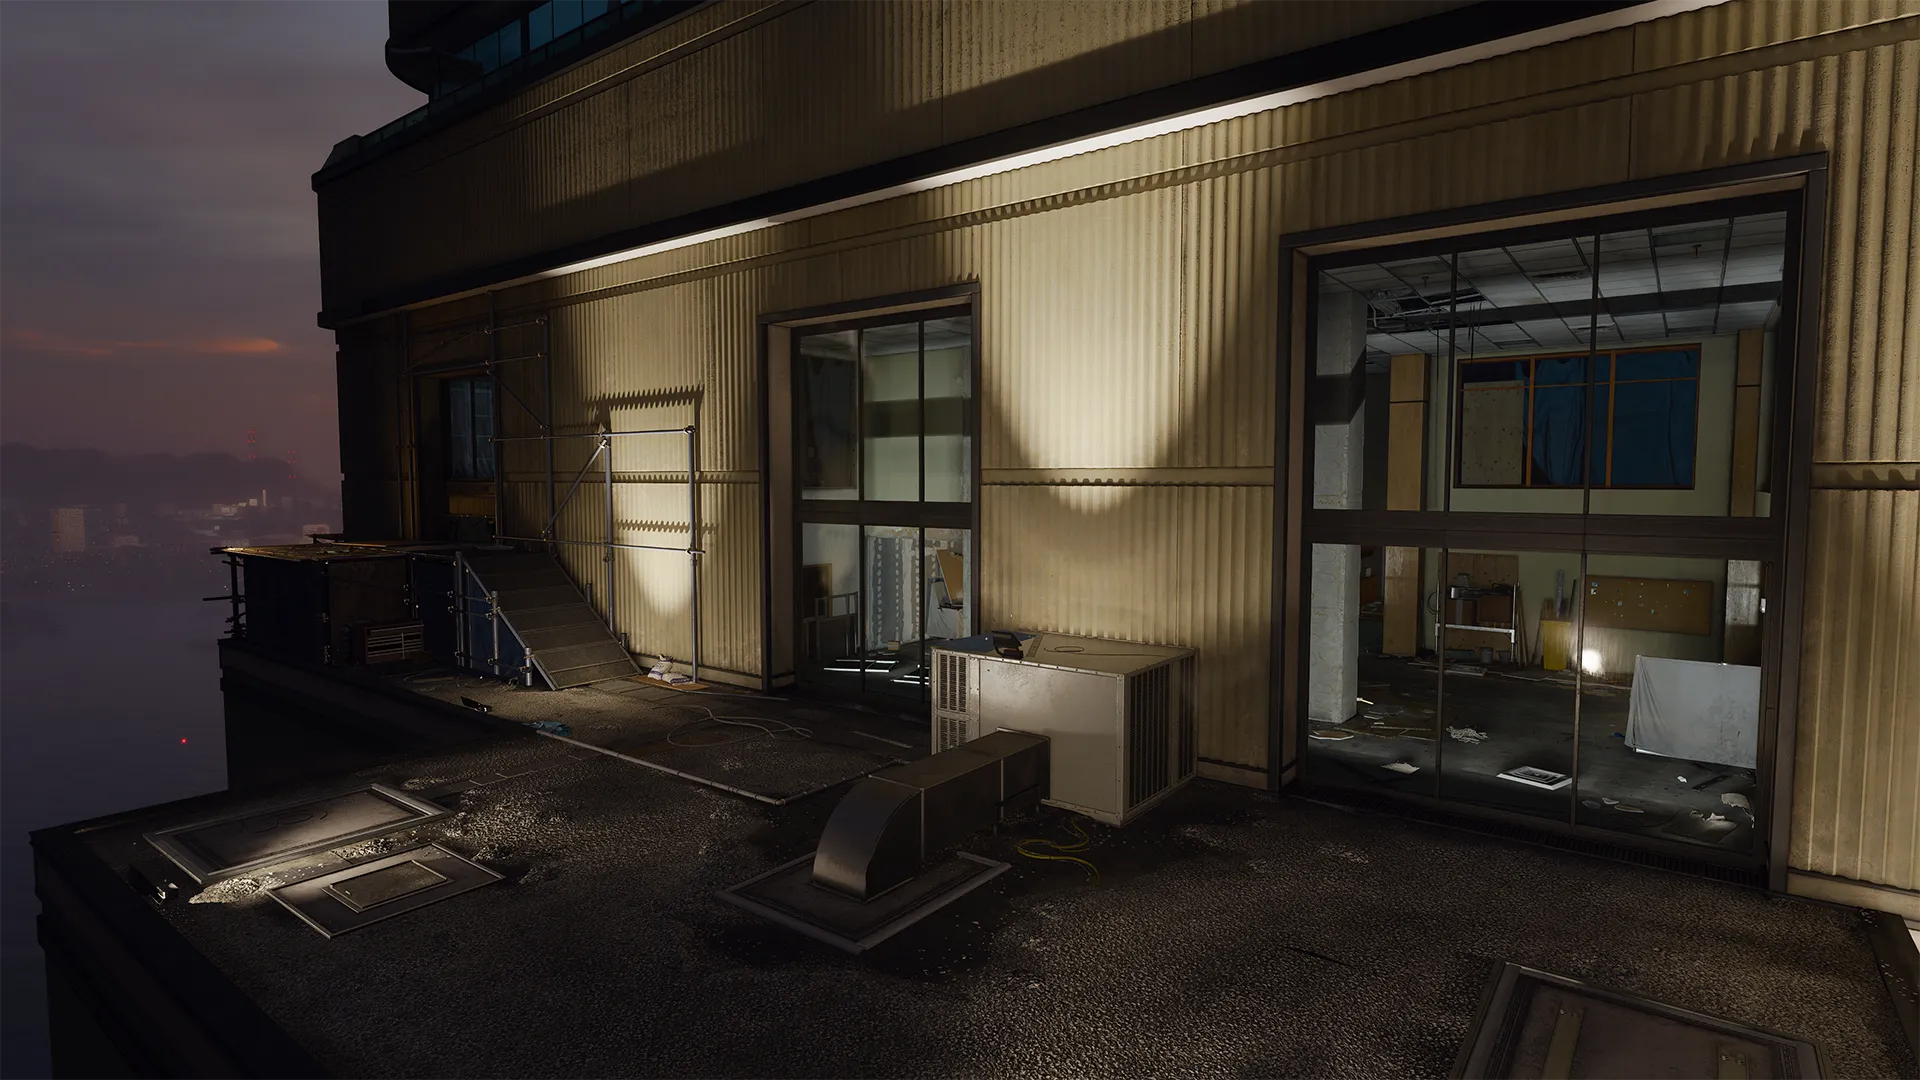
It might seem at first glance that the northern Skylight path is the only outer passage down the length of the skyscraper, but it’s possible to jump on top of the neon Riviera Rouge sign on the southern Ledge. It’s a thin line forward, but there’s enough space to hoof it to the other end. Watch out for enemies on the other side of the glass.
Corner View — Beta (B)

The building’s northwest corner offers a useful pivot via scaffolding that winds around from the Rooftop into Construction and the further Board Room. You’ve got to jump and mantle up from the wooden walkway to the upper platform to avoid falling, but the effort is well worth it to cover several vital sightlines from a more concealed point of view.
V.I.P. — Gamma (Γ)
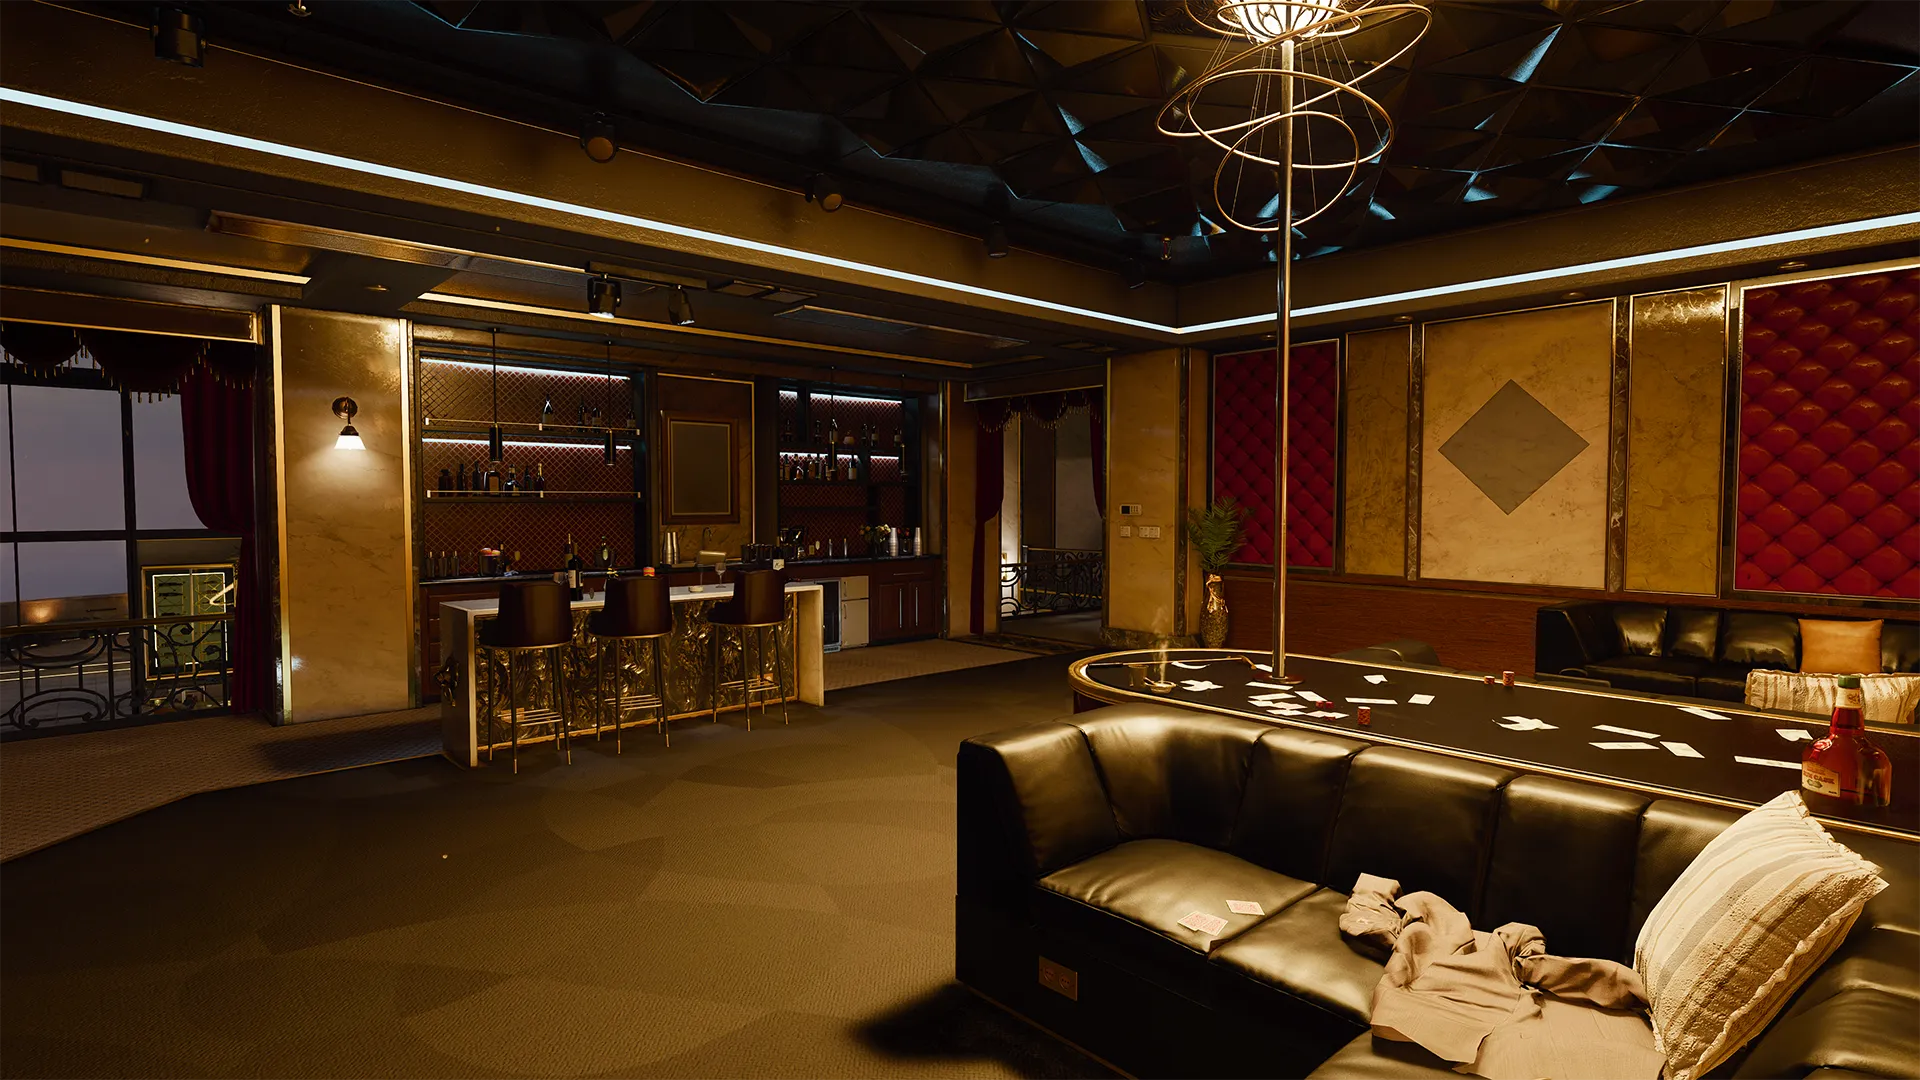
The V.I.P. lounge isn’t just useful for its great views over the Nightclub, but also for its access to the nearby light fixtures hanging over the Lobby. They’re just large enough for an Operator to jump on top of for a high up vantage point over the action below. Eliminate some targets and then jump across to the other side.
Map Focused Loadouts
Pick the right tools for the job and complete the objective with these powerful Loadouts designed specifically for Bounty.
Fat Cat
SMG, Enforcer Combat Specialty
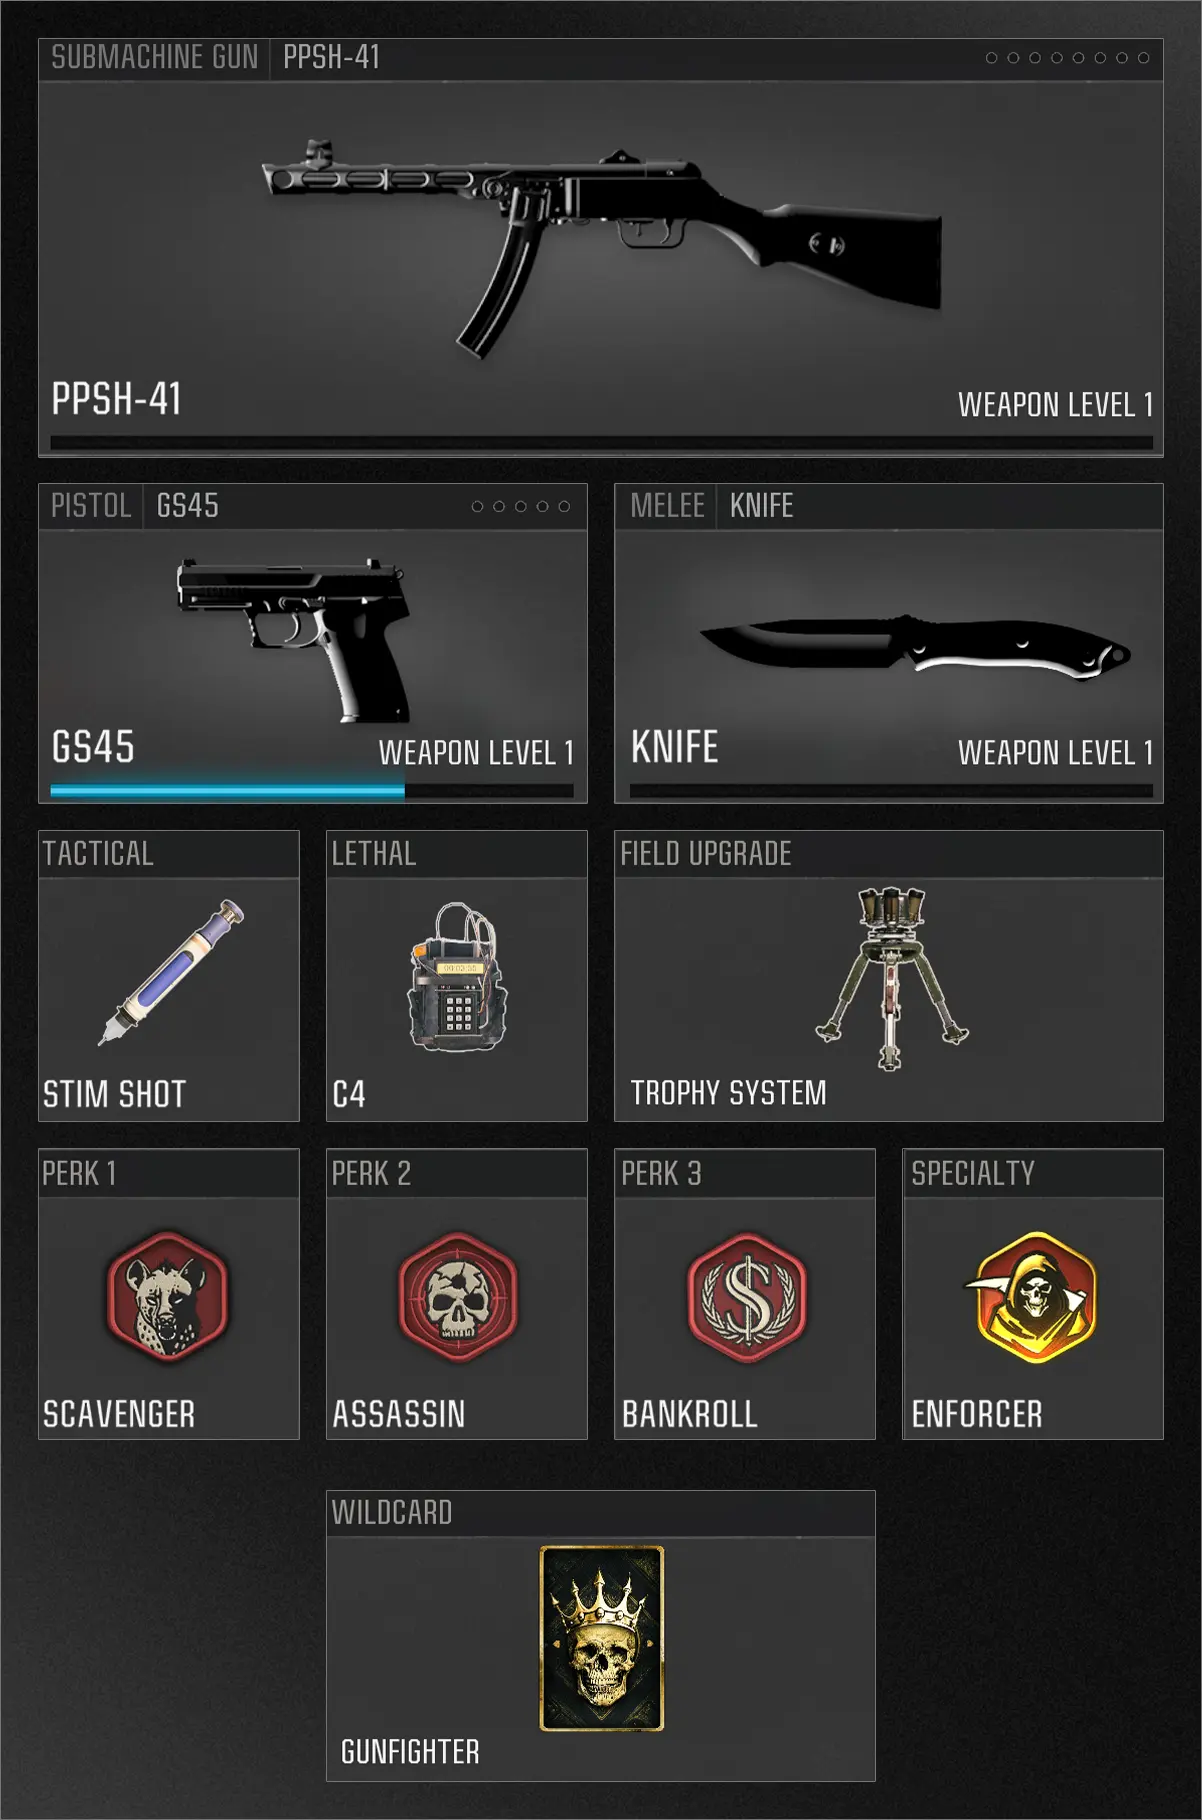
Strut around like you own the place with this Loadout equipped with Season 02’s new PPSh-41 SMG featuring a hefty ammo supply along with a trio of Perks granting improved movement abilities and a boost to your Scorestreak earning potential, further enhanced with the addition of the High Roller Wildcard so you can make them pay when the going’s good.
Toss down C4 from the V.I.P. room and protect your own neck using the Trophy System. If things get bad, heal back up via Stim Shot and then return to the fight, showing them who’s the real boss around here.
Bouncer
LMG, Strategist Combat Specialty
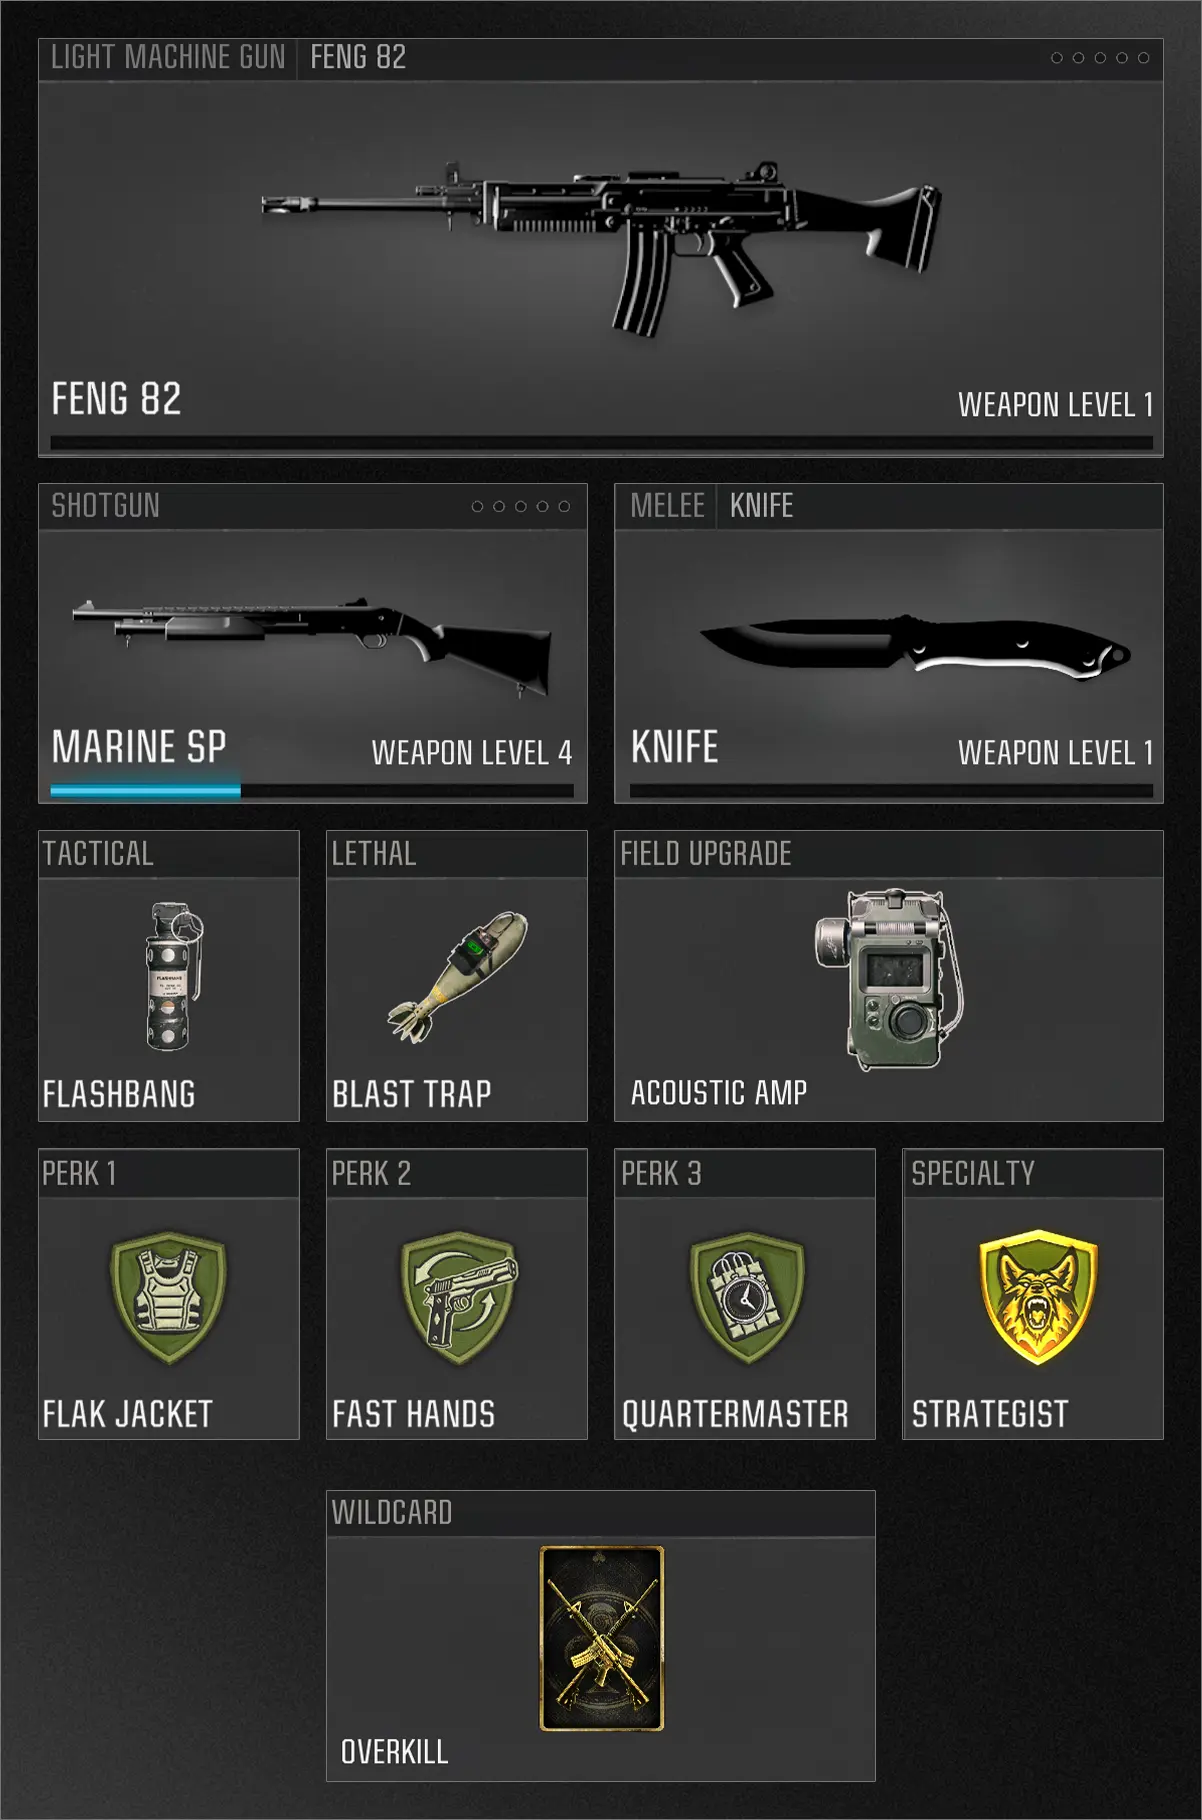
Keep the Riviera Rouge in good order as a no-nonsense bouncer. Using the Overkill Wildcard, equip the aggressive Feng 82 LMG and the Marine SP Shotgun to cover all distances. Disorient unruly Operators with the Flashbang and equip the Blast Trap to keep tight passages off limits. Activate the Acoustic Amp to help detect foes attempting to get around you.
Shrug off explosives with Flak Jacket, swap your Primary Weapons on a dime via Fast Hands, and grab Quartermaster to restock your equipment over time while accessing the useful Strategist Combat Specialty. With this setup, no one’s getting past you.
Bounty Hunter
Marksman Rifle, Recon Combat Specialty
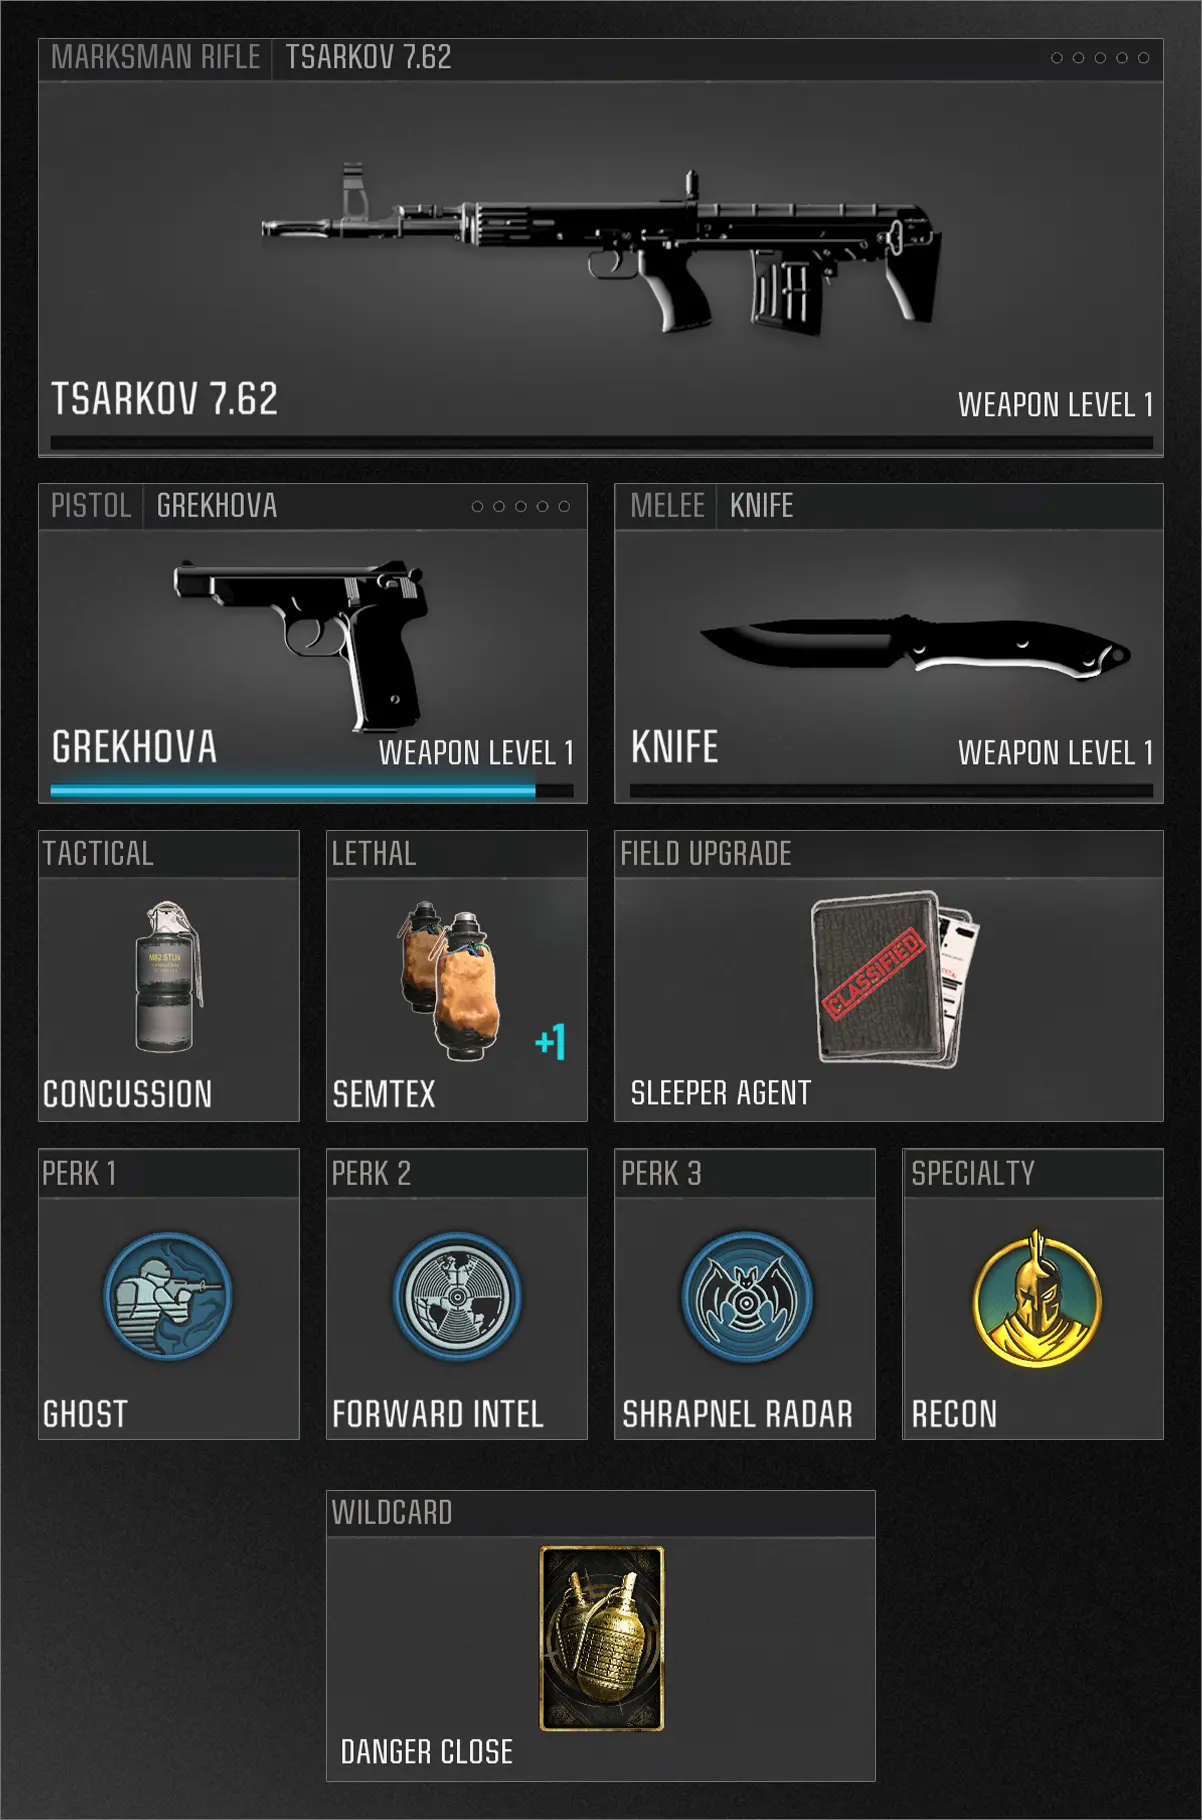
This Loadout prefers a stealthier approach, using Sleeper Agent to trick gullible foes into ignoring your presence. Add Ghost to help conceal your movements and Forward Intel for greater map awareness. Once your target is in sight, make quick work of them with the Tsarkov 7.62. Drop the ruse if they threaten to get away, blasting them with your pair of Sticky Grenades via Danger Close and highlighting them on the minimap with Shrapnel Radar if the explosions don’t finish the job.
© 2024-2025 Activision Publishing, Inc. ACTIVISION, CALL OF DUTY, and CALL OF DUTY BLACK OPS are trademarks of Activision Publishing, Inc. All other trademarks and trade names are the property of their respective owners.
For more information, please visit www.callofduty.com and www.youtube.com/callofduty, and follow @Activision and @CallofDuty on X, Instagram, and Facebook. For Call of Duty Updates, follow @CODUpdates on X.

