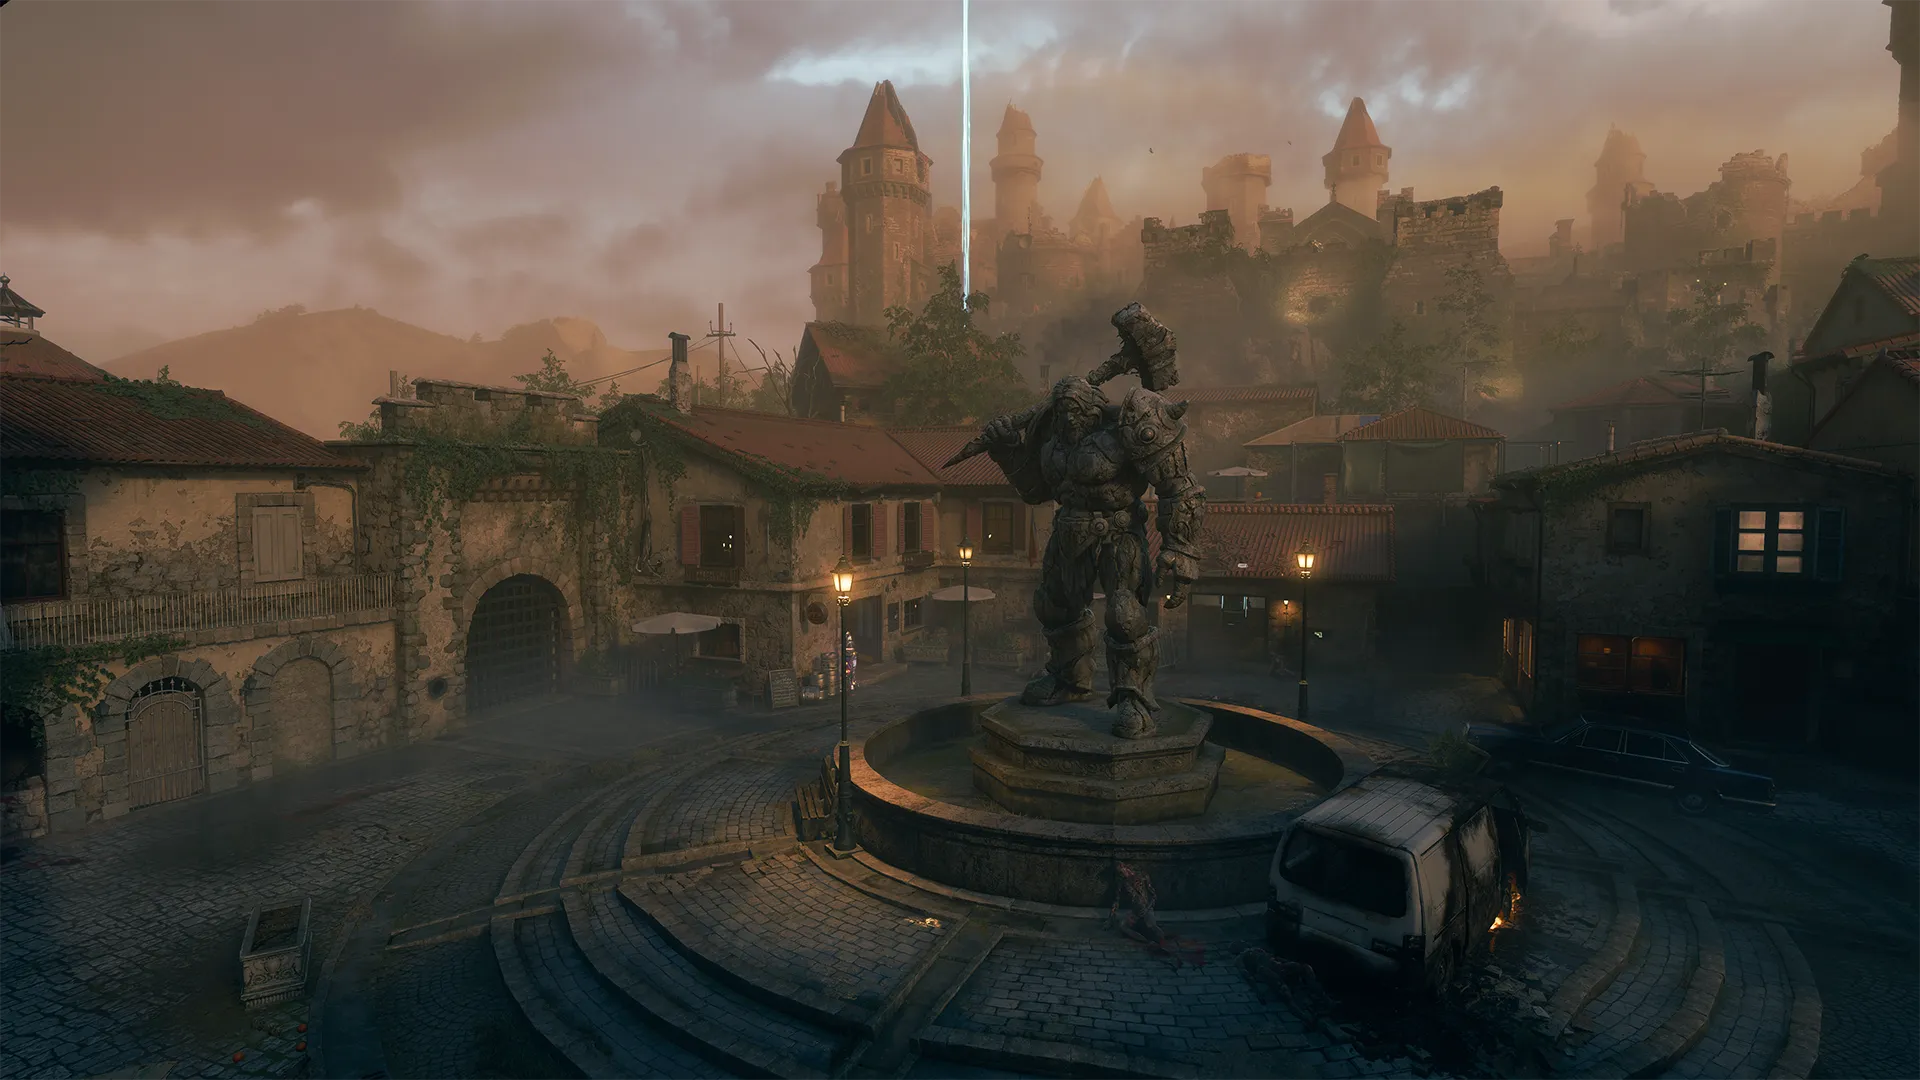
Citadelle des Morts
Citadelle des Morts: The Ten Round Guide
- Town Square
- Nature Path
- Village Ascent
- Courtyard
- Hillside Ramparts
- Entrance Hall
- Sitting Rooms and Undercroft
- Dining Hall and Dungeon
- Oubliette Room
- Continuing the Story
- Obtaining the Wonder Weapon
Overall Tactics
Prebrief
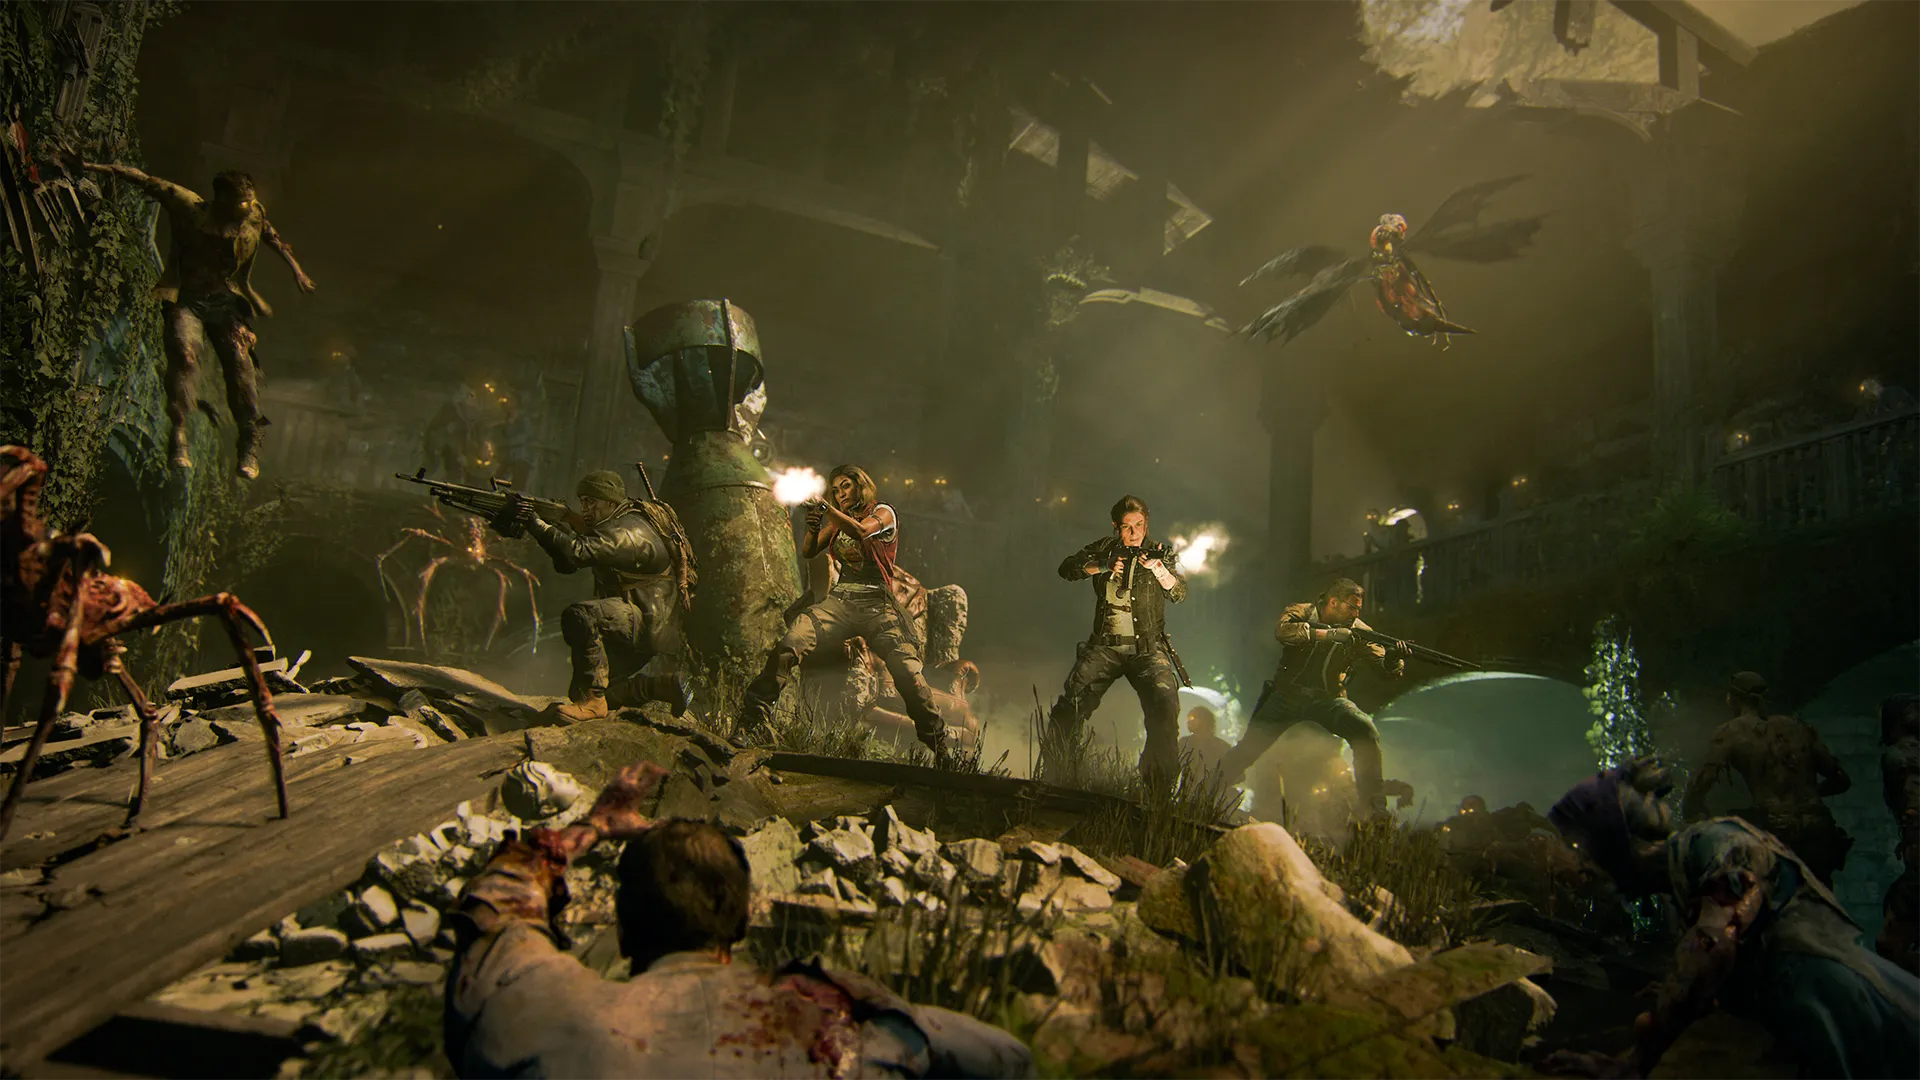
One of Avalon’s oldest landmarks, the Citadel is shunned by locals both for its sinister history and because it is a base of operations for the crime family known as the French Syndicate. The castle was established in the 1100s on the site of a leper colony, and construction was completed a century later. In the 1300s, the renegade knight Guy de Saint Michel and his four enforcers took over the fortress and instituted a criminal reign of terror that birthed the Syndicate.
After the events of Terminus, Weaver, Maya, Carver, and Grey — along with Peck, Raptor One, and Strauss — embark on and expedition to the European principality of Avalon, hoping to rescue a luminary named Gabriel Krafft, who is being interrogated by the French Syndicate. There, they hope to learn more about an ancient relic known as the “Sentinel Artifact,” which in turn, when its power is harnessed may be able to save Samantha Maxis from her aethereal imprisonment.
Welcome to Citadelle des Morts.
What is in this Guide?
This Citadelle des Morts guide will give you a general walkthrough for the first 10 rounds of Zombies on Citadelle. If you’re having trouble getting further than the first 10 rounds, or you’re simply looking for a good flow to get you started, this will set you on the right path. The rest is left for you to experiment and explore.
This Call of Duty®: Black Ops 6 Zombies map is built in a way that leaves you with a lot of room to explore but stay vigilant as you get further into the castle because the hallways get narrow and it’s easy to get yourself into a tight situation. Utilize the many traps and obstacles to evade the hordes of zombies and keep moving.
// INTEL CARD
- BO6
Citadelle des Morts
// ZOMBIES // MAPS

Think of the next move: There are lots of tight spaces and narrow hallways within Citadelle des Morts; however, as long as you have your next move in mind, you should always be able to escape immediate danger.
Decisions, decisions: While it is important for efficiency to choose one side or another when having two choices in door buys, you will eventually want to open all the doors that you can because there are nice power ups in each section of the map.
Decoy default: If you’re concerned about which Tactical has the most use on Citadelle des Morts, the Decoy can be highly important in a few major locations of the map.
Citadelle des Morts: The Ten-Round Guide
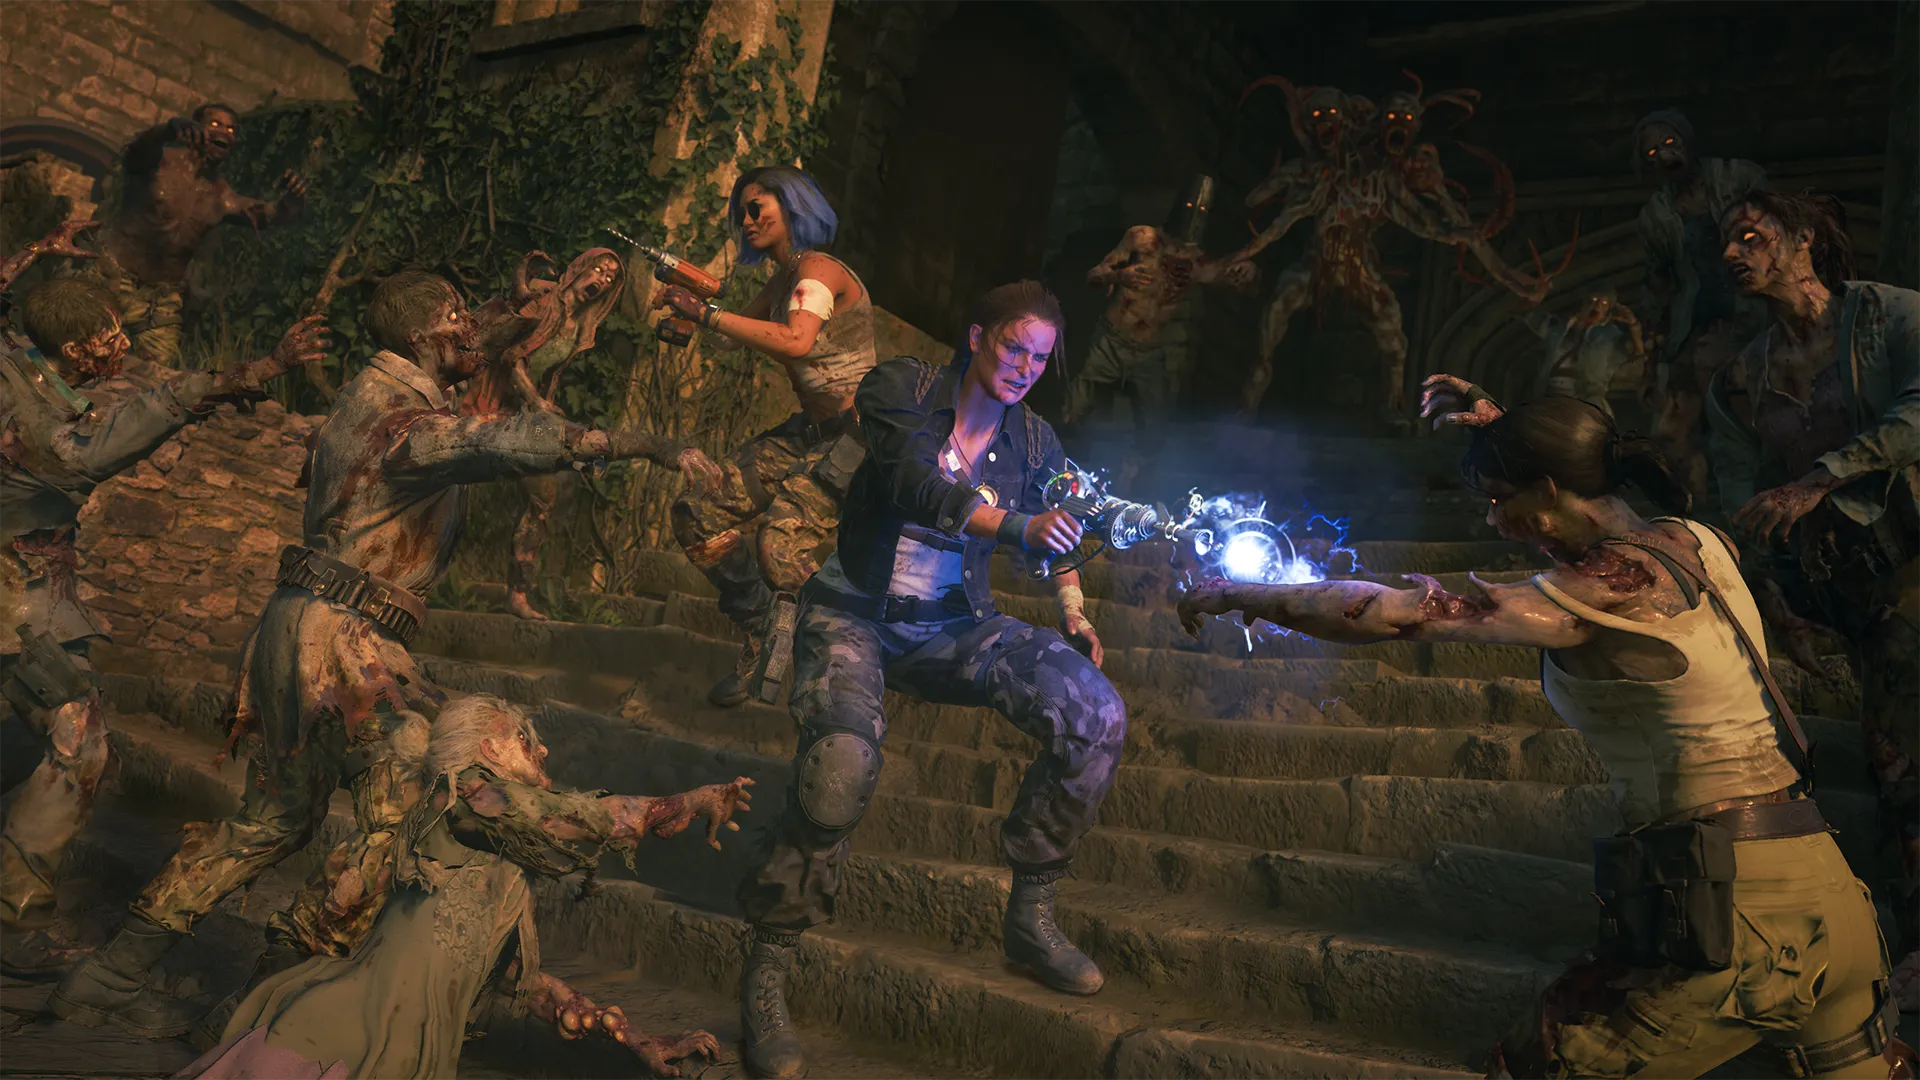
For the purposes of this guide as it pertains to Call of Duty: Black Ops 6 Round-Based Zombies, it will detail the beginning steps of your run on Citadelle des Morts. It’s also focused on solo play, however if you’re playing with friends, you can still use similar strategies. Take a look at each section and see both the recommended round pacing as well as the suggested tasks to get done after unlocking this section of the map.
Remember, you can always split the cost of door unlocks with your squad.
Town Square


-
Show areas

-
Show spawn points

-
Reset all overlays

Recommended Tasks and Key Power Ups
Gain Essence
Plan which door you wish to open first
Pistol Wall Buy
Crafting Table
GobbleGum Machine
The Arsenal
Der Wunderfizz Perk Machine
Level II Armor Vest
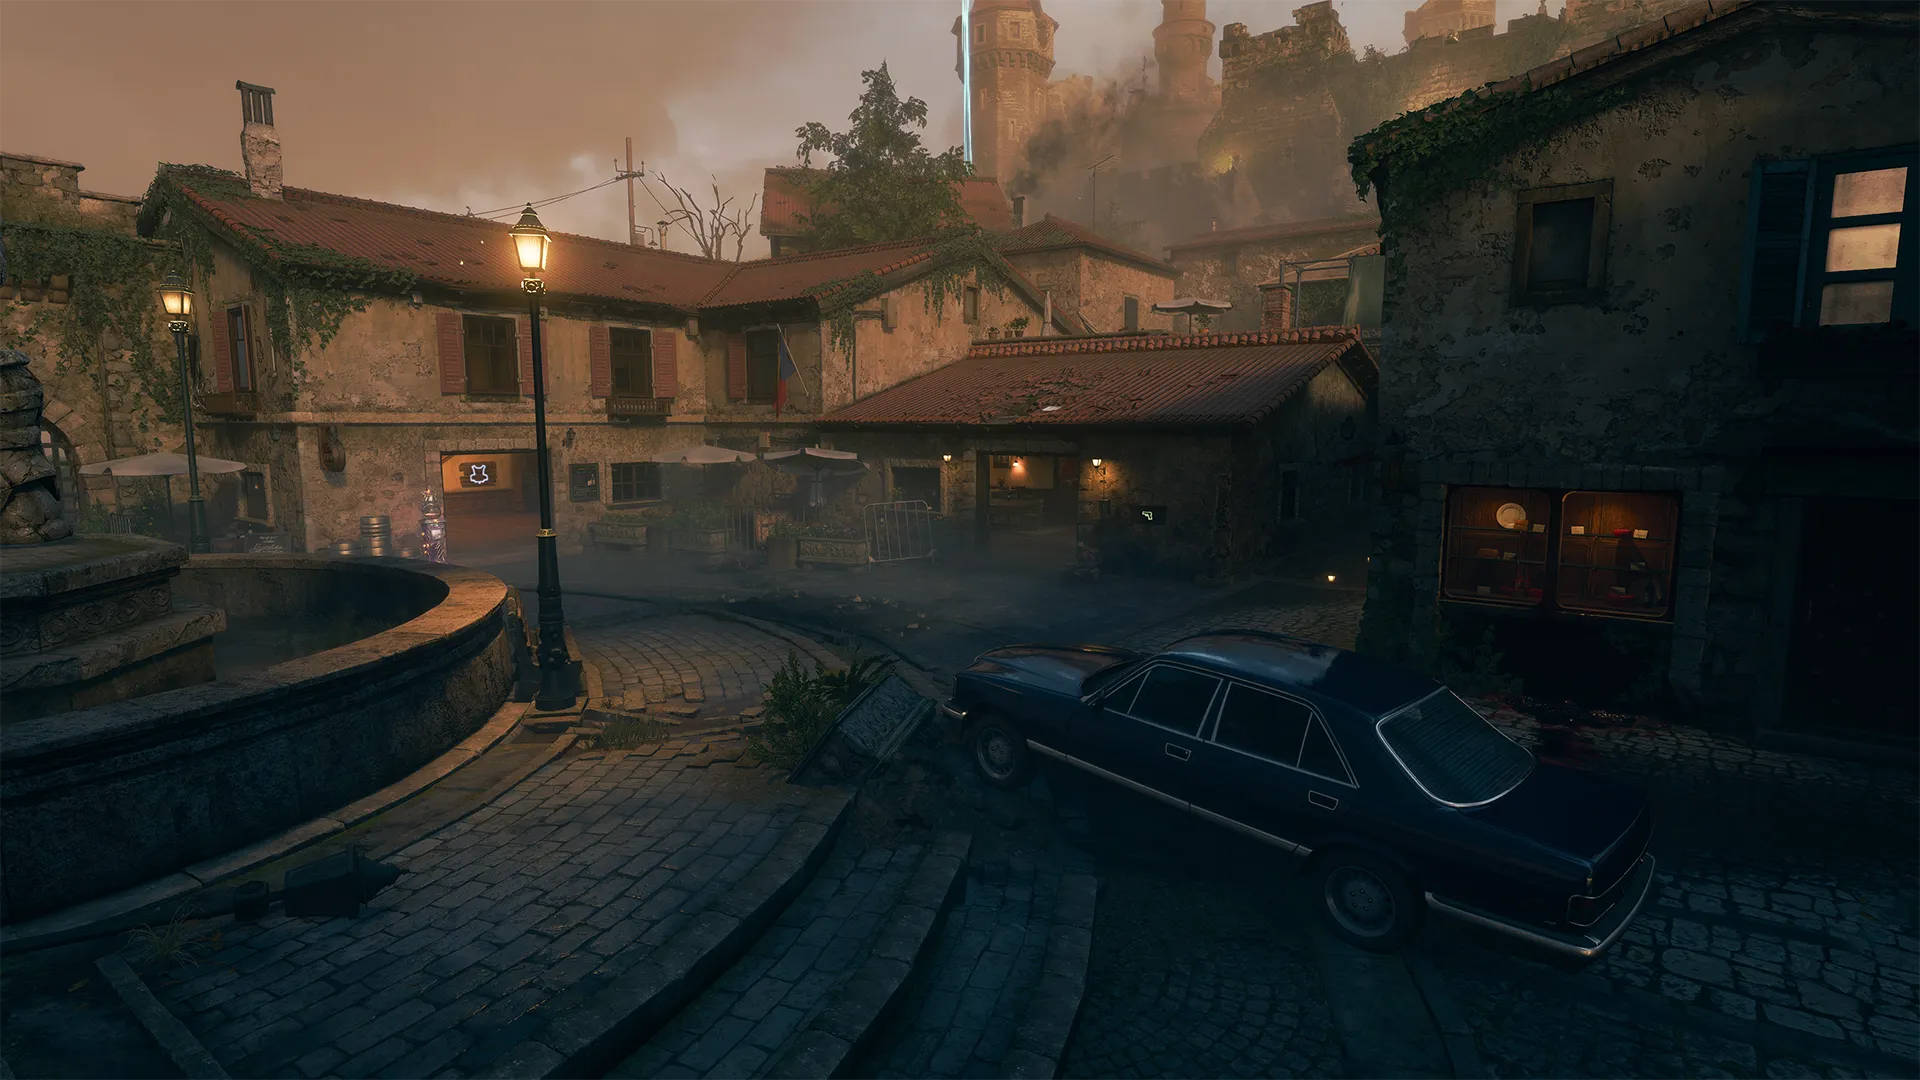
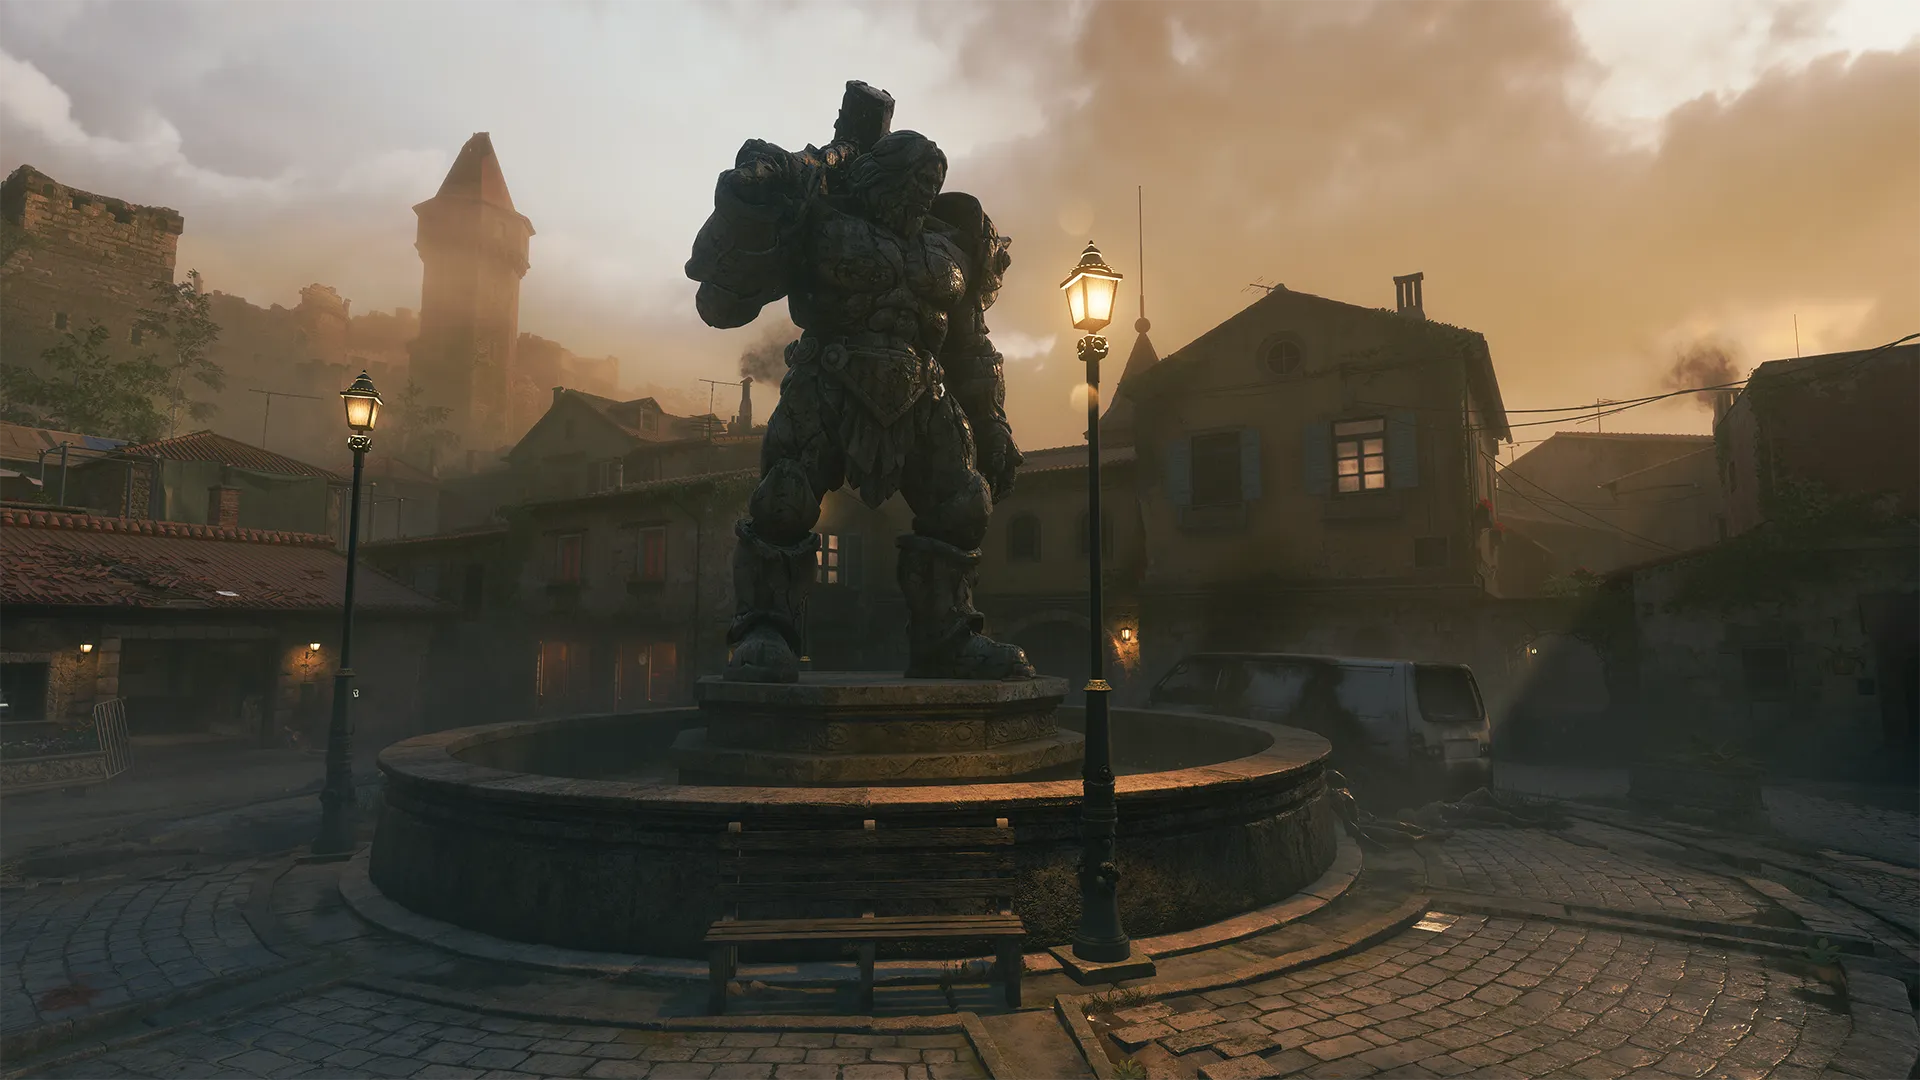
Welcome to the Town Square, where you and your squad can get so much done and power up your arsenal without moving too far from the initial spawn point. In the Town Square there includes all the basics; Ammo Cache, Crafting Table, GobbleGum Machine, and Pistol Wall Buy. However, in a very important way there are also some key powerups available here. The Arsenal, Der Wunderfizz Perk Machine (only available immediately in Directed Mode, and at Round 25 in Standard), as well as a Level II Armor Vest are all available for purchase right here at the start of the map.
The Der Wunderfizz Perk Machine is a machine that allows you to buy any of the Perks available in Black Ops 6 Zombies. The prices will still increase like normal, depending on how many Perks you have activated at the time of purchase.
It’s incredibly easy to lose track of time in the Town Square due to all of the goodies available. Just remember that the goal is to get to your first level Pack-a-Punch before you finish Round 10. Obviously, this is not required, but your survivability will be much higher if you follow this pace. So, choose a path and unlock the door. Remember to look up in the sky for the large blue beam which will indicate which direction the Mystery Box is located.
Nature Path (Western Path)


-
Show areas

-
Show spawn points

-
Reset all overlays

Recommended Tasks and Key Power Ups
Unlock the western door that leads to the Nature Path and Hilltop
SMG Wall Buy
Deadshot Daiquiri Perk Machine
Mystery Box Location
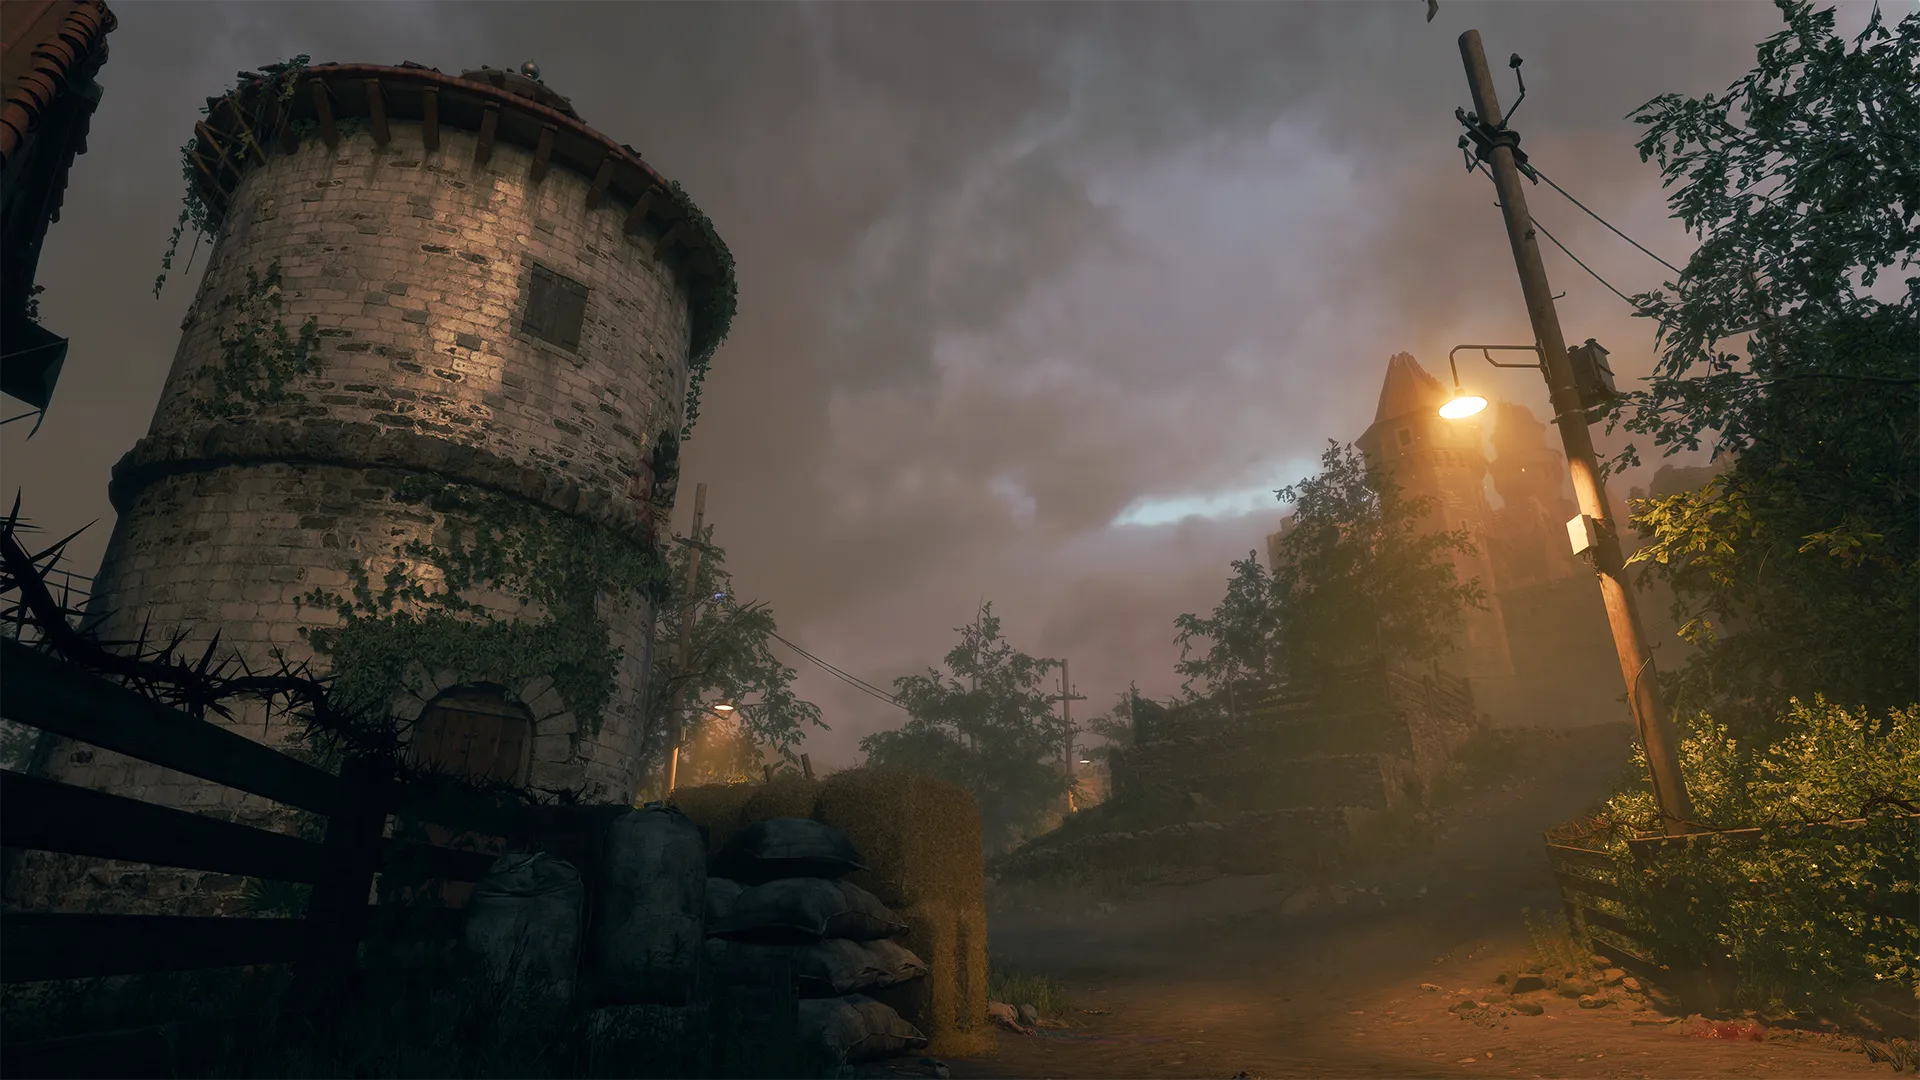
Once you’ve made it through the door, it’s time to start trekking uphill. During these early rounds, you may not want to spend any of the little Essence you have. If you look carefully, you’ll see a red circle with some particular markings on the ground. This is a Point of Power Trap, but it can only be activated after you’ve activated the Pack-a-Punch machine. So, note it, and come back to it in a later round. Your main goal is to get through the next door, however there is a lot of room on the Hilltop that allows you to let zombies chase you around for a bit while you power up your weapons or spend some Essence on the Mystery Box, if it’s available in this location.
Reminder: Check the ground for dropped Lethals, Tacticals, and Armor Plates. You’ll need to actively pick up new equipment if you have a different item than what’s on the ground. Otherwise, the items will replenish as you walk over them.
Village Ascent (Eastern Path)


-
Show areas

-
Show spawn points

-
Reset all overlays

Recommended Tasks and Key Power Ups
Unlock the eastern door that leads to the Village Ascent
AR Wall Buy
GobbleGum Machine
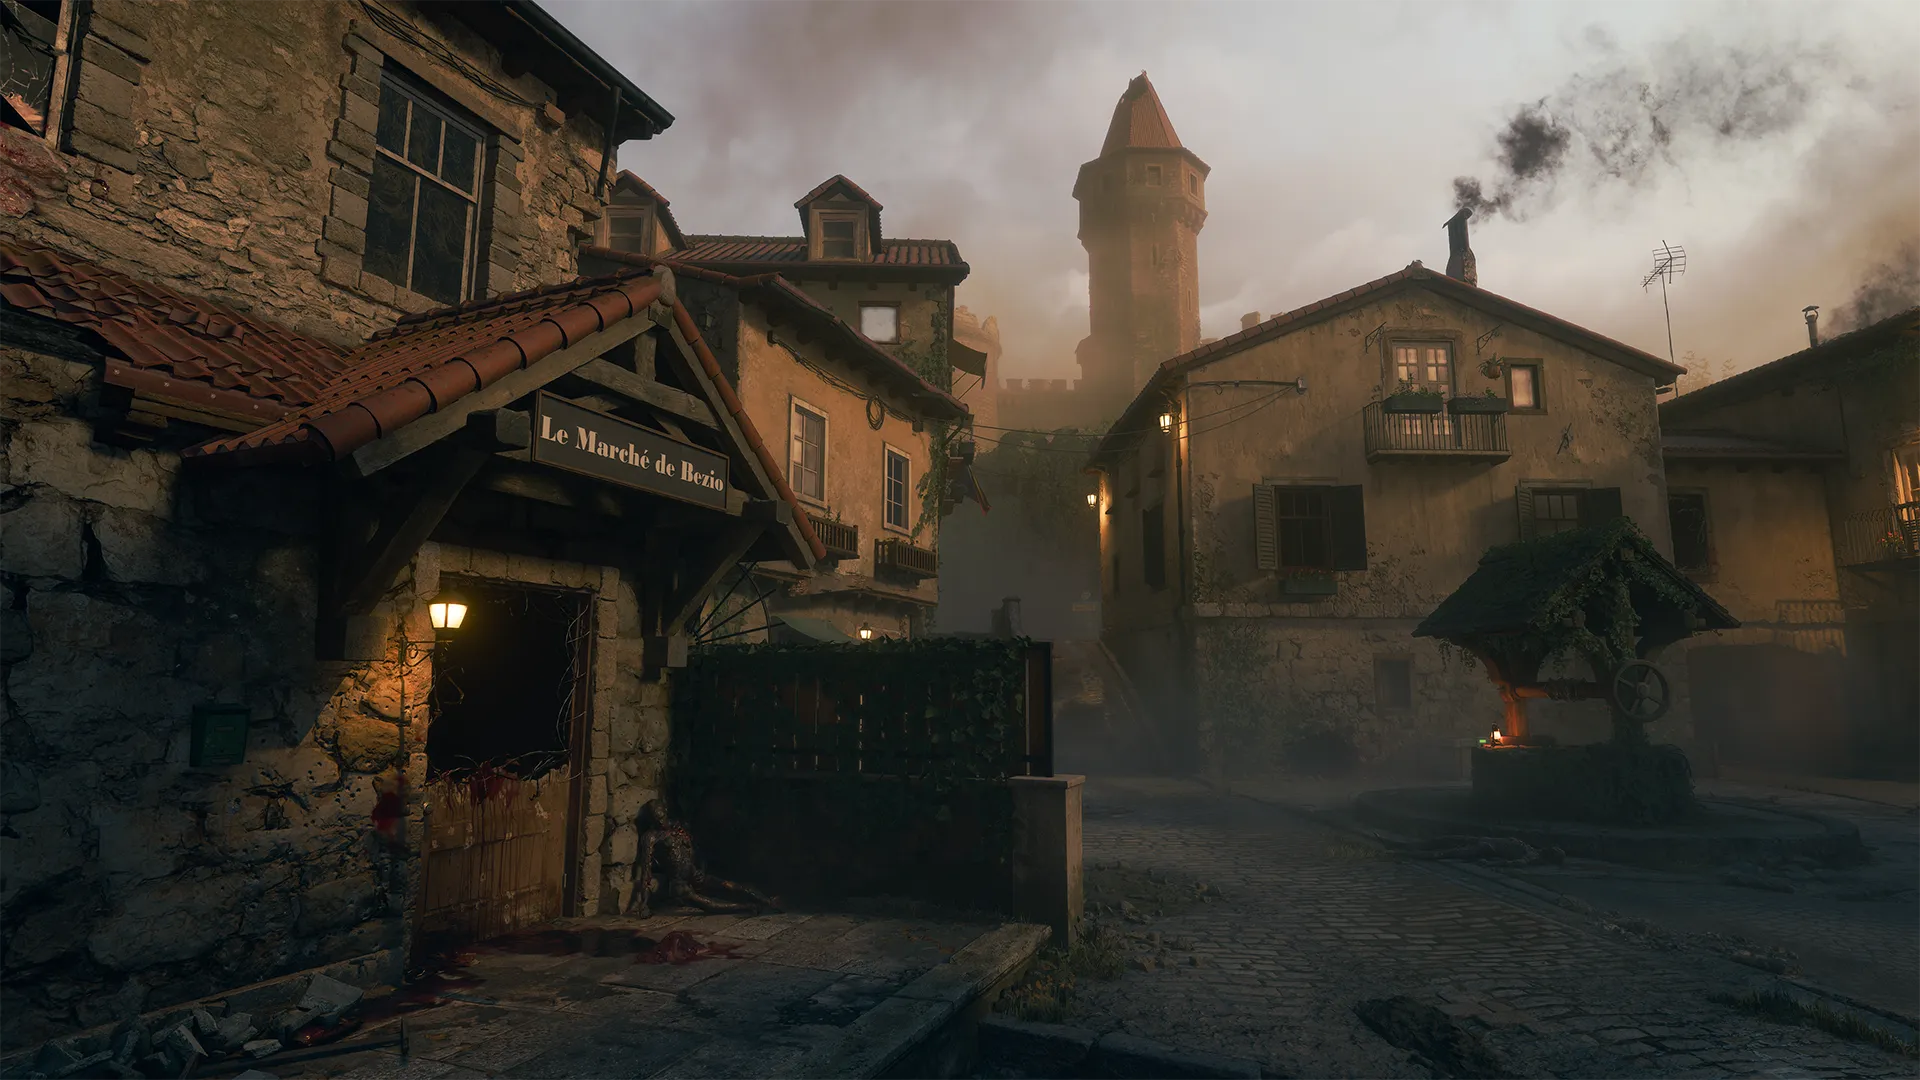
The eastern path past the Town Square will take you to the Village Ascent, which promises to be an uphill battle in tight spaces. While still being outdoors, the alleyways are not quite dangerous yet. However, getting cornered is still possible, so stay aware of this possibility. As you plan your next move, remember to keep moving. Use the circular layout of this location to keep from losing any armor plates. If you need to, use the Point of Power Trap but remember to save some Essence for the next door.
Courtyard


-
Show areas

-
Show spawn points

-
Reset all overlays

Recommended Tasks and Key Power Ups
Unlock the Courtyard Door
AR Wall Buy
GobbleGum Machine
The Arsenal
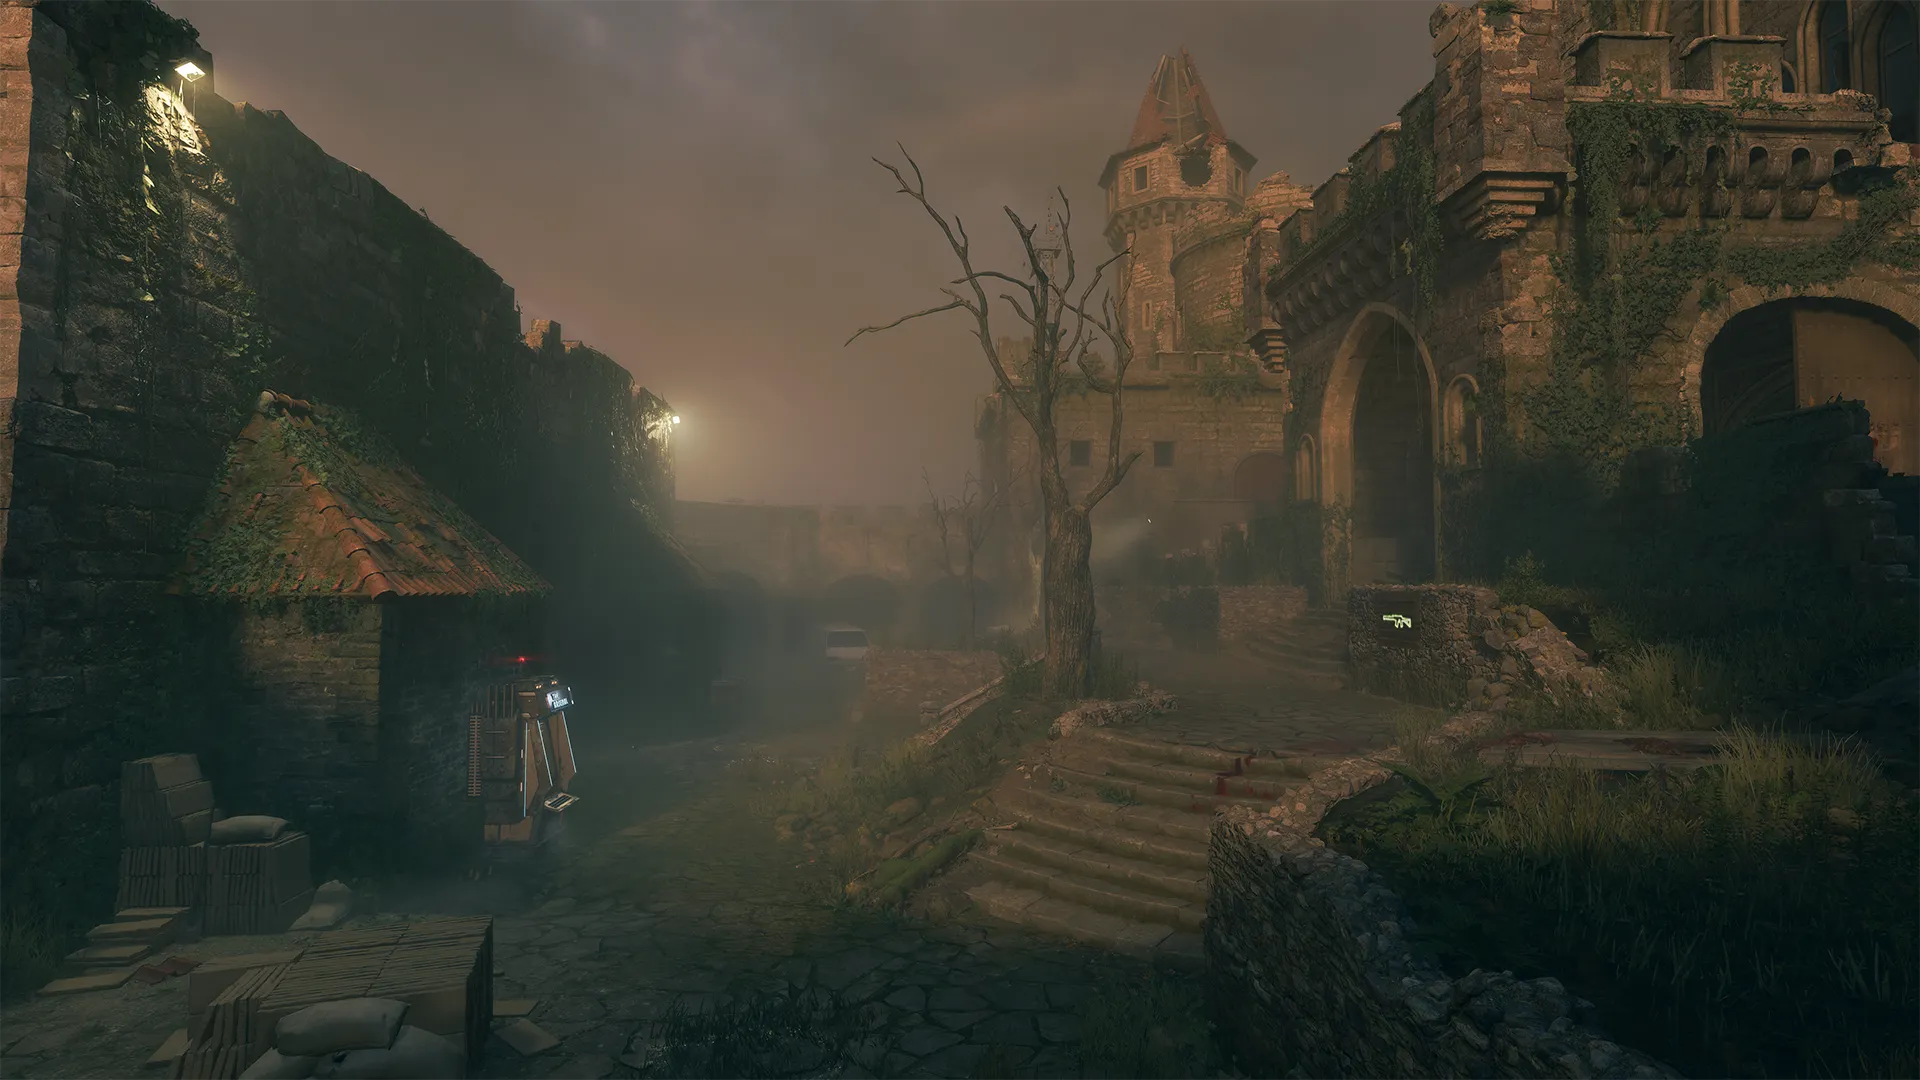
Now that you’ve made it to the Courtyard of the castle, things are about to get interesting. The first thing you may notice as you explore is the fact that the front door is not accessible. You can’t buy your way into this one. Take some time and look around the Courtyard for a few other directions you can head.
Spend some time making sure you’re powered up before you hit Round 6 because you’ll need some quick eliminating power to help you progress further into the castle.
Around this time, you should have enough Salvage and Essence to upgrade your starting weapon.
Hillside Ramparts


-
Show areas

-
Show spawn points

-
Reset all overlays

Recommended Tasks and Key Power Ups
Unlock one of the Hillside Ramparts Doors
Sniper Rifle Wall Buy
Elemental Pop Perk Machine
Melee Macchiato Perk Machine
Oil Trap (2)
Fast Travel Point
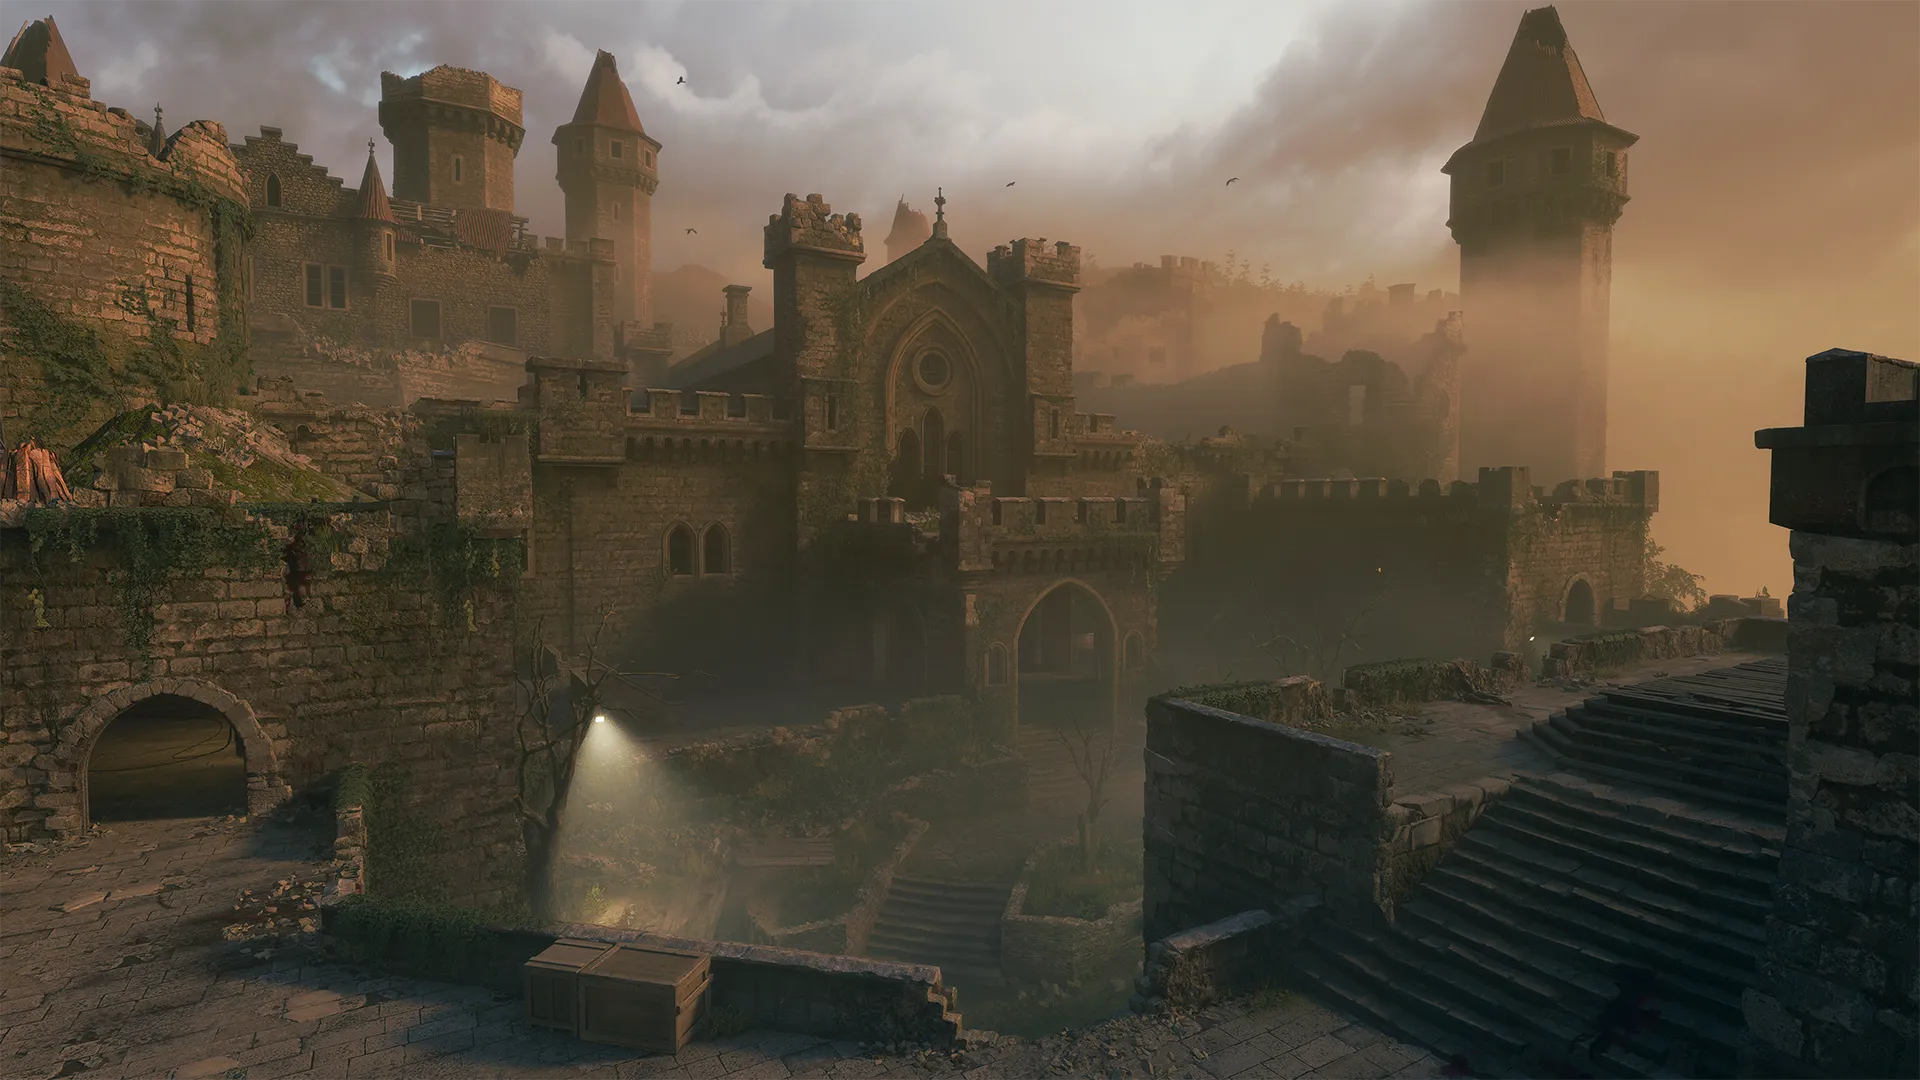
Now that you’ve opened up the Hillside Ramparts, it’s time to start being a little strategic about how you progress rounds. Remember to carry some equipment that can help slow down the zombies so that you can progress a little easier. In the middle of the Ramparts, there is a cannon that you’ll need to rotate a full 180 degrees, and unless you have some great damage mitigation, doing this rotation objective alone will be extremely dangerous. If you need to, use a Decoy or Concussion to give yourself a bit of time to rotate the cannon.
Round 6 is a special round where Vermin and Parasites will start to appear. They won’t be very powerful this time around, but they can surprise you. So, get some weaponry that will help you defend yourself from them.
Once you’ve used the cannon to break your way into the castle, you have a few options before deciding what to do next. You can either head straight into the castle or use the cannon to launch yourself to the Town Square and utilize the Power-Ups in this area before diving into the tight quarters of the castle.
Entrance Hall


-
Show areas

-
Show spawn points

-
Reset all overlays

Recommended Tasks and Key Power Ups
Enter the Entrance Hall of the Castle
Level II Armor Vest
Crafting Table
Jugger-Nog Perk Machine
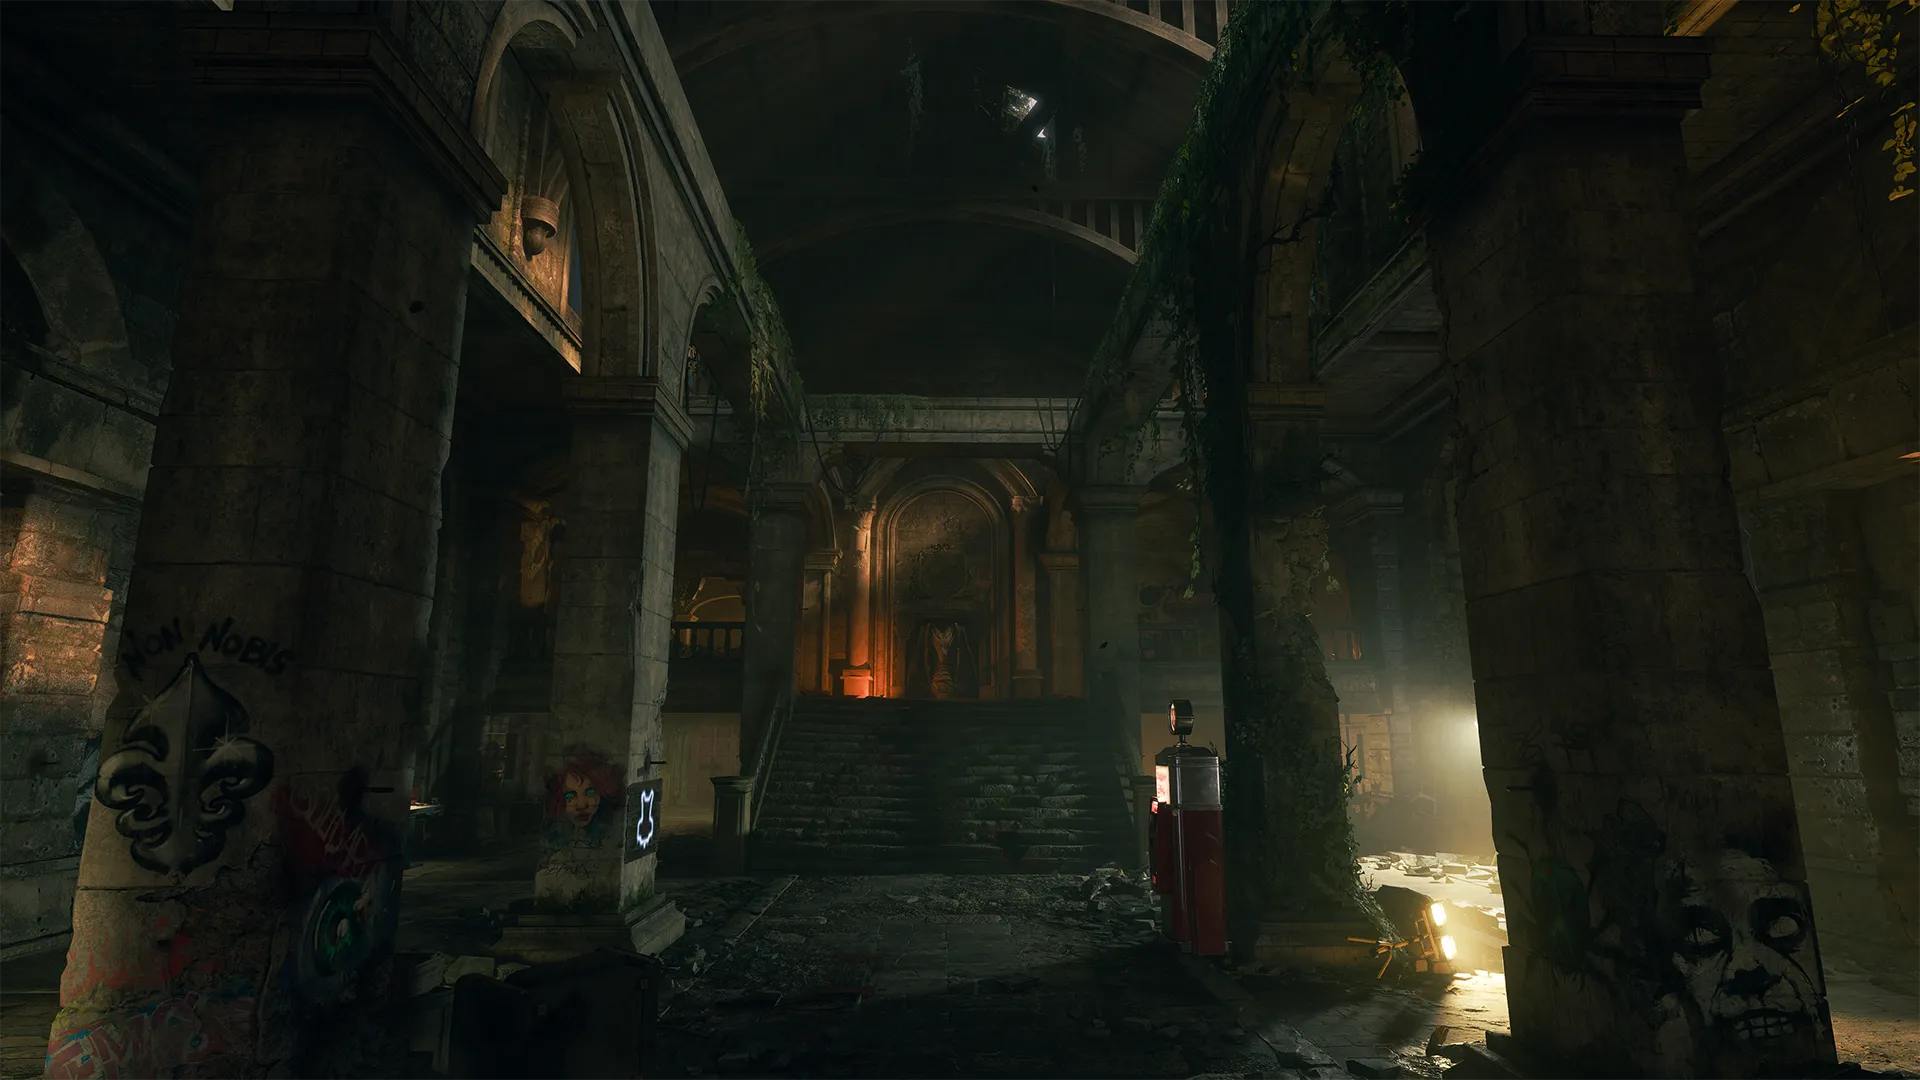
Now that you have access to the castle, you can use the Entrance Hall as a central staging area before making your next move and using it as a retreat point once you get to the next location. From the Entrance Hall, you’re left to your second decision in which direction you’d like to go. They both lead to the Pack-a-Punch machine; however, you may wish to utilize different parts of the map before you get there.
Sitting Rooms and Undercroft
Recommended Tasks and Key Power Ups
Shotgun Wall Buy
Stamin-Up Perk Machine
LMG Wall Buy
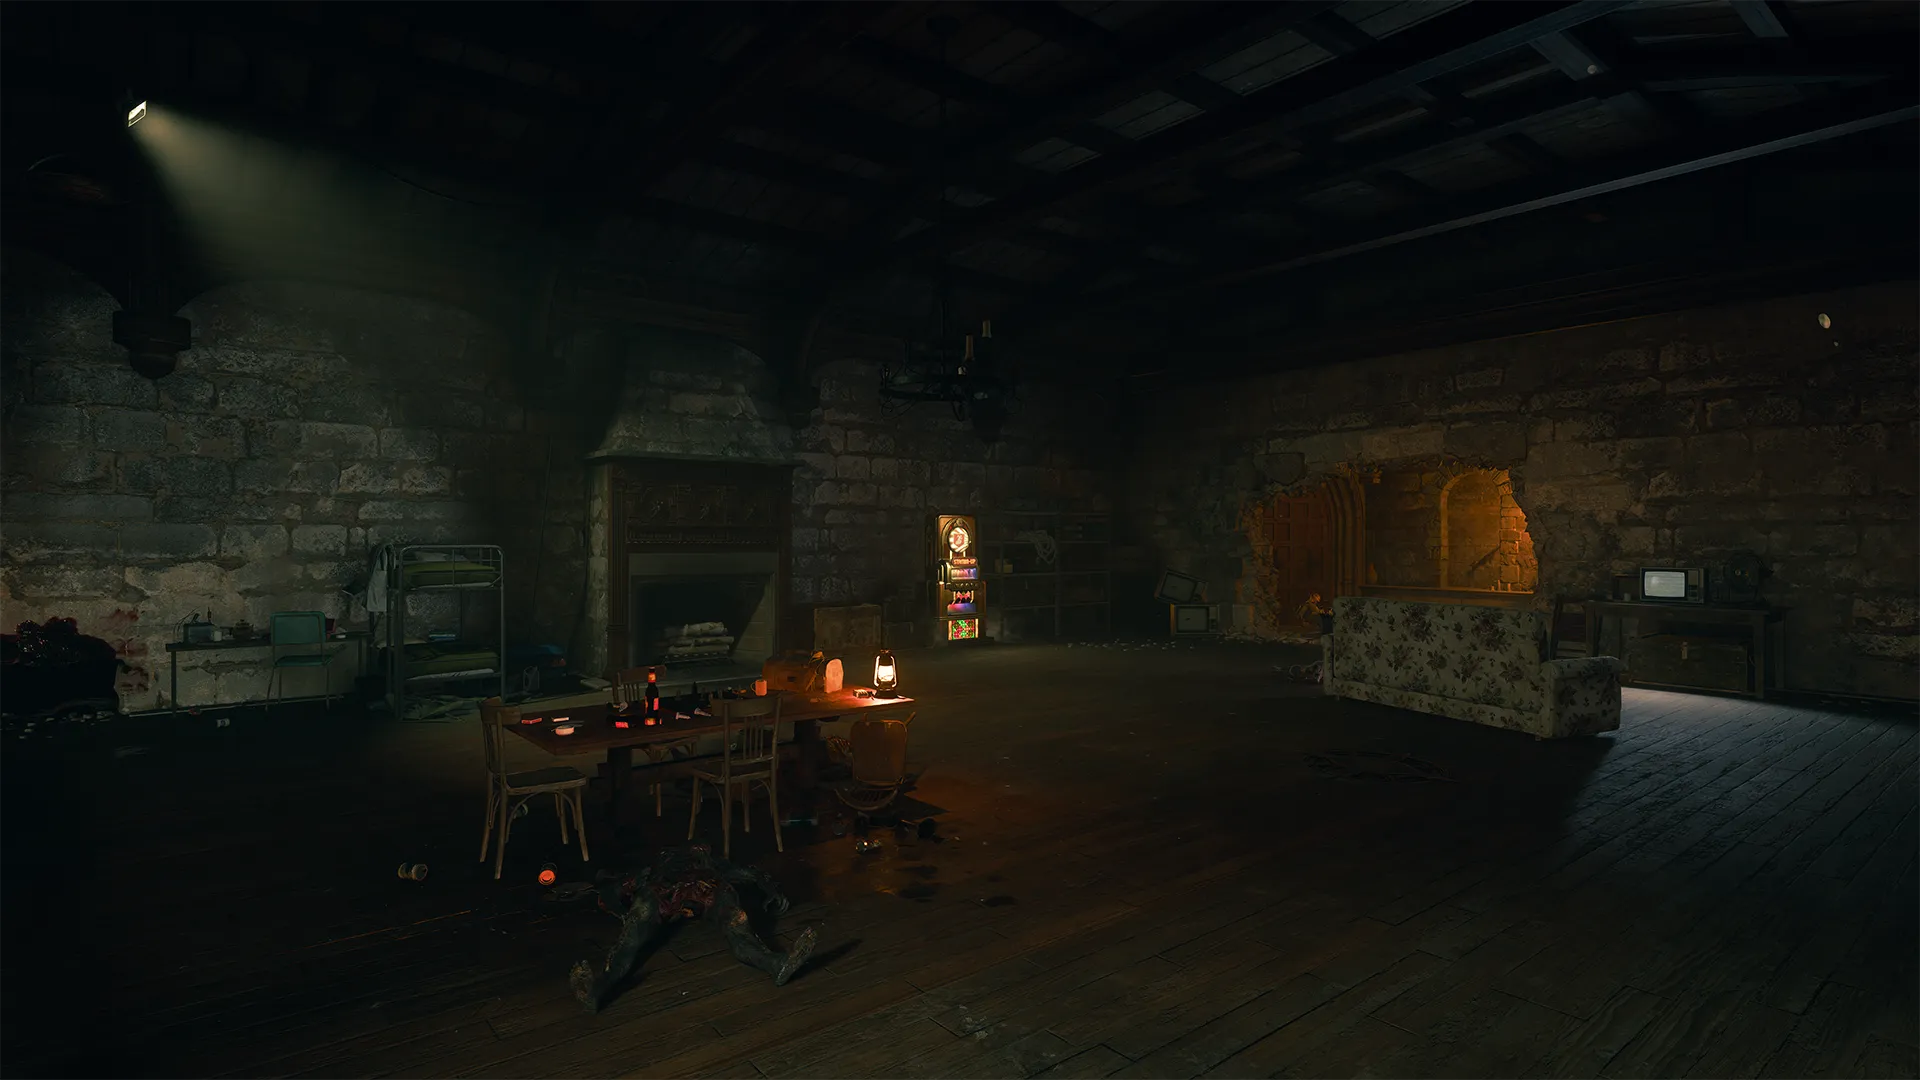
Traveling the west path toward the Sitting Rooms will lead you to a Stamin-Up Perk Machine and a Shotgun Wall Buy. In these close-quarters areas, a Shotgun could come in handy. The western path will also lead you to an LMG Wall Buy before reaching the final destination of this guide. So, if these are weapons that strike your fancy, consider moving west.
Dining Hall and Dungeon
Recommended Tasks and Key Power Ups
SMG Wall Buy
Vulture Aid Perk Machine
SMG Wall Buy
Quick Revive Perk Machine
Mystery Box Location
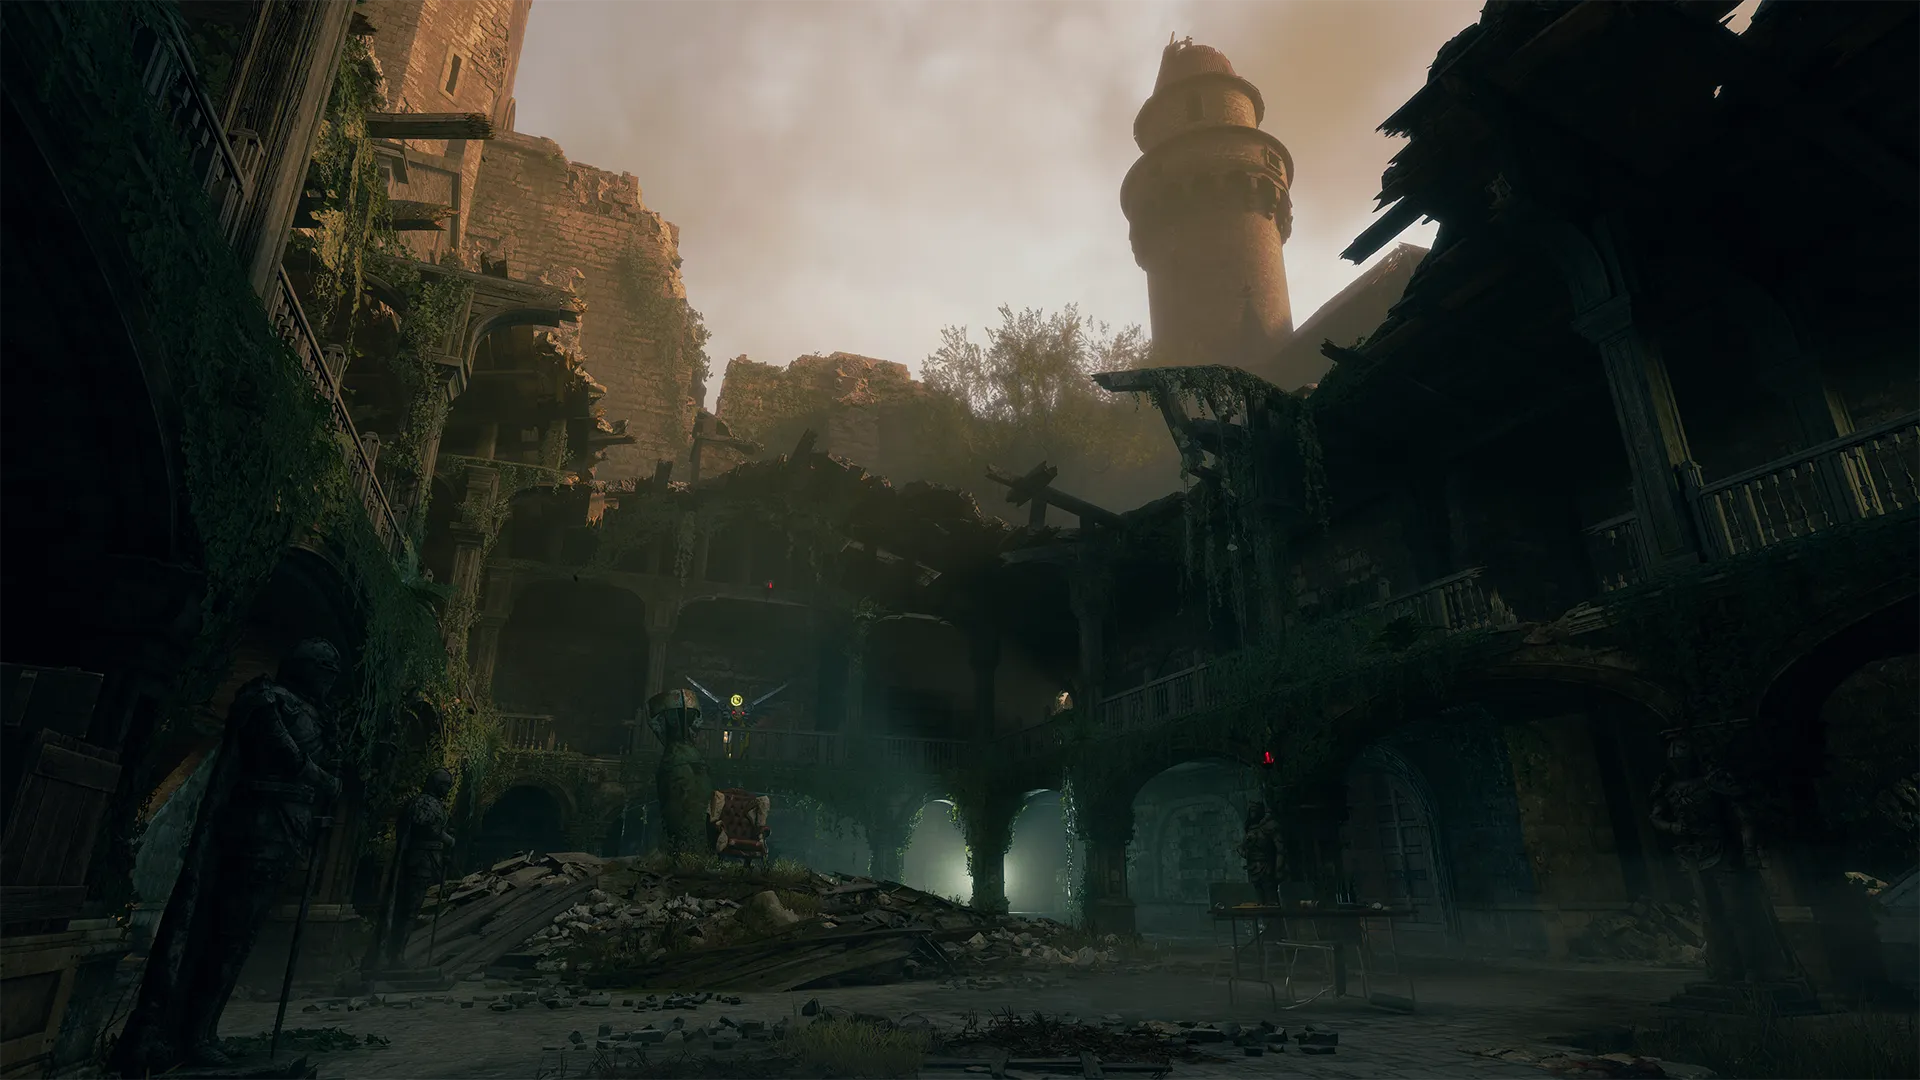
Traveling the east path toward the Dining Hall and eventually to the Dungeon will lead you to two different SMG Wall Buys, as well as a Vulture Aid and Quick Revive Perk Machine. The Dining Hall is large and a bit more open than the Sitting Rooms. It’s also a room with a second story that allows for a bit more movement, however that does make it a little more difficult to group a zombie horde together than the other path.
Oubliette Room
Recommended Tasks and Key Power Ups
Unlock the Oubliette Room Door
Level III Armor Vest
Pack-a-Punch Machine
Cave Slide
GobbleGum Machine

Now that you’ve made it to the depths of Citadelle des Morts, you’ve reached the Oubliette Room where some of the most useful upgrades on the map exist. The room is small, so stay vigilant before making any major moves on the objective. You likely won’t have enough Essence to afford the Level III Armor Vest, and it’s probably more important that you spend 5,000 Essence on Pack-a-Punch Level I first. Complete the objective and power your best weapon up as soon as you can. If you and your squad are powered up, don’t stick around too long; use the Cave Slide if you have to before things get too cramped.
Continuing the Story

There’s way more to do here in Citadelle des Morts. The best way to learn the map and continue the story is to play Directed Mode, whether you’re not sure how to progress, or just want to learn the map without the added pressure of pacing the rounds too far before things get too difficult.
Obtaining the Wonder Weapon
In the Citadelle, there’s not a more appropriate Wonder Weapon than a Bastard Sword: something you can slot right into your Dedicated Melee Weapon slot without needing to replace one of your Primary or Secondary Weapons. To obtain a Bastard Sword, you’ll need to collect a puzzle piece that will drop from a random enemy after you’ve revealed the Pack-a-Punch machine. Once you’ve collected the puzzle piece from the ground, you’ll need to take it to one of the statues within the Entrance Hall. If you place the puzzle piece onto the statue closest to the southwestern corner of the room, you’ll obtain the sword imbued with fire. However, you’ll need to imbue it with Aether fire.
First, make your way back to the Entrance Hall and locate the dragon statue at the top of the center stairs. Here, you will place your new Bastard Sword into the statue pedestal. Next, there are three Aether-infused braziers located outside of the castle: one on the Ramparts, one at the entrance to the Nature Path, and the final one in the Town Square. Either you or your squad will need to interact with them and bring the Aether fire back to the dragon statue one at a time.
Once you’ve taken the fire from each of the braziers, it will begin to cause some damage to your Operator. Be swift and bring that fire back to the statue as fast as possible while punching a zombie or two on the way back. You’ll be slowly taking damage once you’ve obtained the fire, however each melee kill while you are imbued with this power will heal you slightly. You’ll need to gain some health back if you’re going to survive the journey back for at least one of the longer pathways. After you’ve collected all three Aether fires from the braziers at the dragon statue, your new fire-powered sword, Caliburn, will be ready to slay the zombie hordes.
By default, to keep your melee weapon out and ready to swing, press and hold your melee button or key until the weapon is equipped. Then, simply hit the switch weapon button or key or select one of your other weapons to put it away.
Overall Tactics
Height Advantage
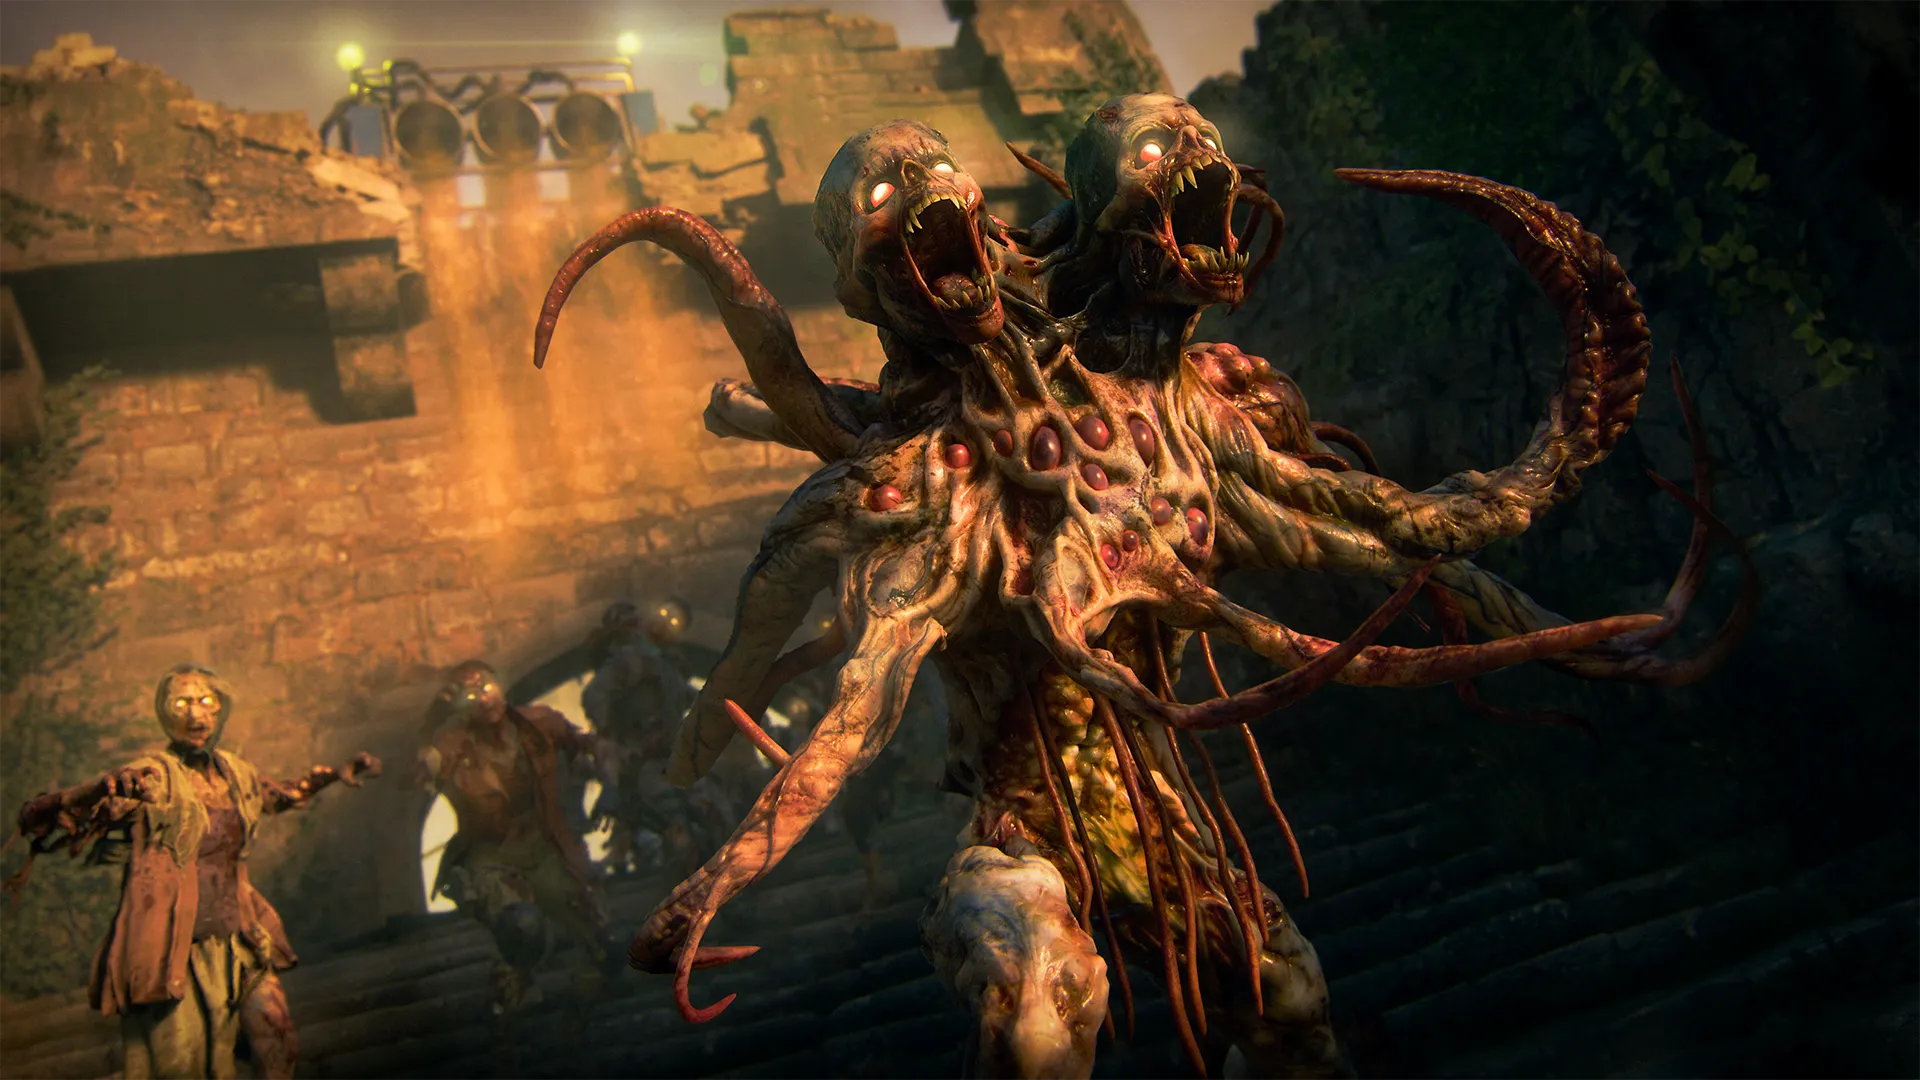
The castle Ramparts are the tallest structure on Citadelle des Morts. Using the height advantage to either lure zombies around and around while you or your squad thinks about what to do next is extremely valuable. The Ramparts also have traps that drop hot oil over the doors that lead into the Courtyard. Using these traps to get out of danger is a great strategy to stay alive in some dire situations.
Raise the Rarity before PaP

Once you’ve made it to the Pack-a-Punch machine, it’s very tempting to PaP the first weapon you can because it will boost your weapon’s damage and give it a beautiful, bright new camo. However, you may want to use your Essence and Salvage very carefully. To optimize your spending, try getting a Rare or higher weapon before you purchase your first PaP. Remember to spend based on your needs, though.
Continuing to Power Up
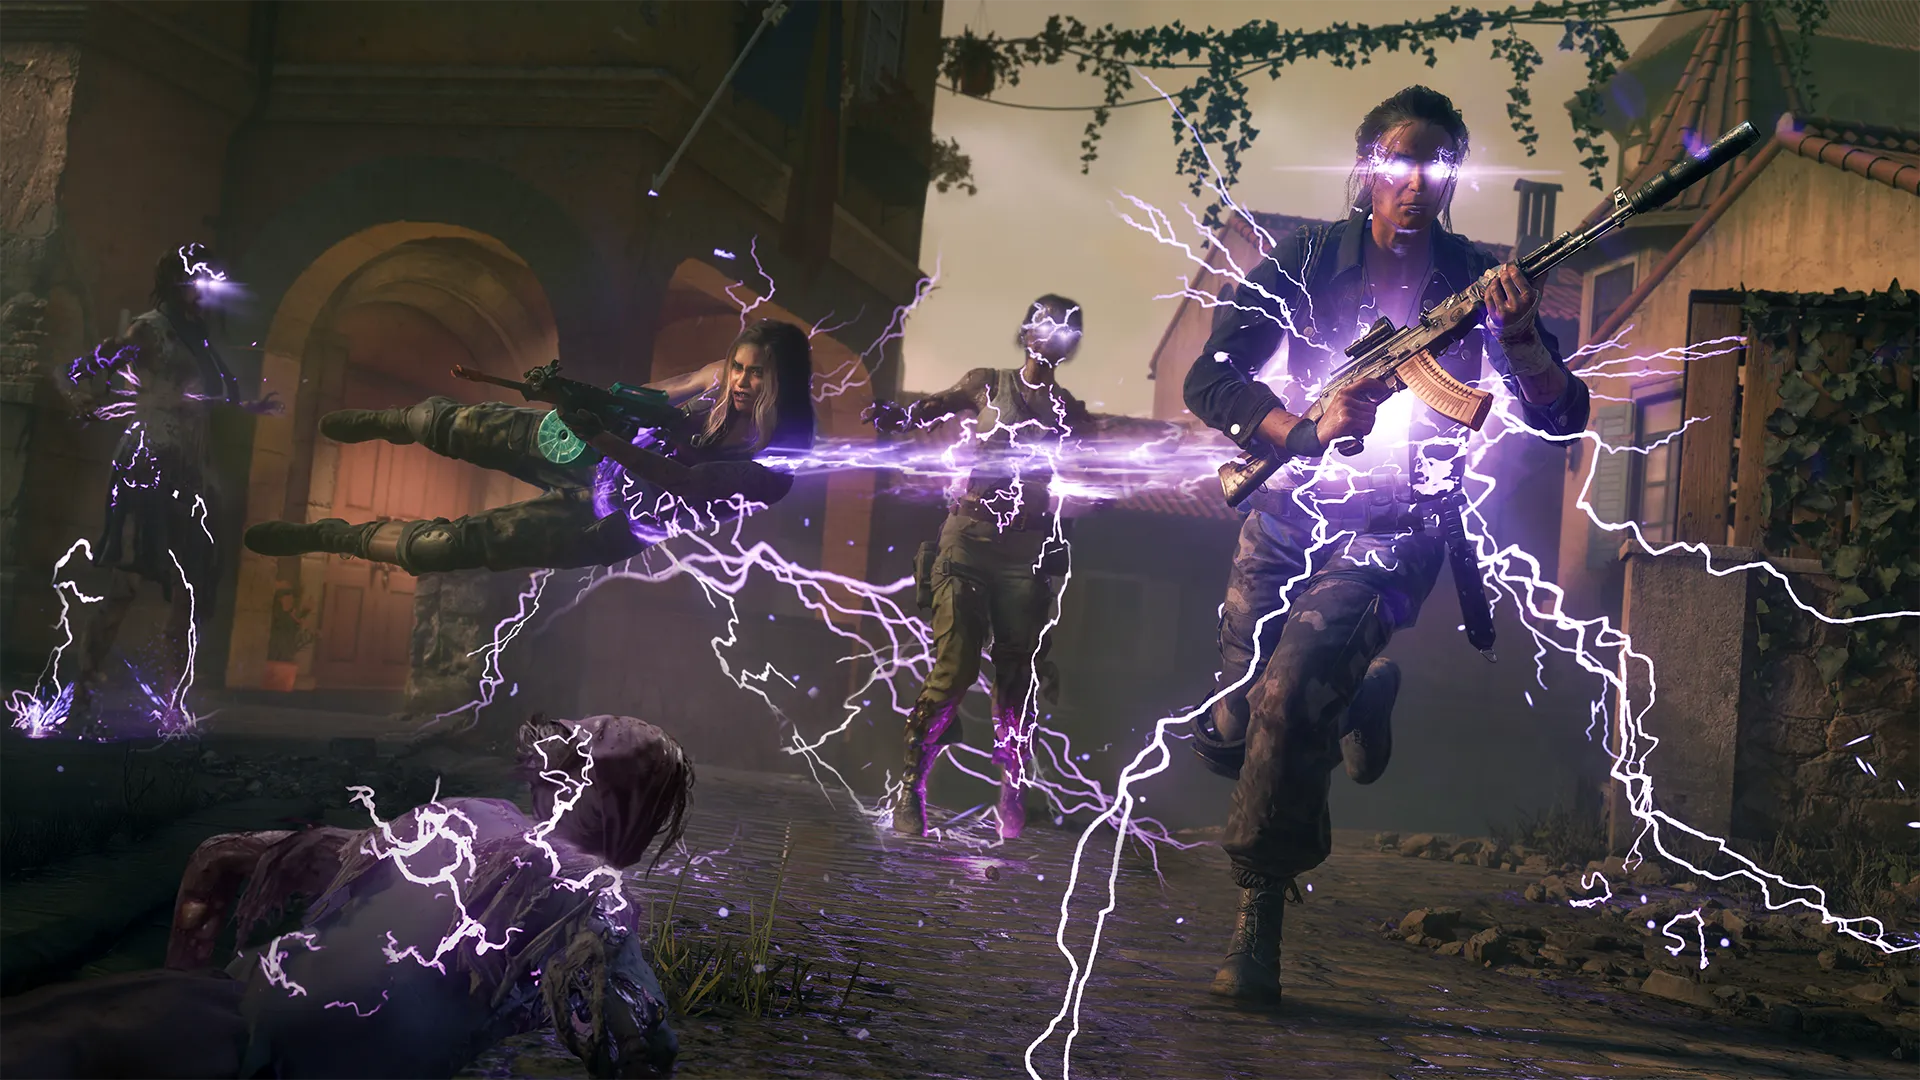
Powering up in any Zombies map is one of—if not the—most important things you can do to survive. Regardless of how you want to progress in the story, continually powering up is the key. Whether it’s a Pack-a-Punch level or upgrading the rarity of your weapons, increasing power in one area will allow you to look for your next move with more ease.
Get into the keep with the best intentions that you can. Just remember to watch your back and don’t get trapped in a corner.
© 2024 Activision Publishing, Inc. ACTIVISION, CALL OF DUTY, CALL OF DUTY WARZONE, and CALL OF DUTY BLACK OPS are trademarks of Activision Publishing, Inc. All other trademarks and trade names are the property of their respective owners.
For more information, please visit www.callofduty.com and www.youtube.com/callofduty, and follow @Activision and @CallofDuty on X, Instagram, and Facebook. For Call of Duty Updates, follow @CODUpdates on X.

