Terminus
Terminus: The Ten Round Guide
- Guard Station
- Communications / Storage Area
- Engineering / Mess Hall
- Seaside Path
- Sea Tower
- Bio Lab
- Exfil
Overall Tactics
Prebrief

Located in the Philippine Sea is the remote Terminus Island complex. Historical data indicates a pre-WWII coal mining operation on the island, abandoned in the 1930s. Years later, Terminus became a forward U.S. Naval base. Mothballed until 1965, the CIA converted it into a Top Secret outpost used for the detention of [[REDACTED]]. In 1986, Project Janus took over the island, building a laboratory in the subterranean mining caves.
After Peck and Maya break the former Requiem members out of their prison cells, they soon learn this is a bio-research station for Project Janus. Your handlers are Peck and Strauss, and for the richest story experience, you’ll want to choose your character from Grigori Weaver, Elizabeth Grey, Mackenzie ‘Mac’ Carver, and Maya Aguinaldo – the dedicated crew of characters featured throughout the Black Ops 6 Zombies storyline.
What is in this Guide?
This Terminus guide will give you a general walkthrough for the first 10 rounds of Zombies on Terminus. If you’re having trouble getting further than the first 10 rounds, or you’re simply looking for a good flow to get you started, this will set you on the right path. The rest is left for you to experiment and explore.
Each section of this guide will break down an area of the map with POI labels and a list of tasks that we recommend you complete before moving forward. It isn’t fully necessary that you follow this guide to the T. However, if you do complete this to-do list, you’ll be set up for a generally successful run.
// INTEL CARD
- BO6
Terminus
// ZOMBIES // MAPS

Pacing and patience: Terminus is a large Zombies map, so even though there is a ton to explore, make sure to stop and take a look around. There's always something to find and something that may be useful if you save some Essence.
Power push: While pacing is important, try getting the power on early, so that you can begin collecting Perks ASAP. Once you have a few Perks, upgrading the rest of your equipment will be easier because of the potential added health and stamina.
Molotov Mayhem: Terminus is chock full of narrow hallways and doorways, so Molotovs are great for blocking off certain pathways, making it easier to fight on two different fronts rather than getting swarmed.
Terminus: The Ten-Round Guide
For the purposes of this guide as it pertains to Call of Duty®: Black Ops 6 Round-Based Zombies, it will detail the beginning steps of your run on Terminus. It’s also focused on solo play, however if you’re playing with friends, you can still use similar strategies. Take a look at each section and see both the recommended round pacing as well as the suggested tasks to get done after unlocking this section of the map.
Remember, you can always split the cost of door unlocks with your squad.


-
Show areas

-
Show spawn points

-
Reset all overlays

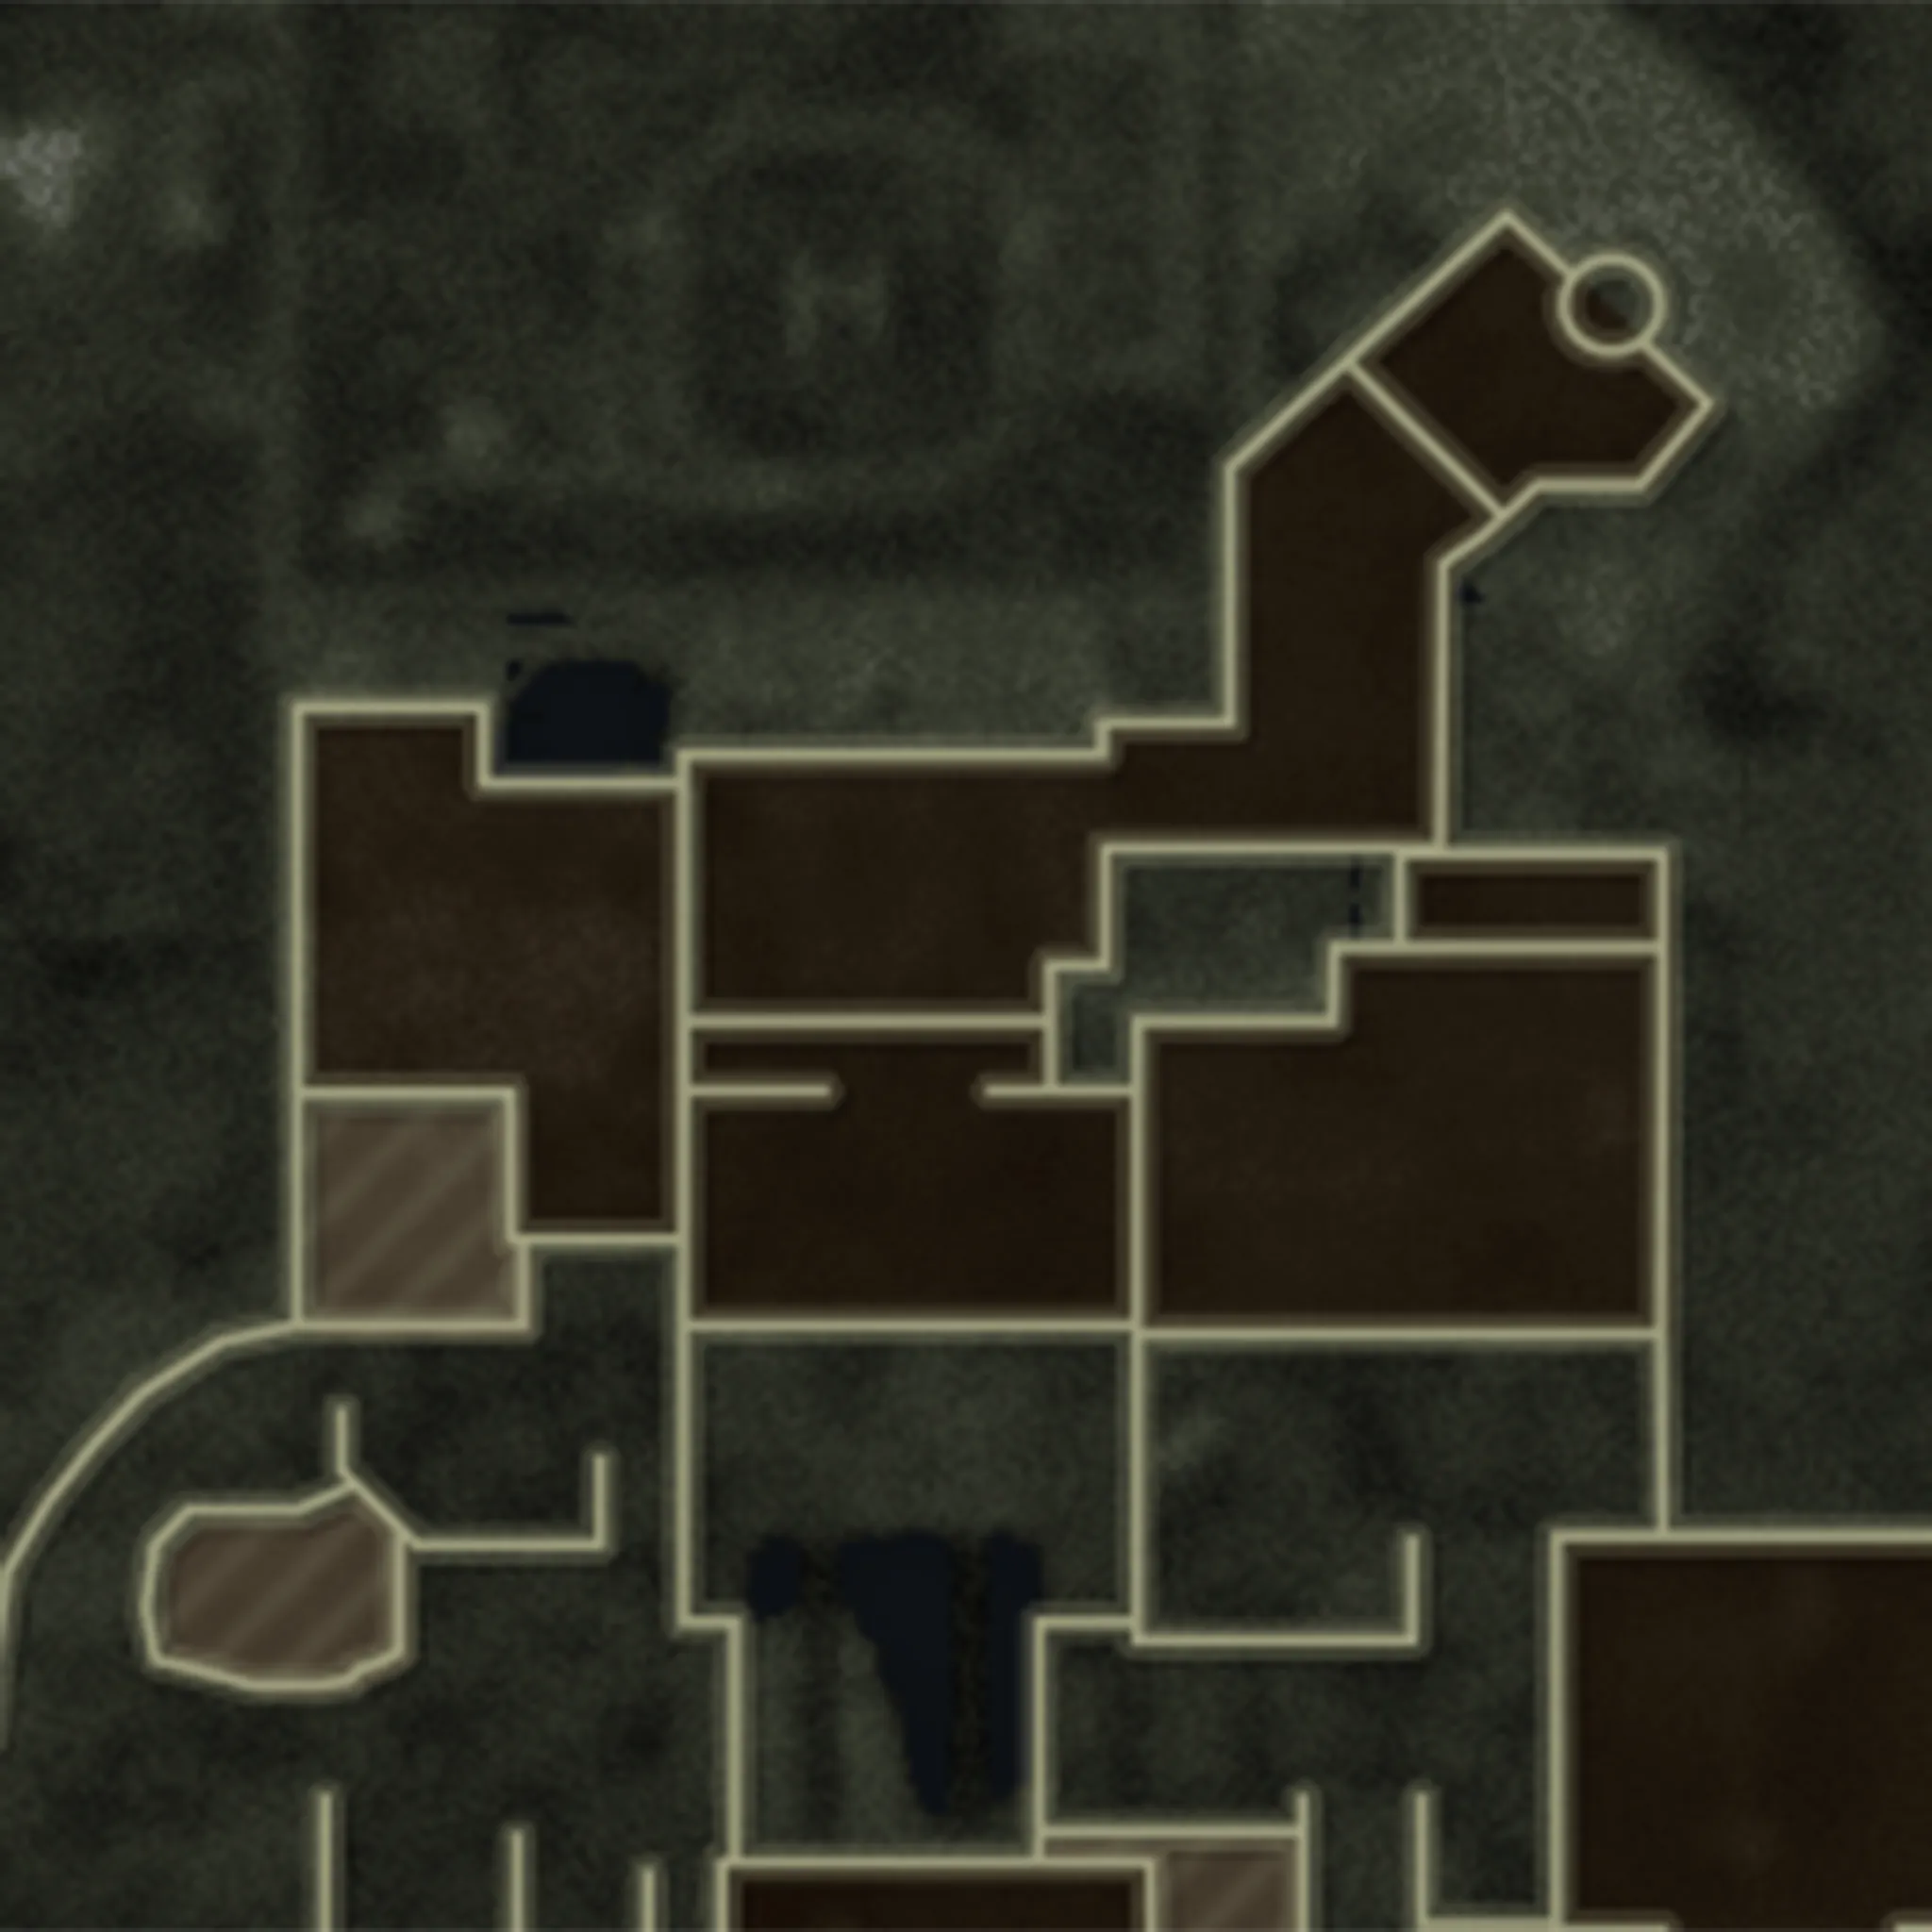
Guard Station
Recommended round pace when exploring: 1 - 2
Recommended Tasks
Activate Aetherium Maturation Pod
The first couple of rounds in any Round-Based Zombies session is all about getting the first objective done. It’s easy to kill enough zombies to get to round two before you start anything, but in Terminus, your first job is to turn on the Aetherium Maturation Pod.
Whether you’ve customized your Loadout or not, you may want to look on the ground for a dropped weapon from one of the Project Janus Security personnel. It’ll be a grey Common rarity weapon, but it will at least be a second line of defense against the upcoming hordes.
Once you’ve begun to activate the Pod, you’ll need to defend it for a moment while it fully powers up. By the time the Pod is powered, and this section of the facility is powered, you should be successfully onto round three.


-
Show areas

-
Show spawn points

-
Reset all overlays

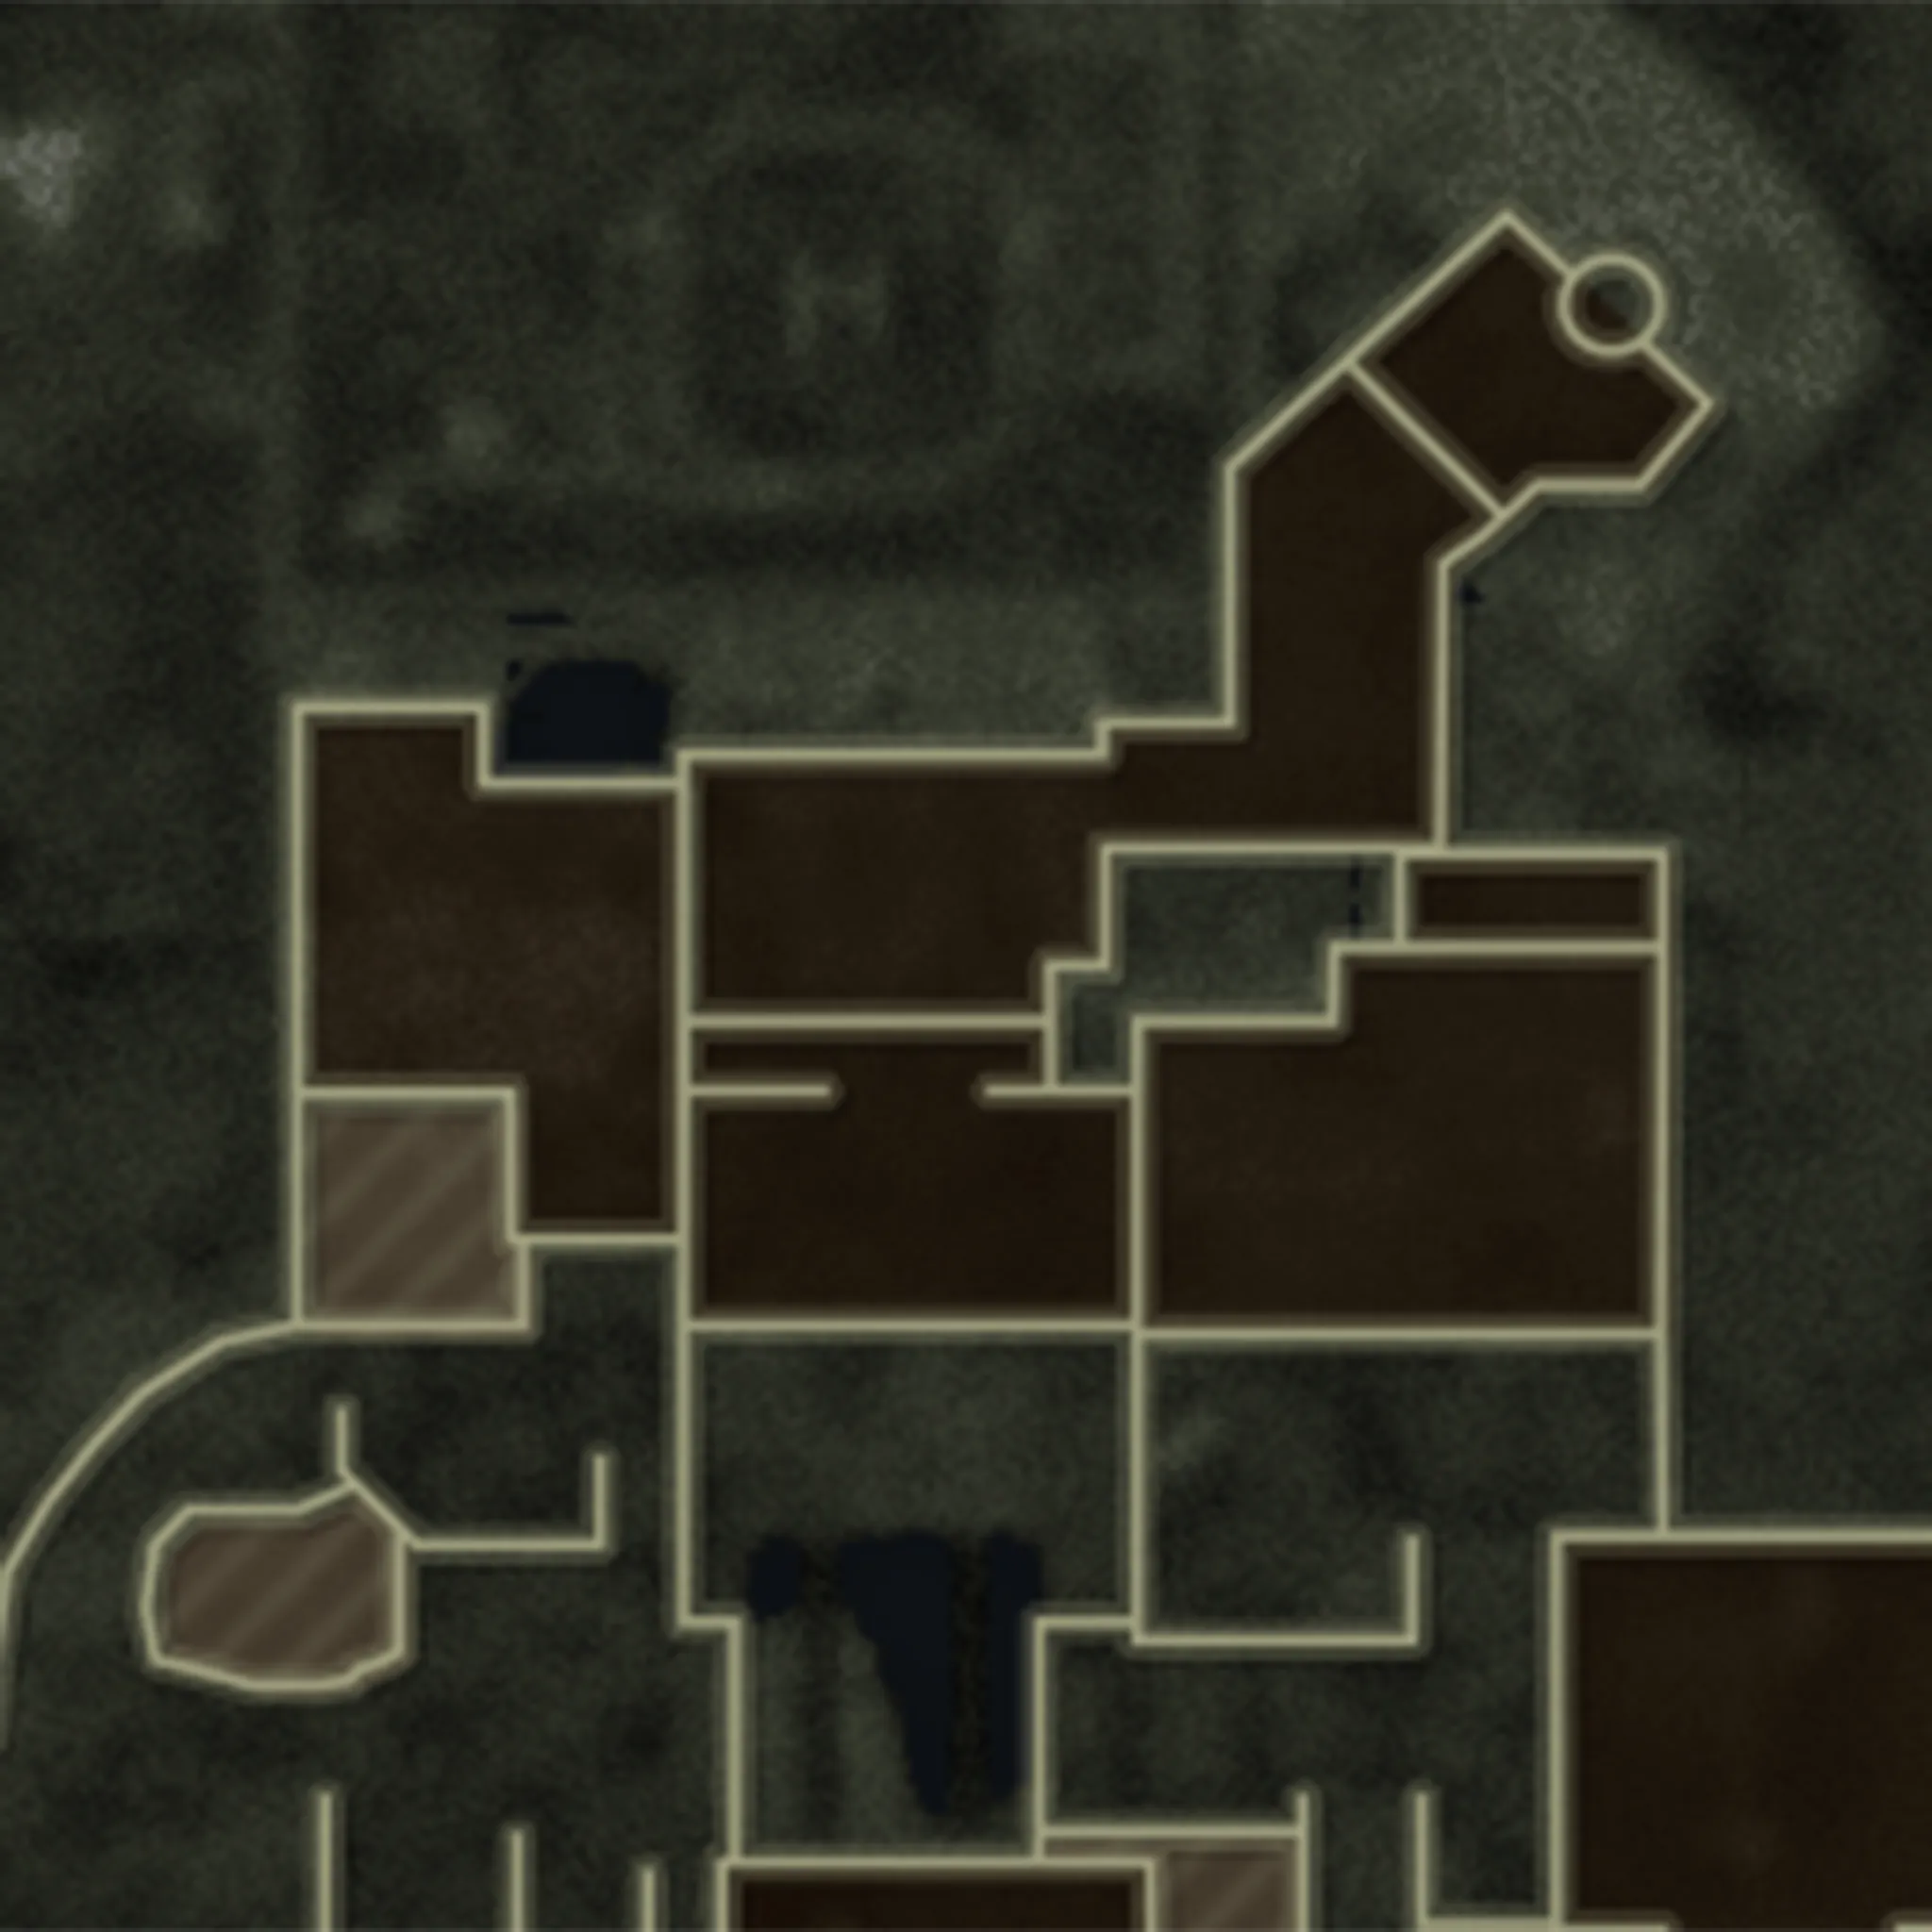
Communications / Storage Area
Recommended round pace when exploring: 3 – 4
Recommended Tasks
Unlock the Communications or the Storage Area Door
Explore the Armory
Start Saving for Stamin-Up Perk
Unlock the Living Quarters Door
Activate the second Aetherium Maturation Pod
If you haven’t opened the door from the Control Center or the Interrogation Room, now’s the time. Before you leave, make sure to look around and you may notice the fully equipped armory. You’ll need some keys to access the lockers, but now you know where to come back to once you find them. For the time being, you can re-arm with a few free Lethals and Tacticals.
Use the Tac-Map above to track which resources are available to you as you progress. If you’re low on ammo, there are a few options here that should provide a little comfort before going deeper into Terminus. If you need equipment, you’ll have to turn the power on first.
Reminder: Check the ground for dropped Lethals, Tacticals, and Armor Plates. You’ll need to actively pick up new equipment if you have a different item than what’s on the ground. Otherwise, the items will replenish as you walk over them.
At round three, you may not have enough Essence to afford the Stamin-Up Perk from the Control Center, but you should soon enough. What you do have is enough Essence to open the next section, assuming you haven’t purchased a Shotgun or SMG from the Wall Buys nearby. Follow the illuminated arrows on the fence in the Communications area toward the next Aetherium Maturation Pod. Once the power is on, you now have some options, but you may want to spend a couple of rounds collecting Essense and Salvage.


-
Show areas

-
Show spawn points

-
Reset all overlays

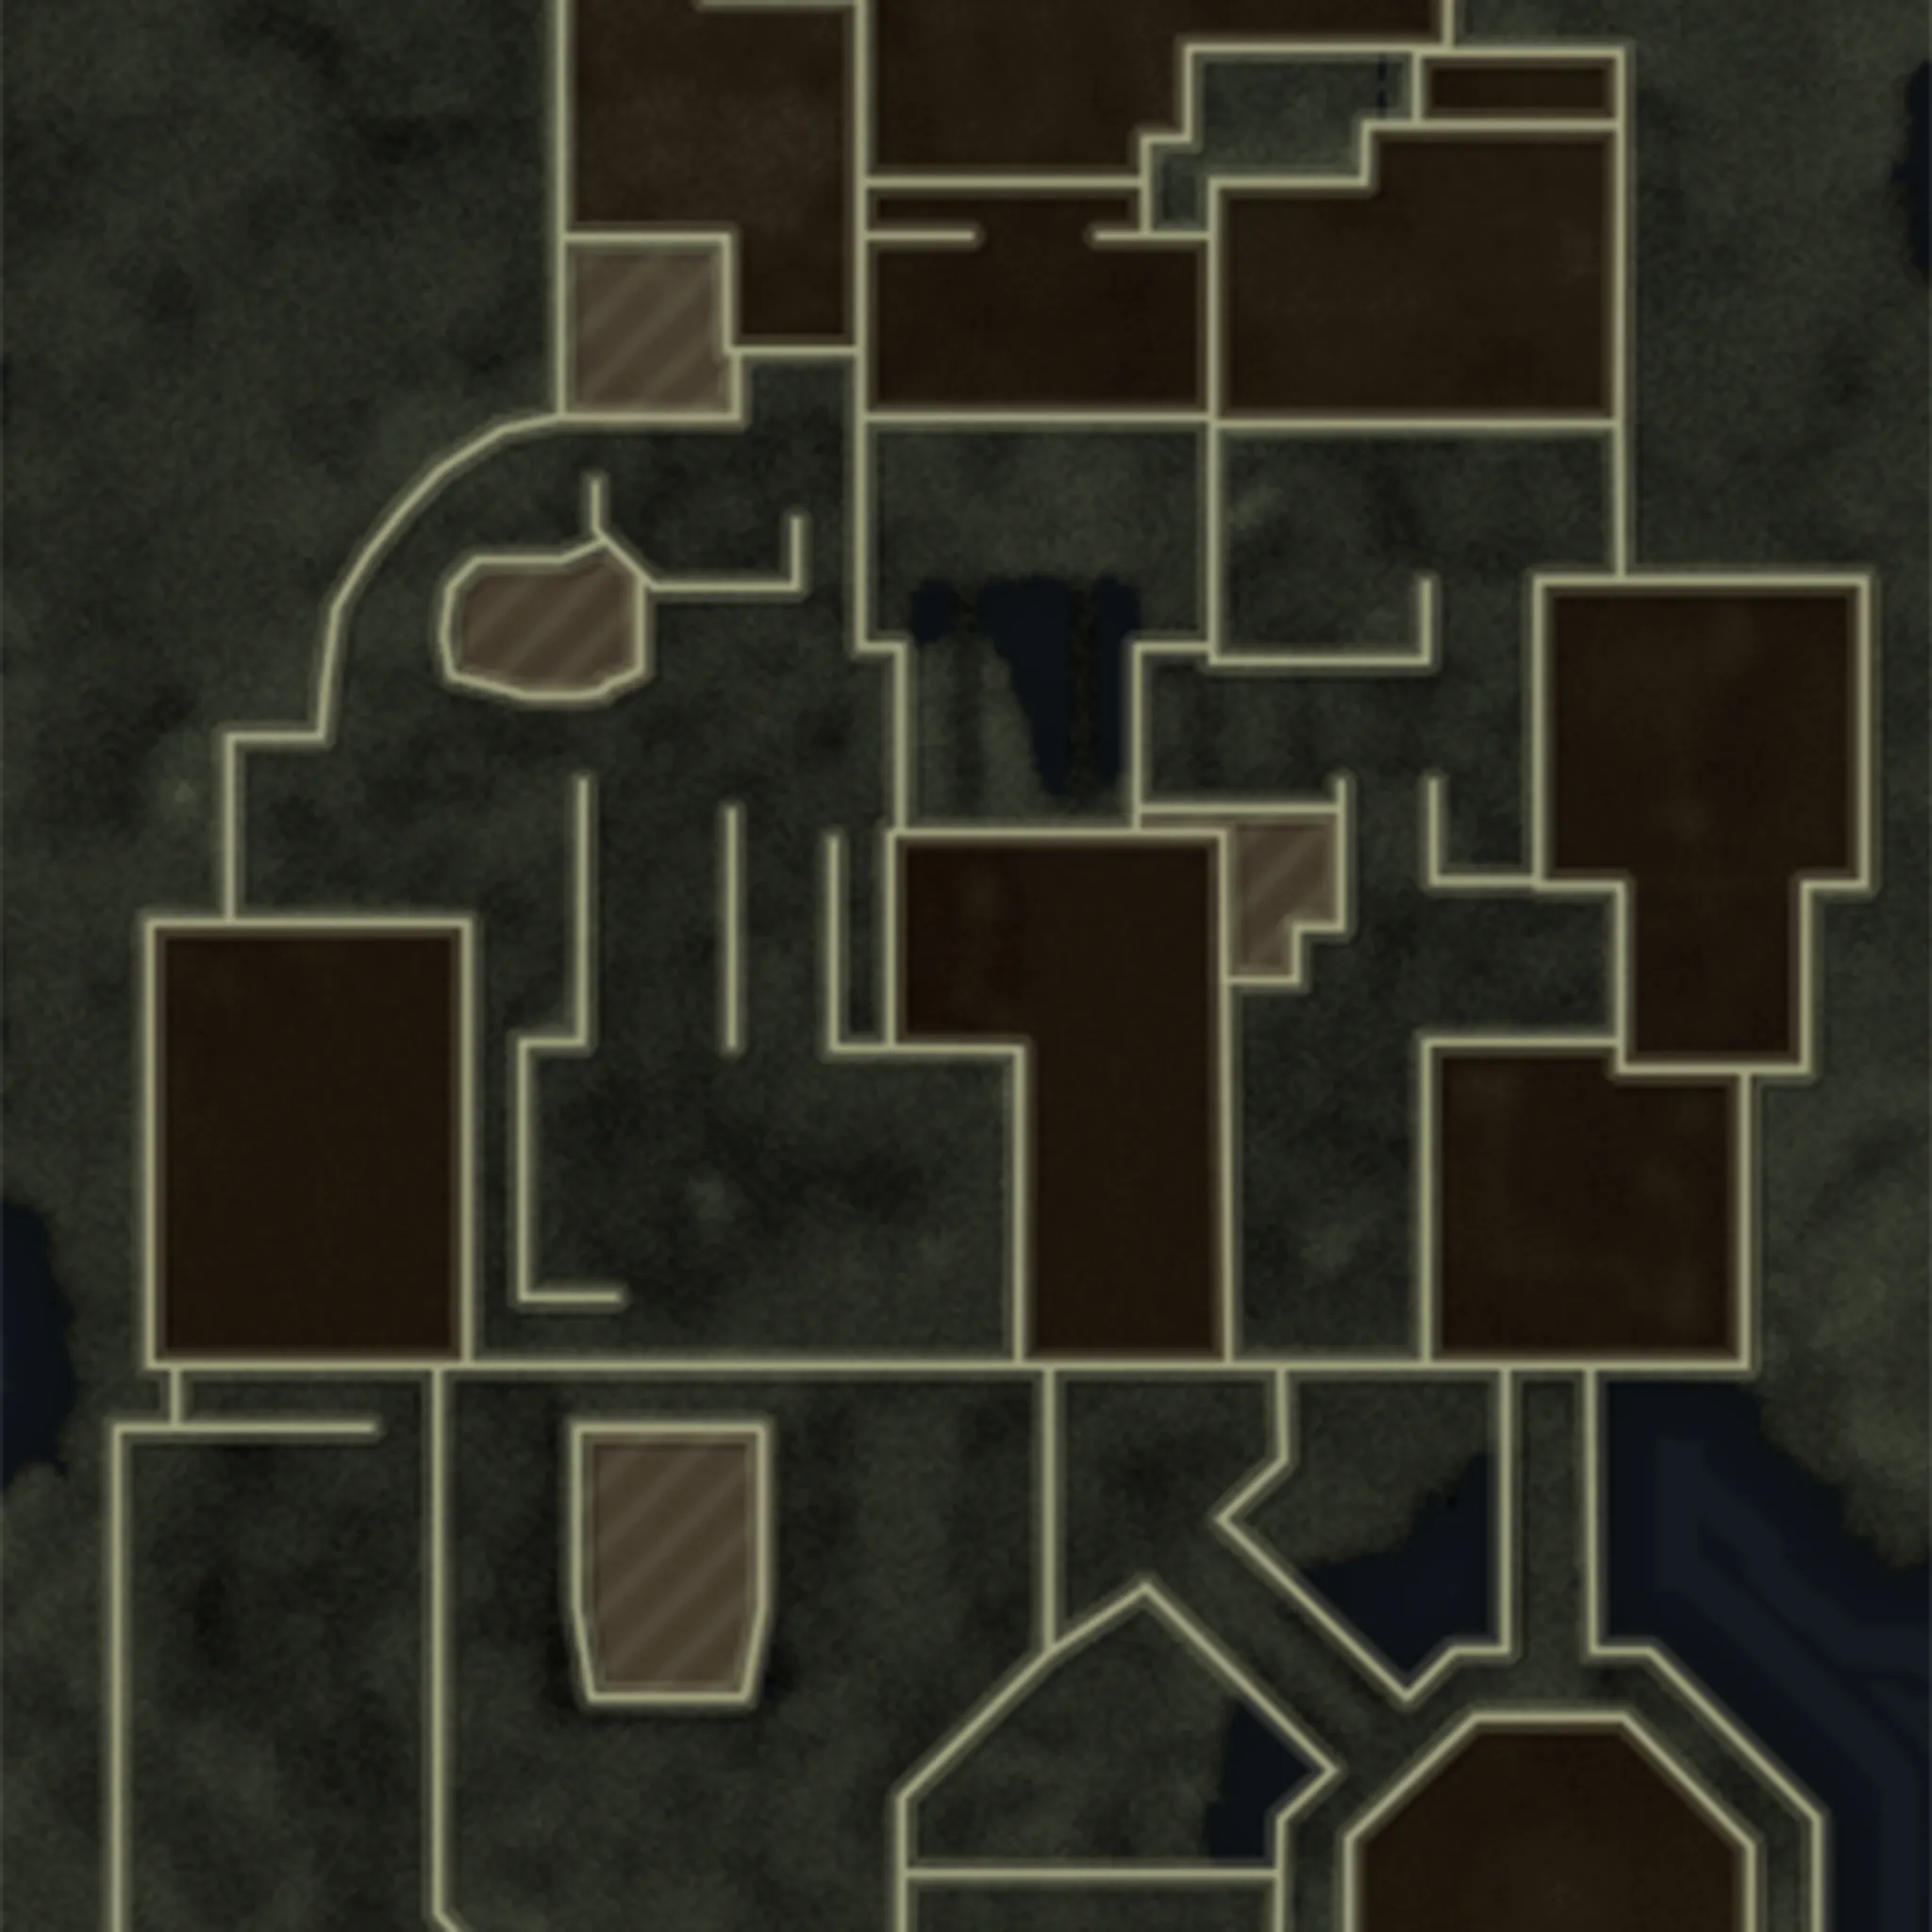
Engineering / Mess Hall
Recommended round pace when exploring: 4 – 7
Recommended Tasks
Visit the Arsenal in the Mess Hall
Access the Jugger-Nog Perk Machine
Purchase an SMG or Shotgun from one of the four Wall Buy locations
Now that the power is on from the second Aetherium Maturation Pod, you are now asked to decide on how to proceed toward the next objective. You aren’t forced into any one direction or the other but choosing a single path will save you Essence that you may want to use for other items. At least until later rounds.
Before you proceed, take note of the Arsenal and Jugger-Nog you may have enough Essense to use now. In Call of Duty: Black Ops 6 Zombies, the world is your playground. You can equip yourself with many different combinations of gear, especially now that you have access to the Arsenal. Spending some Essence on a green Uncommon weapon and then some Salvage to upgrade it to Rare (or giving it a nice Ammo Mod) will serve you well.
Round 5 may be a doozie, so prepare accordingly. Round 5 is a special round where some special enemies will start to appear. They won’t be super powerful, but they can surprise you. So, get some weaponry that will help you defend yourself from them.


-
Show areas

-
Show spawn points

-
Reset all overlays

Seaside Path
Recommended round pace when exploring: 8 – 9
Recommended Tasks
Unlock the Seaside Path Door
Visit the powerful Marksman Rifle Wall Buy location
Take note of the Deadshot Daiquiri and Speed Cola Perk machines
Open the Sea Caves entrance
Gather Essence and Salvage
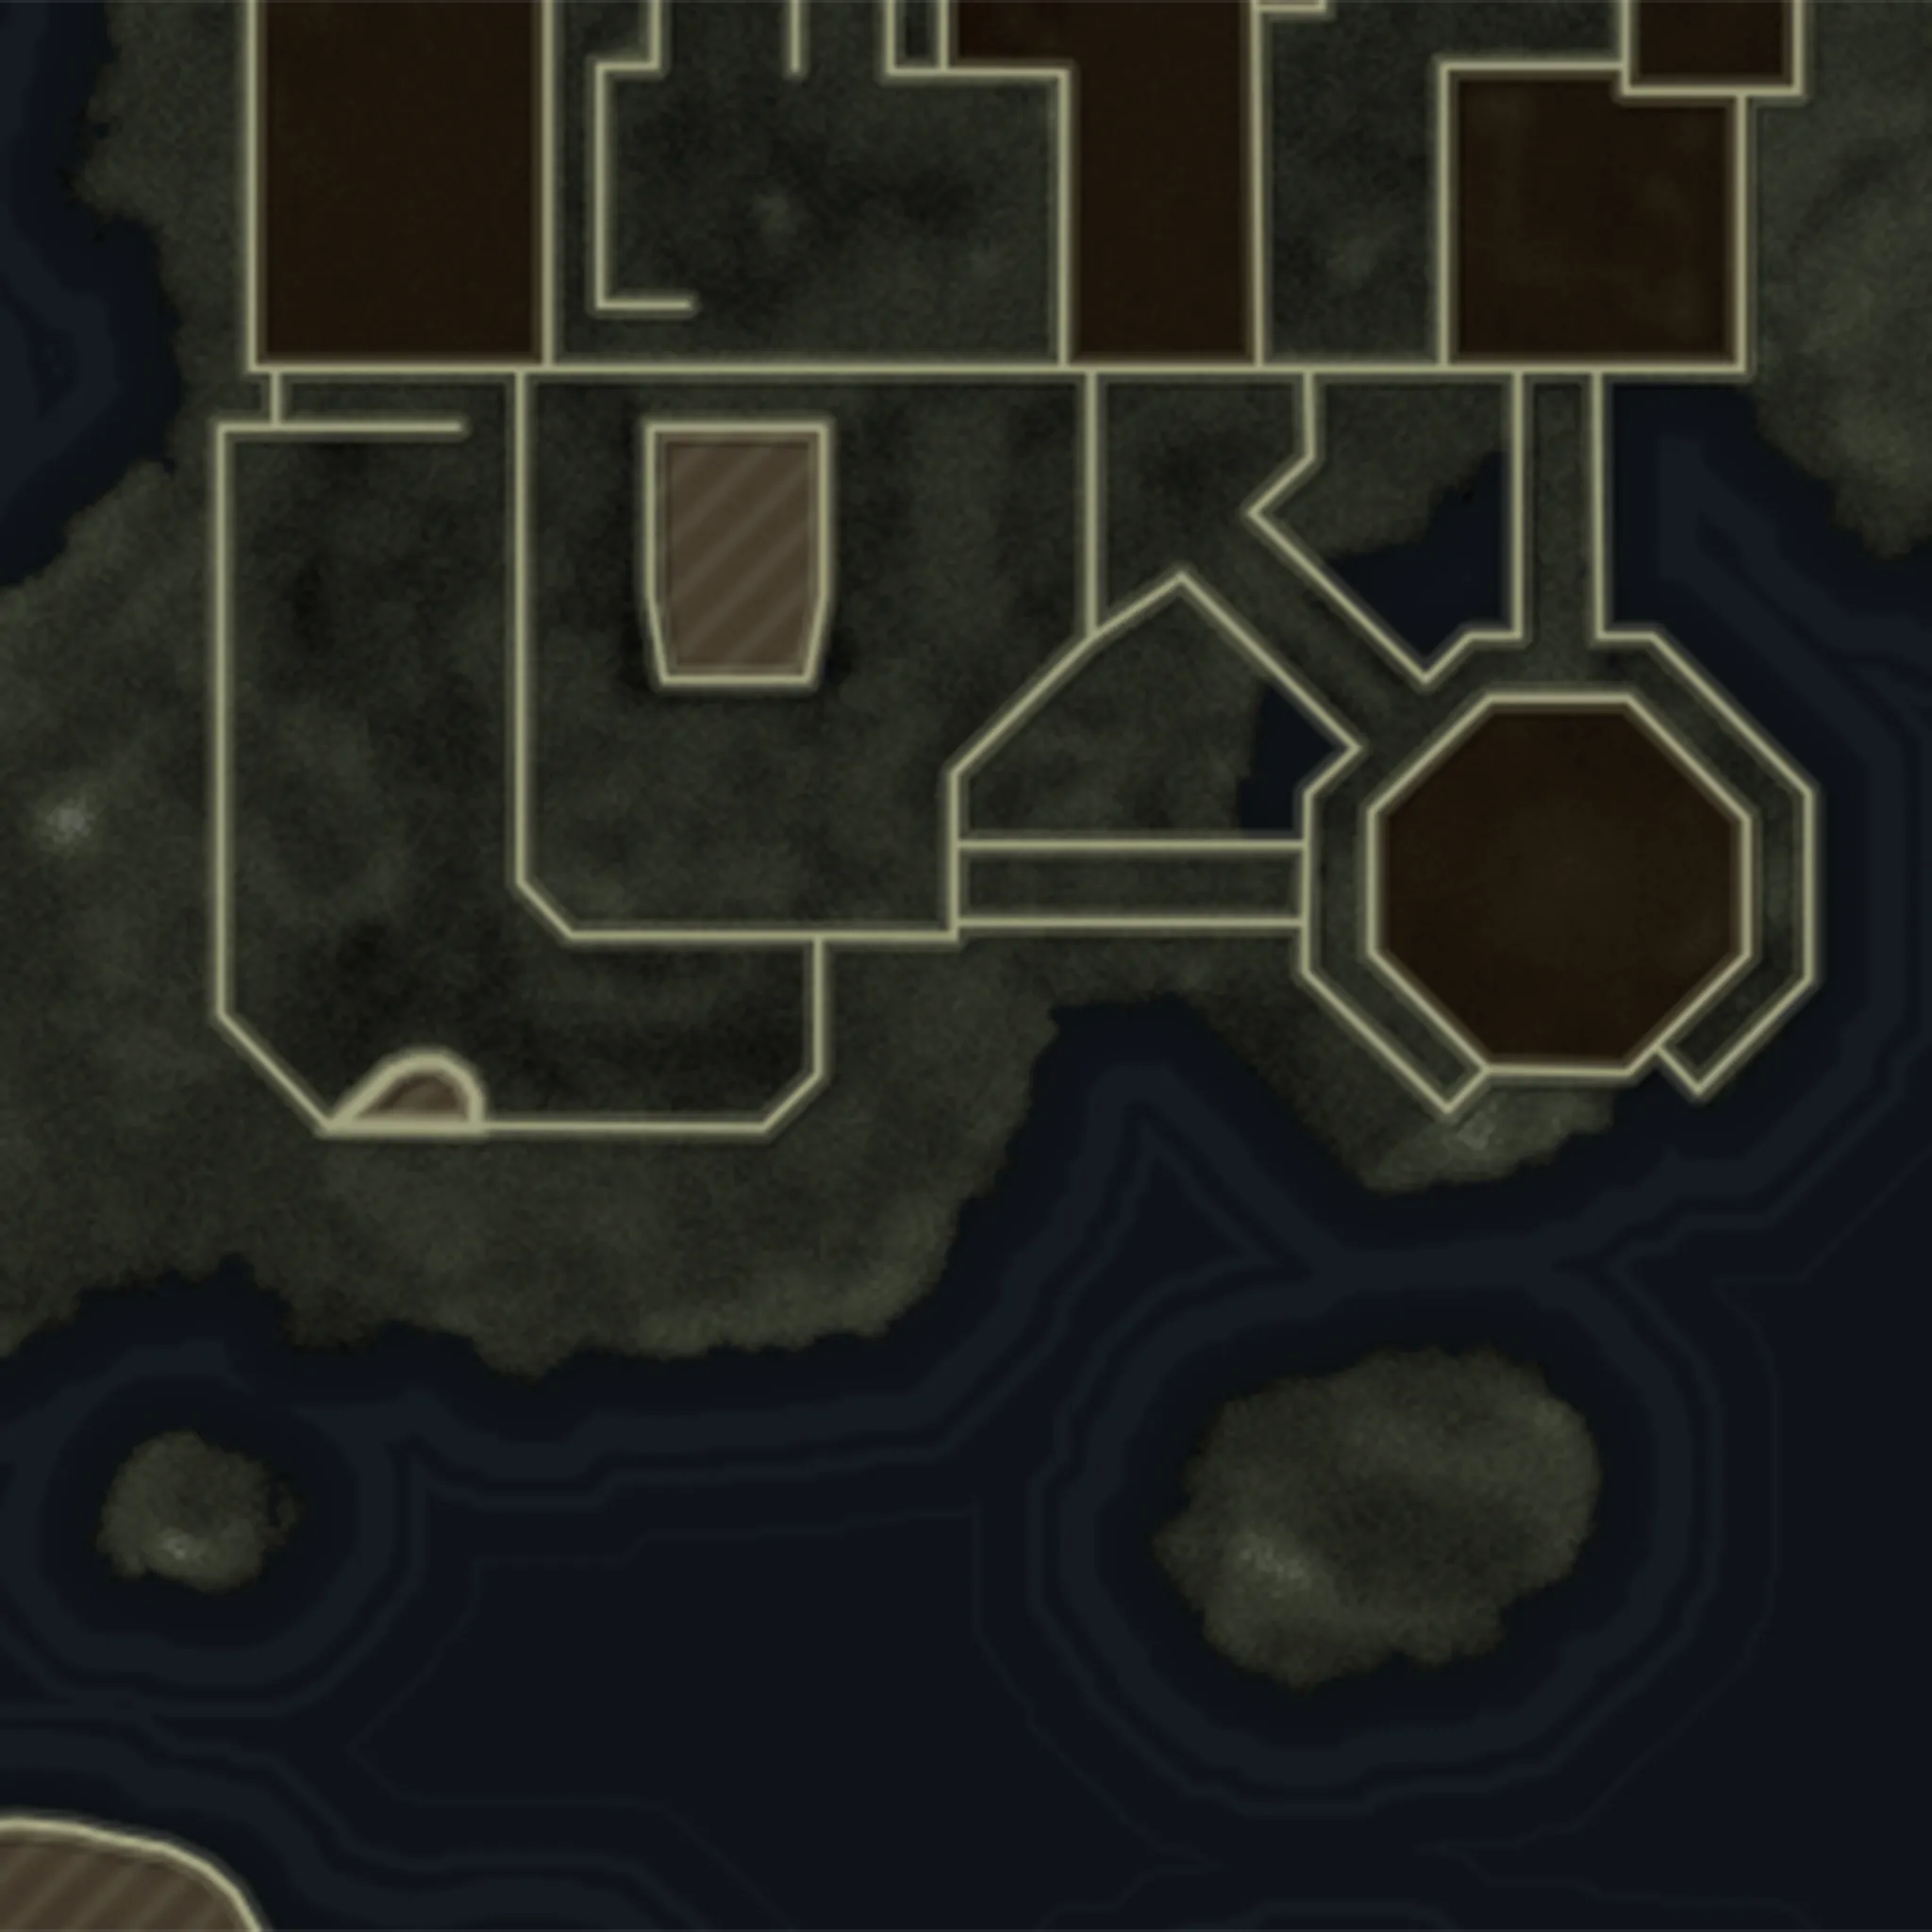
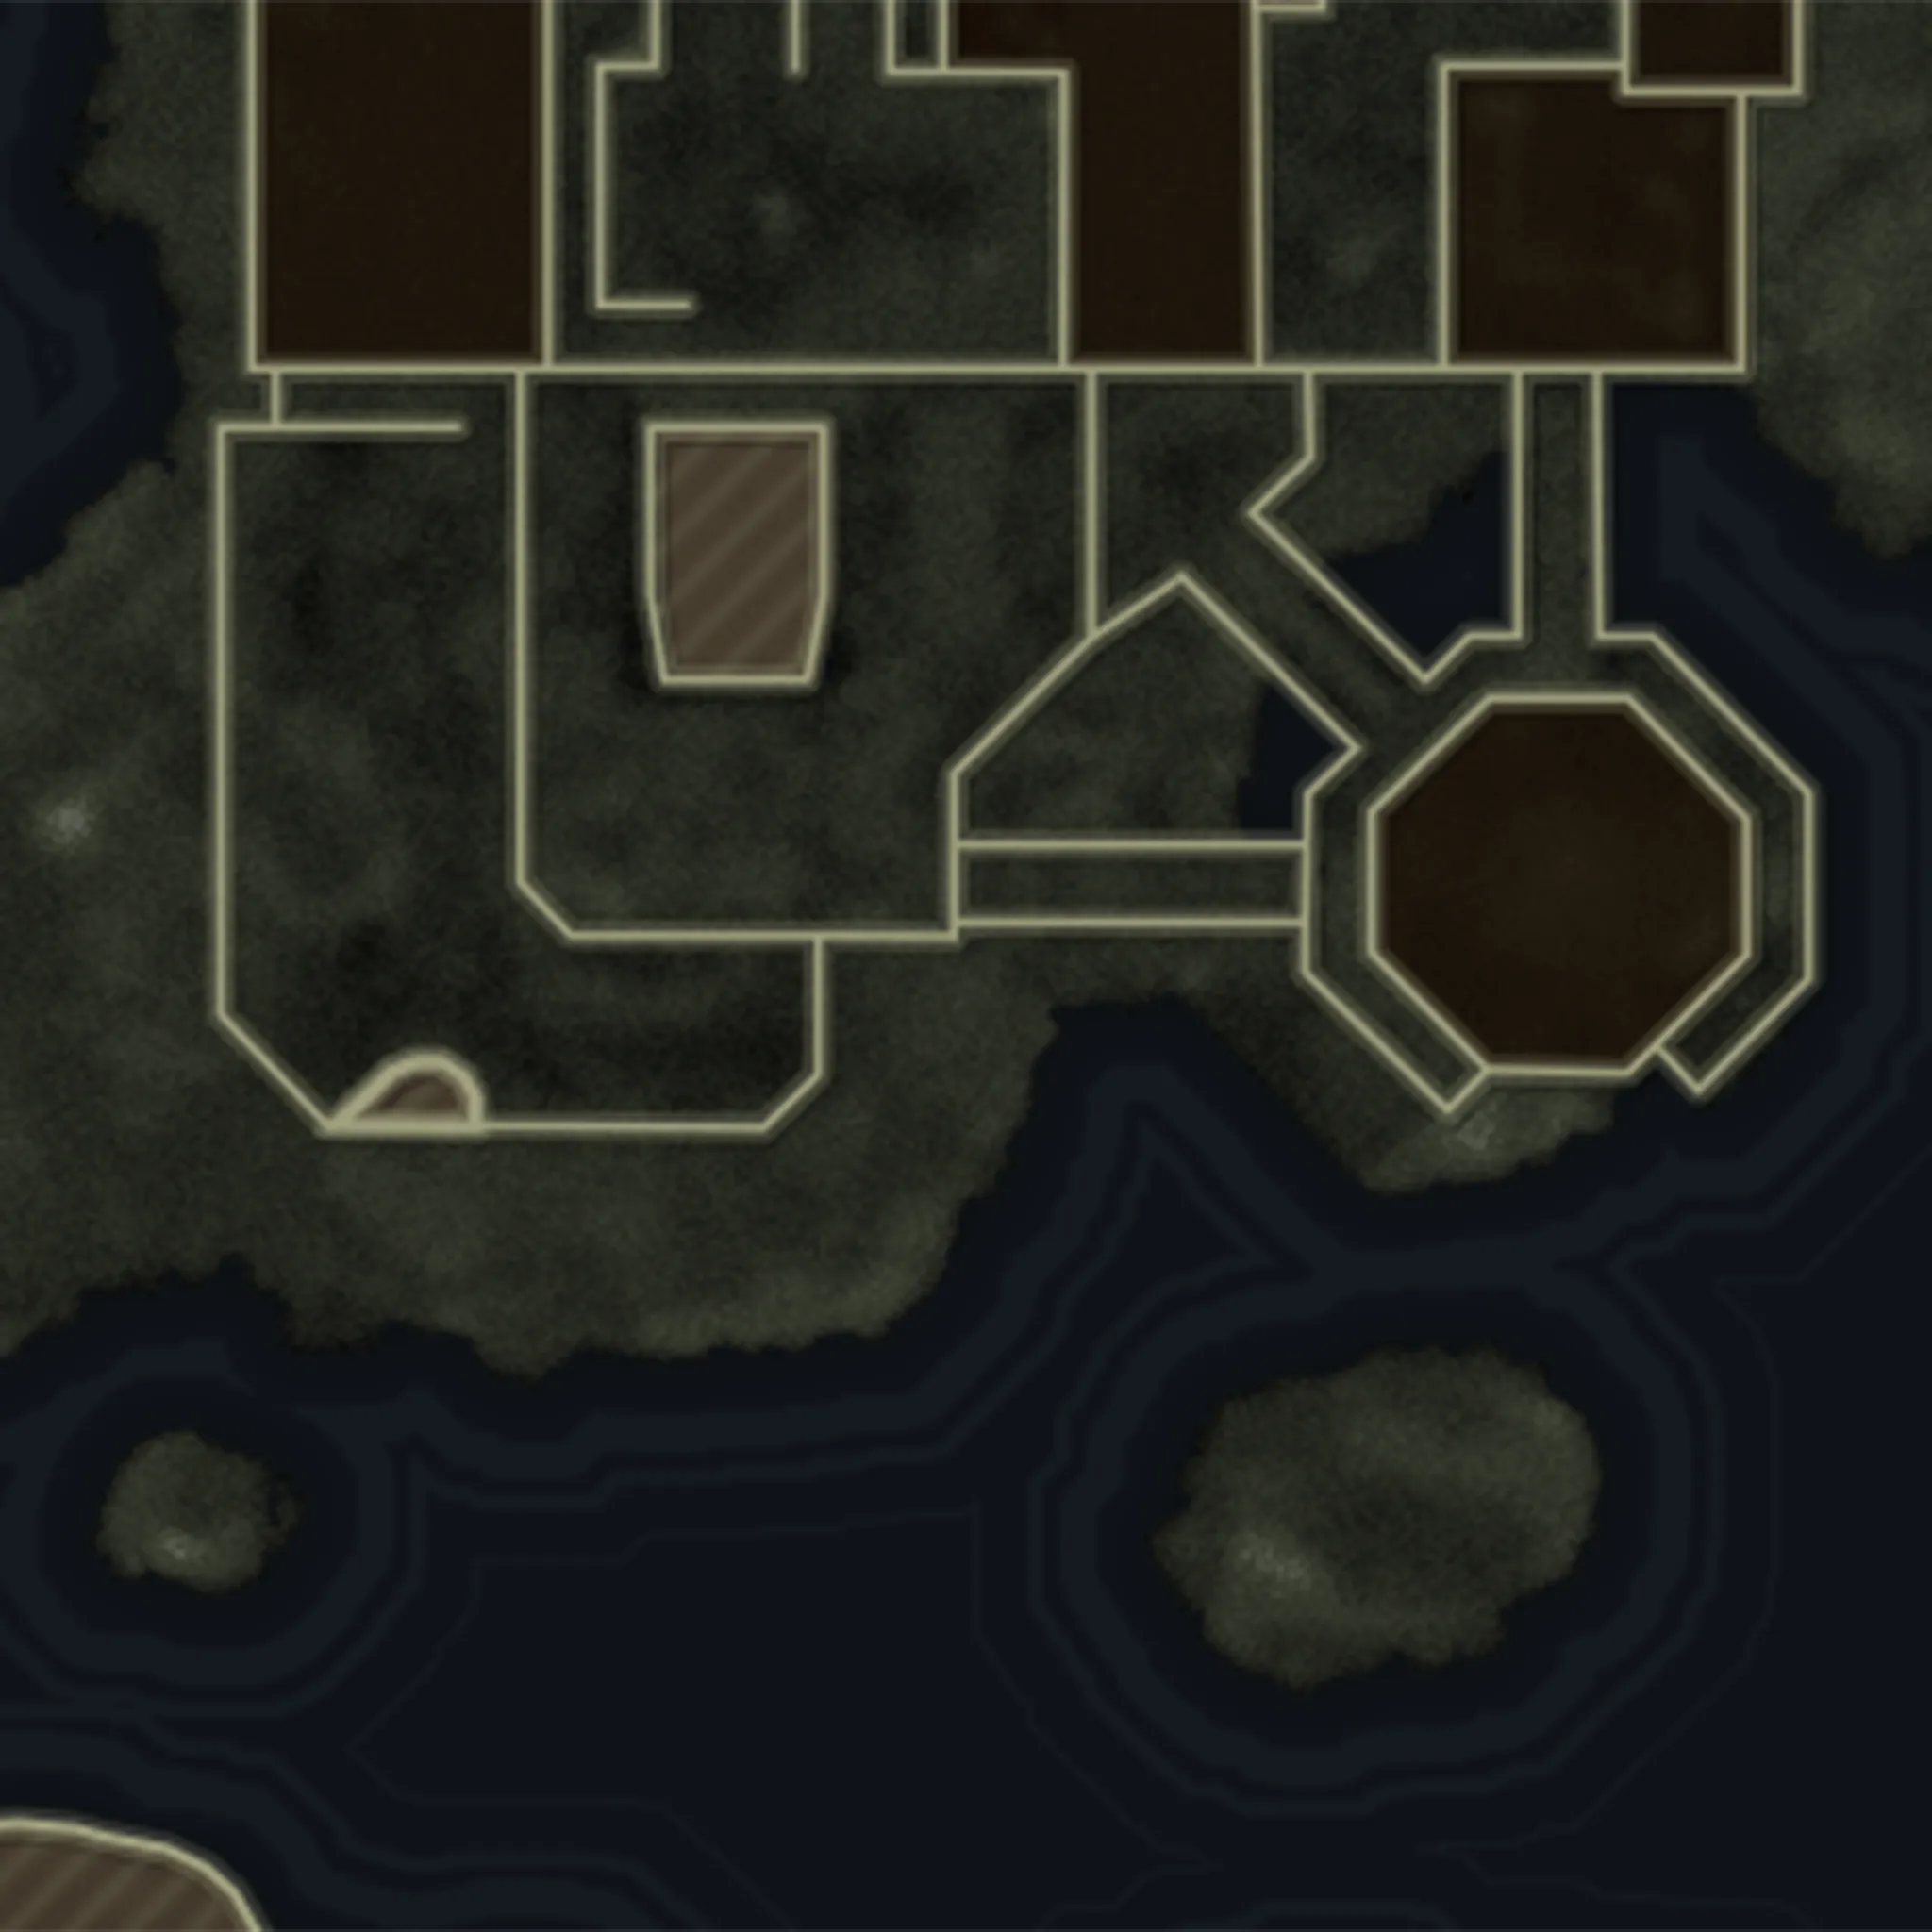
If you choose to take the Seaside Path, you’ll have access to a Marksman Rifle Wall Buy, Deadshot Daiquiri Perk, and Speed Cola Perk. However, not right away. You’ll need to get to the next major section of Terminus and turn the power on before these are available for use. Just because you’ve taken the Seaside Path, it doesn’t mean you can’t take the Sea Tower path at any point to gather other upgrades, but for efficiency’s sake you may want to stick to one for now. The choice is yours.
Unlocking the Seaside Path takes you to the Sea Caves. The caves can be rather cramped, so until you’re ready to purchase the Speed Cola Perk or unlock the door to the Bio Lab, you may not wish to get trapped inside. Spend rounds eight and nine saving up some Essence.


-
Show areas

-
Show spawn points

-
Reset all overlays

Sea Tower
Recommended round pace when exploring: 8 – 9
Recommended Tasks
Unlock the Sea Tower Door
Visit the SMG and Assault Rifle Wall Buy locations
Visit the Arsenal station
Take note of the Elemental Pop and PHD Flopper Perk machines
Open the Mining Caves Entrance
Gather Essence and Salvage
Choosing to take the Sea Tower path gives you access to an SMG Wall Buy, an Assault Rifle Wall Buy, Elemental Pop Perk, PHD Flopper Perk, as well as another Arsenal station. Again, the Perk-a-Cola machine is not available for use until you reach the next section of Terminus, but now that you’ve opened the path, you won’t have to pay anymore Essence to access these upgrades.
Unlocking the Sea Tower path takes you to the Mining Caves.
Bio Lab
Recommended round pace when exploring: 10
Recommended Tasks
Unlock the Bio Lab Door
Activate the final Aetherium Maturation Pod
Raise the lift
Pack-A-Punch your weapon
Now that you have enough Essence to open the reinforced steel door that leads into the Bio Lab, you are now in the thick of it. Whether you’re in round 10 at this point or just a bit earlier, the zombie hordes are starting to flow to your position. Head in and activate the final Aetherium Maturation Pod. This will turn on the power for the rest of the island, which will allow you to keep Perking up. Before you do that, it’s pertinent that you focus on the mission at hand, raising the submerged platform.
Once you’ve raised the platform, you’re in business. Located on this platform is the all-powerful Pack-a-Punch machine that can raise the overall power of any weapon you upgrade with the machine. Now upgrade your weapon and give yourself a fighting chance for the challenge that is to come.
Exfil
Round available: 11
No matter how far you were able to explore Terminus, once you’ve completed Round 10, you’ll have the option to exfil. Exfiltrating is an option that allows you to get a simple completion of the session which can be a big boon to XP and any completion challenges you may be going for. It’s also a great way to reset the session just in case you want to do things a little differently while also getting bonuses for a successful run, including Whimsical GobbleGums.
In order to initiate exfil, you’ll need to make your way to the Control Center. The radio is indicated on your HUD, so follow it all the way to the Control Center. You’ll be into round 11 at this point, so the situation is going to get a little hectic. Make your way over as fast as you can while taking zombies out in the process, as you’re going to need to thin the herd.
Once you’ve called the chopper, you’ll now need to fight through the horde toward the Rec Yard where the helo will pick you up. The caveat is that you’ll need to eliminate a certain number of zombies while in the zone before the timer is up. If you don’t, your squad will be eliminated. So, start shooting.
Overall Tactics

Prime Pacing
The number one goal and possibly one of the trickier things to master in Round-Based Zombies is timing. It may seem like there’s no time to lollygag but spending a few rounds chilling in a section of the map and gathering some Essense and Salvage is a perfectly viable strategy. Focus on exploring the map a little bit before moving on. Leave a slower zombie crawling around if you need a little extra time between rounds.
Raise the Rarity before PAP
Once you’ve made it to the Pack-a-Punch machine, it’s very tempting to PaP the first weapon you can because it will boost your weapon’s damage and give it a beautiful, bright new camo. However, you may want to use your Essence and Salvage very carefully. To optimize your spending, try getting a Rare or higher weapon before you purchase your first PaP. Remember to spend based on your needs, though.
Prepare for S.A.M.
As you get past round 10, there are a few different ways to earn rewards. S.A.M. Trials are one of the more obvious ways to get rewards; do them and upgrade your setup. The best way to prepare for a Trial is take note of where it’s located. As you learn the contextual locations of the Trial terminal, you can get a good idea of what it’s going to ask you to do. Then you can get ready to complete it.
Sometimes you’ll want to start a S.A.M. Trial at the beginning of a round, and other times you may want to wait until the round is almost over. Initiate them in as many runs as you can and learn their patterns. The same goes for most aspects of Round-Based Zombies, but as you get more experience, you’ll develop a routine. Just remember:

© 2024 Activision Publishing, Inc. ACTIVISION, CALL OF DUTY, and CALL OF DUTY BLACK OPS are trademarks of Activision Publishing, Inc. All other trademarks and trade names are the property of their respective owners.
For more information, please visit www.callofduty.com and www.youtube.com/callofduty, and follow @Activision and @CallofDuty on X, Instagram, and Facebook. For Call of Duty Updates, follow @CODUpdates on X.


