
The Tomb
The Tomb: The Ten Round Guide to Directed Mode
- Dig Site / Roman Mausoleum
- Tombs
- Shrine of the Hierophants
- Neolithic Catacombs
- Ossuary
- Subterranean Temple / Deep Excavation
- Dark Aether Nexus
Continuing the Story
The Tomb Prebrief
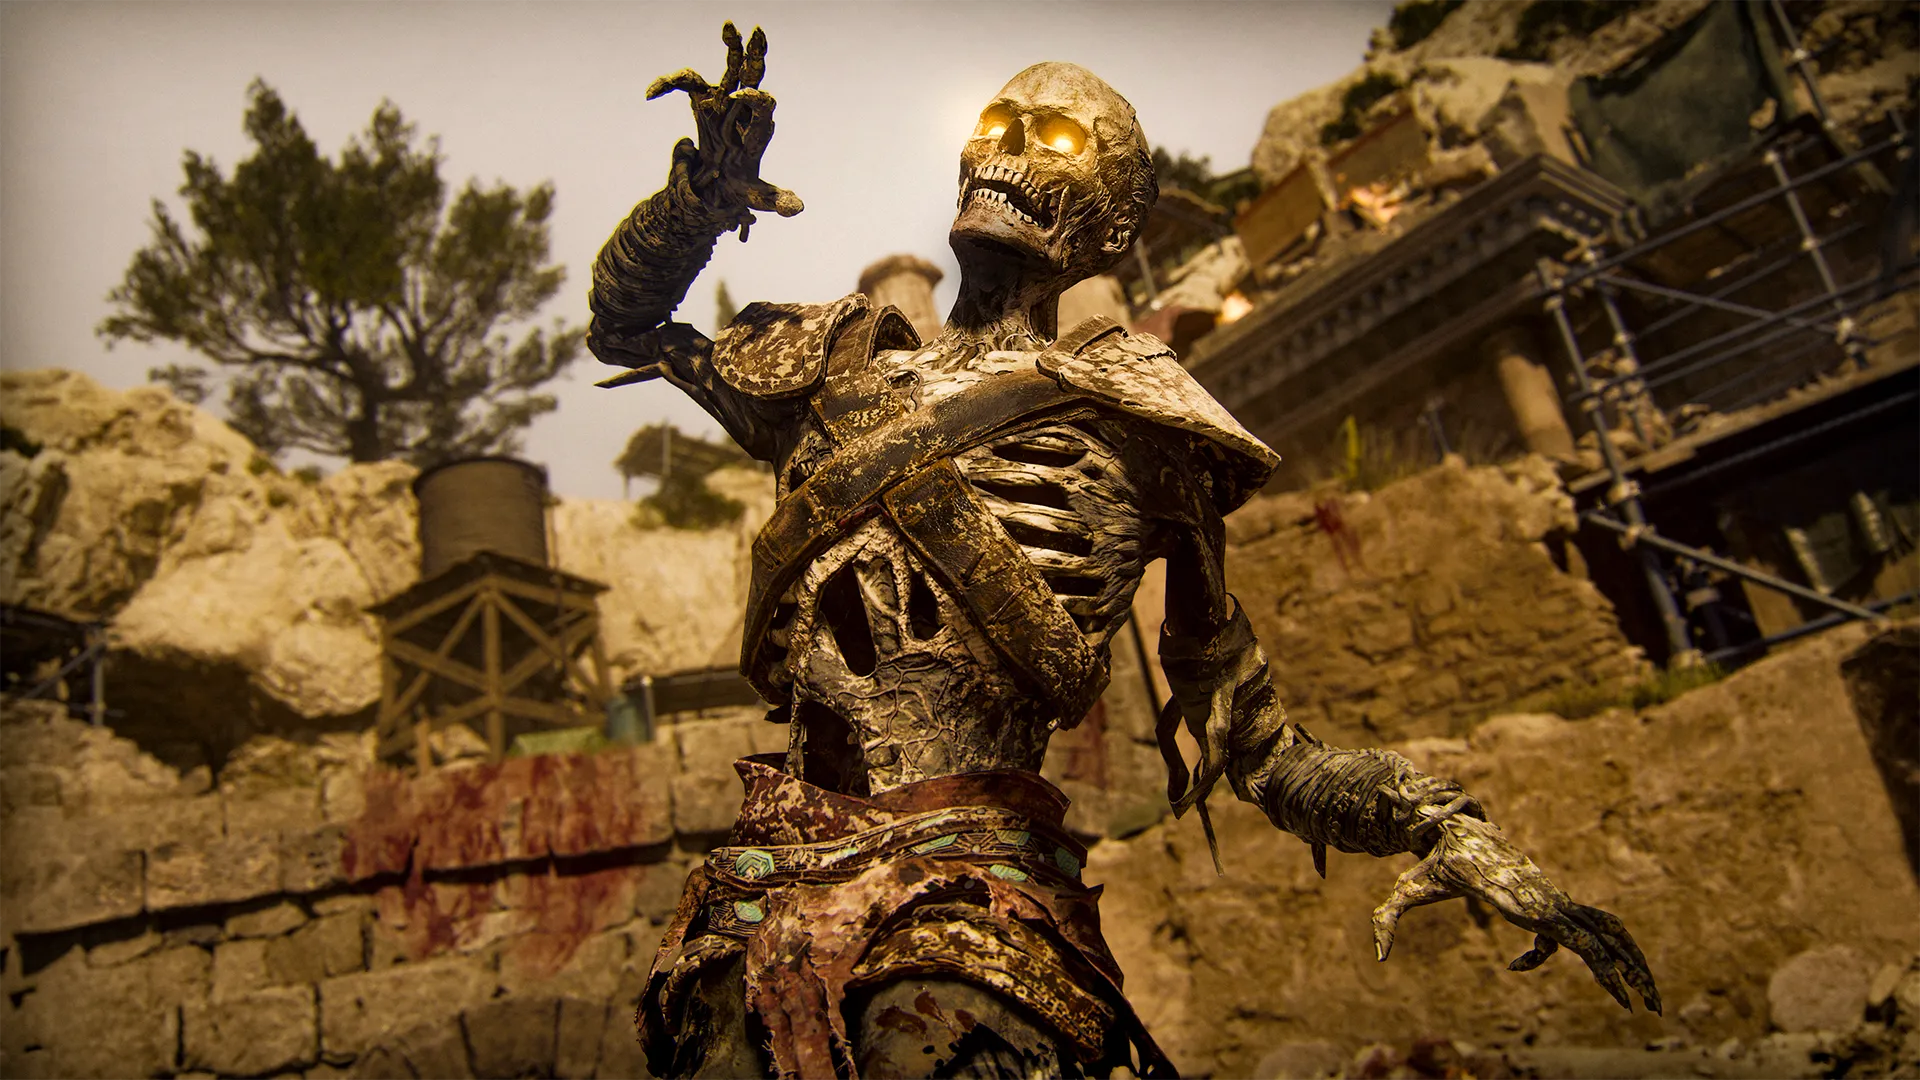
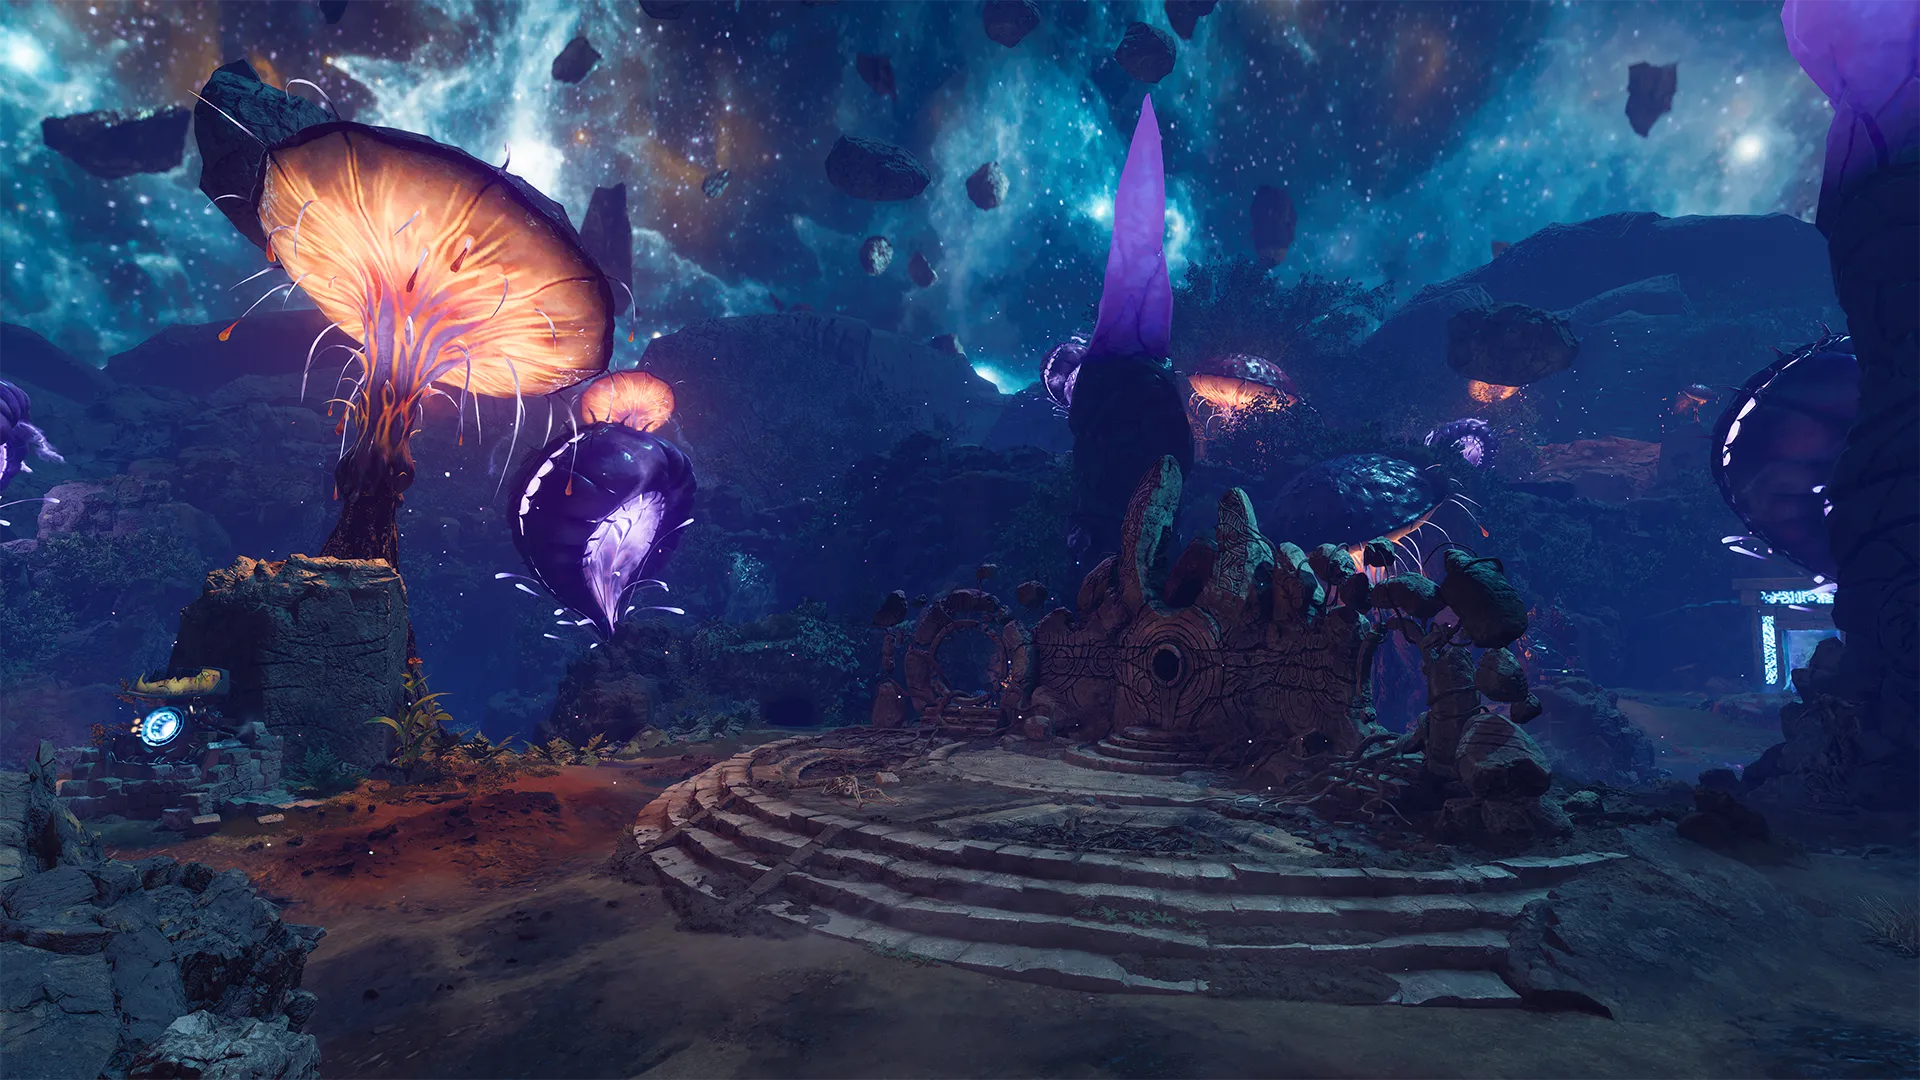
Following the events of Citadelle des Morts, Weaver, Maya, Carver, and Grey must take the amulet secured at the Citadel to a cursed dig site and the ancient catacombs within. Professor Krafft indicated that the elusive Sentinel Artifact may be found in the tunnels below. Reports of paranormal phenomena go back centuries, possibly related to the presence of the artifact. If the team can secure it, there may yet be hope in releasing Samantha Maxis from her imprisonment in the Dark Aether.
What is Directed Mode?

For those players wanting to witness the Zombies story with a guided experience to completing the objectives for the Main Quest in The Tomb, Directed Mode is for you. If you want a little less pressure while you experience the story and everything that the narrative has to offer, Directed Mode will guide you from objective to objective while limiting the maximum round number and let you play at a reasonable pace.
You’ll still fight the zombie hordes; however, you won’t have to worry about escalating difficulty as you look to complete the quest. Each objective, or milestone, will increase the round limit to help control the pace of chaos for you. As you progress through the map and Main Quest, the round limit will increase; however in Directed Mode, you and your team will never surpass round 15 as it will hard cap there and you will repeat round 15 until the Quest is complete.
What is in this Guide?
Whether you’re new to Directed Mode, or just new to Call of Duty®: Black Ops 6 Round Based Zombies, this Guide will walk you through the general layout of the map, The Tomb. This Guide to the first 10 rounds of The Tomb won’t show you every easter egg or walk you through the entirety of the Main Quest, but it will set you up for success. As you flow through the Directed Mode objectives, you’ll have a strong understanding of the Tomb and you’ll be fully prepared to be successful in both Directed as well as Standard Mode.
The Guide will break down each Point of Interest in The Tomb and list, as well as show, the locations of each of the important upgrade stations, such as Pack-a-Punch Machines, Perk Machines, The Arsenal, Ammo Caches, and more. Before starting your next run at The Tomb, look through the general layout detailed in this Guide so that you have an idea of where you may want to progress, or what you may want to save your Essence for and spend on first.
// INTEL CARD
- BO6
The Tomb
// ZOMBIES // MAPS

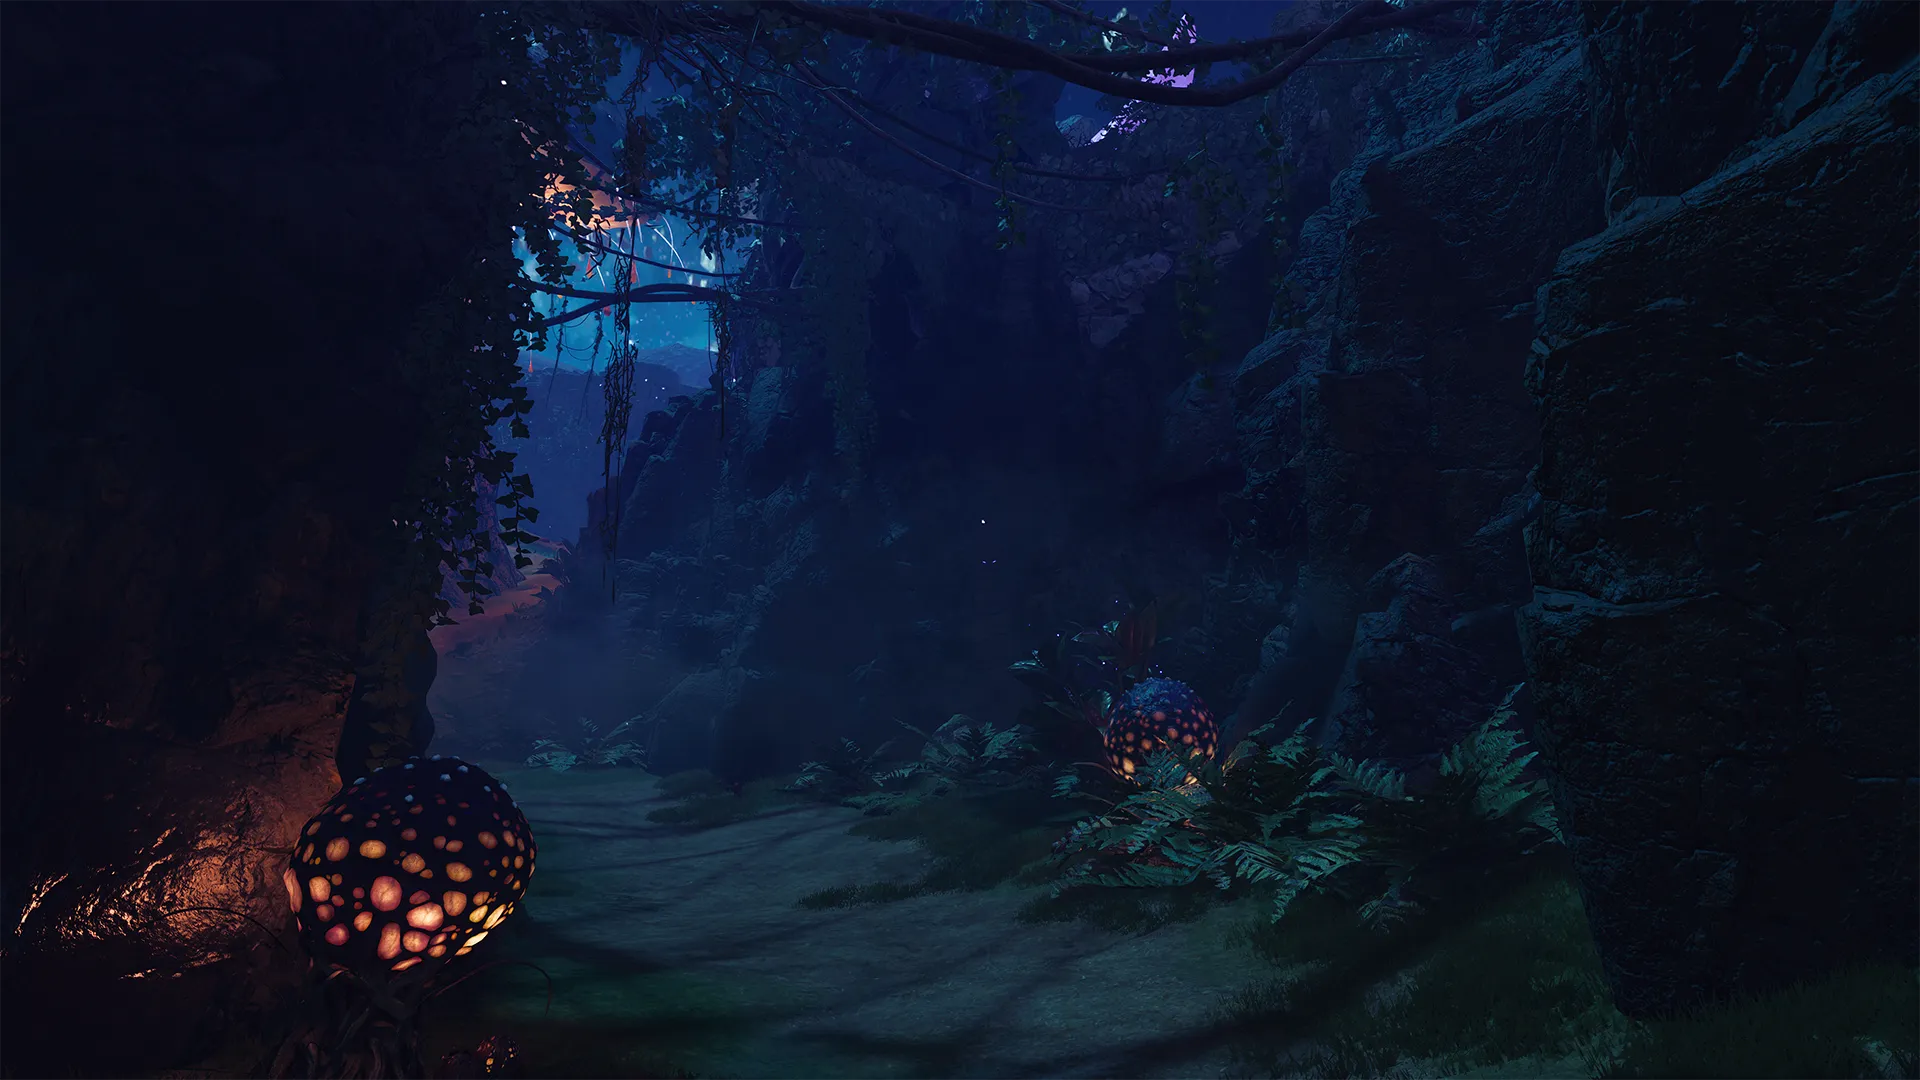
Break crystals, gain salvage: If you see bright purple Aether Crystals sitting around The Tomb, break them open by shooting or hitting them. From the fungus will pop precious Salvage or another piece of equipment that can be rather useful.
Dark Aether highway: The Tomb can take a little bit to run from the Dig Site to the Subterranean Temple or the Neolithic Catacombs to the Ossuary. But once you’ve opened the Dark Aether Nexus, you can portal into the Dark Aether and shortcut to the other side of the map more quickly.
Check the map: Along with your trusty Tac-Map, there are stone maps placed all in each of the major POIs of The Tomb. Check them out often for the locations of the Mystery Box and Pack-a-Punch Machine.
The Tomb: The 10-Round Guide to Directed Mode
The first 10 rounds of any Zombies map has the basic pacing that will get you to the Pack-a-Punch machine, as well as you and your squad to your first level of PaP. Obviously, there is no wrong way to play Round Based Zombies, so long as you play to survive. Making it to round 10 is your first accomplishment, so the moment you hit round 11 is when powering up your weapons and gear becomes the difference between survival and an early end to your run. It is also the first chance of exfilling from the map to end your run and earning some survival XP. Use each of the following sections to understand the full intel on what you can access in each section of the map. Plan your route and progress through the objectives while being fully prepared to fight the hordes and continue moving forward.
Dig Site / Roman Mausoleum
-
Show spawn points

-
Reset all overlays

Recommended round pace when exploring: 1 – 3
Tasks and Available Power Ups
Task
Gain Essence
Task
Plan which door you wish to open first
Perk
PhD Flopper Perk Machine
Upgrade
The Arsenal
Weapon
Marine SP (Shotgun) Wall Buy
Armor
Level II Armor Vest
Ammo
Ammo Cache
GobbleGum
GobbleGum Machine
Task
Gateway to the Dark Aether
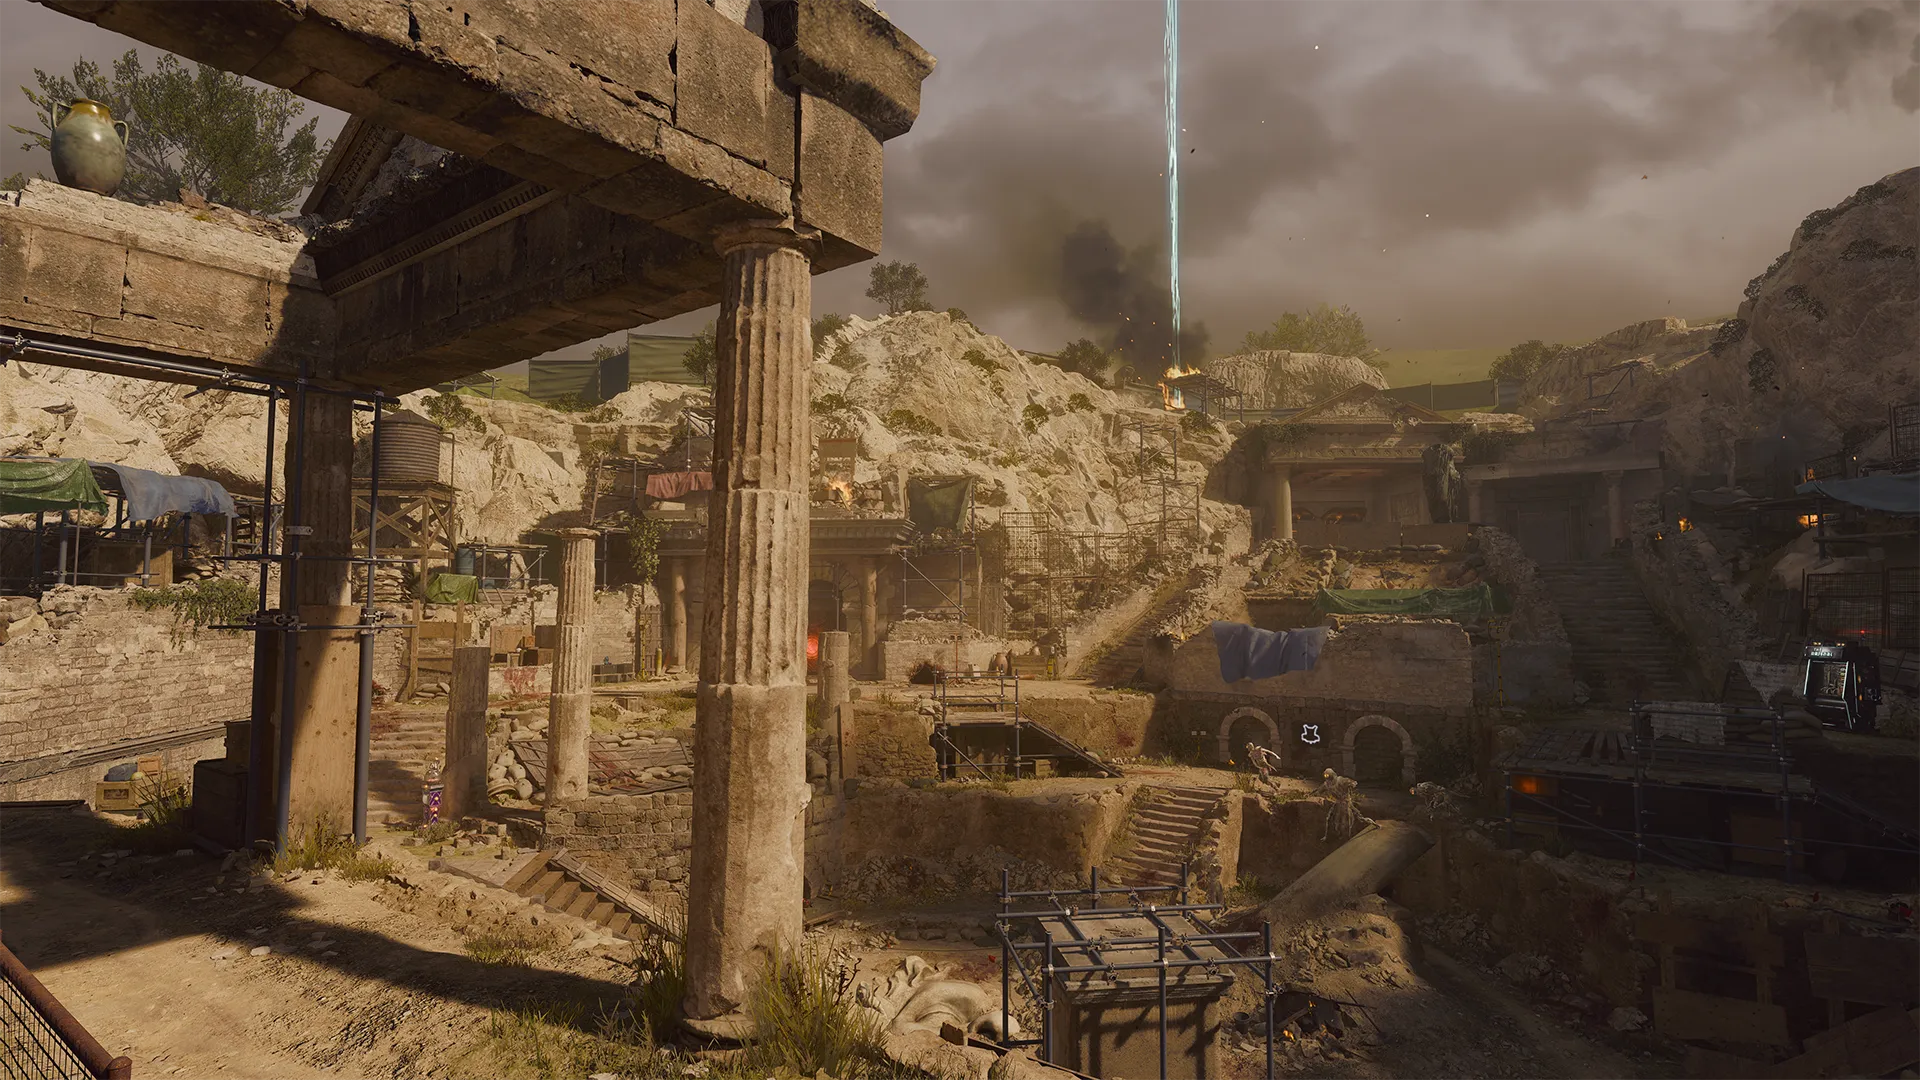
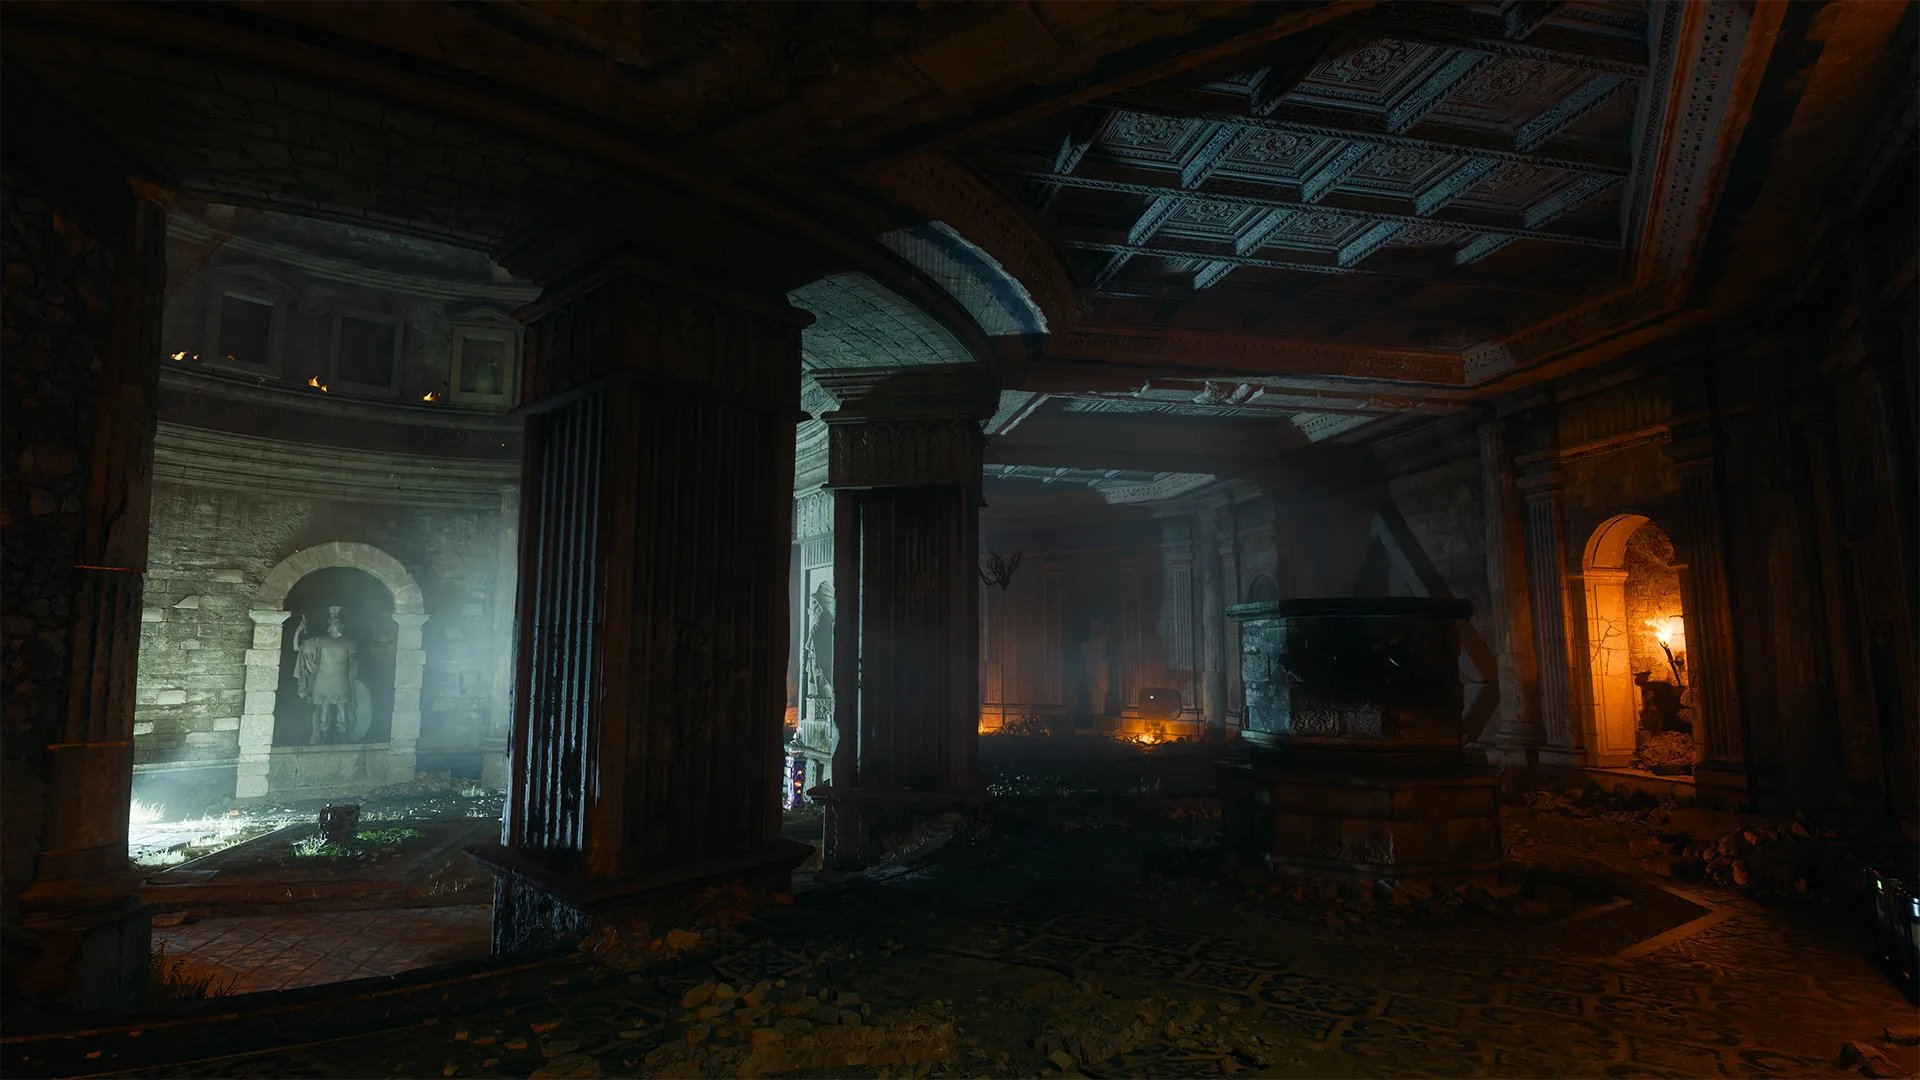
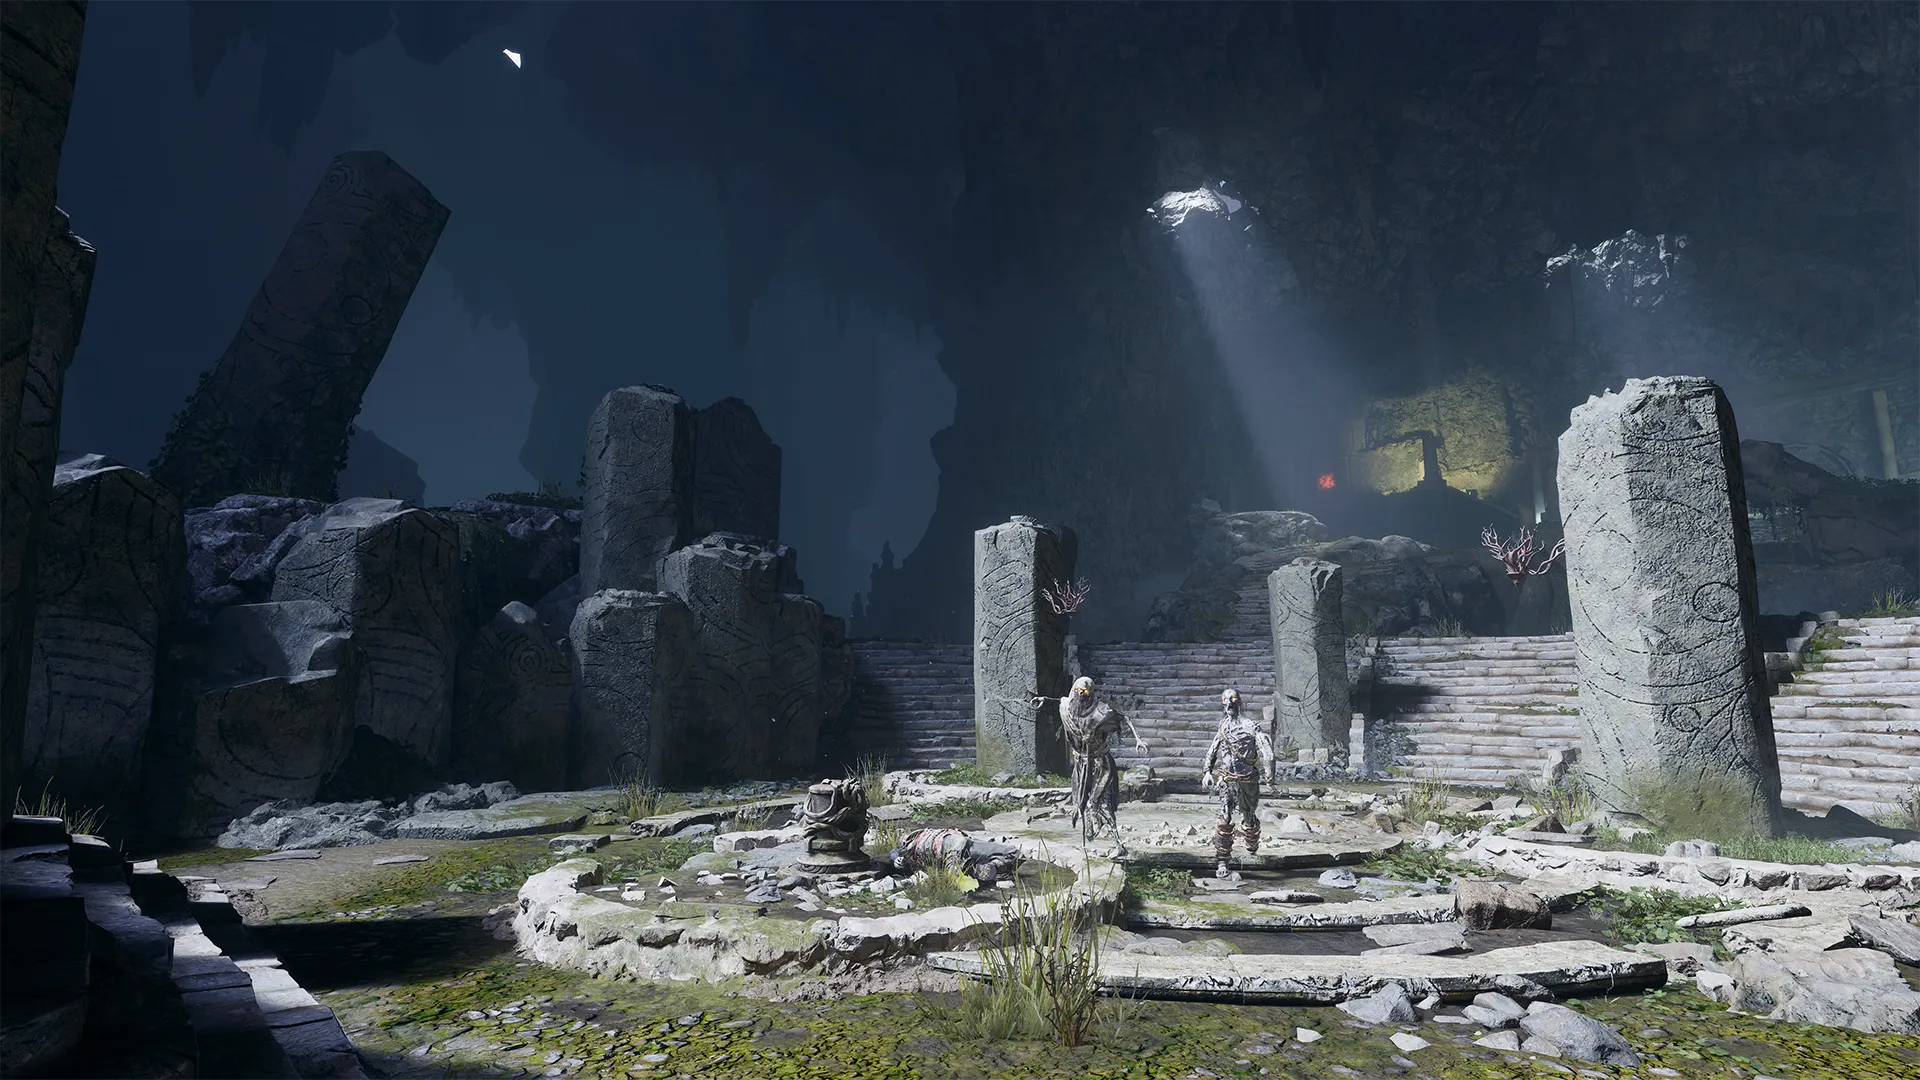
Welcome to the starting area, the Roman Mausoleum. There is a lot to do here, but gaining access to the first door buy is going to take a few rounds of earning Essence. So, unless you wish to fight in this section of the map for a while, you may not want to spend any Essence just yet. However, sticking around isn’t a bad idea either. Gathering enough Essence to purchase the Level II Armor Vest upgrade before leaving will increase your chances of survivability, just remember that it may take a few extra rounds.
There is a gateway that will appear here once you’ve found the Dark Aether, but don’t worry about that until you get further into the Tomb. Refer back to this section once you’ve unlocked the first gateway into the Dark Aether Nexus.
Take a moment to explore the Roman Mausoleum and keep your eyes peeled for a map etched in stone, as it may reveal some interesting information that you will be able to use throughout your run on The Tomb.
You’ll eventually come back to the Roman Mausoleum, so keep that in mind as you spend time thinking about your next move.
Tombs (Northern Path)
-
Show spawn points
-
Reset all overlays
Recommended round pace when exploring: 4
Tasks and Available Power Ups
Perk
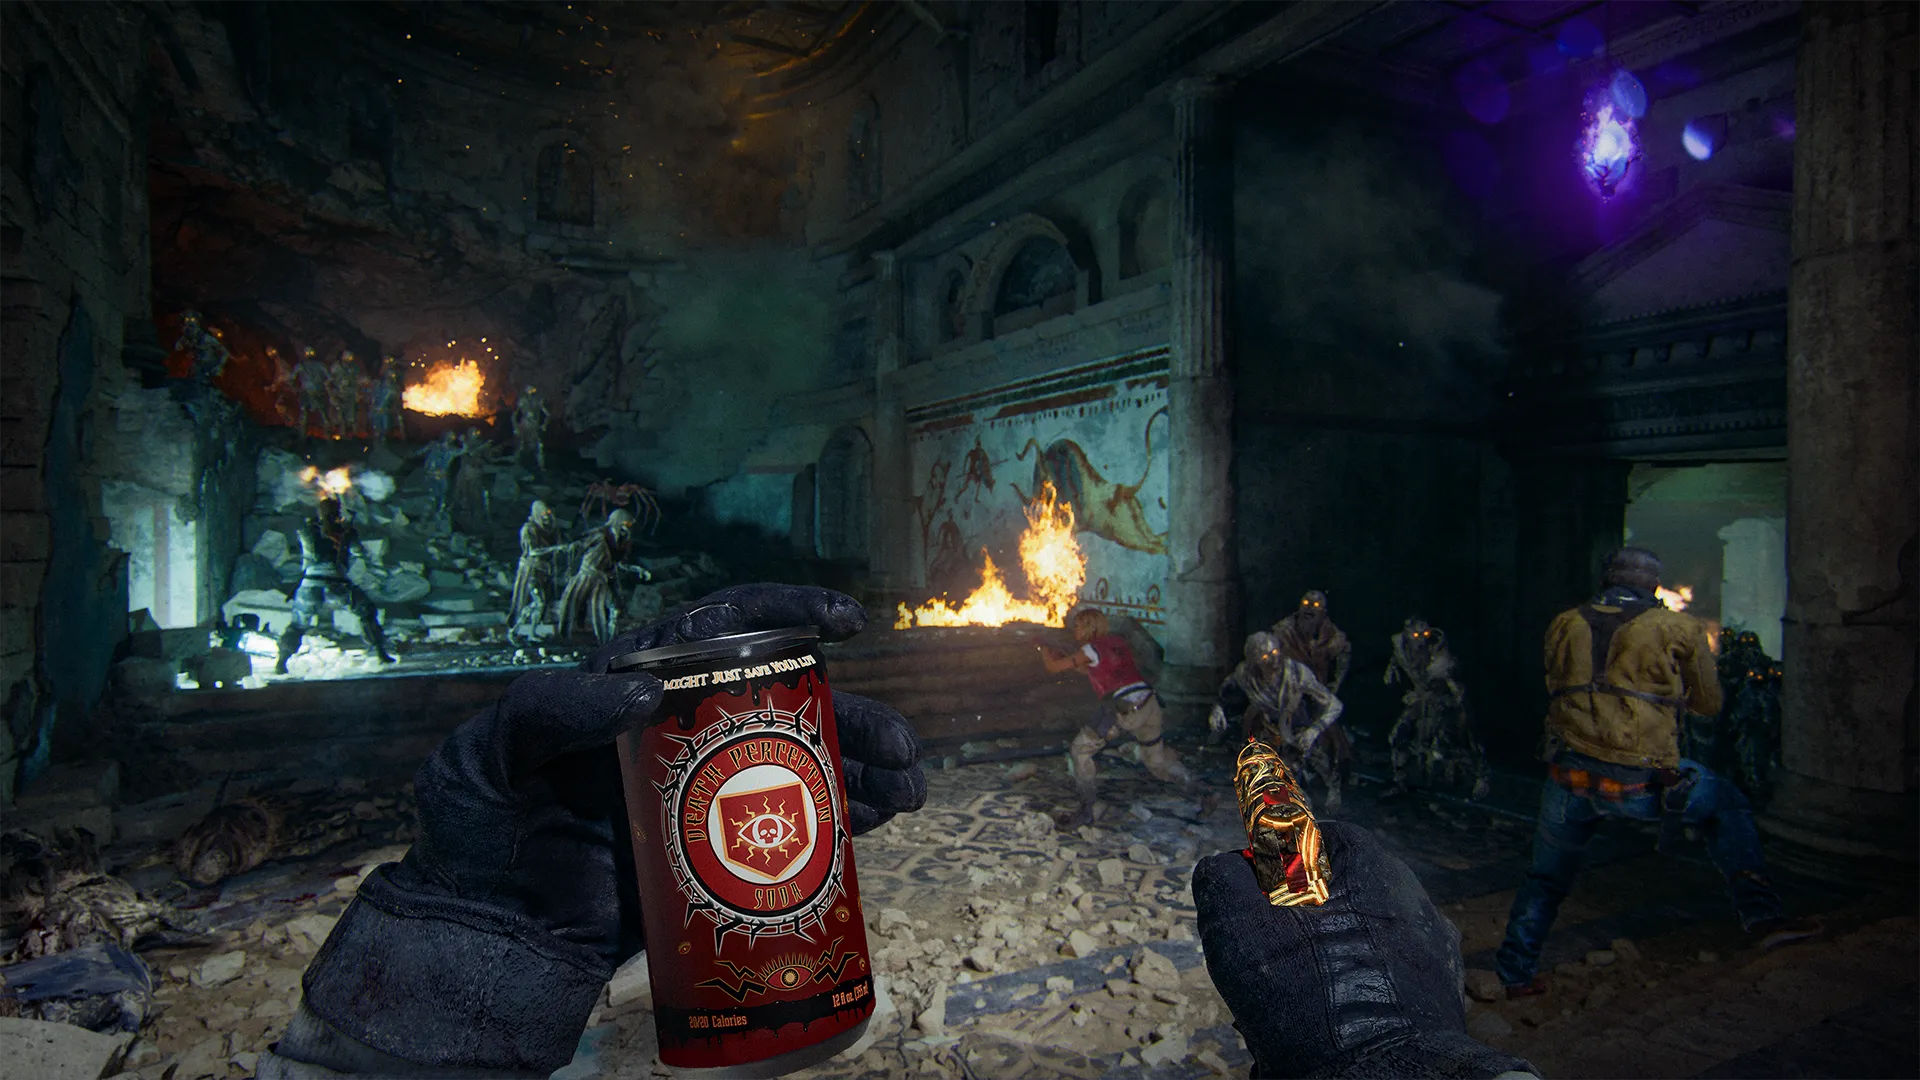
Death Perception Perk Machine
Weapon
TANTO .22 (SMG) Wall Buy
Ammo
Ammo Cache
Mystery Box
Possible Mystery Box Location

This multi-level room is filled with several broken-down pillars that act as platforms you can traverse across. Jump from platform to platform and keep the zombies moving around and trying desperately to attack you. If you’ve been practicing your Omnimovement, this room is a great place to put some of those skills into action and keep from losing your armor plates. This area is an important location for the Main Quest, so practicing your movement here while not being attacked will be helpful.
The Death Perception Perk Machine is also located here, dispensing a Perk that allows you to see zombies through the walls to prevent surprises. You don’t need to purchase Death Perception now but picking it up near round 10 will give you an advantage and help you strategize your movement.
Take note of the sconces that may not be lit at the moment but appear as if they can be. Shooting these, when they are lit, will drop an aetheric flame on the ground which will cause damage to anything that steps inside of the flame. Then pay attention to what the lantern does next.
Shrine of the Hierophants
-
Show spawn points
-
Reset all overlays
Recommended round pace when exploring: 5
Tasks and Available Power Ups
Perk
Stamin-Up Perk Machine
Weapon
AK-74 (AR) Wall Buy
Trap
Arrow Traps
Equipment
Crafting Table
GobbleGum
GobbleGum Machine
Ammo
Ammo Cache
Mystery Box
Possible Mystery Box Location
Task
Gateway to the Dark Aether
As soon as you enter the Shrine of the Hierophants, mind the stairs as they’re lined with Arrow Traps that can really do some damage to both you and the attacking zombies, if you choose to activate the trap. Then as you make your way down past the Arrow Traps and into the larger open shrine, you’ll find that there is plenty of room to dash around and use the space to fight the horde off while you plan your next move.
Utilize the pillars in the center of the large room and the Death Perception Perk you may have consumed earlier to lure the horde around in circles while you explore the room. While there are plenty of goodies to spend your Essence on here, just remember that there remains more than half of The Tomb still to explore.
Neolithic Catacombs (Southern Path)
-
Show spawn points
-
Reset all overlays
Tasks and Available Power Ups
Perk
Deadshot Daiquiri Perk Machine
Weapon
Kompakt 92 (SMG) Wall Buy
Equipment
Crafting Table
Ammo
Ammo Cache
Mystery Box
Possible Mystery Box Location
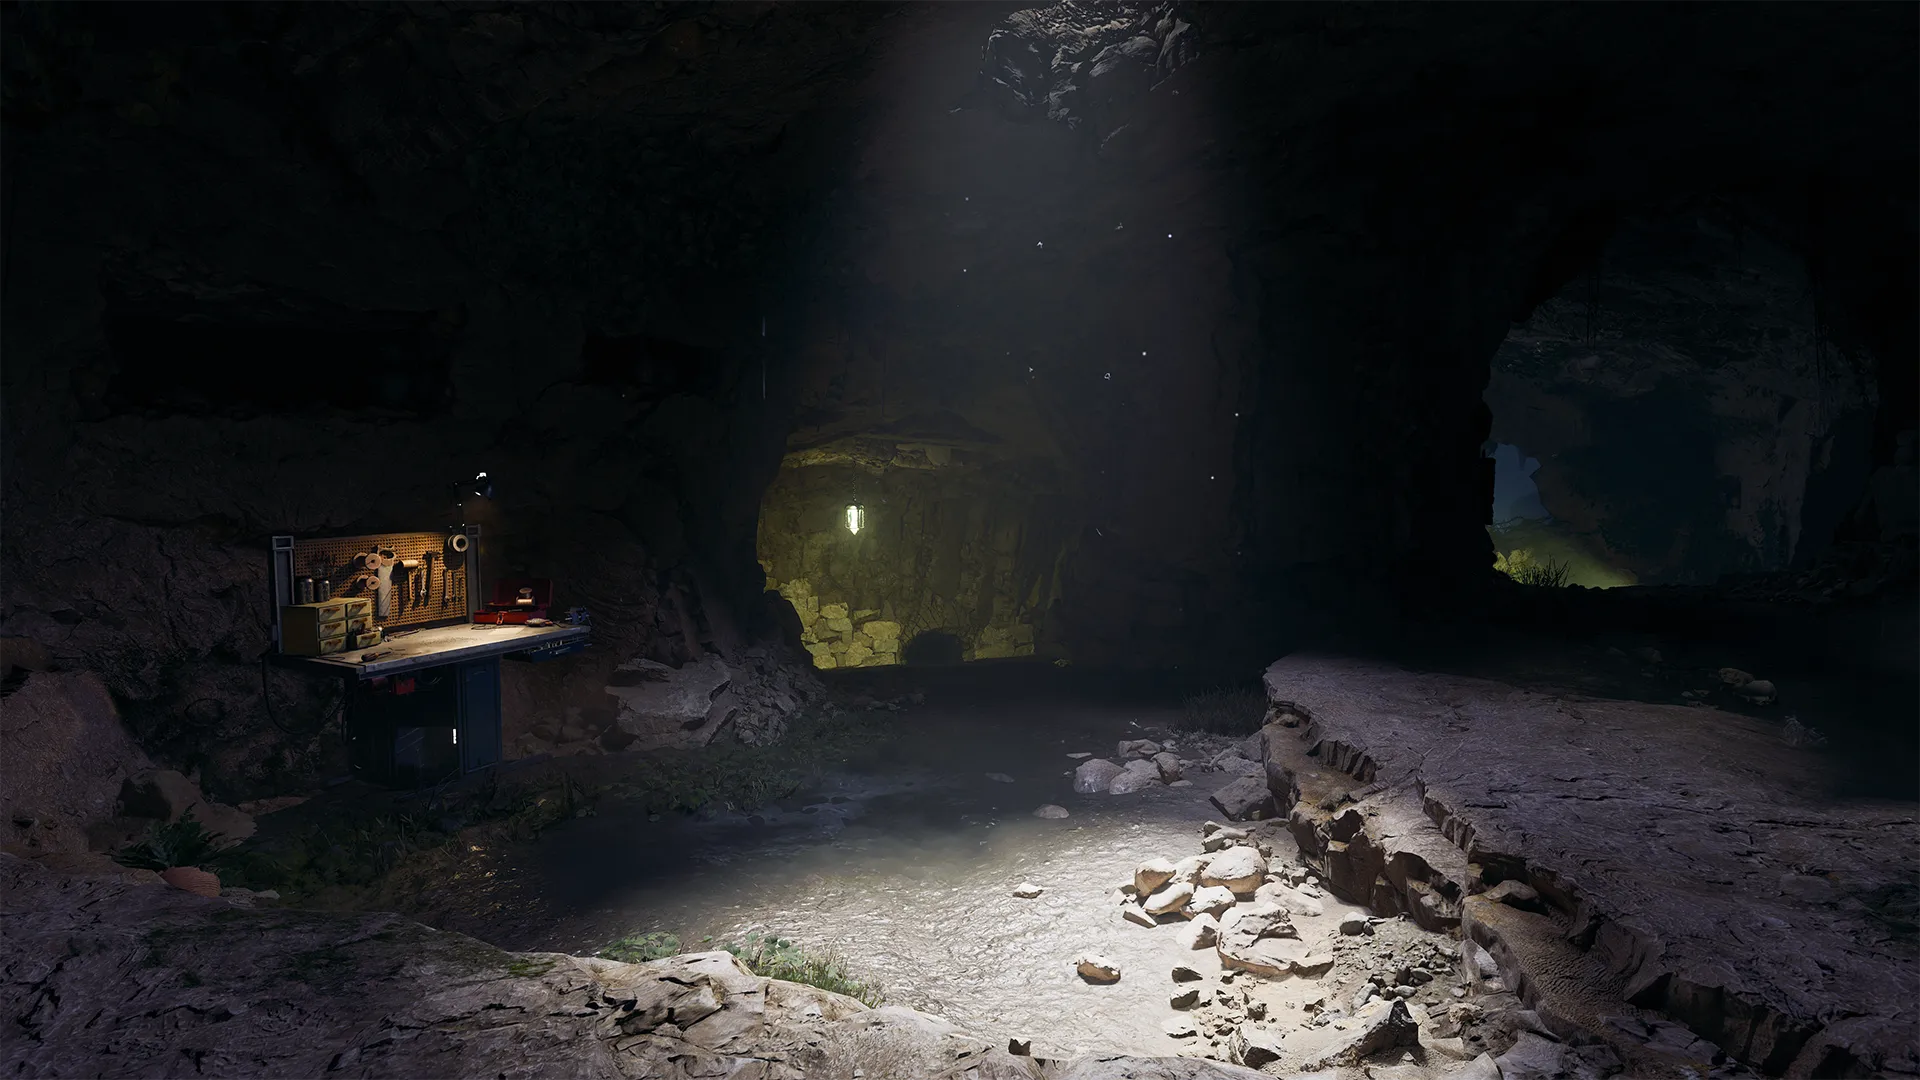
Whether you choose to take the northern path or dive into action through the southern path, you’ll venture through the Neolithic Catacombs. These catacombs are a bit more maze-like than any other part of The Tomb, but that can be used to your advantage. Use the narrow pathways and many directions to fight the zombie horde and continue to gather as much Essence as you can before continuing on. If you find yourself in a pinch or you’re here in a later round (10+), be sure to utilize the Crafting Table to craft some Lethals. The narrow halls make it easy to group a large number of zombies together, making an Impact or Thermo Grenade extremely effective.
New to Season 02 is the War Machine, an explosive, fast-firing grenade launcher that will wreak mayhem wherever it’s fired. These explosions will hurt you as well as the enemies, so using the War Machine in the Neolithic Catacombs should be done with extreme caution. Great explosive power comes with great explosive danger, unless you’ve purchased PhD Flopper, then you can fire explosives as much as you’d like.
Ossuary
Recommended round pace when exploring: 5
-
Show spawn points
-
Reset all overlays
Tasks and Available Power Ups
Perk
Speed Cola Perk Machine
Weapon
XM4 (AR) Wall Buy
Trap
Arrow Traps
GobbleGum
GobbleGum Machine
Ammo
Ammo Cache
Mystery Box
Mystery Box
Task
Gateway to the Dark Aether
As you continue down the southern path, you’ll find yourself entering the Ossuary. Here, the maze-like catacombs open up a bit compared to the previous room; however there’s still an intricate and option-filled layout to this location. Similar to the Shrine of the Hierophants, there are some interactable Arrow Traps that you can activate and close off a path temporarily from the zombie horde as it pins them to the walls eliminating in the process. The major difference in the Ossuary is that there is a pair of Arrow Traps instead of a single trapped pathway, which gives you a few choices in how you’d like to activate them, if you even choose to do so in the first place.
Continue looking with your head up and spotting as many lantern sconces as possible. It’s not so important that you need to note every location, but it’s good to have a decent idea of where they might be.

Take note of the large stone rectangle in the same room as the GobbleGum machine. This location may become relevant later in your run.
Subterranean Temple / Deep Excavation
-
Show spawn points
-
Reset all overlays
Recommended round pace when exploring: 6-8
Tasks and Available Power Ups
Perk
Quick Revive Perk Machine
Upgrade
The Arsenal
Weapon
GPMG-7 (LMG) Wall Buy
Armor
Level III Armor Vest
Trap
Arrow Traps
Ammo
Ammo Cache
Keep your eyes peeled for Aether Crystals lying around the map as they may drop some very needed support items for you and your squad.
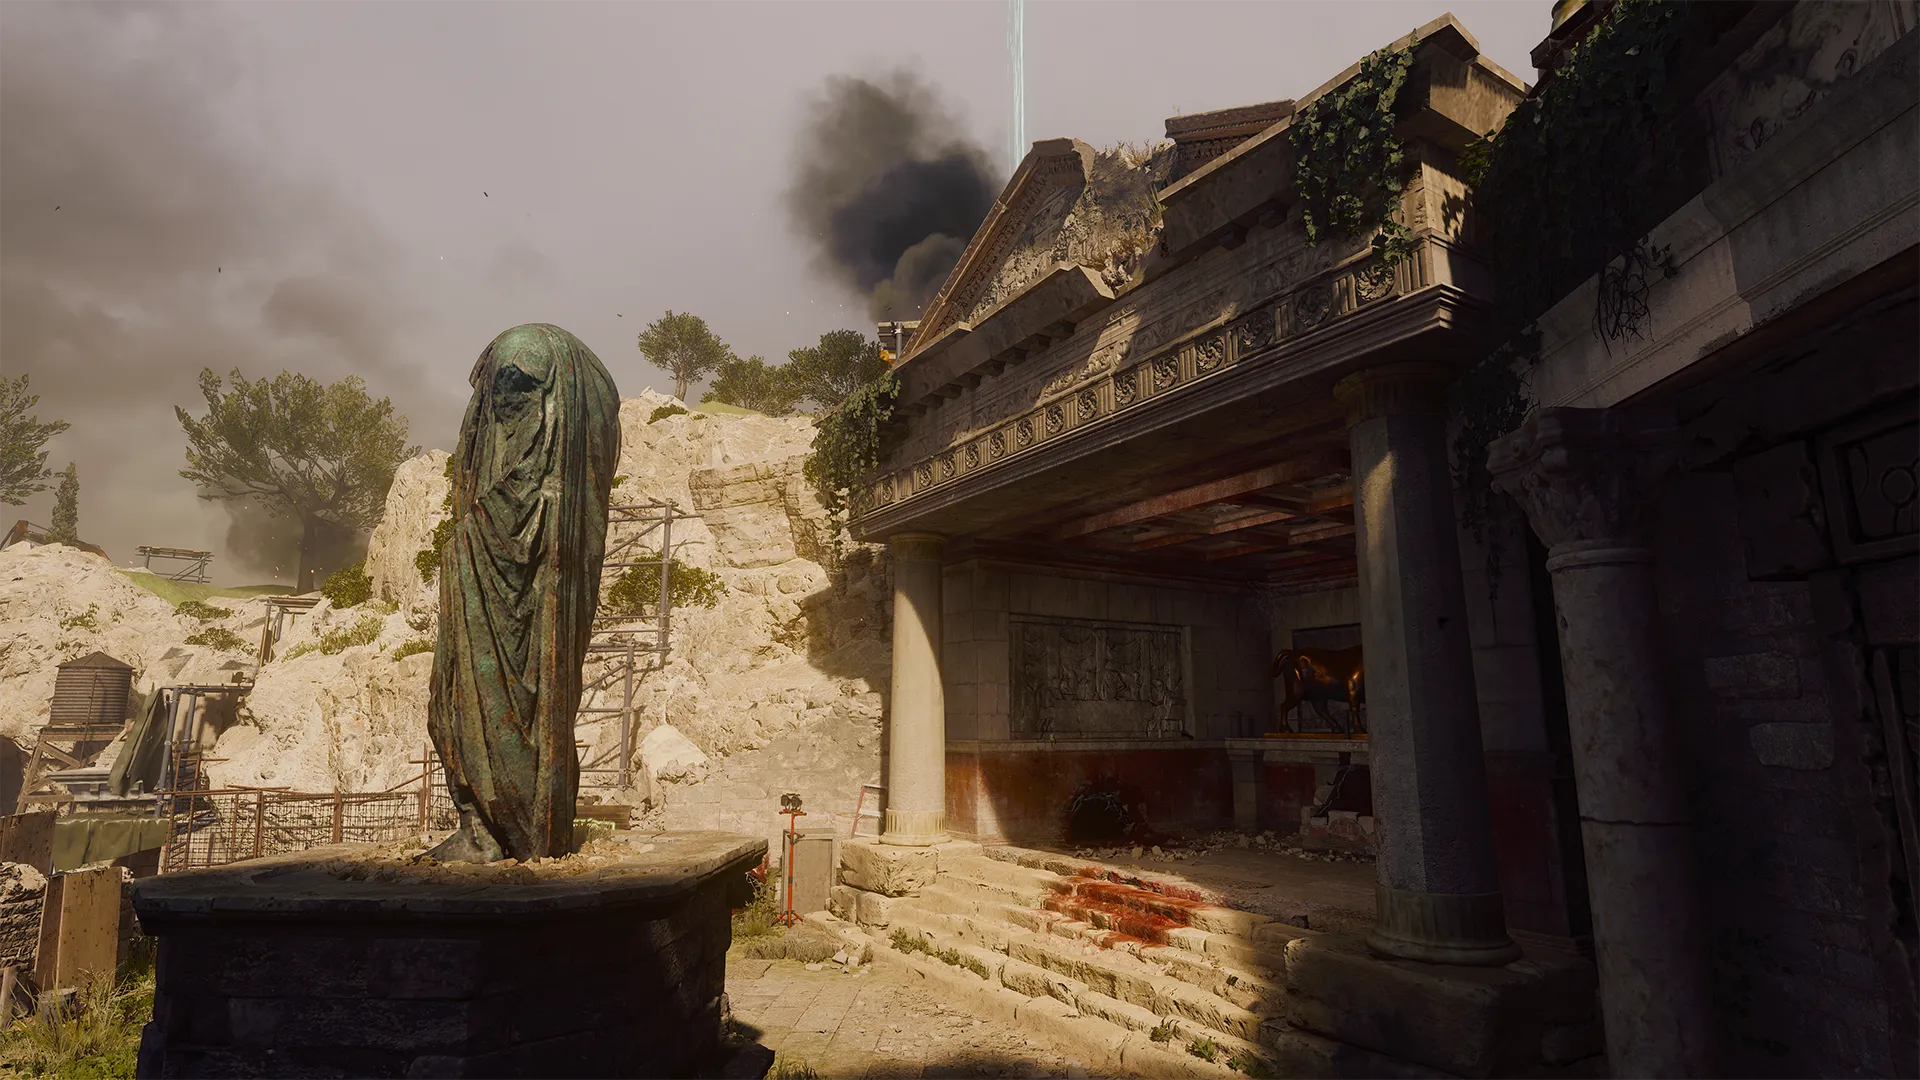
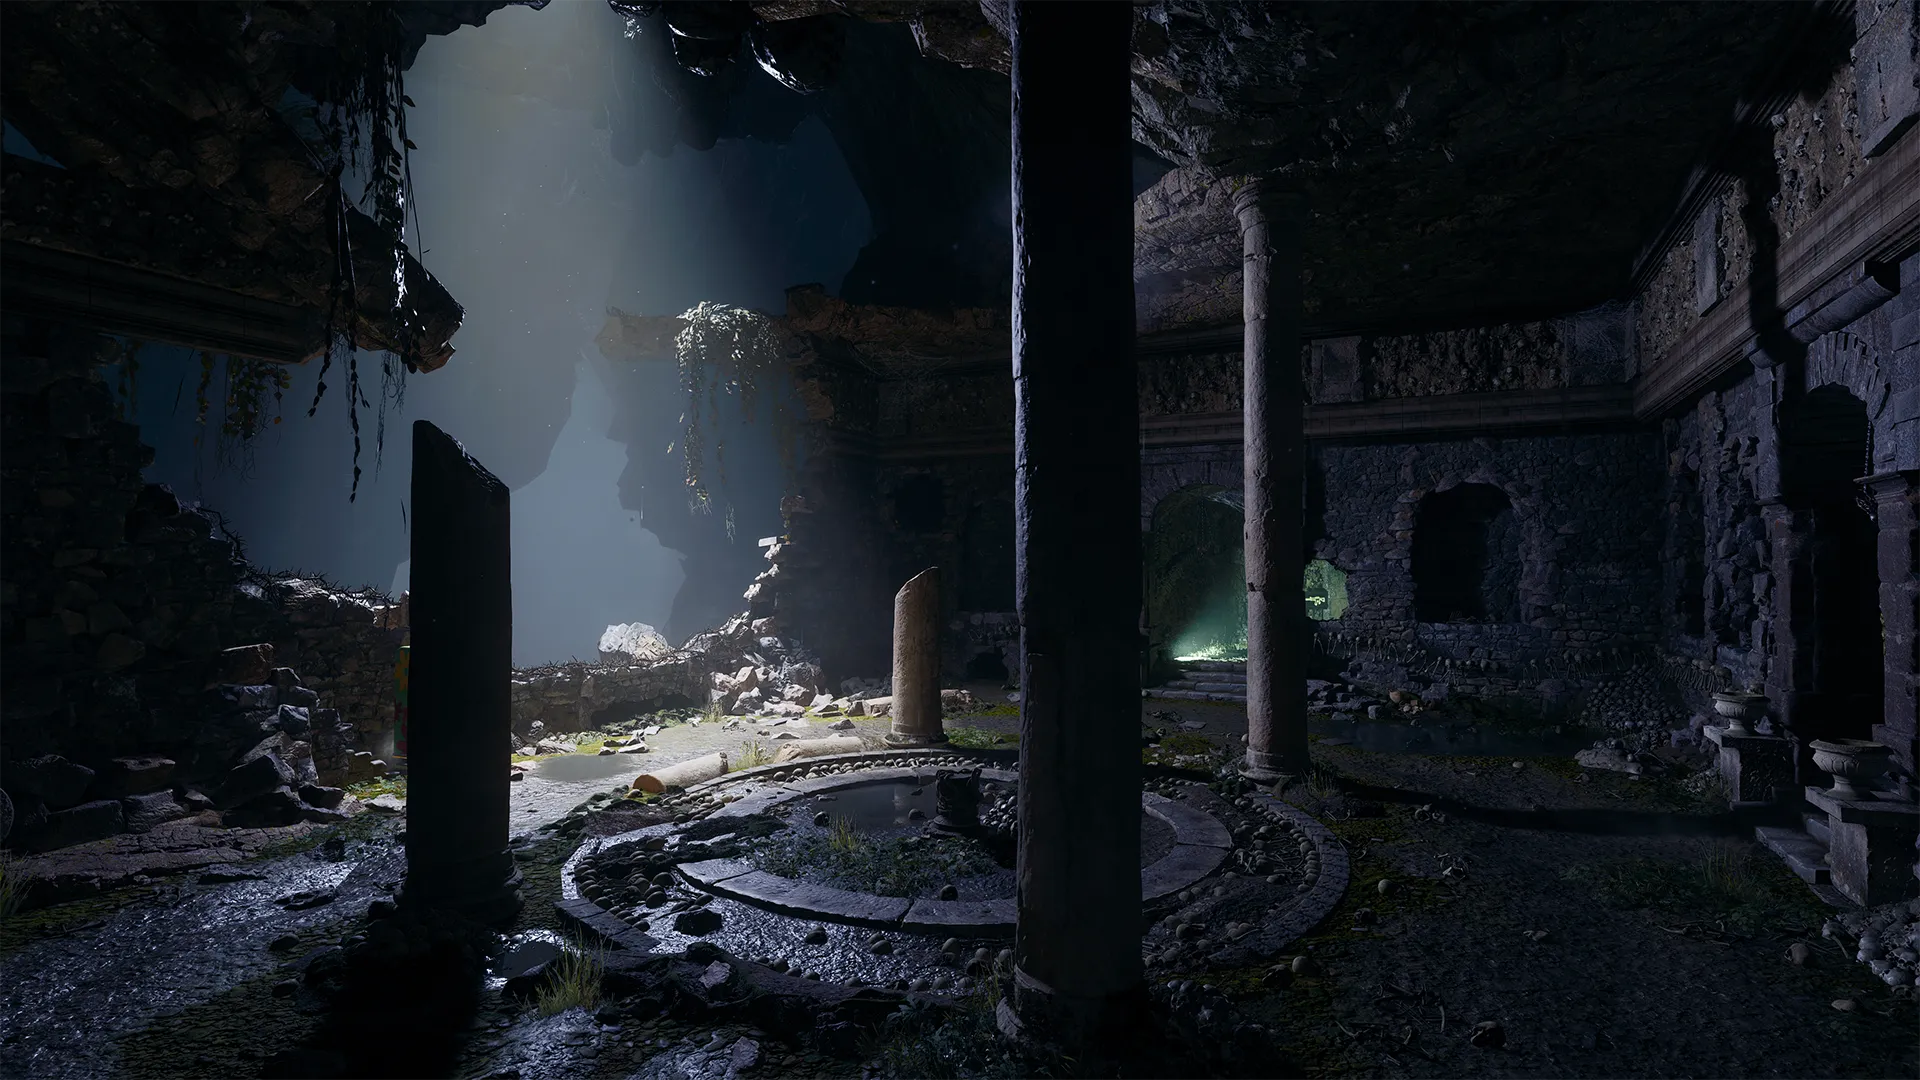
You’ve finally made it to the end of either path where now you can really get a sense of what the team is dealing with deep in The Tomb. The Subterranean Temple is large and if you’re not careful, you can find yourself falling into the abyss.
The first thing you’ll want to do is interact with the large pedestal at the top of the stairs that overlooks the depths of The Tomb. Doing this will place the amulet that you brought with you from Citadelle des Morts and open up the gateway to the Dark Aether. The Pack-a-Punch machine is close, but before you leave the Subterranean Temple, spend a couple of rounds exploring the location because around rounds 6, 7, or 8 you should have enough Salvage to upgrade your starting weapon from Common (gray) to Uncommon (green) in The Arsenal.
Try utilizing the High Contrast Mode accessibility option in the settings if zombies are a little difficult to see.
While you explore The Tomb, it is always a good idea to find your way back to the Subterranean Temple because it has a ton of room to maneuver which helps you avoid being cornered by the incoming hordes. Additionally, once you’ve unlocked the gateway to the Dark Aether Nexus, you will notice as you explore new locations or even go back to where you began this journey, you have unlocked three other gateways to the Nexus. Reference the “Recommended Tasks and Key Power Ups” sections of this guide to find out exactly where these other three gateways have appeared.
Dark Aether Nexus
Recommended round pace when exploring: 9-10
Tasks and Available Power Ups
Perk
Jugger-Nog Perk Machine
Perk
Der Wunderfizz Perk Machine
Equipment
Crafting Table
Ammo
Ammo Cache

If you’re looking for the Der Wunderfizz Perk Machine in the Dark Aether Nexus while on Standard Mode, it is still located here. However, it won’t show up until Round 25.
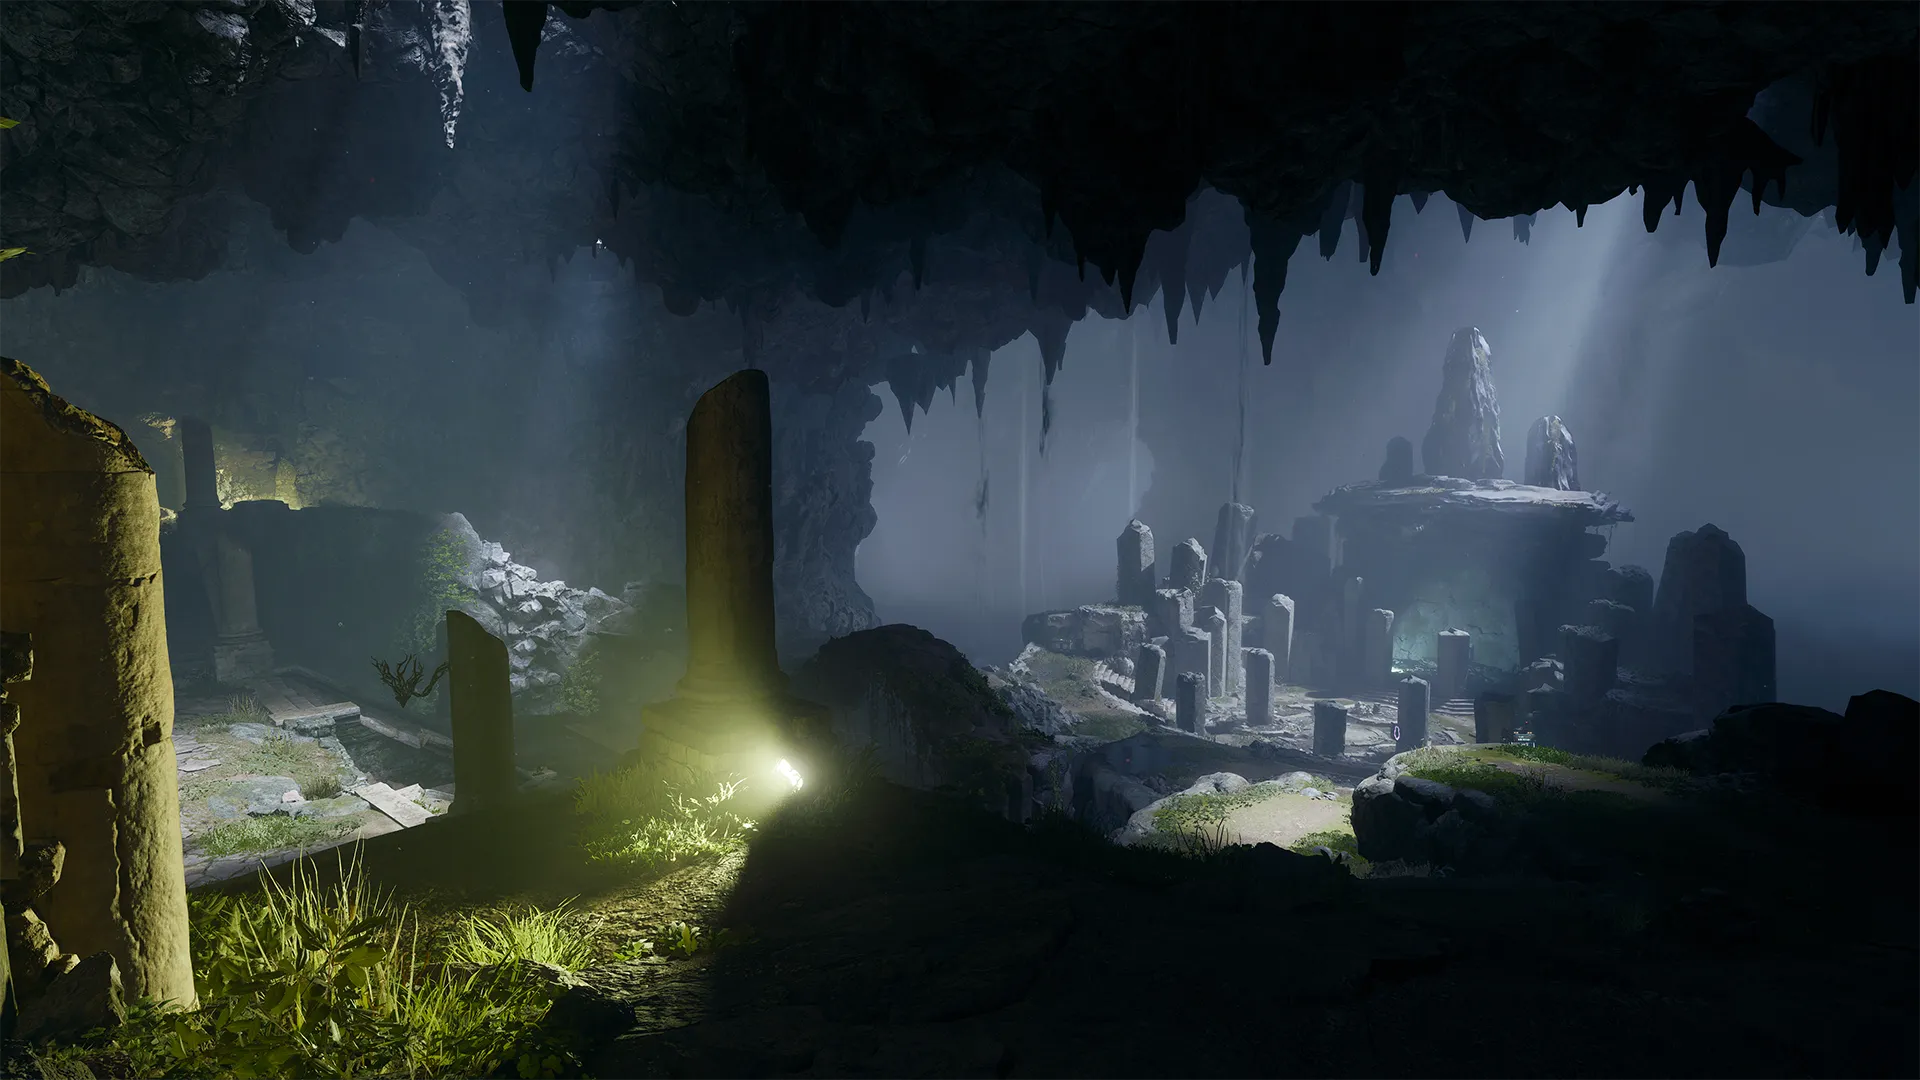
Welcome to the Dark Aether Nexus within The Tomb, where your power levels can really start to increase. When you first arrive inside the Nexus, you’ll find that near the center of it all directly to the southwest of the ritual shrine, a shrine you’ll visit again very soon, is the Pack-a-Punch machine. If you look closely, you may notice a map etched in stone directly behind it. It’s similar to others all around The Tomb. Remember this, because the next time you visit this location, the PaP machine may not be here and the stone map will be your key to finding it again. For a frame of reference, the PaP machine moves about every five to six rounds.
Like the Aether Crystals located all over The Tomb, there are fungi growing all over the Dark Aether Nexus. Destroy them to reveal Salvage hidden inside. This is important to maximize your survival. There may also be some bonus rewards when you destroy them as you get up close and personal with the fungi.
The Dark Aether Nexus is shaped in circular fashion that puts a large open surface in the center that is surrounded by trenches that can be rather useful in gathering the zombie horde together and eliminating as many as possible in the most efficient way. However, the trenches are also a dangerous location as getting trapped there is rather easy. So, if you’re going to use these trenches, don’t overstay your welcome.
Continuing the Story

Continue the fight against the undead and search for clues to the truth of what lies ahead…
Now that you’ve been to the Dark Aether Nexus, you may still have a few more doors to buy, but for the most part, you’ve adventured through much of The Tomb. This is where the Main Quest is going to take a bit more planning and concentration. Read the objectives on your screen very carefully because even though Directed Mode is very thorough and will support your adventure through the story, there are some pieces of the puzzle you’re encouraged to spend some time working through.
While you’re working through each objective, don’t forget to continue upgrading your weapons and Armor vest, because you’ll need it when moving forward and crafting the Wonder Weapon.
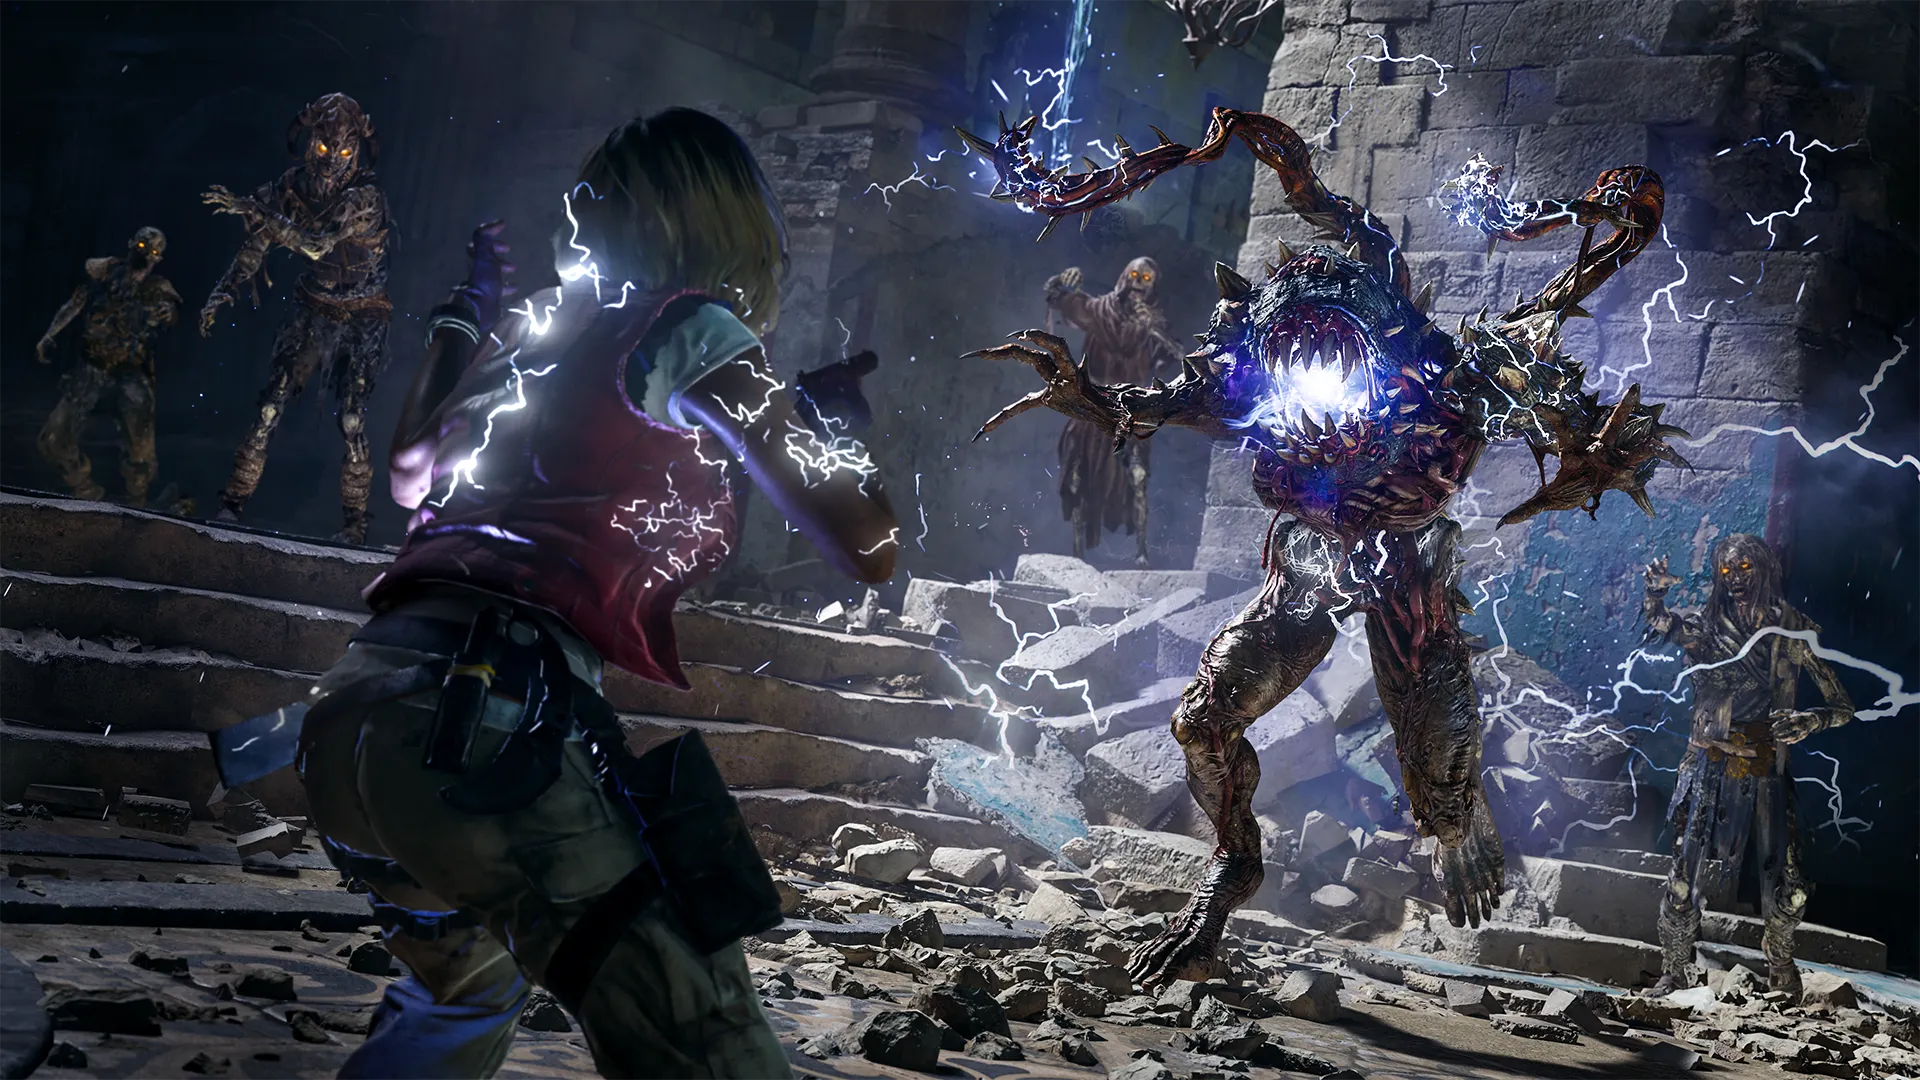
Obtaining the Wonder Weapon

Part of the Main Quest in each Round-Based Zombies map is to obtain the Wonder Weapon exclusive to that map. The Tomb isn’t any different. The Tomb’s Wonder Weapon is the illustrious Staff of Ice, and to obtain it, you and your squad, or you alone, should make a few significant upgrades before attempting to begin the ritual building of the Wonder Weapon. It is technically possible to complete this part of the Main Quest without any upgrades, but it will be difficult.
Some suggested upgrades would be to have a main weapon to at least the first level of PaP and a rarity of at least Rare (blue). It may also be helpful to have Jugger-Nog and Speed Cola equipped so that you have enough of a health pool to survive the onslaught of the Wonder Weapon ritual and lower the chances of being downed while reloading. But before you begin the ritual, you’ll have to complete two different sequences to reveal and collect the pieces of the staff that need to be fused together.
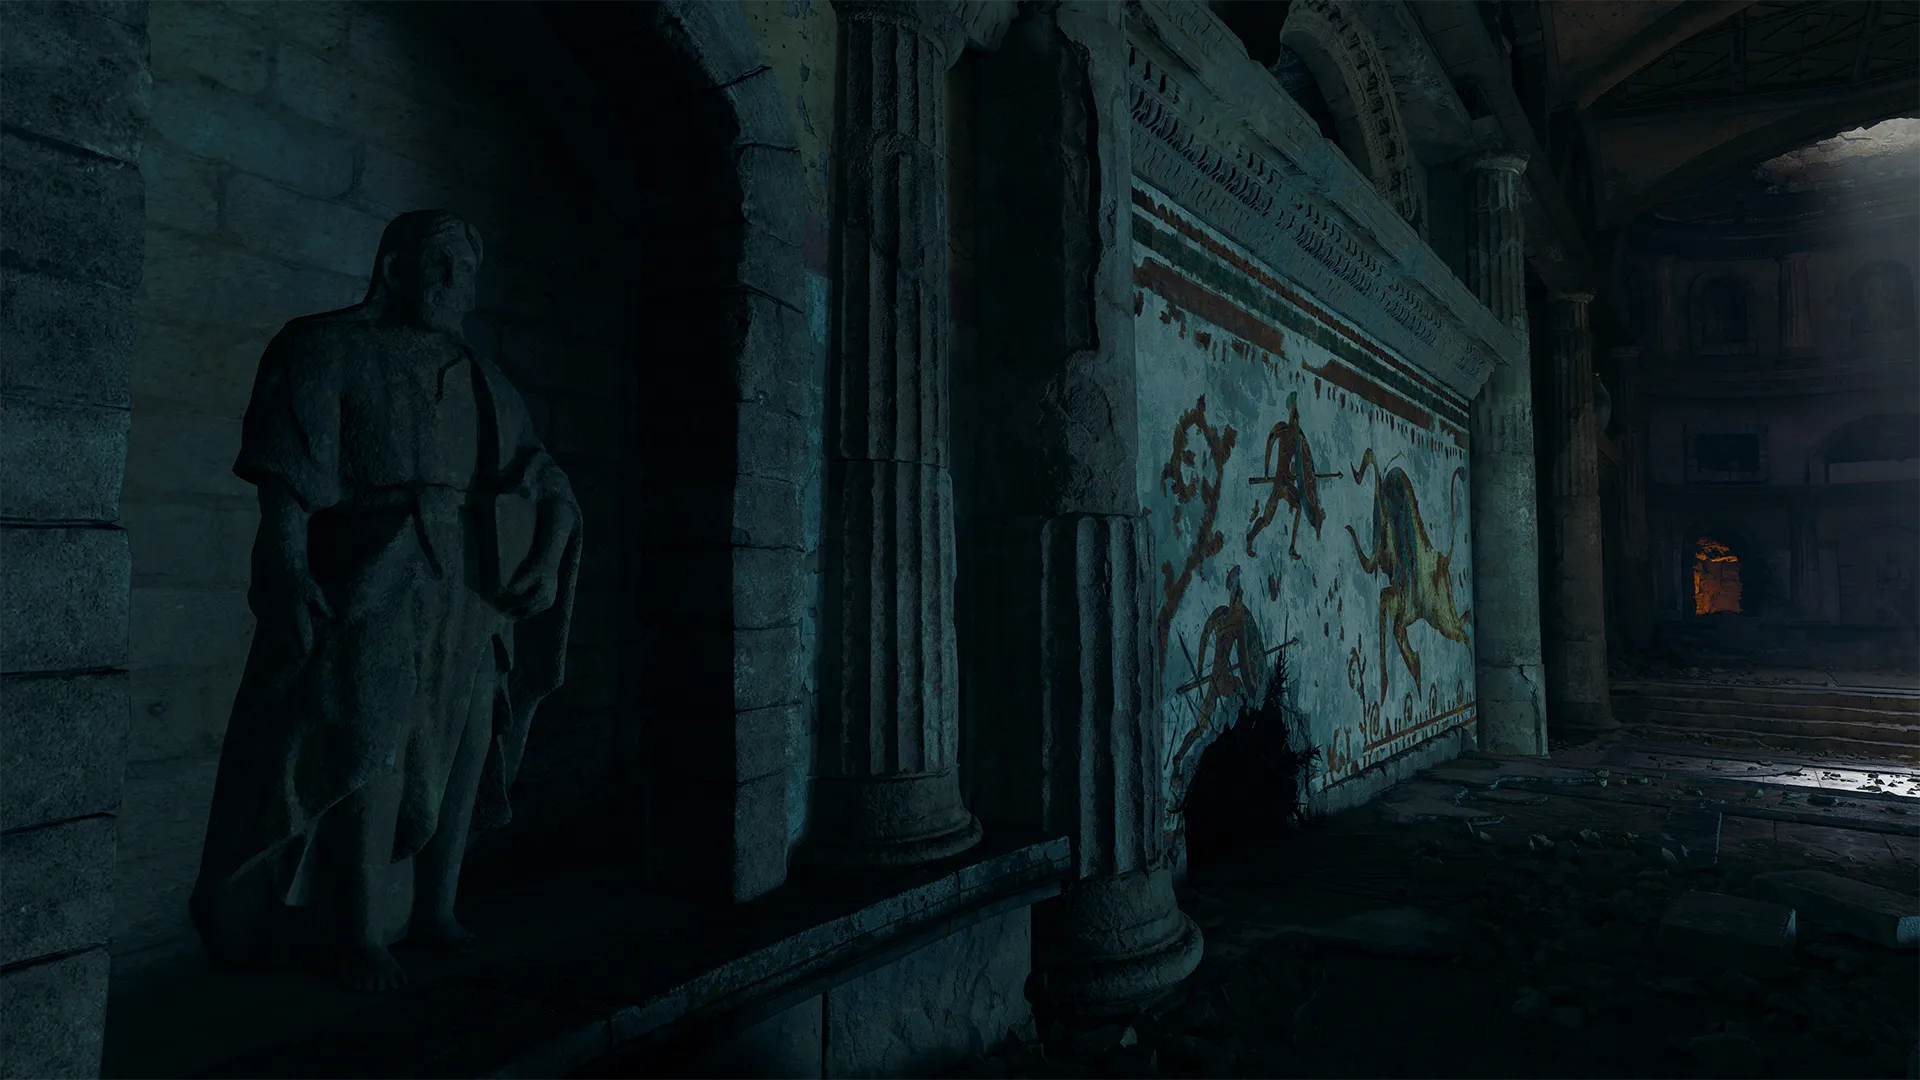
Remember the Aetheric Lantern sconces that were mentioned earlier? This is where they come into play. It’s important to take moment to explore your surroundings a bit before shooting each of the lanterns, as it is easy to skip past the objective you’re attempting to achieve. When the correct lantern is shining on the wall painted with the hidden runes, they will reveal themselves and you must activate them in numerical order by shooting each one. Complete this task and head on into the Dark Aether Nexus to complete it. Make sure you’re prepped with all the firepower you can muster.
Map the Moving PaP
If you’re familiar with Zombies in Black Ops 6, then you’re probably used to being able to go to the same location to Pack your weapon to the next level. However, if you’ve spent some time in The Tomb, you may notice that when you dive back into the Dark Aether, the Pack-a-Punch machine may not be there. If you look at the location it’s meant to be in, there’s a small glowing map etched into the stone sitting right behind the machine area. Use this to find where it may have moved.
Each room detailed in this guide represents each of the locations on the stone map, so finding the location of the PaP machine shouldn’t be an issue. The small dot will reveal your current location as well, just in case you’re feeling a little lost.
Death Perception to Help Survivability
The Tomb is filled with many dark corridors and corners that can make zombies sneaking up on you, when you don’t quite expect it, rather common. Death Perception helps alleviate that stress and gives you an opportunity to hide around corners from zombies attempting to swarm your location. They will always come straight to you, but you can use the terrain and objects to force them to take some time getting to you. This Perk can give you an advantage when attempting to figure out some of the more puzzling objectives, because you’ll always have a good idea where the enemy is approaching from.
Actively Gather Salvage

After spending any time in Black Ops 6 Zombies, you may have noticed that there are two different types of currencies: Essence, which is what you used to buy doors, weapons, and many other upgrades; and Salvage, which is used to upgrade the rarity of your weapon and add an Ammo Mod to it, as well as any of the craftable equipment at the crafting table. Salvage can be difficult to get because gaining Salvage isn’t exactly as consistent as gaining a certain amount of Essence per zombie elimination.
Thankfully, The Tomb has a few very helpful ways to gain Salvage. As you’re exploring, look for the bright glowing Aether Crystals all around the map. They have a high chance of dropping Salvage when they’re destroyed. Then when you’re in the Dark Aether, look for the green and purple fungi all over the ground and destroy them. These fungi are great ways to gain Salvage quite fast and can help you upgrade your weapons and gear even faster than a round of zombie eliminations might give you. The more currency you have, the more upgrades you can make.
© 2025 Activision Publishing, Inc. ACTIVISION, CALL OF DUTY, and CALL OF DUTY BLACK OPS are trademarks of Activision Publishing, Inc. All other trademarks and trade names are the property of their respective owners.
For more information, please visit www.callofduty.com and www.youtube.com/callofduty, and follow @Activision and @CallofDuty on X, Instagram, and Facebook. For Call of Duty Updates, follow @CODUpdates on X.


