Modern Warfare III Multiplayer Map Guide — Emergency

Prebrief
Disaster breaks out at the State Disease Control Agency (SDCA) in Sedona, Arizona. An APC has crashed into the Lobby of the building, a damaged chopper spews smoke and flames on the helipad, and fires in the distance cloud the view of the ragged sandstone formations. Inside, shattered glass signals some kind of struggle.
In this small 6v6 map, the fight is split between the interior of the SDCA building and the exterior Lookout. Though verticality plays some role here, the stronger focus is on using the environment’s ample cover to win straight-on skirmishes and battle flanking enemies through the myriad available pathways connecting everything. Whether moving indoors or outdoors, smart maneuvering over and around the available cover objects will drastically improve your chances of building up momentum.
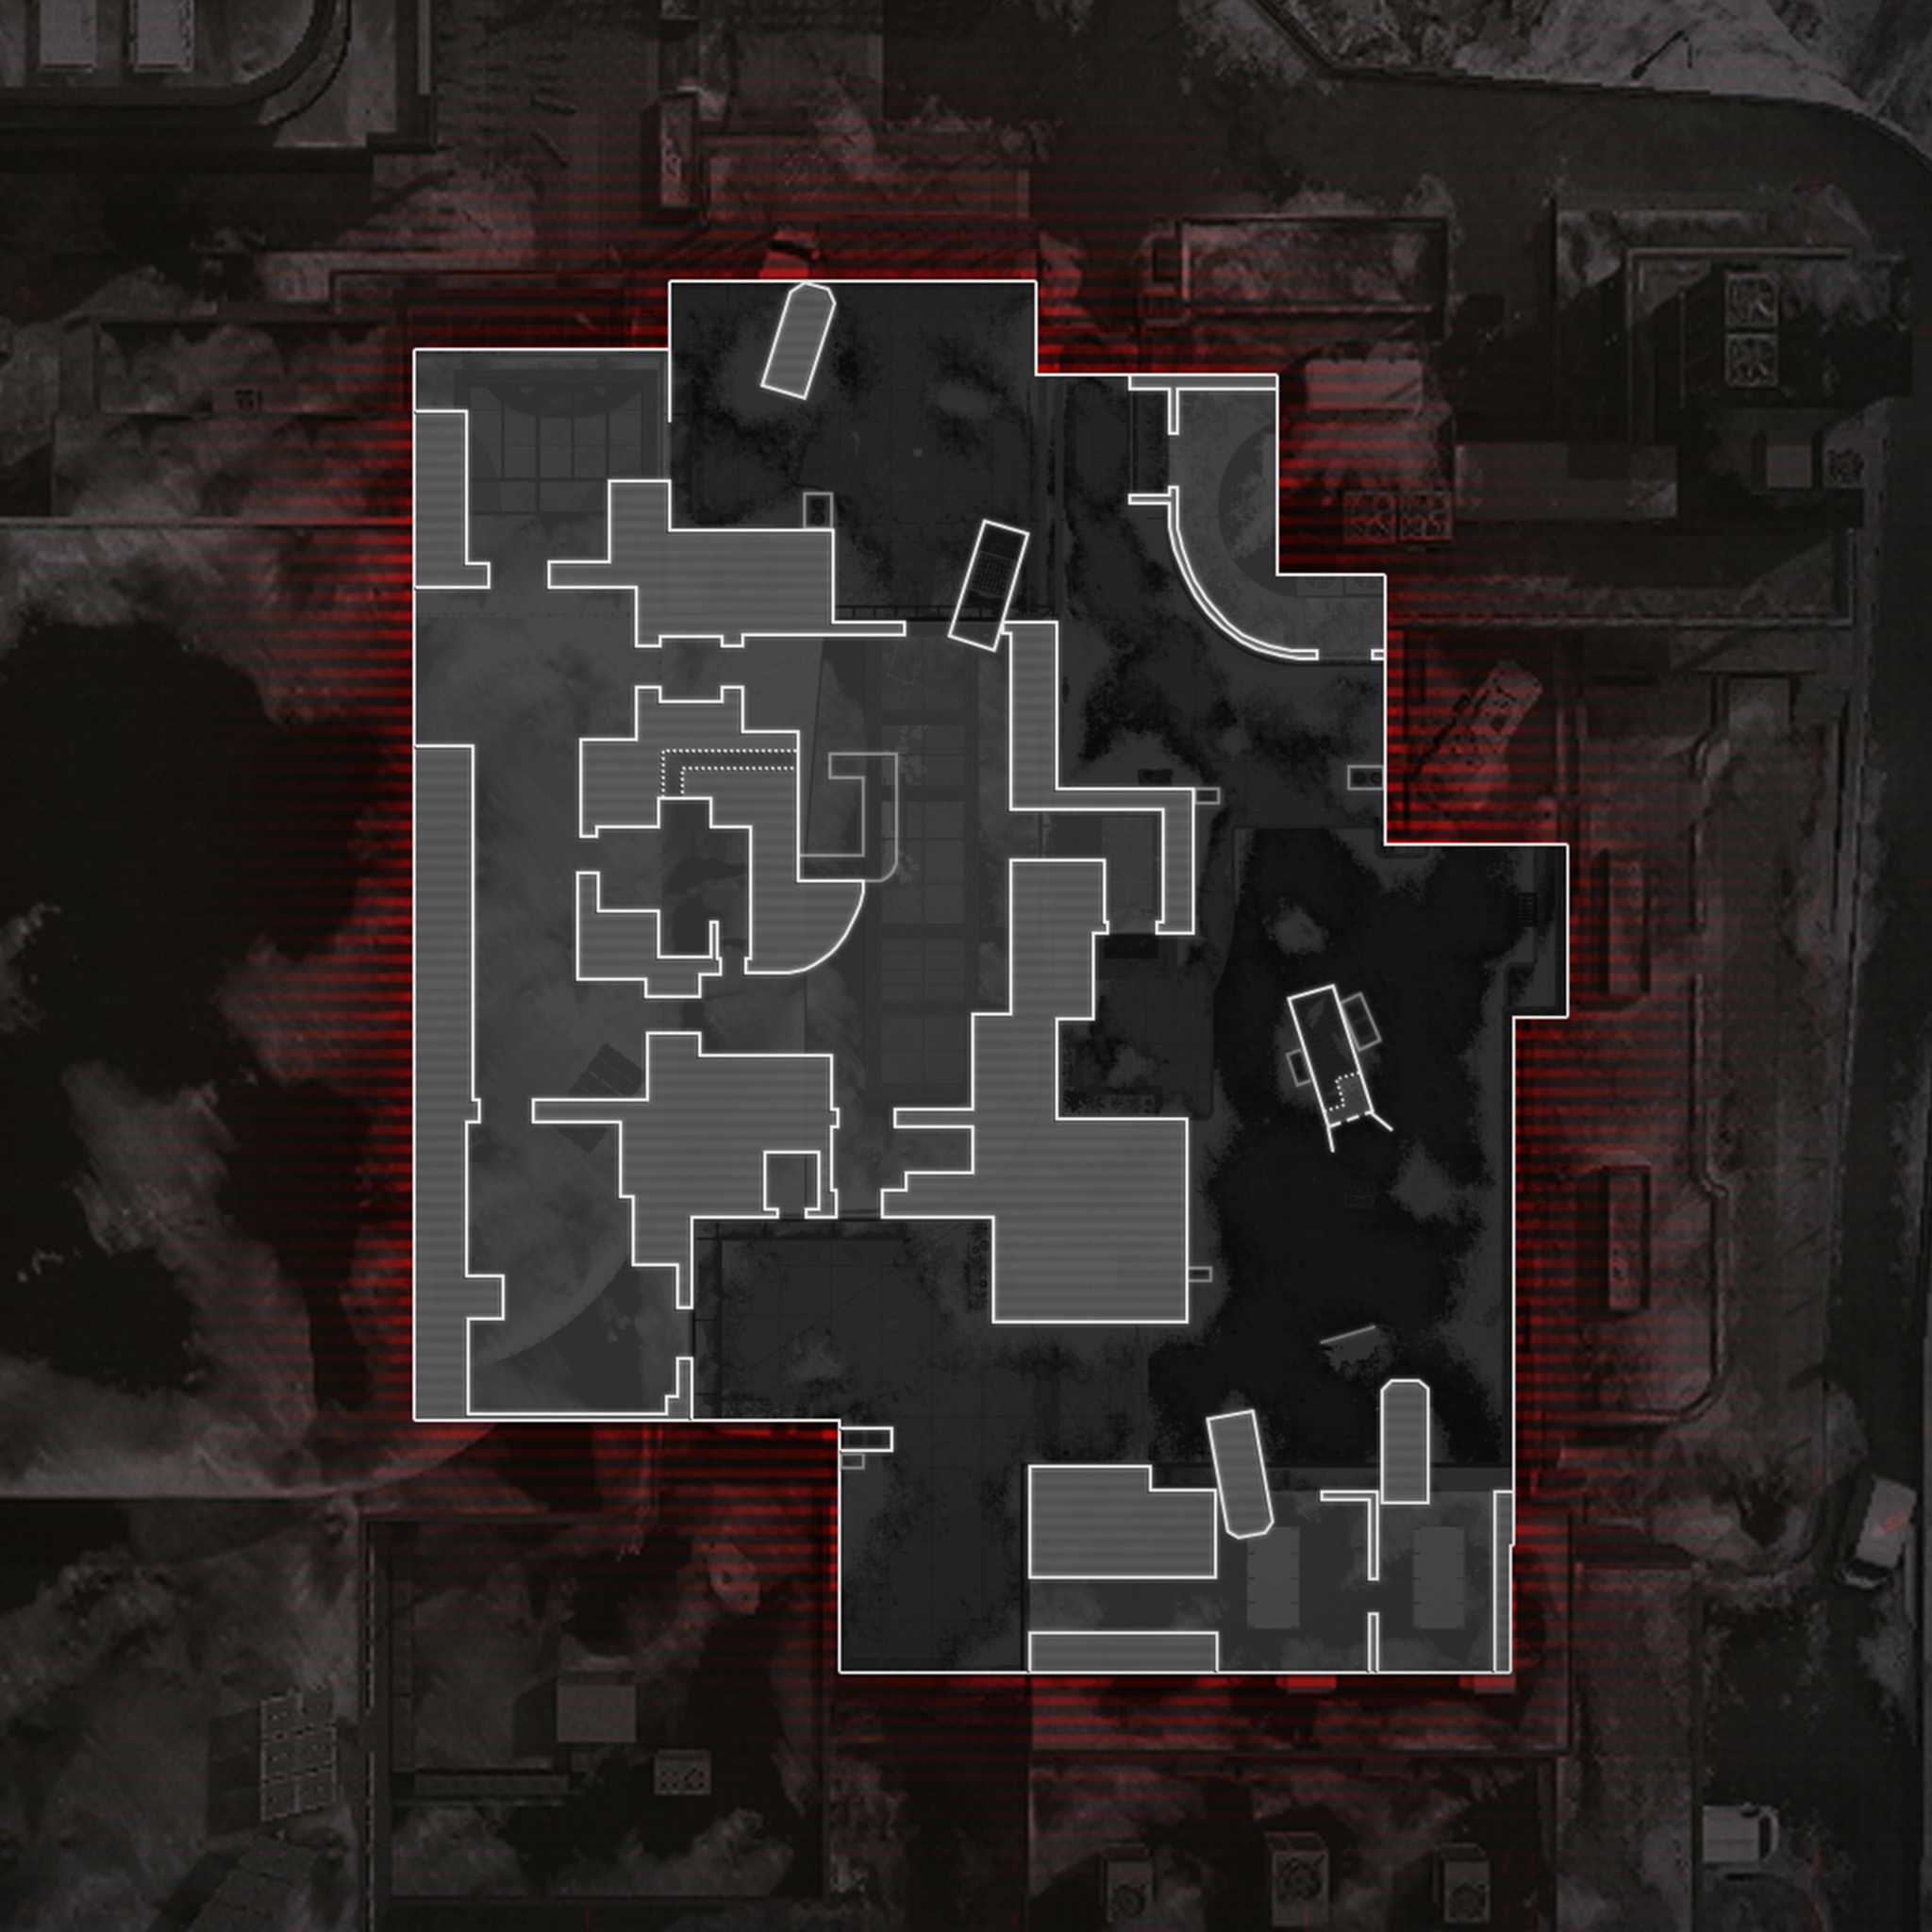


-
Show areas

-
Show hardpoints

-
Show domination flags

-
Show search & destroy sites
-
Show spawn points

-
Reset all overlays

// INTEL CARD
- MWIII
- WZ
- WZM
Emergency
// MULTIPLAYER MAP // CORE
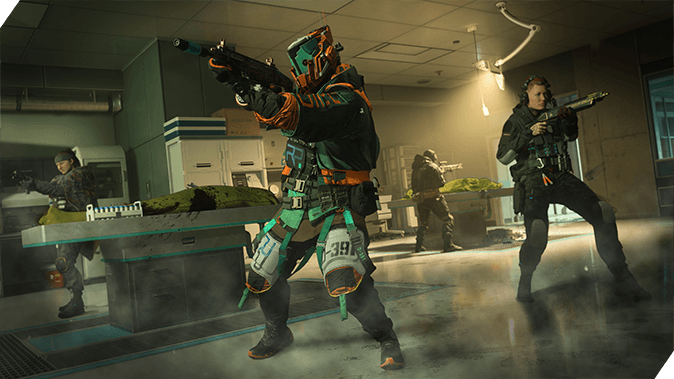
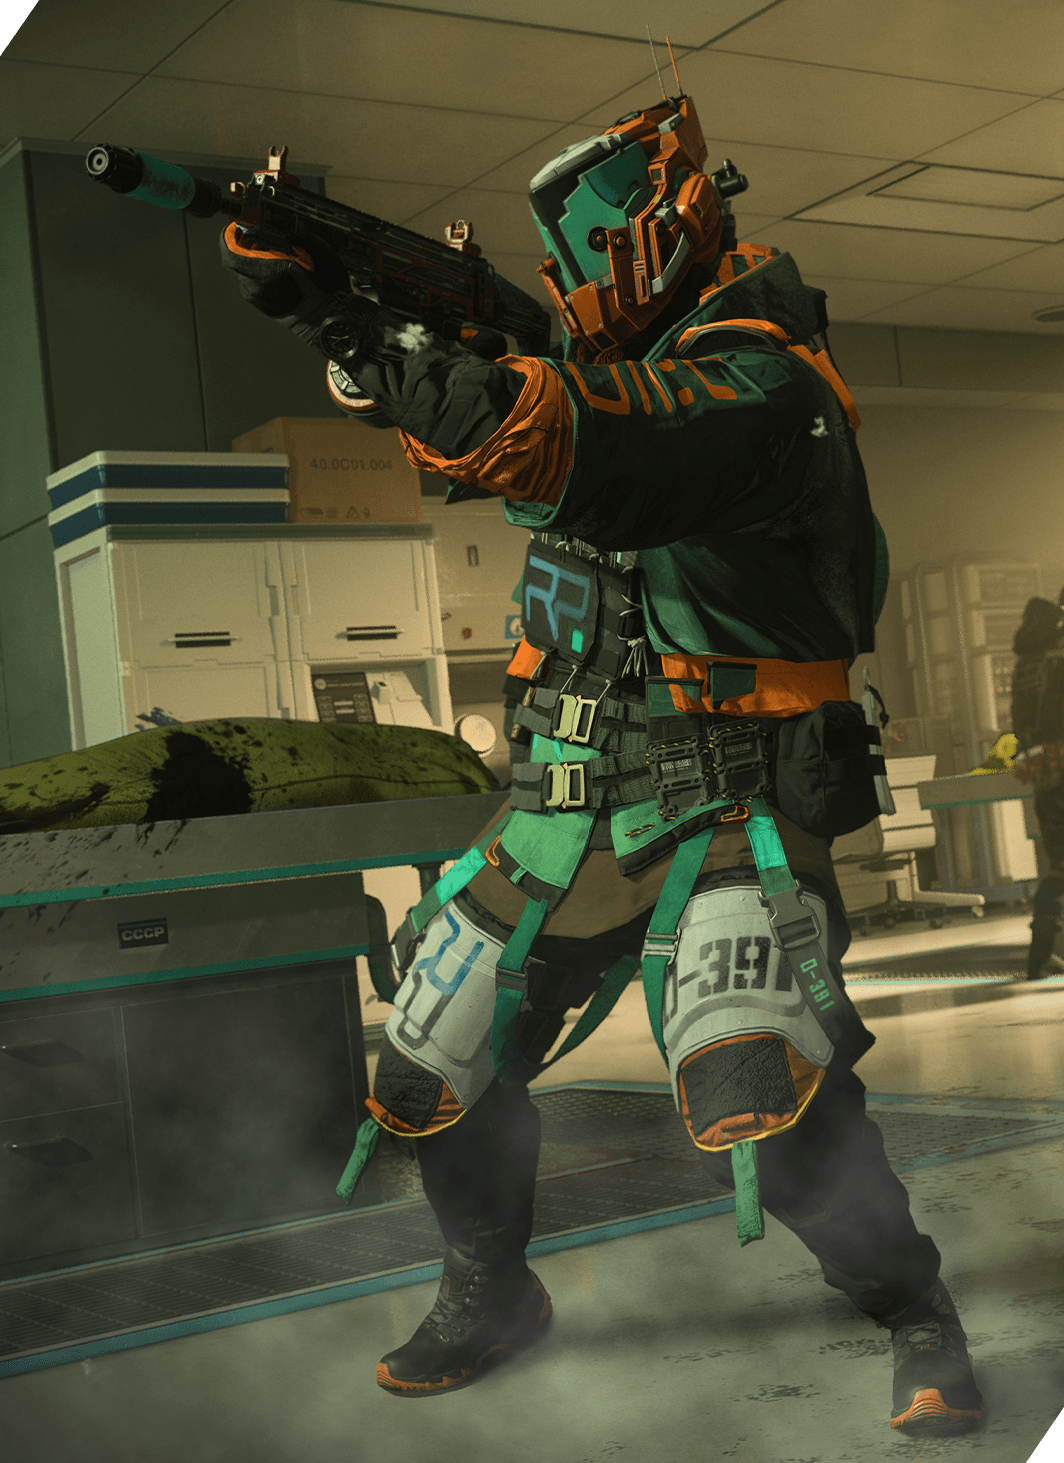
Armor up: Equip the Engineer Vest and pair EOD Padding with Tac Mask for a solid defensive boost against explosions and enemy throwables. Add on the Stalker Boots for faster strafing and ADS movement so you can stay mobile with your sights at the ready.
Rush for cover: The building’s Hallway, Restroom, and Lab are your best bet for overhead cover. Large glass panes line the roof over the Lobby, and side views into Administration and the Garage expose you to angled attacks. Head to where it’s truly safe and prepare to defend your position against other informed Operators seeking similar shelter.
Tac-Stance and mount: Don’t underestimate the combined mobility and accuracy of Tac-Stance indoors; if you need to zero in on your target, mount your weapon on a nearby obstacle for precision aim.
Tactical Overview
In team-based modes, squads will either spawn by the vehicles in Evac (north) or by the Service Access (south).
A wing of the SDCA building and the exterior Lookout divide the two spawns. Whether you head inside or stick to the outer road, expect immediate resistance.
We’ve divided Emergency into four sections based on key areas around the map:
- MAIN SPAWN POINT: Evac (+ Administration, Waiting Area)
- MAIN SPAWN POINT: Service Access (+ Garage, Elevator, Lab)
- ADDITIONAL AREA: Lobby (+ Hallway, Restroom)
- ADDITIONAL AREA: Lookout (+ Services)
MAIN SPAWN POINT: Evac (NORTH)
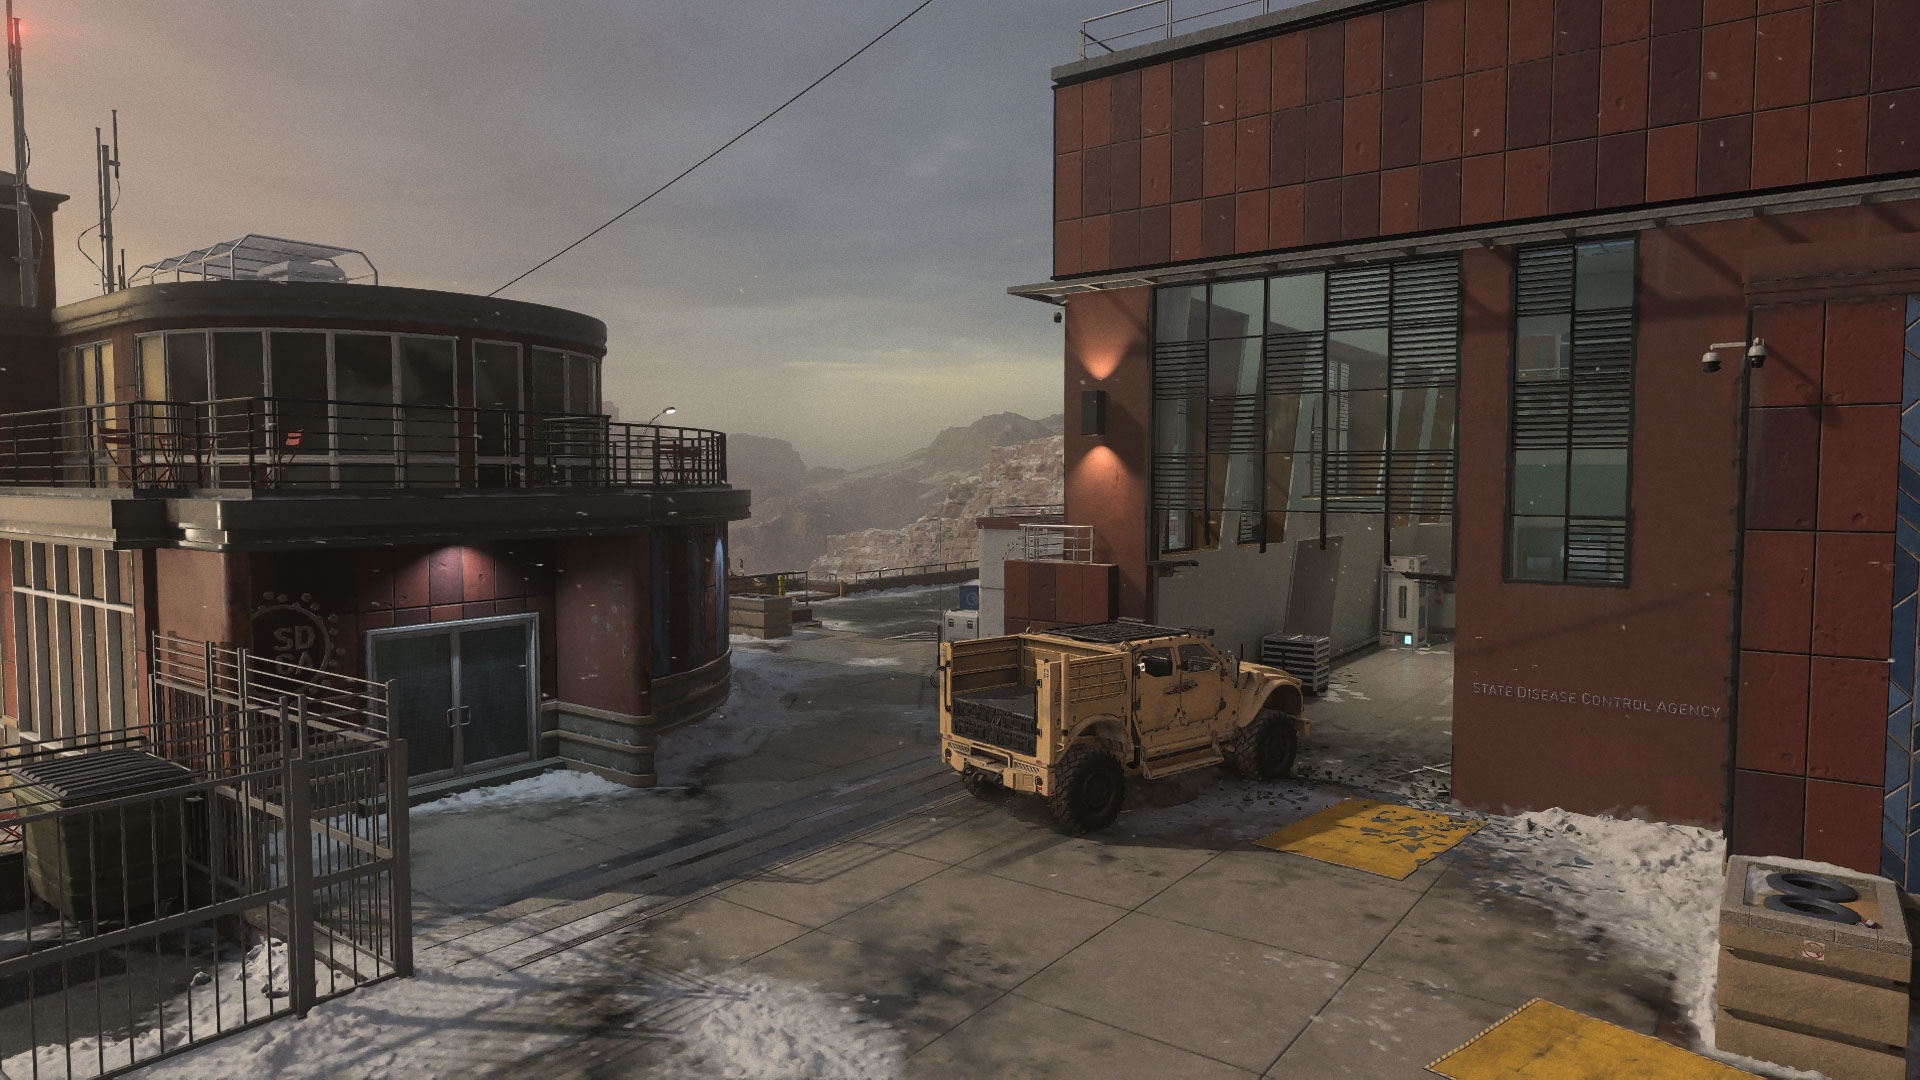
The Evac spawn offers a powerful starting point into the rest of the map. Climb into the back of the APC for a covered view into the Lobby or swing over to the Waiting Room and eliminate enemies moving through the Hallway.
The Administration building makes for a strong bulwark against enemies coming from Lookout, and as the match progresses, it becomes a key pivot point in the area. Use the vehicles here for cover to limit incoming sightlines based on the lane(s) you’re currently focused on to minimize your chances of getting caught off guard by an unexpected flank attack.
MAIN SPAWN POINT: Service Access (SOUTH)
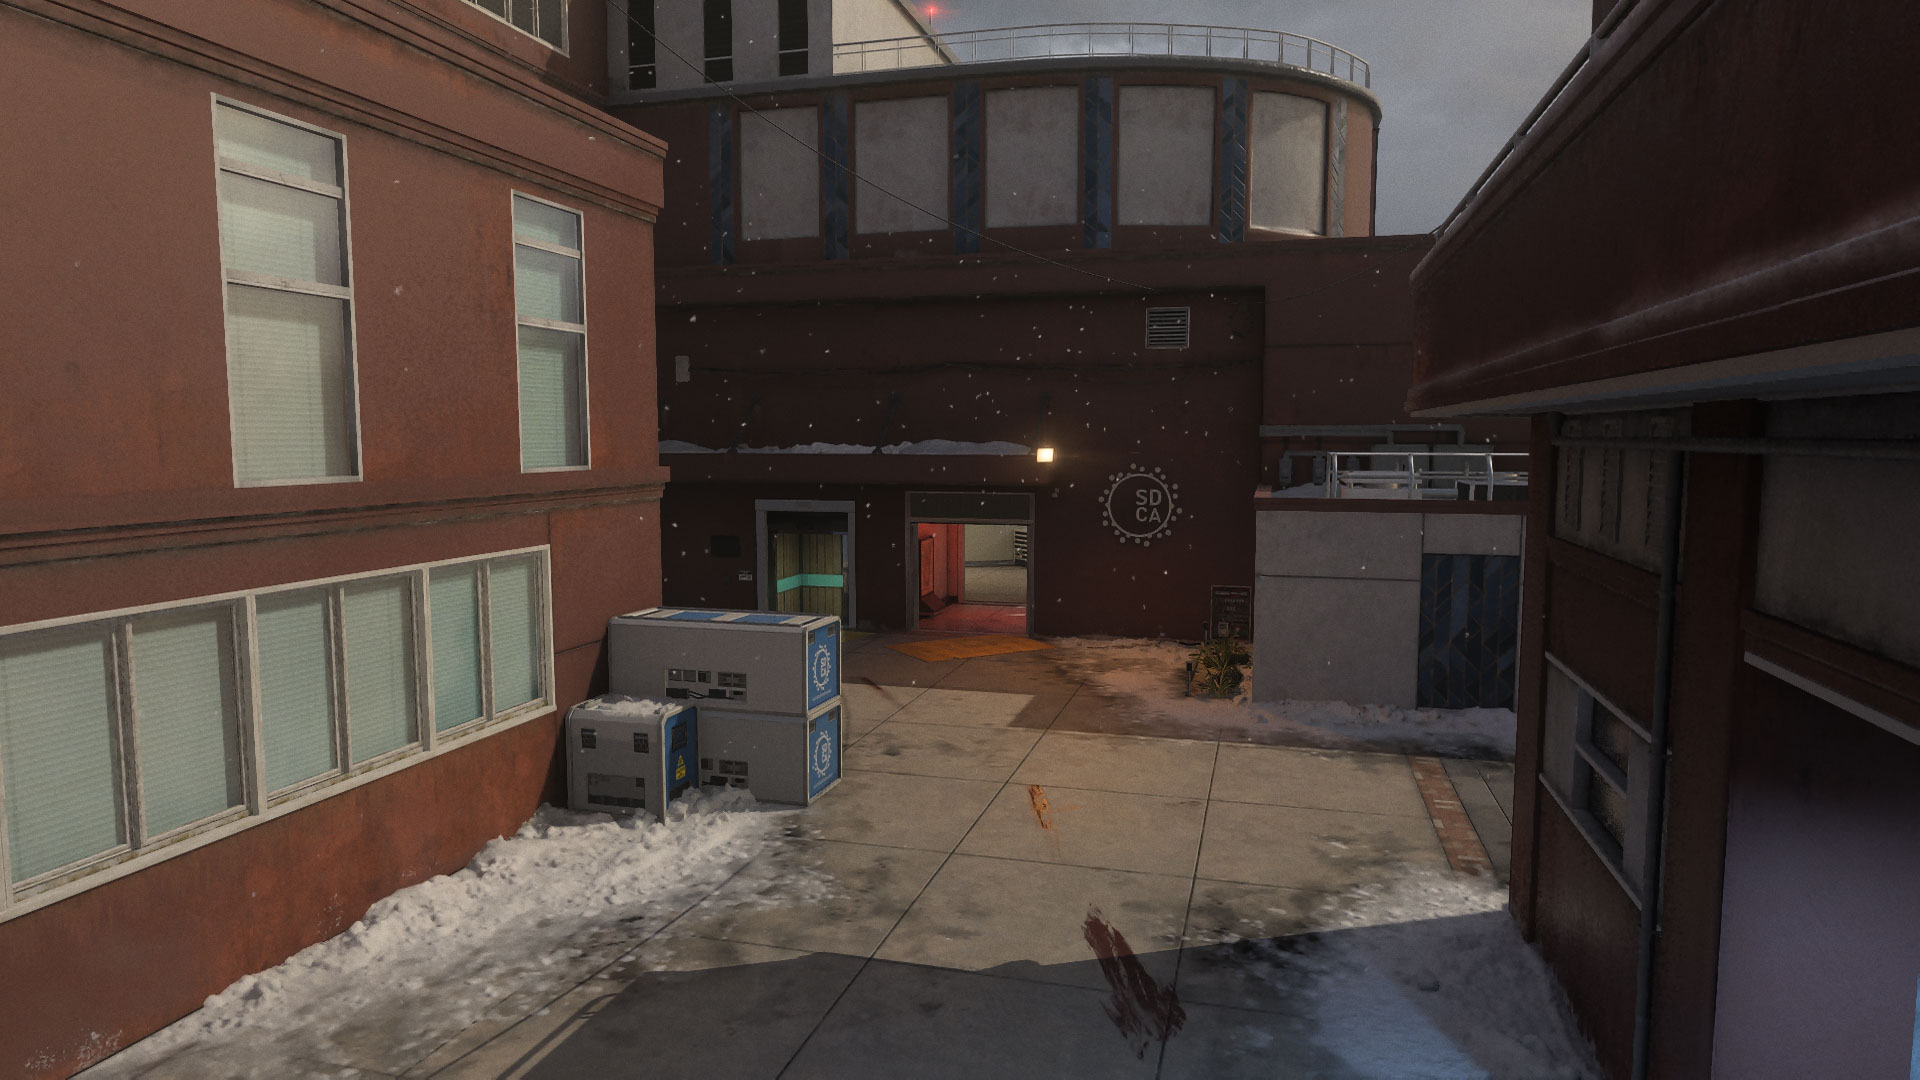
The Service Access spawn offers quick traversal to several key areas. The nearby Garage provides ample cover against enemies in Lookout; expect long-ranged shootouts between here and the opposing Administration building.
The Elevator next to the sliding doors leading into the Lobby is a prime ambush point. When the fighting gets heated, an Operator stationed here can tag passing enemies while remaining out of sight. Always check the location when passing through to avoid a similar fate. Next to it, the open doors lead straight into the Lobby; duck into the small adjoining room and fire through the opening for a strong defensive position.
Players running to the double stacked medical freezers from the KORTAC Spawn (South) may not be running for cover but gain another firing angle over the top of the freezers. Paying attention to this spot could save you from a death or two.
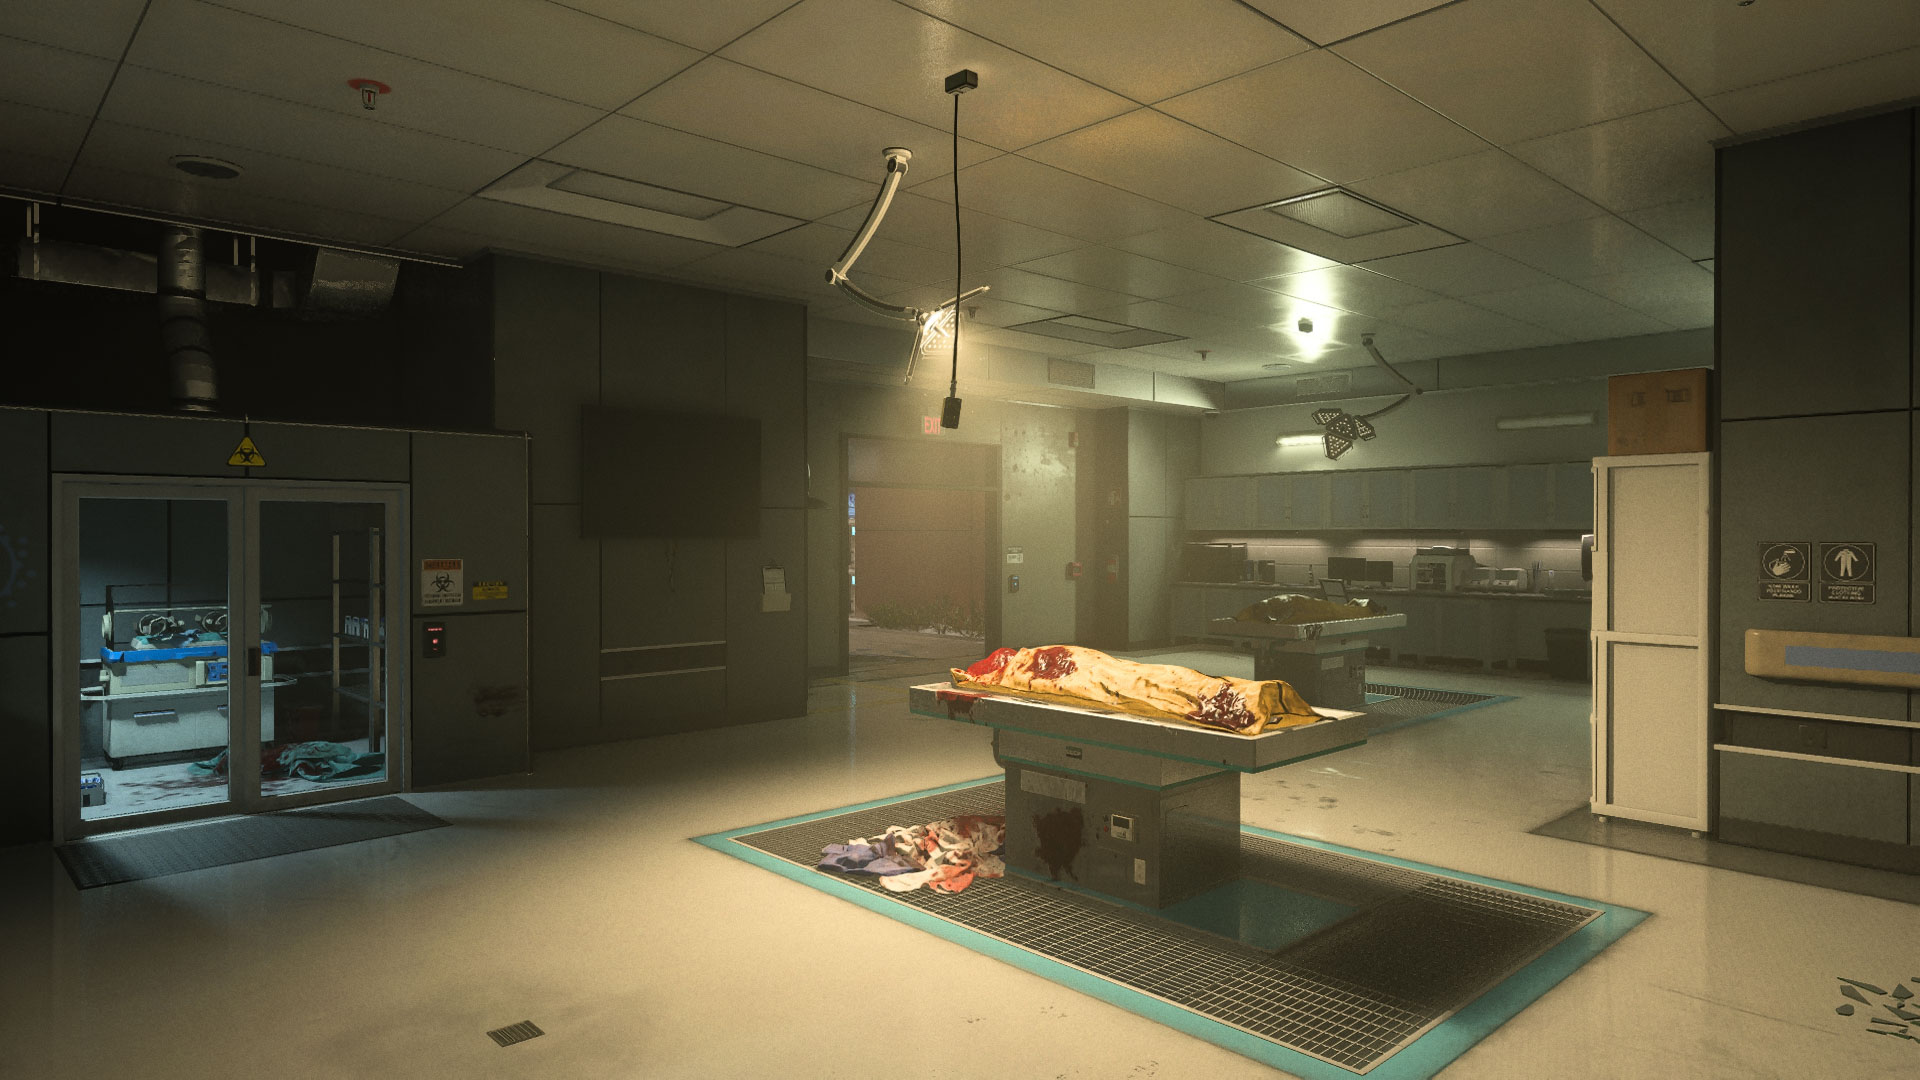
Don’t linger in the Lab for too long; instead, strafe around for some extra cover while moving toward the Hallway. The Lab is also a good area for attacking enemies in Service Access, so long as you get behind the equipment to disrupt sightlines from Hallway while doing so.
ADDITIONAL AREA: Lobby
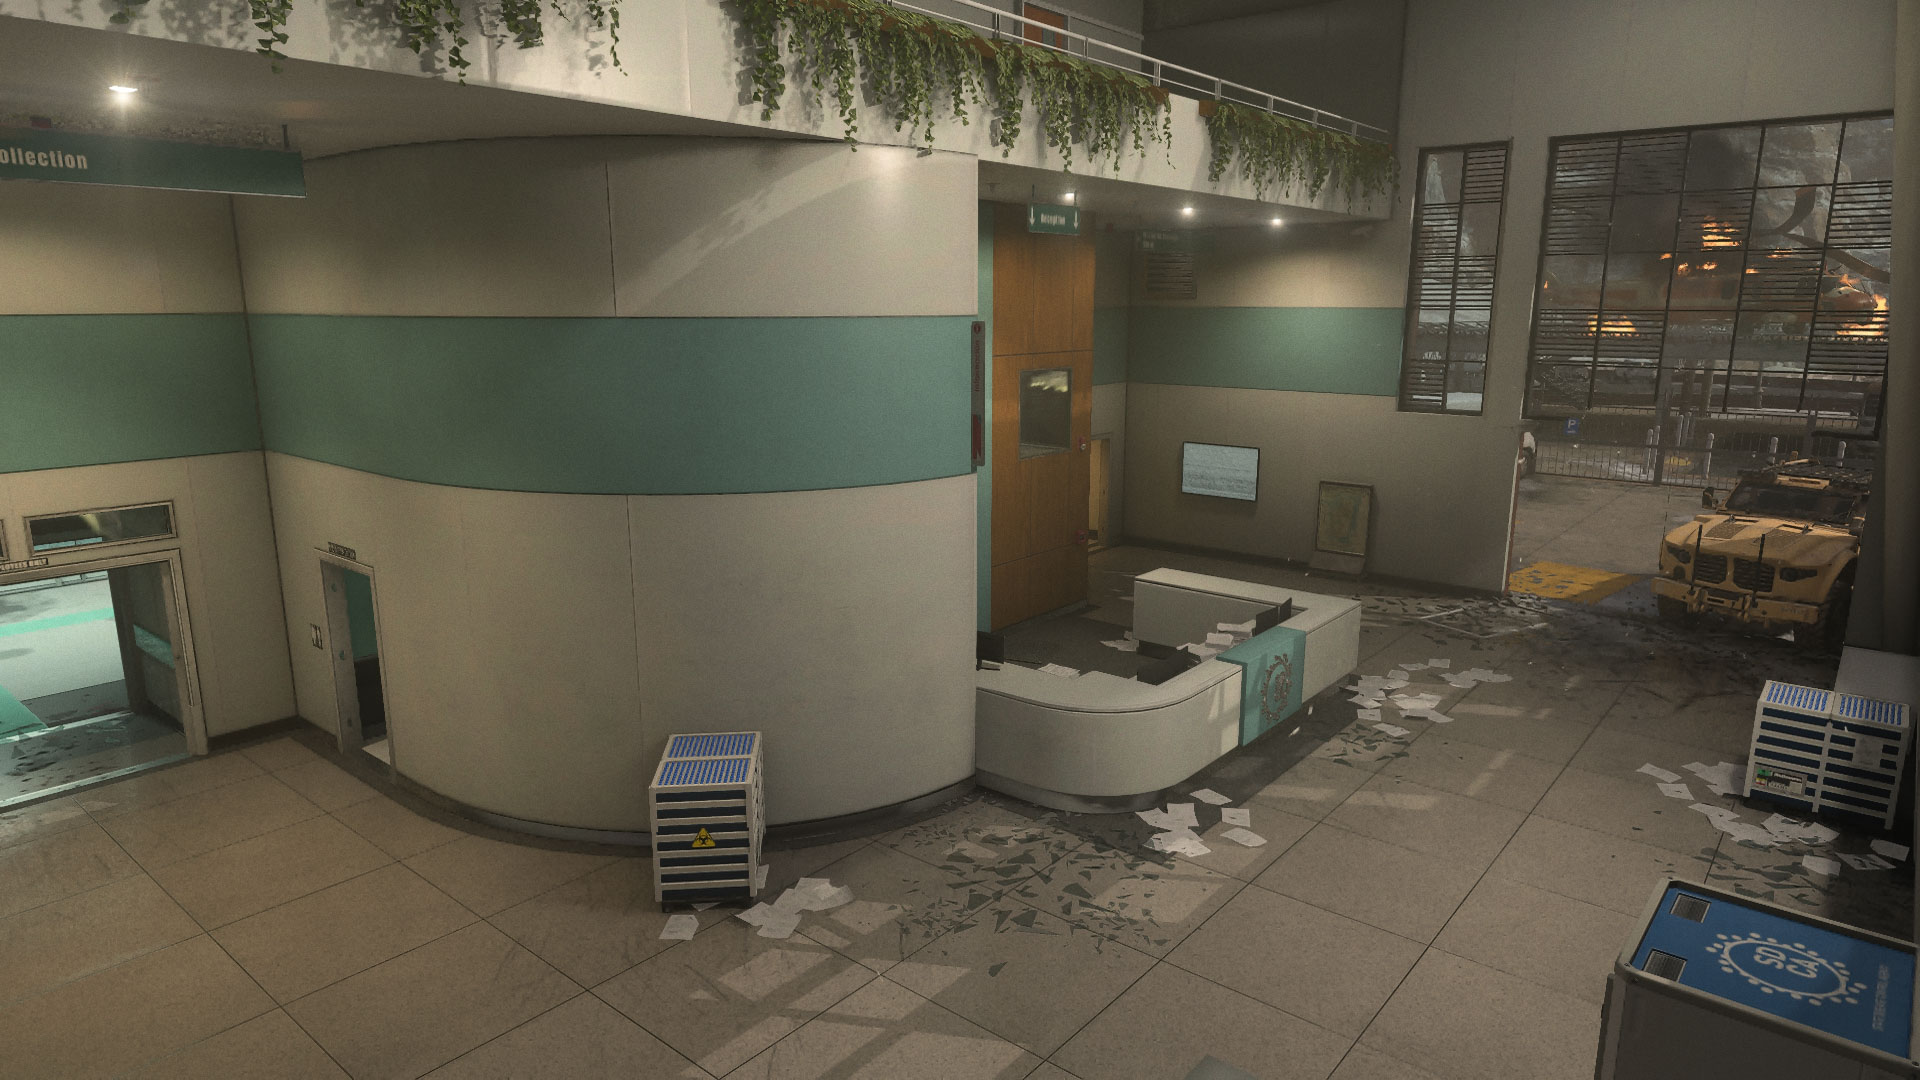
The high Lobby ceilings leave ample room for tossing grenades toward opposing ends, and its mostly open layout challenges Operators to commit to their movements when passing through. There are several key points leading into the Lobby: the smashed entrance by Evac, the double doors from the Service Access, and the middle entrance from Lookout.
Aim high when running through the Lobby because directly above the reception desk is a ventilation shaft where Operators can hide. The ventilation shaft leads to the Restroom and provides both an escape route as well as an advantageous angle to defend both the Lobby and Restroom almost simultaneously from unsuspecting attackers.
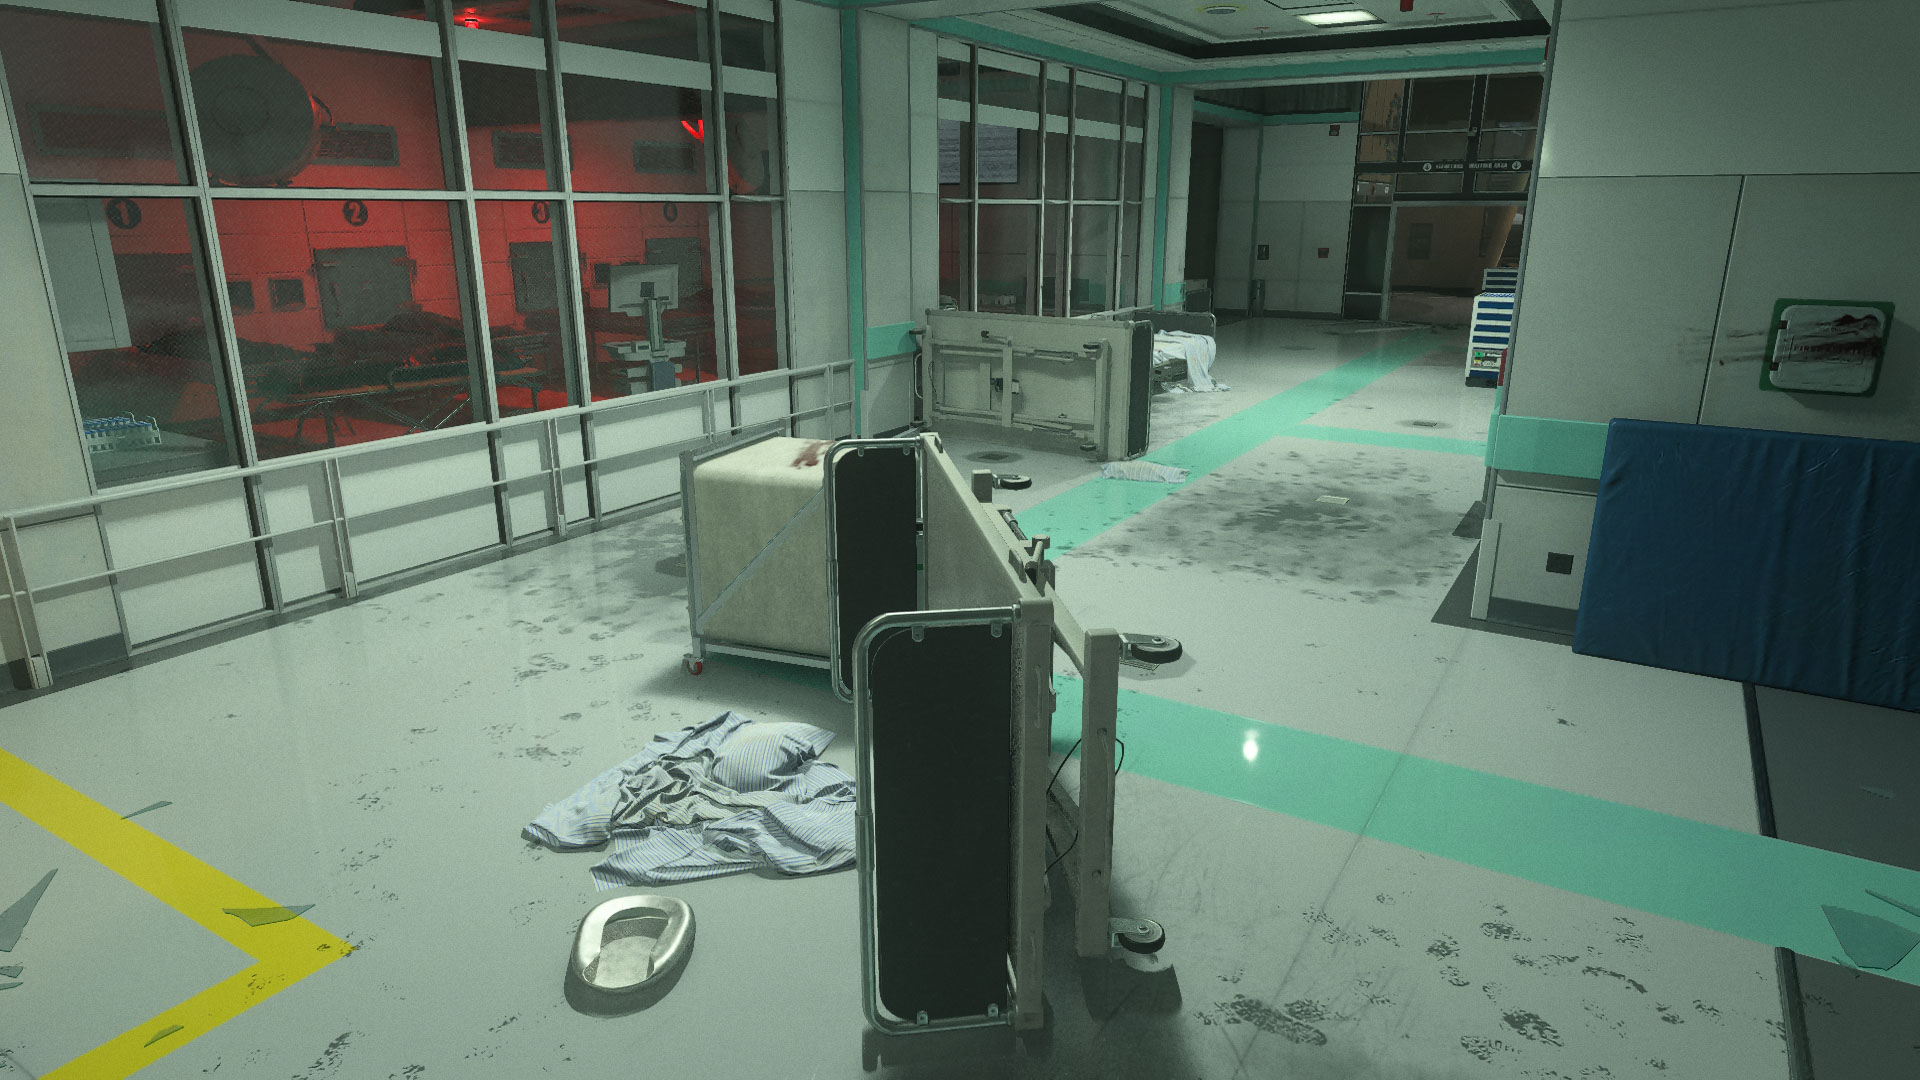
The Hallway is a fully covered interior space littered with midsized cover objects allowing tactical movement through the area. You’ll still need to be ready to turn on a dime, however, as multiple points of entry line the Lobby side wall, and there are entry points from the Waiting Area and Lab. Mid- to long-ranged weapons perform well here, too, if you prefer to cover the Hallway as opposed to moving through it.
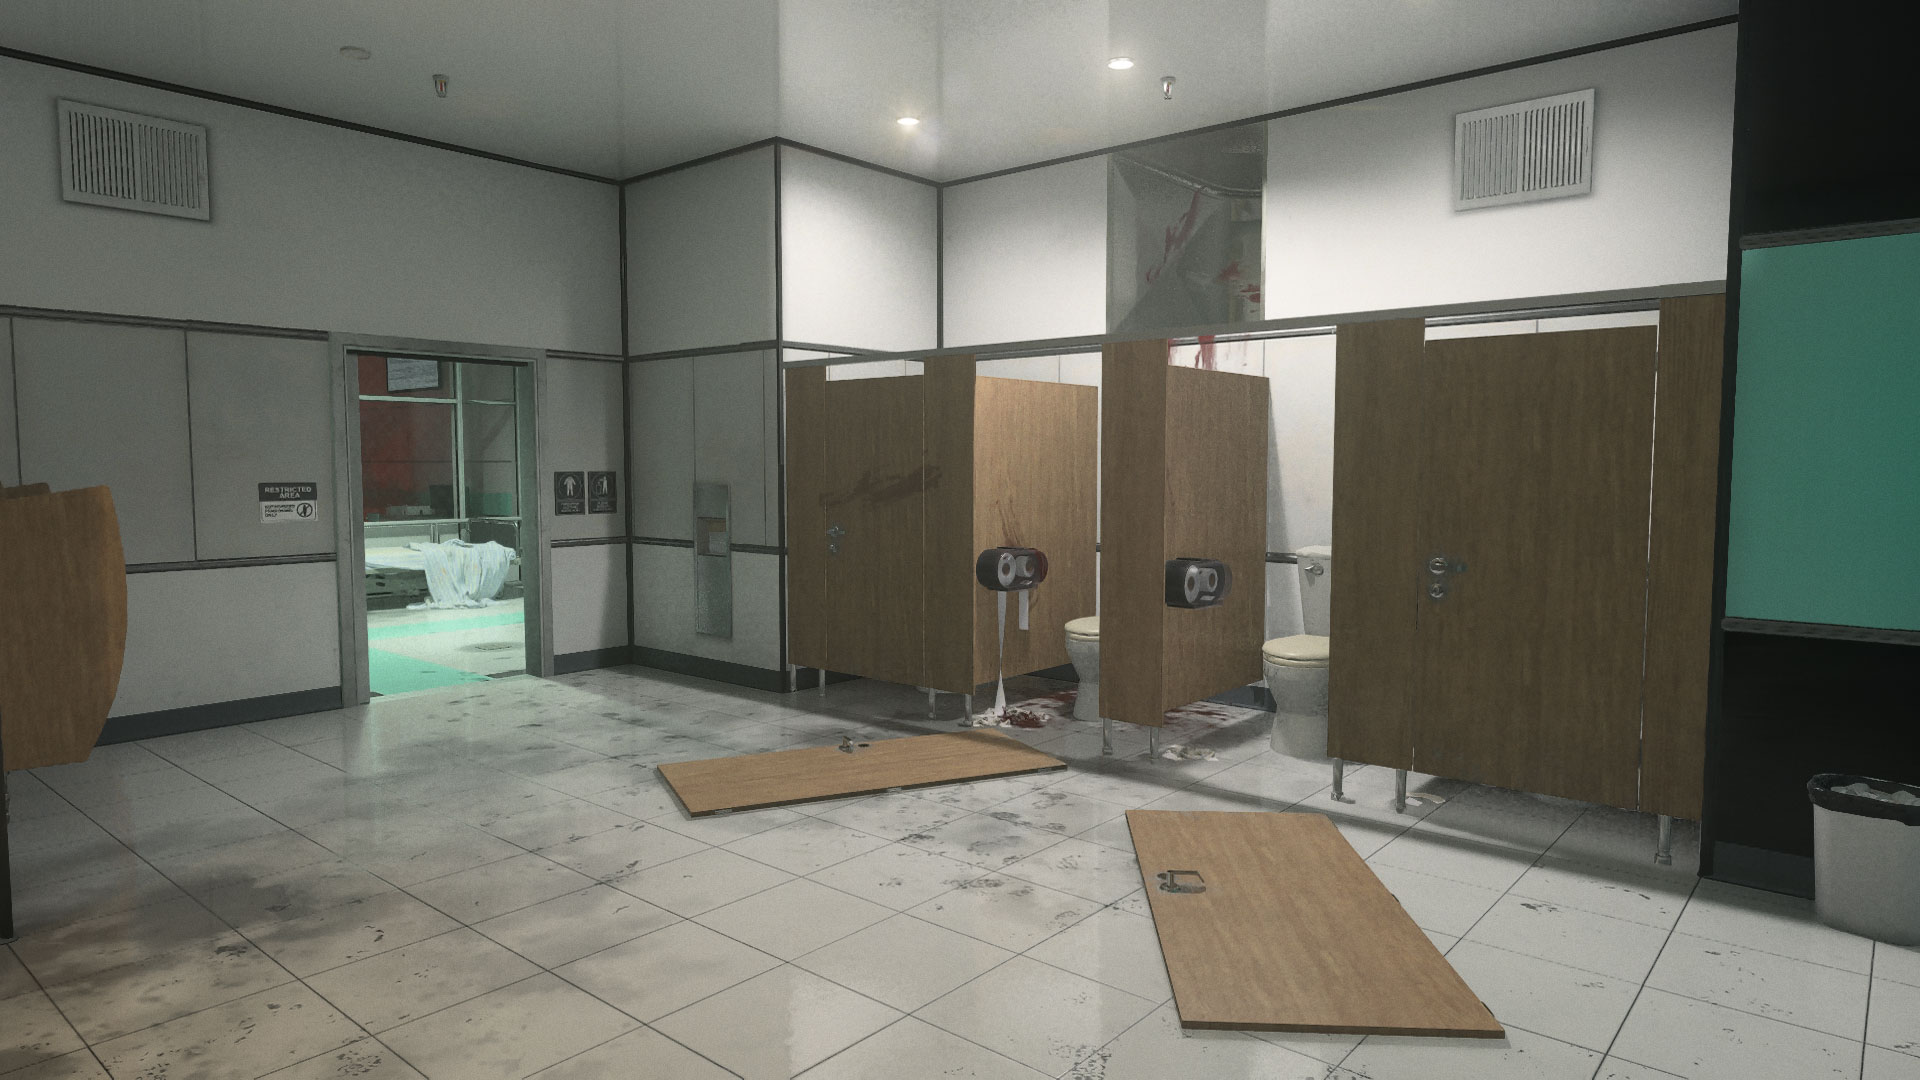
The Restroom adds a wild card to movement through the area as it opens out onto the Hallway at the midpoint with another entry from the Lobby. An accessible vent over one of the bathroom stalls offers a slightly angled view toward the Hallway for a more unpredictable attack.
ADDITIONAL AREA: Lookout
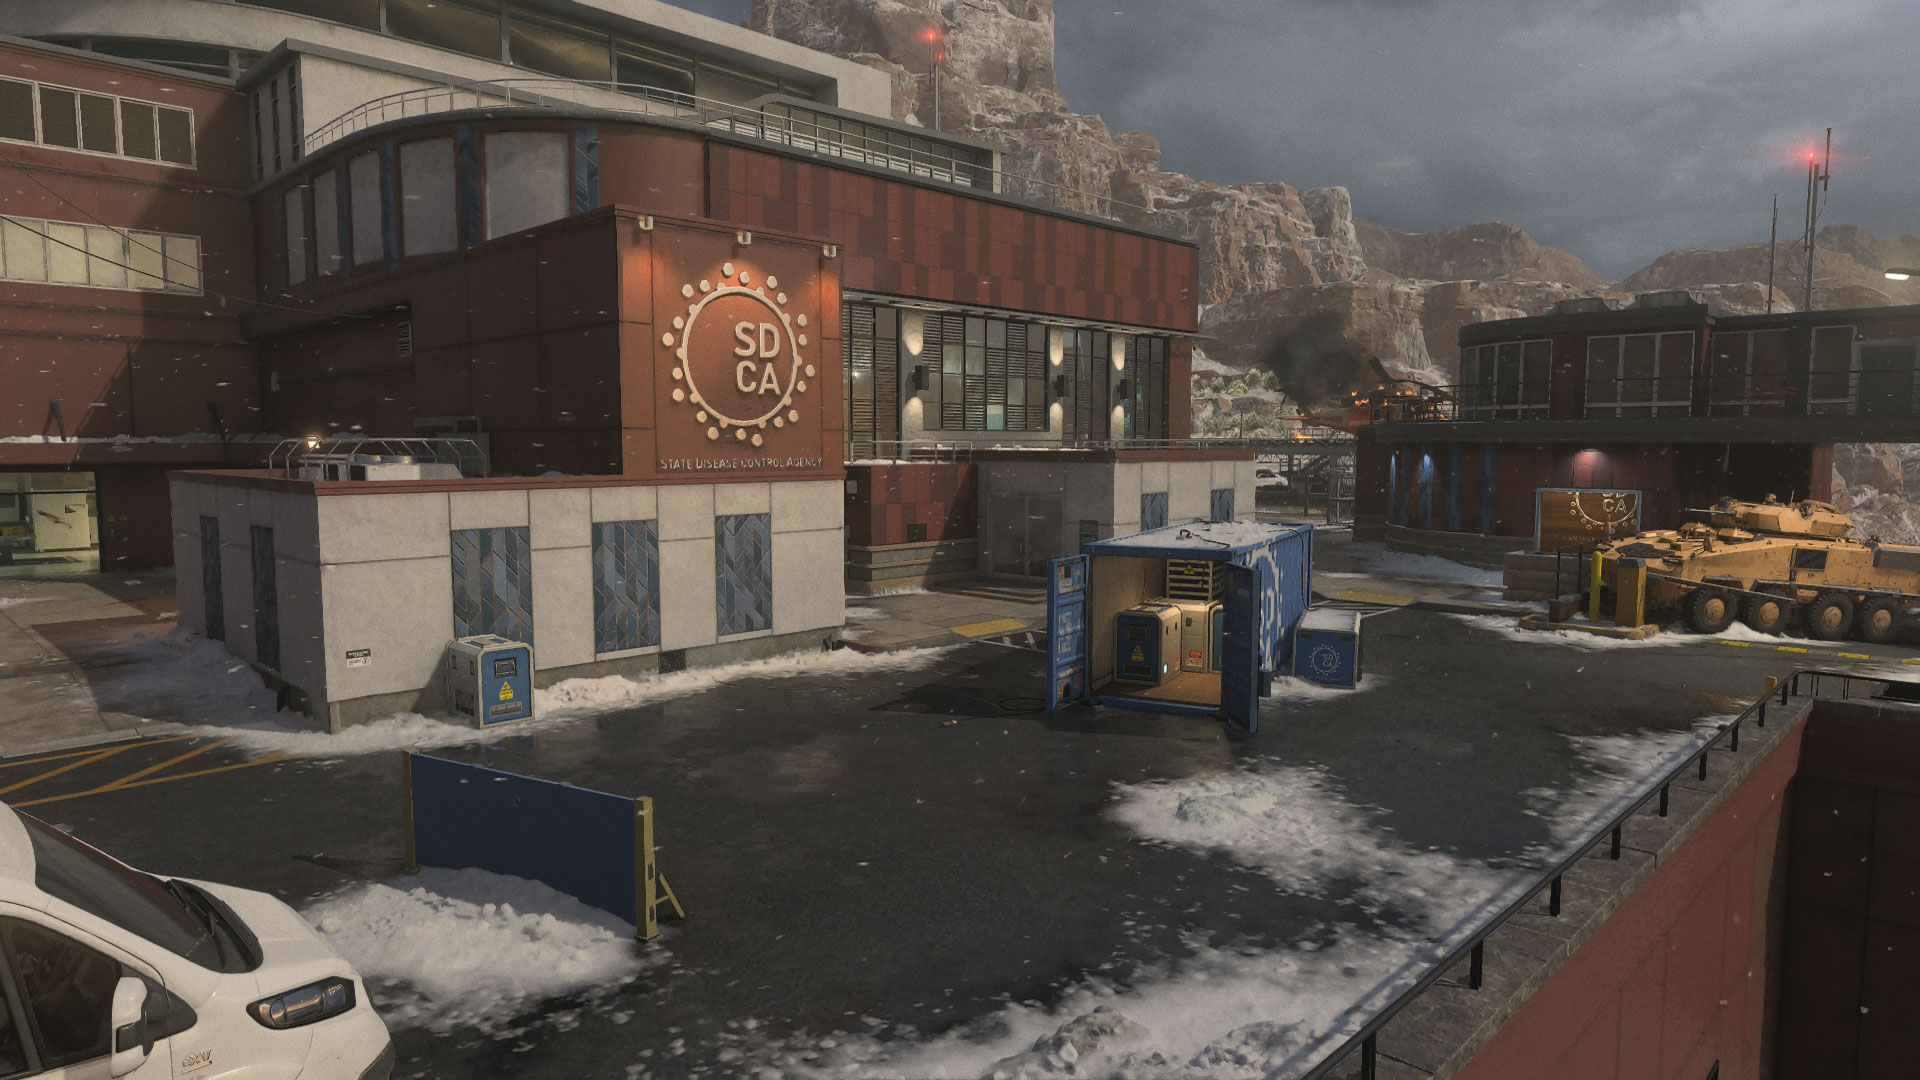
In Lookout, the center blue container disrupts sightlines in an otherwise open area. The opposing sides each feature two midsized cover objects for added defense when covering the location. When engaging enemies, try not to get baited out of cover if they use the container to block your line of sight, or at least know the risk you face when doing so.
Keep your eyes on the open container directly in the middle of the Lookout. Operators running past the container will have a wide-open flank and can be fully exposed to fire from anyone hiding in the container.
The Garage to the south and the Administration building to the north both offer additional means of cover and can be used by sharpshooters to engage enemies from a distance; just be aware of incoming threats from their other entryways.
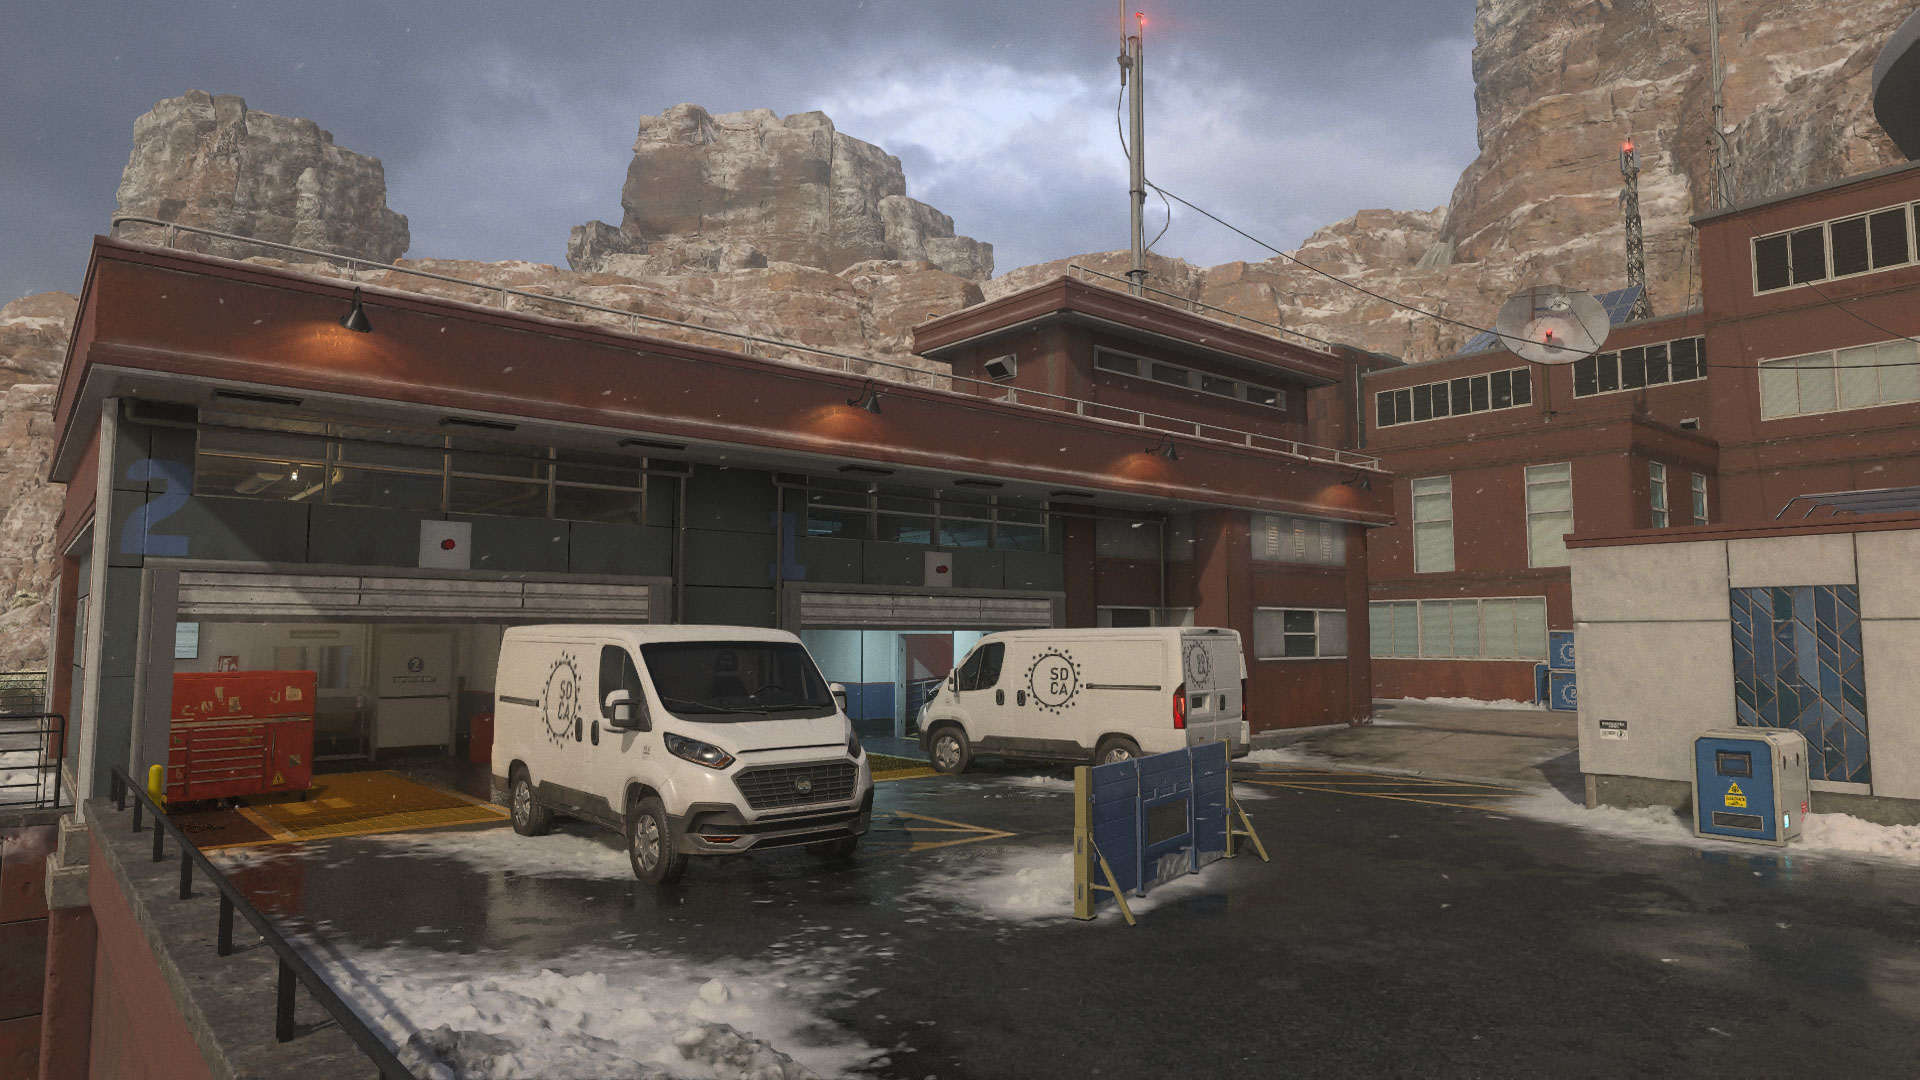
Of the two ends, the Garage offers more tactical opportunities considering the two parked vehicles, the blue barricade, and the Garage. For a bolder play, head inside the center container to ambush opponents. You can even climb on top of it, though don’t overstay your welcome. Another option is to position yourself in the center alcove leading into the Lobby, but be mindful of foes pivoting toward your position from within.
Top 10 Tips
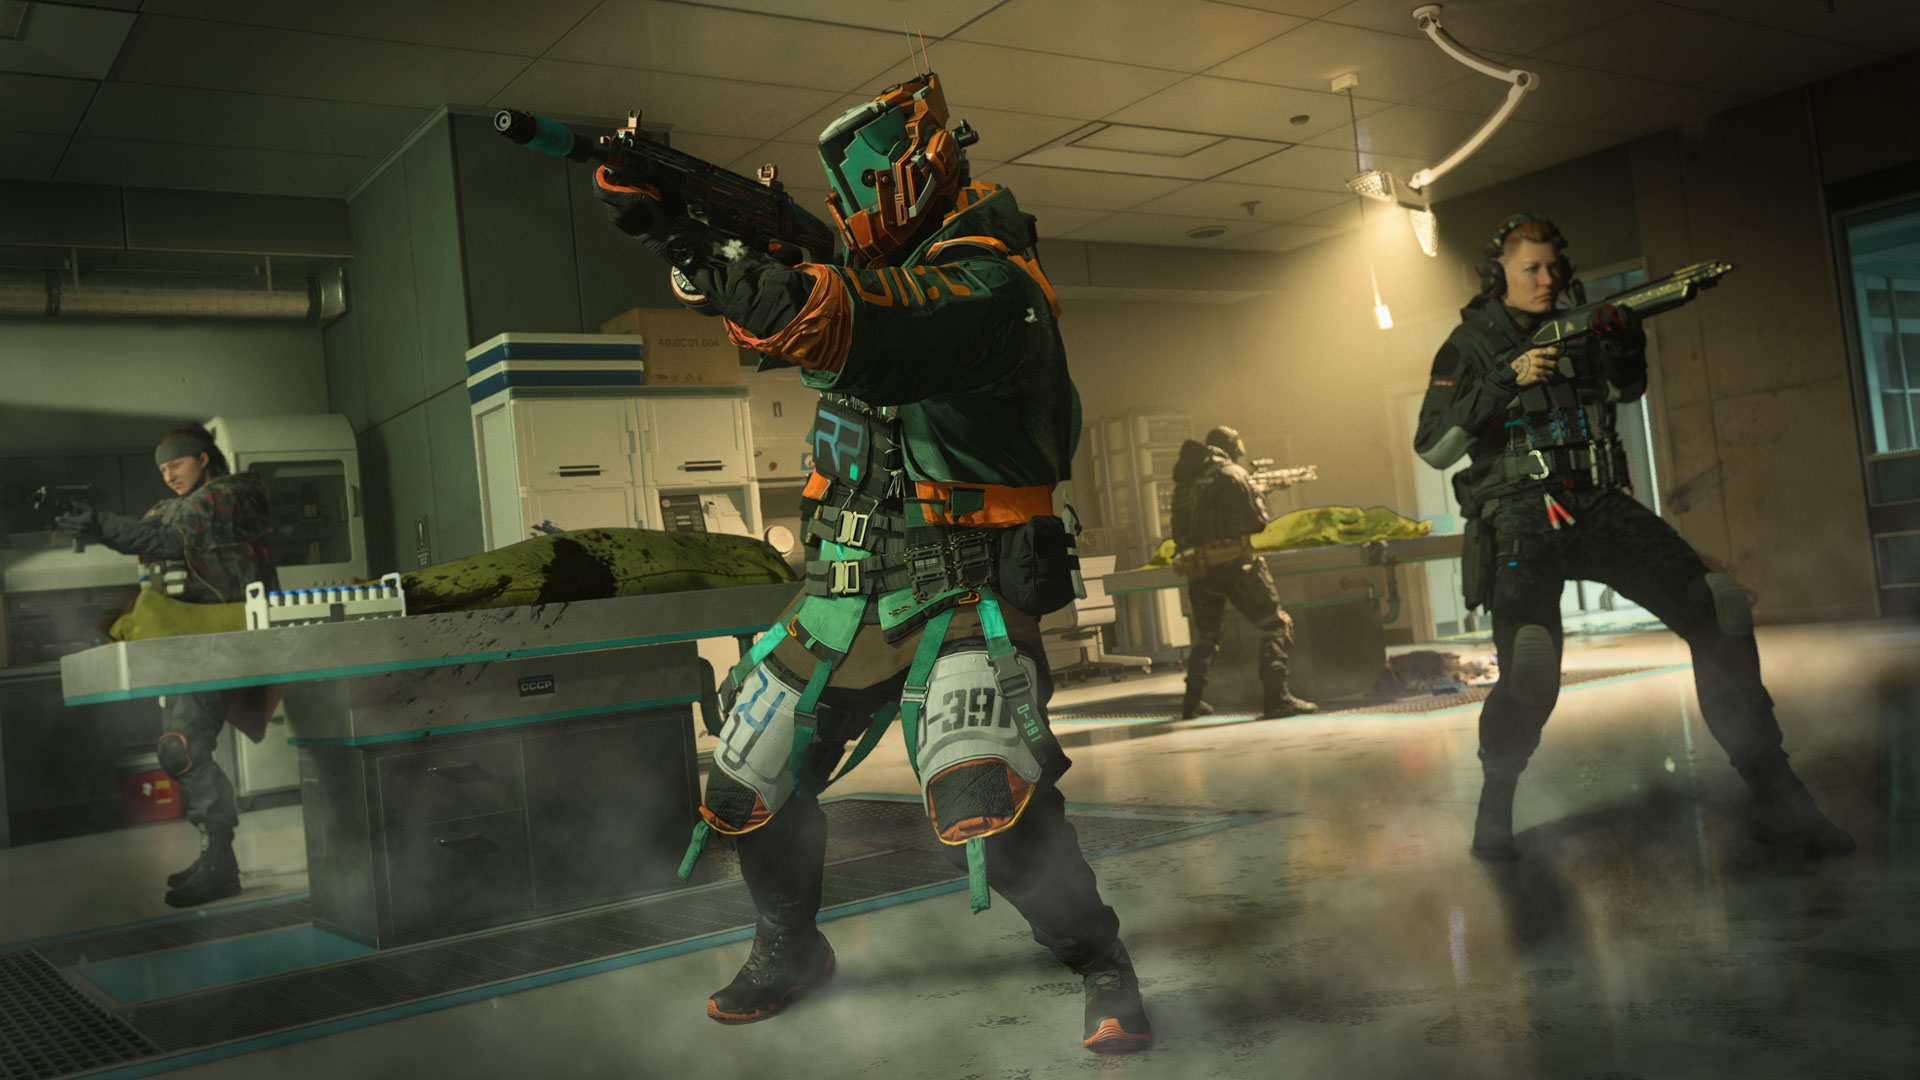
1. Emergency indeed. Combat erupts nearly instantly on this small map, and on respawn modes it won’t let up until the end of the match. Take a moment to study the minimap at the top of this post to see the paths available when navigating the chaos.
2. Cover up . . .On small maps like this, you might think that running wildly into the maelstrom is the best way forward, and good luck if you do. The solid, midsized cover pieces here, however, allow a more methodical approach, so long as you retain enough situational awareness to protect your flank.
3. . . . or go wild. Sometimes you just can’t resist. If you’re racing into the thick of battle, bring some tools to help keep you on your feet. Equip the Quick-Grip Gloves for rapid weapon swapping when your Primary runs out; deploy Smoke Grenades to obscure sightlines and the Throwing Knife for instant eliminations. Use the Portable Radar to help track enemy movements. Whatever your approach, pick the items that best complement fighting in the fray.
4. Shock ’em. With decent aim, the Shock Stick can do very well here. Toss it onto a surface on the other side of the Lobby or Hallway to electrocute nearby enemies and destroy any equipment they’ve dropped nearby.
5. Through the vent. There’s a small ventilation shaft connecting the Restroom to the Lobby just over the front desk. Use it to pivot and flank passing enemies, though get out and move on before someone traps you in its small confines. When confronting an enemy in the vents, try dislodging them with a Thermite or Semtex. You can also lob a grenade through to blast enemies on the other side.
6. Gunslinger. Keep an eye out for the Gunslinger Vest arriving in Season 3, a great option for smaller maps like Emergency. The Gunslinger Vest restricts use of a Primary Weapon, though in exchange the Operator is provided with improved reload and weapon swap speed. The Operator can reload while sprinting, refresh stamina after eliminating an enemy, and spawn in with max reserve ammo.
7. Welcome to the SDCA. The front desk in the Lobby wraps around in three directions with a wall at its back, making it a great defensive position when battling enemies coming from outside. You’ll need to manage attacks from multiple angles, but the cover provided offers a distinct advantage.
8. Not a peep. Deploy with the Dead Silence Field Upgrade to silence your footsteps and apply Ghost while active. Use the advantage to flank enemies and take objectives without giving up your position on the way. You’ll have plenty of chances to refresh its duration via eliminations as well.
9. Entry denied. Consider the Guardian-SC streak for its area denial abilities. Enemies caught in its beam are slowed and disoriented, making them easy targets. Place it near your position to help cover a flank or direct its beam toward one of the main entryways into the Lobby or Hallway.
10. Pair up. Stick close to one or more teammates for better overall coverage and to improve your chances of survival when encountering multiple enemies at a time. Check your minimap often to see which angles your team has covered and which ones present the greatest possible threat.
And most importantly:

© 2024 Activision Publishing, Inc. ACTIVISION, CALL OF DUTY, and MODERN WARFARE are trademarks of Activision Publishing, Inc. All other trademarks and trade names are the property of their respective owners.
For more information, please visit www.callofduty.com and www.youtube.com/callofduty, and follow @Activision and @CallofDuty on X, Instagram, and Facebook. For Call of Duty Updates, follow @CODUpdates on X.
