Multiplayer Map Guide — Training Facility

Deploy to the Training Facility, a 2v2 Gunfight map designed as a tactical course for Konni Group operatives. Pair up with your duo, take the Loadout assigned to you, and dominate the map with these tips and tricks.
Prebrief
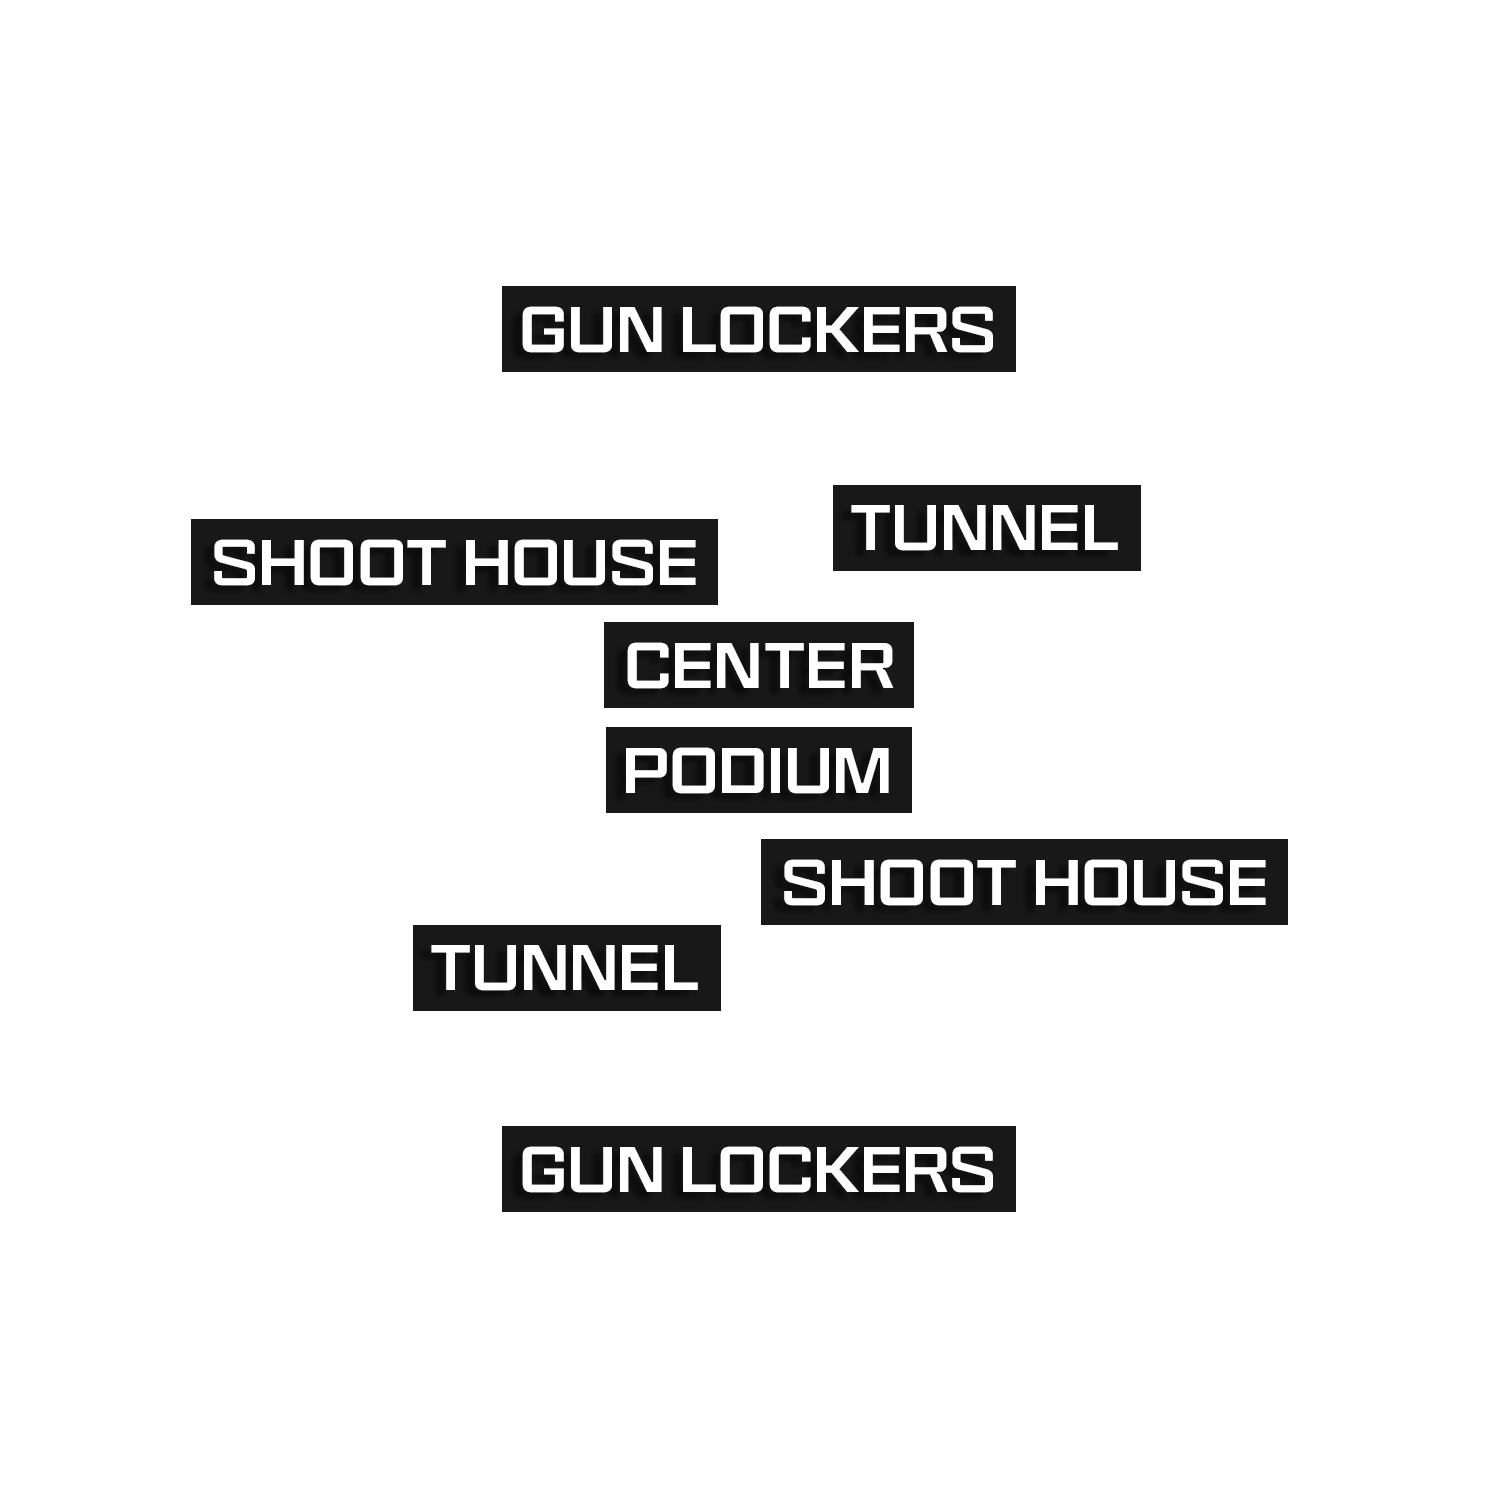
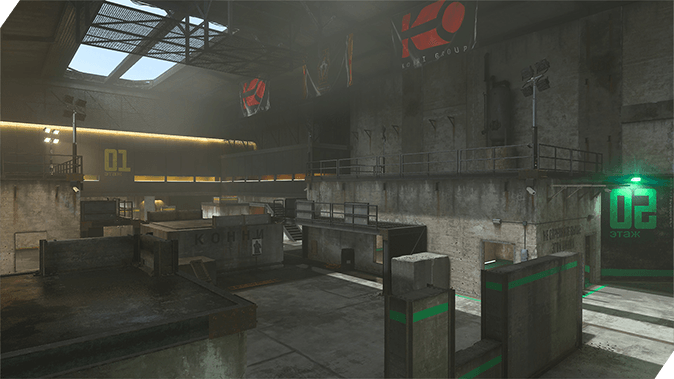
Head into Konni Group’s Training Facility, a compact and highly tactical course testing the limits of one’s combat and movement abilities. Move up the sides to flank the enemy or head straight down for instant battle. The map is divided into the yellow Team 01 side and the green Team 02 side; each side has an identical layout.
Split-second decisions often determine the winner of Gunfight rounds, so get your head wrapped around the new map using this guide to the Training Facility:


-
Show areas

-
Show spawn points

-
Reset all overlays

// INTEL CARD
- MWIII
- WZ
- WZM
Training Facility
// MULTIPLAYER: MAPS // TRAINING FACILITY
Shoot House slide: While you could crawl through the low space in the Shoot House, a well-timed slide can take you through in one go, setting up a speedy ambush against enemies on the other side.
Stealth capture: Sometimes you’ll run up against an enemy who won’t come out, attempting to force you into their trap. In these situations, shift your strategy to capturing the Overtime Flag. The central Podium offers great cover; once the flag goes live, climb up top and take it.
Unleash your equipment: When your full equipment comes online a few seconds into the match, let it loose. While conserving your supplies does have its benefits, the map’s small size improves your chances of getting a hit marker or even an early elimination.

Tactical Overview
In Gunfight, teams will either spawn by the Team 01 Gun Lockers or the Team 02 Gun Lockers.
A Konni Group training course lies between the two spawns, featuring identical facing obstacles, including points of interest like the Shoot House, Tower, Tunnel, and Podium.
We’ve divided Training Facility into five sections based on key areas around the map:
- MAIN SPAWN POINT: Gun Lockers (+ Cover Wall)
- ADDITIONAL AREA: Center (+ Barrier, Tower)
- ADDITIONAL AREA: Shoot House
- ADDITIONAL AREA: Tunnel
- ADDITIONAL AREA: Podium
MAIN SPAWN POINT: Gun Lockers
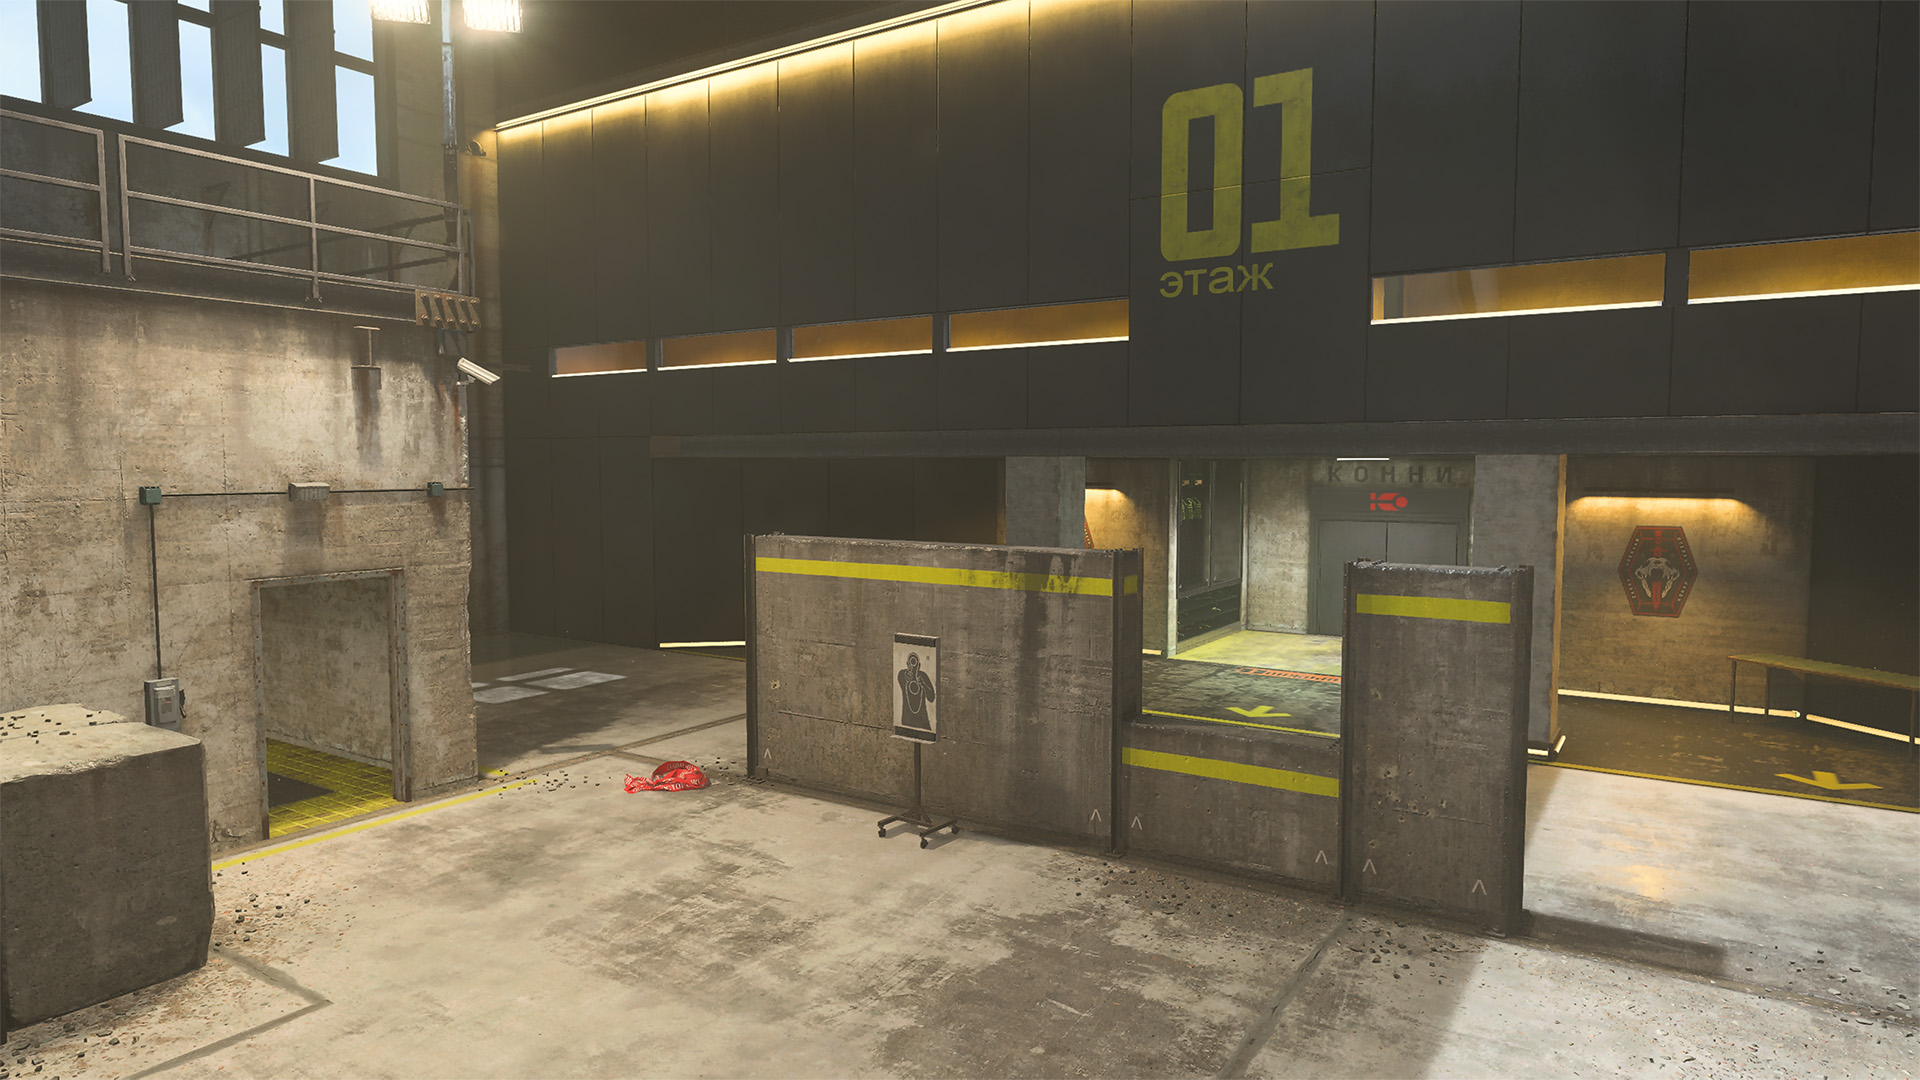
The Gun Lockers offer little cover or movement potential. Other than providing two skinny pillars that can be used in a pinch, this area mostly serves as the launching point into the greater map. The Cover Wall in front of the Gun Lockers offers a solid if predictable defense against enemies coming down the Center and up on the Podium.
ADDITIONAL AREA: Center
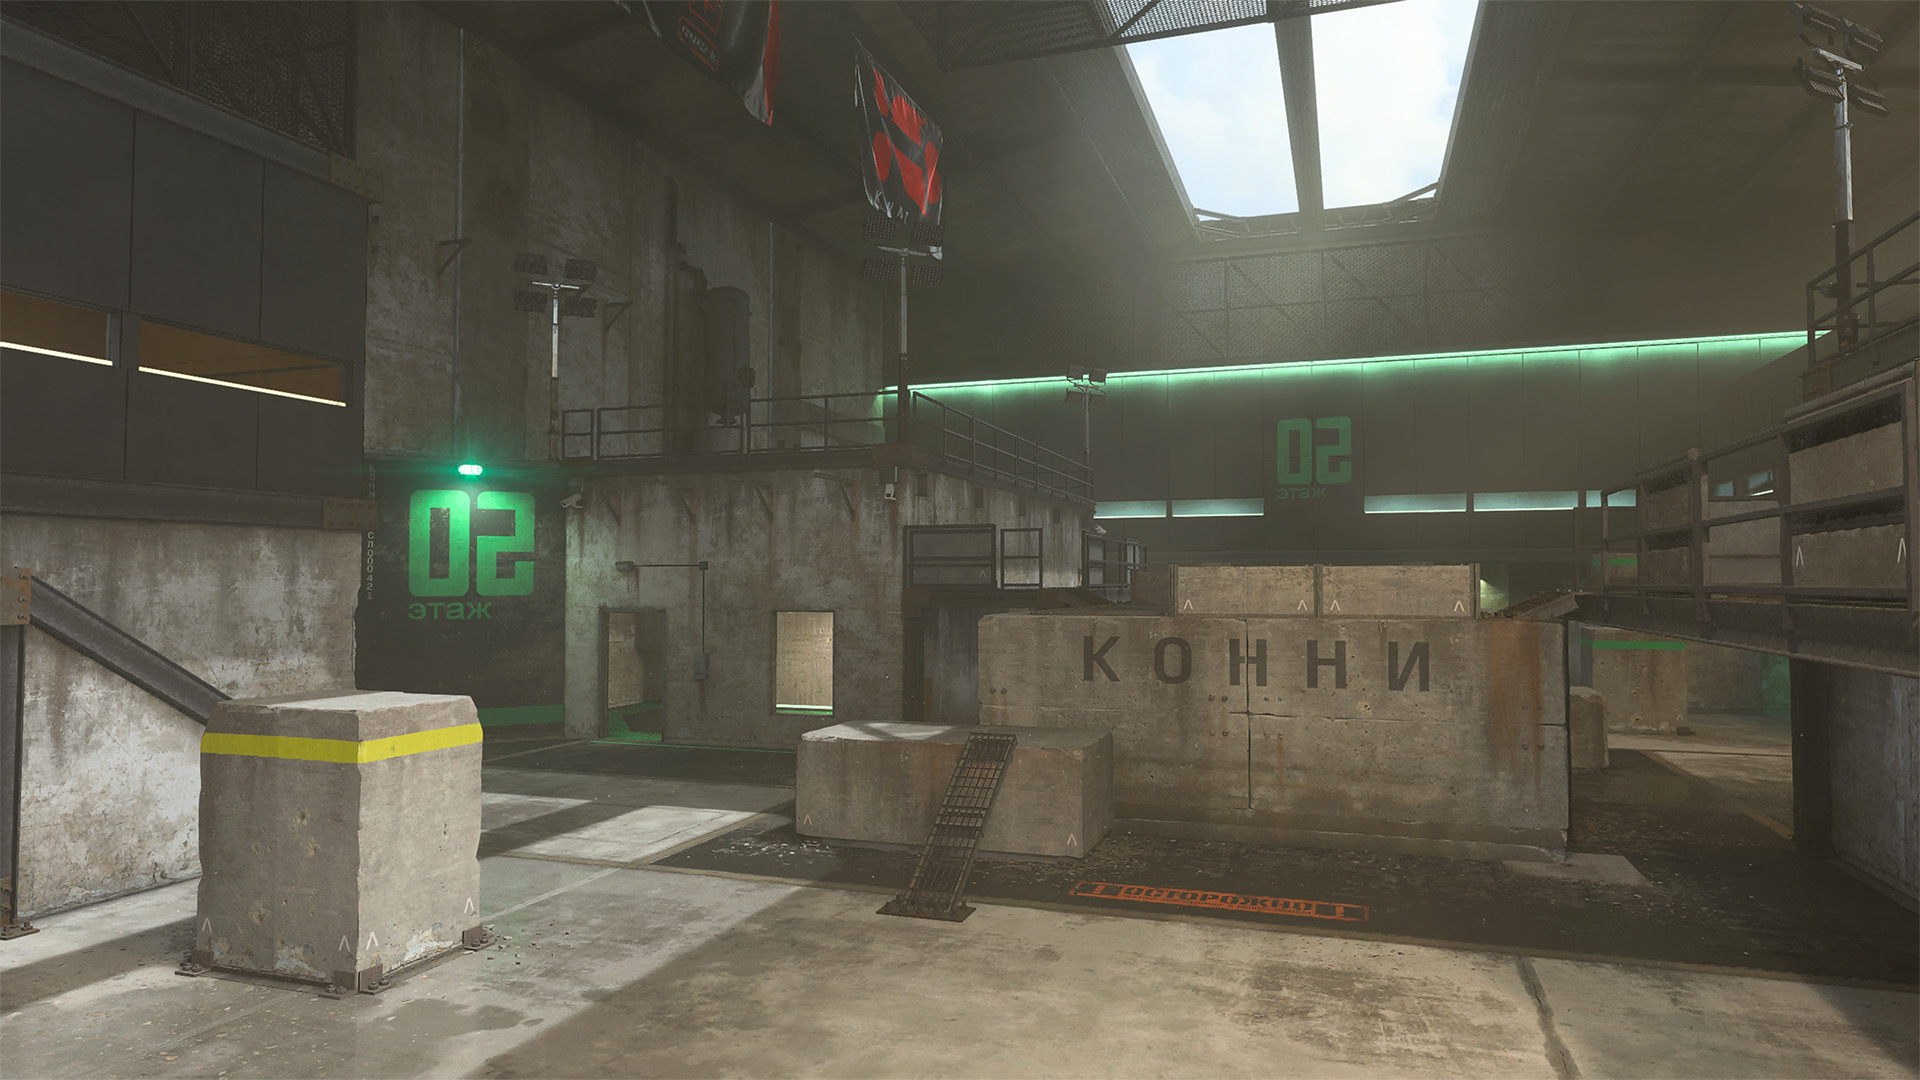
The Center is a death trap if you’re not careful. It’s exposed to multiple vantage points, and the Barrier is your only nearby cover option until reaching the Podium or moving back out to the sides. The Tower on the side of the Barrier is a powerful vantage point, offering coverage over a large portion of the map. Get up here via staircase or by jumping from the top of the Barrier.
ADDITIONAL AREA: Shoot House
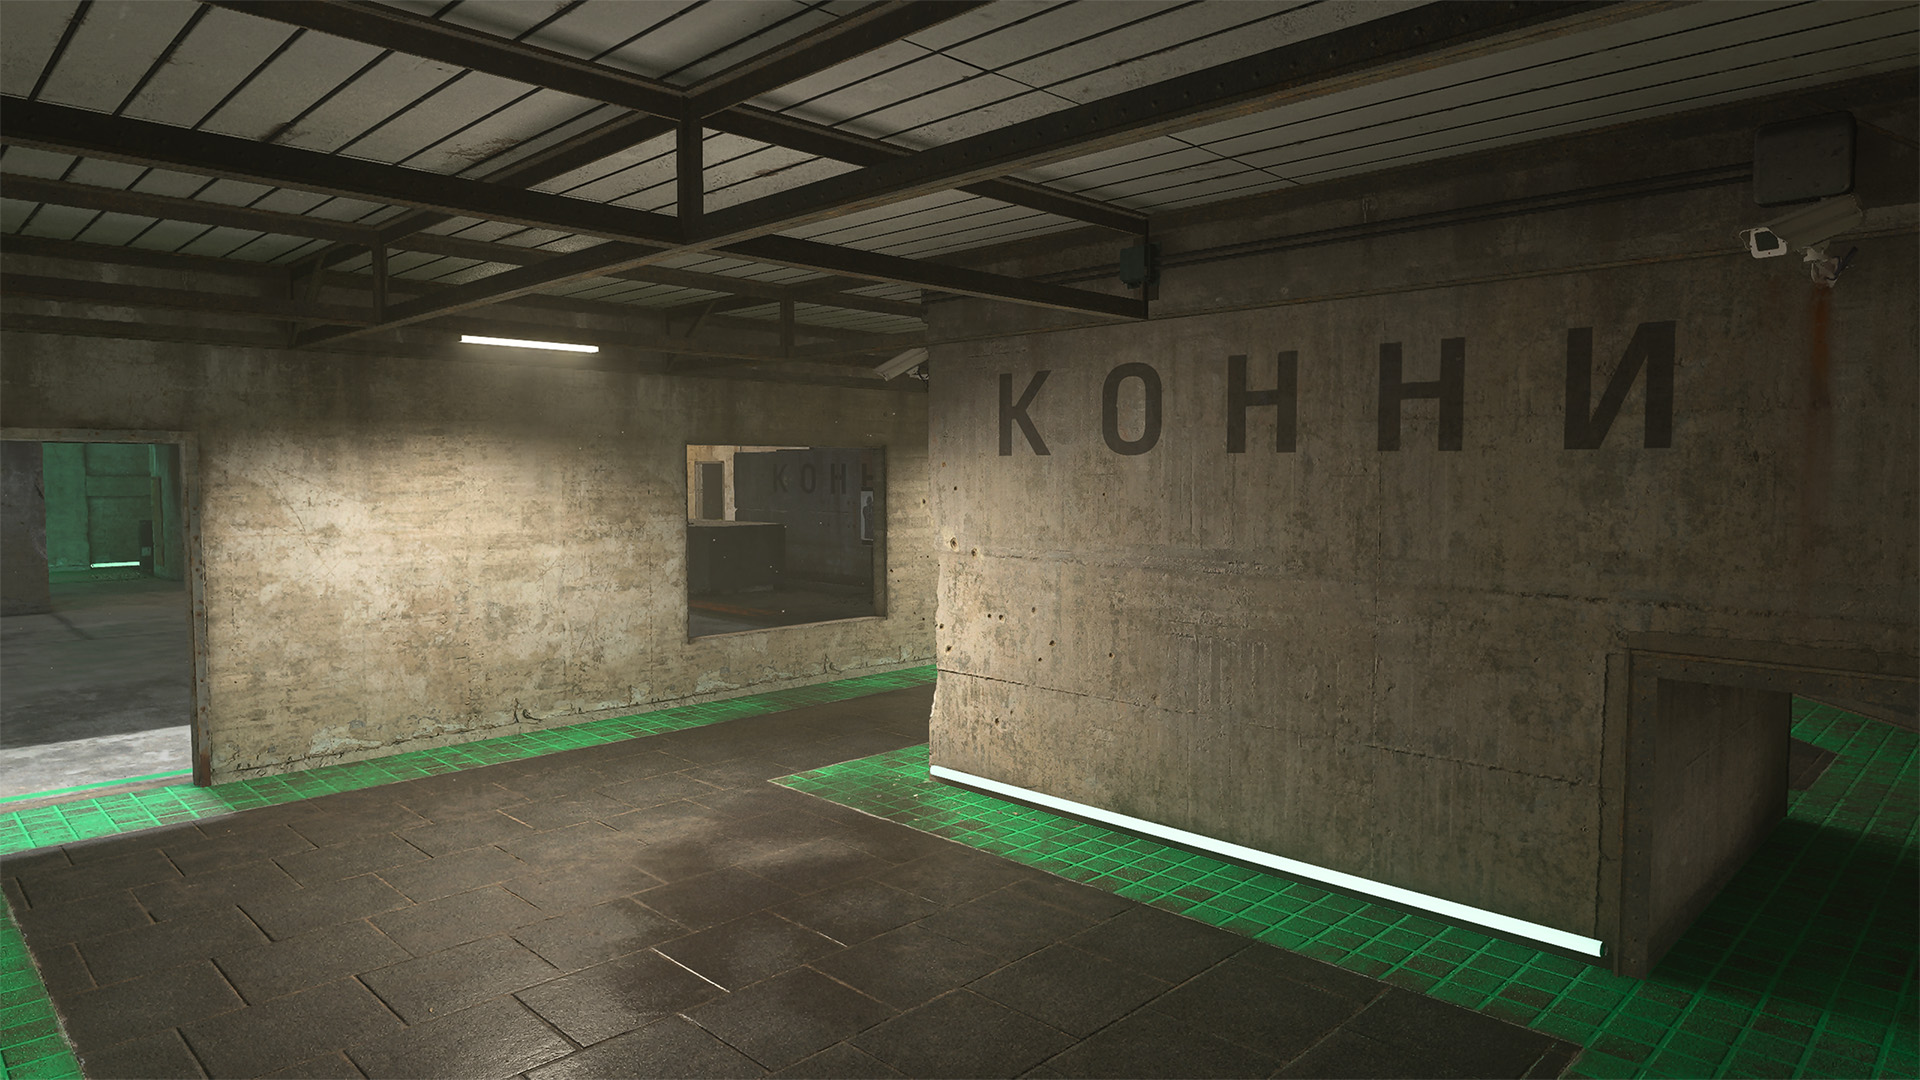
The Shoot House packs a lot of tactical opportunity into a tight space. Crawl or slide through the crawl space or toss a grenade through it before moving down the other side to finish the job. The several openings throughout offer a good view of the surrounding course. Overall, the Shoot House is a solid place to make a stand, so long as you evade incoming grenades.
ADDITIONAL AREA: Tunnel
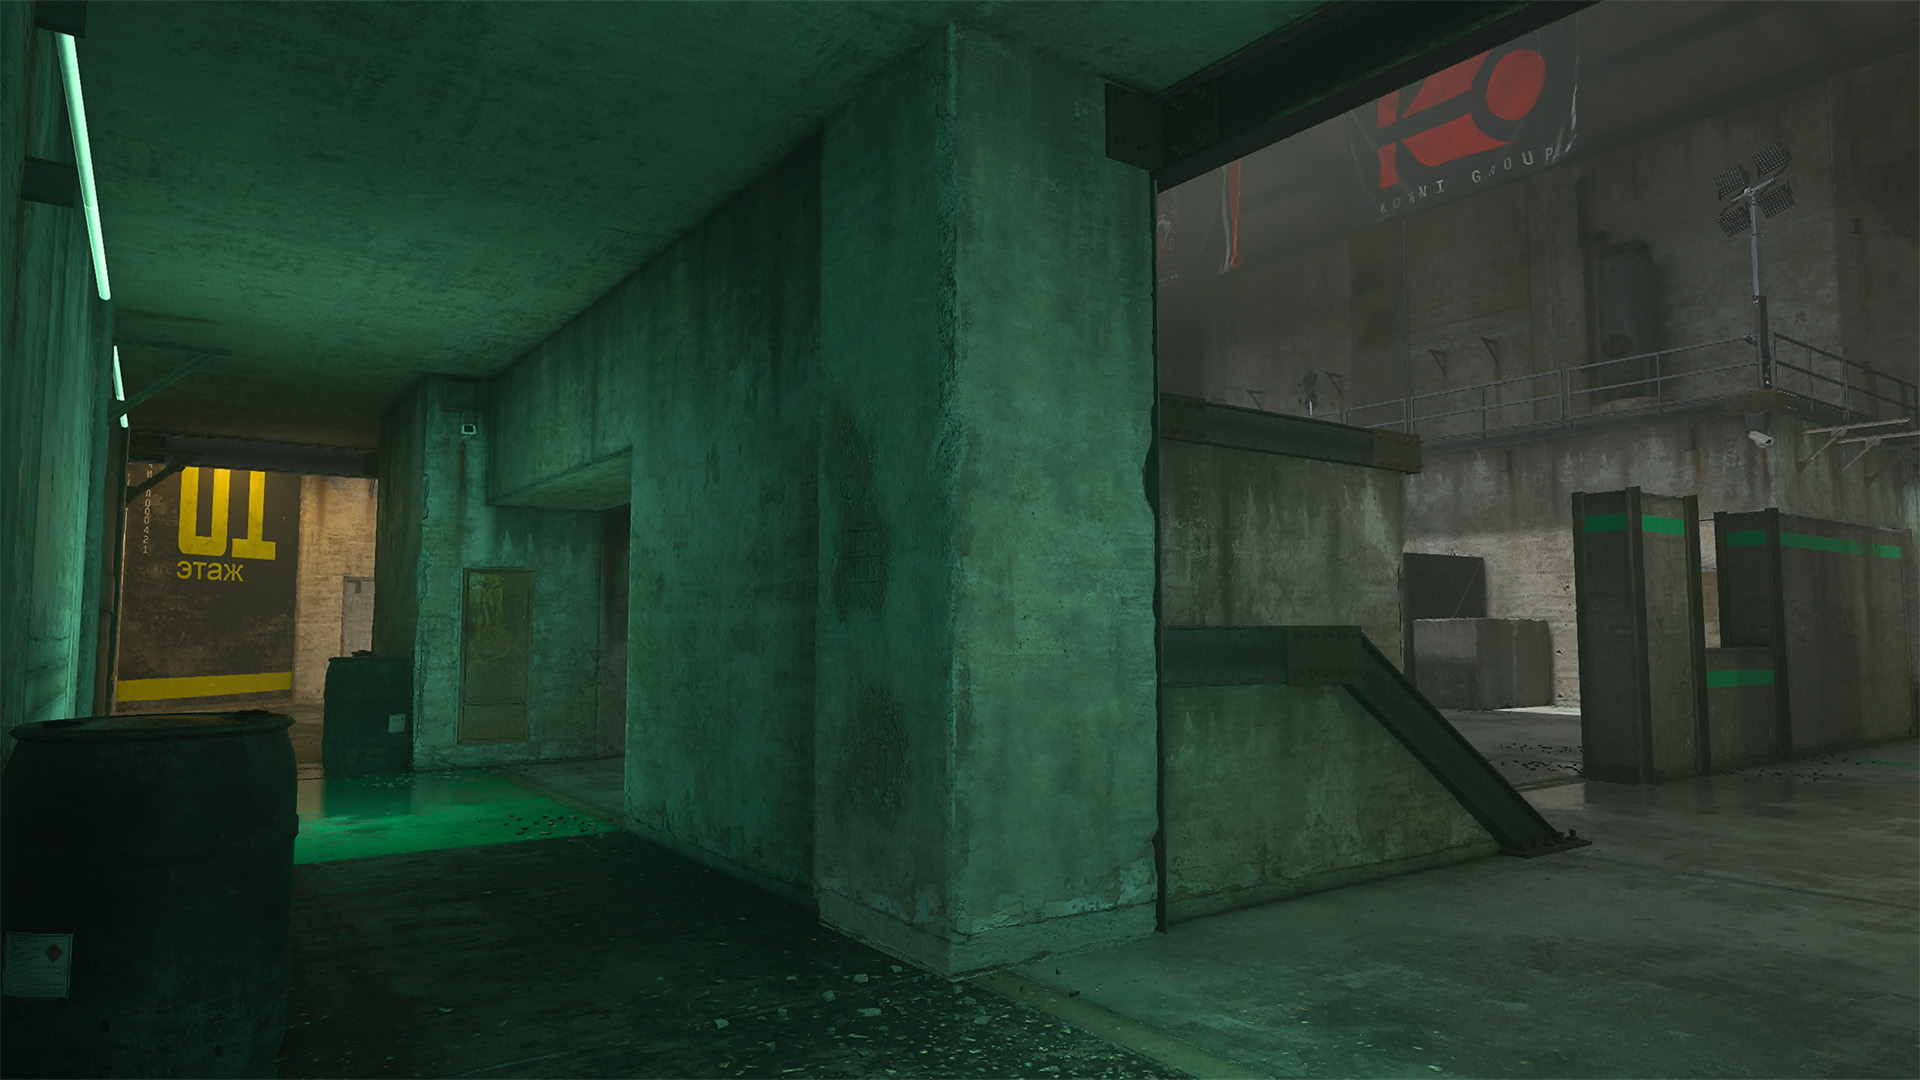
The Tunnels are great for taking a less-exposed route through the map. Your main concern are enemies in the opposite Shoot House or meeting you in the Tunnel. Use the middle opening to flank enemies around the Center and use the barrels within for cover. Toss a grenade if you suspect an enemy on the other side.
ADDITIONAL AREA: Podium
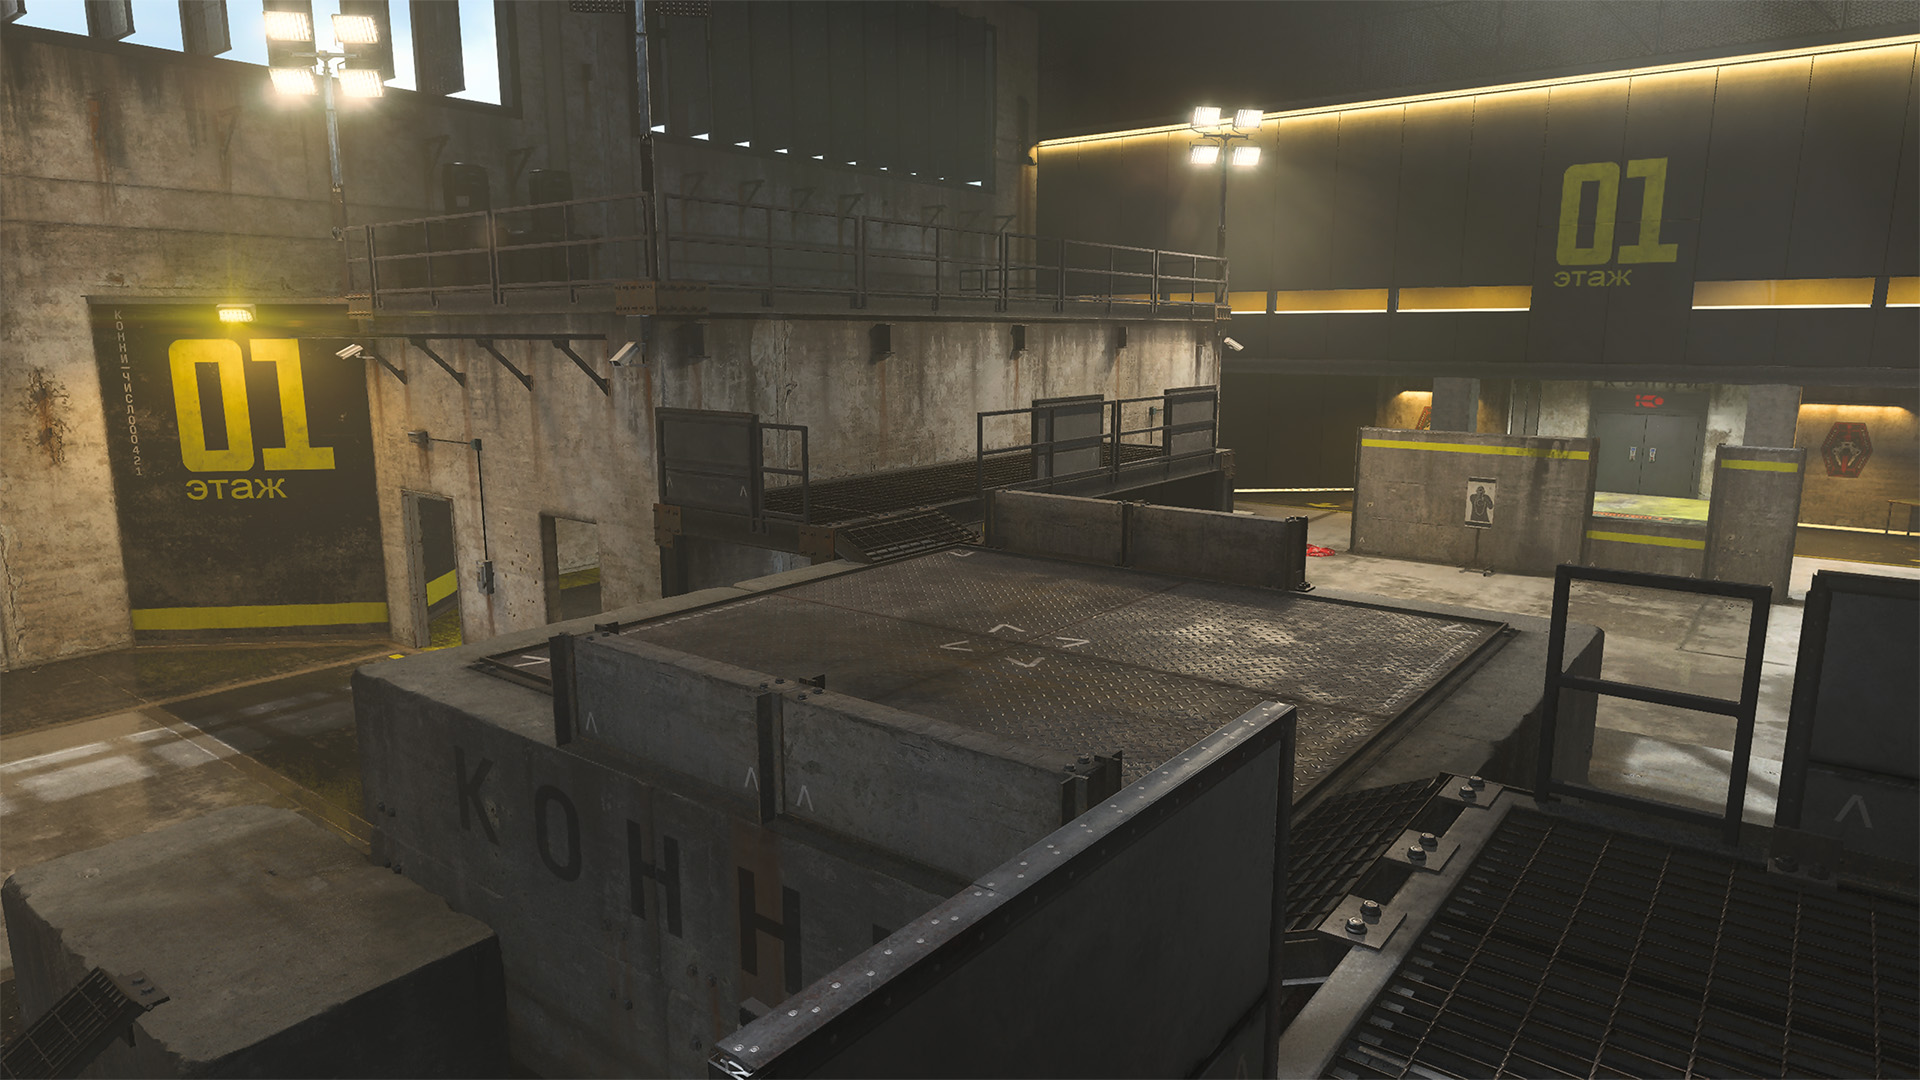
The central Podium and Scaffolding are at the heart of aggressive plays. Move up early in the match to get an instant advantage over slower players still at their spawn point, or climb on top halfway through to instantly change the dynamics of the fight. The Overtime Flag spawns on the Podium, so be ready to capture it or cover it when the round timer ends.
Top 10 Tips
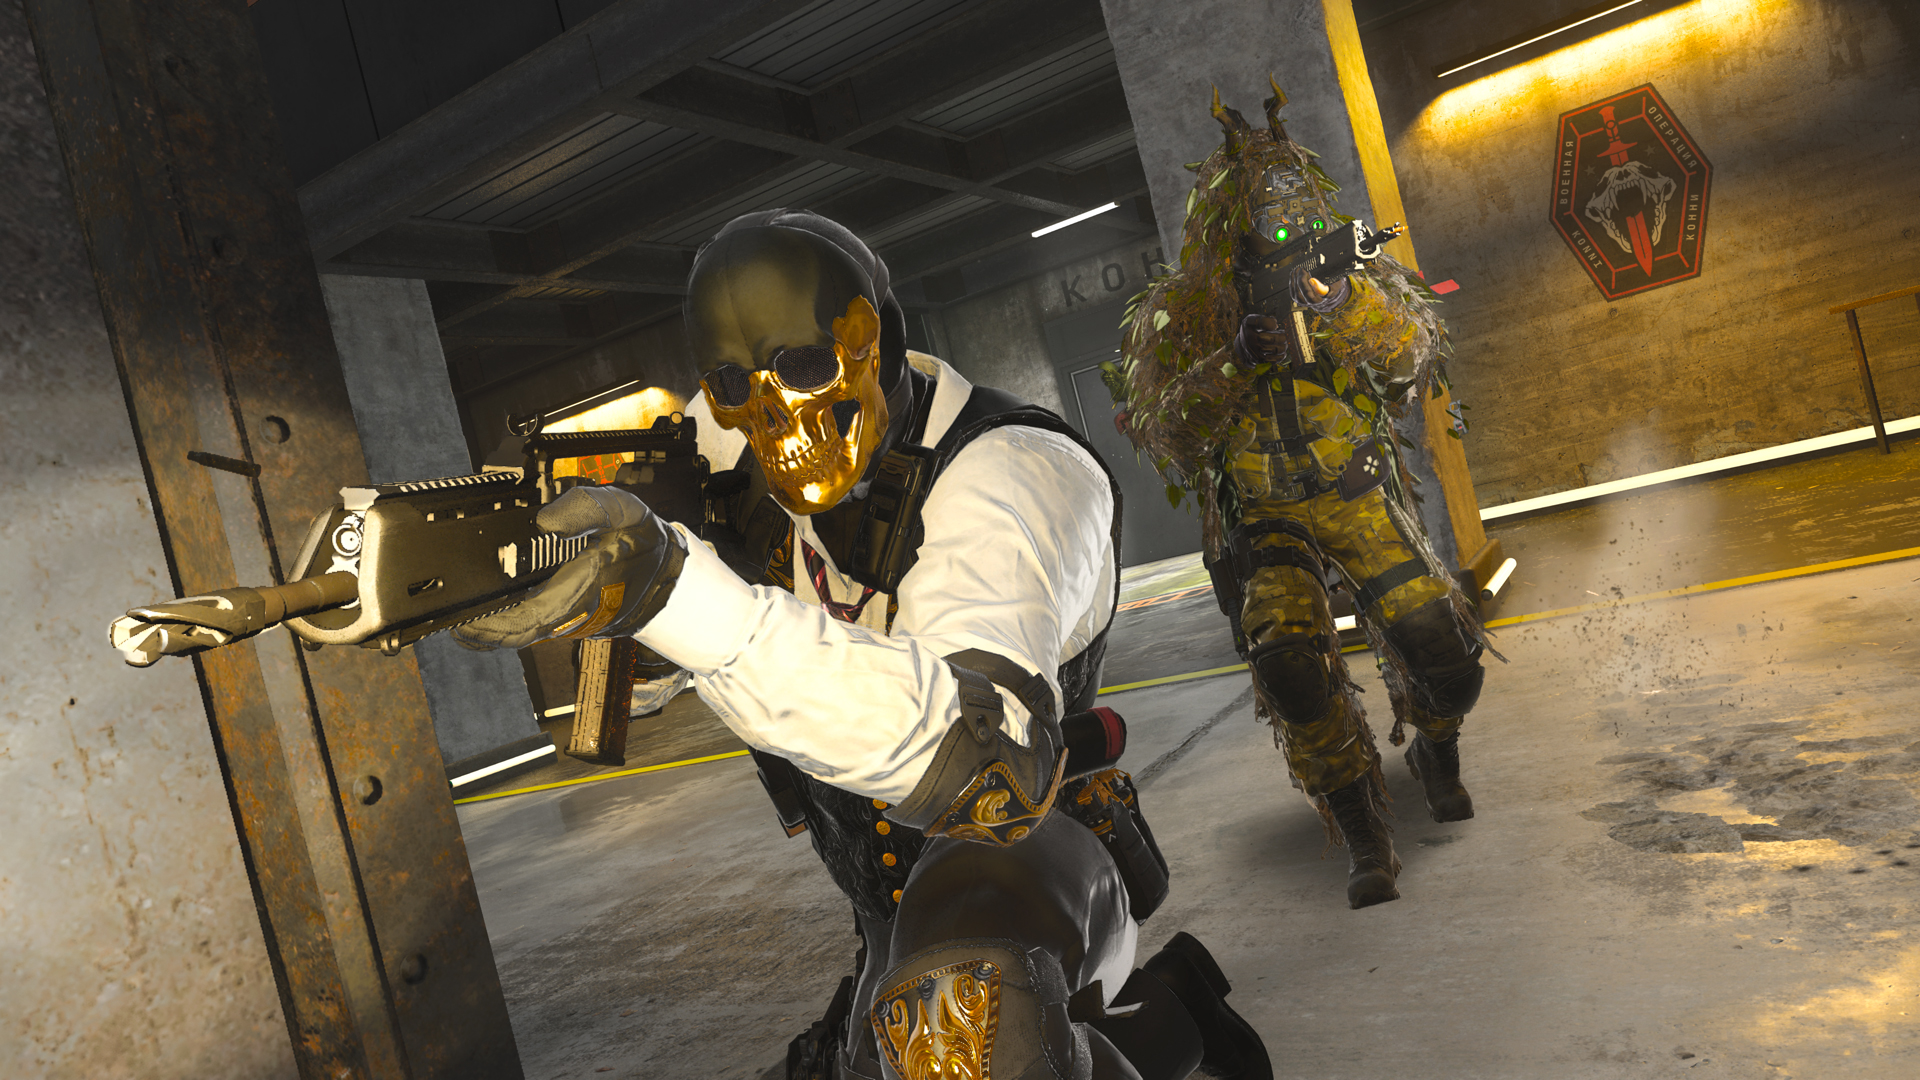
1. Use what you’ve got. All Gunfight Operators are assigned the same randomized Loadout each round, with the Loadout changing every two rounds. This affects your equipment and both of your weapons. Take a moment to consider your provided items before the next round begins, including the best ways to incorporate its equipment into a devastating play.
2. Early Tower push. The Tower near the Gun Lockers spawn point offers an easy means of getting up high early in the round. Crouch to make better use of its cover and call out or Ping spotted enemies. The opposite Scaffolding can be used in the same way.
3. Mount up. Use the map’s obstacles to mount your weapon and gain improved accuracy against incoming enemies. Mount on top of low walls and around corners and be ready to move if your position weakens.
4. Down the sides. Run down one side of the map while your teammate runs down the other. While splitting up introduces some risk, you might also complete a pincer movement in which you squeeze the enemy caught between your firepower.
5. Tactical out. Tactical equipment tends to deploy more rapidly than Lethal grenades. Toss these out to disable or disorient enemy Operators with minimal downtime. When you’ve got more time to line up the shot, then let loose with the explosives.
6. Watch your health. Remember that health does not regenerate in Gunfight, so keep a close eye on yours and the enemy team’s, especially following a skirmish. If your side has more health toward the end of the round, cover the Overtime Flag, as the other side will have to capture it to secure the win.
7. Every hit counts. Because health doesn’t regenerate, it increases the value of any kind of damage you can inflict on the enemy team. Unless you’re keeping a low profile, it’s often worth firing off a few wild shots at a passing Operator even if just one hit connects. With no regen, it’ll make them an easier target in the next encounter.
8. Stay on the move. The small size of Training Facility paired with the 40-second round timer means that you should be constantly moving to hunt down the other team. Staking out a hiding spot and hoping to catch a passing enemy makes you a sitting duck and puts you in the position of reacting instead of taking the initiative.
9. Ping the enemy. Use the in-game Ping option to mark the location of enemies you don’t have a clear shot on. This will help your teammate track them down to improve your odds of eliminating them.
10. Communicate. Your best course of action is to directly communicate with your teammate, so fire up that mic. While Pings are a useful tool for marking enemies and areas of interest, there’s nothing compared to calling out plays and making adjustments on the fly.

© 2024 Activision Publishing, Inc. ACTIVISION, CALL OF DUTY, CALL OF DUTY WARZONE, and MODERN WARFARE are trademarks of Activision Publishing, Inc. All other trademarks and trade names are the properties of their respective owners.
For more information, please visit www.callofduty.com and www.youtube.com/callofduty, and follow @Activision and @CallofDuty on X, Instagram, and Facebook. For Call of Duty Updates, follow @CODUpdates on X.
