Modern Warfare III Multiplayer Map Guide — Yard
Prebrief
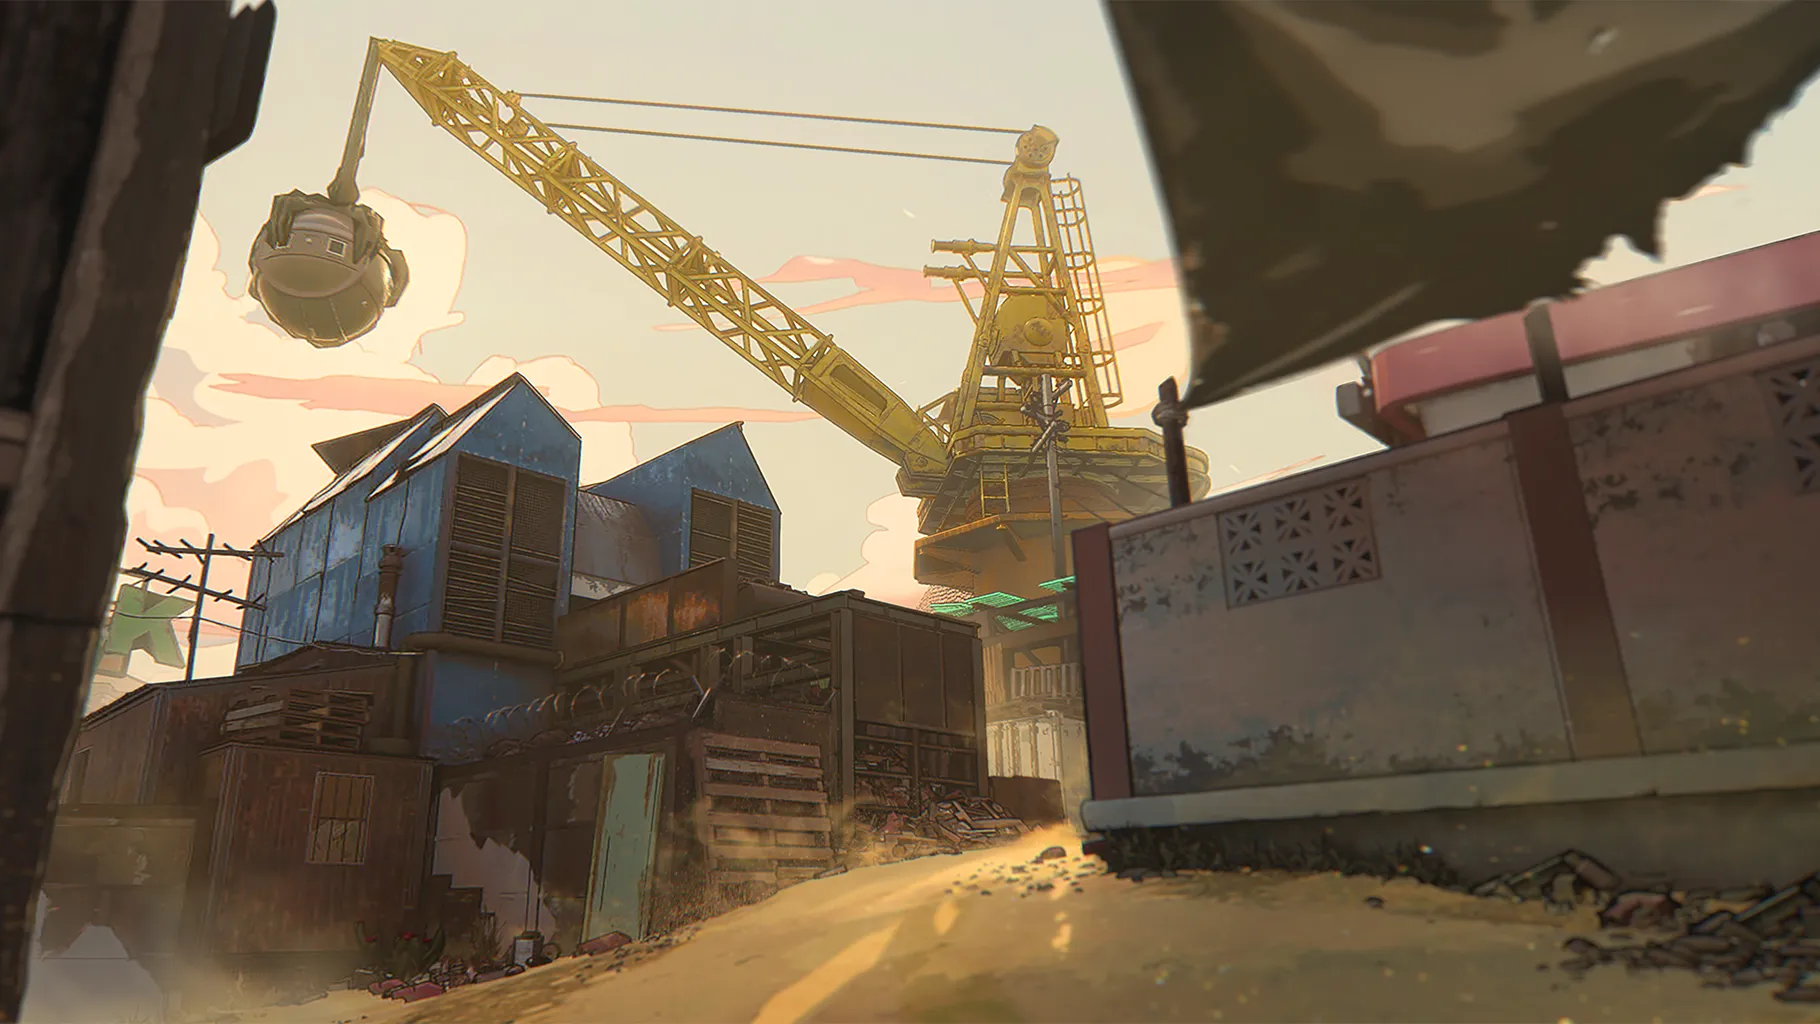
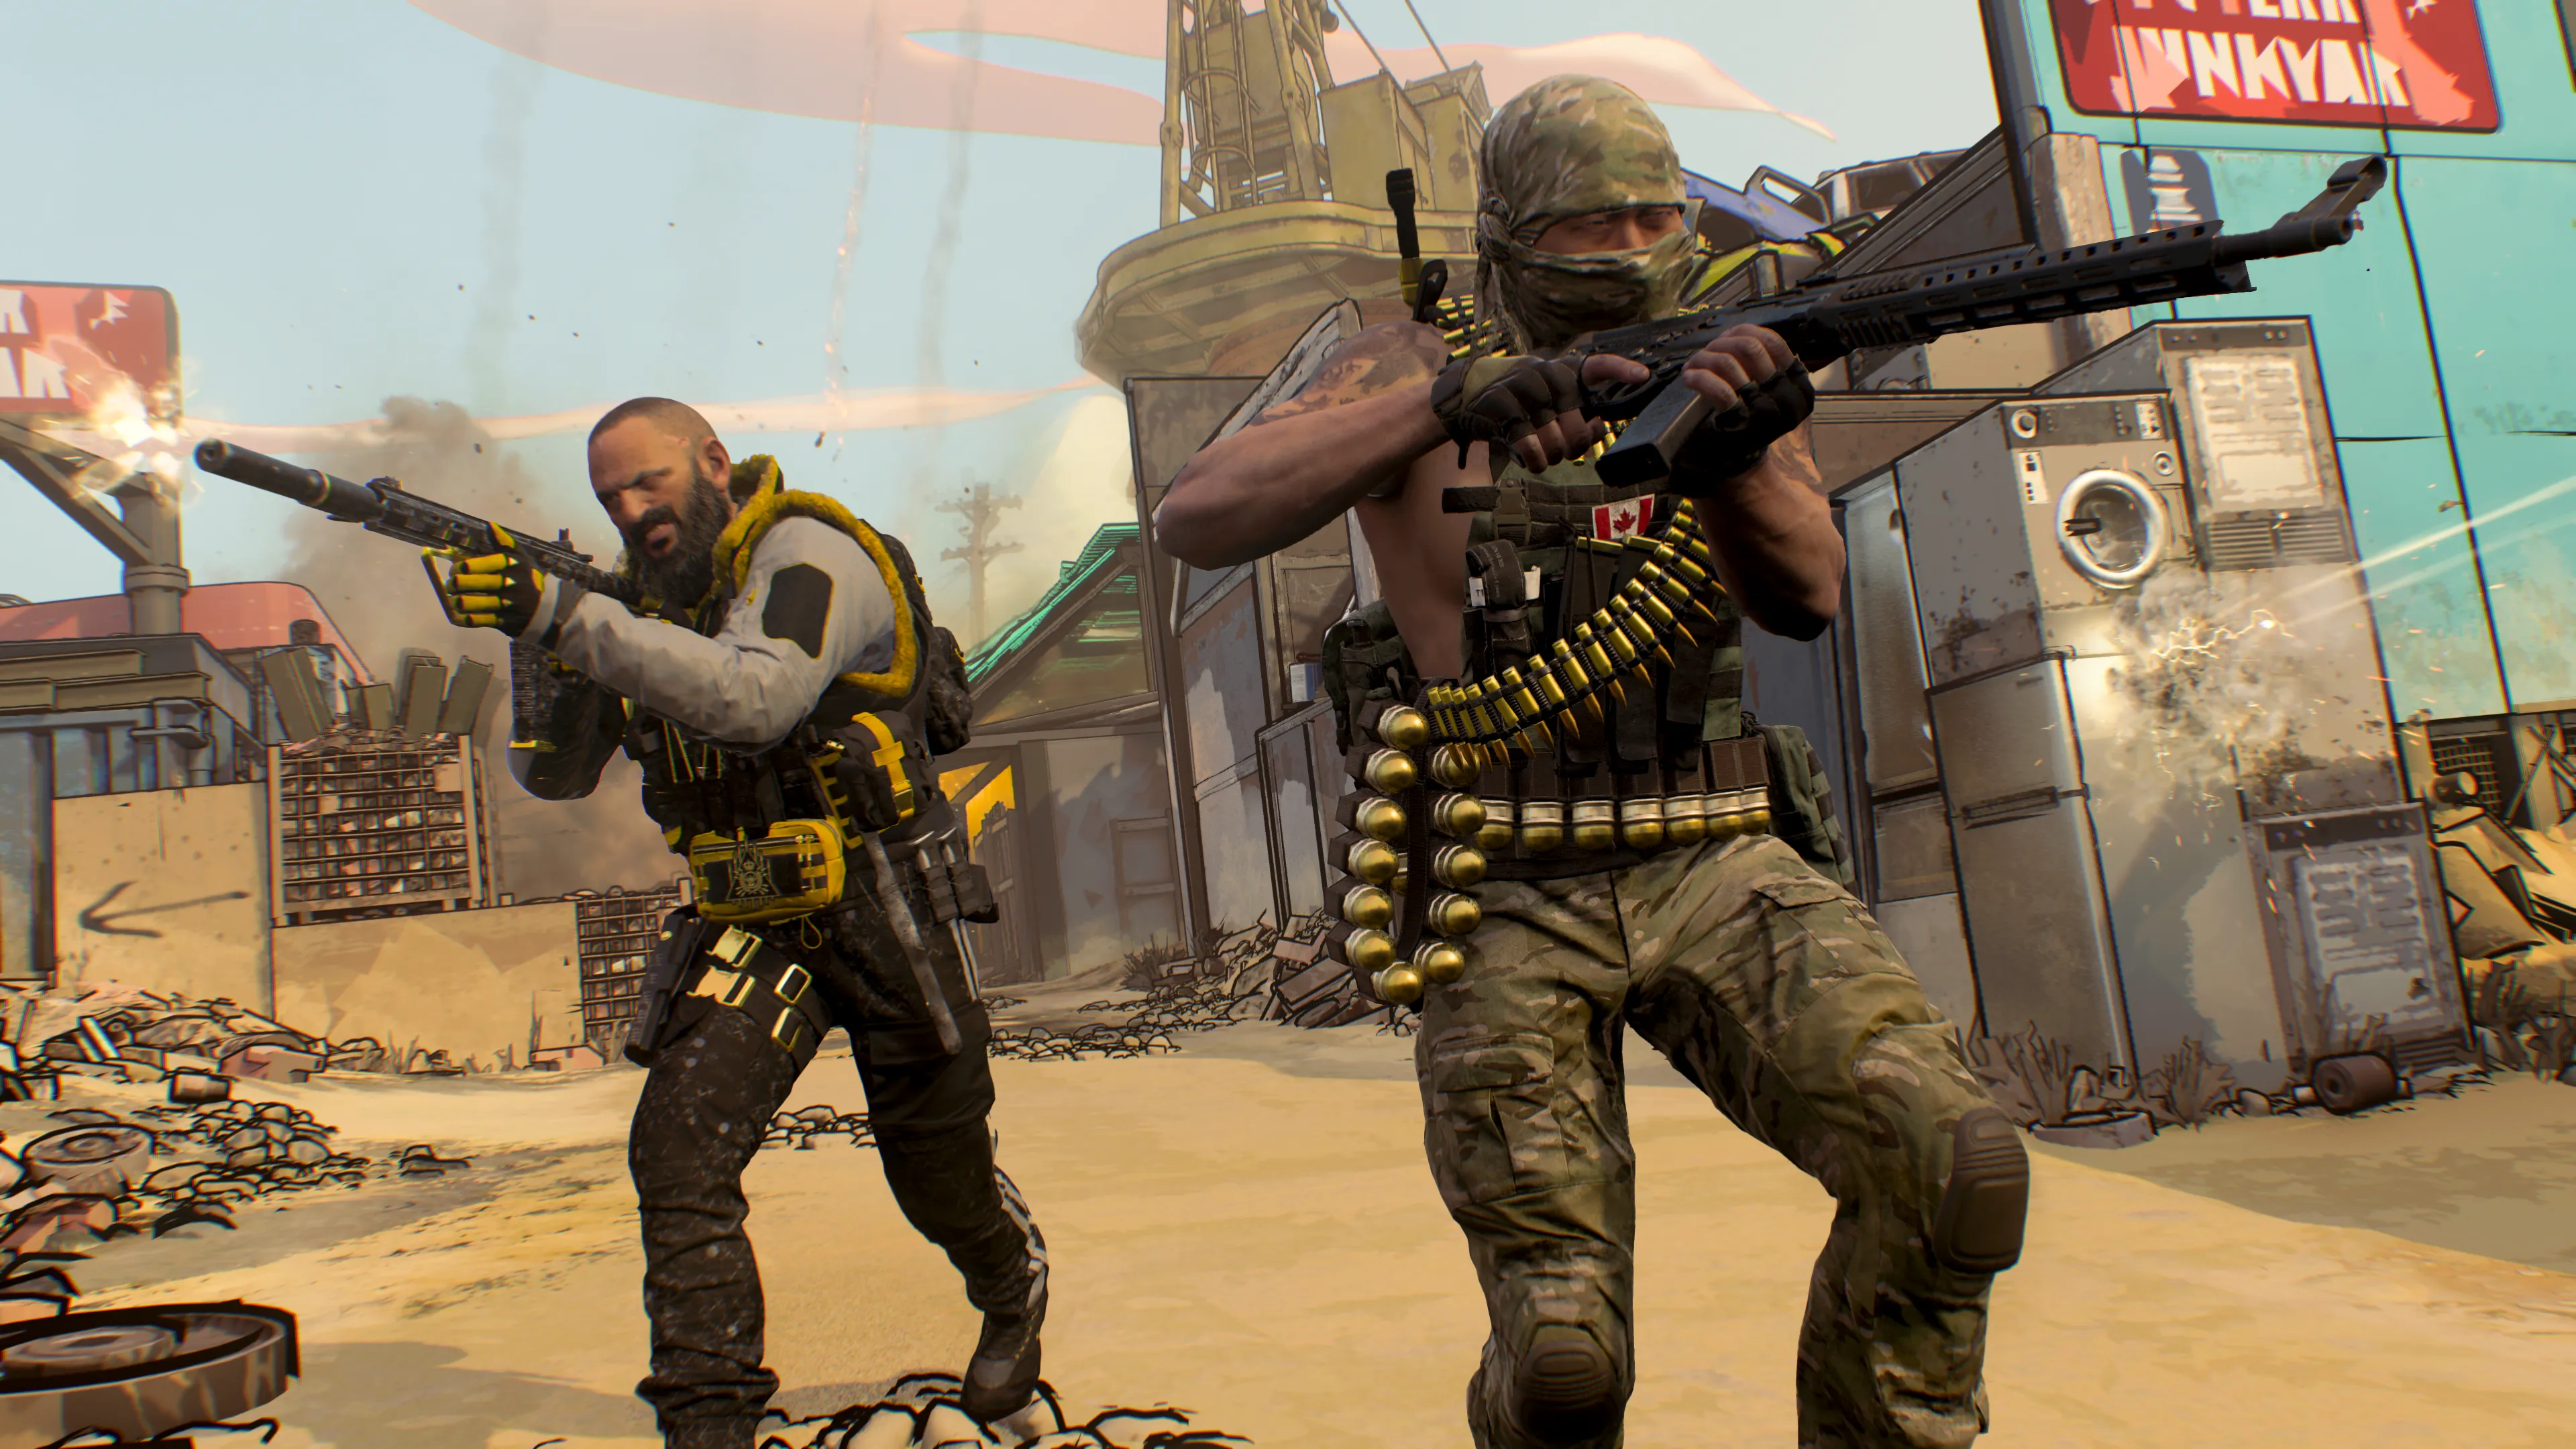
The battle turns to a small section of a junkyard set in the Sonoran Desert, colors popping in its cel-shaded design. A towering crane stands in the middle of the Yard, in and around which Operators will immediately collide at the start of the match. To overcome your enemies, you’ll need to make the most out of every main route and shortcut around it.
Even this confined space lends opportunities for all playstyles. The plentiful mid-sized structures and obstacles create clearly delineated pathways allowing some control over your fights. To get the most out of Yard, let’s now break it down with a map overview plus tips and tricks for clearing out the rubbish.


-
Show areas

-
Show hardpoints

-
Show domination flags

-
Show search & destroy sites
-
Show spawn points

-
Reset all overlays

// INTEL CARD
- MWIII
- WZ
- WZM
Yard
// MULTIPLAYER MAP // CORE
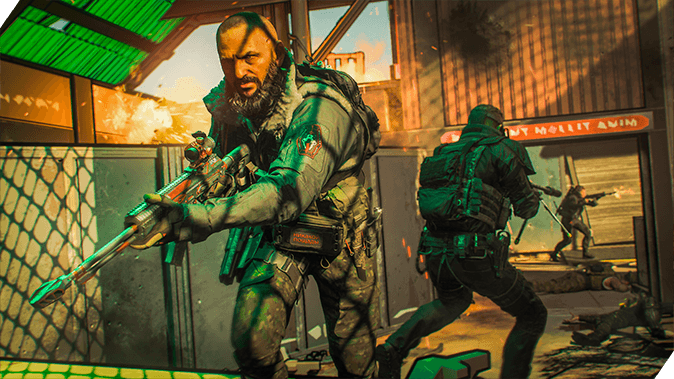
Trust its guts: While there’s no climbing up on the Crane itself, its ground floor interior is well worth exploring. Though constricted, the metal dividing wall at the base helps to reduce the number of sight lines toward your position, with the side room offering a quick escape from incoming grenades. Take in a Shotgun or SMG and blast from the hip, staying always on the move as you lock down the map’s center point.
Hold the line: Small maps like Yard encourage constant conflict, but you don’t always have to run straight into the grinder. When the enemy is pushing your spawn, take position by a well-protected sight line and let them come to you. Retake the offensive once you’ve cleared them out.
Watch the crowd: This applies to the enemy and your own teammates. Look for clusters to flank and to target with your streaks. Stick by allies for the extra coverage but beware of incoming explosives.
Tactical Overview
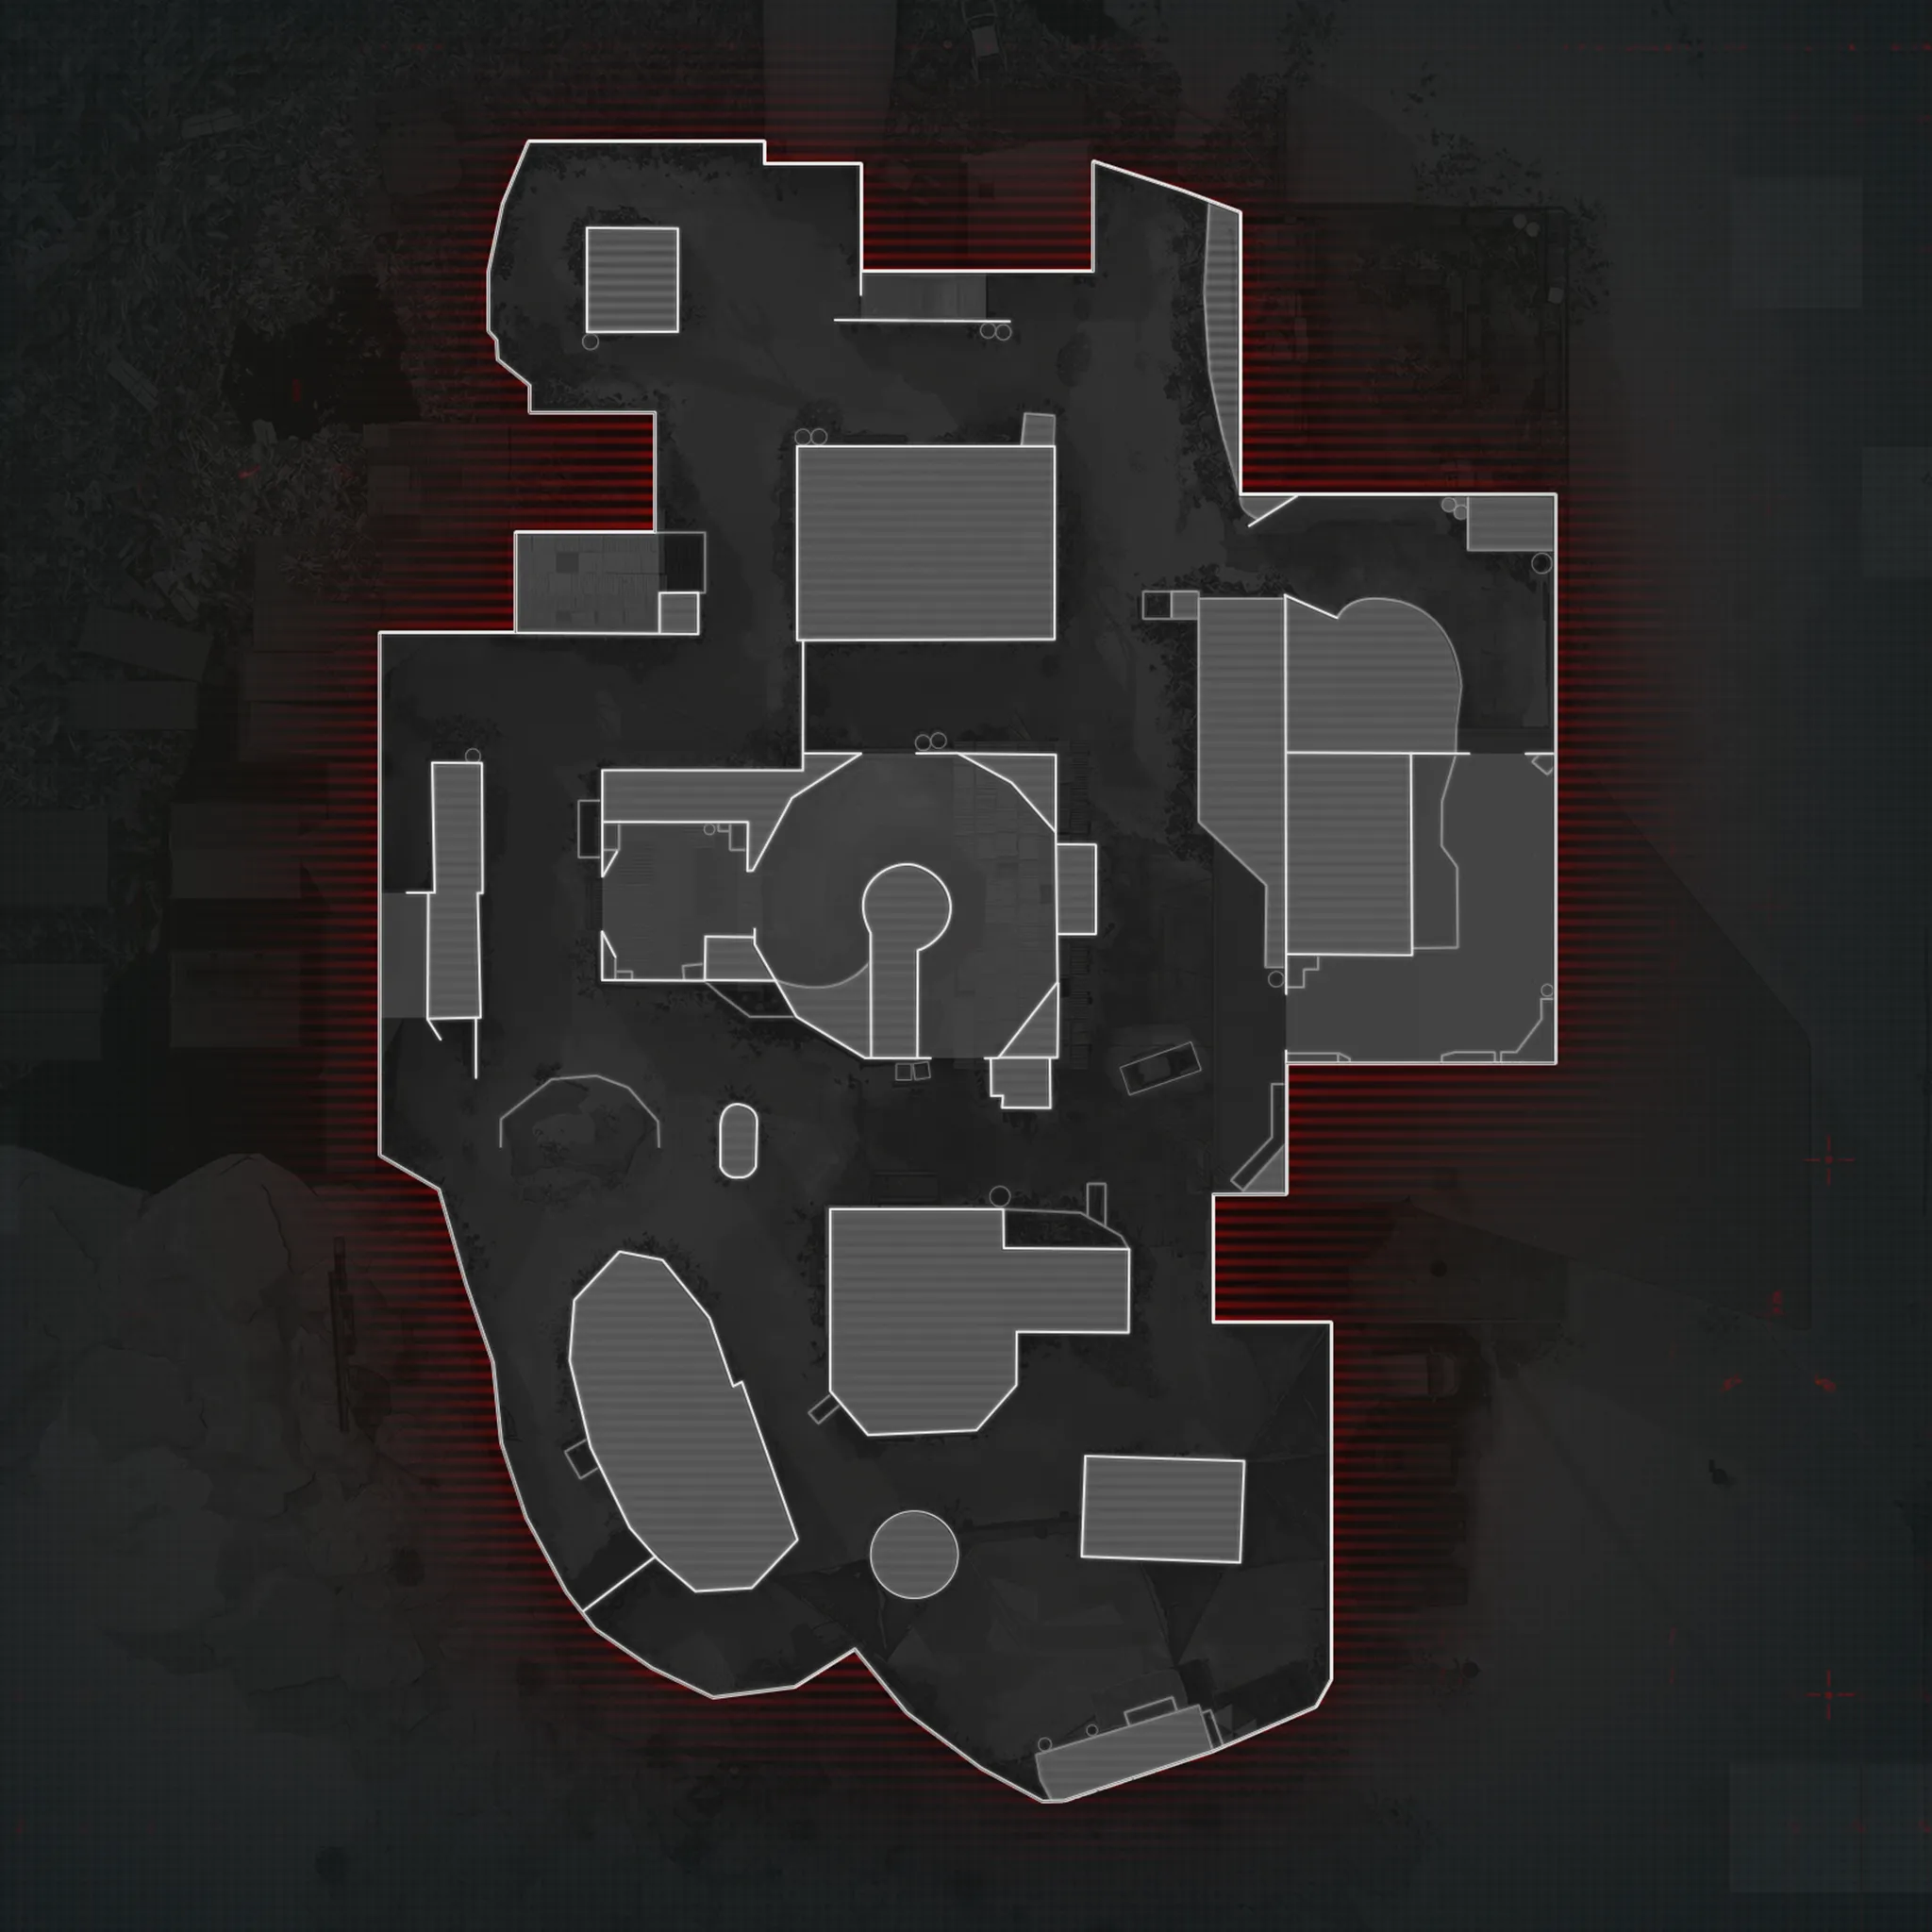
In team-based modes, squads will either spawn by the Junk Heap (north) or the Motorhome (south).
The map pivots around the center Crane, flanked by two main pathways featuring a variety of containers and discarded components.
We’ve divided Yard into three sections based on key areas around the map:
- MAIN SPAWN POINT: Junk Heap (+ Car Crusher)
- MAIN SPAWN POINT: Motorhome (+ Boulders)
- ADDITIONAL AREA: Crane (+ Containers, Oil Tanks, Car, Vault Over)
MAIN SPAWN POINT: Junk Heap (NORTH)
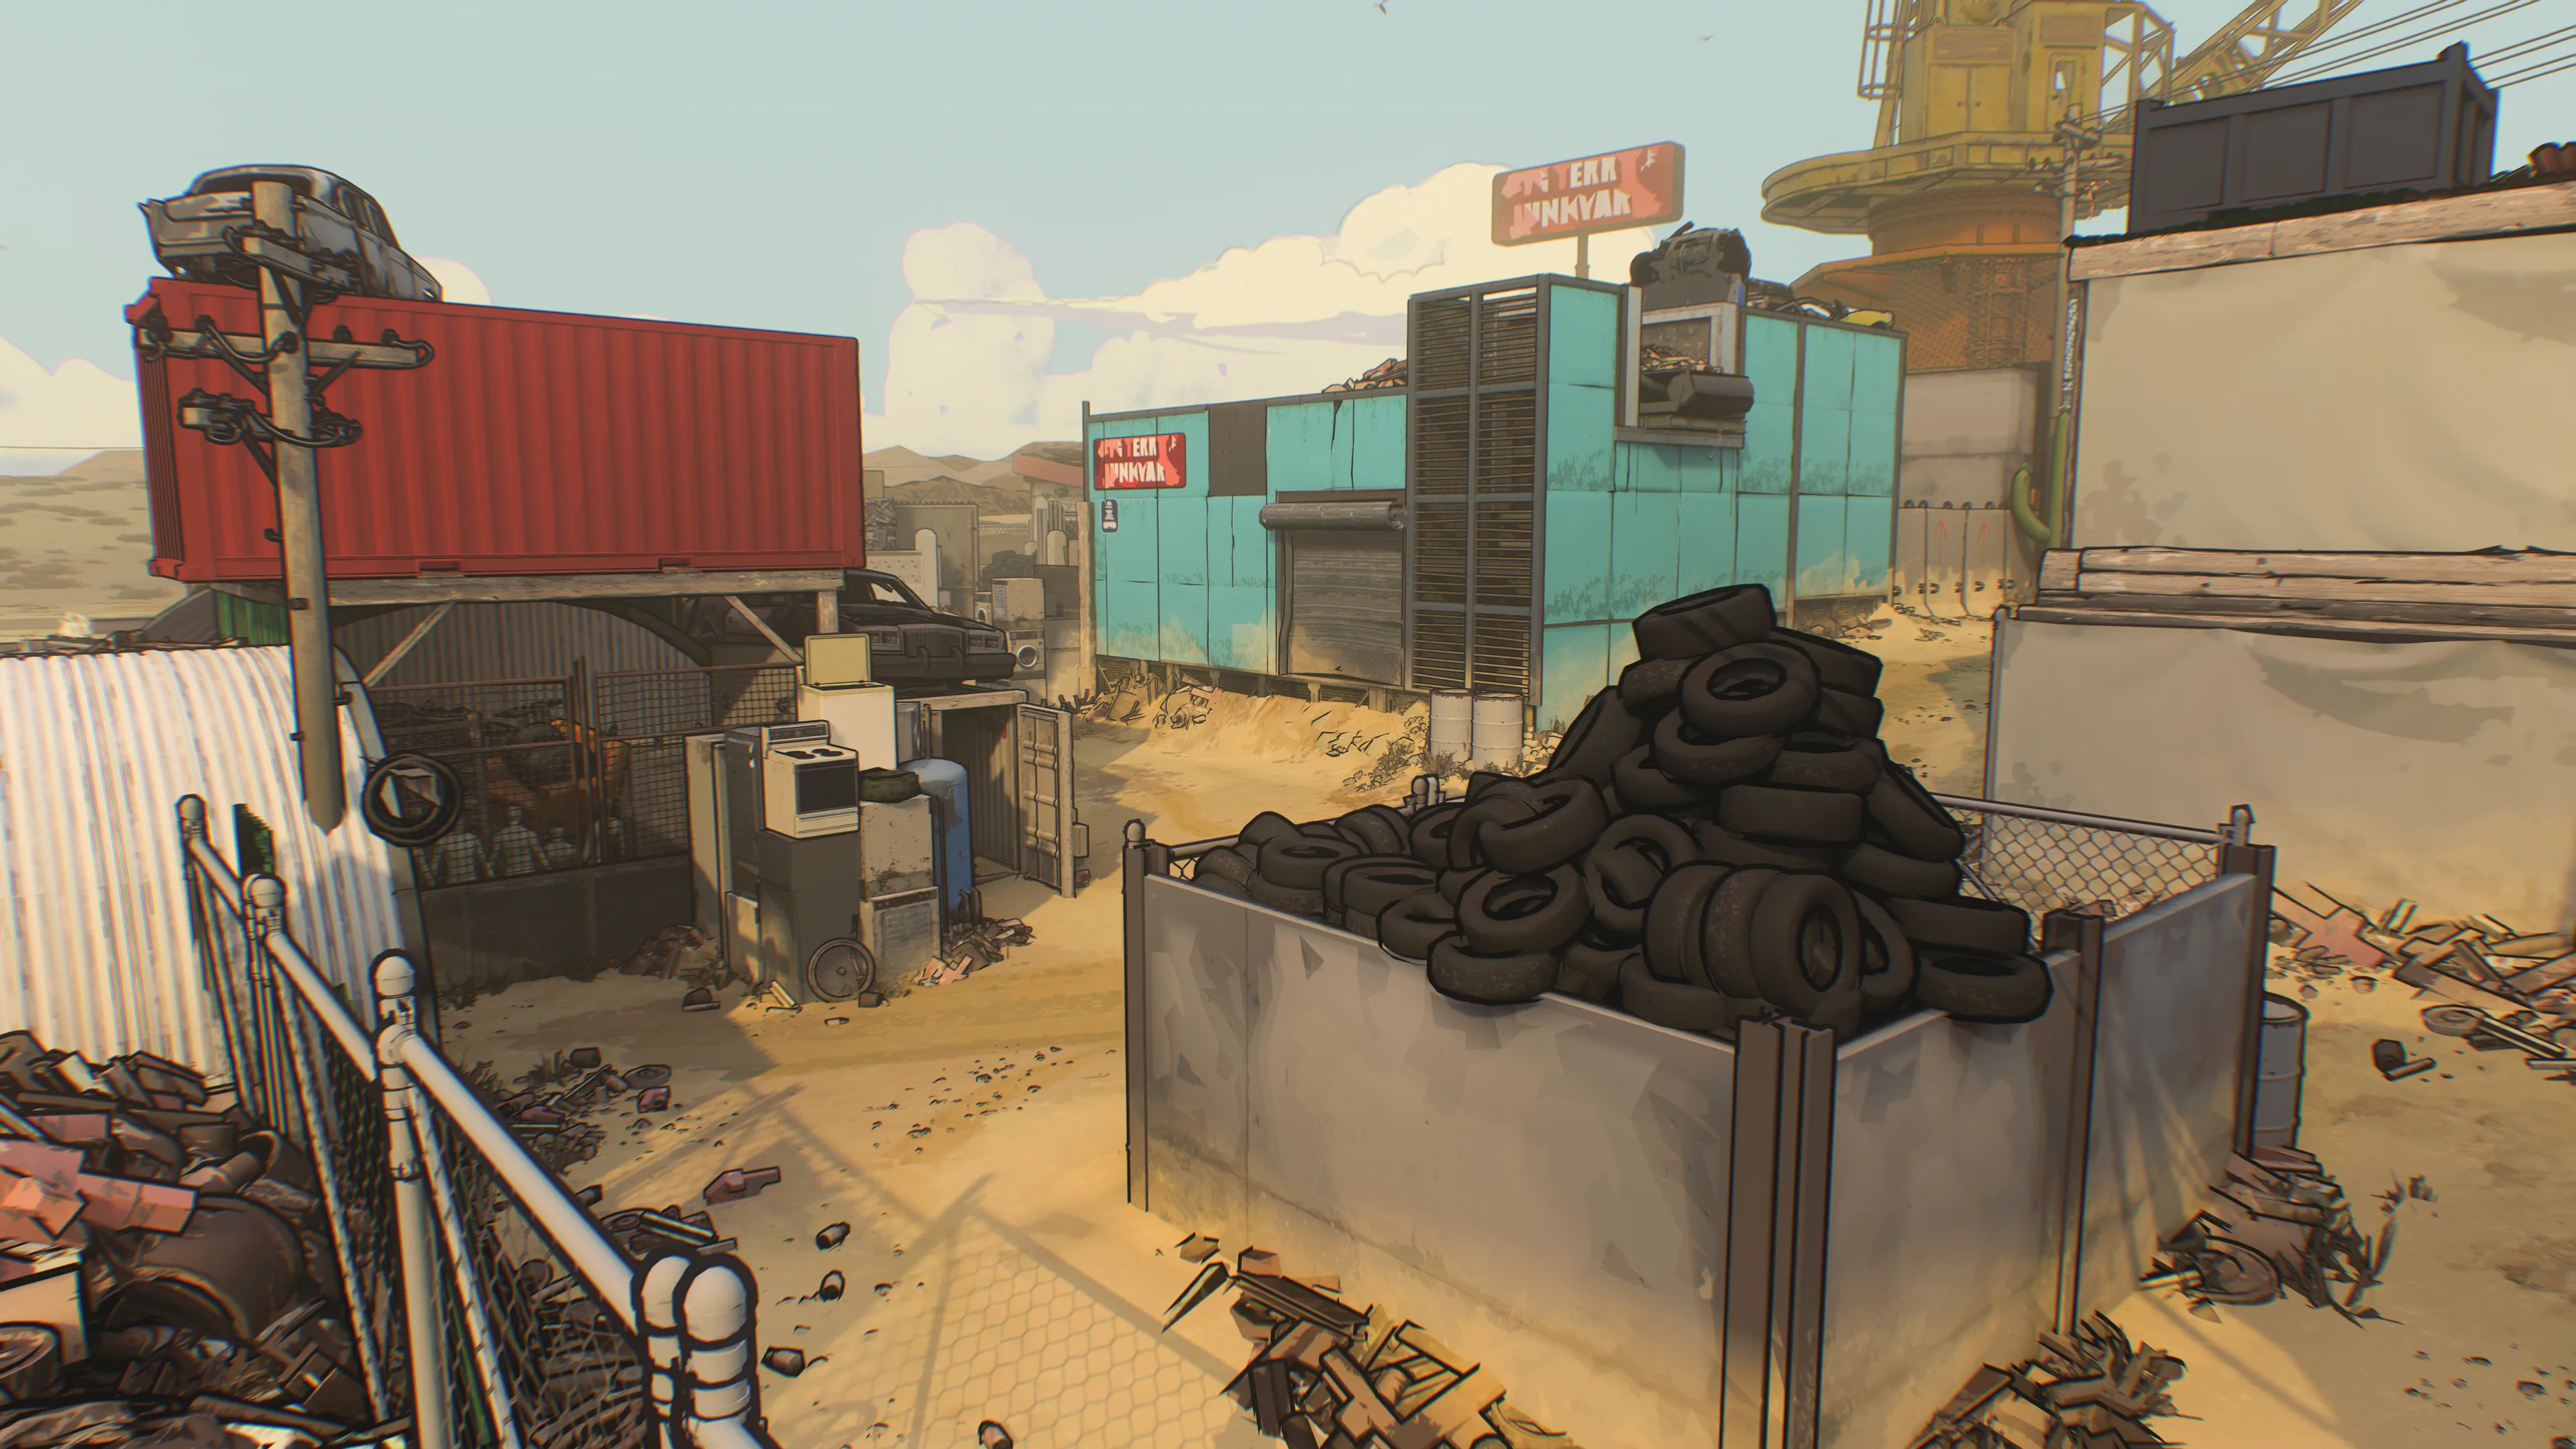
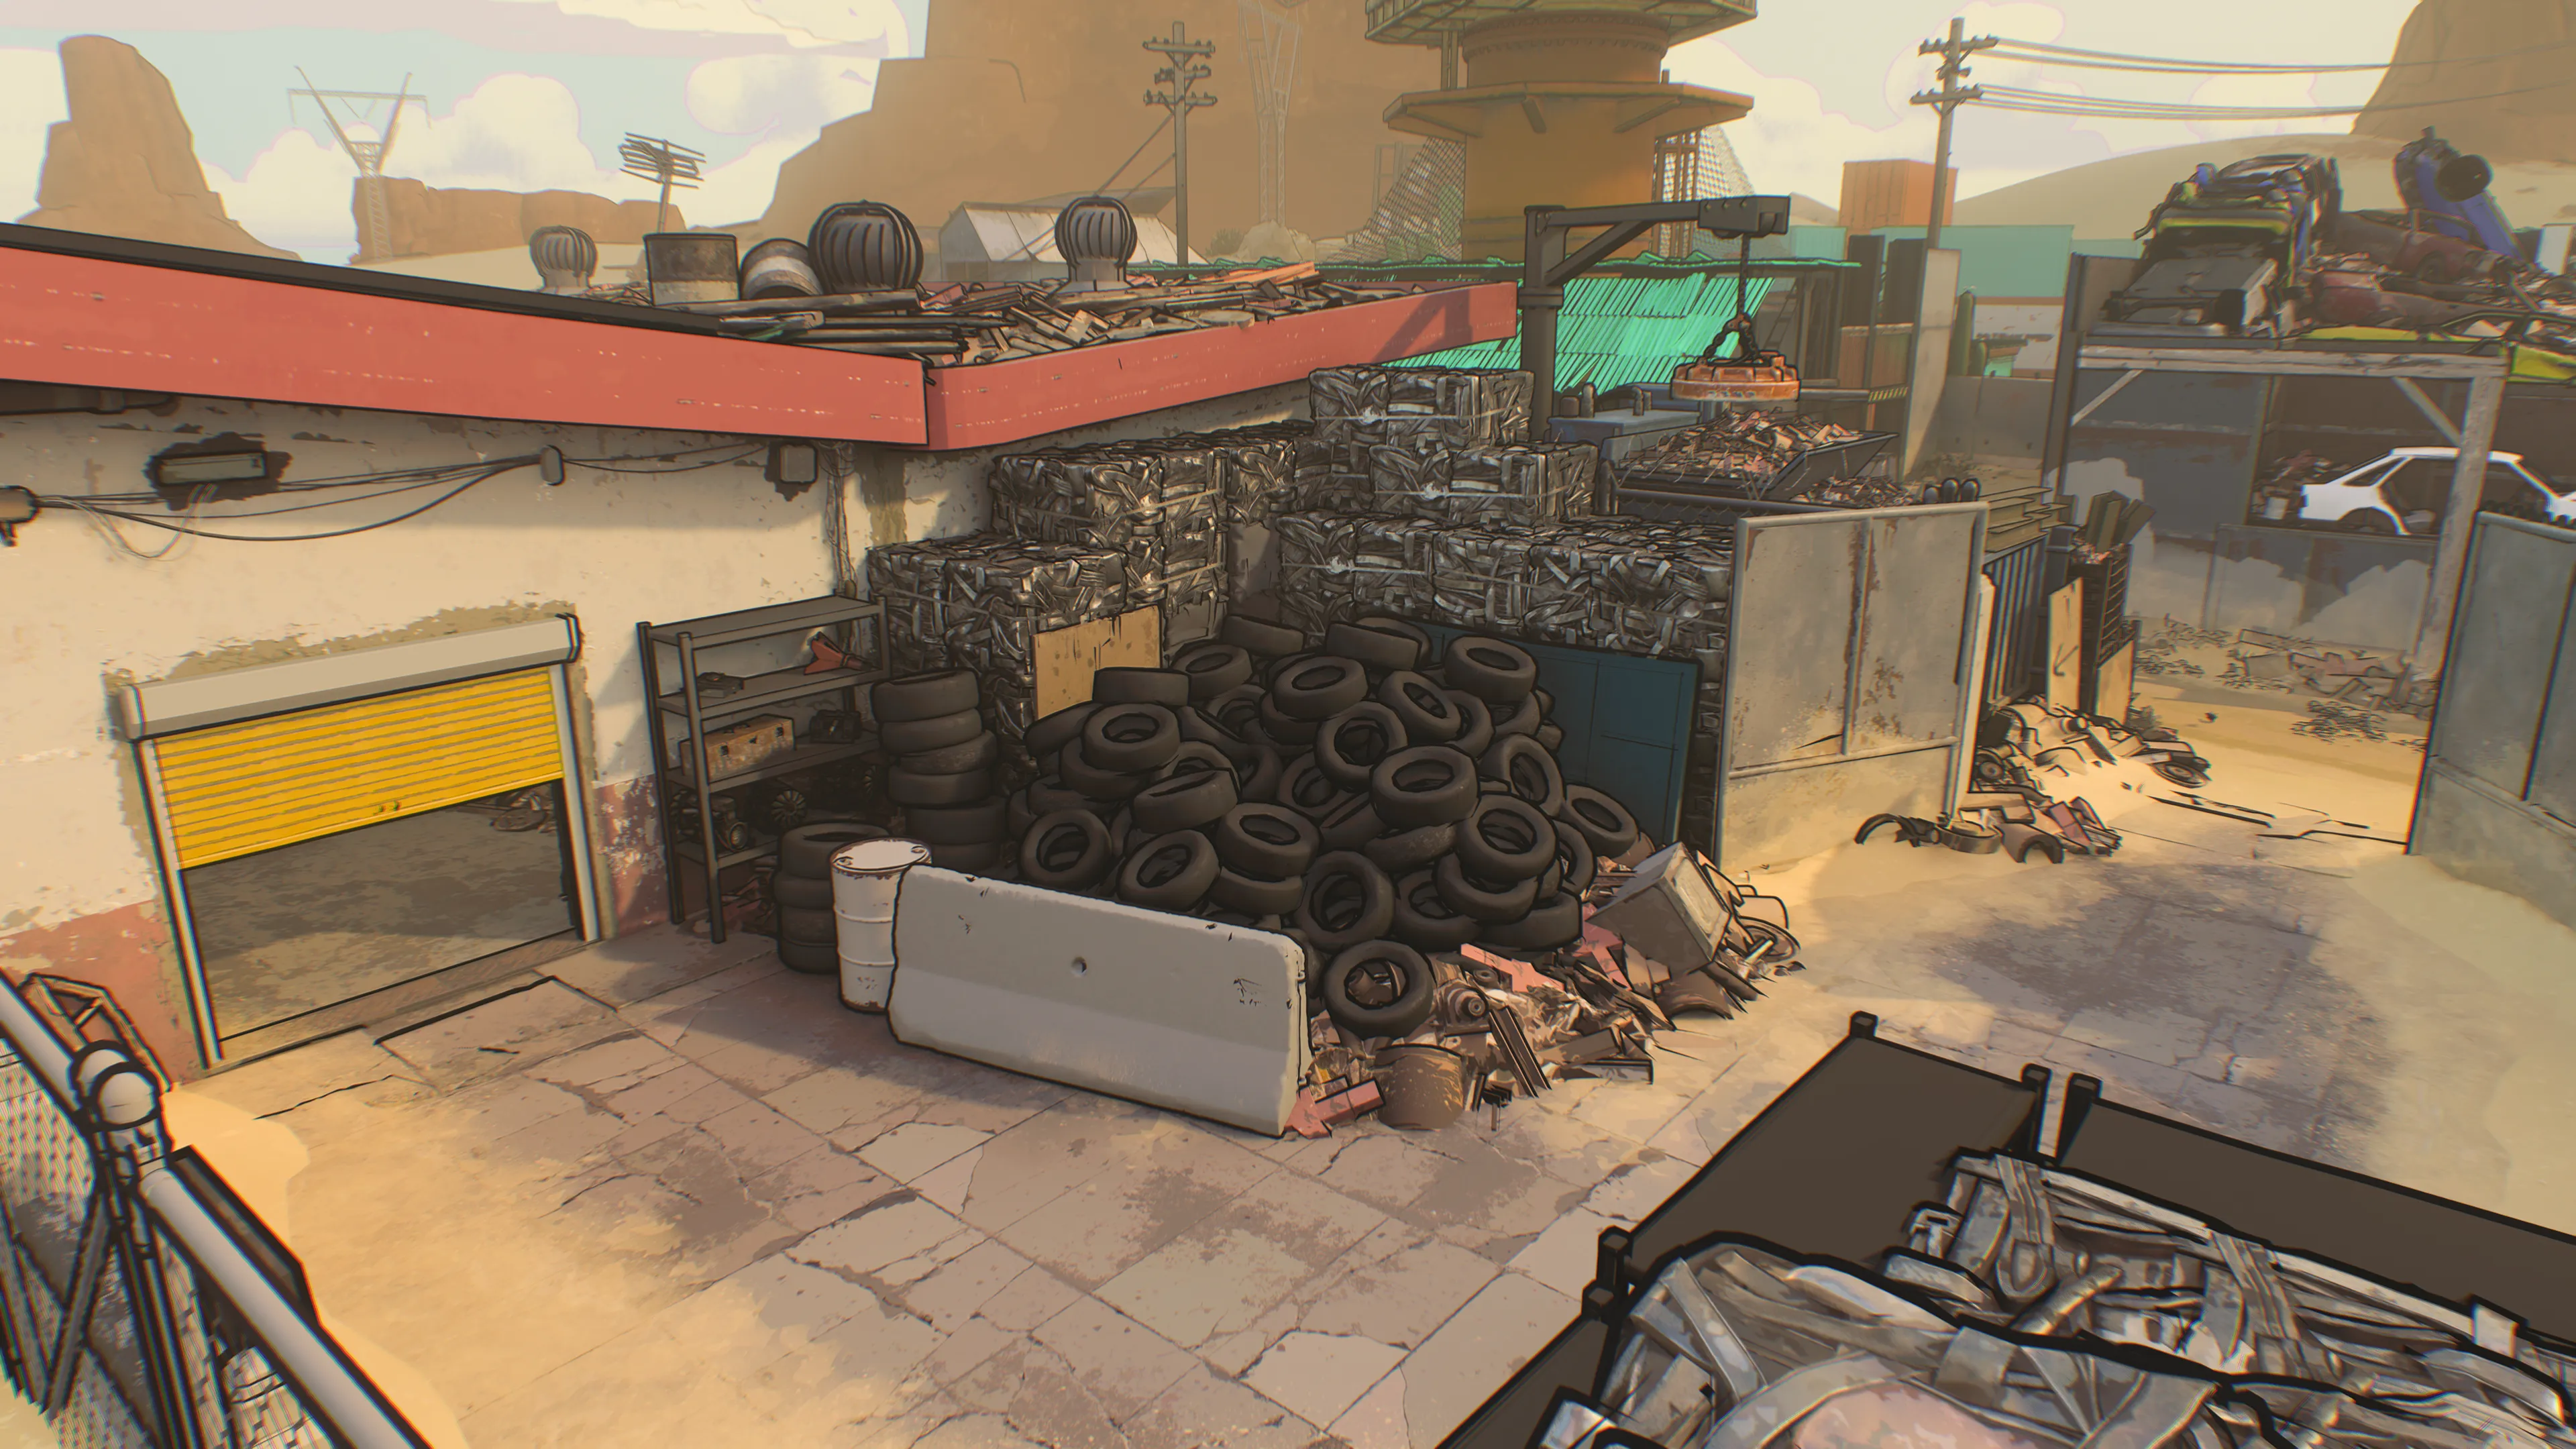
Junk Heap and the adjoining Car Crusher form the map’s north end. Heaps of salvaged vehicles can be seen over the fence marking the outer boundary. On the Junk Heap side, the enclosed tires and the stack of old appliances offer some cover over the split path ahead. Move down the map to quickly reach a green shed with an opening looking clear over the west path.
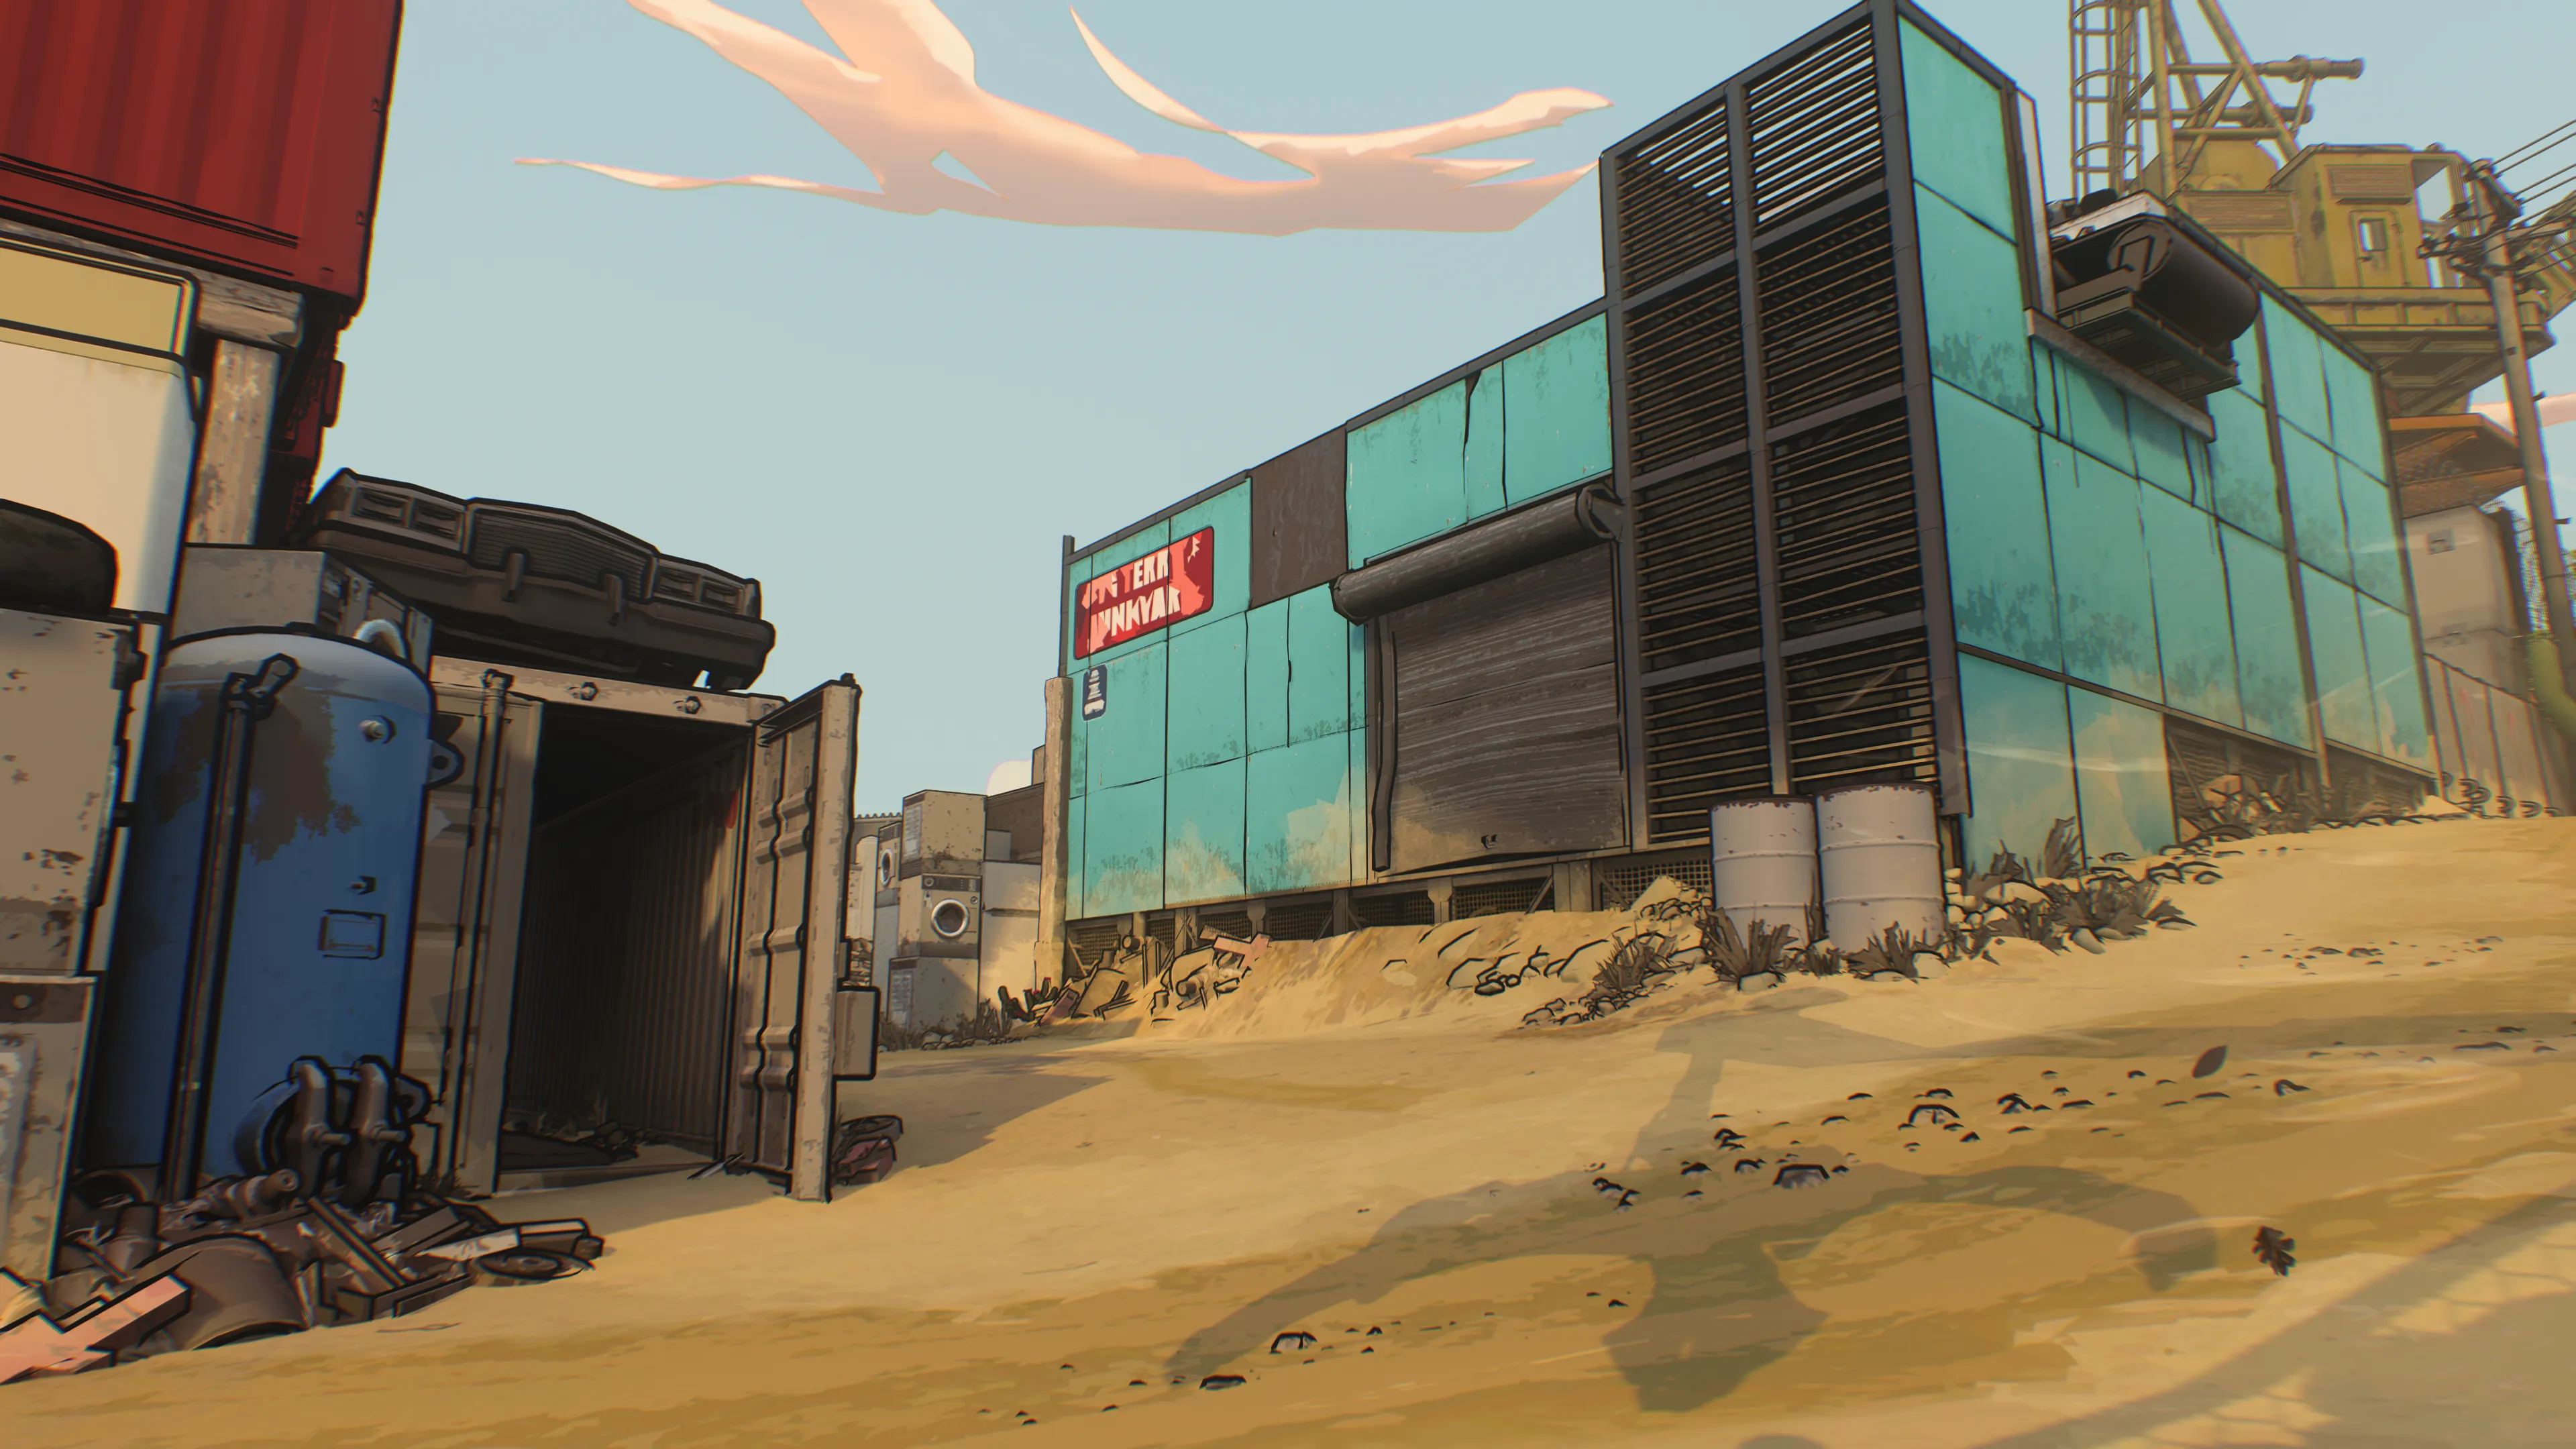
The short middle section connecting the two areas marks an important passage. Move through the open container for greater cover and concealment and watch for enemies doing the same when entering the area. When defending against attacks from down the map, the green wall offers great cover with quick access to both main paths.
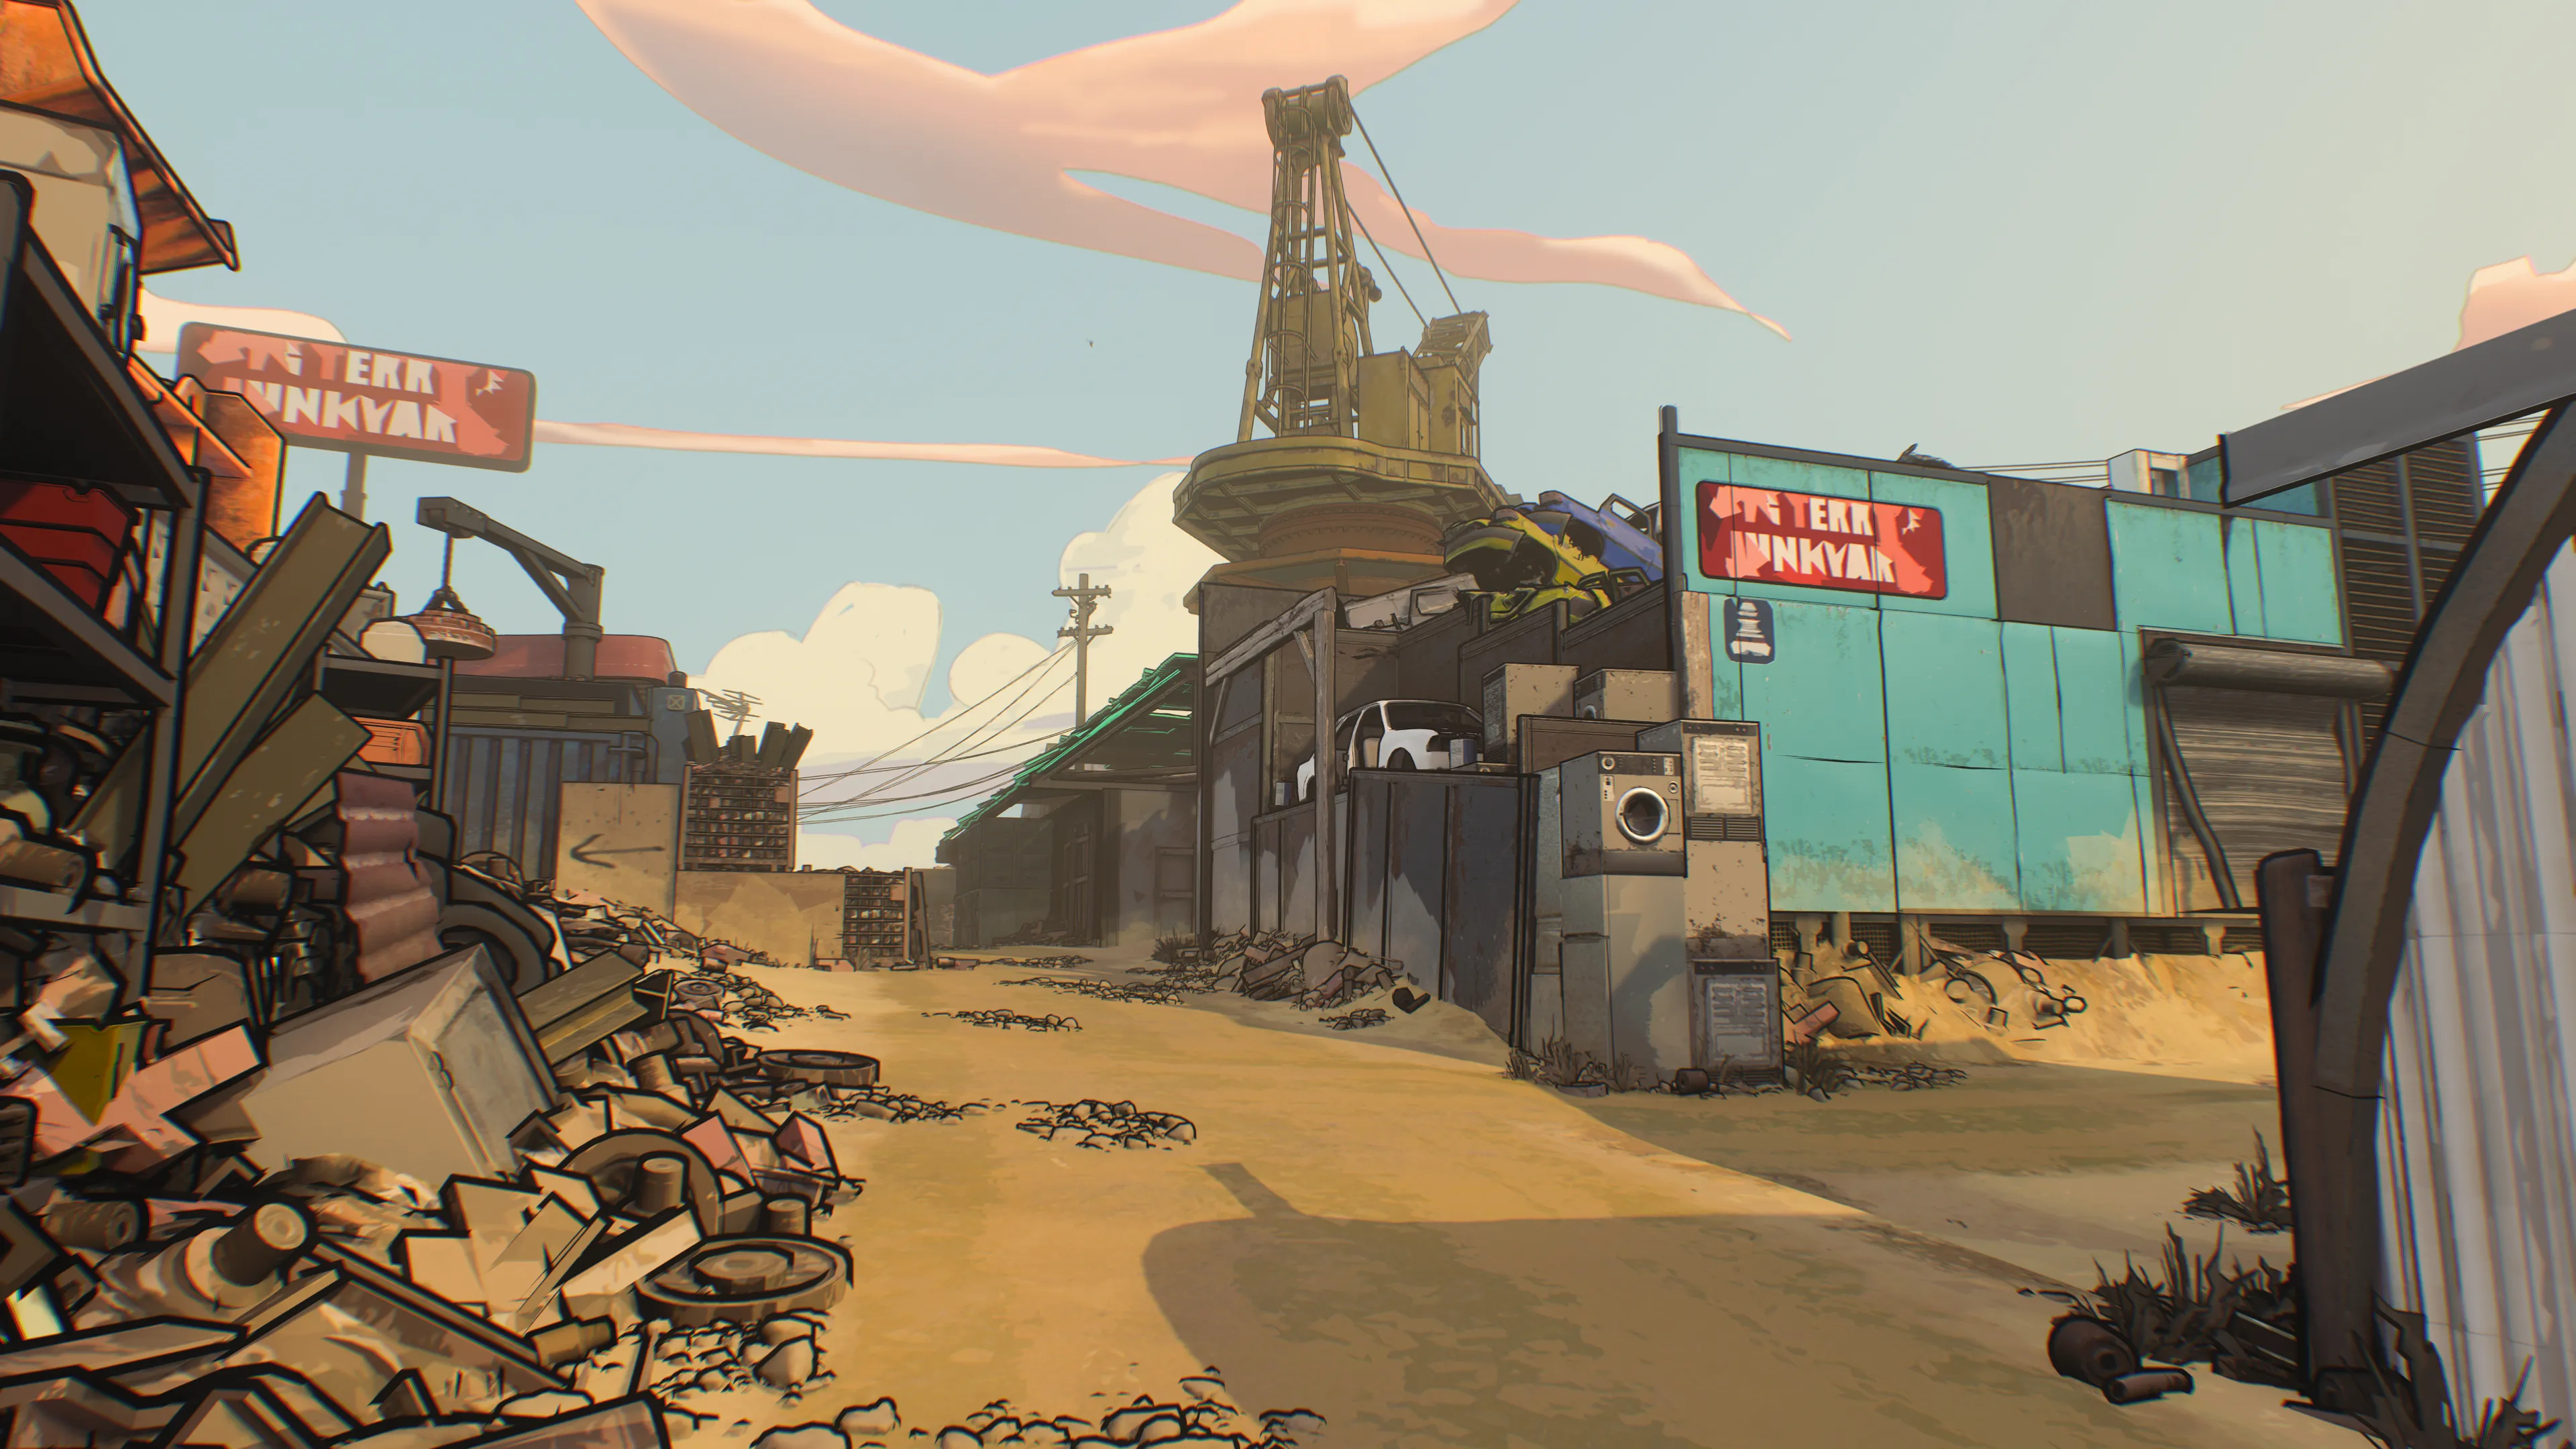
Car Crusher is on open ground with little cover, a pivot point turning toward the Crane with the option to extend out through the Garage. The waist height crate offers essential cover when moving up toward Car; you can get behind the Crane from here by moving to the right, rushing into its base or vaulting over the wall to the other main path.
MAIN SPAWN POINT: Motorhome (SOUTH)
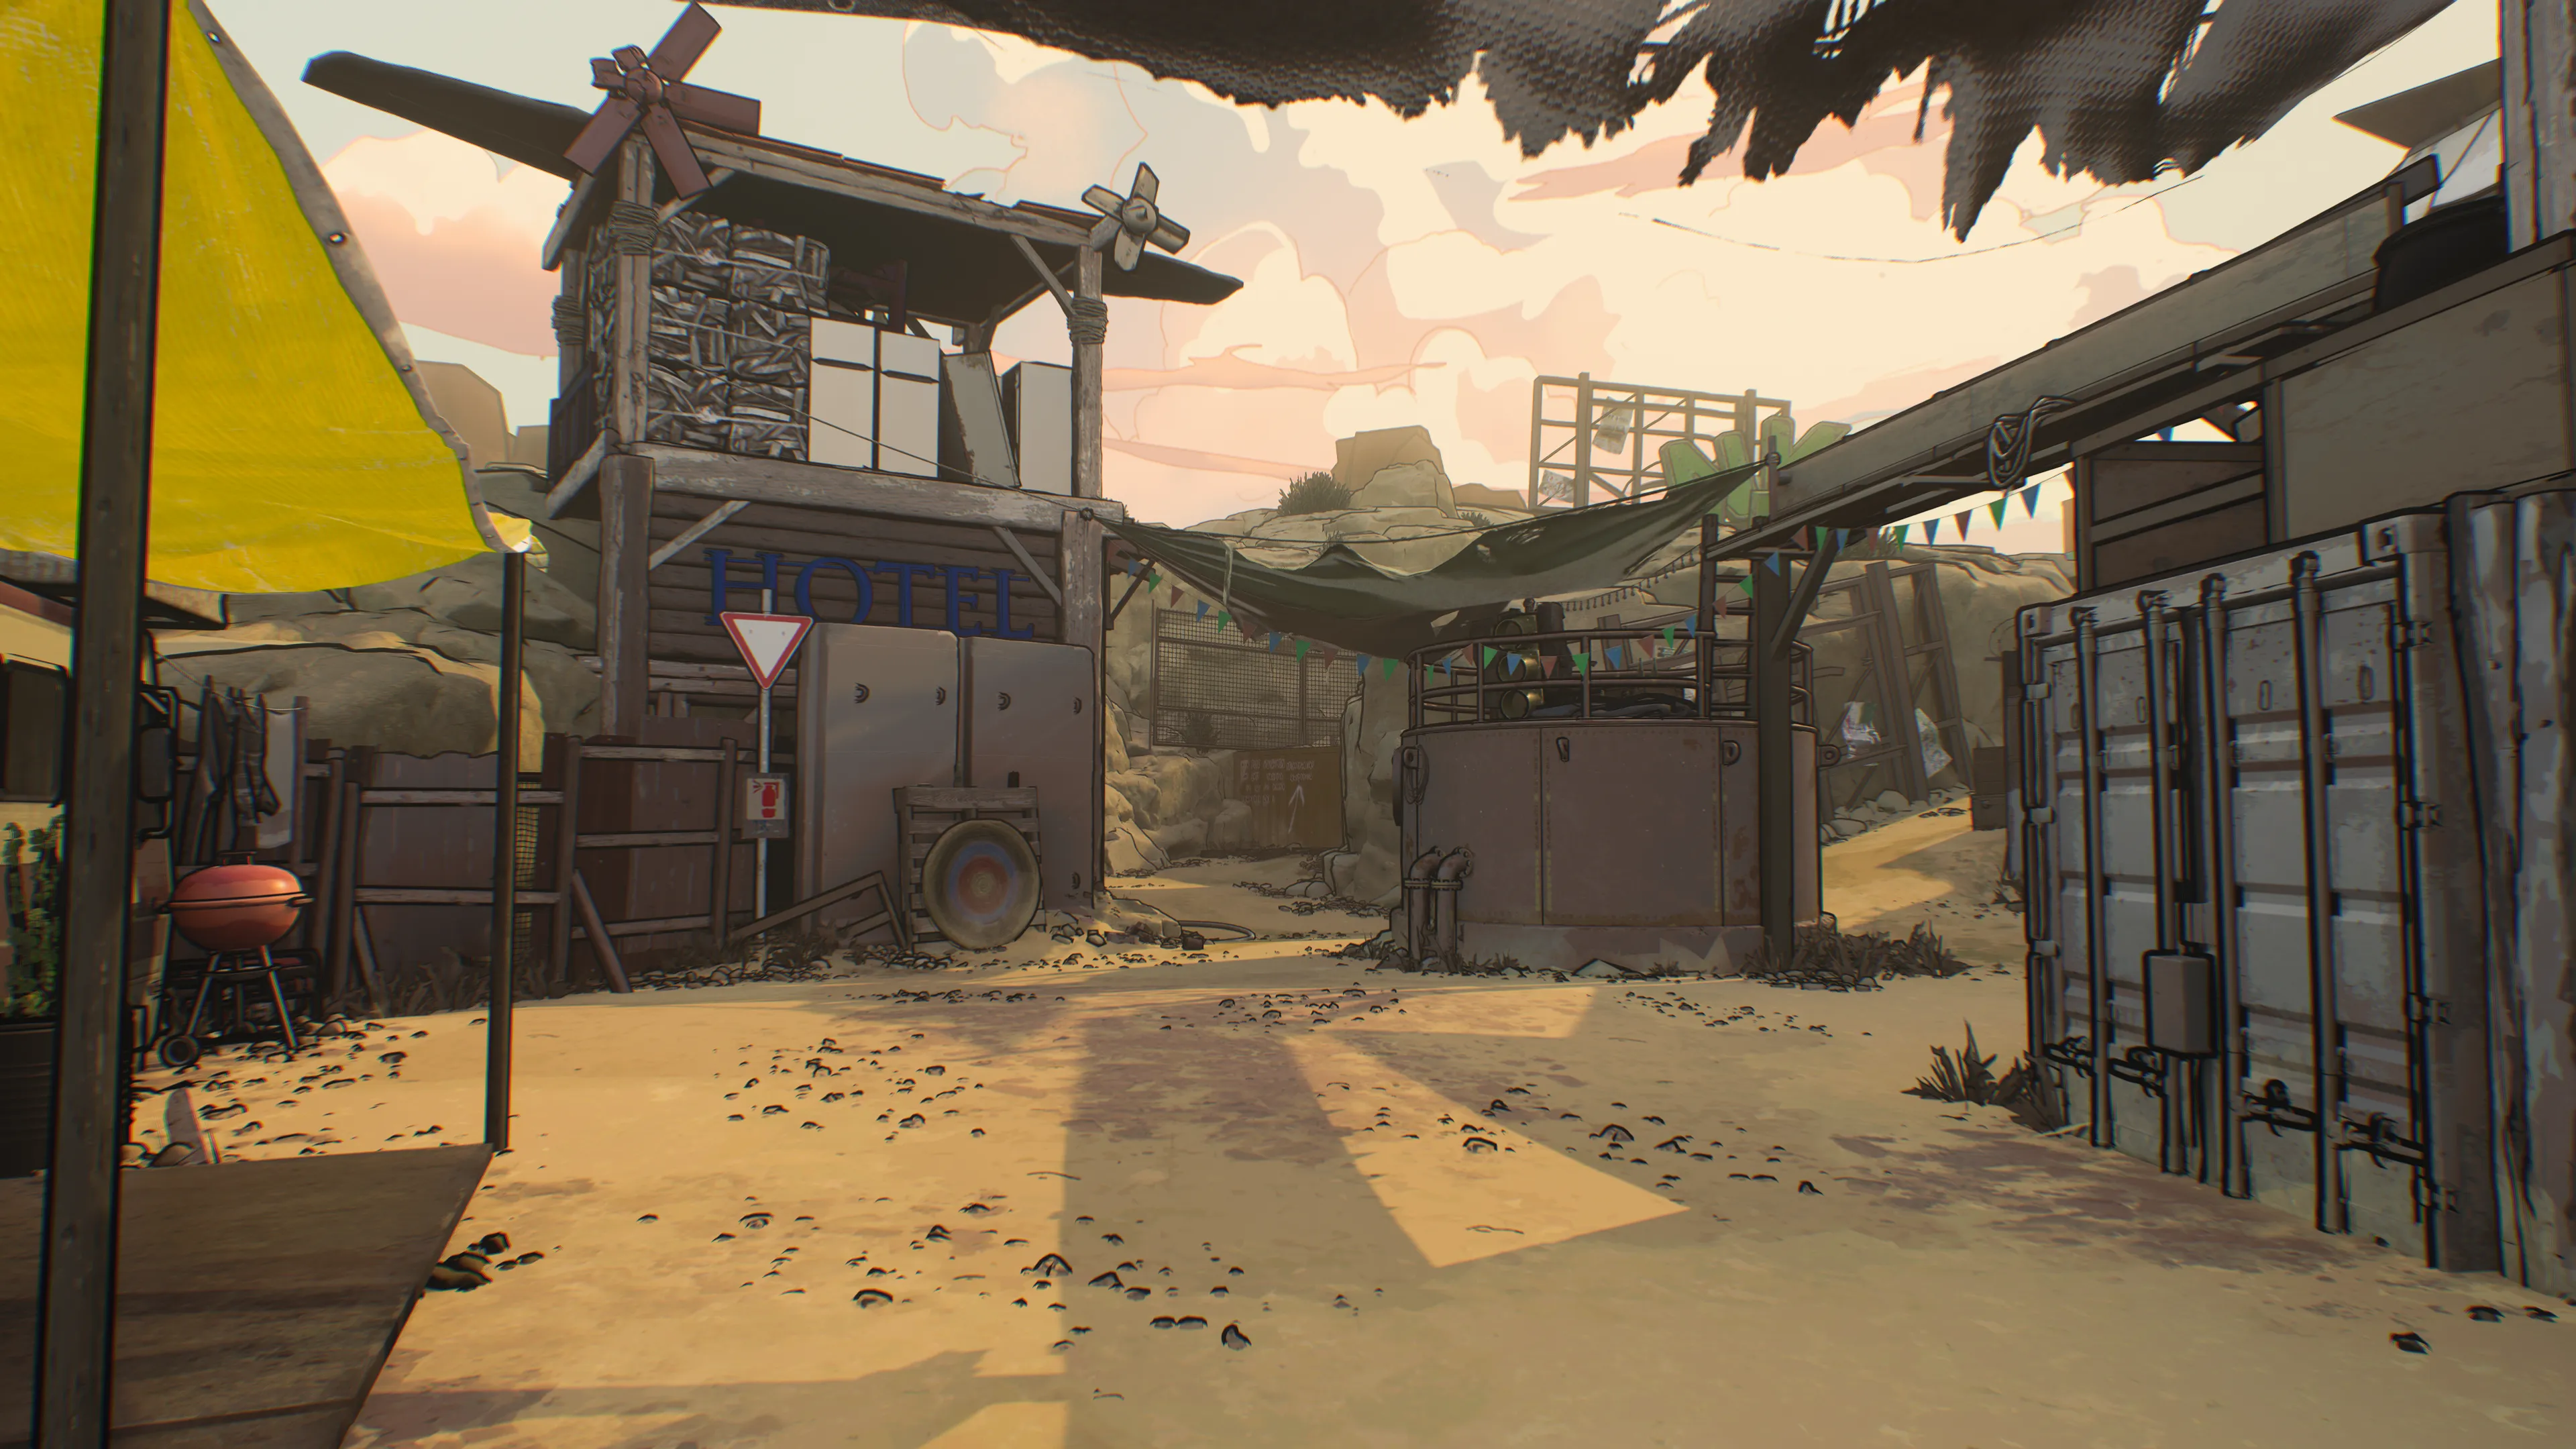
The Motorhome spawn is more sprawling than its northern counterpart, littered with mid-sized objects that can obstruct your view of incoming enemies. Stay near the tank and storage shed when defending the area for an easy move back into cover when needed; pop back out when you’re healed up or reposition to attack from another angle.
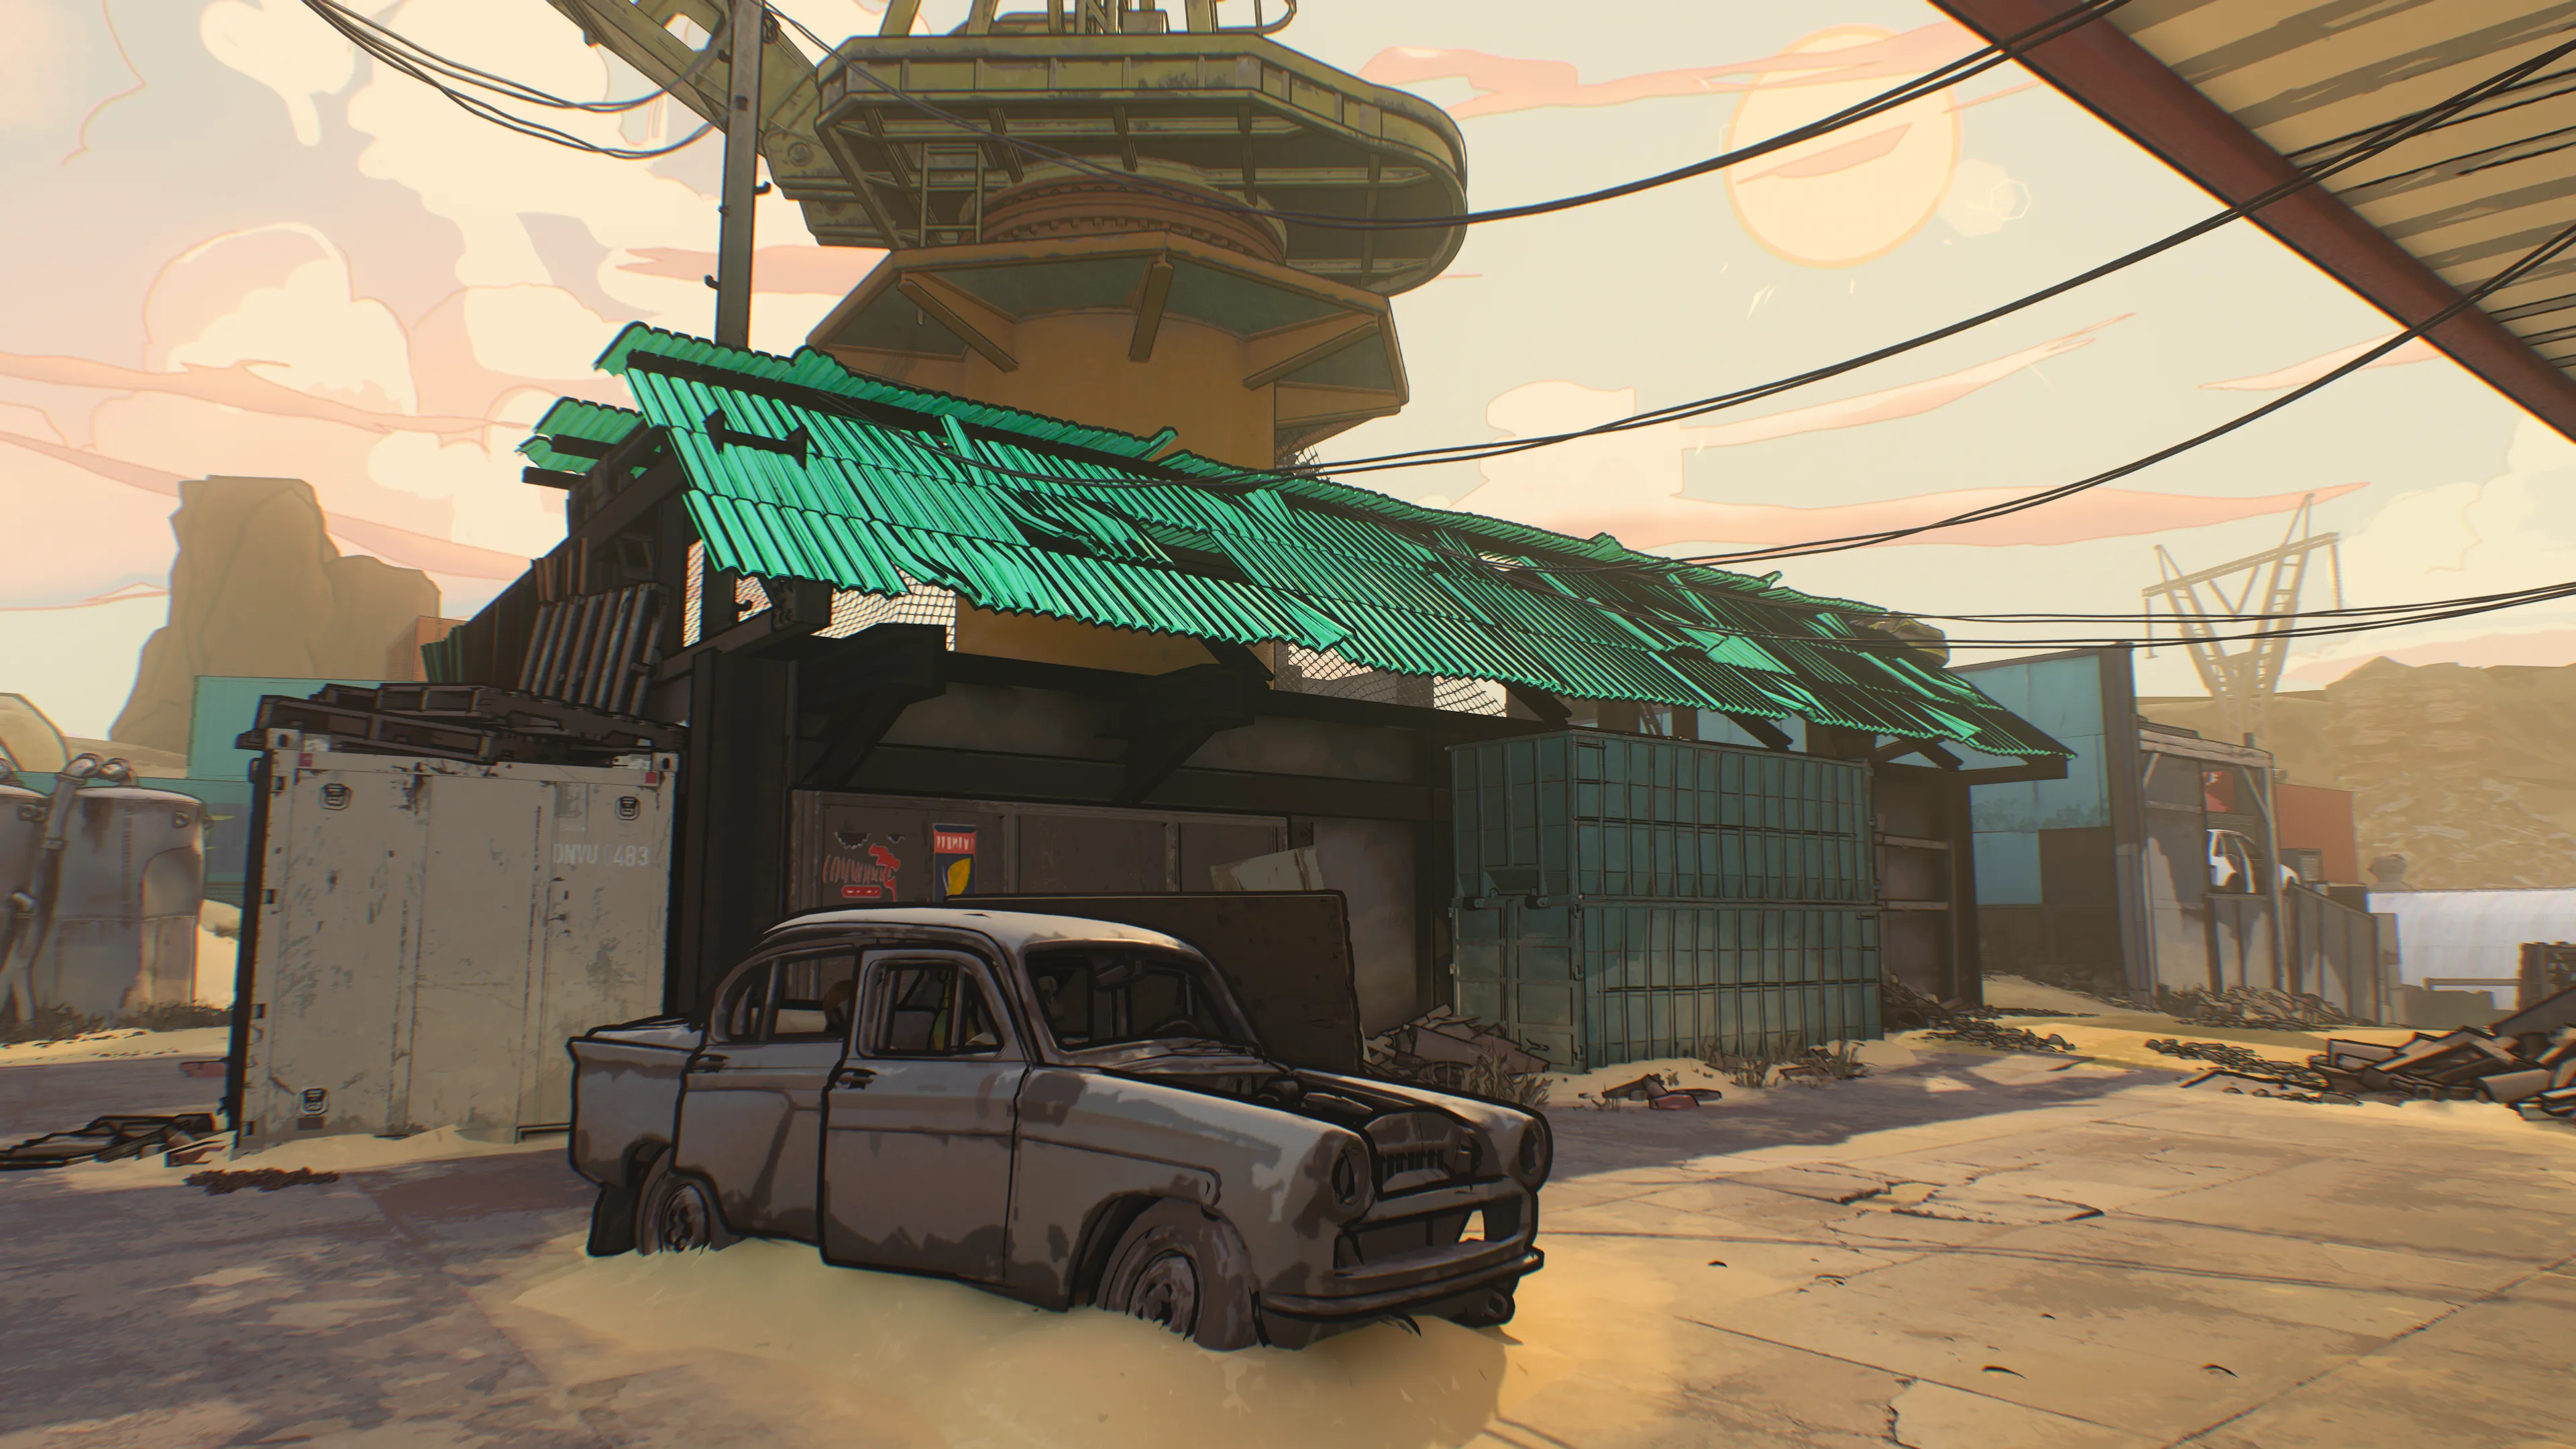
There are three paths forward here, the rightmost leading up to Car where shootouts are bound to erupt against enemies moving up from the opposite lane. Again, the Garage offers a useful flanking point here; remember to slide through the yellow door for a speedy attack or stay within the Garage and defend if you suspect the enemy plans on meeting you along the same route.
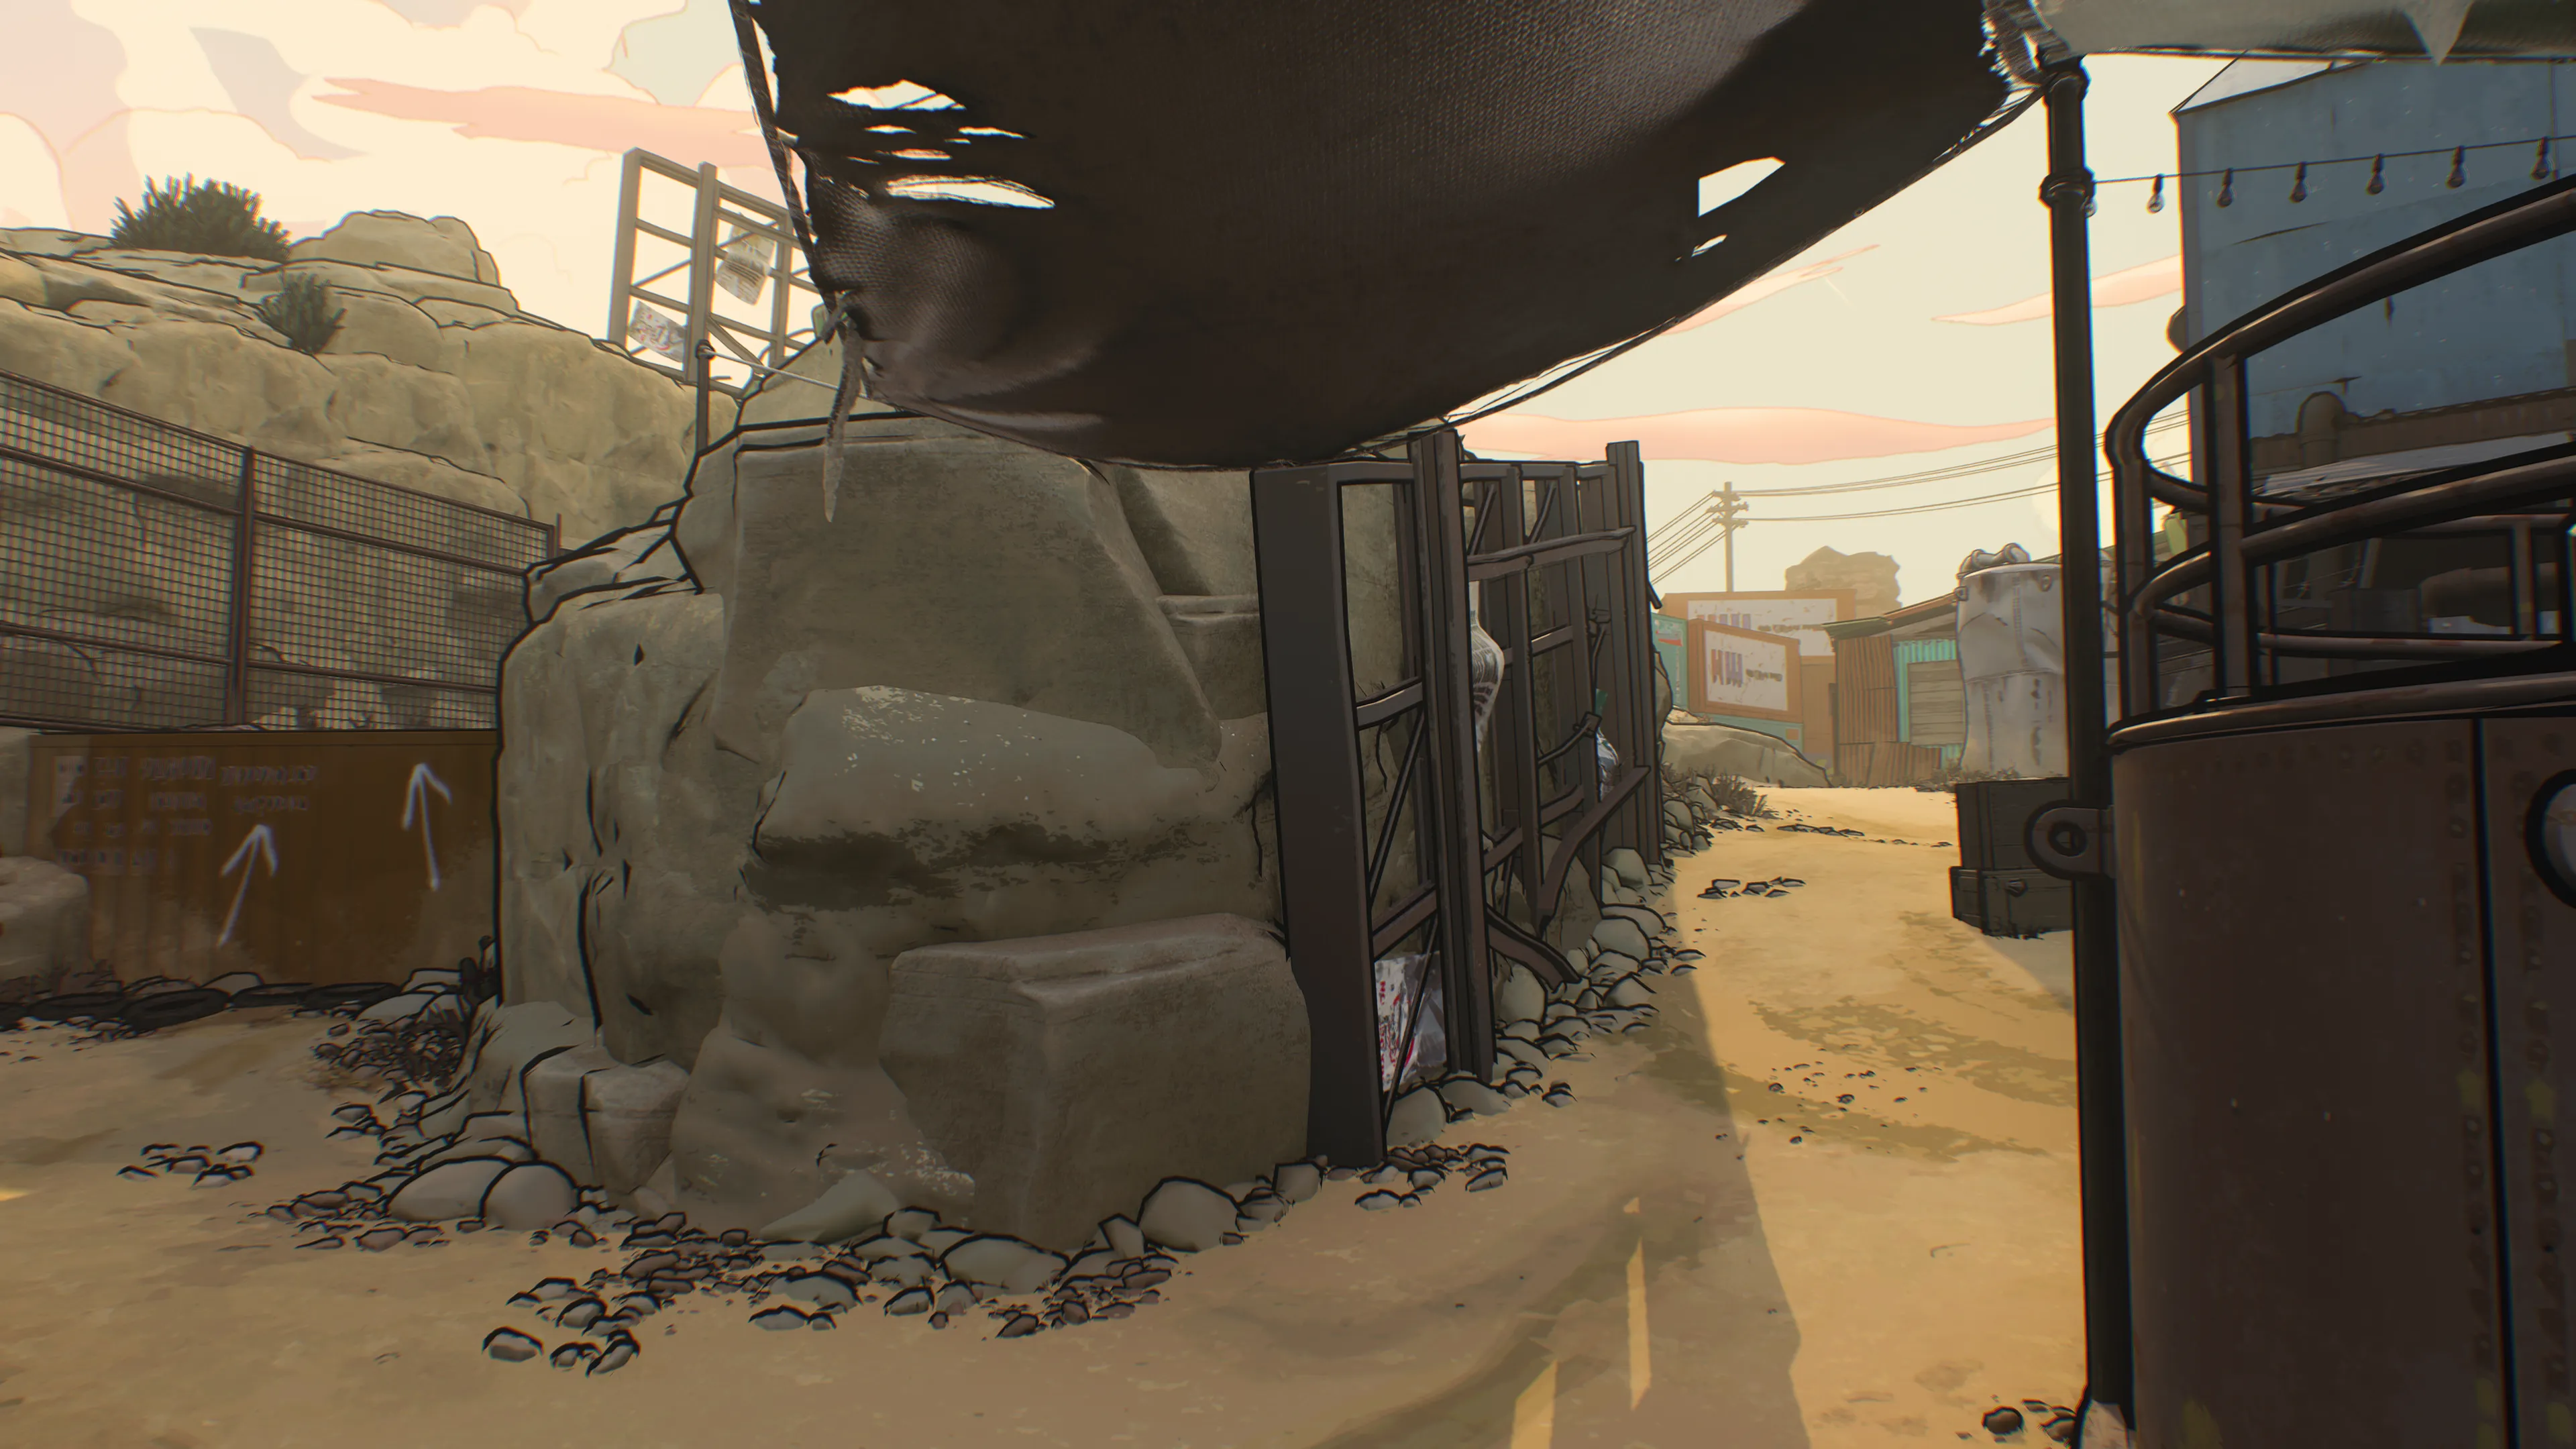
There are two pathways to the left side of the map, each offering different tactical advantages. Take the middle path for quicker access into the base of the Crane and to retain some concealment against the long sight line of the leftmost path, the rocky ledge blocking views from the container and the corner Crane building blocking the far window vantage point.
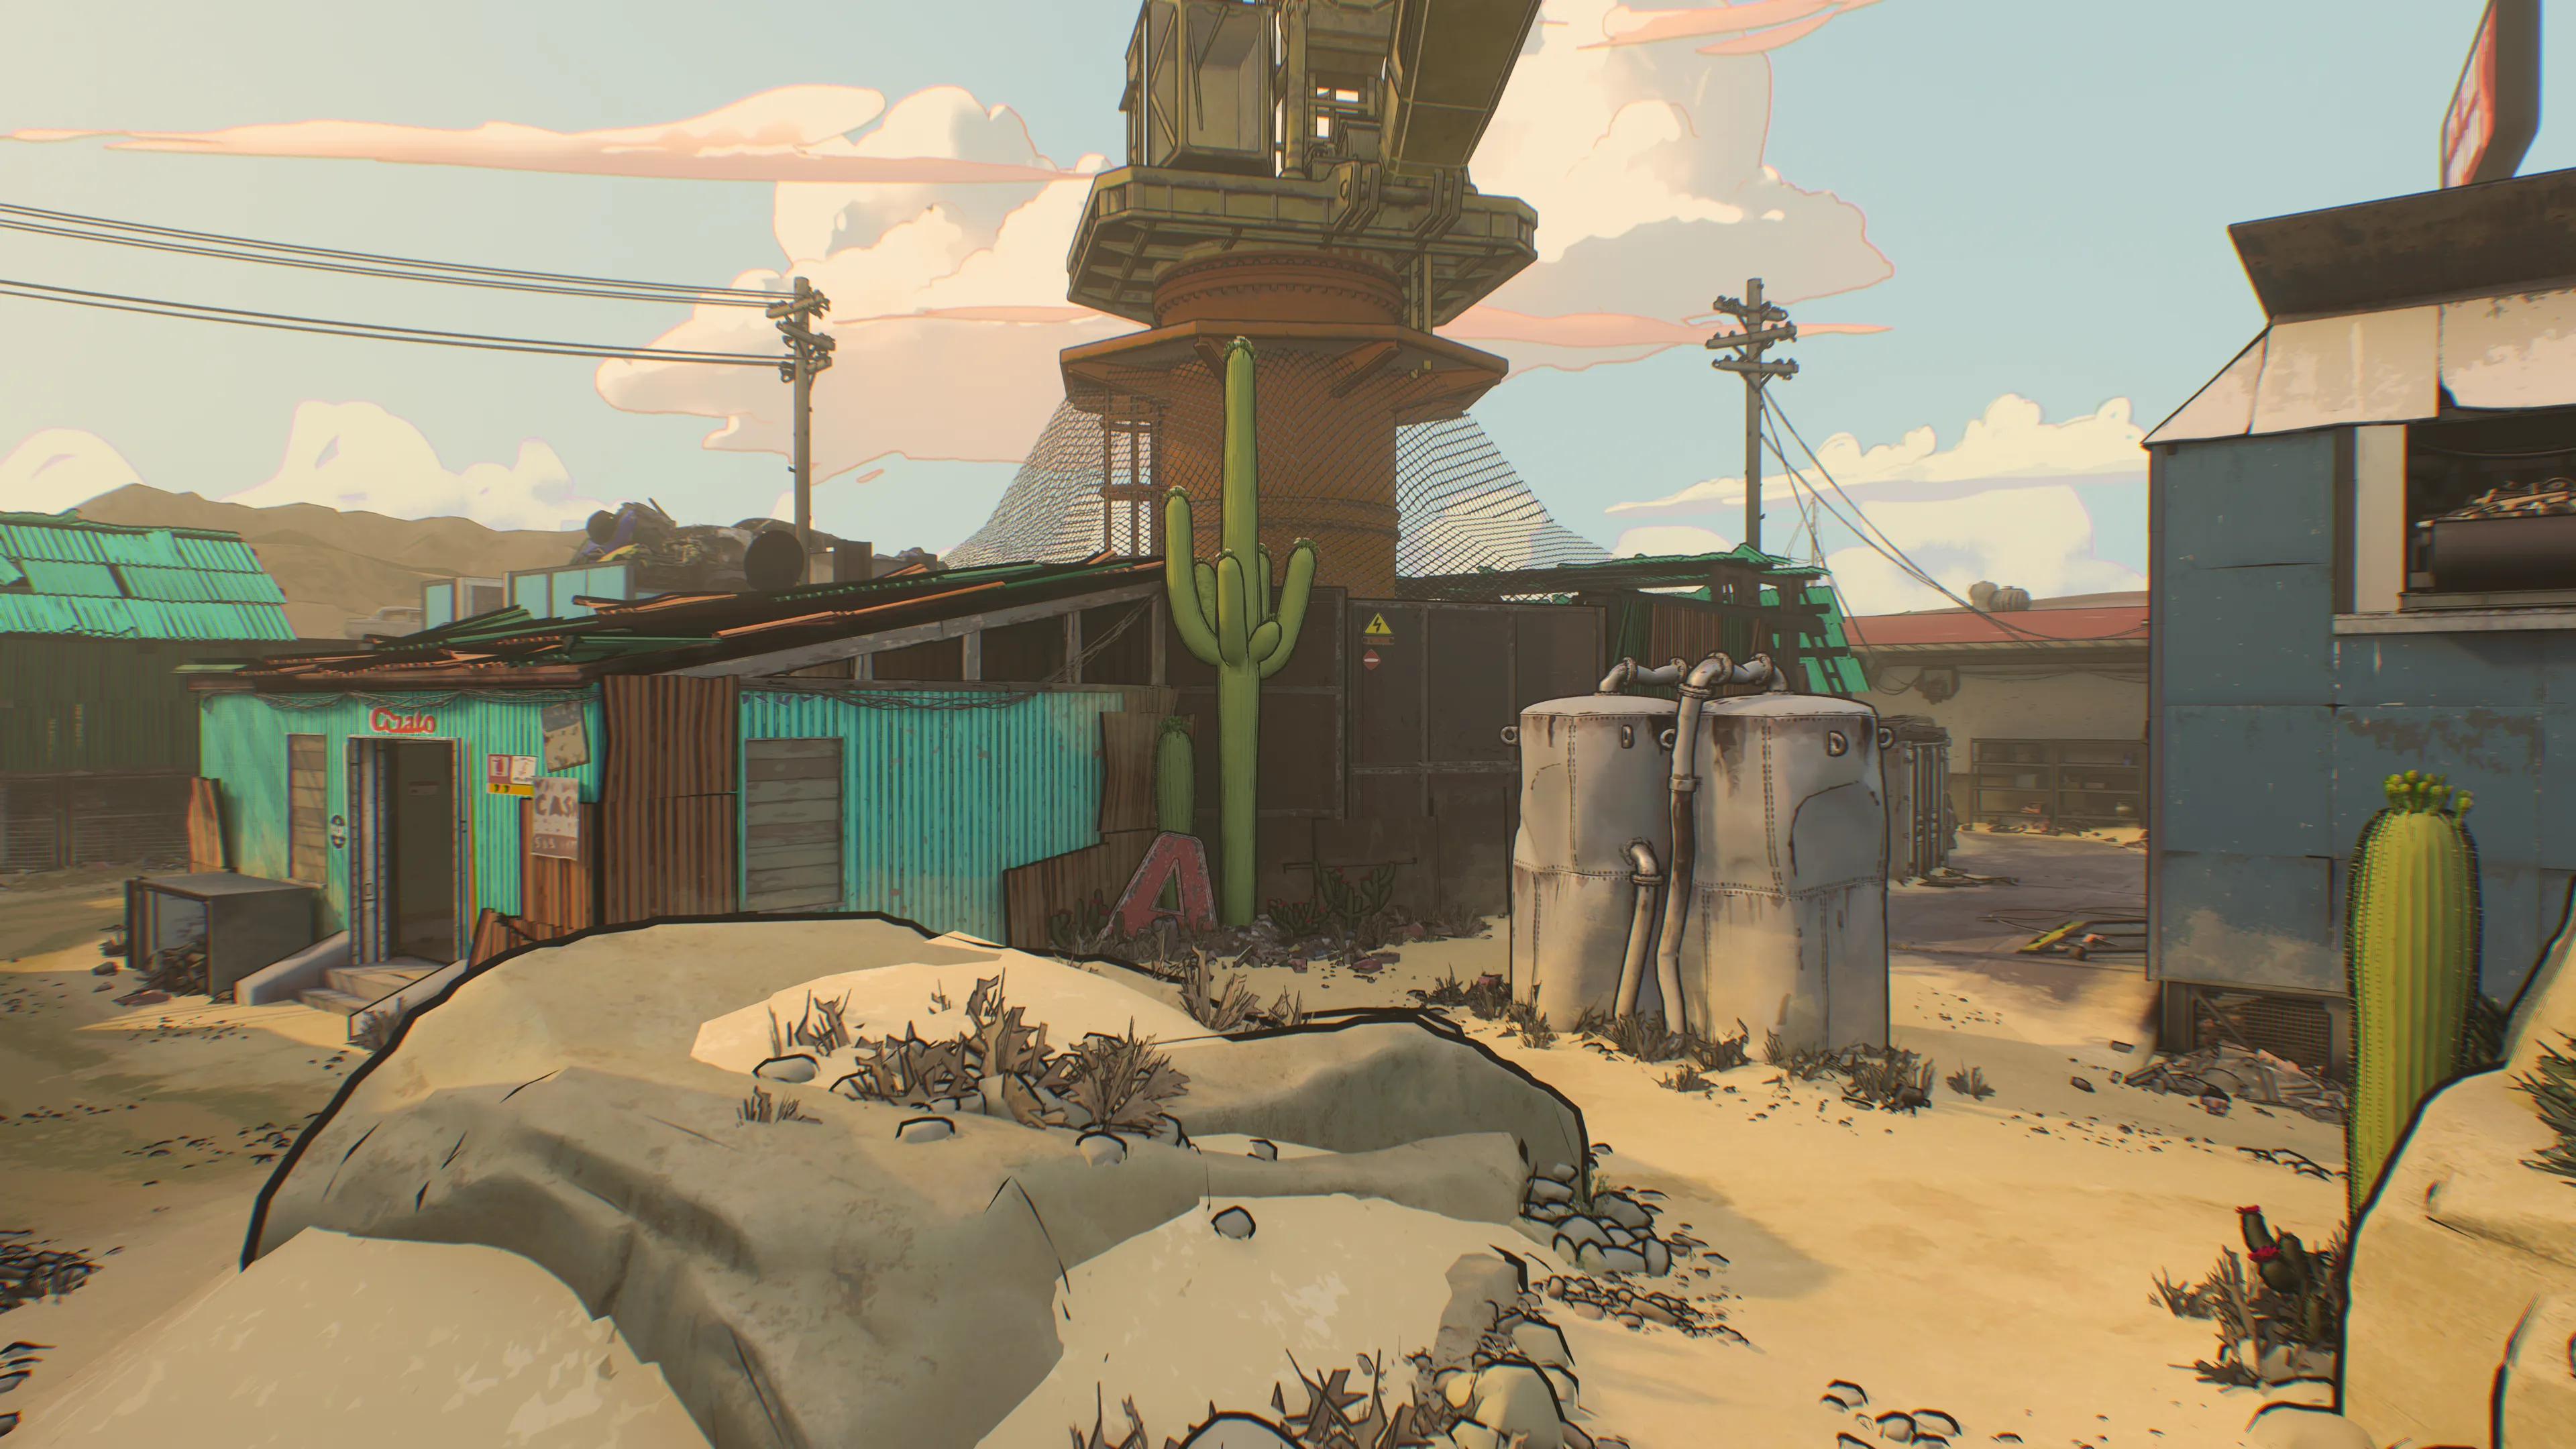
Vault up the lefthand path for a direct view toward the open container on the west boundary. Set up behind the wooden crate for a strong advantage against enemies rushing out of the container. It’s possible to engage targets in the far window from here as well, or you can get down low and move toward the natural ledge for a closer view.
ADDITIONAL AREA: Crane
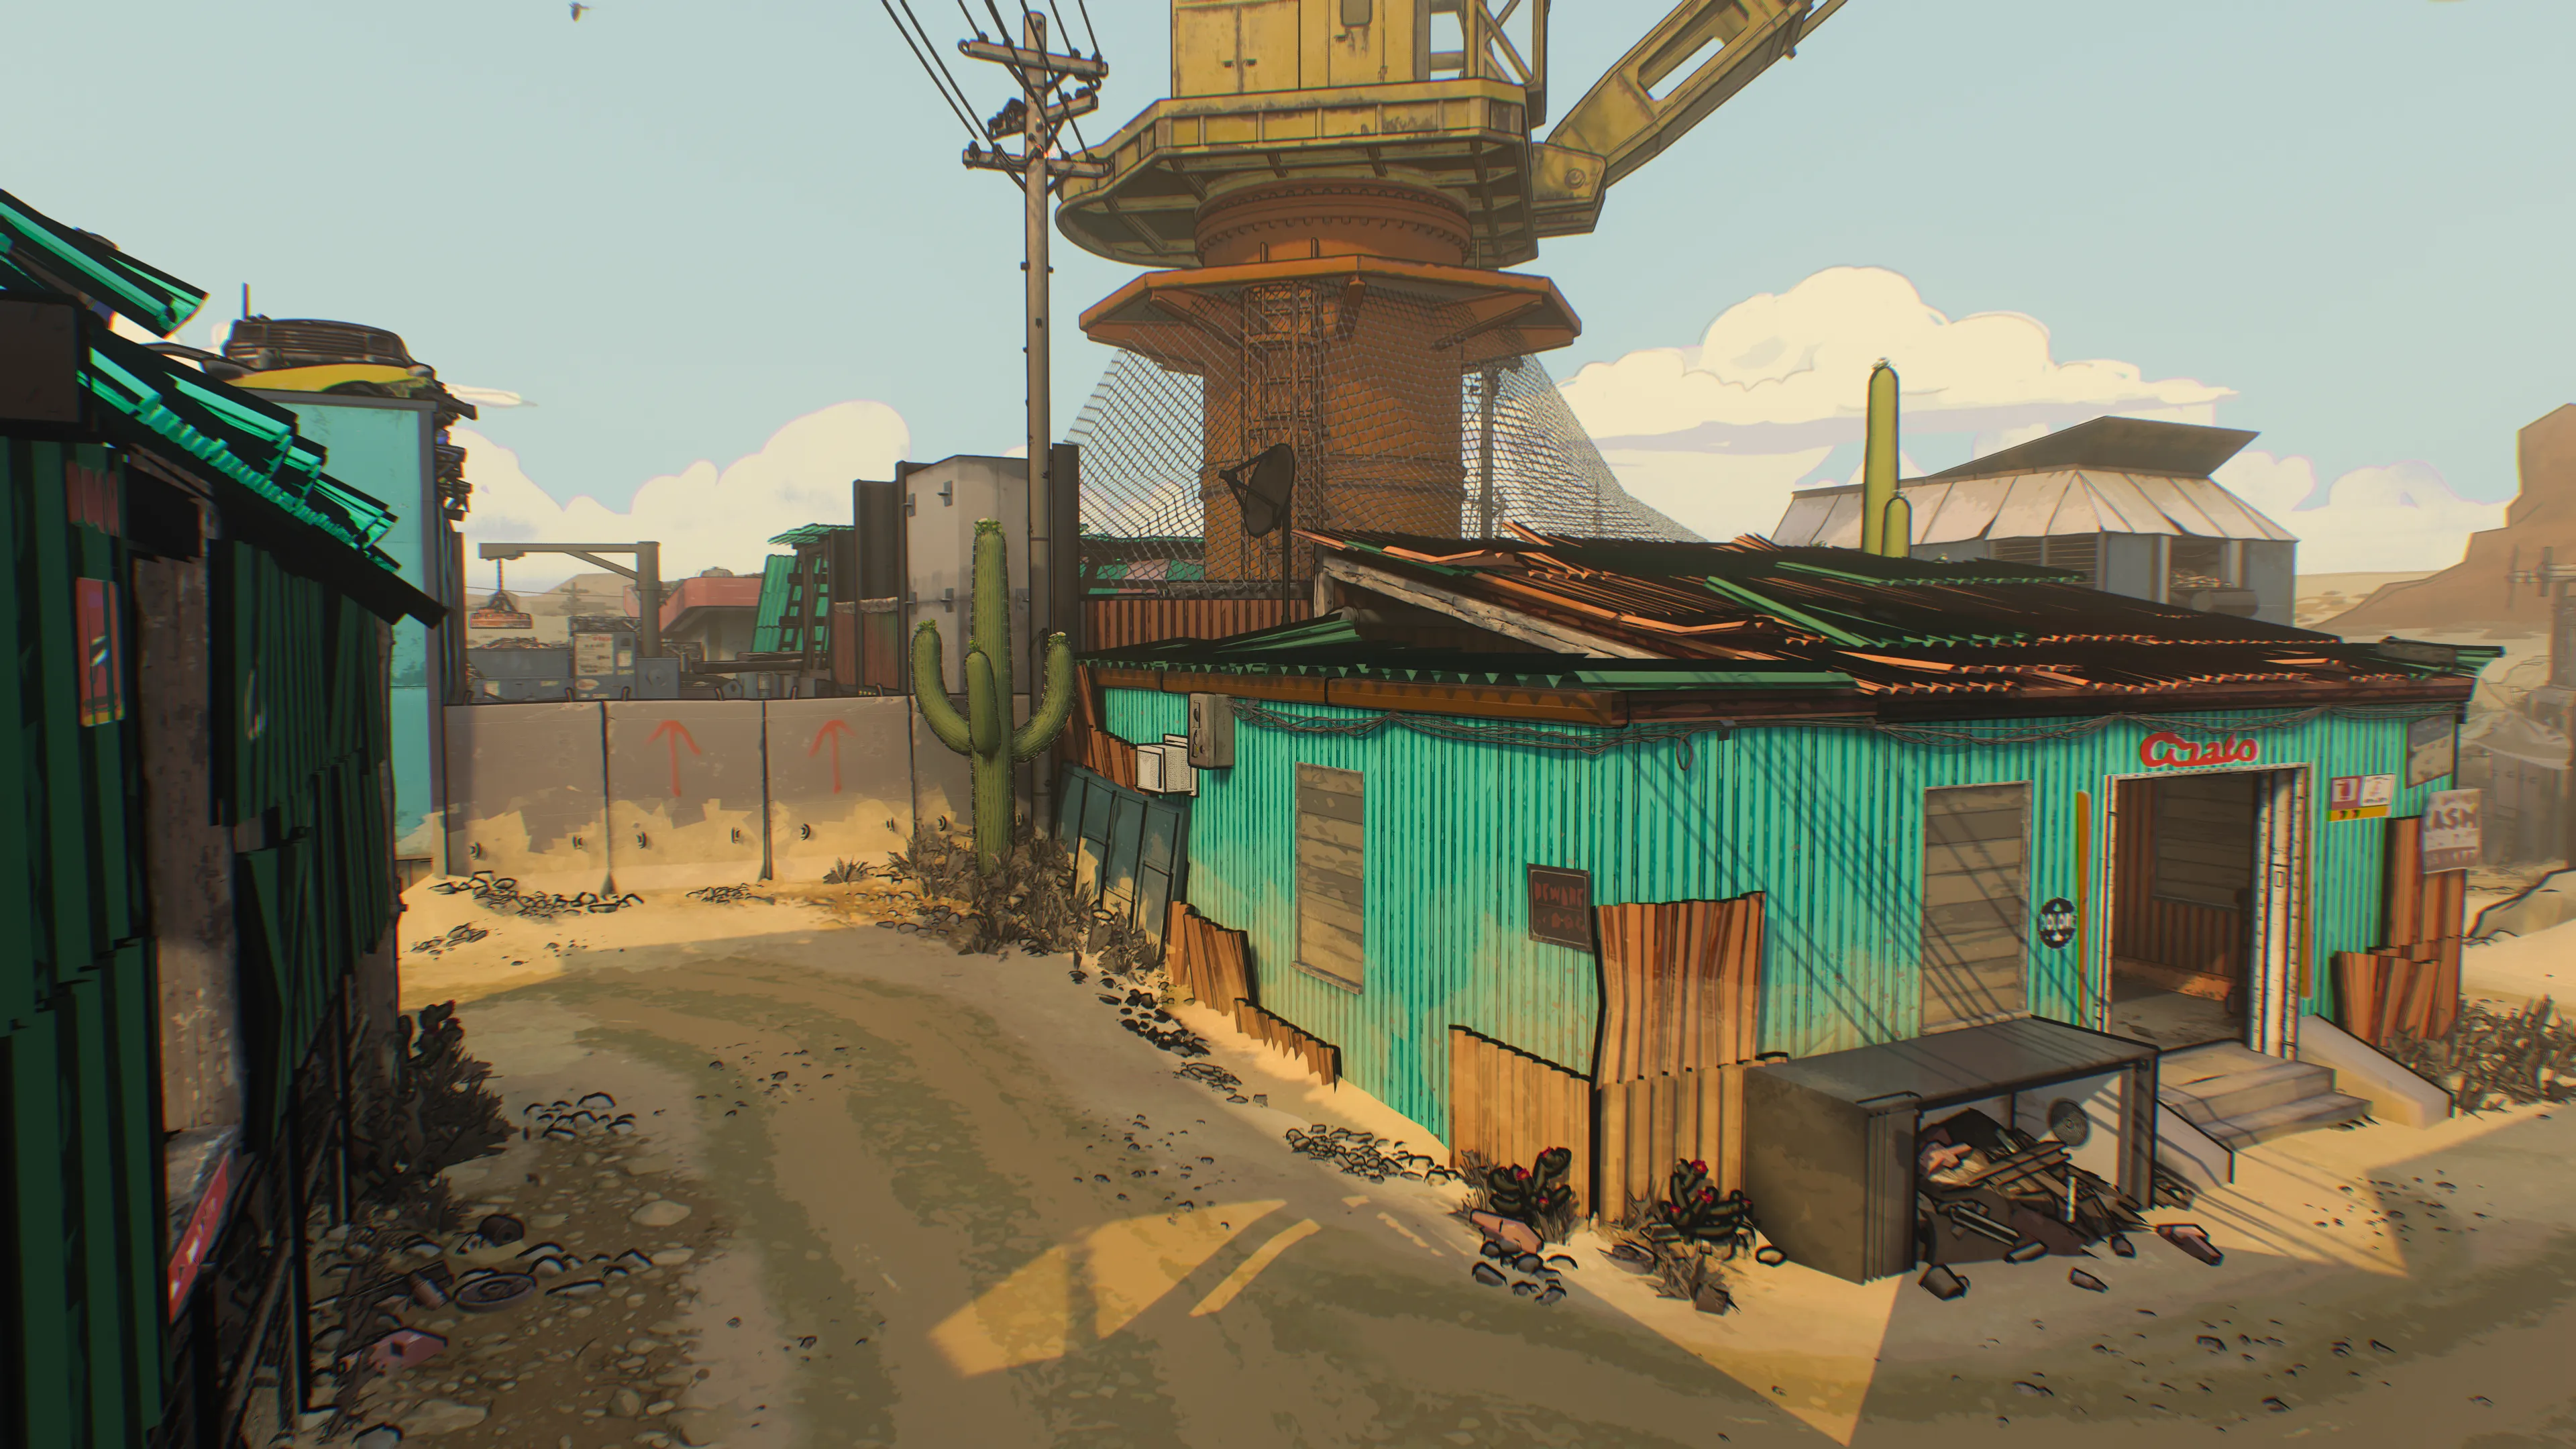
Right in the center of things, the Crane marks a fierce and constant flashpoint for combat. By forcing Operators into a small space, it also brings the fight up close. Shotguns and SMGs excel here, but using Tac-Stance or swapping to a short-ranged Secondary Weapon can help close the gap if you’re rocking a longer-ranged Primary. Deploy grenades on your way in to disorient and dispose of entrenched enemies before you breach the interior.
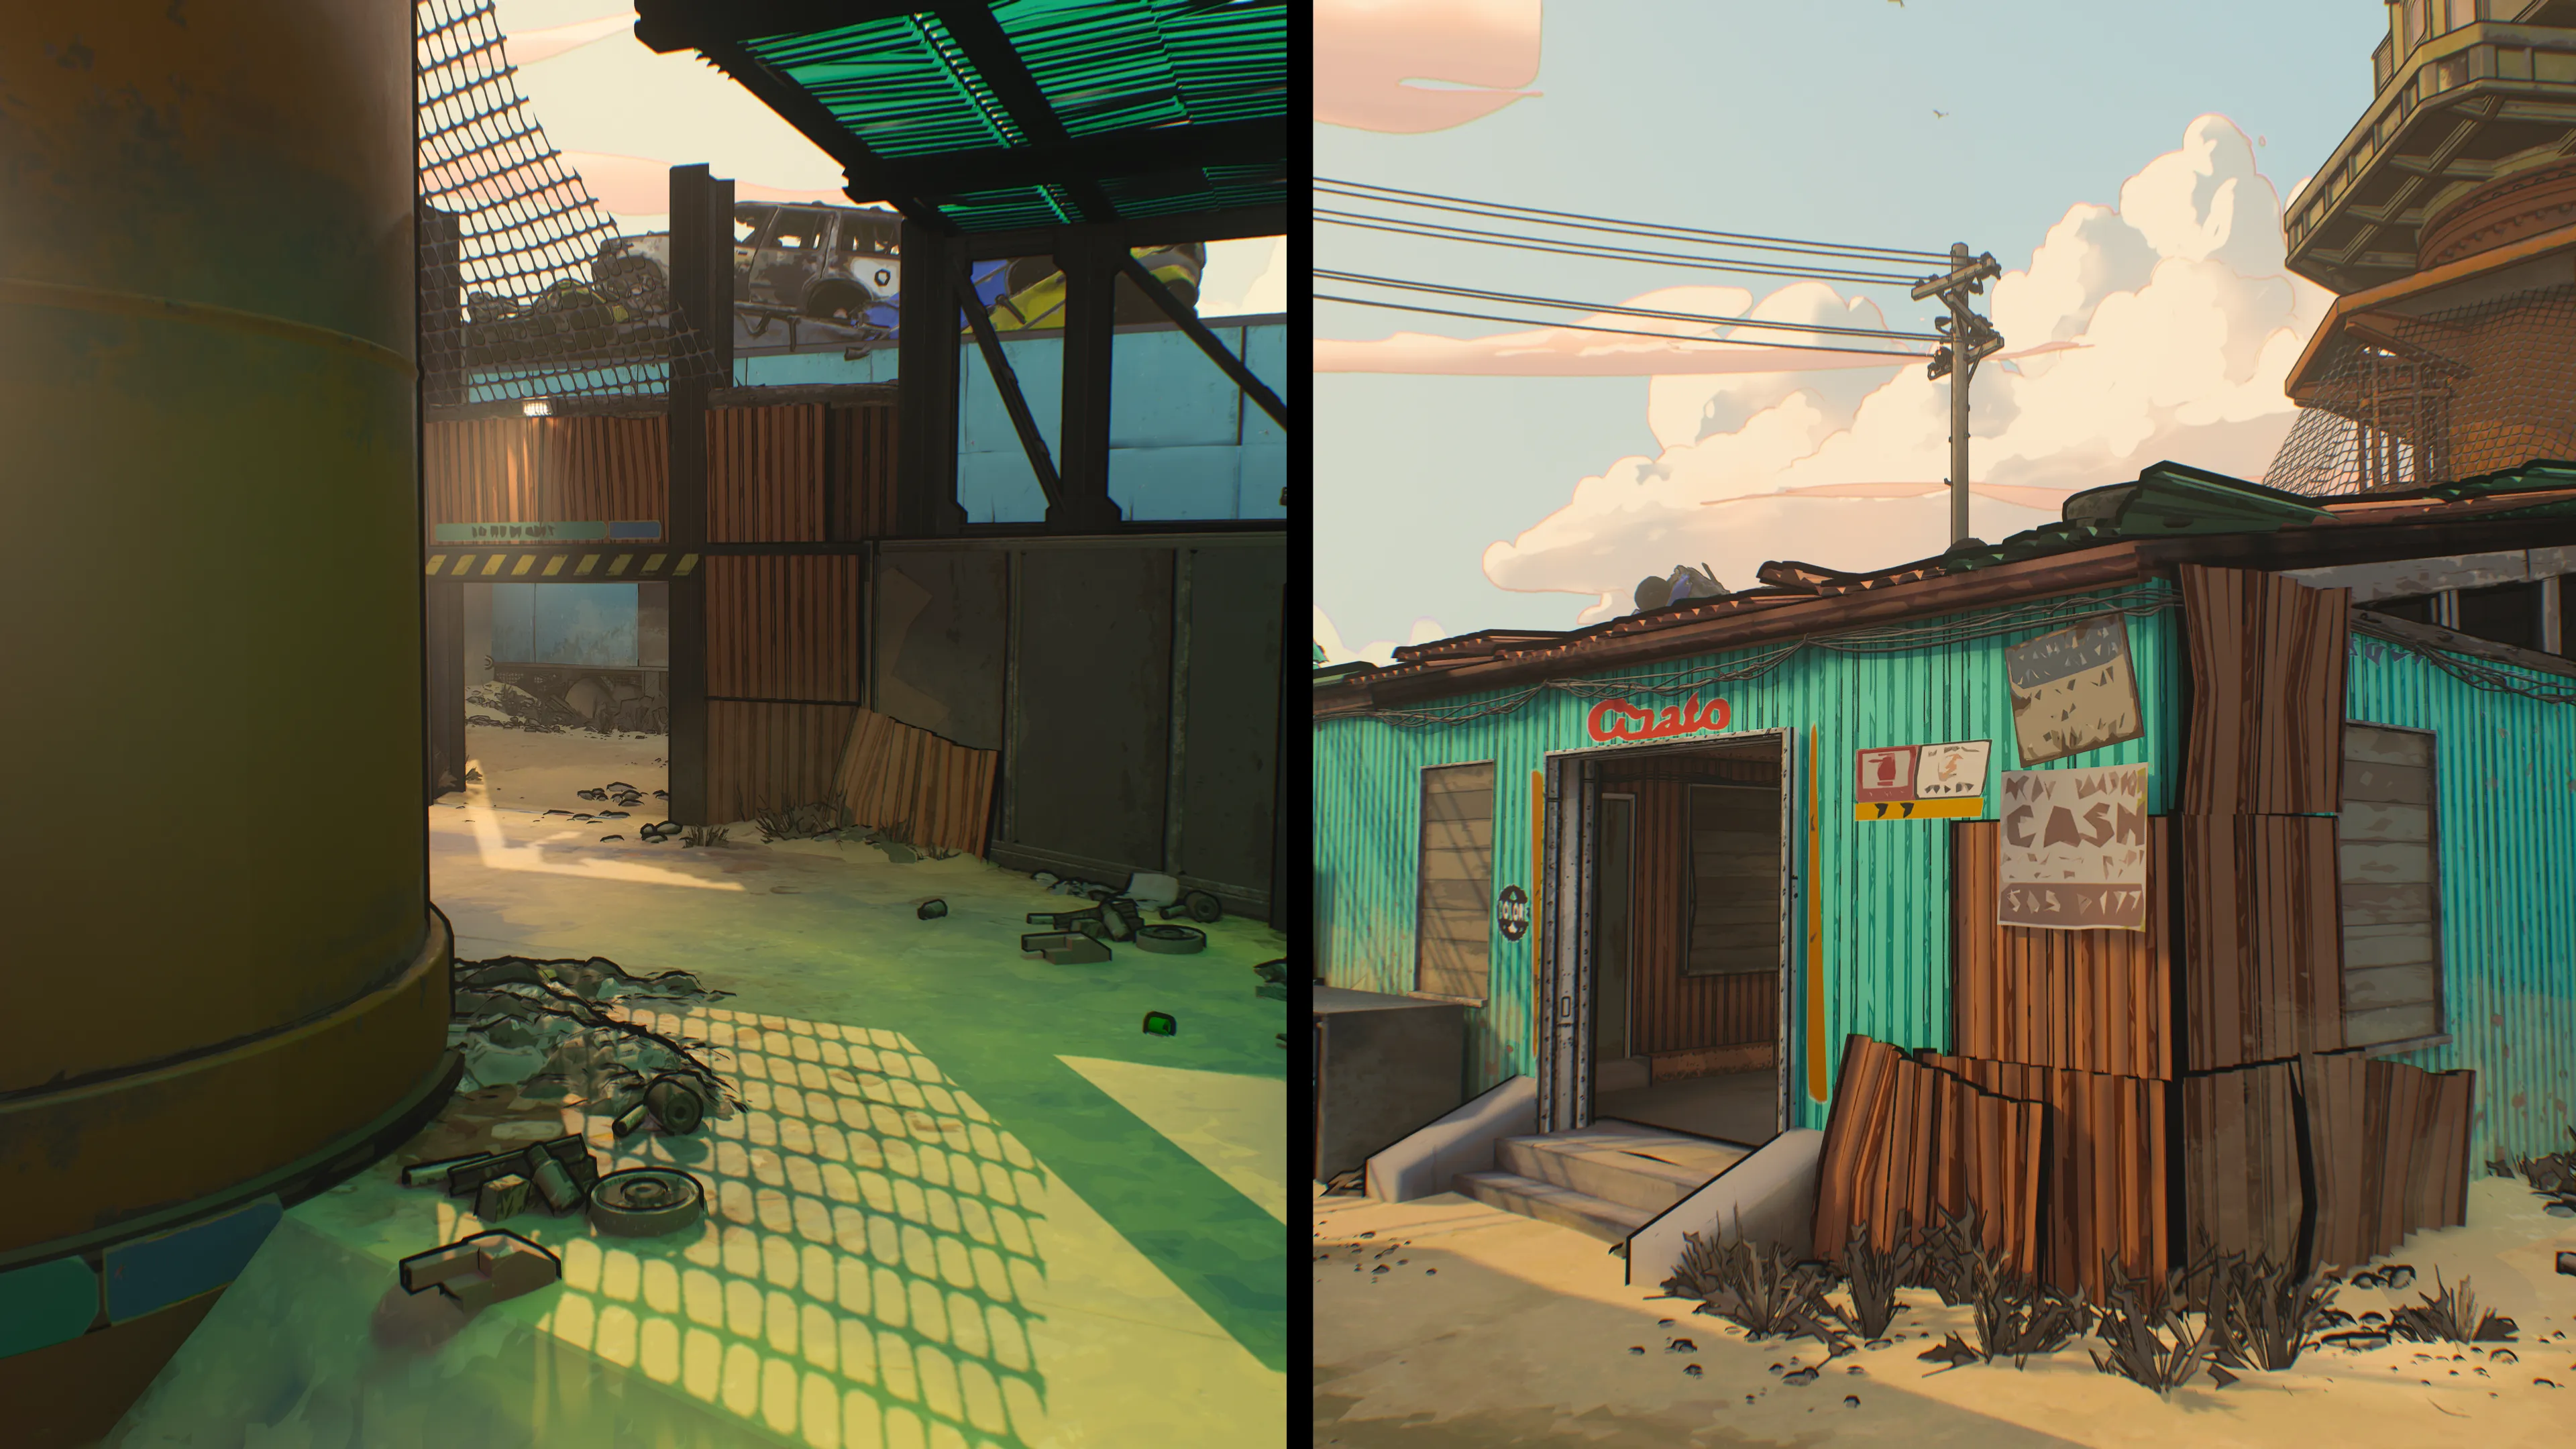
There are two main areas inside, the circular base and a small side room. The high metal wall in the former area grants opportunities to bait and ambush enemies, while the side room offers an escape from the semi-circle without rushing straight out into the open. Note the three entrances into the overall interior as well as the general location each of them spills out toward
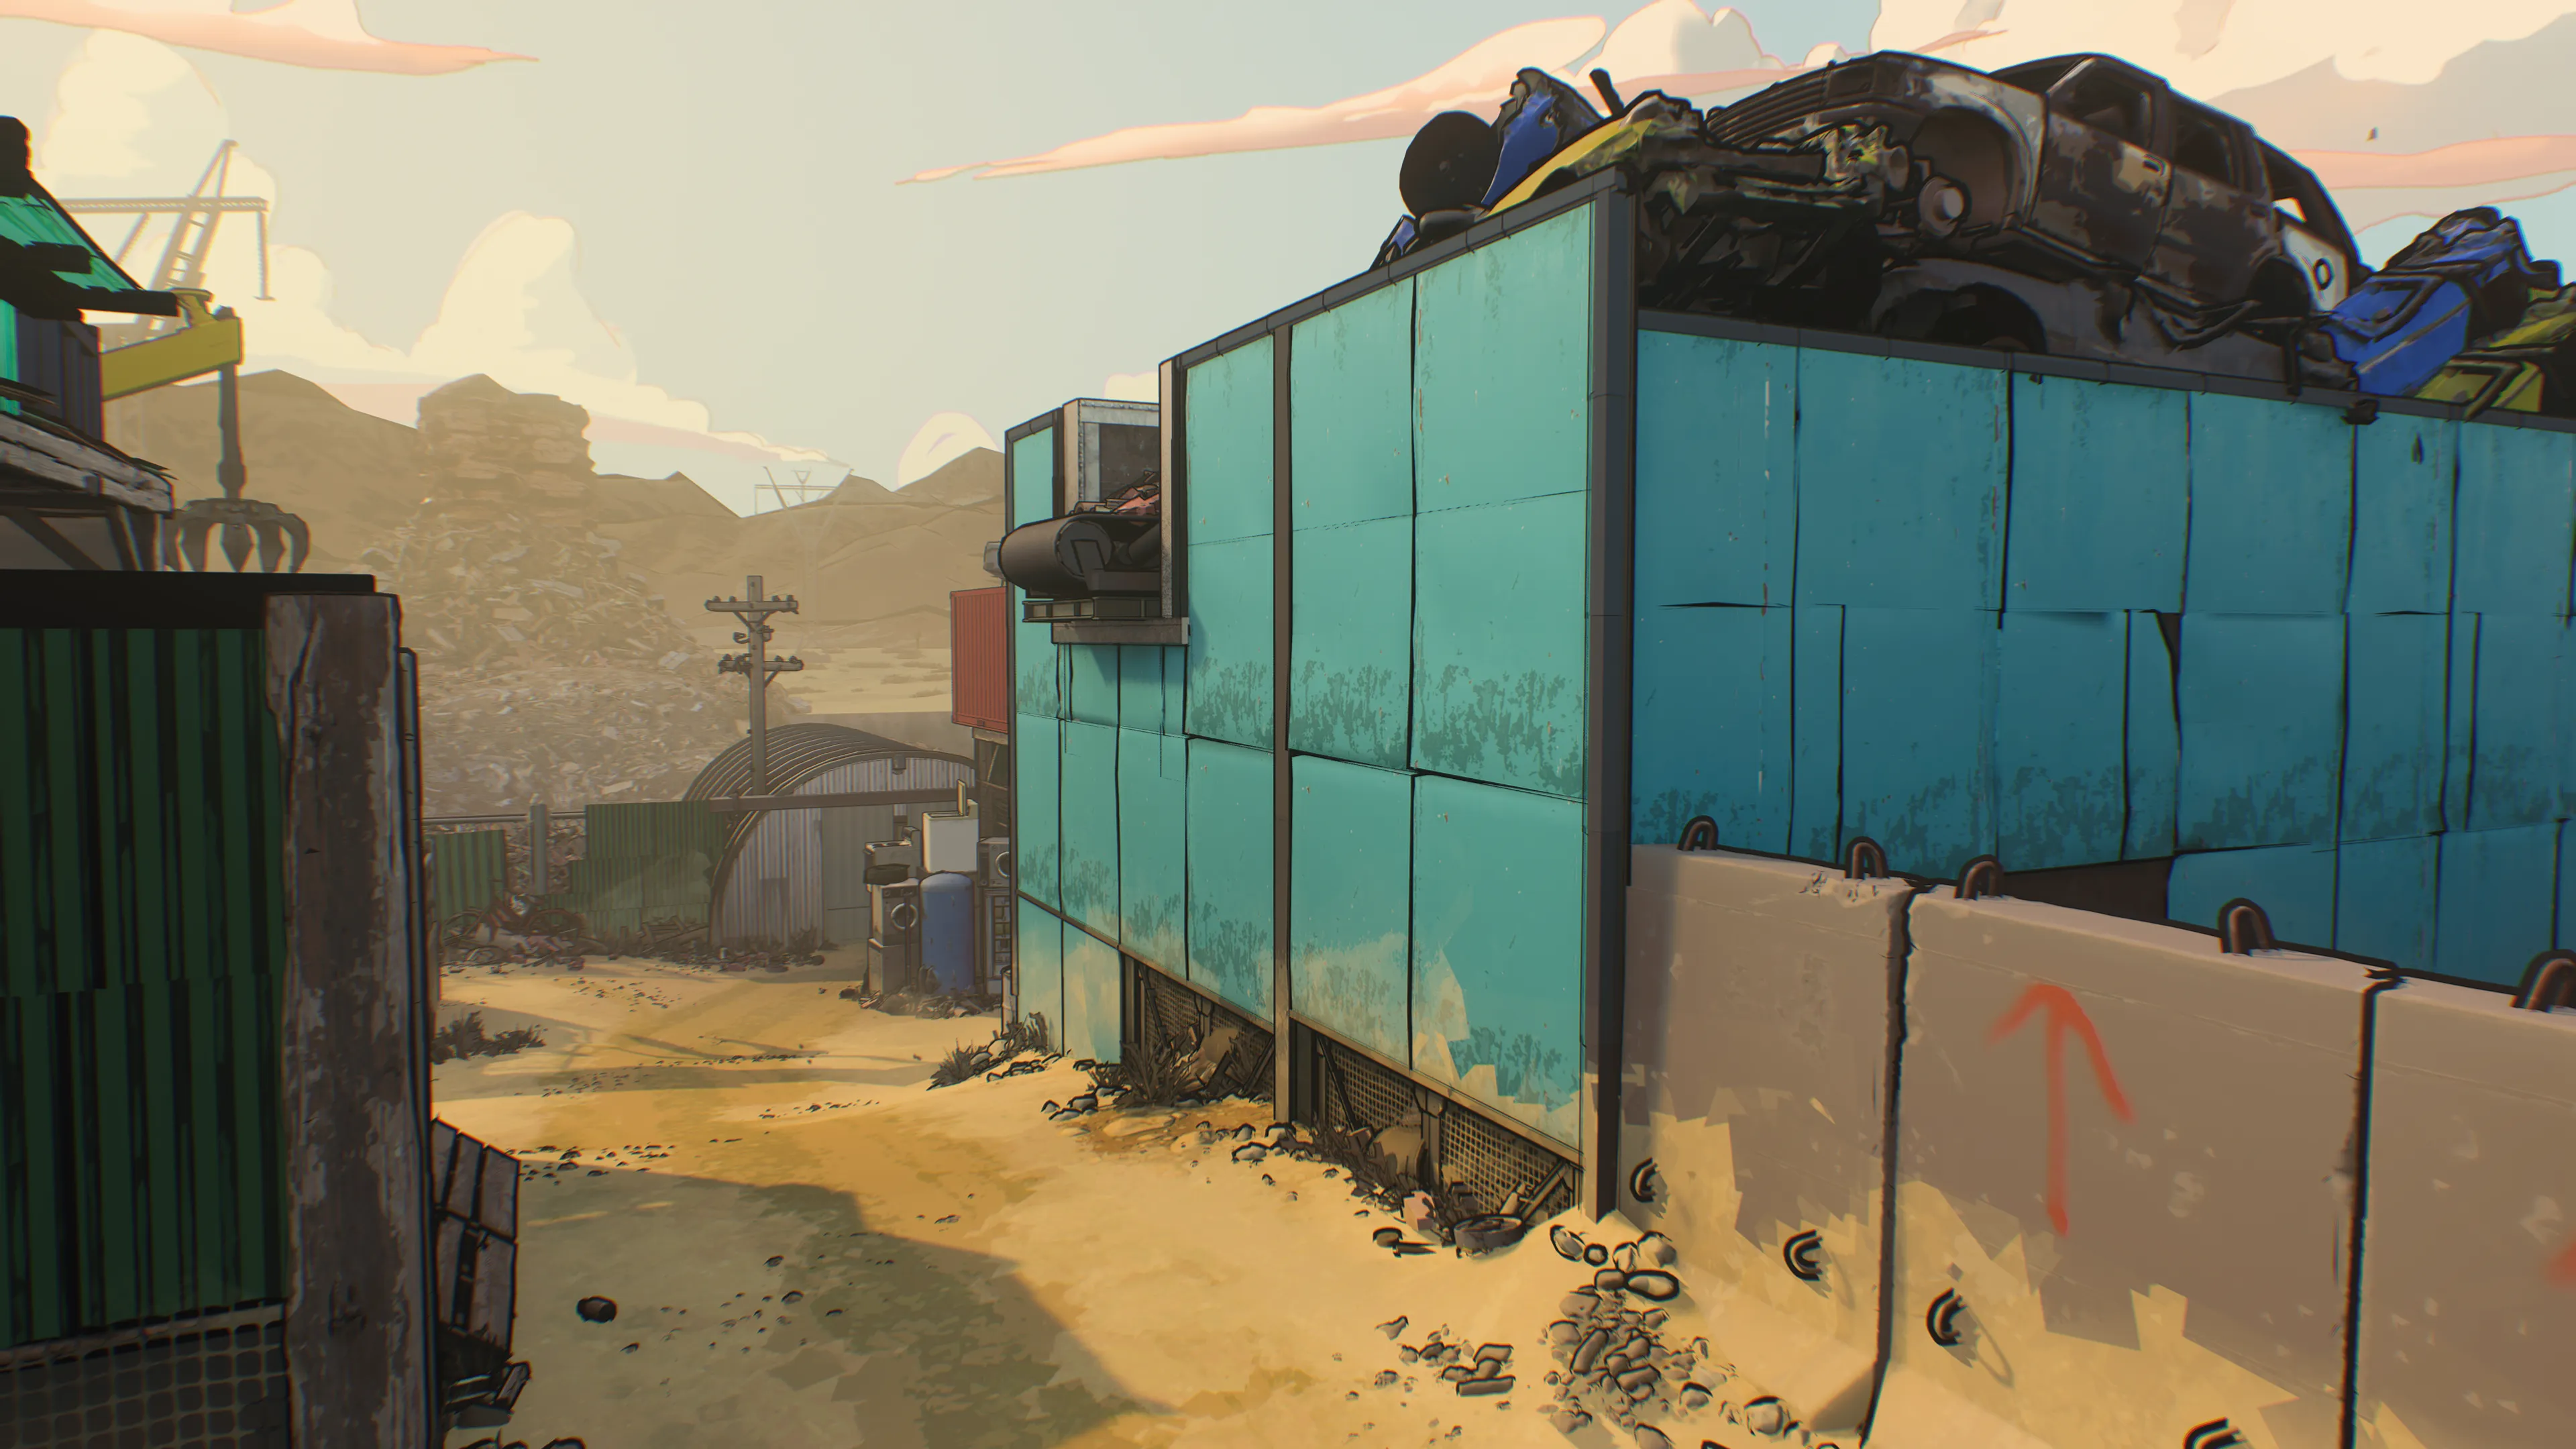
The northern path is separated by a climbable dividing wall which you can stand on top of for a greater though much more exposed view of the surrounding area.
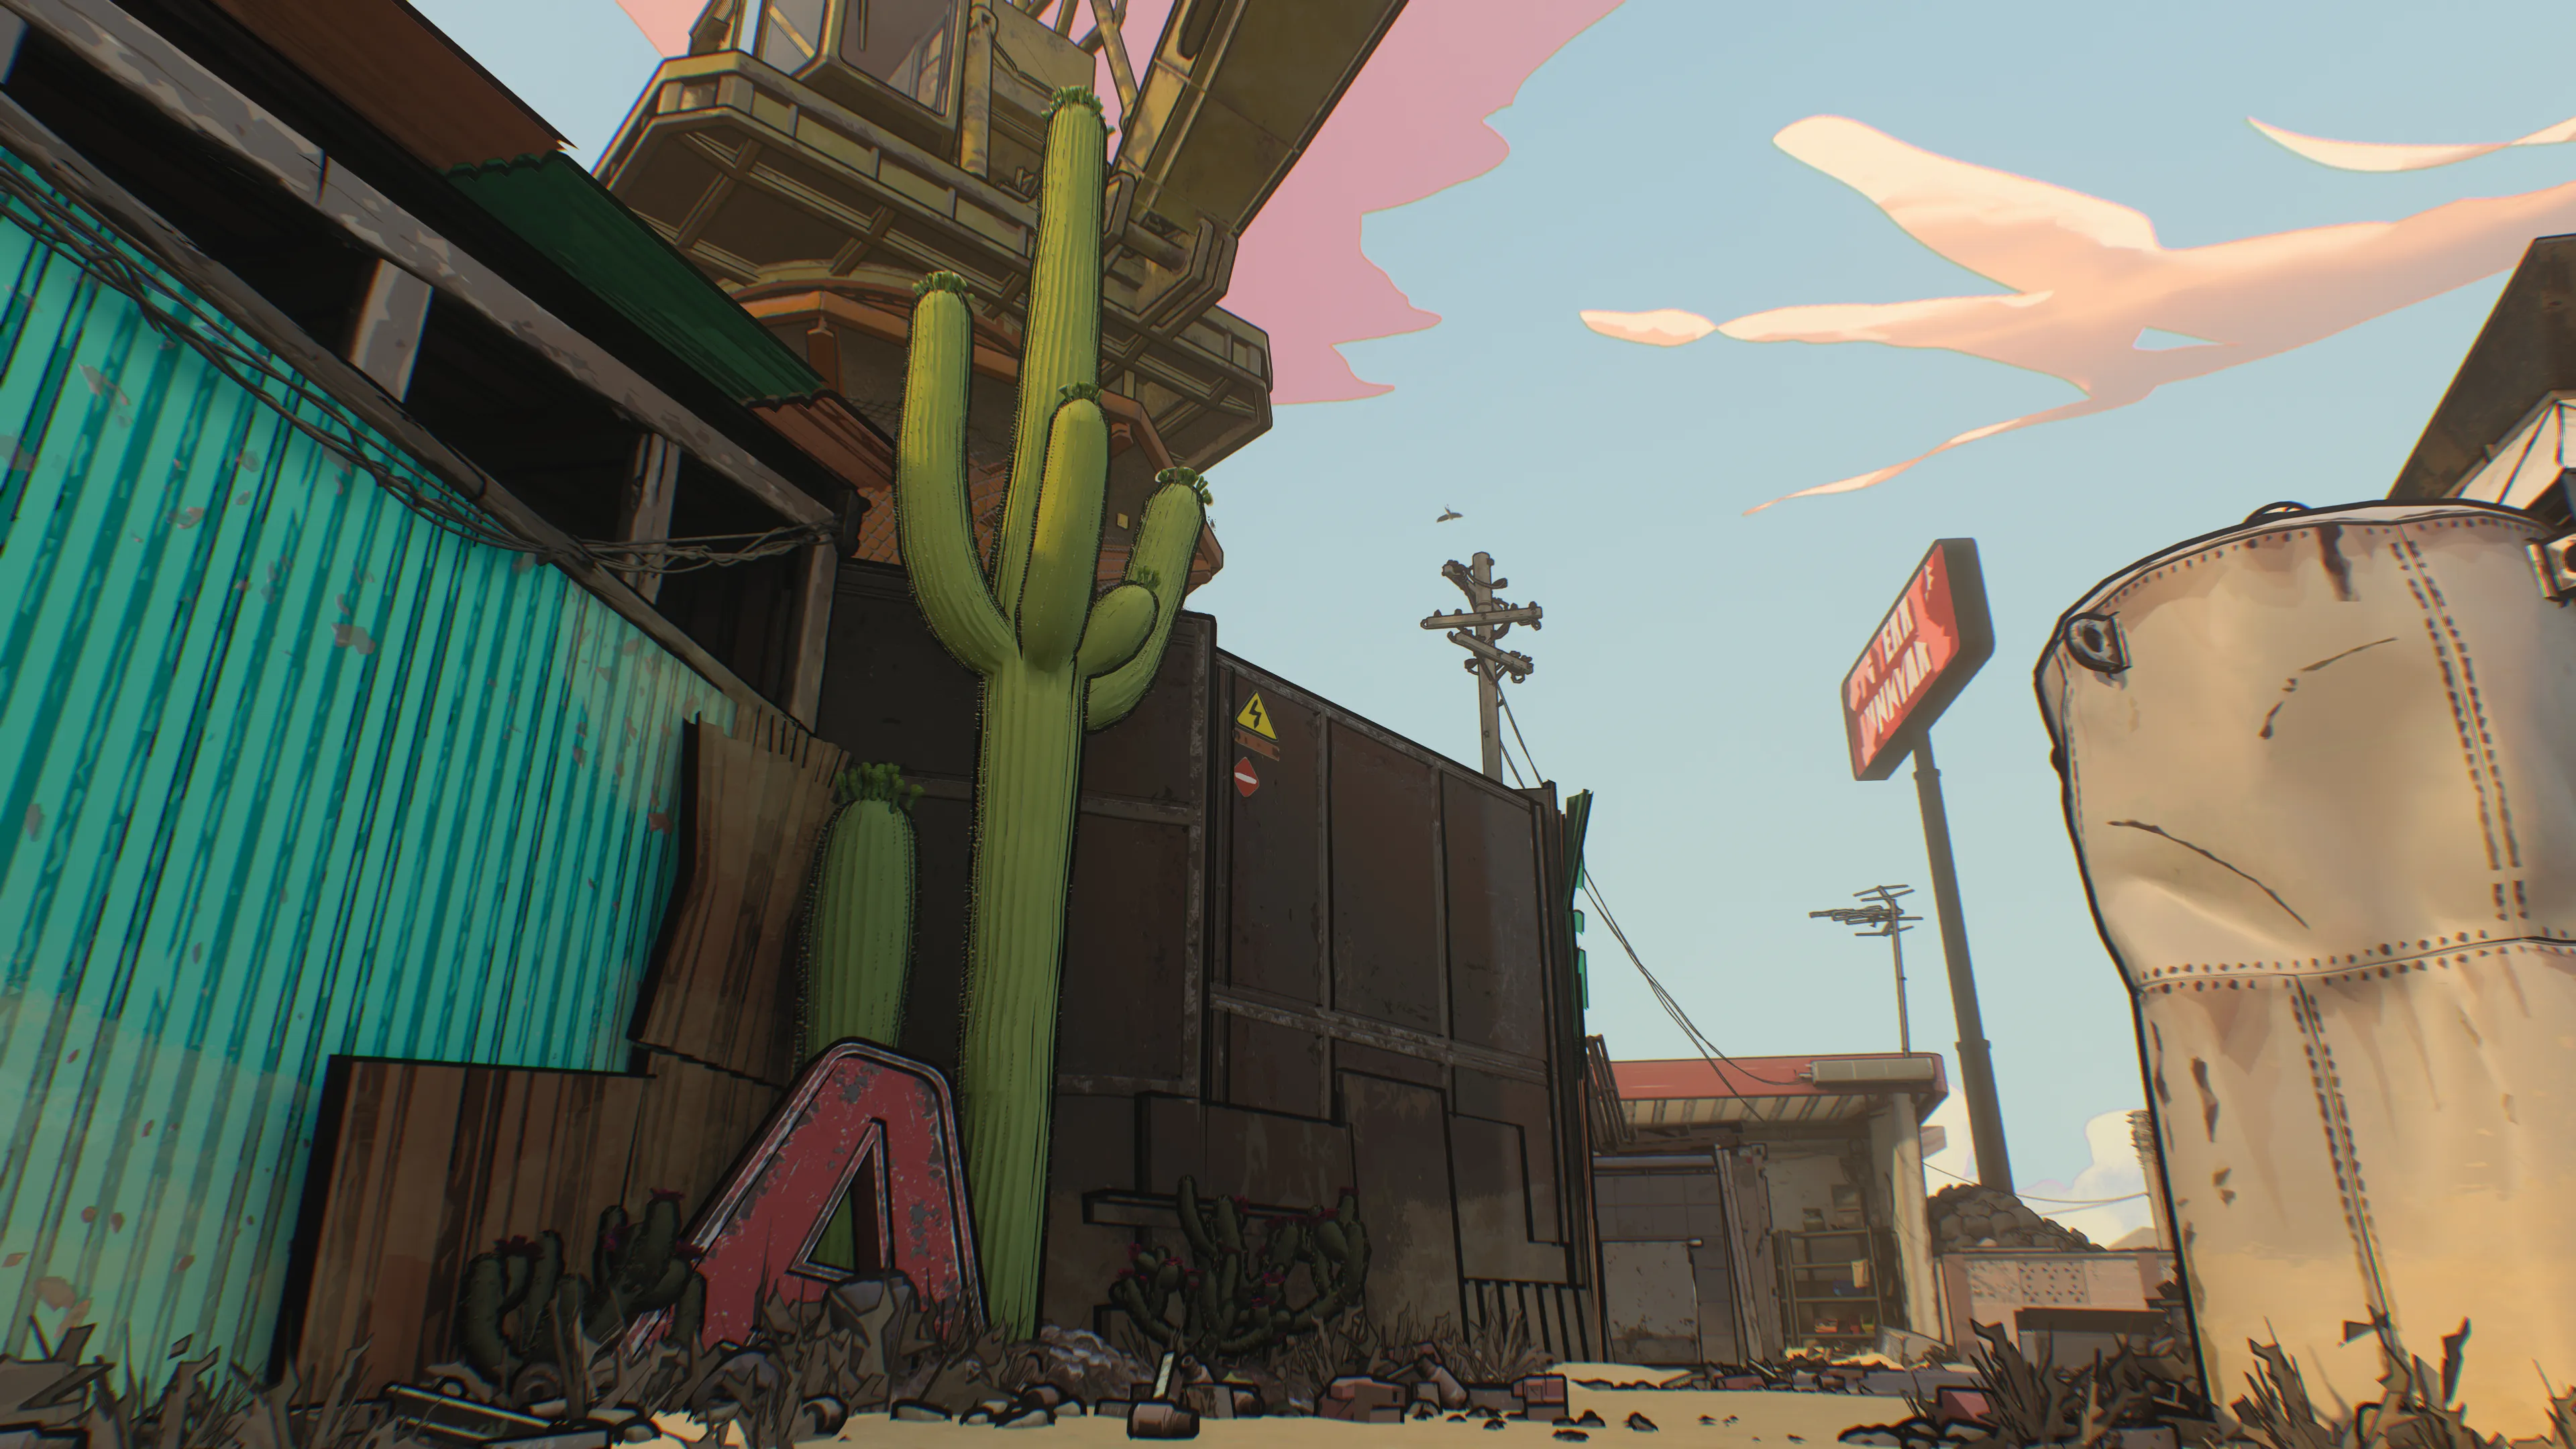
The south exit dumps out to the Oil Tanks, a short thoroughfare that can be used to launch attacks to either side of the Crane. The pair of tanks offer the most reliable cover here, but generally it’s advised to move on to safer ground when able.
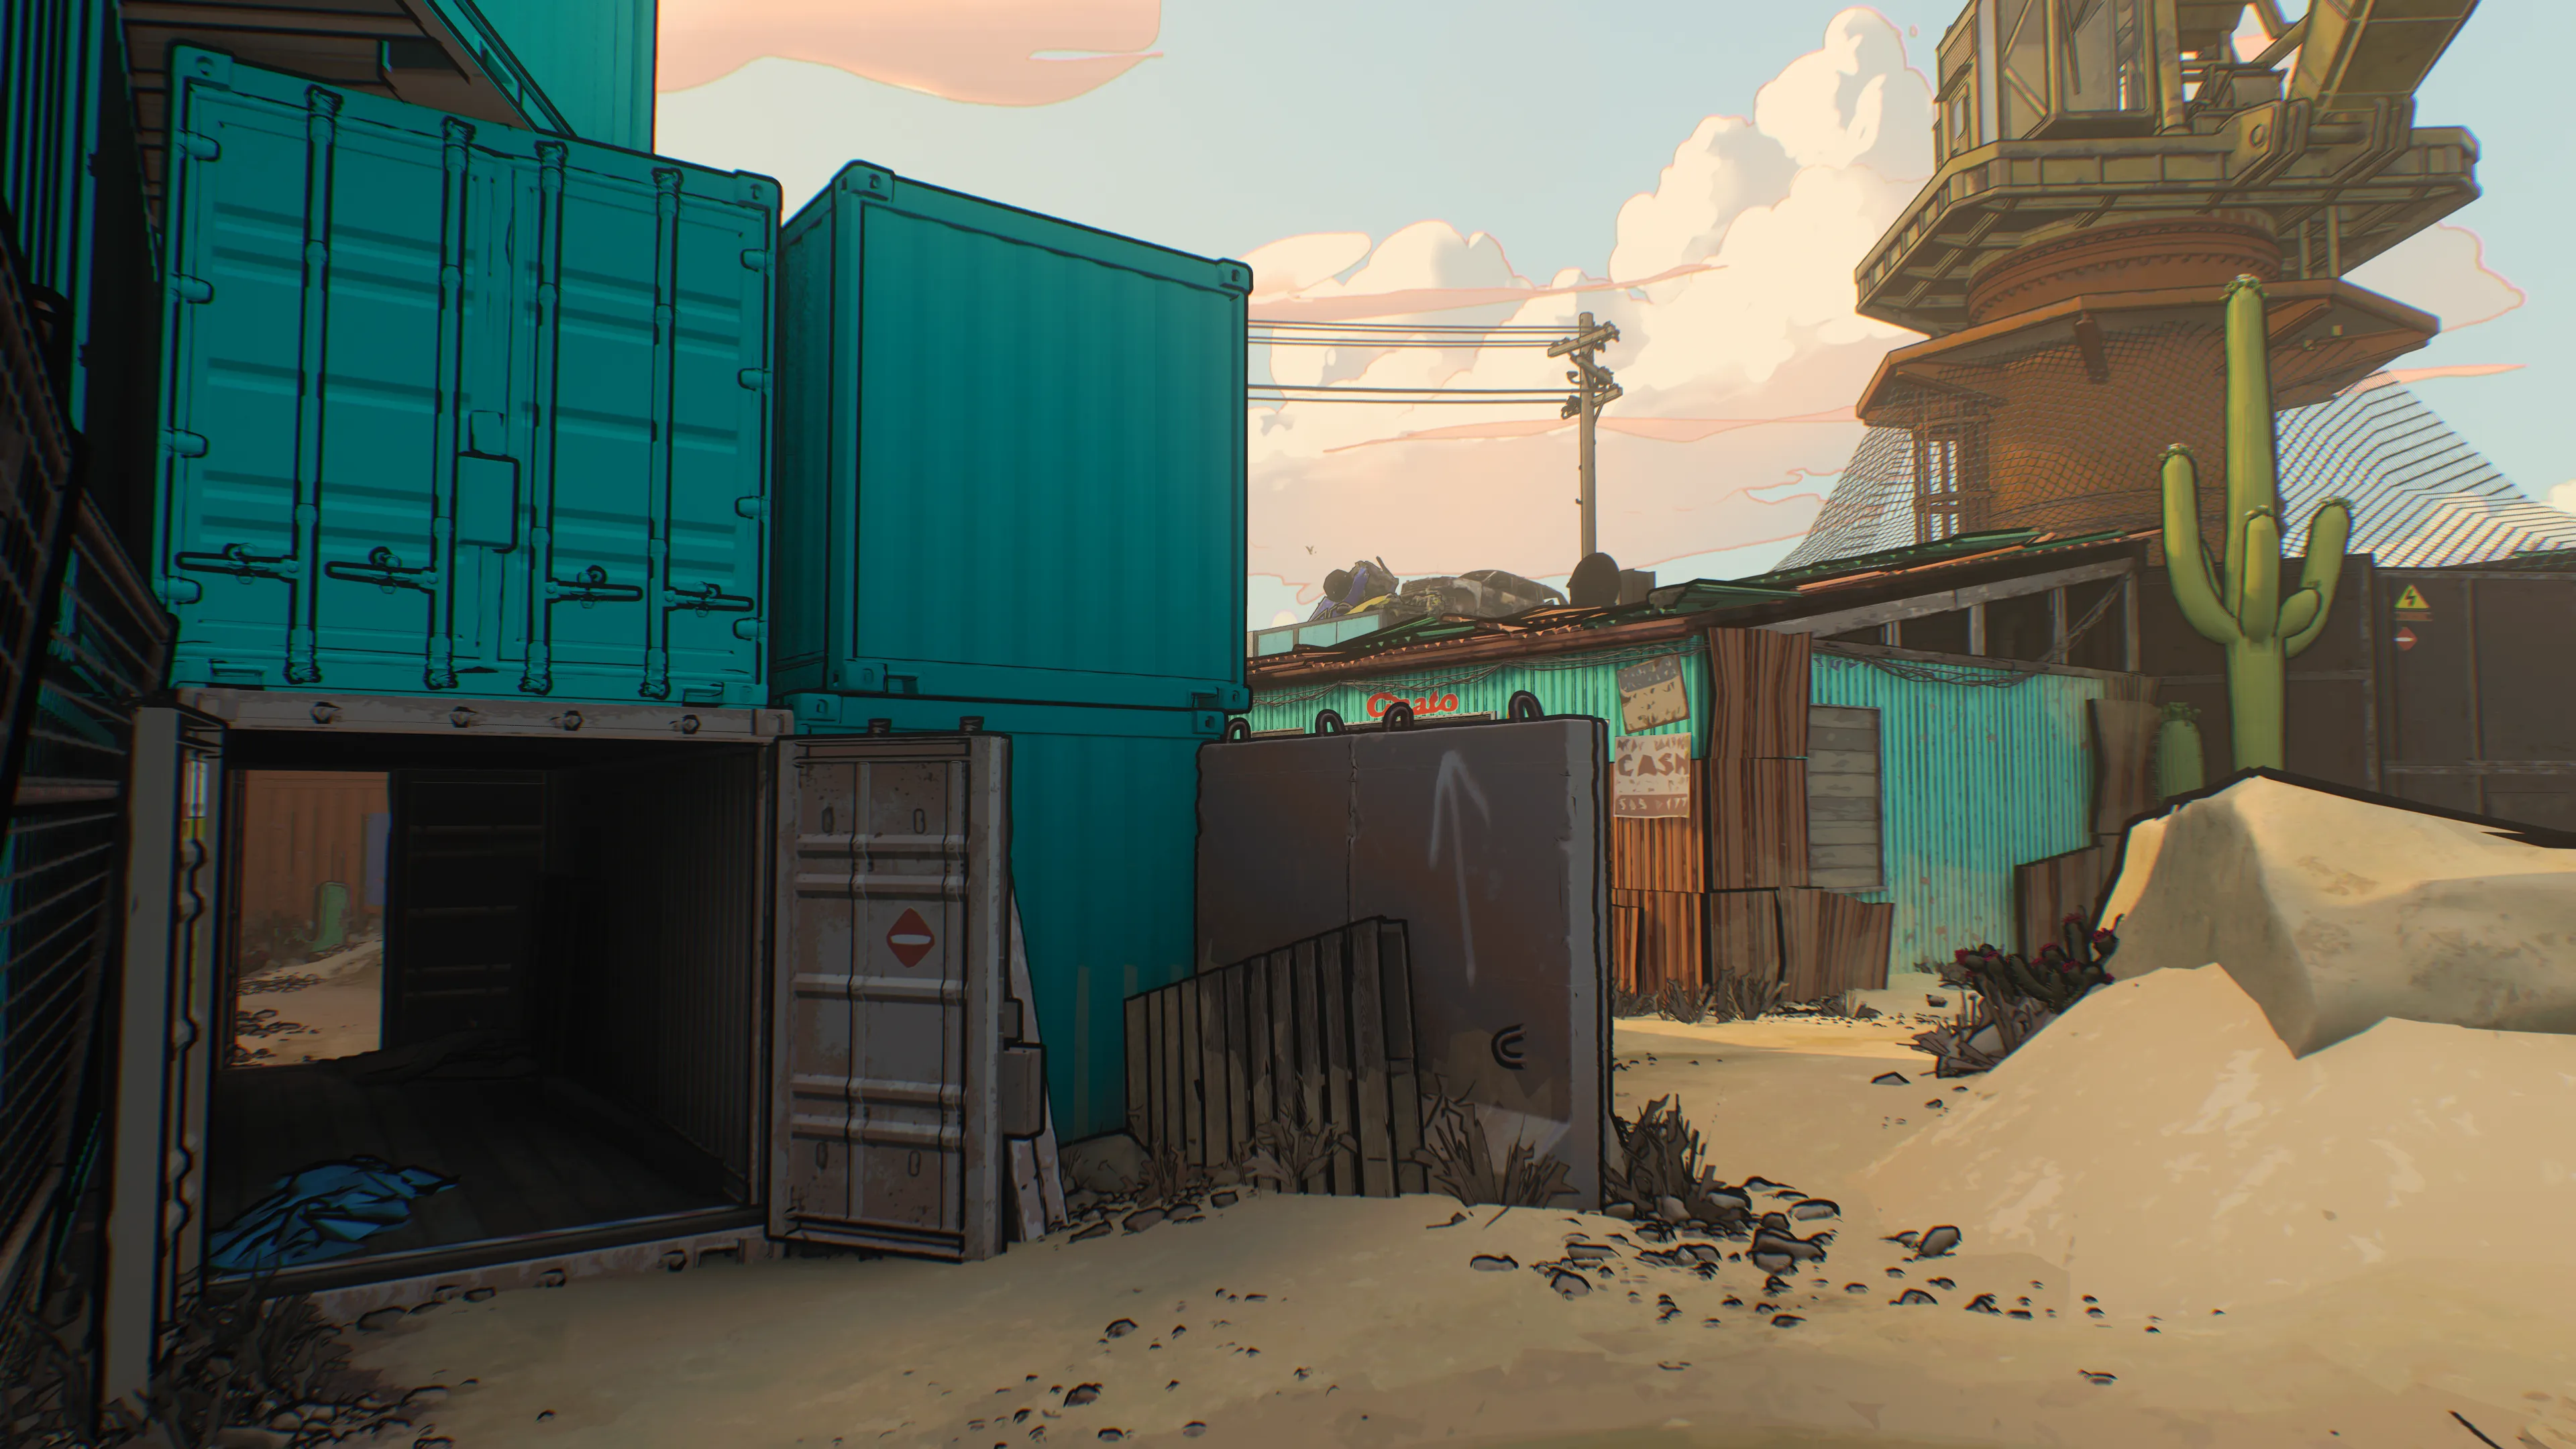
The west exit features previously mentioned obstacles in the natural ledge, the open container, and the far window looking out over the path. Beware of getting caught in the crossfire.
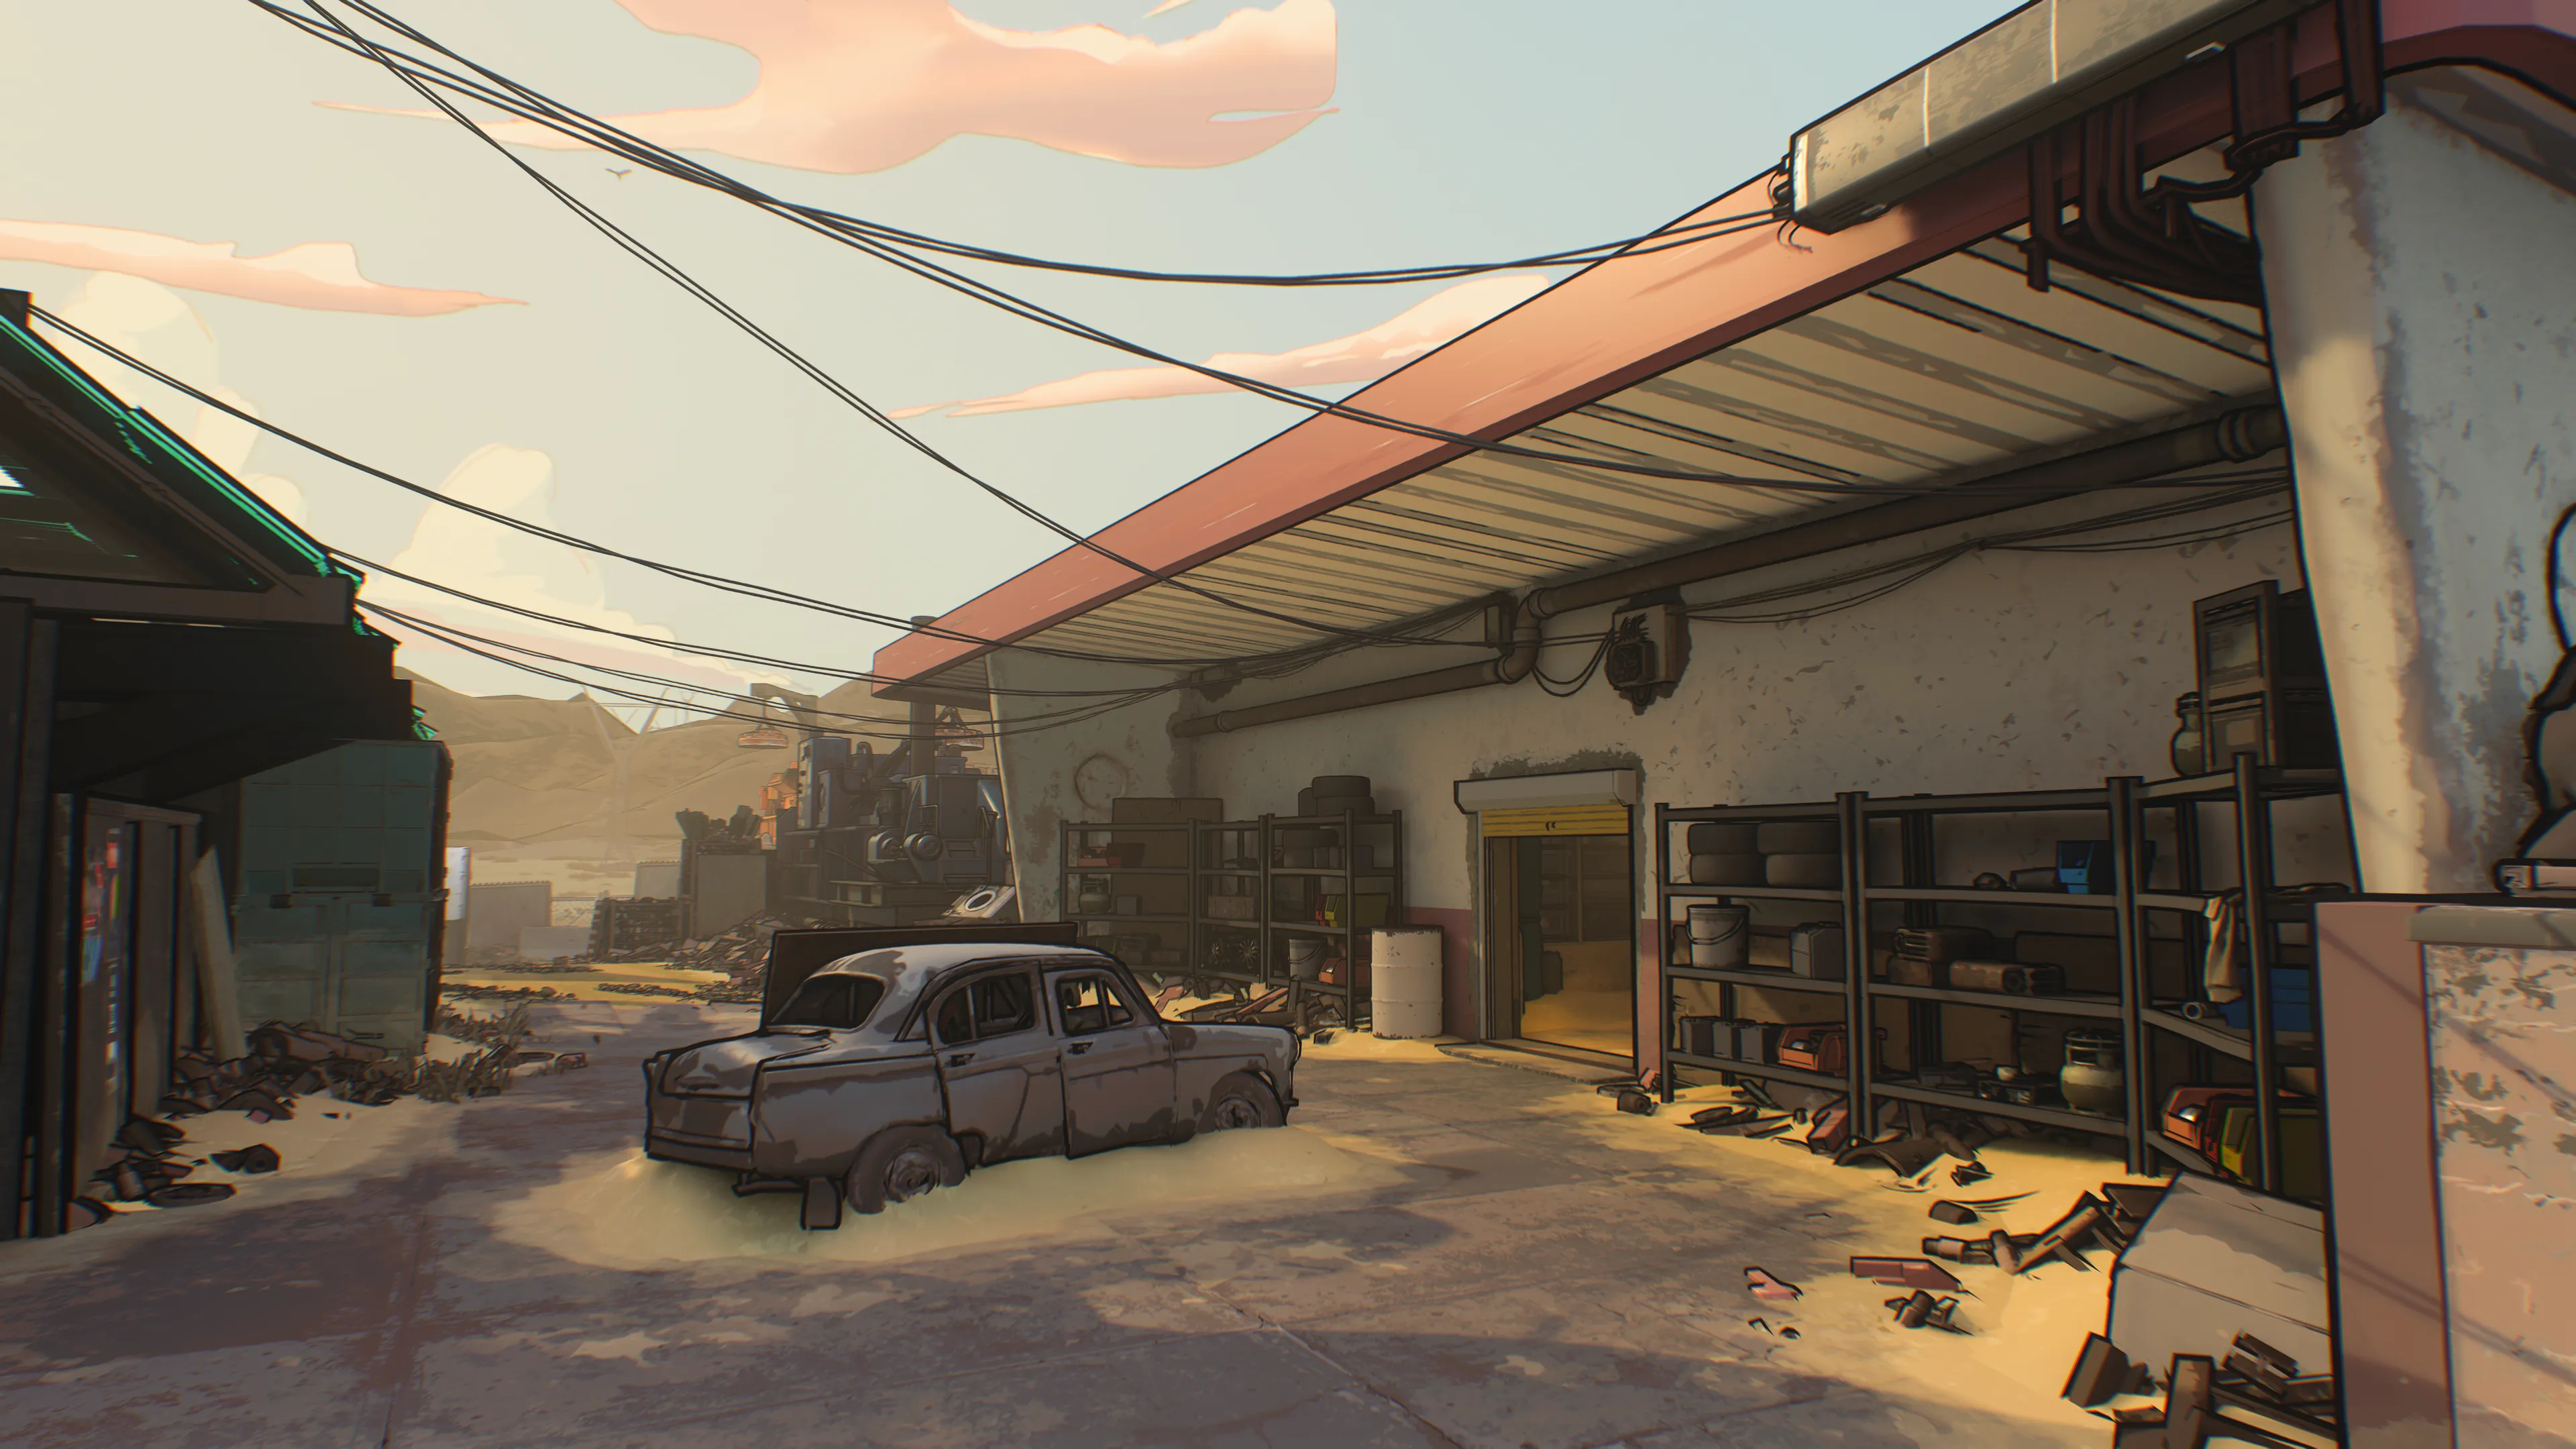
Though there are no openings on the east side, expect the right Car path to be a main point of focus in battles around the Crane. To avoid long-ranged battles, duck into the Garage.
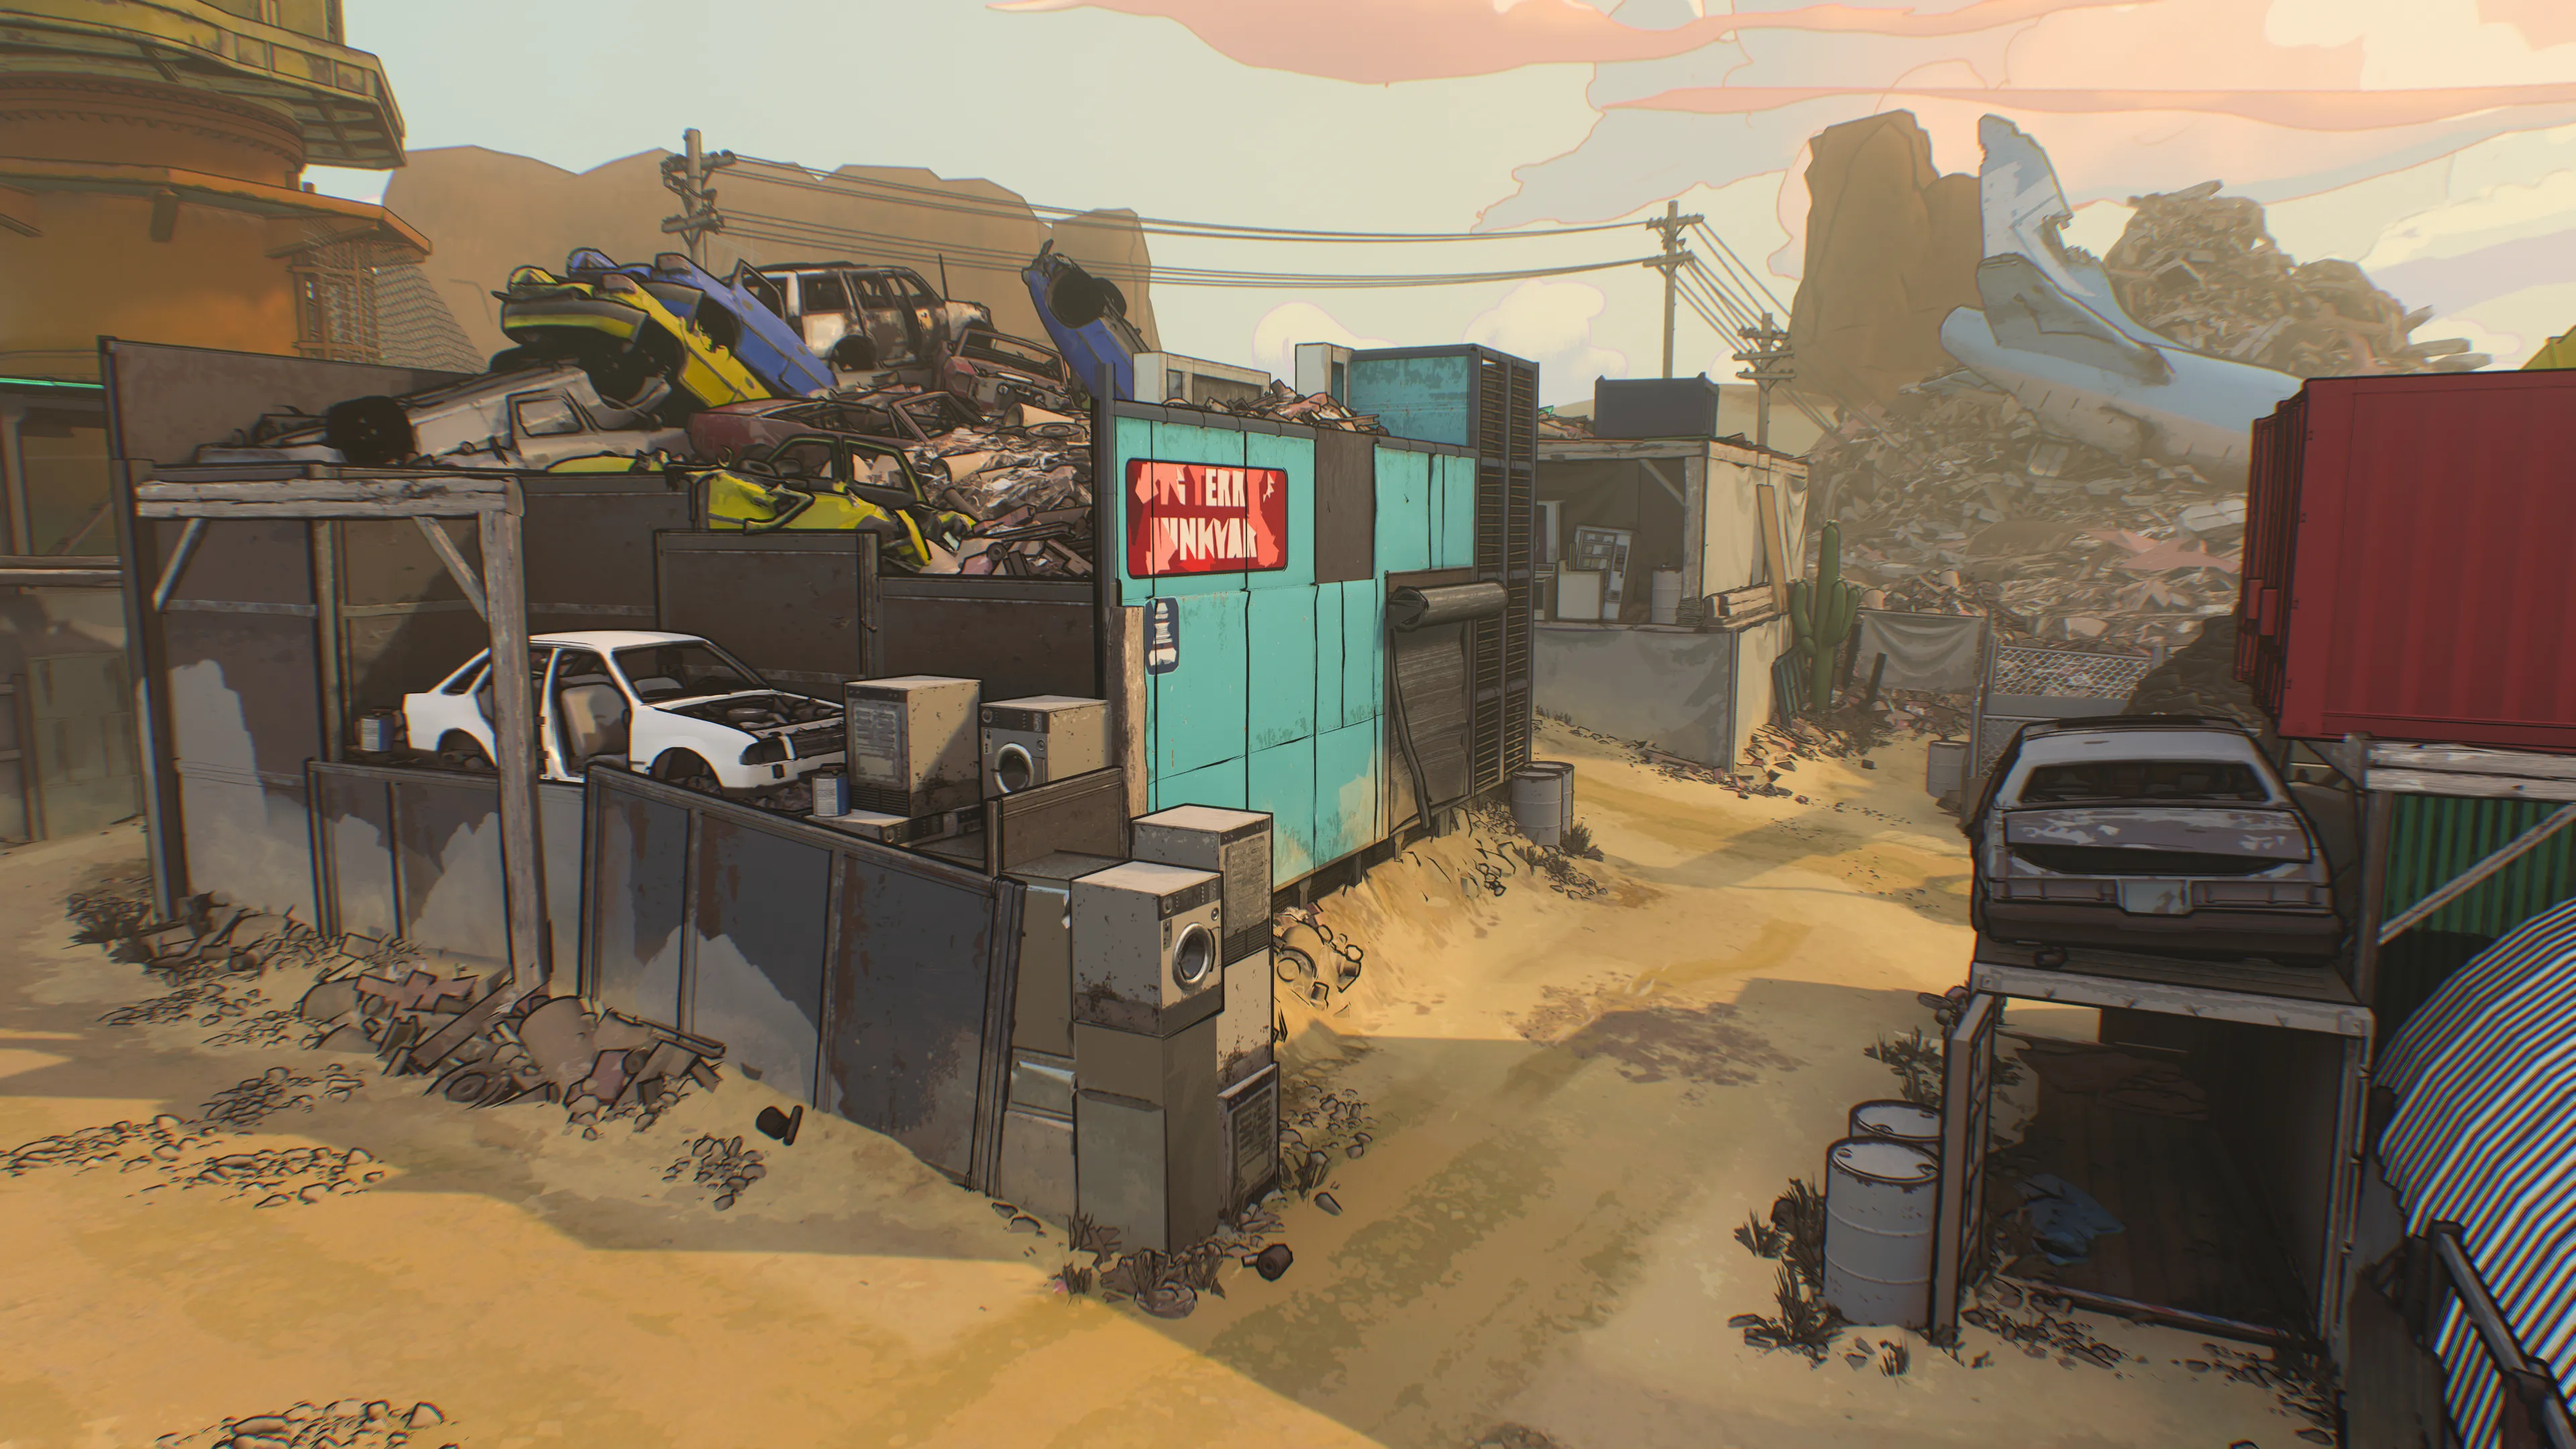
1. Distance in the wings, slugfest in the center. In general, longer ranged weapons perform best on the two side paths while close-ranged weapons do best in the middle through the Crane. There are of course exceptions to this rule considering the available flanking paths but keep it in mind when first learning the layout.
2. A winning pair. It’s helpful to move up with at least one other teammate when attempting to cross the map. Lone players can easily become outnumbered, and the extra help means wider coverage of the area, a win-win situation for both players.
3. Follow the arrows. Someone has kindly painted arrows around certain parts of the map, indicating an object that can be vaulted over or pointing toward a flanking route regarding the east Garage. Take note of these as useful hints in your initial deployments here.
4. Scramble their senses. Equip the new Season 5 EMP Grenade to temporarily deactivate enemy electronics and disrupt enemy sensors. For the Crane interior, this is a great way to void threatening Equipment within. Even if there isn’t any there, you’ll still mess up the minimap of affected enemies.
5. Set the stage. There are bound to be plenty of shootouts across the Car area on the east path next to the Crane. Join in the test of marksmanship or flank through the Garage for a closer fight. The open container on the west path can likewise be used to force a tighter battle.
6. Adjust. While small maps are great for grinding camos on your new favorite weapon, don’t be afraid to swap to different Loadouts when the time calls for it. If the enemy has the Crane locked down, equip an Assault Rifle and fight them from the longer, outer sight lines. If a slugfest is what’s needed, get out that Shotgun and move up!
7. Clear the air. While some small maps leave little room to take stock of threats in the air, there are enough mid-sized cover pieces around Yard to find breathing room when you need it. Streaks are likely to remain a common threat here, so take a moment now and then to destroy enemy aerial streaks and keep the overhead advantage on your side.
8. Keep the points rolling. Consider equipping the A.C.S. Field Upgrade when competing in objective modes like Domination and Hardpoint. Drop it on the objective when you need to get off the point to eliminate a pesky threat. If someone on your team drops a Trophy System nearby for added defense, even better. The A.C.S. doesn’t take long to recharge, so use it often to help capture and hold objectives throughout the match.
9. Boom! You can do a lot of damage with C4 on this map, made even better by using the Ordnance Gloves for faster and further deployment. For a full demolitionist playstyle, add on the Modular Assault Rig Vest to resupply C4 off fallen Operators.
10. Crush and recycle. Make like the salvage yard and use this guide to help crush your opponents. If it goes the other way, toss your loss to the wind and jump back in for a rematch.
And most importantly:

© 2024 Activision Publishing, Inc. ACTIVISION, CALL OF DUTY, and MODERN WARFARE are trademarks of Activision Publishing, Inc. All other trademarks and trade names are the property of their respective owners.
For more information, please visit www.callofduty.com and www.youtube.com/callofduty, and follow @Activision and @CallofDuty on X, Instagram, and Facebook. For Call of Duty Updates, follow @CODUpdates on X.
