Multiplayer Map Guide — Derail

Snow blankets the forest surrounding a railway town and its facilities. At the center, a trainwreck has scattered railcars over the landscape. Use the following guide to take the lead on this large map and leave your enemies out cold in the woods.
Prebrief
A train derails just outside of a railway town, scarring the snowy landscape with displaced railcars. There’s no time to account for lost luggage, however, as snipers fan out across the woodlands and Operators take up position around the town and its storage facilities. The water may be frozen over, but it’s only a matter of time before the fighting gets hot.
Outplay the competition using this guide to dig into all of Derail’s locations, from the frozen woodlands to the heart of the crash site.


-
Show areas

-
Show hardpoints

-
Show domination flags

-
Show search & destroy sites
-
Show spawn points

-
Reset all overlays

// INTEL CARD
- MWIII
- WZ
- WZM
Derail
// MULTIPLAYER // MAPS

Woodland sniper: The wide-open woodlands on either side of the map present ample sniping opportunities. Join in on the fun to improve your marksman skills or stick to tighter areas to focus on closer combat.
Warden of the interior: Even on this large map, there are areas where CQB shines. Head to the Warehouse and Office buildings up north to keep the fight close in two crucial areas.
Hold the bridge: Hold the bridge from above and below to lock down a key point on the map. The Creek runs beneath the forest’s main lines of sight, and there are enough open railcars nearby to escape unwanted attention.
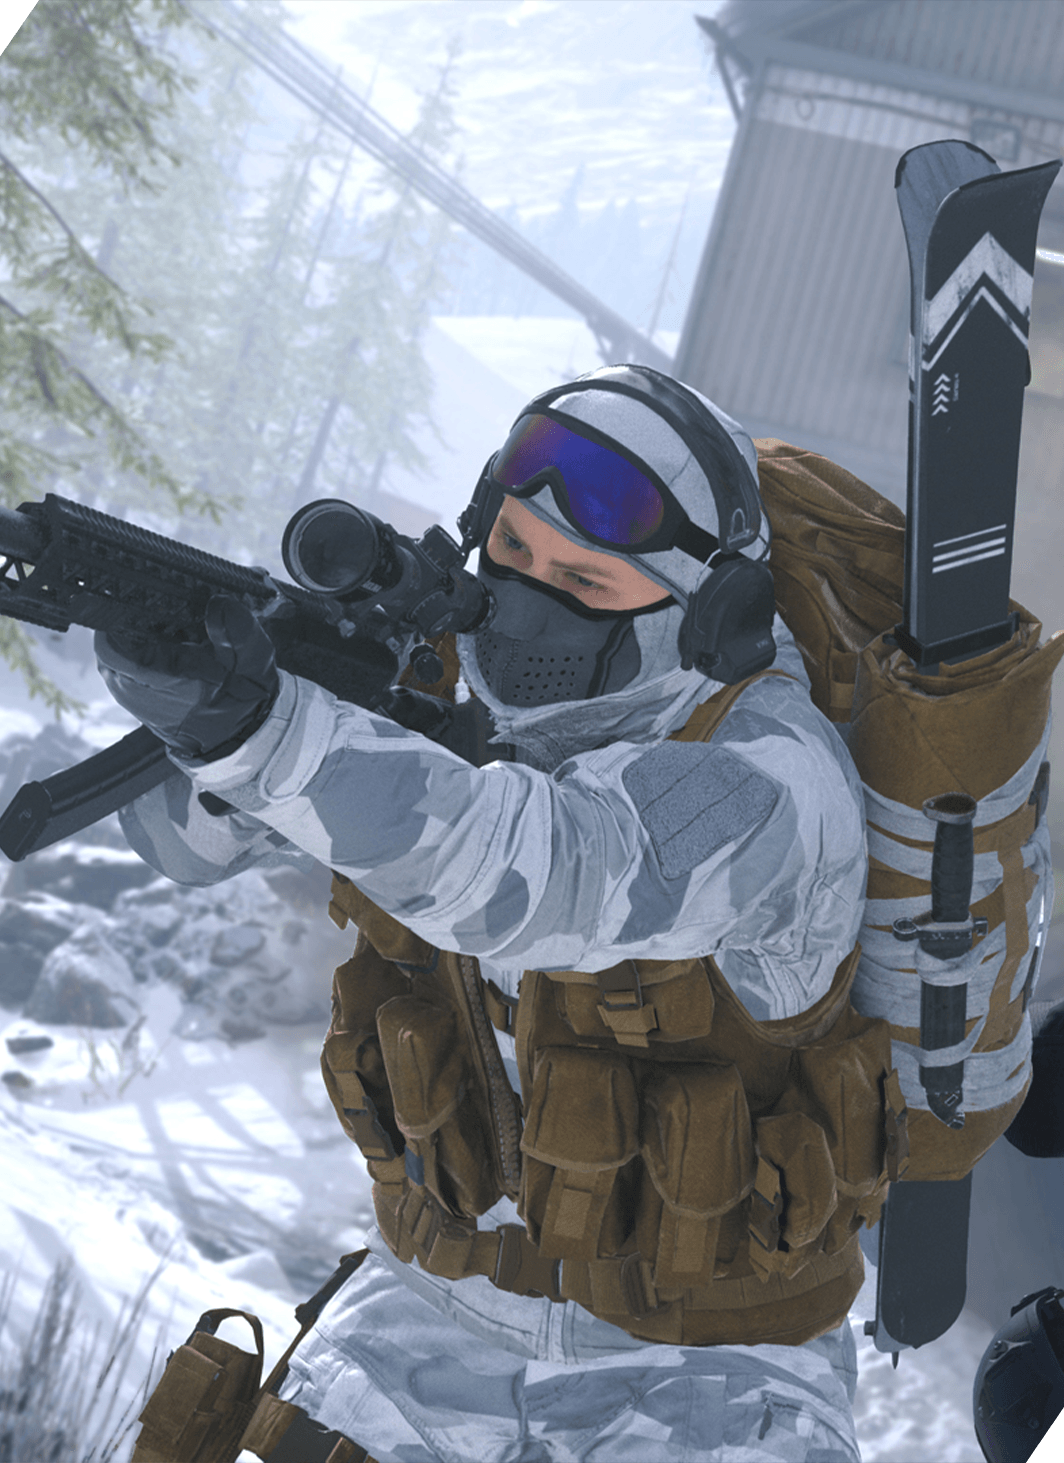
In team-based game modes, teams will either spawn by the Train Platforms (north) or the Street (south).
Between these two points of interest lies the trainwreck enveloped by an open forest, the glint of sniper rifles flashing between the trees.
Derail can be divided into seven areas using the following map callouts:
- MAIN SPAWN POINT: Train Platforms (+ Power Station)
- MAIN SPAWN POINT: Street (+ Gas Station, Garage Office, Water Tower, Crossing)
- ADDITIONAL AREA: Warehouse
- ADDITIONAL AREA: Office
- ADDITIONAL AREA: North Woods
- ADDITIONAL AREA: Train Crash
- ADDITIONAL AREA: South Woods (+ Creek)
MAIN SPAWN POINT: Train Platforms (NORTH)

Positioned between the Warehouse and the Power Station, the Train Platforms provide plentiful tactical options. The main power position here is the raised footbridge over the tracks, providing a commanding view to the south. In its immediate vicinity, various containers, barrels, vehicles, and other supplies provide solid cover options for Operators on the ground.
Be mindful of the Power Station just west, partially obscured by a large blue tarp helping players to avoid detection from within. If you need to attack an enemy in the area, try swinging north of the station and climbing on top of the blue containers for an elevated attack.
MAIN SPAWN POINT: Street (SOUTH)
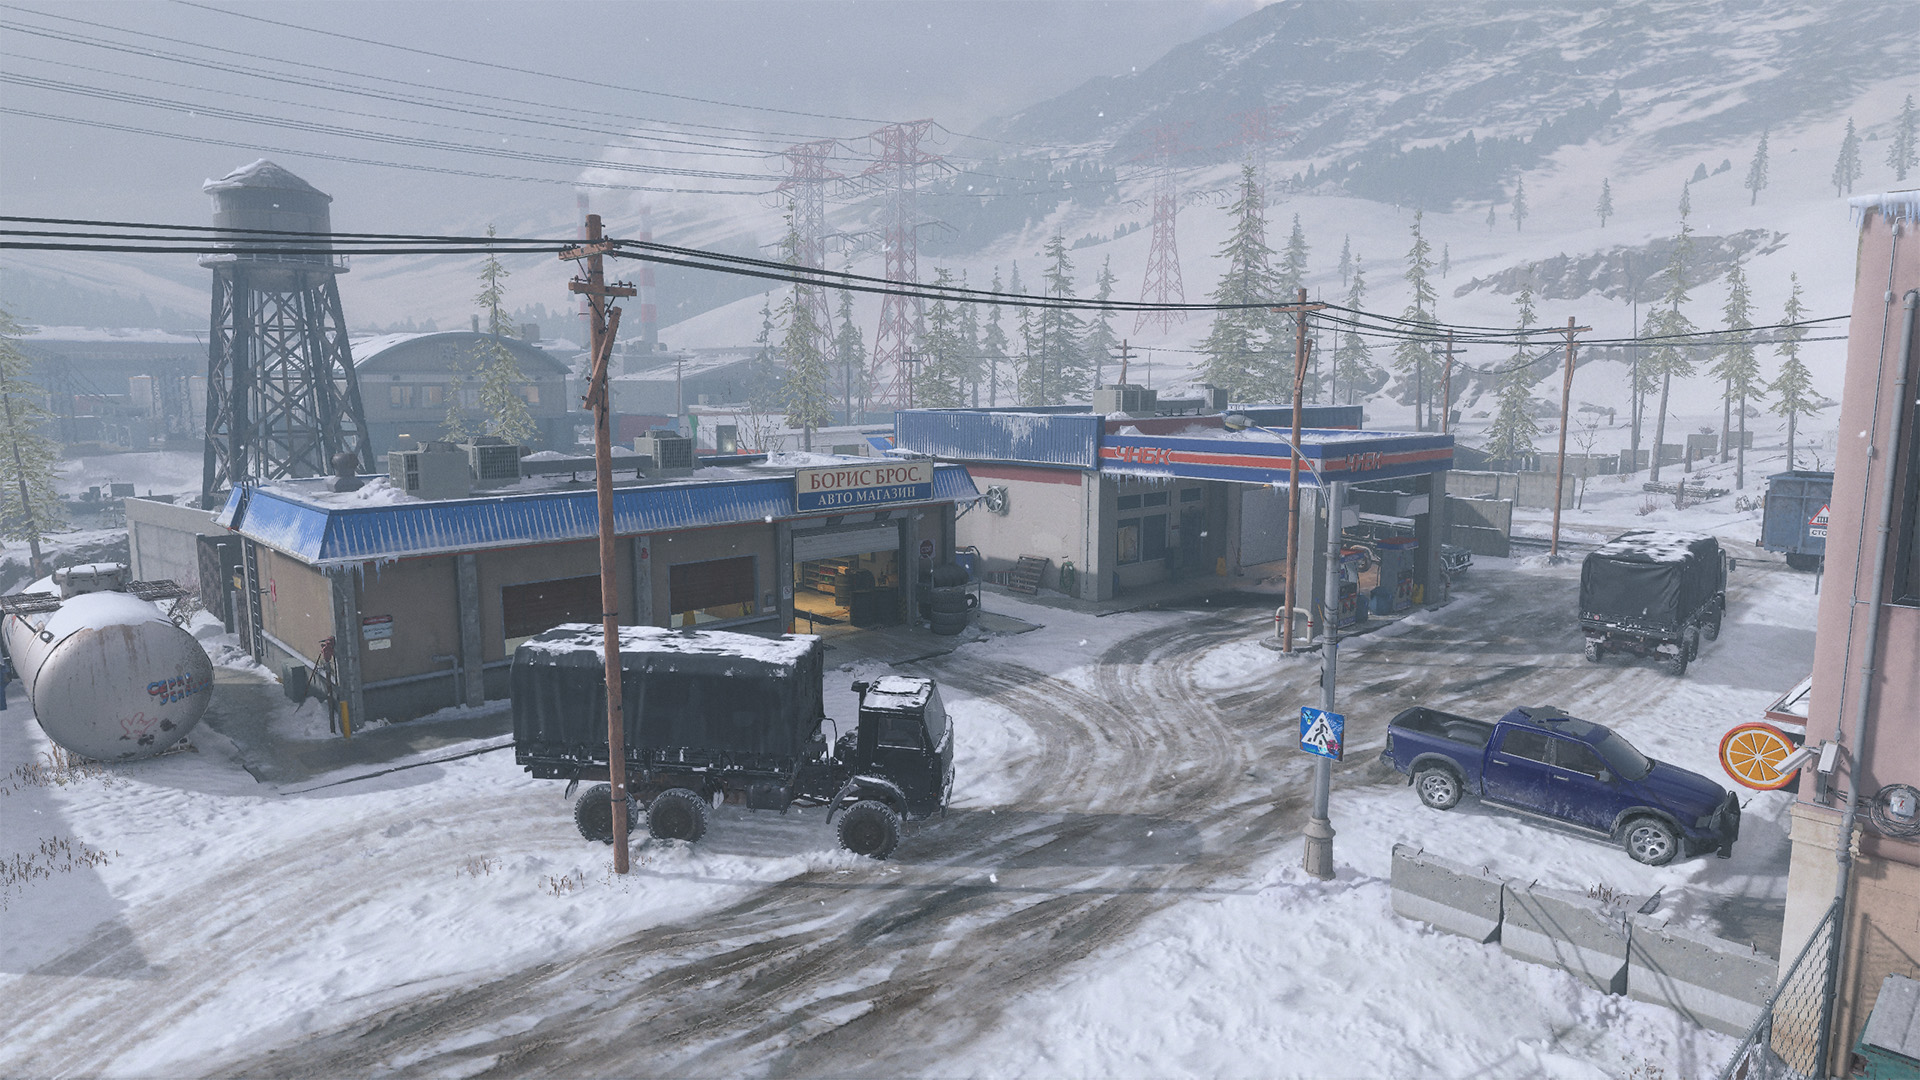
The fenced-in railway town is largely confined from the rest of the map, though several openings look out into the forest and rooftop access provides a view to the north. There are two traversable buildings off the main Street, with a third down the road to the west.
Use a close-ranged weapon when fighting inside any of the buildings, then switch to something with more range when it’s time to fire on enemies outside. When moving down the Street, stick close to the parked vehicles to keep out of view from snipers positioned near the eastern Crossing.
To really open your up view, climb onto the rooftops over the Garage Office and Gas Station. While you’ll be more exposed, you’ll also enjoy a strong view of the surrounding area. When moving north toward the middle of the map, consider setting up at the base of the Water Tower just outside of town.
ADDITIONAL AREA: Warehouse
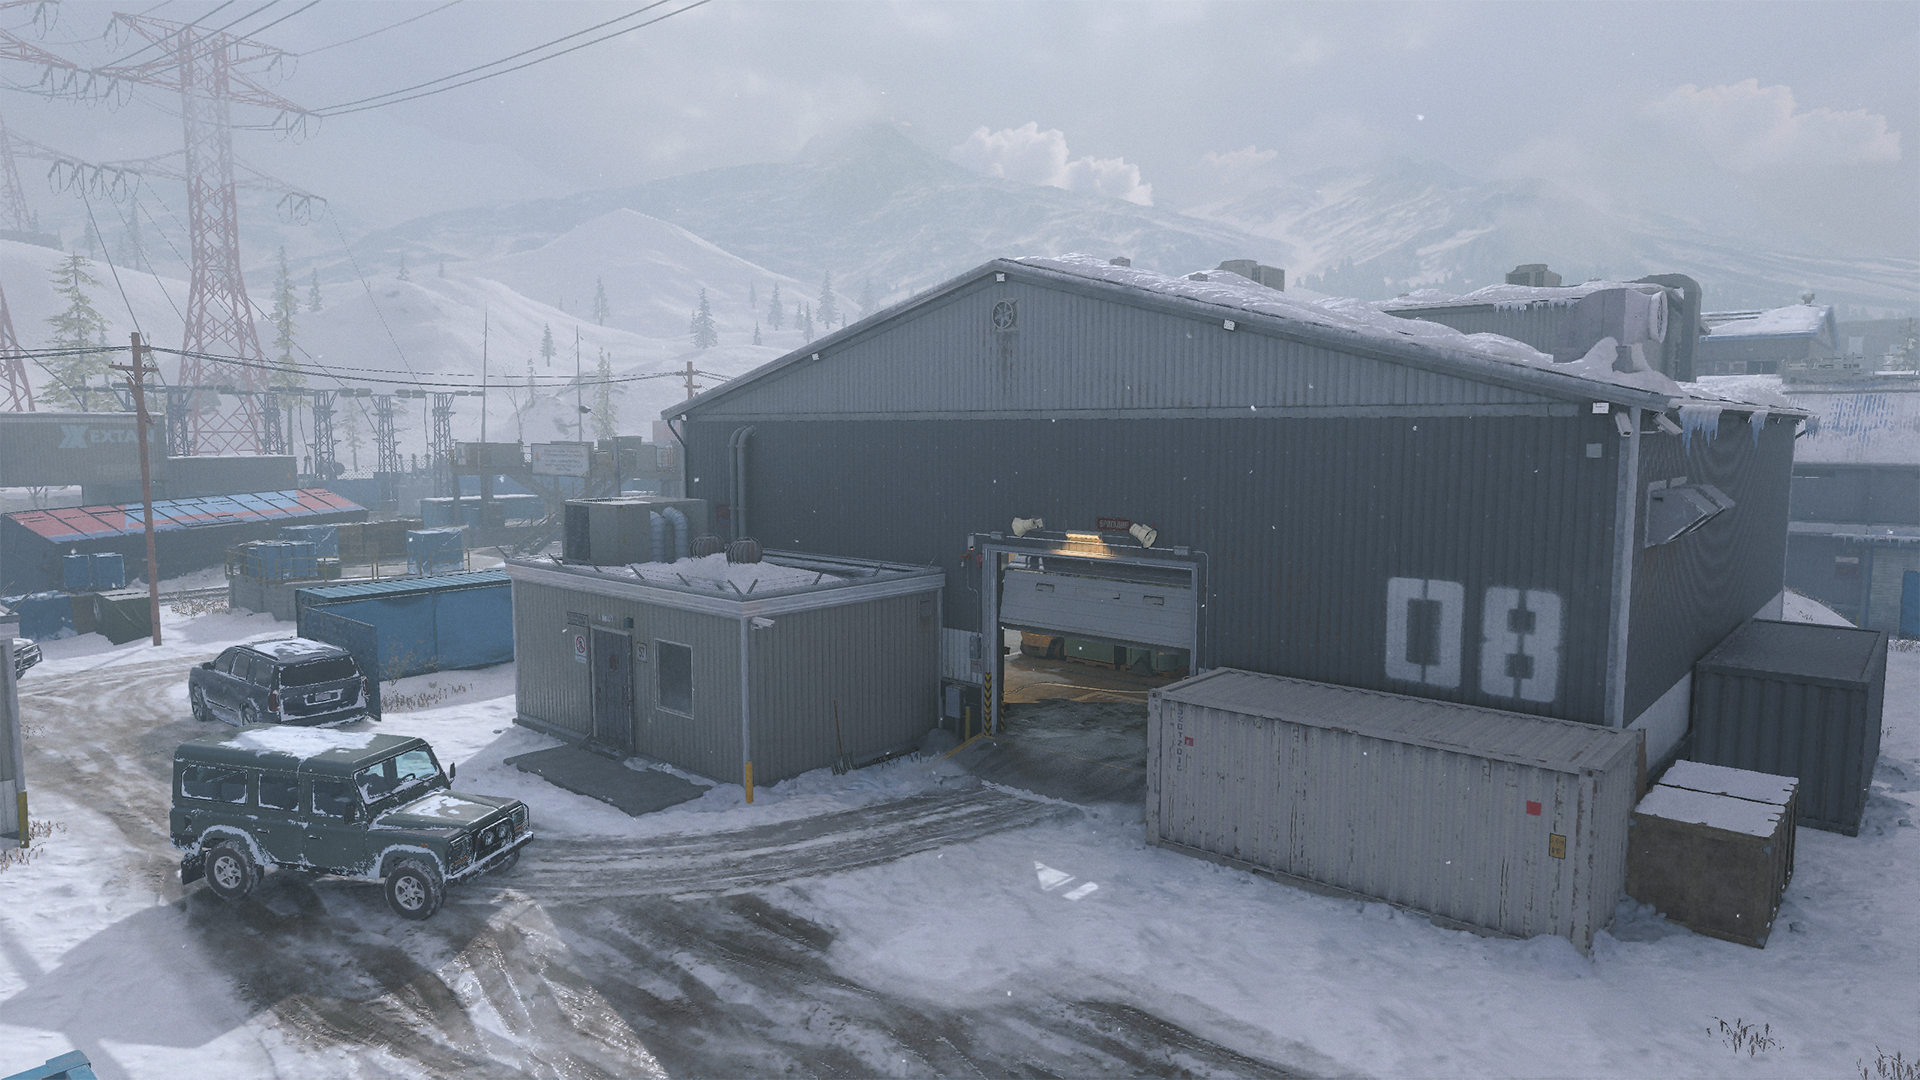
The Warehouse takes up a large portion of the northeast corner, with climbable containers stacked in the storage room and staircases and catwalks providing access to the second and third levels. Note the west-facing second-level windows for their view toward the Train Platforms and Office.
The containers on the ground floor partially obstruct the view, so two Operators with boots on the ground may end up playing cat and mouse around the two piles. In this situation, climb on top of the supplies for a view over your opponent.
An attached garage holds a forklift, and farther back another set of stairs leads to the administration office and up again to the third level. Get out onto a side roof here for longshots or move out to the catwalk for views down into the storage room. With multiple rooms and different access points to each level, the Warehouse can become a hot zone fast, so know when to hold your ground and when it’s time to retreat.
ADDITIONAL AREA: Office
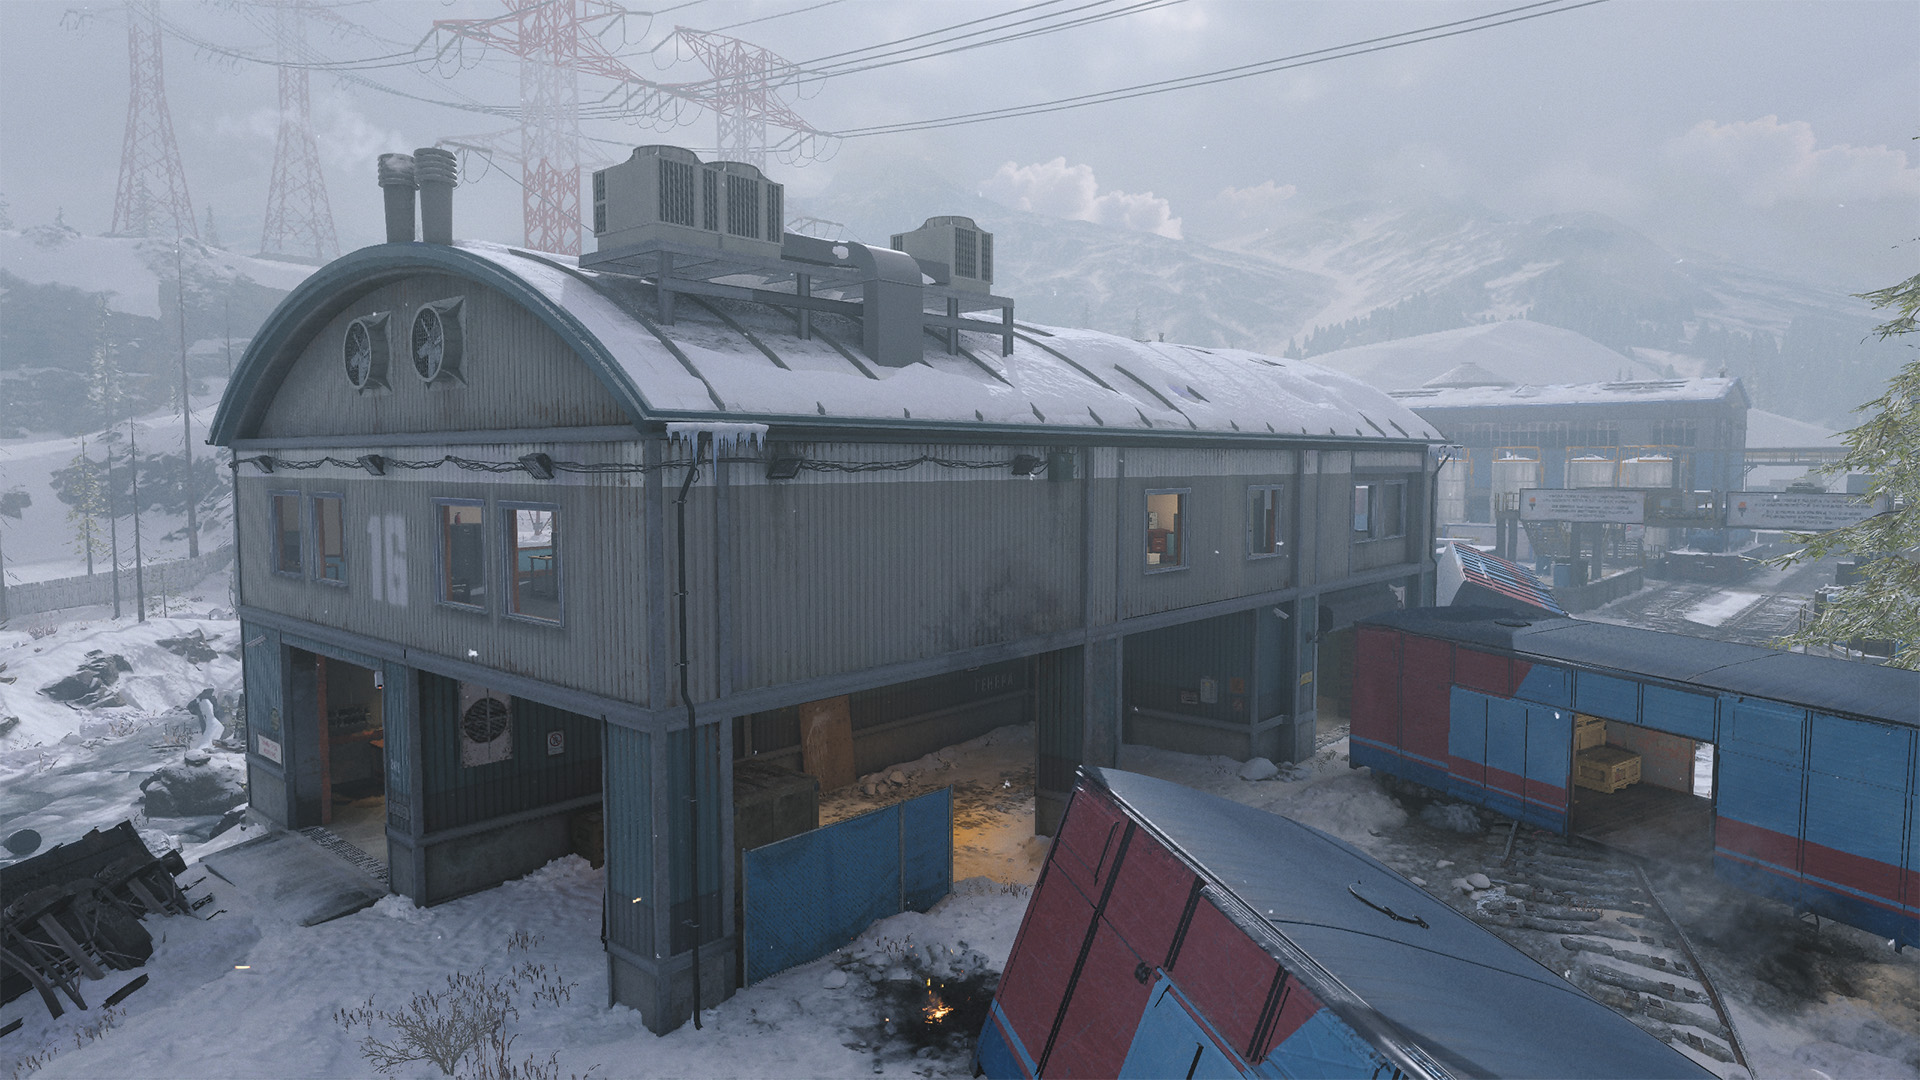
The two-story Office building features tight, narrow rooms, so that any fighting within is bound to be fierce and up close. The real treasure goes to the Operator who can hold the upper floor, dotted by windows throughout for views over a large portion of the map. It won’t take long to find an enemy from some viewpoint, and if the battle gets hot, it’s easy to reposition and look for a new target elsewhere.
Defending against intruders is the hard part. There are two entrances into the building on either side, each a small storage room with a staircase leading directly up. It doesn’t take long to enter the building and reach the second floor, so forget the vantage points and defend your position when an enemy comes racing after you.
ADDITIONAL AREA: North Woods

One of two woodland areas, the North Woods are sure to see plenty of long-distance fighting as snipers scan the tree line for approaching enemies. On terrain like this, every rock and tree trunk takes on extra significance.
There are several outcrops from which an Operator in a crouched or prone position can defend against incoming shots, though be mindful that a flank attack can find you defending from a disadvantaged position. Take note of the sloping ground here, as well. Moving uphill gives you an advantage in staying out of sight, while moving down the slope exposes you to great swaths of terrain.
Situational awareness plays a big role in moving through the North Woods, so try to pinpoint where the action is and adjust your movements accordingly.
ADDITIONAL AREA: Train Crash

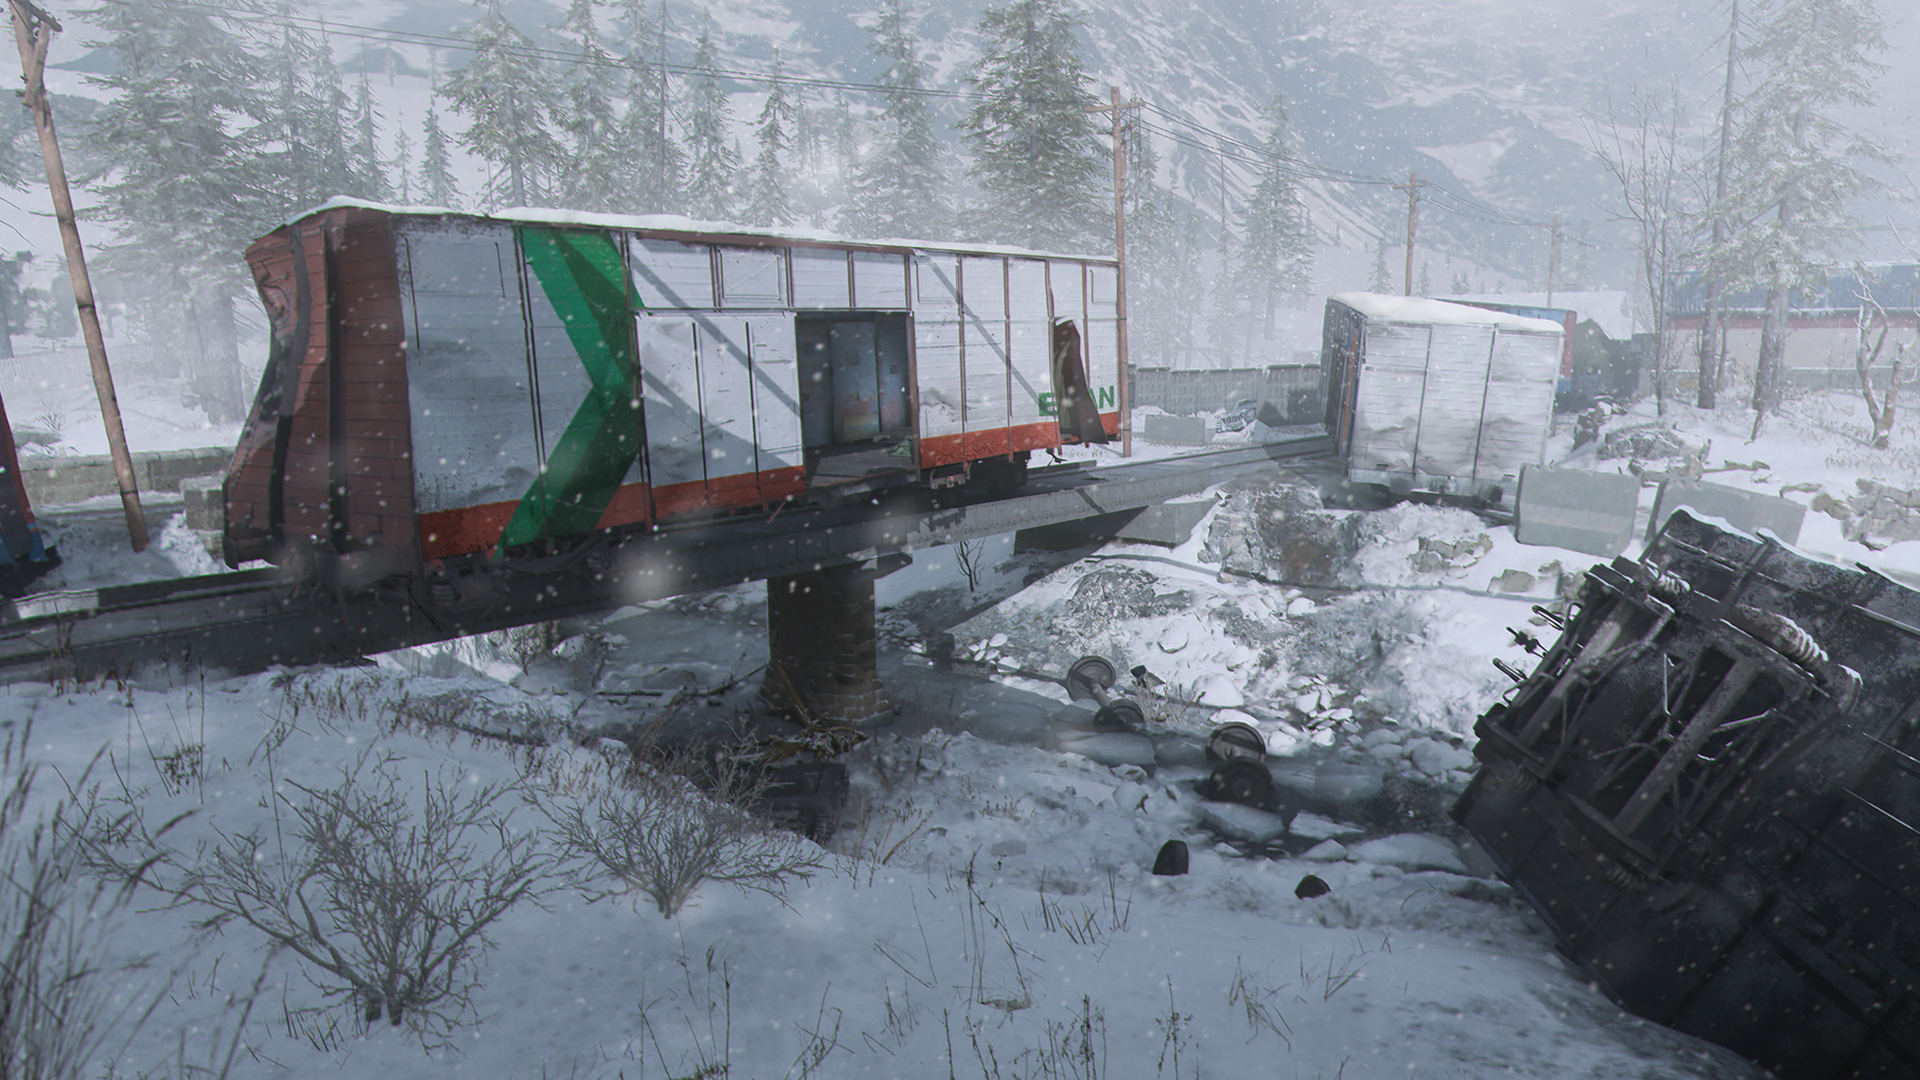
The Train Crash adds a frenetic play space to the open field. The wreck stretches down the middle of the map. Most of the railcars are accessible, so an ambush can occur at any moment when moving through the area, as well as from under the bridge and along the Creek.
Because much of the area sits below the woodlands, Operators gain some protection against snipers in the forest. In effect, close-quarters combat gains extra prominence, as do grenades that roll easily into the ravine. Climb up to the Water Tower west of the main crash site for a commanding view toward the bridge.
In the thick of the crash, use the railcars, bridge, and the tracks as your cover points while seeking out enemy Operators. A player who moves seamlessly through the wreckage can counter any threat.
ADDITIONAL AREA: South Woods

As with its northern counterpart, the South Woods is an attractive environment for snipers and other long-ranged Loadouts. The devil is in the details, however, with some notable differences between the two areas.
Its southern tip provides great sightlines into the railway town, covering the street and the rooftops. Sharpshooters can land eliminations from here without needing to get into the fray. Some logging activity has reduced tree cover when moving through the woods, though the rough terrain gives Operators the ability to move in stealthily when needed.
The terrain naturally changes around the Creek, a valuable route that runs north alongside the Warehouse. Use the Creek’s lowered elevation to stay out of sight while approaching the next objective.
Objective Overview
Overall Tactics
Objective modes bring a tighter focus to the map as teams vie for control over specific regions of the environment. Derail’s open landscape begs the question of when to beeline the target and when to take a longer route to get into an advantageous position.
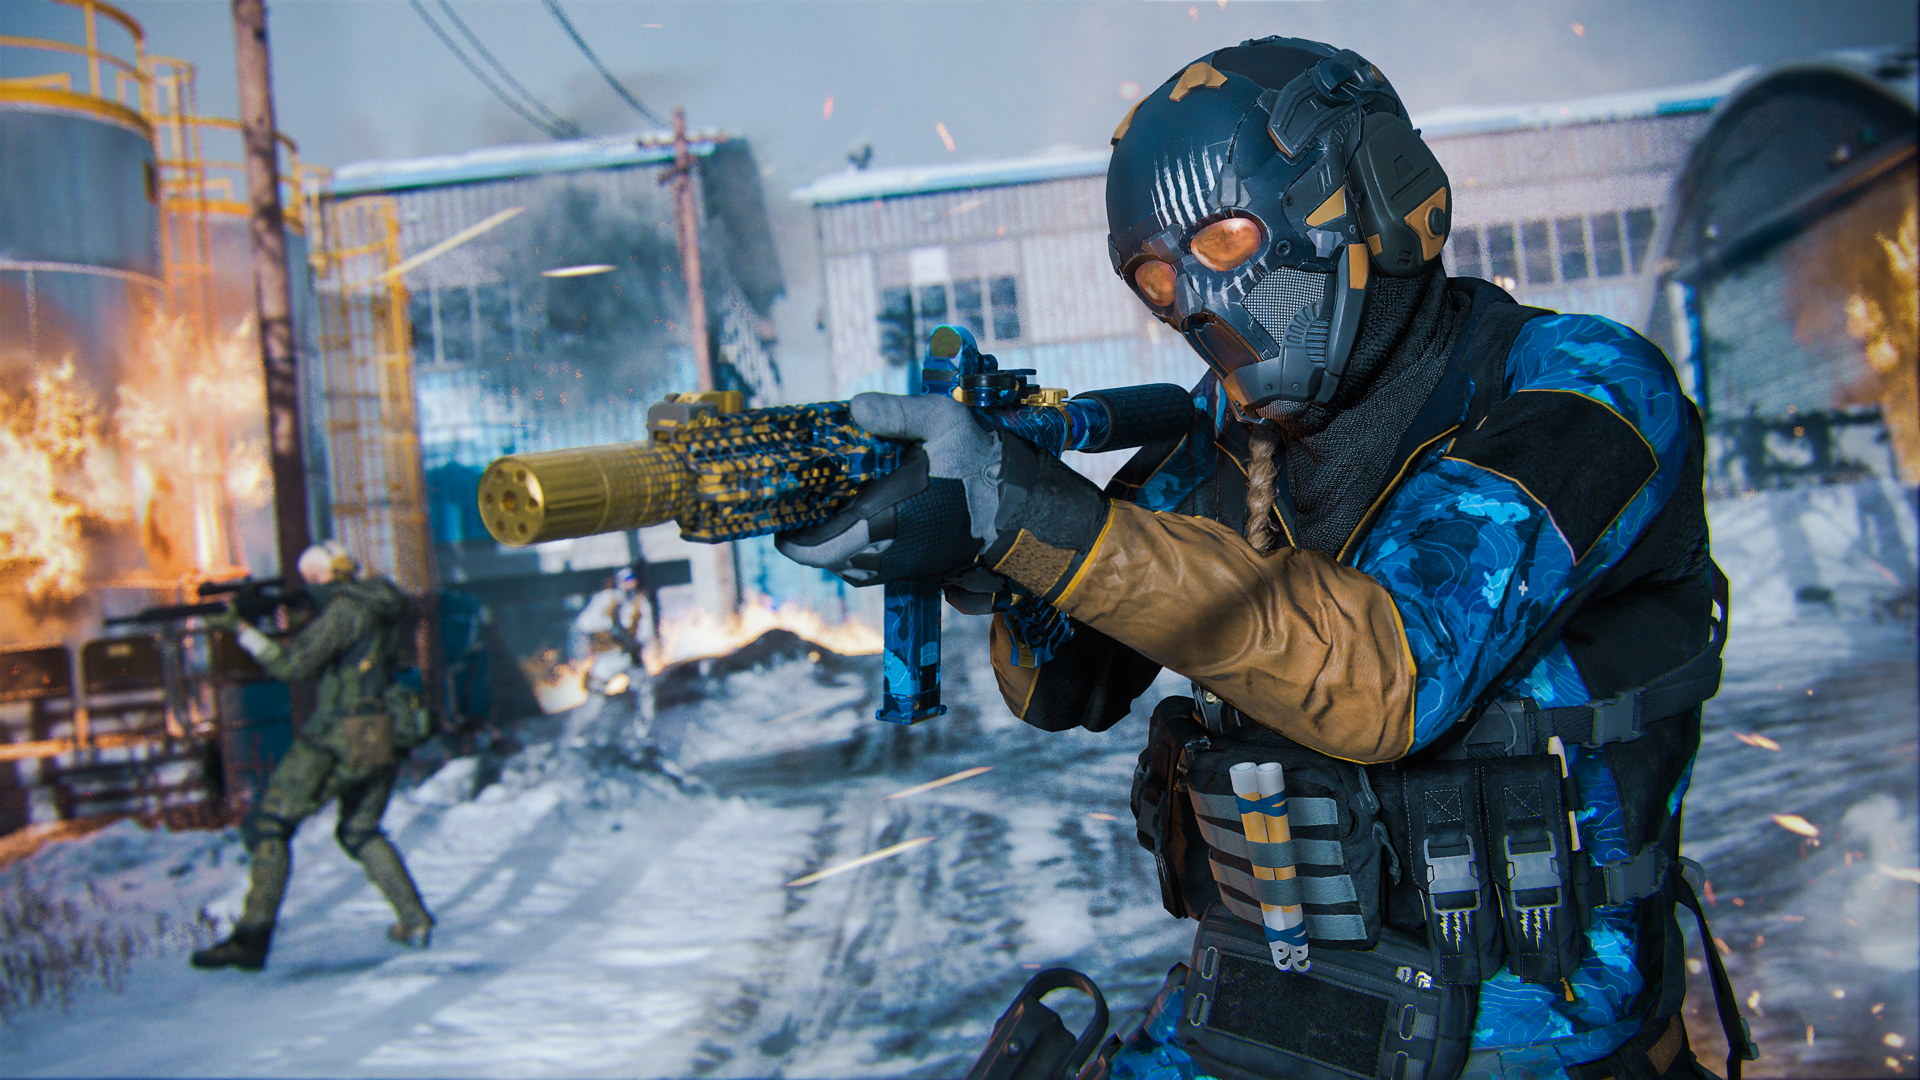
Beelining the objective has its benefits. By jumping into the thick of the fight, you waste no time in accumulating match points, upping your chances of getting the early lead. If you win most of your skirmishes, it’s also a good way to build up your streaks.
If you’re losing your fights, on the other hand, you end up losing time. Maybe that sniper in the South Woods isn’t worth taking head-on, or the enemy in the Warehouse has the storage room on lockdown.
In these cases, it’s worth approaching your target from a different angle, whether that’s weaving through obstacles to approach a sniper’s position unsighted or using the Creek to attack the Warehouse from behind. When you seek out the most advantageous paths, you strengthen your team’s push toward the objective.
Domination
From the Warehouse to the Gas Station, the Domination flags focus the action on the east half of the map, though the North Woods offer a potent flanking route. The fight for B is paramount here, as the map’s large size makes holding A and C an arduous task for all but the most coordinated squads.
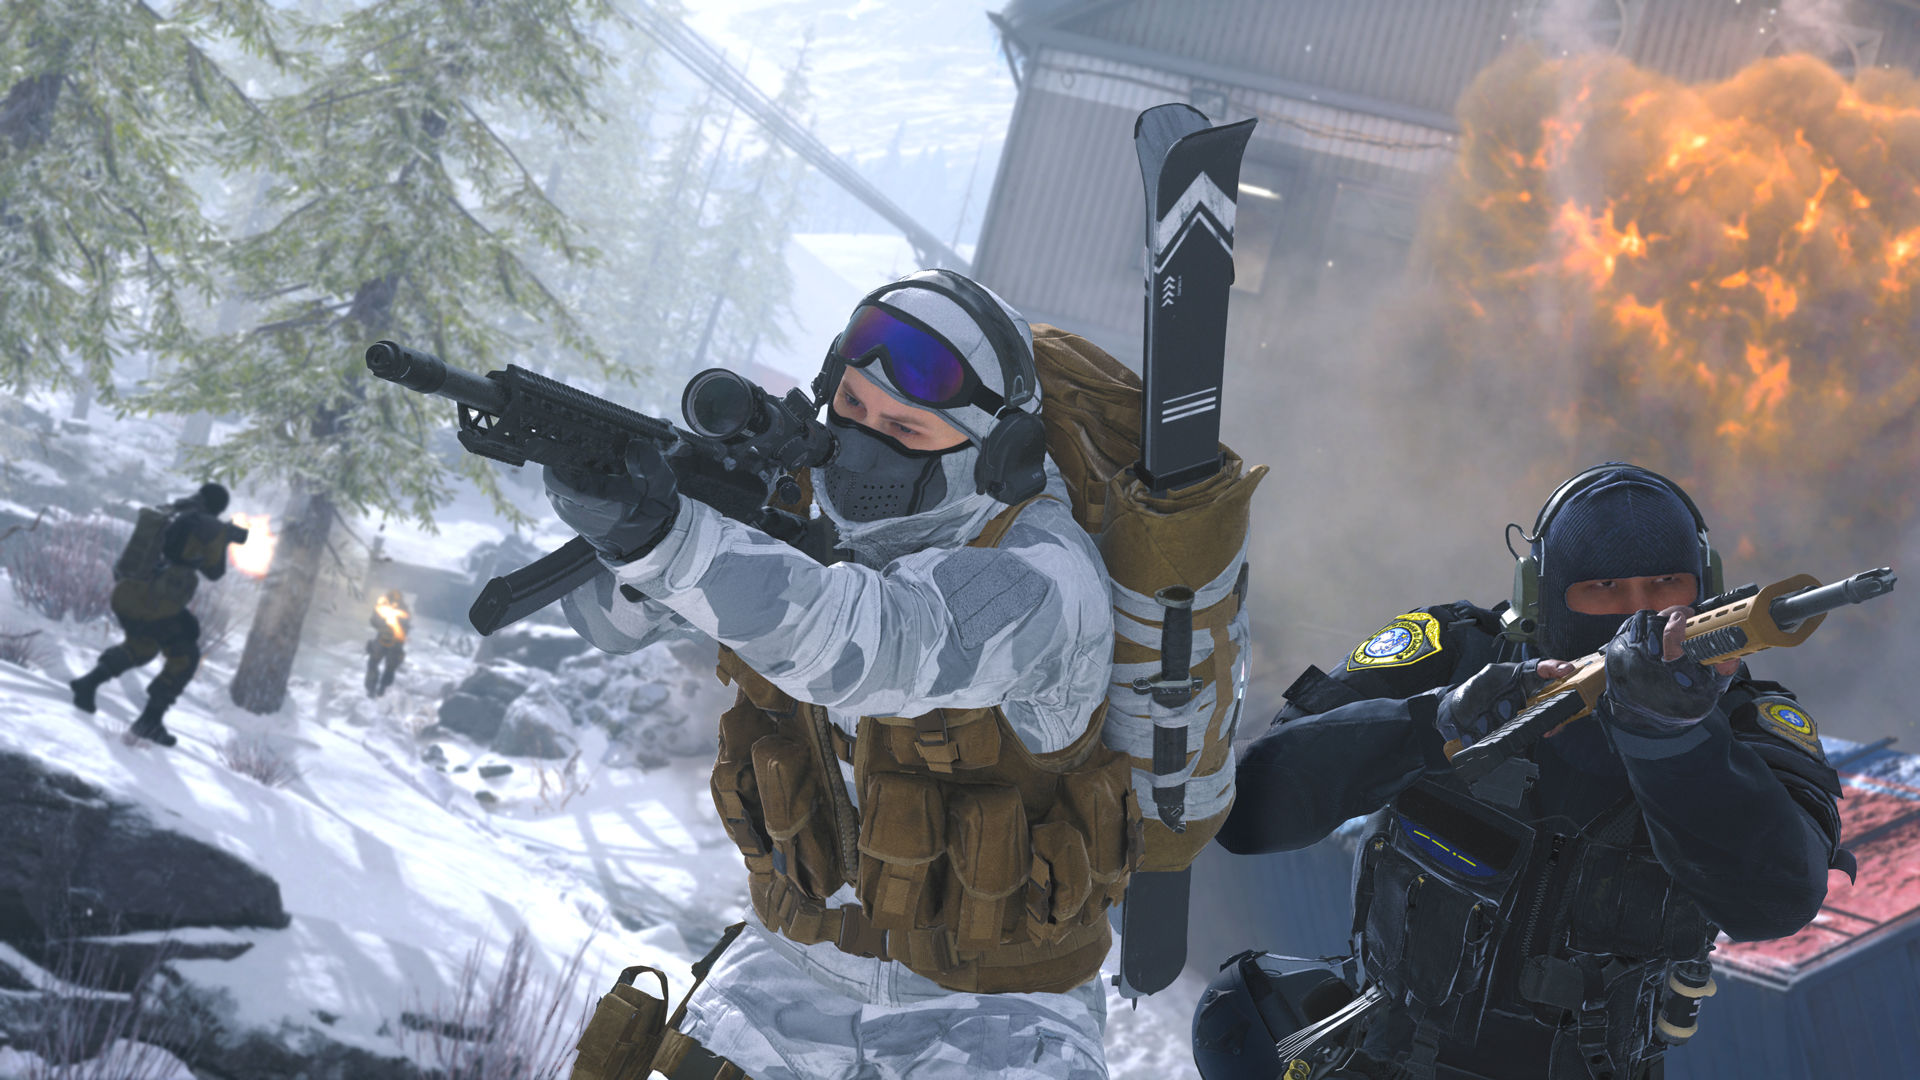
When approaching B, use the railcars and infrastructure to minimize your profile while scanning for enemies. Note the Water Tower and even the far west cabin, gaining further prominence for their long-distance views over B.
Note the various ladder access points to get onto the rooftops over A. Eliminate enemies from far out or opt for one of the open buildings at Street level and eliminate them as they approach the flag. Aim for the gas pumps to really give them a surprise.
For the C flag, consider fanning out to the Office for its commanding vantage points if there’s already someone defending the Warehouse. The Office features views over the C and B flags, making it a valuable stronghold. Prepare to defend your stake on the building; the advantages are well worth it.
Hardpoint
Check every piece of wreckage as the first Hardpoint kicks off at the center of the Train Crash. Move straight in if you’re looking to capture the objective or consider an angled view from the Office or Water Tower to cover the area from afar. From there, you’ll be running up and down the map in pursuit of the remaining four Hardpoints.
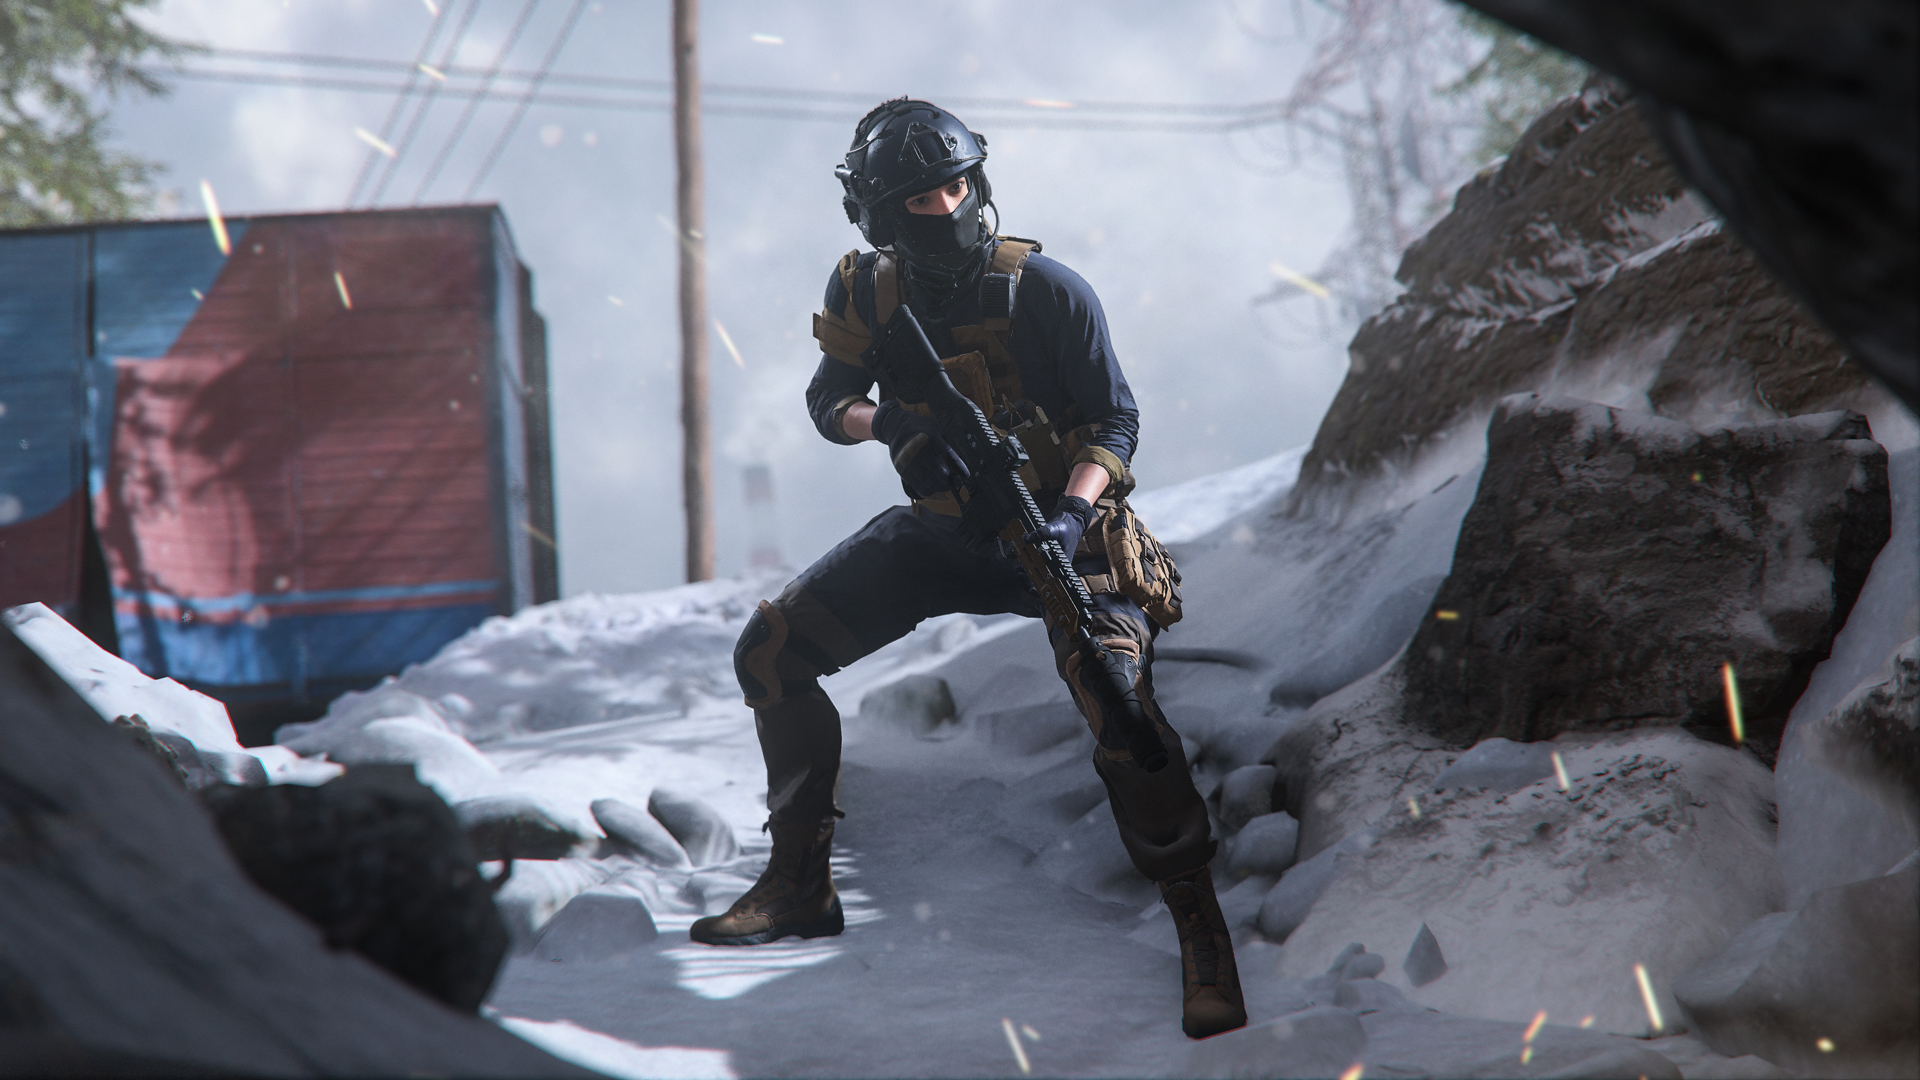
In the Warehouse and later the Office, the first priority should be clearing the inside and getting on the Hardpoint before establishing a wider defense. Once you’re racking up points, spread out to better cover the perimeter. Put down a Trophy System to defend against incoming grenades that can cause havoc in the tight interior spaces.
The Water Tower and South Woods Hardpoints move the fight out into the open. Consider swapping to longer-ranged weapons for these exterior Hardpoints that are exposed to the greater forest, whether you’re attacking the point from far out or using a high-powered scope to protect the objective from all corners of the map.
Cutthroat
Derail gives players a lot of options, even in the chaotic environment of a 3v3v3 match. The open forest provides space for Operators to spread out, punctuated by interior spaces and the train wreckage where close-quarters combat thrives.
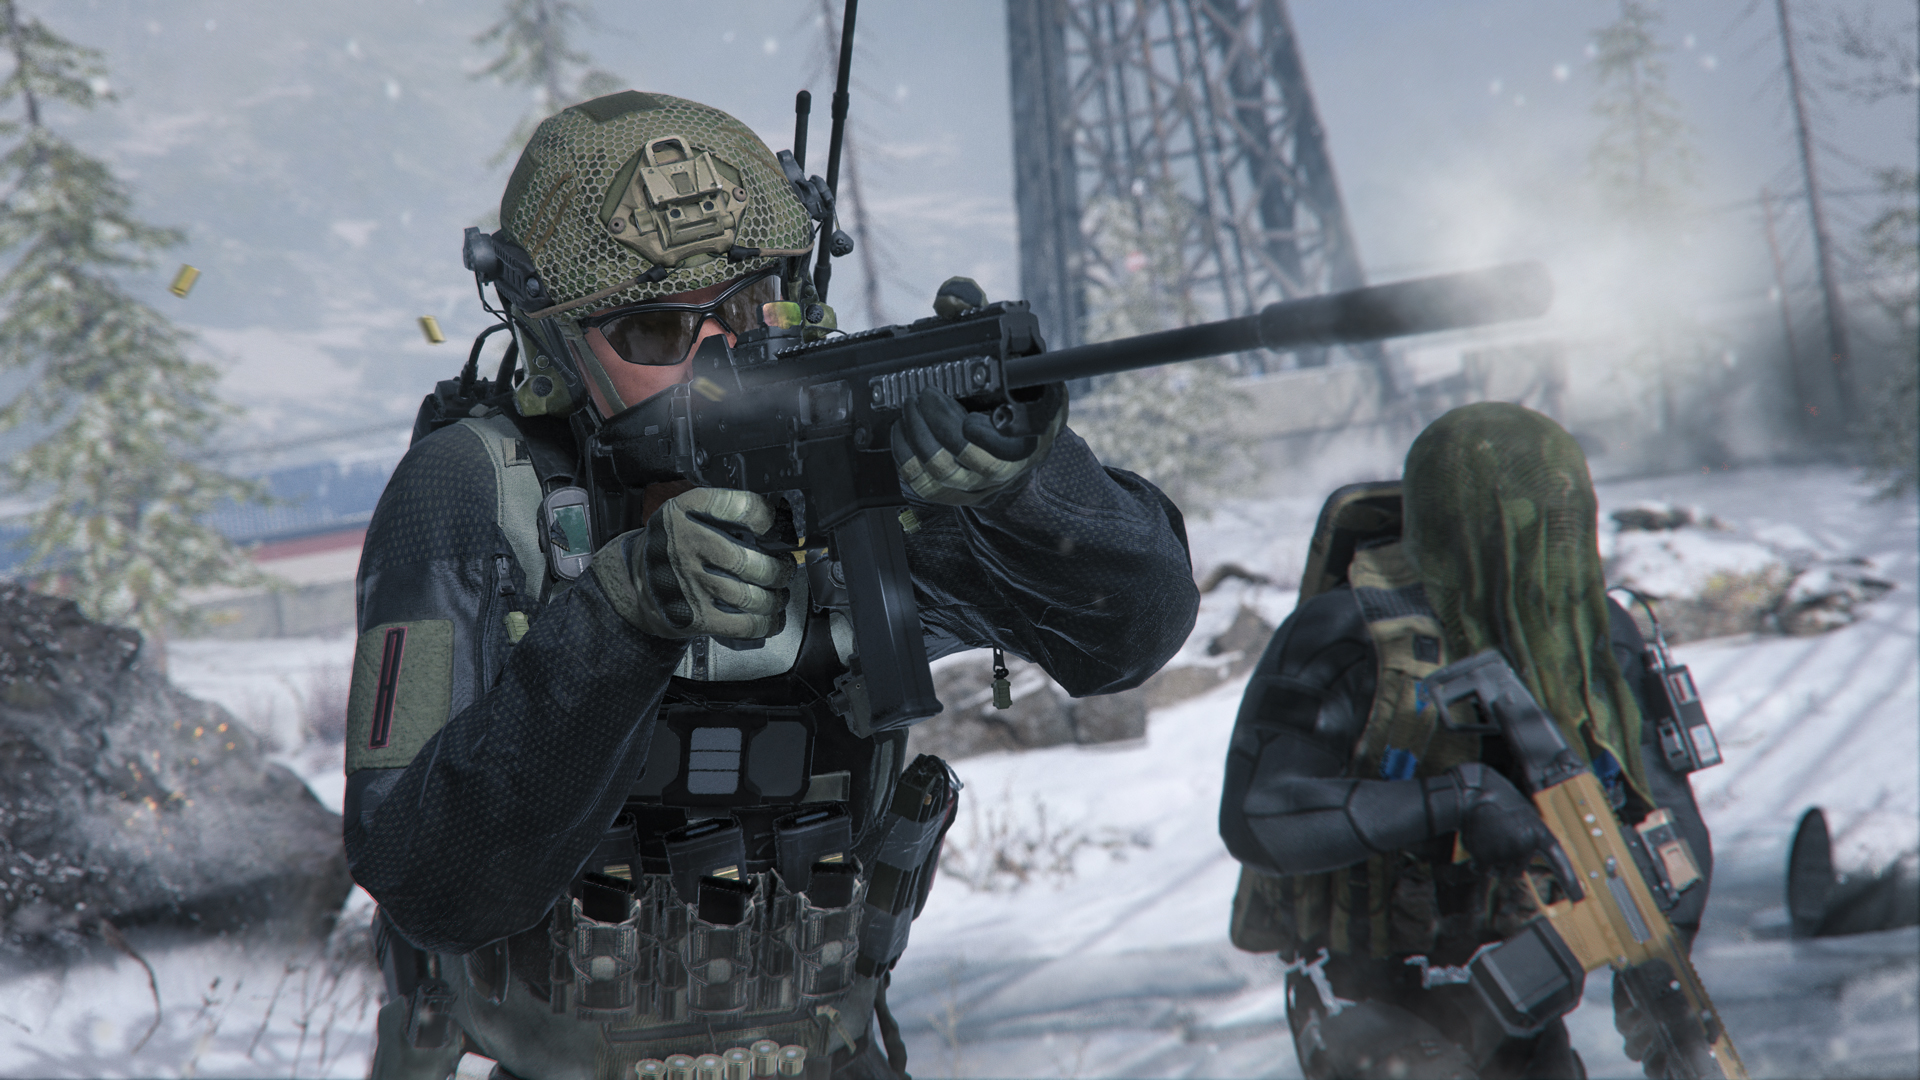
It’s never a bad idea to fight your way to the overtime flag. The round ends after only a minute, and the map contains plenty of escape routes for Operators who don’t want to be found. By establishing control of the overtime flag, you don’t have to worry about tracking down every enemy, instead forcing them to come to you.
Move together to improve your chances of rescuing a fallen teammate or spread out to cover a wider area. Each tactic has its place and how you choose to fight will depend on your enemy’s approach. Whatever your strategy, keep the overtime flag in sight and use the rugged terrain to your advantage.
Search & Destroy
The woods are all that separates the attackers from the defenders in Search & Destroy, and one false move is all it takes to get knocked out of the round.
Starting from the southern railway town, the attacking team’s first task is deciding how to cross the woods. With this much open space, try spreading out so the enemy has trouble locating the bomb carrier; a grouped approach can work, too, by carving a path forward before the defenders know what hit them.
Whether you go for the A or B bomb site, you’ll first need to successfully breach the northern half of the map. Once there, pivot to the objective with the least resistance and defend the bomb carrier as they initiate the plant.
As the defending team, you must first locate and communicate the position of the enemy; it’s not helpful if you’ve got Operators covering portions of the map where there’s no activity. The second-story Office provides exceptional coverage of the area, as well as the elevated footbridge closer to the B bomb site. Don’t sweat it if the bomb gets planted. With this much room to move around, there’s always the possibility of sneaking in for a clutch ninja defuse.
Top 10 Tips
Get out in the woods. Sure, you’re likely to encounter some sniping in the forest, but that doesn’t mean there’s always a sharpshooter nearby. Don’t let your fear stop you from crossing the map when you need to. Over the course of the match, you’ll discover which routes are safer than others.
2. Total whiteout. Make it even harder for the enemy to pinpoint your position by using the Counter UAV. Intel is of even greater importance on a large map like Derail; take away the enemy’s ability to find you and you’re two steps ahead.
3. No fly zone. Derail’s large environment makes it easy to pull out a Launcher and take down enemy aerial streaks. When the sky gets busy, take it upon yourself to clear things out so that your team can focus on what’s in front of them.
4. Hybrid optics. If your weapon is capable, consider heading into Derail with a hybrid sight attached. With the ability to swap magnification on the fly, you’ll be able to keep the upper hand over a wide variety of engagements, whether you’re out in the woods or blasting enemies in the Warehouse.
5. Take the middle ground. Use Tac-Stance for a smooth middle ground between accuracy and mobility, a great choice when approaching the thick of the Train Crash or when moving through woods.
6. Office pest. An enemy in the Office building can do a lot of damage with all the available sightlines. Be a pest and travel back and forth with a Shotgun or SMG in hand, ignoring the views outside until the interior has been cleared.
7. Out of sight. In the woods and out of luck? In the North Woods, book it to the strip between the two pylons. In the South Woods, head for the fenced enclosure by the woodshed. Take a breath, then launch a counterattack.
8. Ghost in the forest. Large maps provide great opportunities for surprising the enemy with a flank attack, but your stealth maneuvers will spoil if you’re spotted en route. Learn to adjust your planned route on the fly if it means retaining concealment until you’re ready to attack.
9. A cover wall. When you’re not sure where the next enemy is and it’s important that you play your life, try moving around the perimeter until you spot a target. Keeping a map boundary nearby will reduce the number of angles you need to watch.
10. “Sniper by the woodshed!” Communication is key to countering enemy snipers. When you share an enemy’s position via Ping and/or mic, their chances of survival plummet. Work with your teammates to get all eyes on the biggest threats.

© 2024 Activision Publishing, Inc. ACTIVISION, CALL OF DUTY, and MODERN WARFARE are trademarks of Activision Publishing, Inc. All other trademarks and trade names are the property of their respective owners.
For more information, please visit www.callofduty.com and www.youtube.com/callofduty, and follow @Activision and @CallofDuty on X, Instagram, and Facebook. For Call of Duty Updates, follow @CODUpdates on X.
