Multiplayer Map Guide — Estate

Head to a Makarov’s safehouse and garrison in the Caucasus Mountains, where a pristine Lodge overlooks an expansive woodland property. Fight from the main living quarters or utilize the various outbuildings and fields to engage enemies from the perimeter.
Prebrief
Concealed within a snowcapped mountain range, Estate offers valuable amenities alongside its three-story dwelling, including a Greenhouse, lakeside access, and several outbuildings providing storage for supplies and vehicles.
Operators looking to jump into the heat of battle will find plenty in and around the iconic Lodge, though this medium-sized map hosts several other important points of interest across the surrounding property, providing opportunities for stealth plays, flank attacks, and heated skirmishes around objectives.


-
Show areas

-
Show hardpoints

-
Show domination flags

-
Show search & destroy sites

-
Show spawn points

-
Reset all overlays

// INTEL CARD
- MWIII
- WZ
- WZM
Estate
// MULTIPLAYER // MAPS

Up the Wood Pile: Scale the wood pile behind the Lodge, easily accessible from the Lodge Path and Greenhouse. It leads right to the second story Bedroom, an ideal ambush point.
Away from the Windows: Unless you’re specifically engaging enemies outside the Lodge, avoid standing near the large windows or open doorways or risk falling victim to enemy snipers.
Have a Blast: Though the building is large overall, the individual rooms within the Lodge keep Operators in close contact. Take a Shotgun along to make quick work of any enemies within.
In team-based modes, squads will either spawn at the Substation (north) or the Backwoods (south).
A large property lies between the two points, with the main Lodge sitting over everything. Though this major power position is a haven for activity, however, there are plenty of other points of interest worth exploring and flanking routes worth pursuing. By using the whole map, you’ll gain a greater understanding of your strategic options.
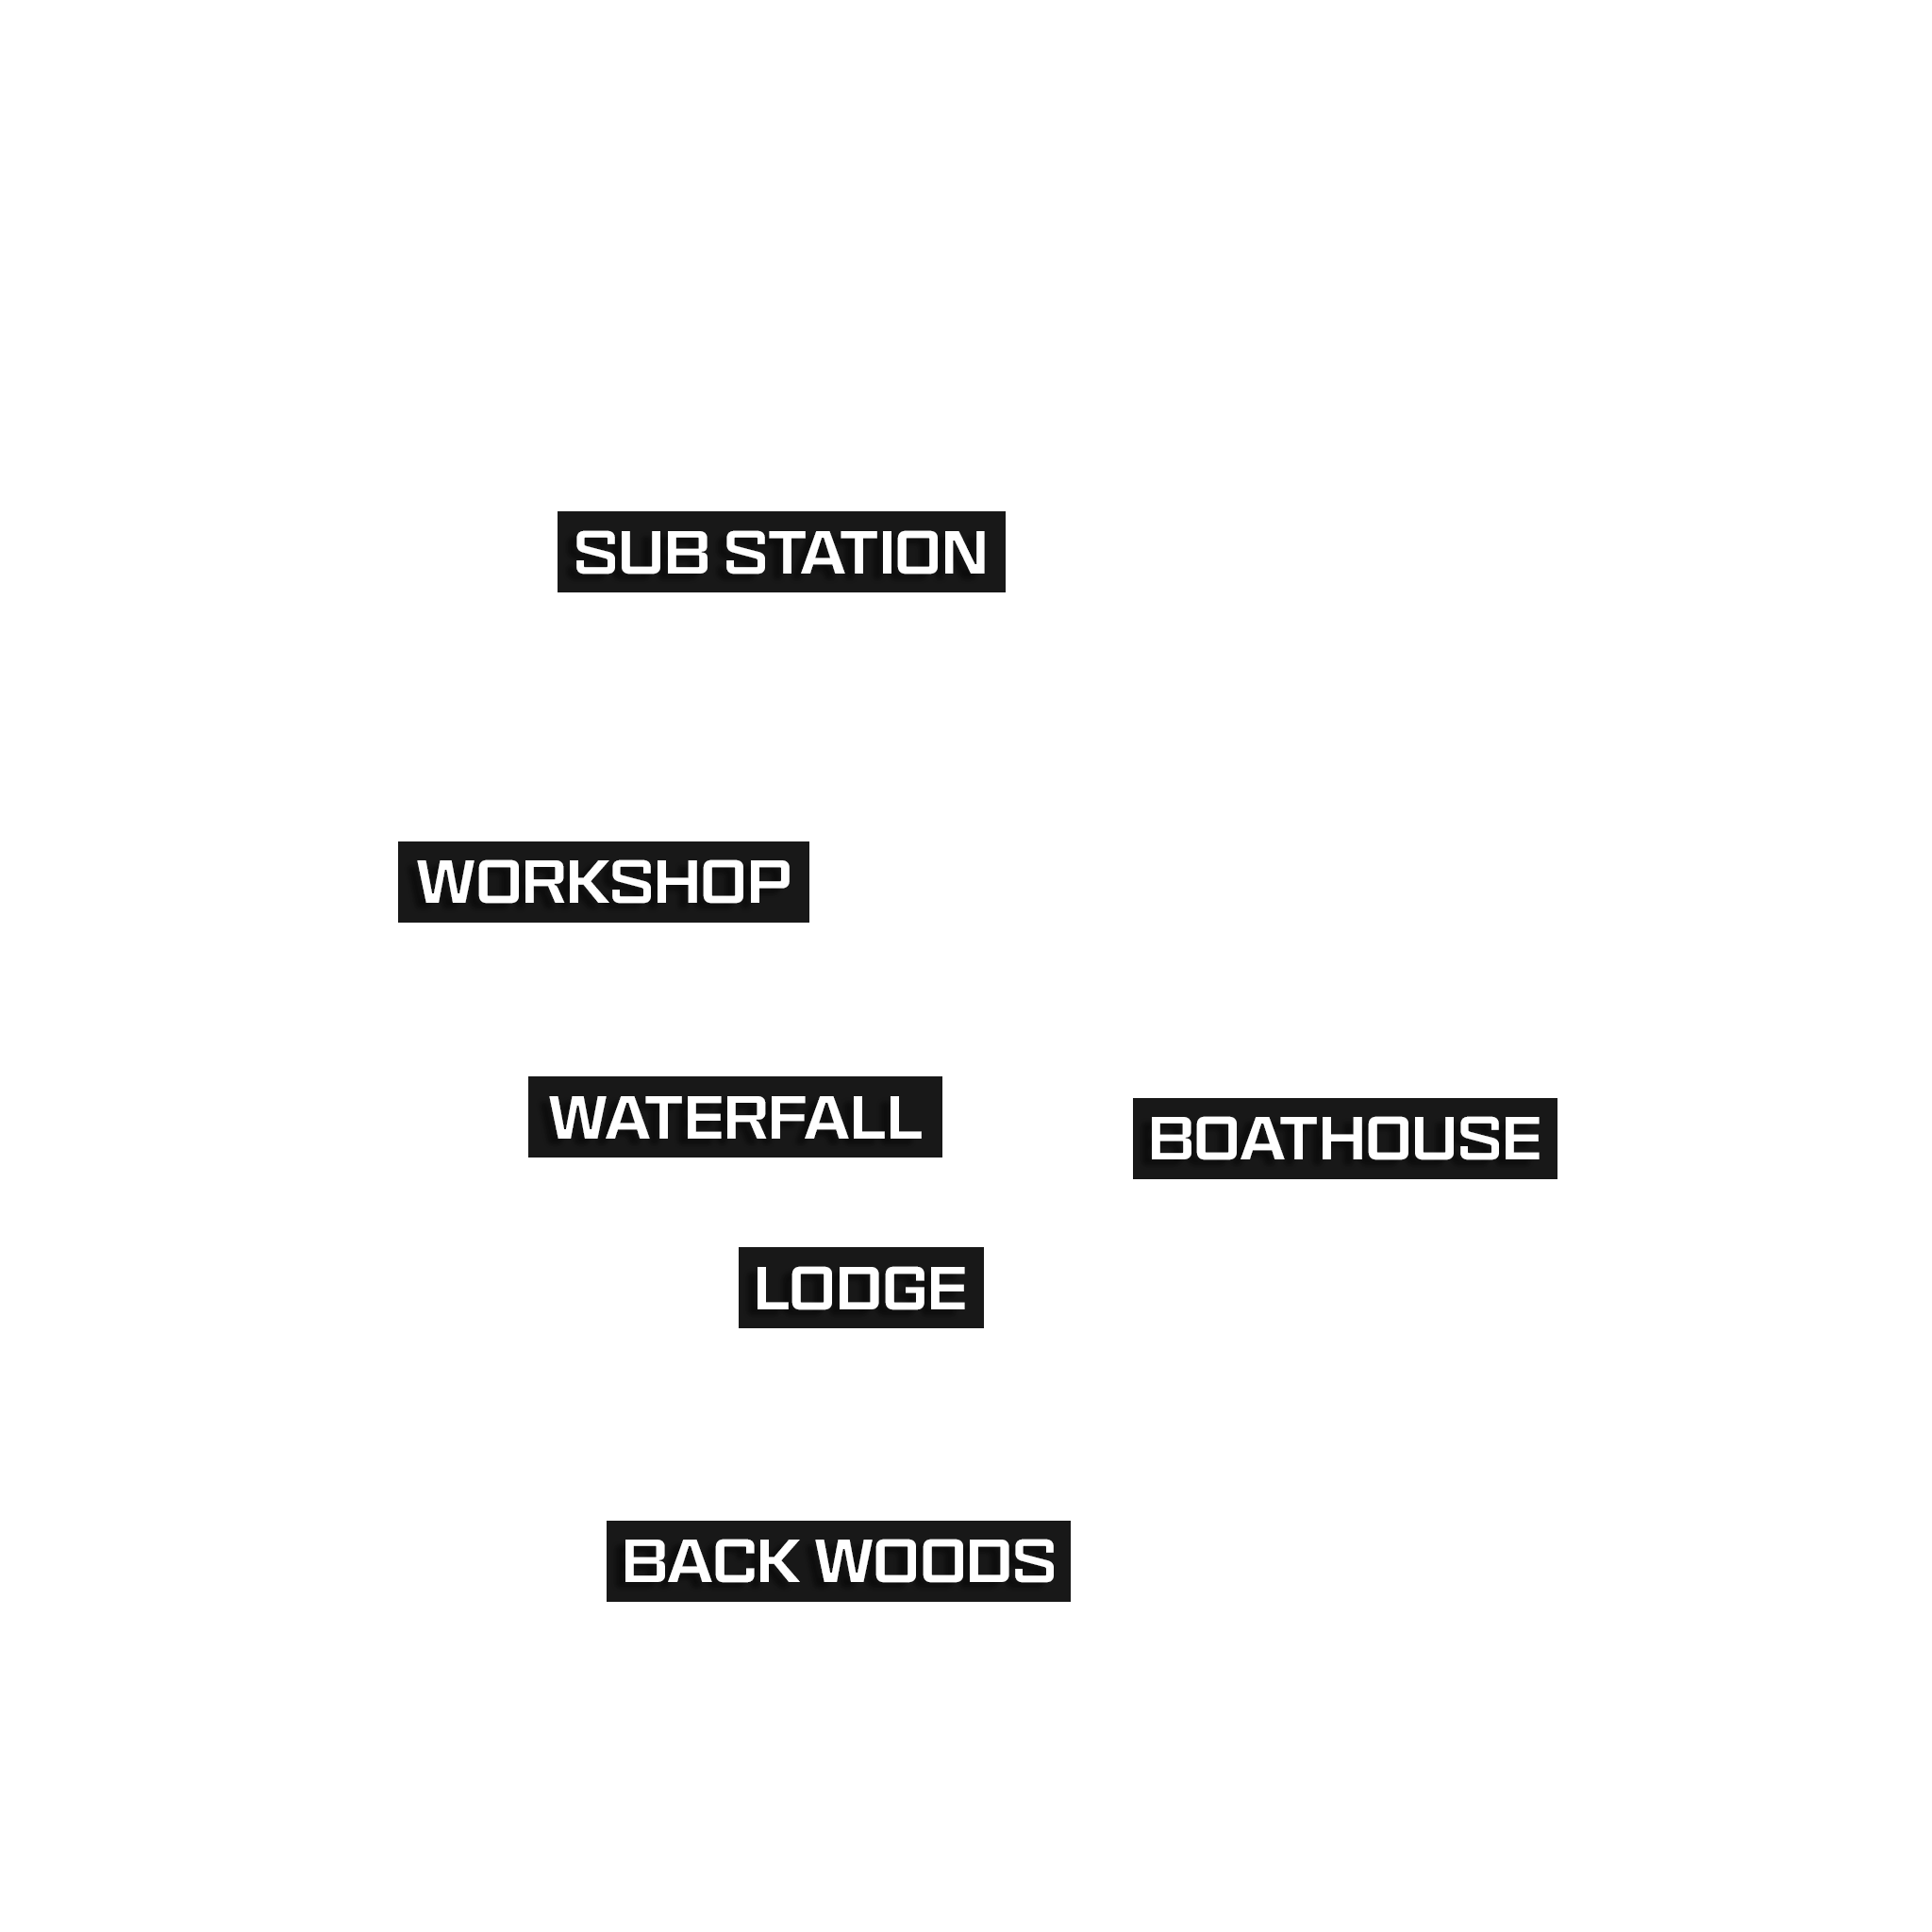
For the purposes of this guide, we’ve divided Estate into six sections based on key areas around the map:
- MAIN SPAWN POINT: Substation (+ Substation Building)
- MAIN SPAWN POINT: Back Woods (+ Greenhouse, Gravel Courtyard, Garden)
- ADDITIONAL AREA: Lodge
- ADDITIONAL AREA: Waterfall (+ Lodge Path)
- ADDITIONAL AREA: Workshop
- ADDITIONAL AREA: Boathouse (+ Long Stairs, Curved Stairs, Lake)
MAIN SPAWN POINT: Substation (NORTH)
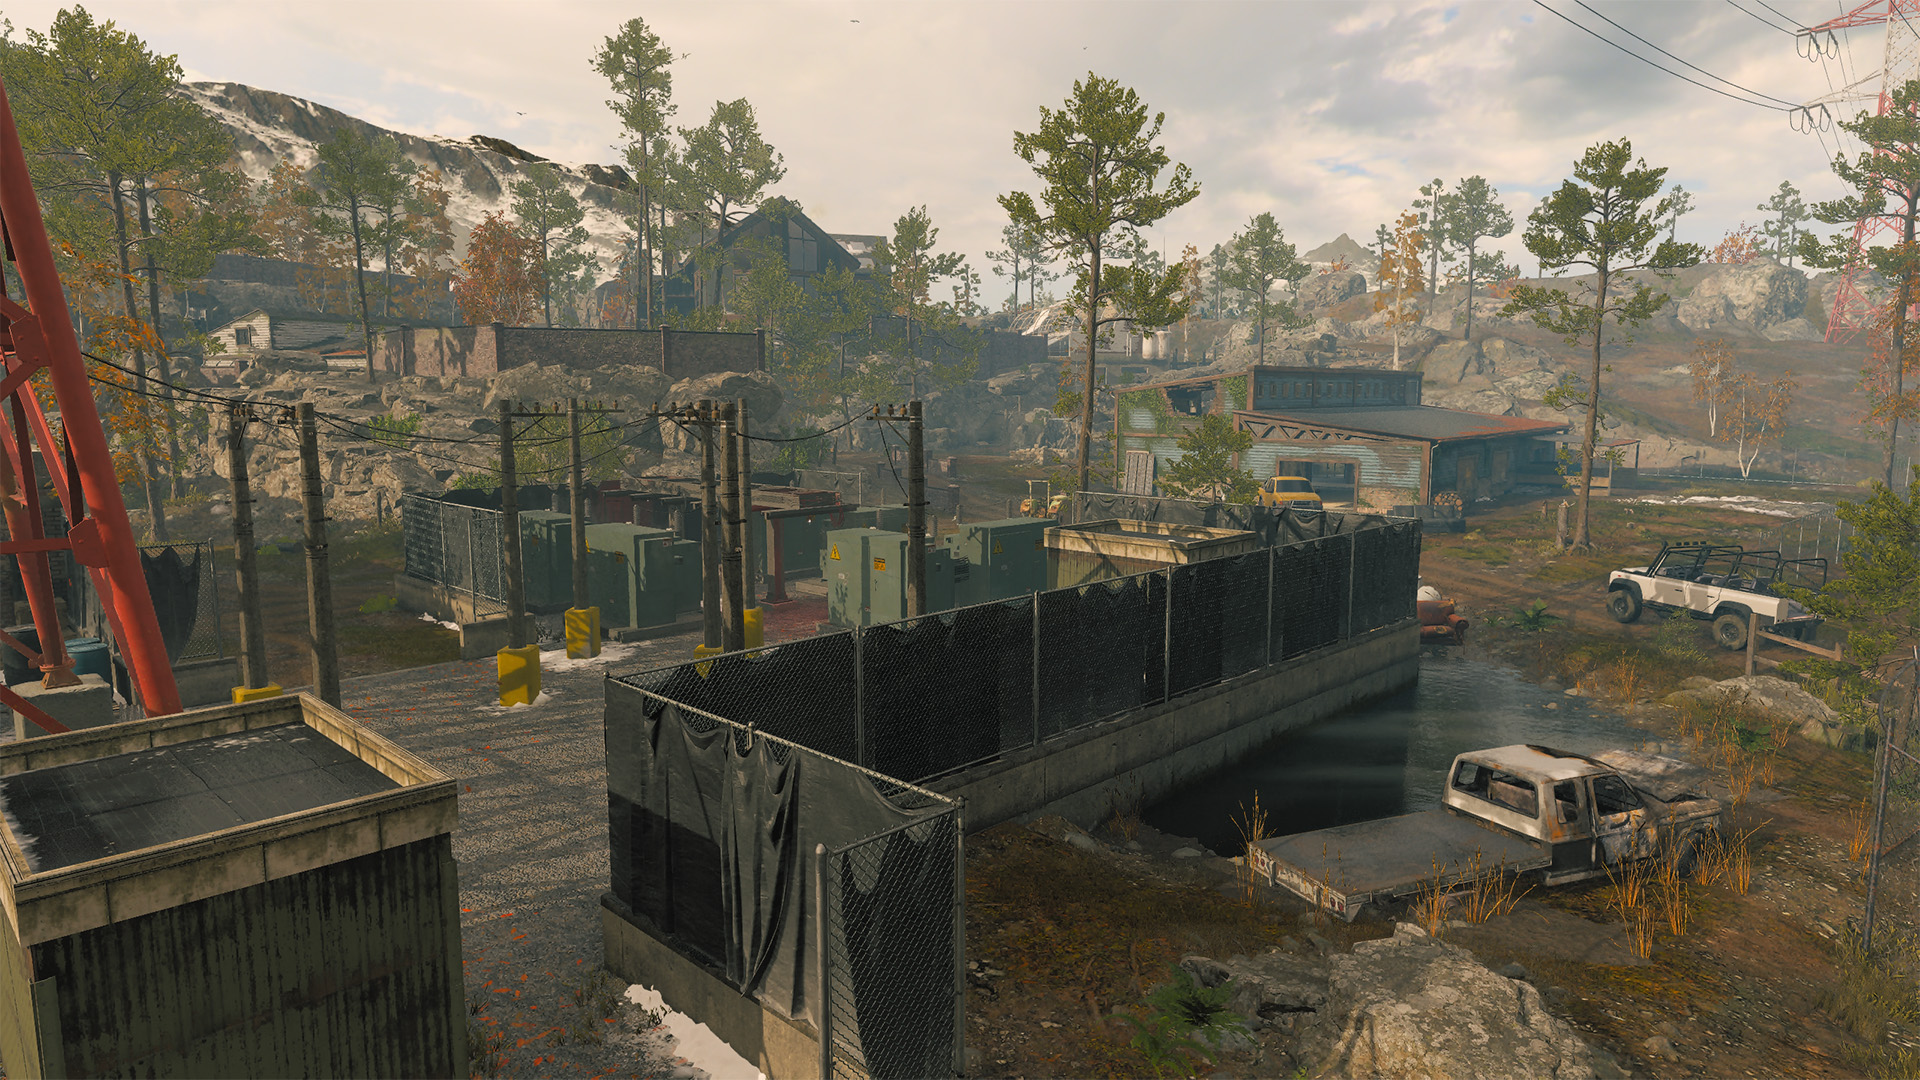
Prepare for intense engagements on the ground floor as Operators weave around the bulky equipment during a skirmish; control your fire to avoid wasting ammo and being forced into an early reload. Move into the attached Substation Building to force close-quarters combat, though be prepared for incoming fire through its surrounding windows.
Note the two ladders providing rooftop access for a strong though exposed view of the area. Use its height advantage to land a few eliminations and then get back down before the enemy returns seeking revenge. For a more subtle approach, stick to the outer border.
MAIN SPAWN POINT: Backwoods (SOUTH)
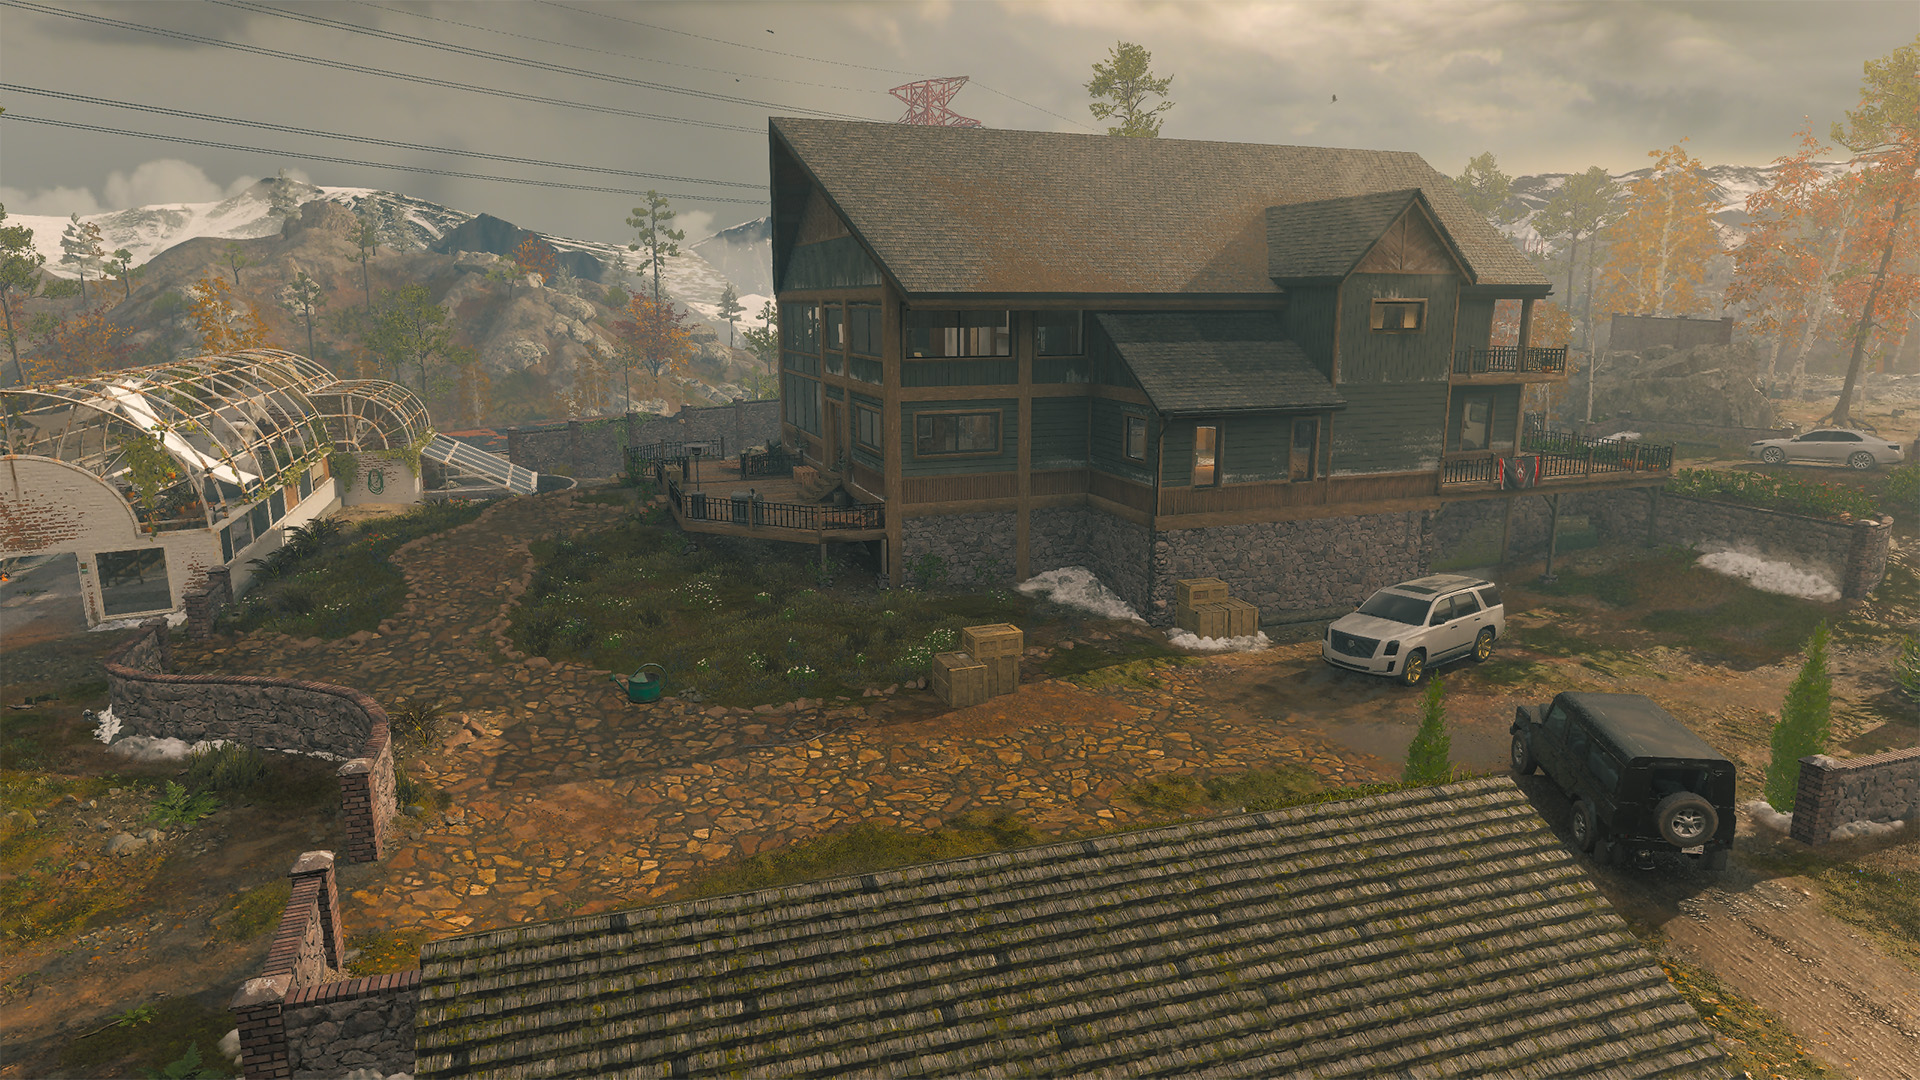
Just west of the Lodge, the Backwoods lead toward the narrow Greenhouse, around the Lodge toward Boathouse, or into the building itself through the lower Game Room entrance. When moving to the Greenhouse, remember that Operators at the back of the Lodge can easily see any ongoing action inside, blocked only by a few cover pieces near the windows or by the low brick wall hiding Operators in the prone position.
In the right situation, the Backwoods area itself can be used to ambush enemies trying to get in through the back of the Lodge or coming out of the south end of the Greenhouse. Though in most cases, you will use the area as a launching point into the greater environment.
ADDITIONAL AREA: Lodge
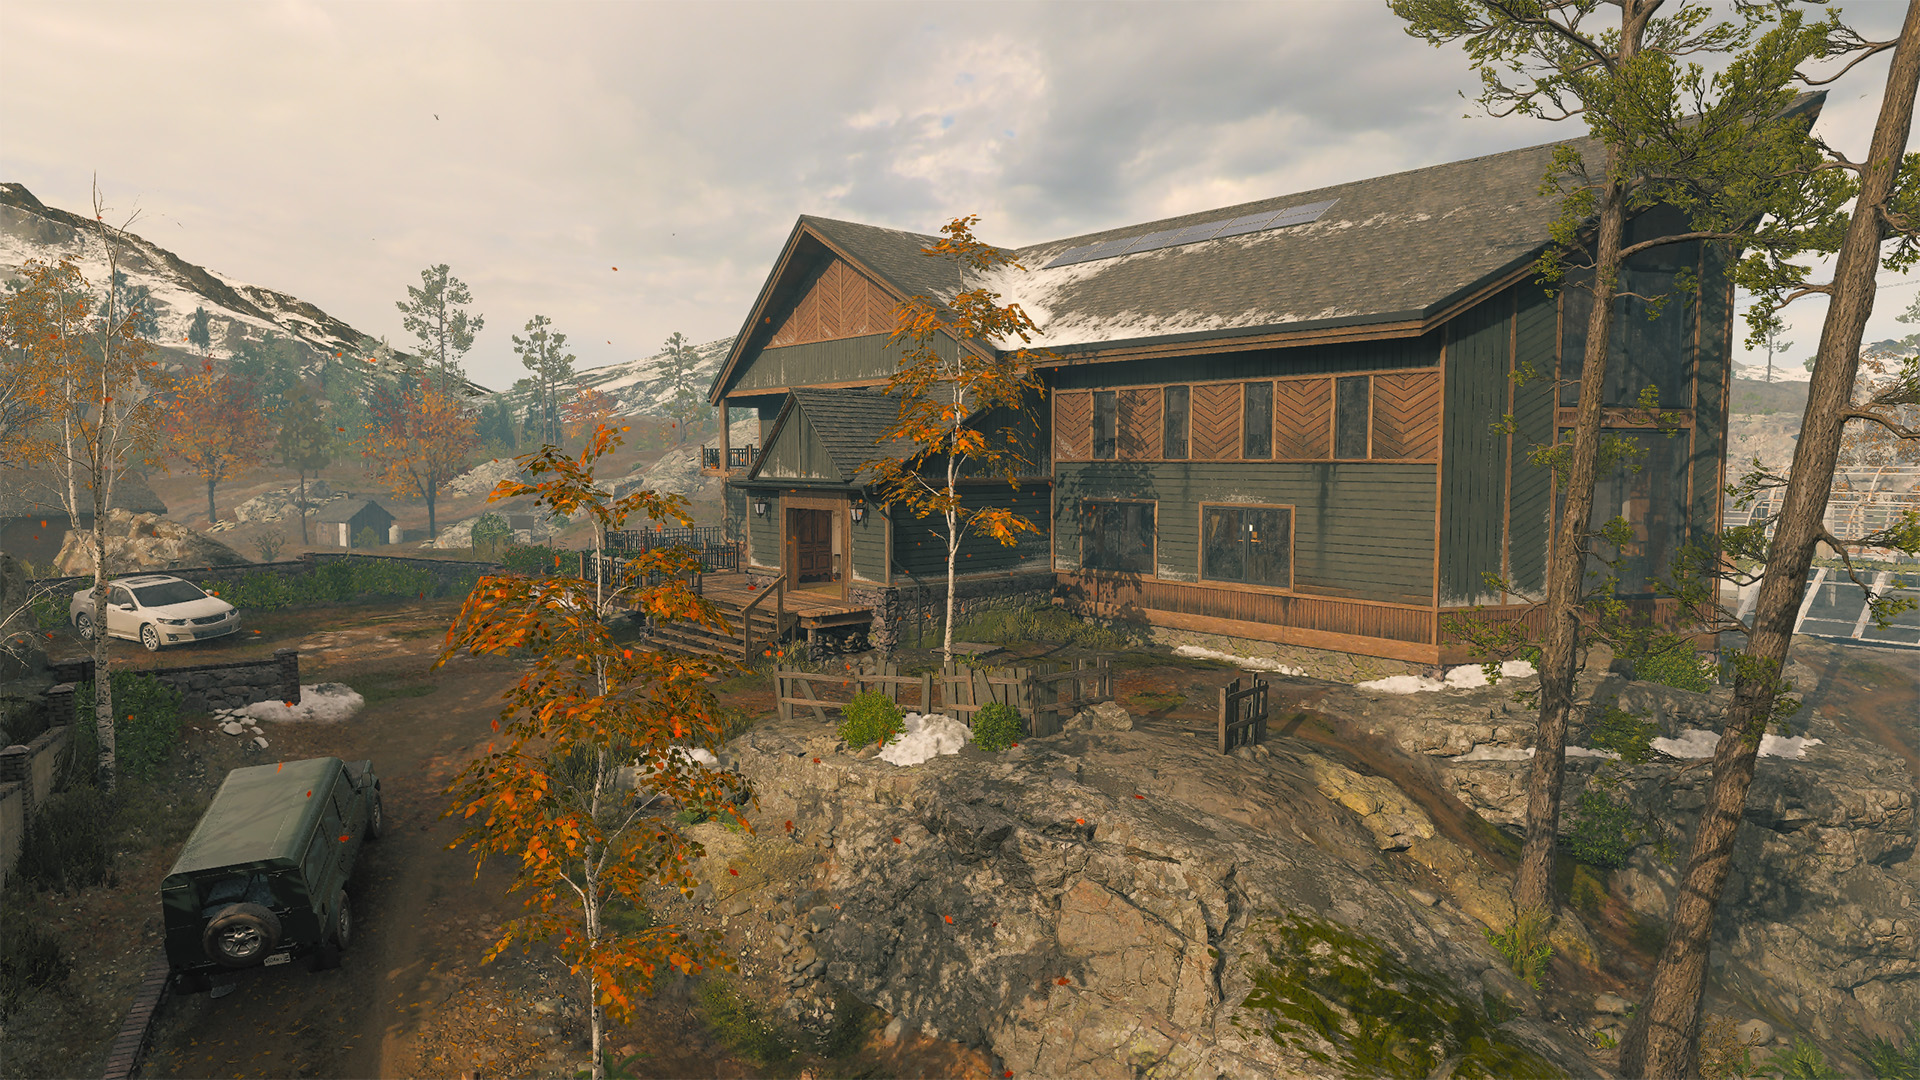
The most iconic point on the map, the Lodge is a hothouse of activity in most matches. On the ground floor, its large bay windows overlook a good portion of the north, with some obstruction caused by the stone wall and the trees in Waterfall. Head to the Bedroom and Kitchen area in the back of the building to cover the Greenhouse and Garden.
The upstairs loft provides a solid ambush point against enemy activity in the Main Room, with the east-facing wraparound Balcony outside the Bedroom providing sight lines toward the Boathouse and Backwoods. When ambushing the area, consider entering through the rear of the Lodge, either up the woodpile from the Garden or through the lower Game Room via the Gravel Courtyard.
ADDITIONAL AREA: Waterfall
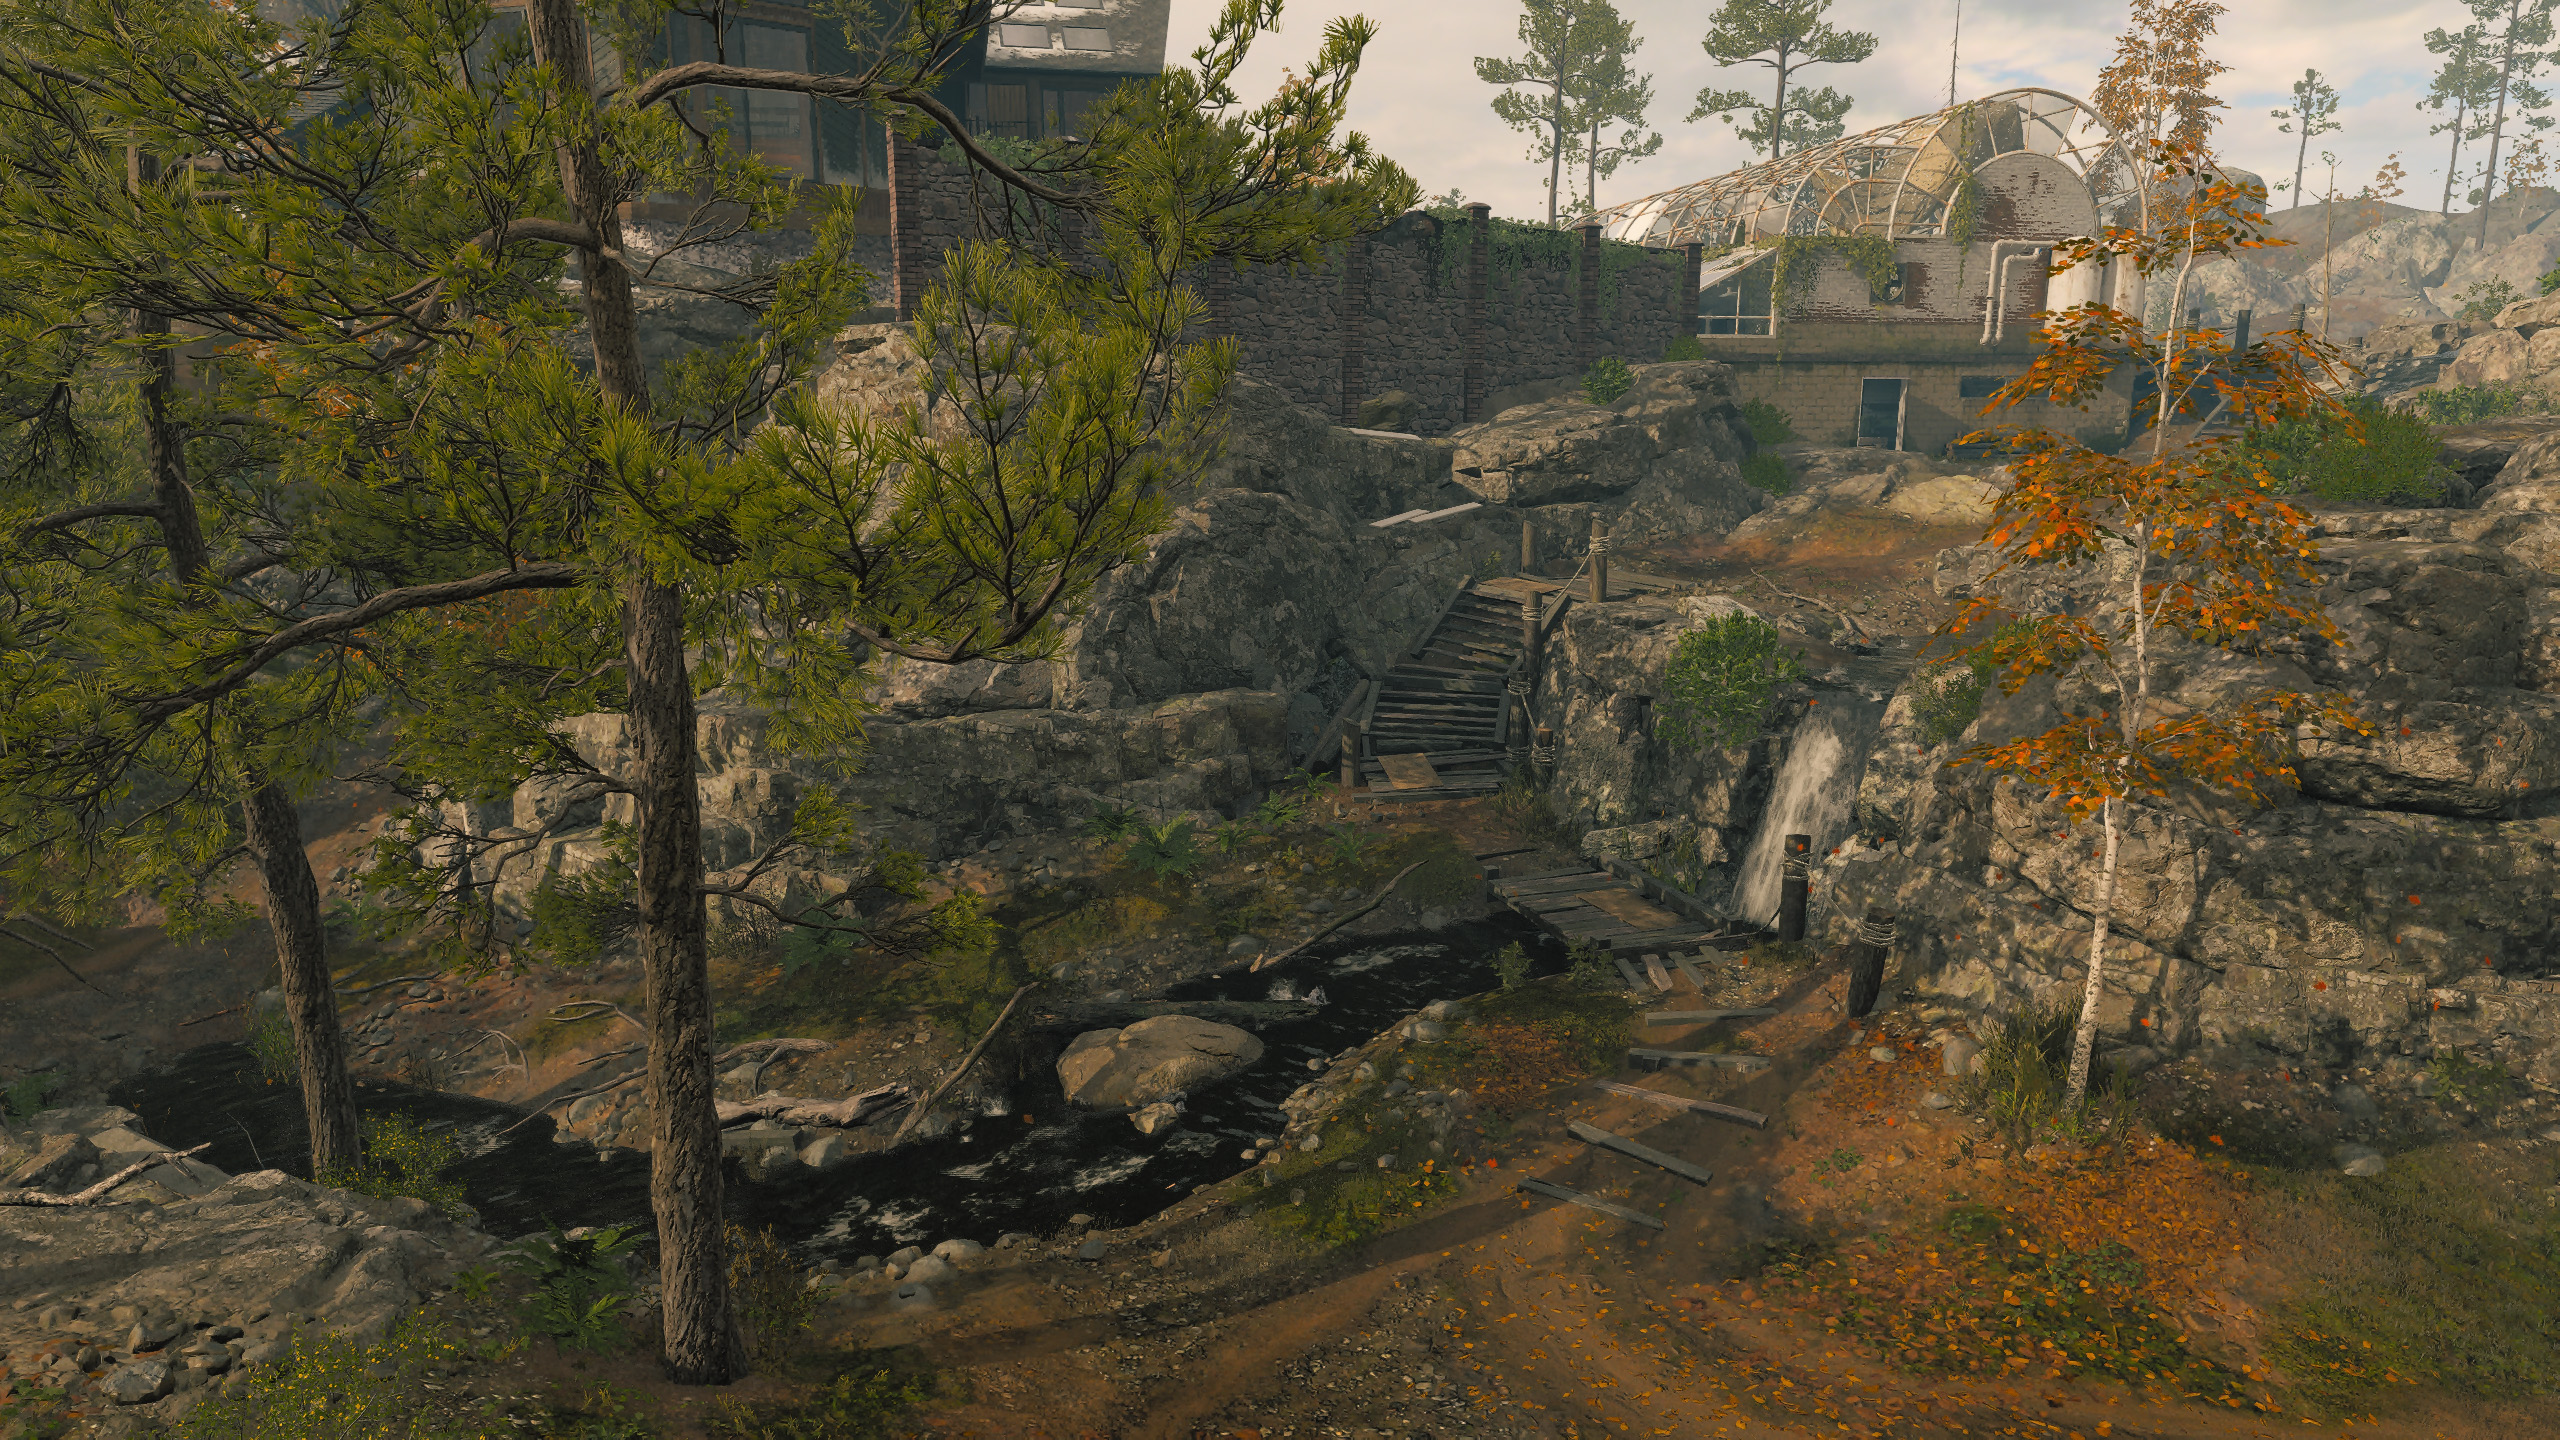
The central Waterfall and Lodge Path running alongside the Main Road to the Lodge is exposed on nearly all sides, though its lowered elevation provides opportunities for concealment in the right situation. It’s worth noting, too, that although the Lodge’s bay windows loom overhead, the steep angle required to look down into the area makes it difficult to land shots without moving right up against or mantling onto the window frame, thus greatly exposing one’s position.
The Waterfall is best used to conduct operations against enemies in the Lodge and Workshop who are otherwise occupied. Once your position becomes known, however, it only takes a well-aimed grenade or two to clear out the area, so tread carefully. Other danger points include the Garage at the top of the Main Path and the Curved Stairs leading up to the Boathouse.
When time is of the essence, deploy a Smoke Grenade before traveling through here. Toss it toward the Lodge or Workshop depending on where the greatest threat lies.
ADDITIONAL AREA: Workshop

Sitting across from the Lodge at the bottom of the Waterfall, the Workshop marks another formidable power position. Its layout is more open, however, the bottom floor consisting of few cover options and a staircase on either end leading up to a loft facing the Lodge and the Substation. Expect some crossfire between here and the Lodge and don’t hesitate to move around to different openings to keep the enemy guessing.
Use the woodpile at the back of Workshop to get up onto the roof, providing a strong view over Substation and the Main Road going up the hill. Once you start gathering enemy attention, consider dropping off to the field behind the Workshop; while they rush the building looking for you, you’ll have the chance to engage from a less expected angle.
ADDITIONAL AREA: Boathouse
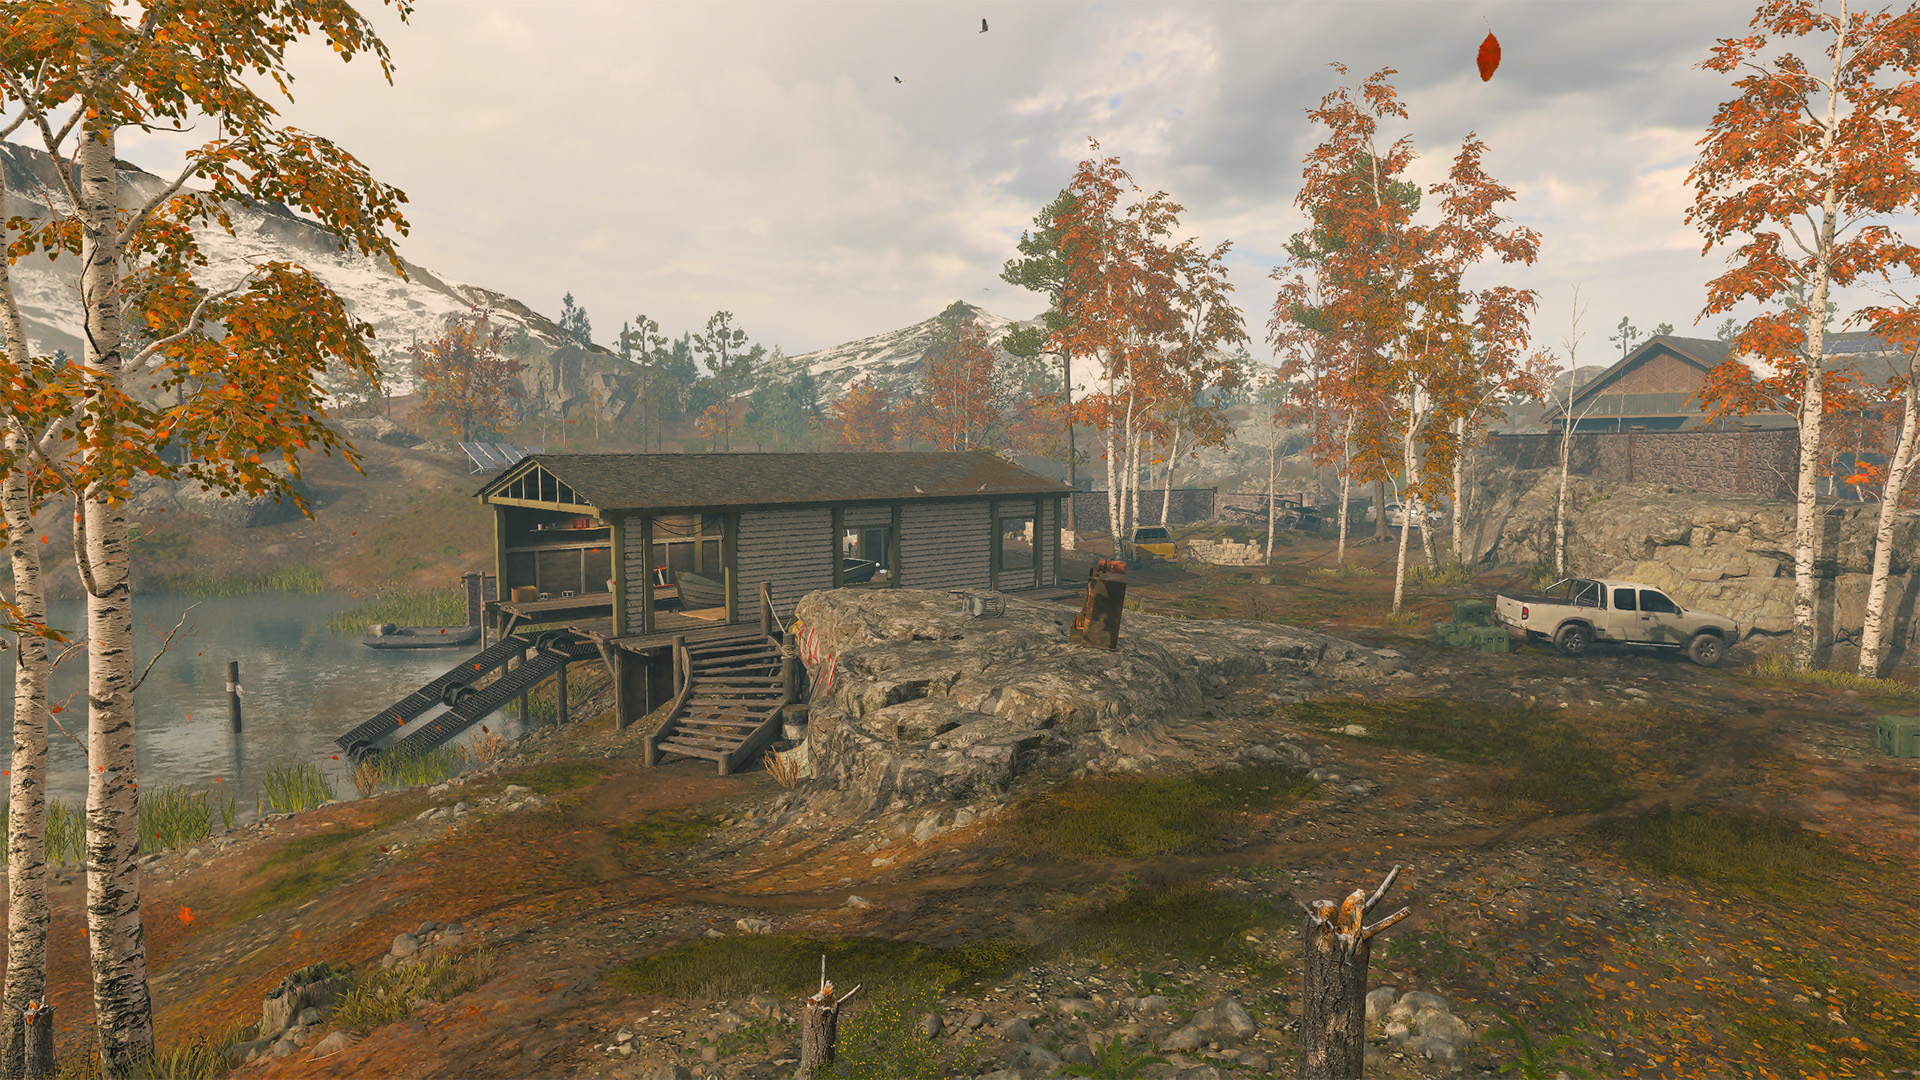
Positioned at a higher elevation, the Boathouse area is largely out of view from the rest of the map except for a portion exposed to the Lodge’s Front Entrance. Sparse cover makes traversing here a risky business, though some scattered furniture and other cover objects can offer protection in a pinch.
Head inside the Boathouse for greater concealment, though keep in mind that its thin wooden walls provide little protection against incoming fire. If you need to escape, head out toward the water where a lower elevation gives you the breathing room to reposition for a counterattack. You might even take a swim in the Lake for a surprise attack when they come looking for you.
Objective Overview
Overall Tactics
When playing team-based objective modes on Estate, the squad who best uses the full run of the map paired with the right Loadouts is well on their way to victory.
Don’t let the enemy team dictate how the fight plays out. Look for unused angles, switch up your Loadout, and engage on your own terms. By always considering alternative strategies, you can break through enemy strongholds and mark your own point of battle.
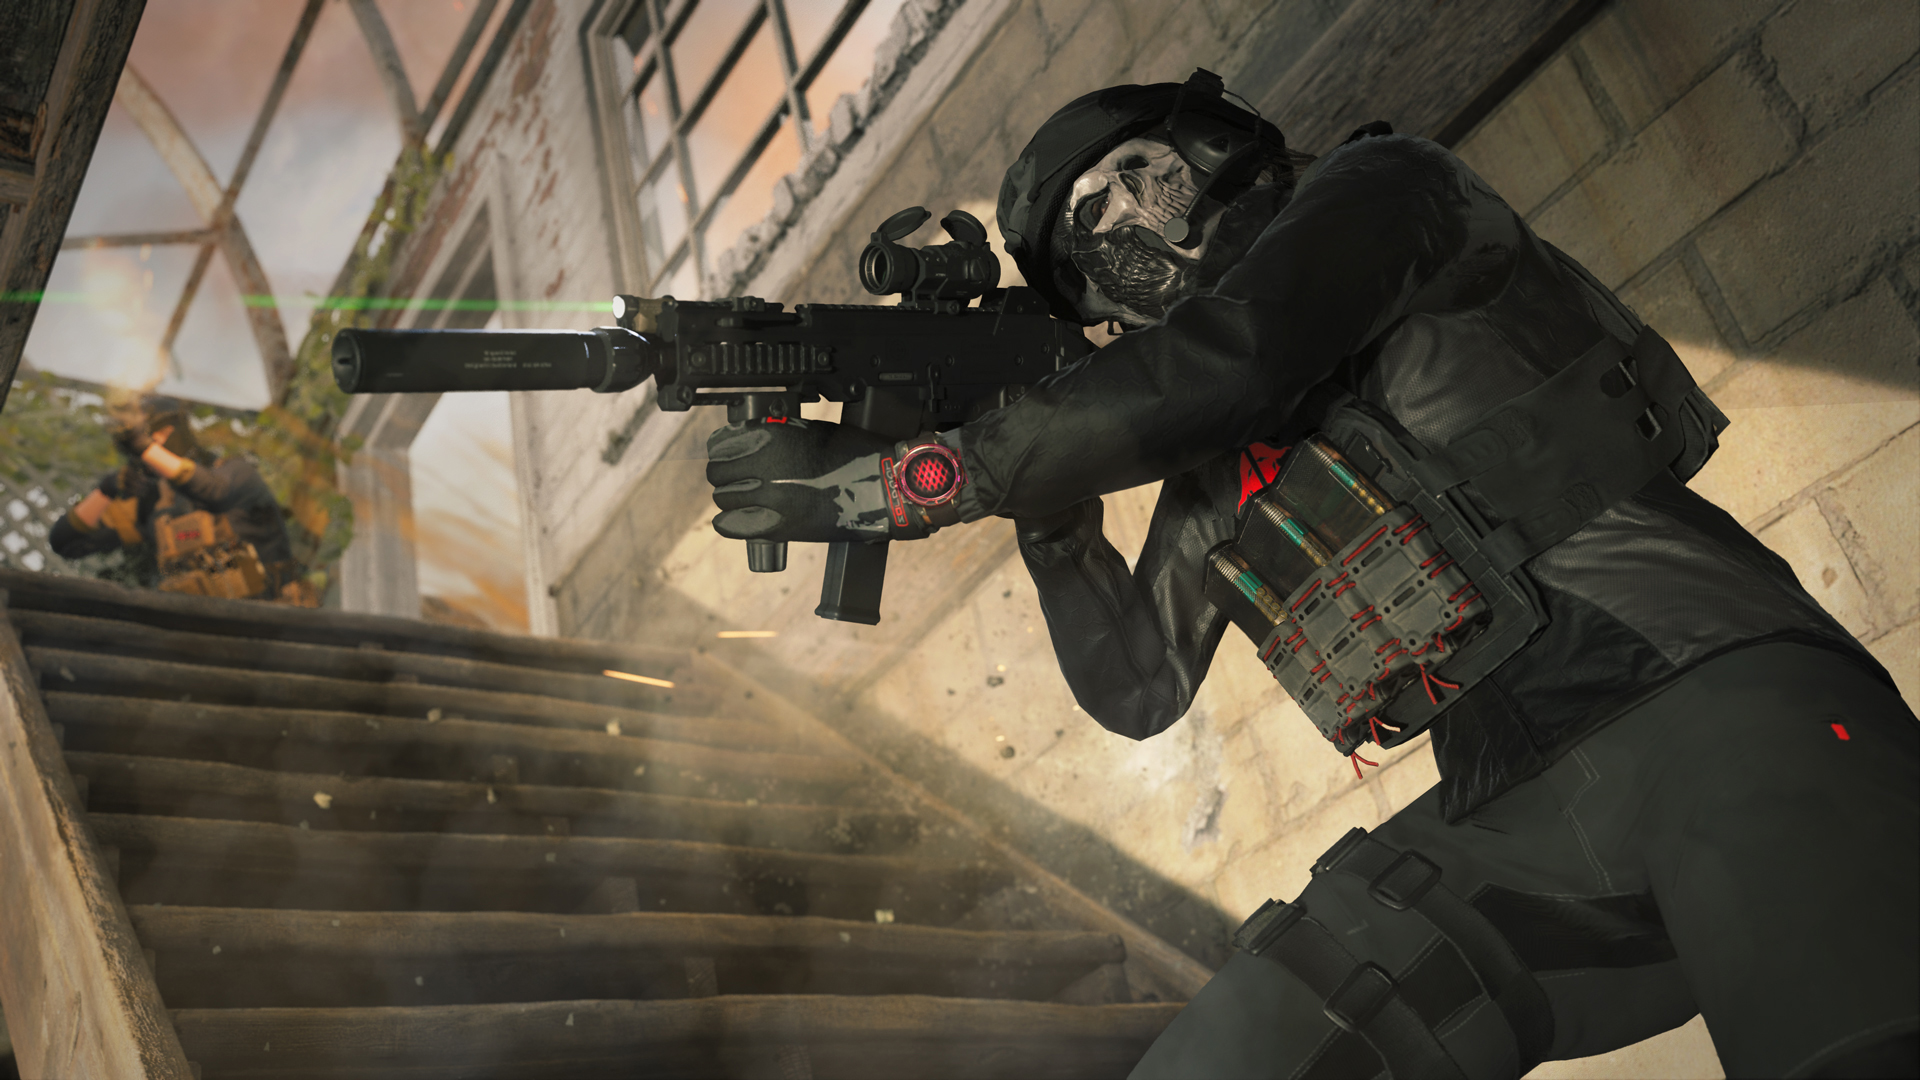
For long-ranged plays, use the grounds around the Substation, Boathouse, and behind the Workshop to land distant eliminations; climb up onto available rooftops for an even greater though more vulnerable position. Long sight lines abound from every corner of the map. Seek out and use them.
When it’s time to close in on the enemy, move from building to building to limit your exposure outside. Ping enemies as you spot them and eliminate those who get too close to your position. Once down, check their dropped weapon for the chance to greatly improve your versatility through the map.
Domination
Domination takes a more tactical approach on a larger map like Estate, requiring a greater effort to capture and defend flags.
Though the flags’ positions tend to focus the attack on the center of the map, don’t neglect the Substation or Boathouse as the springboard for a flanking maneuver. It may take longer to reach your destination, but you’ve got a better chance of catching the enemy off guard.
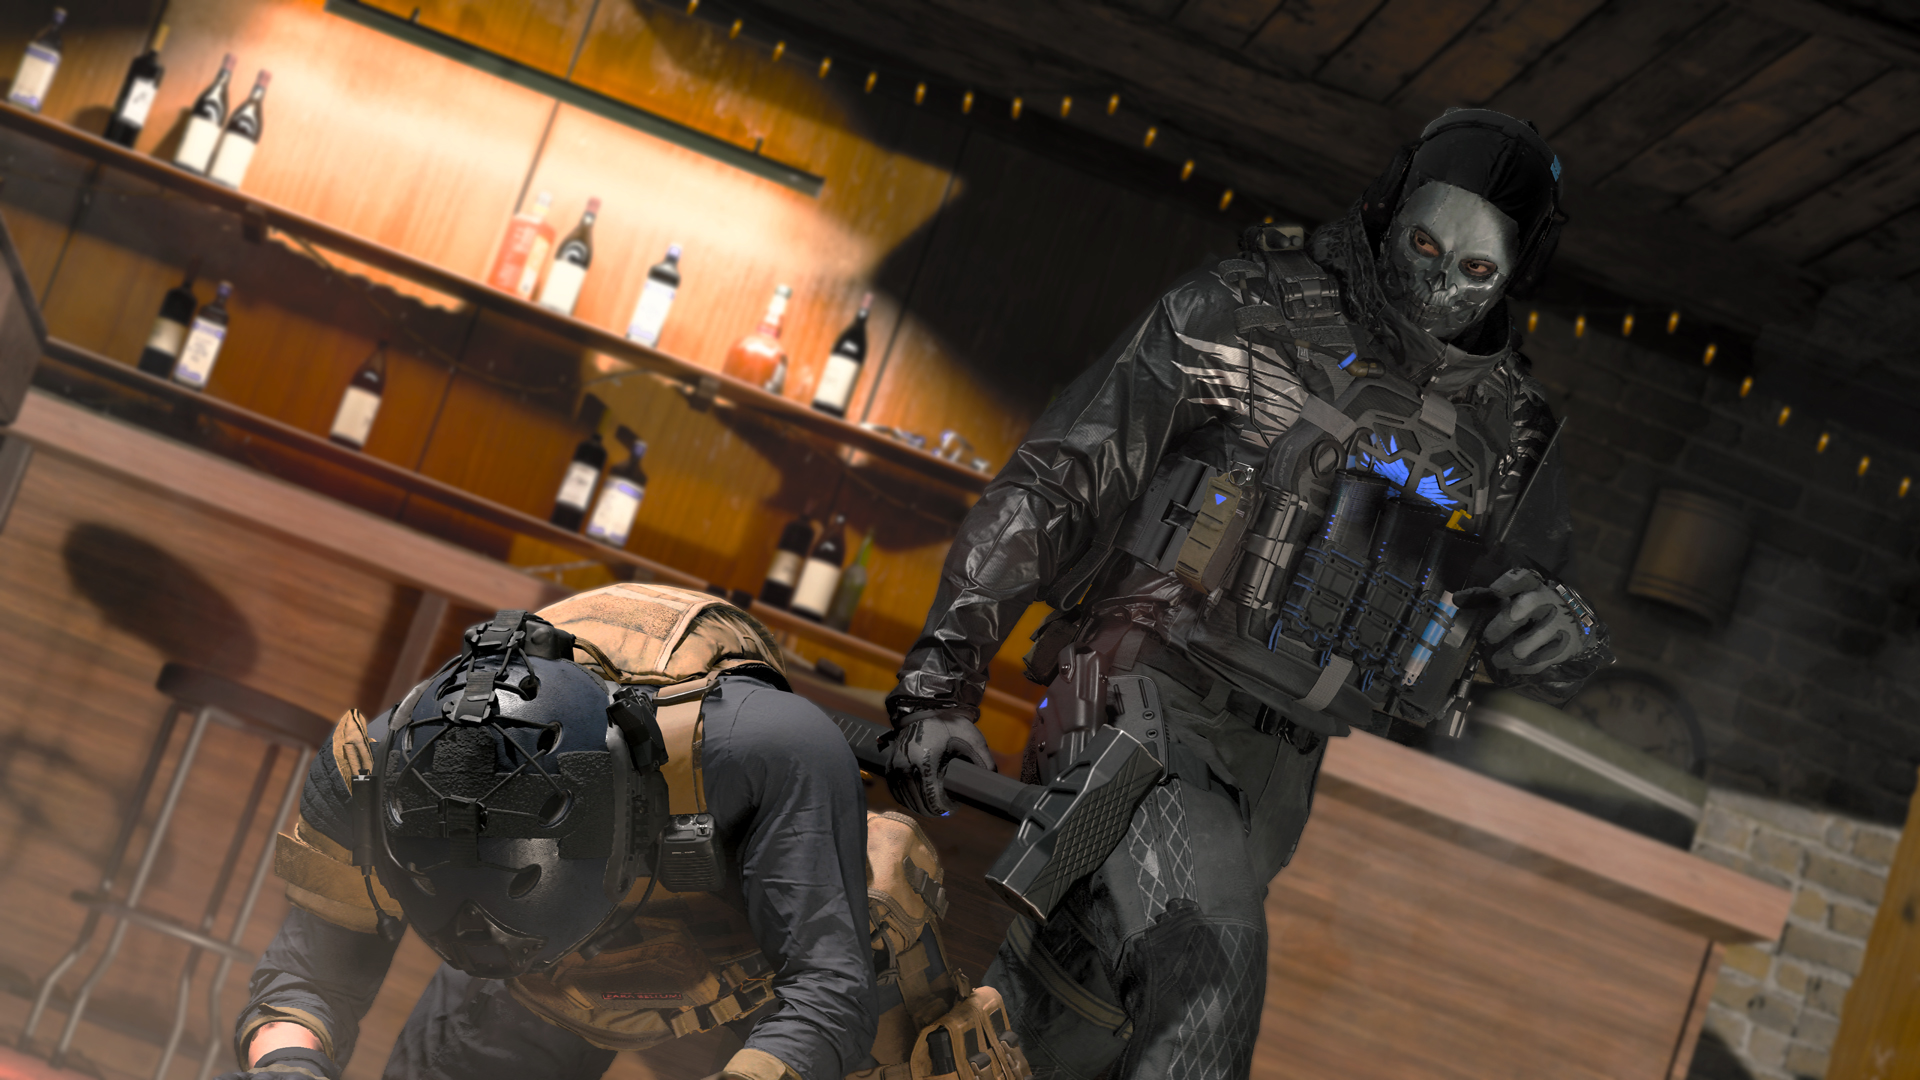
Attack flags from different angles to keep them guessing, then consolidate your forces once two are in hand. The B and C flags are both positioned indoors, giving defenders an advantage by utilizing the buildings as a power position against incoming enemies. Focusing on A and B is also a solid choice, using their heightened elevation to better scan for incoming enemies.
Whatever your approach, always look for weaknesses in the enemy’s defense to beeline an objective. Taking a flag here often requires a concerted tactical effort, to don’t pass up the easy captures. In the same vein, keep your team focused on grabbing two flags and then shifting to defense; while going for a triple cap is possible, the attempt can backfire.
Hardpoint
Can’t wrap your head around Estate? Hardpoint’s your mode. The objective hits every major point on the map, forcing Operators to excel in a variety of engagements.
Stay focused on the goal and attack the Hardpoint with everything you have, learning the ins and outs of each objective location. After a few matches in this mode, you’ll be ready for anything.
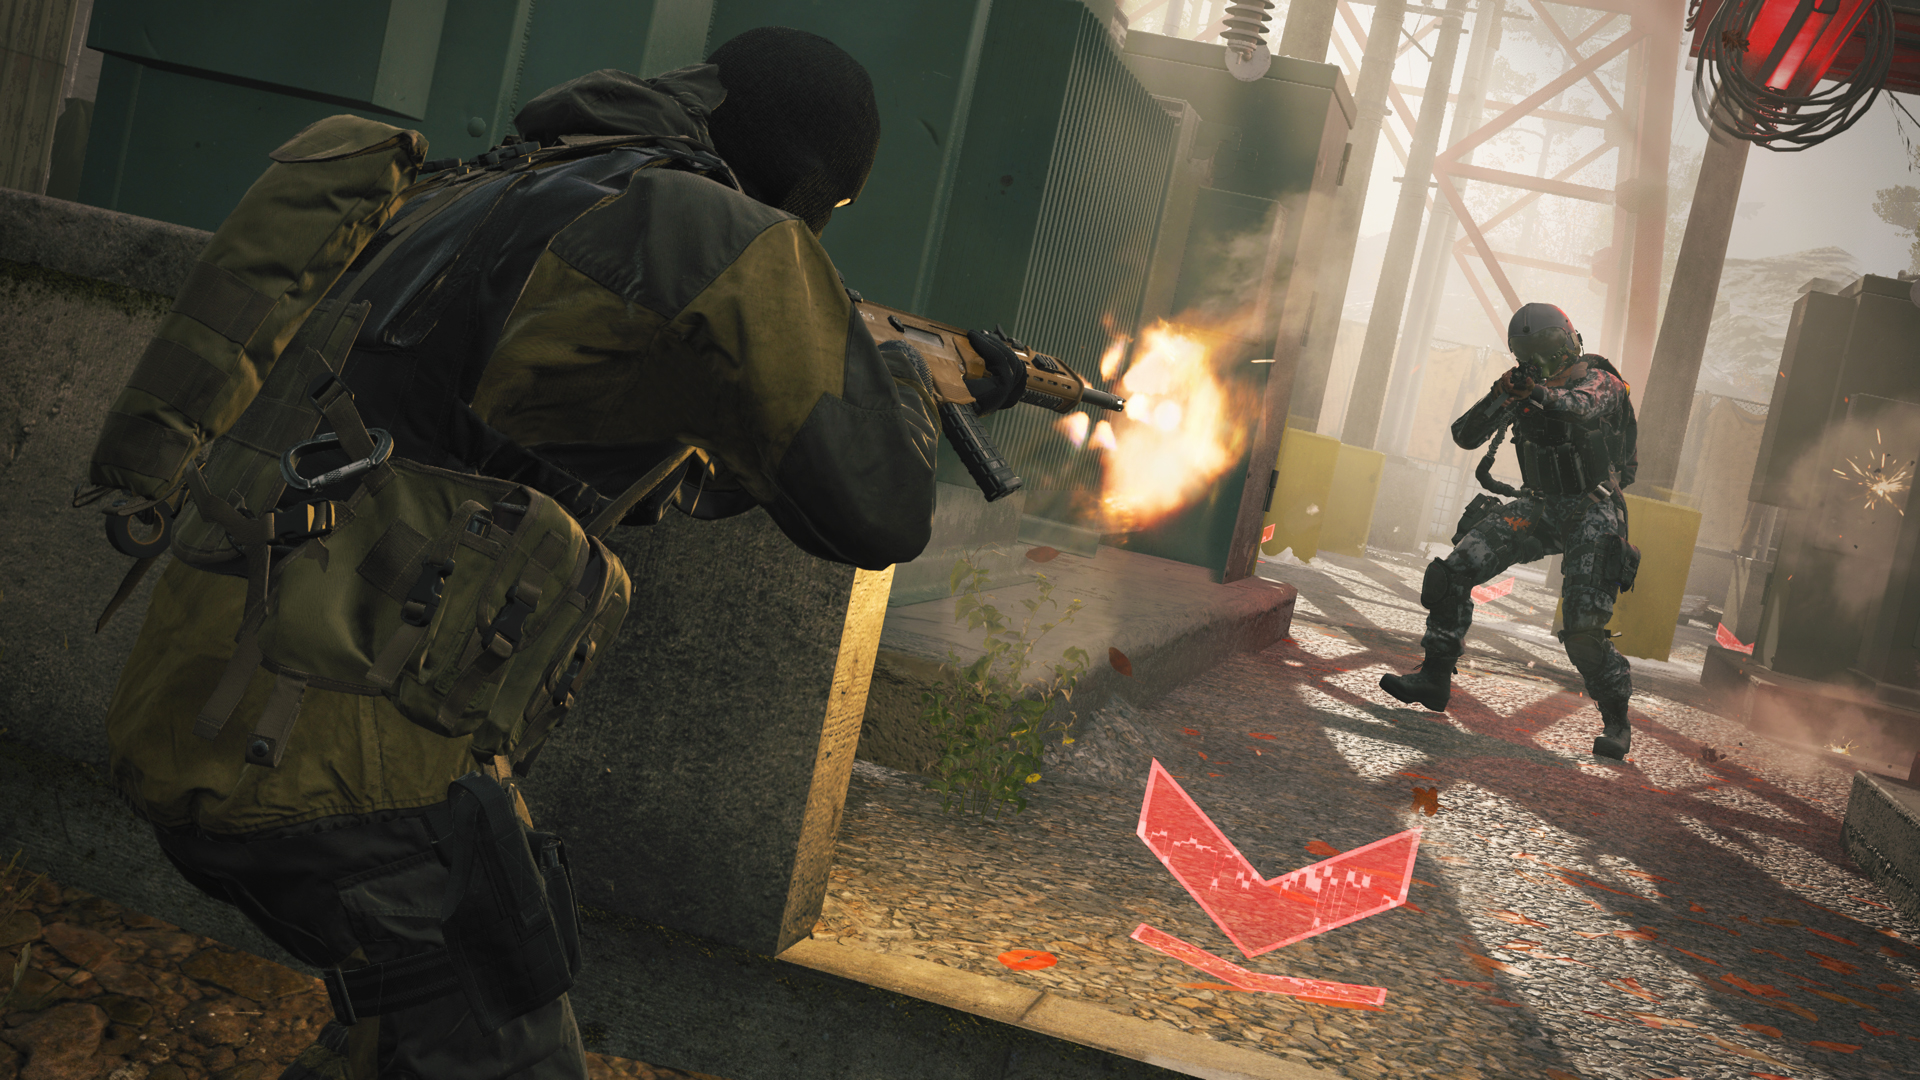
When the Hardpoint is in your team’s control, the strategy shifts. Sharpshooters should use Estate’s large size to back off and cover sight lines leading toward the objective, keeping the heat off teammates who are on the point. Use the outermost boundaries of the map to force opponents with shorter-ranged weapons into a disadvantage, and don’t hesitate to switch roles and move onto the point if needed.
While the Trophy System is always useful in Hardpoint, the challenge on Estate is more about map control and keeping the enemy from getting into throwing range at all. With good team communication, you can lock down one point and then rotate toward the next before it activates, thus building your scoring momentum for a quick route to the victory screen.
Cutthroat
While you’re certain to experience chaotic rounds determined within the opening thirty seconds of the match, Estate’s larger size also allows for a more coolheaded approach as squads use the environment to avoid detection until the perfect opportunity to pounce.
Expect a good deal of snipers here looking to capitalize on the map’s long sight lines. When facing skilled sharpshooters, pair up with a teammate and stick close to cover objects so you have a better chance of moving out of view for a revive if downed. If you’ve still got a full squad, send your third teammate around for the flank…or let someone from the third squad take them out, though there’s risk in handing them a streak through this tactic.
Another strategy is to split up your team entirely, moving into a triangular formation around the overtime flag. This works well against teams who rely on the capture objective over landing eliminations, though you’re much less likely to get revived if taken out by an enemy Operator.
Search & Destroy
The attacking team faces an uphill battle here. Do you attack the formidable Lodge head on to plant at A, or risk the open field around the Boathouse to plant at B? Whatever your choice, it’s often best to avoid the middle path due to its exposure from both bomb sites.
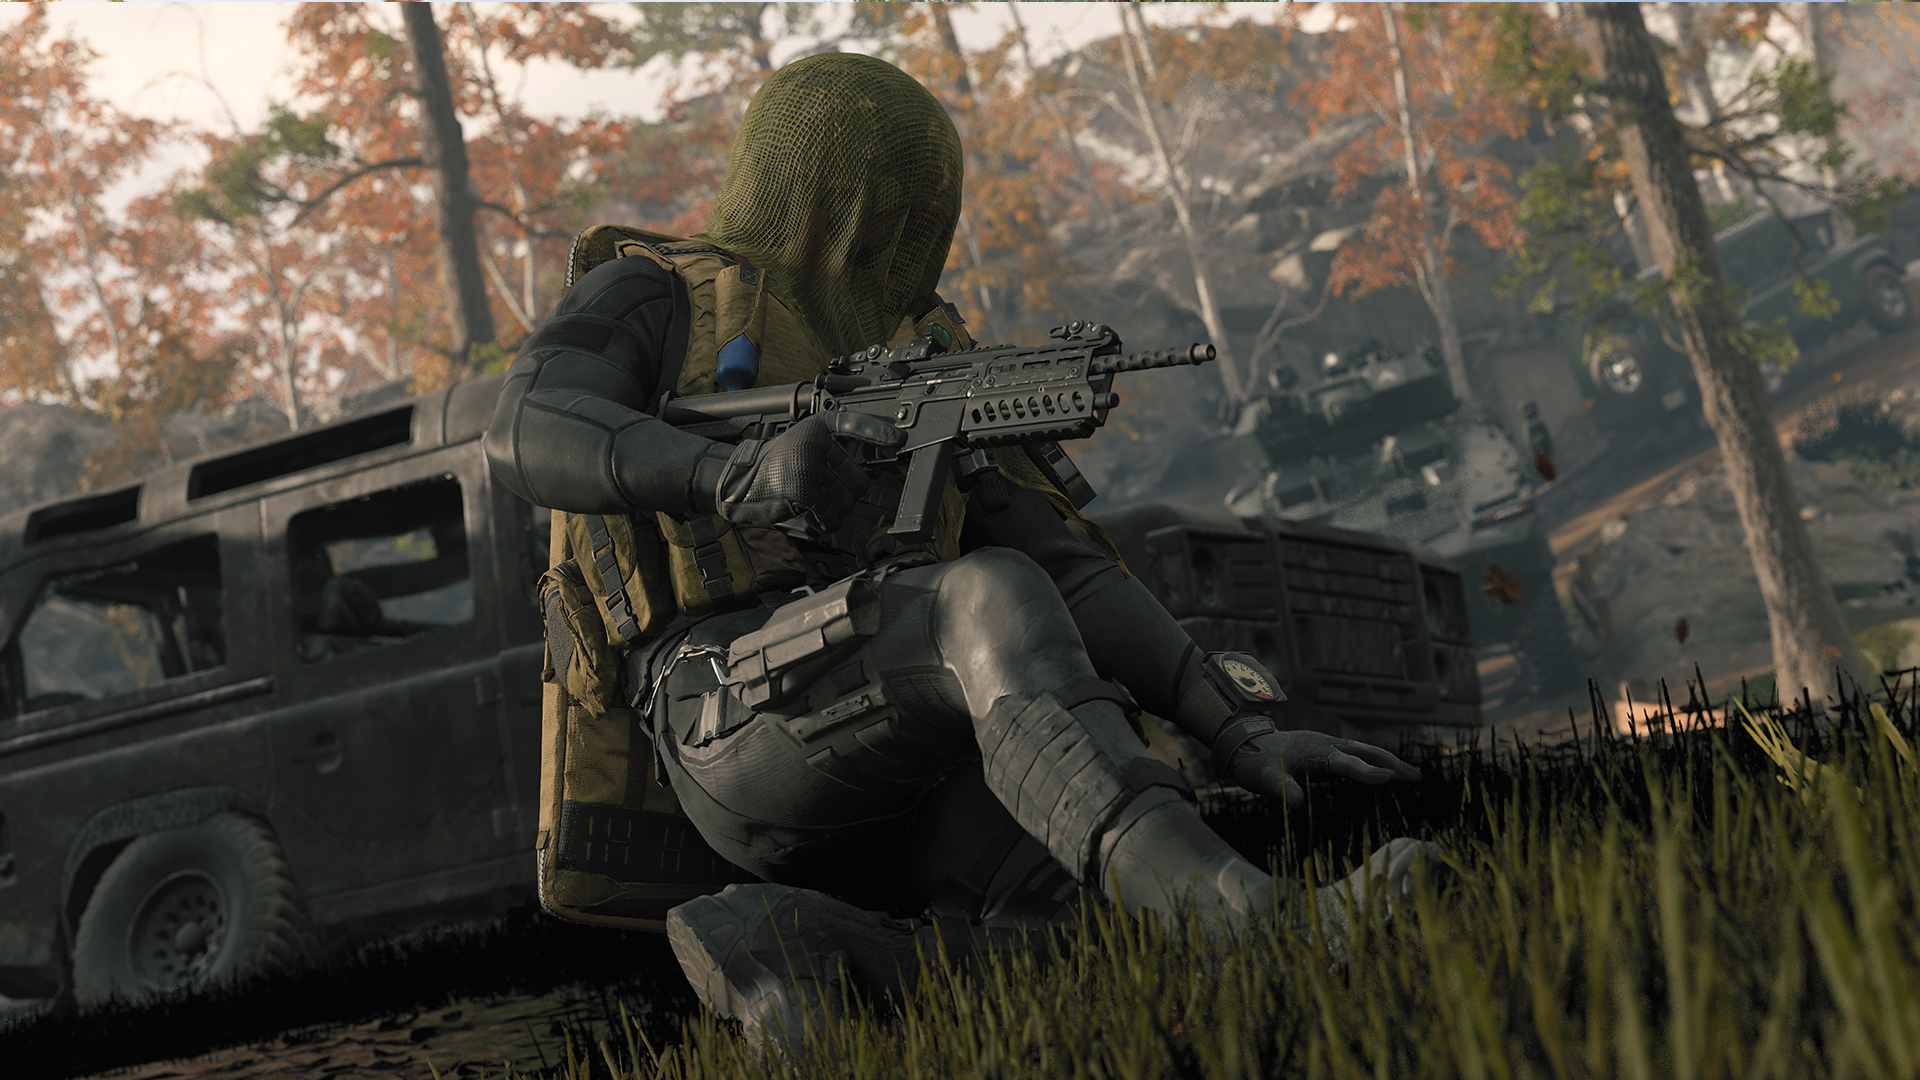
Consider picking a side and grouping your forces, as splitting up threatens to weaken your ability to respond to entrenched defenders, barring any designated flankers sent to off balance the enemy position. You might also initiate combat early in the round by making your position known in an attempt to get the enemy team to reveal their location.
As the defending team, it’s tempting to cluster your squad in and around the Lodge due to its prominent position. This is a viable strategy, so long as at least one Operator watches for movement toward the Boathouse B bomb site; there’s a small window of opportunity to spot enemies moving toward B between the Garage and Long Stairs. For a more well-rounded strategy, split your forces between the two zones, helping to cover a wider area.
Top 10 Tips
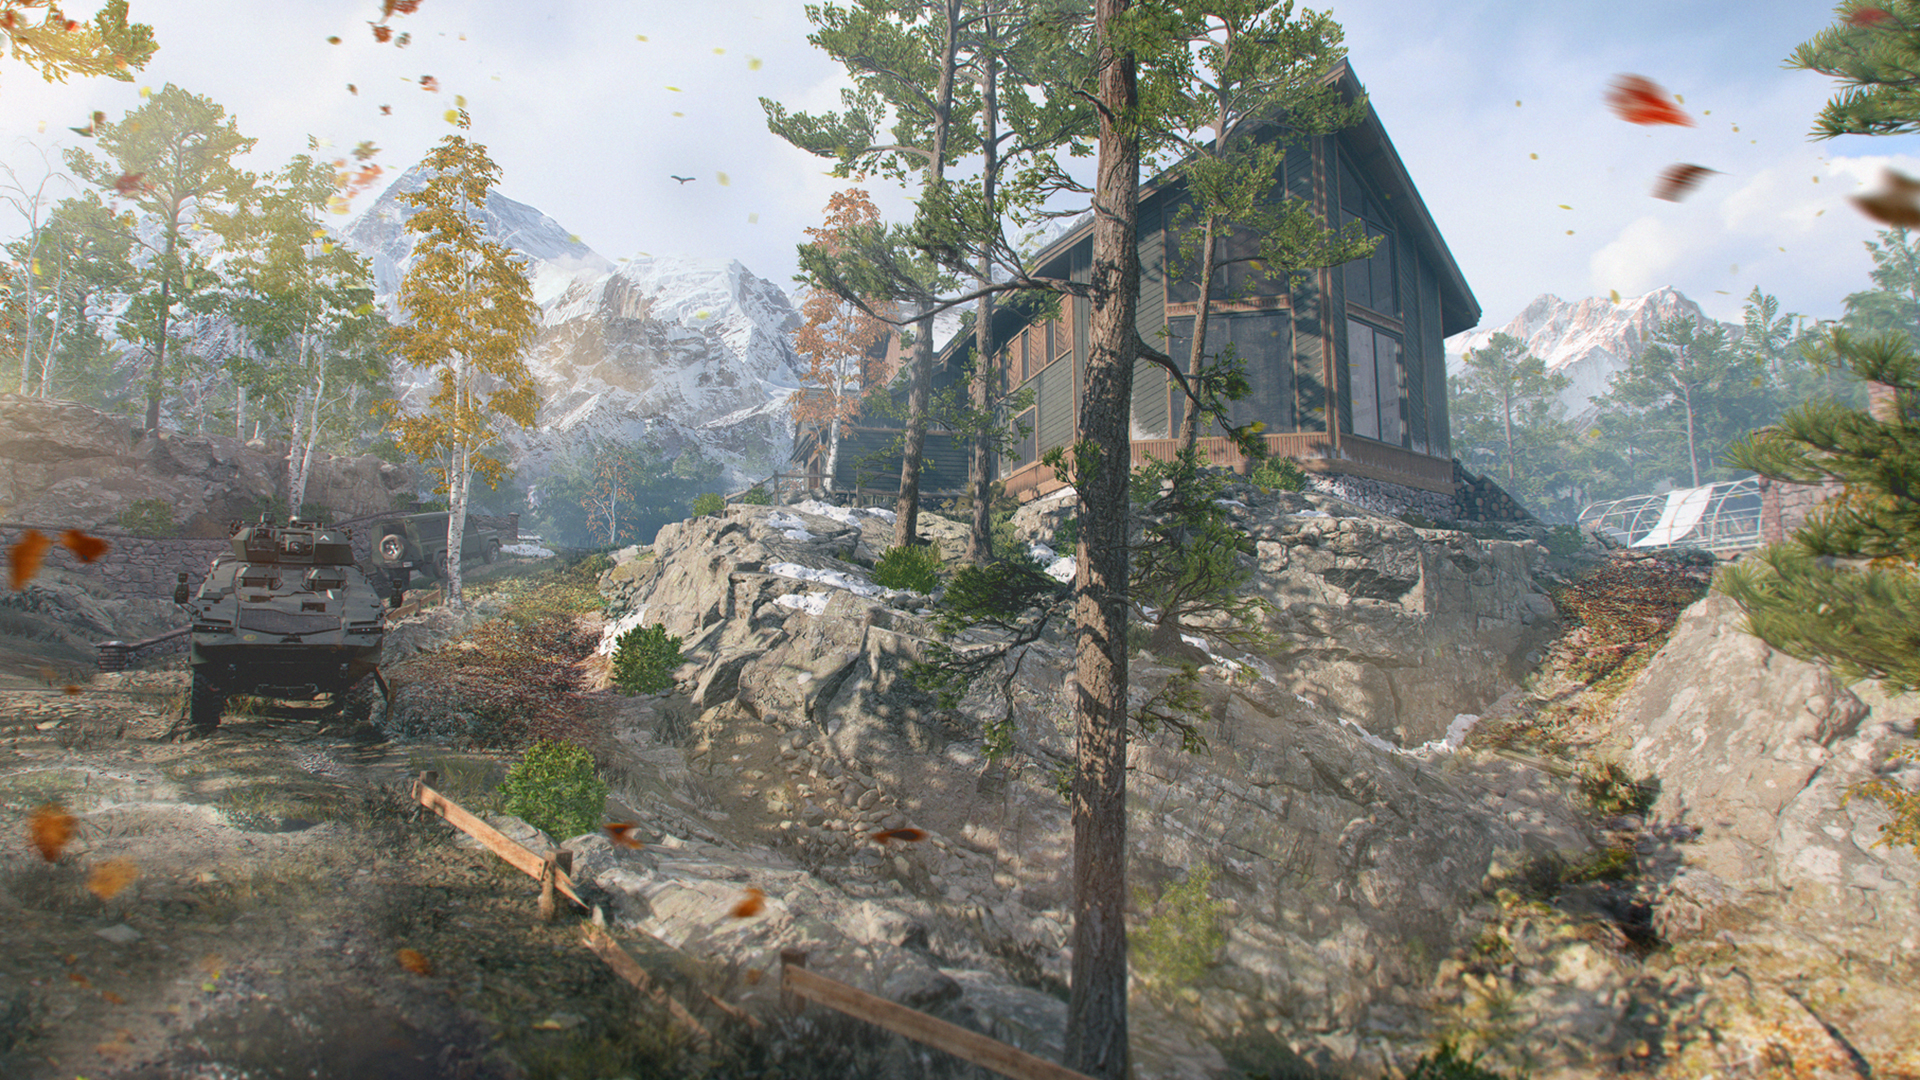
Explore the open space. While combat often centers around the map’s center and interior buildings, there’s a lot more room to explore around its expansive borders. Use all of the space available to you to enhance your tactical options.
2. Timing and precision. When rolling with the UAV, try not to always call it in the moment you earn the streak. Wait until you’re in position to make a focused attack — or during a crucial moment of defense — and then activate it, helping you get more out of your most important plays.
3. Waterfall rampage. Though centrally located, the Waterfall and Lodge Path can be a great starting point for an ambush against the Lodge. Its high rock walls obstruct the view from above, allowing you to get into a strong attacking position before the enemy catches on to your plans.
4. Watch your back. Once you’ve fought for a position within the Lodge, it’s easy to get caught up in its sweeping exterior views. Keep your eyes and ears open for movement from within, however, or risk getting eliminated from behind.
5. Come and get it. While longer ranged weapons perform well across Estate’s lengthy sight lines, close-quarters combat is still a viable option. Head to the buildings and other tight areas closest to the fight, then blast enemies passing through.
6. Target acquired. Estate’s open views encourage the use of the Remote Turret streak. Try setting it up at the top of the Main Road, around the Boathouse, or even up on the Workshop roof. back roof. Stay nearby to provide covering fire against Operators attempting to take it out.
7. We’re not alone in here. Are sharpshooters in the Lodge or Workshop giving you a hard time? Swap to a close-quarters Loadout and make yourself at home. Forget the views outside and focus on clearing out anyone foolish enough to enter.
8. Pick it up. Pay attention to weapons dropped on the ground by fallen Operators; picking up a weapon that compliments your Primary will boost your versatility and allow you to patch up any weak spots in your starting Loadout.
9. Outdoor enthusiast. While the interior locations offer obvious cover advantages, they also draw much attention. Utilize stone walls, outcrops, and other cover objects in the wild to attack from a less obvious position.
10. PTFO. Yes, the Lodge and Workshop are dominant positions on the map, but they’re not doing any good if you’re falling behind on the objective. Watch the match score at all times and get moving when you’re down, even if it means leaving your favorite spot.

© 2024 Activision Publishing, Inc. ACTIVISION, CALL OF DUTY, and MODERN WARFARE are trademarks of Activision Publishing, Inc. All other trademarks and trade names are the property of their respective owners.
For more information, please visit www.callofduty.com and www.youtube.com/callofduty, and follow @Activision and @CallofDuty on X, Instagram, and Facebook. For Call of Duty Updates, follow @CODUpdates on X.
