Multiplayer Map Guide — Operation: Spearhead

Drop into the Launch Facility of Urzikstan during an all-out war. Operation: Spearhead is the first location for the War mode in Modern Warfare III. You’re tasked with turning the tide from one side to the other.
Prebrief
Operation: Spearhead is the mission that will turn the tide of war, which is why it is the first home of War mode for Call of Duty®: Modern Warfare® III. Starting with the lead-up to the Launch Facility, Operation: Spearhead has an urban military environment that forces you to make sure you’re not being flanked or getting out-angled from above. Then, once you’re into the Launch Facility proper, the battle changes pace and becomes a much closer ranged combat situation.
Above Ground Map
This map covers the above-ground street section of Operation: Spearhead.


-
Show areas

-
Reset all overlays

Underground Map
This Tac-Map details the section of Operation: Spearhead that continues underground and into the Launch Facility.


-
Show areas

-
Reset all overlays

// INTEL CARD
- MWIII
- WZ
- WZM
Operation: Spearhead
// MULTIPLAYER: MAPS // WAR
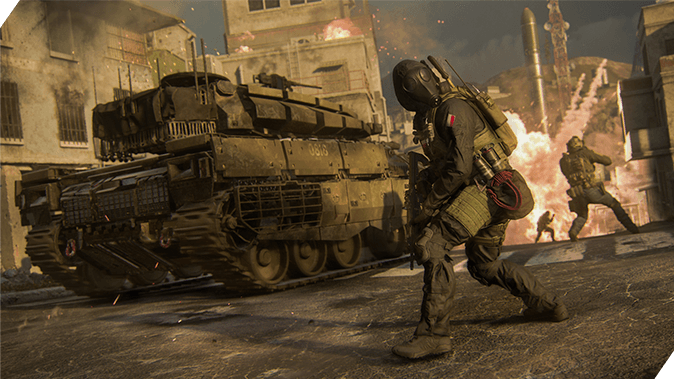
A well-balanced team: Unlike many other modes in Modern Warfare III, having a well-balanced team in War and Operation: Spearhead is key. Being able to take fights from long-distance as well as up close and personal could be the factor that decides the winner.
Attack all at once: In phase one and phase three of War on Operation: Spearhead, there are two objectives available at one time. Attacking both at the same time will split the defense and force them to decide on which one to defend. This will usually result in favor of the Attackers.
Communicate on defense: Nothing will give Attackers a bigger advantage than a confused Defending Team. Communicate where the enemy is when they’re attacking objectives so your teammates can prioritize targets and defend successfully.
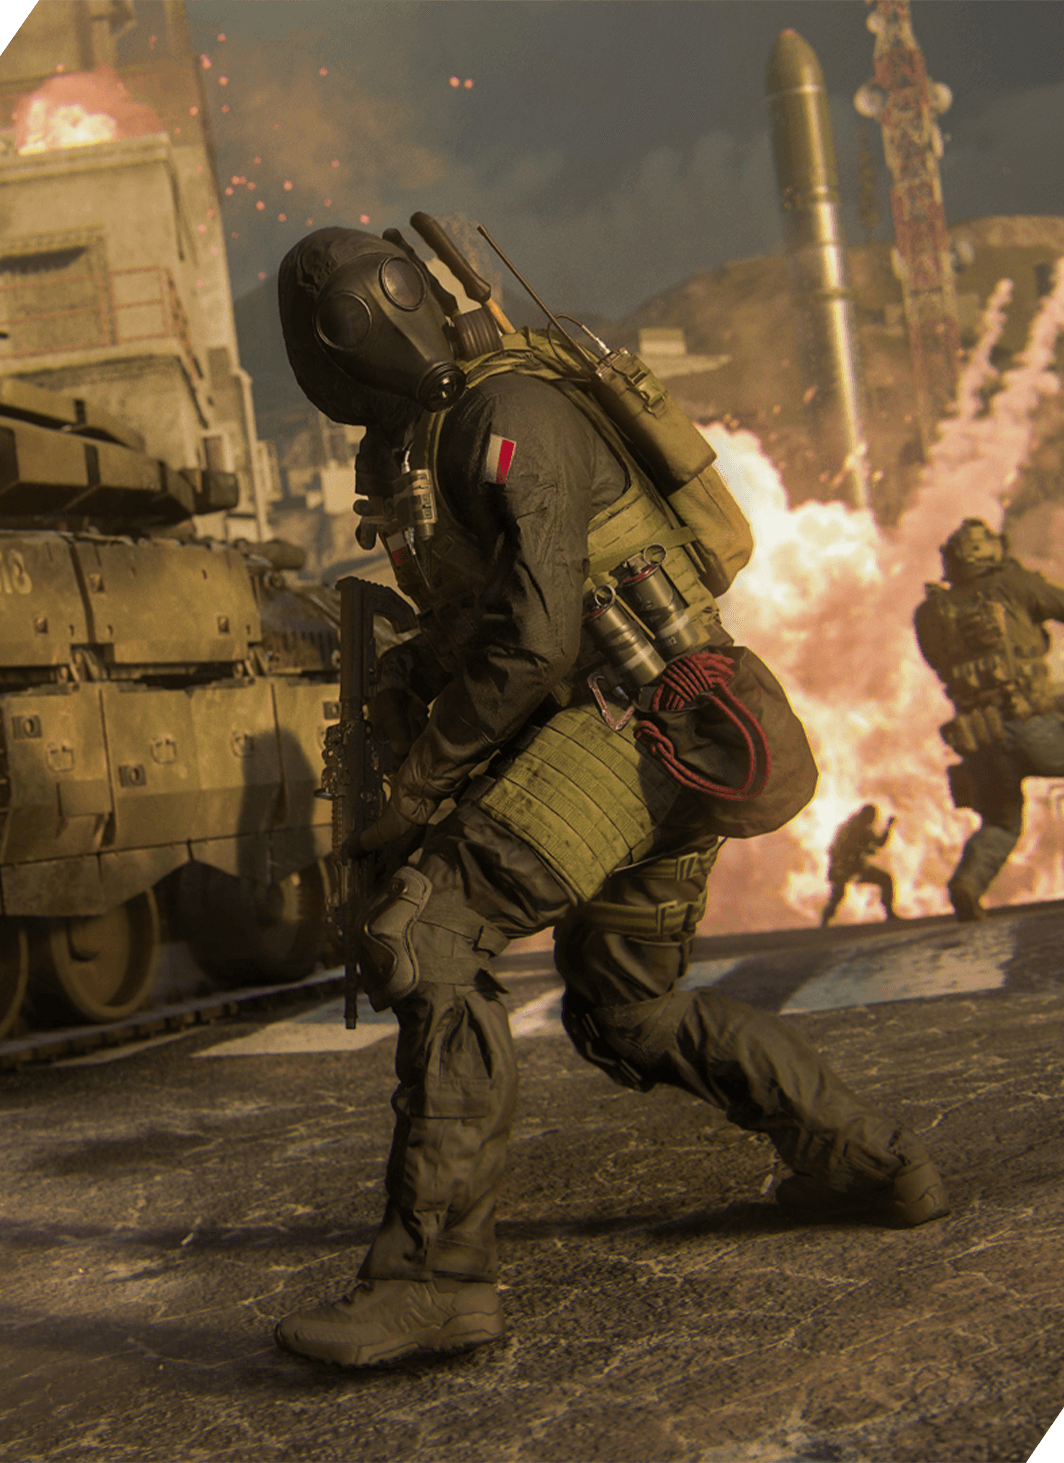
The only playable mode on Operation: Spearhead is War. Everything in this guide revolves around these details and tactics.
War mode is split into three different phases, and each phase takes place in a different part of the map. The first area takes place near the two SAM sites at the end of the entrance street. It’s split into two small areas that divide the street in two. The second area takes place along the main street that runs between the civilian buildings leading up to the Launch Facility entrance. The third and final area takes place inside the control center of the Launch facility where Attackers must enter through the missile silos.
We detail each phase area and their sublocations below:
Phase One:
- Radar
- SAM Site
- Lab
SUBLOCATION: Radar (NORTHWEST)
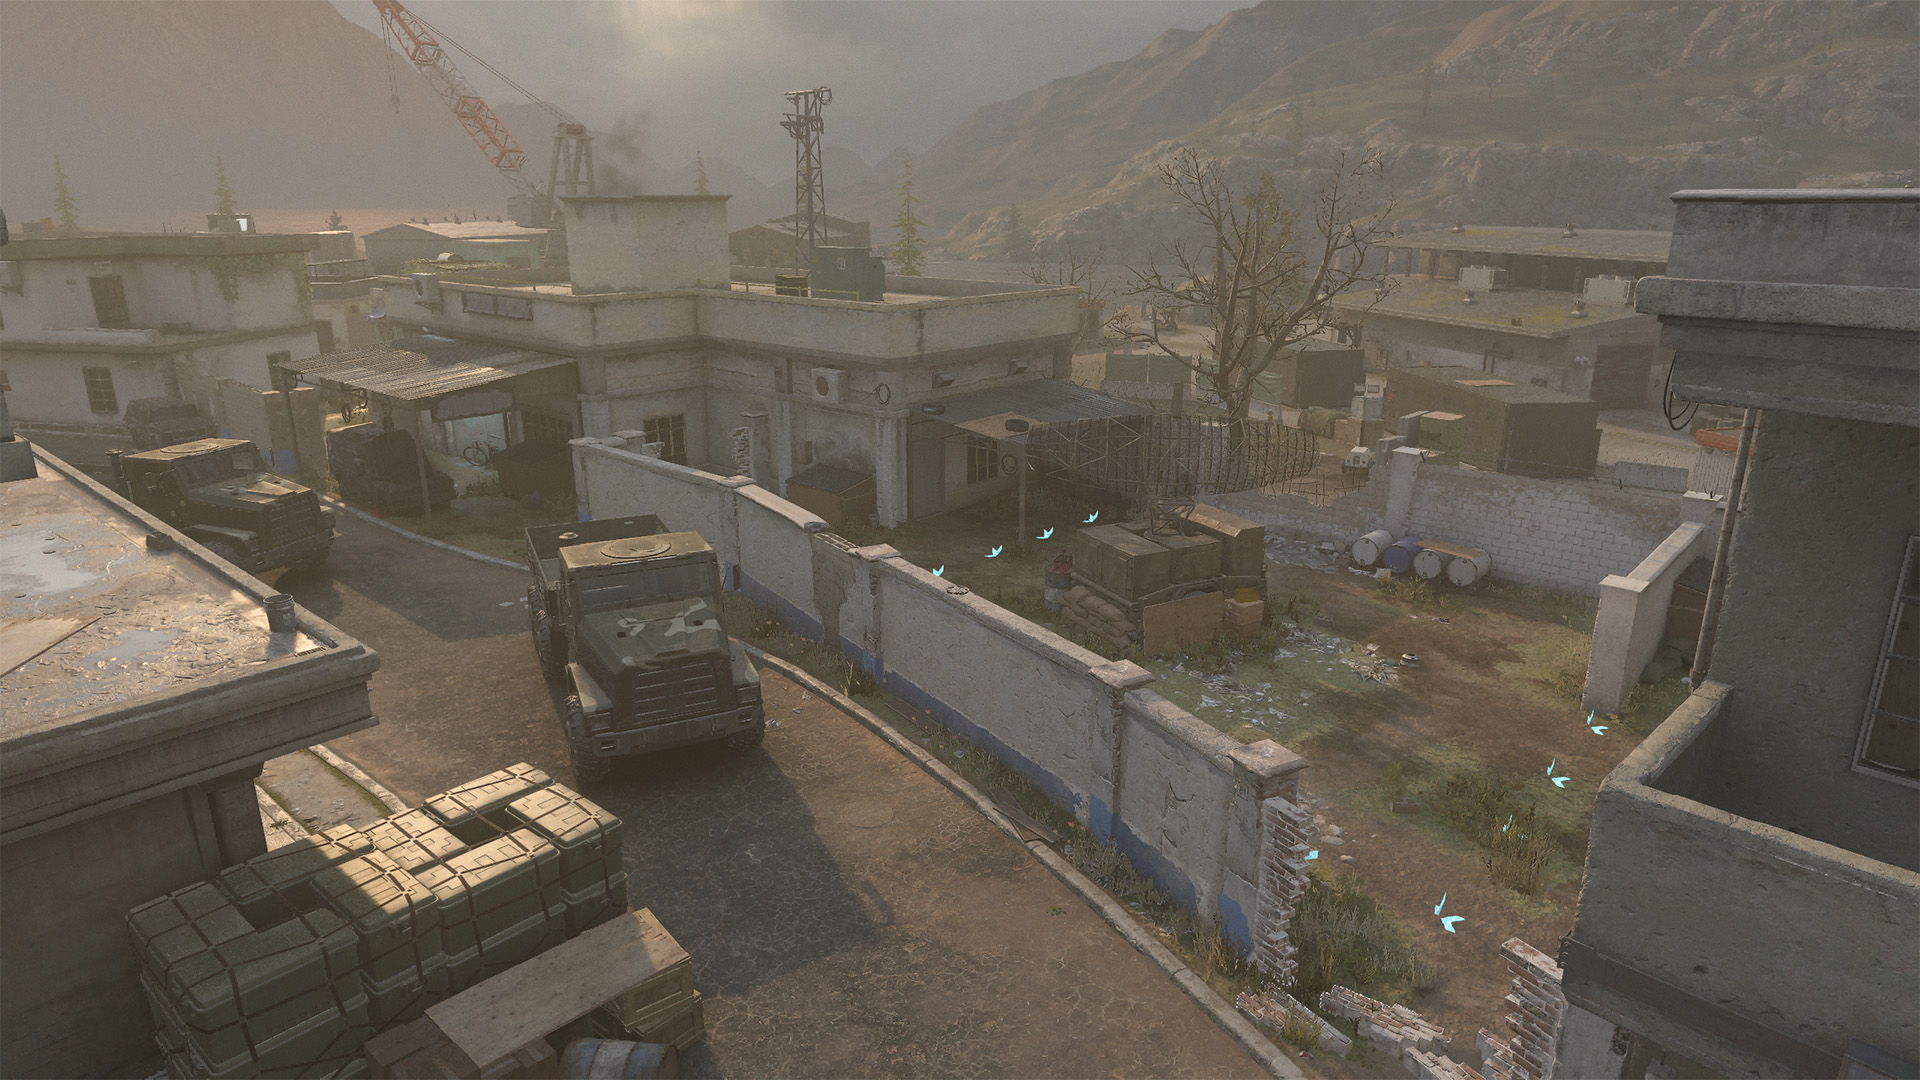
As one of the two objective locations in the first phase of Operation: Spearhead, the Radar is a heavily contested location with four major entry points: two from the Attackers’ side and two from the Defenders’ side. Radar is small and easily defendable, which makes it difficult to take control of. The tricky part for the Defenders is that they’ll have to take control of it early in order to keep control.
There are three buildable obstacles in this location, and they are located near the main exterior entry points. Indicated by the yellow diamonds on the Tac-Map, you can see where these obstacles can be built. There are two walls and one sandbag. Defenders should build these obstacles right away because they are extremely useful for slowing down the Attackers. Attackers can destroy them by interacting with them as well as build obstacles themselves when tactically necessary.
SUBLOCATION: SAM Site (SOUTHEAST)
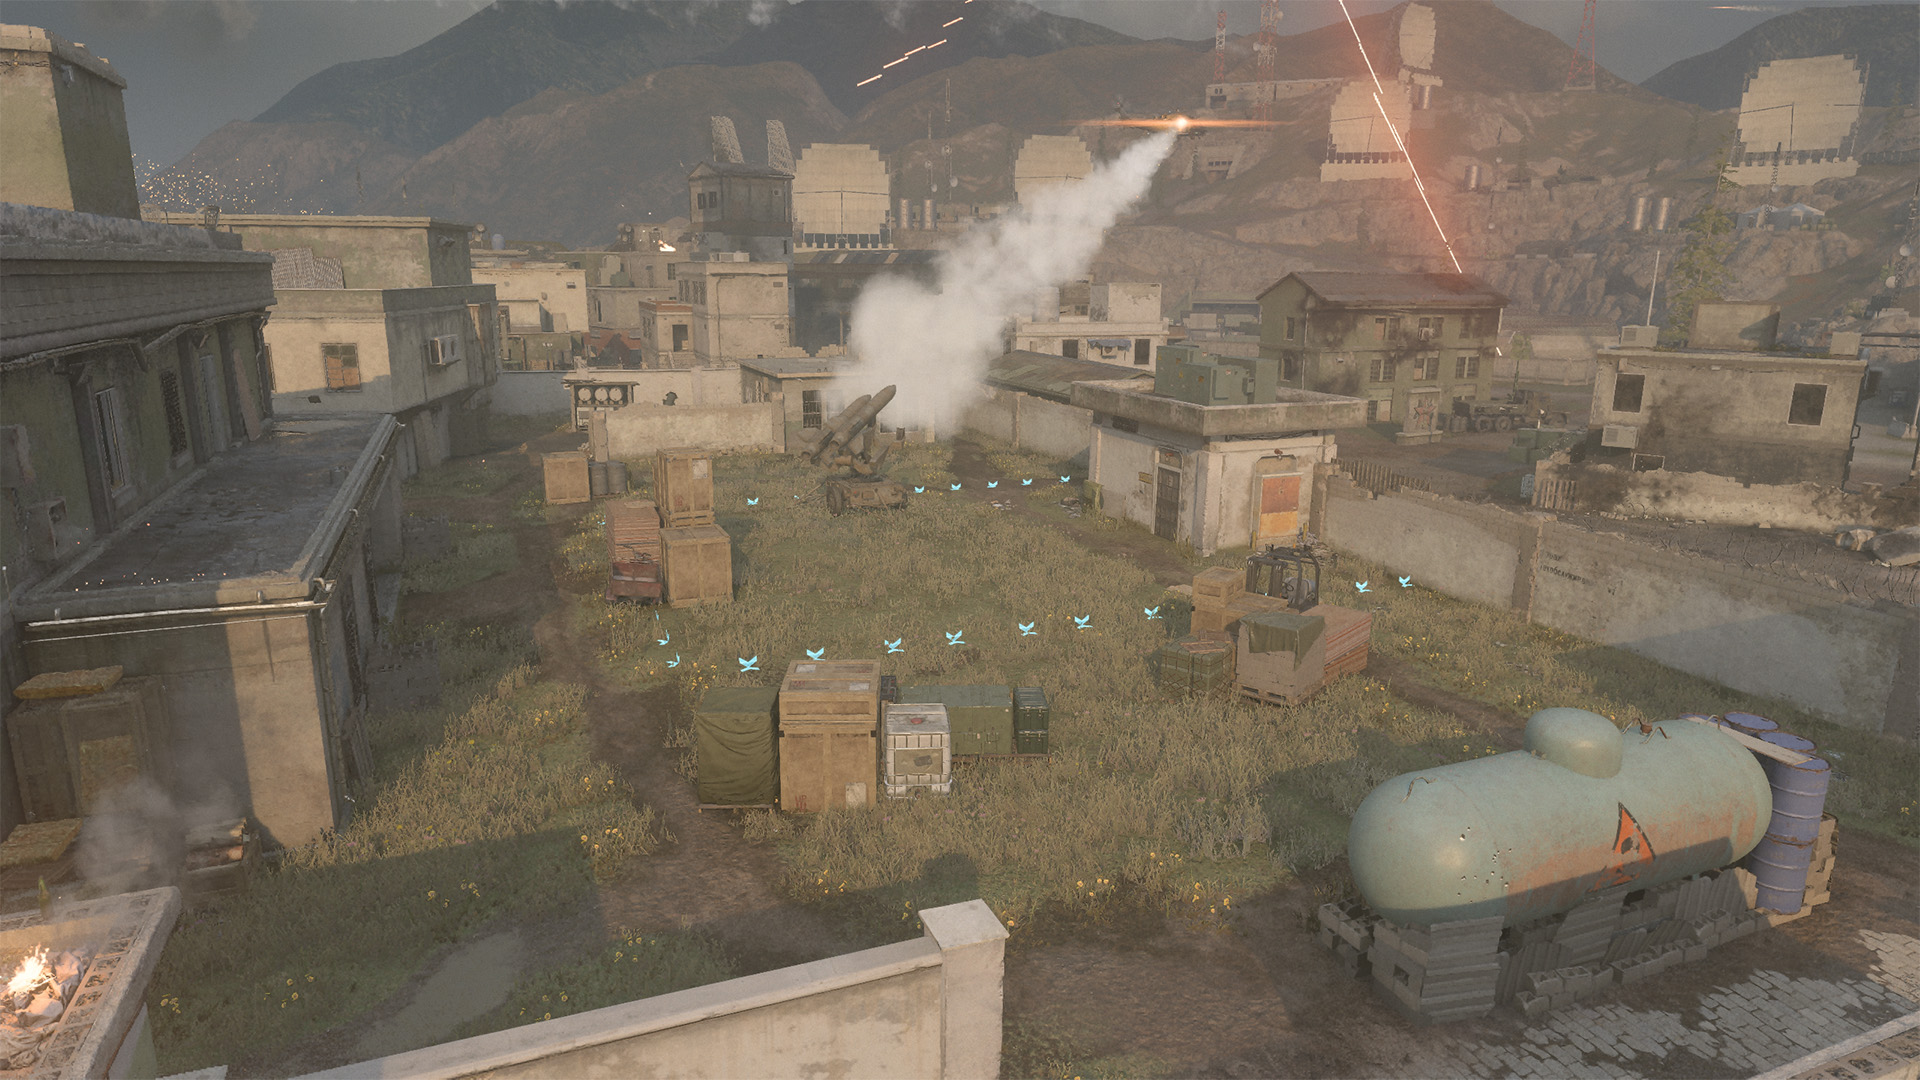
The SAM Site is a much more open location than the Radar; therefore, it’s incredibly important to utilize the cover spread out over the battlefield. The objective capture zone surrounds a small area around the SAM itself and both sides should have snipers and long-range shooters watching the objective from the rooftops on either side of the location.
The SAM Site has three buildable obstacles that are useful to build early. The Defenders should build the walls on the southwest side as soon as possible; however, beware of the Attackers coming in by the time you get there because it is close to their spawn. When Attackers start pushing in and breaking down these walls, Defenders should have time to build the sandbags on their side of the objective to provide a little extra cover to defend from.
SUBLOCATION: Lab (CENTER)
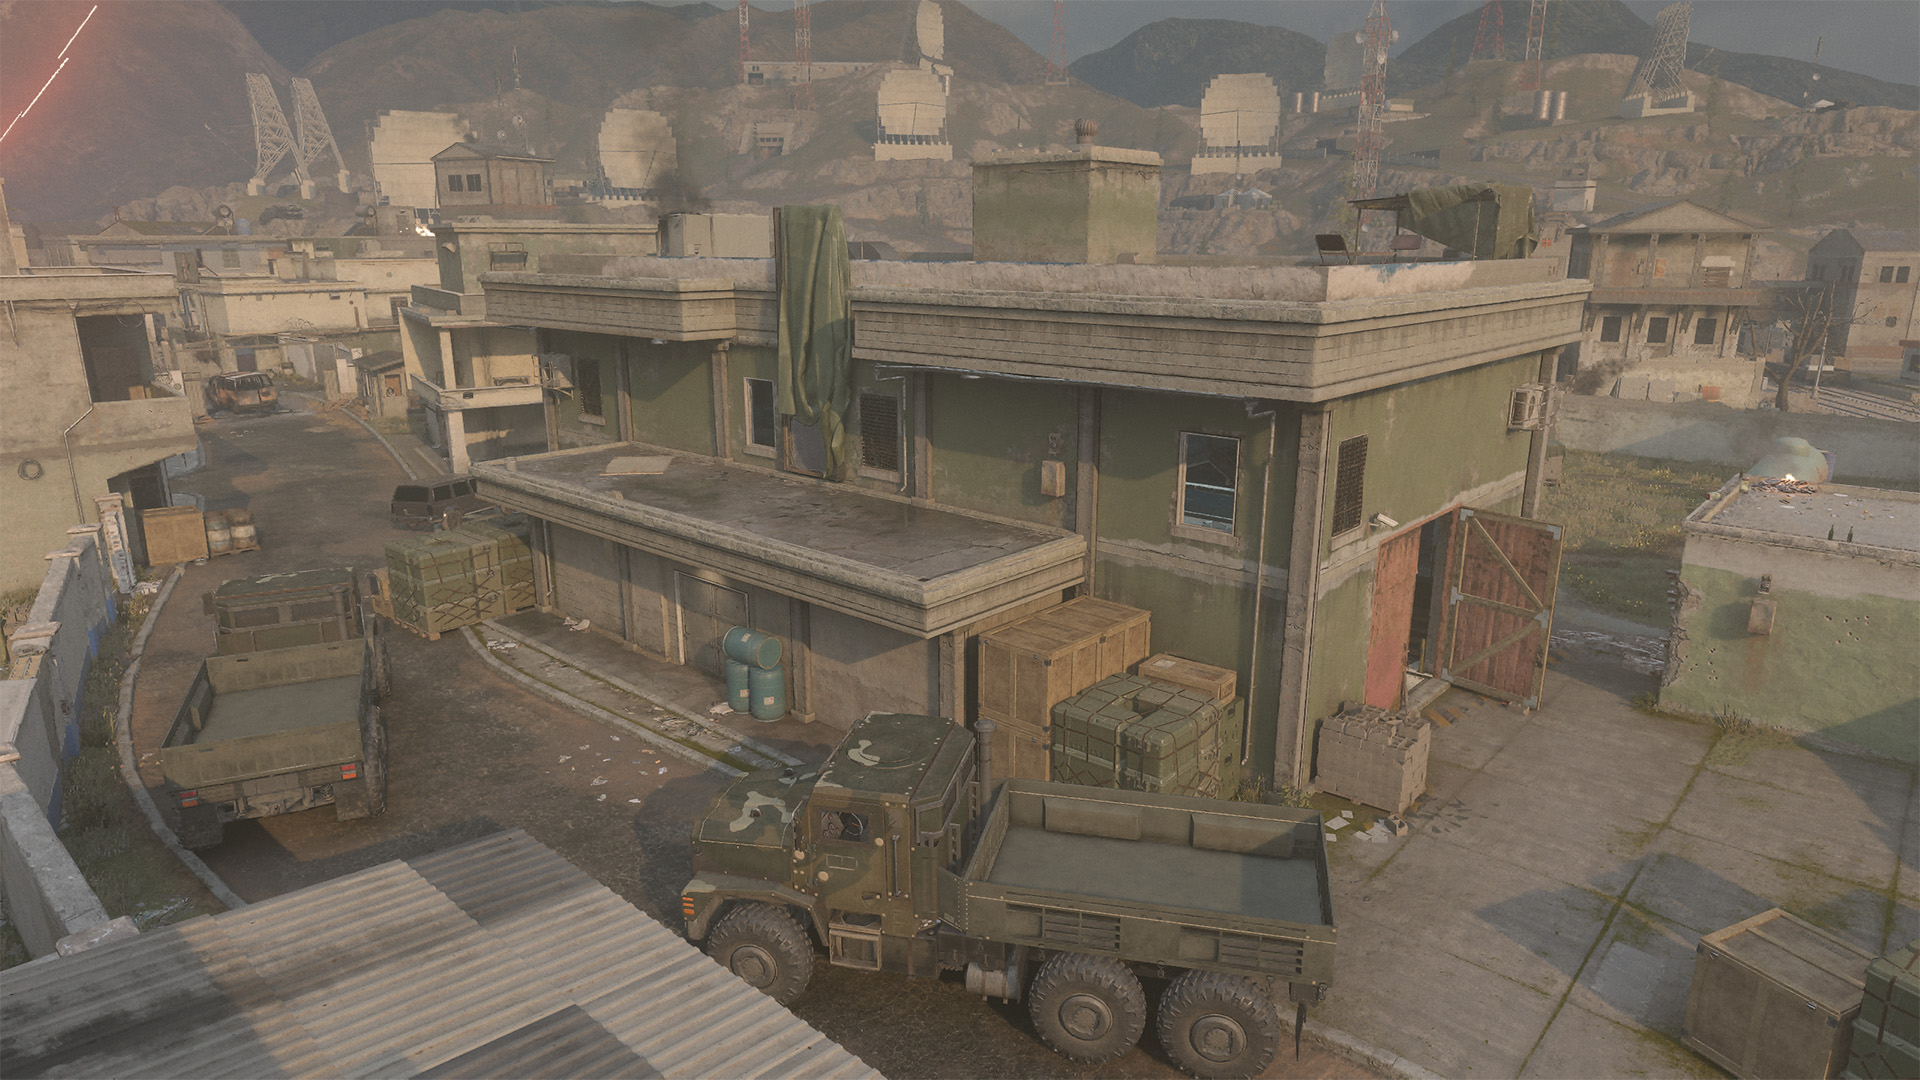
The Lab is one of the few indoor locations within Phase One. While it is important to take control of the two objective locations, Lab is one of the best locations for controlling this area of the map. Many fights can happen in here, so bringing equipment that can help you hold it is important if you wish to hold it for long.
When you do have control of Lab, you and your team can begin firing on both sides directly into each of the objective locations. Obviously, you can’t start capturing either of the points, but you can effectively put shots on both targets. Lab also serves as an alternate route to each objective instead of taking the direct approach, which both sides may be using as a choke point with deadly precision.
Using the vehicle in the street outside the Lab, you can jump over the Radar wall for some surprise maneuvers on unsuspecting Radar defenders.
Phase Two:
- Uphill
- Corner Shop + Store
- Construction + Restaurant
- Downhill
SUBLOCATION: Uphill (WEST)
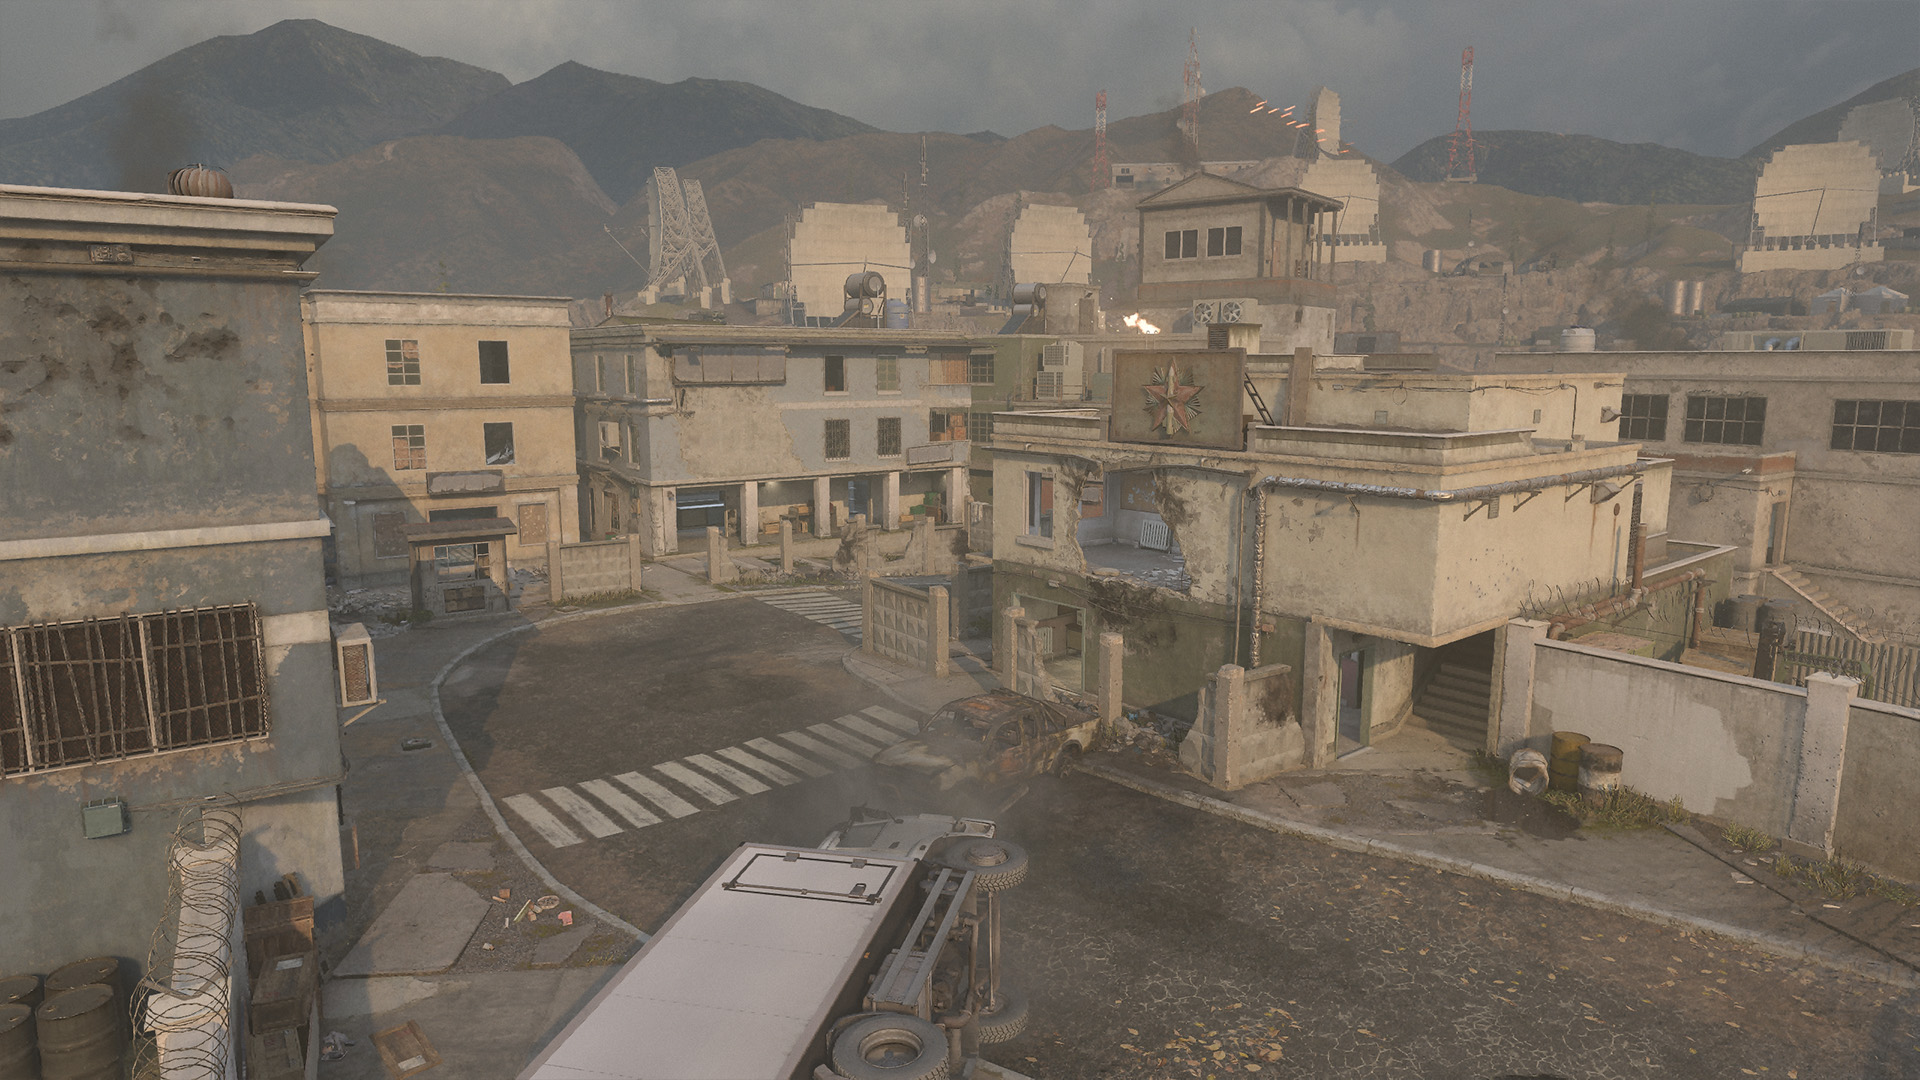
The Uphill location is where Phase Two begins and contains a highly important corner. The outside of the corner provides two buildings — the Hotel and the Police Station. These are likely to be taken over by the Attacking Team rather quickly because they provide a powerful long-ranged advantage. Defenders should take control of these buildings via ranged fire and Killstreaks.
As the Tank rounds the corner, the combat will shift a bit because it will expose the tank to two different angles of attack. This will also expose the tank to everything down the street, which is a lot of shooters in many different areas. The cannon turret mounted on top of the tank is very powerful, so both sides should keep an eye on it as much as possible.
SUBLOCATION: Corner Shop (+ Store)
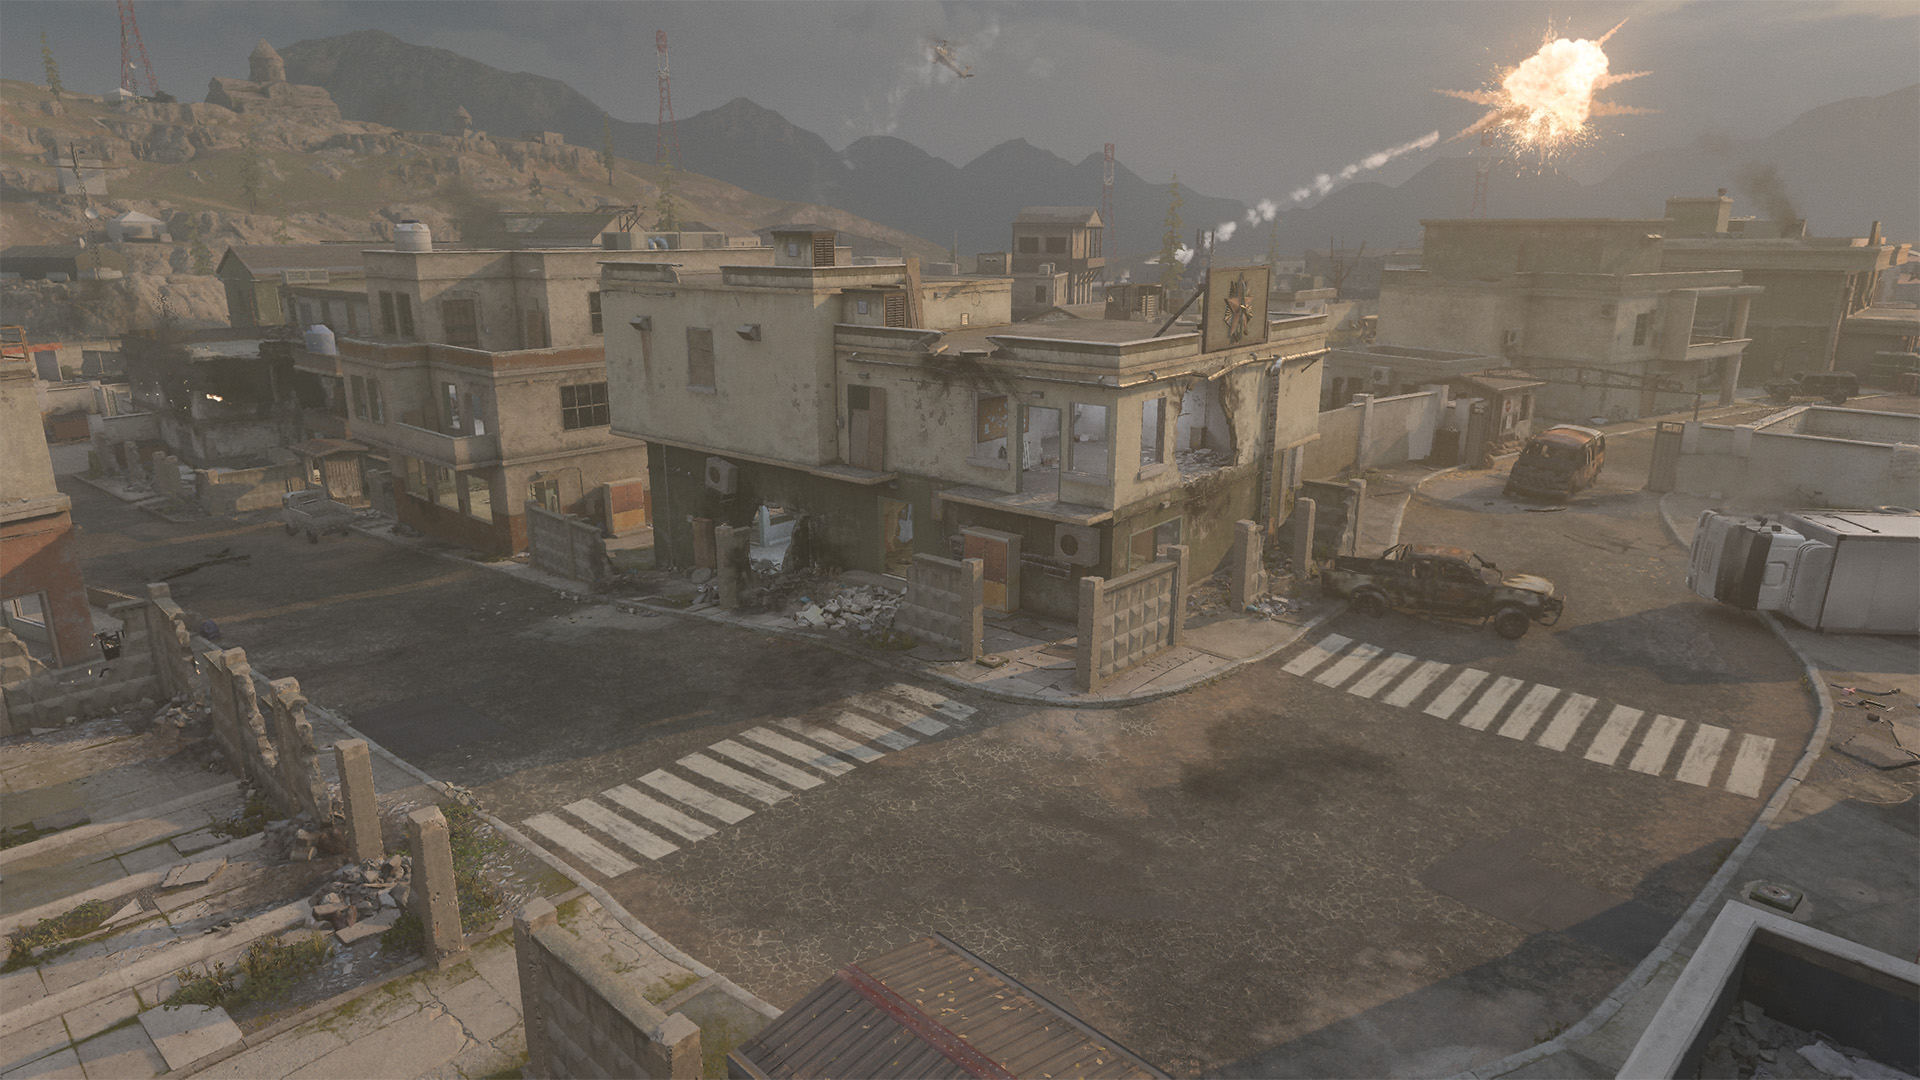
The next location down the Main Street is an area that passes by the Corner Shop on the west side of the street and the Store on the east side. Attackers spawn close to the Corner Shop, which makes it an easy building for them to control; this makes it important for Defenders to fight for the location. It’s difficult to snipe from or into the Corner Shop, so keep this in mind when attacking it with certain Loadouts.
The Corner Shop has two levels. The second level is also much easier to access via Attacker spawn. There are many explosive damage holes that expose the interior, so stay frosty. Use as much equipment as possible in this building because it is a high-traffic area and your equipment will get lots of use.
On the other side of the street is the Store, which acts as a much more defensible location in this area. Split into two buildings with one leading to the Hotel, there’s a lot of fighting that can happen away from the objective as both teams fight to keep control of the Store. The Store acts as a perfect flank location, which would explain why it is so heavily sought after when it comes to controlling the objective or getting around thick defense.
Note the buildable anti-tank hedgehogs along the route. The Defending team can build these by interacting with them to delay the tank, forcing the other side to dismantle them before moving on.
SUBLOCATION: Construction + Restaurant (SOUTHEAST)
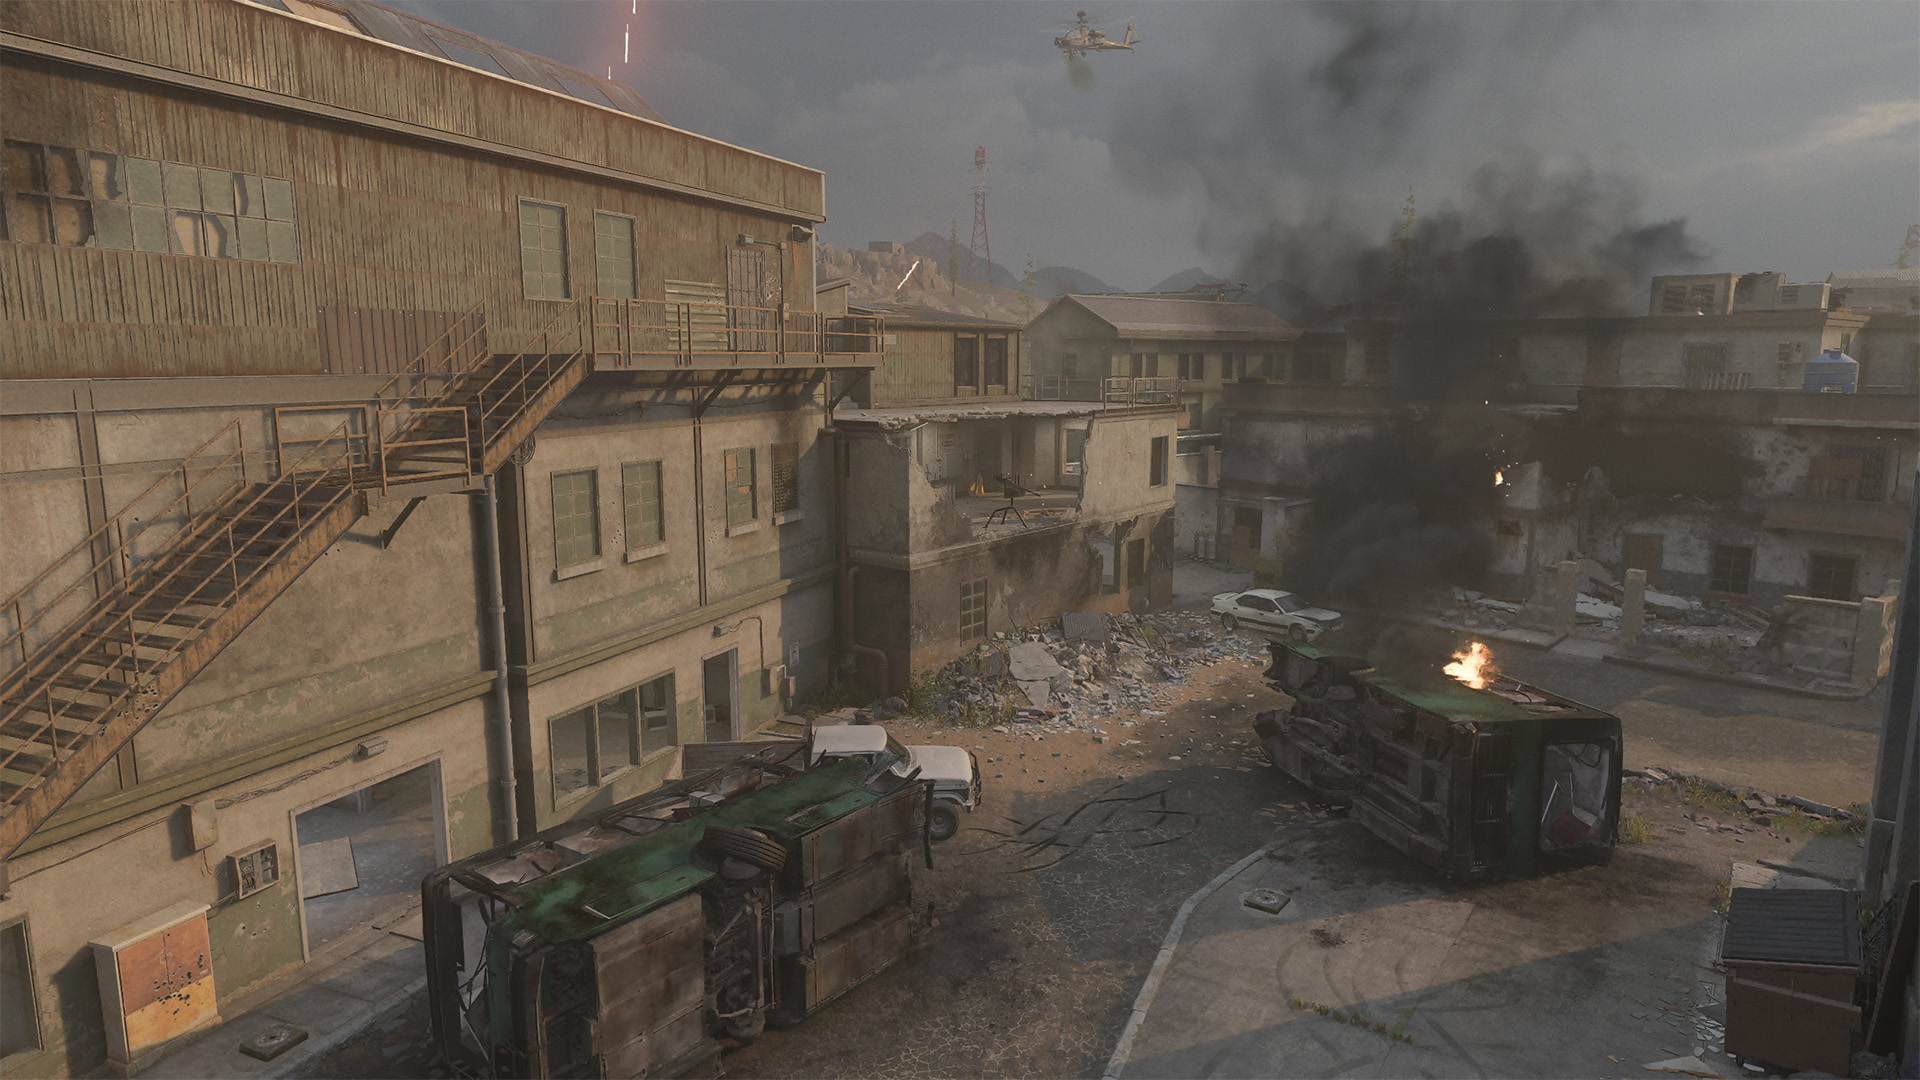
Construction and the Restaurant are two important locations. During part one of Phase Two, this location serves as the Defenders’ spawn, which Attackers cannot physically access. Attackers should watch this area because Defenders will be using it to fire upon the tank as much as possible.
As the tank progresses past the first buildable tank-blocker, the spawns will change, and this area will become an all-out war. This area can be attacked from several locations, so the turret gunner must keep their head on a swivel. Players will be firing from the Downhill area as well as the Restaurant on both levels. Watch out for players prone on top of the bus.
SUBLOCATION: Downhill (NORTHEAST)
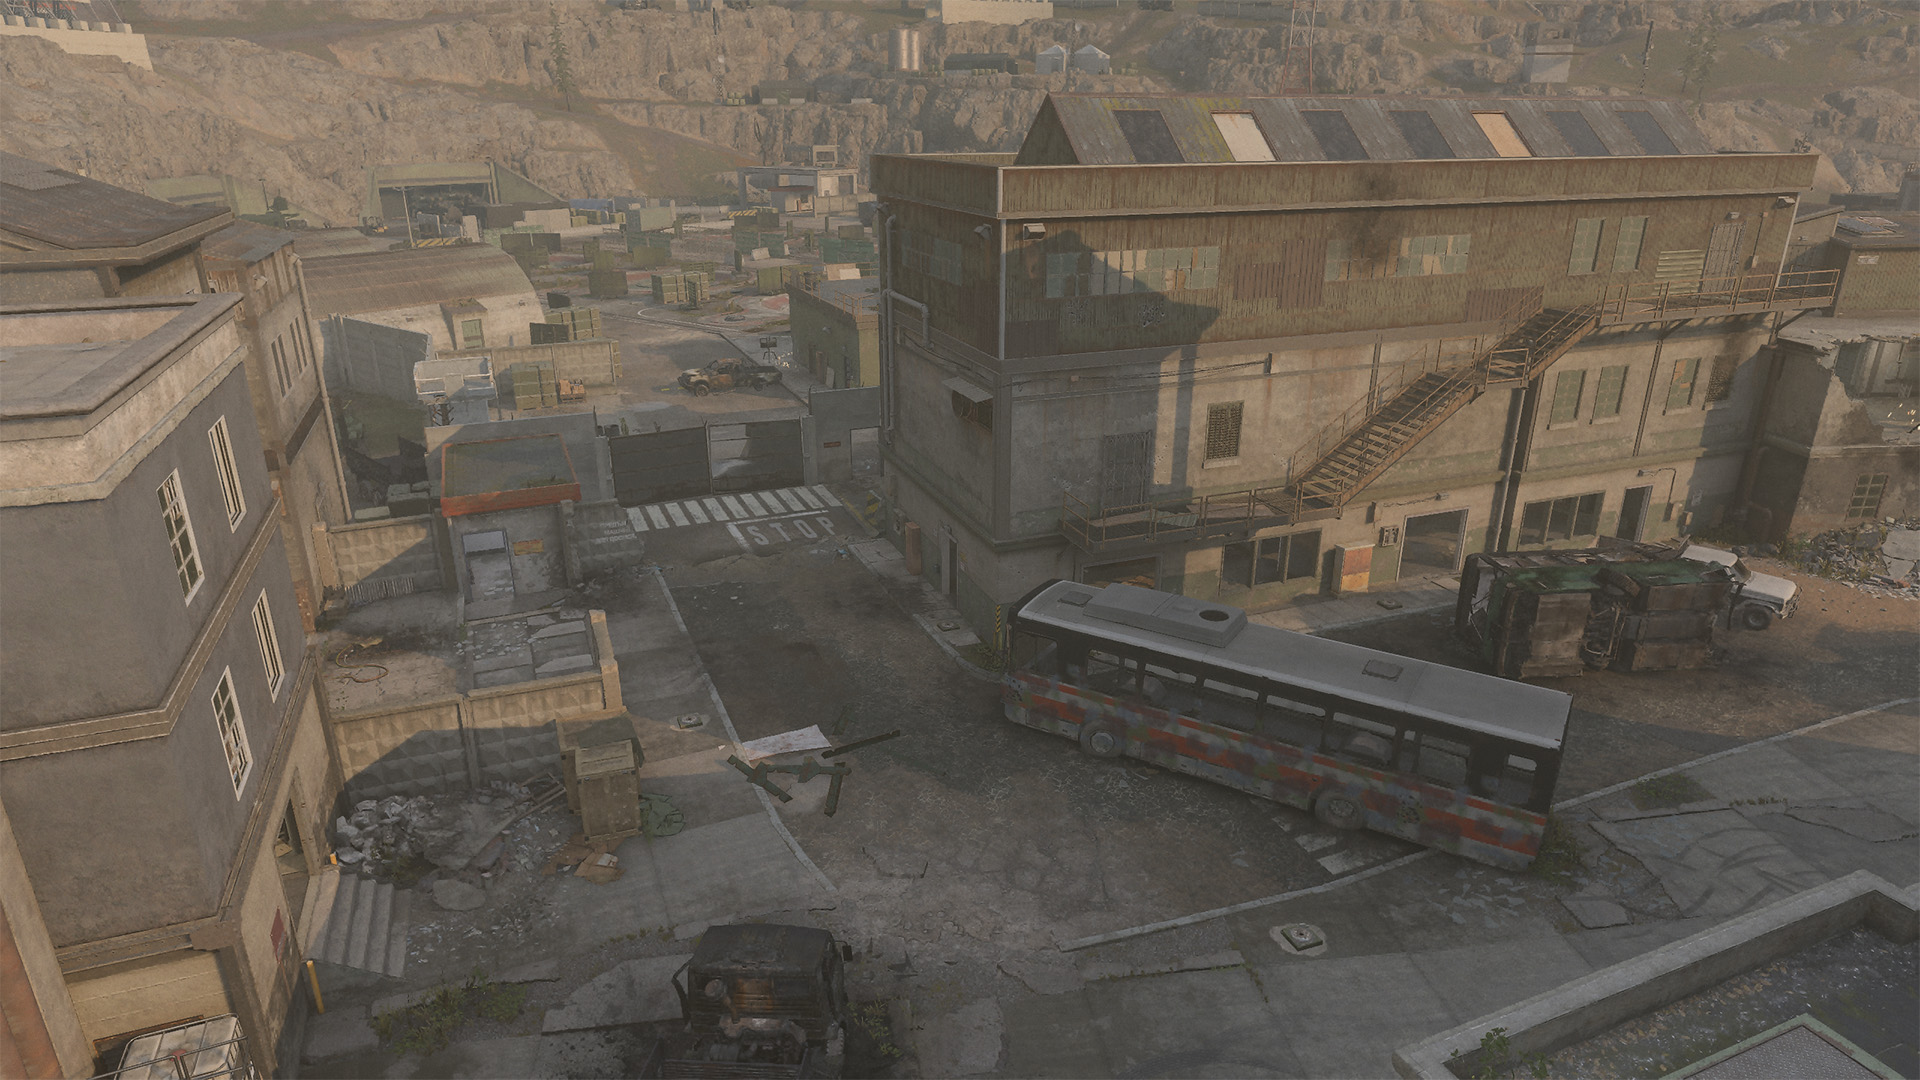
Downhill is the final stretch of Phase Two and the final few moments for the Defenders to stop the Attacking Team. The area is much tighter quarters and is very difficult to attack from both sides of the tank. The Attackers have a slight advantage; however, if there was a good back-and-forth throughout Phase Two, there should only be a minute or two left to hold this location. Keeping that in mind, it is important for both teams to take control of the Office because that is the only covered approach from either side.
In the final turn before the tank reaches the Launch Facility, Defenders can utilize the hard cover that surrounds the security wall. It’s a bit of a choke point, so if Attackers are efficient, they should be able to hold it down. It only takes one break in the Attackers’ defense of their tank, though. Once a Defender or two have broken through to the tank’s location, everything could fall apart and the Attackers could lose momentum fast.
Phase Three:
- Launch Facility
- Cargo
- Alpha Launch Control
- Beta Launch Control
SUBLOCATION: Launch Facility

The Launch Facility is the beginning of the final phase of War on Operation: Spearhead. There isn’t much that Defenders can do once the Attacking Team has cleared this area out, but they can slow the Attackers down in the few seconds they have before being forced to retreat.
Attackers must enter the Facility by dropping through the missile silos. This leaves Defenders with two choices: Chase them from behind because they’re stuck moving in one direction or pick off some of the stragglers so that the retreated Defenders can take care of the rest. Once you’re close to the silo, as the Defending Team, you are no longer forced to retreat. Make the most of this location while you’re here because getting back here will be nearly impossible once you respawn.
SUBLOCATION: Cargo
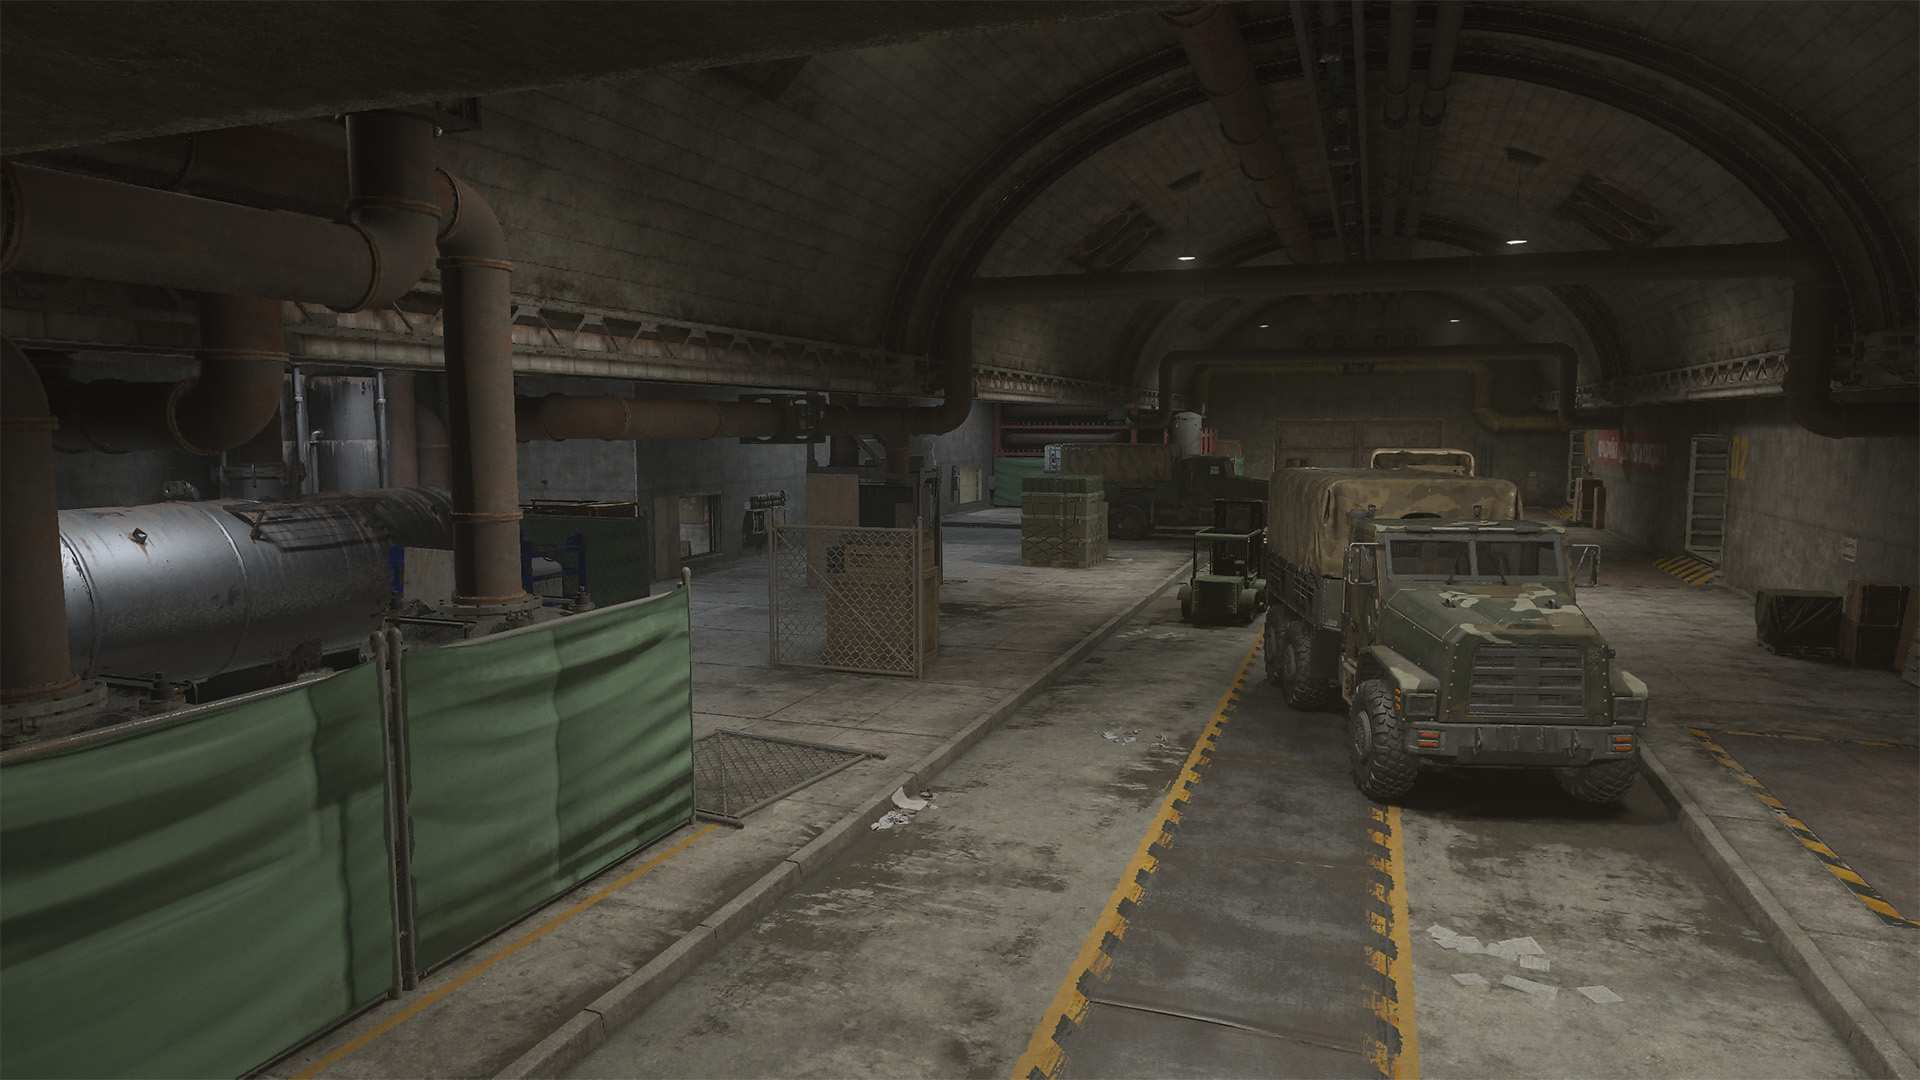
Once Attackers are through the missile silos, they will find themselves in a large room where cargo is held. This is called Cargo and it will serve as the main staging area for Attackers before they choose a Launch Control room to attack. Defenders can set up here as well as push into this location when they’re given a chance to; however, doing so could cause a stagger from either team, depending on how they’re split.
Loaded with lots of cover, hiding here and waiting for Attackers to finish coming through the missile silos is a viable strategy; even if you only get two enemy players, that’s enough to weaken the attacking force, giving them less time to mount a rush attack.
SUBLOCATION: Alpha Launch Control (EAST)
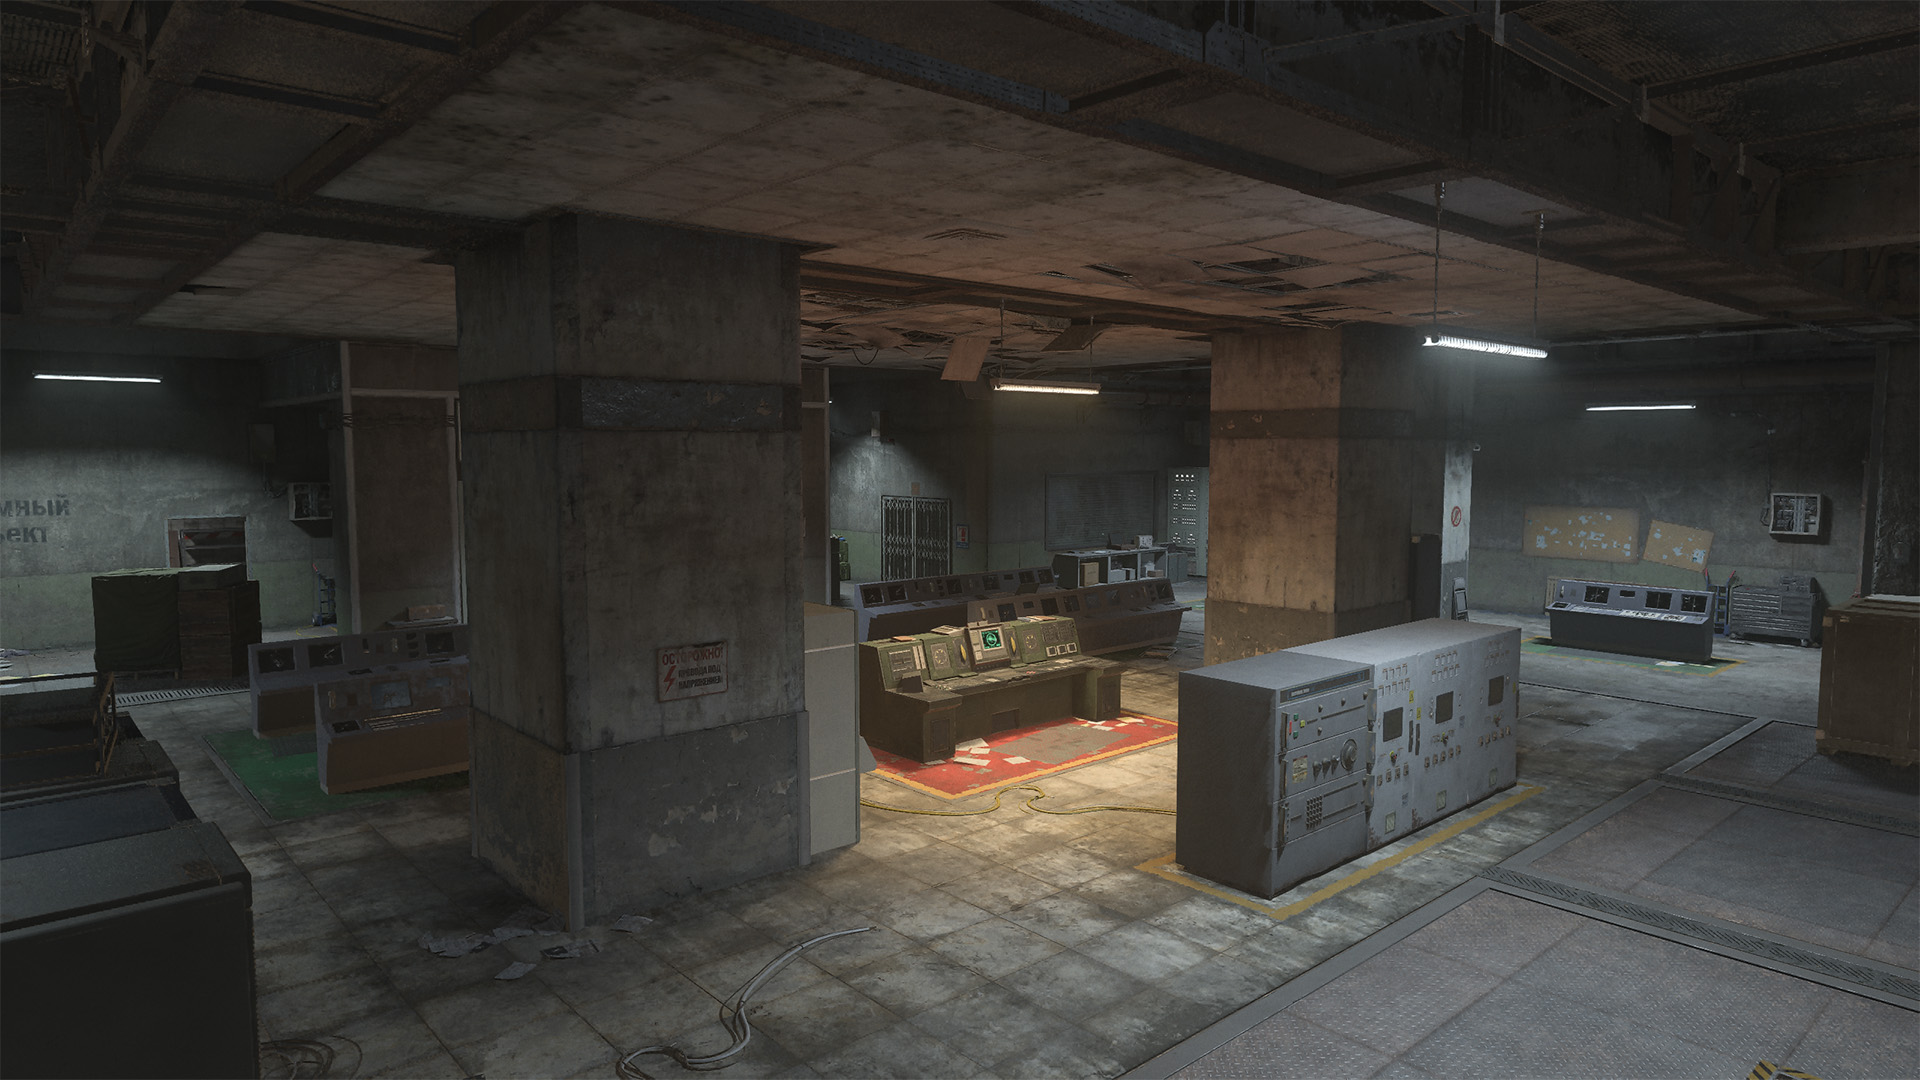
The Alpha Launch Control center is an open room with lots of cover for players to hide and wait. Arguably the more difficult of the two sites, Attackers will have to clear the entire room while one Operator begins the upload. This site is easier to defend because every entrance has a very quick sightline onto the upload station. Attackers should use smoke and rig the entrances with Claymores and Proximity Mines to slow down the Defenders after they’ve cleared the room. The first challenge is of course to clear the room.
With four entrances from the Defenders’ side — two from the spawn side and two from the Alley — it is important to hold all of them down. With the same thing in mind from the Defending Team, Attackers can also use the Alley entrances rather easily so long as they gain control of the Alley. Normally, gaining access to the room is the easy part. Once you’re in, you’ll have to weave through the servers and eliminate the enemies using them as cover. Patient players can stay hidden until they know that a player is on the console. It’s not an easy strategy, but if done with patience and diligence, one can really save the day. This goes for either side.
SUBLOCATION: Beta Launch Control (WEST)
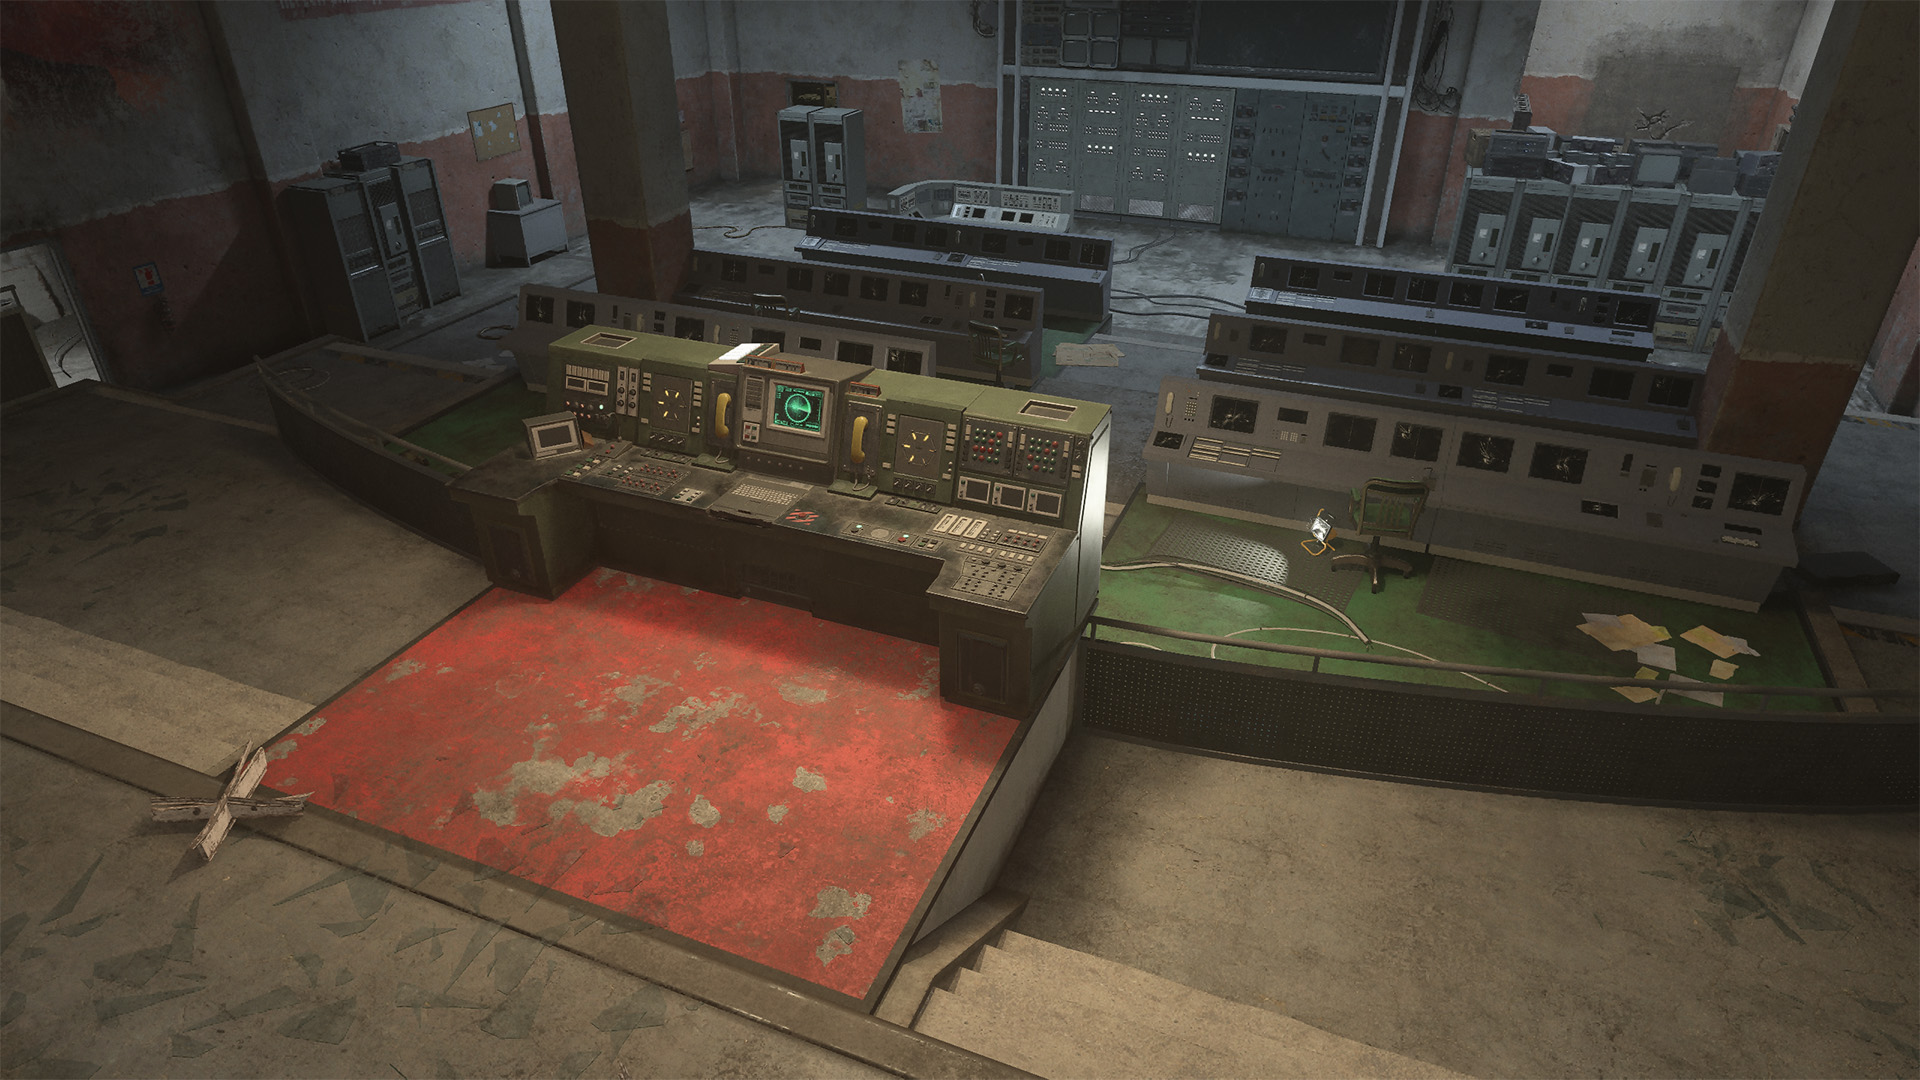
The Beta Launch Control center is a narrow room that is far less open than its counterpart but has a lot of sneaky angles that players can utilize when attacking or defending the upload console.
With one large opening in the back from the Defenders’ spawn and four other entrances that Attackers can use, this room acts as a funnel for both sides. Each team has great opportunity to take control of this room, but both sides also have the same opportunity to take it right back. Players who play the back room on the Defenders’ side the best are likely to keep control of Beta Launch Control.
The upload console is on a slightly elevated platform, which makes it difficult for Defenders to keep a good eye on the lower sections while also watching the upload console. This means that most Defenders will need to push from the room behind the console or take a bit more time attempting to control the Alley that leads in from the side. Because it’s difficult to hold the lower sections from the Defenders’ side, they will have to push a little farther in, which is a vulnerable position for any Operator holding here.
However, as long as Defenders can protect the main entrances, they will be able to successfully defend the console. Losing this advantage means they will have to use the back room as cover when they attempt to overwhelm the Attackers that have pushed through.

© 2024 Activision Publishing, Inc. ACTIVISION, CALL OF DUTY, and MODERN WARFARE are trademarks of Activision Publishing, Inc. All other trademarks and trade names are the property of their respective owners.
For more information, please visit www.callofduty.com and www.youtube.com/callofduty, and follow @Activision and @CallofDuty on X, Instagram, and Facebook. For Call of Duty Updates, follow @CODUpdates on X.
