Multiplayer Map Guide — Orlov Military Base

Deploy to Orlov Military Base in the northwest corner of Urzikstan. Keep your eyes peeled among the many buildings and tight corners where players will hide and set up ambushes.
Prebrief
Take the fight to the enemy in this Military Base full of building complexes, large warehouses, and long roads made for every type of combat you can think of. Built like a small city, Orlov Military Base is undoubtedly the Ground War/Invasion map with the most opportunity for chaos and separated battles. Pay close attention to the map, because there are many paths to take to one location, and it’s easy to get lost if you’re not careful. Prepare for long-, medium-, and short-range fights as you approach any of the flags, whether they’re indoor or outdoor.


-
Show areas

-
Show domination flags

-
Reset all overlays

// INTEL CARD
- MWIII
- WZ
- WZM
Orlov Military Base
// MULTIPLAYER MAPS // GROUND WAR
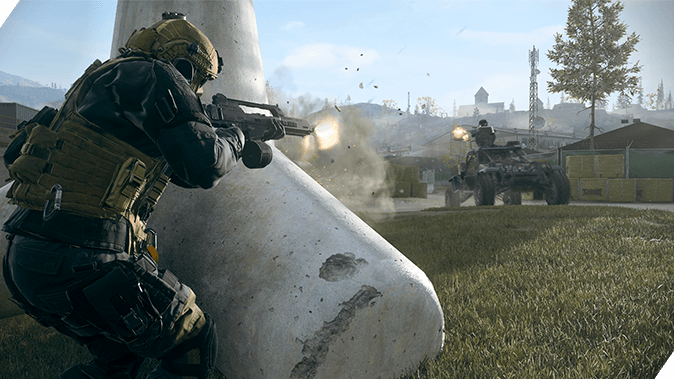
Drop in from above: Along with ground vehicles, it’s important to drop in on compounds from above via air vehicles. Land on top of buildings to take out unsuspecting snipers and gain advantage over the enemies below.
Park and wait: Drive vehicles to key locations, hold the location via mounted weapon, and turn it into a spawn point to give your team a large advantage.
Watch out for ambushes: While driving around the map in heavy or light traversal vehicles, stay on the move because ambushes can be set up inside any of the many buildings all around the map.
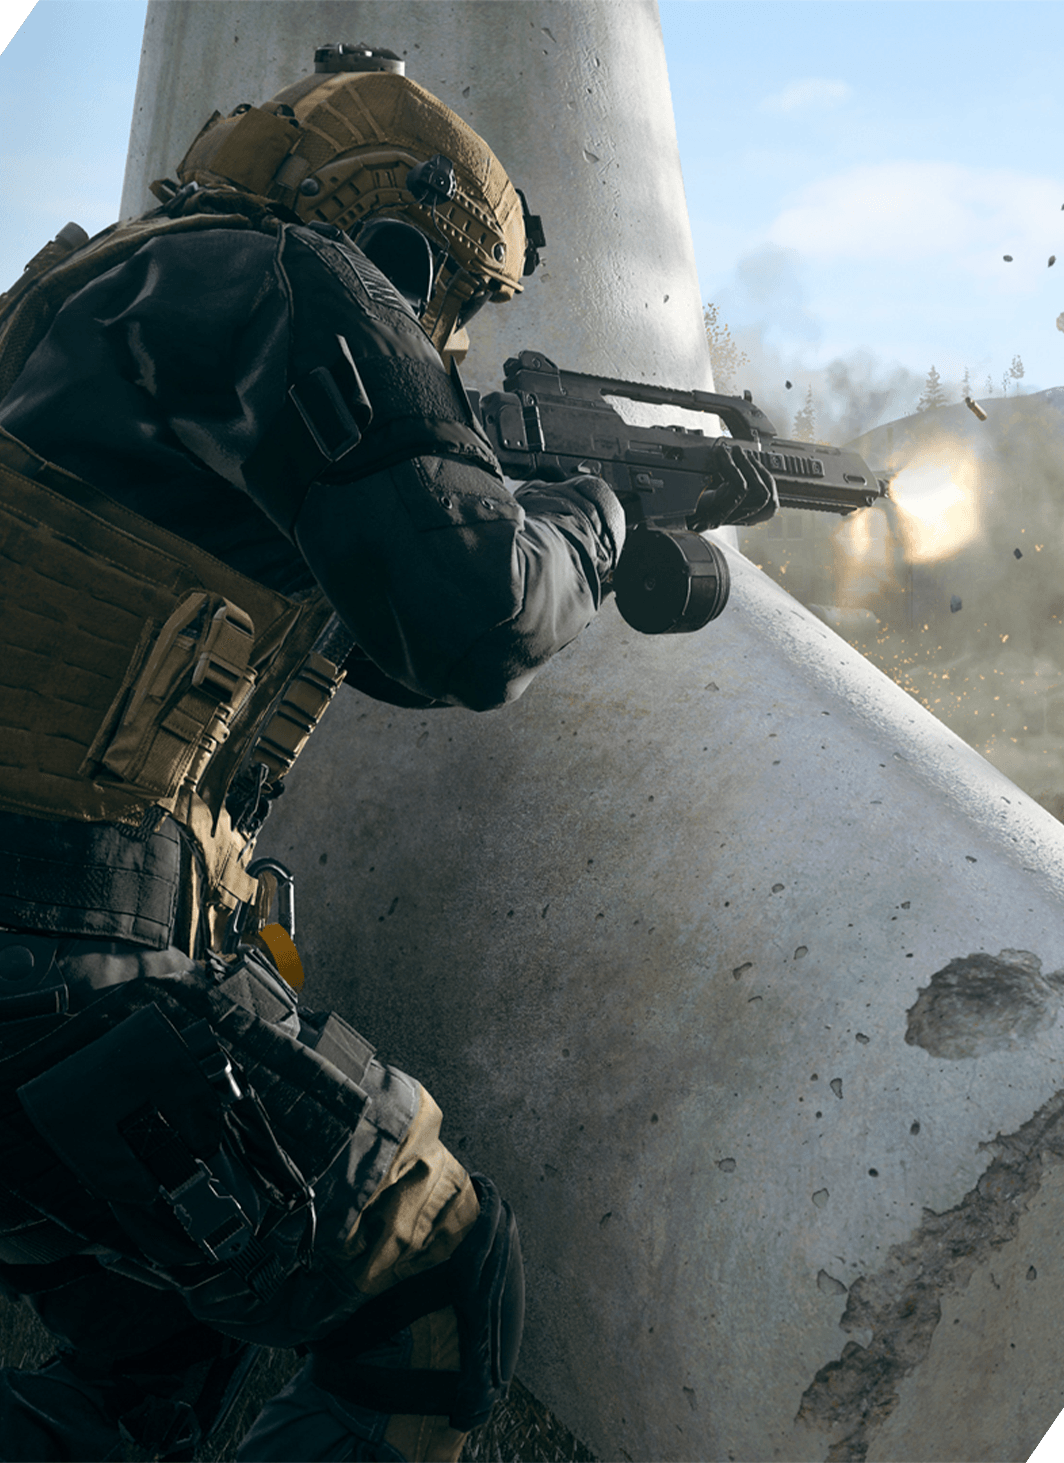
In both Ground War and Invasion, squads will either spawn in the north by the Docks or in the southwest by the Base Entrance. An entire small-town’s worth of buildings stand between the two spawns and a large bridge that splits the map down the middle. Because of the elevated location that also houses C Flag, there is a break between the two halves that help create a balanced flow of fights across the big map.
We’ve divided Orlov Military Base into seven sections based on key named areas in the map:
- MAIN SPAWN POINT: Docks
- MAIN SPAWN POINT: Base Entrance
- ADDITIONAL AREA: Docks Staging Area
- ADDITIONAL AREA: Fire Station
- ADDITIONAL AREA: Bridge
- ADDITIONAL AREA: Training Compound
- ADDITIONAL AREA: Military Police Station
MAIN SPAWN POINT: Docks (North)
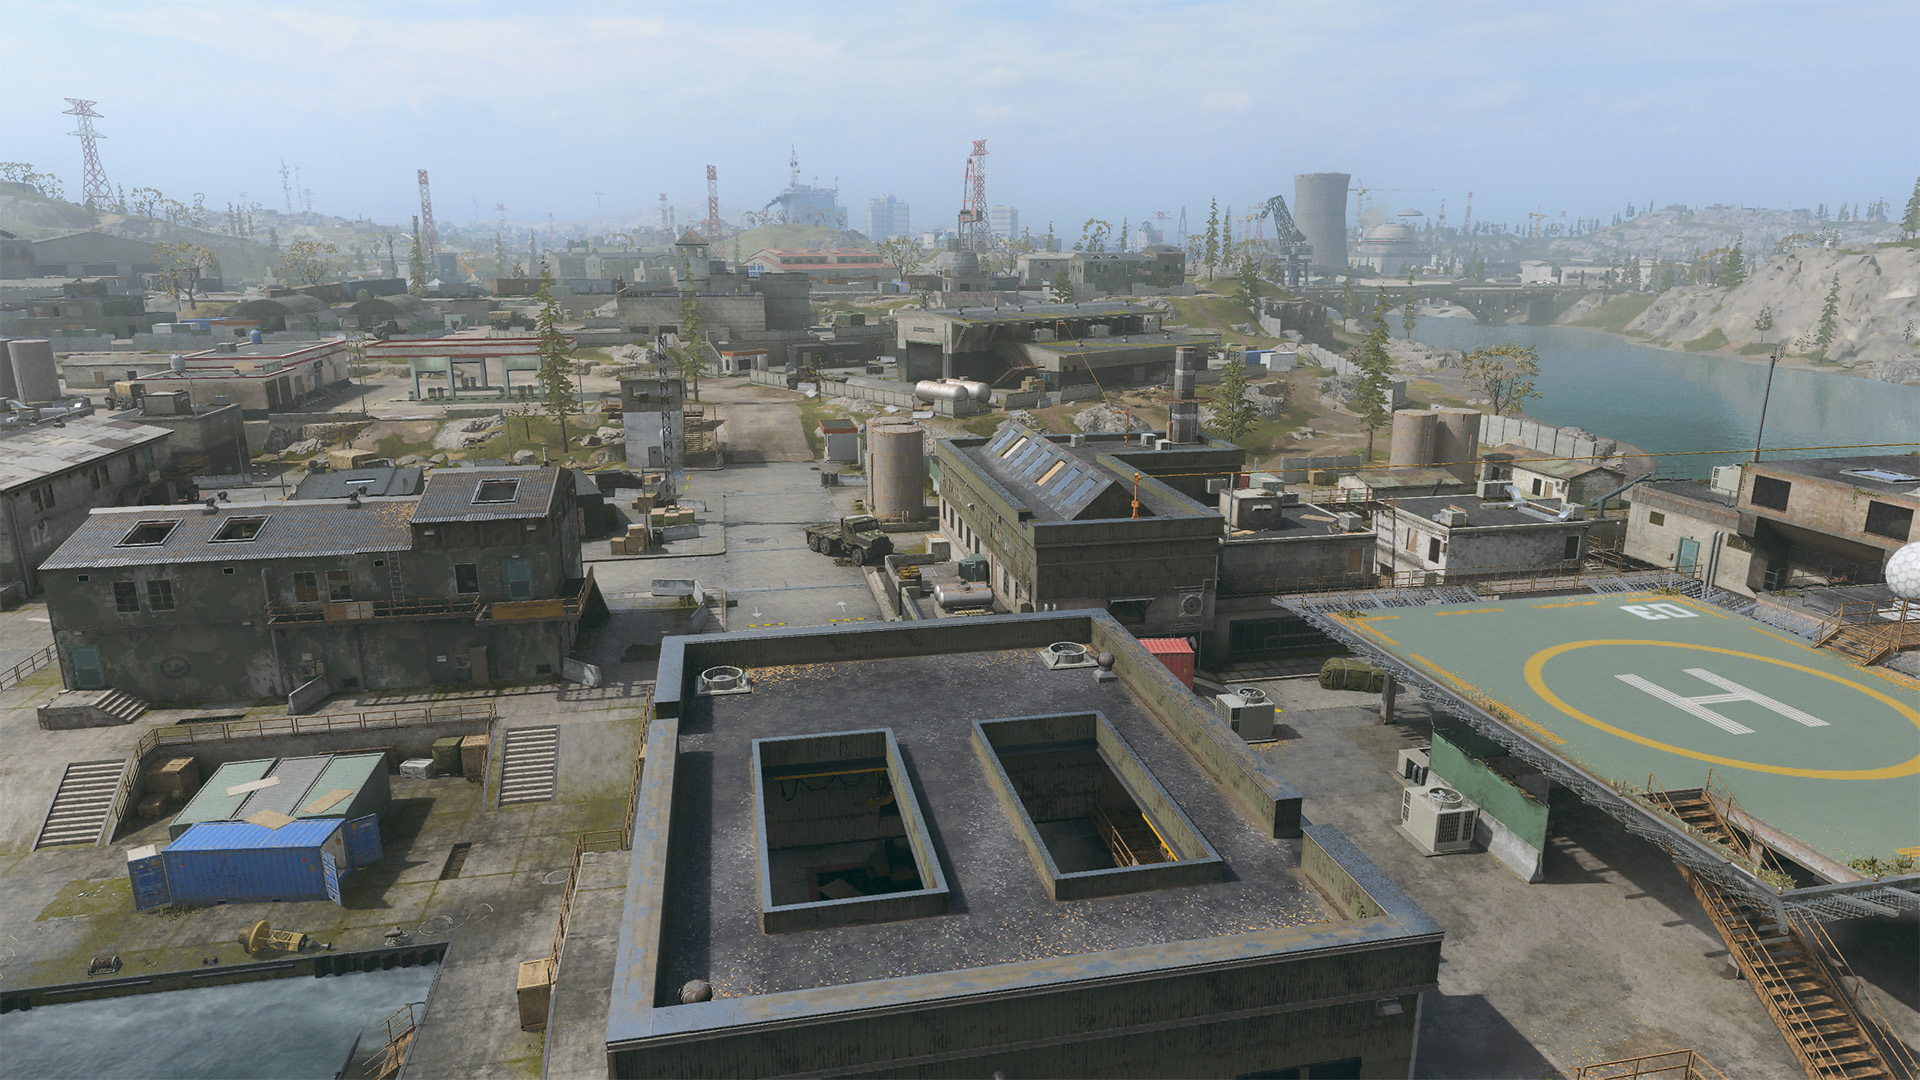
The Docks is the primary Spetsnaz Spawn point. On Ground War, this is where players will begin the match and/or spawn here when there are no other spawn points or players choose to spawn here, possibly to mount a vehicle. Because this is the Main Spawn Point, the enemy team cannot enter this area without being forced to leave, which means there isn’t much reason to take control of the buildings in this area; however, it is important for both teams to pay attention to the roofs. In the Docks, the roofs are great for snipers to post up on, especially if the opposing team is pushing into Flags A and B. For quick movement, there is a zipline on the south side for the tower building that can help Operators get out of the way of danger when countersnipers are on their way.
MAIN SPAWN POINT: Base Entrance (South)
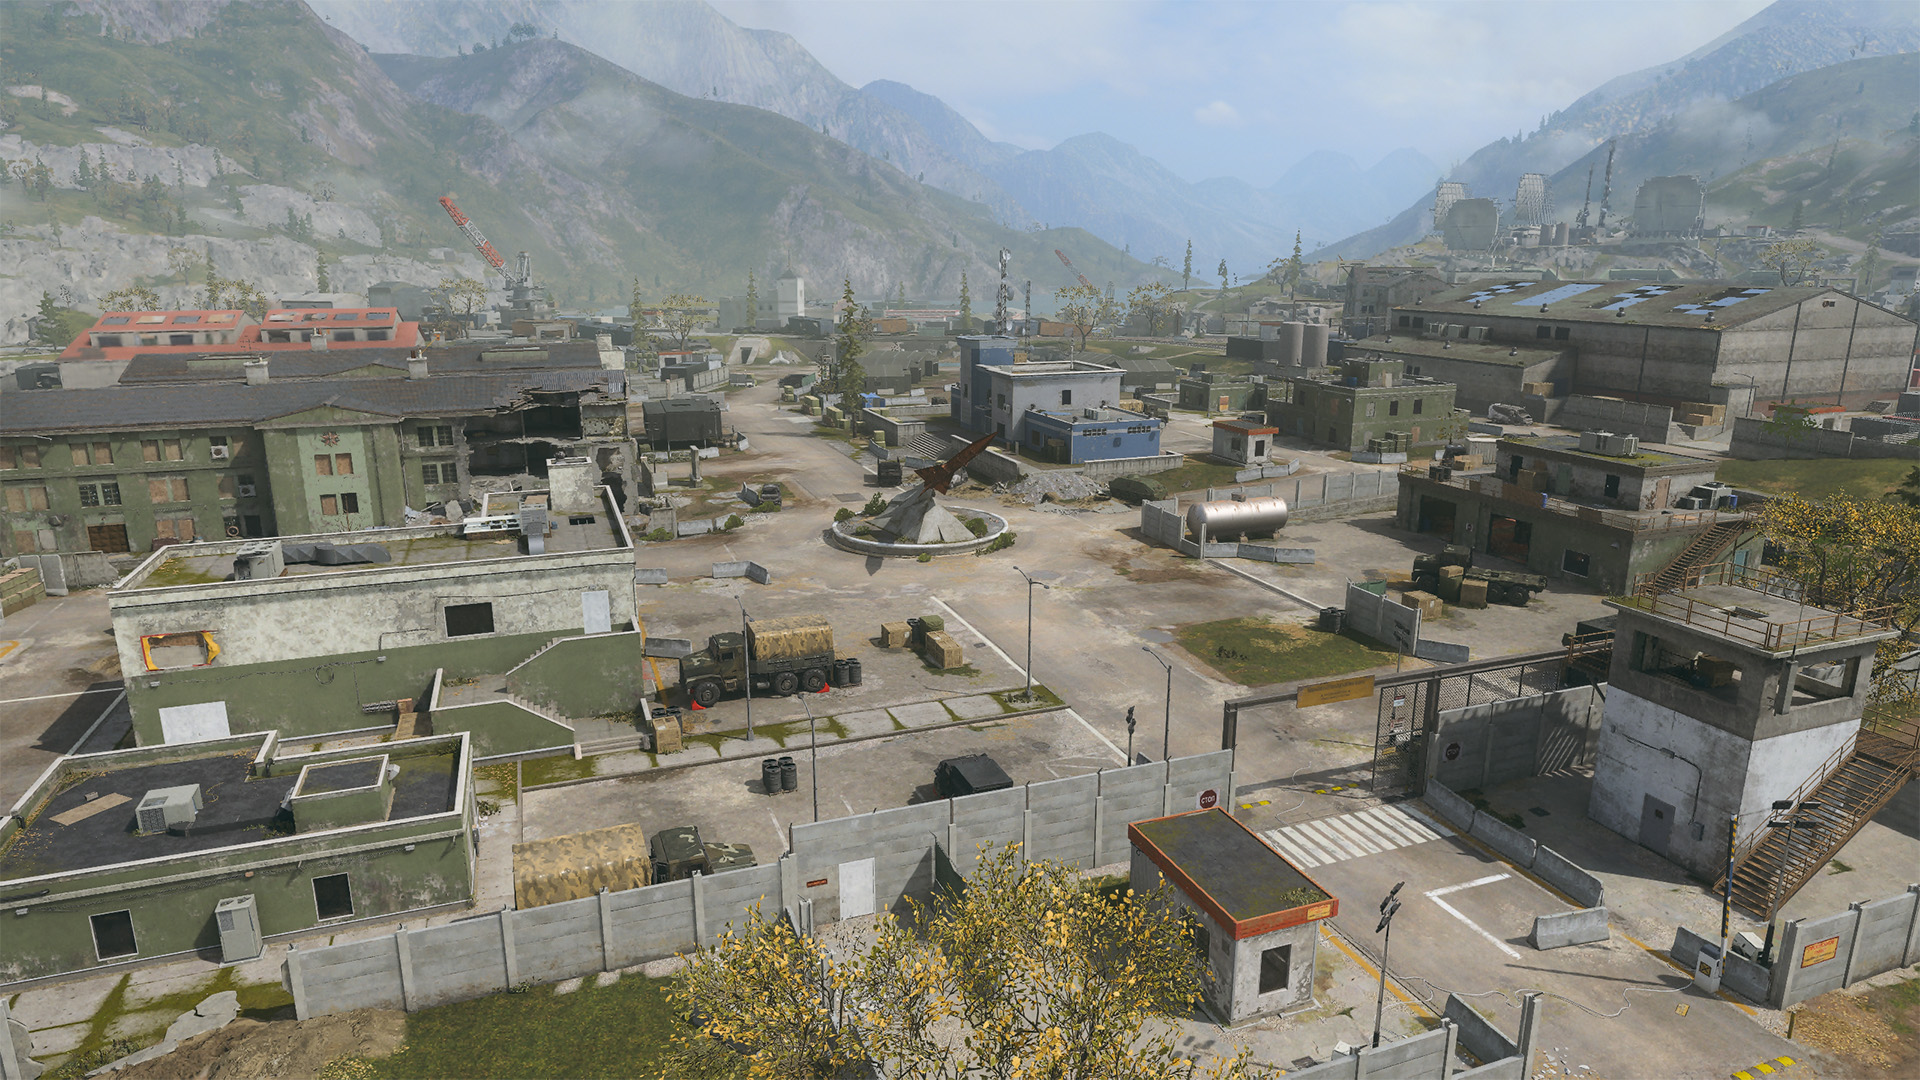
As the primary Task Force 141 spawn point, the Base Entrance provides a lot of room for vehicles to spread out and send vehicles on attack runs toward the enemy without causing too much congestion. When you spawn and see the large statue with a missile, you’ll know that it’s time to push forward; if you’re on the other team, you’ll know that you’ve gone too far. There aren’t as many tall roofs here at the Base Entrance, so snipers are less of an issue, but there are still direct sightlines into Flags D and E.
ADDITIONAL AREA: Docks Staging Area (Northeast)
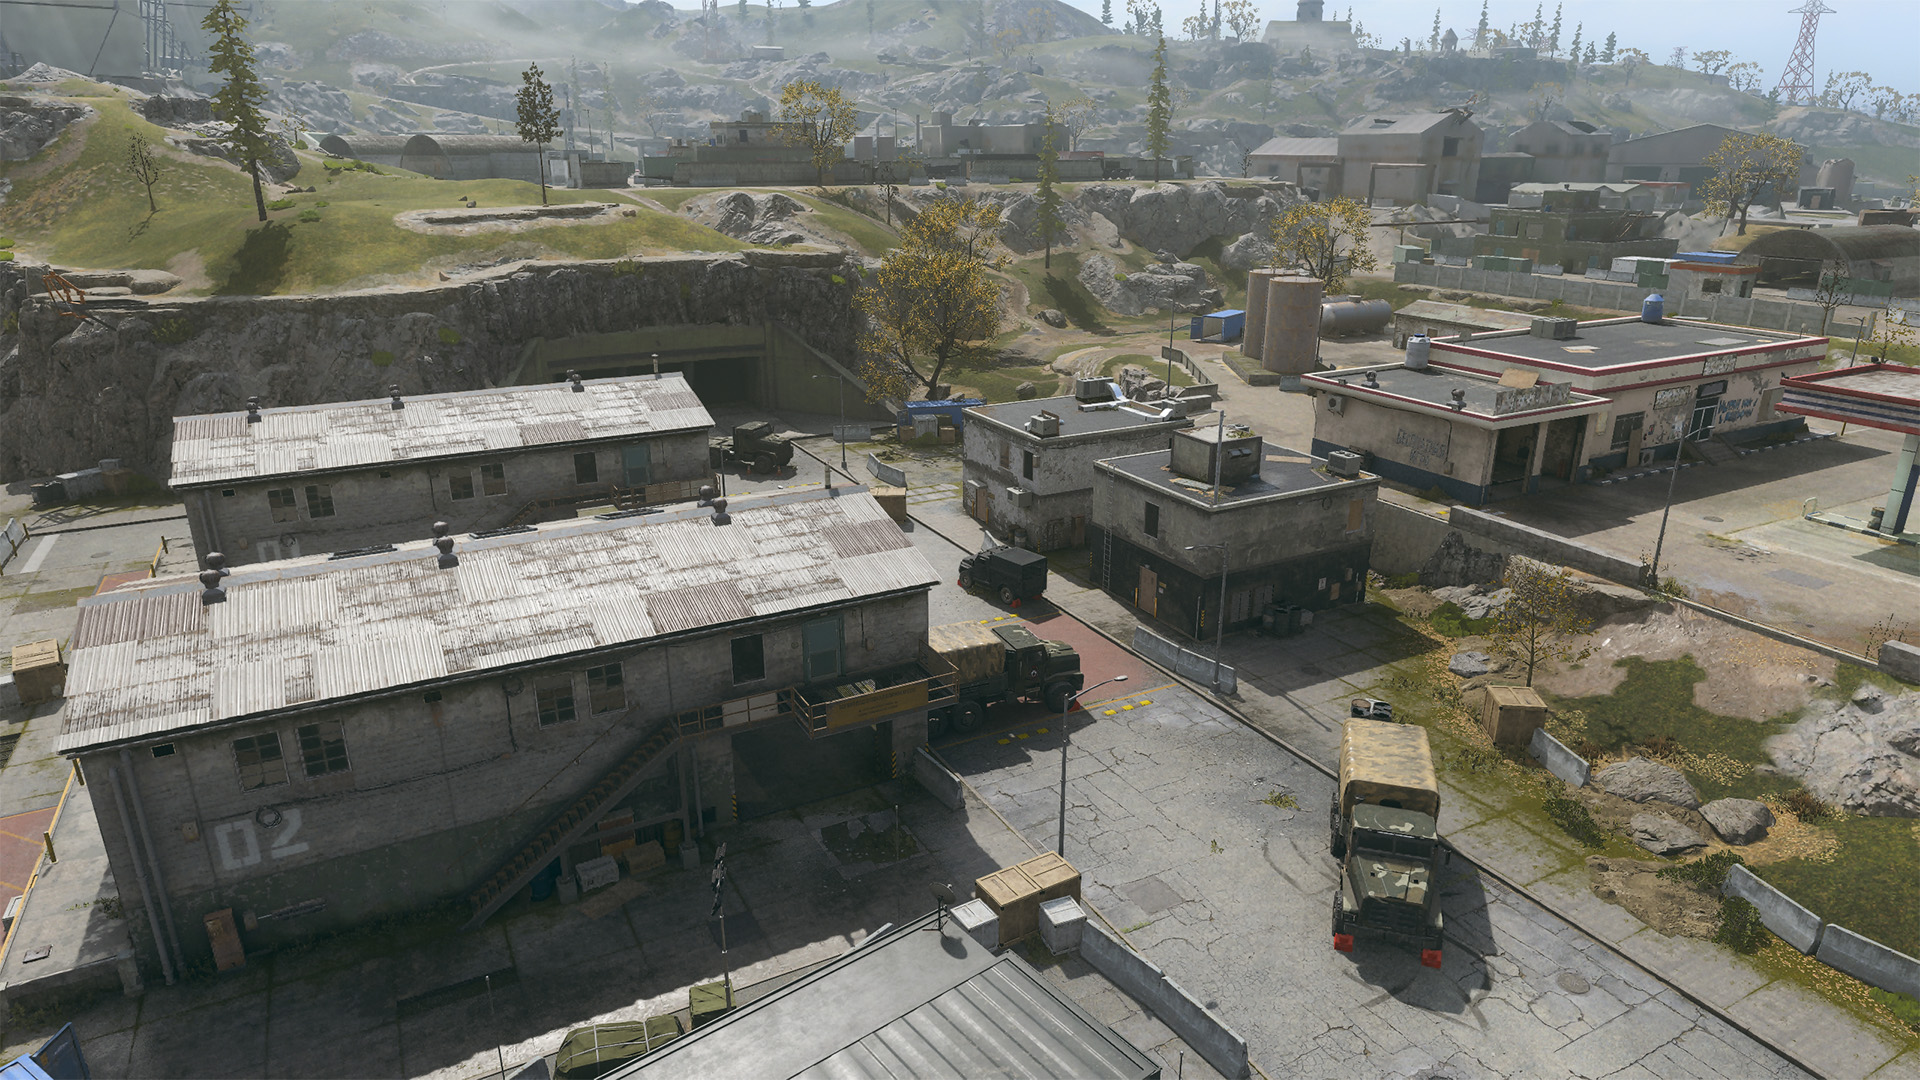
The Docks Staging Area is where Flag A is located and is a crossfire haven. Flanked from four different directions, the Docks Staging Area is surrounded by four buildings. This includes two cargo warehouses and 2 two-story office buildings. Firing into this location is highly difficult because of how much cover there is, especially as players are drawn to using the building interiors to set up defense positions for the flag location.
Buildings are not the only points of cover in the Docks Staging Area. Pay close attention to the boxes and vehicles scattered all over the roads; they can come in handy in a pinch. These smaller pieces of hard cover are great when fighting Operators who may be playing on the lower levels, as well as AI Operators who may be dropping in via helicopter.
ADDITIONAL AREA: Fire Station (Northwest)
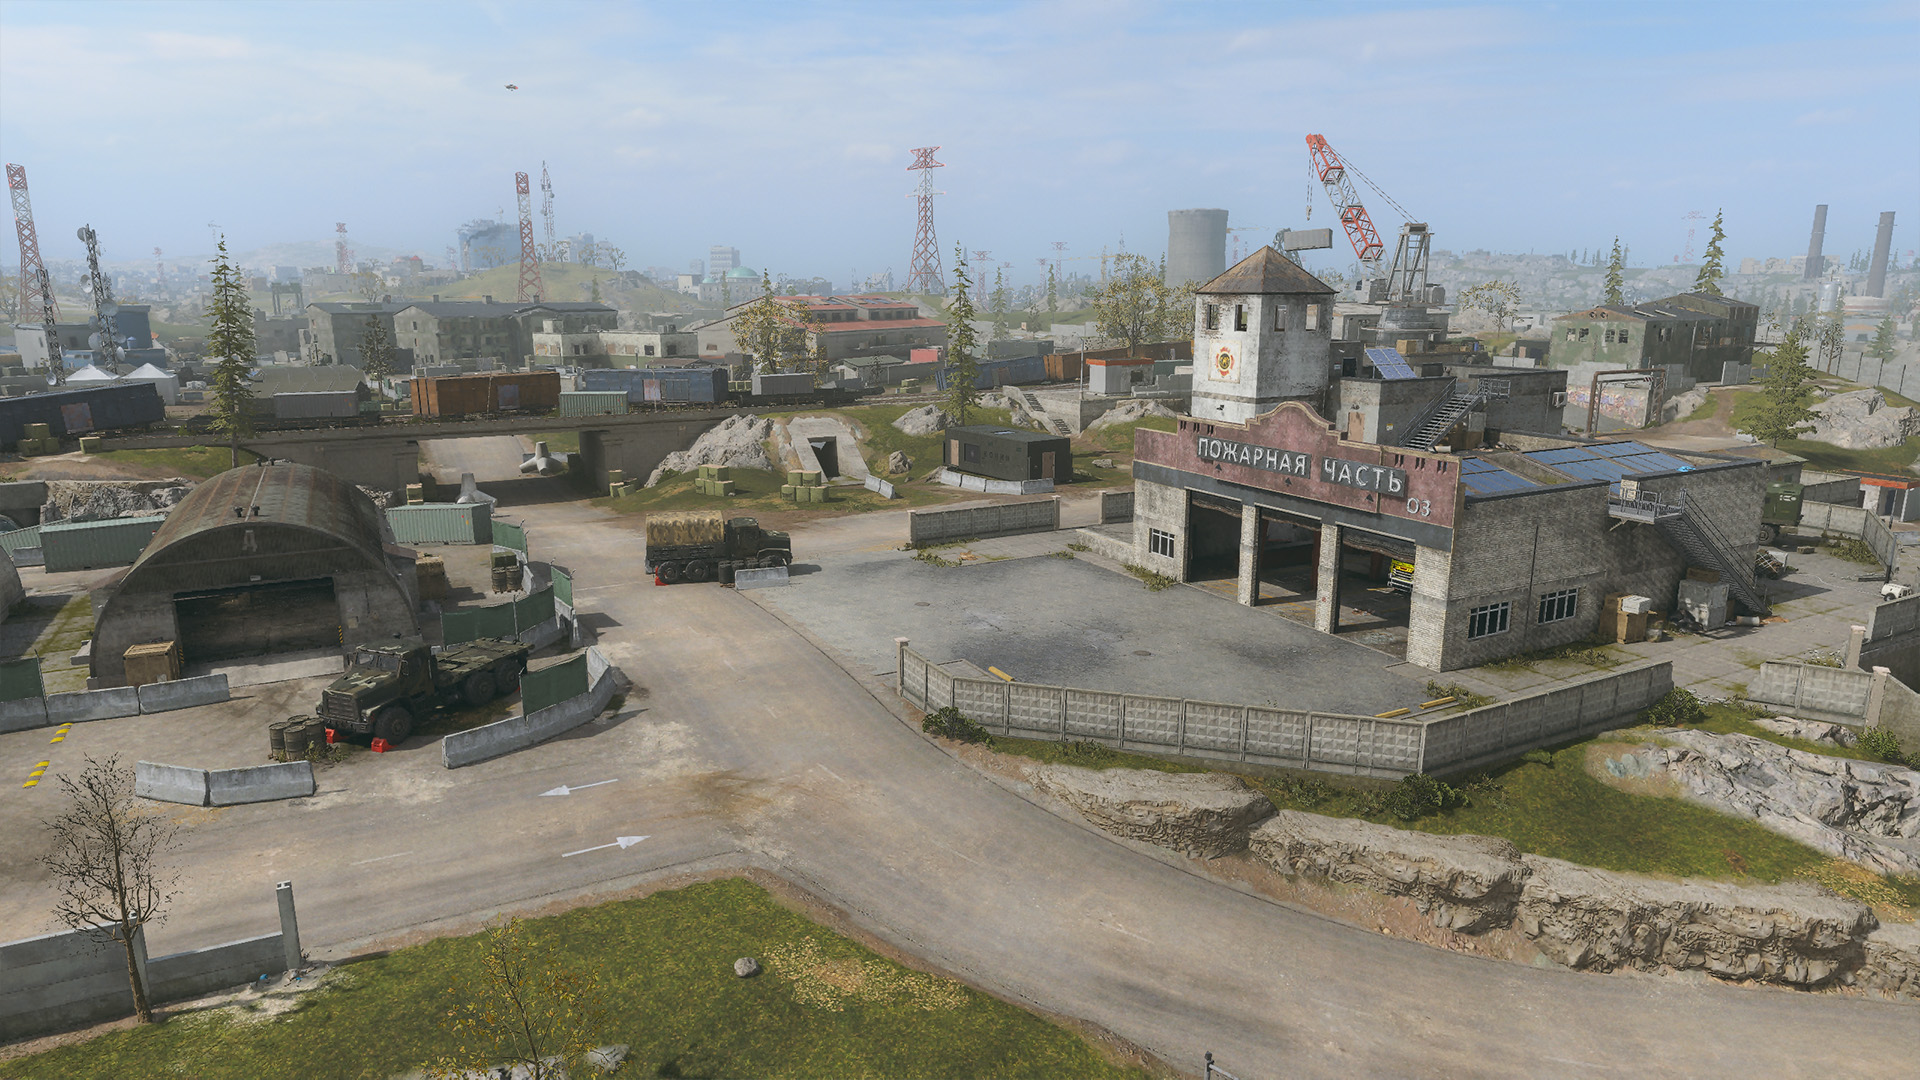
The Fire Station is a very tricky location to operate in, as it is both extremely open and contains a large Fire Station that can house two squads able to defend it with extreme effectiveness. Roll a tank, APC, or LTV into the front of this building as Operators are capturing the flag. B Flag is located inside the Fire Station, which makes it a bit tricky to attack and capture.
The Fire Station is a great location to push early as either team. If you’re attacking from the other side of the map, you’ll get there second, but you may be able to arrive before the closer team can fully capture it. If the farther team can somehow capture this point early, they can utilize a forward spawning base that can really do some damage, as it serves as a very aggressive attack point, allowing C Flag to be more easily captured. Keep in mind that Fire Station can be attacked from both sides, as the garage that houses the fire truck is wide open. This is one reason why Fire Station is a difficult point to take control of.
ADDITIONAL AREA: Bridge (Center)
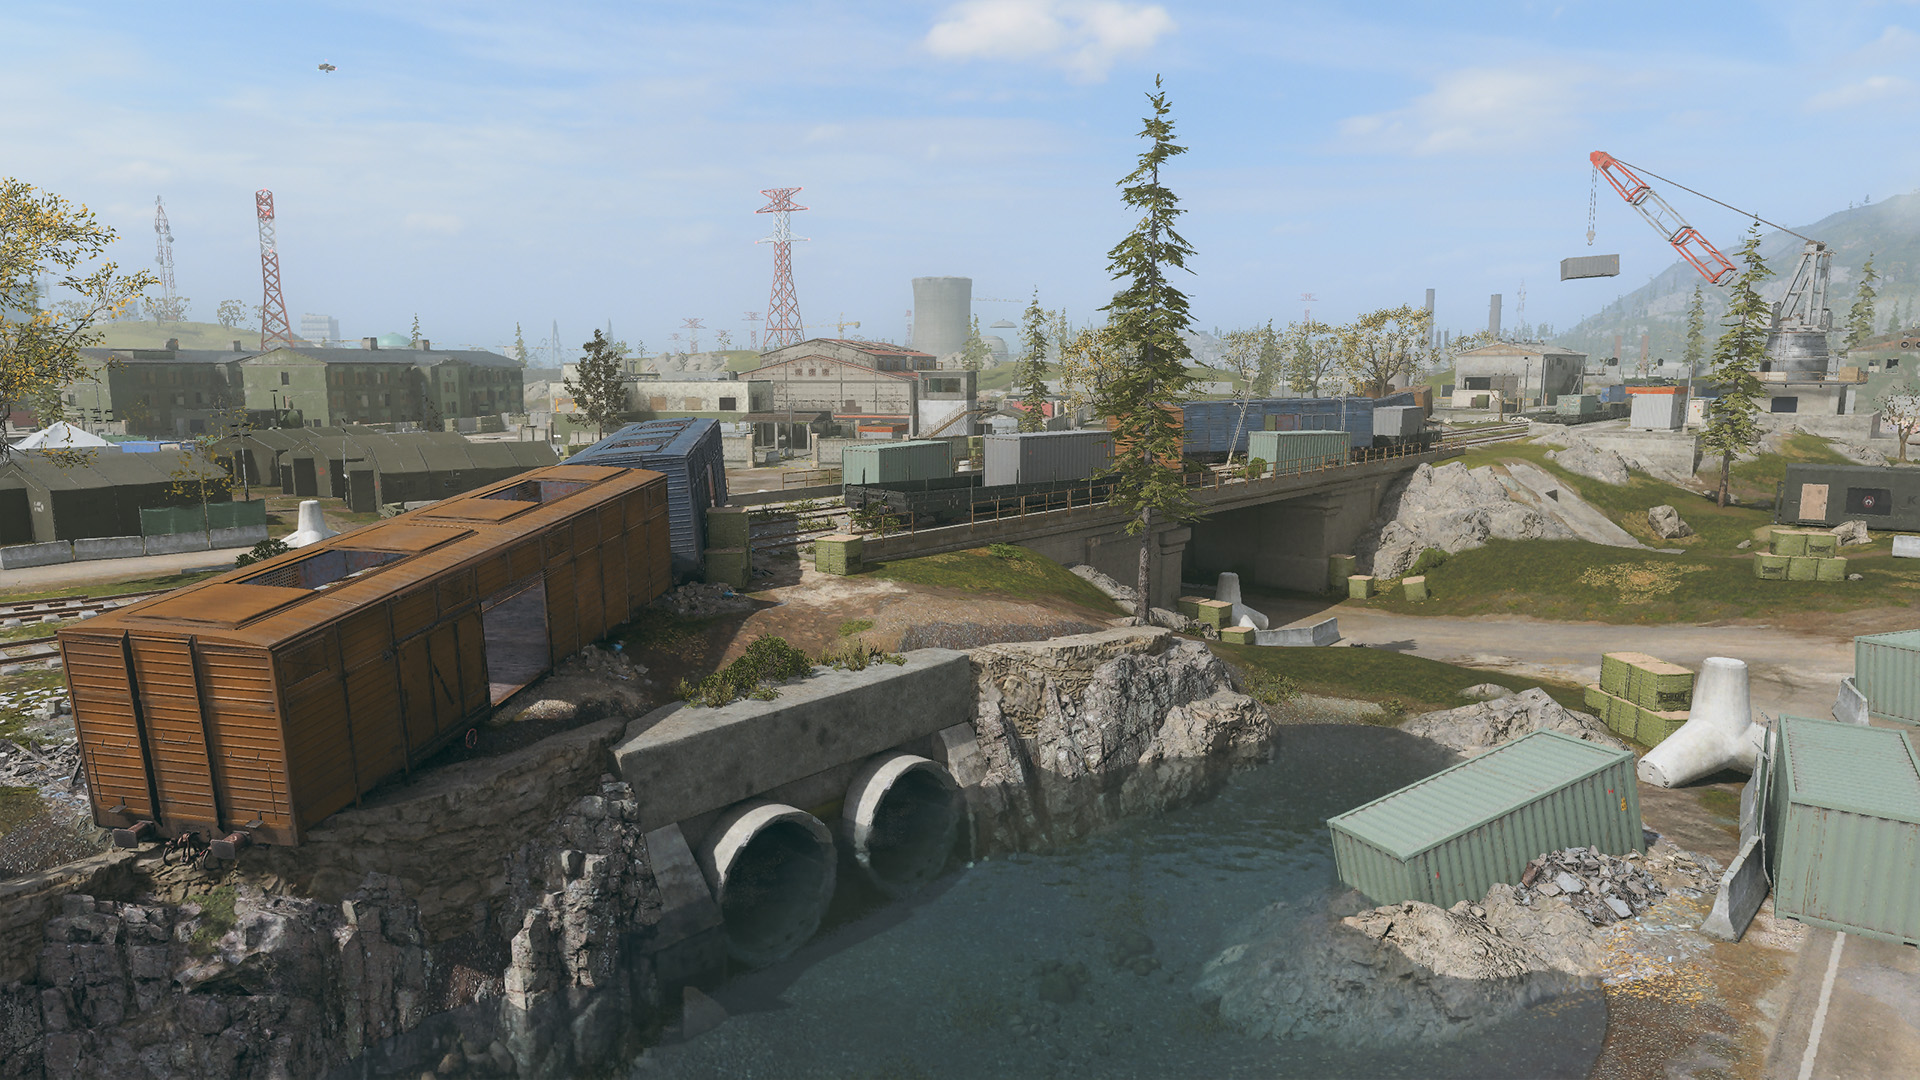
The Bridge lies directly in the middle of the map and is an action-packed no-man’s-land. Even if a team captures the Bridge C Flag, there are many ways to get around the flag and either shoot toward it or completely avoid the flag. The Bridge provides an elevated location in a large area of flat land. Sniping from either side of the Bridge will make it difficult to reach the other side of it. Sniping from the Bridge itself is great for reaching either half of the map, but leaves you exposed to anyone within line of sight.
The C Flag is located inside the train car, so capturing it is simpler than it seems — there is little cover, but enough to capture the flag. Entering and leaving the flag site is a different story. If you’re looking to attack the flag point, you’ll have to either drop from a Heavy Chopper or a Light Helo, or you’ll have to push up one of the hills. No matter the tactic you choose, luck will have to be on your side as you approach from any of these very exposed directions. Additionally, because of the debris from the trainwreck, getting a ground vehicle onto the Bridge is rather difficult; you’ll need to drive under the Bridge.
ADDITIONAL AREA: Training Compound (Southwest)
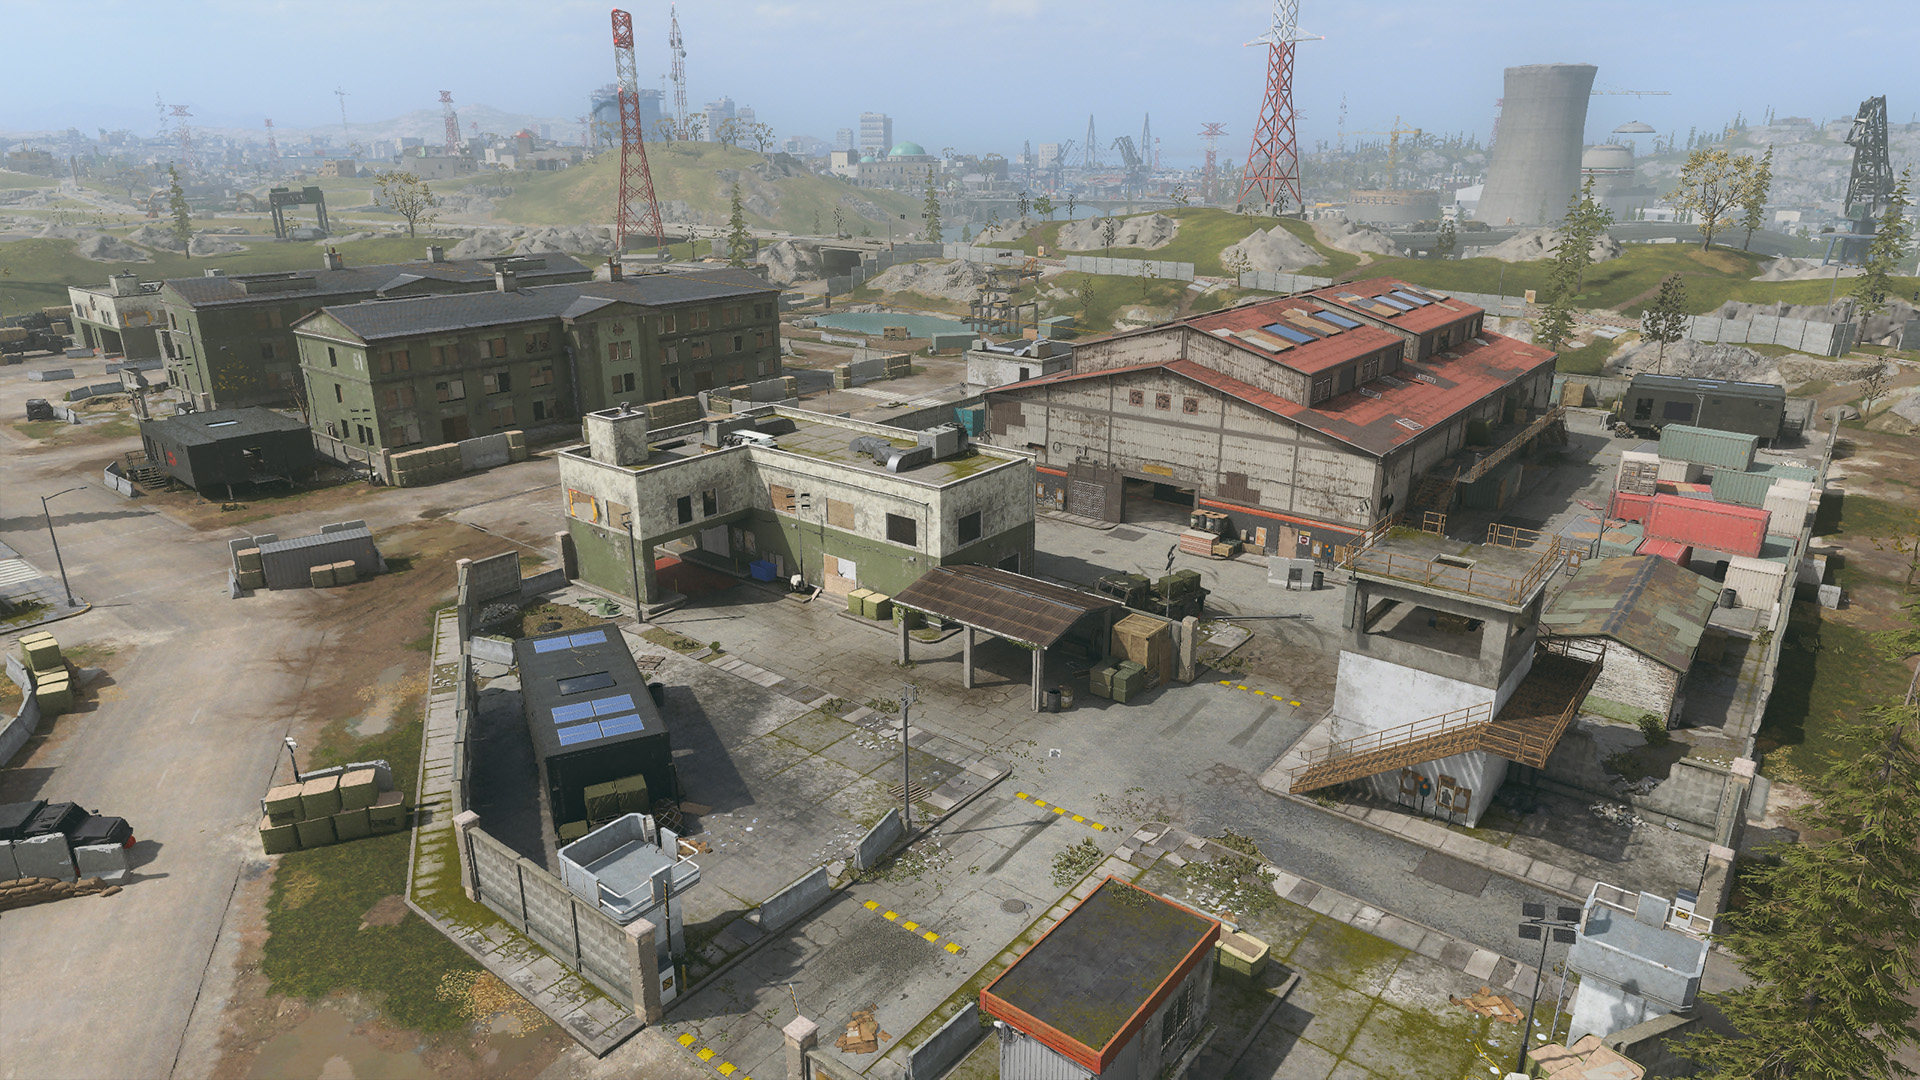
Training Compound is essentially two maps inside each other. Surrounded by walls, it is a full compound, with several buildings and multiple levels, as well as many windows granting many sightlines. Tact — and possibly a bit of stealth — is necessary when attacking this location. Driving a vehicle into the Training Compound could mean certain death for the Operators mounted in said vehicle if an ambush is set up. The corners are tight and noticing the ambush can be difficult.
As you enter the Compound, you’ll see a large warehouse near the back of the compound. The D Flag is located in front of the warehouse’s main door. Inside the warehouse is a training course that gives players an opportunity to fight without dealing with outside distractions or influences.
ADDITIONAL AREA: Military Police Station (Southeast)
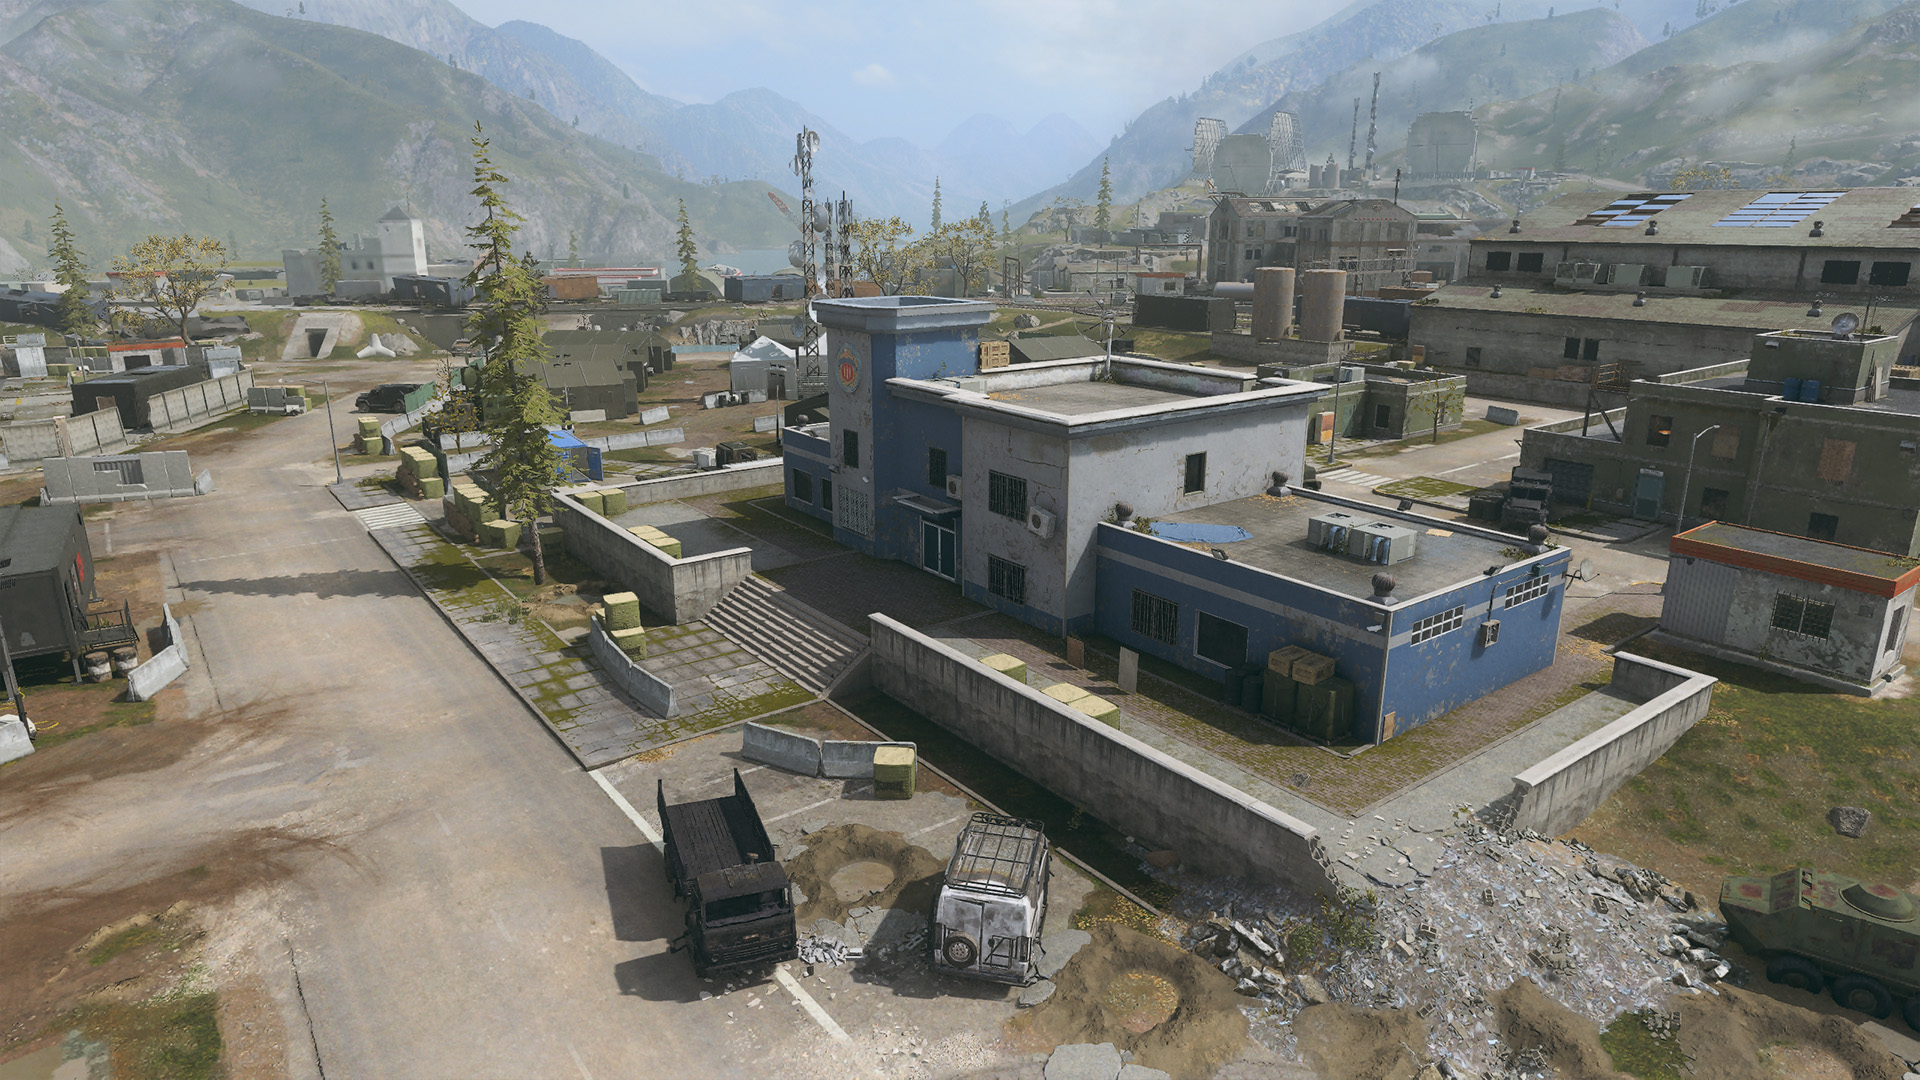
The Military Police Station contains the nearest flag location to the southern spawn point. Almost completely surrounded by buildings, the flag location lies right in the middle of the Police Station compound. The buildings around the compound are not very tall, but most of them have multiple stories which means that defending this point is likely to be done from the rooftops looking down onto the flag. This is also where Operators may snipe from as it can look at the Bridge as well as part of the Training Compound.
There is a road that runs down the middle of the Military Police Station. This is good for two reasons; it means that you can drive a vehicle into the location and more importantly, drive out with ease just in case things get a little hairy.
Objective Overview
Overall Tactics
Ground War
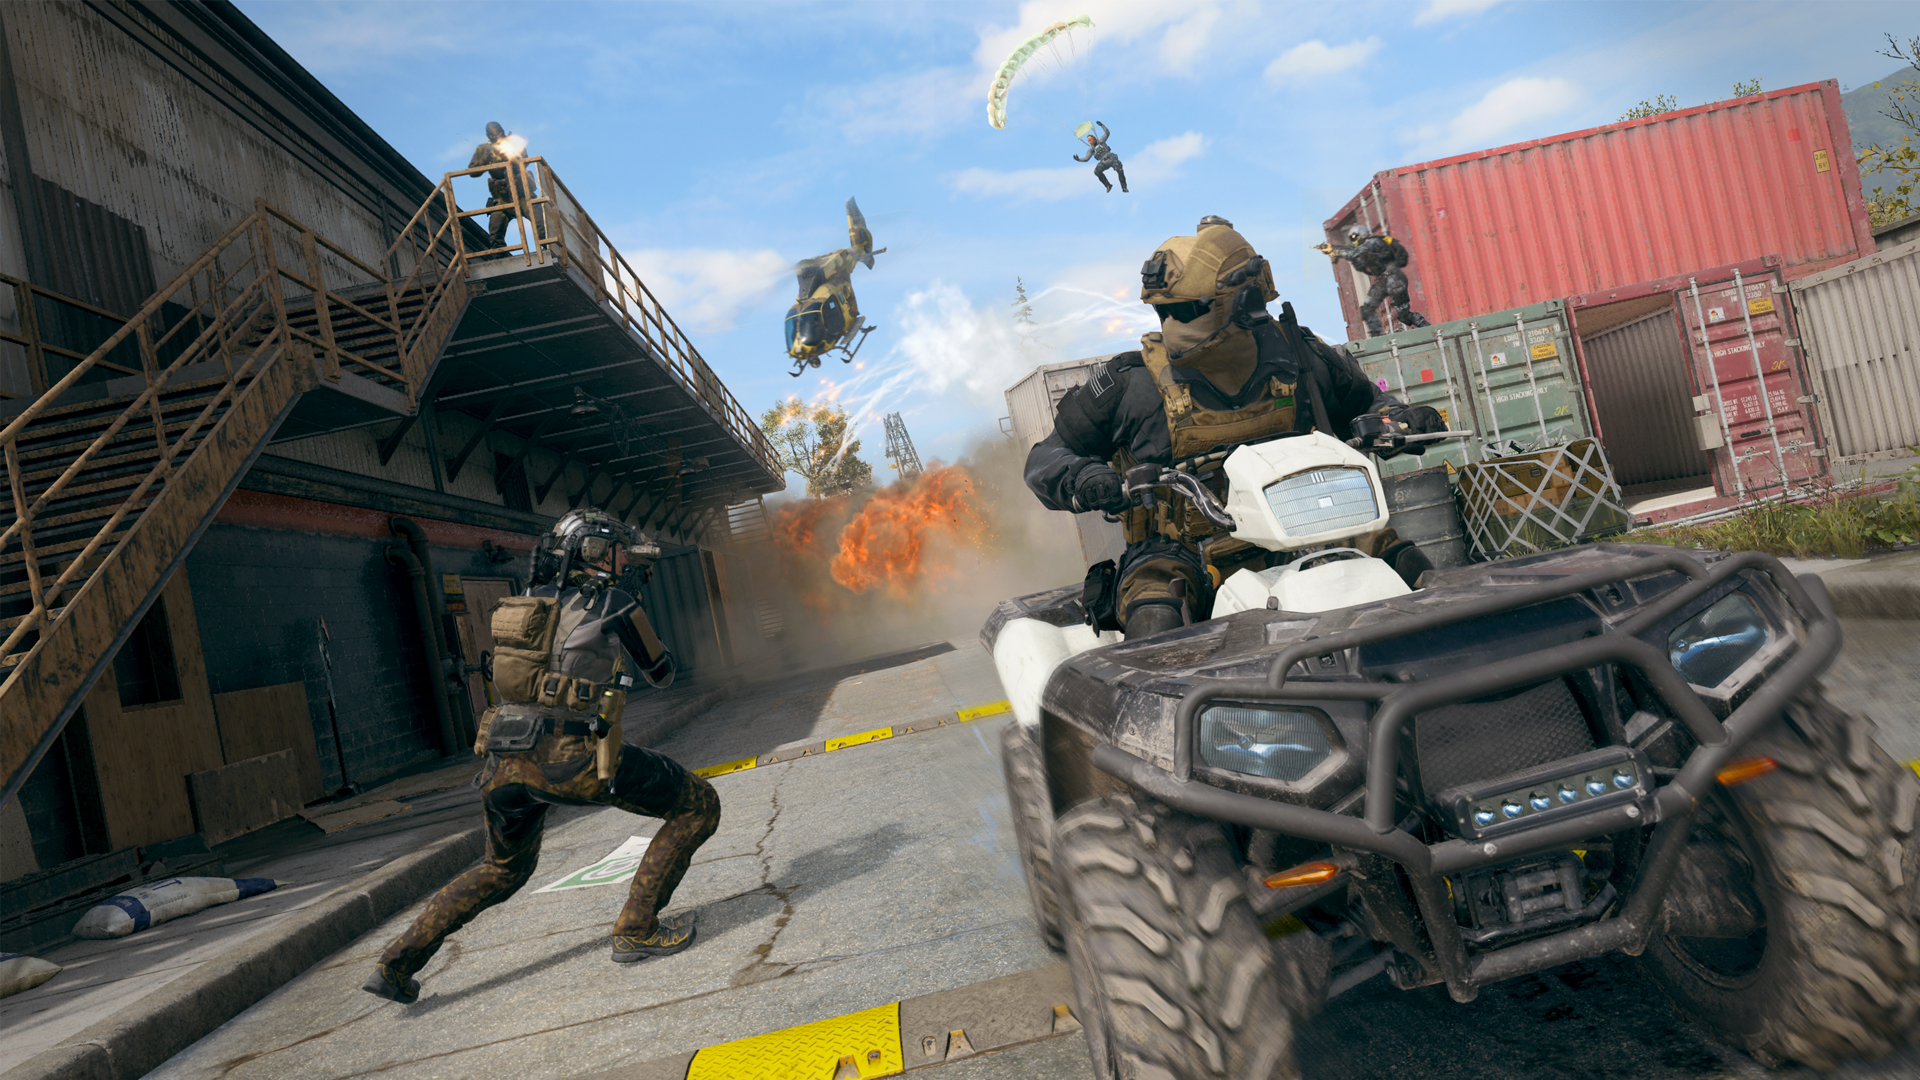
- Use vehicles to get around the map quickly. Orlov Military Base is built for speed and function for vehicles but beware of the crashed debris all over the place.
- There is plenty of cover on each of the flag locations; unfortunately for attackers, the cover is normally just out of the capture zone. Use this cover for defending flags that your team controls.
- Utilize the Heavy Choppers and Light Helos to drop from the sky onto all flag locations, especially C Flag, as it is the easiest way to infiltrate the location without being fully exposed when you fly up the hill.
Invasion
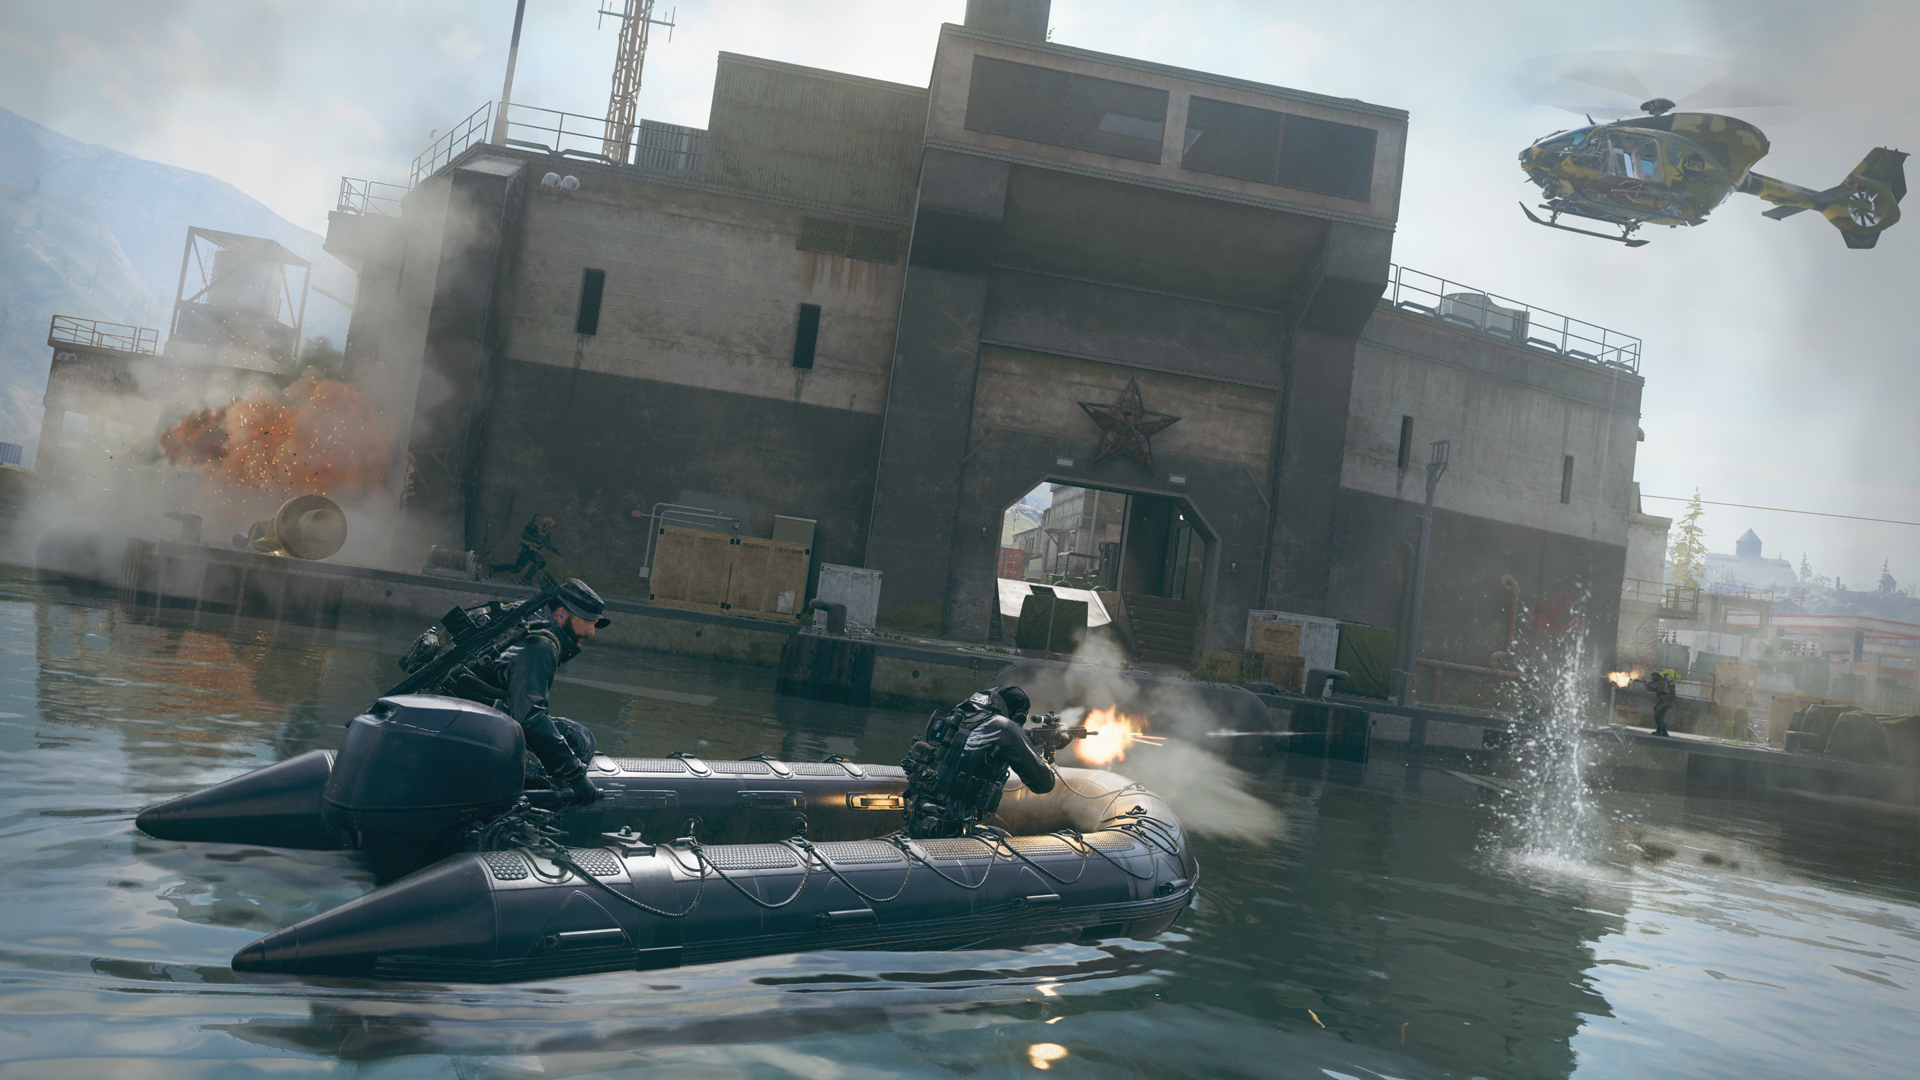
- While driving around the map in heavy or light traversal vehicles, stay on the move because ambushes can be set up inside any of the many buildings all around the map.
- AI squads can be hiding around any corner, so just because you’ve eliminated a few Player Operators doesn’t mean you’re out of danger yet.
- Despite the amount of cover, don’t be reckless when moving from point to point; take advantage of the covered paths so that you don’t get caught out in the open.
Top 10 Tips
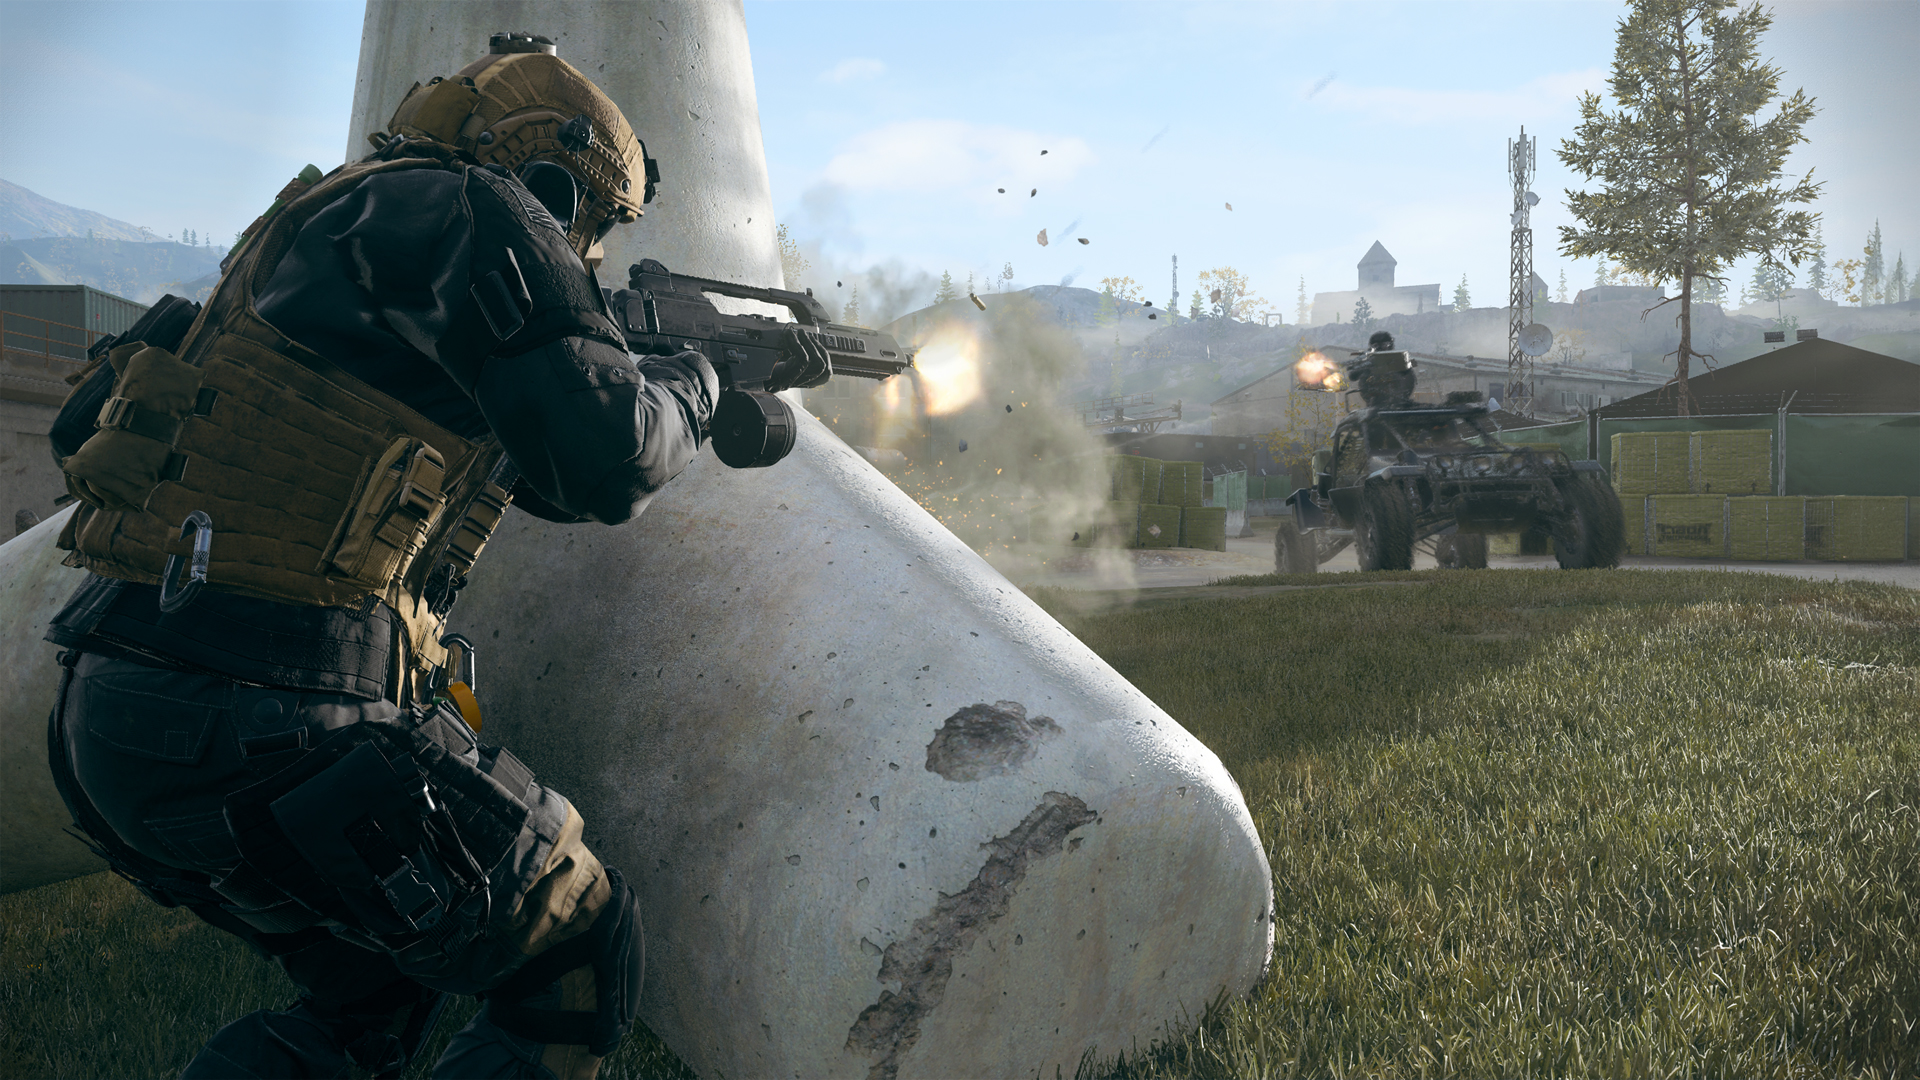
1. Mount up. Utilize vehicles whenever possible. Ground War maps are large, and there are great paths to take when traveling by foot, but Orlov Military Base is designed to be driven.
2. Munitions Box is a must. Because of the high likelihood that you’ll survive so long as you’re holding down one of the many buildings while defending a point, you might need a refill on ammo.
3. Refill your ammo. Look for supplies marked by a three-bullet icon on the minimap and Tac Map to refill your ammo, including your Lethal and Tactical equipment.
4. Drop in from above. Along with ground vehicles, it’s important to drop in on compounds from above via air vehicles. Land on top of buildings to take out unsuspecting snipers and gain advantage over the enemies below.
5. Zipline to safety. There are many ways to traverse from location to location in the Orlov Military Base. Several key buildings have Ziplines that you can use to move from building to building without having to traverse the ground level.
6. Snipers and Marksmen. Long-range weapons are king in Ground War and Invasion. Also, because the rooftops create great sightlines to other major locations, Sniper Rifles and Marksman Rifles excel on Orlov Military Base.
7. Park and wait. Driving vehicles to key locations, holding the location via mounted weapon, and turning it into a spawn point while you’re in it can give your team a large advantage.
8. Stealthy spawn points. Just because there is a main road doesn’t mean that you must travel on it. Use the map’s flanks to get around hot spots and give your squad a spawn point that can provide reinforcements.
9. Beware of traffic jams. Although the map has some room to drive, watch out for possible traffic jams, because they provide an easy opportunity for Operators with launchers to get a large multikill.
10. Study the map. You’ll notice that Orlov Military Base has a slight turn that creates a non-uniform layout to how the flags are placed. Pay attention to the distance between flags, as some may be closer than others.

© 2024 Activision Publishing, Inc. ACTIVISION, CALL OF DUTY, and MODERN WARFARE are trademarks of Activision Publishing, Inc. All other trademarks and trade names are the property of their respective owners.
For more information, please visit www.callofduty.com and www.youtube.com/callofduty, and follow @Activision and @CallofDuty on X, Instagram, and Facebook. For Call of Duty Updates, follow @CODUpdates on X.
