Multiplayer Map Guide — Underpass

Deploy to a run-down industrial sector just outside the city, the highway extending over it in major disrepair. Tromp through the mud, stage an ambush, or test your luck on the rain-slicked rooftops. In this large environment, your options are nearly endless.
Prebrief
Pouring rain has transformed this industrial sector into a mud bath, but that won’t stop our Operators from giving their most in the battle ahead. Wipe the downpour from your eyes and seek out all that Underpass has to offer: plentiful climbing opportunities, unrivaled ambush potential, and balanced mix of fighting across all playstyles.
Get the most out of this complex map by studying all the advantages it offers to the informed Operator. This is your guide to Underpass:


-
Show areas

-
Show hardpoints

-
Show domination flags

-
Show search & destroy sites

-
Show spawn points

-
Reset all overlays

// INTEL CARD
- MWIII
- WZ
- WZM
Underpass
// MULTIPLAYER // MAPS
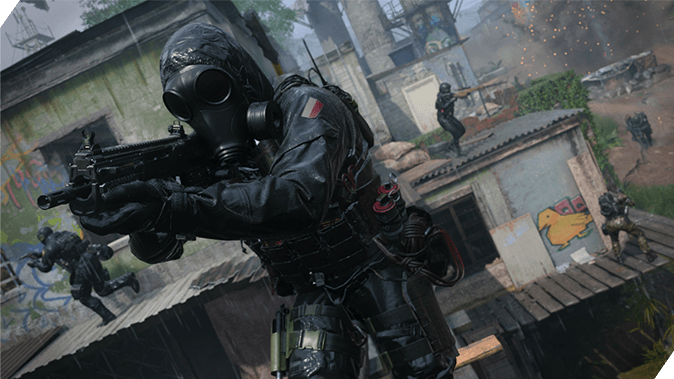
Chicken Shack attack: The Chicken Shack west of the Bridge provides arguably the best power position in the area — its roof. Access this by jumping from across the nearby shed or climbing over the supplies pressed up against the lower shack.
Tank Gunner: Getting mowed down around the Underpass and Containers? Climb onto the broken-down van or the crumbled fence to access the propane tank on the north side of the Factory. Your back will be protected, and you’ll have the advantage over enemies on the ground.
Hold down that mantle: Need to climb over several objects in succession? Instead of pressing the mantle button each time, you can hold it down to automatically climb accessible objects as you move toward them. Now you’re really moving.
In team-based game modes, teams will either spawn in the Courtyard (southwest) or in Containers (northeast).
A wrecked highway separates the two teams as they battle in the rain and weave through the surrounding industrial and residential areas. An eye for detail goes a long way here, with all kinds of means to creatively traverse the map and outplay your opponents.
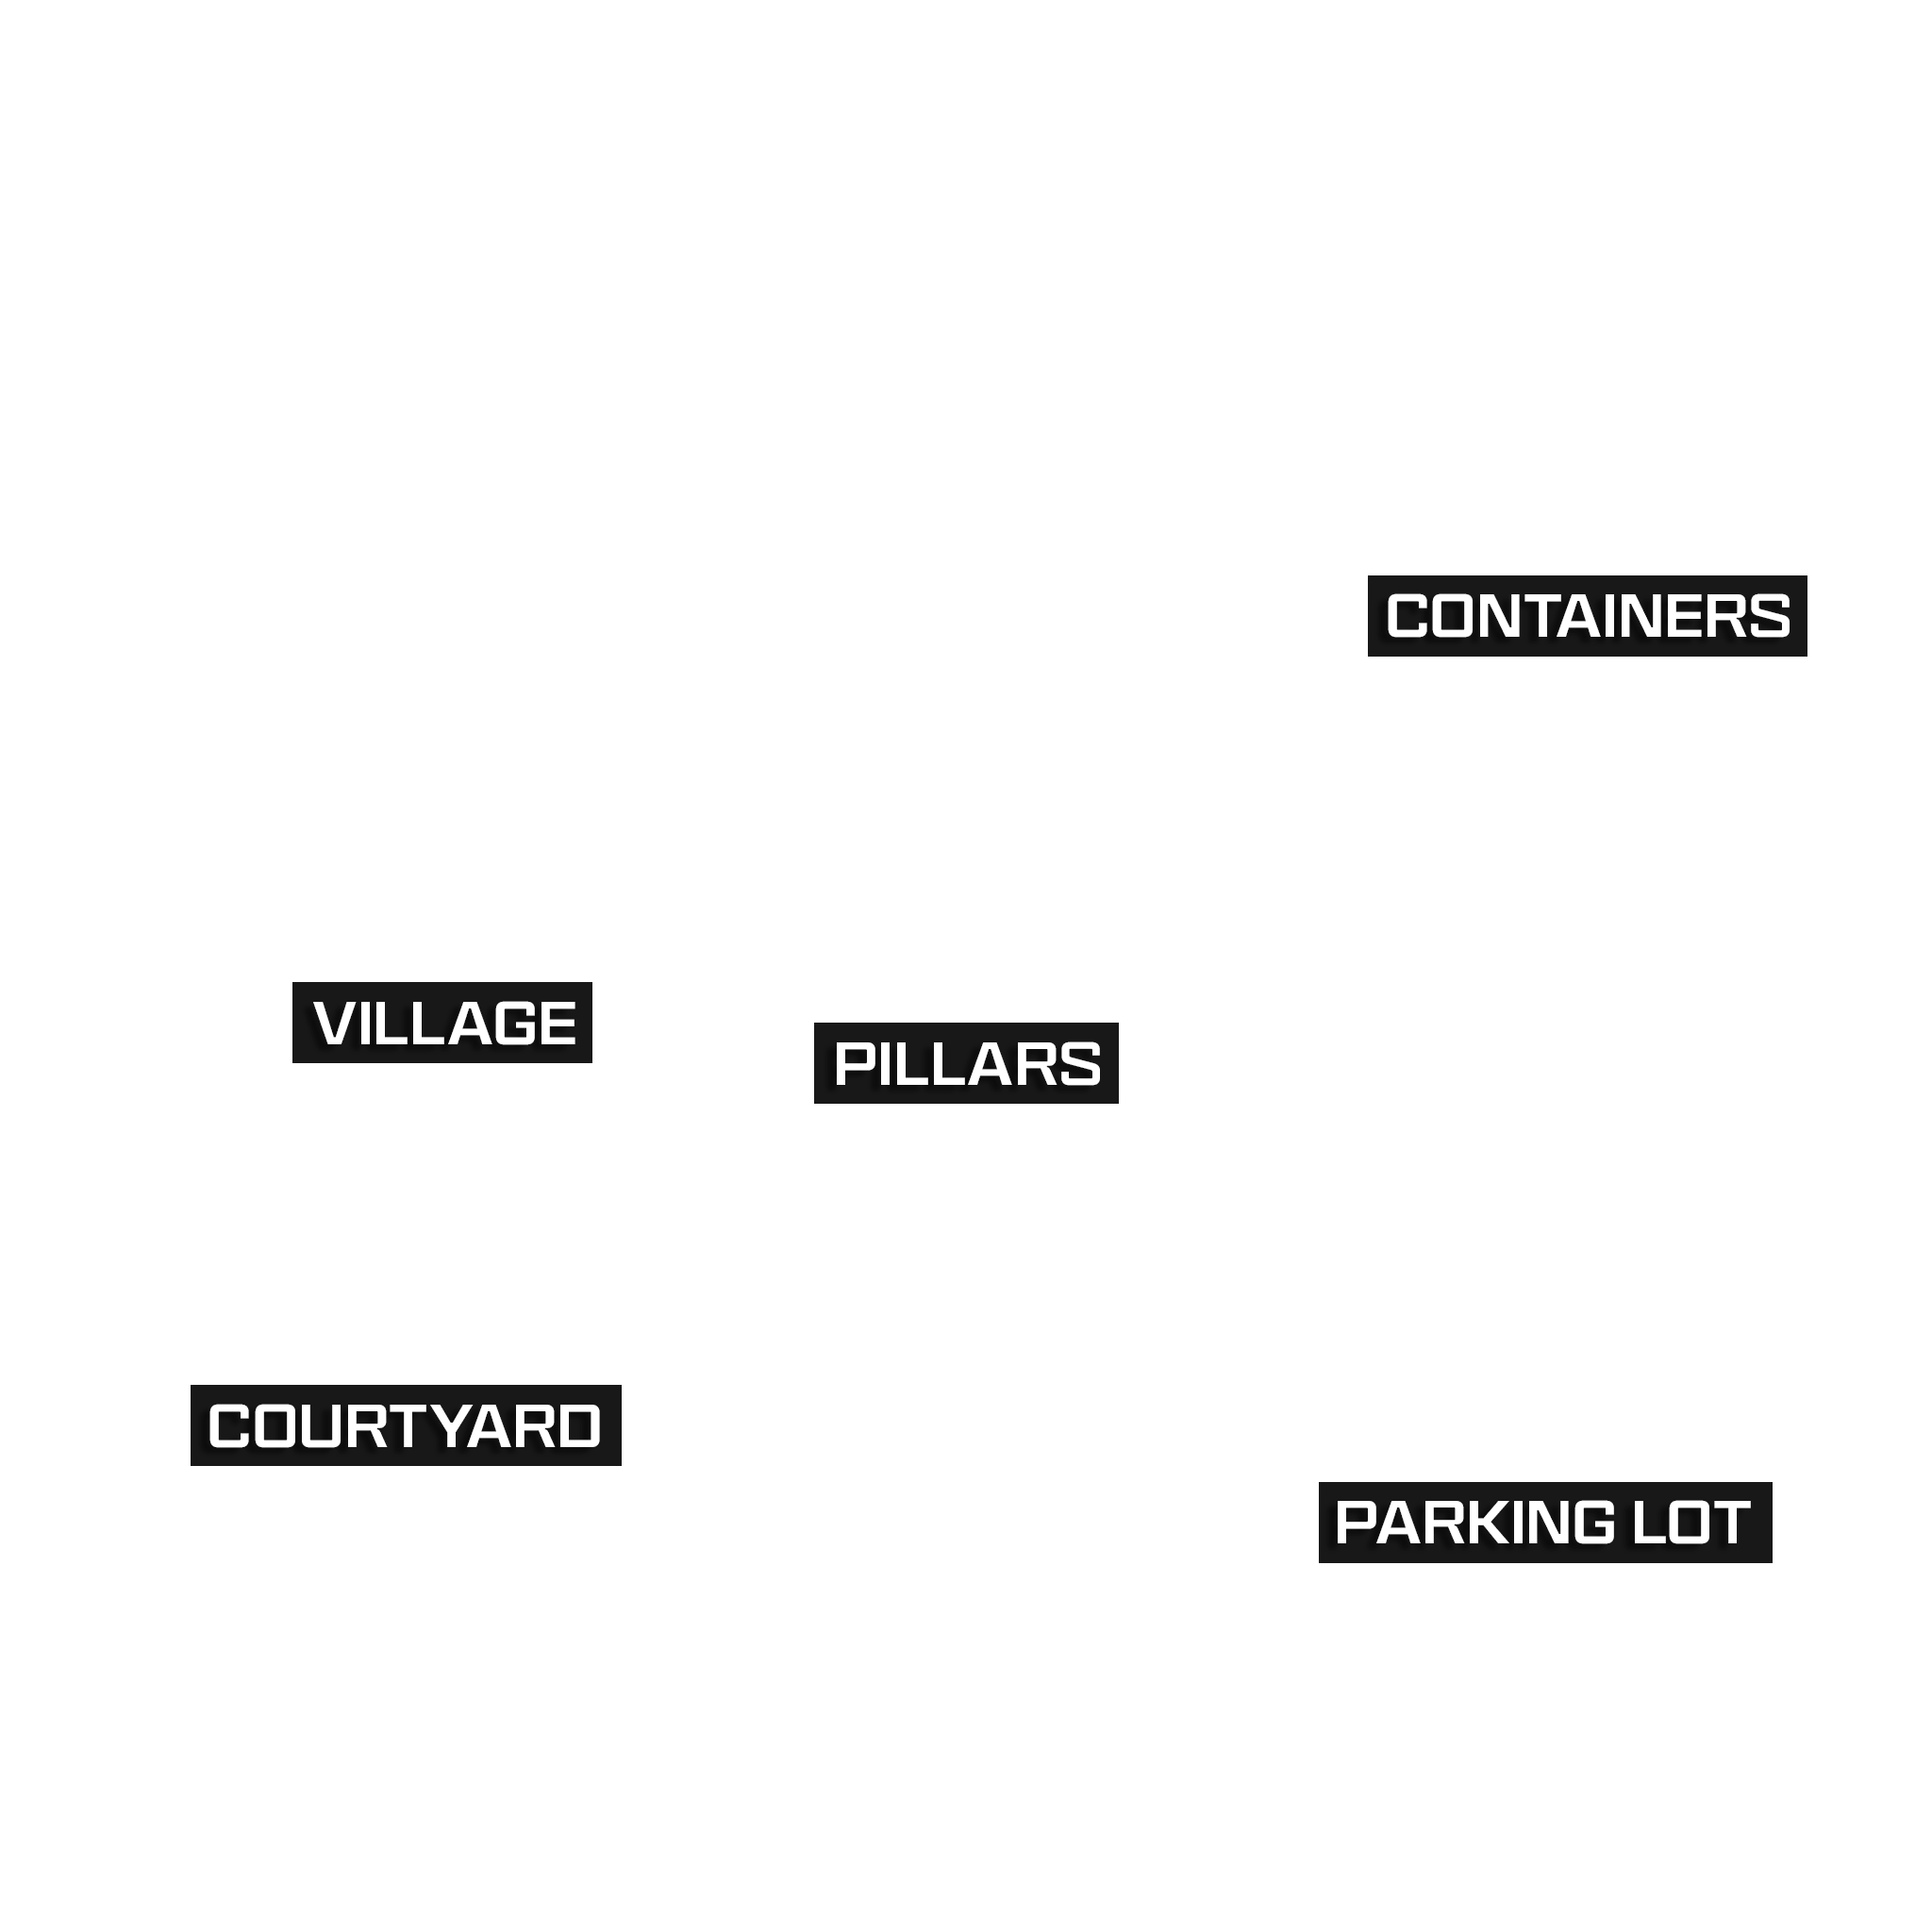
We’ve divided Underpass into five sections based on key areas around the map:
- MAIN SPAWN POINT: Courtyard (+ House, Shelf, Ditch, Shanty Town, Junkyard)
- MAIN SPAWN POINT: Containers (+ Underpass, Train Yard)
- ADDITIONAL AREA: Village (+ Chicken Shack, Market, Shacks, Ditch, Industrial Yard)
- ADDITIONAL AREA: Pillars (+ Bridge, Office)
- ADDITIONAL AREA: Parking Lot (+ Warehouse, Factory, East Path)
MAIN SPAWN POINT: Courtyard (SOUTHWEST)
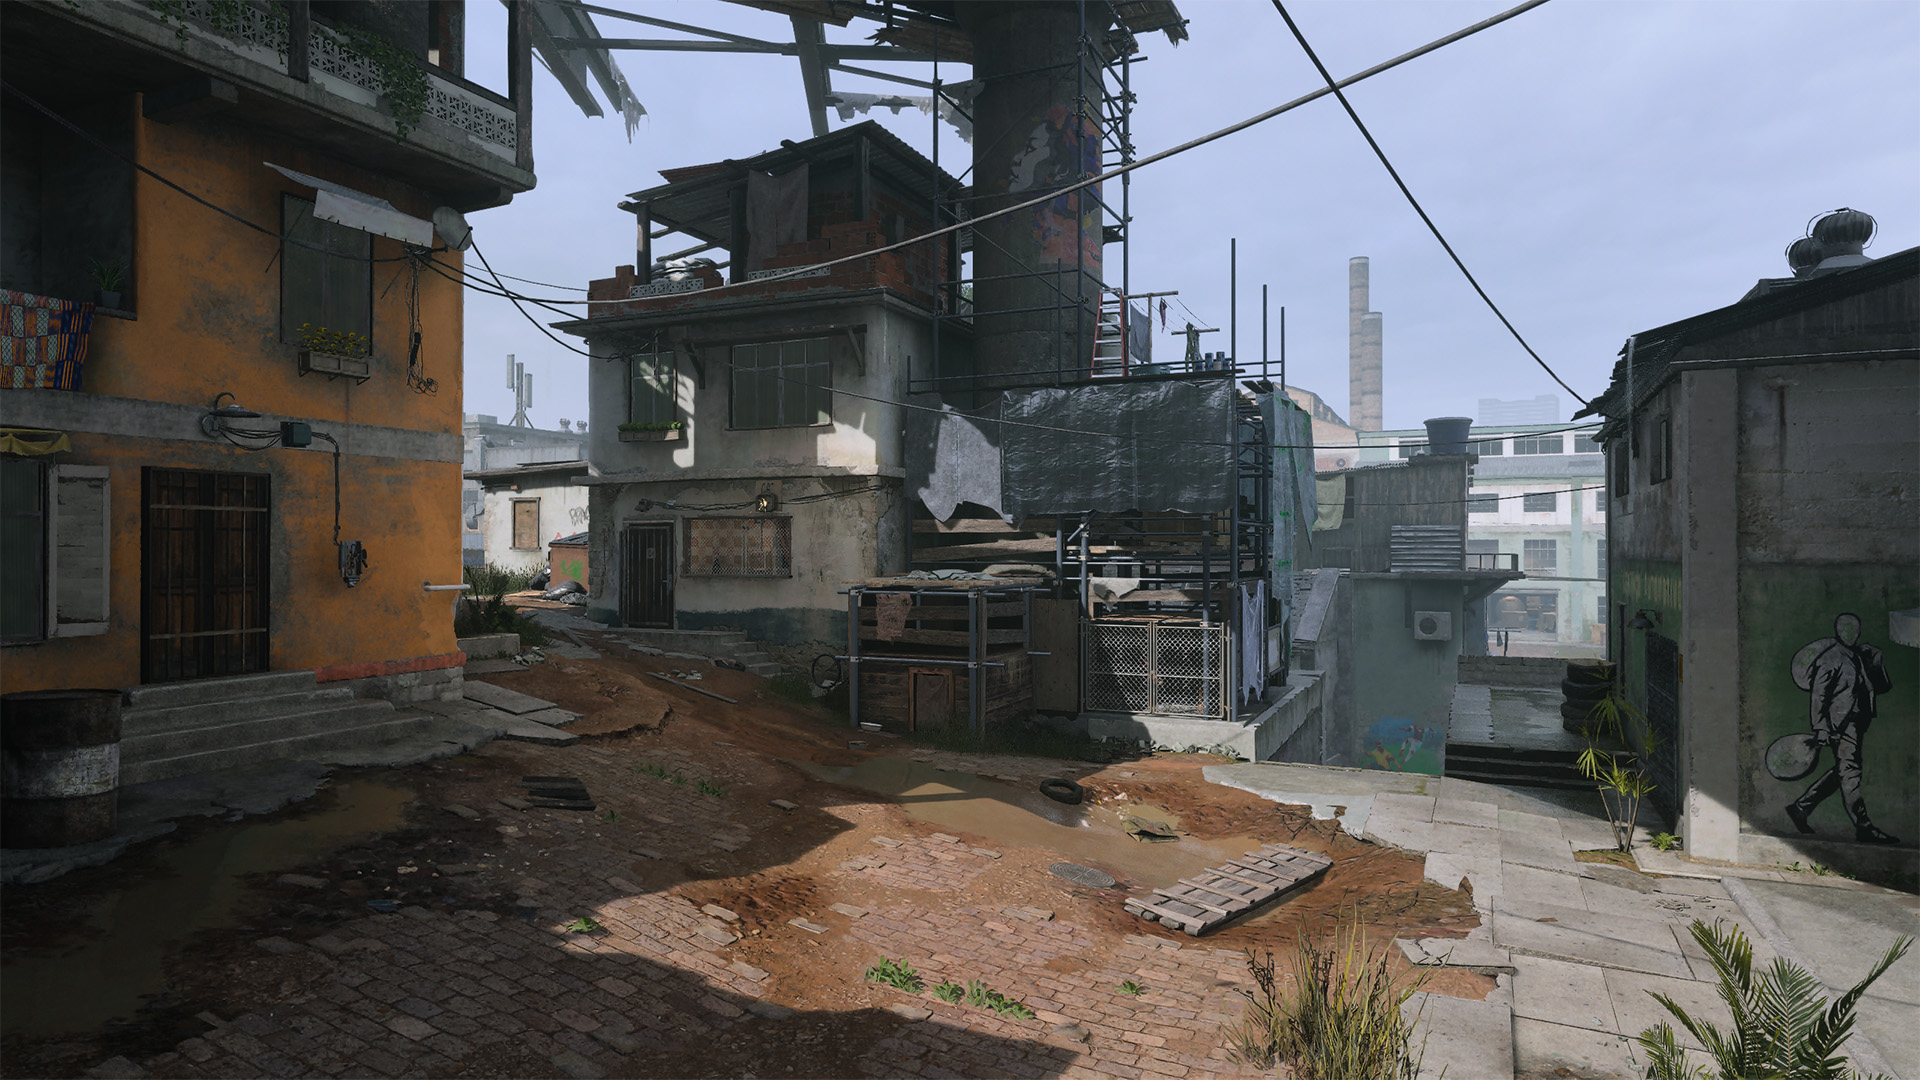
The Courtyard is a small, open area catering to close-ranged combat. The only nearby interior is the House, which provides a good view over movement incoming from the Village as well as leading to the southern Shelf, giving players a heightened position over the Ditch and Junkyard. You can also take the adjacent Overpass into Shanty Town, an area full of prime power positions.
Take the stairs down into the running Ditch if you’d rather work from the ground floor. This is a solid route for long-ranged Loadouts due to its long path and the far view into the eastern Warehouse; sharpshooters can also do well setting up by the center Bridge for its distant views over the middle of the map.
Operators looking to keep things up close and personal will favor the northern route into the Village, retaining the Courtyard’s tightknit spacing.
MAIN SPAWN POINT: Containers (NORTHEAST)
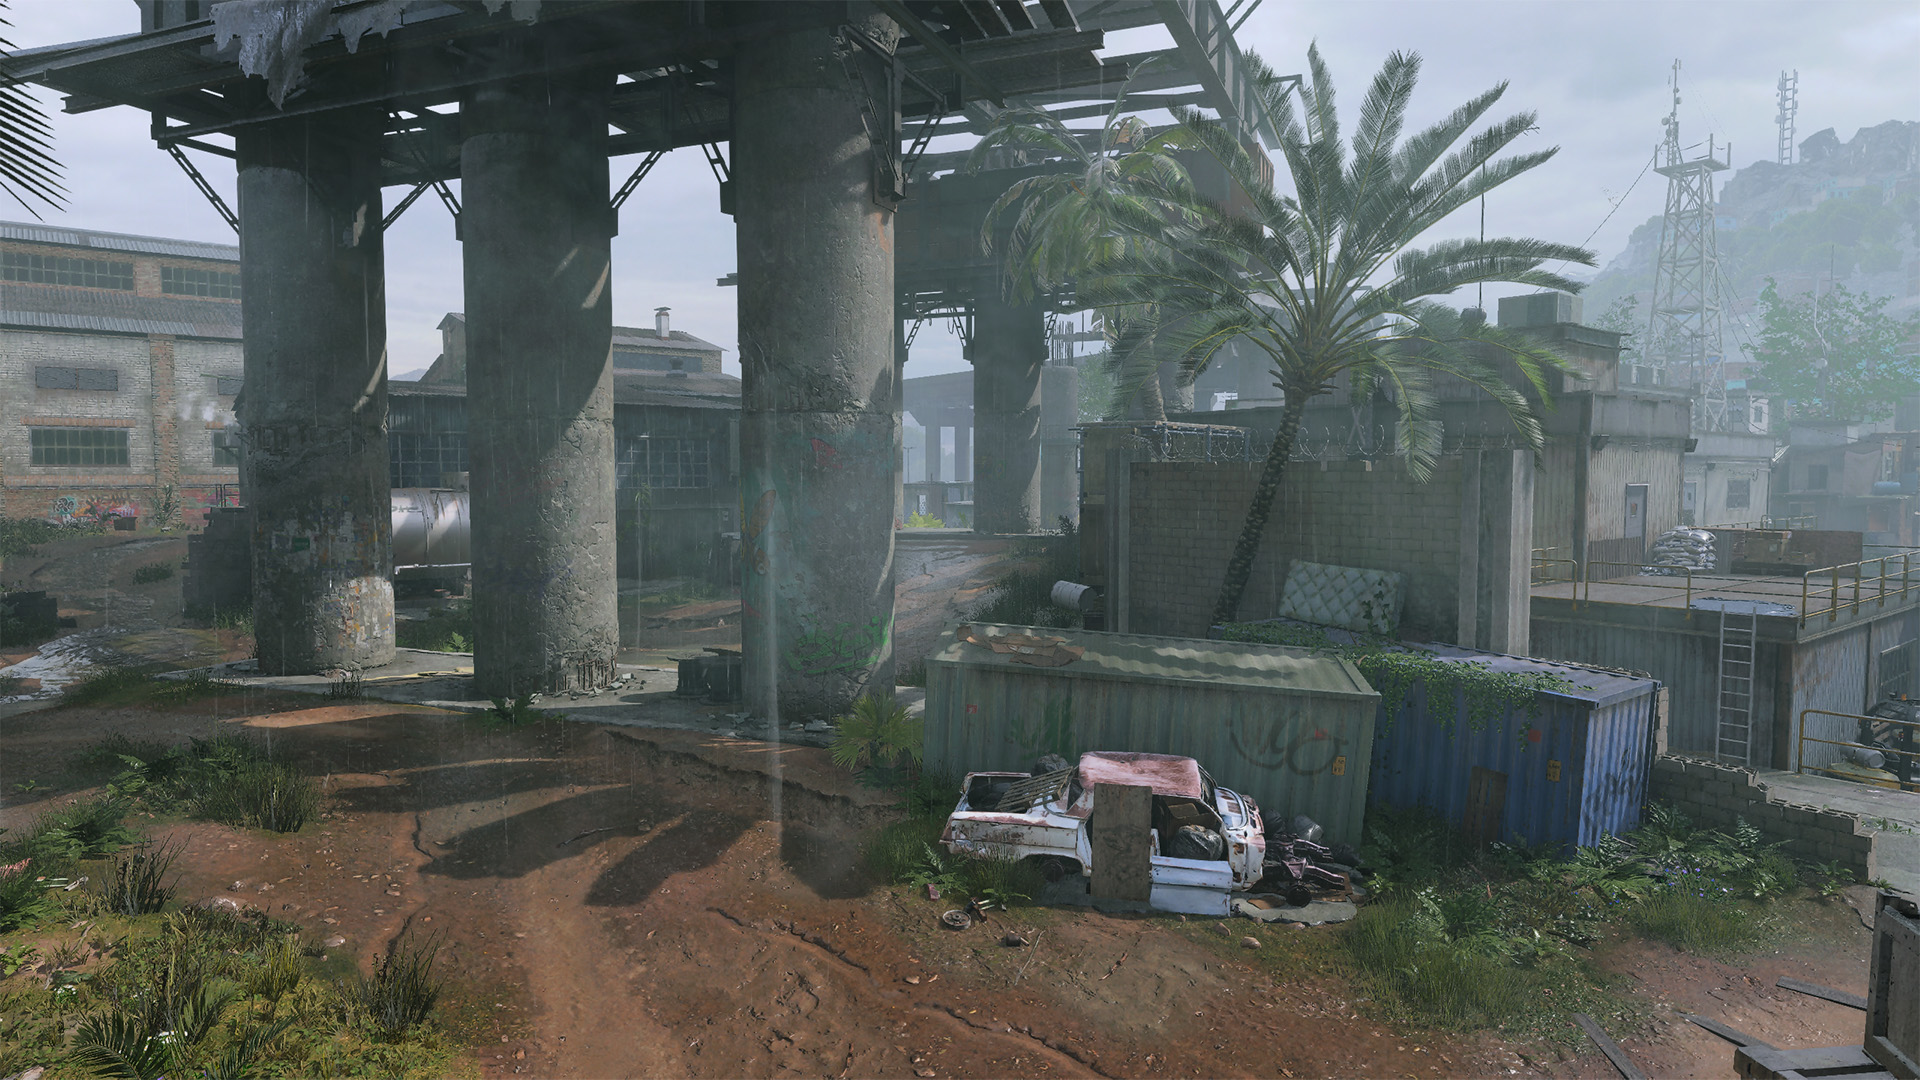
Unlike the Courtyard, the more open spawn at the Containers has immediate access to mid- and long-ranged sightlines. The columns in the Underpass and the nearby Containers do offer the ability to launch close-quarters attacks, but the majority of your fights here will take place at farther ranges.
Sharpshooters will want to take the middle path through Pillars, providing a near cross-map view toward the Bridge and down into the Junkyard. Midranged Loadouts are likely to perform best in the northern Train Yard, especially when climbing the ladder up to the Train Yard Balcony for its views over the surrounding area. For tighter combat, take the East Path south, winding along the corner border toward the Parking Lot; watch out for enemies stationed in the nearby Factory when passing through.
ADDITIONAL AREA: Village

Prepare for sharp corners and ambushes while moving through the Village, an area of narrow passages with a tight turn toward the Industrial Yard. Most of the buildings are closed off here, though there is a solid vantage point found in a balcony facing the Bridge, accessible by climbing up the shed in front of it. The nearby Chicken Shack is also of note with its cramped living space below; for a greater view, use the fridge or table pressed against the building to reach the Chicken Shack Roof, providing useful views to the north, south, and east.
Sightlines open when moving into the Industrial Yard, another ground-floor area where the only means to get up top is by climbing, in this case by hoisting yourself onto a metal awning to reach the Industrial Yard Balcony. Be careful when crossing over the Ditch toward the yard, as you will be momentarily exposed to long sightlines.
When engaging enemies here, try to position the fight into the area that best complements your Loadout and playstyle; otherwise you risk getting pulled into a disadvantageous position.
ADDITIONAL AREA: Pillars
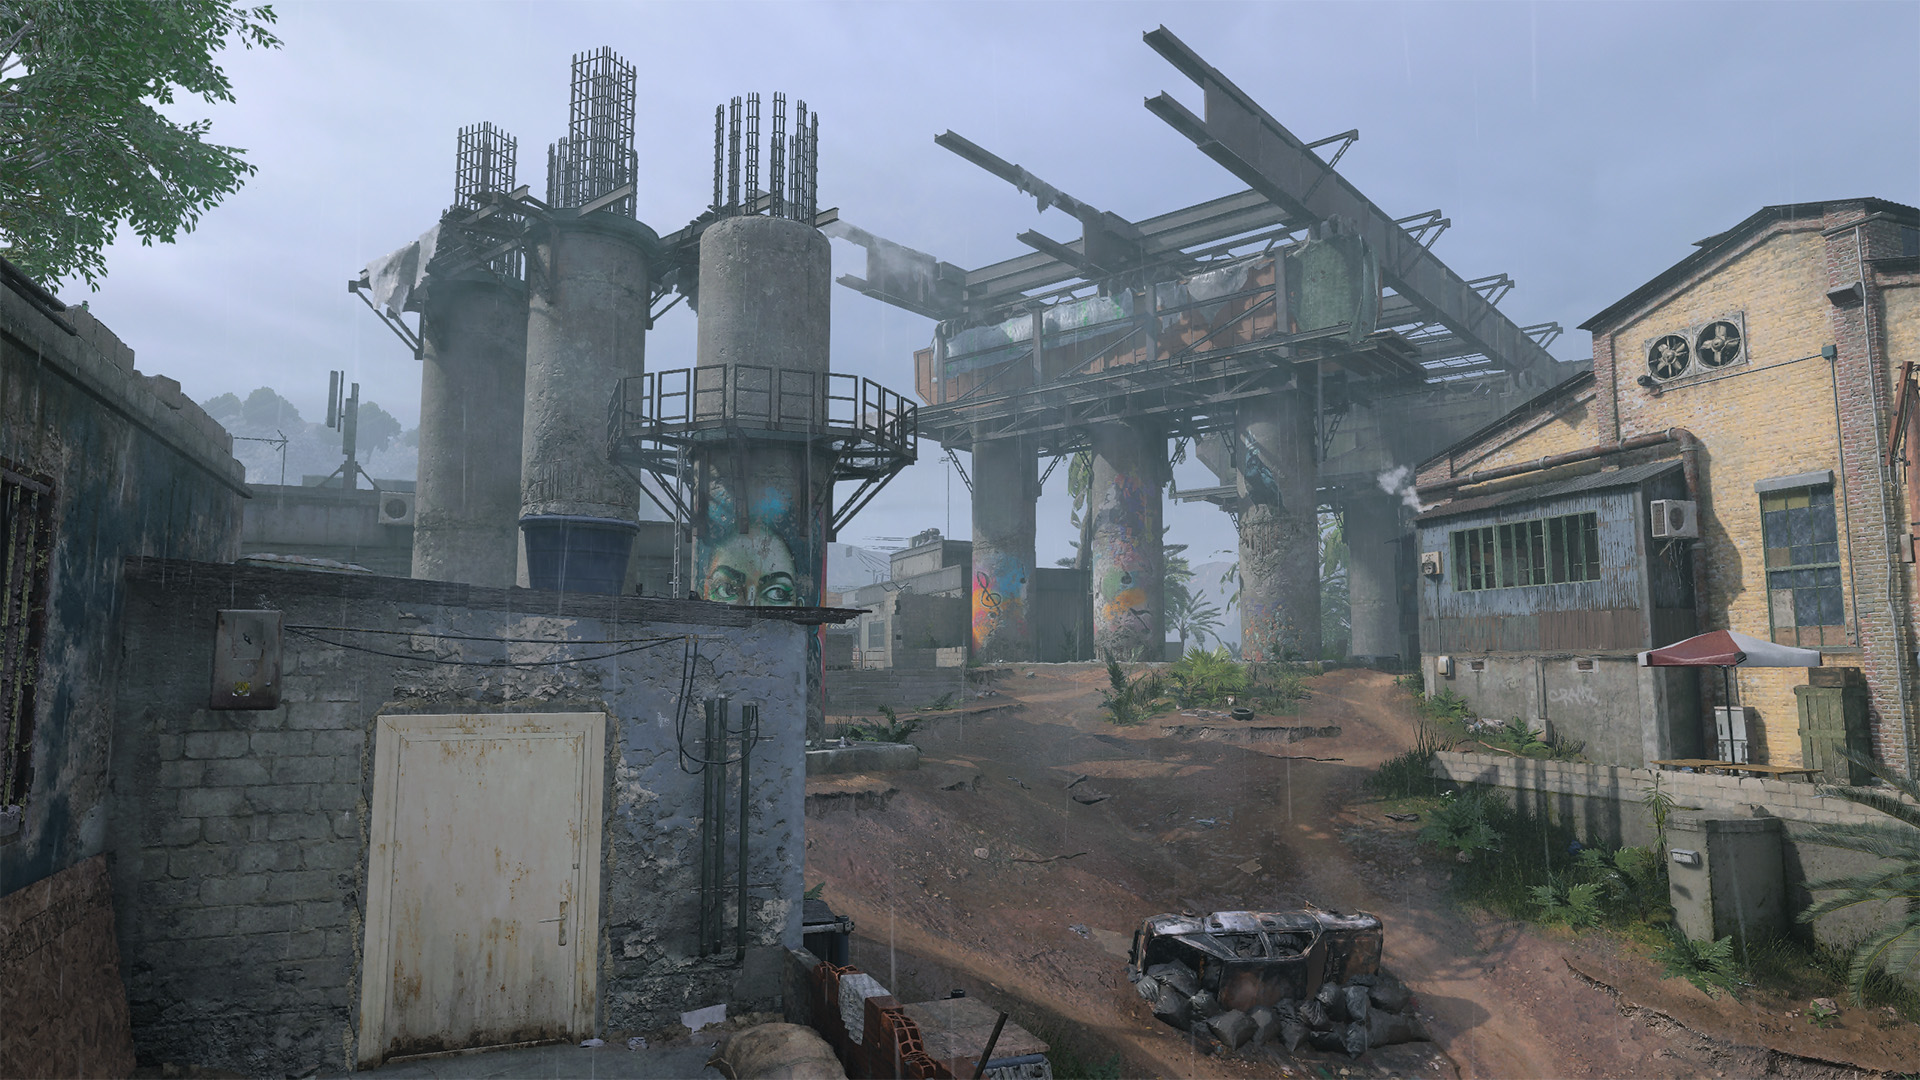
Cutting a path straight through the map, Pillars and the Underpass are part of a broken highway extending from the distant city. Long-ranged sightlines abound in this area, with little cover other than the Pillars themselves and any adjacent buildings you might be able to scramble into.
For those looking to get above the competition, climb the ladder on the southwesternmost Pillar up to the metal platform. The views from up there are incredible, though it’s a risk-versus-reward situation, as there is no cover to be found other than moving around the column itself. If you need to make a quick escape, hop onto the nearby Shanty Town rooftops, a worthy power position of its own.
For a less conspicuous hold over the middle, head into the Office along the north path of Pillars. While the view might not be as plentiful, it’s a much easier position to defend.
ADDITIONAL AREA: Parking Lot
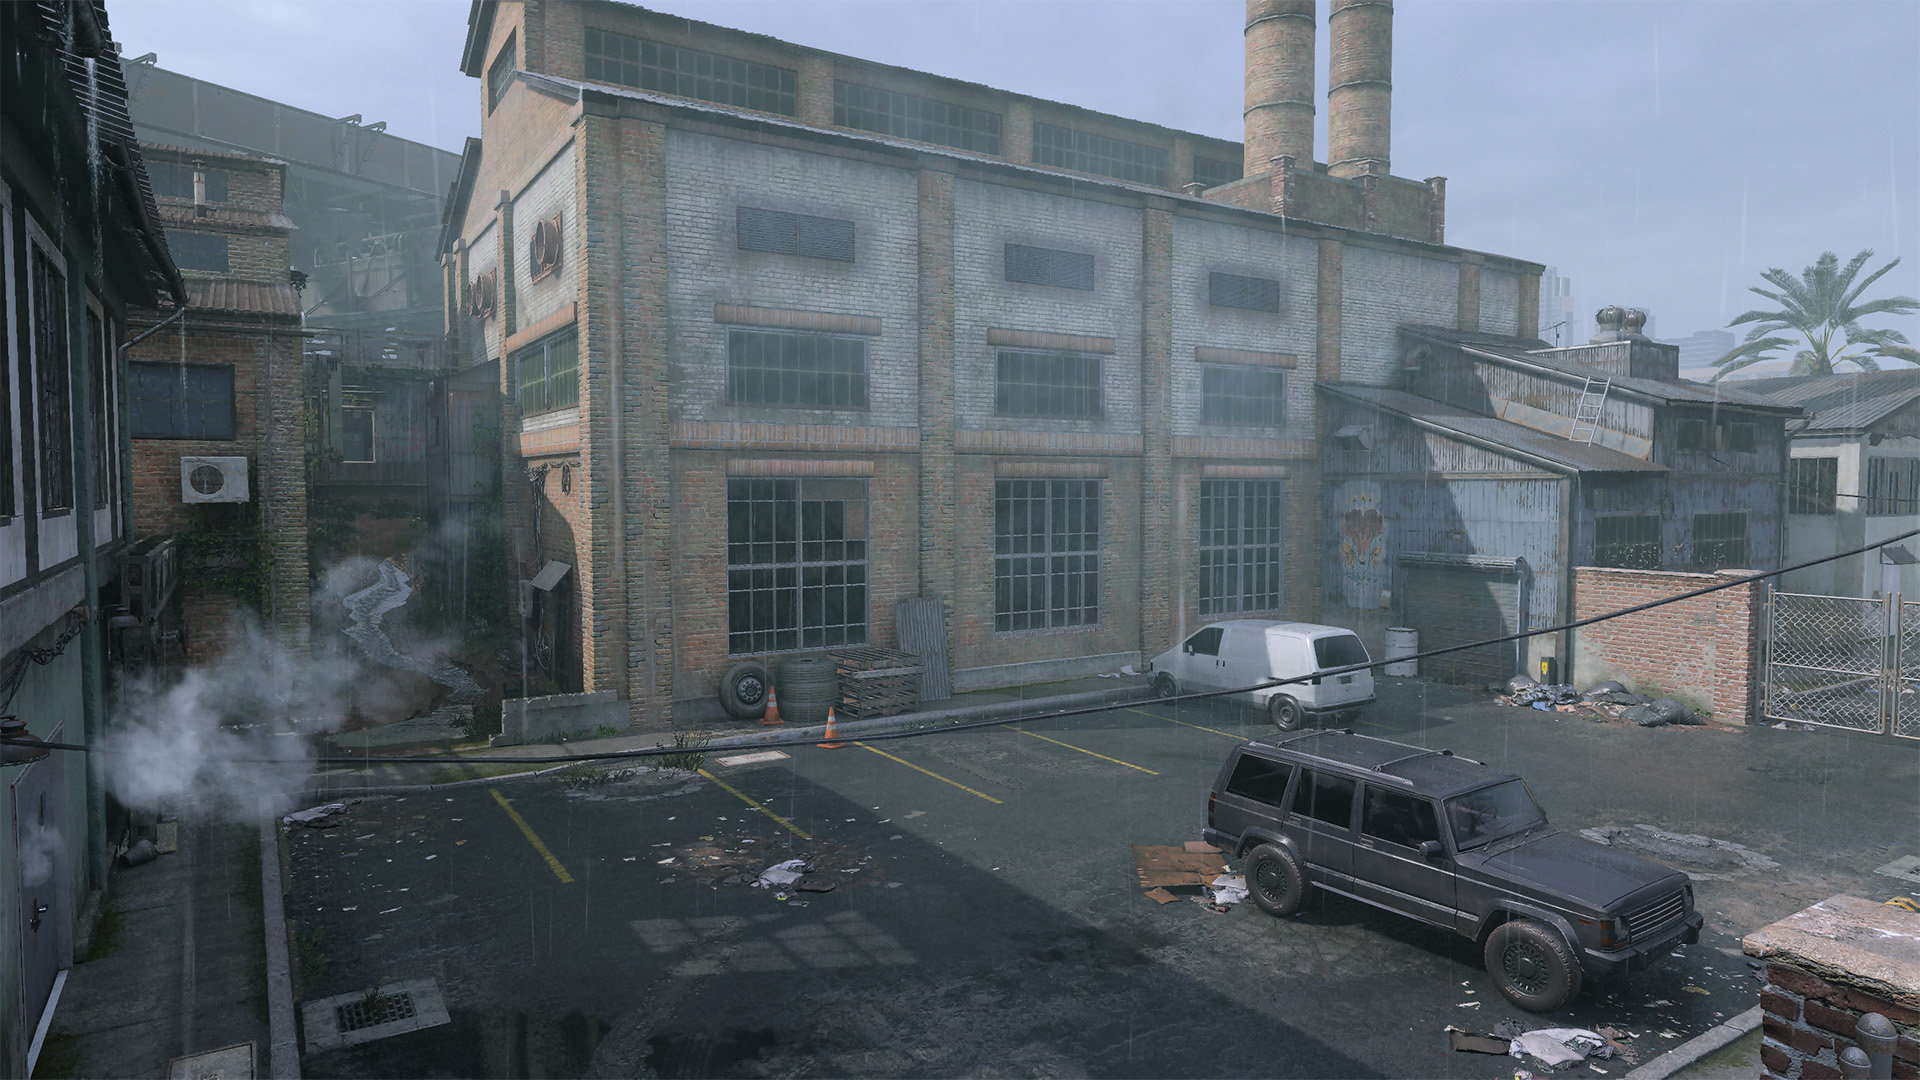
Flat and open, Parking Lot battles are all about who has the better gun skill. If you’re seeking more space to move around, head west into the Warehouse or the Factory directly north of it. Both buildings feature two levels and, though the space is still tight, there are more opportunities to reposition and outmaneuver the enemy.
If you excel in tightknit spaces, head north up through the East Path toward Containers. The narrow path here keeps the fight close until the space opens up by the Underpass. You might also jump up and over the brick wall connecting the Warehouse and Factory, leading right onto the Junkyard Balcony for some great midranged views over the Junkyard, Shanty Town, and Pillars.
Objective Overview
Overall Tactics
Underpass features a great balance of mid- to long-ranged sightlines, punctuated by close-quarters funnels around its narrow pathways, tight corners, and smaller interior spaces.
Being successful in objective modes requires either great versatility when moving through the entirety of the map or figuring out how to move through the areas that cater to your playstyle and Loadout capabilities.
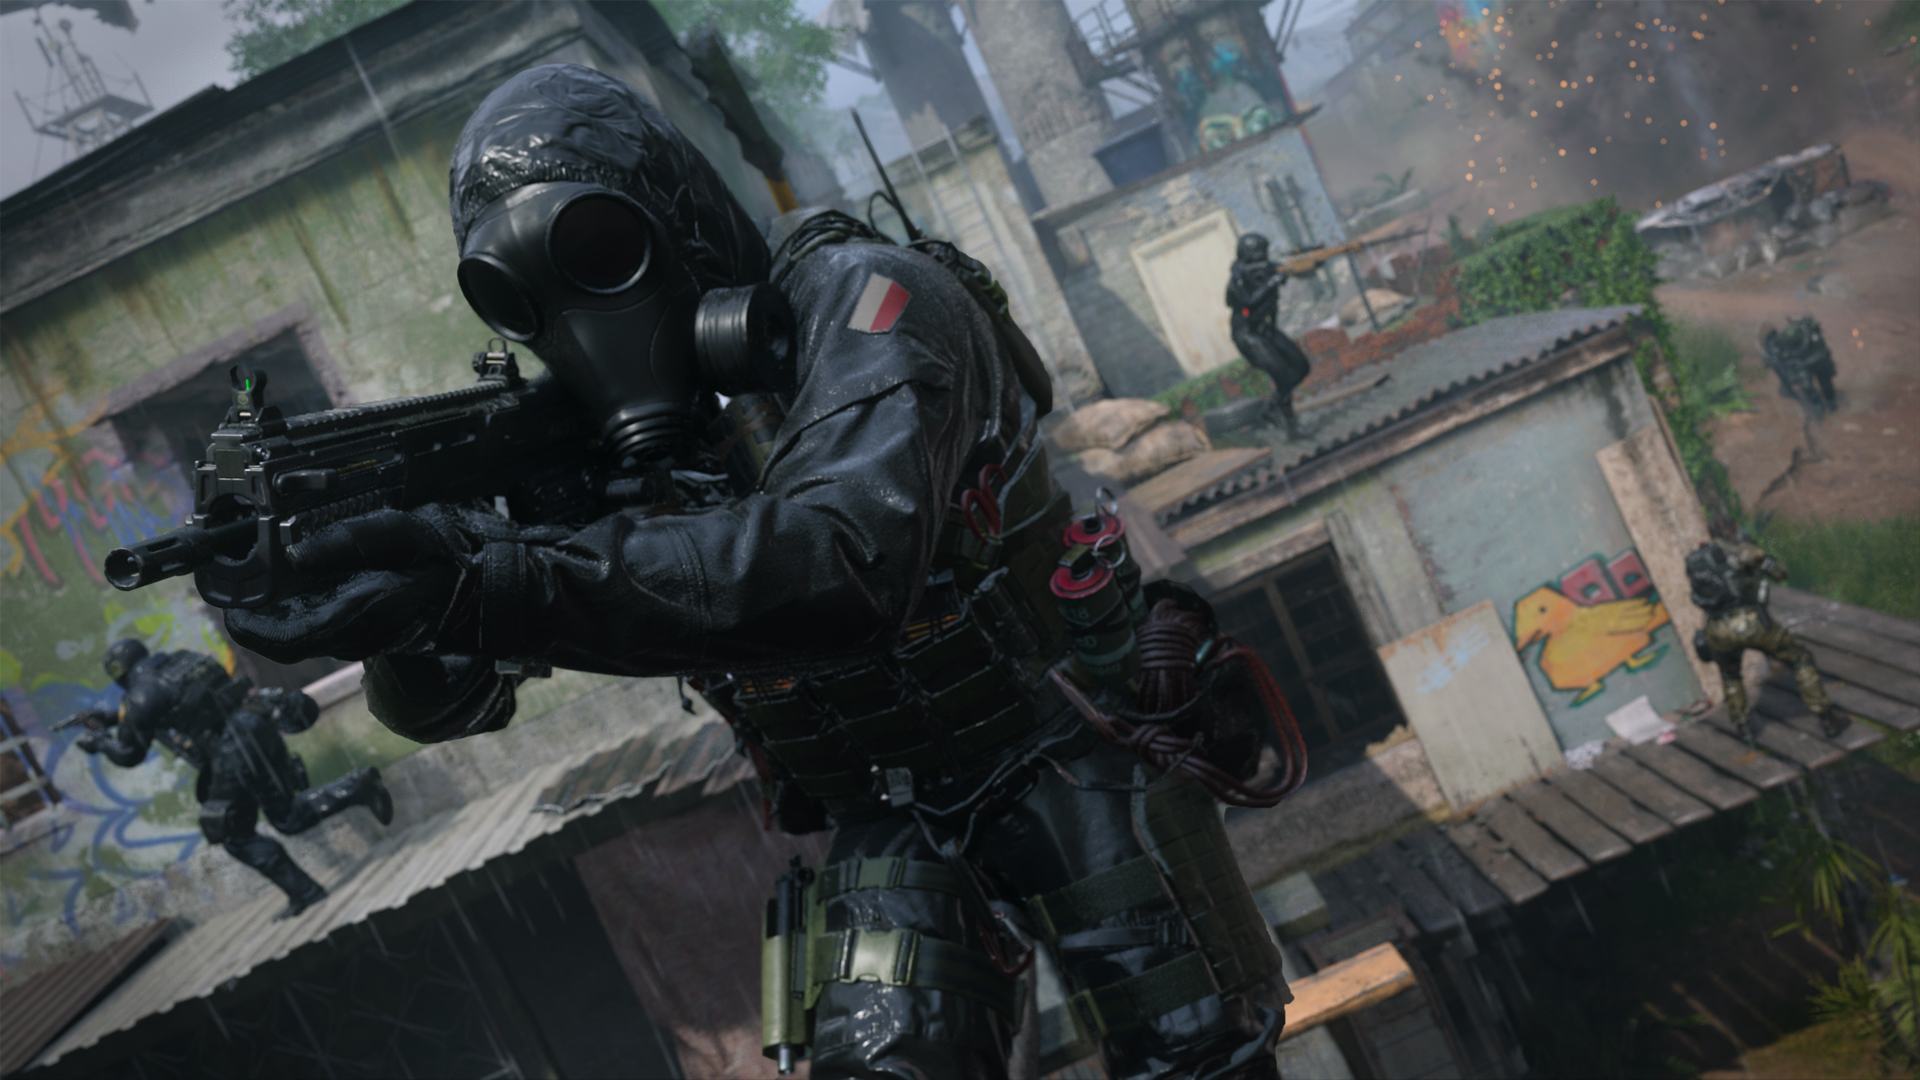
When first learning (or rediscovering) the map, an Assault Rifle might be your best bet, providing a solid middle ground that can compete through most of the environment. Using Tac-Stance, your weapon can even perform well in the map’s tight areas; add a midranged Optic and your flexibility skyrockets.
If you would rather specialize, try holding down the middle of the map with a Sniper Rifle or LMG around the Underpass and Pillars, cutting down enemies before they can threaten the objective. Or move around the perimeter, ambushing enemies around corners and using your climbing skills to reach the many available vantage points.
Domination
Underpass employs a triangular layout to its Domination points, equalizing the balance of flags instead of the usual heavy focus on B. Because of this, teams have greater flexibility in how they approach the map. If you’re holding at least two flags at a time for most of the match, the victory will be yours.
The A flag may be the most difficult to capture, considering its sandwiched position between the long sightlines from Pillars and the frenetic close-quarters action coming from the Courtyard and Village. The Chicken Shack Roof can play a big role in taking and defending the flag, offering a heightened view over both distances.
Positioned between the Train Yard and Industrial Yard, the B flag is largely cut off from the map’s long views. Aside from taking longshots from the western Shacks, midranged battles are the order of the day. The balconies here offer a strong point of defense, while a blitz through the lower Storage can be a great means of capturing the point.
As with B, the C flag is largely contained to closer fighting, though watch the roll-up door facing the Junkyard and Shanty Town. When attacking the position, let loose with your grenades, as the ground floor’s mostly open layout leaves those within vulnerable to the blast.
Hardpoint
Hardpoint is a great mode for learning the ins and outs of Underpass, providing objective spots that test every playstyle. By focusing on one area at a time, you’ll gain a stronger familiarly with the map’s excellent movement potential, including the best climbing spots and vantage points.
Beginning with the Bridge, Operators must contend with the long sightlines from Underpass and the close-quarters elements of the Village and Courtyard, not to mention attacks originating from the Ditch underneath.
The next two Hardpoints push into the south of the map, first in the southeastern Parking Lot and then in the southwestern House by the Courtyard. The objectives themselves are in tightknit areas here, but a sharpshooter on the southern Shelf can do a lot of damage to enemies en route, as well as close-ranged Loadouts working the narrow passages along the map’s border.
The subsequent Shanty Town Hardpoint may be the most chaotic of all, situated in a tiny shack set among cramped living quarters. Expect assaults from above, below, and straight on, as well as a string of grenades thrown in on approach. The final Industrial Yard Hardpoint opens back up to the midrange; once the point is in your team’s hands, send extra Operators to climb up to the adjacent balconies for a commanding view over all points of entry.
Cutthroat
Cutthroat really shines on Underpass, as the map’s size and complexity allow for a wide variety of strategies. Rush to the center guns blazing, move tactically around the perimeter, climb up to your favorite vantage points . . . whatever your tactic, there are multiple ways to execute it and to pivot when a new plan is needed.
Communication is extra important here, whether through pinging the enemy or just calling out their position. If the enemy is ready to engage, go for the elimination, but if they don’t spot you first, it’s worth considering whether you want to go after them just yet. If you have not yet pinpointed the third squad, or your own team is down an Operator or two, it may serve you better to hold off until you’ve gathered more intel or gotten into a better position.
When it’s time to strike, strike fast and then slip out of sight; when the fighting breaks out, enemies are likely to come searching for the scraps. If your squad is in a winning position, however, that may be just what you need. Set the trap, get them to come after you, and secure the round win.
Search & Destroy
With the bomb sites positioned on opposite sides of the map, there’s a lot of room to maneuver on attack and defense. Going for the full team elimination remains a valid strategy, though the threat of a surprise plant or defuse remains high.
The attacking team has some great options at the start of the round. It’s a straight rush toward the A bomb site in the Warehouse. You’ll want to bring along some sharpshooters when tackling this route, as crossing the Junkyard will expose you to long-distance sightlines from the Underpass; an Operator up on the southern Shelf and in the Shanty Town can provide solid cover to the bomb carrier as they race through. If you’d rather avoid a sniping battle, consider B in the Industrial Yard, an area more suited to close- and midranged combat.
For the defending team, it’s a quick sprint from the opening spawn to a view down the Junkyard. This is a good way to check for enemies moving straight to the Warehouse. If they’re outplaying you at range, don’t engage. You can always burst through the Warehouse door from the Parking Lot to keep things up close. For the B bomb site, consider heading to the nearby Storage building or the Train Yard Balcony.
The defenders should keep a close tally of the enemy Operators they encounter. Going all out on a partial squad won’t help if the bomb carrier is on the other side of the map ready to plant. Even if they’re outnumbered, they can get into an advantageous position before you respond. If your squad can’t locate one or two enemies, make sure you’ve got coverage over both sites to keep the momentum in your favor.
Top 10 Tips
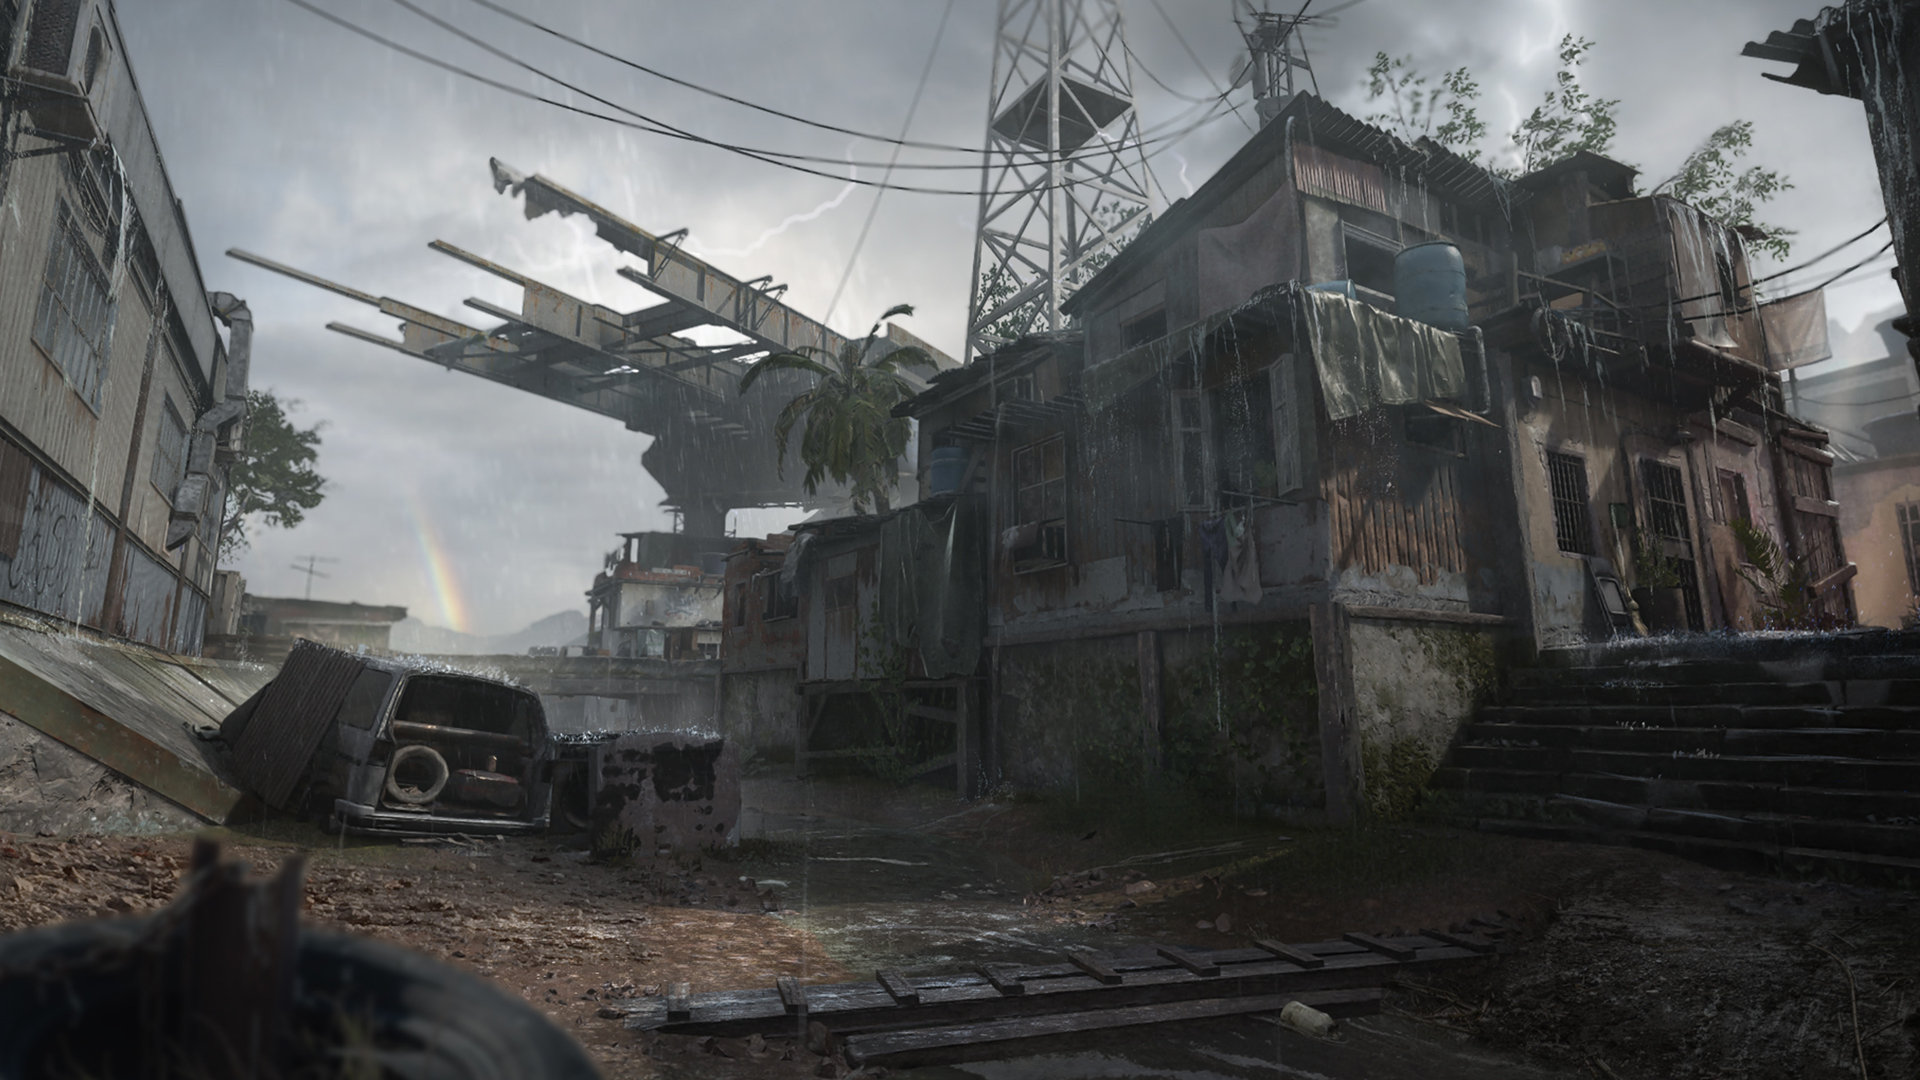
1. Hardcore parkour. Underpass is full of opportunities to maximize an Operator’s movement potential, whether you’re climbing up to otherwise inaccessible vantage points, sliding over the Shanty Town rooftops, or dropping down into the Ditch for a surprise elimination. Get in a parkour state of mind and you’ll be unstoppable.
2. Ambush city. Underpass is full of areas from which to stage an ambush, from the Village to the Shanty Town, the Warehouse and Factory, and beyond. If your senses are tingling, it’s worth slowing down to check your corners, weapon up and ready to engage. If you don’t want to take any chances, equip the Stalker Boots for increased movement speed while aiming down sights.
3 A trip through Shanty Town. Equip the Gunner Vest and pair a Shotgun with a mid- to long-ranged weapon for a tour of Shanty Town. This compacted area features multiple points of verticality combining extreme close-range combat with powerful vantage points out the various windows and from the rooftops. Take up residence and get to work.
4. Dress for the occasion. You can’t go wrong with the Climbing Boots here, improving the speed of your already quick climbing and mantling speed. Get up on the Shanty Town rooftops in a flash, scurry up the ladder to the Pillar’s platform, and jump down into the Ditch from up high with reduced fall damage.
5. Set and forget. While the UAV remains ever useful no matter which map you’re on, it’s just as important to remove the enemy team’s ability to gather intel. Consider taking the Sam Turret as your four-kill Streak instead; this is an ability that you can set and forget, allowing you to focus on what’s in front of you as your streak downs enemy aerial streaks on its own.
6. Round and round. While the Underpass and Pillars may seem like the sole domain of snipers and sharpshooters, there’s plenty of room for closer-ranged tactics throughout. Those huge columns holding up the remains of the highway are no joke, providing thick cover for an Operator pressed up against it, circling around it to evade attacks and ambush passing enemies.
7. Tricked you! The minimap is of vital importance in tracking down enemy Operators, and a lot of players rely on it to find their next target. Add some confusion to the mix by tossing a Decoy Grenade and setting up for the elimination as they arrive to investigate the trap.
8. The deadly whisper. They can’t beat you if they can’t find you. Deploy with a Suppressor, Throwing Knife, Covert Sneakers, and the Ghost T/V Camo for an elite stealth Loadout that’s perfect for eliminating enemies without giving up your location.
9. Overtime at the Office. The central Office makes for a great vantage point over the Pillars and Underpass. Even though the height advantage isn’t that great, the building offers vital concealment paired with strong views to the east and south. Just be prepared to defend your position should an enemy come seeking revenge.
10. Tune out the noise. While the minimap is vital in tracking down enemies, your senses play the most important role in map awareness. Consider equipping the Bone Conduction Headset Gear item to reduce combat noises so you can focus on the sounds that matter most: enemy footsteps and gunshots. Listen, track them down, and land the elimination.

© 2024 Activision Publishing, Inc. ACTIVISION, CALL OF DUTY, and MODERN WARFARE are trademarks of Activision Publishing, Inc. All other trademarks and trade names are the property of their respective owners.
For more information, please visit www.callofduty.com and www.youtube.com/callofduty, and follow @Activision and @CallofDuty on X, Instagram, and Facebook. For Call of Duty Updates, follow @CODUpdates on X.
