Multiplayer Map Guide — Wasteland

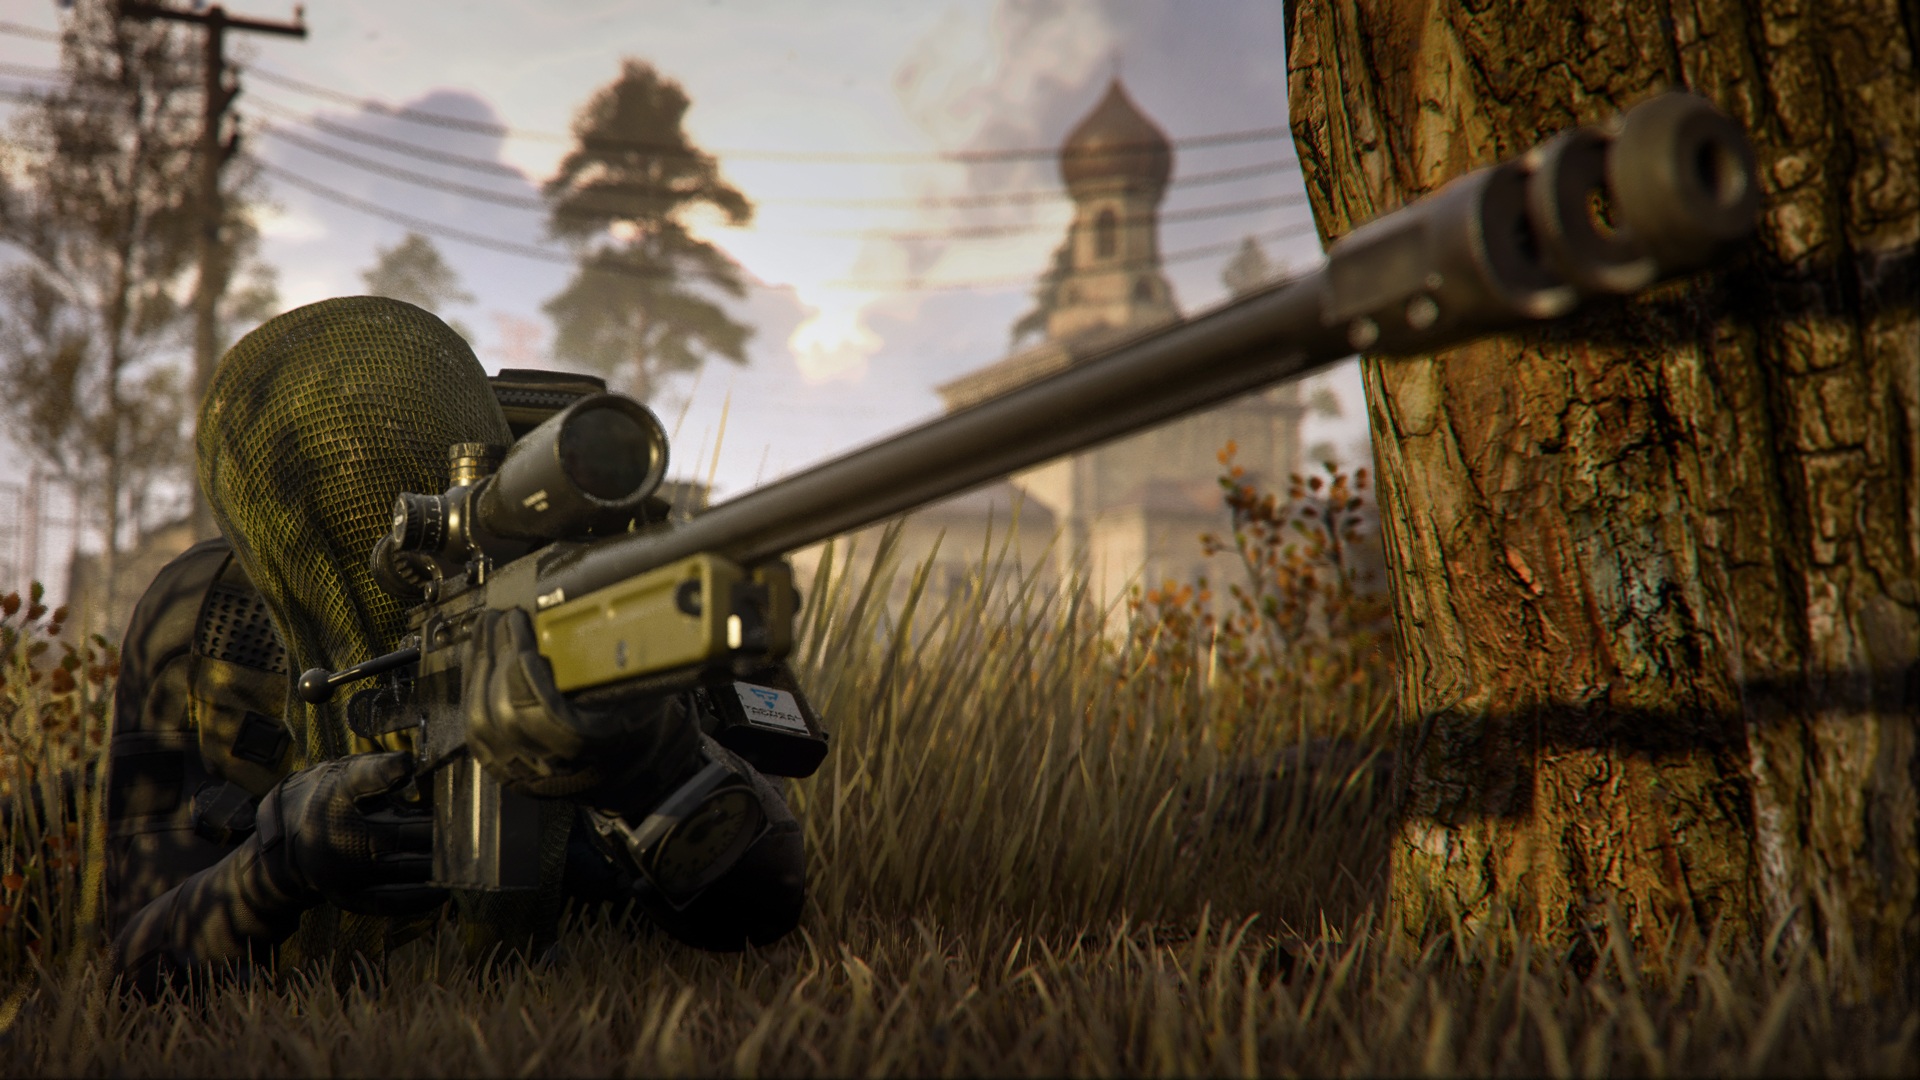
Battle across an abandoned Wasteland, where wide open fields encourage sniper battles all around, disrupted only by a small underground crossroads at the center.
Prebrief
Scan the horizon for the glint of sniper rifles; on Wasteland, long-ranged combat rules the day. Join in with the sharpshooters to practice your marksman skills or weave back and forth to throw off their aim as you move from cover to cover. If extreme close range is more your speed, try your luck in the Dugout, a tight underground crossroads where all trenches meet in the middle.
Whatever your approach, use this guide to excel on the medium-sized Multiplayer map and send the enemy packing.


-
Show areas

-
Show hardpoints

-
Show domination flags

-
Show search & destroy sites
-
Show spawn points

-
Reset all overlays

// INTEL CARD
- MWIII
- WZ
- WZM
Wasteland
// MULTIPLAYER // MAPS

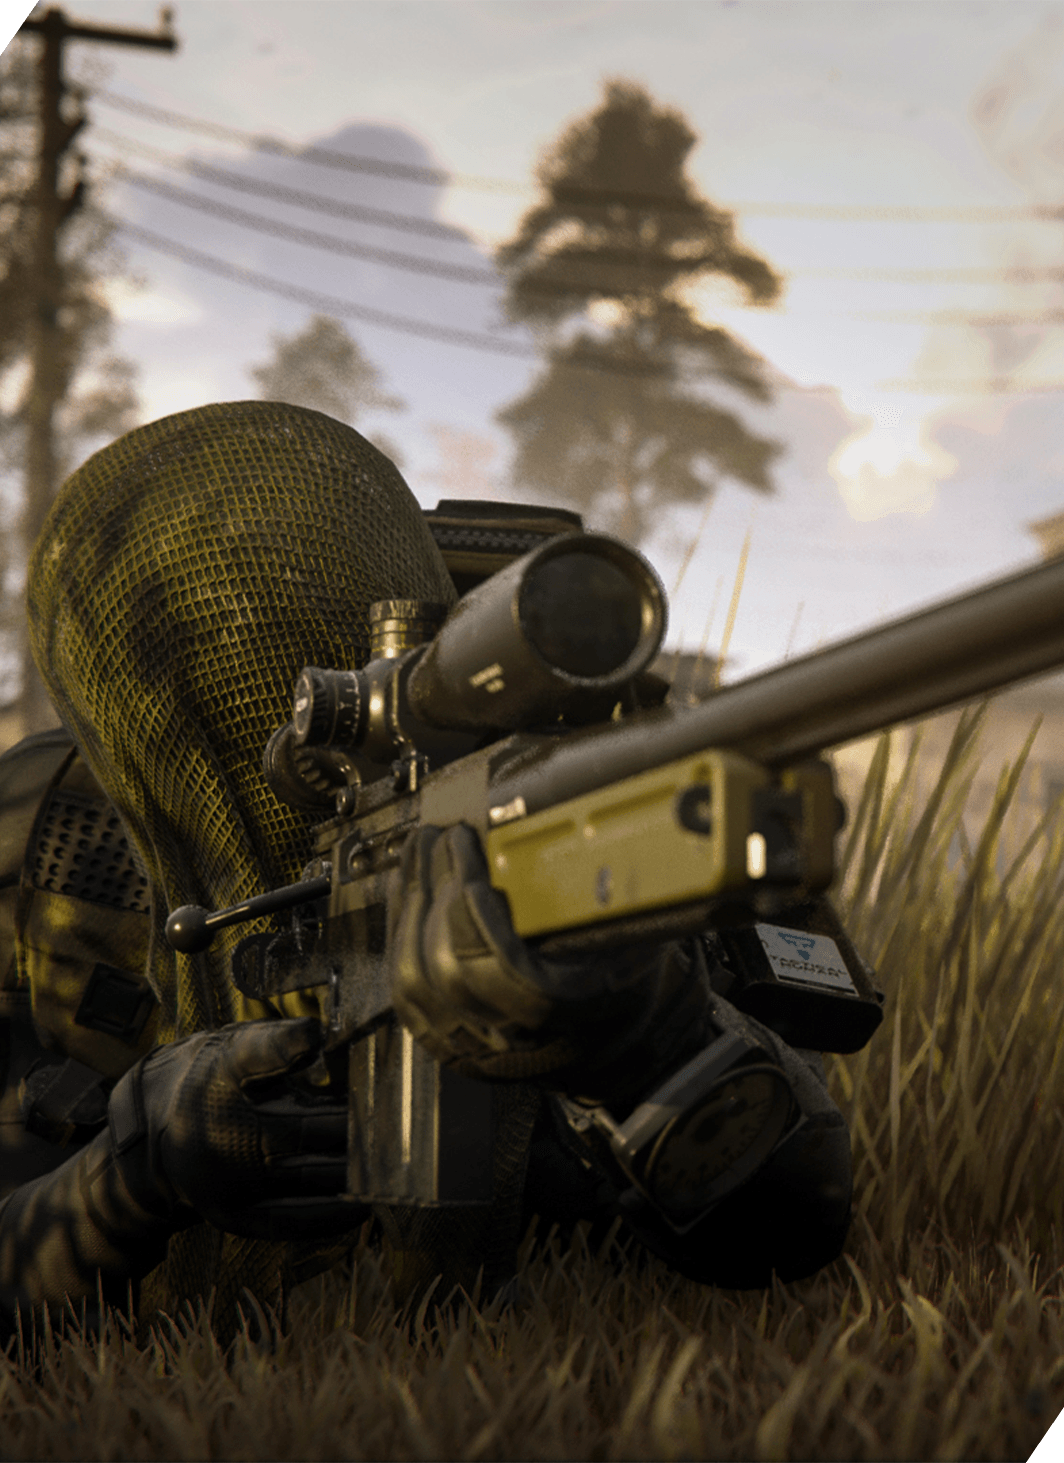
Can’t Beat ‘Em? Join ‘Em: There’s no doubt about it, Wasteland is a sniper’s dream. Whether or not you normally gravitate toward long-ranged battles, this is the place to work on your marksman skills. Join the competition and start knocking out those weapon camo challenges.
I Refuse: Is sniping not your thing? Head for the underground Dugout with a Tactical Insertion and a Shotgun. The combat is so frenetic here that enemies will often be too focused on you to take out your Field Upgrade. Stake your claim on the domain and let no enemy pass.
Recon Out: Can’t pinpoint the enemy in the wide-open fields? Use the Recon Drone Field Upgrade to mark their positions for you and your team. You might also equip the Threat Identification System Gear item to automatically ping enemies in your crosshairs.
In team-based game modes, teams will either spawn by Church (north) or the Farm (south).
A Wasteland of abandoned vehicles and living spaces lies between the two spawns, the open fields offering endless possibilities for long-ranged engagements split up only by the central Dugout where Operators meet face to face in a flash.
We’ve divided Wasteland into five sections based on key areas around the map:
- MAIN SPAWN POINT: Church (+ North Road, North Hills, North Trench)
- MAIN SPAWN POINT: Farm (+ South Road, Chopper, Front Yard, School, House)
- ADDITIONAL AREA: Tanks (+ Graveyard, Gravedigger House, South Trench, Junkyard, Shed)
- ADDITIONAL AREA: Lake (+ West Trench, North Yard)
- ADDITIONAL AREA: Dugout (+ North Trench, West Trench, South Trench)
MAIN SPAWN POINT: Church (NORTH)
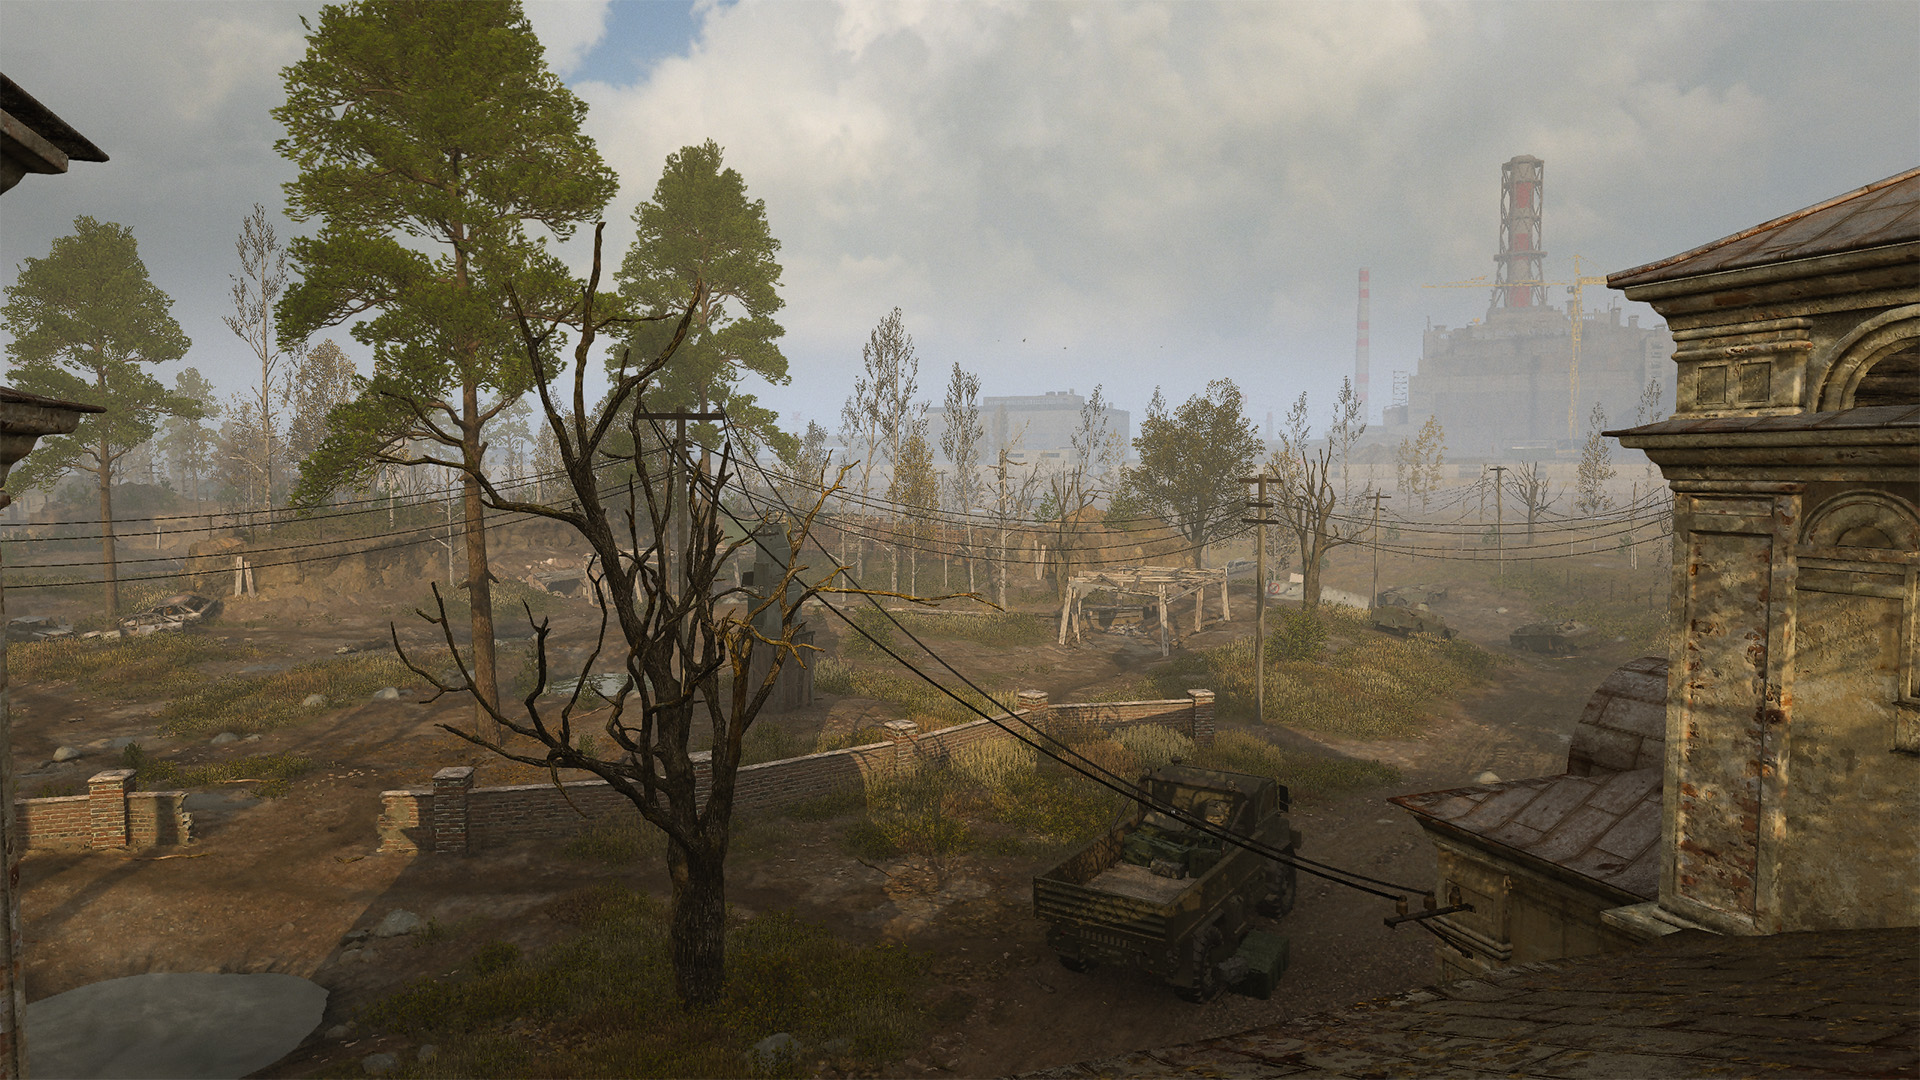
While the Church interior is inaccessible, the brick wall in front of it makes for the perfect spot to identify and tag adversaries from afar. The armored truck closer to the building can also be used as a vantage point, but outside of that and the nearby junction box it’s open land until you reach the North Trench.
With trees few and far between, you’ll need to make the most of what’s available, whether that’s standing tall and engaging enemies as they appear or using the mounds in the rugged terrain to get low and reduce your profile. Each has its use; consider the match score and the time left on the clock to determine how quickly you need to move through the terrain.
MAIN SPAWN POINT: Farm (SOUTH)
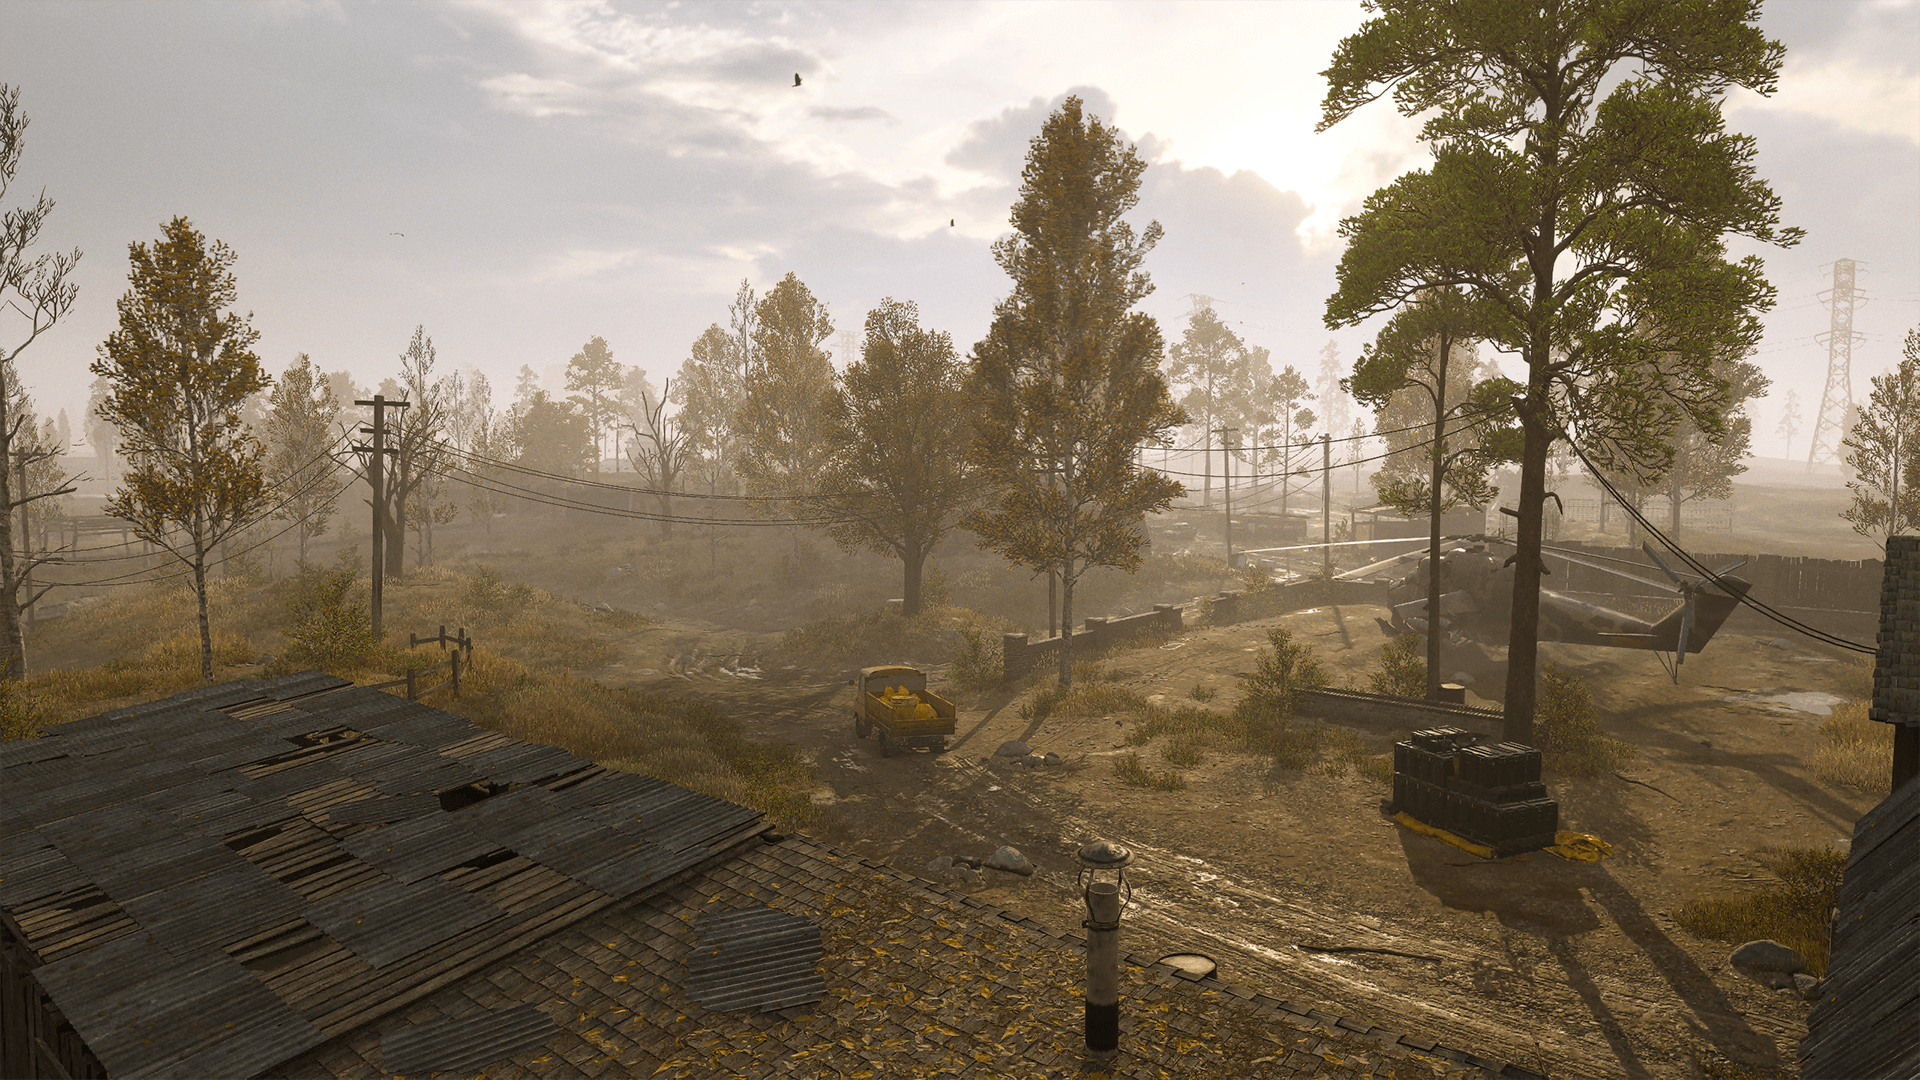
The Farm is set back in the furthest corner of the map, making it a supreme sniping location on a map already teeming with them. The attached shed, Chopper, and other cover objects offer a greater means to control your sight lines.
North of the Farm, a large mound provides some cover when moving through the open field. Take note of the School and House areas, each providing the most substantial interior cover outside of the central Dugout. These are great spots from which to defend the area, and likewise, make sure to check for enemies when passing by.
ADDITIONAL AREA: Tanks
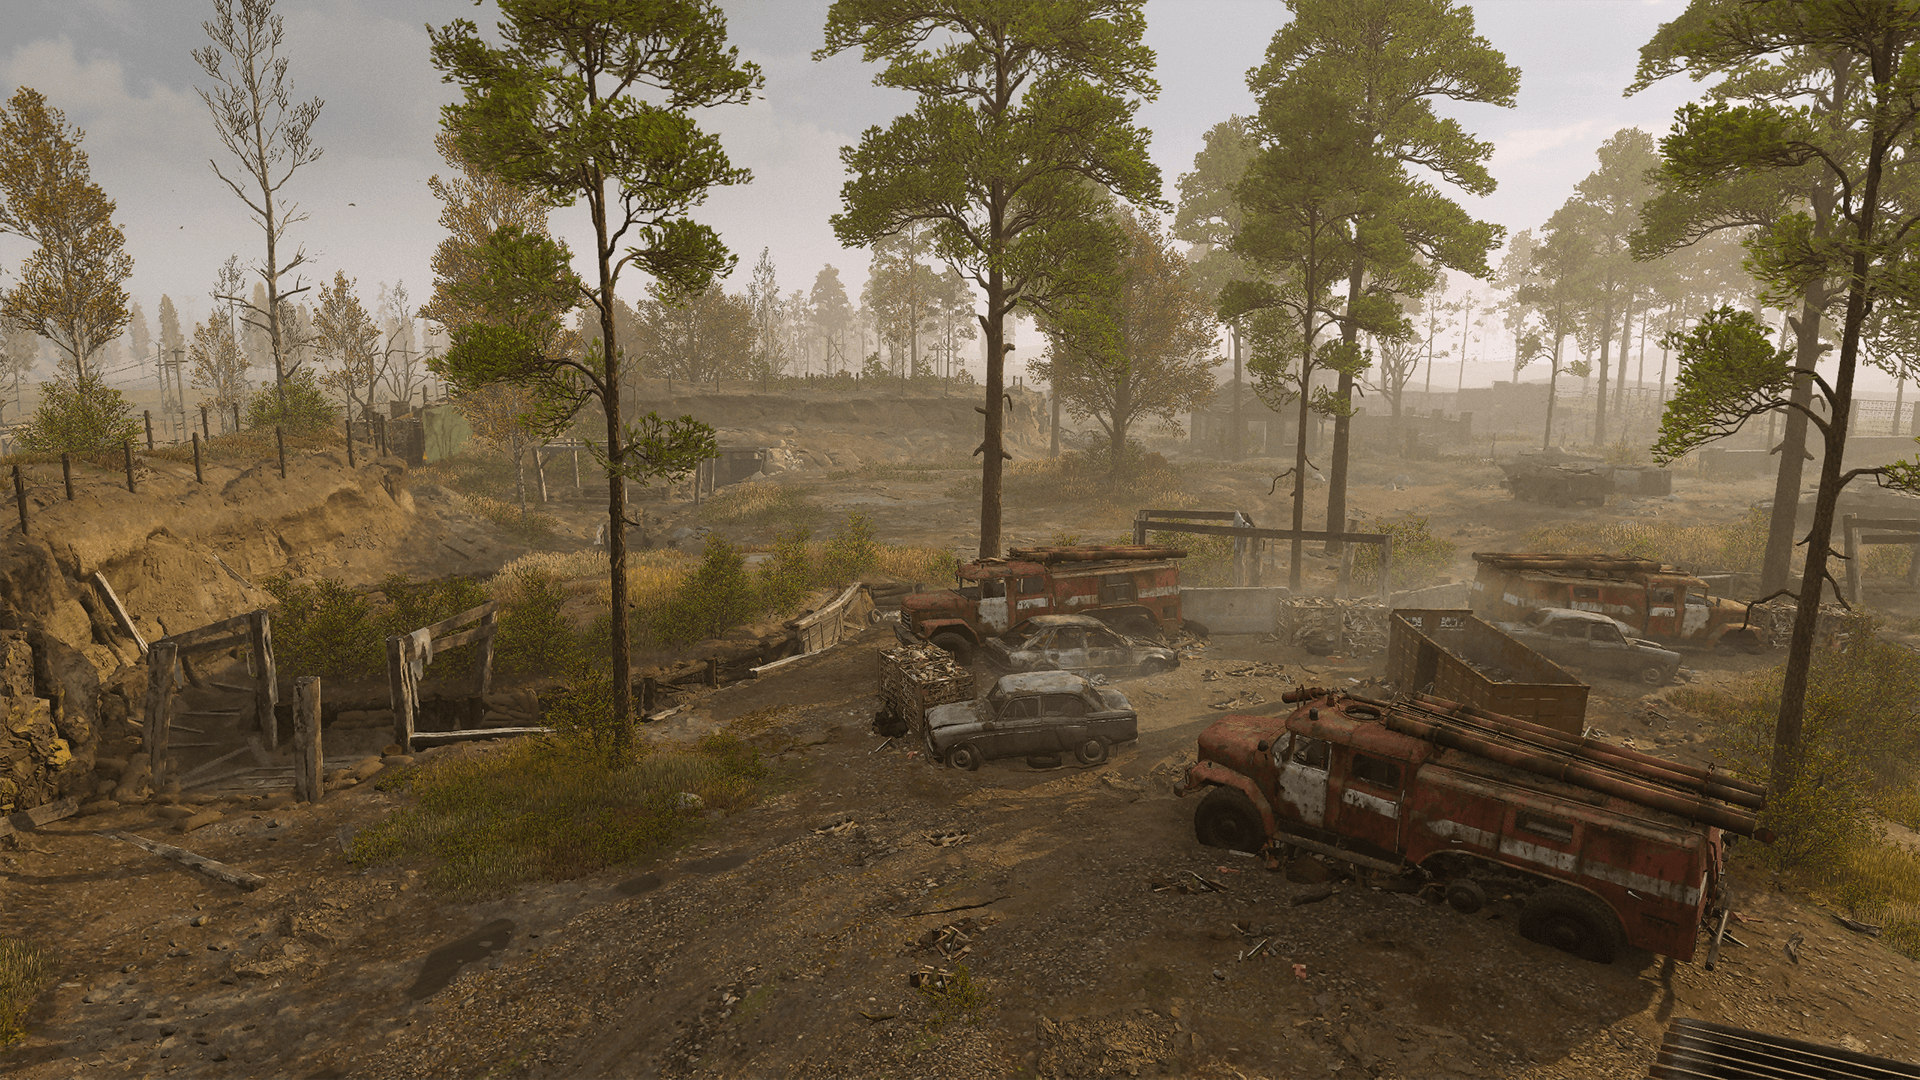
Compared to the sparse Church spawn next door, Tanks has is teeming with cover points and ambush potential. The litter of armored vehicles and junked up cars provide a means to navigate the area without being stuck out in the open. For greater concealment, head to the northern Gravedigger House or the southern Shed; while on any other map these would be considered poor vantage points, on Wasteland you need to make the most of what’s available.
The Junkyard near the Shed provides even more substantial cover, including a concrete barricade that’s ideal for mounting your weapon. When you need to drop out of sight, take to the South Trench running through the area, the largest section of trench on the map.
ADDITIONAL AREA: Lake
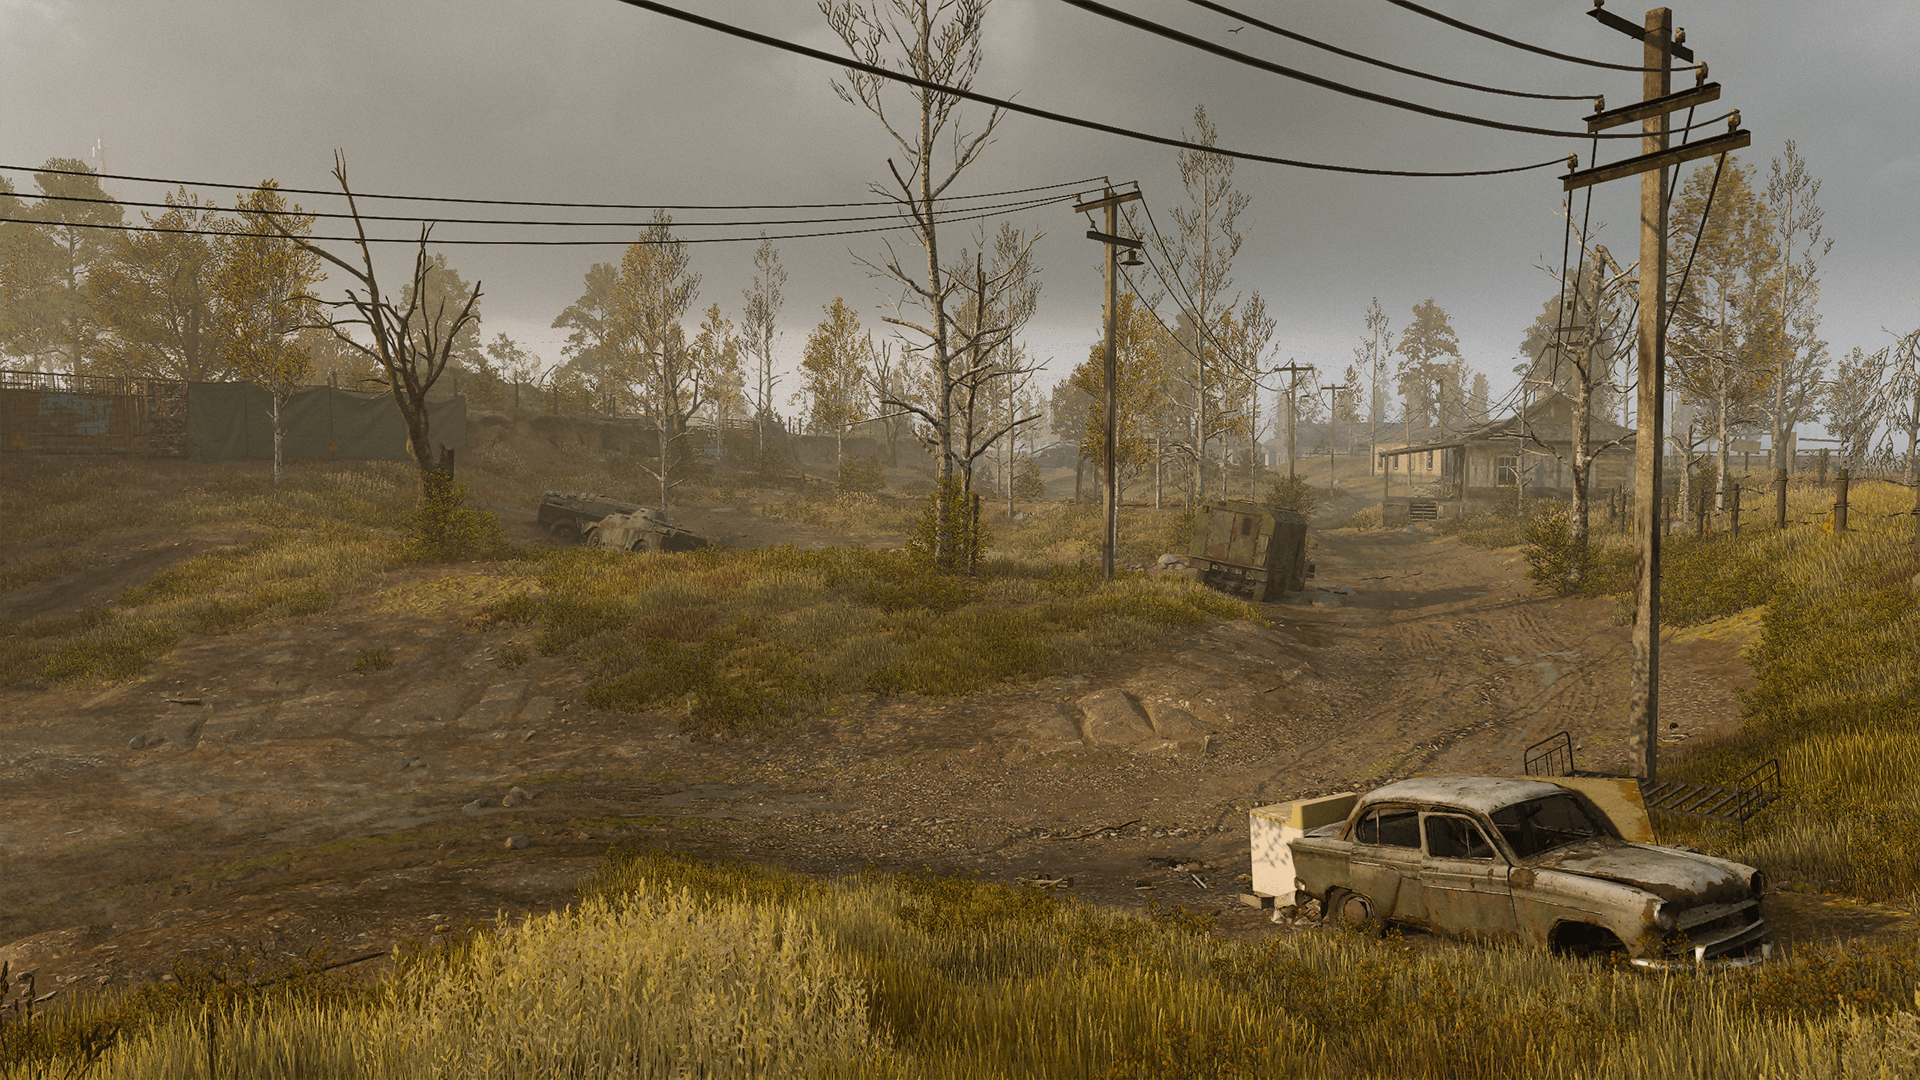
Save for a few scattered vehicles, the Lake and its surroundings are bare. The few trees around are too thin to act as cover, with the closest shelter being the House and School toward the Farm.
It’s not all hopeless, however. The shallow West Trench gives you plentiful points from which to crouch down and mount on the surrounding sandbags, helping to conceal your position while boosting your accuracy. To get up high, climb on top of the large truck west of the Lake; go prone to reduce your profile while still retaining clear views all around.
ADDITIONAL AREA: Dugout
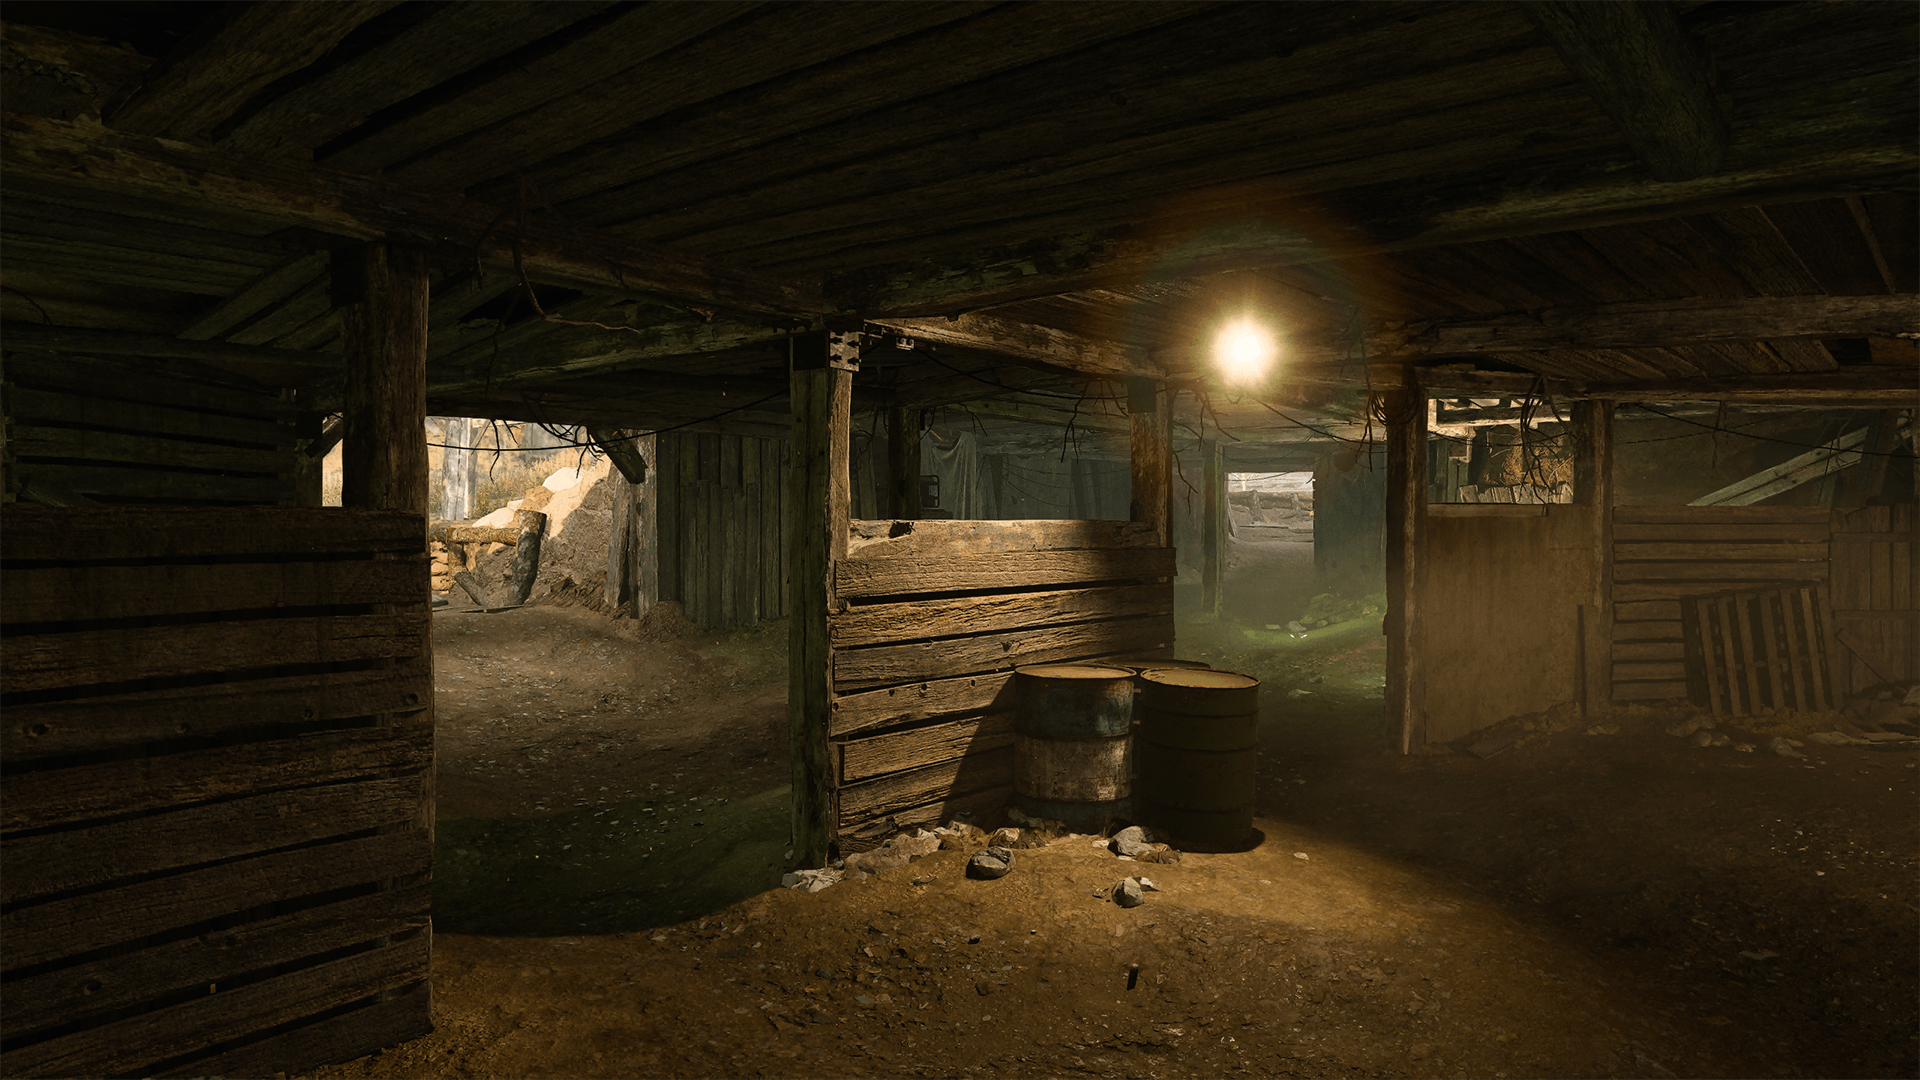
All trenches lead to the central Dugout, a small underground crossroads with a few flimsy walls acting as the only obstacles within. Considering the lack of overhead cover provided outside, you can expect the Dugout to get busy when aerial streaks threaten from above, not to mention its usefulness in quickly traversing across the map.
Though highly dangerous, an Operator with quick aim and a close-quarters weapon can do a lot of damage here. Shotguns in particular reign supreme due to their extreme close-up power. With direct access to the outer trenches, you can furthermore quickly get into a position to eliminate approaching enemies from afar, making the Gunner and Commando Vests worthwhile for the ability to equip two primary weapons at once.
Objective Overview
Overall Tactics
Where all-out aggressive play can carry you to victory in most Multiplayer maps, Wasteland requires a more tactical approach. Beelining the objective will likely turn you to into sniper fodder unless you’ve cleared enemy threats first to pave your way to the point.
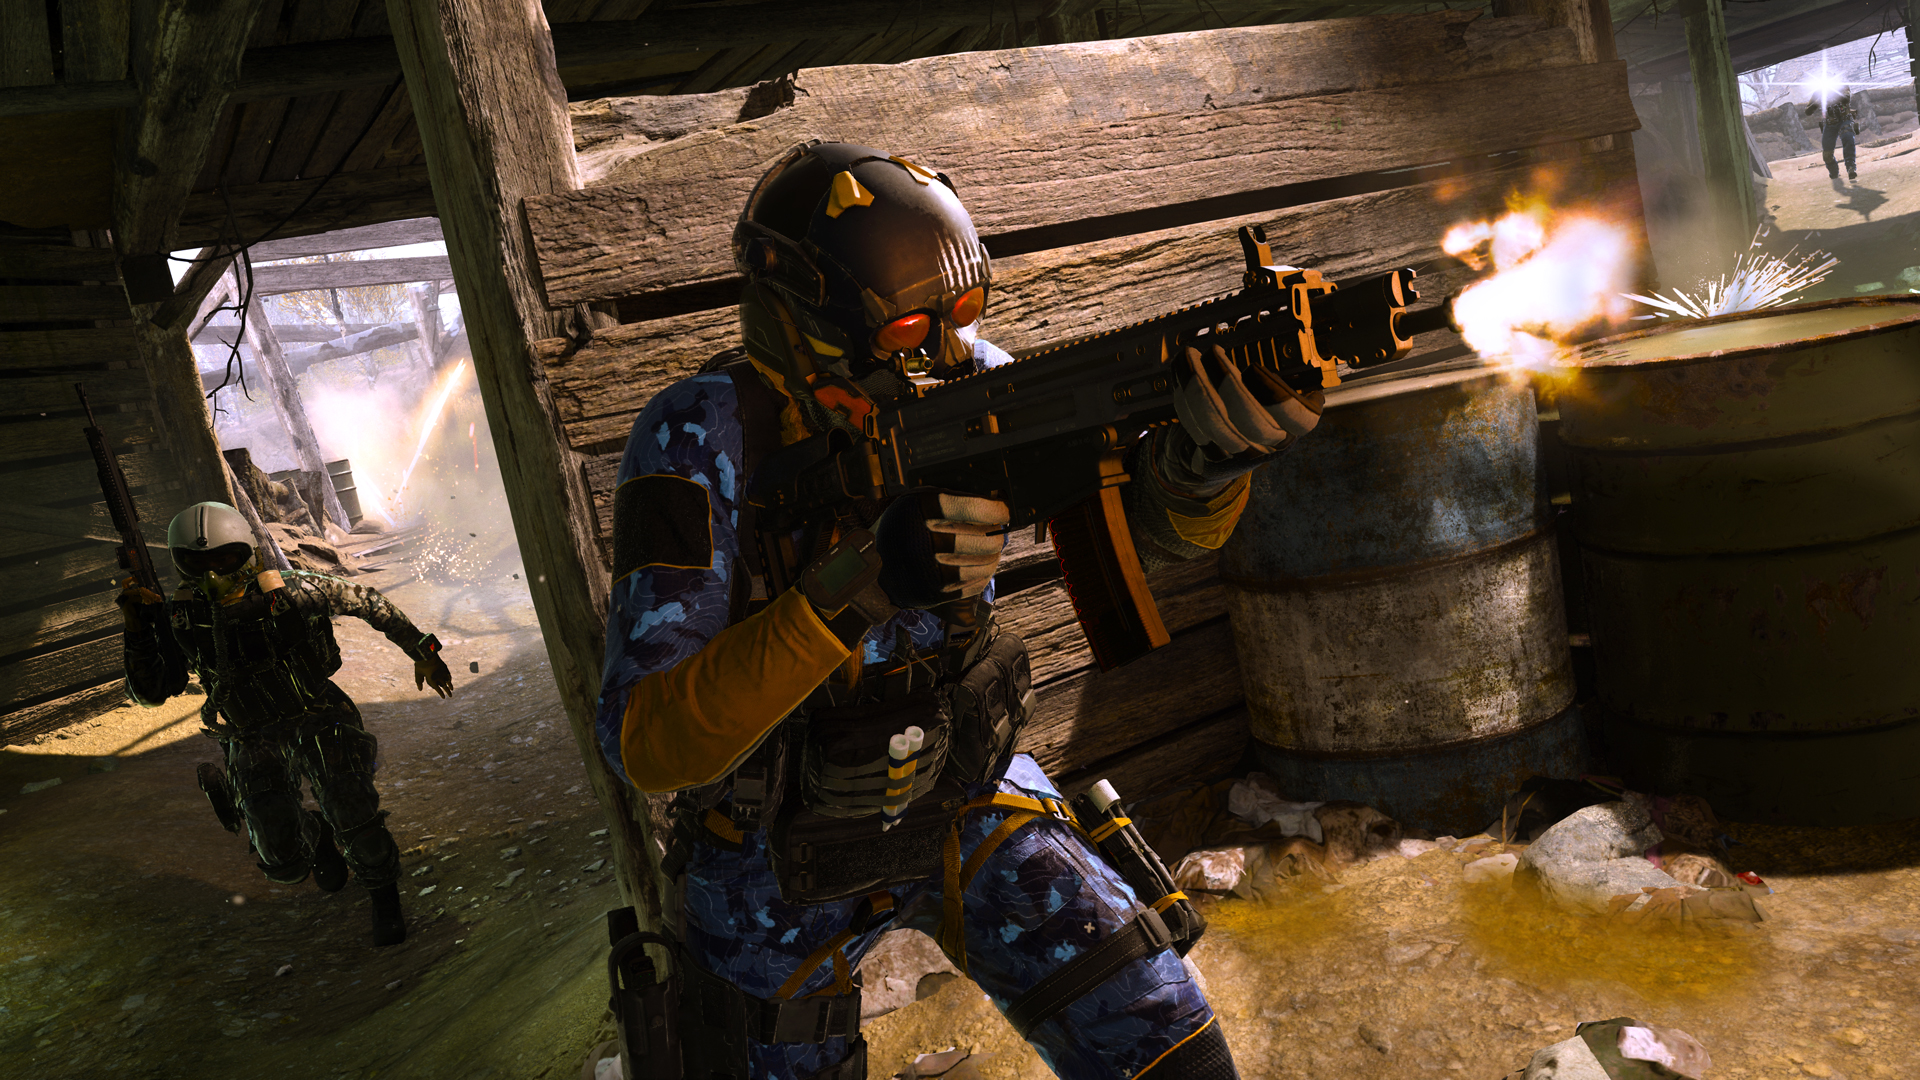
Work with your team to identify and eliminate the biggest threats. Once you find an opening to take the objective, it falls on them to approach, rooting them out of their long-distance perches. By forcing them to make the next move, you can set up your own sight lines to eliminate threats from far out.
Don’t neglect the Dugout as a means to cross the map. Swap to your Handgun or other close-quarters weapon and prepare to take the fight up close. Though a risky maneuver, it can cut your travel time in half when reaching the objective is paramount.
Domination
The Domination flags are positioned nearly equidistant from one another, each set within one of the three trenches. This works to the defending team’s advantage, as once your team has captured a flag, you can move up and down the trench, using the sides to mount your weapon and eliminate would be attackers from afar.
There’s no ideal set of two flags to shoot for. While B is positioned closer to A and C, success here is more about your control over the surrounding environment than keeping your travel distances short. Use this to your advantage by adjusting your focus when necessary; losing a flag won’t break your team’s chances so long as you reposition to another objective.
While greater numbers are always a boon, Wasteland further gives lone wolf Operators the chance to attack an objective even when outnumbered. It’s all about positioning and precision here. If they can’t pinpoint your location, it doesn’t matter how many defenders there are. While it’s always a good idea to work in tandem with your team, sometimes you’ll find that it’s best to take matters into your own hands.
Hardpoint
Before you head straight into long-ranged combat across the fields, you’ll first need to get up close and personal to capture the initial Hardpoint in the central Dugout. While you can snipe to prevent enemies from getting there in the first place, it’s a difficult task to cover all three trenches leading in, so rushing the point may be the best move.
After the Dugout, the remaining four Hardpoints move throughout the wilderness. Thankfully, each is positioned in a location near cover, rewarding the team who gets on the point first. This is particularly true for the House and Church Hardpoints, providing solid cover facing out toward incoming enemies.
The Tanks and Chopper Hardpoints require a bit more finesse. The Tanks objective provides a small radius around the overturned car; stay alert to anticipate the best spot to stand in around the vehicle, depending on where the greatest threat is coming from. The Chopper objective provides a useful brick wall for cover, though it’s just outside the boundary of the Hardpoint, so don’t leave the area unless there’s a teammate already on it.
Cutthroat
Cutthroat is a whole different experience on Wasteland. While rounds can still be won aggressively, you’ve got to always be aware of where the nearest cover is or be ready to fight where you stand should you get caught out in the open.
The overtime flag retains its importance here, especially if your squad doesn’t have the highest health in the round. When you do, however, the flag becomes a great trap. Set up with a Sniper Rifle and a clear line of sight toward it and eliminate enemies attempting to grab it for the round win. For flags placed near cover, you might even take a Shotgun and blast them up close where they least expect it.
It's extra important to stick with your teammates in order to revive fallen Operators when needed. Since much of the fighting consists of long-ranged engagements, there’s often the chance of breaking their sight line after going down. Get the revive, regroup, and seek your revenge.
Search & Destroy
One life per round, no revives. If you were cautious on Wasteland before, Search & Destroy will test your ability to keep a cool head and stay focused on the objective. That doesn’t mean you have to move at a crawl, however, as aggressive plays can end the round early before the enemy team has the chance to execute their strategy.
The defending team starts at Church in the northwest corner of the map, the attacking team by Farm in the southwest corner. As the attackers, you can rotate around to the B bomb site at the top of the North Trench or take a more direct path toward A just outside the Dugout in the South Trench. Planting at B encourages a more sniper heavy approach, while heading for A gives the chance to cut off enemies at close range in the Dugout.
The defensive team has quick access to the north B bomb site, so consider sending an Operator or two to set up sight lines over the objective call out approaching enemies. Getting to A requires a bit more effort and a potential rush through the Dugout. To really throw the attacking team off balance, split your approach by sending close-quarters Operators through the middle supported by snipers moving up the sides.
Top 10 Tips

1. Join the fun. Wasteland is hands down the most sniper friendly 6v6 Multiplayer map at launch. Use the opportunity to polish up your own marksman skills, an ability that will pay off in spades across many other maps and modes.
2. Expand your options. Sniper Rifles aren’t the only weapon class well suited for long-distance engagements. Experiment with high-zoom Optics on Battle Rifles, Marksman Rifles, LMGs, and even Assault Rifles. When you need pinpoint accuracy, swap your full-auto weapon to the semi-auto setting if possible.
3. Bomb the point. With so much open space, air-to-ground attacks can be devasting in objective modes, with the potential to wipe out a whole group of enemies at a time. From the lower cost Precision Airstrike and Cruise Missile to the higher tier Carpet Bomb, these are worthy streaks to bring into the match.
4. Snap a photo. Nerves twitching as you head into the Dugout? Equip the Snapshot Grenade and toss it into the underground crossroads on approach, helping you to identify the number and position of enemies within.
5. Boost your strafe. The more you stay on the move, the more difficult it will be for enemy marksman to land their shots. Equip the Stalker Boots to increase your strafing speed while aiming down sights, allowing you to stay on target while avoiding incoming fire.
6. Rugged terrain. Taking shots with no cover in sight? While the fields are wide open, the terrain is far from flat, so get down behind some elevated ground to disrupt their sight line and then reposition for the counterattack.
7. Activate Scorestreaks. Especially in objective modes, consider swapping from Killstreaks to Scorestreaks. Wasteland’s open layout further boosts the effectiveness of many of the streak options, so take advantage of that by expanding your avenues toward earning them.
8. A glint in the woods. While the highest magnification Optics perform great here, keep in mind that the extra zoom typically comes with some sniper glint, a visual cue that pinpoints your position to enemies who see it. Consider trying a lower magnification to remove the glint altogether or relocate after every few shots to keep them guessing.
9. Clear the skies. Enemy streaks harassing your position? Equip a Launcher and knock them out of the sky. With all the open space available on Wasteland, it shouldn’t be hard to back off and land your shots.
10. Focus. Focus on the objective, focus on the horizon, and as a sniper, learn to control your focus ability when aiming down sights. The steadier aim only lasts for a few moments, so get as close to your target as possible before zeroing in.

© 2024 Activision Publishing, Inc. ACTIVISION, CALL OF DUTY, and MODERN WARFARE are trademarks of Activision Publishing, Inc. All other trademarks and trade names are the property of their respective owners.
For more information, please visit www.callofduty.com and www.youtube.com/callofduty, and follow @Activision and @CallofDuty on X, Instagram, and Facebook. For Call of Duty Updates, follow @CODUpdates on X.
