Call of Duty: Modern Warfare Zombies: Acquisitions

Ready to start using and collecting the most powerful tools in Modern Warfare Zombies? This guide will walk you through each Acquisition and what they do best, as well as how to equip them and what it means to unlock the ability to craft them.
Prebrief
Follow this guide to become an expert on what you’re looking at as you find Acquisitions either in Urzikstan or as you receive them via Mission Rewards in Call of Duty®: Modern Warfare® Zombies.
Acquisitions
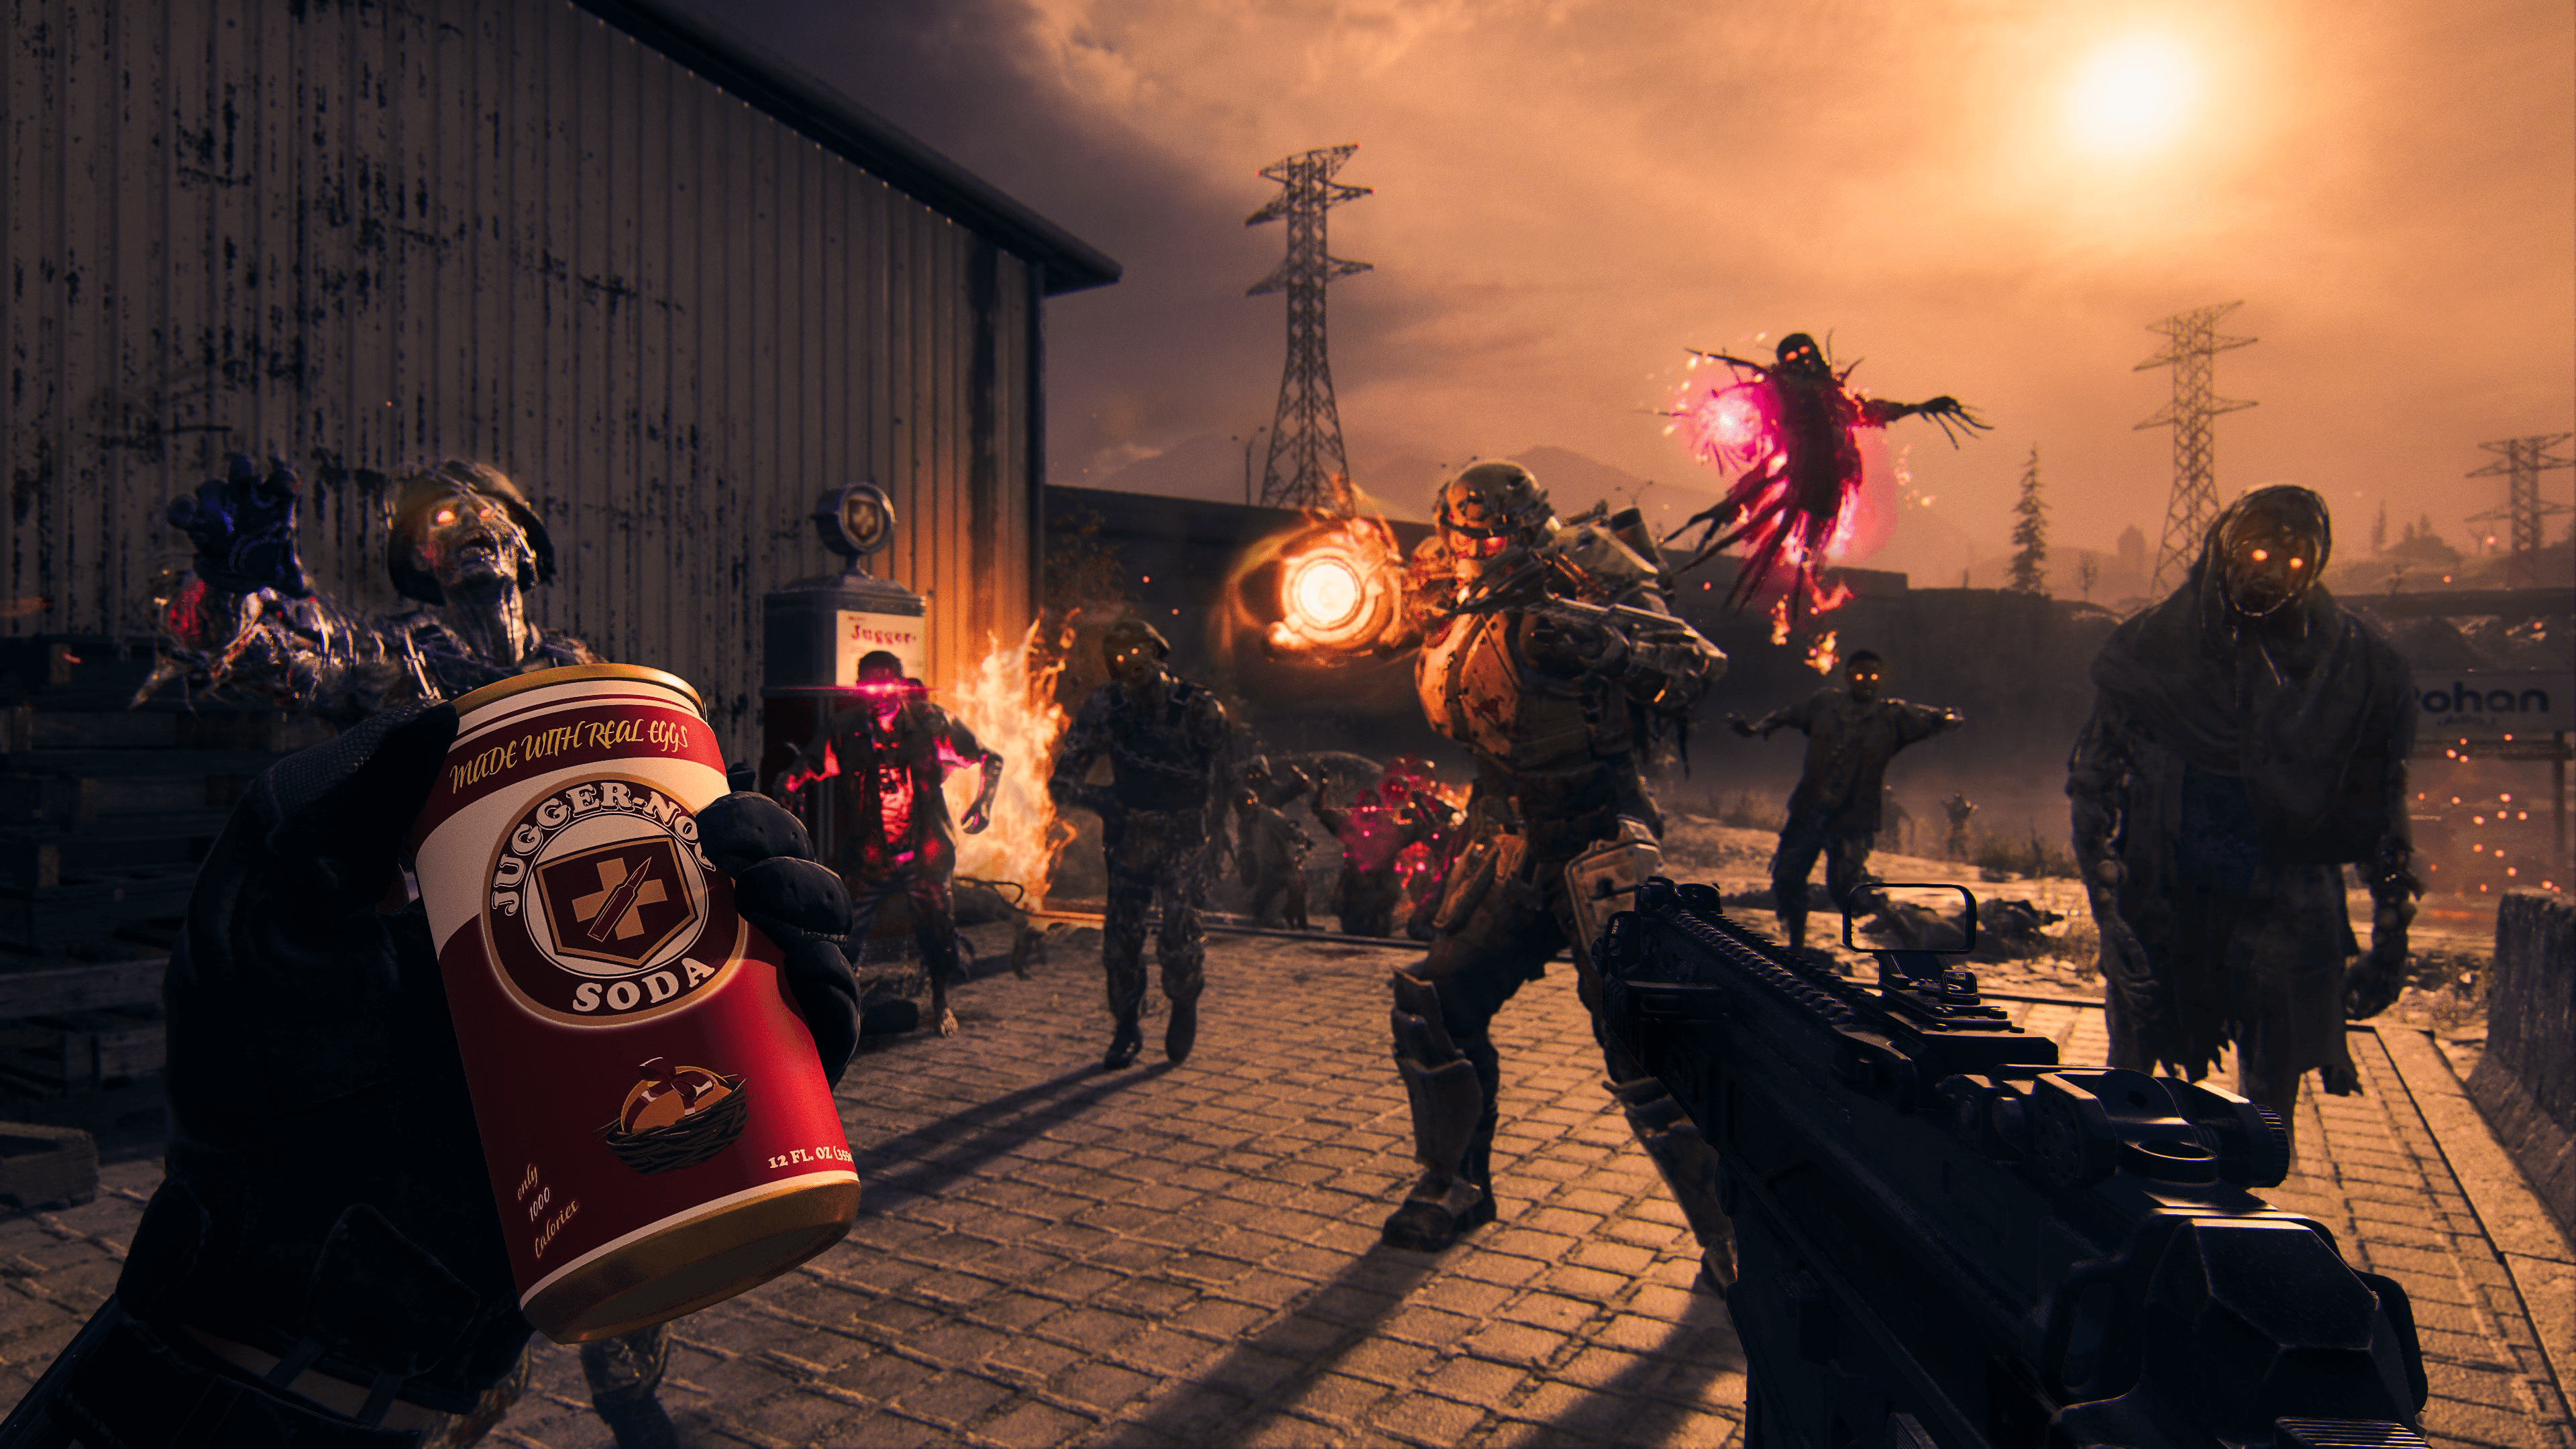
Acquisitions are one of the most important features in Modern Warfare Zombies. These are highly valuable tools that instantly power up your Operator each session. Technically, you don’t need a single Acquisition to hunt Zombies, but doing so without these powerful upgrades is extremely difficult.
It is encouraged to collect as many Acquisitions as you can and bring them back to your Stash. You can use them when you pick them up for an immediate boost or save them for your next deployment.
// INTEL CARD
- MWIII
- WZ
- WZM
Acquisitions
// MODERN WARFARE ZOMBIES // ACQUISITIONS

Power tools: Acquisitions are very powerful tools that can directly or indirectly be the key to your survival in Modern Warfare Zombies. They aren’t technically required for success, but they will help tremendously.
To use or to save: When deciding whether to use an Acquisition, just remember, survival is key and if you go down without using your Acquisitions, it won’t matter in the end. Stash-em or lose-em.
Duplicates are worth picking up: You’re encouraged to use Acquisitions as much as possible in order to survive the Exclusion Zone. When you find duplicate Acquisitions, collect them and store them in your Acquisition Stash. Remember that you can also share these items with your squad members to help them get a leg up in battle against the undead forces.
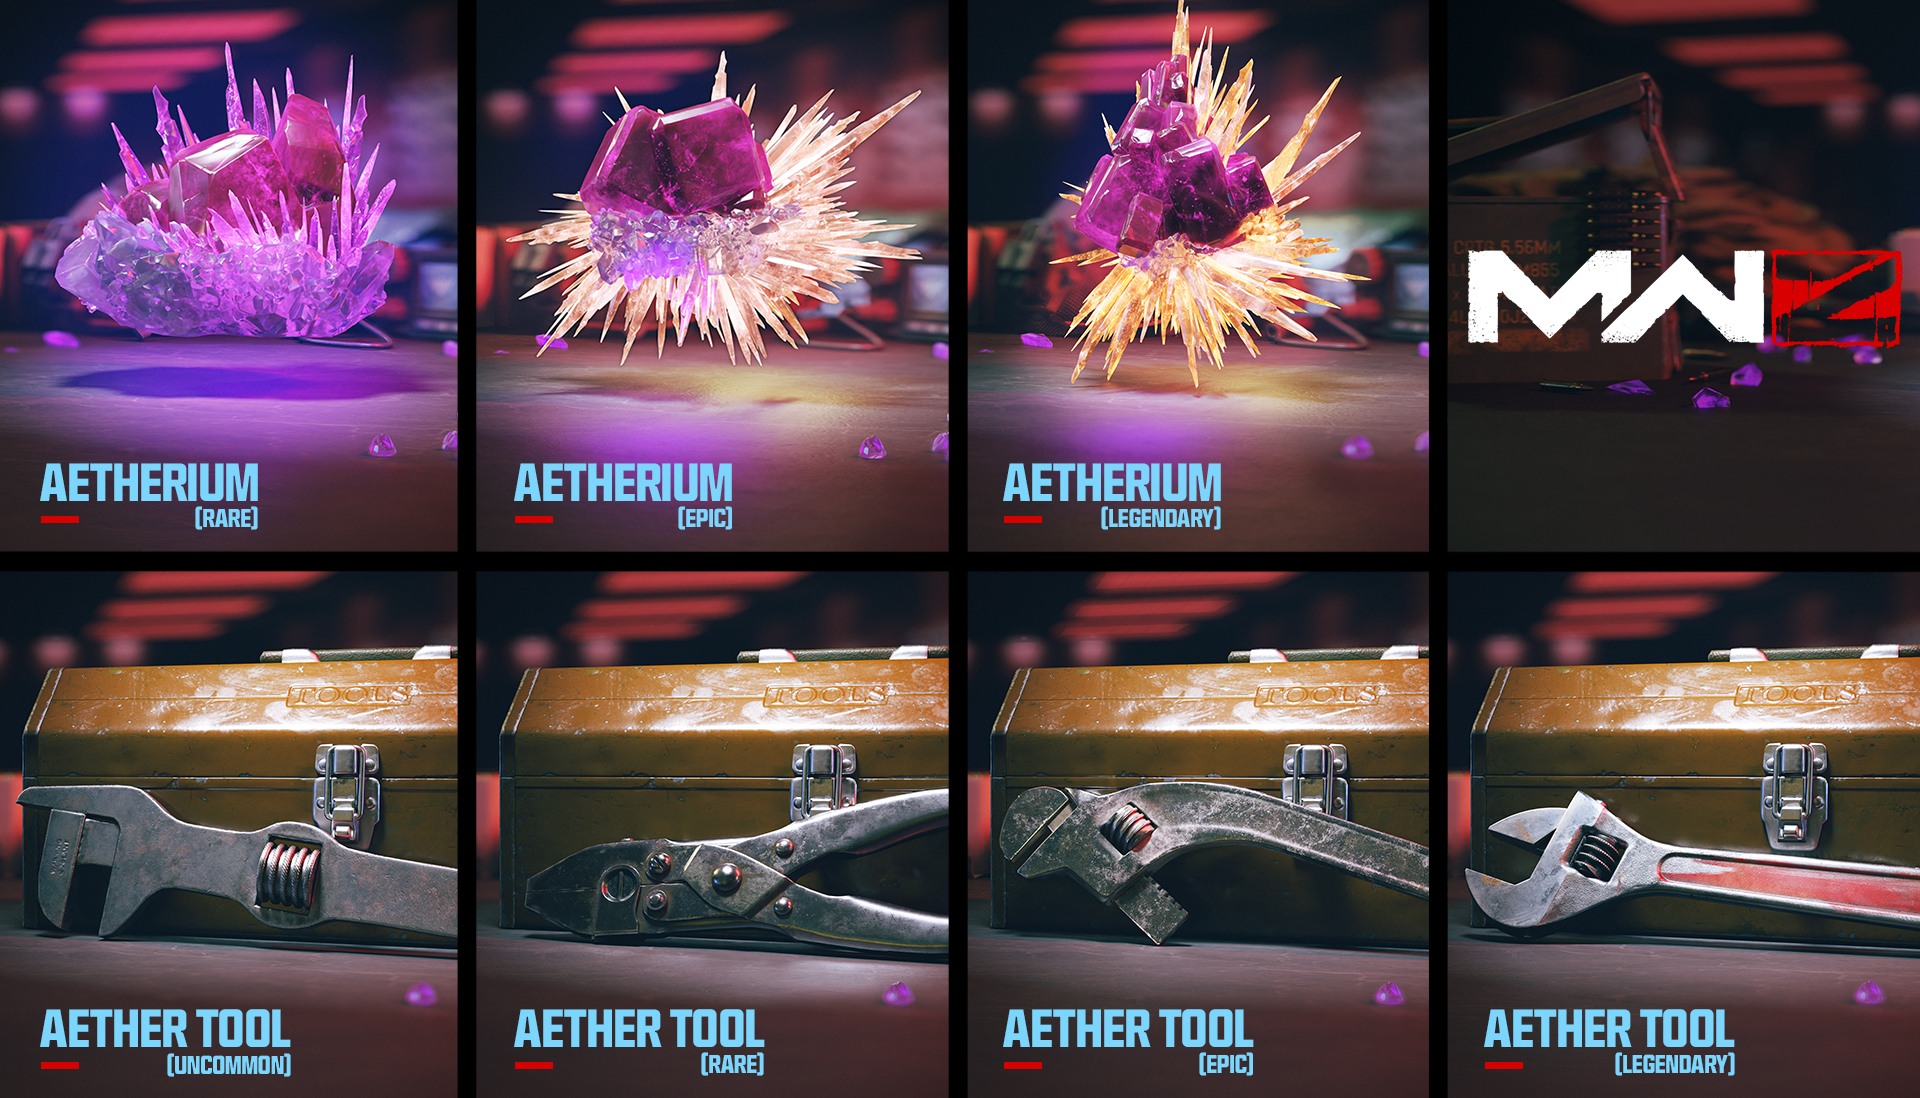
Acquisitions are items that you may recognize if you are a veteran Zombies player. However, Acquisitions now work quite a bit differently than they have before. Listed below are all the Acquisitions you can find throughout Urzikstan. It’s important to note that Acquisitions are not unlocked via any level or challenge. They are either collected and stored in your Stash, ready to be equipped, or they are crafted. To craft Acquisitions, you must extract with the Schematic for that item. The four Acquisitions are Aetherium Crystals, Perk-a-Cola Cans, Ammo Mods, and Wonder Weapon Cases.
Acquisition Stash
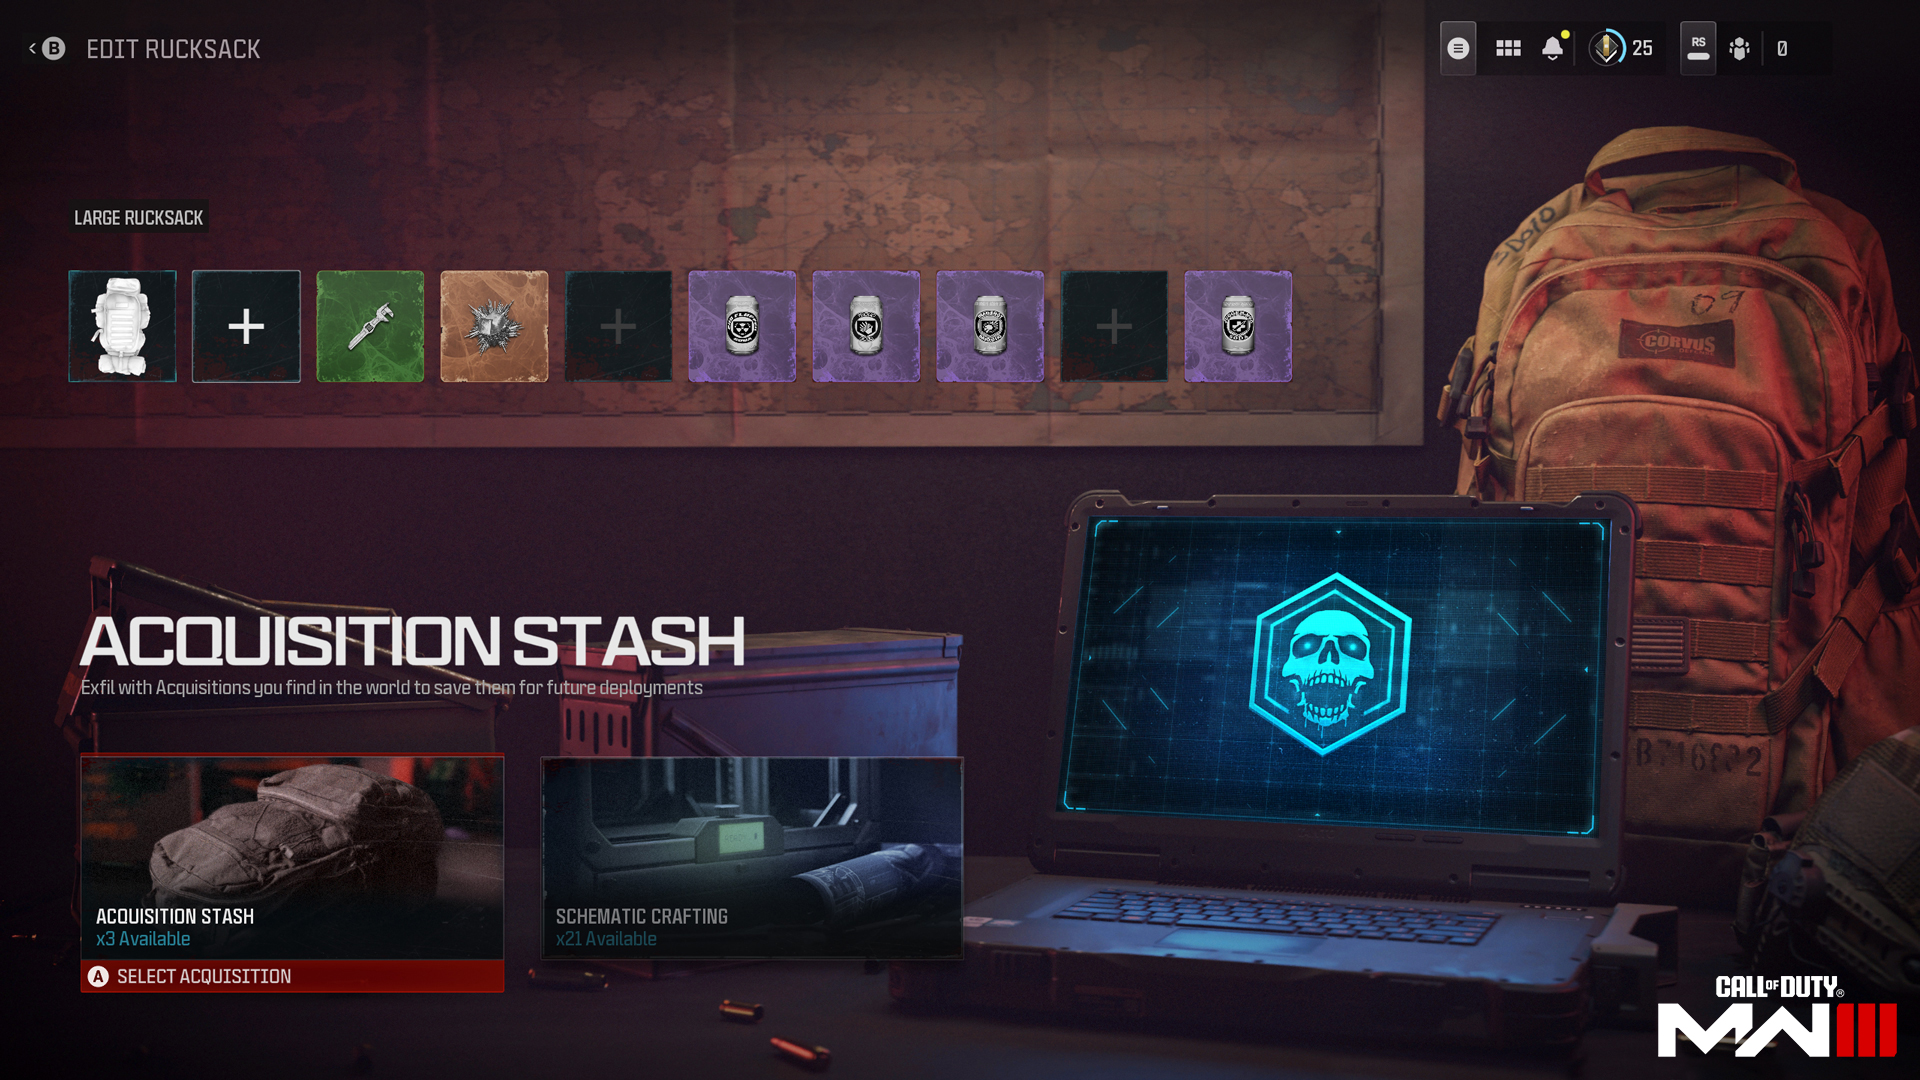
As mentioned in the Equipping Your Operator Guide, from the Gear tab, you can select an empty slot in your Rucksack. This takes you to another menu where you’ll have two options: Acquisition Stash or Schematic Crafting.
In the Acquisition Stash, you can collect up to 10 Acquisitions. This includes Aether Tools, Aetherium Crystals, Perk-a-Cola Cans, and Ammo Mods. Wonder Weapons will not extract with you when you leave a deployment.
Try to always have at least one Aether Tool in your Stash. Aether Tools allow you to upgrade any weapon, and if you upgrade a Contraband Weapon, or any weapon for that matter, as you load into a session, you will automatically start with an advantage. You can use an Uncommon Aether Tool to upgrade your starting weapon to Uncommon Rarity, and/or a Rare Aether Tool to upgrade any weapon to Rare Rarity. However, what you can’t do is combine two Aether Tools of the same rarity to upgrade past that rarity. Whichever rarity the Aether Tool corresponds to is the maximum rarity that Aether Tool is affective for and any rarity below the Aether Tool’s rarity will instantly jump to the corresponding level when you use these Acquisitions. If you’re struggling to decide which Acquisition to take as you extract or leave it behind, Aether Tools are great go-tos.
Tip: You start your MWZ experience with nothing in your Stash, so using your last Acquisition will simply bring you back to humble beginnings. Your Stash is not in the negative and you can always earn more via future deployments and/or Mission Rewards.
The other option you have when selecting an empty slot in your Rucksack is Schematic Crafting. Before you can craft anything within this menu, you must unlock the specific item’s Schematic by completing a successful exfil with it in your Rucksack. You will find these randomly throughout a deployment.
For instance, if you find both a Refined Aetherium Crystal Schematic and a Rare Aether Tool, stow the Schematic and use the Rare Aether Tool during the current deployment to increases the chances of completing a successful exfil. (We cover Refined Aetherium Crystals in the next section). You will now have a permanent way to acquire Refined Aetherium Crystals without having to find them during a session. Every Acquisition has a Schematic.
Aetherium
Aetherium is an other-worldly substance that has devastating effects on the matter in our dimension. It can be weaponized, and the consequences of its misuse are part of what you and Operation Deadbolt are looking to contain. The purity of Aetherium designates its potency and can provide ways to power up your weapons and make them more effective against the deadly Zombies unleashed in Urzikstan. Listed below are the Aether Tools and Aetherium Crystals available in Zombies. Reference this part of the guide when looking for Acquisitions and Schematics that can increase your firepower.
Uncommon Aether Tool (Green)
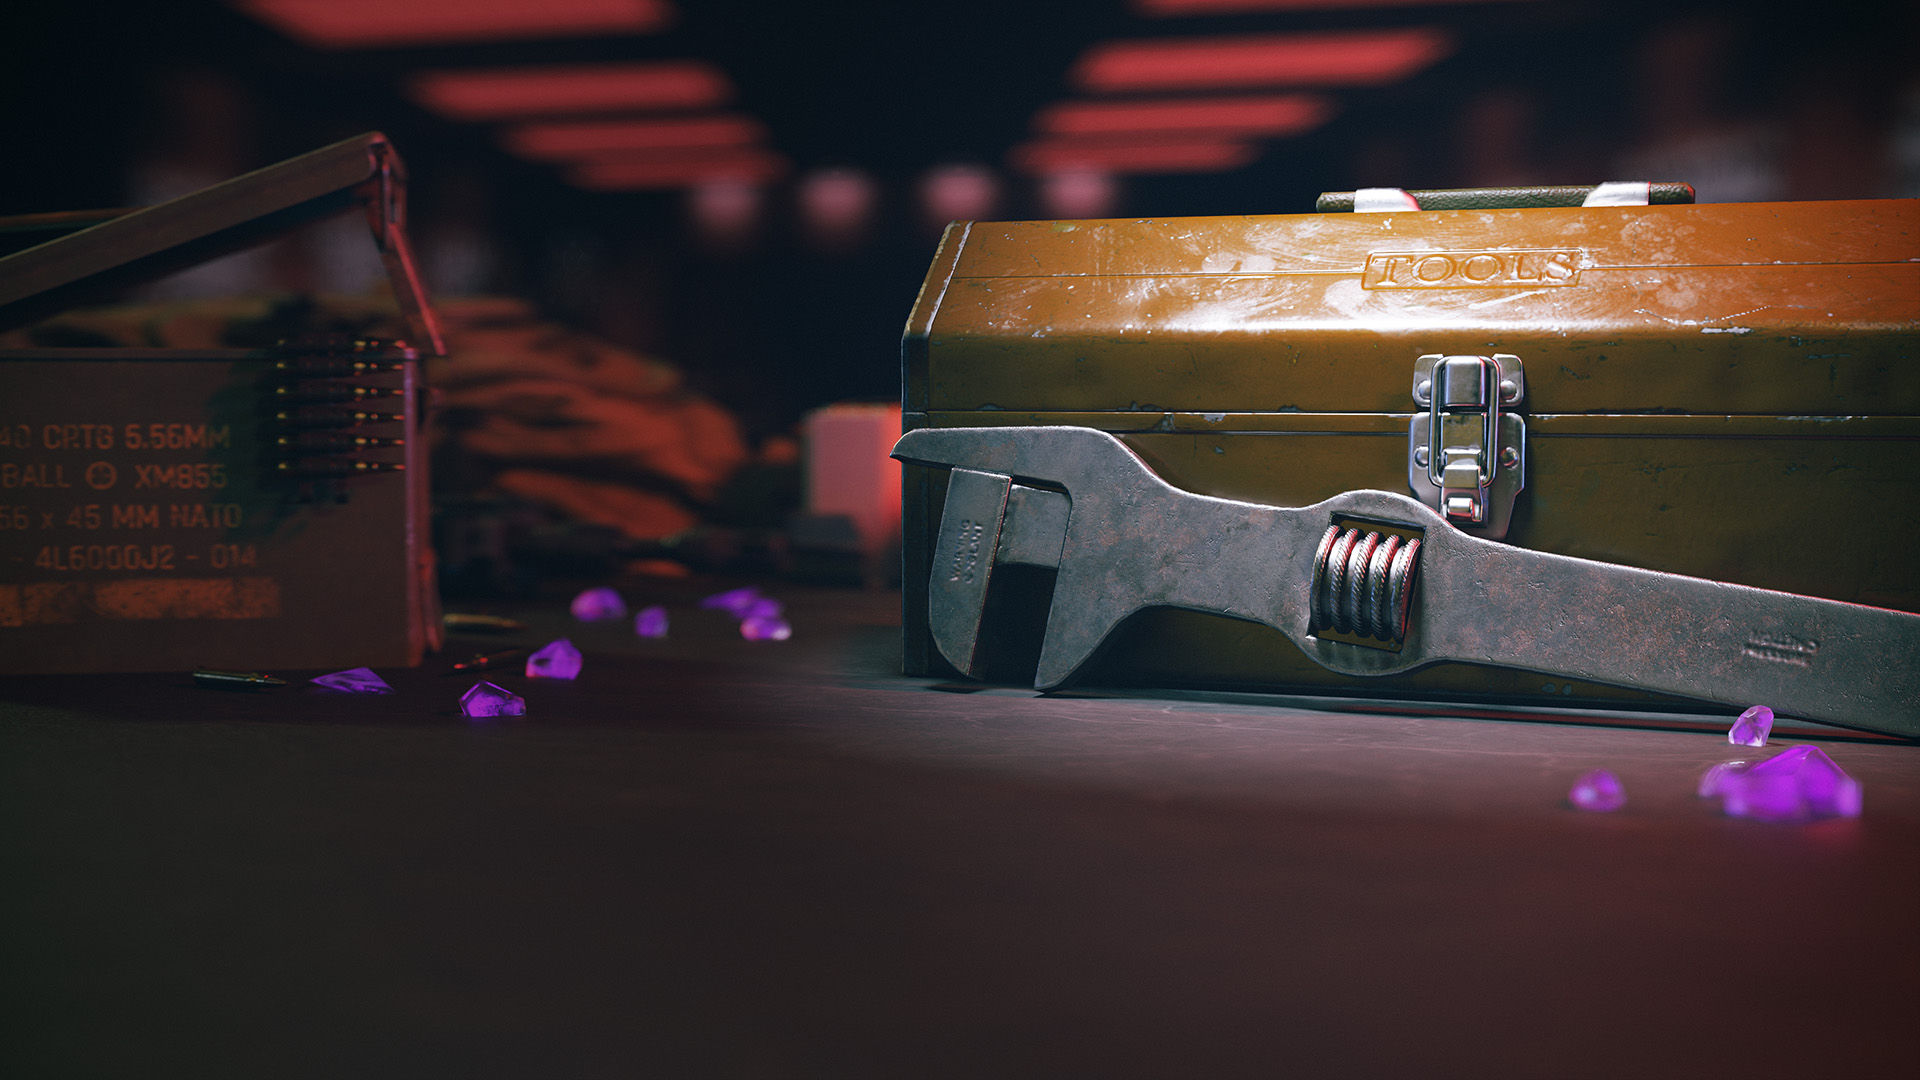
"Uncommon Aether Tool will upgrade your currently held weapon to Uncommon Rarity."
Rare Aether Tool (Blue)
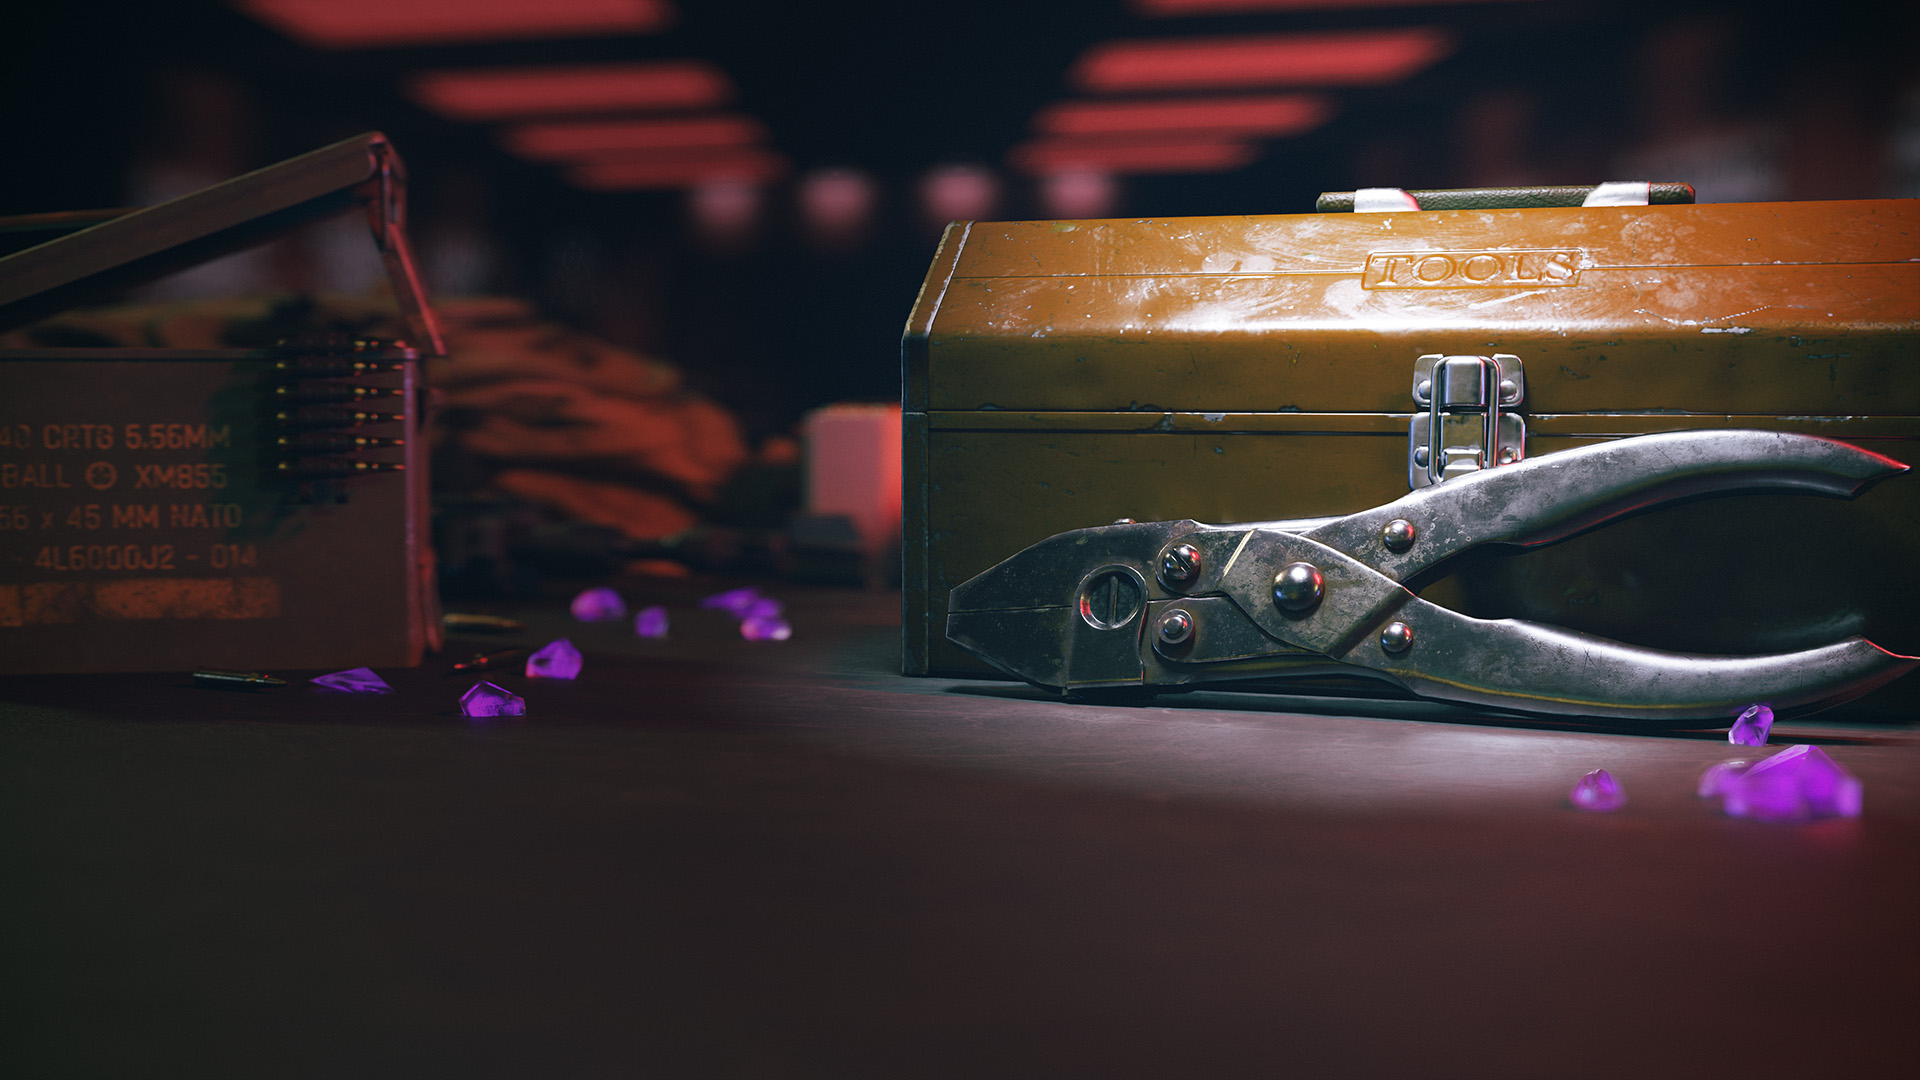
"Rare Aether Tool will upgrade your currently held weapon to Rare Rarity."
Epic Aether Tool (Purple)
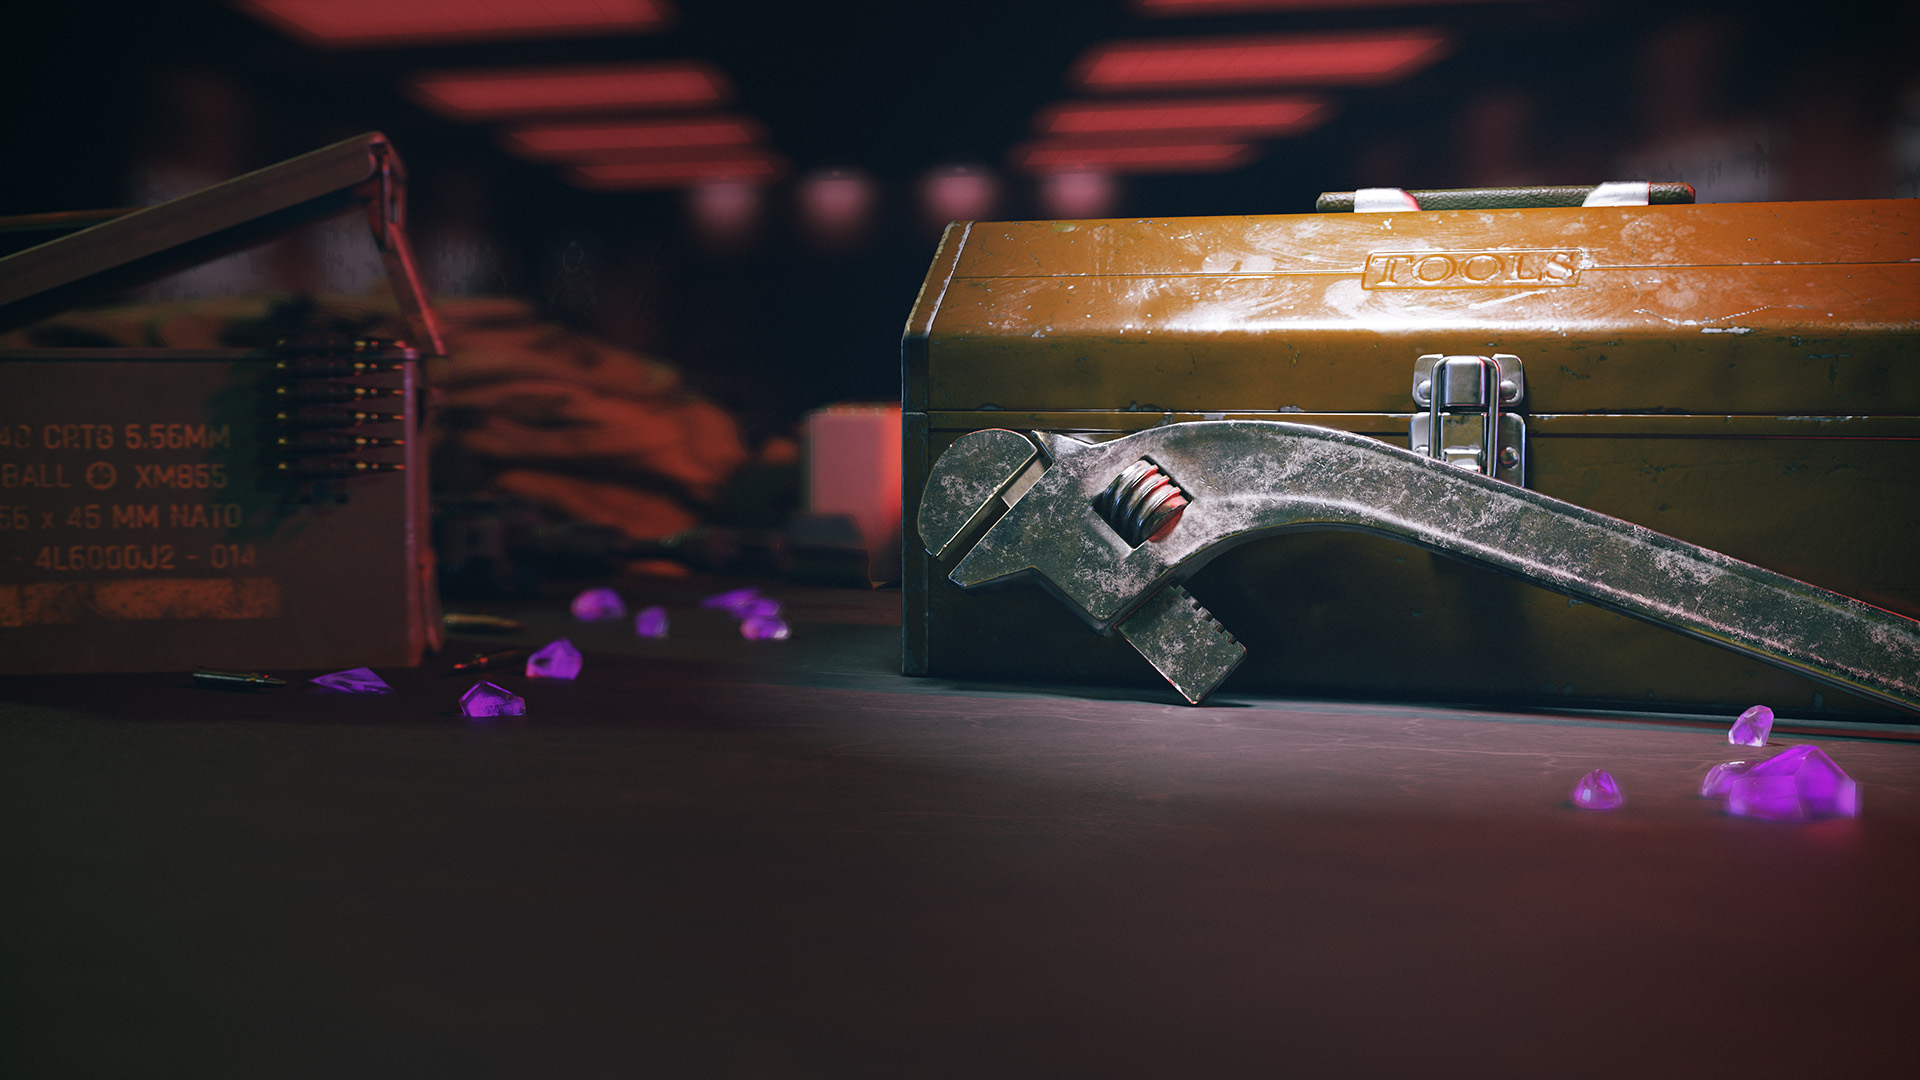
"Epic Aether Tool will upgrade your currently held weapon to Epic Rarity."
Legendary Aether Tool (Orange)

"Legendary Aether Tool will upgrade your currently held weapon to Legendary Rarity."
Raw Aetherium Crystal

"Raw Aetherium Crystal will Pack-A-Punch currently held weapon to Level I."
Refined Aetherium Crystal
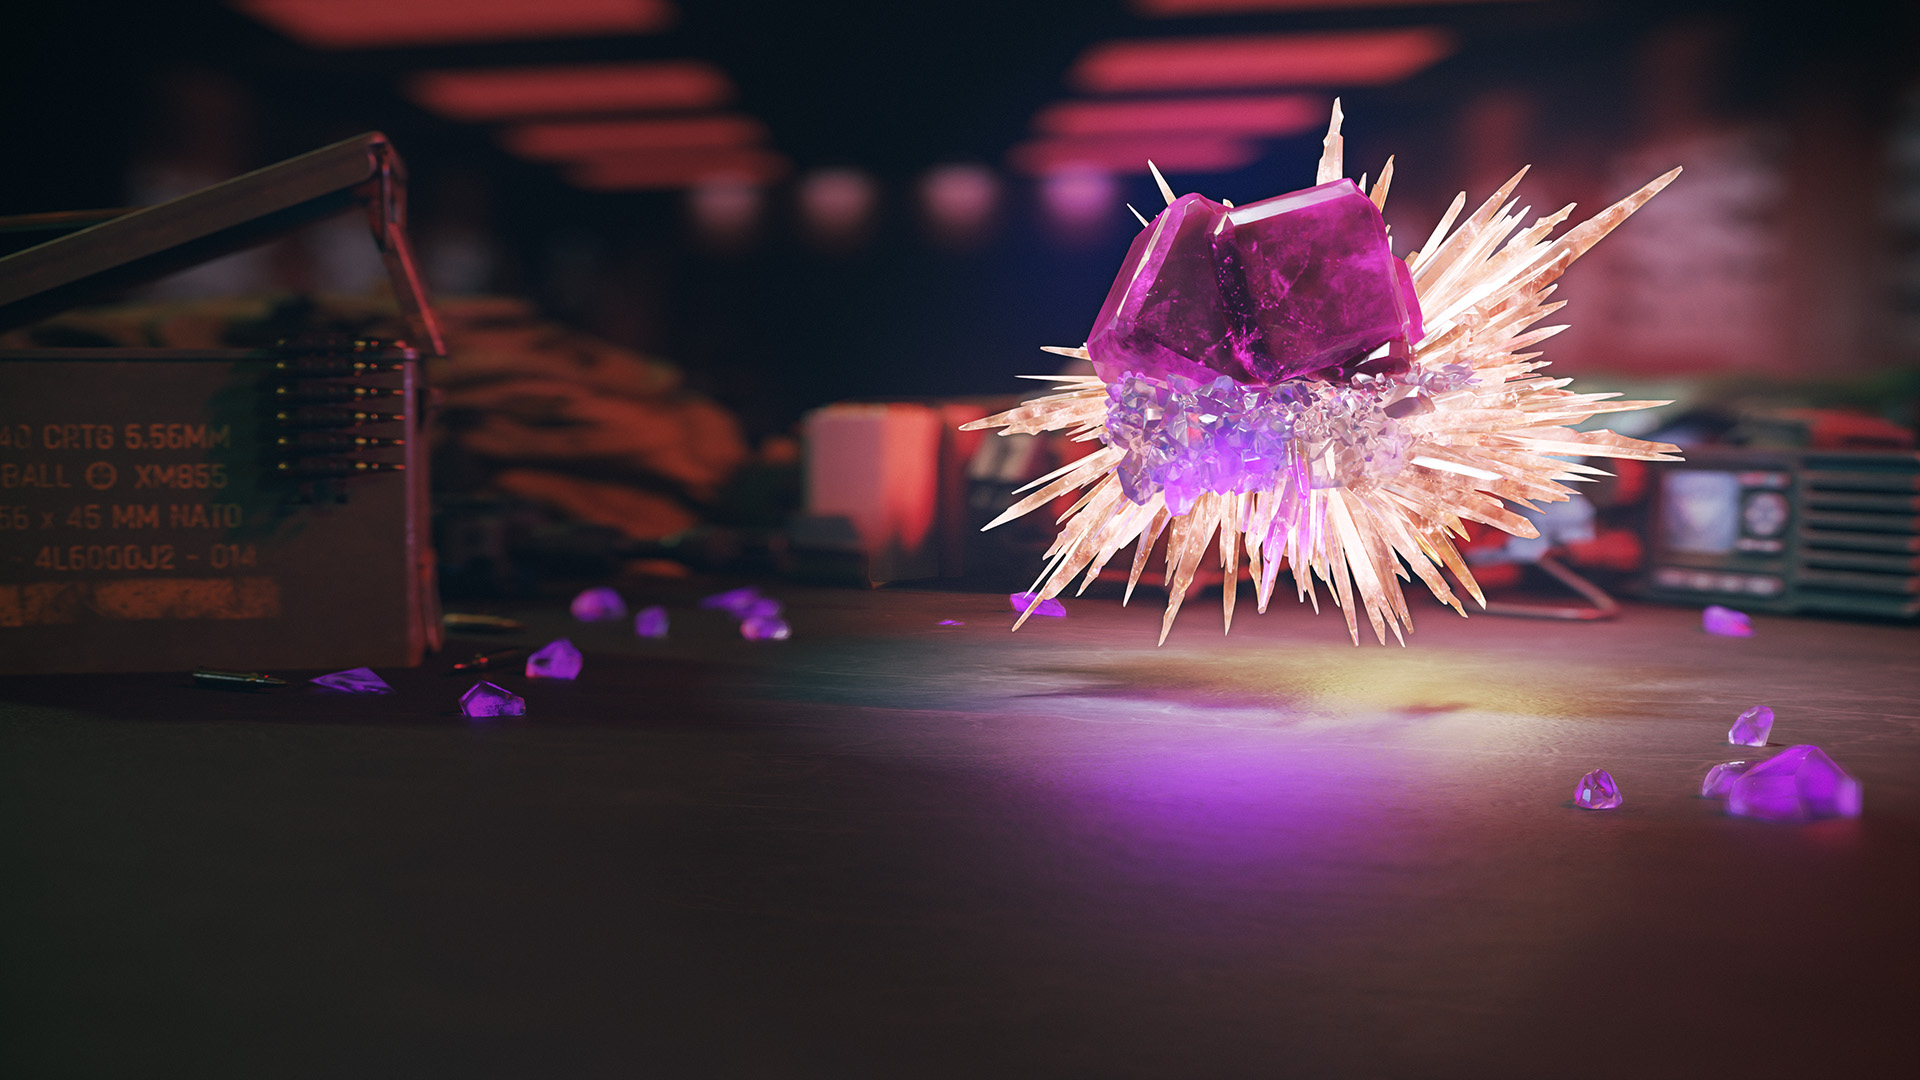
“Refined Aetherium Crystal will Pack-A-Punch currently held weapon to Level II.”
Perk-a-Cola Cans
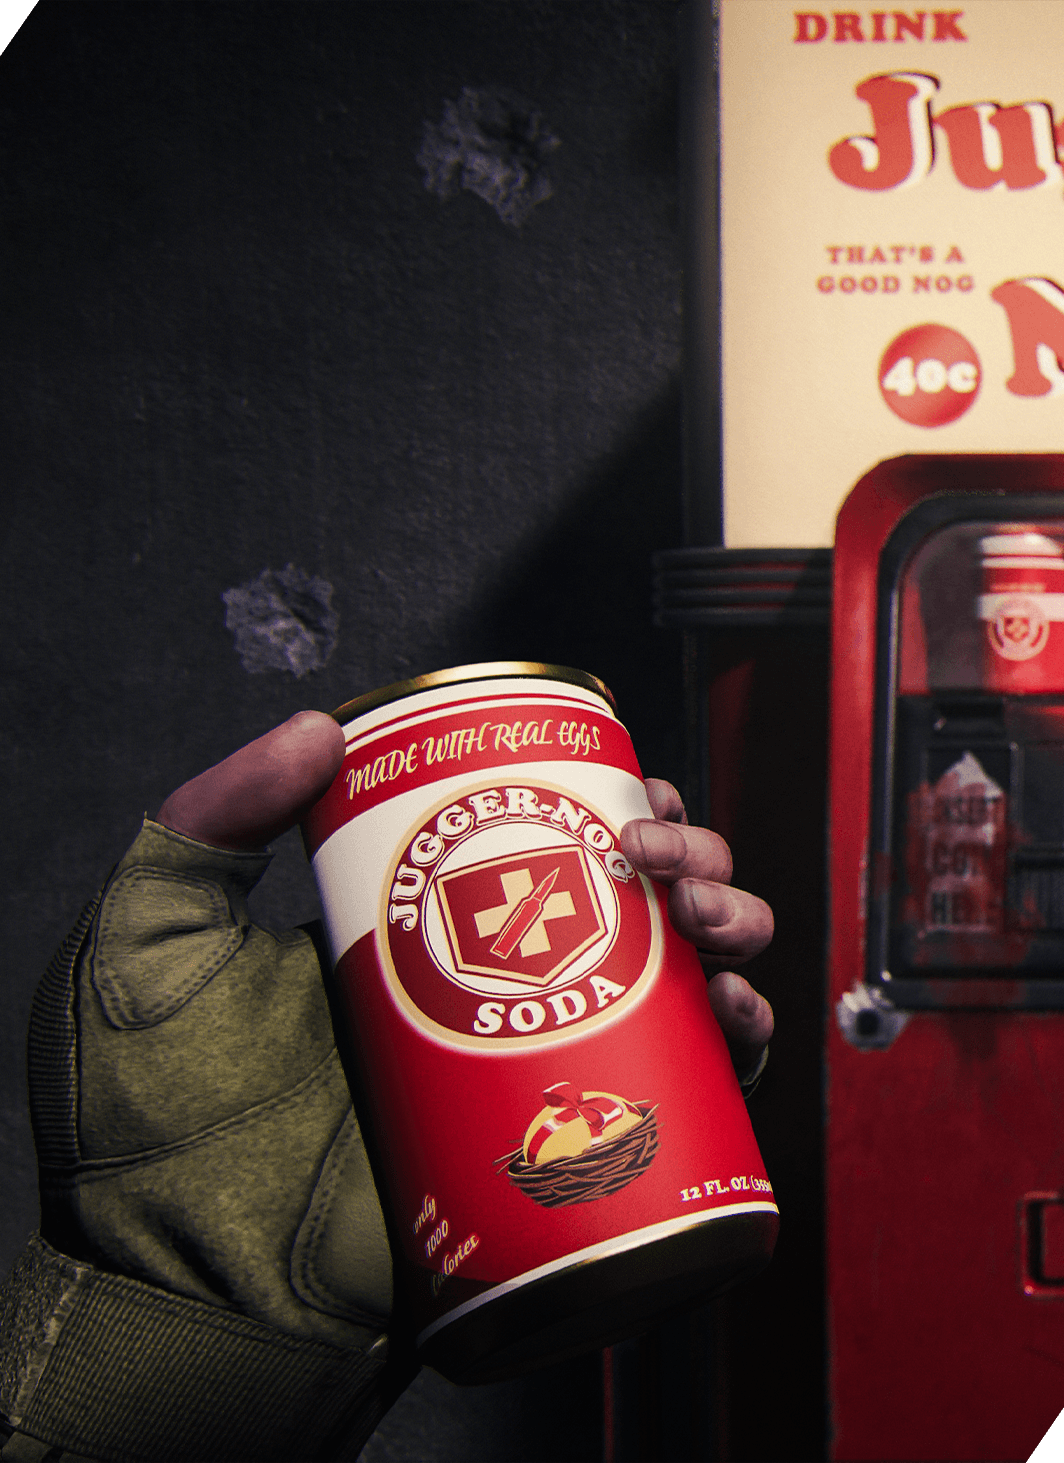
Perk-a-Cola Cans are particularly fun Acquisitions that immediately grand a Perk to your Operator upon consumption it until your Operator extracts or is fully eliminated. This includes when a player has been completely downed and the “Call for Help” message appears for other players. These Operators can be revived, however they will be revived without any of the Perks they previously head before elimination. In true Call of Duty fashion, Perks make even the most fun gaming moments even more fun.
While in MWZ, Perks can be essential to your survival and can become huge quality-of-life upgrades. You can stow a Perk-A-Cola Acquisition for a future deployment if you find a Perk already active on your Operator. You can see which Perk-a-Cola Perks you have activated at any time at the bottom of your screen. Listed below are all of the Perk-a-Cola Cans available in Modern Warfare Zombies.
Deadshot Daiquiri Can
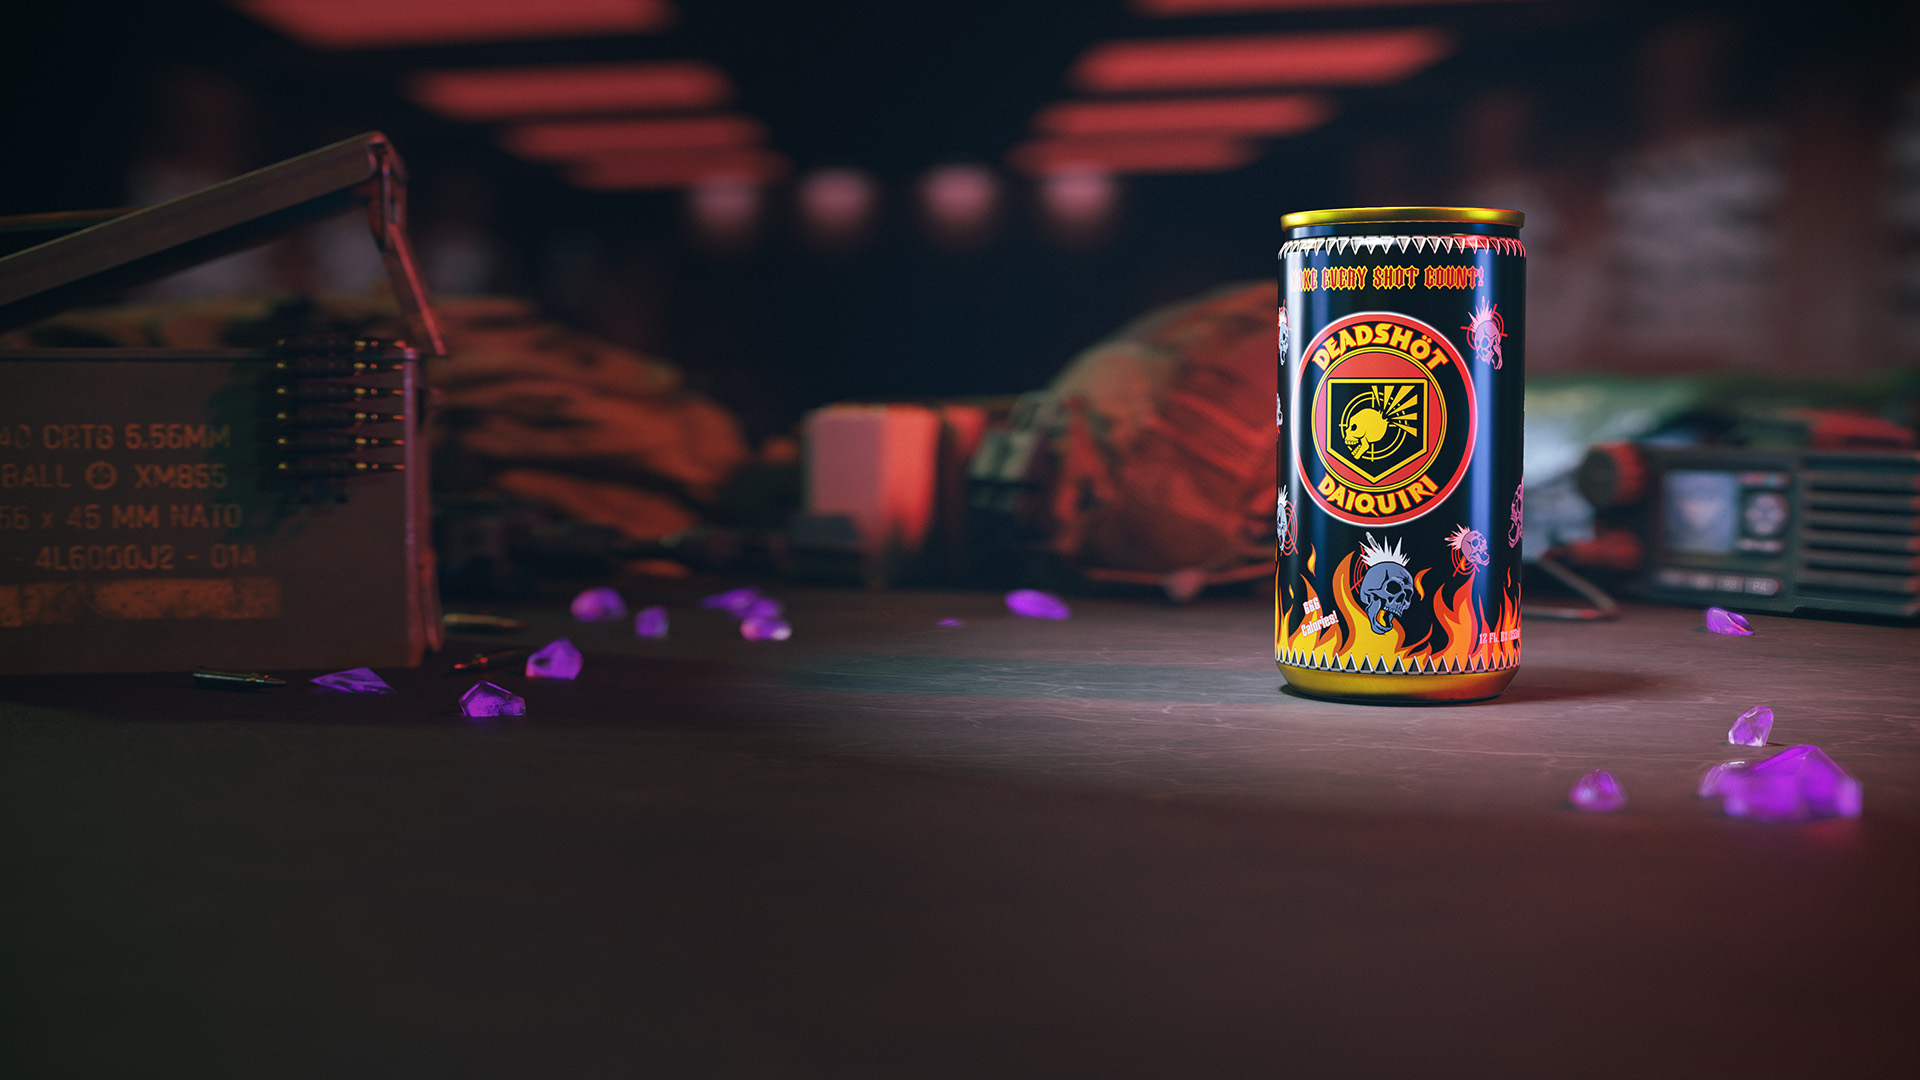
Grants the following: Aiming down sight moves to enemy critical location. Increase enemy critical damage.
Death Perception Can
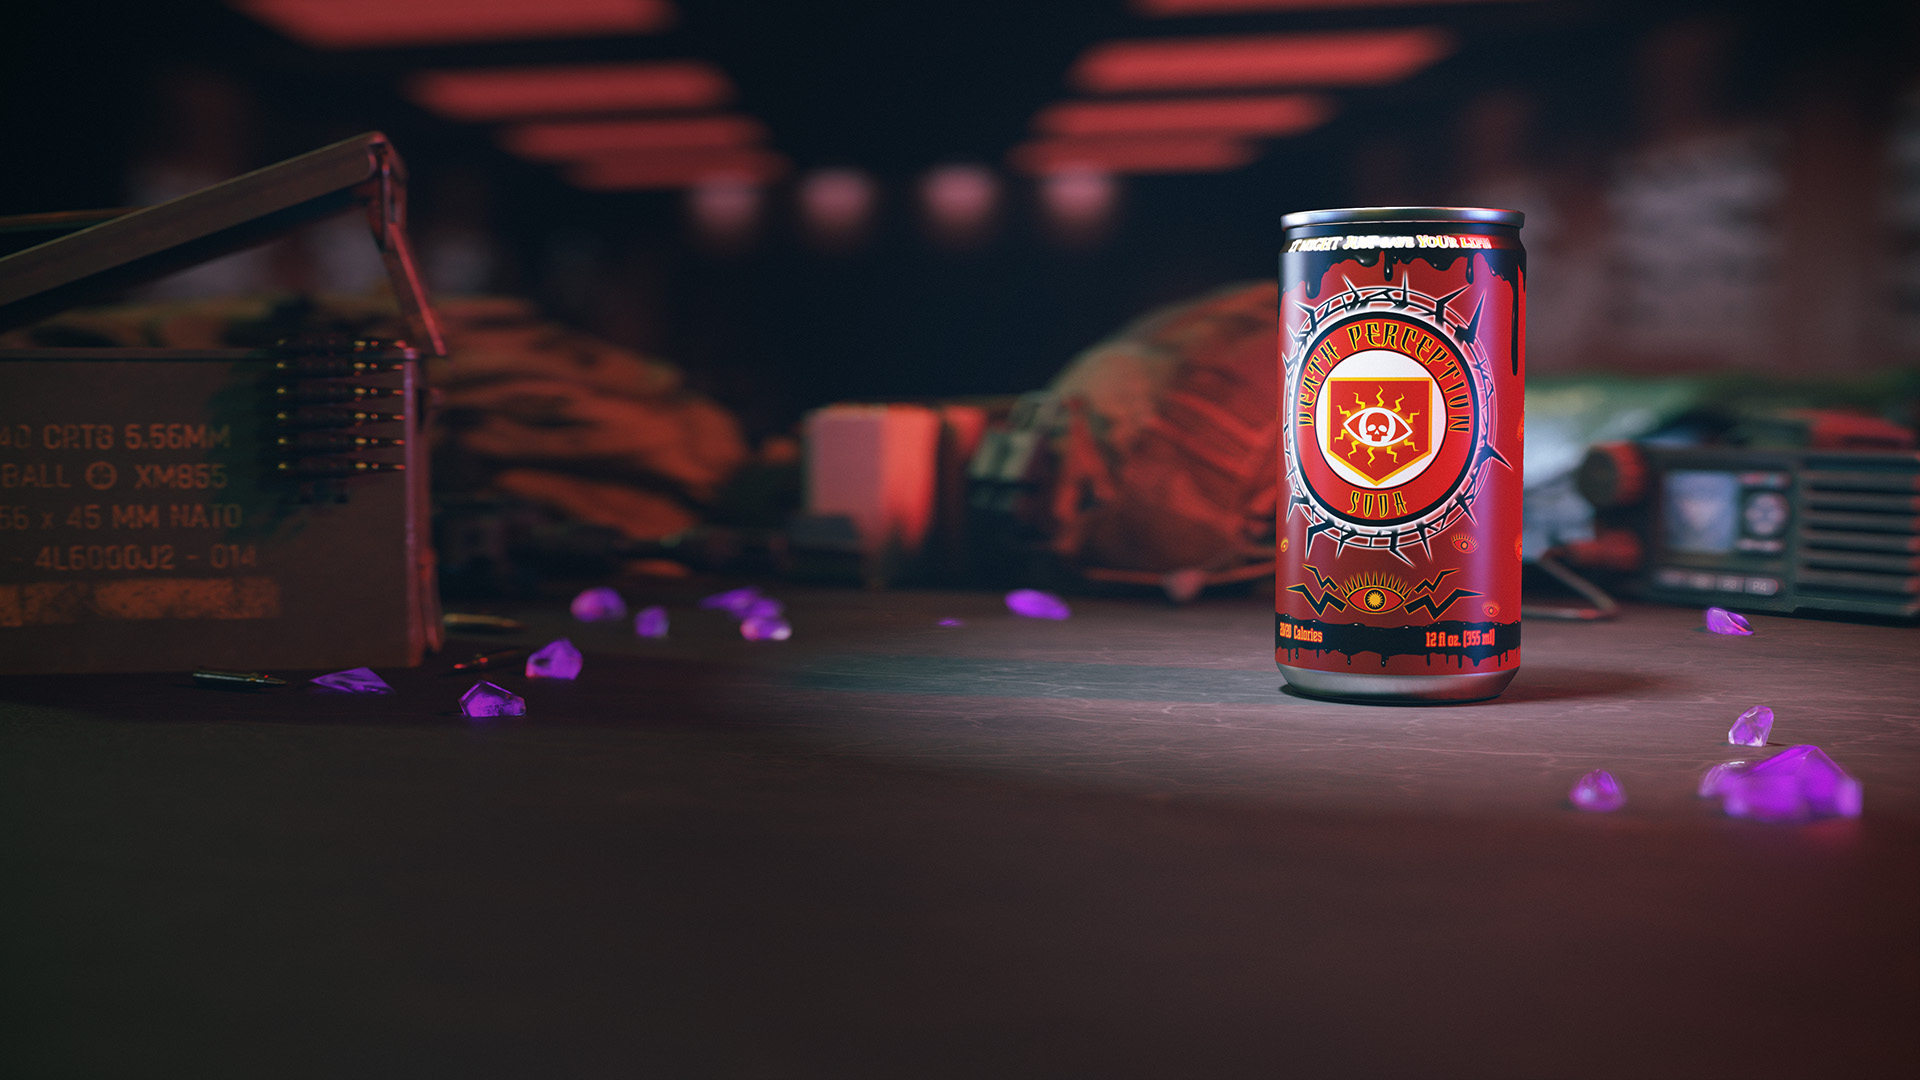
Grants the following: Obscured enemies, chests, resources, and item drops are keylined.
Elemental Pop Can
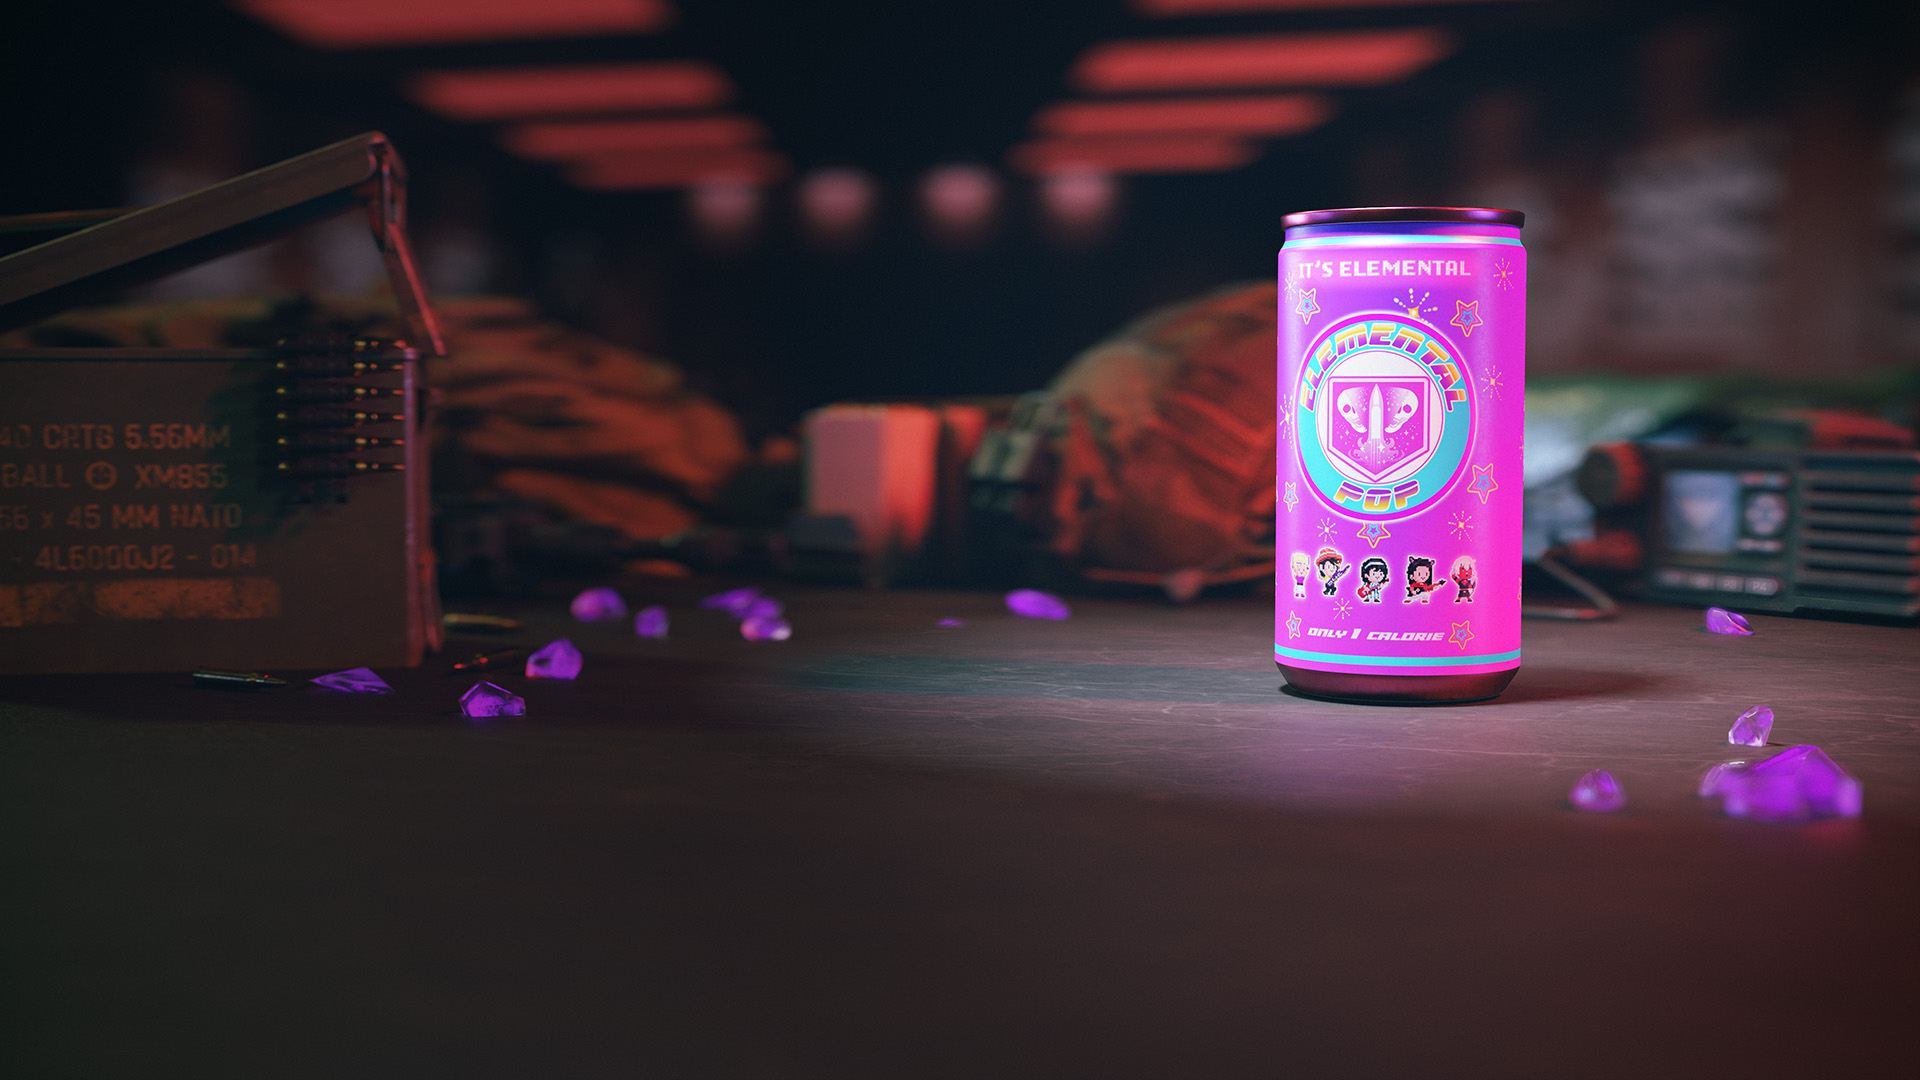
Grants the following: Every bullet you fire has a small chance to apply a random Ammo Mod effect.
Jugger-Nog Can
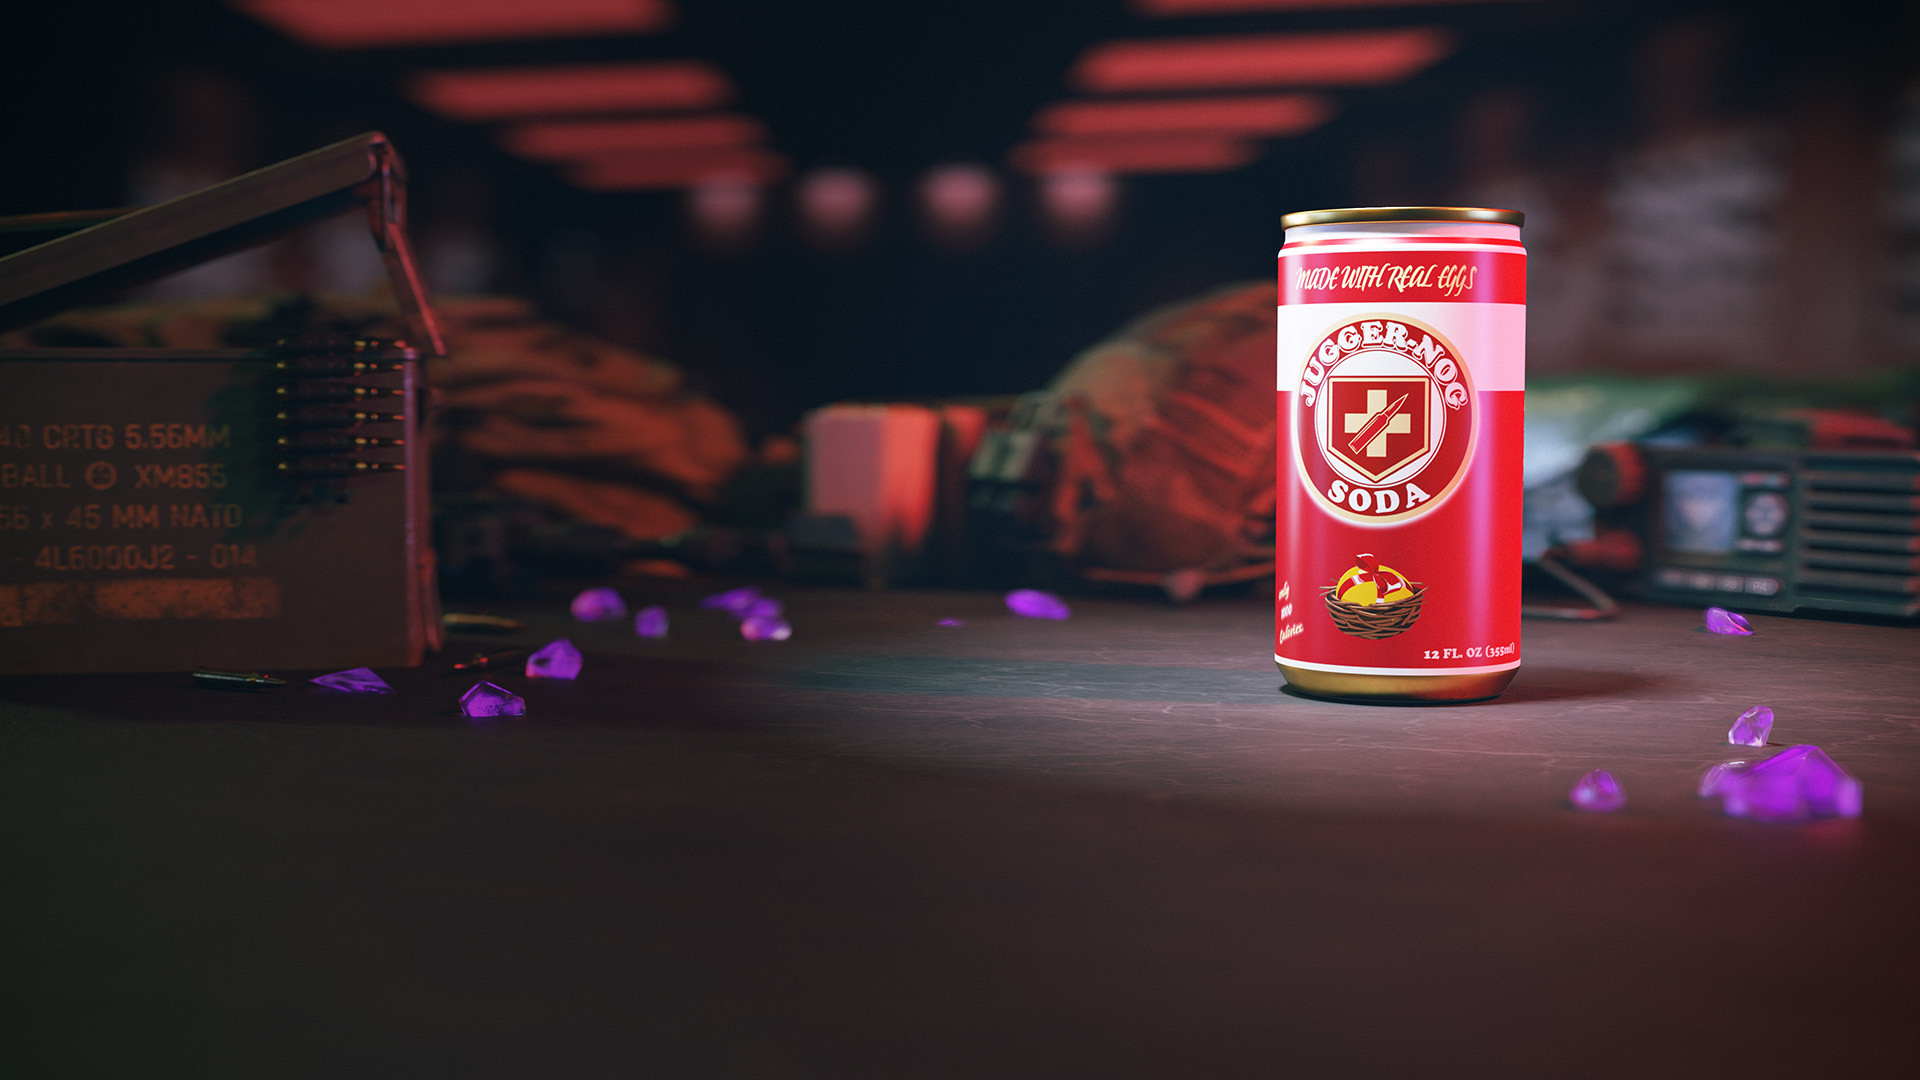
Grants the following: Increases max health.
PHD Flopper Can
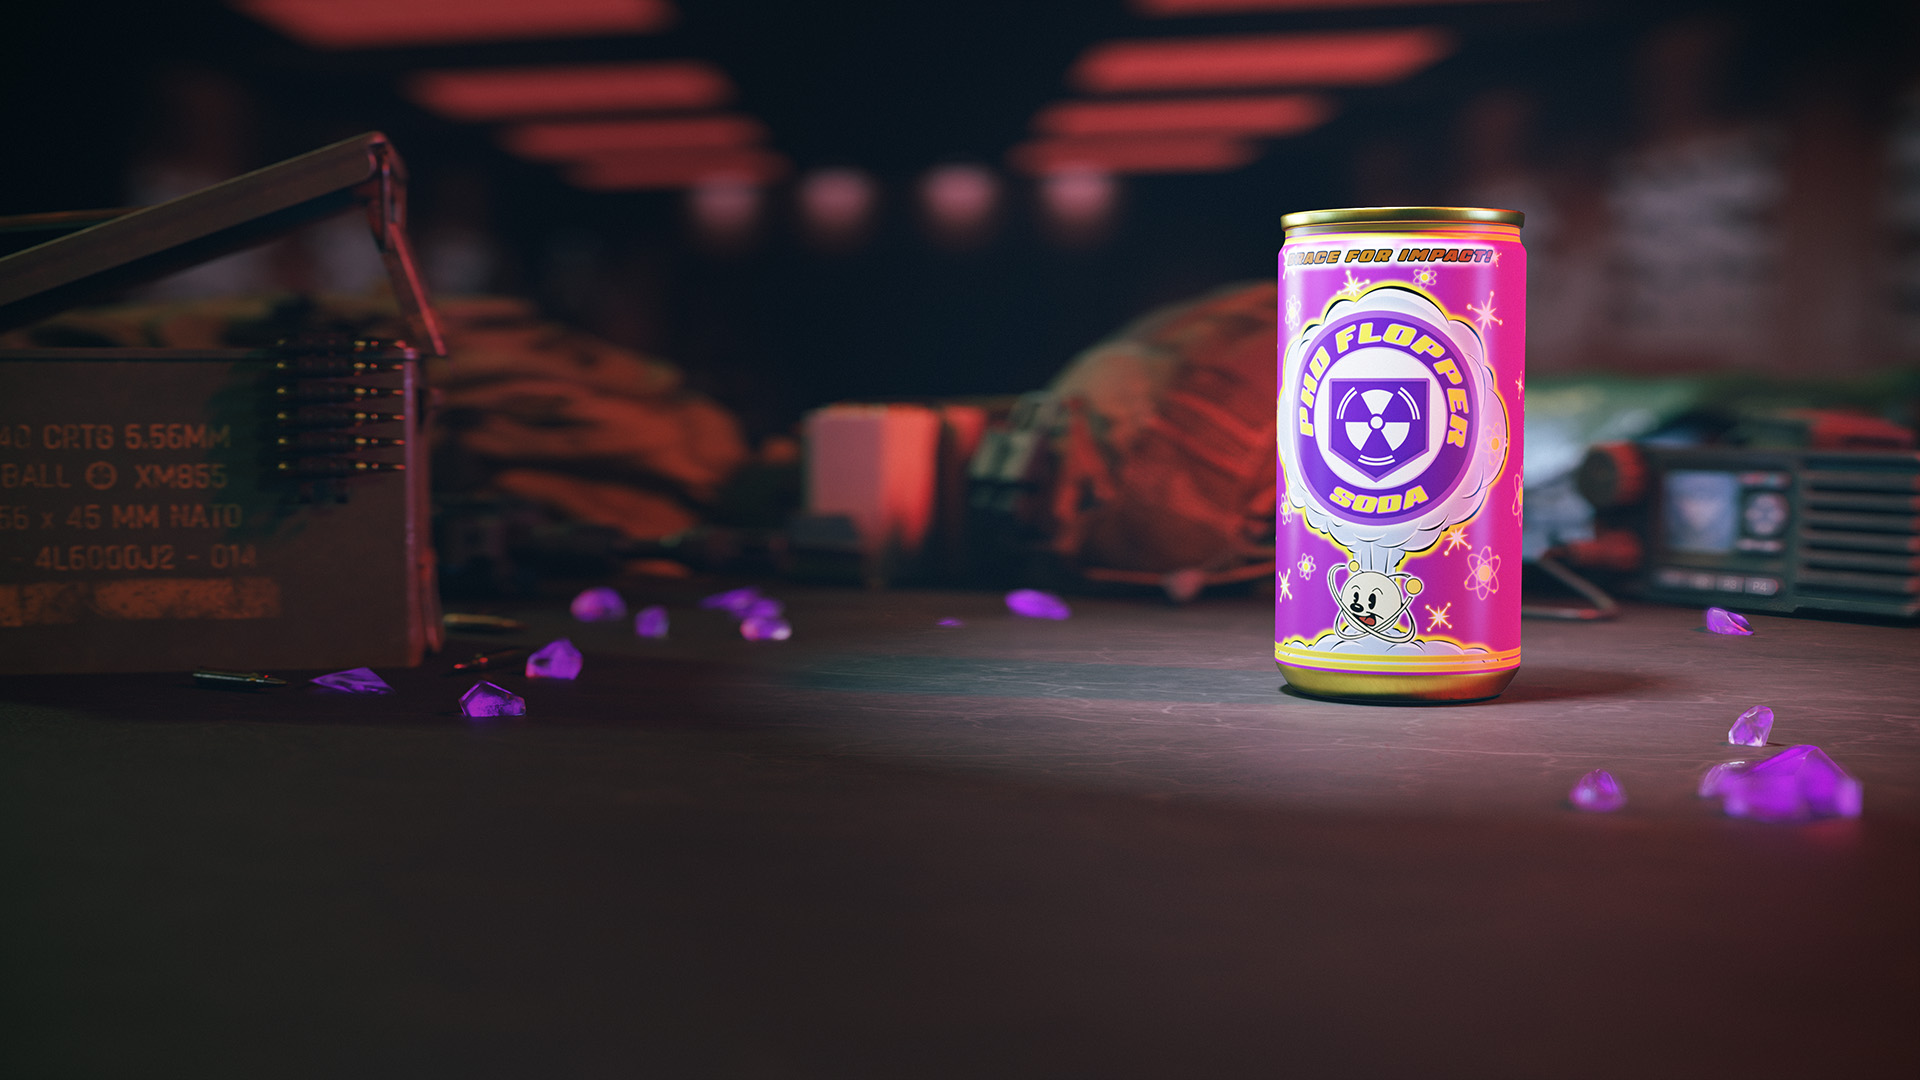
Grants the following: Dive to prone triggers an explosion. The explosion increases the higher you fall. Immunity from fall damage while diving.
Quick Revive Can
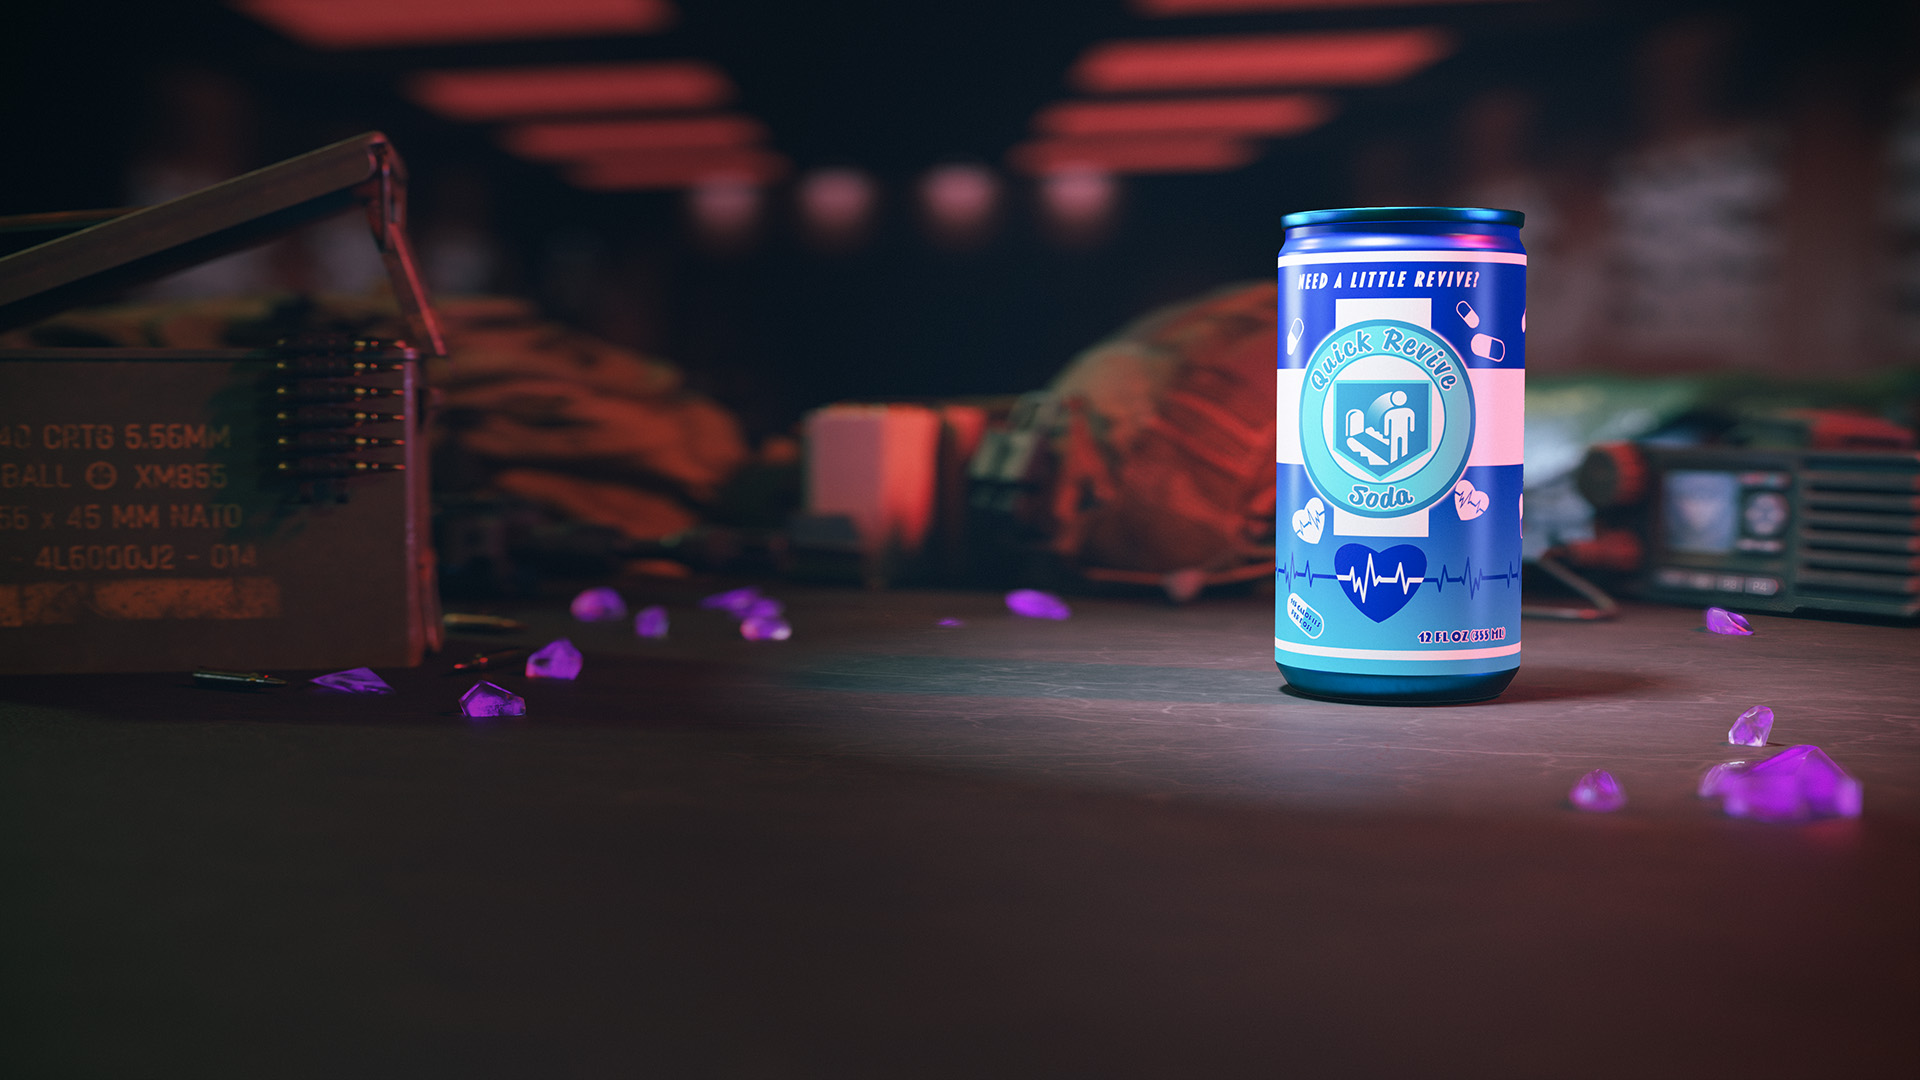
Grants the following: Reduce the health regen delay time by 50%. Reduce the time it takes to revive an ally by 50%.
Speed Cola Can
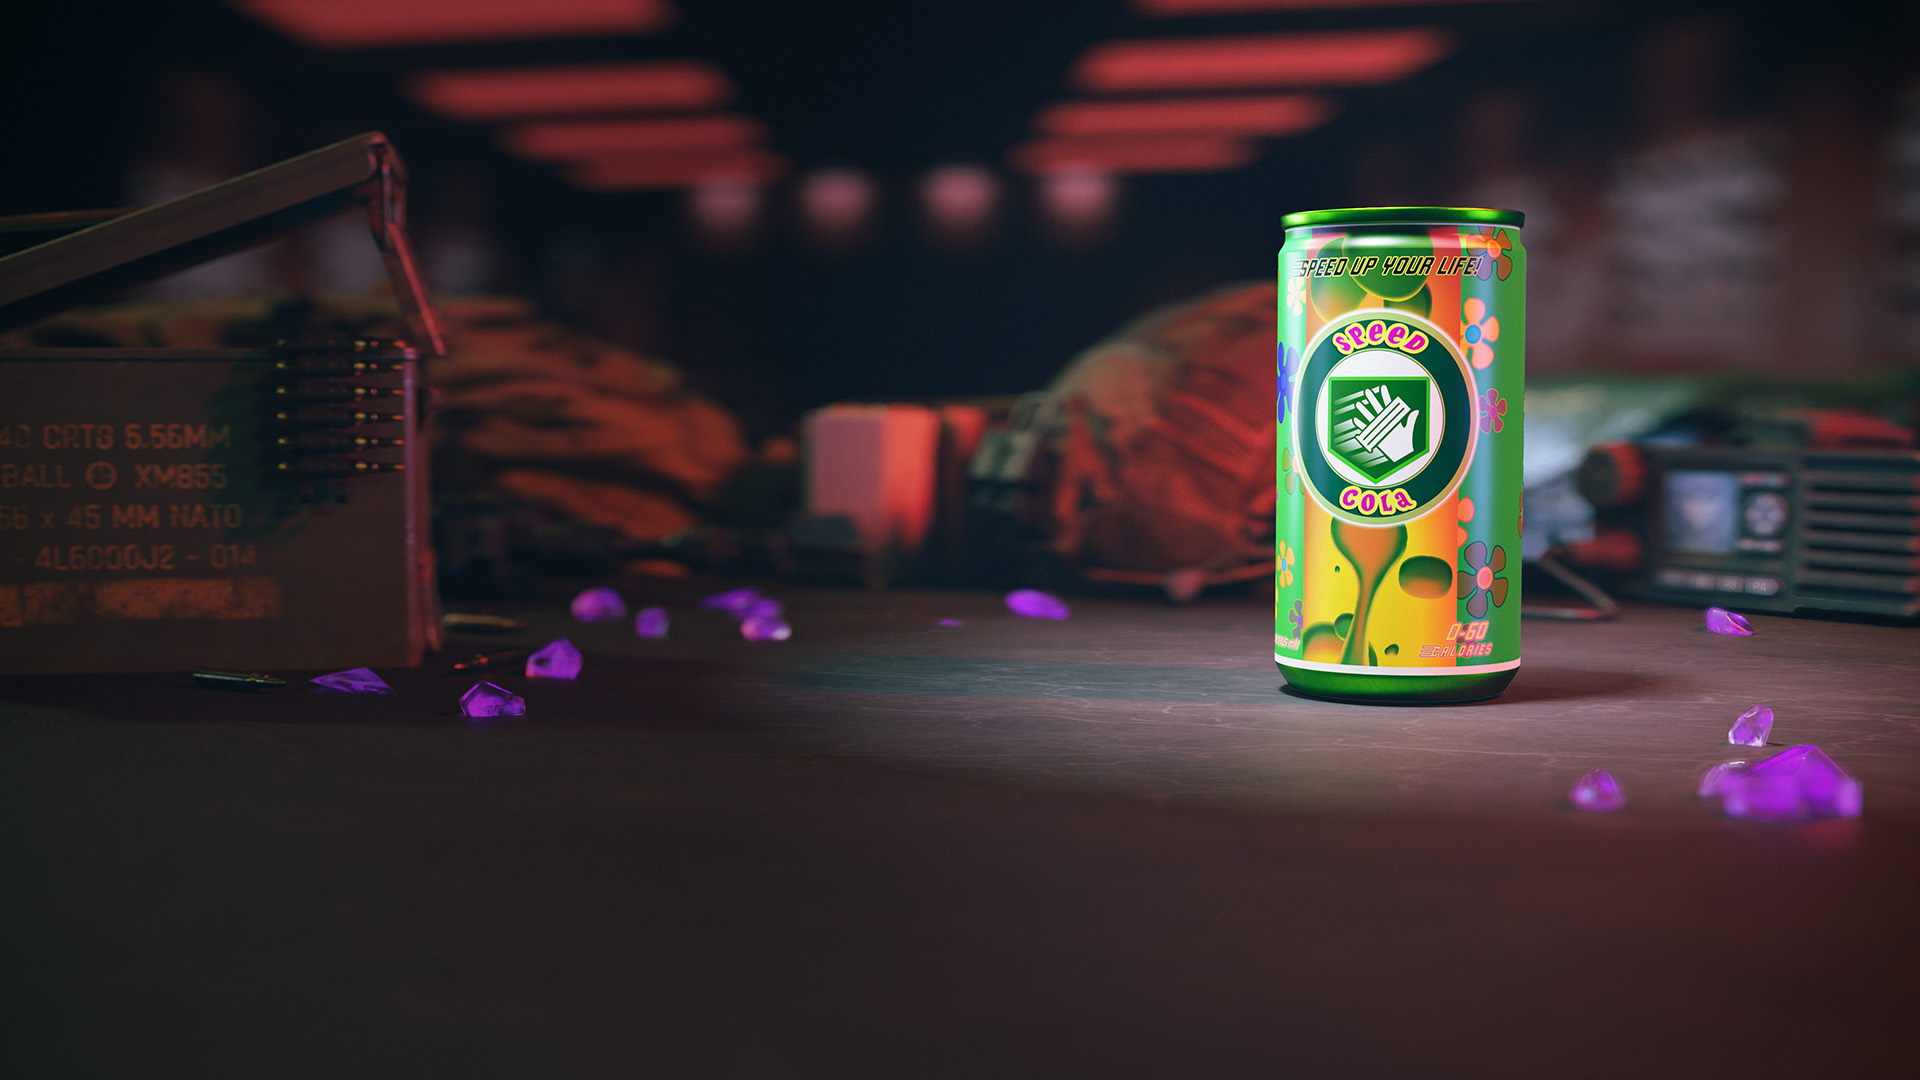
Grants the following: Drink to reload and replate armor faster.
Stamin-Up Can
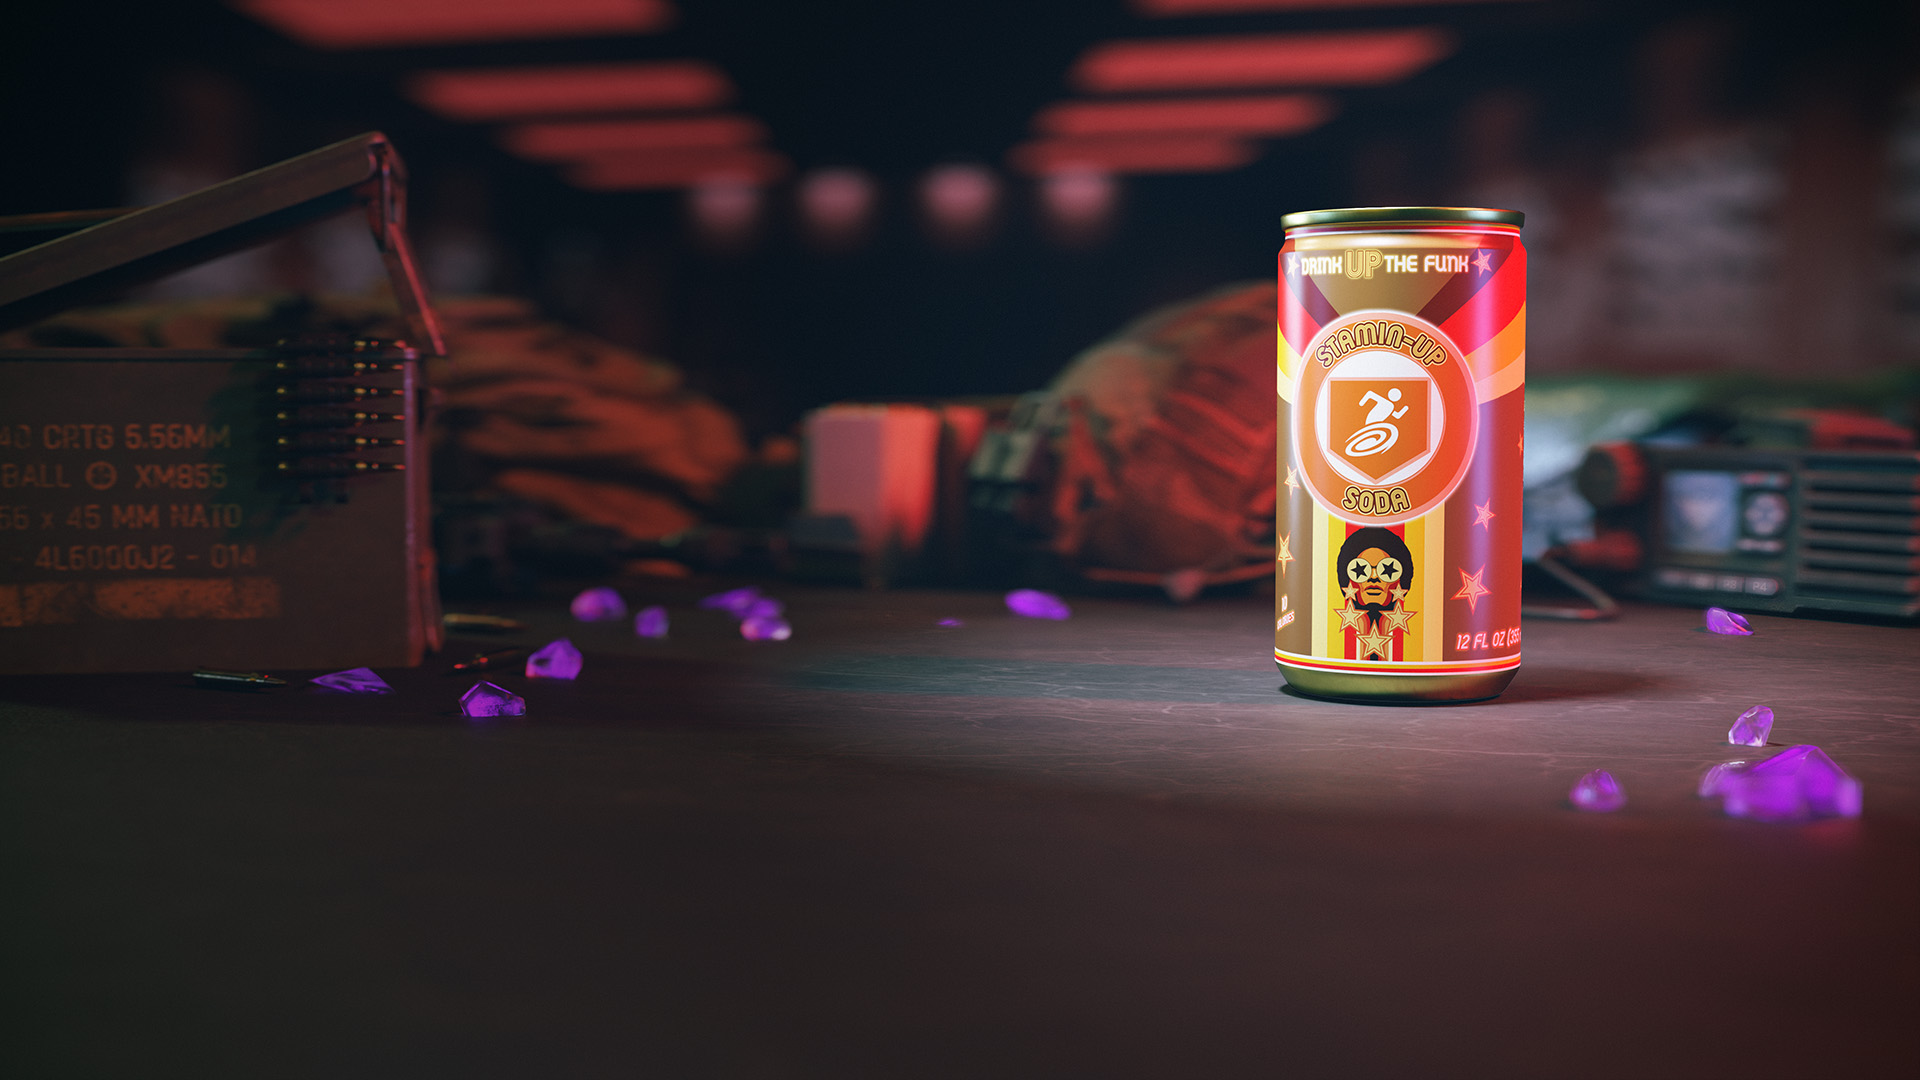
Grants the following: Increases run and sprint speed.
Tombstone Soda Can
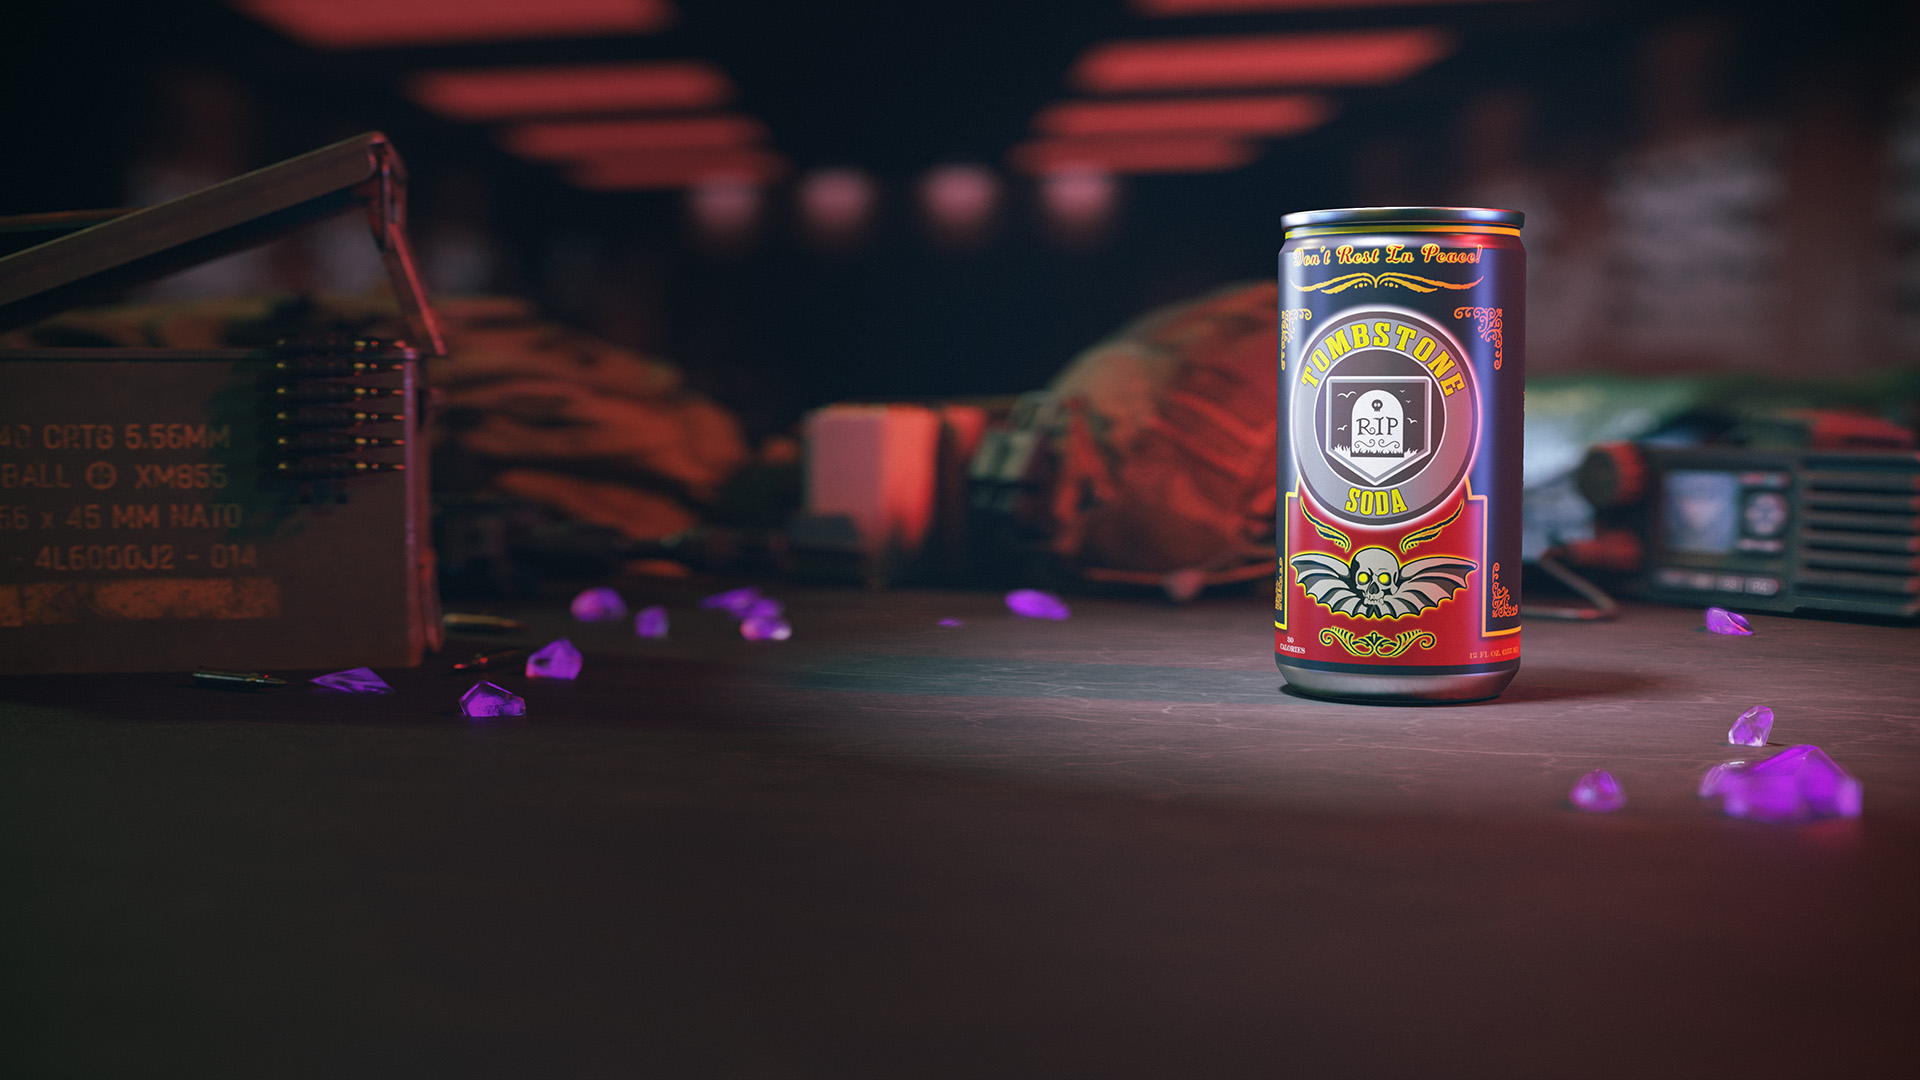
On death create a tombstone stash containing your Rucksack inventory at that location in your next deployment.
Ammo Mods
Ammo Mods are generally straightforward, but the main caveat is that you can only have one equipped on a weapon at a time. These Acquisitions are the perfect items to pick up and hoard. When used on even the weakest weapon, it can help you take down difficult enemies without much fuss. It is important to consider what Mission or Challenges you are working on, as some Ammo Mods are more effective on certain enemies. Below is a list of the Ammo Mods you can find throughout MWZ.
Brain Rot Ammo Mod
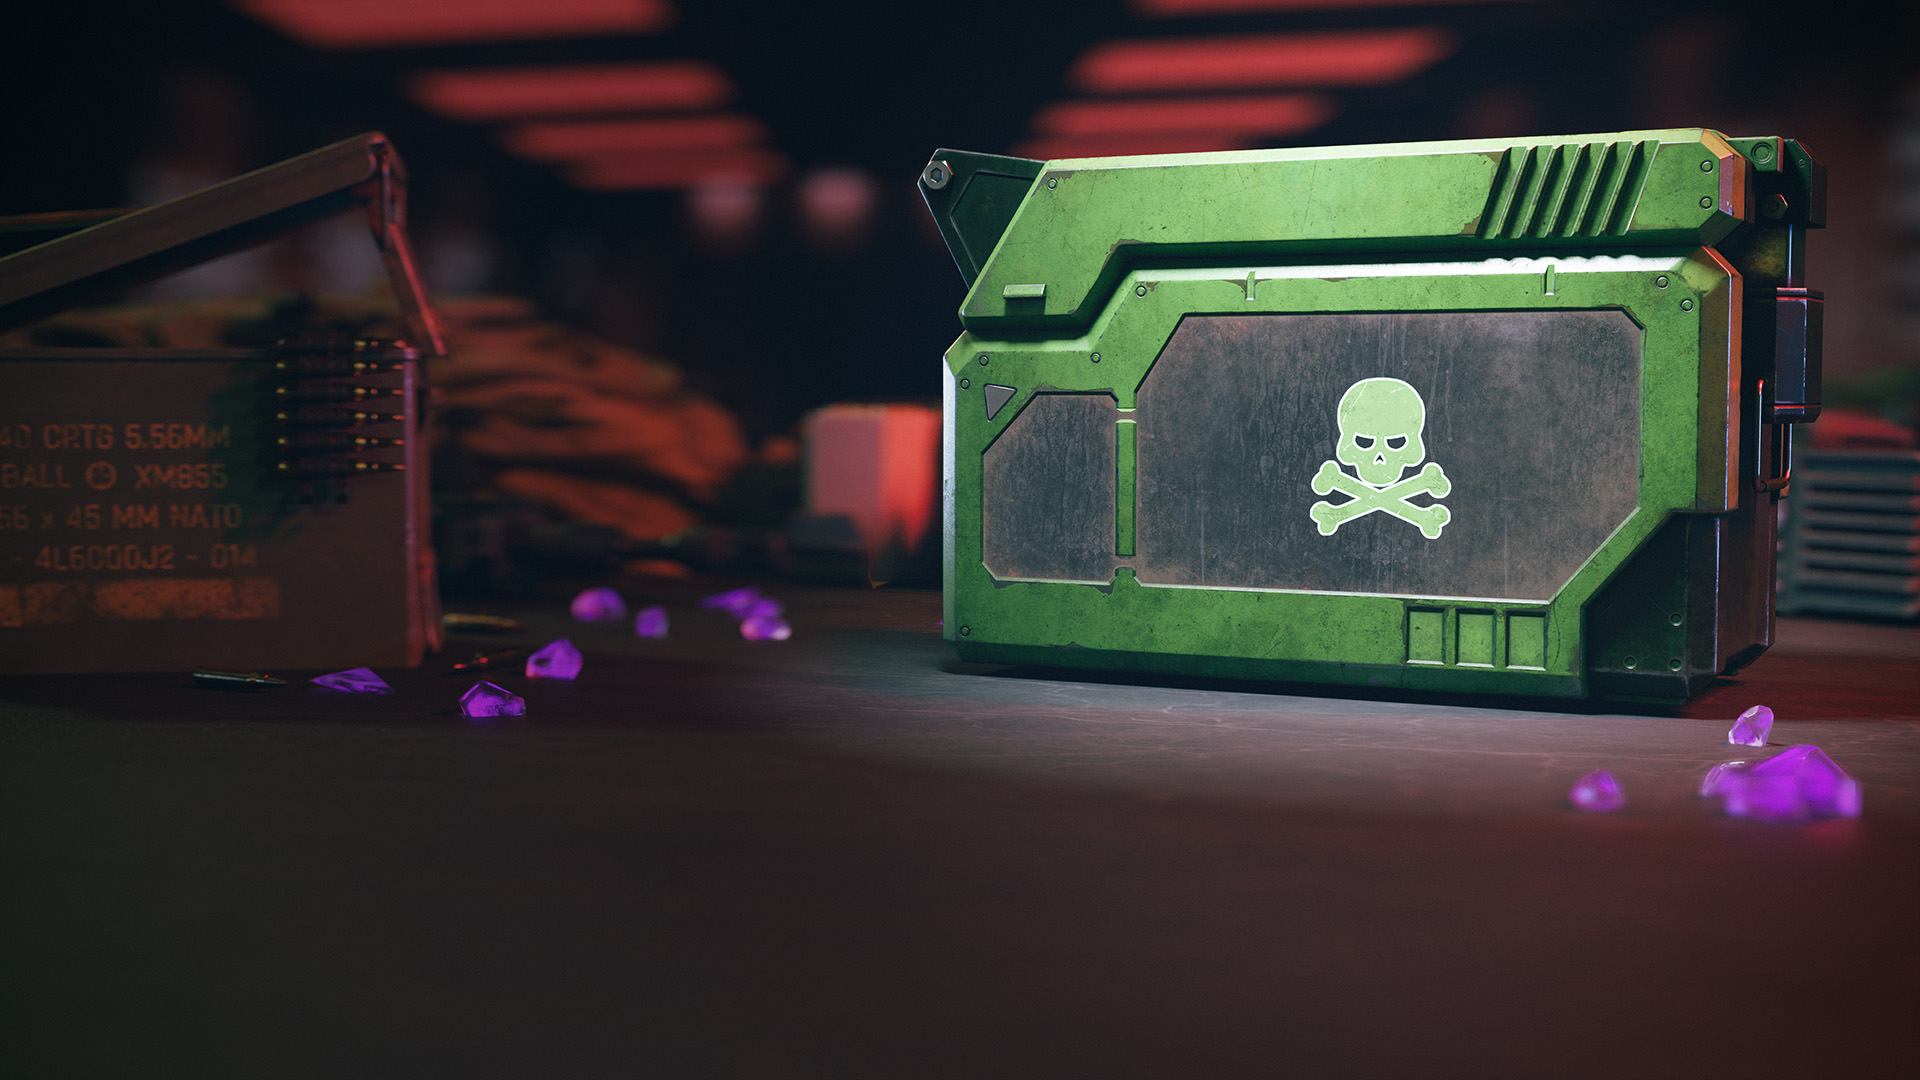
Weapons with the Brain Rot Ammo Mod will have a chance to turn a Zombie into an ally that will fight other enemies for you.
Cryo Freeze Ammo Mod
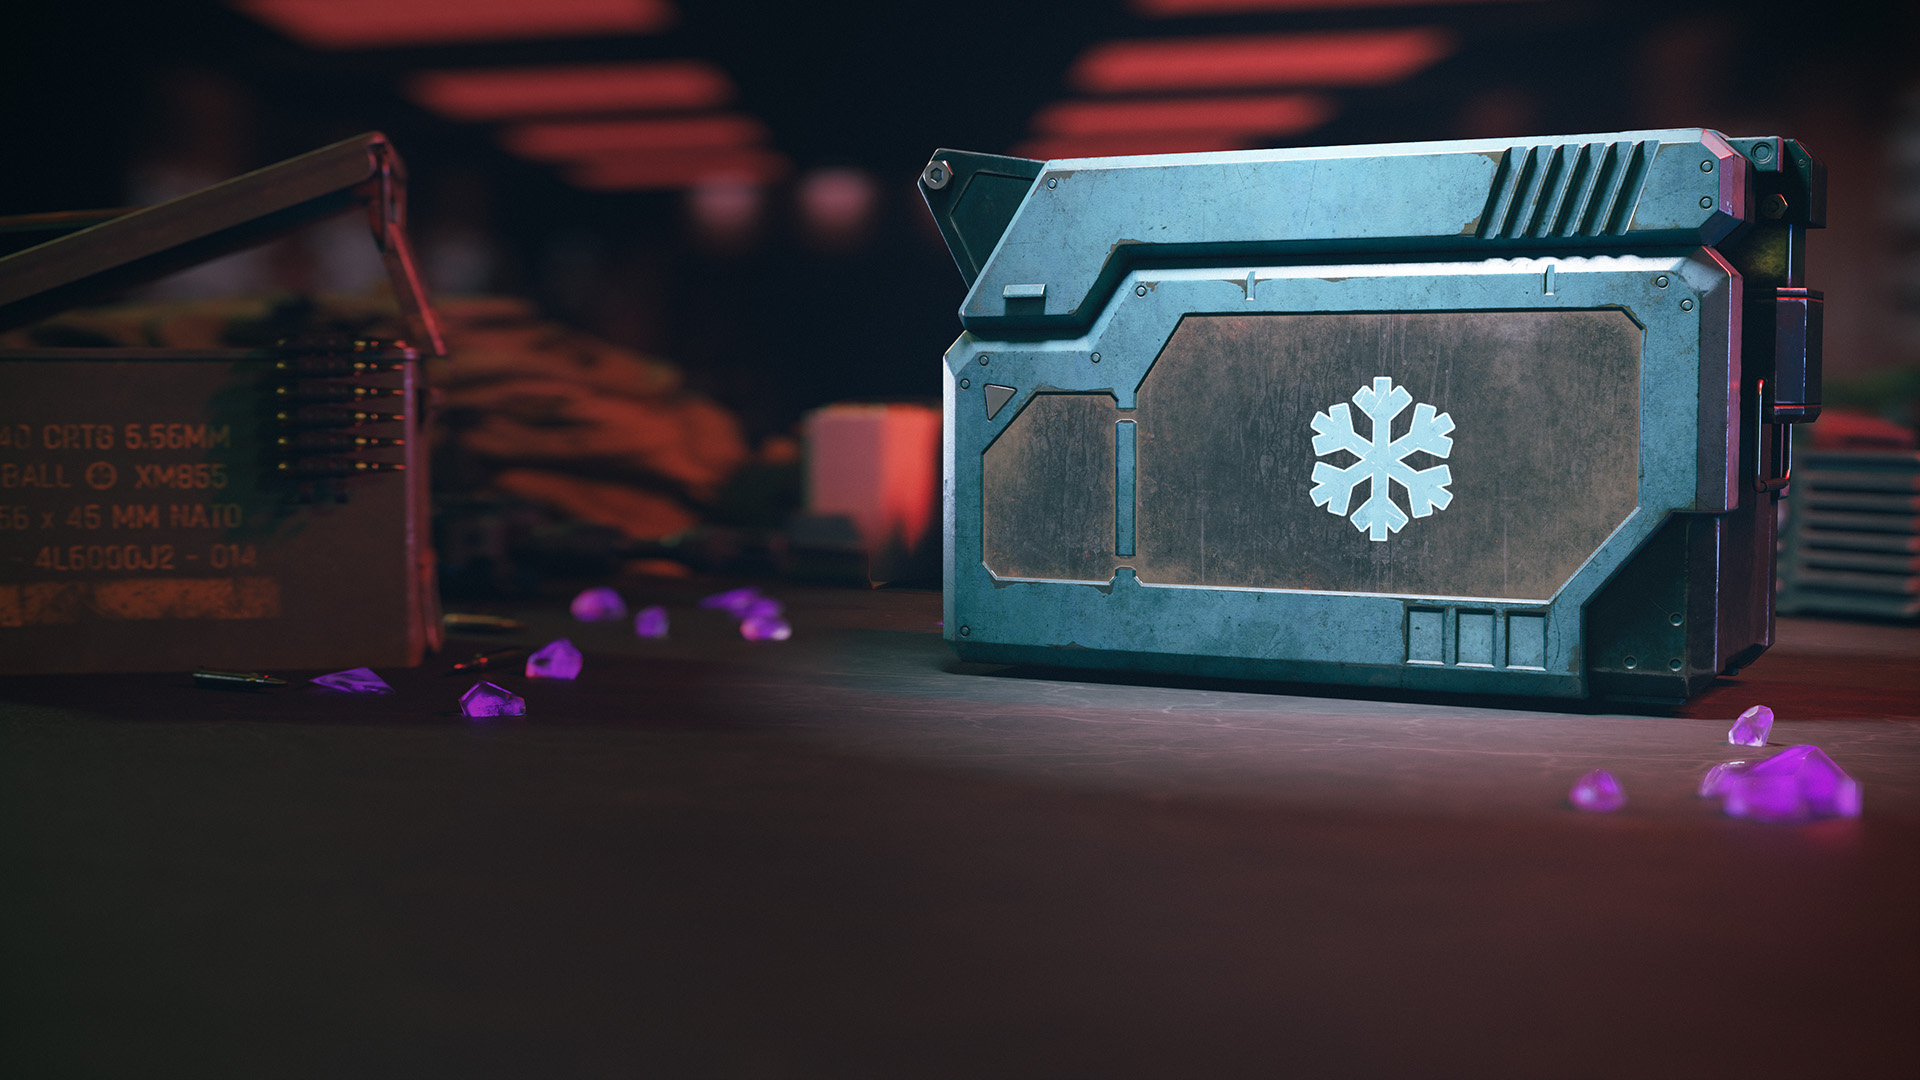
Weapons with the Cryo Freeze Ammo Mod will have the chance to freeze enemies in place, allowing you and anyone else who shoots at it to do more damage.
Dead Wire Ammo Mod
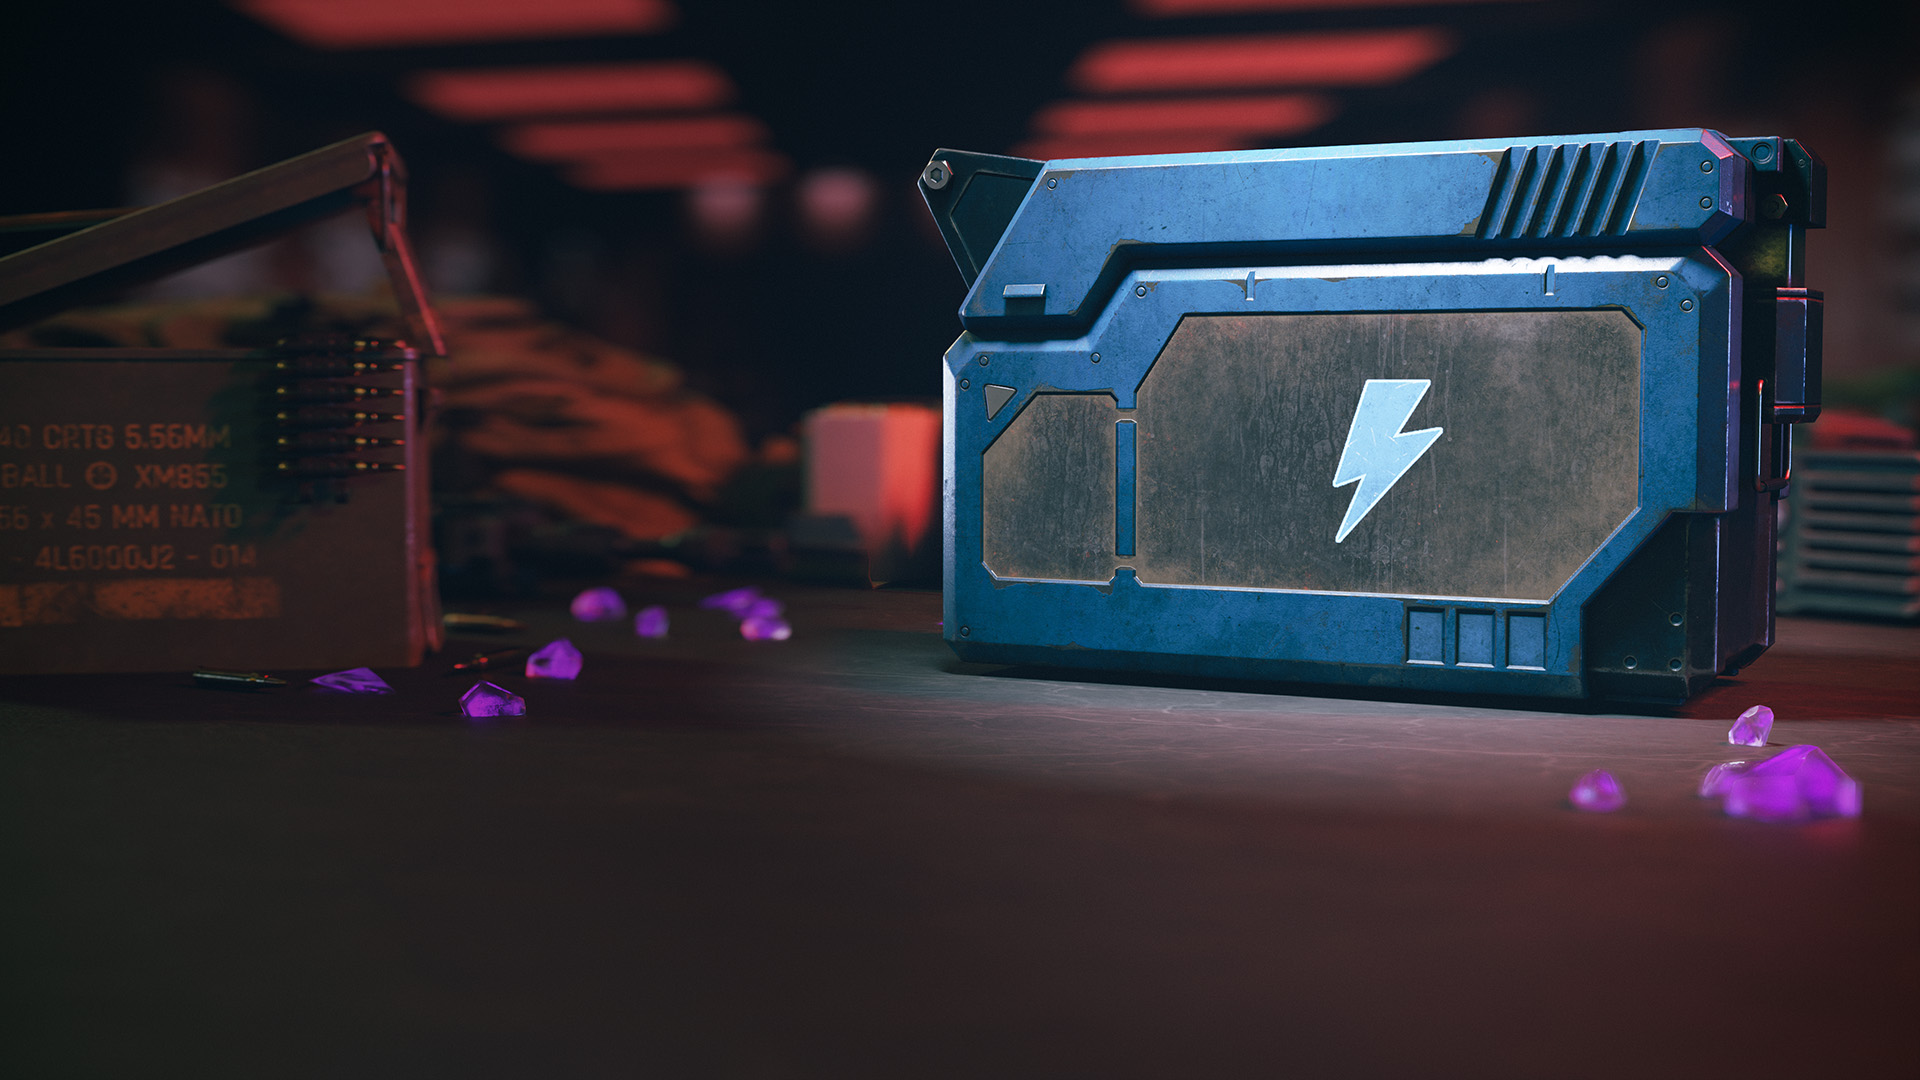
Weapons with the Dead Wire Ammo Mod will have the chance to electrocute enemies and cause them to be stunned and take damage over time.
Napalm Burst Ammo Mod
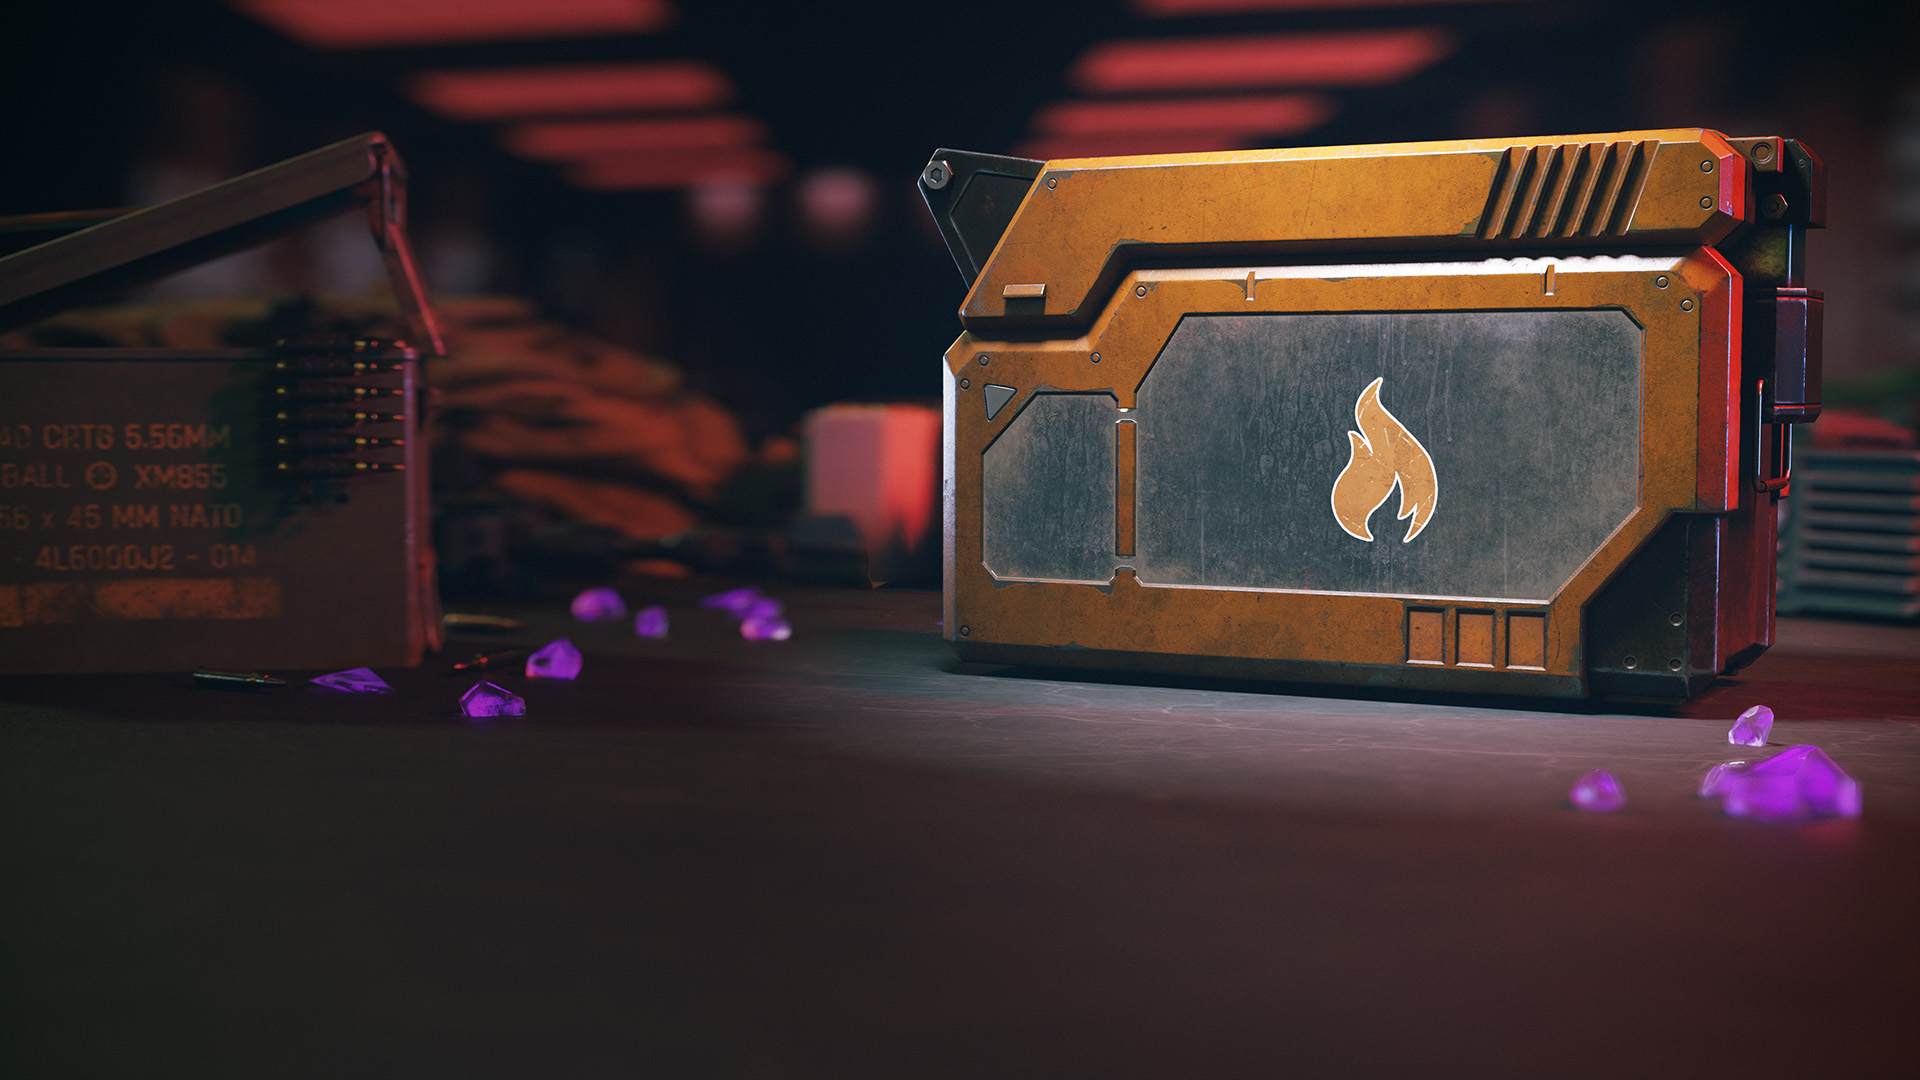
Weapons with the Napalm Burst Ammo Mod will have the chance to set enemies on fire, causing a large amount of damage over time to the target.
Shatter Blast Ammo Mod
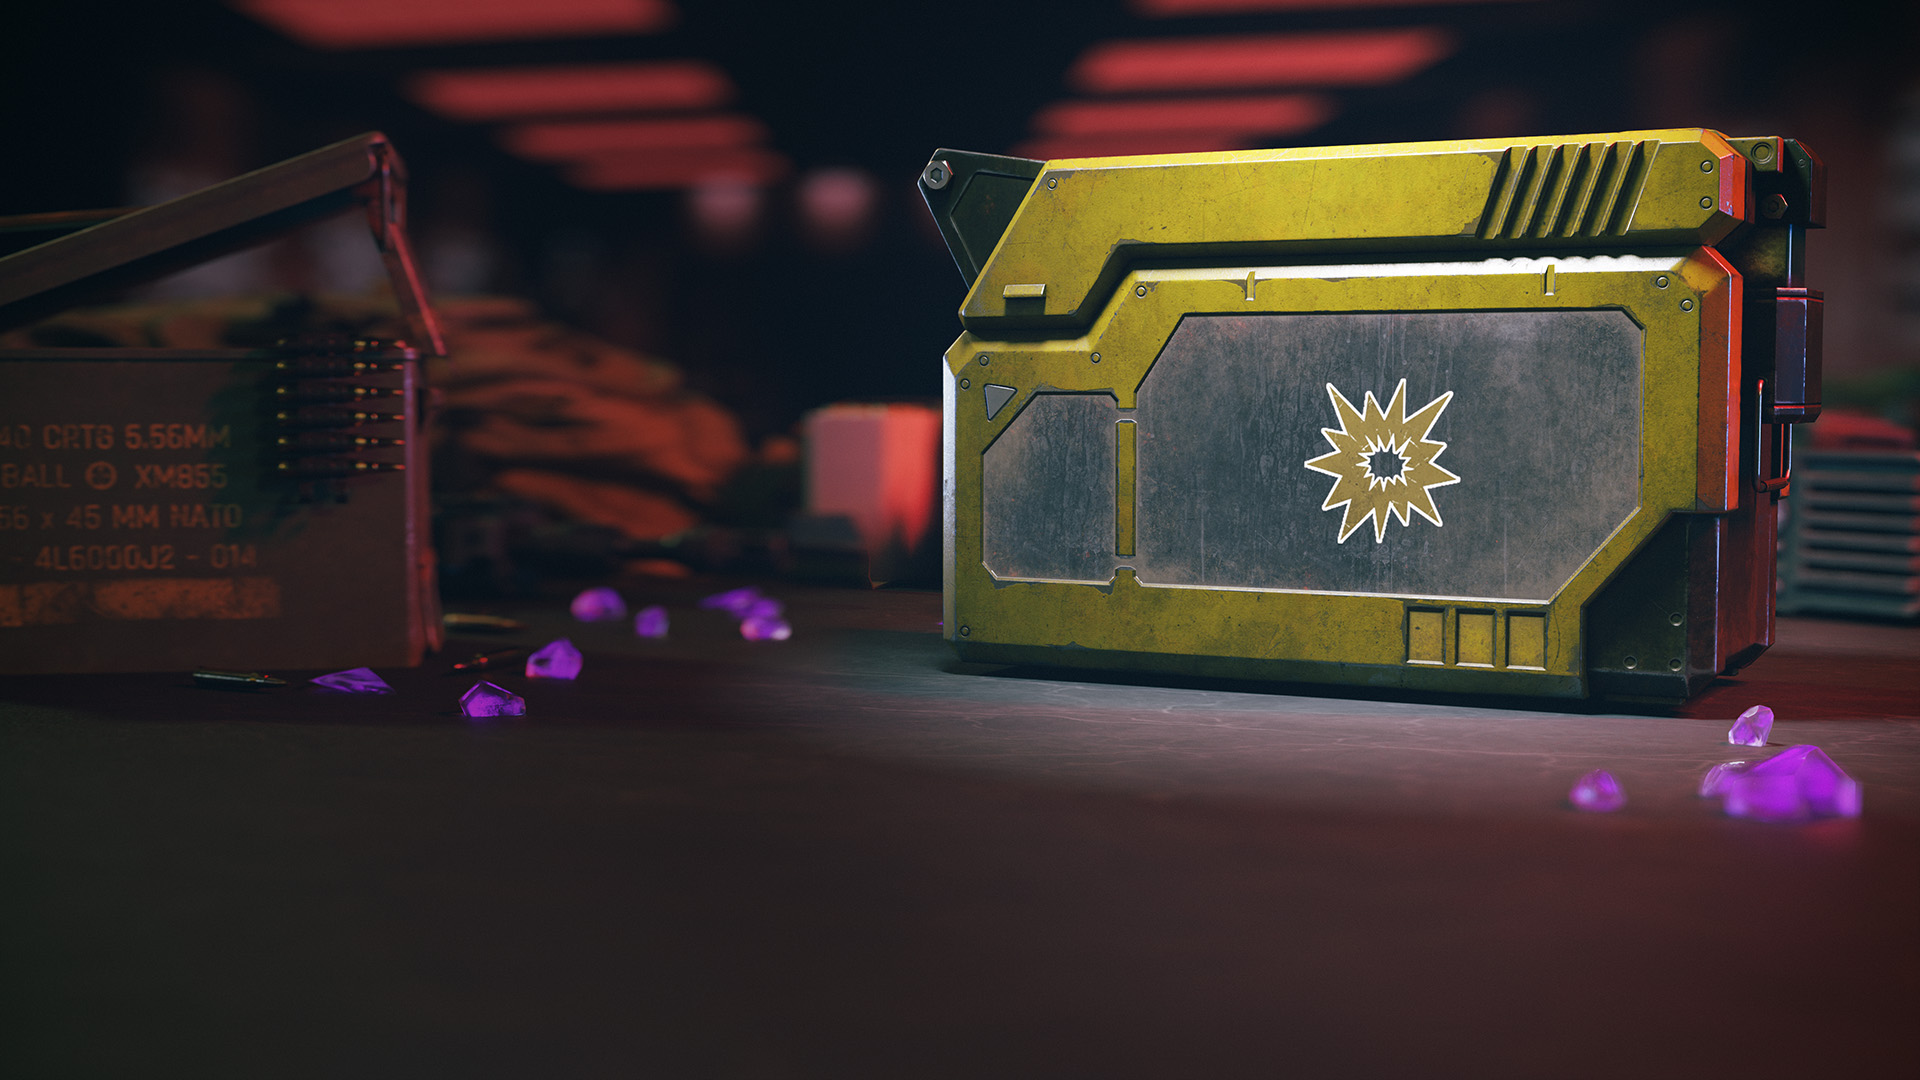
Weapons with the Shatter Blast Ammo Mod will have the chance to do instant explosive damage to the target.
Wonder Weapons
Wonder Weapons are incredibly powerful weapons that can really change the way you play the game — such as by making it easier to take down Elite Enemies or Bosses. Because of this, you cannot extract with Wonder Weapons; they will be sold and converted to XP when you extract.
Assuming you have acquired the Schematic for your favorite Wonder Weapon Case, you can craft them before you deploy to Urzikstan. Once you craft a Wonder Weapon Case, there is a 48-hour cooldown. When you open the case in a deployment, you can use it for only that deployment, so have fun with it. You can use the Pack-A-Punch machine to upgrade them, however Wonder Weapons will not accept any Ammo Mods. Listed below are the Wonder Weapons available in MWZ.
The Scorcher
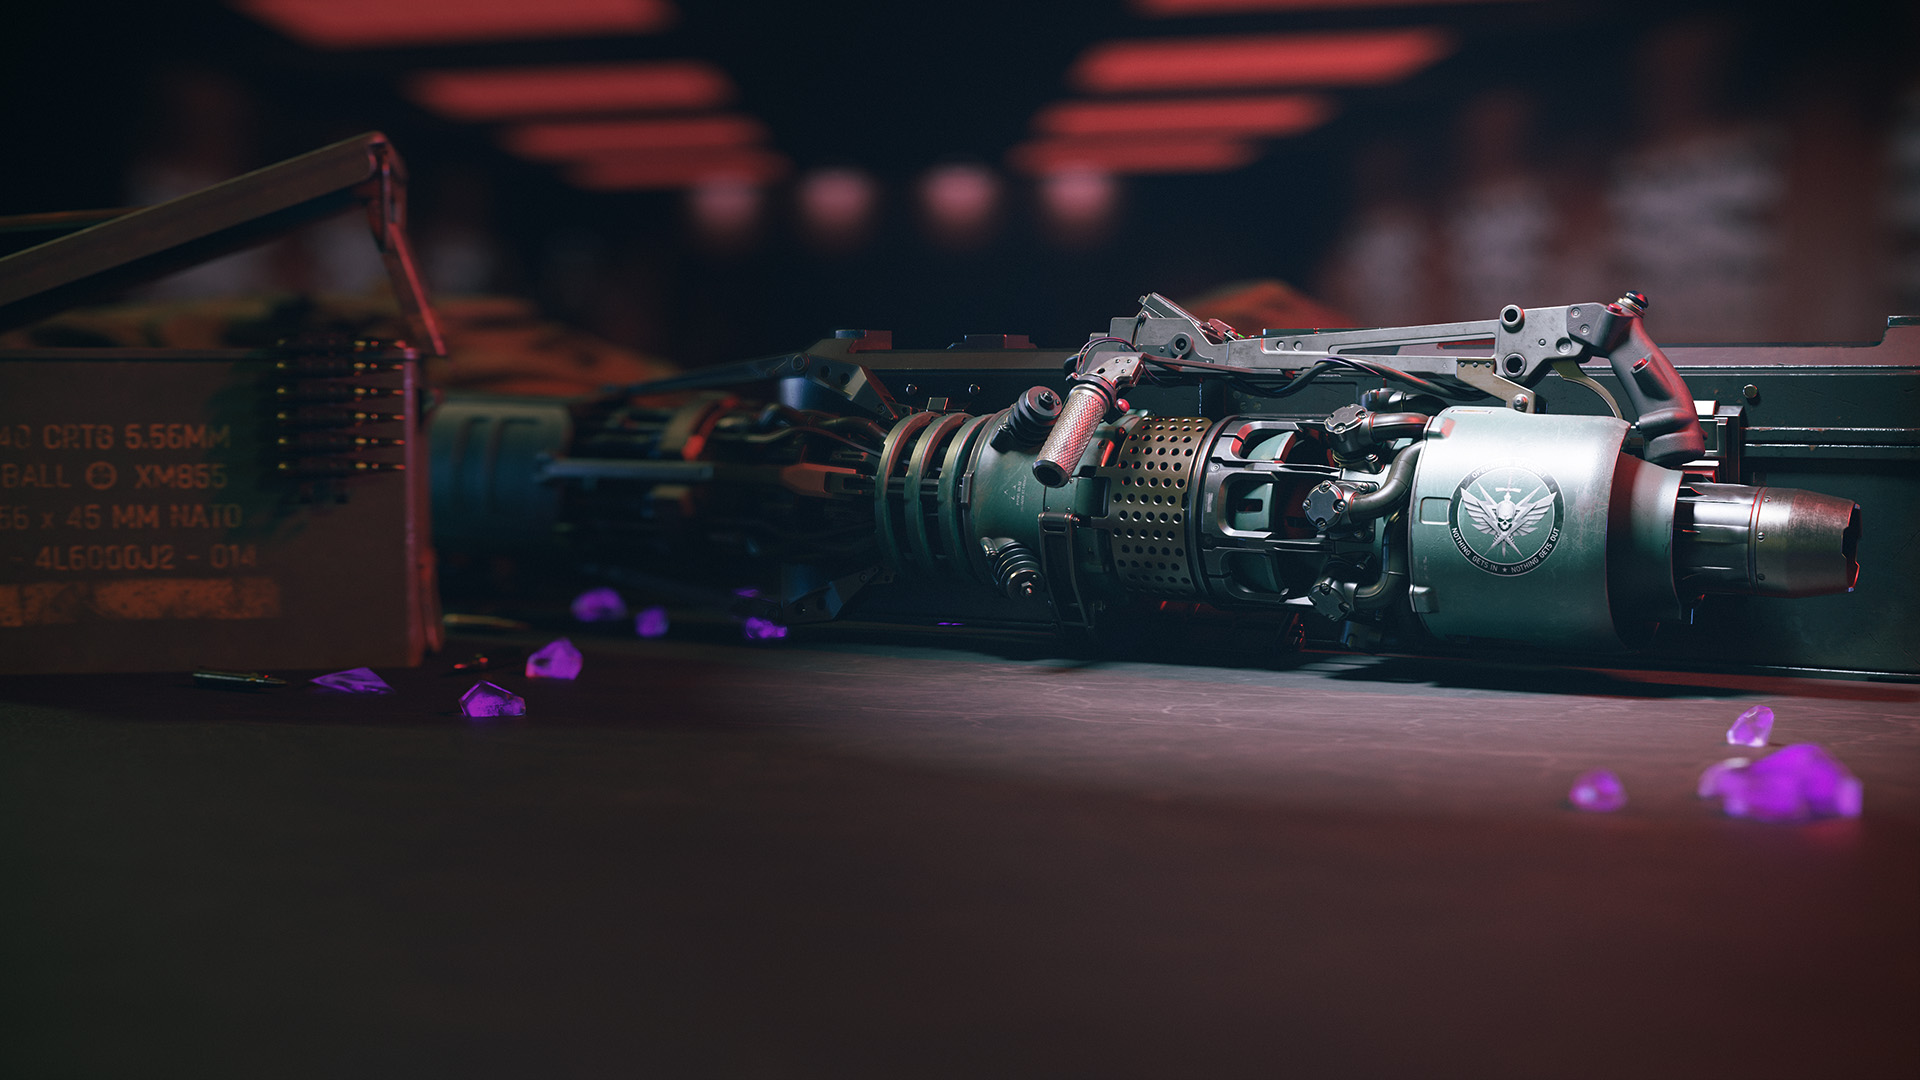
Fueled by volatile Aetherium, this weapon fires a concentrated plasma beam that pierces enemies. Its secondary function propels the user skyward, enabling parachute deployment for quick repositioning.
Ray Gun
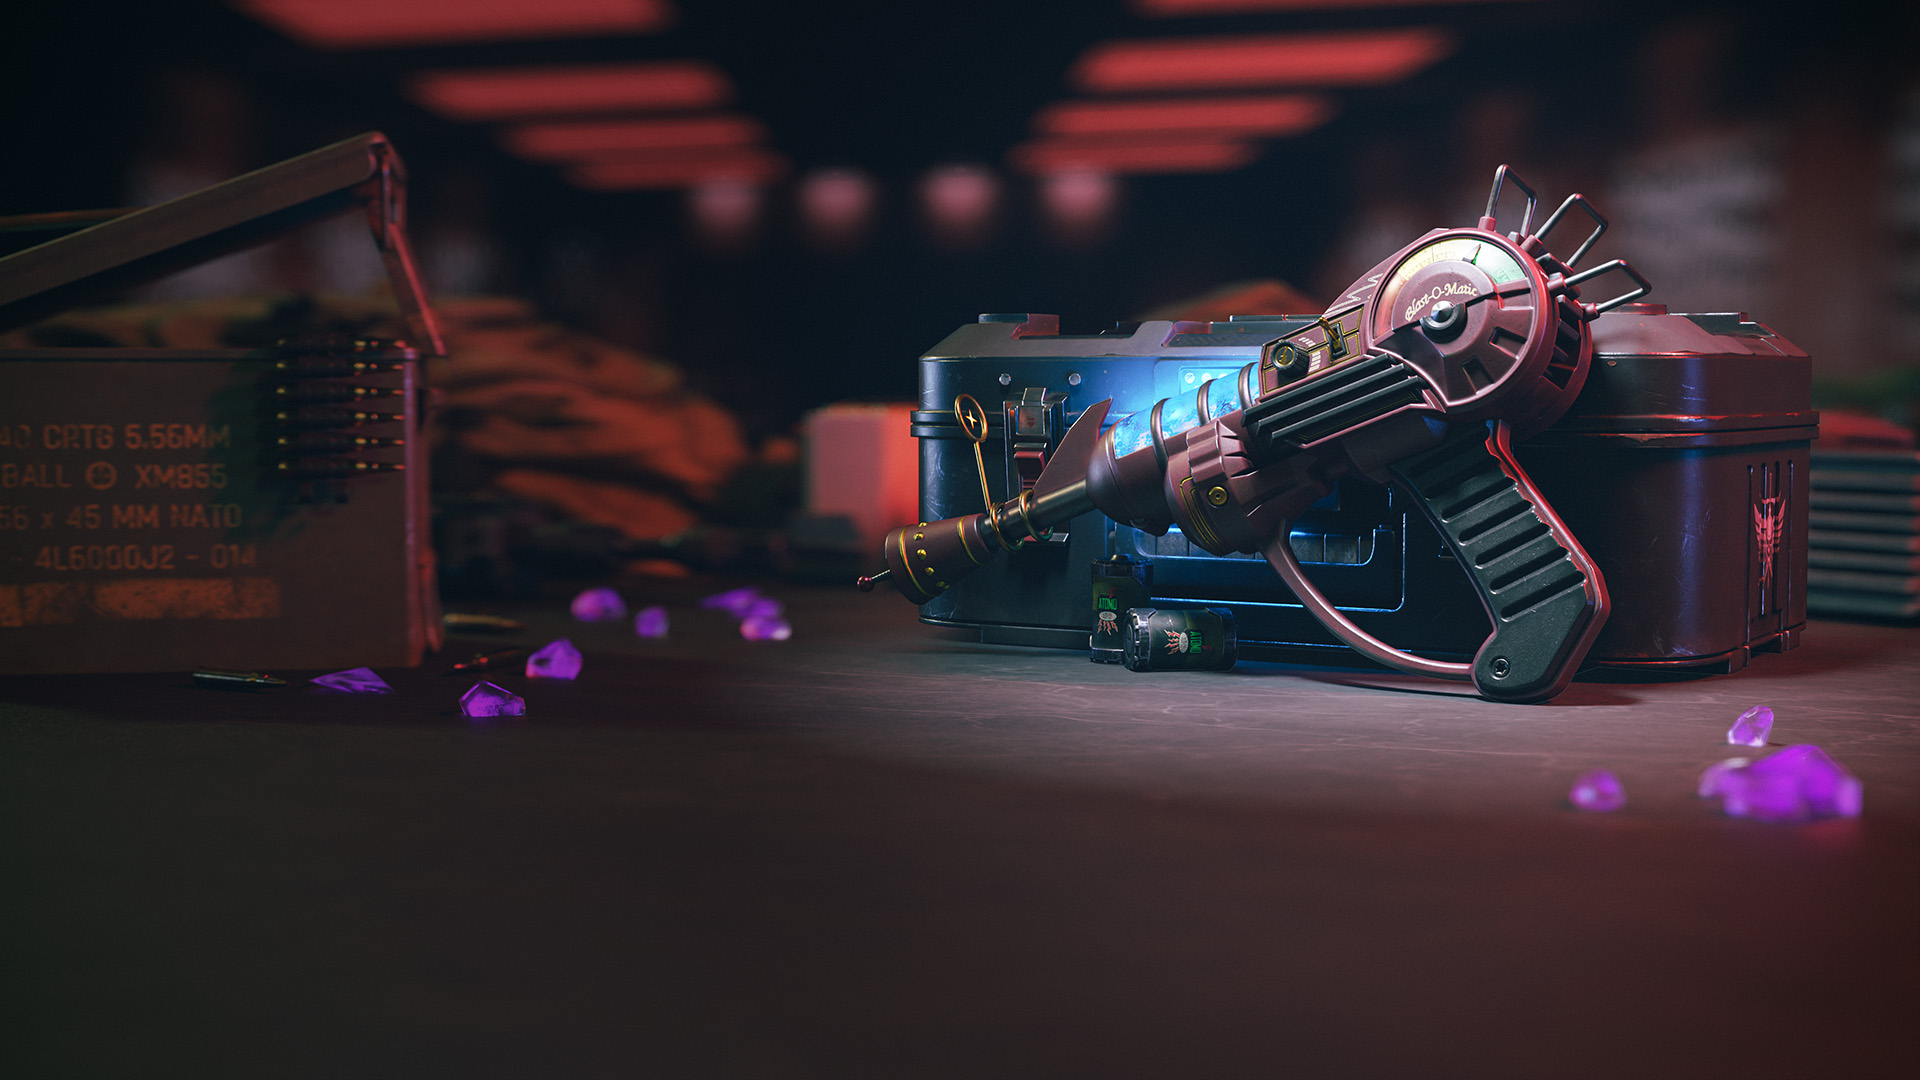
Fueled by arcane technology, this iconic weapon emits lethal energy blasts that cause splash damage upon impact. Its power is unmatched, but wielders should aim carefully to avoid self-harm.
Wunderwaffe DG-2
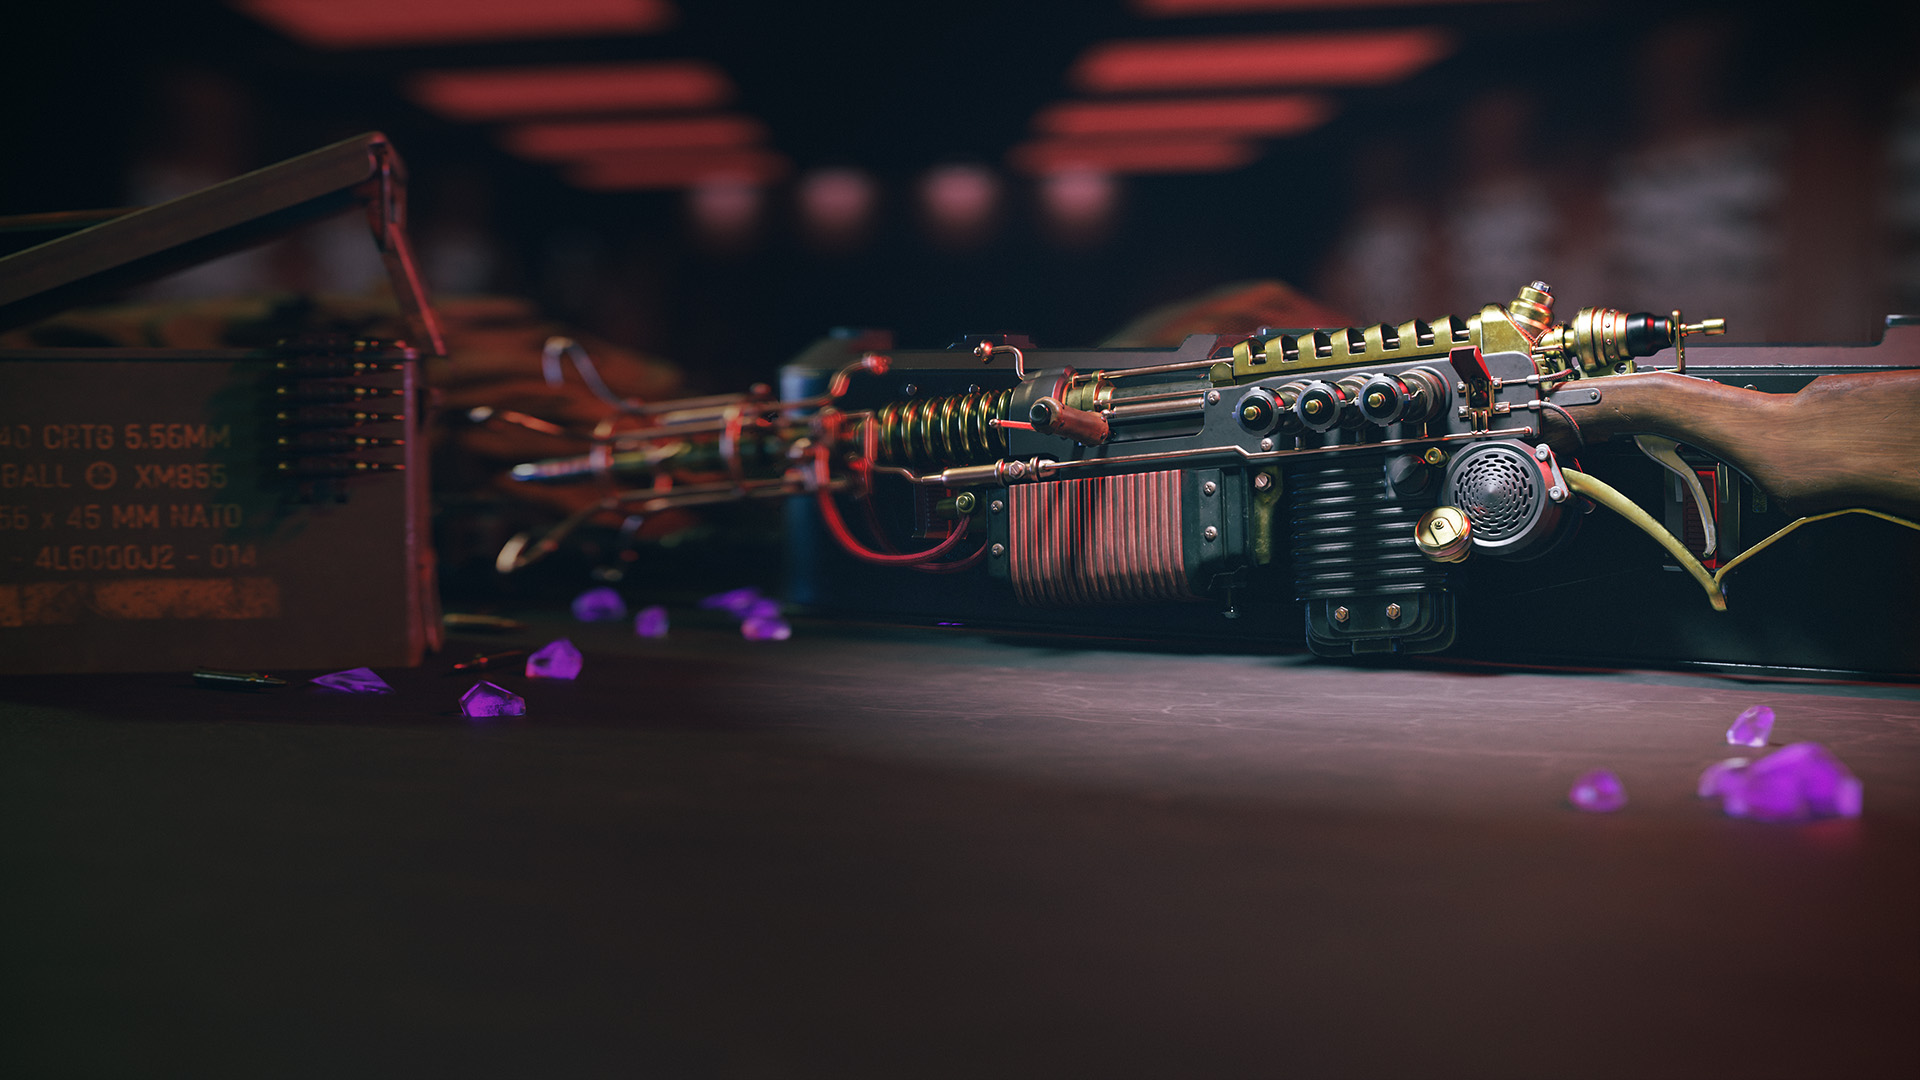
Infused with Aetherium, this weapon has the unique ability to morph zombies into humans and vice versa for a limited period. Once the effect expires, the target detonates. When aimed at allies, it temporarily boosts their damage output and makes them invisible to zombies.
V-R11
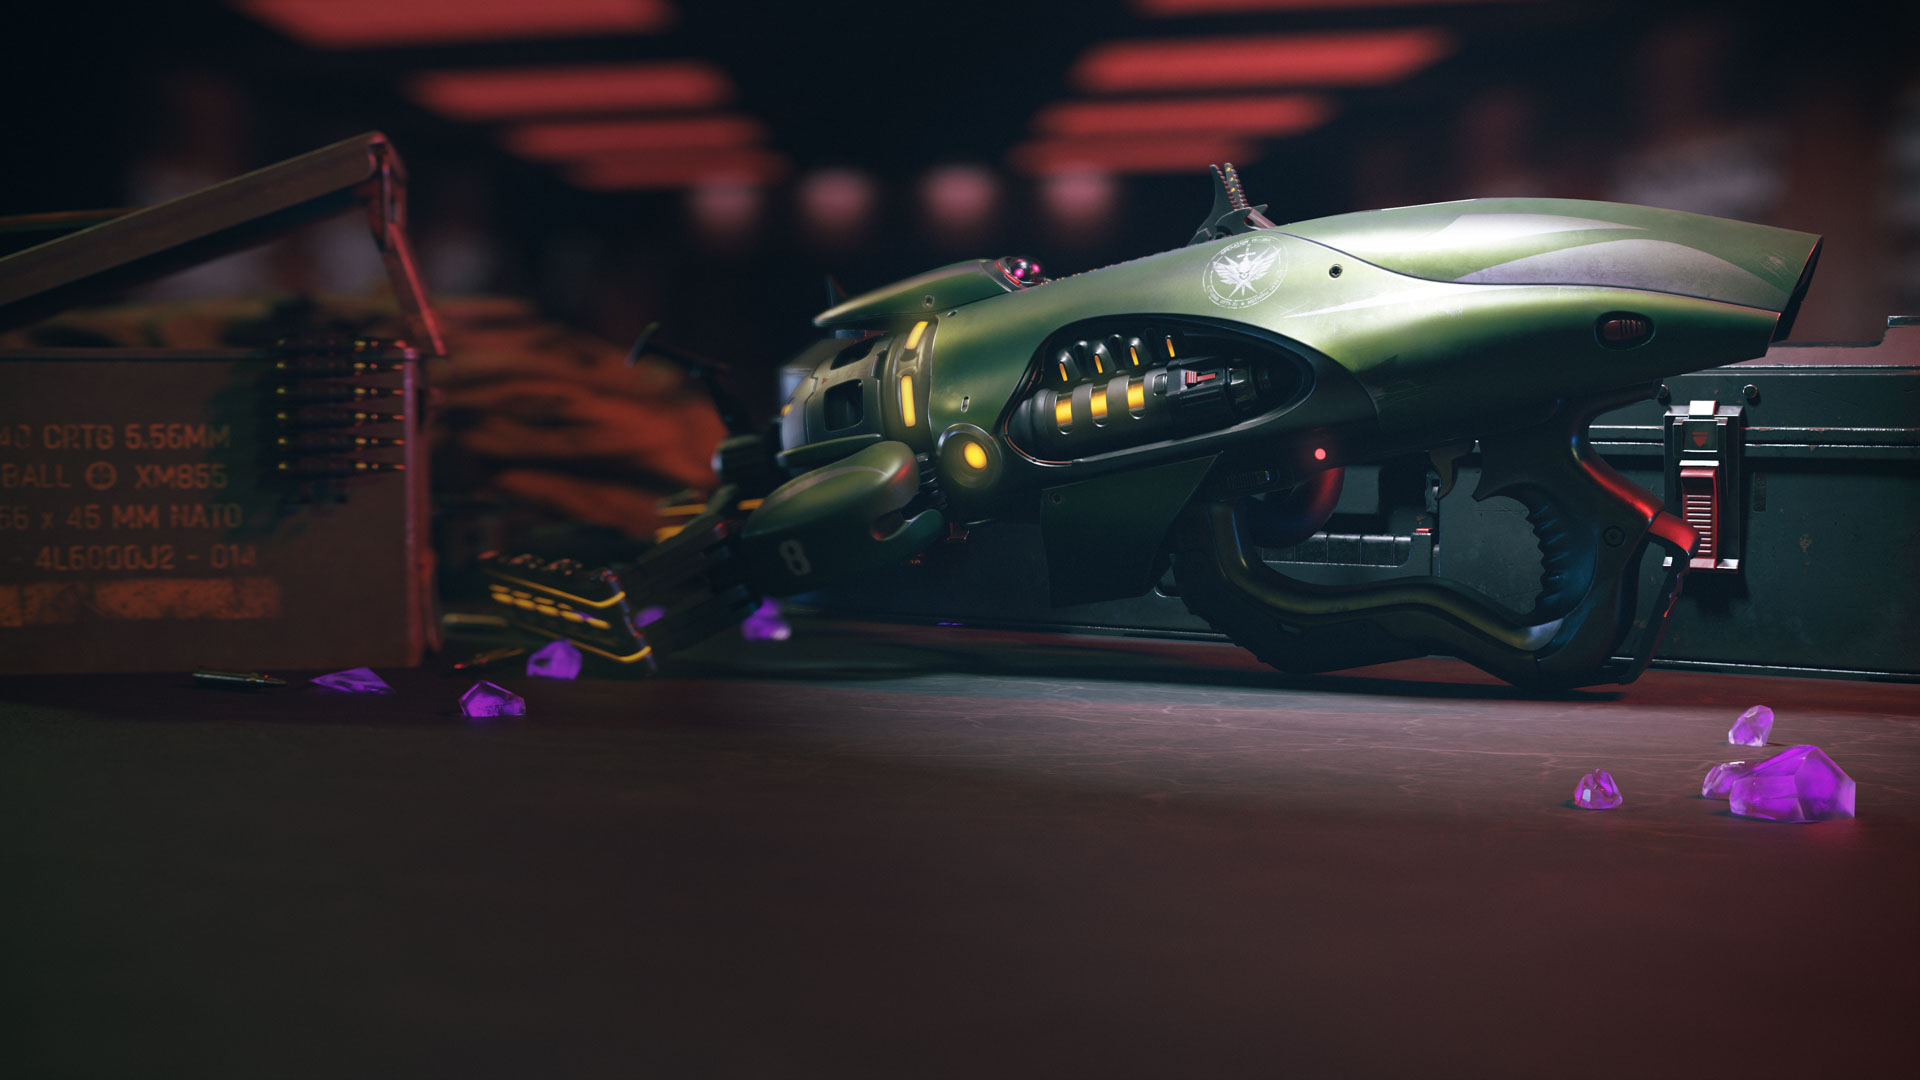
Form your very own regiment of undead friends or transformed humans with the V-R11 Wonder Weapon. The V-R11, when fired at enemy zombies, will transform them into human allies that take on the form of an armed human fighting by your side. Firing this Wonder Weapon at a Terminus Outcomes Mercenary will transform them into a zombie that will attack your enemies. These effects are temporary; however, they can be a game changer when you’re in a pinch and heavily outnumbered. Additionally, the V-R11 does do damage to Specials. While not much, if the Wonder Weapon is Pack-A-Punched it can help you defeat some of the tougher enemies.
The Zombies and mercenaries that you choose to transform will determine the type of counterpart that they transform into. For instance, firing the V-R11 at a normal shambling zombie will transform it into a lower ranked Mercenary, like a Grunt. However, transforming an Armored Zombie may transform it into a mercenary of similar tier, like an Elite or Shock Troop.
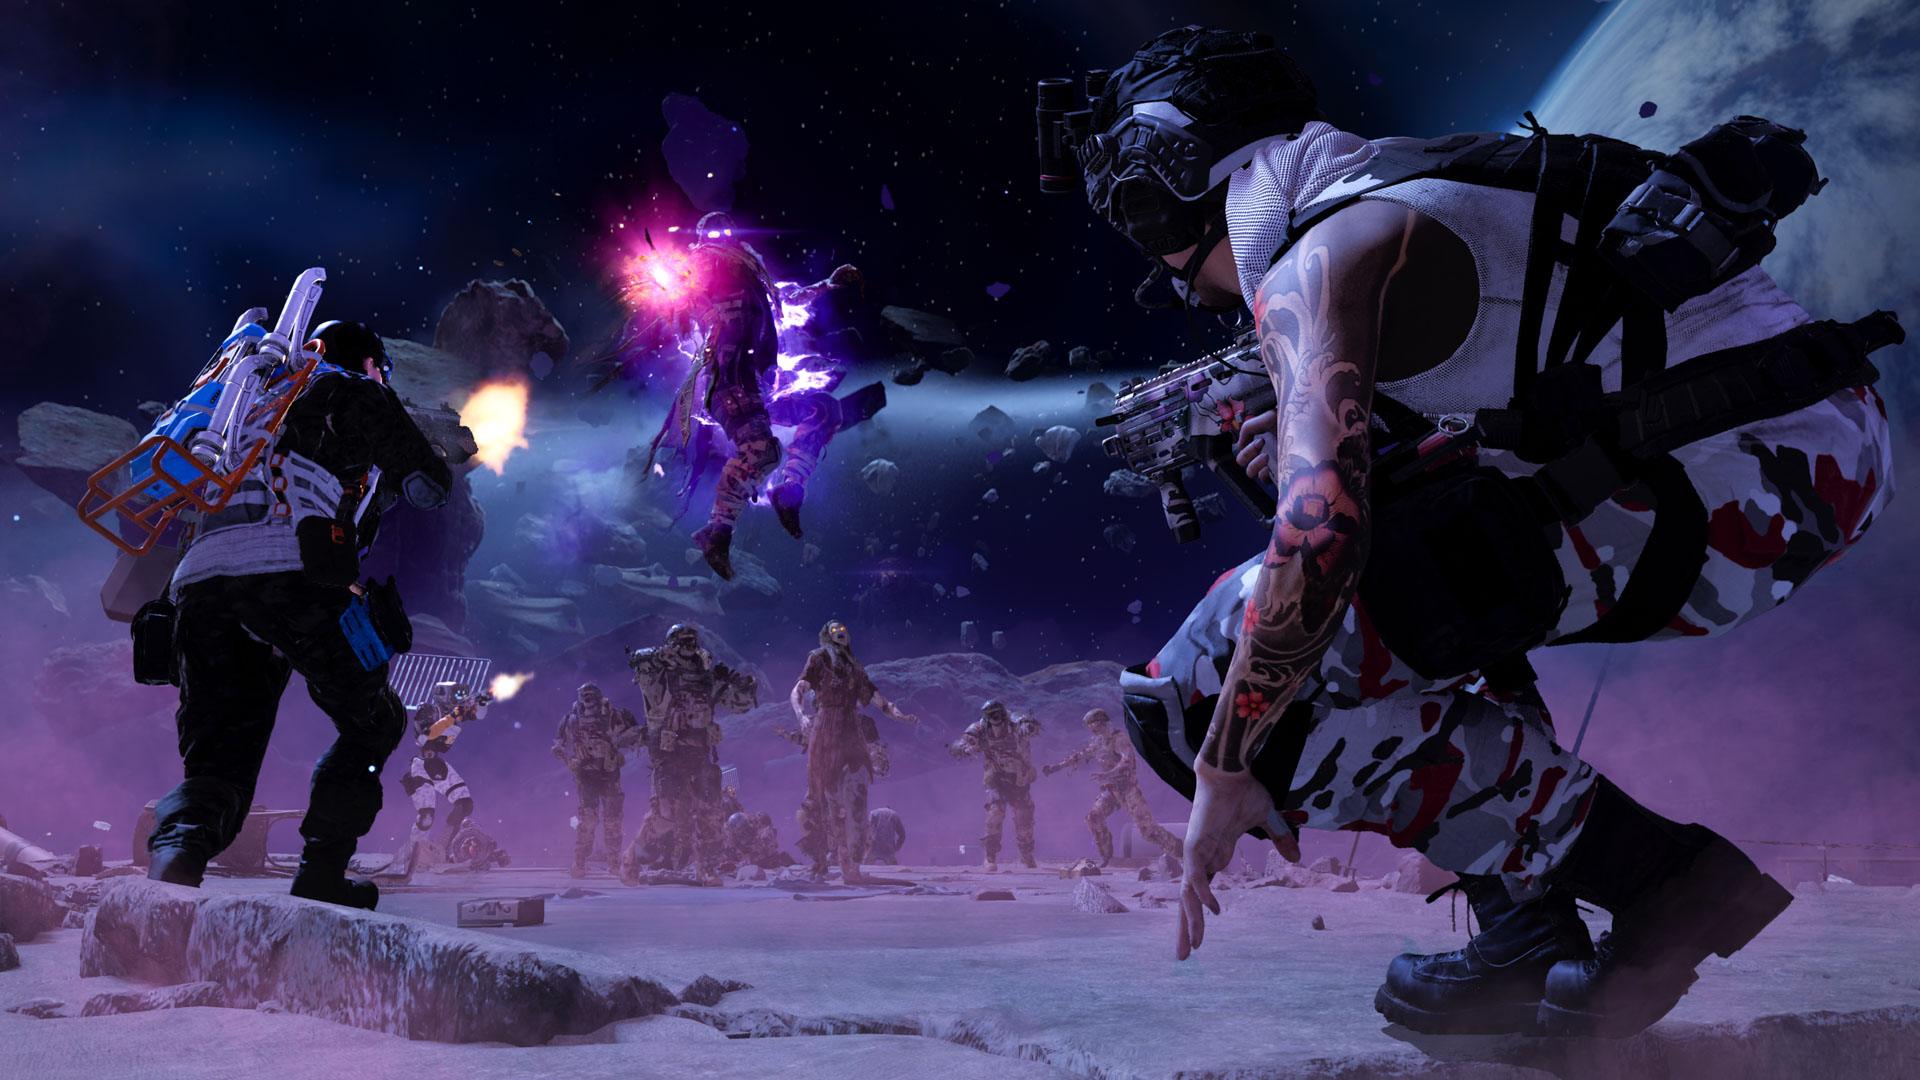
Classified Schematics are high tier Acquisition schematics that can be rather difficult to come by but are well worth the effort in searching for them. Now fully established in Urzikstan, Operation Deadbolt is hard at work in utilizing the Dark Aether for good. The next step in getting what you need to gain the upper hand on both the Zombie hordes as well as Terminus Outcomes is, unfortunately, the hard part.
In order to craft these ultra-rare Classified technologies, you’ll need to find the schematics, and this is often done so by fighting some of the deadliest enemies around. The best way to find Classified Schematics is by completing contracts within the Dark Aether Rift and defeating some nasty foes. Always be sure to take some time to gather your rewards from Reward Rifts, these Schematics can, but are not guaranteed, be found inside. It’s also important to complete the Story Missions, as it will lead you into places where you can find many rare and legendary rewards.
All Classified Schematics can be found by completing objectives within an Elder Dark Aether Rift, defeating Greylorm, or on the extremely low chance by completing contracts in the High Threat Zone. Note that none of these drop locations are guaranteed and some are located only in their respective Rift.
Aether Blade
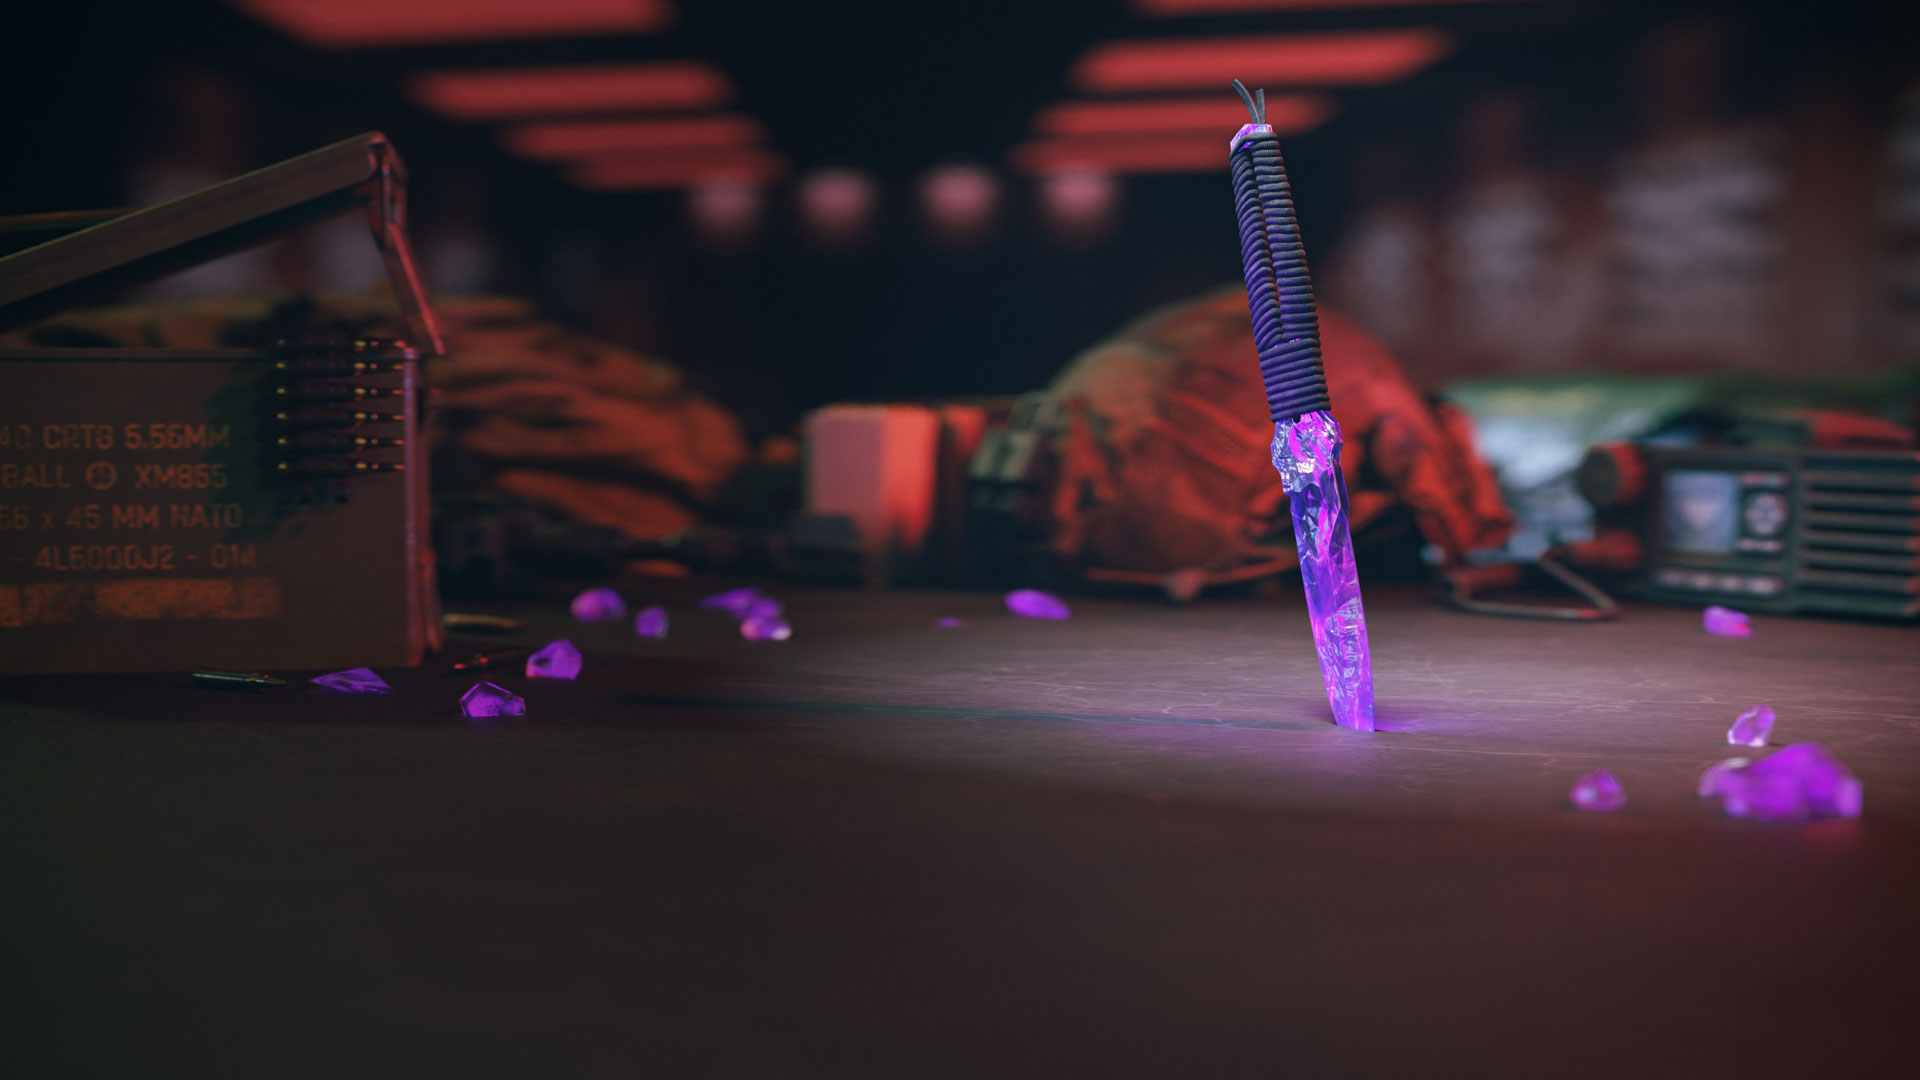
Drop Locations: Elder Dark Aether (E5)
The Aether Blade is a special Throwing Knife with infinite ammo and a boomerang-like combat style. After striking an enemy, the Aether Blade locates the next nearest enemy to hit before returning to its Operator.
Usage strategy: The Aether Blade is the ultimate example of the fact that blades don’t need to reload ammunition. Even though you can’t throw the blade with extreme haste, you can keep throwing it over and over which means you can use it in small groups of Zombies while knowing you can throw it again in a matter of seconds. The Threat Level doesn’t matter when throwing the Aether Blade because it will cut through all normal Zombies like butter. Although it won’t immediately take down a Special Zombie, the damage is noticeable, and it will boomerang to several other Zombies that may be in its vicinity.
The Aether Blade also replaces your standard melee action. So, if you’re backed into a corner or completely surrounded by enemies, melee them with the Aether Blade. The damage on melee attacks is not small, either. It may not be the best way to eliminate Zombies, but because of how much of a power the Aether Blade packs, it’s also not the worst.
Blood Burner Key
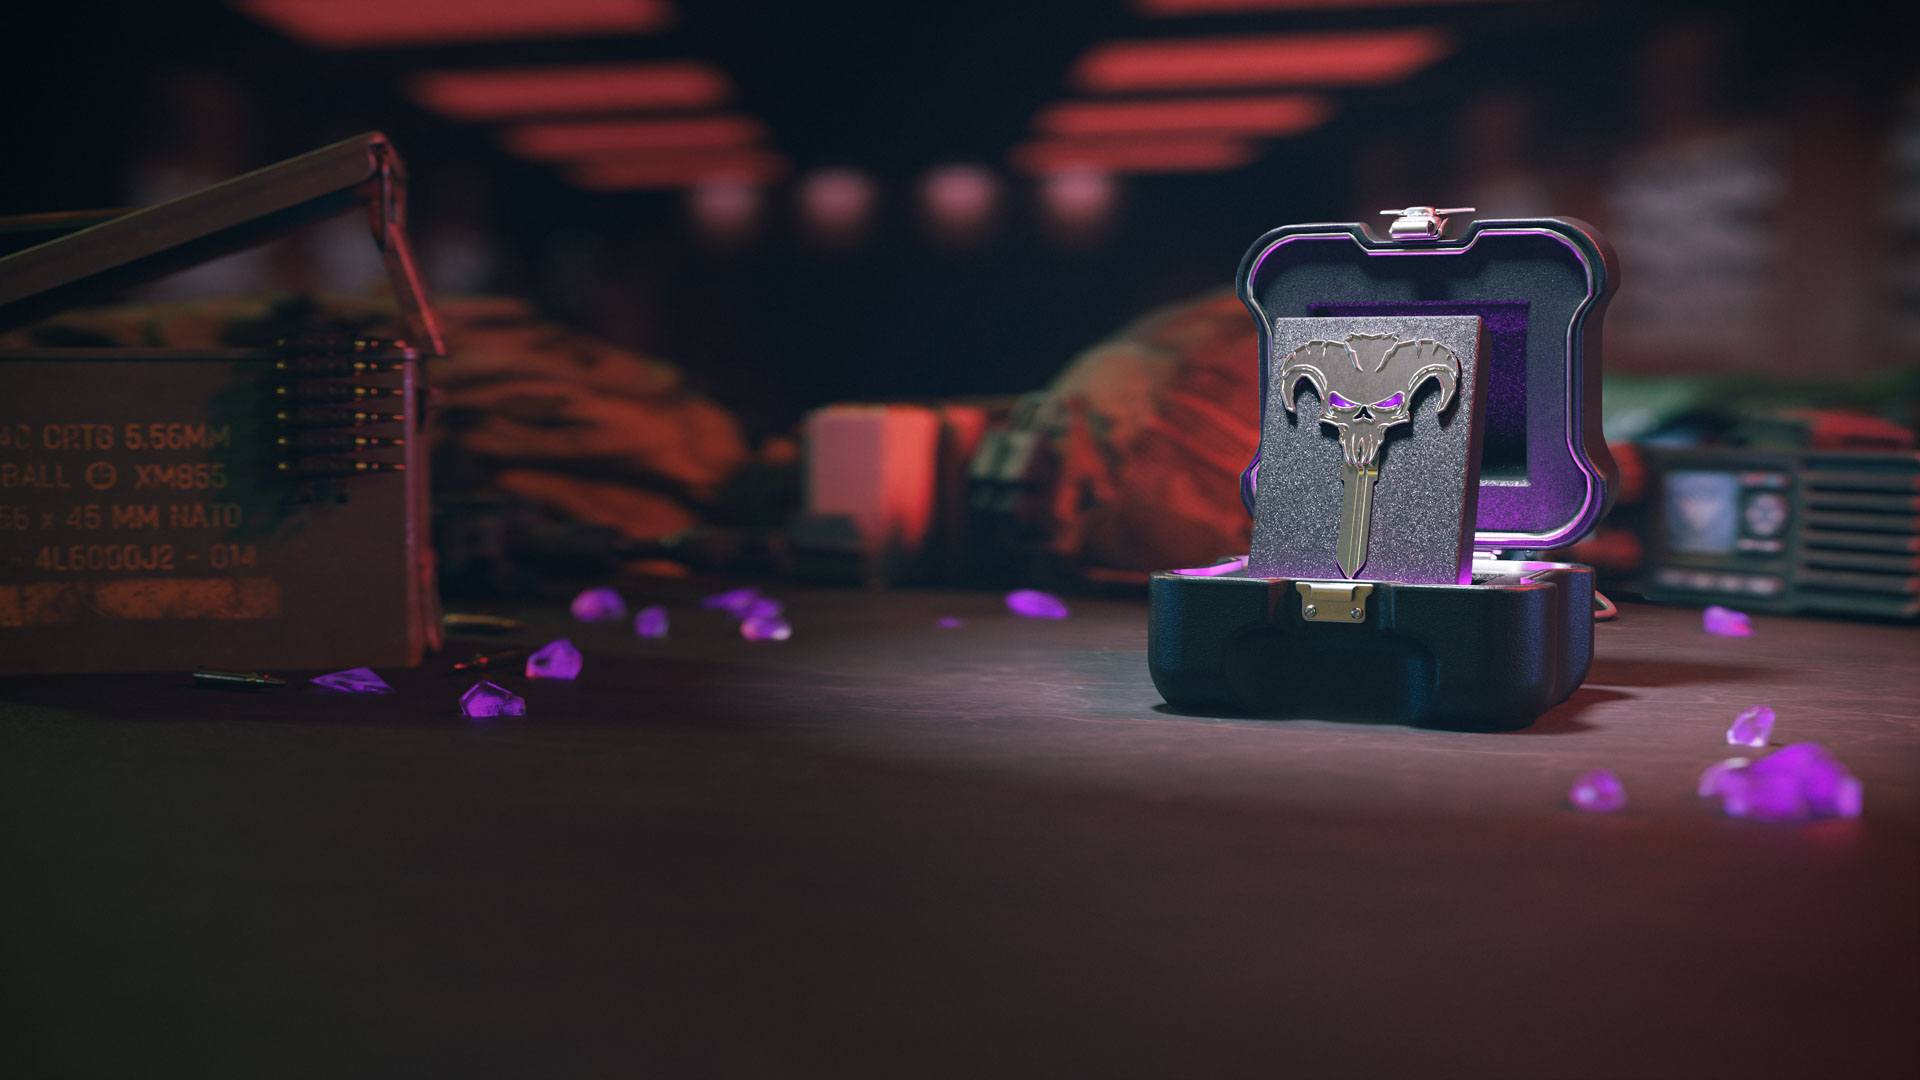
Drop Locations: Elder Dark Aether (G4)
The Blood Burner is a two wheeled nearly indestructible Wonder Vehicle straight from the Aether itself. Cruise in style as you feed the bike with the blood of the Zombies you flatten beneath its wheels. Surrounded? Activate the bike’s Aether Pulse ability to blast enemies in near proximity. Normally, you would have to search Urzikstan from top to bottom in order to find the Blood Burner, however with this Classified Schematic you can craft your very own set of keys and summon the monstrous bike immediately upon deployment.
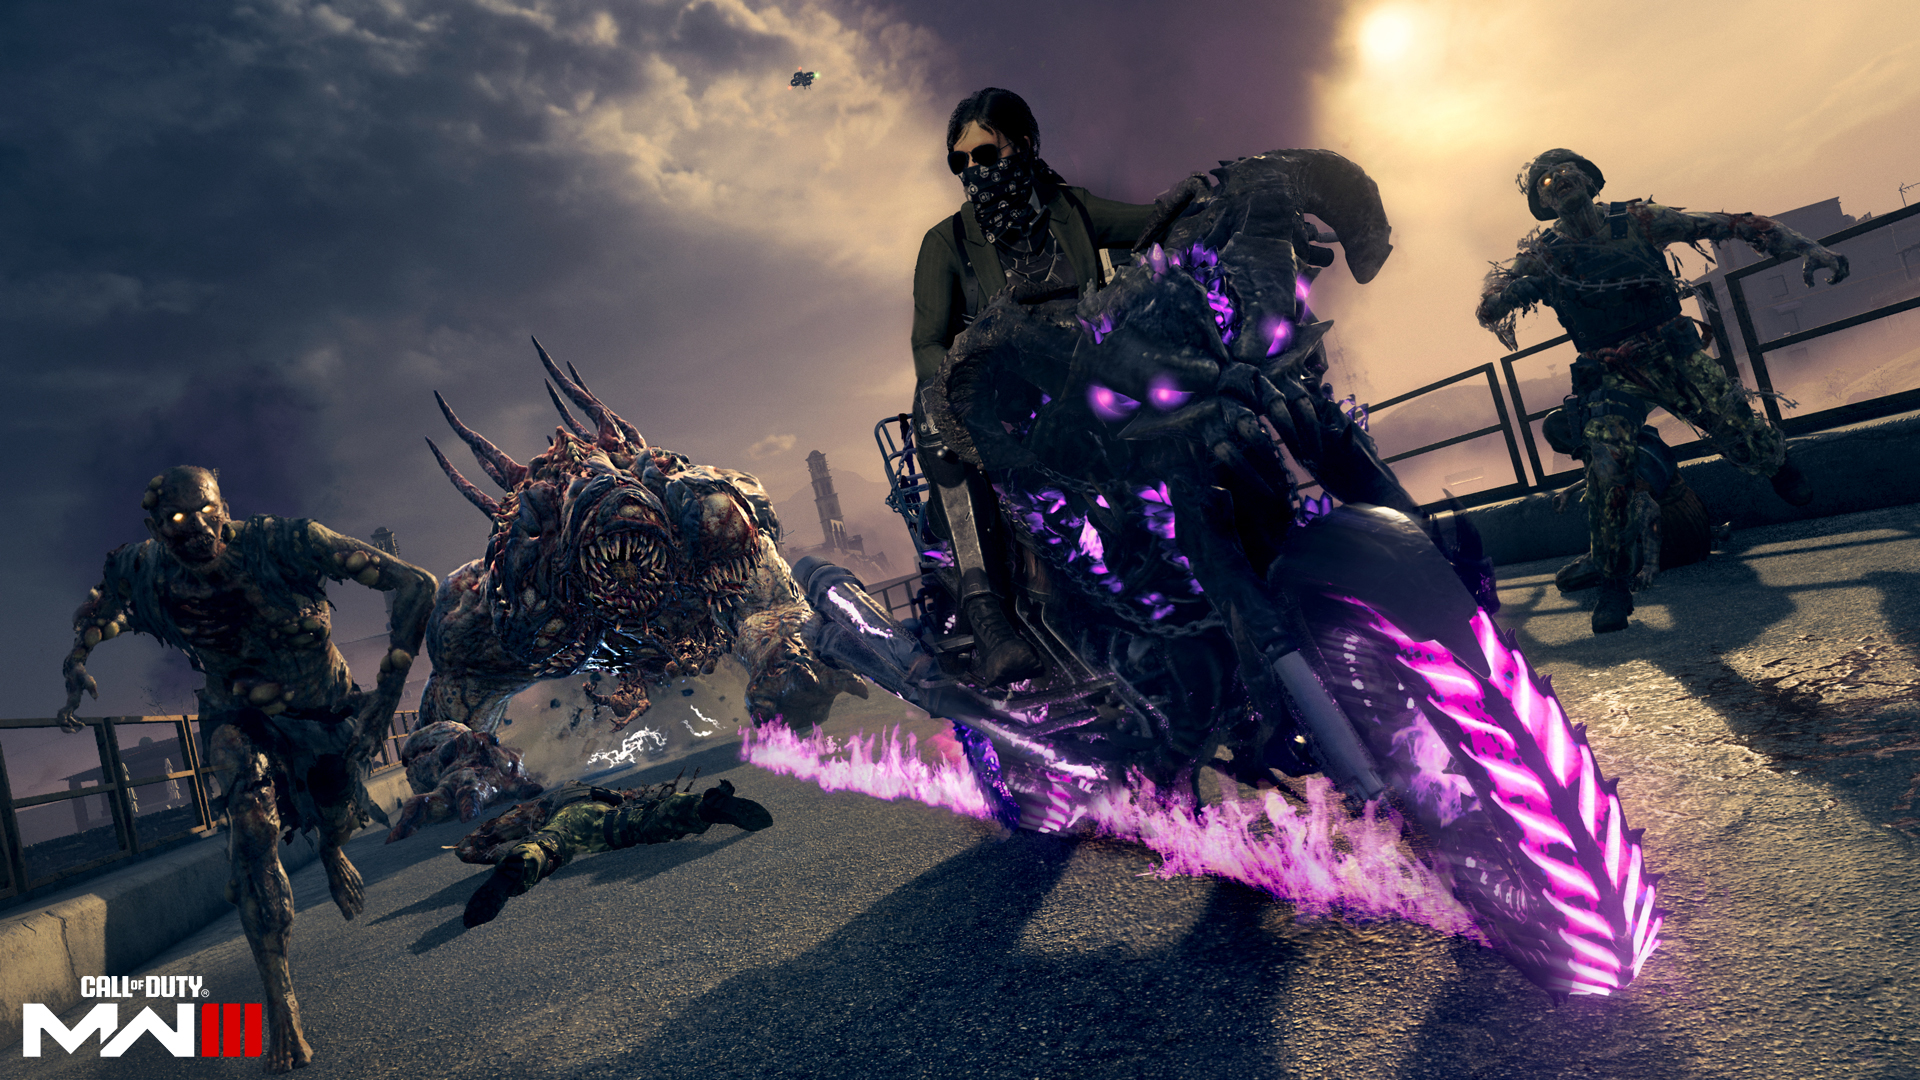
Usage strategy: Vehicles are a key piece of the Modern Warfare Zombies experience. There’s not a classier way to travel than in style all around Urzikstan in a vehicle with your very own customization, unless you have the Blood Burner. The bike does enjoy feeding on the obliteration of enemy Zombies so much that the zombies it kills becomes the fuel to help it run. So, no more stopping at a gas station as you’re traveling across the map to refuel. So long as you’re staying on the road or taking short trips through the water, you can take this thing virtually anywhere, and you should if it will shorten your trip or make for a safer path. Don’t forget to use the E-Brake for more efficient turning.
Even though Operators are exposed to the elements of the Zombie infested EZ, as long as you’re moving there isn’t much that can stop you. Sure, running into a Mega Abomination is not the best of ideas, but as long as you don’t hit it, you should be able to slip right past without issue. This is great for those that need a weapon of Epic or Legendary rarity and need to make a quick trip into the higher threat zones to get one.
Use the Blood Burner to make your way into the High Threat (Red) Zone to pick up some gear from a Supply Box or Wall Buy and get out of dodge as fast as you can. Knowing your ride won’t fail you during crucial moments is exactly what you need when traveling through the High Threat Zone. If the danger of the High Threat isn’t enough, try taking the Blood Burner through the Aether Storm to really start feeding the bike and do some big damage to the special enemies within. The bike will protect you if you take care of it and is great for solo players that need to go for a drive and feel the roads of Urzikstan.
Dog Bone
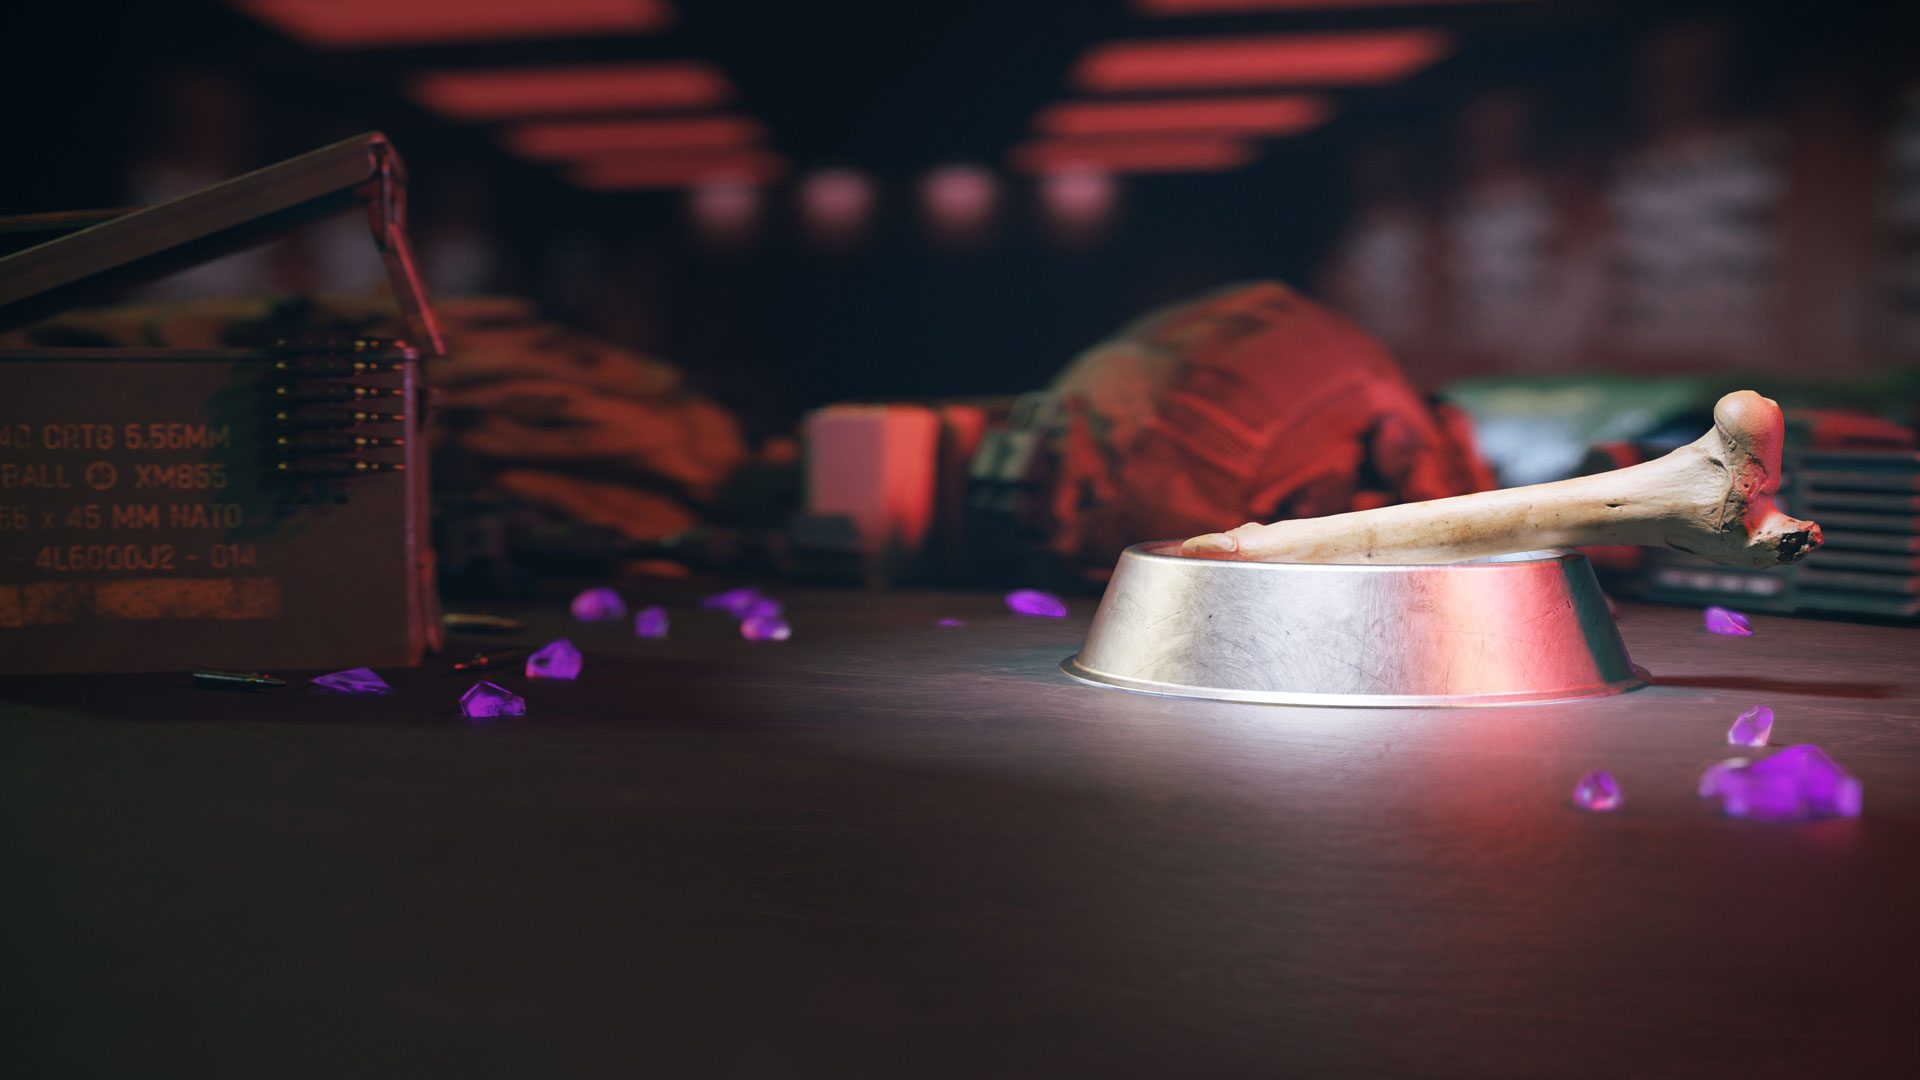
Drop Locations: Elder Dark Aether (E5)
Consume the Dog Bone to summon the strongest, goodest, and friendliest Hellhound companion. The pet Hellhound will follow you and attack nearby threats as well as pick you up after you’ve been downed until its health runs out. If you protect your companion, it will heal slowly when out of combat for some time.
Usage strategy: The friendly Hellhound is an autonomous friend that will only leave your side to protect you. Using the Dog Bone will summon a level III Hellhound, but no matter the level they will all do everything they can to make sure you and your Strike Team continue on. Whether they move out and attack anything within your direct vicinity or they are using their incredibly healing howl to pick you back up once you or any one on your Strike Team has been downed, the Hellhound has your back. This loyalty doesn’t come with many inherent drawbacks, but it can be a slight burden if you’re attempting to do one of the more kill specific missions.
There is no need to worry about moving too far from your companion as it will use its Hellhound abilities to stay within sight, but always be careful that it is not locked in a one-on-one fight with something that can pack a big punch. The health pool on each level Hellhound has a significant increase from level to level, but engaged with a horde of high-level zombies can drain its health down to zero rather quickly if you’re not careful. The Hellhound will attack everything, so if you’re seeking the completion of a mission where you have to trigger certain elemental attacks or kill a specific type of enemy, your helpful friend could slow that process down. There’s nothing wrong with a little help but stay aware of this when using the Dog Bone before a certain type of mission.
Golden Armor Plate
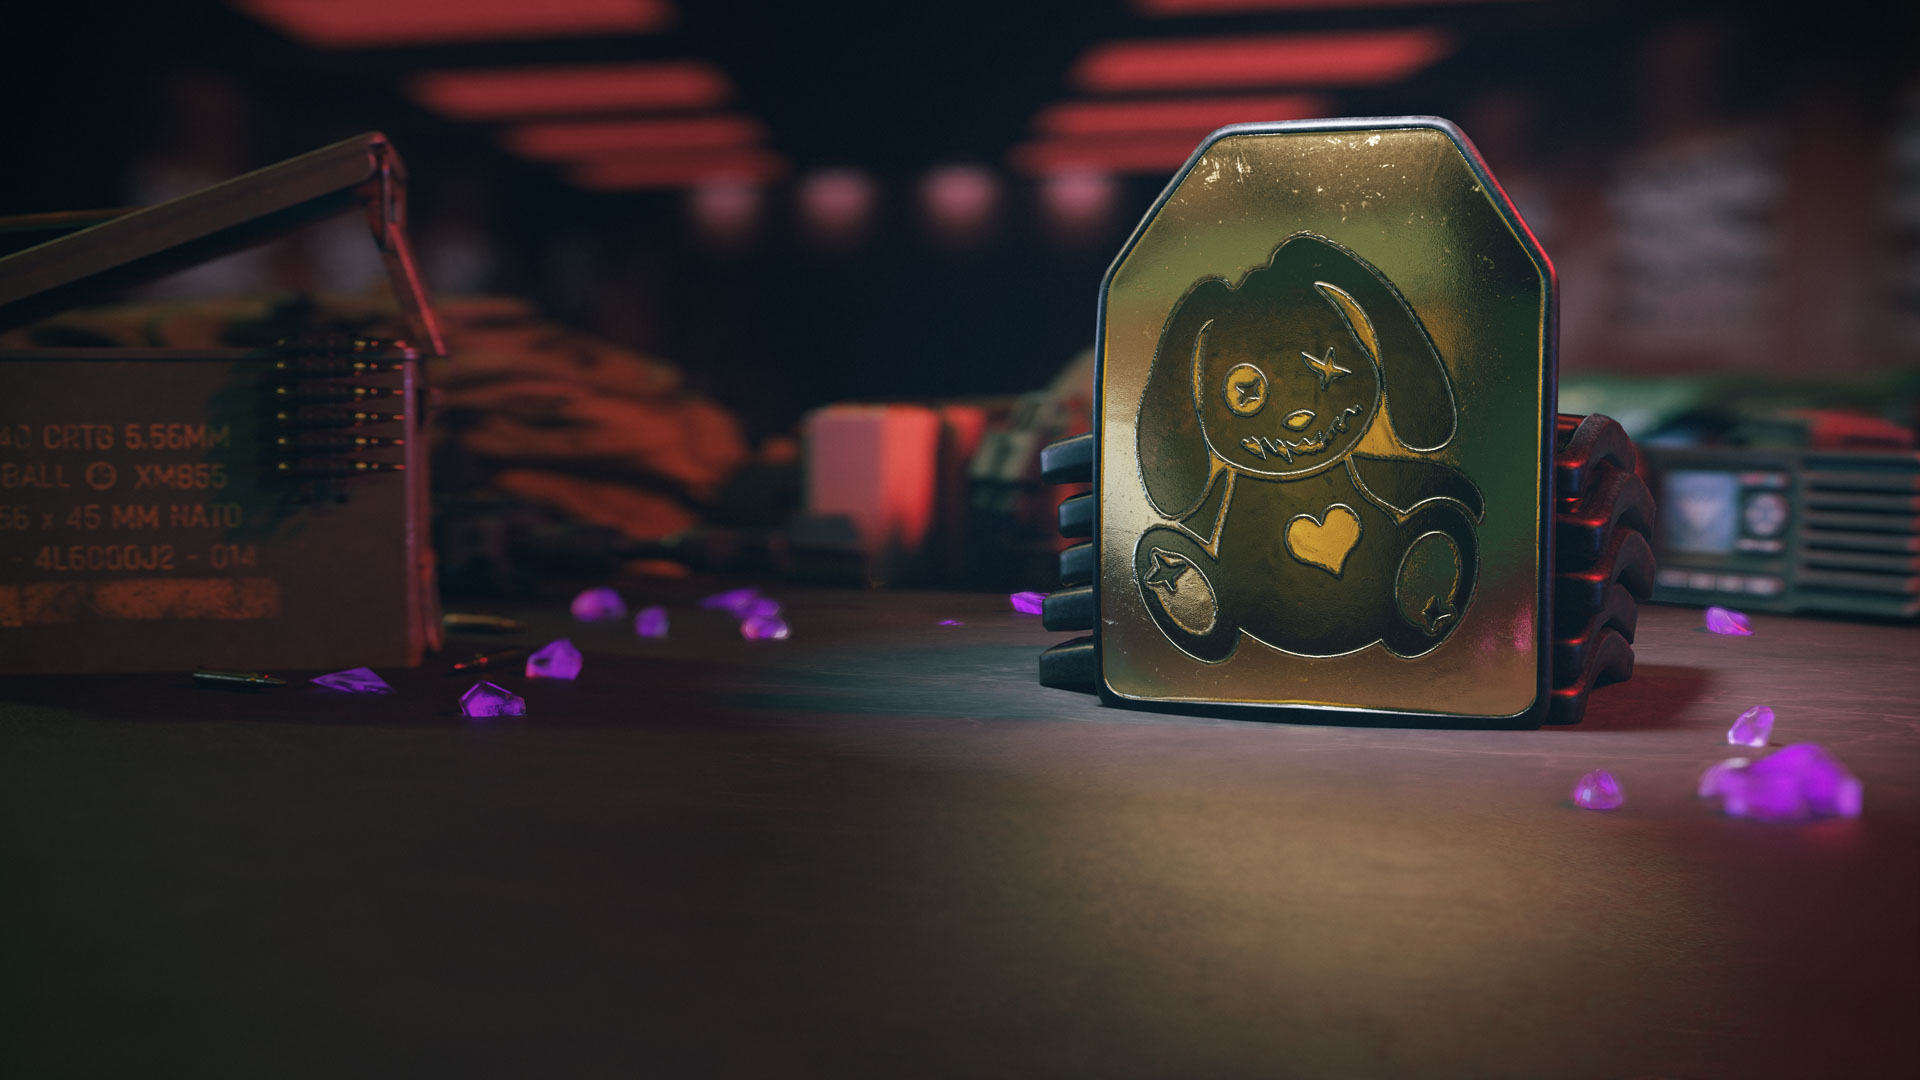
Drop Locations: Elder Dark Aether (E5)
Becoming the top Tank has a lot to do with skill, but you can’t accomplish your tanking goals without the best in slot items. To support you and your Strike Team with the best gear you’ll need the Golden Armor Plate. Granting you the ability to repair armor plates slowly but automatically over time post consuming this Classified Acquisition, you can take more enemy damage than normal so long as you keep an eye on exactly how much armor you have left and maneuver accordingly. You may not be able to take fire from an entire Mercenary Camp all at once, but with the added damage resistances you can take a bit more from all enemies than you’re used to.
Usage strategy: The best time to use the Golden Armor Plate is now. Unless you’re looking to exfil from a deployment immediately after finding a Golden Armor Plate it’s best to use one if you find it immediately. However, if and when you find the Golden Armor Plate Schematic, it may be time to exfil and do so on the double. Once you’ve exfiltrated the EZ with the schematic, you’ll be able to bring the Classified item into a deployment and use it from the beginning of the session. Classified Schematics have relatively long cooldown timers, so have a plan before bringing a Golden Armor Plate into your next deployment.
Utilizing the Golden Armor Plate when you and your Strike team need to enter the High Threat Zone or are getting ready to do a Rift Run is the perfect opportunity to gain the advantage you want against some of the more difficult challenges. Enemies tend to drop armor plates pretty often. However, if you’re unable to collect them due to just how large a zombie horde might be, the Golden Armor Plate gives you a greater chance at survival while making your escape from danger. Paring this acquisition with damage-based Field Upgrades like the Energy Mine can be very powerful, but don’t be afraid of also utilizing Frenzied Guard to help protect your Strike team. Not only does the Frenzied Guard ability force enemies to attack the user but it will also refill your armor to full. This combined with the benefits of the Golden Armor Plate can make a tactical Operator nearly indestructible.
Mag of Holding
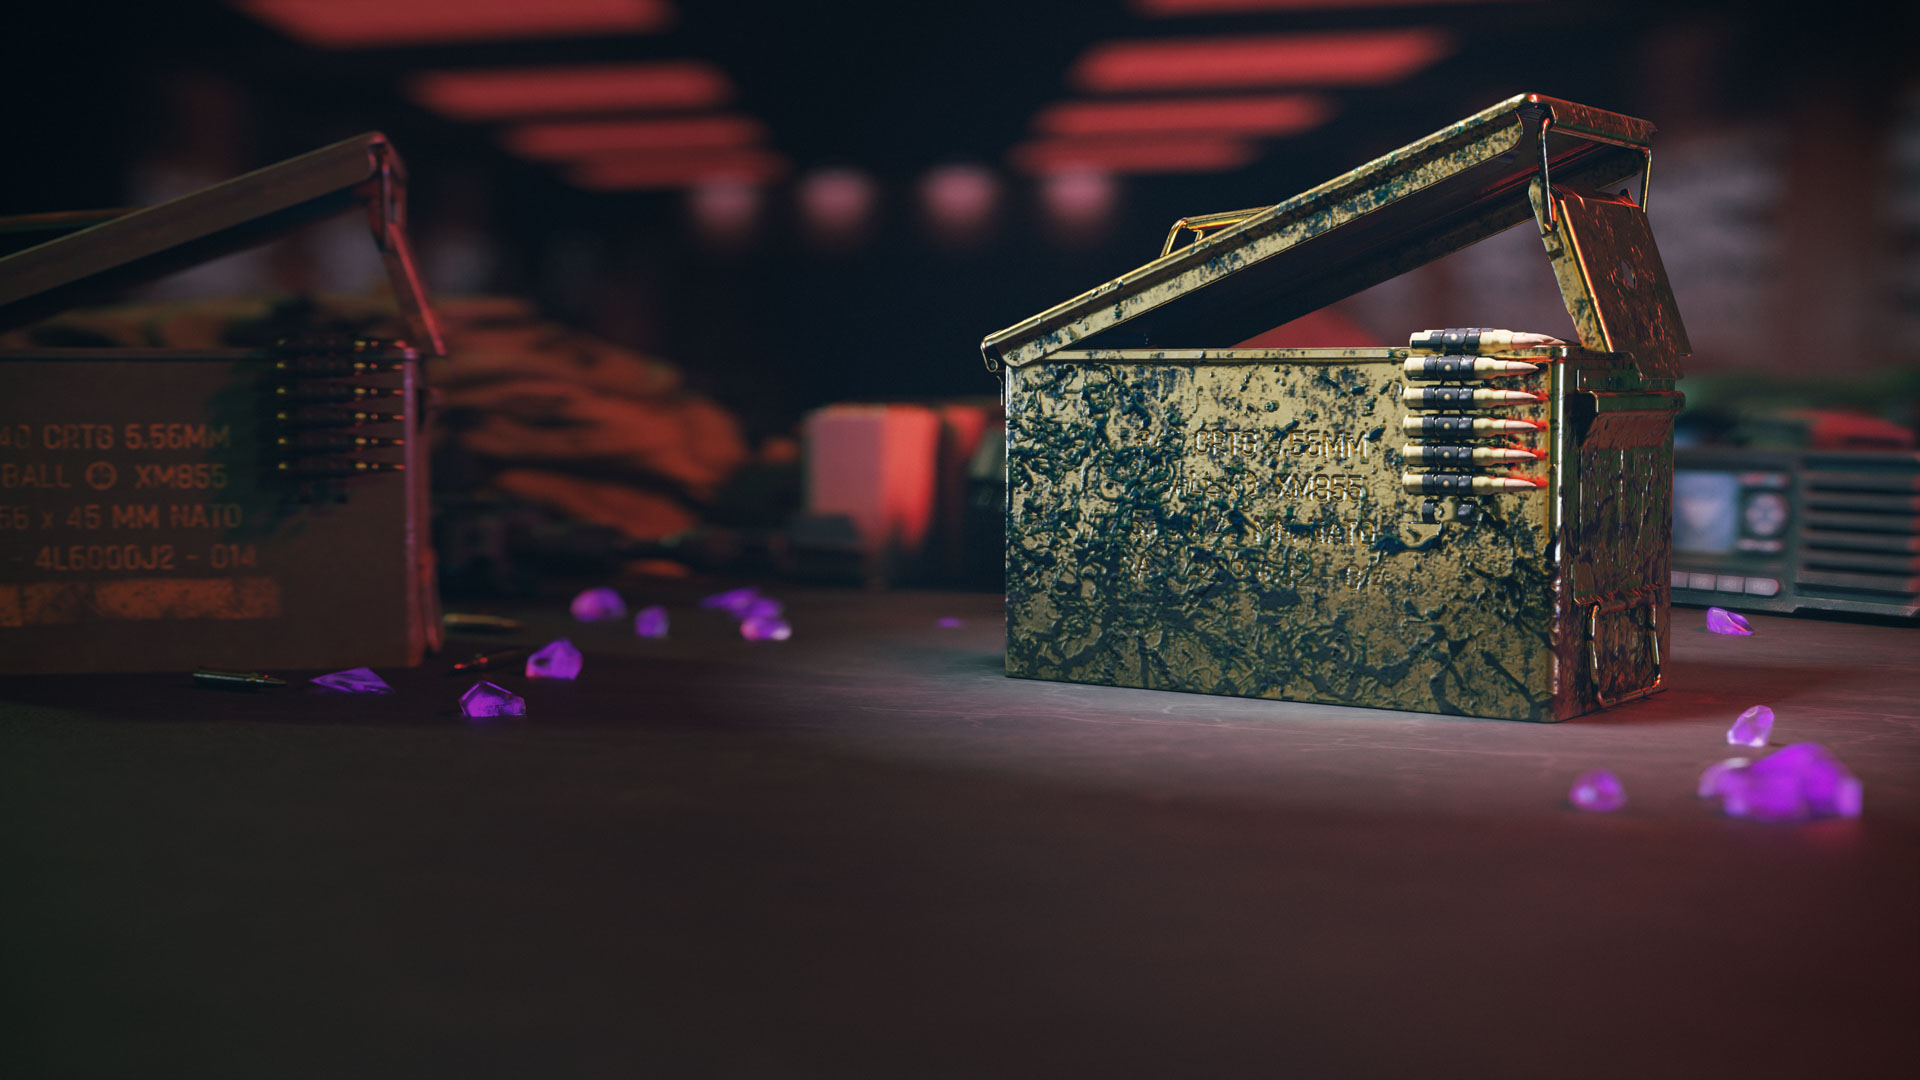
Drop Locations: Elder Dark Aether (G4)
Who has time to reload? Not you if you’ve activated the Mag of Holding, which allows your ammunition to feed directly from your weapon’s ammo stash, essentially eliminating the need to reload your weapon. When you’re running through contracts and gaining essence, you’ll still want to Pack-A-Punch your weapons as soon as possible. However, if you’re having trouble finding a weapon with a powerful rarity or an Aether Tool to upgrade your current weapon, you may not want to spend your essence right away. No matter how good your weapon is, the Mag of Holding will always have your back and all it costs is crafting one via the use of the Classified Schematic before your next deployment.
Usage strategy: There’s no bad plan when it comes using the Mag of Holding, however if you’re looking to get the most out of this Aether infused Classified item, you may want to prioritize acquiring a weapon that allows you to hold down the trigger and eviscerate a horde of zombies at any level. Assault rifles with full sets of attachments, fully automatic shotguns, or LMGs with Tac-Stance enhancements are perfect starting points to for getting the most out of a Mag of Holding upgrade.
Golden Mask Filter
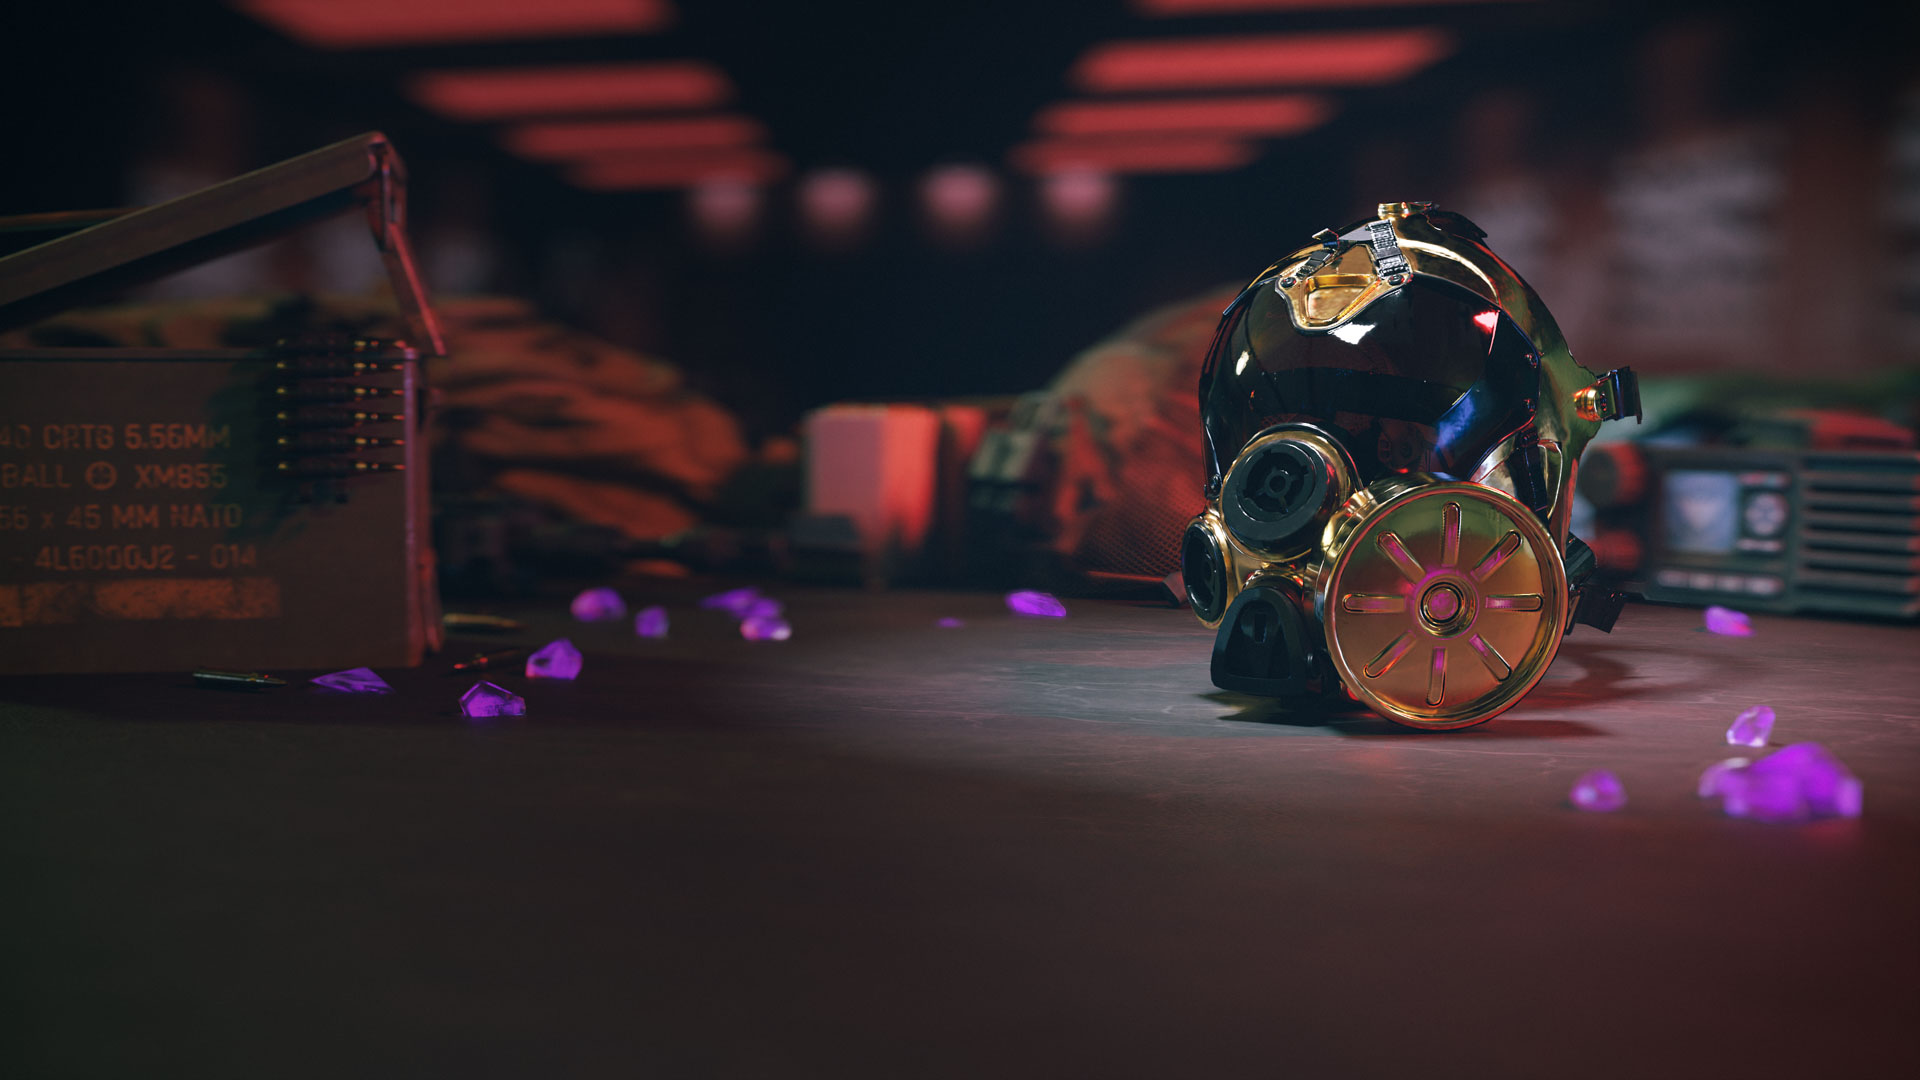
Gas Masks are always great to have when running around Urzikstan or diving into any of the Dark Aether Rifts. Most of the time it’s easy to find a normal Gas Mask to keep you protected in Aether Nests or Infested Strongholds. It’s a bit more comforting to have a Durable Gas Mask, of which are rarer, but what’s even more comforting is having a Gas Mask that will regenerate for the entirety of a deployment. This is where the Golden Mask Filter is indeed a golden asset to your Modern Warfare Zombies arsenal.
Usage strategy: From the beginning of any deployment, Operators can consume the Golden Mask Filter and take one more resource off of the list of things to worry about when thinking about staying fully equipped. The use of one Durable Gas Mask keeps things rather pain free when entering an Infested Stronghold, however once you’ve completed the Stronghold, you’ll need to visit an Ammo Resupply or find a brand-new mask.
Using the Golden Mask Filter will save you a bunch of time when attempting to hit multiple Infested Strongholds back-to-back. More importantly, if you’re looking to spend some time in the Aether Storm or around some of the special Dark Aether events, this Acquisition Schematic can be a life saver. Note that once the Golden Gas Mask is broken, that acquisition will be deleted. So, it’s a great way to give your Strike Team a bit less of a headache for a good amount of time, but you may want to still pay attention to the durability.
Sergeant's Beret
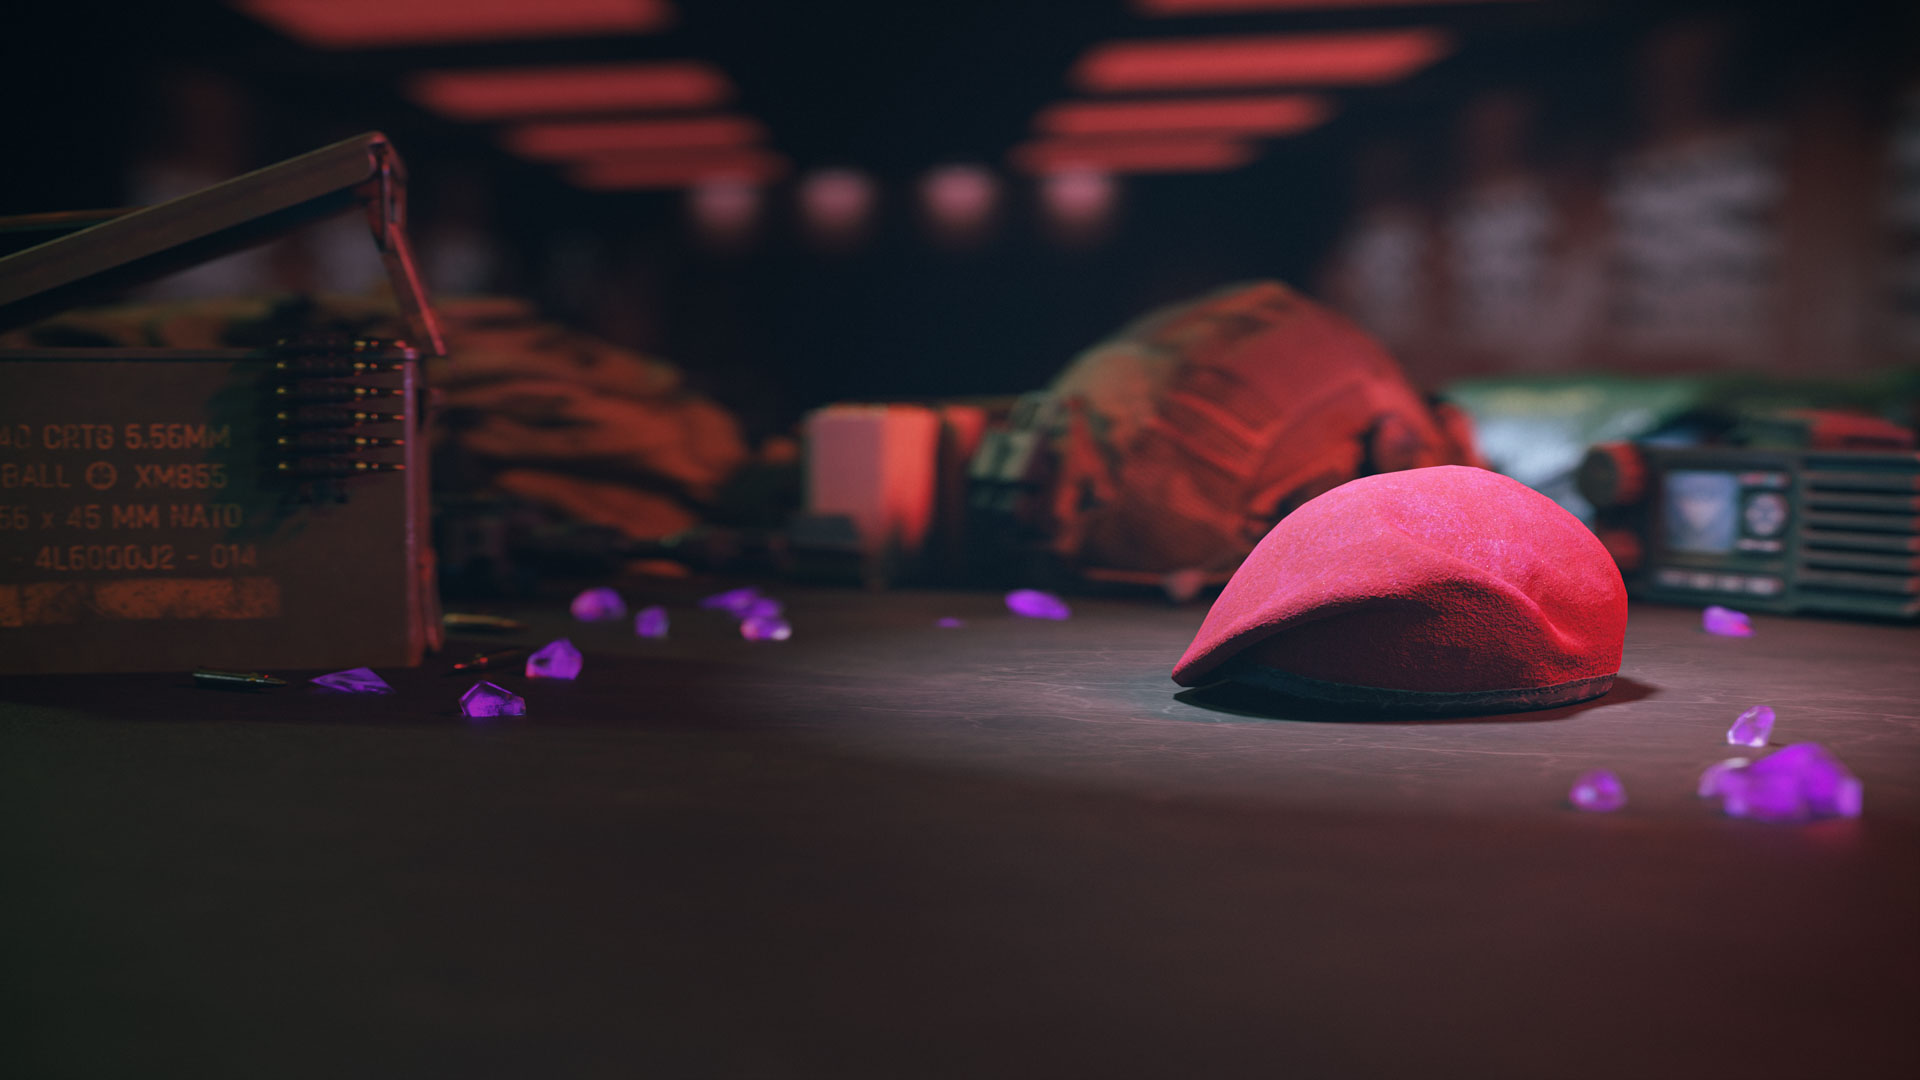
Drop Locations: Elder Dark Aether (E4)
Don the beret to disguise yourself amongst Terminus Outcomes mercenaries and receive a trusty Merc Bodyguard who will follow you to the ends of the rift.
Whether you’re a player that enjoys the solo experience in Modern Warfare Zombies or rolling six Operators deep in a party through the High Threat Zone completing as many contracts as possible, it’s never a bad idea to add another member to your party. With the Sergeant’s Beret, you’ll not only be able to avoid mercenary patrols and slip past camps without notice but you’ll also have another companion to fight by your side. Be careful because this mercenary companion, “Marc,” is a very attractive target for zombies. You may need to protect him from time to time as you might with any member of your party.
Usage strategy: If you’re planning on fighting Terminus Outcomes during your next deployment, it’s probably best not to use the Sergeant’s Beret because your disguise will be ruined when you engage in “friendly fire.” Don this Classified Acquisition when your focus is completely zombies focused. This could be when you’re roaming around the Low and Medium Threat Zones completing contracts and don’t need the added pressure of fighting mercenaries. It’s also great when you’re planning on spending some time in the High Threat Zone and would simply like another companion to help protect you during your hellish stroll through the most dangerous zone on Urzikstan. Be careful not to pair the Sergeant’s Beret with the Dog Bone or the summoning of a Hellhound because your friendly dog will attack everyone and kill any stealth opportunities you may wish to set up.
Dead Wire Detonators
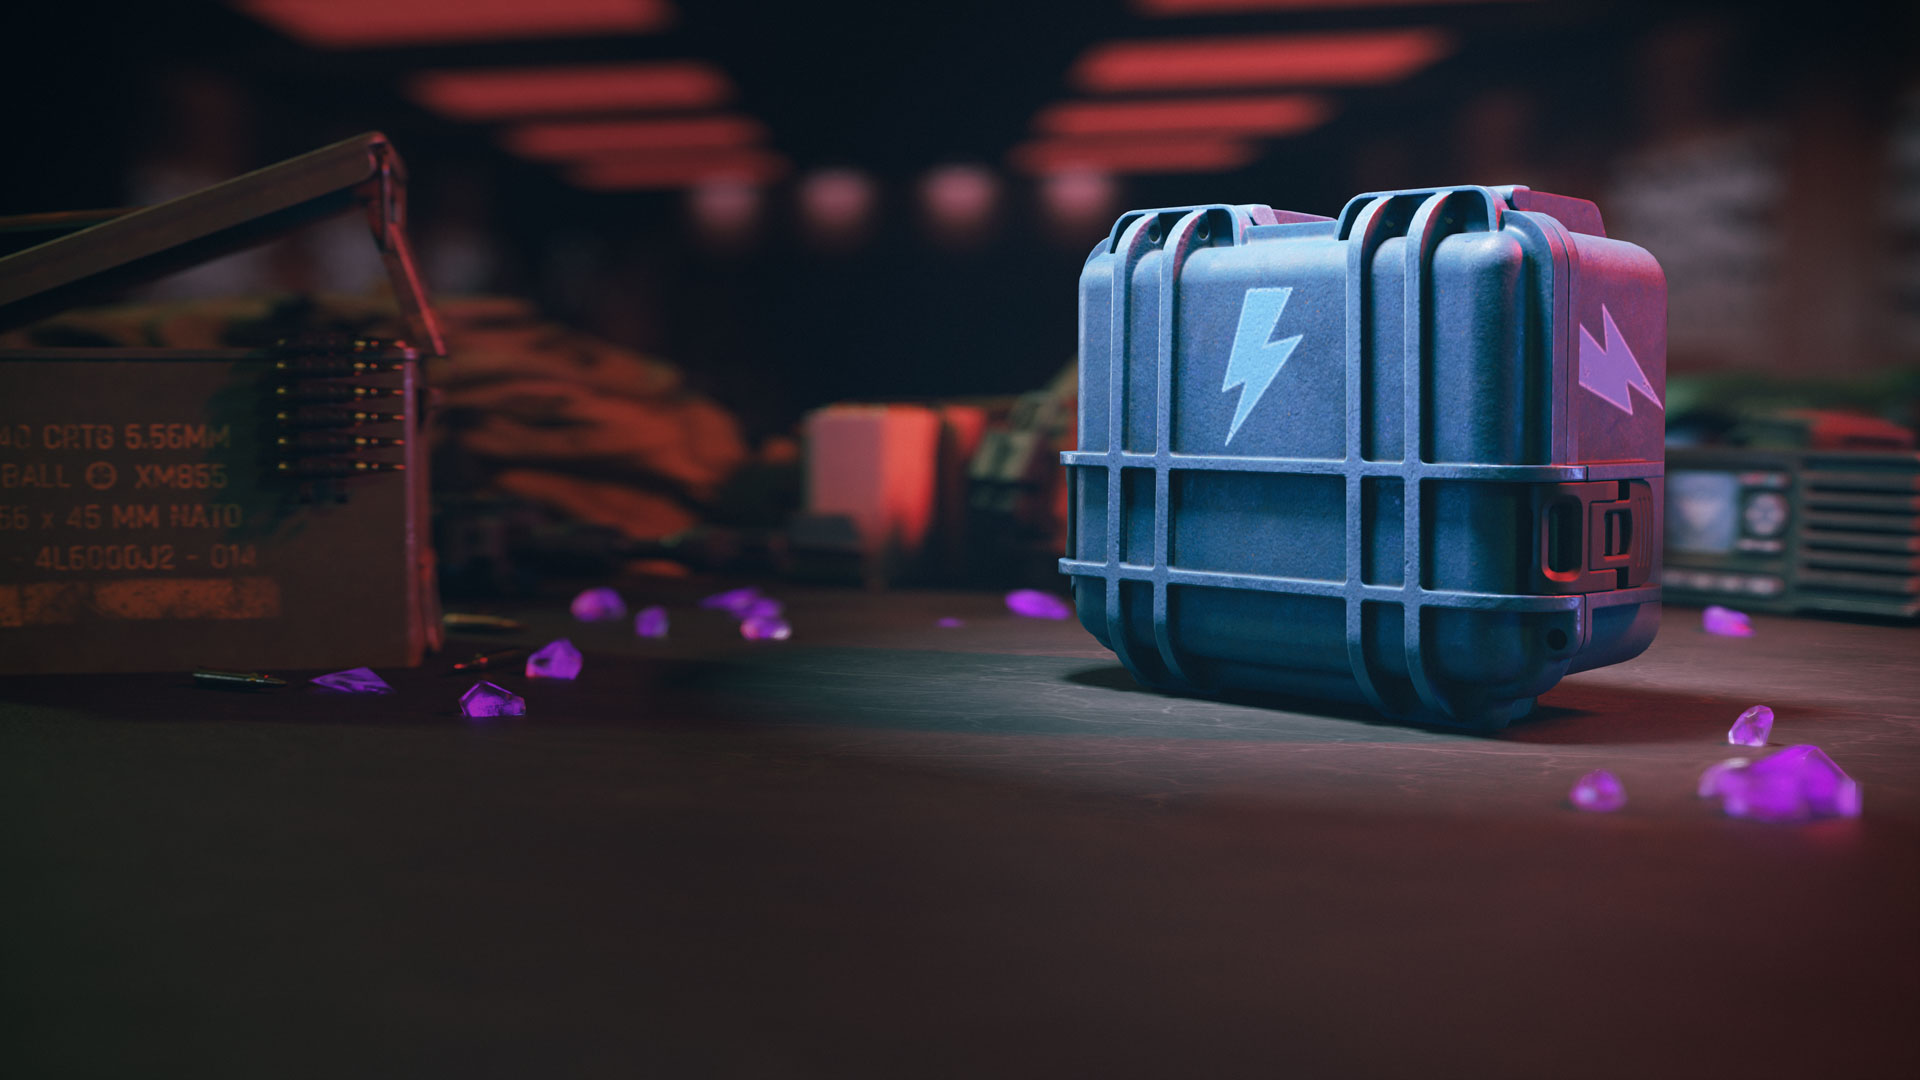
Drop Locations: Elder Dark Aether (E4)
Explosive and electrifying, both for the price of one Classified Acquisition! All of the carnage and chaos you could ever ask for by consuming Dead Wire Detonators. Once consumed all of your explosive damage, Lethals and Launchers included, will also trigger the shocking Dead Wire effect. So, if you’re looking to give zombies a shock to their system, you can now do so in a much wider area of effect.
Dead Wire does electrical damage and causes enemies to be shocked in place. Triggering this effect will guarantee the demise of any normal zombie and often stun specials in place, leaving them vulnerable to your attacks.
Usage strategy: Dead Wire Detonators is best utilized when you keep the focus on collecting groups of zombies and lobbing an explosive into the middle of the horde. Throwing explosives at single targets will still trigger the Dead Wire effect, however it isn’t the best way to use up your Lethals. For something a bit more efficient, try equipping an RGL-80 or a Crossbow with the Blastcap 20” Bolts Armory Unlock attachment. Otherwise, the use of Sticky Grenades, Breacher Drones, and C4 will really wreak havoc on the zombie population. Tossing one of these Lethals at a special, especially in a group of normal zombies, can really help you rack up the kills.
Triggering Dead Wire will not count toward mission specific kills that requires other elemental type kills, so using Dead Wire Detonators can slow down mission progress if you’re not careful.

© 2024 Activision Publishing, Inc. ACTIVISION, CALL OF DUTY, and MODERN WARFARE are trademarks of Activision Publishing, Inc. All other trademarks and trade names are the property of their respective owners.
For more information, please visit www.callofduty.com and www.youtube.com/callofduty, and follow @Activision and @CallofDuty on X, Instagram, and Facebook. For Call of Duty Updates, follow @CODUpdates on X.
