Modern Warfare Zombies: Bestiary

- Prebrief
- Zombies (Normal Enemies)
- Intel Card — Threat Level I Zombie
- Intel Card — Threat Level II Zombie
- Intel Card — Threat Level III Zombie
- Hellhound
- Terminus Outcomes Mercenaries
- Intel Card — Terminus Outcomes Mercenaries
- Warlords
- Intel Card — Dokkaebi
- Intel Card — Keres
- Intel Card — Rainmaker
- Specials
- Intel Card — Mangler
- Intel Card — Disciple
- Intel Card — Mimic
- Elite Enemies
- Intel Card — Mega Abomination
Modern Warfare Zombies is packed full of enemies to fight. Battle alongside the other players in Urzikstan to defeat these enemies. Survive long enough to extract and accomplish all that you can to further Operation Deadbolt.
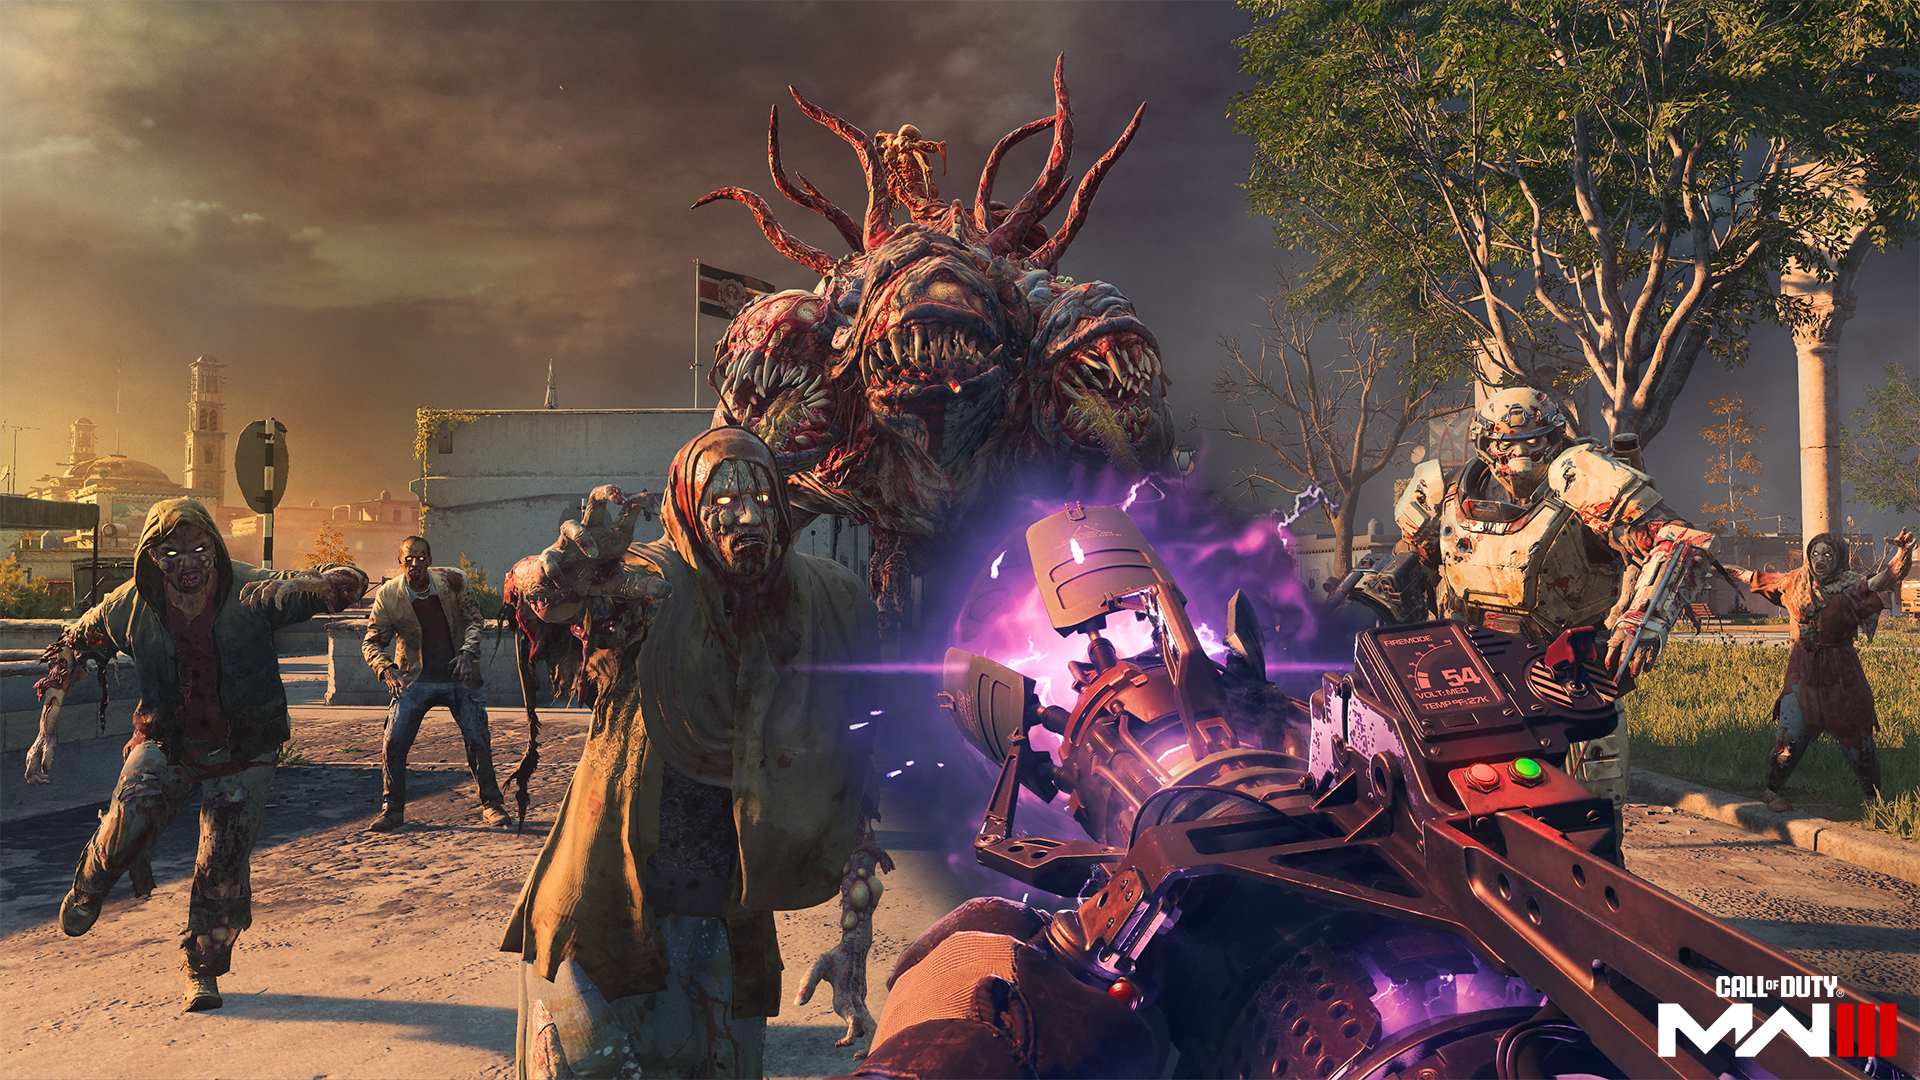
It’s difficult to call anything normal in the world of Modern Warfare Zombies, but there is a set of enemies that are technically normal enemies. This means they are the most common type of enemy that you’ll see in Urzikstan on any given deployment, and they will attack you in large force. You’ll also see these enemies while you’re fighting the more difficult Specials and Elites.
Zombie Threat Level I
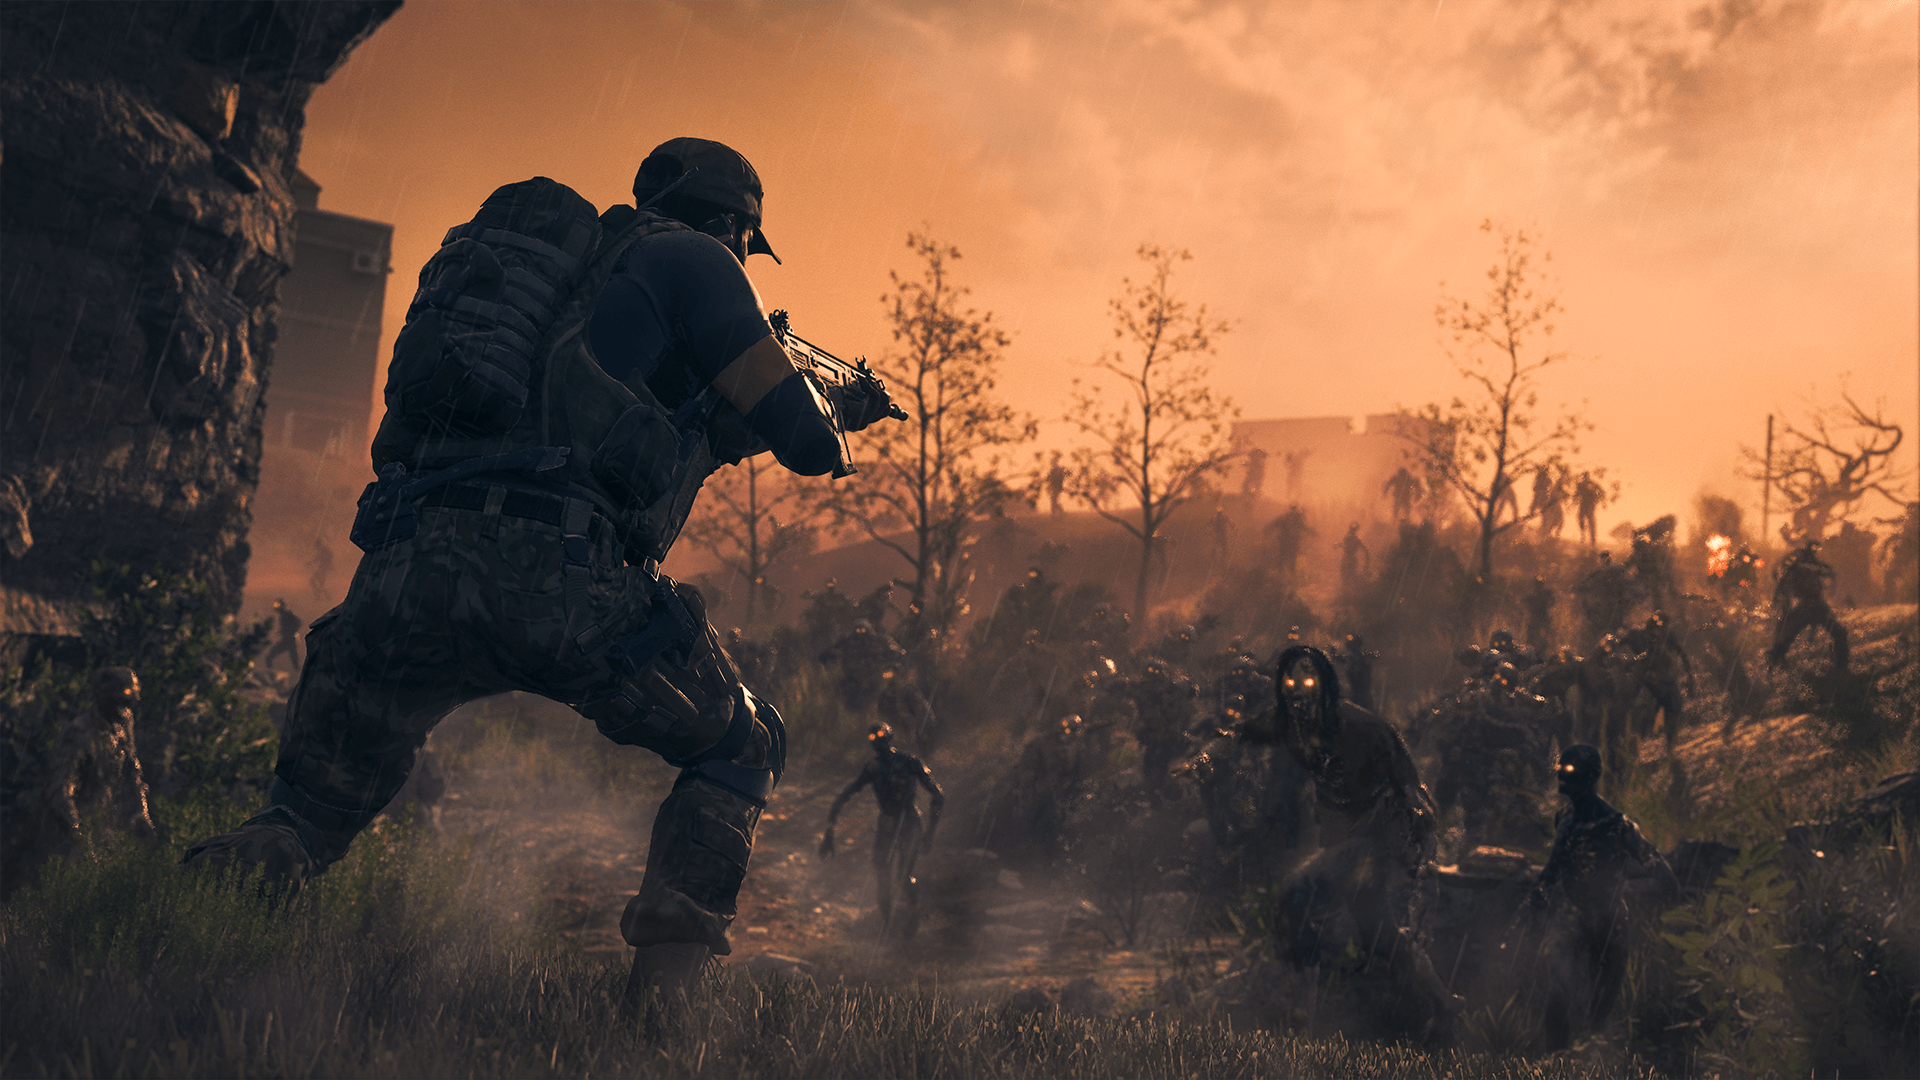
The most basic of enemies is the Threat Level I Zombie. The Zombie’s Threat Level is indicated by Threat Level Zone that they spawn in as well as the symbol next to its name. Threat Level I Zombies will exclusively spawn in the Low Threat Zone and will do so in large numbers. Slow moving and unarmored, these Zombies won’t reach you very quickly when they’re kept at long distance; however, they have excellent hearing and will race toward any gunfire in their vicinity.
// INTEL CARD
- MWIII
- WZ
- WZM
Threat Level I Zombie
// MODERN WARFARE ZOMBIES // BESTIARY
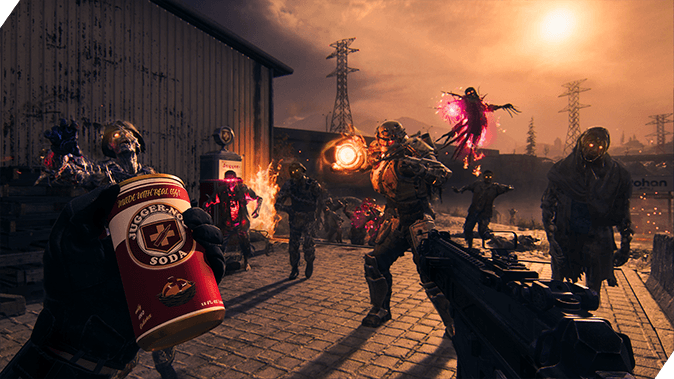
Strengths
- Sheer numbers: Zombies travel in numbers that can overwhelm even the most organized of squads.
Weaknesses
- Low health
- No protection
- Weak to every type of damage
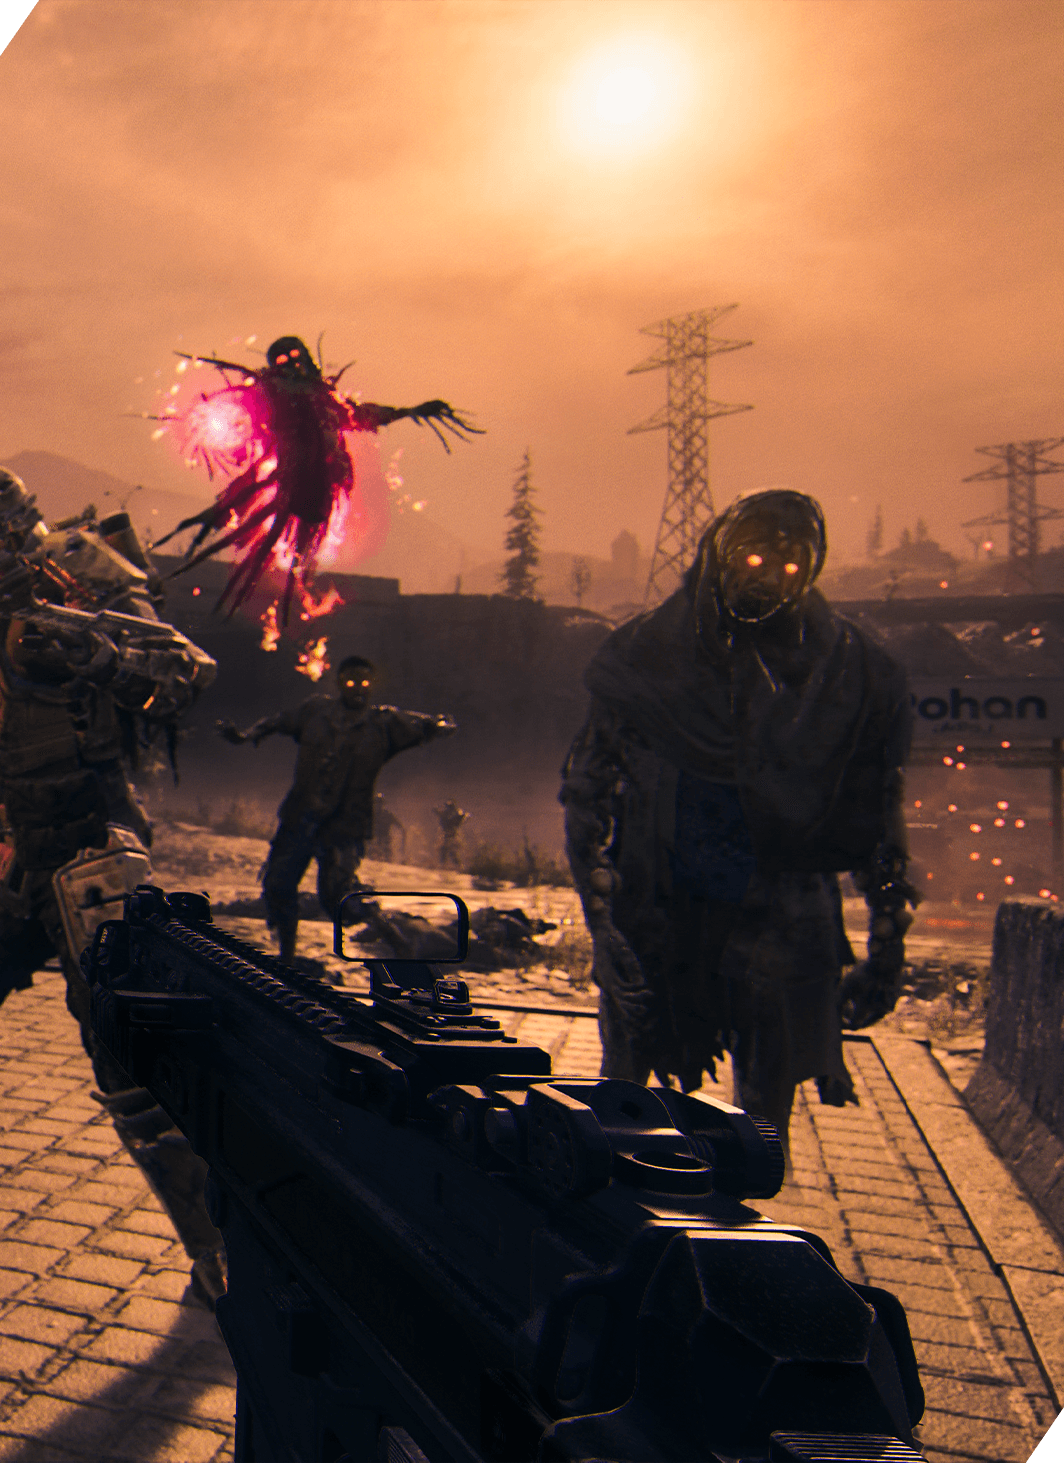
Elimination Strategy: Zombies are easily eliminated via critical hits — headshots for all Zombies. Using LMGs and Assault Rifles with large magazines works quite well if you have the ammo to spend. However, more precise weapons, like Sniper Rifles, Marksman Rifles, and even Pistols perform well against Zombies if you can hit them in the head.
It is incredibly easy to get overwhelmed by the number of Zombies attacking you, especially if you trigger a horde via a Contract or, alternately, an Activity event. Movement and obstacles are your best friends. Use your environment to avoid getting stuck in a situation where you just won’t have enough bullets to stay alive. Elevation is important as long as you remember that if you put yourself in a position that enemies cannot reach you via melee range, but they will begin to throw their guts at you.
Zombie Threat Level II
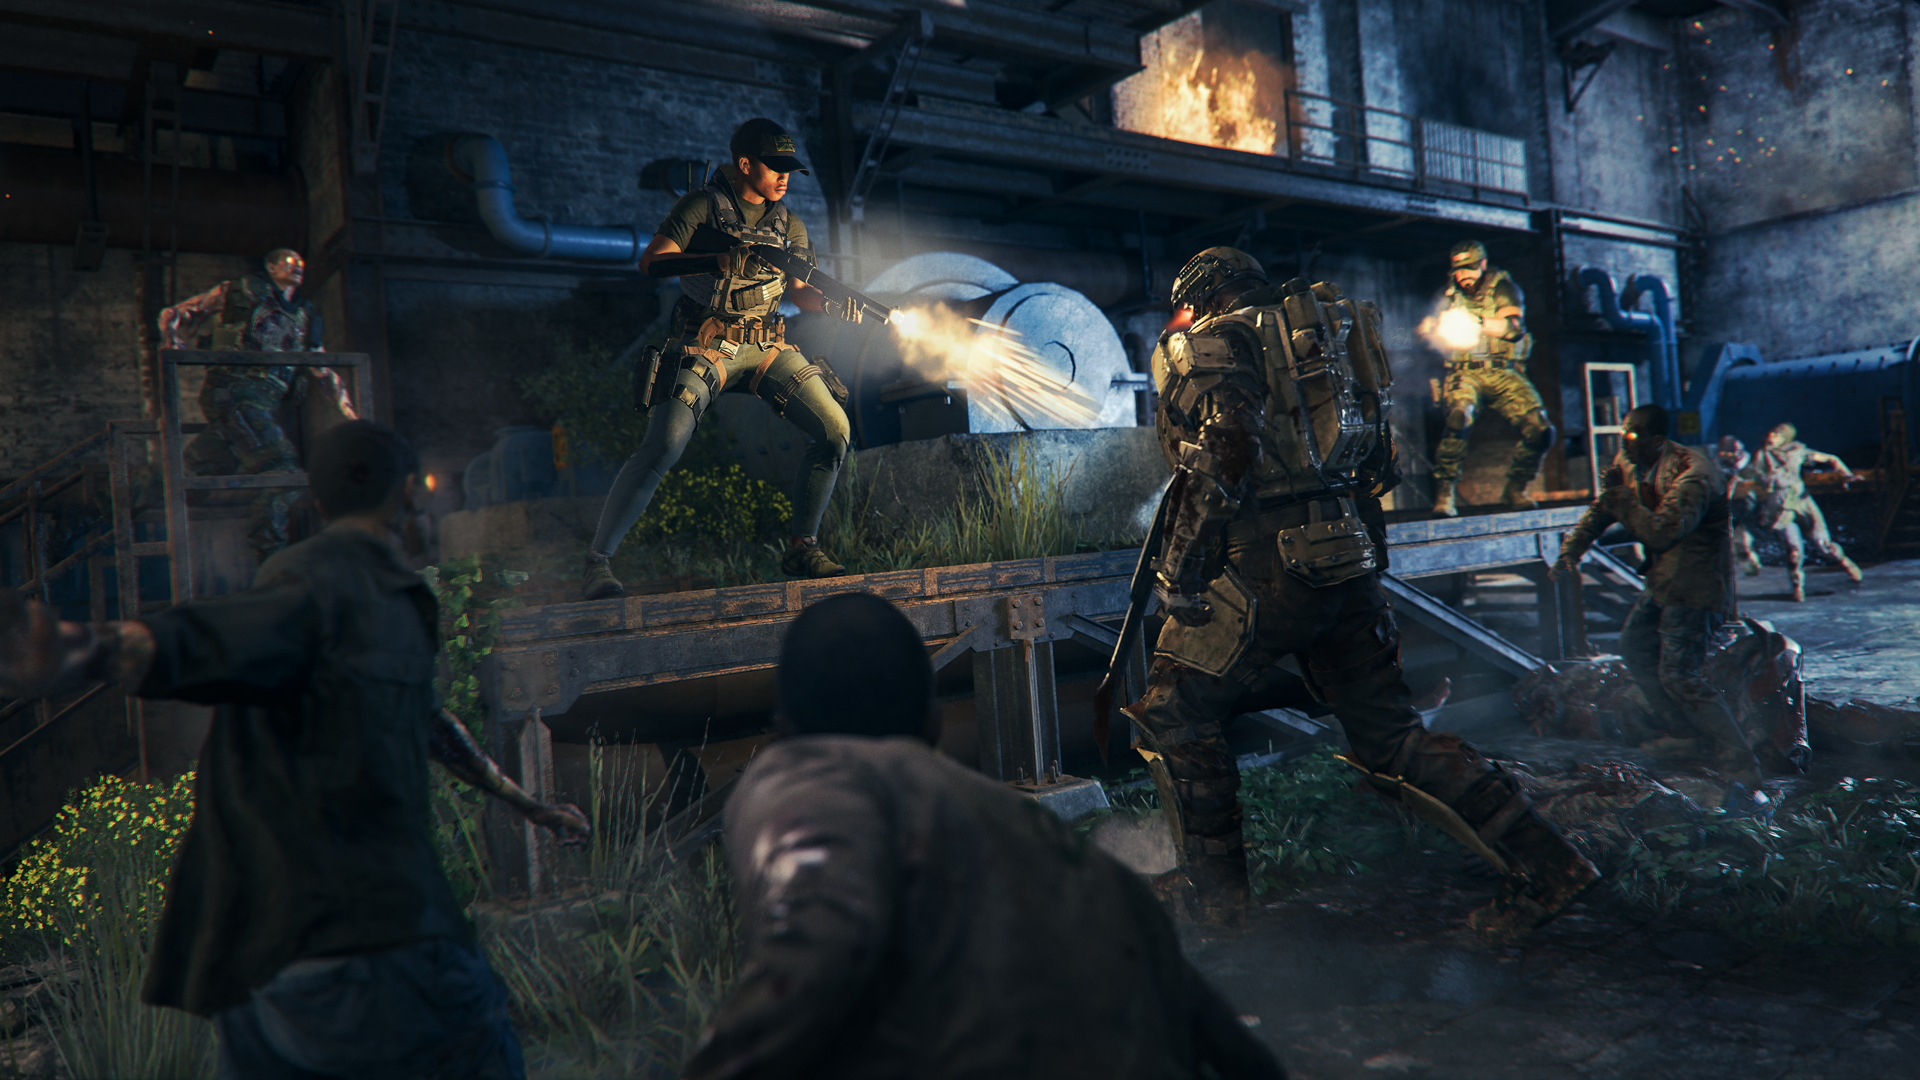
The normal Zombies that spawn in the Medium Threat Zone are quite a bit more difficult than Threat Level I Zombies, especially if you haven’t used the Pack-a-Punch Machine to upgrade your weapon(s). Threat Level II Zombies (indicated by “II” by their name) will have multiple versions that they can spawn as: Light Armored, Heavy Armored, and Sprinting Zombies.
// INTEL CARD
- MWIII
- WZ
- WZM
Threat Level II Zombie
// MODERN WARFARE ZOMBIES // BESTIARY

Strengths
- Can spawn as lightly armored or heavy armored Zombies capable of taking a few more hits than their Threat Level I counterparts.
- Can spawn as sprinting Zombies that move noticeably faster than most enemies in Modern Warfare Zombies.
Weaknesses
- Armor is broken rather easily with slightly upgraded weapons.
- Headshots do critical damage that will cause significant damage.
- Normal sprinting Zombies do not wear armor.
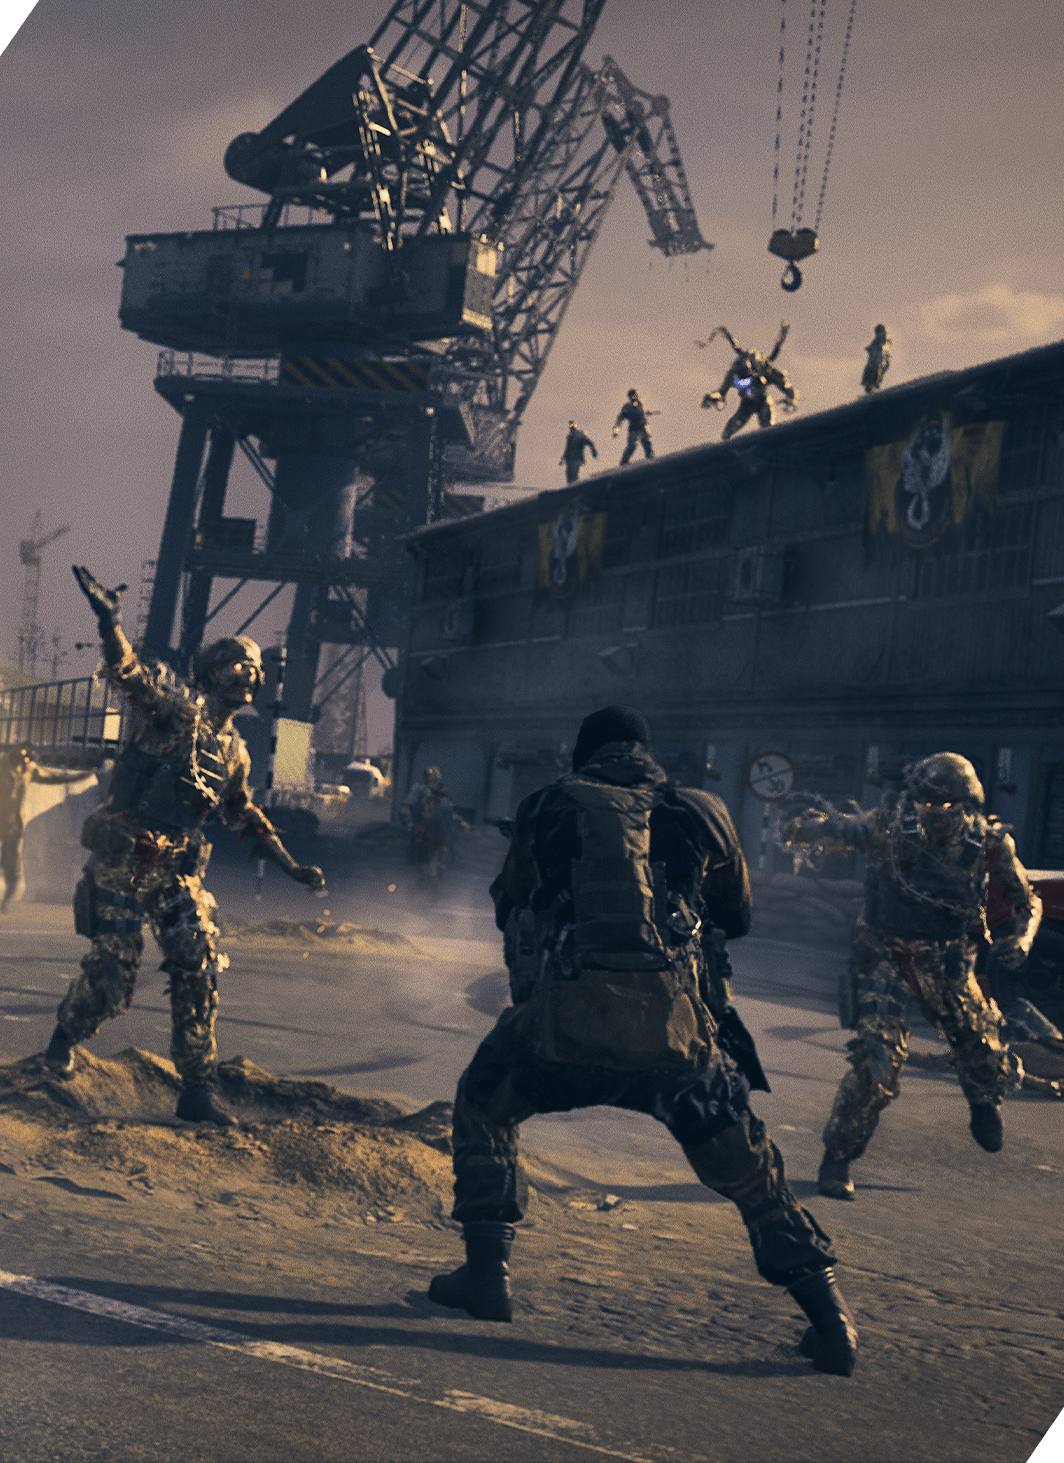
Elimination Strategy: Even though there are two types of Threat Level II Zombies, the strategies are similar — focus on hitting them in the same spot as much as possible. Obviously, Critical Hits like Headshots are the most effective, but Threat Level II Zombies don’t make things very easy when targeting them. It can be difficult to hit a sprinting Zombie’s head or a head with a helmet equipped.
Even though it may take a handful of rounds, placing rounds on the center mass is effective — it is the largest target on a Zombie, which makes it the easiest to hit in virtually any situation where you can see the entire enemy. The objective for lightly and heavy armored Zombies is to break the armor off the body part that you’re shooting at, then finish it off by continuing to hit the same spot. A similar strategy goes for Sprinting Zombies because it’s already hard to hit a moving target, let alone a fast-moving target. Thankfully there isn’t any armor to break on these enemies. Keep in mind that all Zombies, except for Mimics and Disciples can spawn as sprinters.
Zombie Threat Level III

If you’re geared enough or at least brave enough to make it to the High Threat Zone, you will run into some very dangerous Threat Level III Zombies. The Armored Zombies are fully armored compared to their less lethal counterparts, the Light Armored Zombies. They are equipped with a full set of armor and the ability the sprint, and some of these Zombies are Super Sprinters and move even quicker than Threat Level II sprinting Zombies. There’s no escaping these foes, so you’ll have to take them down. Vehicles can outrun them, but at this point in the deployment, your fuel is likely low and other enemies may attempt to disable any vehicles they spot.
// INTEL CARD
- MWIII
- WZ
- WZM
Threat Level III Zombie
// MODERN WARFARE ZOMBIES // BESTIARY

Strengths
- Can spawn as fully armored Zombies.
- Can spawn as lightly armored Zombies with more health than their Threat Level II counterparts.
- Can spawn as super sprinters that have a much higher movement speed than most enemies in Modern Warfare Zombies.
Weaknesses
- Once armor is broken, headshots cause critical damage that can kill Threat Level III Zombies. Pack-a-Punch Level II is recommended to do significant damage.
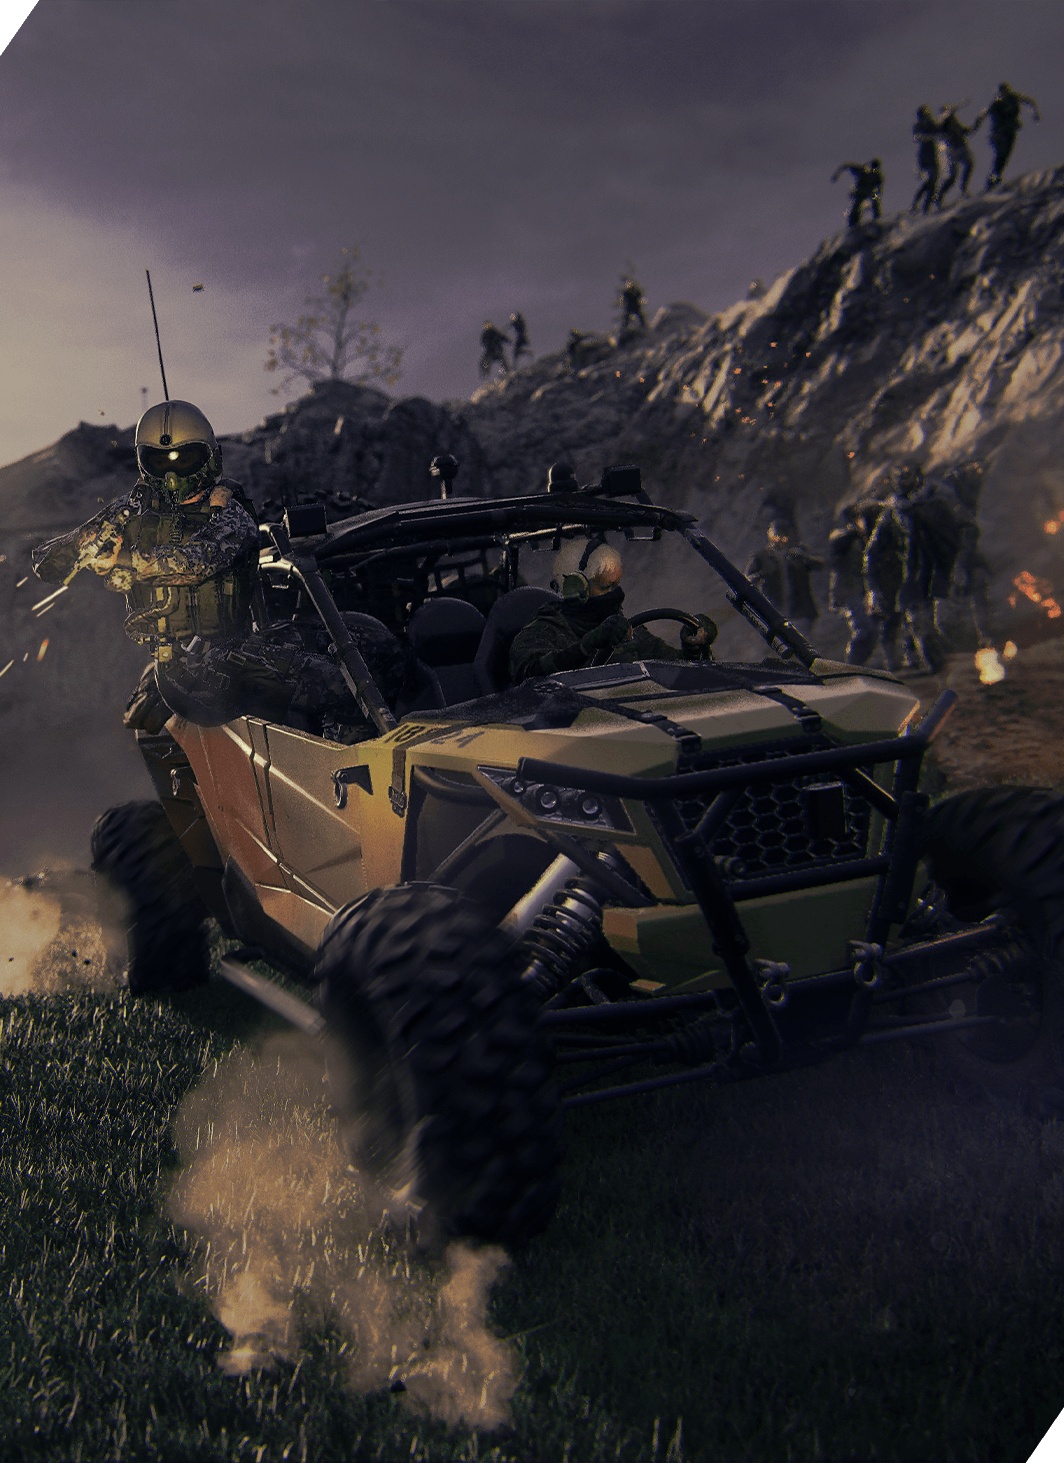
Elimination Strategy: Threat Level III Zombies are normal enemies but only on the most technical basis. They’re a good gauge for roughly how difficult the High Threat Zone will be. To take these Zombies out, it’s best to have a weapon with the most upgrades possible. Obviously, this isn’t the only way to survive in the High Threat Zone but fighting these Zombies with anything lower than a "Rare” Rarity weapon with at least Pack-a-Punch Level II and a Level 2 Plate Carrier minimum is going to be very difficult. A vehicle, or multiple vehicles, for you and your squad to outrun as many Zombies as possible is one of your best bets to survival. Be ready to bail from the vehicle and start running to an elevated location and use everything you have before the horde gets too thick.
Hellhound
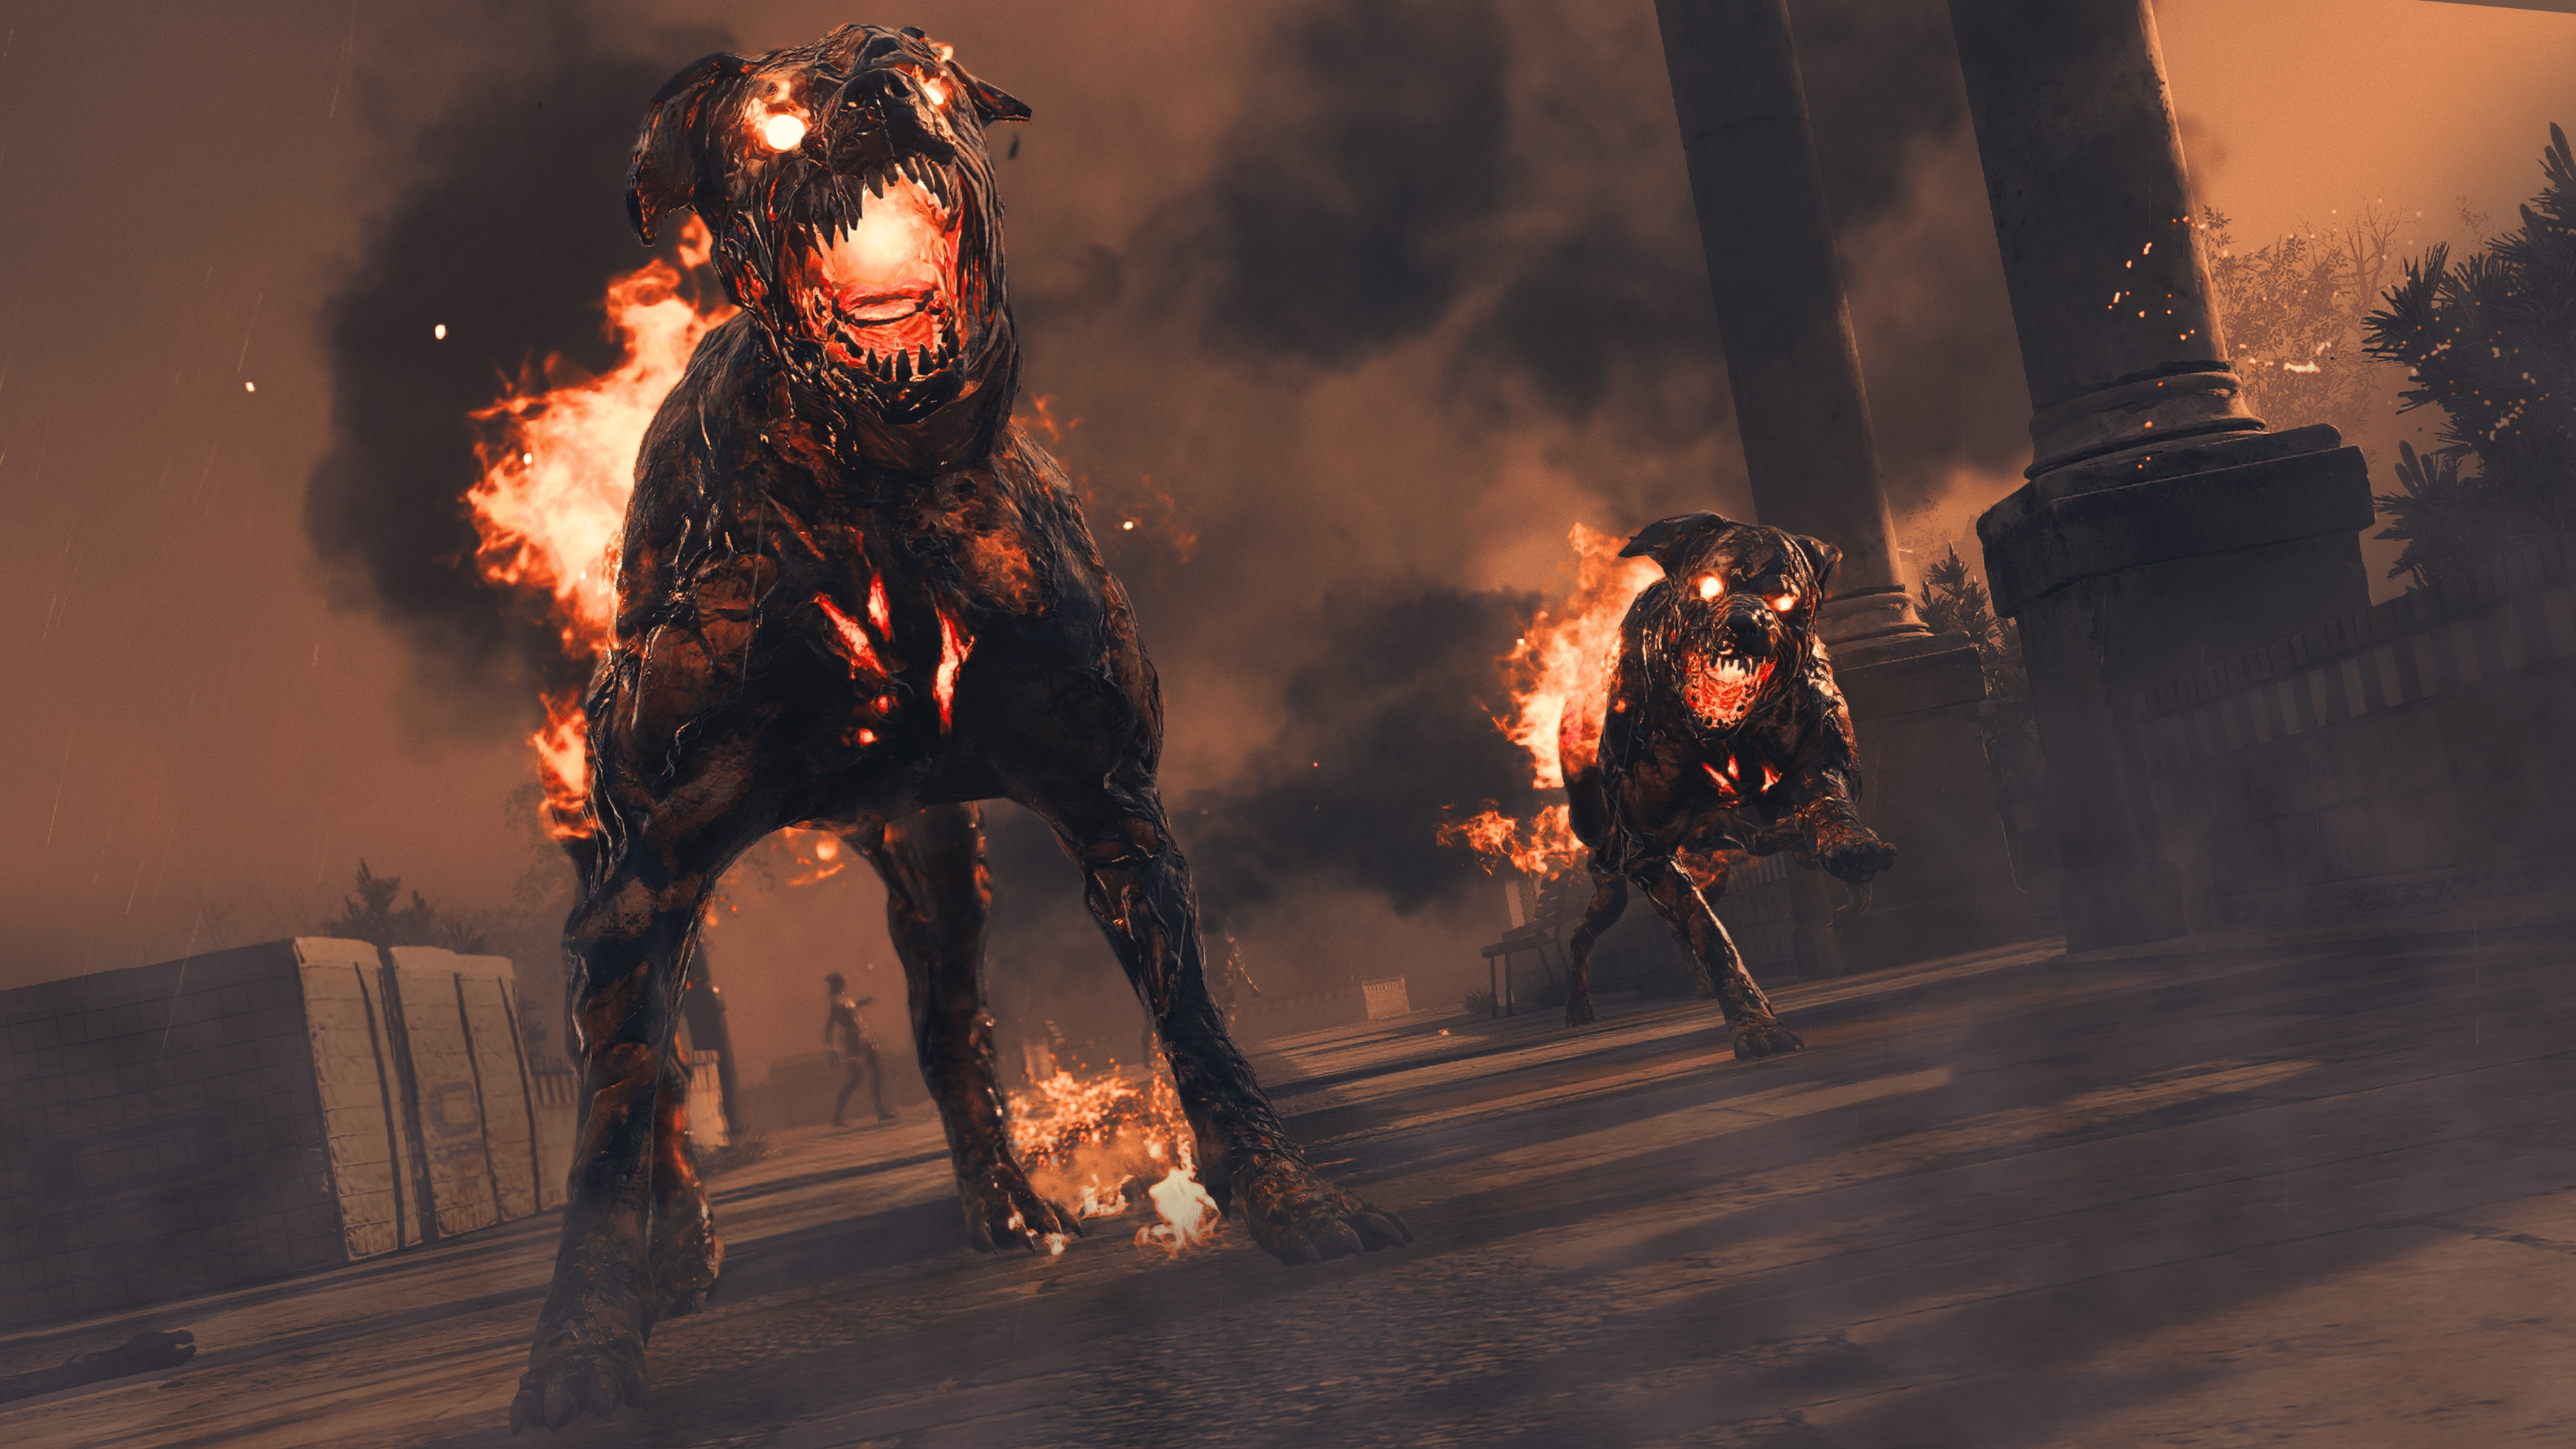
Hellhounds can be found all over the EZ. Canines covered in brightly lit flames and galloping toward your location chomping at your face, Hellhounds are vicious and fast. There are three separate Threat Levels of Hellhounds, but only the health and damage levels change between each Threat Level, not the mechanics. Even in Low Threat Zones, don’t try to escape this four-legged creature on foot. Even if you have Stamin-Up and Speed Cola Perk-a-Cola upgrades, Hellhounds are likely to close the gap before you can reach safety; it’s best to kill them before that happens. Killing Hellhounds causes them to burst into flames, creating a Molotov-like effect at their death location, burning everything that enters that area, friend and enemy alike.
Elimination Strategy: Hellhounds are very dangerous enemies that can cause a lot of damage; however, the trade-off is that they are reasonably easy to kill. If there’s a horde of enemies and there are Hellhounds among them, focus on them before taking out the other Zombies. If you can take them down early, they may also take other Zombies down with them.
Terminus Outcomes Mercenaries
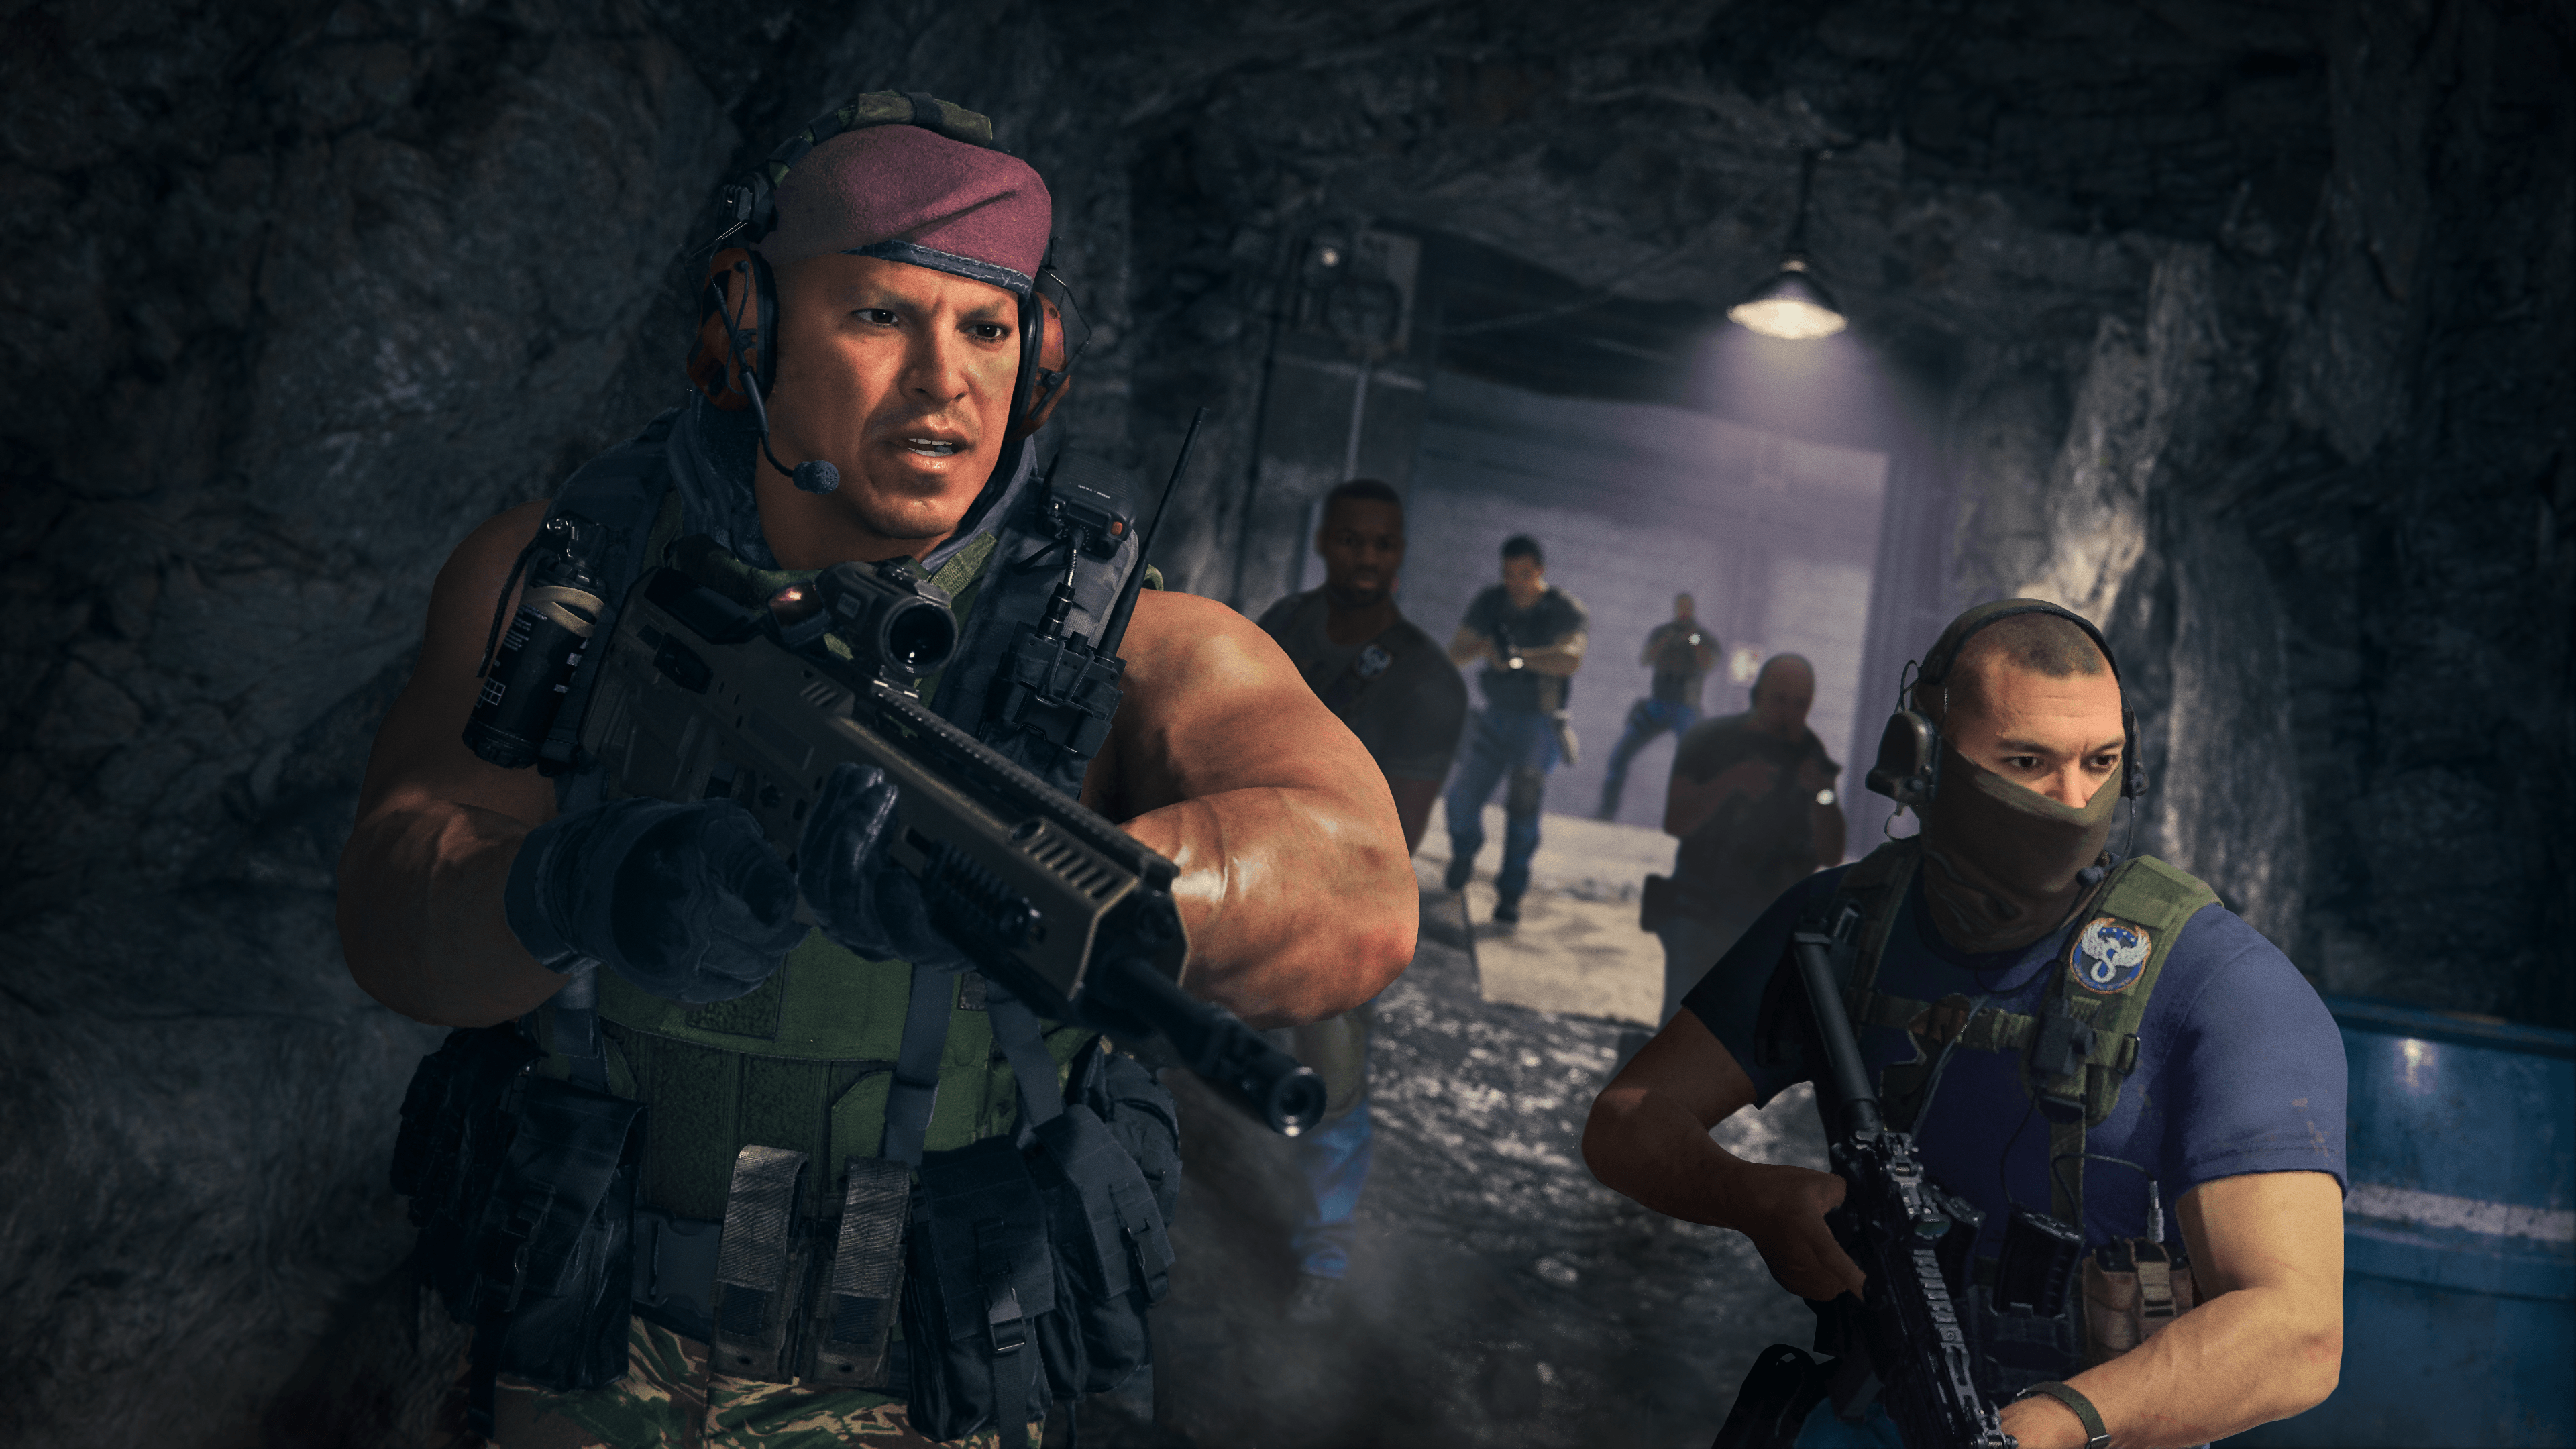
Throughout Modern Warfare Zombies, you will get swarmed with hordes of Zombies. Fighting them alongside your fellow Operation Deadbolt Operators is a challenge in and of itself, but there is another danger out there. Not friendly to you or Zombies are the Terminus Outcomes Mercenaries that Zakhaev hired as his private army. They can be found all over the Exclusion Zone, and any Contracts and Activities they may be interested in: Server Upload, Aether Extractors, Strongholds, etc.
Intel Card — Terminus Outcomes Mercenaries
// INTEL CARD
- MWIII
- WZ
- WZM
Terminus Outcomes Mercenaries
// MODERN WARFARE ZOMBIES // BESTIARY

Ranged damage: Mercenaries are not undead. This means they are intelligent and will attack your squad in a much more tactical fashion than Zombies.
Break through their armor: Most types of human enemies have some sort of armor equipped. You should prepare properly with lots of ammo and explosives to break through their armor as efficiently as possible.
Mercs and Zombies are not friends: Just because both Terminus Outcomes and Zombies are attempting to eliminate you does not mean they are also not out to fight each other. If the opportunity presents itself, let them destroy one another.

Grunt
Grunts are on the lowest rung of the Terminus Outcomes rank ladder and that means they’re fodder. As such, there will be many of them and they’ll be thrown at you and your squad without hesitation.
Elimination Strategy: Equipped with Assault Rifles, Shotguns, SMGs, and not much else, Grunts are relatively easy to kill. Unlike Zombies, Grunts and most of the Terminus Outcomes Mercenaries are ranged and can be a little bit peskier. This is bad for your Armor Plate economy, so do your best to take them out with high priority.
Soldier
Soldiers have a very similar appearance to your normal friendly Operator, so it’s important to pay attention to their name tags. They are equipped with a lightly armored helmet and medium range, and their skill will become a problem if they’re not eliminated quickly.
Elimination Strategy: Unlike Grunts, Soldiers have a bit of armor, so they will take a few more shots to kill, but the strategy is essentially the same. Prioritize eliminating them before Zombies. Even if Zombies are swiping at you, running toward Soldiers to close the gap while also drawing the attacking Zombies can help you kill two birds with one stone.
Sergeant
Sergeants are small squad elite mercenaries. They tend to spawn alongside Grunts and Soldiers and can be deadly shots. Visually represented with more tactical gear, they also equip chest armor, which makes critical shots very effective.
Elimination Strategy: Sergeants and Grunts do look similar at a quick glance; however, once you notice that you’re fighting a Sergeant, focus on hitting them in the head; hitting them in the chest will slow you down because you’ll have to break their armor first. Sergeants also attempt to retreat behind cover and their squad more often to encourage more Grunts to push forward.
Recon
Put together speed, purpose, and strength and you get the Recon mercenary. Easily identifiable by the Pistol and Combat Knife, Recon mercs will come flying at you with one purpose — to eliminate you and your squad as fast as possible.
Elimination Strategy: Do your best to keep your distance from these Recon mercs. They are equipped with pistols, but their most focused goal is to do as much damage as they possibly can from melee range. If a Recon merc hits you, damage is a concern, but you’ll also be stunned from their strike. This leaves you extremely vulnerable to gunfire and damage from all other sources.
Recons wear armor, but its light and they don’t wear helmets. They have a midlevel difficulty to kill so long as you can hit them; otherwise they can become a real problem. Headshots are critical shots on Recons, but because of their speed, achieving these can be difficult. Ultimately, it doesn’t really matter where you hit them, as long as you put rounds on target.
Anti-Tank
With a rucksack full of rocket ammo, Anti-Tank mercs don’t come to the party empty-handed. Anti-Tank mercs are equipped with a pistol, but typically they will have a Rocket Launcher in-hand firing explosives in your direction. This becomes the biggest problem during Contracts where you need to protect an asset. These Anti-Tank mercenaries are the key to the enemy’s success at taking down Data Servers you are tasked to protect.
Elimination Strategy: Anti-Tank mercenaries keep their Loadout light so they can carry their heavy explosives. This means that they are pretty simple to kill. This is good because if they’re left alive long enough, you’ll have a much lower chance of completing your Contract. For the most part, as long as you’re on the move, you and your squad can stay pretty unscathed by Anti-Tank rockets; however, if caught off guard, that won’t last long.
Sniper
Snipers, the glass cannon of the Terminus Outcomes PMC complement will cause plenty of trouble for you and your squad if you’re not careful. Dressed in their Ghillie Suits, Snipers can be hiding anywhere. Most of the time, you can find a Sniper merc on top of a tower attempting to use the high ground to their advantage against you. Wielding a high-powered rifle that does not have scope glint can make it difficult to see these Snipers. So, keep your eyes peeled and stay diligent of enemy distractions as they work to give their Snipers time to line up a shot on you.
Elimination Strategy: Snipers tend to keep their distance while fighting, so it is a good idea to keep a scoped rifle in your secondary slot or at least have someone in your squad dedicated to taking out ranged enemies. Snipers don’t move from their vantage points very often. Use this to your advantage and stay in cover while you deal with the rest of their squad, then pop out when you get the opportunity and eliminate them before they can get their shot off.
Shield Soldier
Shield Soldiers are figuratively brick walls that shoot back. The giant Riot Shields that these enemies wield create a large silhouette that may seem like an easy target. This is exactly what a Shield Soldier wants you to think. If they have you targeted, the only thing that’s exposed is the Shield Soldier’s hand. If you are solo and can somehow get behind their protection vector, you’ll need to break through their heavy armor as well.
Elimination Strategy: The easiest method of taking down a Shield Soldier is to use teamwork and turning the enemy’s attention away from the groups as they attempt to eliminate them from behind. If teamwork isn’t an option, try explosives. More specifically, utilize Drill Charges and cooked Frag Grenades. Drill Charges take less finesse because as long as you throw it right at their shield, it will bore a hole through, exploding the charge on the other side. Frag Grenades are great, but you will have to time the fuse to explode as it crosses the Riot Shield’s threshold.
Shock Troop
Shock Troops are known for one thing, and that’s being protected from all angles and directions. Equipped with a heavily armored body suit and Light Machine Gun, Shock Troops are the walking attack tanks that Terminus Outcomes have outfitted with the heaviest armor a single merc can carry. If you see a large multilayered enemy walking toward you, double-check to make sure you’re locked and loaded before fully engaging.
Elimination Strategy: Shock Troops are heavily armored and are almost always surrounded by other mercenaries, but their weakness is not being able to withstand taking a lot of damage all at once. Especially in a tight situation, throw everything you’ve got at them and don’t stop shooting until you know they’re down. Sticky Grenades work best against Shock Troops because you can throw it and take cover until it explodes. In Modern Warfare Zombies, it’s a bit difficult to know when you’re going to be up against a Shock Troop squadron, but it’s a good bet if you know you’re going to be attacking a Mercenary Stronghold or Fortress.
Elite
Mostly residing in Mercenary Strongholds and Fortresses, Elite mercenaries are the best as far as skill and effectiveness goes when your squad is the target. Appearing like a slightly more tactically equipped Soldier, the Elite is the most efficient opponent that you’ll face when fighting the PMC group Terminus Outcomes. Outfitted with decent armor, accurate weaponry, and lack of fear, these mercenaries will stay aggressive until one of you wins the fight.
Elimination Strategy: Elites are armored, but not quite as armored as a Shock Troop or a Shield Soldier. This means that you can take one or two out with a standard magazine in your weapon. It helps to have an upgraded weapon, but as long as you can break through the armor, you should be able to eliminate them fairly quickly. The problem comes when they’re also shooting at you and doing so rather accurately. Considering that you’ll only encounter Elites in or near Strongholds and Fortresses, you’ll want to use the doorways and corridors to your advantage. Stack your squad up to watch a choke point and force them to come to you. Because of the Elite’s aggression, they’ll likely come straight through the door. Use their confidence against them and unload your armaments as they do.
Warlords
Every army needs Leadership to become an elite unit. Terminus Outcomes is no different. Known as Warlords, these leaders are found in the Terminus Outcomes Fortresses labeled with their name. This is their home base. If you’re going to attack a top-level mercenary leader at their base, you better come prepared.
Note: Only one Warlord is available per deployment. So, be sure to check your Tac-Map in order to see which Warlord is available to strike. Then, prepare Warlord strike team accordingly.
Legacy
Legacy is one of the members of the Terminus Outcomes brass and is one of the leaders Viktor Zakhaev trusts to effectively follow out his orders. Sporting a red beret and epic mustache, Legacy doesn’t mess around. He’s no pushover; he’s tough and armed to the teeth with everything available to Terminus Outcomes short of heavy armor and a shield. Be ready to avoid a hailstorm of fire and rockets flying at you, assuming you can even reach Legacy past his small army of mercenaries.
Elimination Strategy: You must complete a few steps before attempting to fight him. You must obtain a Fortress Keycard, which means you’ll also have to obtain a Stronghold Keycard via a Mercenary Encampment. Assuming you’ve done the prerequisites, and you’ve made it to the Fortress, you’ll need to fight through the Snipers, Recons, Sergeants, and more to make it to his HQ. Unlock the HQ via the Keycard. This area is riddled with traps. Stay vigilant as you clear the building and watch your back. There will be Elites hiding around every corner and they will be prepared.
Legacy is mechanically just like every other mercenary, but his HP is very high and he’s a very good shot. Your squad will need to work together and own the choke points that are available. Legacy may push through choke points seemingly unscathed, but at least you can hold it to defeat his bodyguards. Once he’s in your sights, keep attacking him from cover and be ready to bail from the building when things get too spicy. Ammo Mods, Pack a Punch Levels, and Weapon Rarity don’t have any effect on Mercenaries. Weapons with large magazines as will Killstreaks that you can use to clear everything out. Having a healer on your team and utilizing your Field Upgrades are also key for defeating a tough enemy such as Legacy.
Dokkaebi
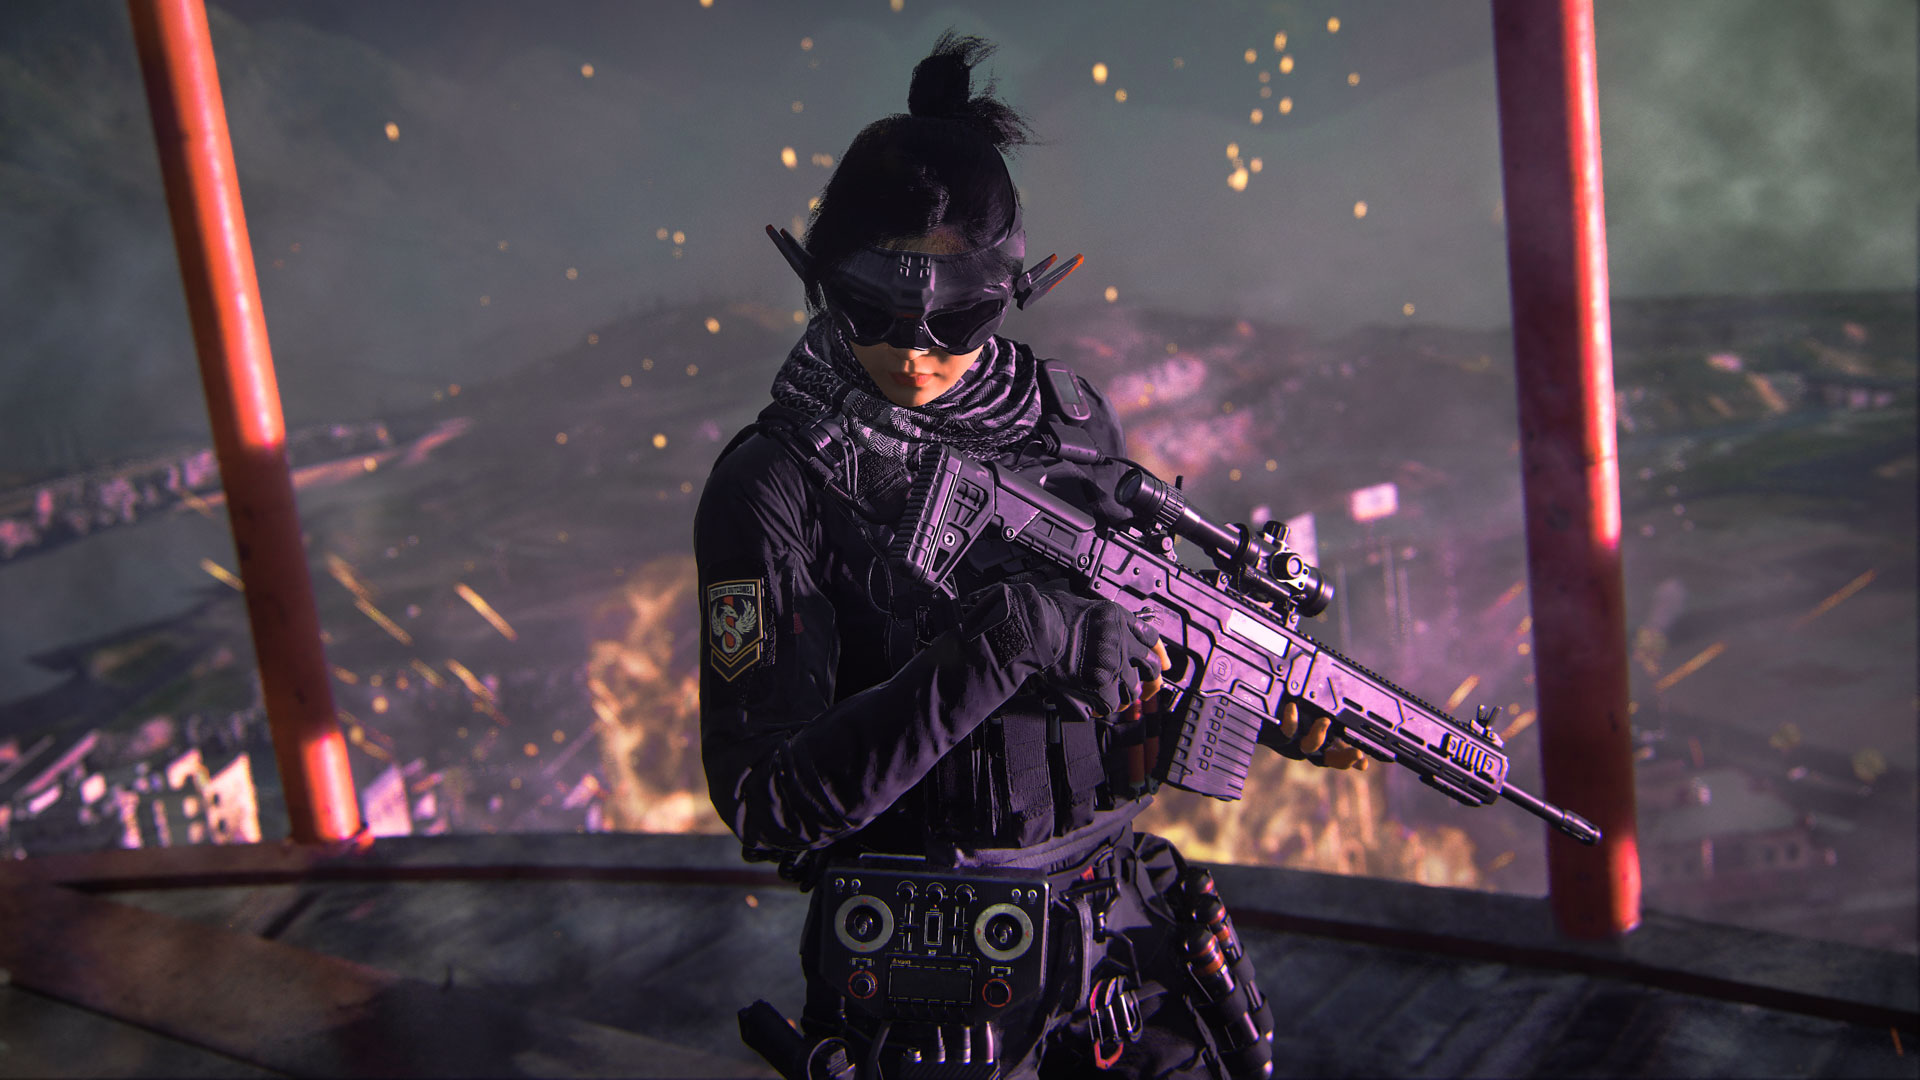
Technical, tactical, and incredibly precise, Dokkaebi is one Warlord of whom you don’t want to mess with without having an equally tactical plan of attack. This well-connected Warlord is located in the tallest building in Urzikstan, right in the heart of Zaravan City. Almost directly on the southwestern edge of the medium threat zone and directly across the street from the Halfa Apartment Complex, you’ll find the towering skyscraper that Dokkaebi has commandeered as her base of operations and fortress. This is made obvious by the many banners and Terminus Outcomes heraldry draped all over the building. But even though you may be able to see that this location is clearly claimed, Dokkaebi has taken the tactical advantage from both Operators as well as the undead horde that roam the surface streets. This dangerous Warlord has claimed the advantage of elevation and has set up shop at the very top of the large building.
Normally, you would be able to take one of the three ascenders located at the base of each of the cranes firmly planted on the ground right outside the building and be able to attack from above. However, the Terminus Outcomes keen tactics have prevented you from doing so by completely blocking the ascenders. Because of this, you’ll have to take one of two elevators located in the lobby of the building. The elevators are available to use freely. But remember, you’ll be traveling from the bottom of the building to the top, so don’t forget anything before going up or you’ll be waiting for a while to leave and come back. This includes the fortress access keycard required to enter Dokkaebi’s fortress.
Intel Card — Dokkaebi
// INTEL CARD
- MWIII
- WZ
- WZM
Dokkaebi
// MODERN WARFARE ZOMBIES // BESTIARY
Bodyguard army: All Warlords have enough backup to assault a well-fortified keep, but Dokkaebi has setup camp at the top of a building rooftop so there is much less space for them to spread out. With the addition of reinforcements repelling from incoming helicopters, you’ll have trouble on your hands if you don’t quickly take care of these mercenaries.
Incoming flying explosives: Dokkaebi is highly tech savvy and the moment you see her you’ll know exactly how. Surrounded by flying shielded Bomb Drones, she commands a fleet that will be sent to your location with the flick of her wrist. Stay alert and don’t let her corner you.
Incoming flying Dokkaebi: If you thought flying Bomb Drones were a problem, try avoiding weapon fire from Dokkaebi herself when she has the ability to fly around the edges of the rooftop and land on your flank. Keep your head on a swivel and think outside of the box in order to protect yourself from Dokkaebi’s subversive antics.
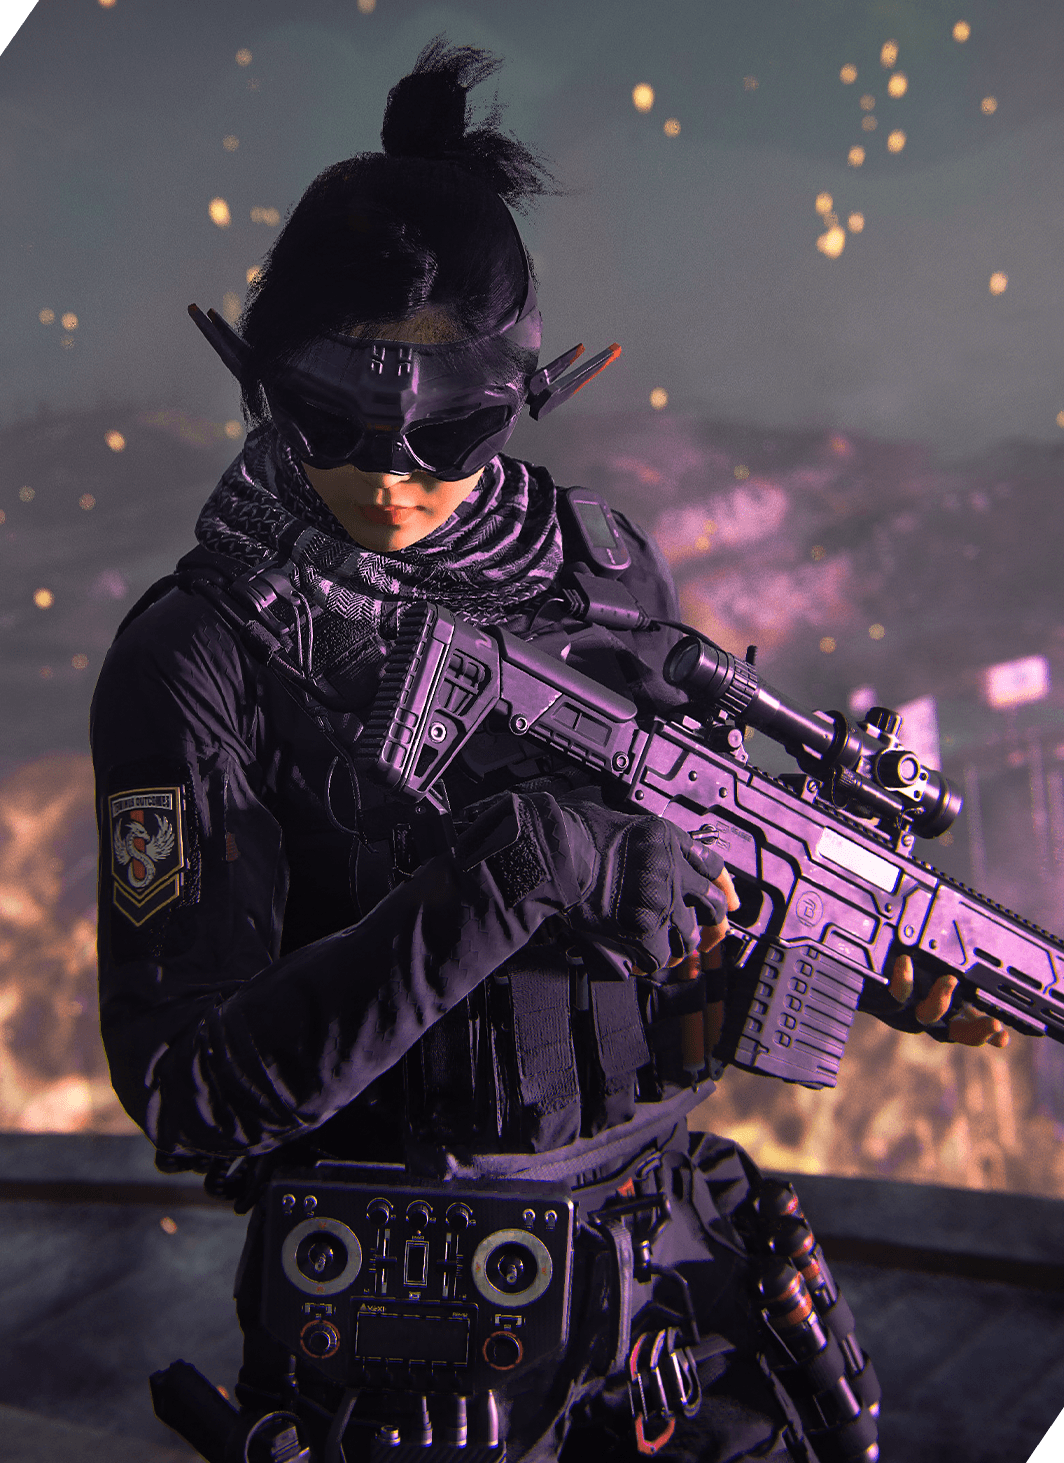
Elimination Strategy: Once you have the keycard and are ready to breach, be prepared for a battle-ready squad of mercenaries to start laying down fire on the choke point you’ve just unlocked. During this fight, Dokkaebi’s guards will be defending every angle of this rooftop all while the Warlord calls in reinforcements via helicopters to drop in on top of the building. Additionally, there will be heavily armored Elites, so as it’s recommended with all mercenary fights, bring weapons with large magazines or a Riot Shield that your squad can use for cover as you push through the fortress. Eliminating enemy mercenaries quickly and efficiently is the name of the game when completing this fortress. Don’t get cornered.
Dokkaebi herself is often set up near the southern end of the rooftop. However, once she knows you’re there she’ll start attacking you via her own initiative. She won’t always take a brutal head-on approach, but she will send her full might of tech and maneuverability at you and your squad. Because she is equipped with a fleet of shielded Bomb Drones and the ability to redeploy via her own personal transport drone, you need to stay on high alert if you plan on making out of this fortress alive. Don’t worry, there will be a story to tell either way. Move swiftly and don’t let her flank you. Once you have Dokkaebi in your sites, focus all of your fire on the target and don’t let up until you’ve eliminated her.
Keres
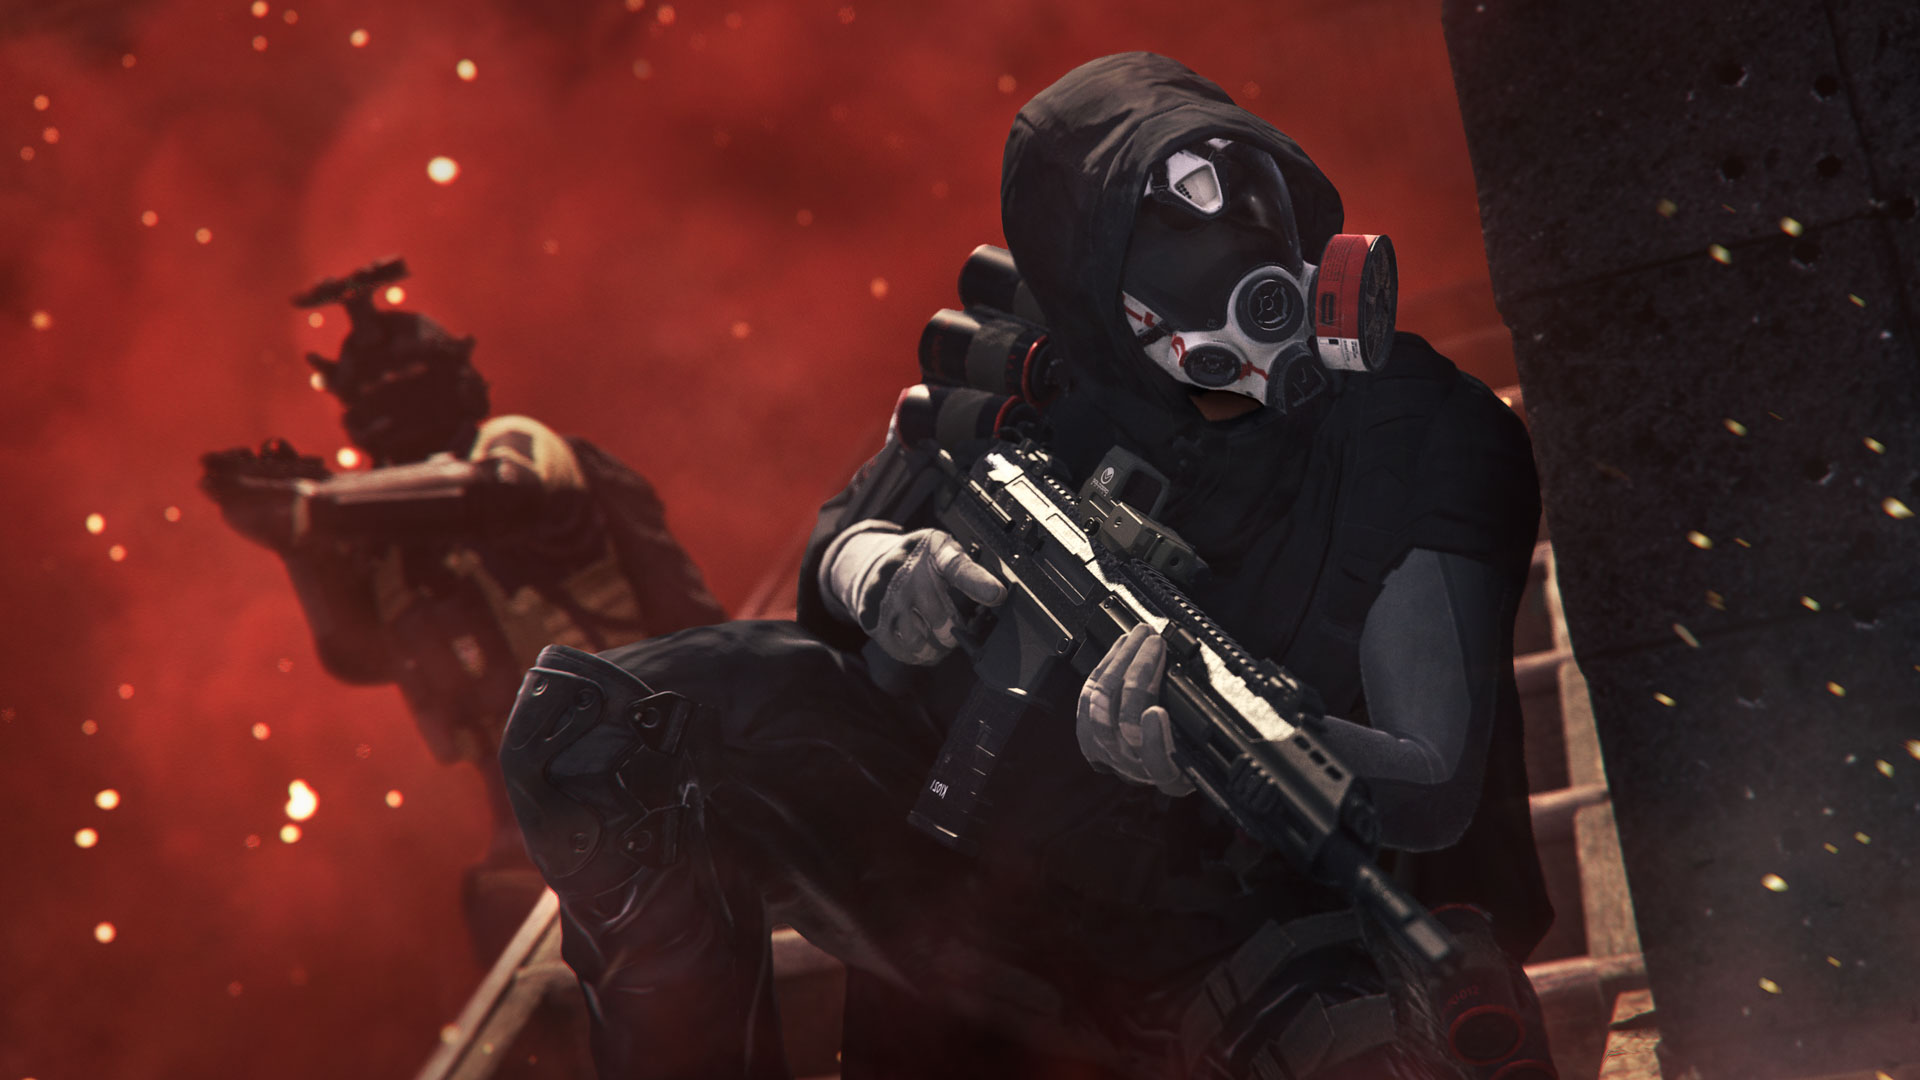
The Orlov Military Base is home to many dangers and many rewards, but more importantly a large population of zombies. During any given deployment, you’re normally able to plan to make your attack the Warlord around the fact that the location of the Warlord will be categorically different based on how that Warlord set up shop. However, the ever-resourceful Keres is a Warlord that has chosen to take control of a facility within the already perfectly equipped military base. Adorned with many walls, containers, buildings, as well as their high vantage rooftops, the Orlov Military Base is the exact location a Mercenary Warlord like Keres would choose for her fortress.
Now introducing the Keres! Step into her ring if you dare, but prepare for a fight that is definitely not in your strike team’s favor. The mask is not for show; her toxic chemical warfare is what makes her unique. Keres is the one Warlord that wants you to approach her face-to-face because she’ll know you’re there far before you can locate her. However, you can arrive with some tricks of your own.
Intel Card — Keres
// INTEL CARD
- MWIII
- WZ
- WZM
Keres
// MODERN WARFARE ZOMBIES // BESTIARY
Prepare for a smokescreen: Bring anything that might help you see through and protect you from the zero-visibility toxic gas. This includes Gas Masks, Snapshot Grenades, and weapons that are great for firing from the hip or in Tac-Stance.
Cover is abundant: Keres’ Fortress is located in the Orlov Military Base, which means there are many obstacles both you and the enemy can use as cover. It also means that Zombies will come at you from around the corner, giving you little time to react. Deploy with or purchase a Death Perception Can to support your info gathering.
Resupply from the enemy: It may take more than a few minutes to take down the Warlord so be sure to bring in a few Gas Masks, but always remember that enemy mercenaries will drop Gas Masks and Snapshot Grenades that you use to pick up and resupply.
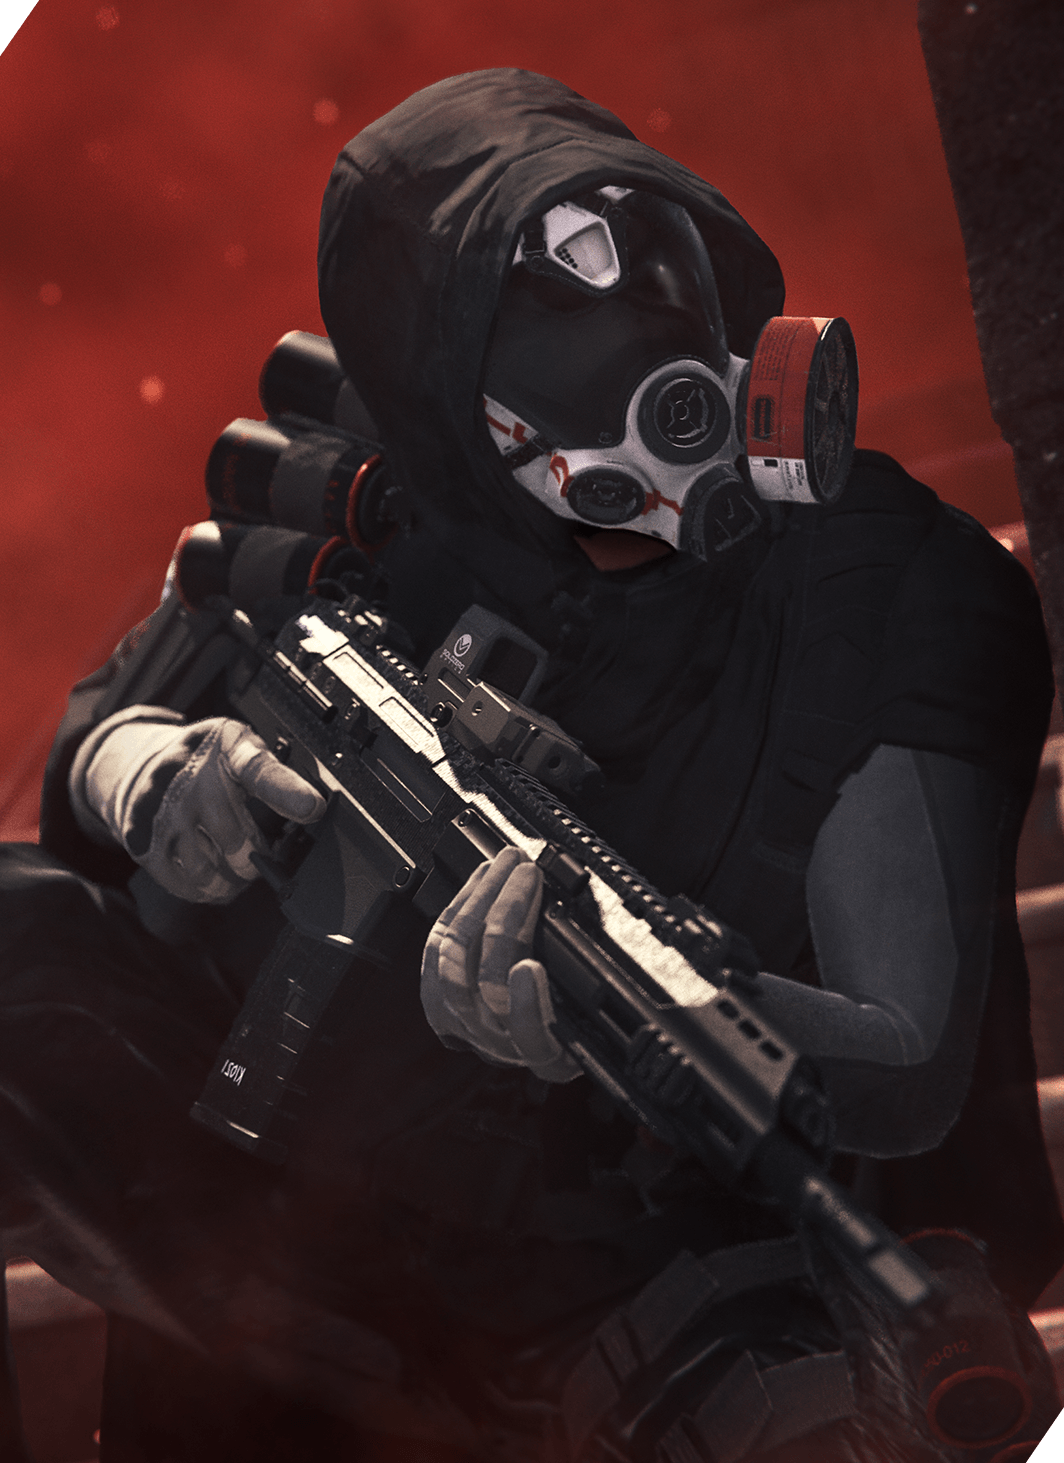
Elimination Strategy: First, let’s prepare. Keres uses a dark red toxic gas as her main tool of defense. The gas is extremely thick and impossible to see through, not to mention lethal to Operators choose to spend too much time inside. So, the definition of “well-equipped” in this particular case means equipping at least one Durable Gas Mask, Snapshot Grenades, and as many Lethals as you can carry. Additionally, it may not hurt to bring a Cluster Mine Killstreak with you to deploy once you’ve breached the Fortress.
Keres’ Fortress is located in the Training Facility within the Orlov Military Base, which is located on the western end of the base. Directly adjacent to the train tracks that run through the middle of the base. The tracks with the turned over train cars provide a vantage point that can be used to punch through Keres’ defenses before making your grand entry. Alternatively, on the South side of the Fortress is a three-story building just across the street. This building serves as a great vantage to take down the guards watching the perimeter of the fortress, and also has a zipline for quick entry into the compound. The horizontal zipline will take you directly to the roof of the fortress but be sure to take out some of the mercenaries outside or they will fire at you with great accuracy as you zip across.
When you’re ready to unlock the fortress doors and take on Keres, find a door with some room to maneuver and create firing angles so that you can strafe and take out as many mercs as possible before entering. The moment you step inside is when your visibility drops dramatically. You may have seen a taste of Keres’ toxic gas clouds from the outside via the tripwire traps, but that’s just the beginning.
Once inside the Keres’ Fortress, there are a couple of routes you can take. Directly inside and near the western and easter doors are sets of stairs that lead to the catwalk that surrounds the entire room. These catwalks don’t provide much cover, but you’ll have more visibility. From up top it might be a bit easier to lob grenades, both Tactical and Lethal, to specific locations as well as gather some intel. Keres defends the Fortress from near the center of the Training Facility. However, because of her opaque gas cloud cover, she will continually move to make sure she can’t be easily found, while constantly sending Elites and other mercenaries to take you out. Use Snapshot grenades to find her, which the mercs will drop , and be sure to continually keep your gas mask refreshed because you’ll need one the entire time that you’re inside the Fortress.
Stay persistent and stay frosty and you’ll take Keres down in no time.
Rainmaker
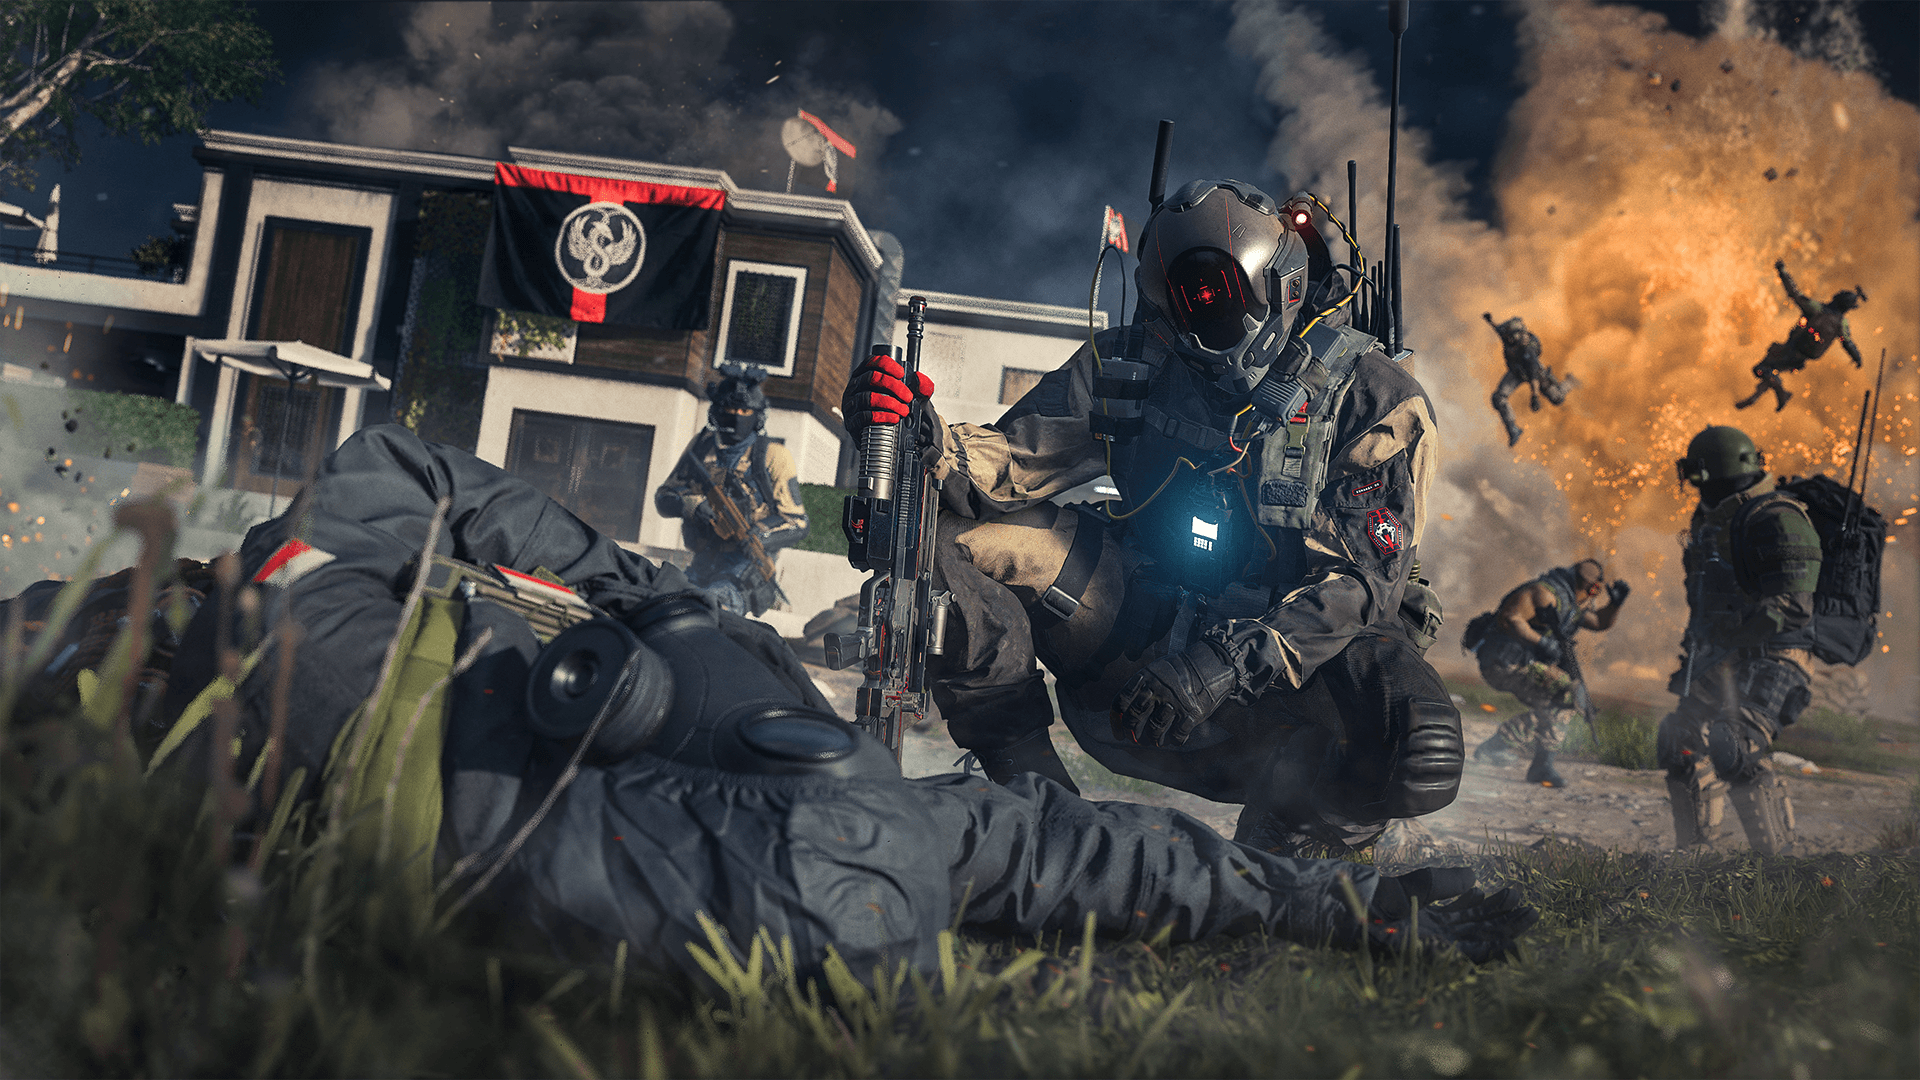
Who needs a castle when you can outfit a luxurious mansion isolated on your very own island? Located in the middle of a lake behind Shahin Manor is Raaha Island, a location just big enough to house an entire squadron of Konni soldiers. This POI seems like a prime target for an easy takedown on a high-ranking Warlord, but that’s exactly what Rainmaker wants you to think.
Rainmaker likely earned his name from the general strategy he takes when defending a location. Lure the enemy just close enough to launch hellfire onto the unsuspecting target that ventured just a little too close and into the kill box. Welcome to Rainmaker’s Fortress, a mansion loaded for bear with all of the bells and whistles a mercenary defending a position could ask for. The island is littered with mortars and defended by Anti-Tank mercs ready to send a full complement of ordinance across the water at any target they choose. Defending the artillery units are Shock Troops, Elites, Sergeants, and Soldiers, so choose your targets wisely and take them out with as surgical precision as you possibly can. It’s understandable if the chaos makes things a little confusing.
// INTEL CARD
- MWIII
- WZ
- WZM
Rainmaker
// MODERN WARFARE ZOMBIES // BESTIARY
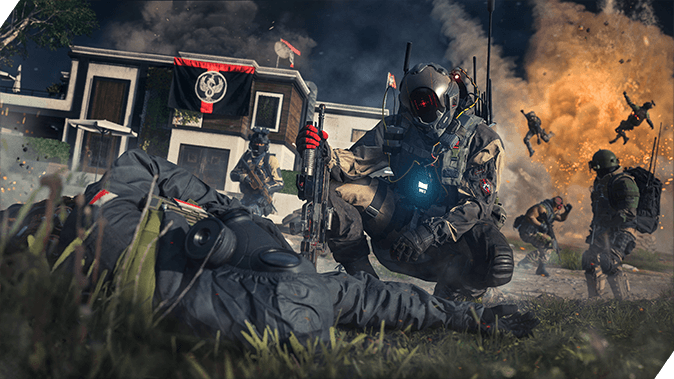
Ranged assault initiation: Rainmaker is located on an island that highly defensible if you take the fight head on. Thin out the defenses by picking off as many mercenaries as possible before you and your Strike Team fully commits to attacking the island.
Slow and steady trap detection: The fortress is covered in traps; claymores, C4, and Sentry Guns. Rushing in headfirst will almost certainly lead to you and your strike team’s demise because that’s exactly what Rainmaker wants you to do.
Don’t let him retreat: It’s difficult to trap a trapper, but using Rainmaker’s tactics against him, you and your strike team should push him from multiple angles and cut him off before he can get to his next ambush location.
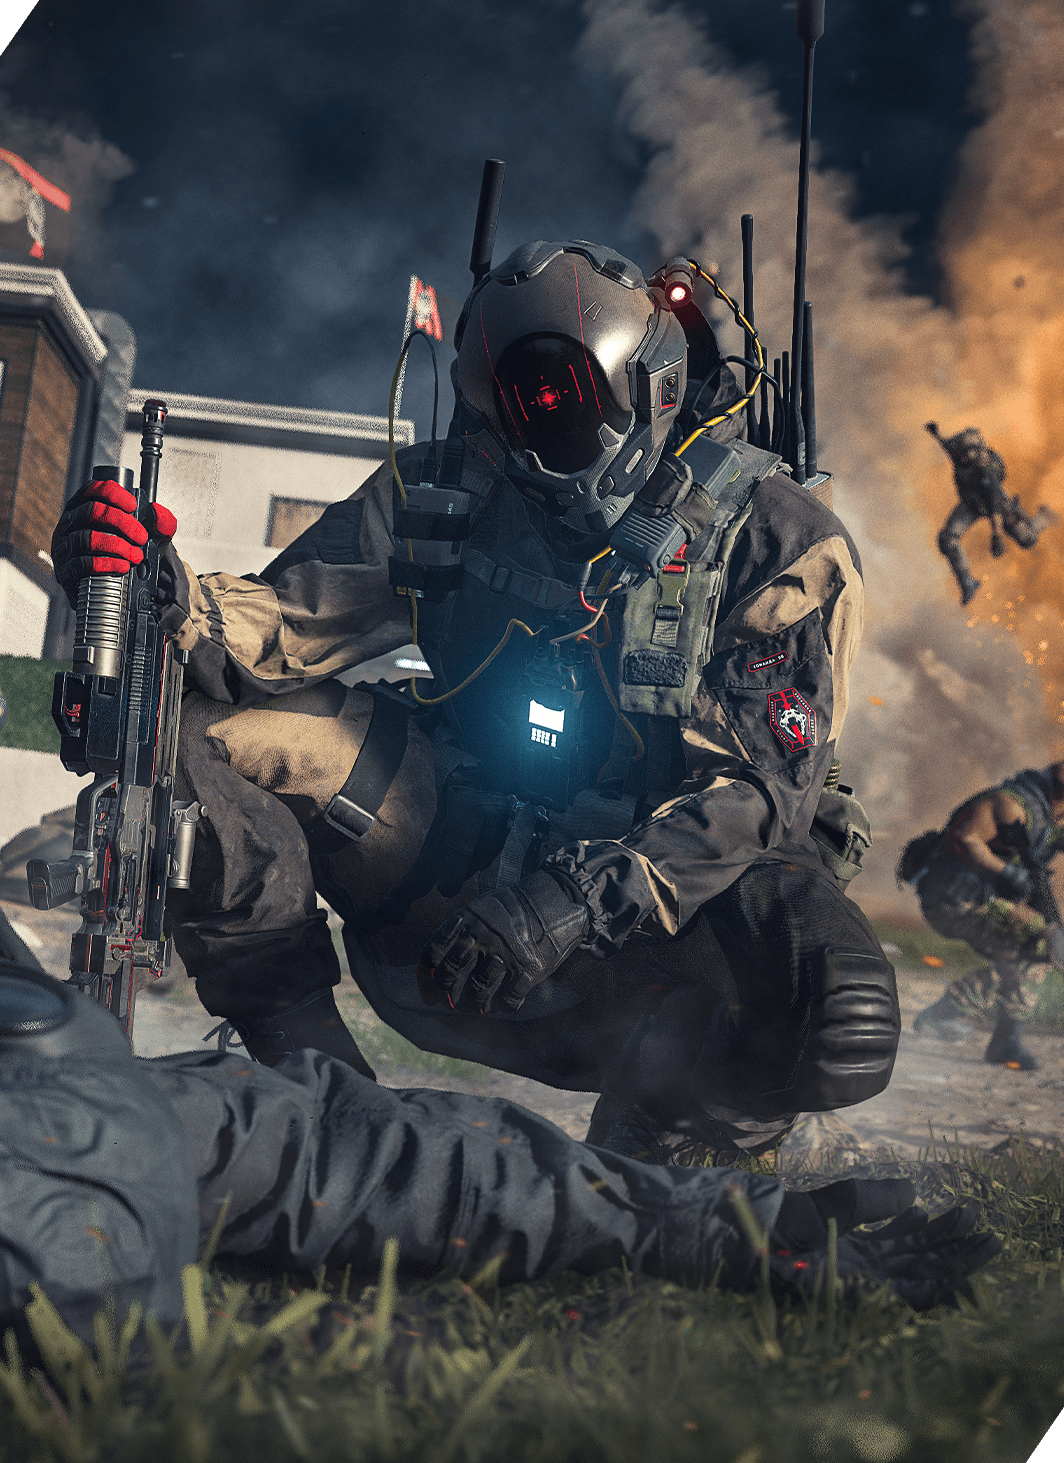
Elimination Strategy: Attacking Rainmaker’s Fortress should be done in a three-step process. First, take some time to prepare and bring a Sniper Rifle or Marksman Rifle so that you can attack the island while still being able to use some cover from the boat docks to the West or from Shahin Manor to the Northwest. Equipping yourself and your strike team with your own Mortar Strikes or Precision Airstrike Killstreaks will provide a significant advantage, not to mention give Rainmaker’s mercenaries a bit of their own medicine.
Next, if you’re in a group, consider attacking the island on foot from different locations at the same time. Raaha Island is highly defensible from a distance, however once the enemy (you) has made it to the shore especially after the defending soldiers have been eliminated, the advantage is all but fully lost. Just remember that this is only one step closer to victory. Attacking from the Southeast of the island provides the most cover, but be aware of the helipad located right above the dock because reinforcements will arrive via this location. Use the small cliff face to defend from the remaining mercenaries outside of the mansion and approach with caution.
Be sure to look out for Claymores covering the entire perimeter of the Raaha Island mansion.
Finally, it’s time to attack the Rainmaker’s mansion. Assuming that you’ve cleared the perimeter of all mercenaries and Claymores, unlocking the door and clearing the mansion should be an easy task so long as you keep in mind the MO of Rainmaker. Just like the outside of the mansion, the interior is covered in traps. These traps are both practical explosive traps indicated by the green trip laser, as well as several Sentry Guns that are set up in positions that Rainmaker will retreat behind. Watch out for flanking Elites as you hunt down Rainmaker in his own house. He will not take you head on if he has the chance to retreat. The mansion is a bit maze-like and completely beneficial to a trapper’s advantage. Rainmaker will run from you, not because he is scared but because he always has another trick up his sleeve. So push the Warlord but stay frosty so you don’t fall right into his trap.
Specials
Specials are a class of Zombies that are bigger and badder than your normal Zombie. These Specials can appear in the Medium and High Threat Zones, but they can also appear as Bounties in the Low Threat Zone. The easiest way to find a Special, and the most rewarding, is to take an Eliminate the Bounty Contract. You’re guaranteed to fight a Special if you accept one of these Contracts.
Mangler
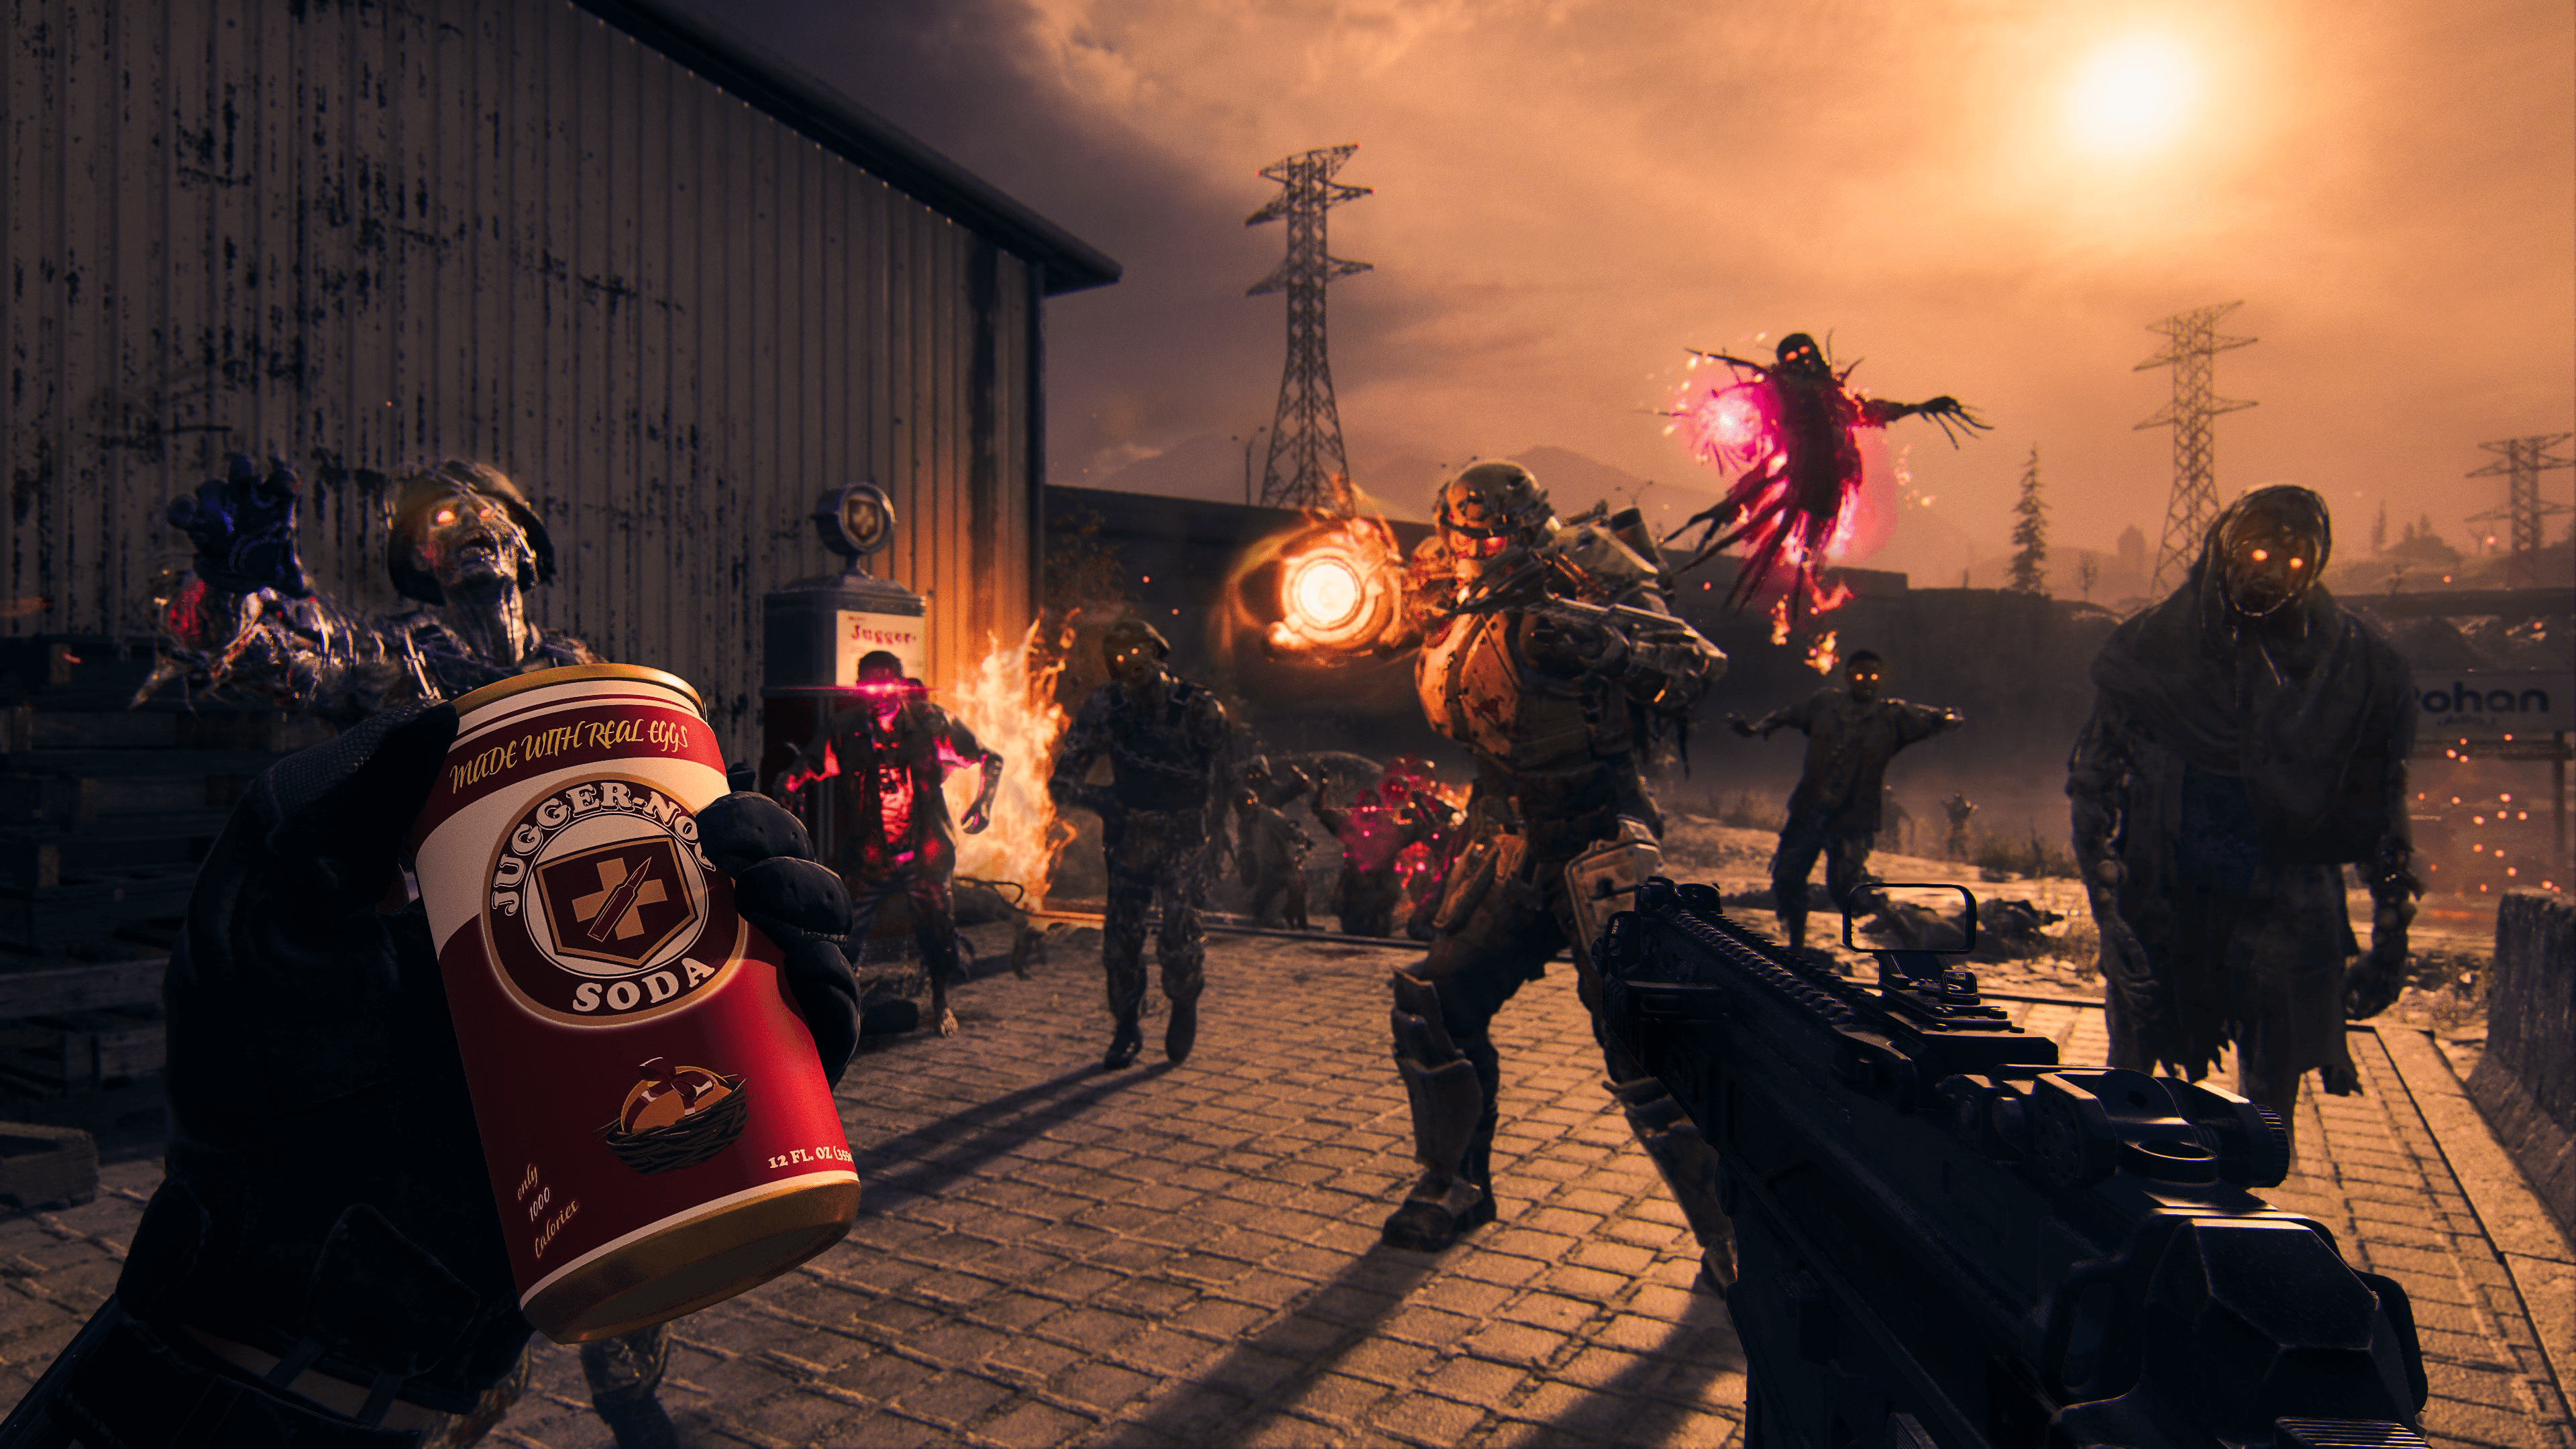
The Mangler is a large humanoid enemy covered head to toe in large metallic armor pieces. Normally very aggressive, the Mangler is equipped with two types of weaponry: A large blade made for getting up close and personal and an energy cannon that fires a relatively slow-moving projectile that does a large amount of damage if it hits your location.
Intel Card — Mangler
// INTEL CARD
- MWIII
- WZ
- WZM
Mangler
// MODERN WARFARE ZOMBIE // BESTIARY

Strengths
- Heavily armored
- Equipped for range and melee combat that can do significant damage on both fronts.
Weaknesses
- Once a piece of the Mangler’s armor is broken, that body part is exposed and very weak.
- Ranged attack is slow and can be avoided if you move at the right time.
- Slow mover, which means Operators can outrun them if there aren’t too many hinderances.
- Aim for the Mangler’s head or cannon to incur the most damage on the enemy.
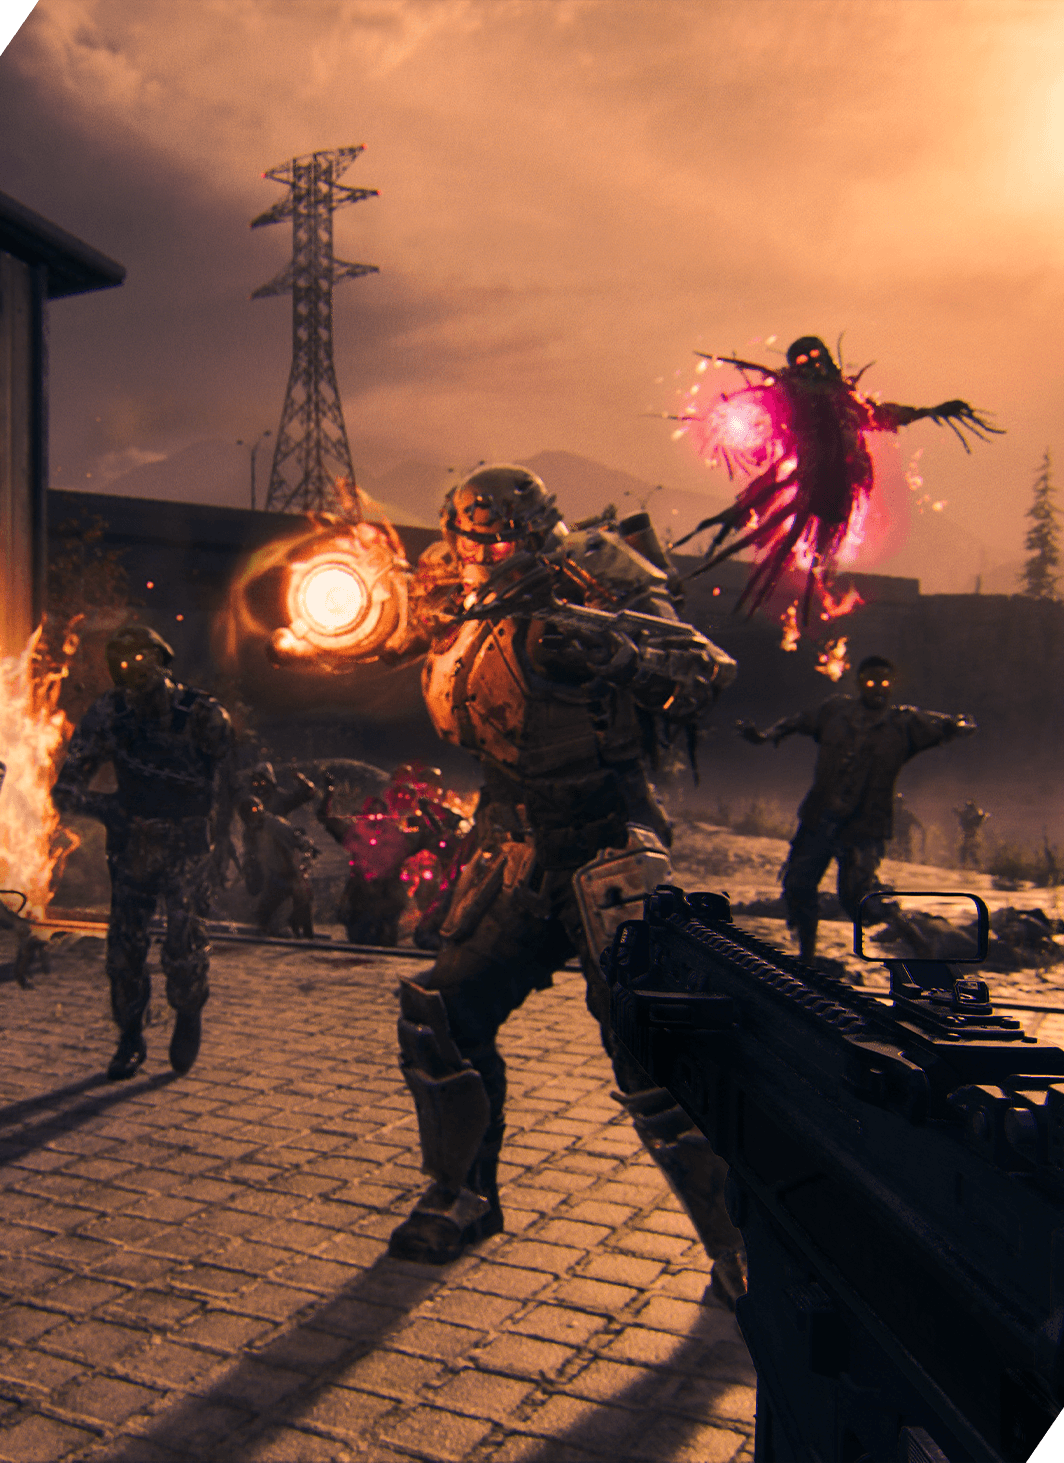
Elimination Strategy: Fighting the Mangler is like a game of cat and mouse. Because of its heavy armor, it’s most beneficial to focus a specific body part. The head is the critical zone, but again you’ll have to destroy its helmet before you can begin damaging the Special. With enough shots to break its armor down, finishing the job should be more of the same strategy. The hardest part about eliminating the Mangler, and the same goes for all of the Specials, is not being killed by them first.
Stay on the move to avoid being in melee range of the Mangler’s deadly blade. While you’re moving, do not run in a straight line away from the Mangler because their energy blast will catch you and do massive damage. Keep an eye on their location and move horizontally as they fire at you.
There will likely be other Zombies that shamble in the vicinity of the Mangler. This means that as soon as either one of you starts engaging with one another, the other Zombies will answer the dinner bell. This can get overwhelming fast, so use line of sight while getting distance between you and the Mangler and thin the horde while you get ready to destroy the target.
Disciple
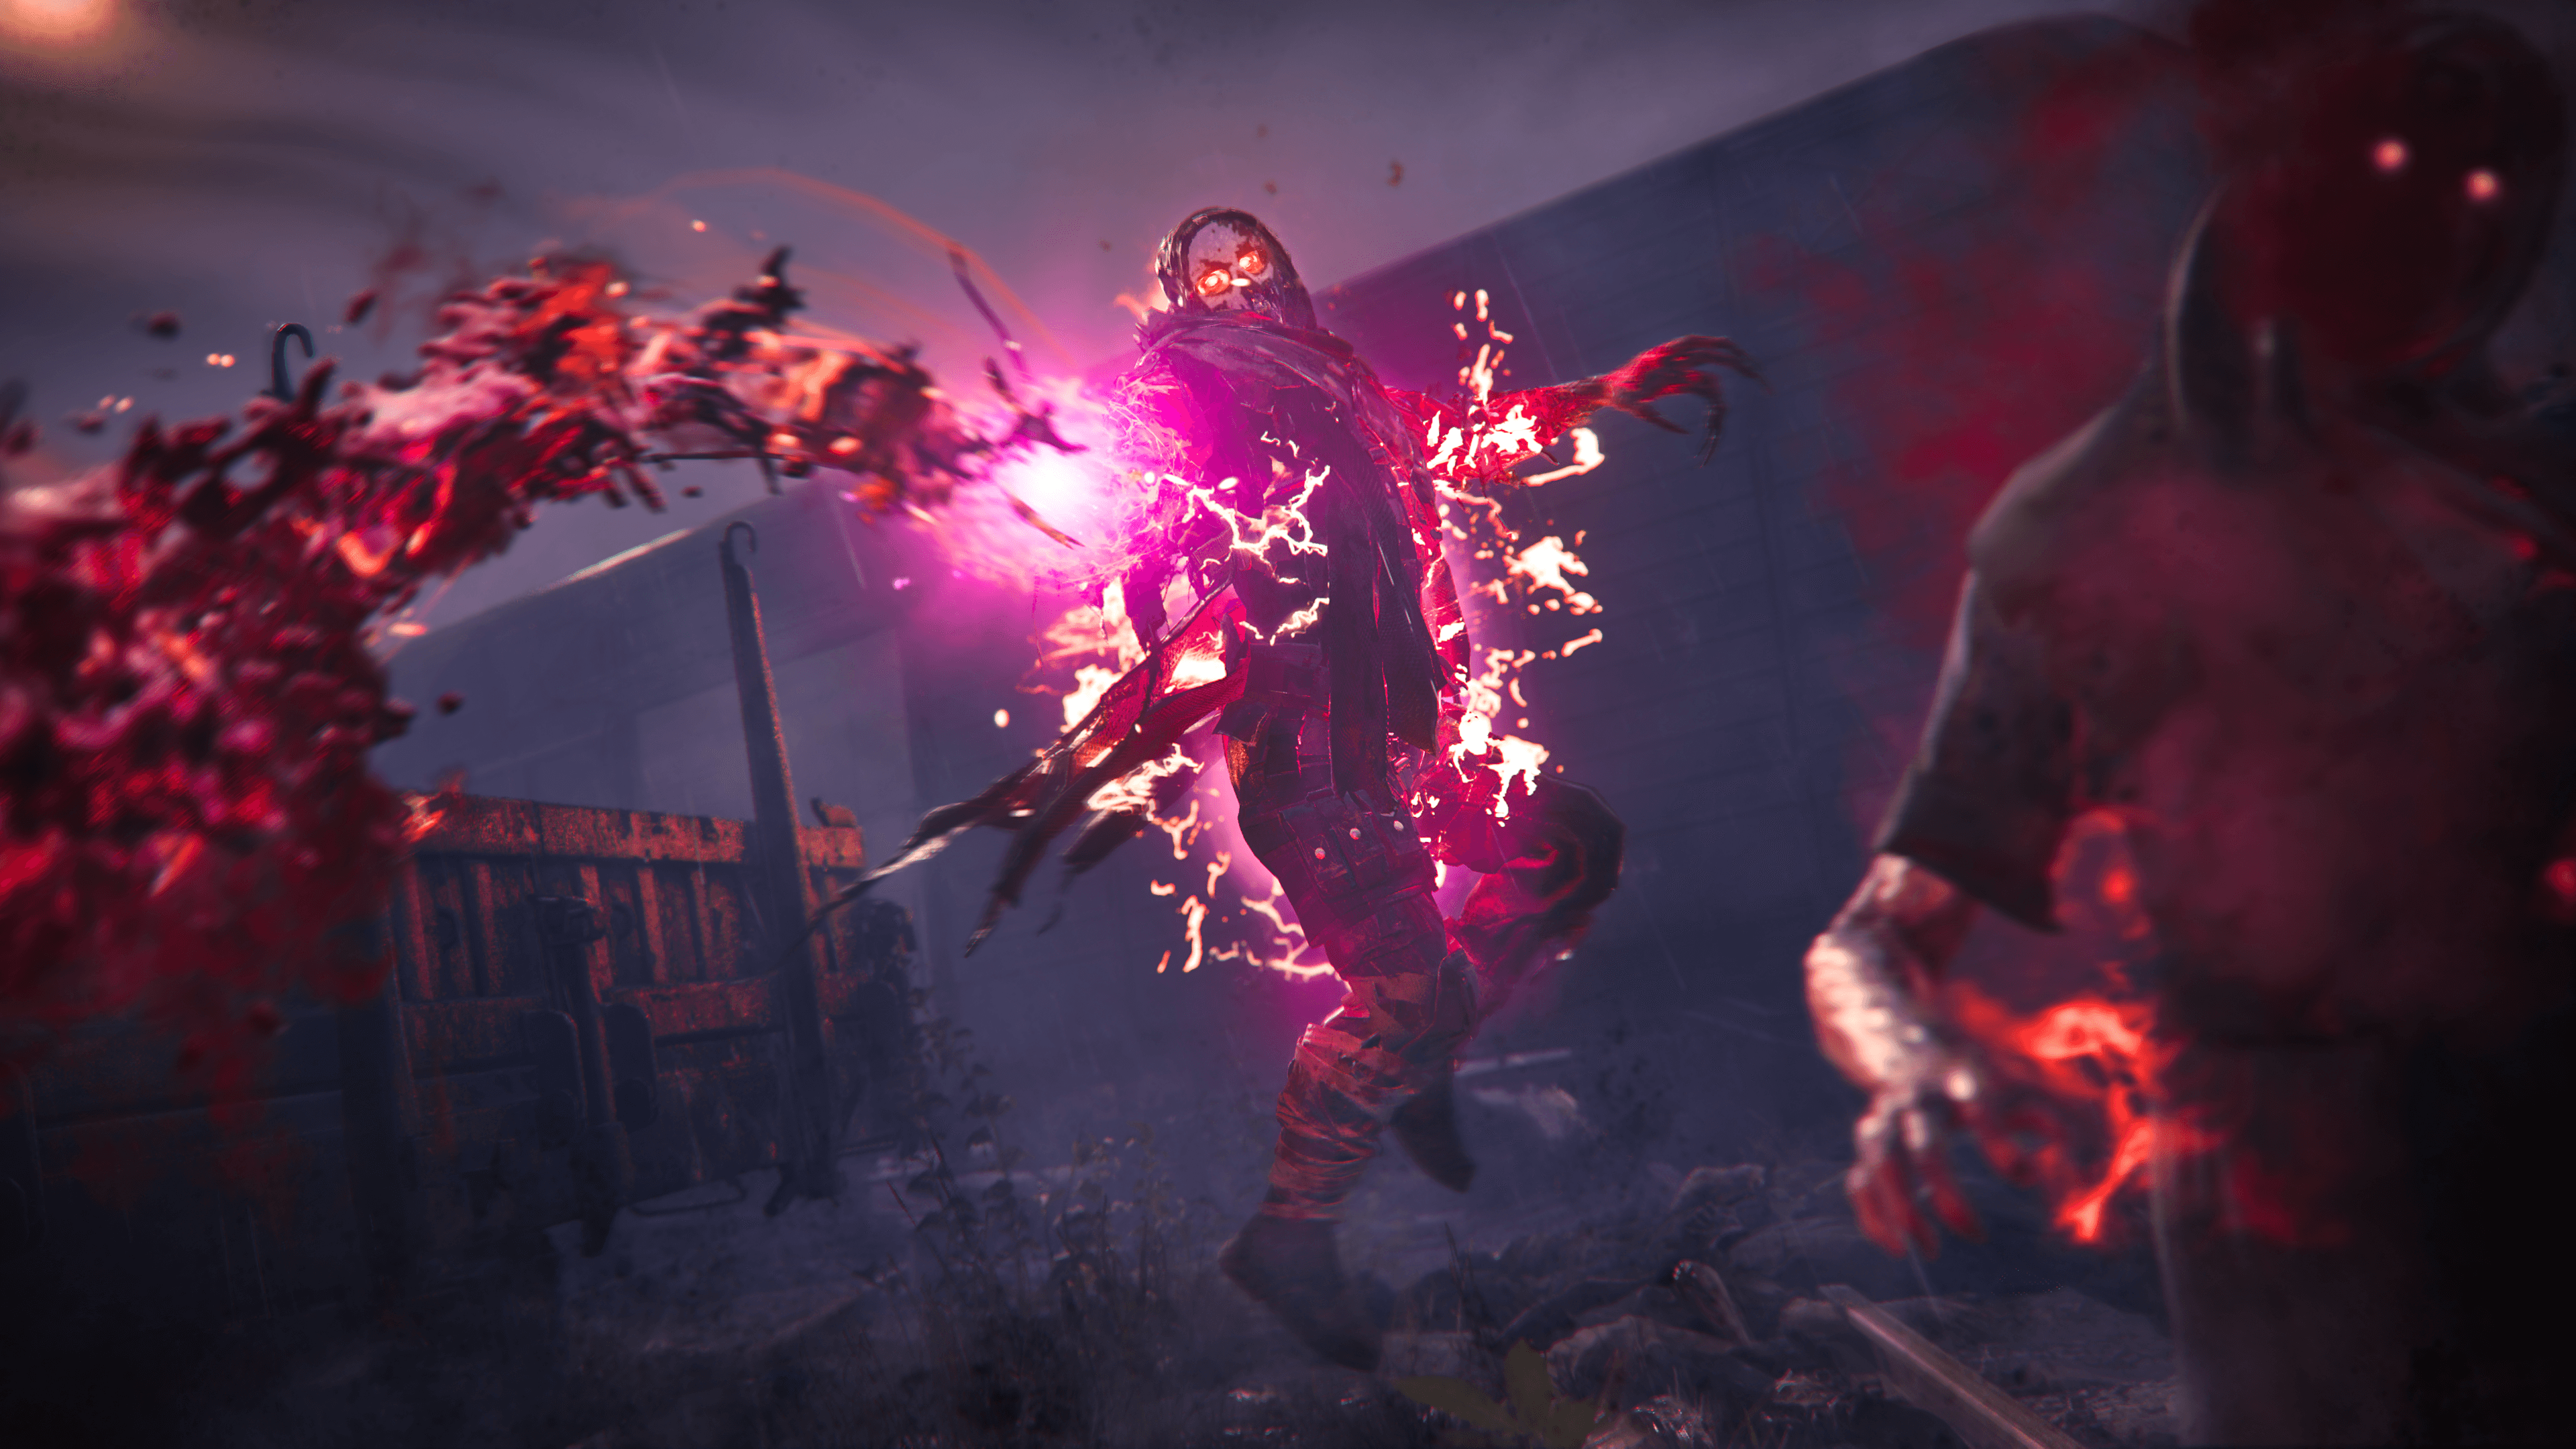
Disciples are menacing specters enveloped in cracking ethereal energy. Not only can they summon and strengthen undead minions, but they also have the ability to drain the life force from their enemies to rejuvenate themselves. Fighting the Disciple is a race against time; if you can’t kill it fast enough, you and your entire squad may find themselves back in the lobby rather quickly.
Intel Card — Disciple
// INTEL CARD
- MWIII
- WZ
- WZM
Disciple
// MODERN WARFARE ZOMBIES // BESTIARY

Strengths
- Can spawn Zombies to attack players.
- Floating above the battlefield, the Disciple can attack from many angles.
- With the power of a ranged life-draining tether, Disciples can make almost unavoidable attacks.
- Can power nearby Zombies to supercharge their health and their attack power.
Weaknesses
- When Disciples are not charged, they have a relatively low amount of health.
- Floating above the battlefield also makes them an easy target.
- Without the help of other Zombies, the Disciple’s attack is not significantly powerful, even though it will still eliminate any Operator who isn’t careful.
- Firing on the hand that is casting the life drain will stop and stun the Disciple.
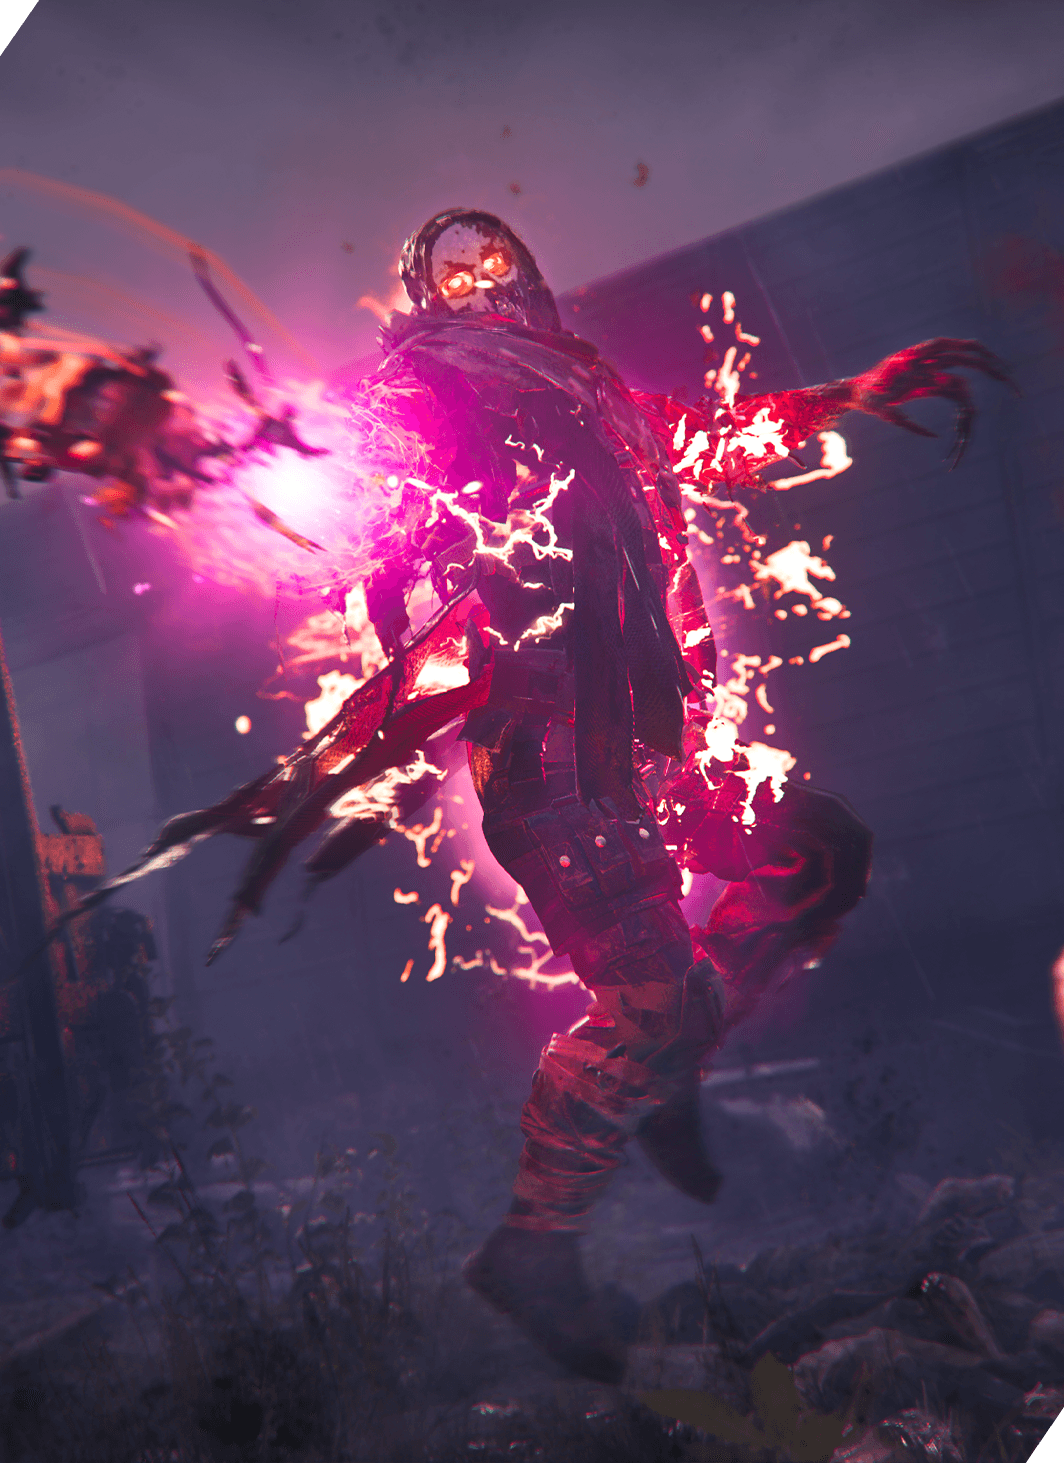
Elimination Strategy: The Disciple becomes more powerful the longer it takes for you to deal with it. It has two main methods of eliminating its prey: It will either sap your life health directly from you via its life drain tether or it’ll recruit every Zombie that it can to do its bidding. Often it will do both at the same time. The Disciple floats, but it doesn’t move at any notable speed, so you can create some distance between you. This is the easiest way to avoid the life-draining tether.
As the Disciple recruits and charges its fellow Zombies, both will become more difficult to kill. Use explosives and area-of-effect Equipment against this Special because hordes can become very dangerous. As you try to keep your distance, continue killing normal Zombies as fast as you possibly can while attempting to chip away at the Disciple’s health. Aim for the head and hit the glowing parts as much as you can to speed up the fight.
Mimic
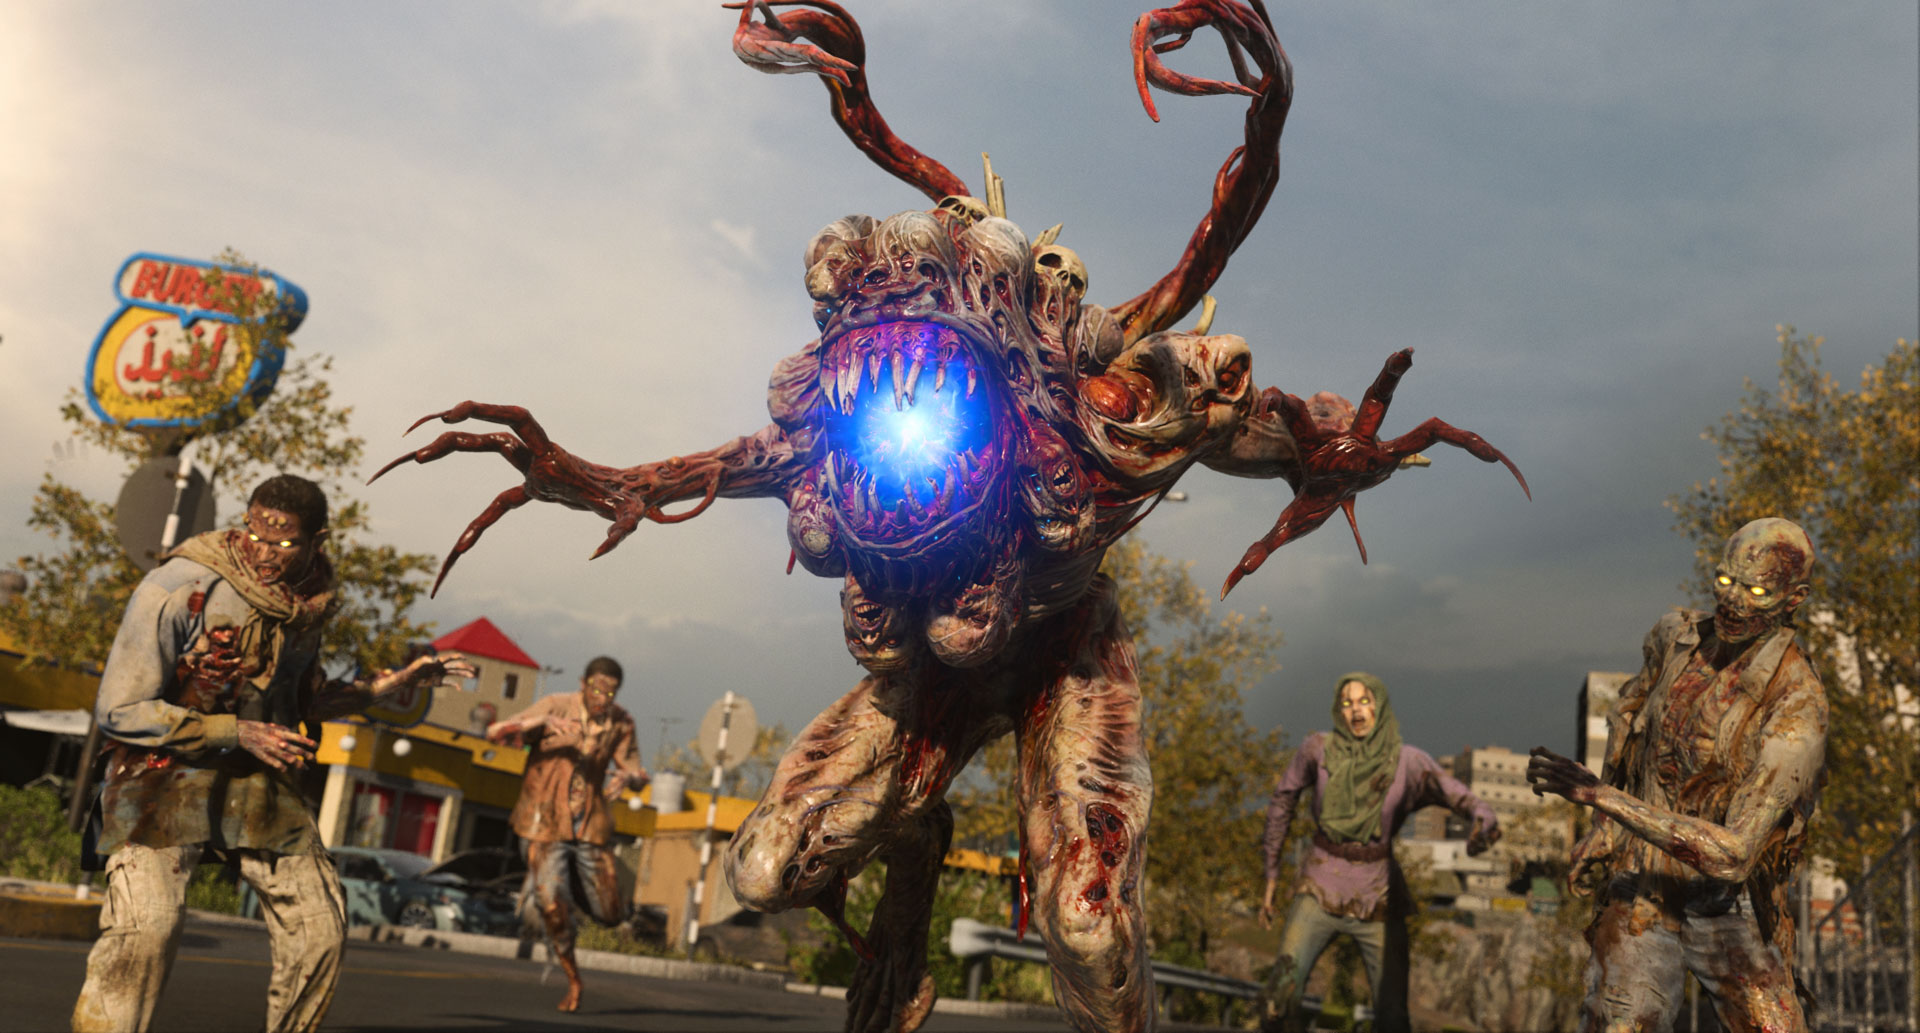
Mimics are cunning entities that masquerade as harmless objects. When you least expect it, they unleash their tentacles and razor-sharp fangs to ensnare and tear apart their victims. This fast, living flesh devourer will lock on to you the moment it notices you. The Mimic is a melee and ranged enemy, but the tall tendrils extruding from its back can extend and grab you to begin devouring you. At full health, this grab attack will not down you, but it will do significant enough damage that if it pulls you into a horde, you may be using a self-revive or hoping that your squad can support you.
Intel Card — Mimic
// INTEL CARD
- MWIII
- WZ
- WZM
Mimic
// MODERN WARFARE ZOMBIES // BESTIARY

Strengths
- Incredibly fast.
- Can masquerade as objects in the environment.
- Can shoot balls of acid for ranged attacks.
- Ranged melee attack pulls players into melee range and leaves them defenseless until the attack has completed.
- Large melee range that can hit from a higher-than-normal distance.
Weaknesses
- Critical Zone is a large hitbox in the middle of the Mimic’s mouth.
- While fast, the Mimic can be stalled by using obstacles and pathing to force it to take the long way.
- While committed to the grab attack, the Mimic does not move and is vulnerable to all other attacks.
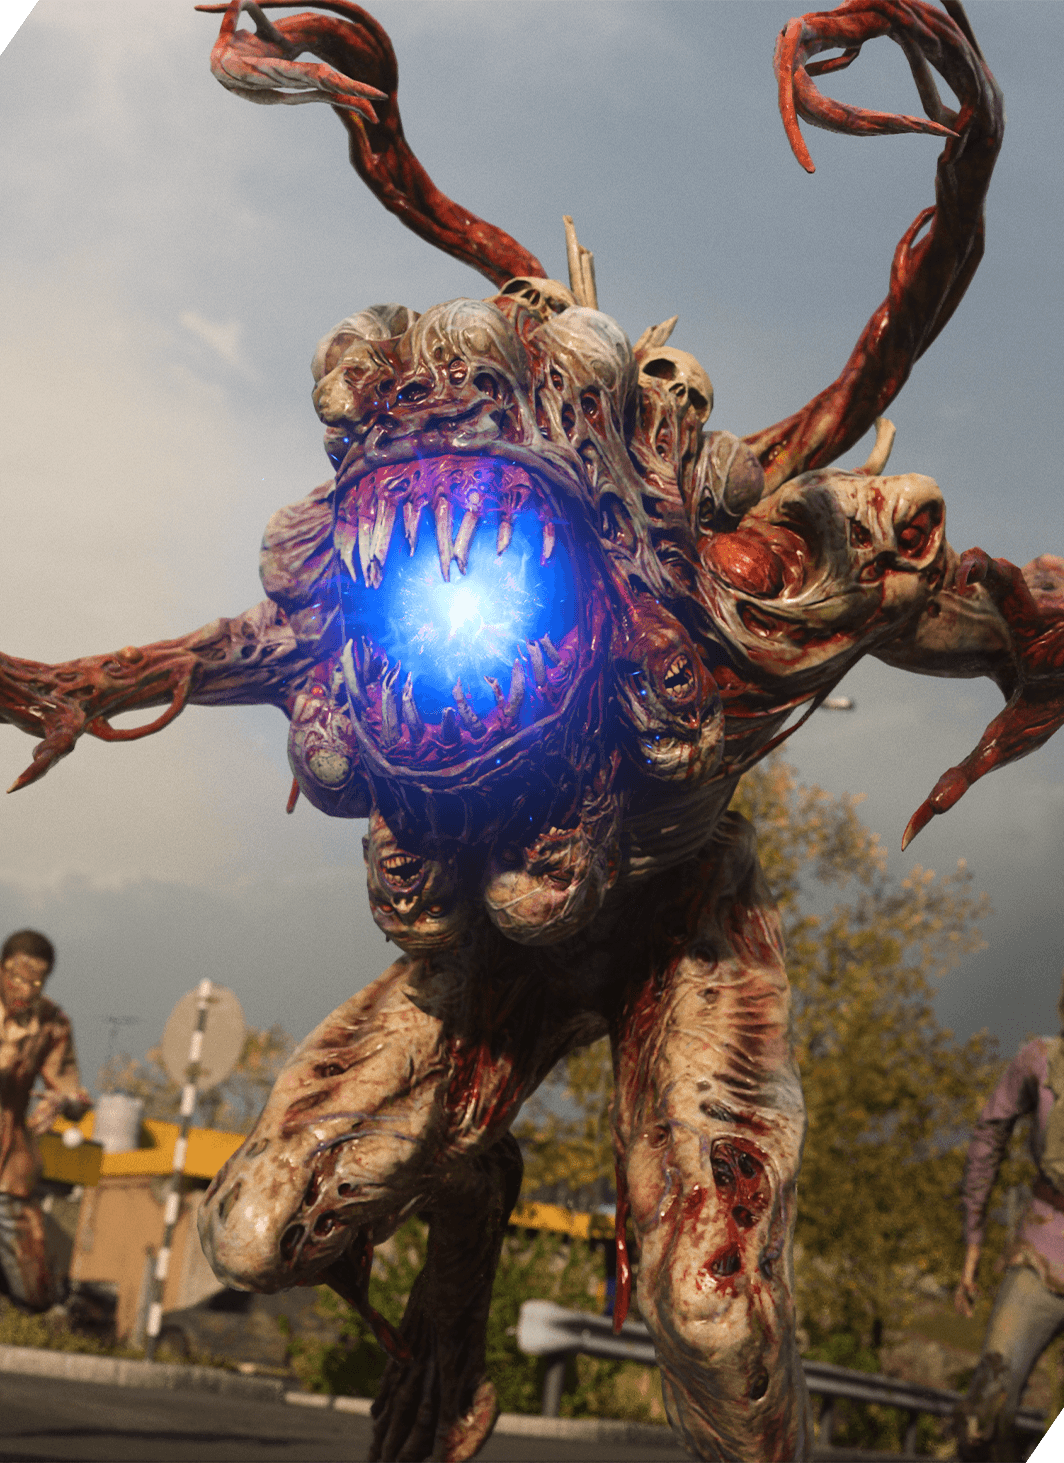
Elimination Strategy: The Mimic is quick, and outrunning it is nearly impossible. Use terrain and obstacles to avoid line of sight and force the Special to travel a farther distance to attack you. The critical area is located directly in the middle of the Mimic’s mouth — however, if you can see down the mouth, then you’re probably in the most danger. Don’t focus too much on the critical zone because it can get you into trouble. Remember your Field Upgrades when fighting the Mimic; you’ll need the most damage that you can muster in order to take this beast down.
Elite Enemies
Elite Enemies are among the most dangerous foes you’ll encounter throughout Urzikstan. Elite Enemies are large and will require all of your focus to successfully eliminate. Because of this, do not take them on by yourself. Bounties that task you with going after these ferocious beasts are difficult, but not impossible as long as you’re prepared.
Mega Abomination
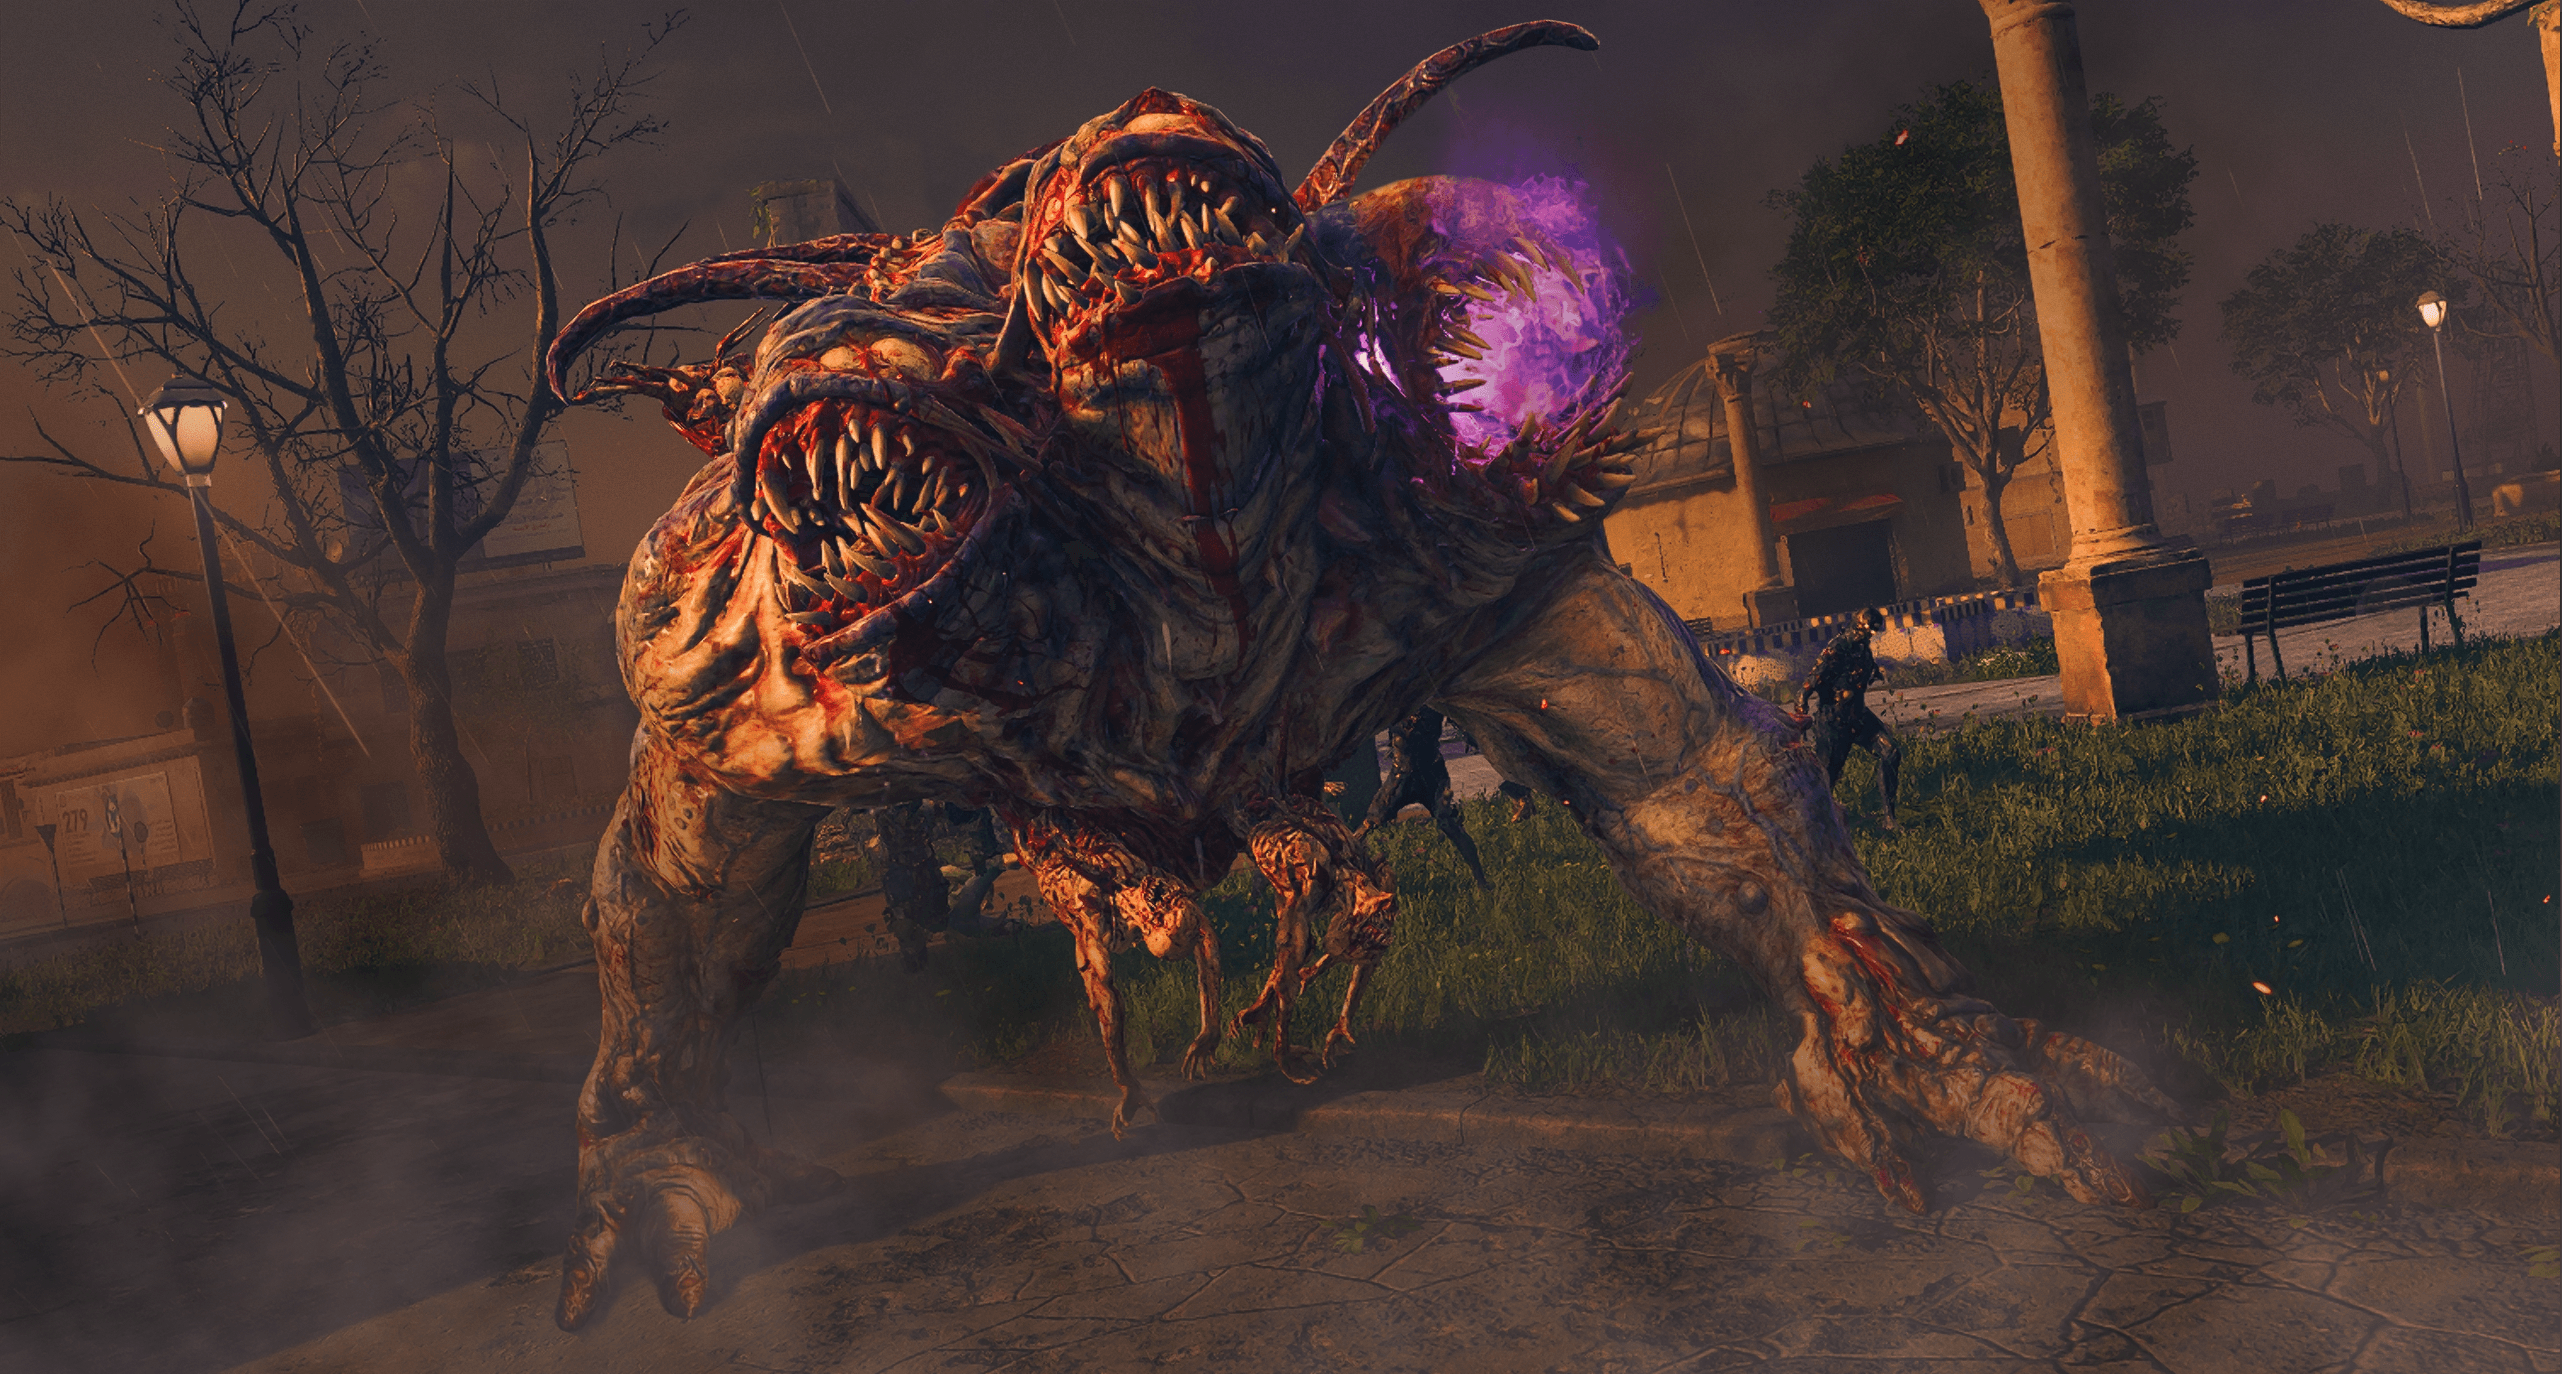
Mega Abominations are massive, three-headed undead creatures that can rush, bite, and trample their opponents. But don’t assume keeping them at a safe distance. These monsters can fire a deadly energy beam from each of its three heads. As with every Zombie in Modern Warfare Zombies, it will try to eat you; this is always an issue when attempting to take the fight to Zakhaev and his Terminus Operations PMC group. But you’ve seen nothing yet compared to what you’ll be up against when it comes to the Mega Abomination.
Intel Card — Mega Abomination
// INTEL CARD
- MWIII
- WZ
- WZM
Mega Abomination
// MODERN WARFARE ZOMBVIES // BESTIARY

Strengths
- Large in stature, which makes it hard for players to avoid taking damage.
- Has three mouths, which means three points of damage-dealing contact.
- Emits a powerful energy beam out each of its mouths, sometimes all at once.
- Will charge players if they get too close.
- Will deploy Wretchlings that track players and explode when players are out of reach of their melee attacks.
Weaknesses
- Before, during, and after the Mega Abomination’s energy beam attack, it emits several glowing critical points that provide easy targets for players to cause significant damage.
- Not much else — be careful.

Elimination Strategy: Each of this beast’s three mouths can shoot powerful and intimidating energy beams from great distances. Having someone in your squad that utilizes the Frenzied Guard Field Upgrade is a key strategy when fighting this Elite. It won’t be easy, but if one Operator can keep the Mega Abomination’s attention long enough for the other squad members to put rounds on target, this could be the path to success.
If you think you’re safe from a Mega Abomination because you’ve made it to a place they cannot fit, think again. When a Mega Abomination can’t reach its prey, and its energy beams can’t quite angle far enough, it will send out Wretchlings that will seek you out and explode when they get close. These Wretchlings will do a large amount of damage if they hit you, so it’s best to take down the Elite as fast as possible.
The critical zones on the Mega Abomination are wherever you can see a bright glow. This exists inside each of the mouths, specifically during and after it performs an energy blast. Energy Blasts can come from any and all of the mouths at the same time. These are moments when you’ll either take a large amount of damage or you’ll be doing a large amount of damage to the Mega Abomination. When up against this Elite Enemy, use everything you have available, as it may be required for your squad’s survival.

© 2024 Activision Publishing, Inc. ACTIVISION, CALL OF DUTY, and MODERN WARFARE are trademarks of Activision Publishing, Inc. All other trademarks and trade names are the property of their respective owners.
For more information, please visit www.callofduty.com and www.youtube.com/callofduty, and follow @Activision and @CallofDuty on X, Instagram, and Facebook. For Call of Duty Updates, follow @CODUpdates on X.
