Modern Warfare Zombies: Equipping Your Operator

- Prebrief
- Gear
- Intel Card — Rucksacks
- Intel Card — Insured Slots
- Intel Card — Tactical Equipment
- Intel Card — Lethal Equipment
- Intel Card — Field Upgrade
- Intel Card — Energy Mine
- Intel Card — Frenzied Guard
- Intel Card — Healing Aura
- Intel Card — Frost Blast
- Intel Card — Aether Shroud
- Intel Card — Tesla Storm
- Gaining and Losing Gear
- Intel Card — Gaining and Losing Gear
- Acquisitions
- Strike Team
- Operator Equipment
- Customize/Vehicles
Get ready to equip yourself with the gear that you need to complete your Missions and other objectives you have with the utmost efficiency. Use this guide to learn how to use everything in the Gear menu.
Prebrief
Even if you’re a Call of Duty® Zombies veteran, there are some things in Modern Warfare Zombies that you may have never experienced before. There are also some things in MWZ that don’t exist in Call of Duty: Modern Warfare® III Multiplayer. Some items and equipment might at first glance seem to be very basic. However, there are some complexities to them, which this Guide will detail.
Gear
In the Modern Warfare Zombies main menu, there are five tabs at the top of the screen: Lobby, Gear, Strike Team, Customize, and Store.
Starting with the Gear tab, there are a few different sections to focus on. One is your Operator, on the screen’s left-hand side. This is where you’ll see your currently selected Strike Team Operator and everything that is equipped on that one Operator. See the Strike Team section of this guide to learn more about this feature.
Then, there are two other sections within this menu that contain your gear setup and what you can choose to bring on a deployment. The top section, in the center of your screen, is your backpack.
Below your backpack is the Loadout where you will equip your weapons, either from your Insured Slot or your Contraband Inventory. You’ll also equip one Tactical Equipment, one Lethal Equipment, and one Field Upgrade.
You’ll be prompted to go to this menu before each deployment as you hit “Start Operation Deadbolt.” You can also build your Gear setup before hitting Start as well.
Rucksack
If this is your first deployment in MWZ, your backpack will be a Small Rucksack, which is the smallest backpack in the game. One of your first goals should be to find a bigger one as soon as possible.
Intel Card — Rucksacks
// INTEL CARD
- MWIII
- WZ
- WZM
Rucksacks
// MODERN WARFARE ZOMBIES // EQUIPPING YOUR OPERATOR
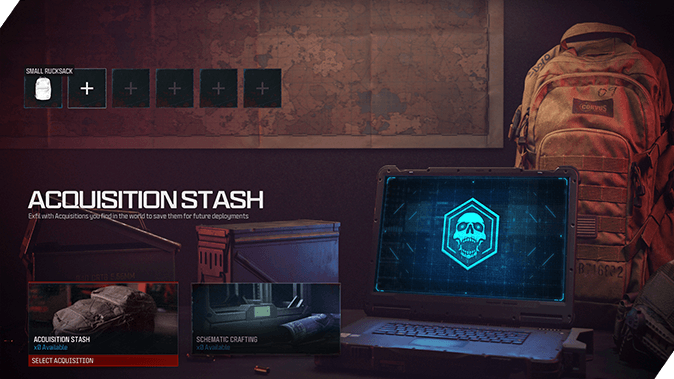
Always need a bigger bag: The bigger your Rucksack, the more Acquisitions you can bring into each deployment.
Never pass a Buy Station: You might get lucky and find a bigger Rucksack you can purchase from a Buy Station.
Looting is worth the time: The best place to find a Rucksack is in a Locker. Lockers can be found in most buildings; look for military or police-type buildings for the largest amount of them.
Your backpack will be empty, but if you select one of the empty slots, you’ll be taken to the Acquisitions menu. Select from one of two categories: Acquisition Stash and Acquisition Crafting. Acquisitions you’ve extracted with and stored by unequipping them from your backpack will be in your Acquisition Stash.
The Acquisition Crafting menu allows you to craft any of the items in this menu if you have the Schematic for it. If you haven’t played a session of Operation Deadbolt, you will not have anything that you can craft here. Stay on the lookout for Acquisition Schematics such as an Uncommon Aether Tool Schematic. This way, as long as the craft isn’t on cooldown, you can craft an item that gives you a boost at the beginning of a session.
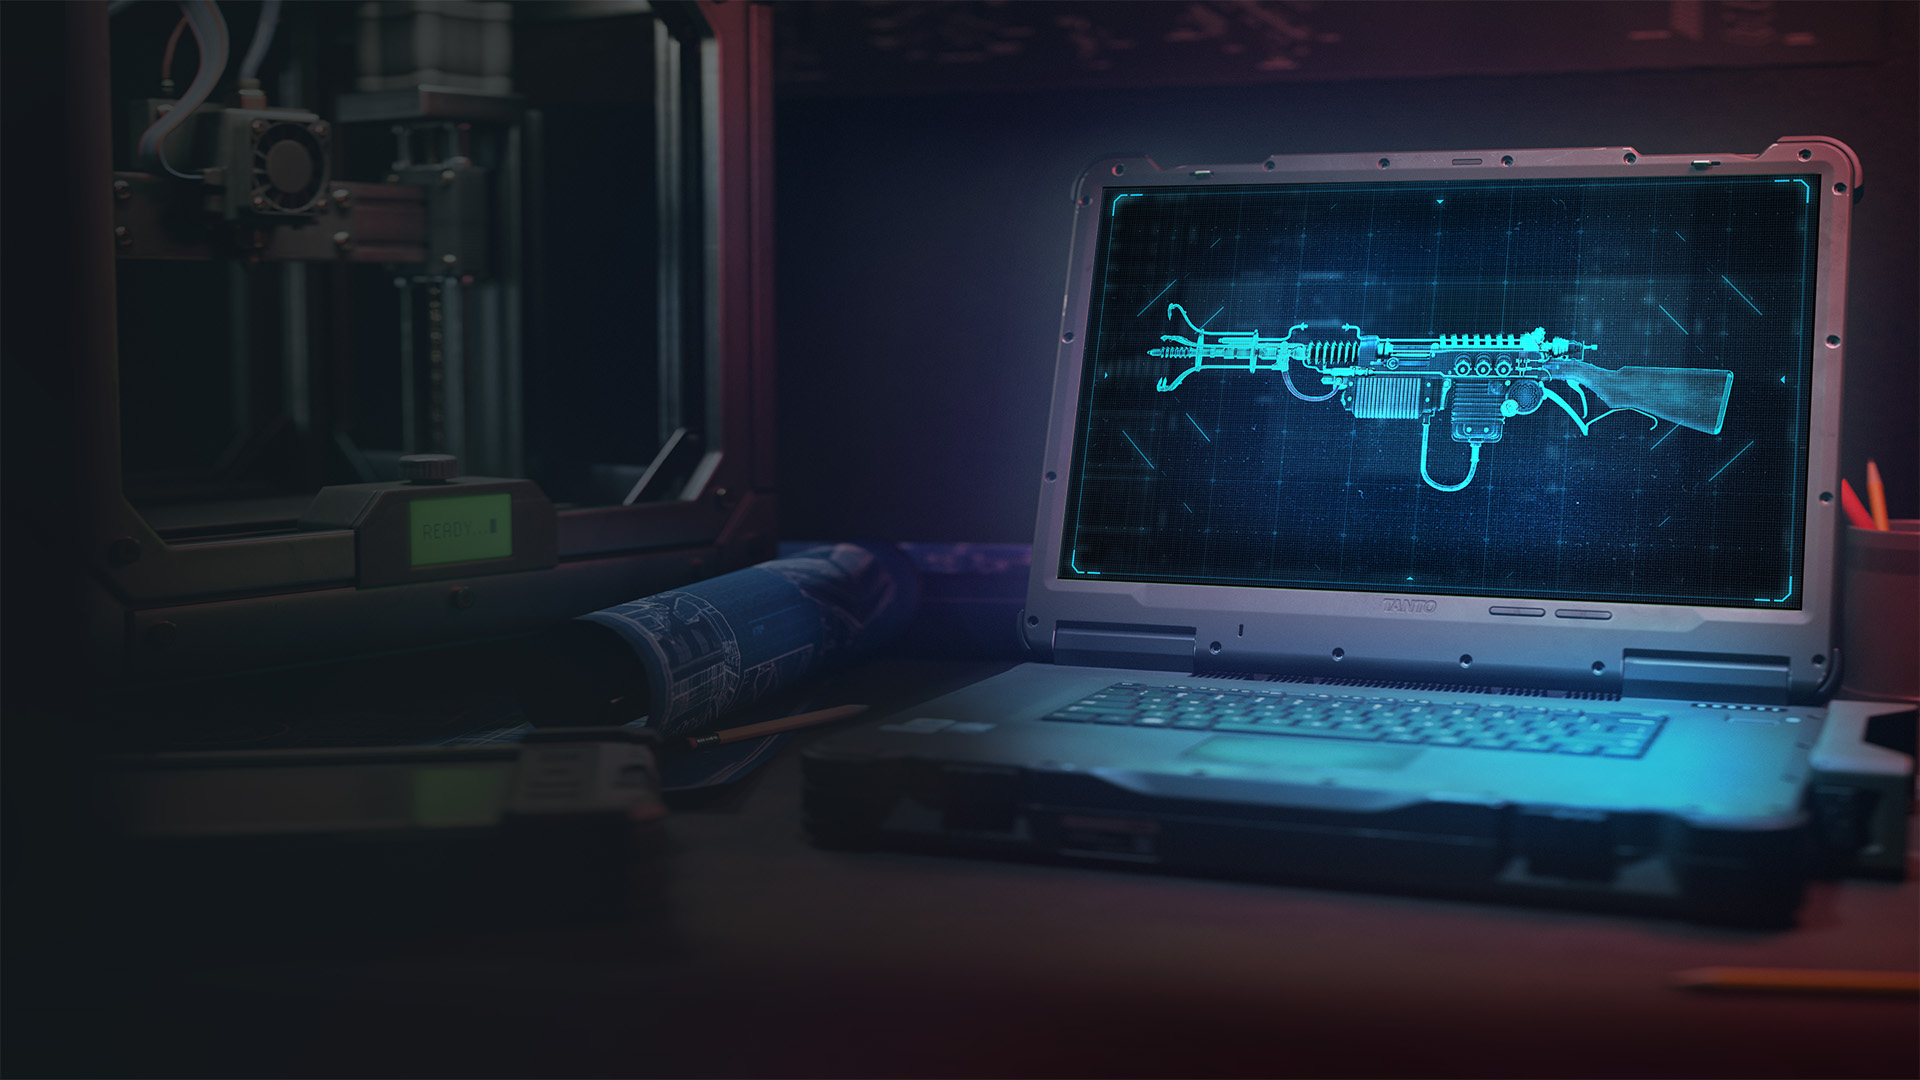
The higher the rarity of the Acquisition that you wish to craft, the higher the crafting cooldown. For example, crafting an Uncommon Aether Tool will prevent you from creating another one for two hours. Every Acquisition is important, and it’s important to keep in mind what you can use them on. For more details of what each Acquisition does and how to use them optimally, refer to the Acquisitions Guide.
After you extract, most of the items that you extract with will get converted to XP. The items that stay on your Operator include everything in the Loadout section, except Wonder Weapons; items in the Gear screen; and Acquisitions that you’ve stowed in your Backpack. Schematics will automatically convert to the Acquisition Crafting menu as they essentially act as unlocks. The Acquisitions that you stow will stay there until you unequip them. When you unequip Acquisitions, they will appear in your Acquisition Stash, where you can re-equip them when you wish to bring them back into Urzikstan.
Loadout
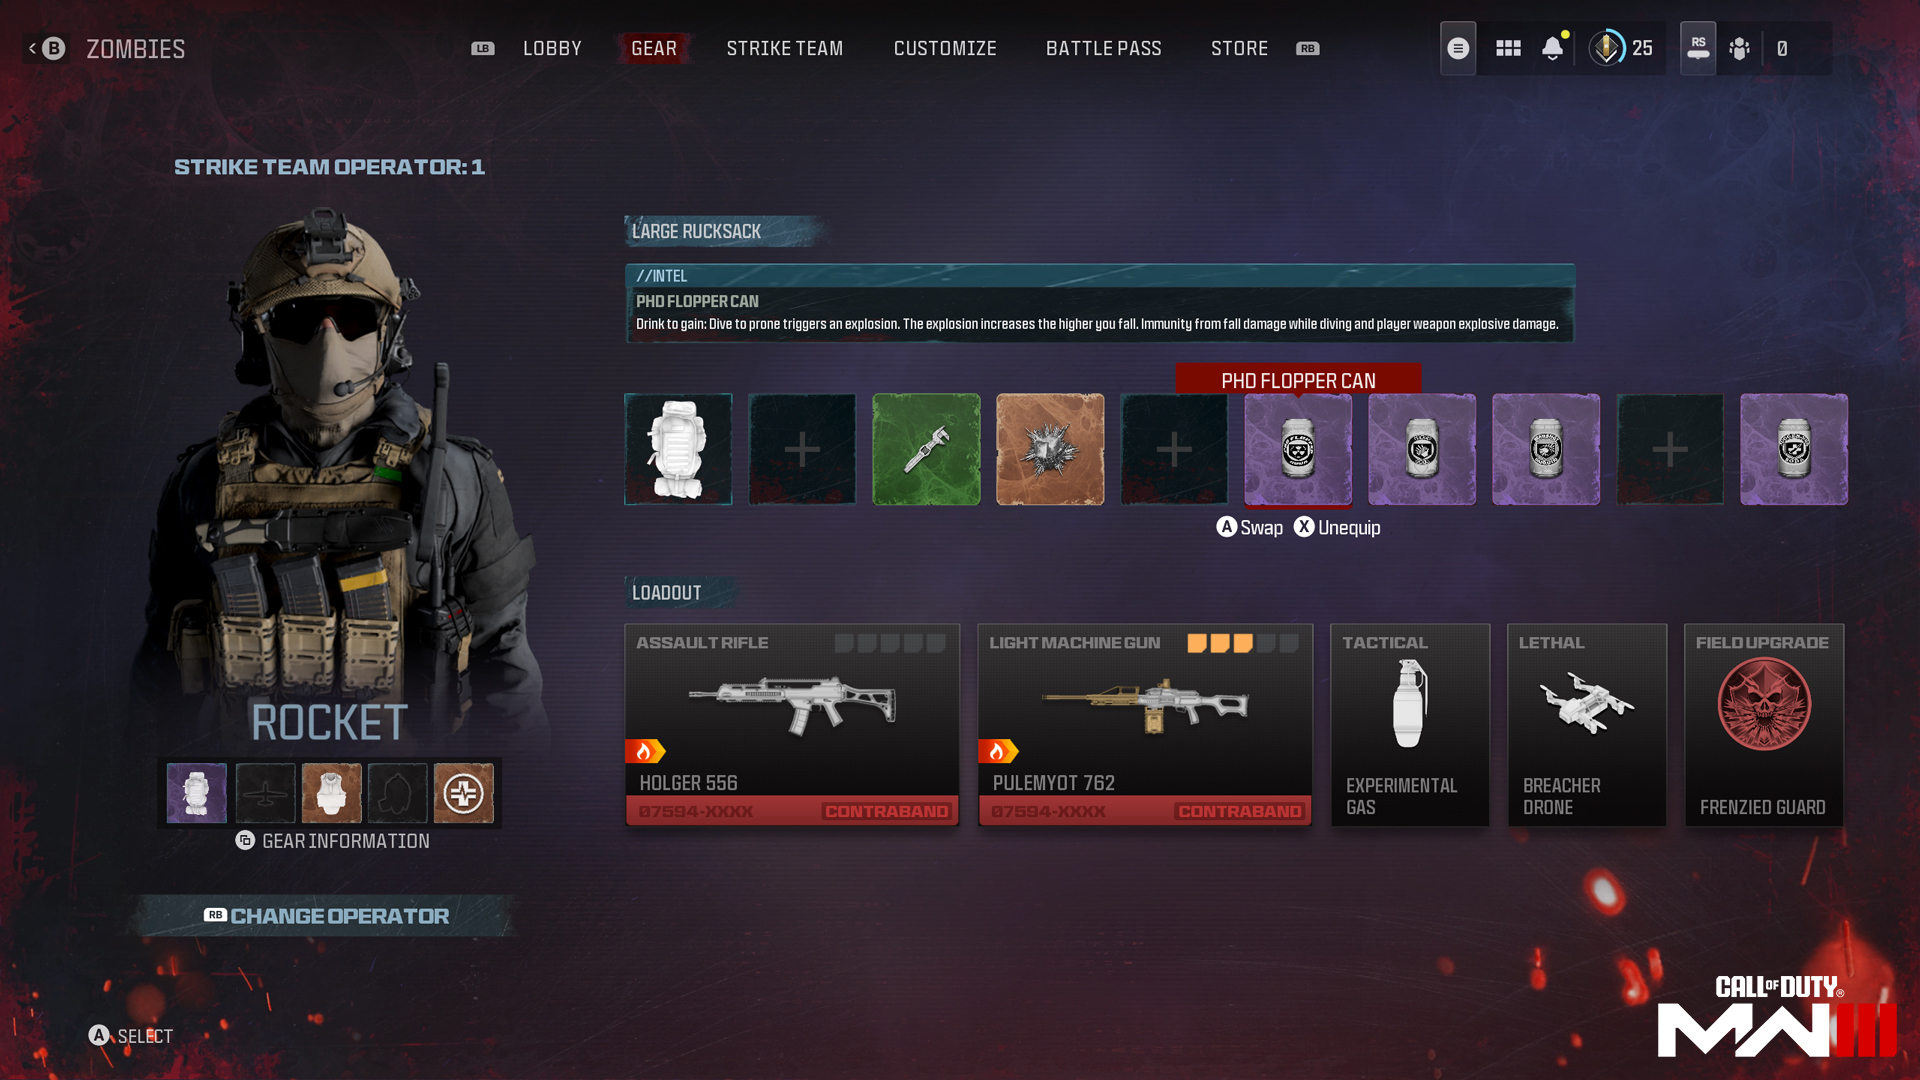
If you’re familiar with how Loadouts work in Modern Warfare III Multiplayer, you may be familiar with getting started in the Loadout section of Modern Warfare Zombies. However, there are some differences. There are two choices when it comes to which weapons to equip: Insured Slots and Contraband Weapons. As you play and extract with weapons, you can start collecting them and storing at least one in your Contraband Stash. Storing weapons is wise, as you will then have something to equip later if you die and lose your Loadout.
There are two different kinds of weapons — weapons from Insure Slots and Contraband Weapons.
Insured Slots
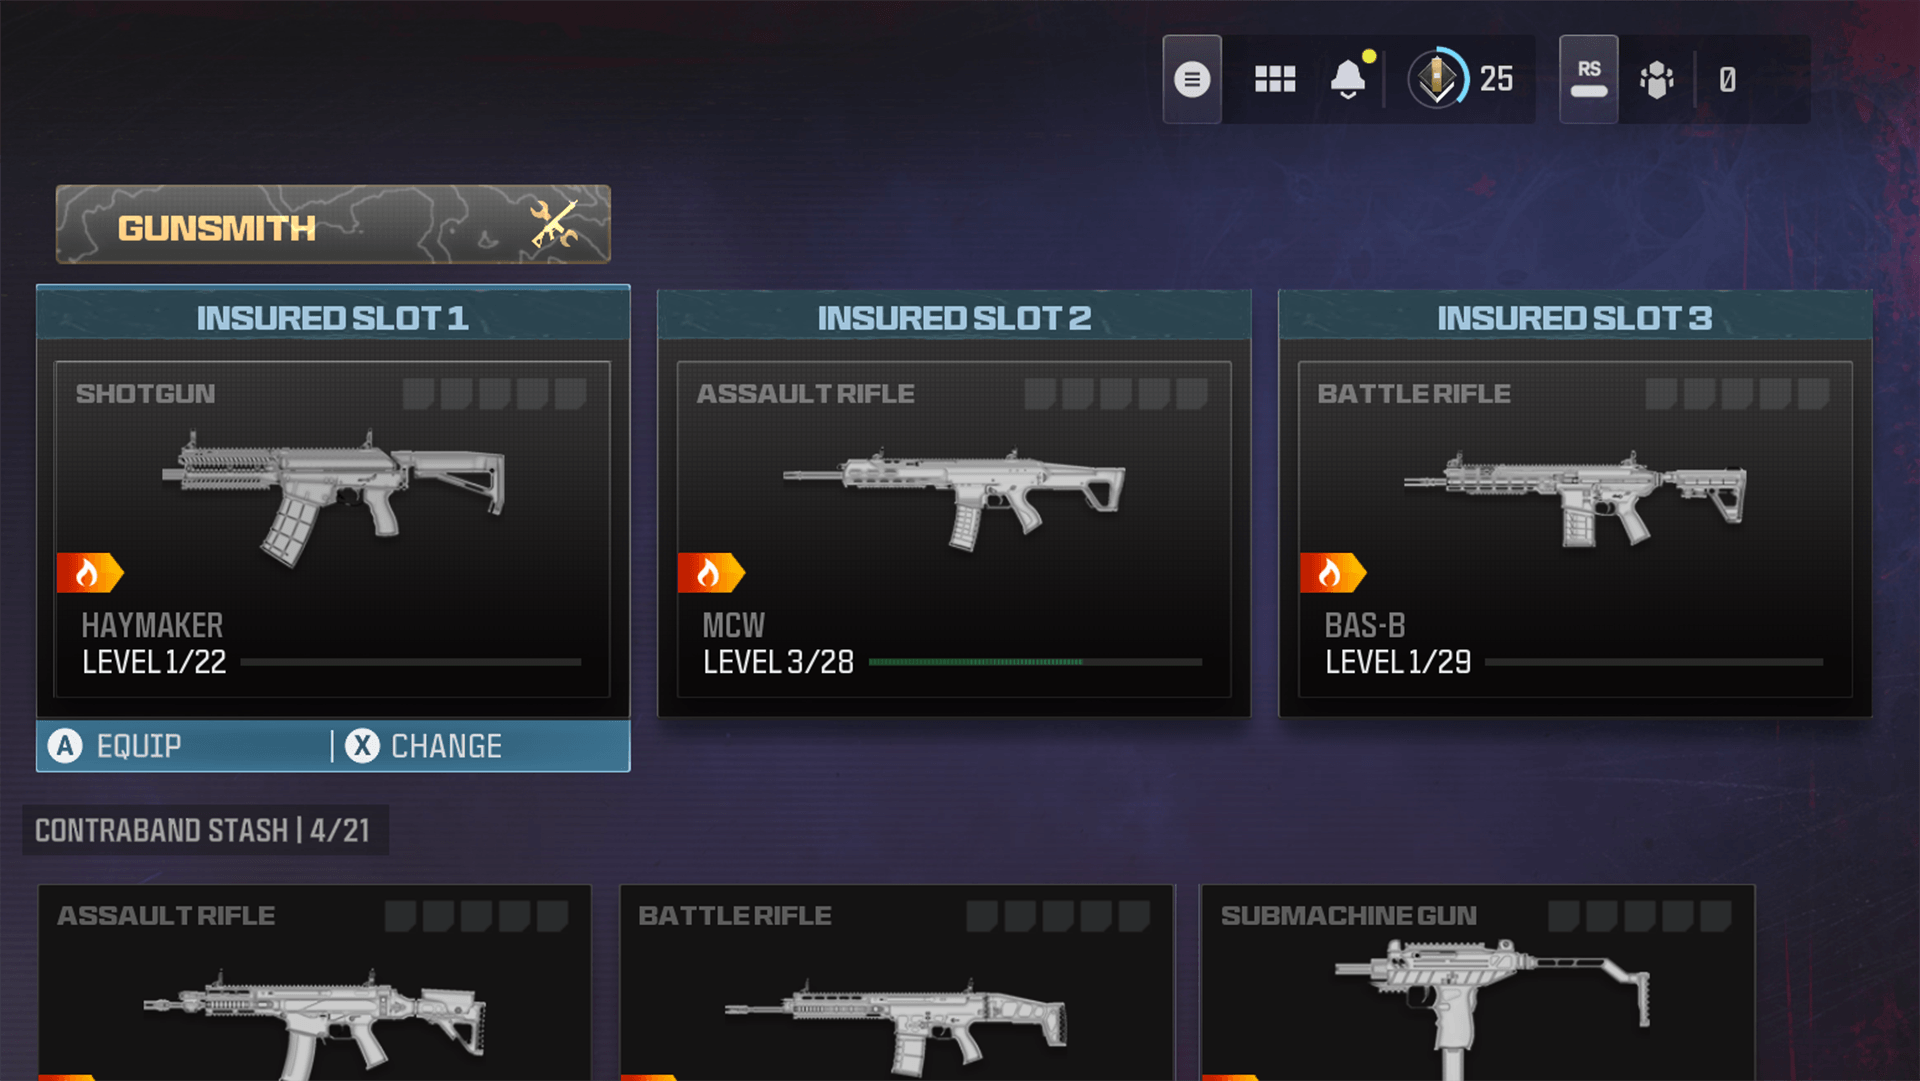
Insured Slots are weapon slots that allow you to build weapons from the ground up. When building an Insured Slot weapon, you only have access to the weapons and attachments that you’ve unlocked so far in Call of Duty: Modern Warfare II and MWIII. Spend time with the same weapons, earning XP and leveling them up so that you have even more power when customizing your Insure Slot weapons. Once you’ve built your Insured Slot weapon, you now can equip it without worrying about losing anything from your stash.
Intel Card — Insured Slots
// INTEL CARD
- MWIII
- WZ
- WZM
Insured Slots
// MODERN WARFARE ZOMBIES // EQUIPPING YOUR OPERATOR
Build to your preference: Insured Slots hold your Insured Weapons, which are weapons that you can build from the ground up based on any weapons that you have unlocked via your Player Level or Weapon Challenges journey.
Extract to lower cooldown: Extracting with excess Essence will give you bonus XP at the end of a Deployment, and it will lower your Insured Slot cooldown relative to the amount of Essence you extract with.
Attachment unlocks: Using the same weapon enough to level it up all the way will always be helpful when building an Insured Weapon.
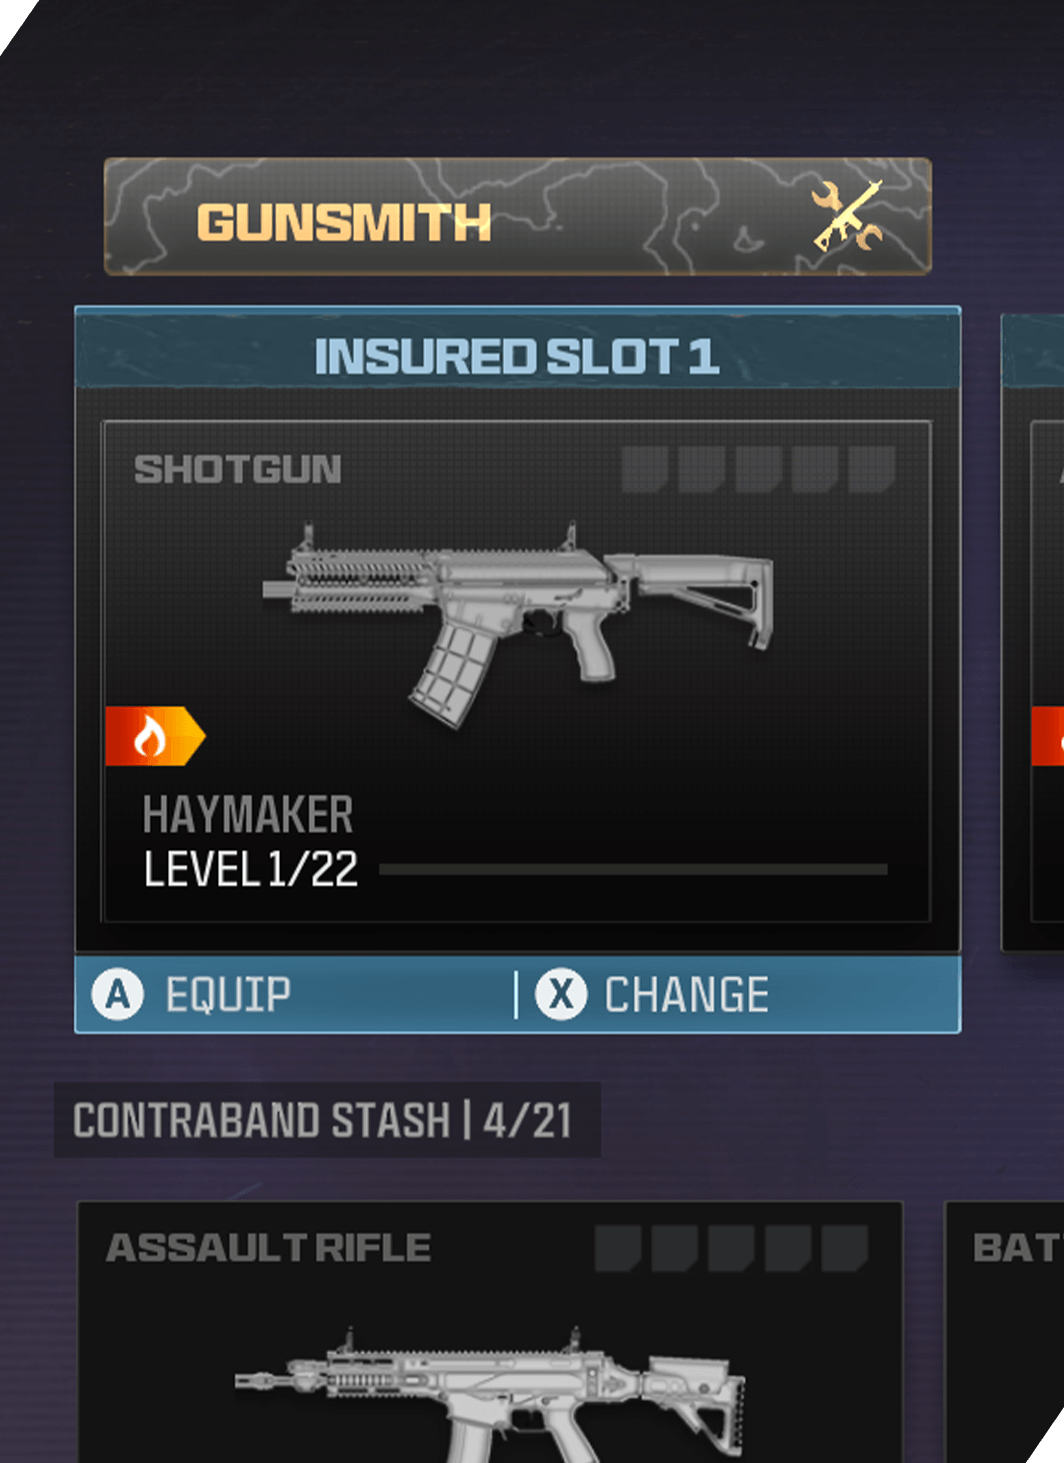
The major thing to note is that once you build and use a weapon from your Insured Slots, you can keep using that weapon until you drop it during a deployment or are eliminated. Once you lose that weapon, a cooldown will be attached to that specific Slot. When the cooldown is up, you can build a brand-new weapon. Insured Slot cooldowns tend to be around 24 hours, but this is also why it is important to push to unlock more Insured Slots, which you can accomplish by progressing in the story of Operation Deadbolt.
Contraband Weapons
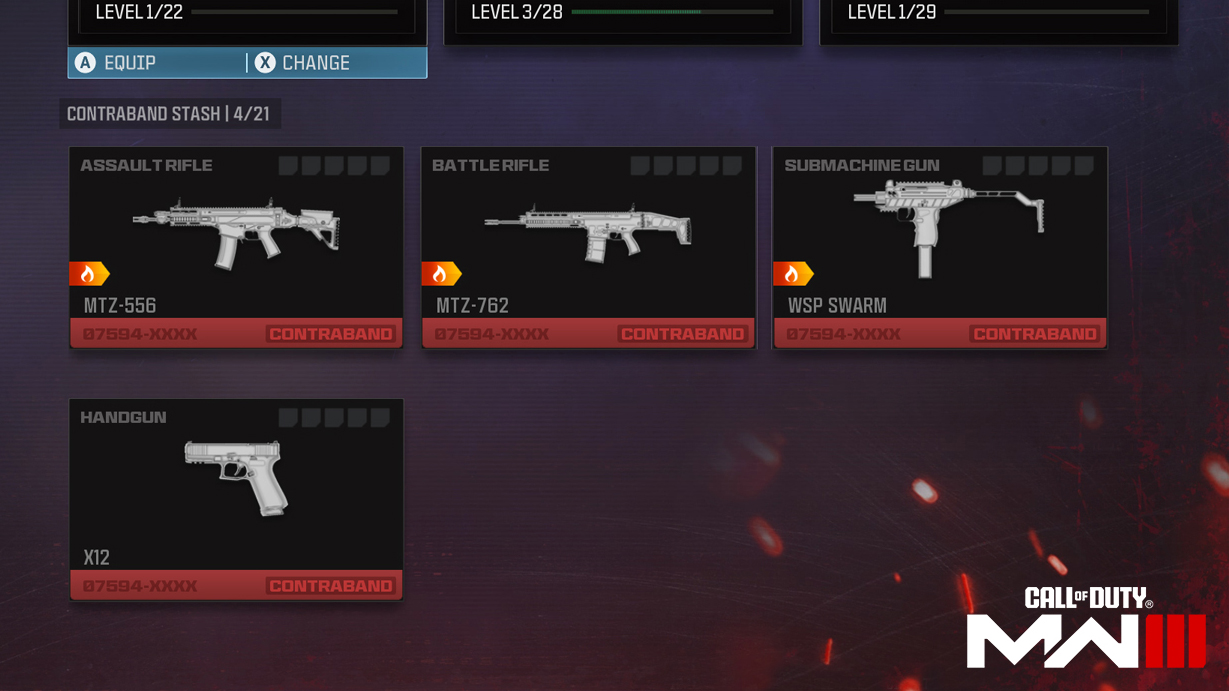
Using Contraband Weapons is the second choice you have when selecting weapons for your Loadout. A Contraband Weapon is any weapon that you pick up while in Urzikstan. Whether it is a Wall Buy, Mystery Box Weapon, or even an enemy Merc’s weapon, as long as you didn’t bring it in with you via an Insured Slot, it is a Contraband Weapon.
You cannot modify Contraband Weapons in any way, so if you don’t like the weapon, you can swap it out or you can simply delete it from your Stash. While Contraband Weapons can’t be modified, they can be upgraded like any other weapon in MWZ. Stay on the lookout for weapons that you favor as you’re moving to extraction.
Tactical
There are only seven Tacticals available to you in MWZ, not including the Acquisitions that are also equipped in this slot. Tactical Acquisitions are not “free” in the same way that the other seven are when completing your Loadout. As your Player Level increases, you’ll earn tons of different unlocks, Tactical Equipment included.
Intel Card — Tactical Equipment
// INTEL CARD
- MWIII
- WZ
- WZM
Tactical Equipment (Zombies)
// MODERN WARFARE ZOMBIES // EQUIPPING YOUR OPERATOR
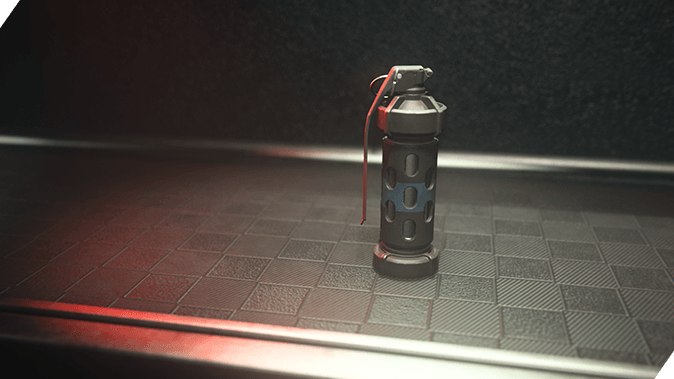
Getting your team out of a jam: Tactical Equipment is designed to get you and your team out of sticky situations. Almost every piece of Tactical Equipment can be used to slow the advancement of enemies.
Acquisitions in Tactical Slots: Some Acquisitions, such as the Kazimir, slot into the Tactical Slot and are much better at saving your team than normal Tactical Equipment.
Stowing Tacticals: Tactical Equipment is very useful and very common; be sure to stow Tacticals when you have room. They’re likely not worth taking over Lethal Equipment or Acquisitions, but they’re great when there’s room.
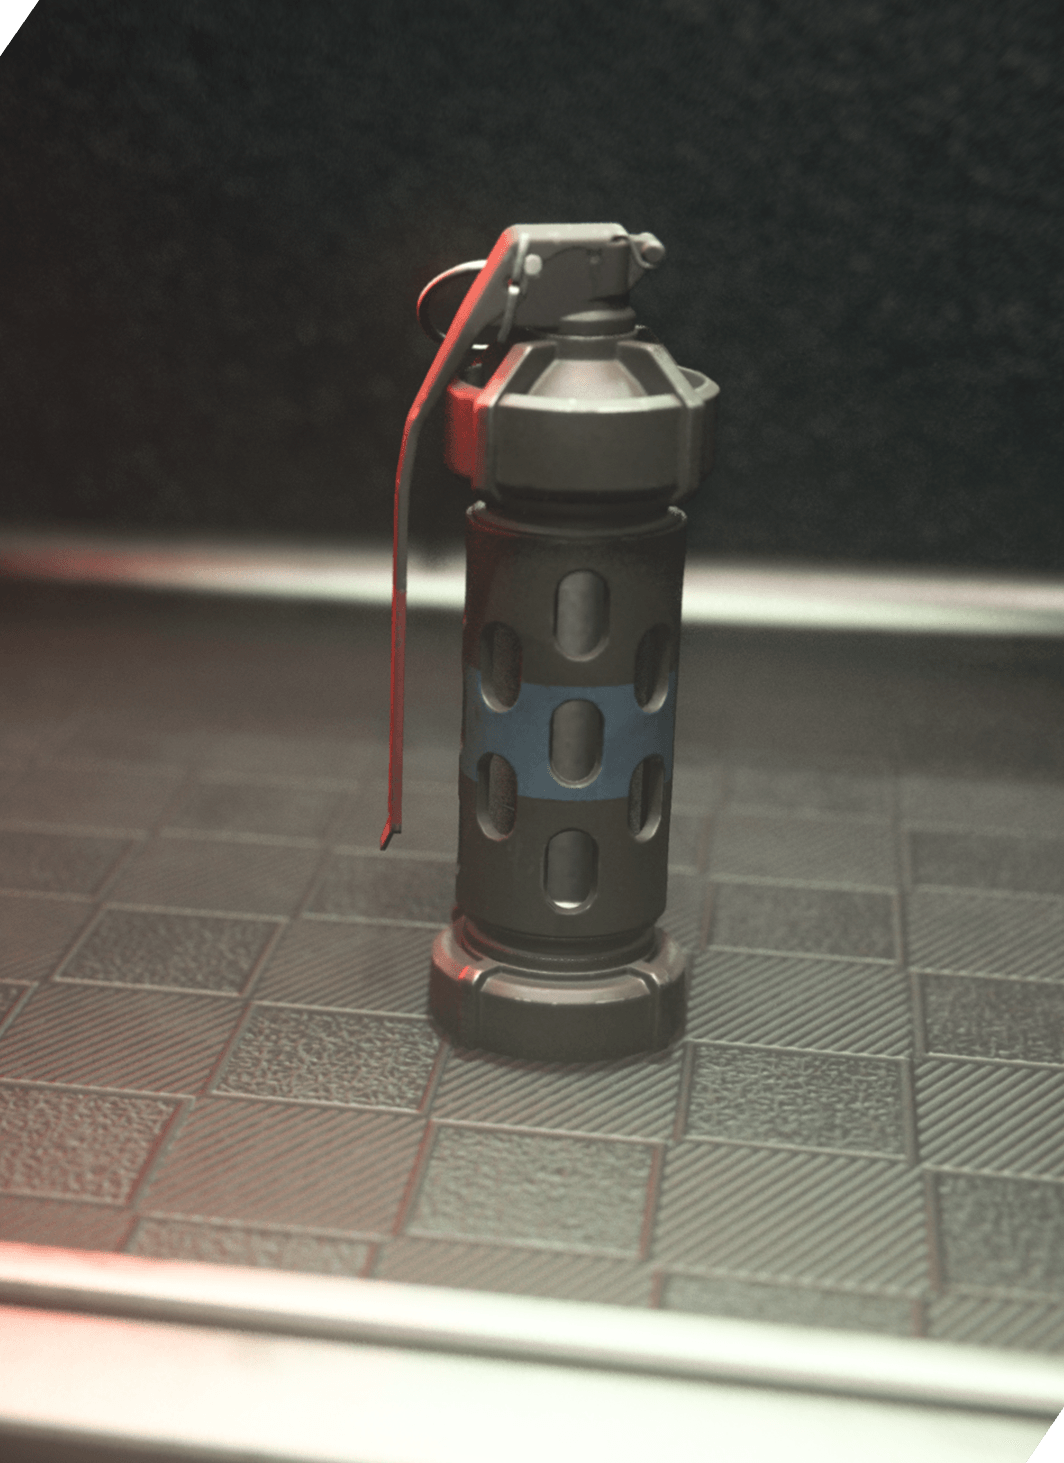
The Tactical that you start with is the Stun Grenade. For starting Equipment, the Stun Grenade isn’t bad. In fact, it can really get you out of a bind when you really need it.
Listed below is each Tactical Equipment item that you can equip, so long as you have it unlocked, before deploying to Urzikstan. You can also change them out between deployments if you want to try a different one or just don’t like the one that’s already equipped.
Stun Grenade (Level 1)
Slows victim’s movement and aiming.
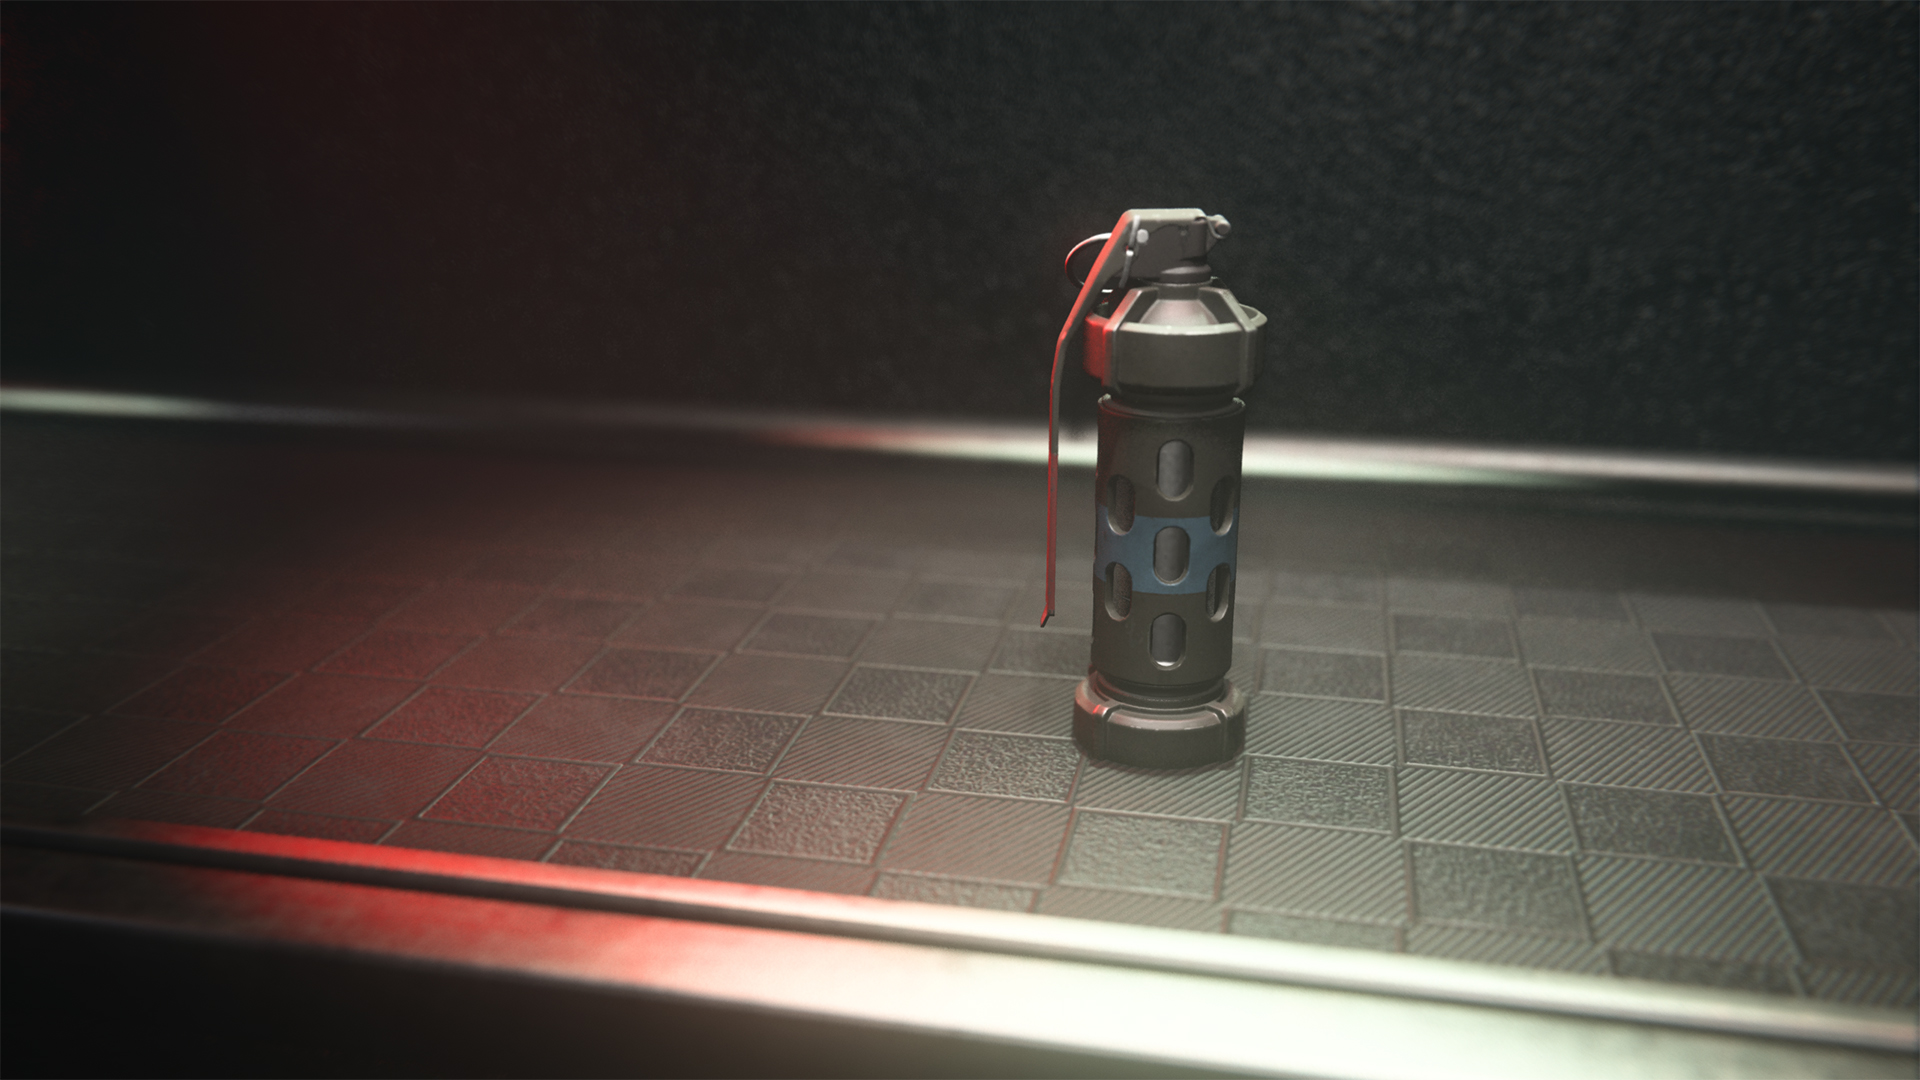
Usage Tip: A single stun grenade can slow down a small Zombie horde long enough for you to deal with the most immediate threat. Too many to take down all at once? Stun as big a group as you can and deal with the rest. Also don’t be afraid to toss a Stun Grenade at a friendly being surrounded — you won’t stun friendly players and you’ll give your friendly a chance to escape danger before it’s too late.
Smoke Grenade (Level 16)
Deploys a smoke screen that blocks vision and automated targeting systems.
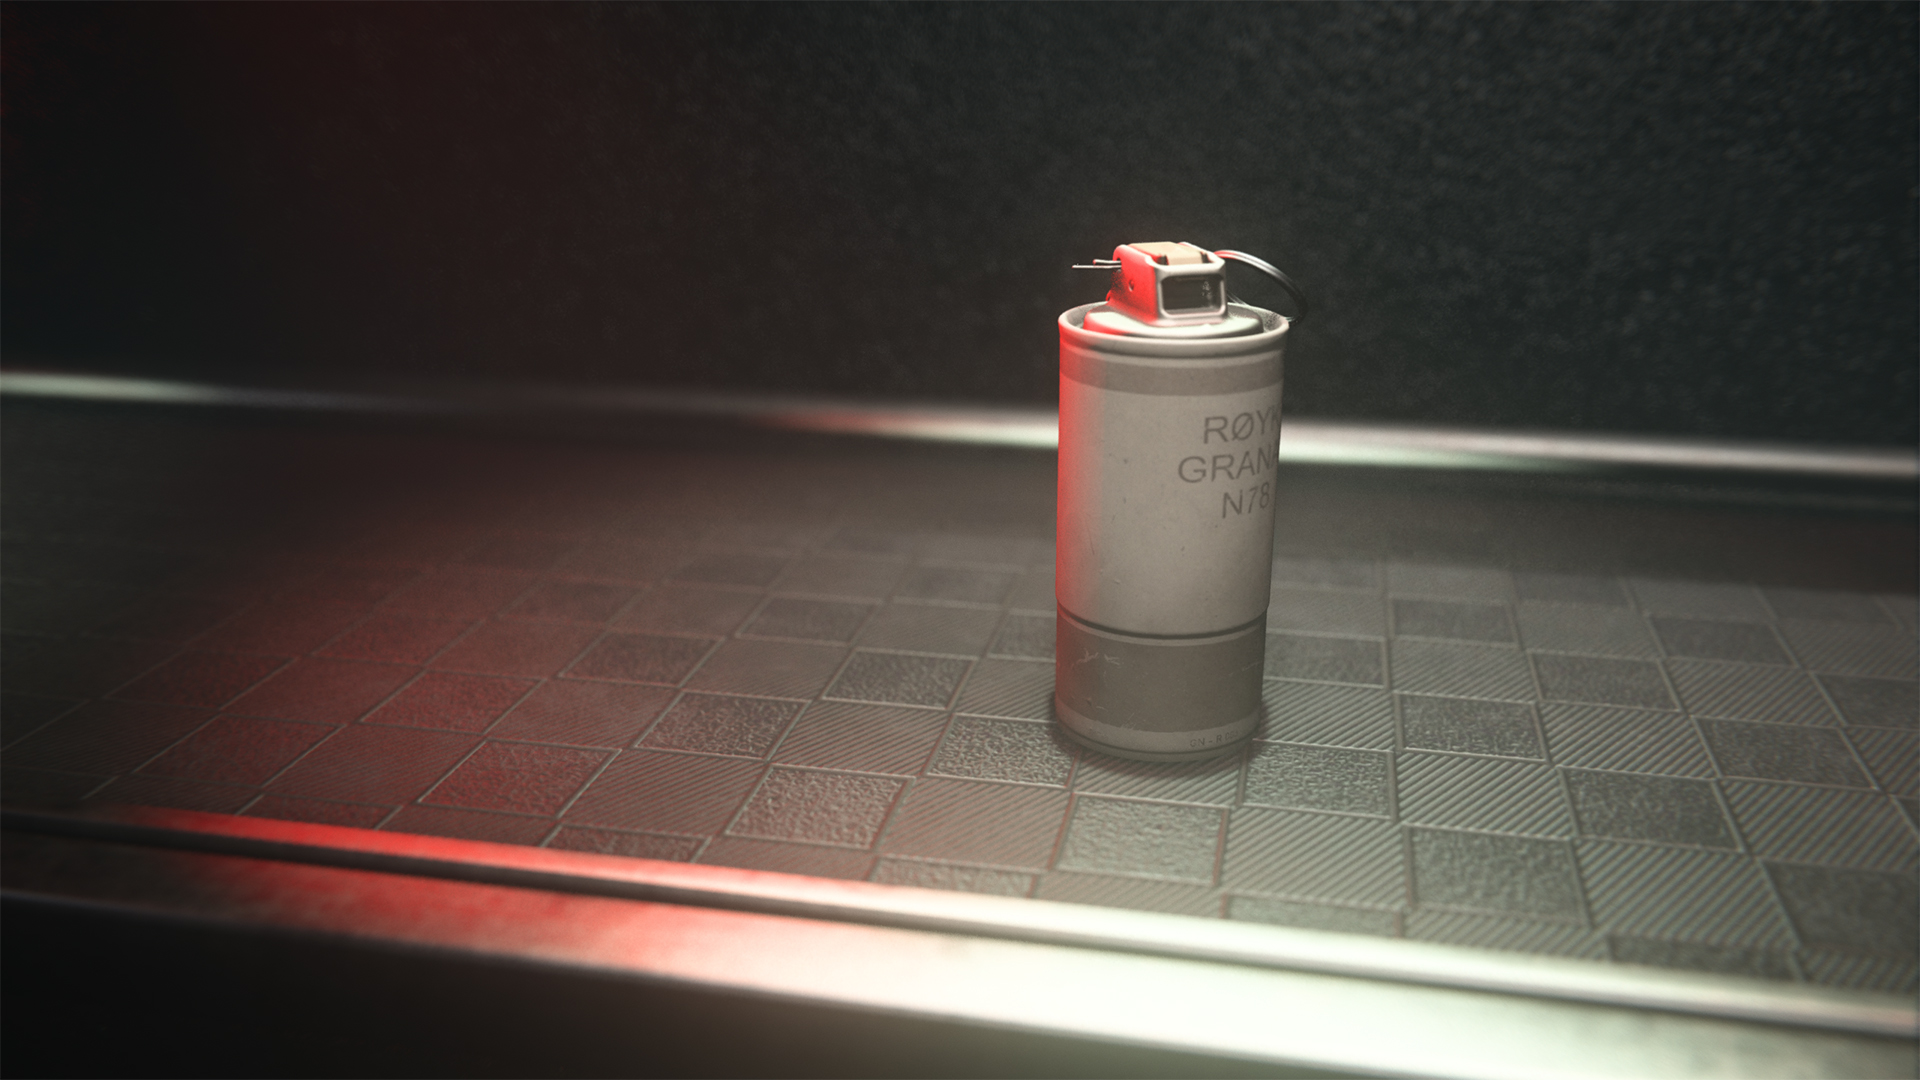
Usage Tip: Smoke Grenades block the vision of everything that might attack you in MWZ. This includes Zombies and Mercenaries. Enemies, however, have great hearing. Making noise on the other side of a Smoke Grenade will still attract them, so use smoke to help you escape danger, or approach without getting sniped by elite Mercenary Snipers.
Scatter Mine (Level 18)
Throw a field of mines across a wide area that detonate when enemies come within range.
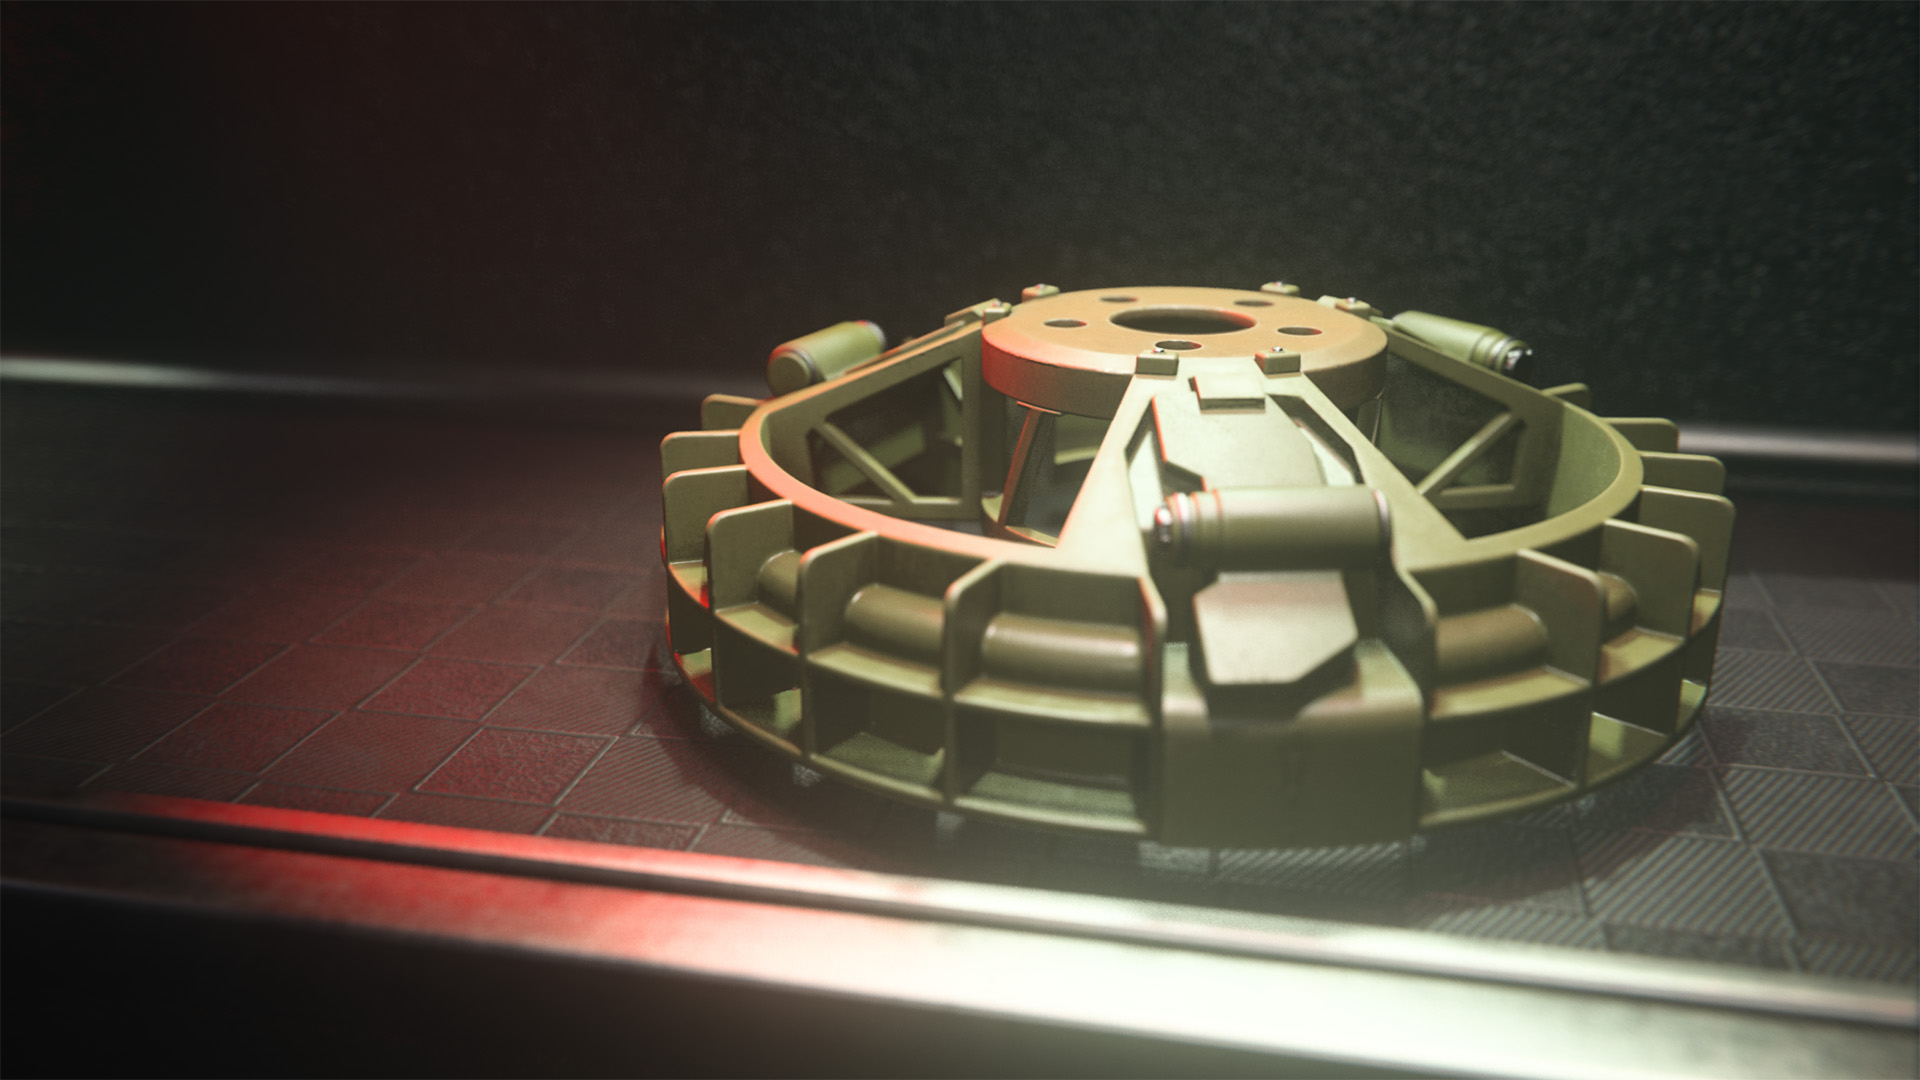
Usage Tip: Scatter Mines are not quite as effective at killing Zombies as something like a Proximity Mine, which is a Lethal, but as you deploy a Scatter Mine, it splits into three separate mines. Although these mines are weaker, they will still do damage to enemies that walk near them, making them much easier to take down. Use the Scatter Mine when you’re being chased by a large group.
Decoy Grenade (Level 42)
Counter-intel grenade that simulates gunfire, movement, and radar signatures to confuse the enemy.
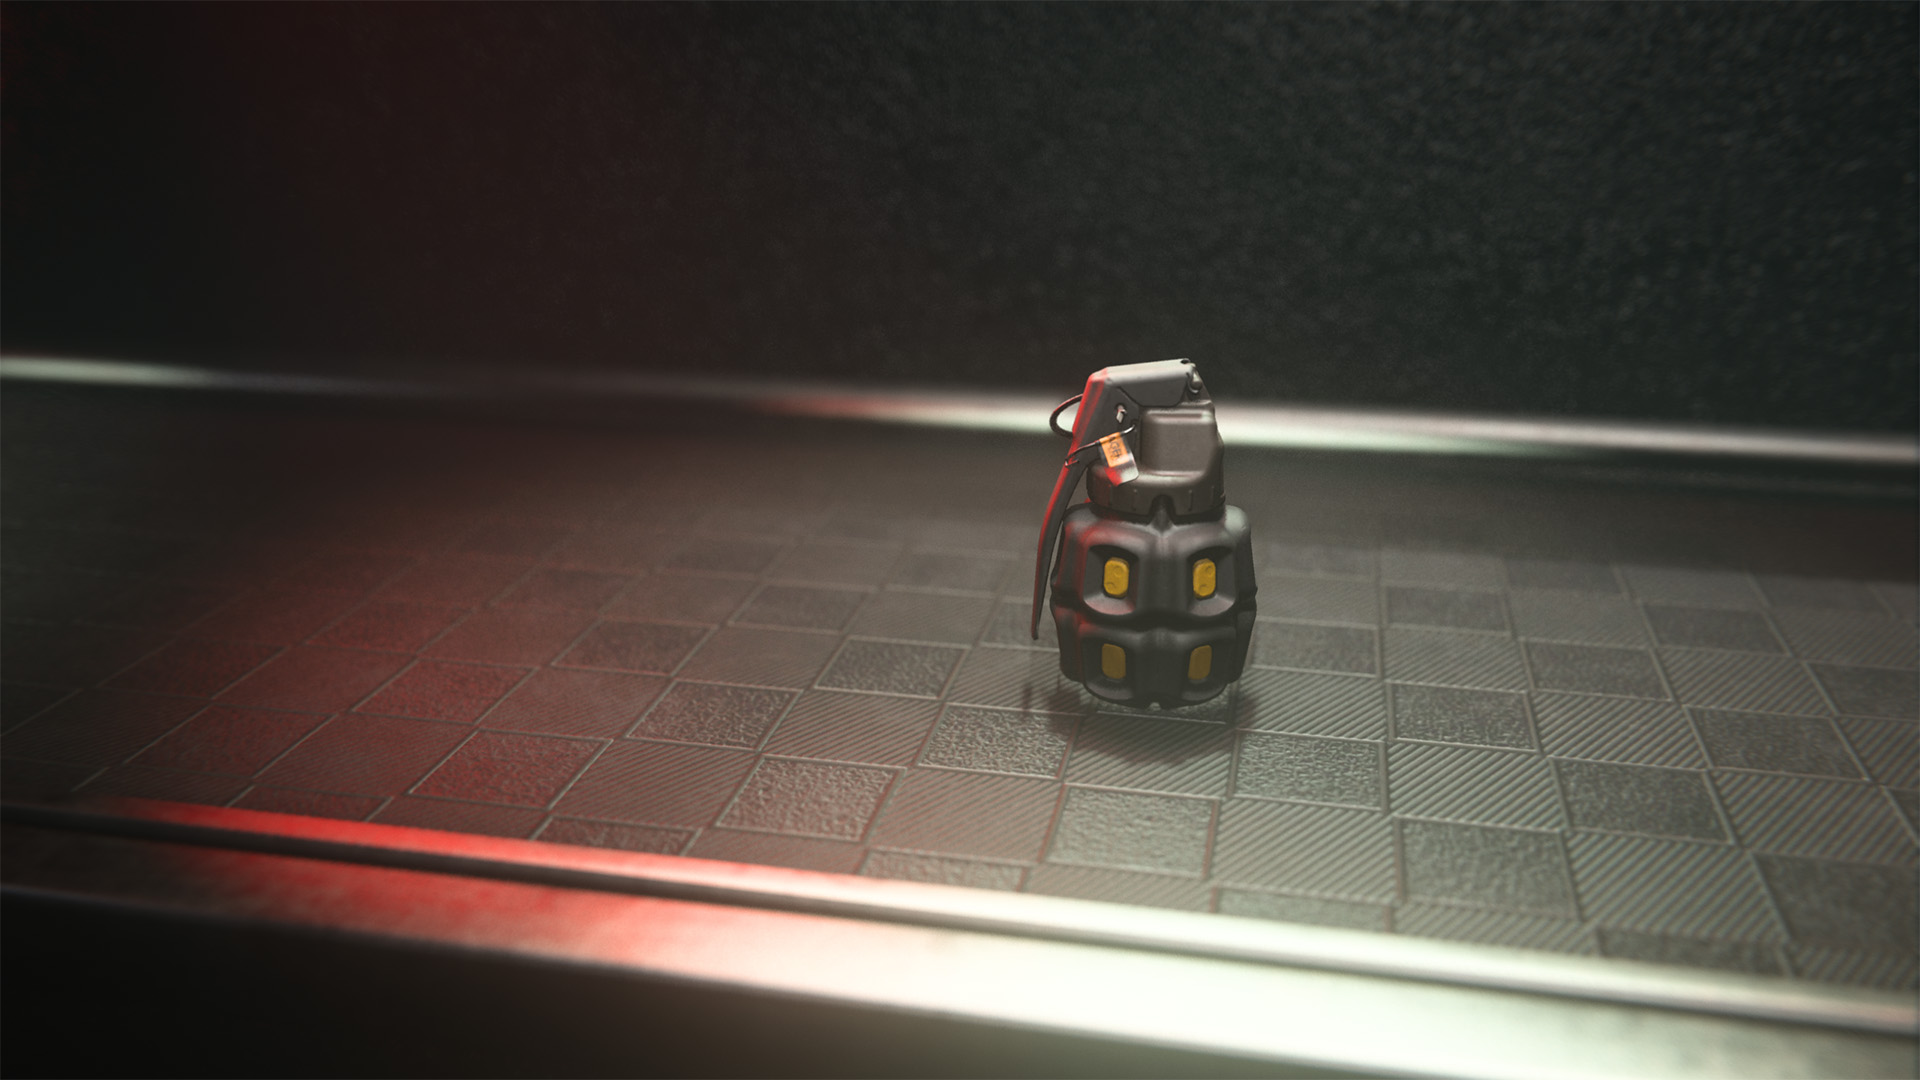
Usage Tip: Quite simply, use Decoy Grenades to confuse your enemy. Zombies, especially, are very sensitive to noise. If you’re attempting to attract Zombies to a specific area around your location, use a Decory Grenade. If Zombies can’t see you yet, try throwing one of these to avoid getting swarmed immediately.
Shock Stick — Armory Unlock
Electrical device that sticks to surfaces. Electrocutes enemies, destroys equipment, and causes vehicles to go haywire.
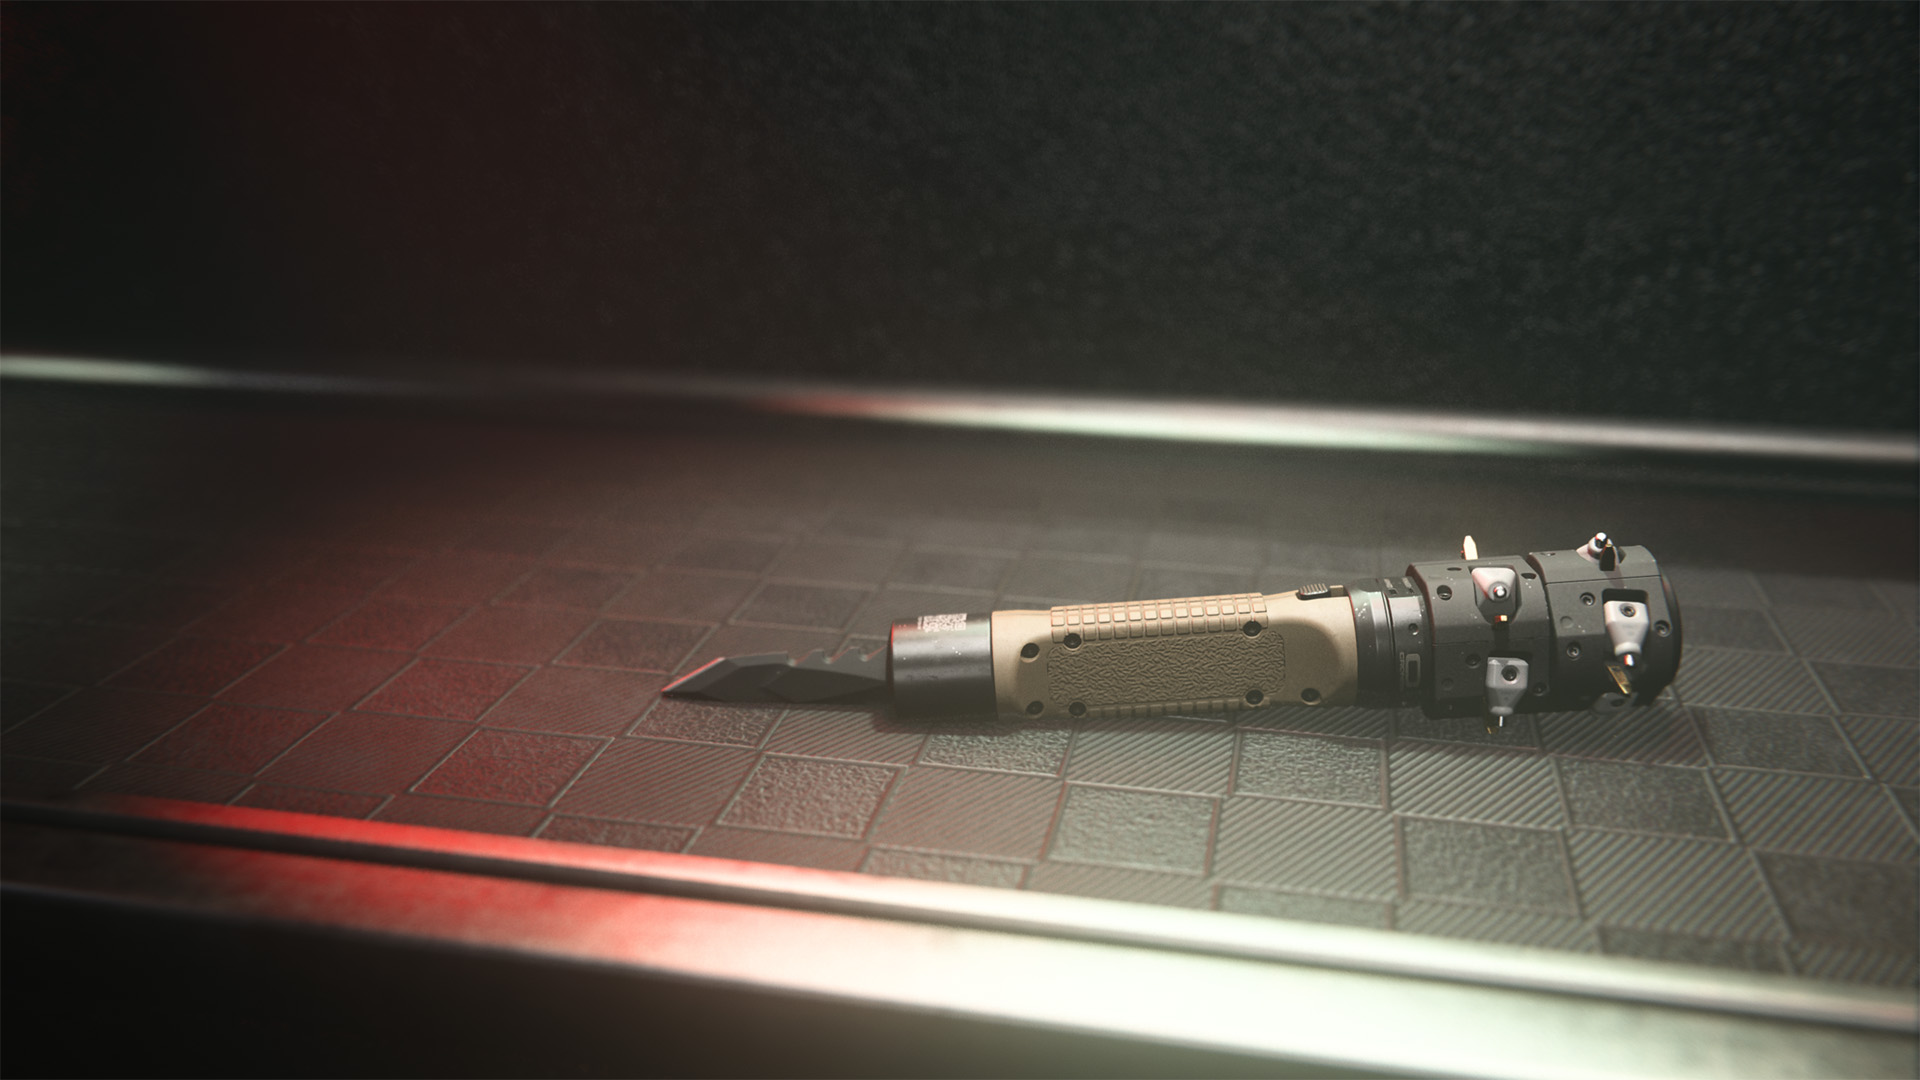
Usage Tip: If you are accurate when throwing a Shock Stick, they can be very useful. Use them in doorways and narrow corridors to effectively hit any enemy that travels through that area. You can affect yourself with a Shock Stick, so be careful when you use them.
Stim — Armory Unlock
Military stimulant that promotes clotting to close wounds quickly and refreshes Tactical Sprint.
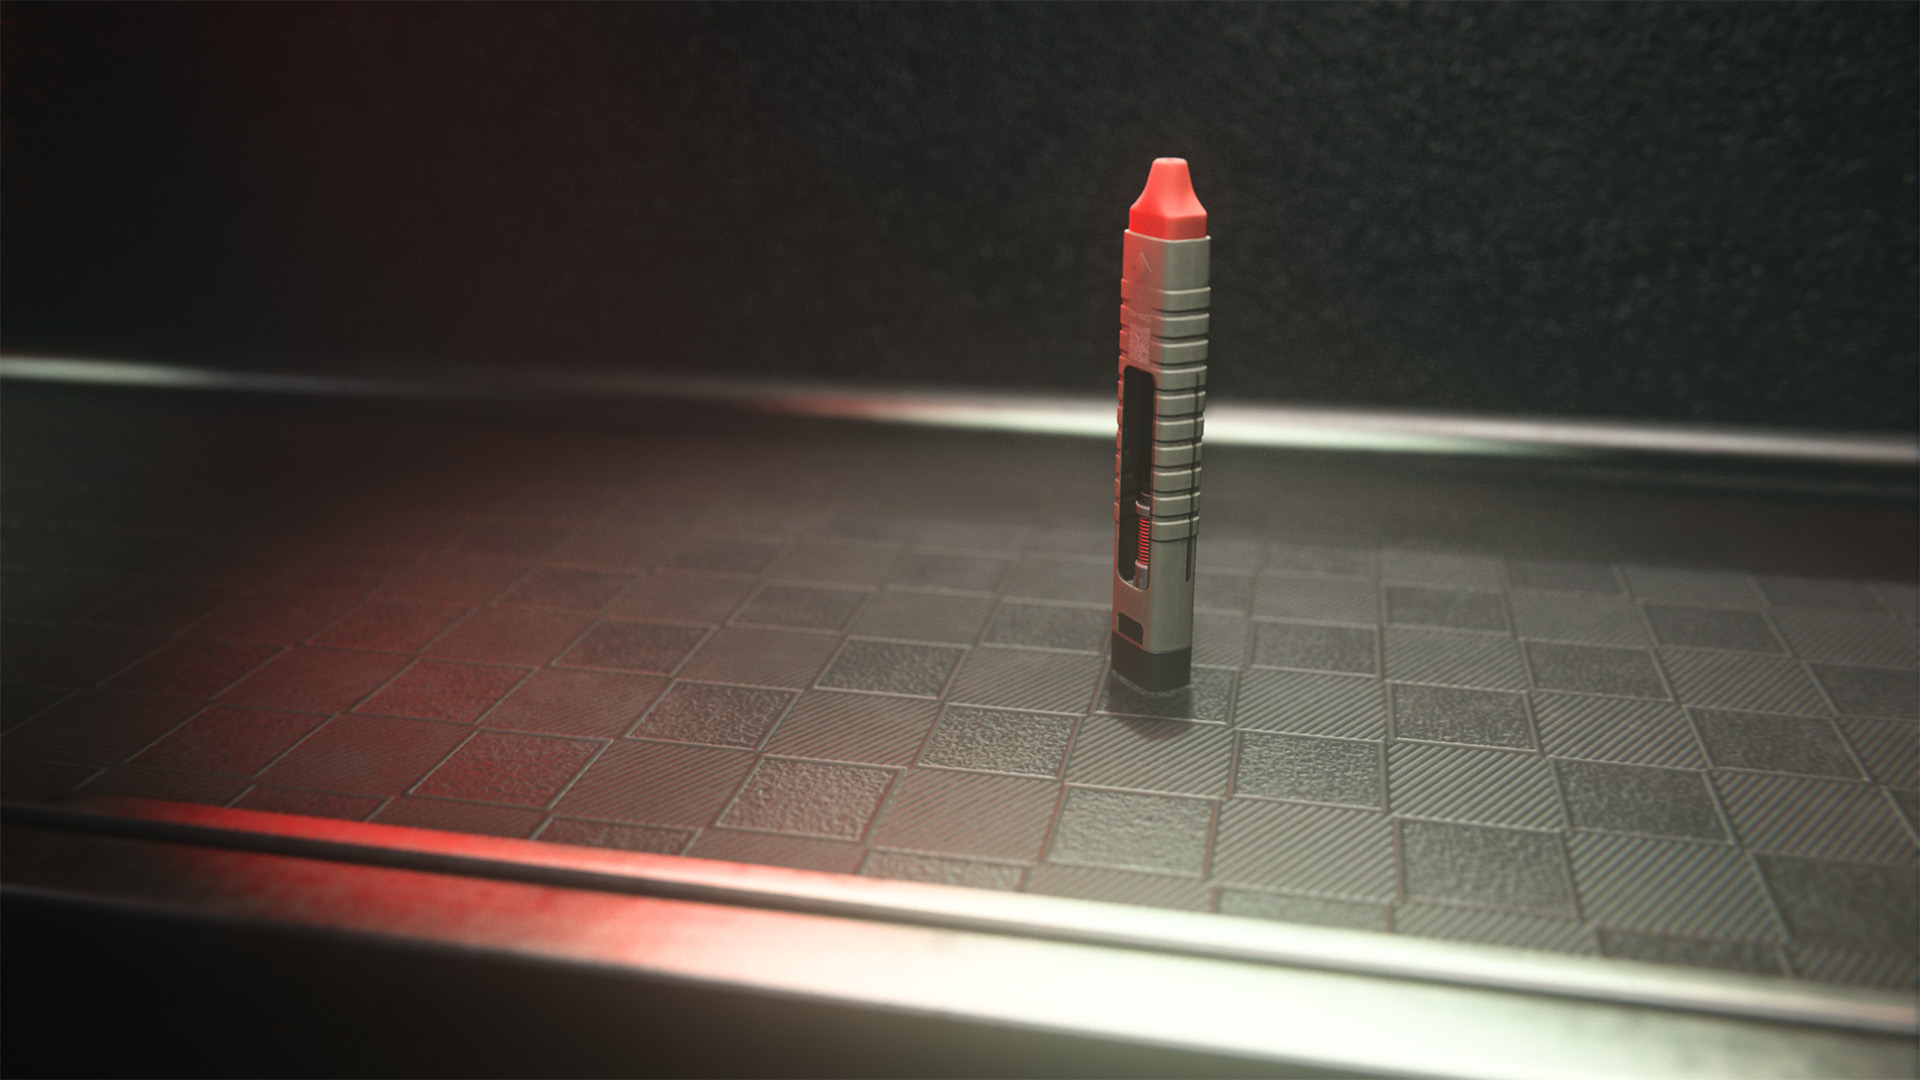
Usage Tip: Urzikstan is big, it’s dangerous, and sometimes you just can’t find a vehicle. With hordes chasing you, there are many things to worry about and it’s very easy to run out of Tac-Sprint when you need it most. The Stim can help you run from a deadly situation. Running to fight another day is far more important than anything else.
Experimental Gas — Armory Unlock
Explodes on impact with the ground, releasing a lingering cloud of tear gas that causes slowed movement, blurred vision, and coughing.
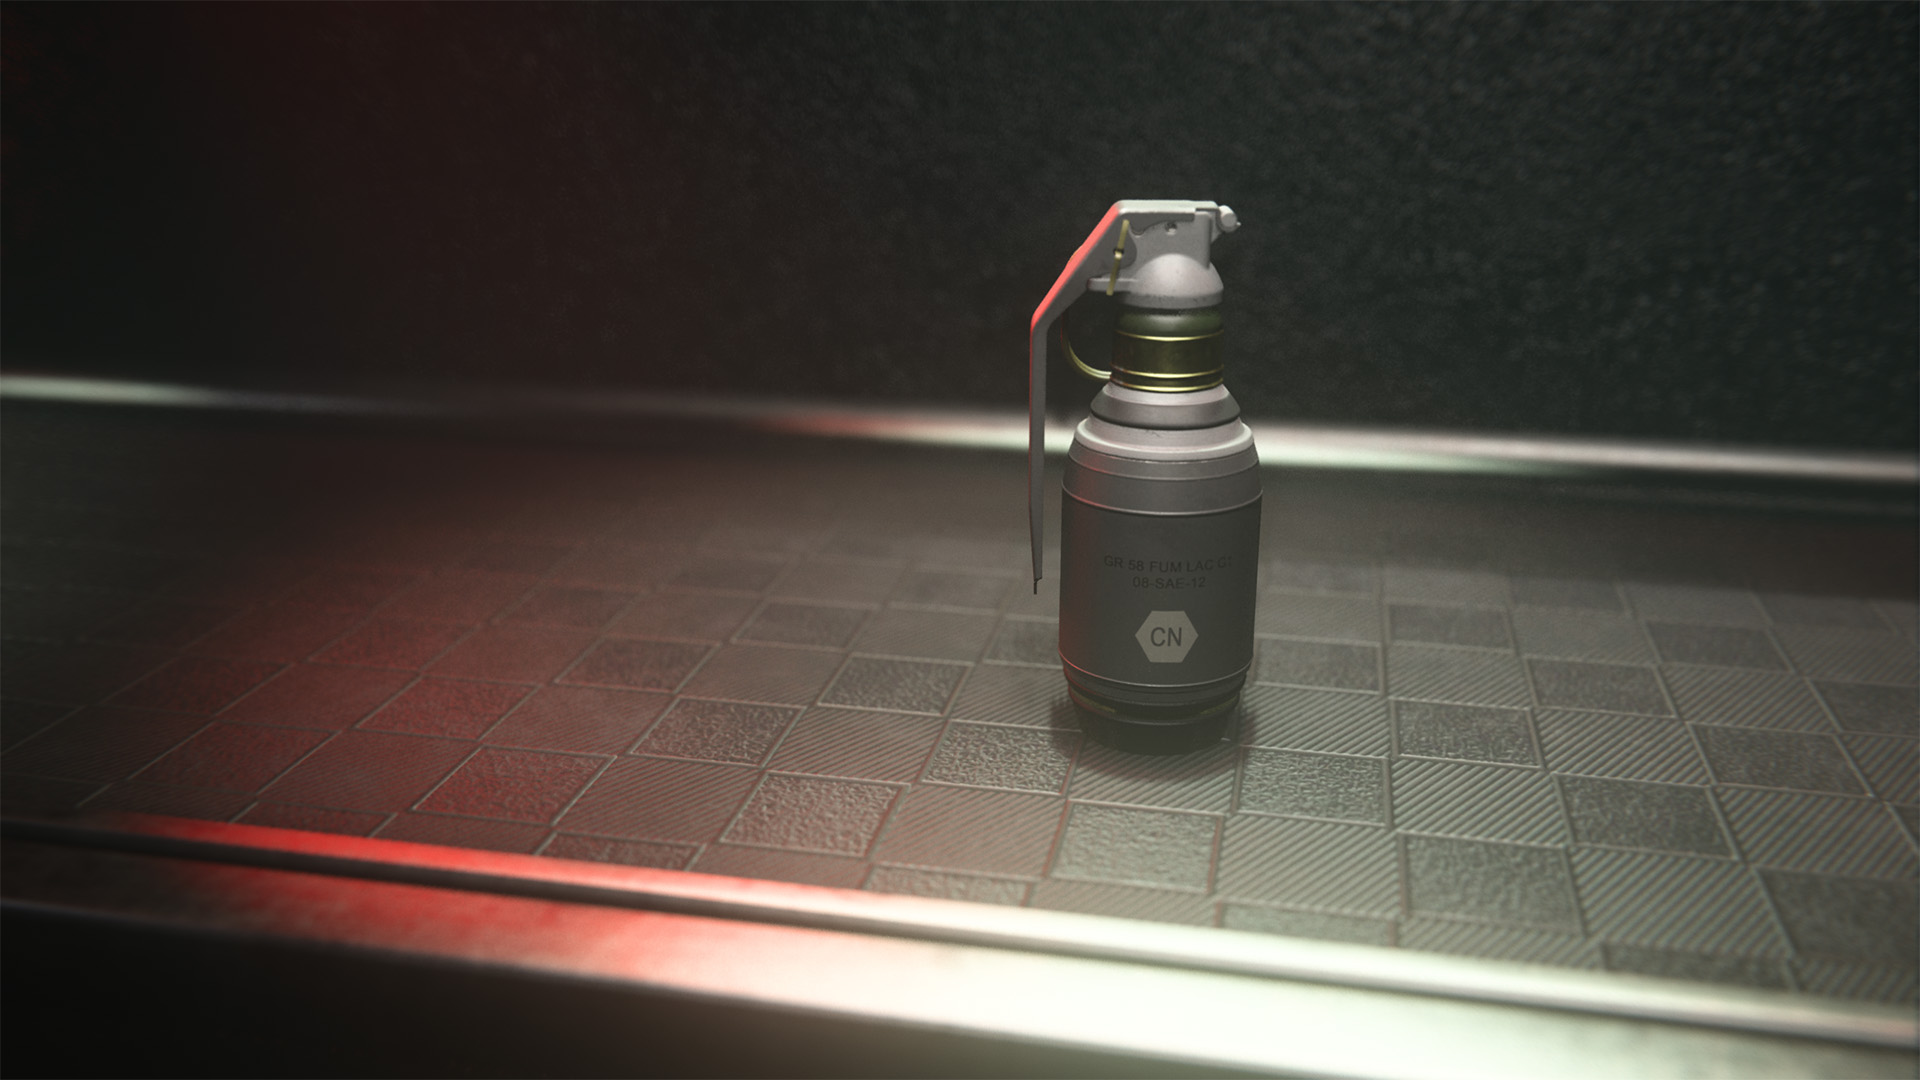
Usage Tips: Experimental Gas, a lot like the Shock Stick, is very useful in doorways and narrow corridors. It also works well if you can throw it in the direction that you notice Zombies moving. Running away from a horde in a straight line and dropping the Experimental Gas grenade in your path is a highly effective strategy. This is also very good for clearing out Mercenary Strongholds and Fortresses.
Lethal
Lethal Equipment is extremely effective in every mode within Call of Duty, including MWZ. Lethal Equipment is very deadly and for the most part should be used on larger hordes. You can find Lethals almost everywhere in Urzikstan, but they are random, so use your Lethals wisely. You can stow extras as you find them.
Intel Card — Lethal Equipment
// INTEL CARD
- MWIII
- WZ
- WZM
Lethal Equipment (Zombies)
// MODERN WARFARE ZOMBIES // EQUIPPING YOUR OPERATOR
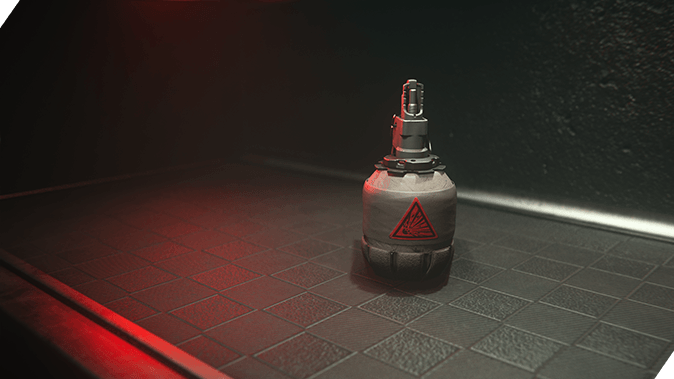
Large hordes: Most Lethals are great for dropping right into the center of a large horde of Zombies. They will eliminate most normal enemies immediately.
Use on Elites: Lethal Equipment will not kill Elite enemies, but they will do significant damage. Stick Grenades and Thermites work the best here.
Not rare but hard to find: Lethals aren’t rare items throughout Urzikstan, but they are difficult to find when you’re in the middle of defending yourself and your team.
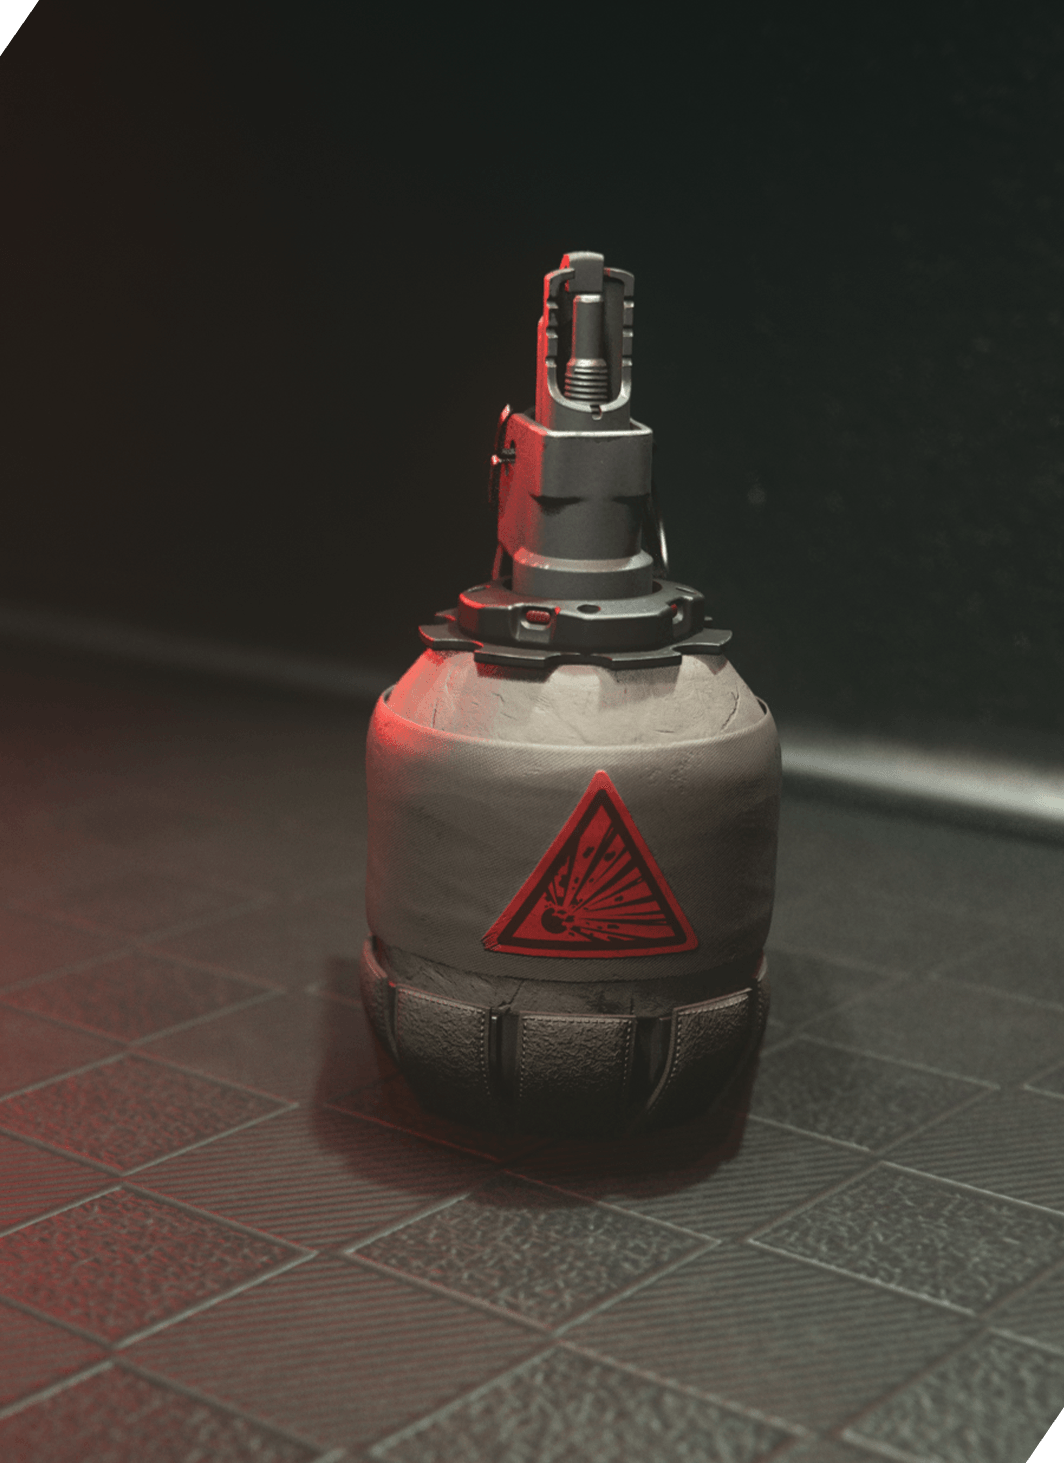
Listed below is each Lethal Equipment item that you can equip, so long as you have it unlocked, before deploying to Urzikstan. You can also change them out between deployments.
Frag Grenade (Level 1)
Cookable fragmentation grenade.
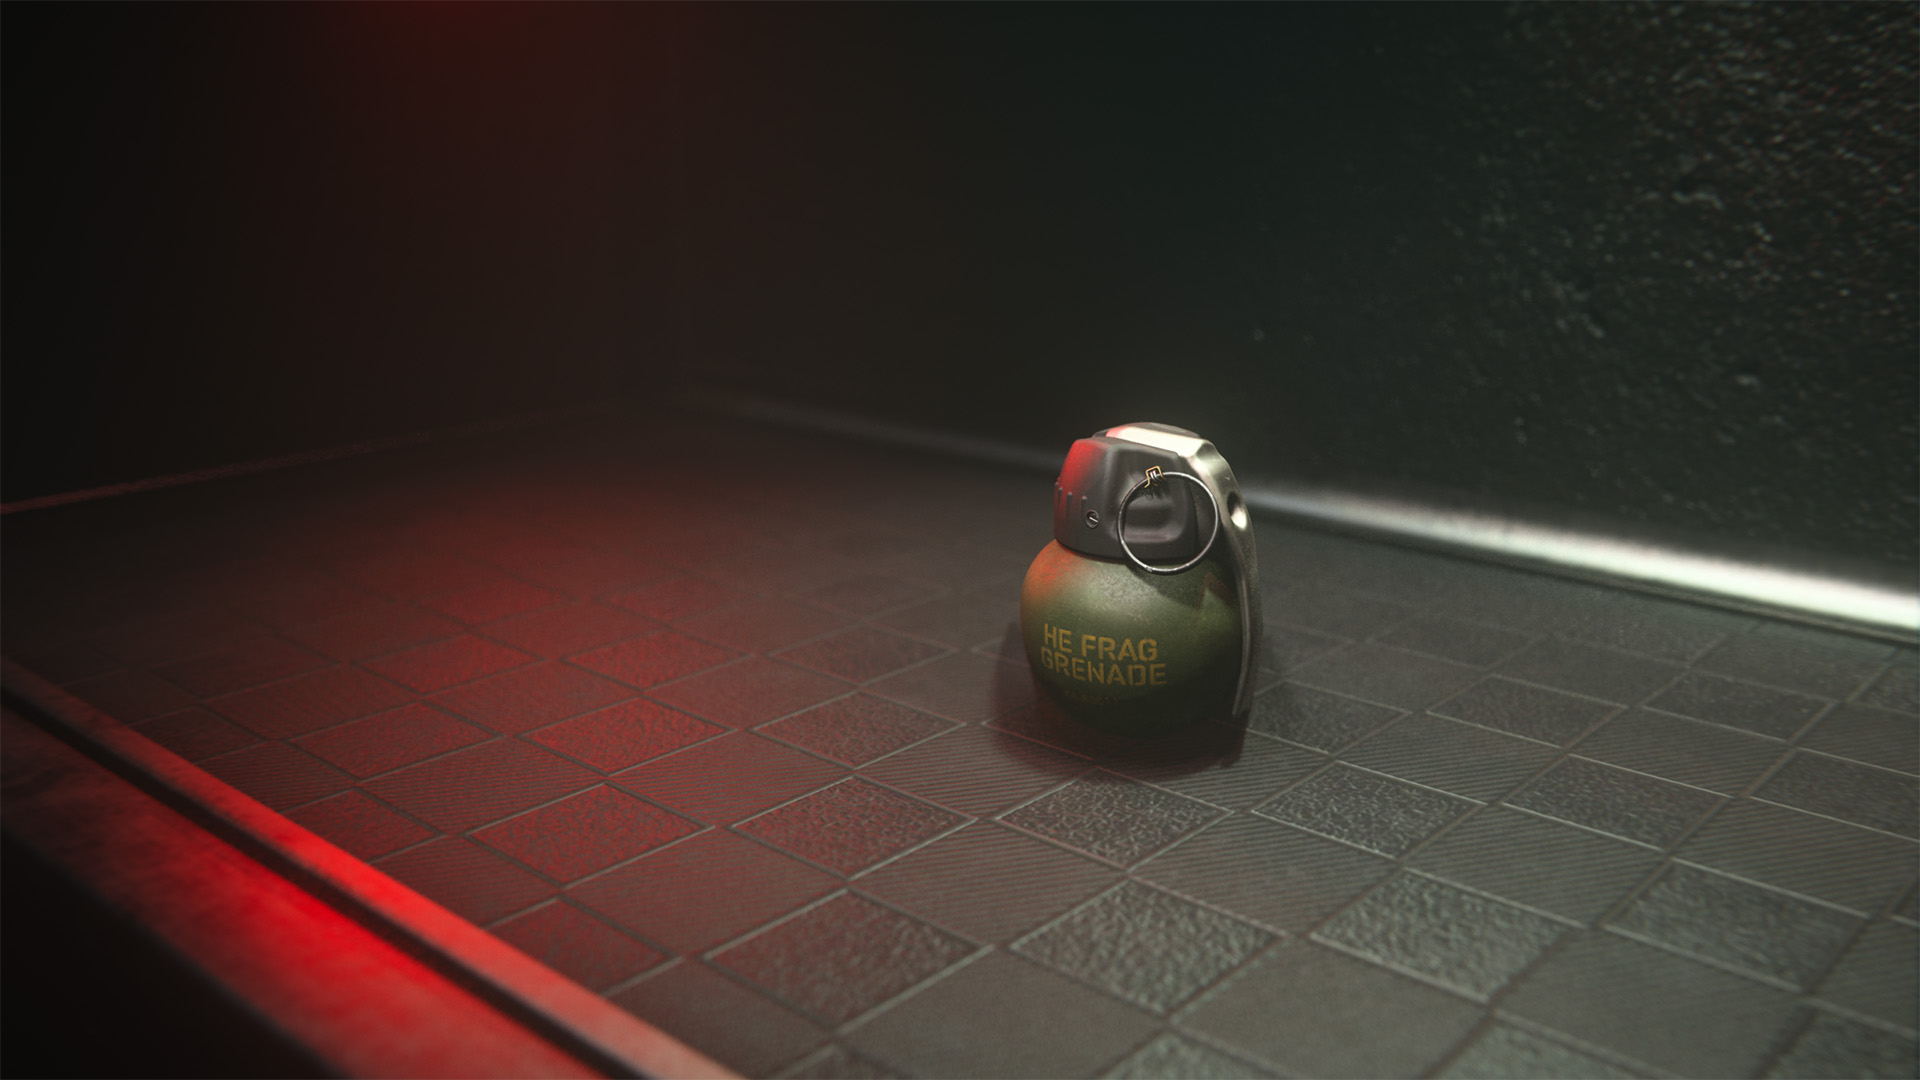
Usage Tip: Frag Grenades are highly explosive and will do a lot of damage to anything in its blast radius. Throw these whenever you see a large horde; there isn’t much finesse needed to be effective with a Frag Grenade. You can also cook the Grenade by holding your Lethal button and pulling the pin. It will explode in your hand after five seconds, so throw it before then. Cooking your Frag Grenade and placing it in the center of a horde is how to maximize effectiveness with this Lethal Equipment.
Claymore (Level 8)
Proximity-activated explosive mine.
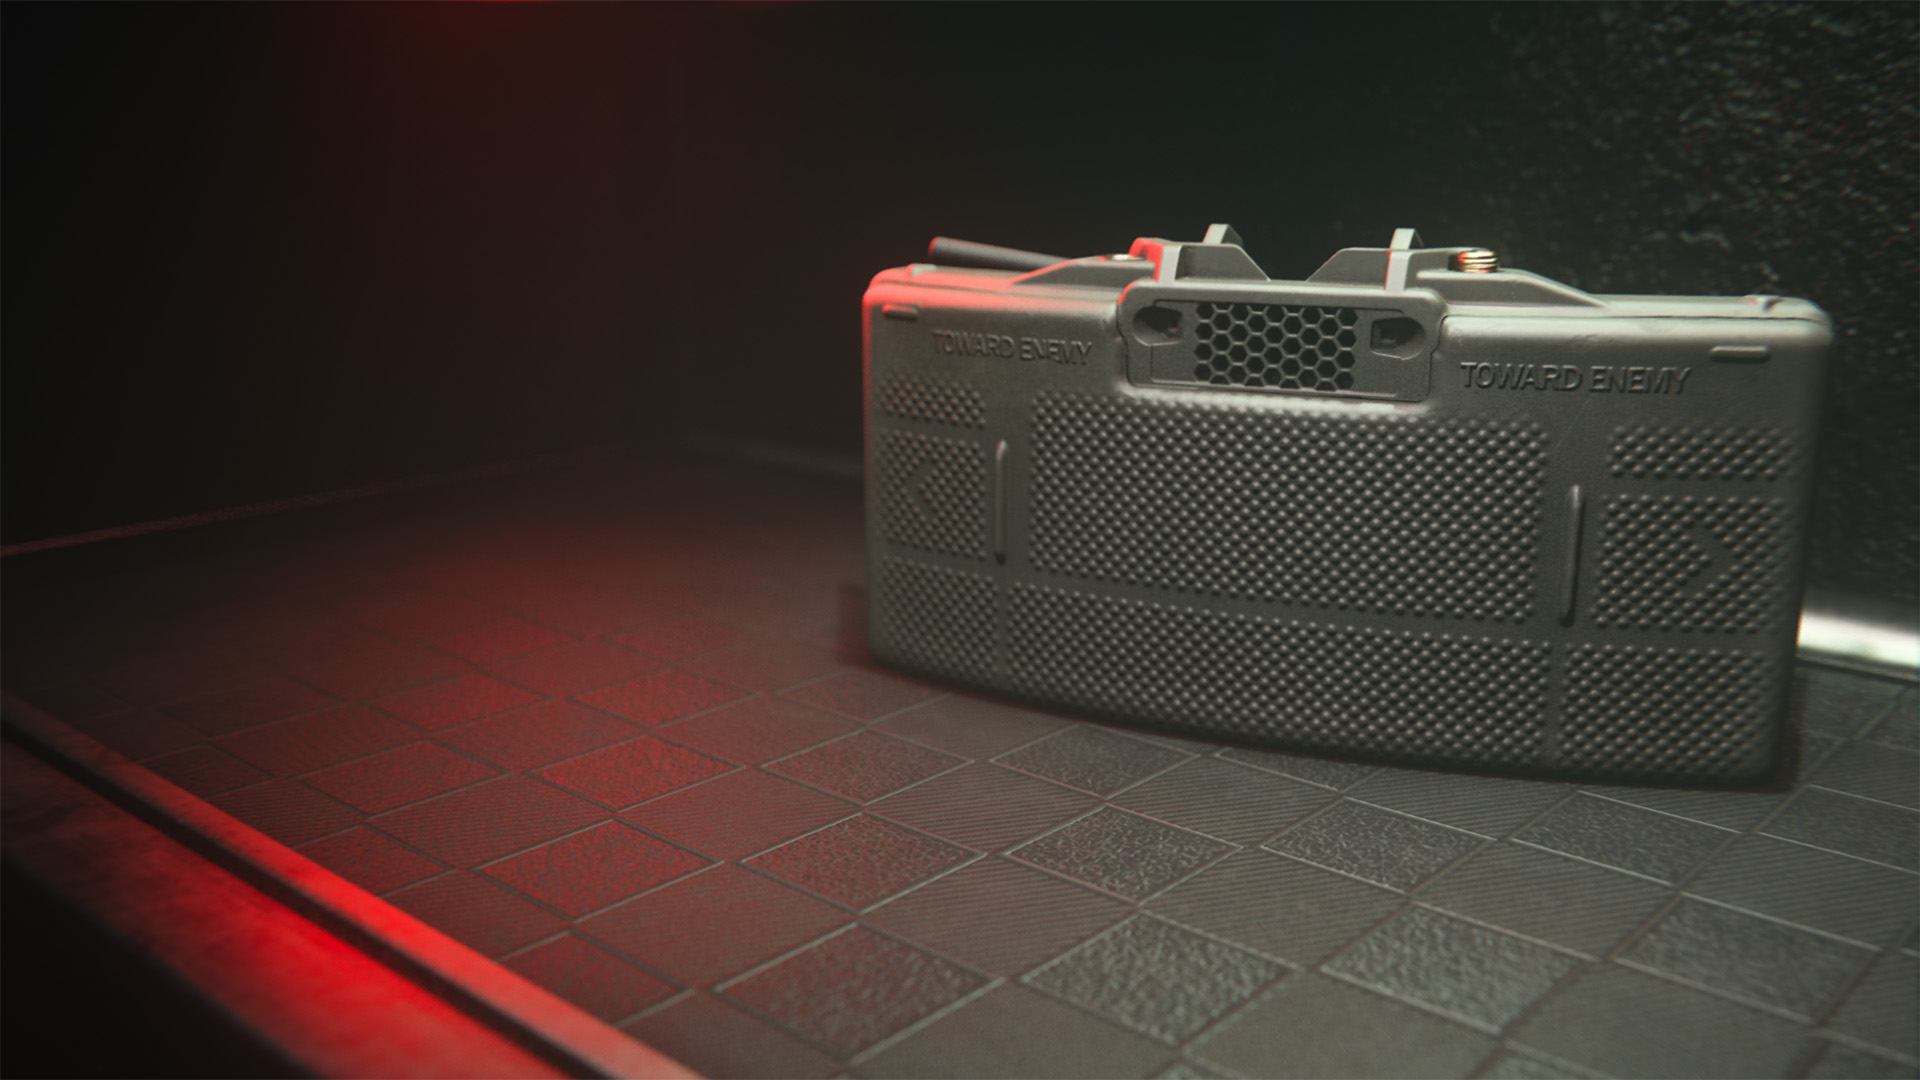
Usage Tip: Claymores are “set and forget” items that will explode if any enemy steps into the front-facing proximity zone. To maximize the number of enemies it kills in a horde, place Claymores by a doorway, facing the direction the enemies are coming from. This will kill anything that steps into its trigger zone as well as a few additional enemies that may be following closely behind.
Throwing Knife (Level 30)
Retrievable throwing knife that is lethal on impact in Core MP.
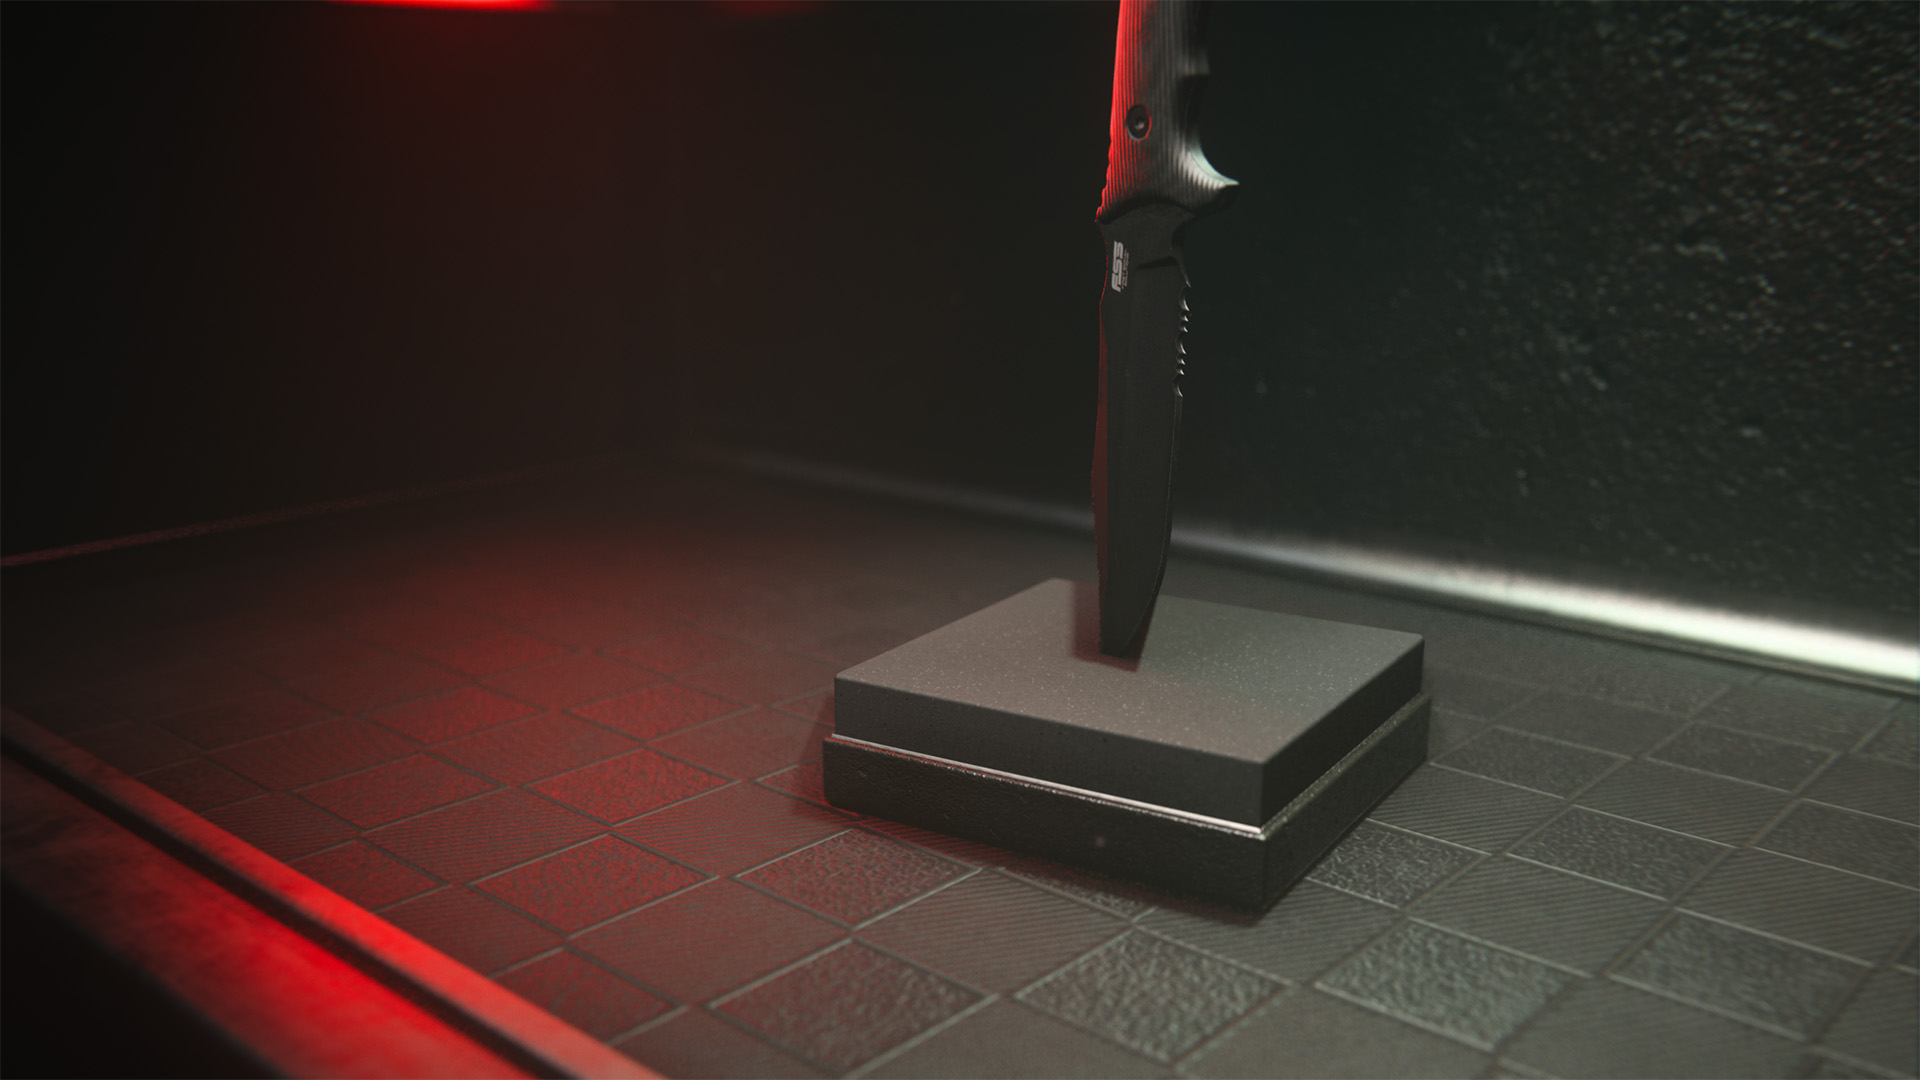
Usage Tip: The beauty of the Throwing Knife is that you can pick it back up after you throw it. In the Low Difficulty Zone, the Throwing Knife will often take down normal Zombies, but as you travel deeper into the Inclusion Zone, Throwing Knives will become less effective.
Thermite (Level 33)
Explosive incendiary device that sticks to all surfaces.
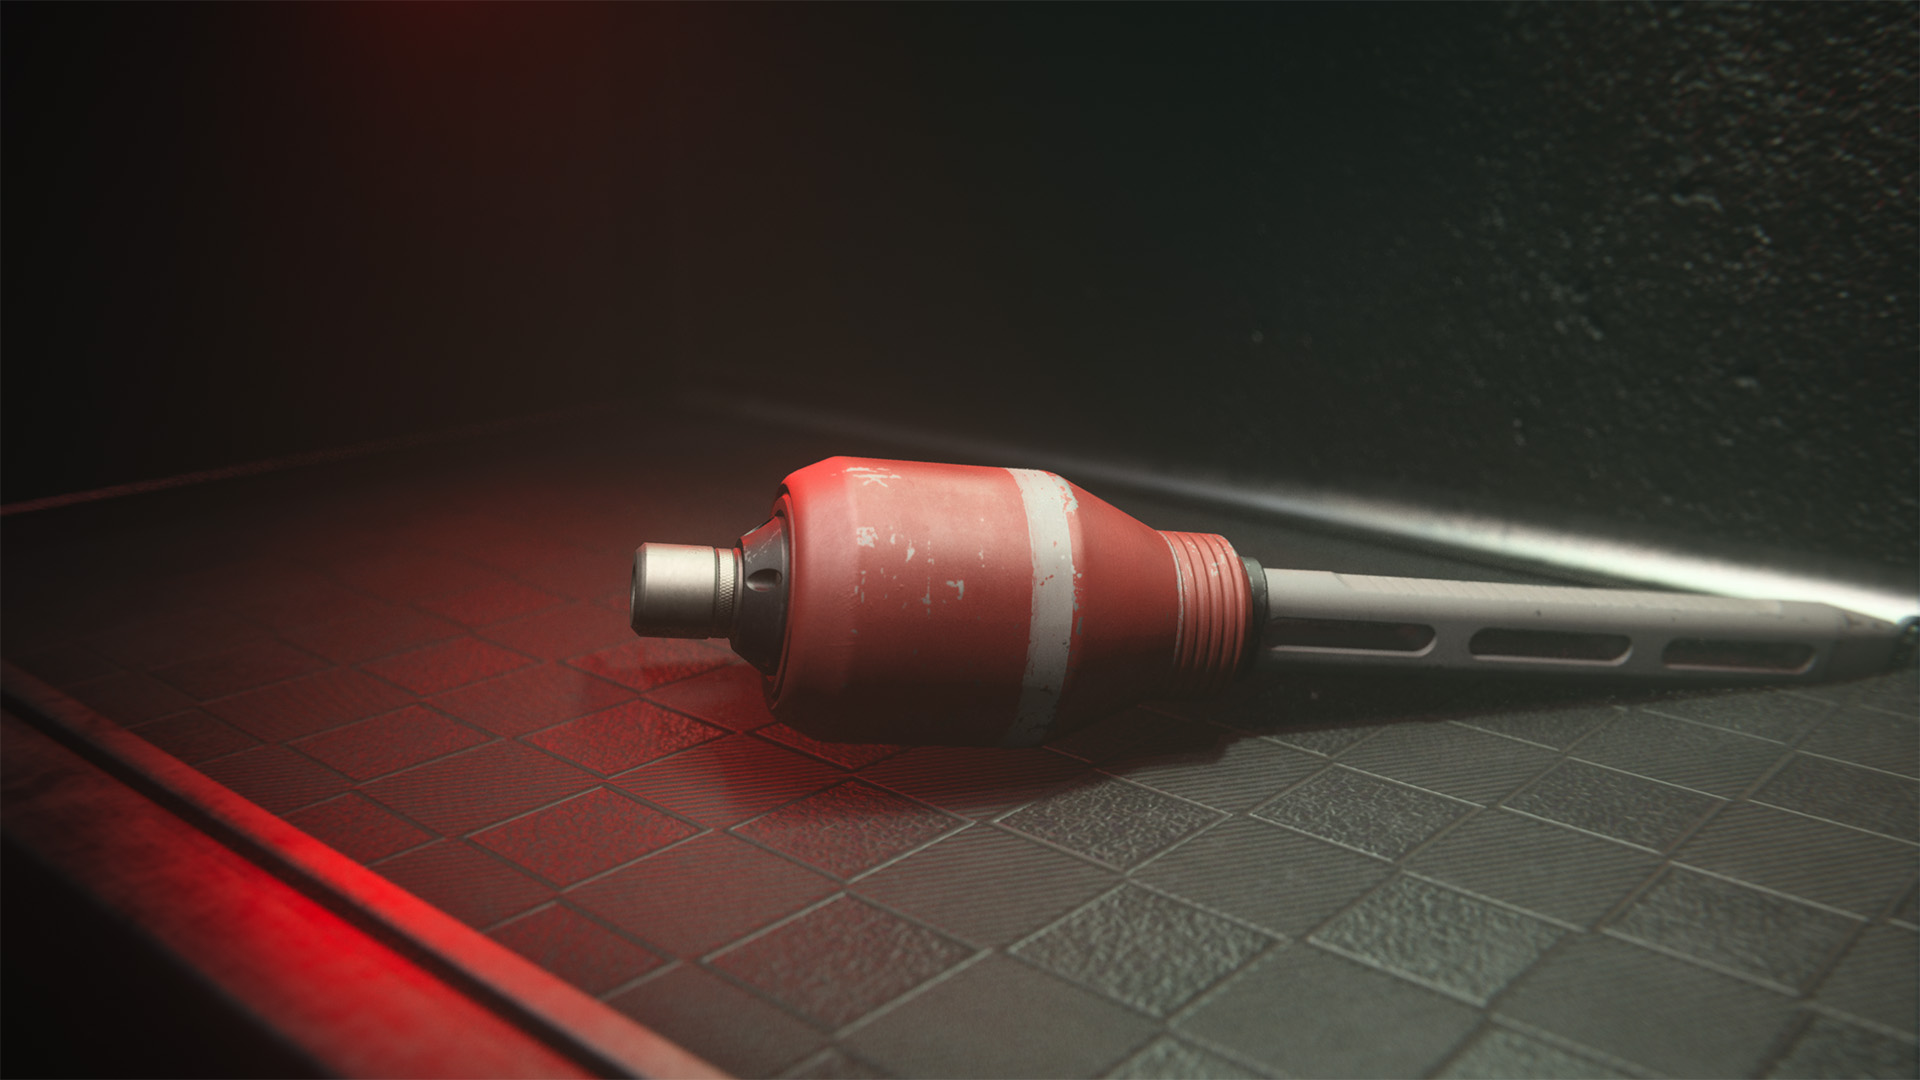
Usage Tip: Thermite will do direct damage to enemies that are in effective proximity. It won’t slow enemies as they walk through it, but it will do significant damage. Placing a Thermite carefully in a doorway or narrow corridor can be very useful at defending your position during a heavy horde invasion.
Proximity Mine — Armory Unlock
Proximity-triggered explosive that launches in the air, and deals heavy damage to the surrounding area.
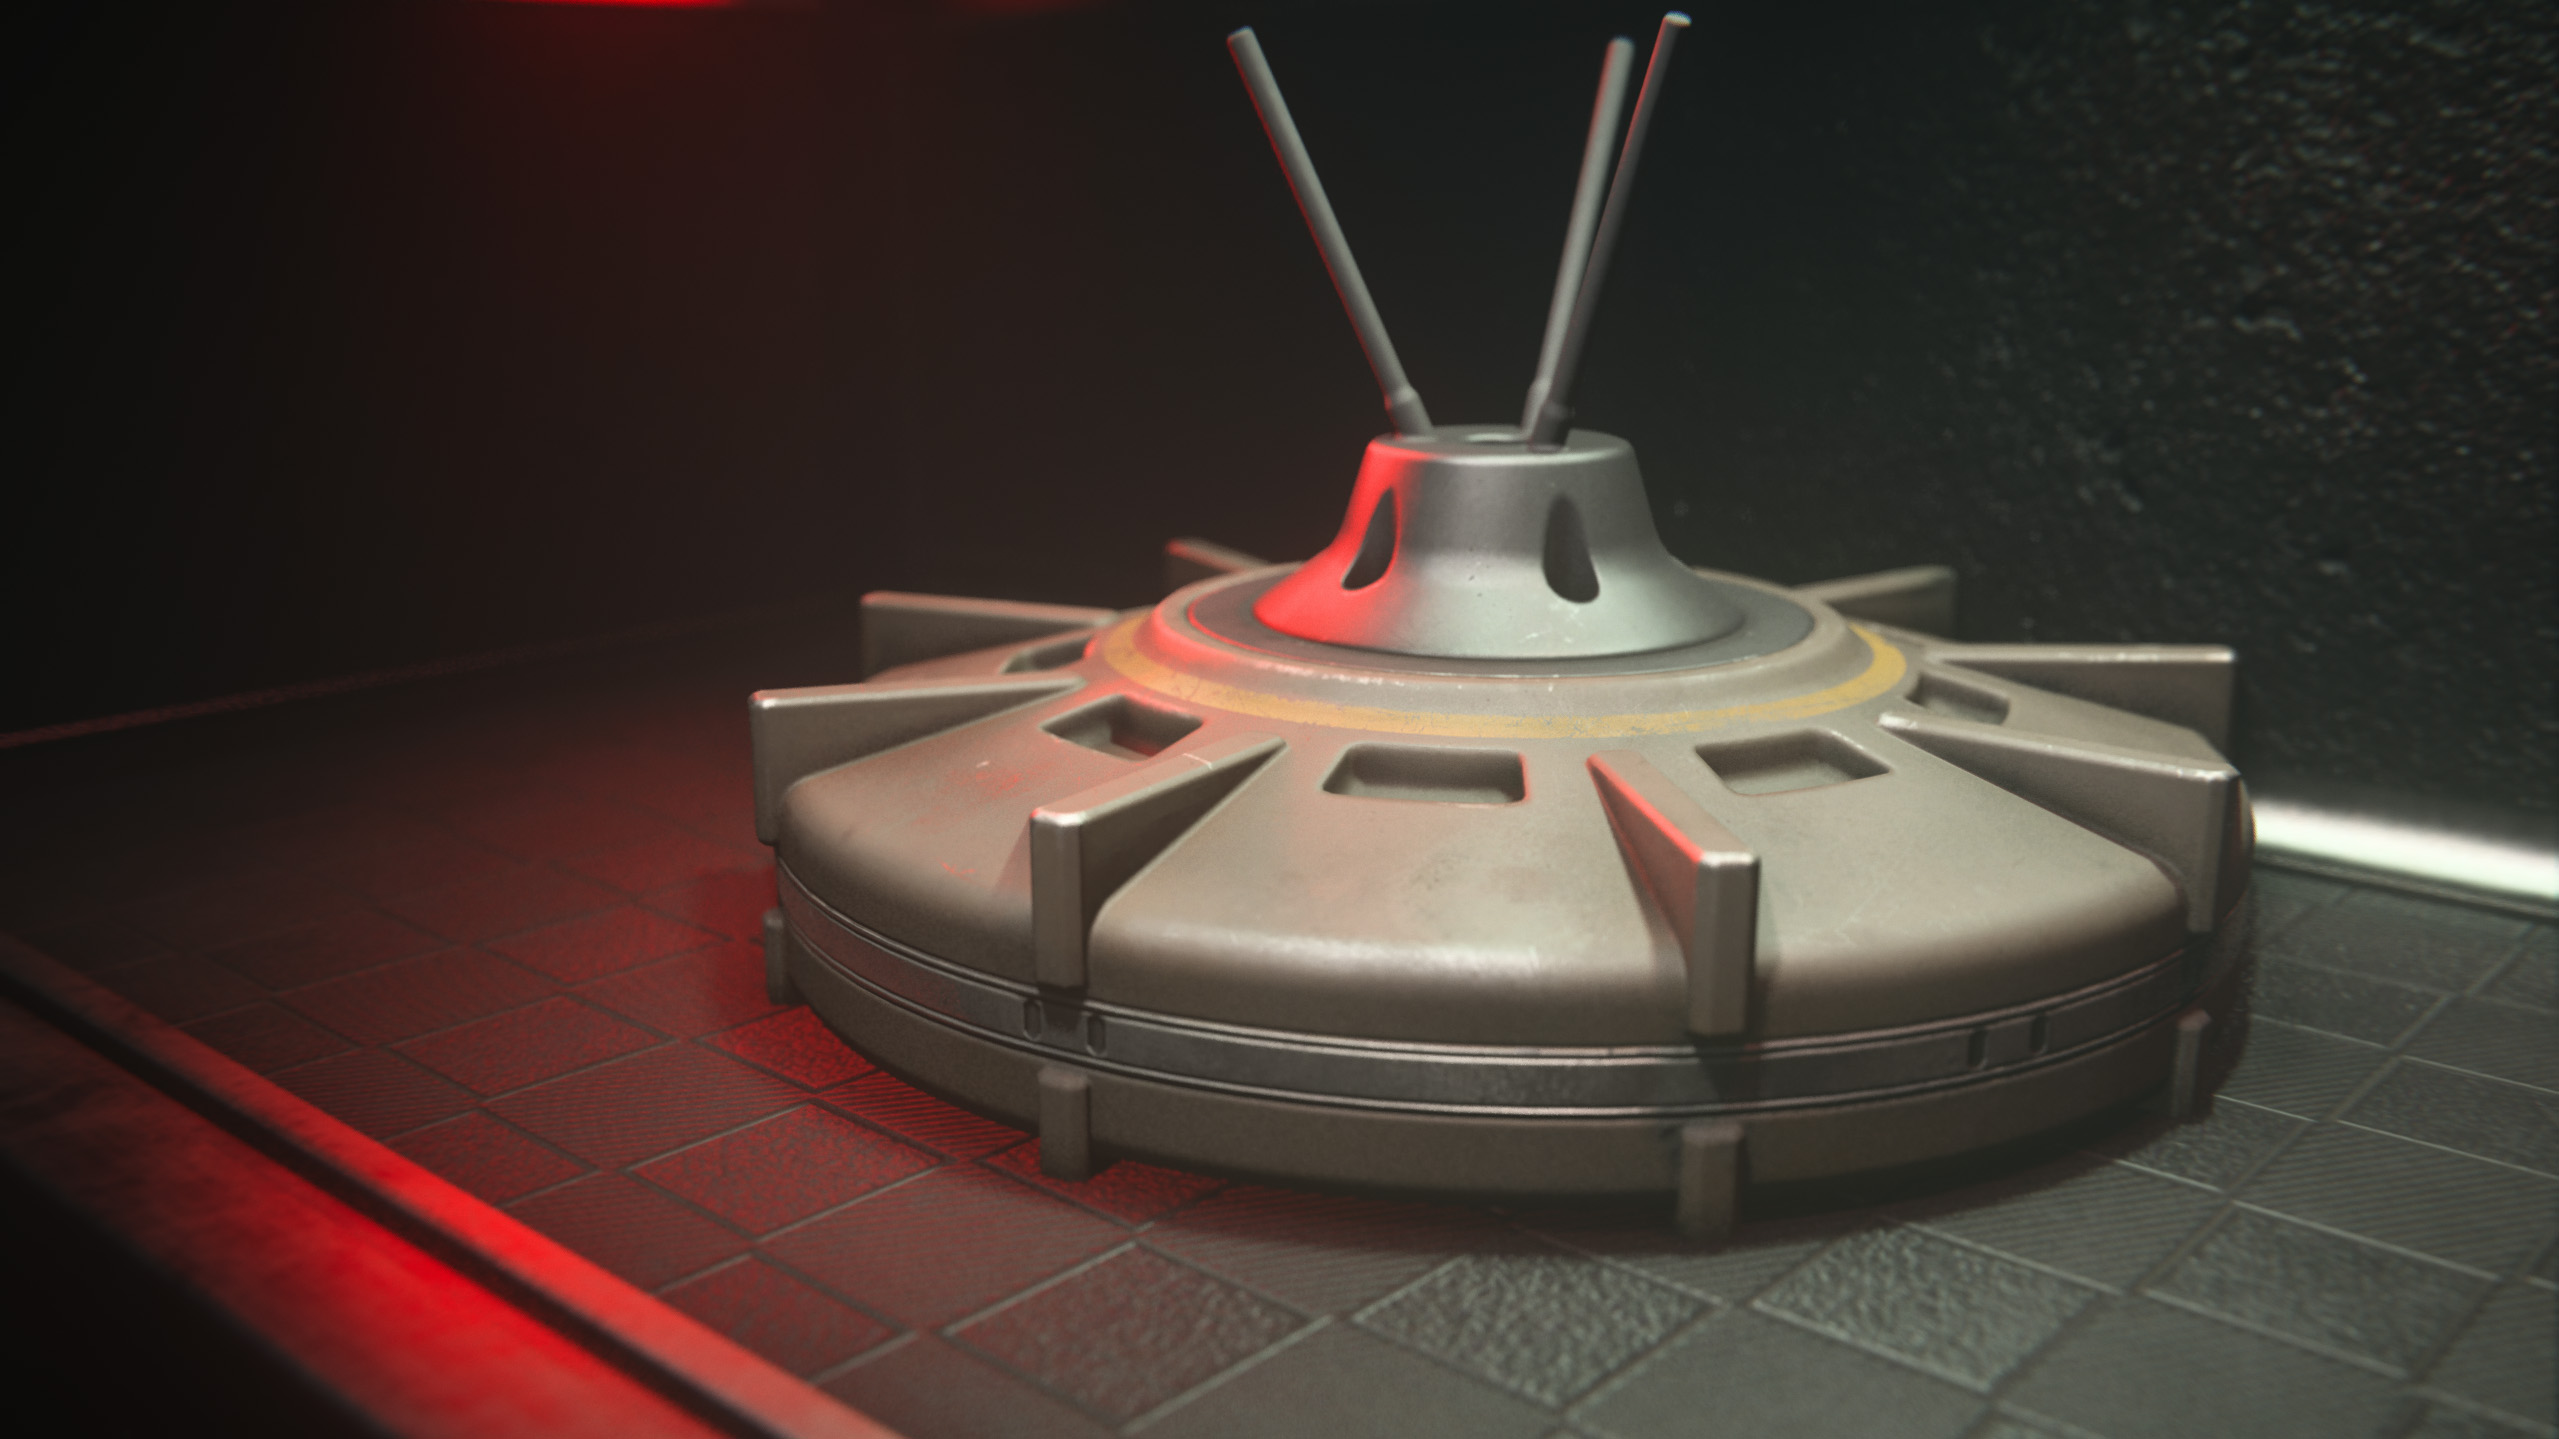
Usage Tip: Proximity Mines are extremely useful and are often underutilized. These will detonate as soon as any enemy enters its effective radius. It is difficult to get the mine to go off perfectly, but if you drop one from an elevated location into a horde of Zombies below, it’ll kill everything in range.
Drill Charge — Armory Unlock
Charge with a thermal lance that can burrow into surfaces before exploding.
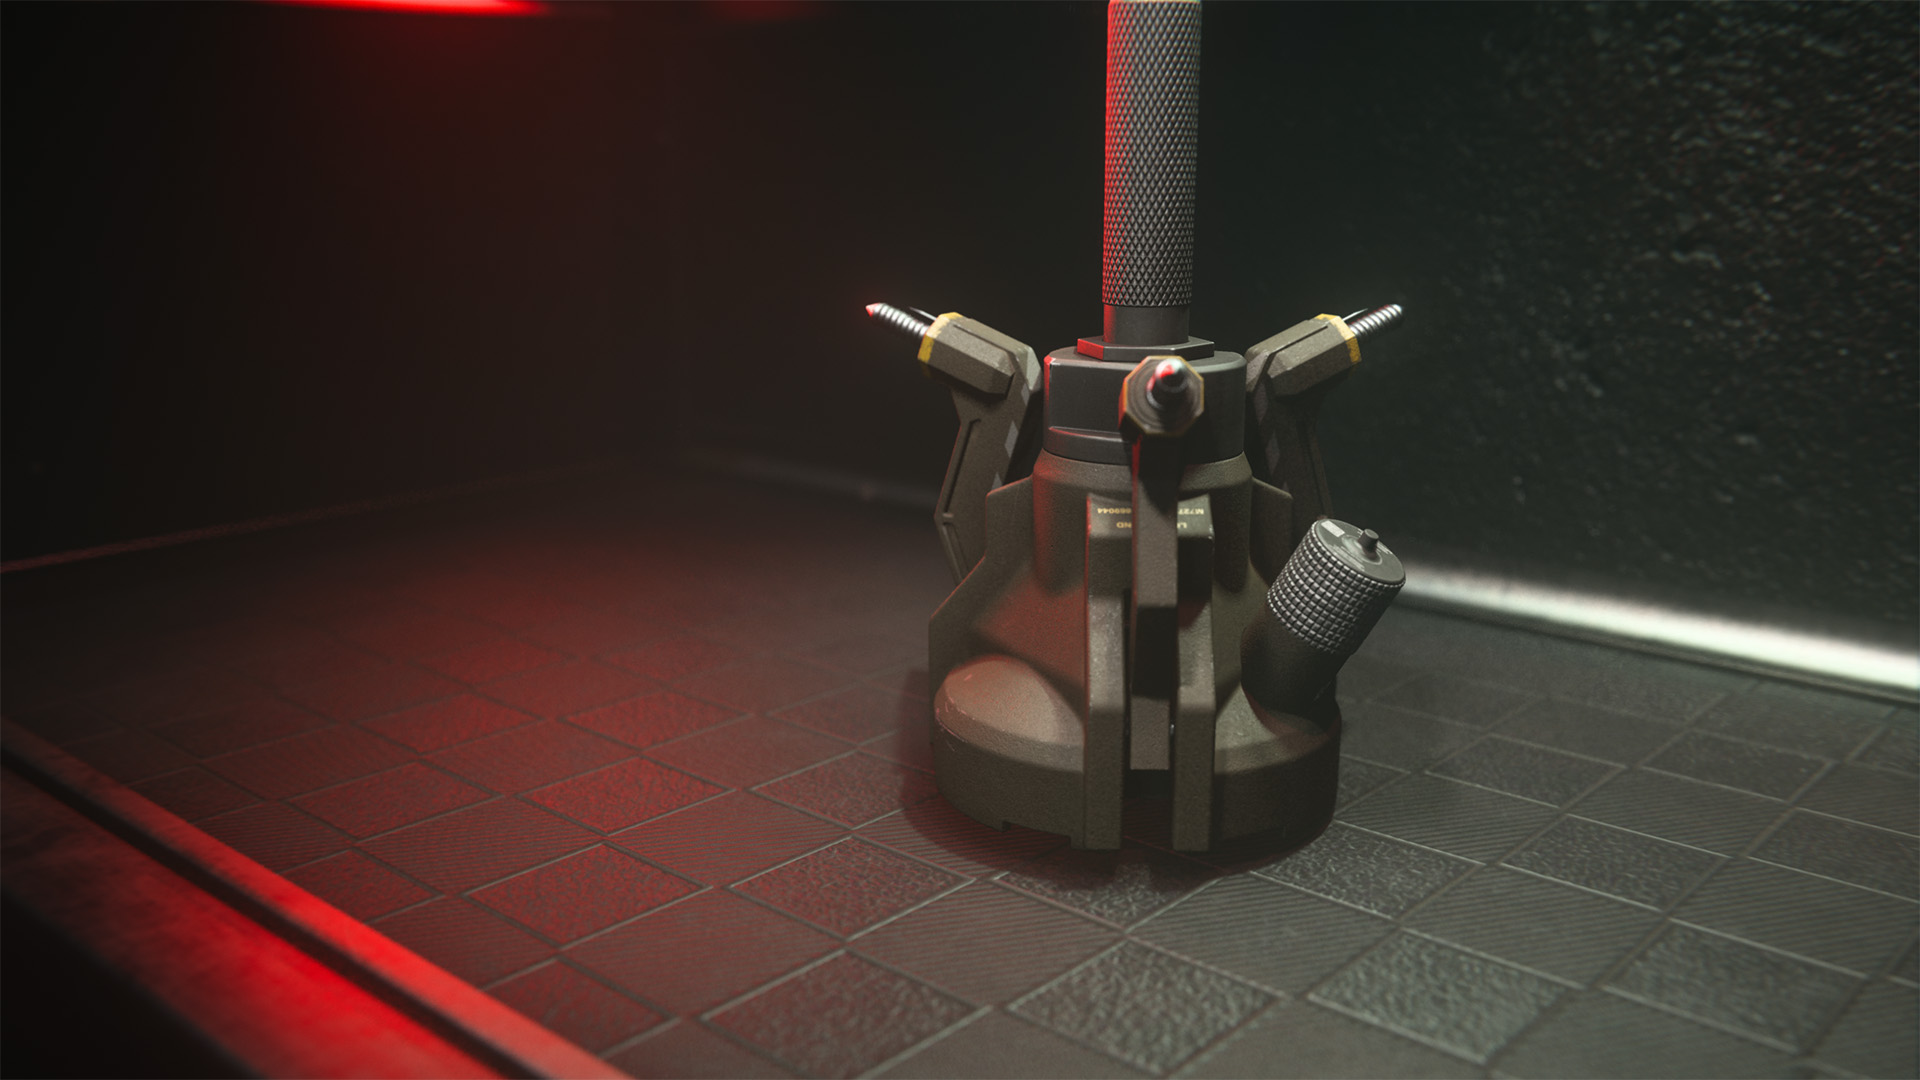
Usage Tip: Drill Charges are great as long as there are barriers that you can utilize and get the explosive through. A Drill Charge will send an explosive charge through an obstacle, which makes this Lethal good for Mercenary Strongholds and Fortresses. Mercenaries love to hide around corners and really hold corners inside their buildings when they can. Drill Charges are very effective at dealing with these Mercs.
Sticky Grenade — Armory Unlock
Timed sticky grenade.

Usage Tip: In situations where everything is moving fast and you can’t take the horde down fast enough, use the Sticky Grenade. Throw one into the center of a horde and hope that it sticks to a Zombie; this will carve a large chunk of that horde out of the fight. Or throw the Sticky Grenade at your feet as you run from a horde in proximity. It won’t roll when you throw it down, so if timed correctly, it will explode as the horde travels over it.
Field Upgrade
Field Upgrades are nothing like the Field Upgrades in Multiplayer and are unique to Modern Warfare Zombies. Three of the Field Upgrades are meant for dealing damage to enemies and the rest are useful utility options. Field Upgrades will recharge immediately after you use them, so use them as often as possible.
Intel Card — Field Upgrade
// INTEL CARD
- MWIII
- WZ
- WZM
Field Upgrade
// MODERN WARFARE ZOMBIES // EQUIPPING YOUR OPERATOR
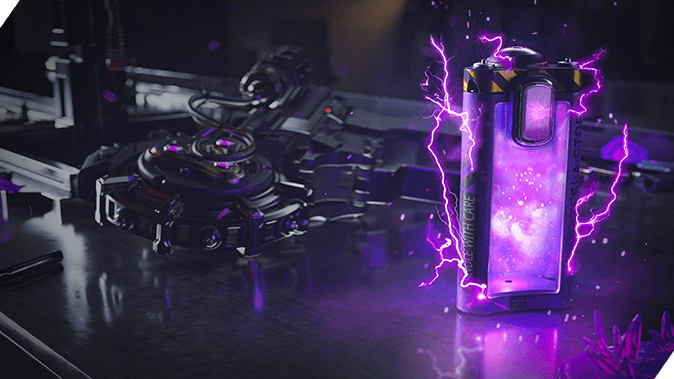
Choose your role: Field Upgrades in MWZ can turn players into role-players. Each Field Upgrade fills a different role.
Quick cooldowns: Field Upgrades have relatively quick cooldowns, so use them as often as you can.
Pair Field Upgrades with your weapons: Frenzied Guard and Frost Blast are great when you’re up close and personal, while Healing Aura and Aether Shroud are great for ranged players.
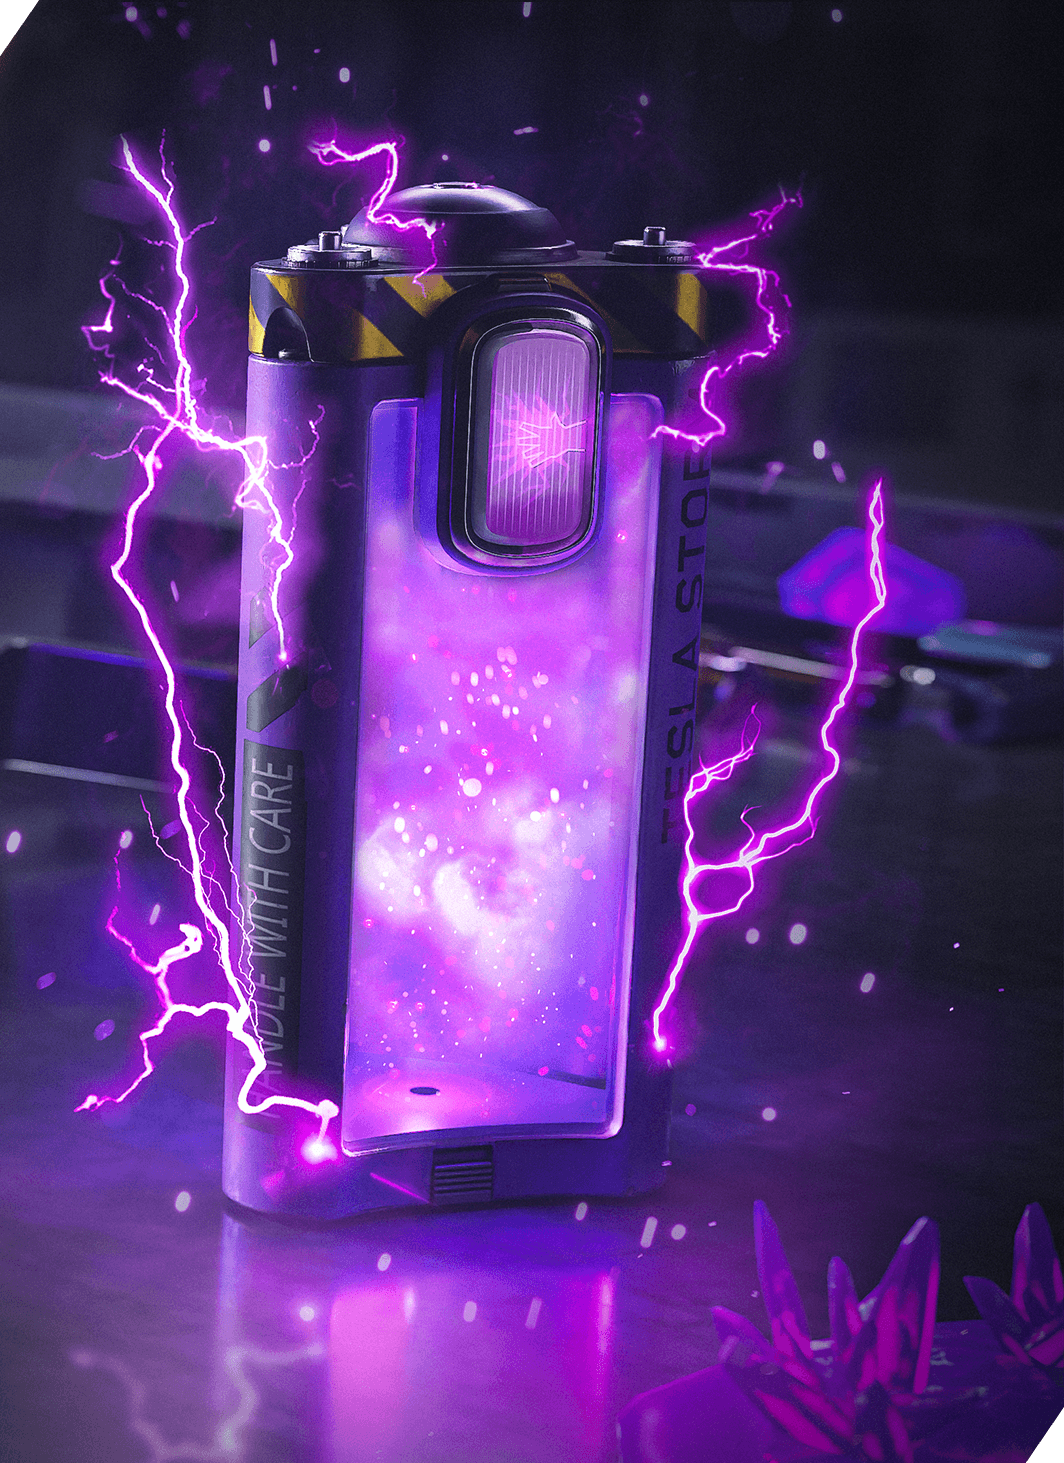
Listed below are each of the Field Upgrades that you can equip, so long as you have it unlocked, before deploying to Urzikstan. You can also change them out between deployments if you want.
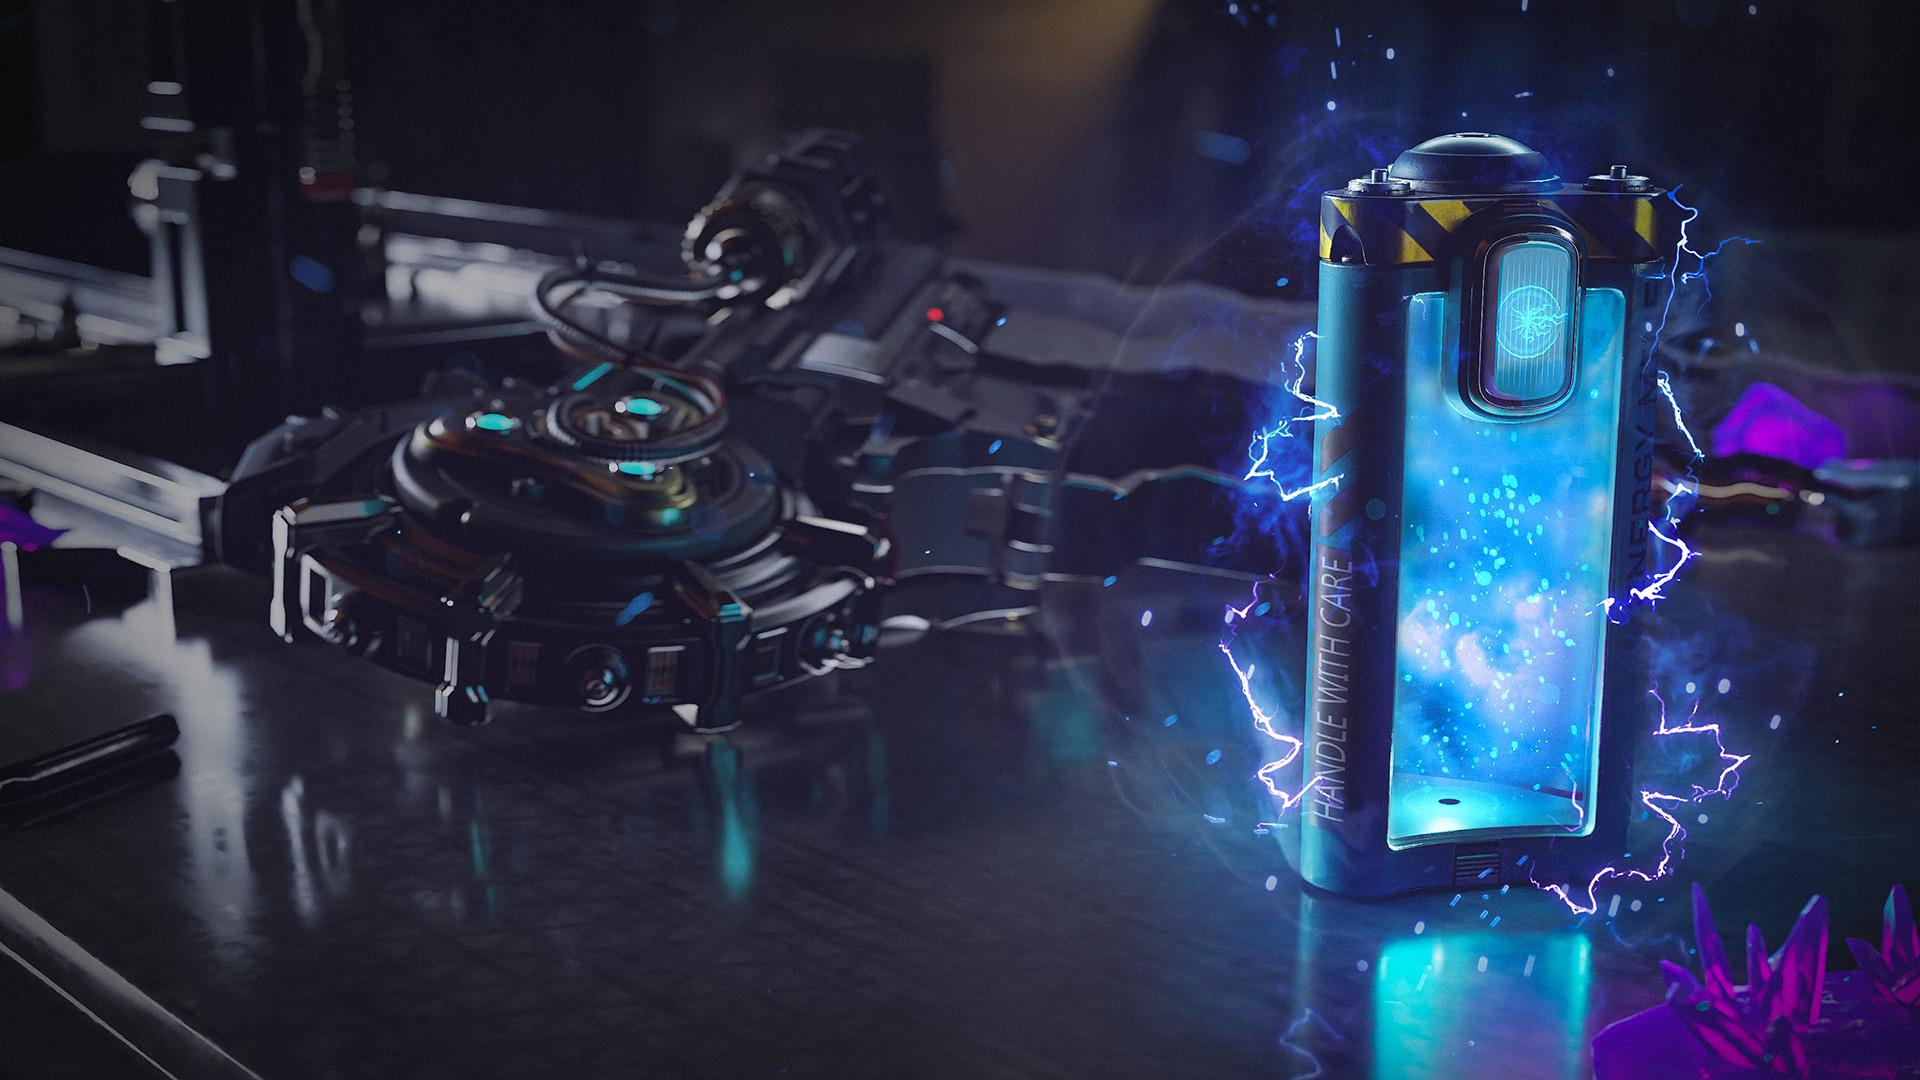
Energy Mine (Level 1)
// INTEL CARD
- MWIII
- WZ
- WZM
Energy Mine
// MODERN WARFARE ZOMBIES // TACTICS
Description: “Spawn an explosive, dealing massive damage to enemies who set it off.”
Class Idea: Trap Enthusiast
Loadout:
Primary: SMG
Secondary: Assault Rifle
Tactical: Stun Grenade
Lethal: Proximity Mine
Strategy: For players that want to make an explosive entrance, the Energy Mine provides a tactical opportunity to rush into a group of enemies to grab their attention and lure them into a waiting explosive.
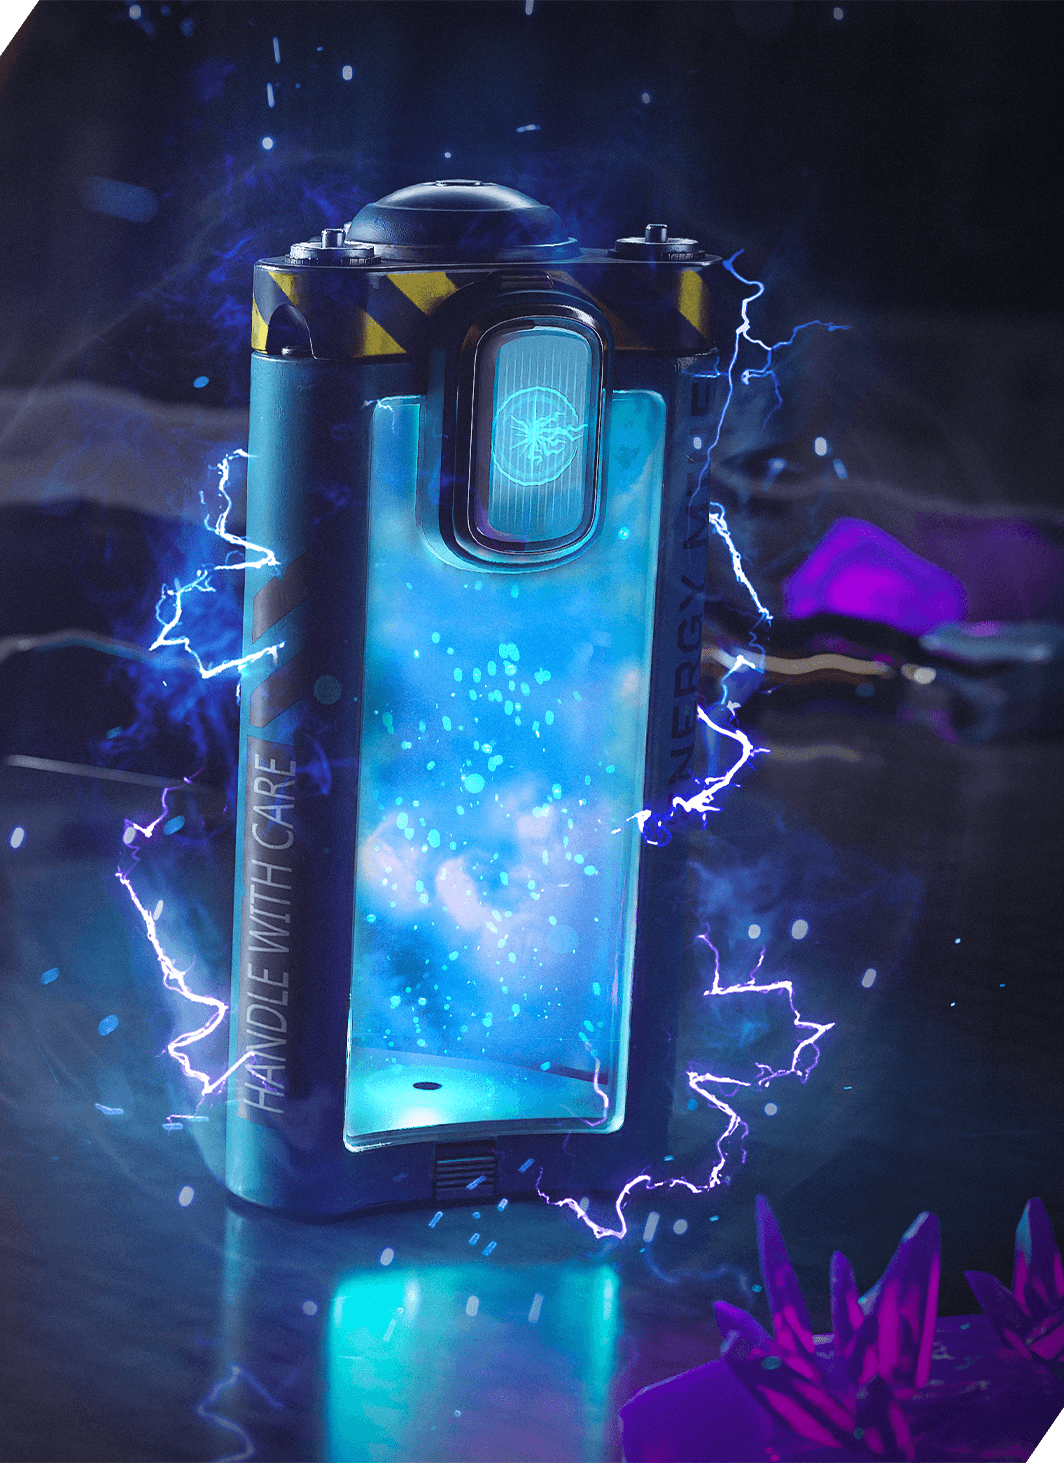
Usage Tip: The Energy Mine is your direct-damage Field Upgrade. It is a mine; if you use it, an orb will drop in front of you and will explode when an enemy gets within proximity. When it is triggered by a close enemy, the mine will send out three separate pulses, each doing a large amount of damage to everything it hits.
Frenzied Guard (Level 9)
// INTEL CARD
- MWIII
- WZ
- WZM
Frenzied Guard
// MODERN WARFARE ZOMBIES // TACTICS
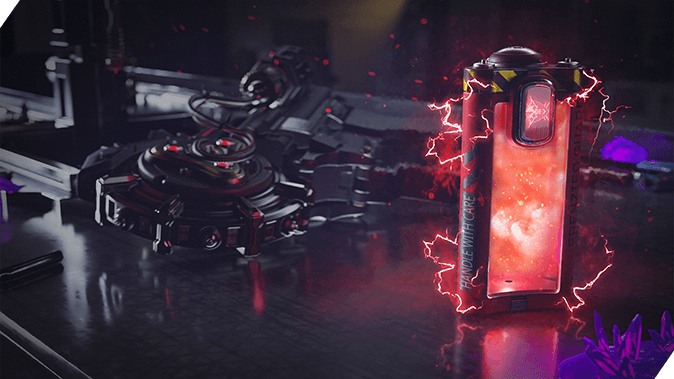
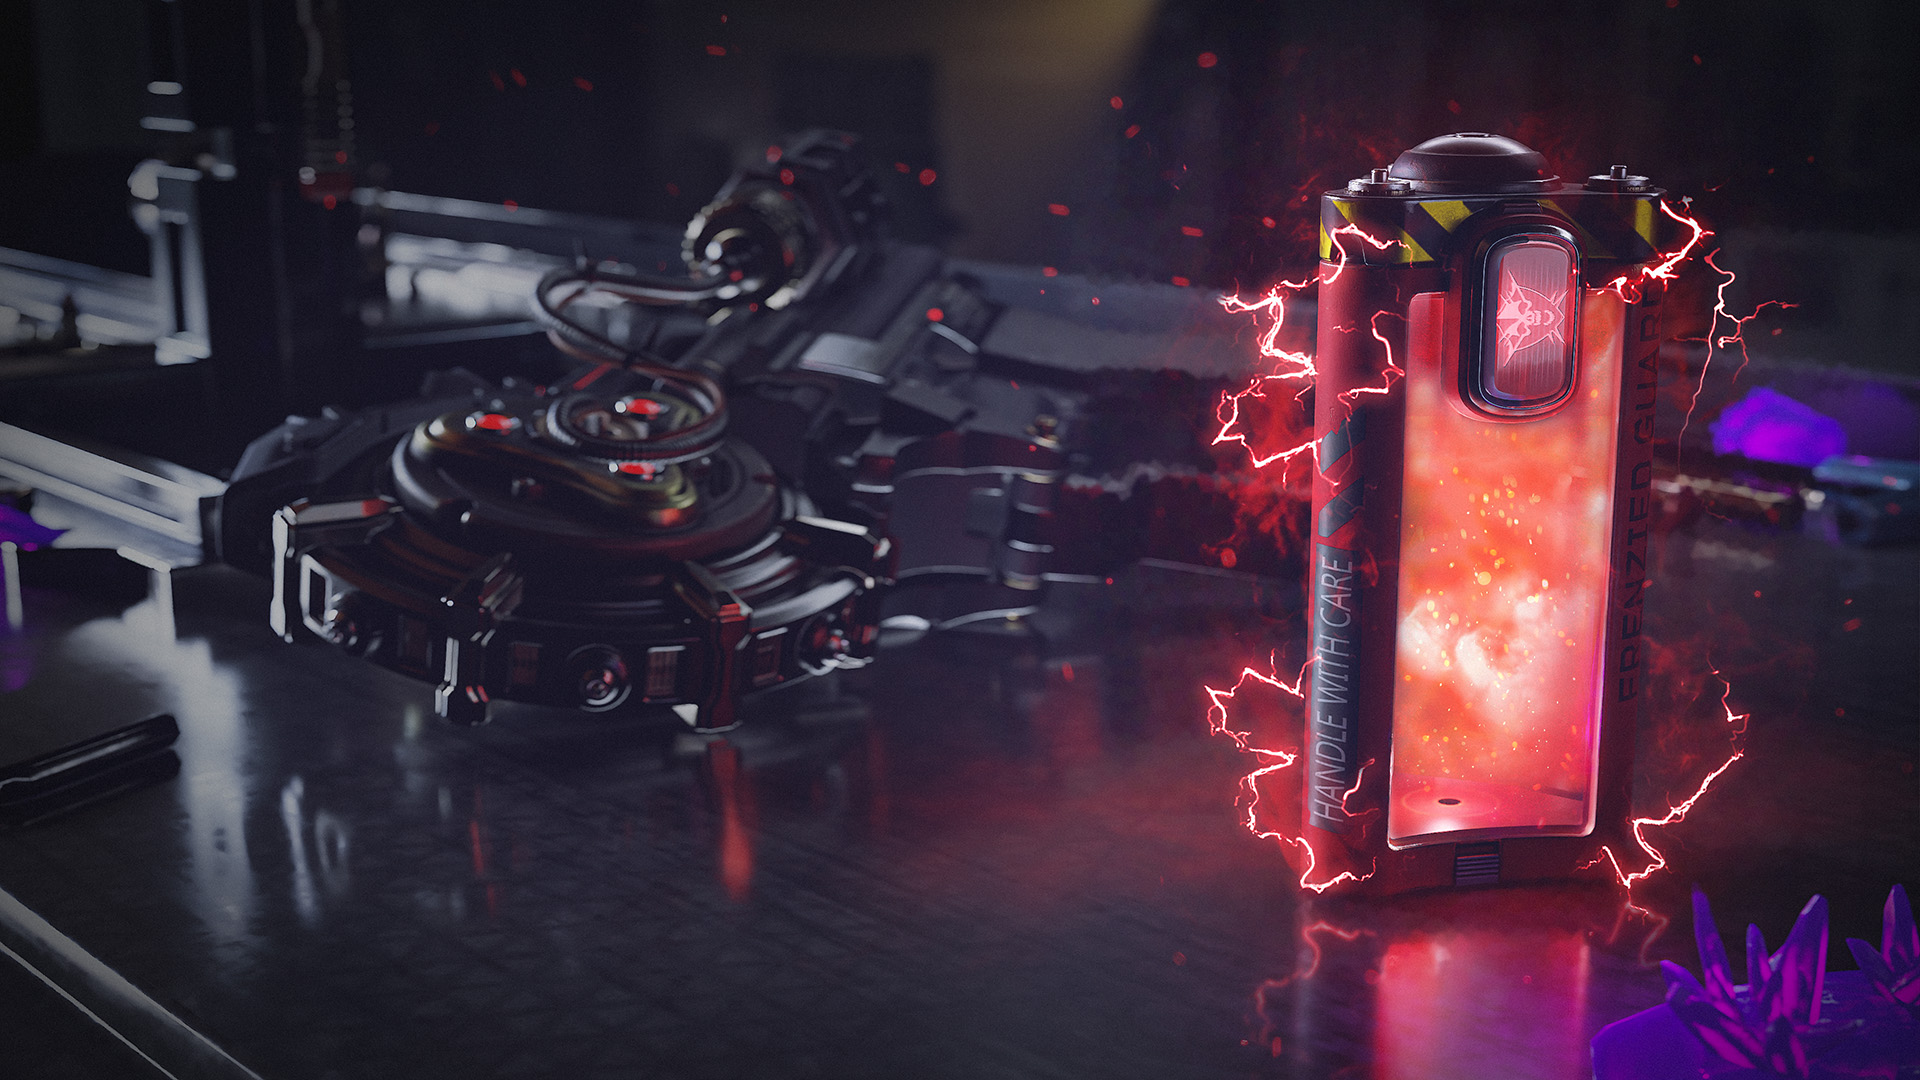
Description: “Repair armor to full and force all enemies in the area to target you for 10 seconds. Enemy kills repair armor during this time.”
Class Idea: Heavy Tank
Loadout:
Primary: Shotgun
Secondary: Pistol
Tactical: Stim
Lethal: Claymore
Strategy: Want to be the center of attention? Is a teammate in a dire situation? Use Frenzied Guard to grab the attention of nearby enemies and fill your armor to the max and replenish lost armor with kills during this window. Get in there!
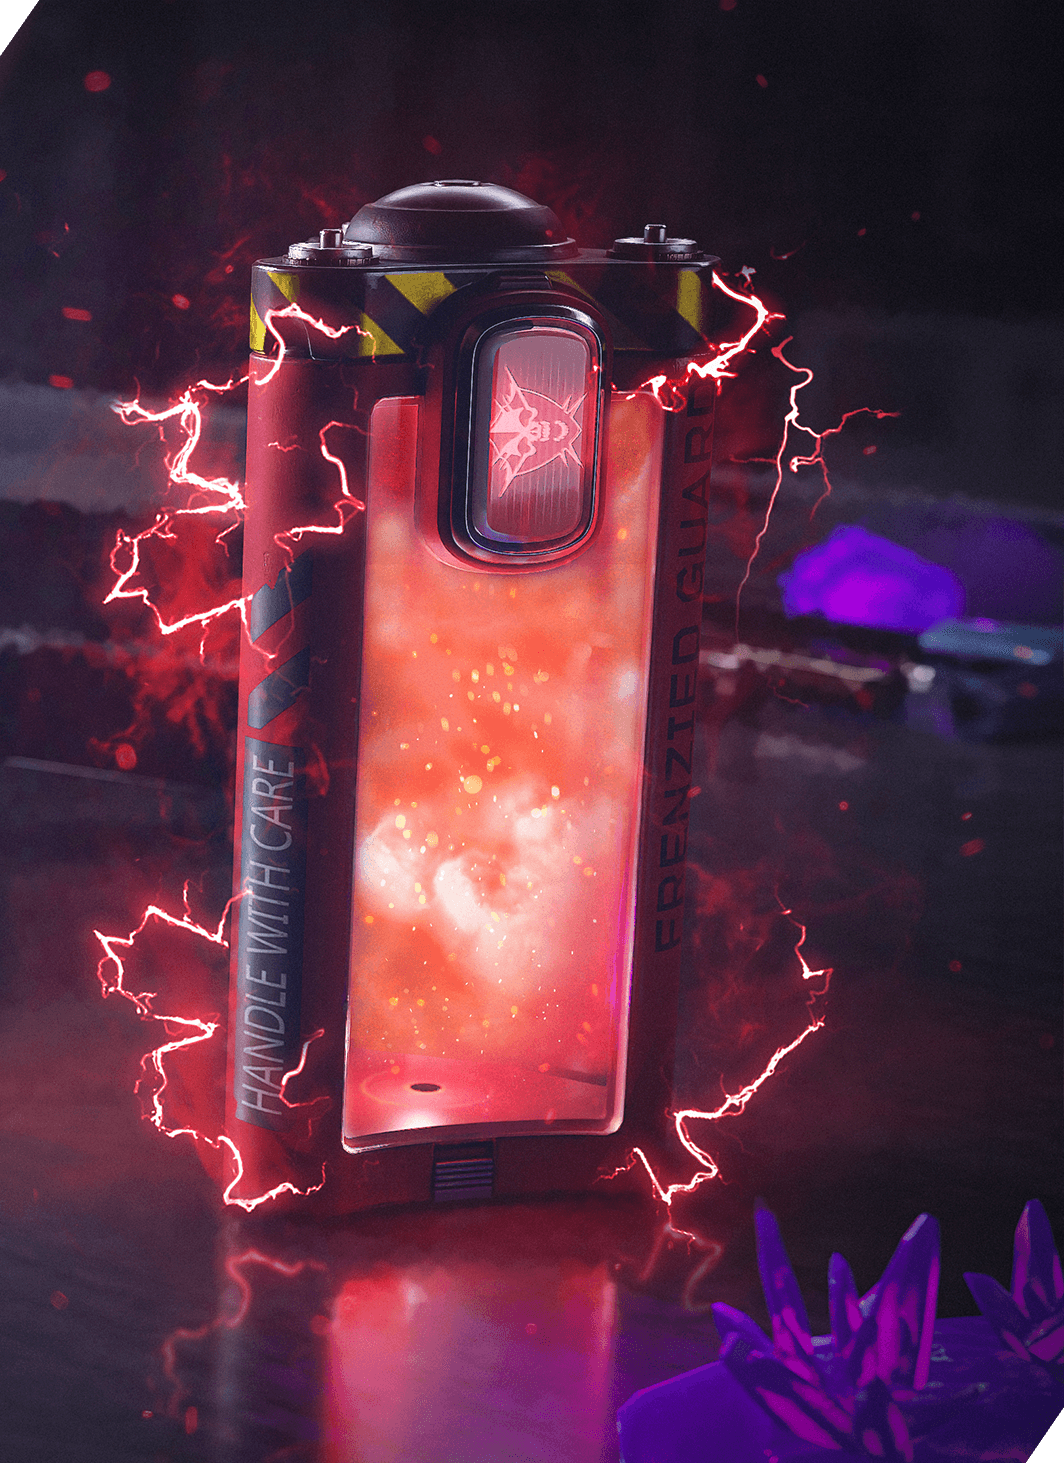
Usage Tip: Frenzied Guard is the ultimate tank Field Upgrade. If you like to jump in front of danger to help your teammates, this is the Field Upgrade for you. However, even if you are running solo, there is some great utility in Frenzied Guard. Pop Frenzied Guard whenever there’s an emergency and your team is in danger. Enemies will now be far more interested in killing you, but you will be at full armor and ready to blast your way to saving your team’s life. Equipping Frenzied Guard works well when you have a Three Plate Vest and a weapon with lots of ammo: Light Machine Guns and the Scorcher, for instance.
Healing Aura (Level 19)
// INTEL CARD
- MWIII
- WZ
- WZM
Healing Aura
// MODERN WARFARE ZOMBIES // TACTICS
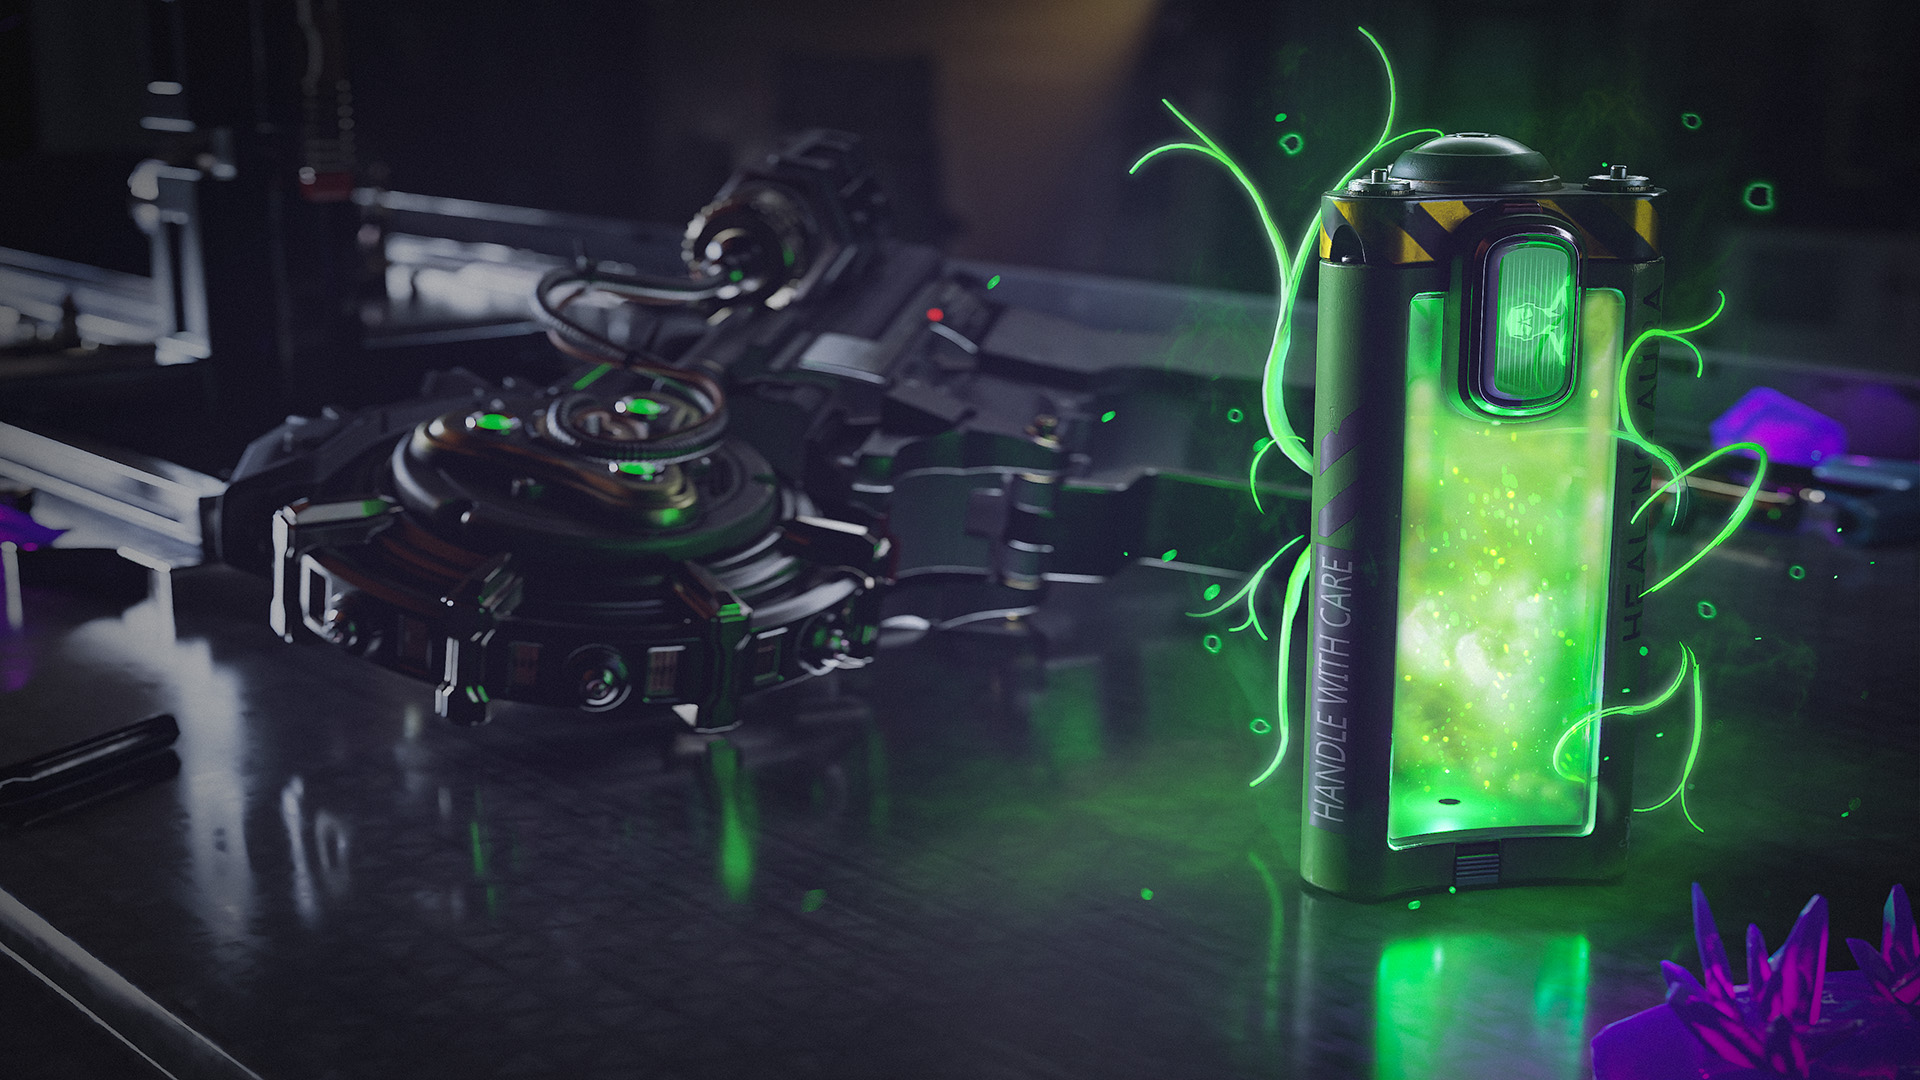
Description: “Heal all players immediately.”
Class Idea: Healer
Loadout:
Primary: LMG
Secondary: Shotgun
Tactical: Decoy Grenade
Lethal: Sticky Grenade
Strategy: Everyone needs a combat medic! Keep the damage flowing while sending out a blast of healing energy to top off teammates. This Field Upgrade will also revive teammates that are currently bleeding out.
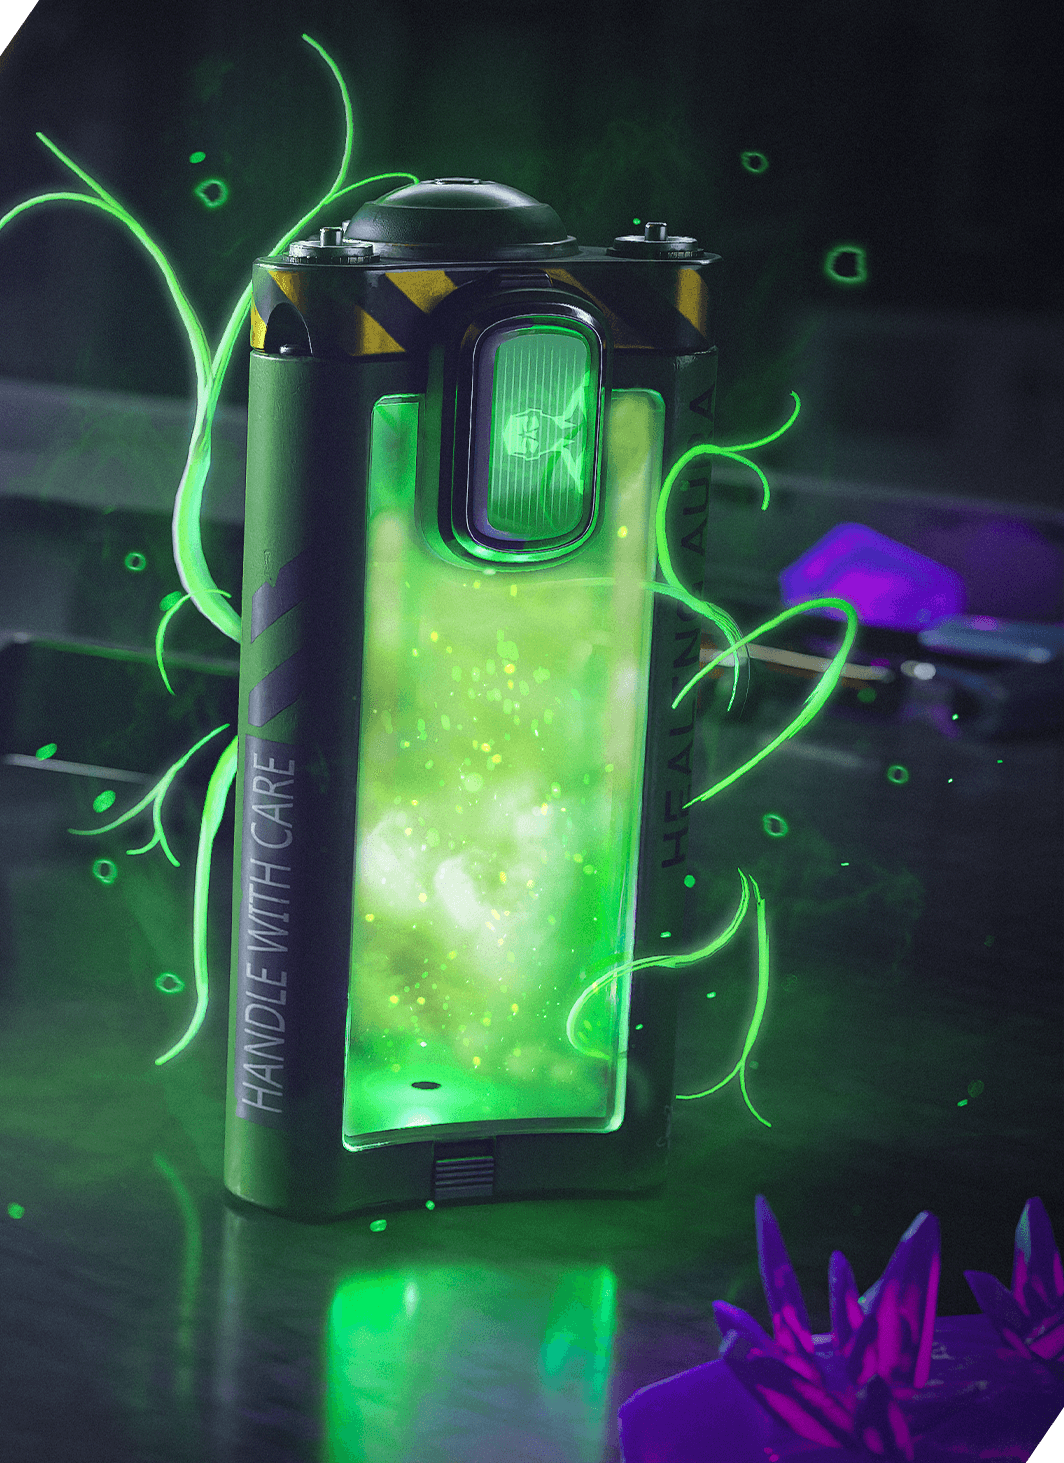
Usage Tip: This is another great support Field Upgrade. Using this upgrade requires less knowledge of where your teammates are exactly, and it’s more about paying attention to your health bars. When doing a Contract like Aether Extraction or Server Upload, Mercenaries will come from all angles and will fight your team at range and there will be a lot of them. Watching your teammates’ health and triggering Healing Aura when they’re low can really save a run.
Frost Blast (Level 29)
// INTEL CARD
- MWIII
- WZ
- WZM
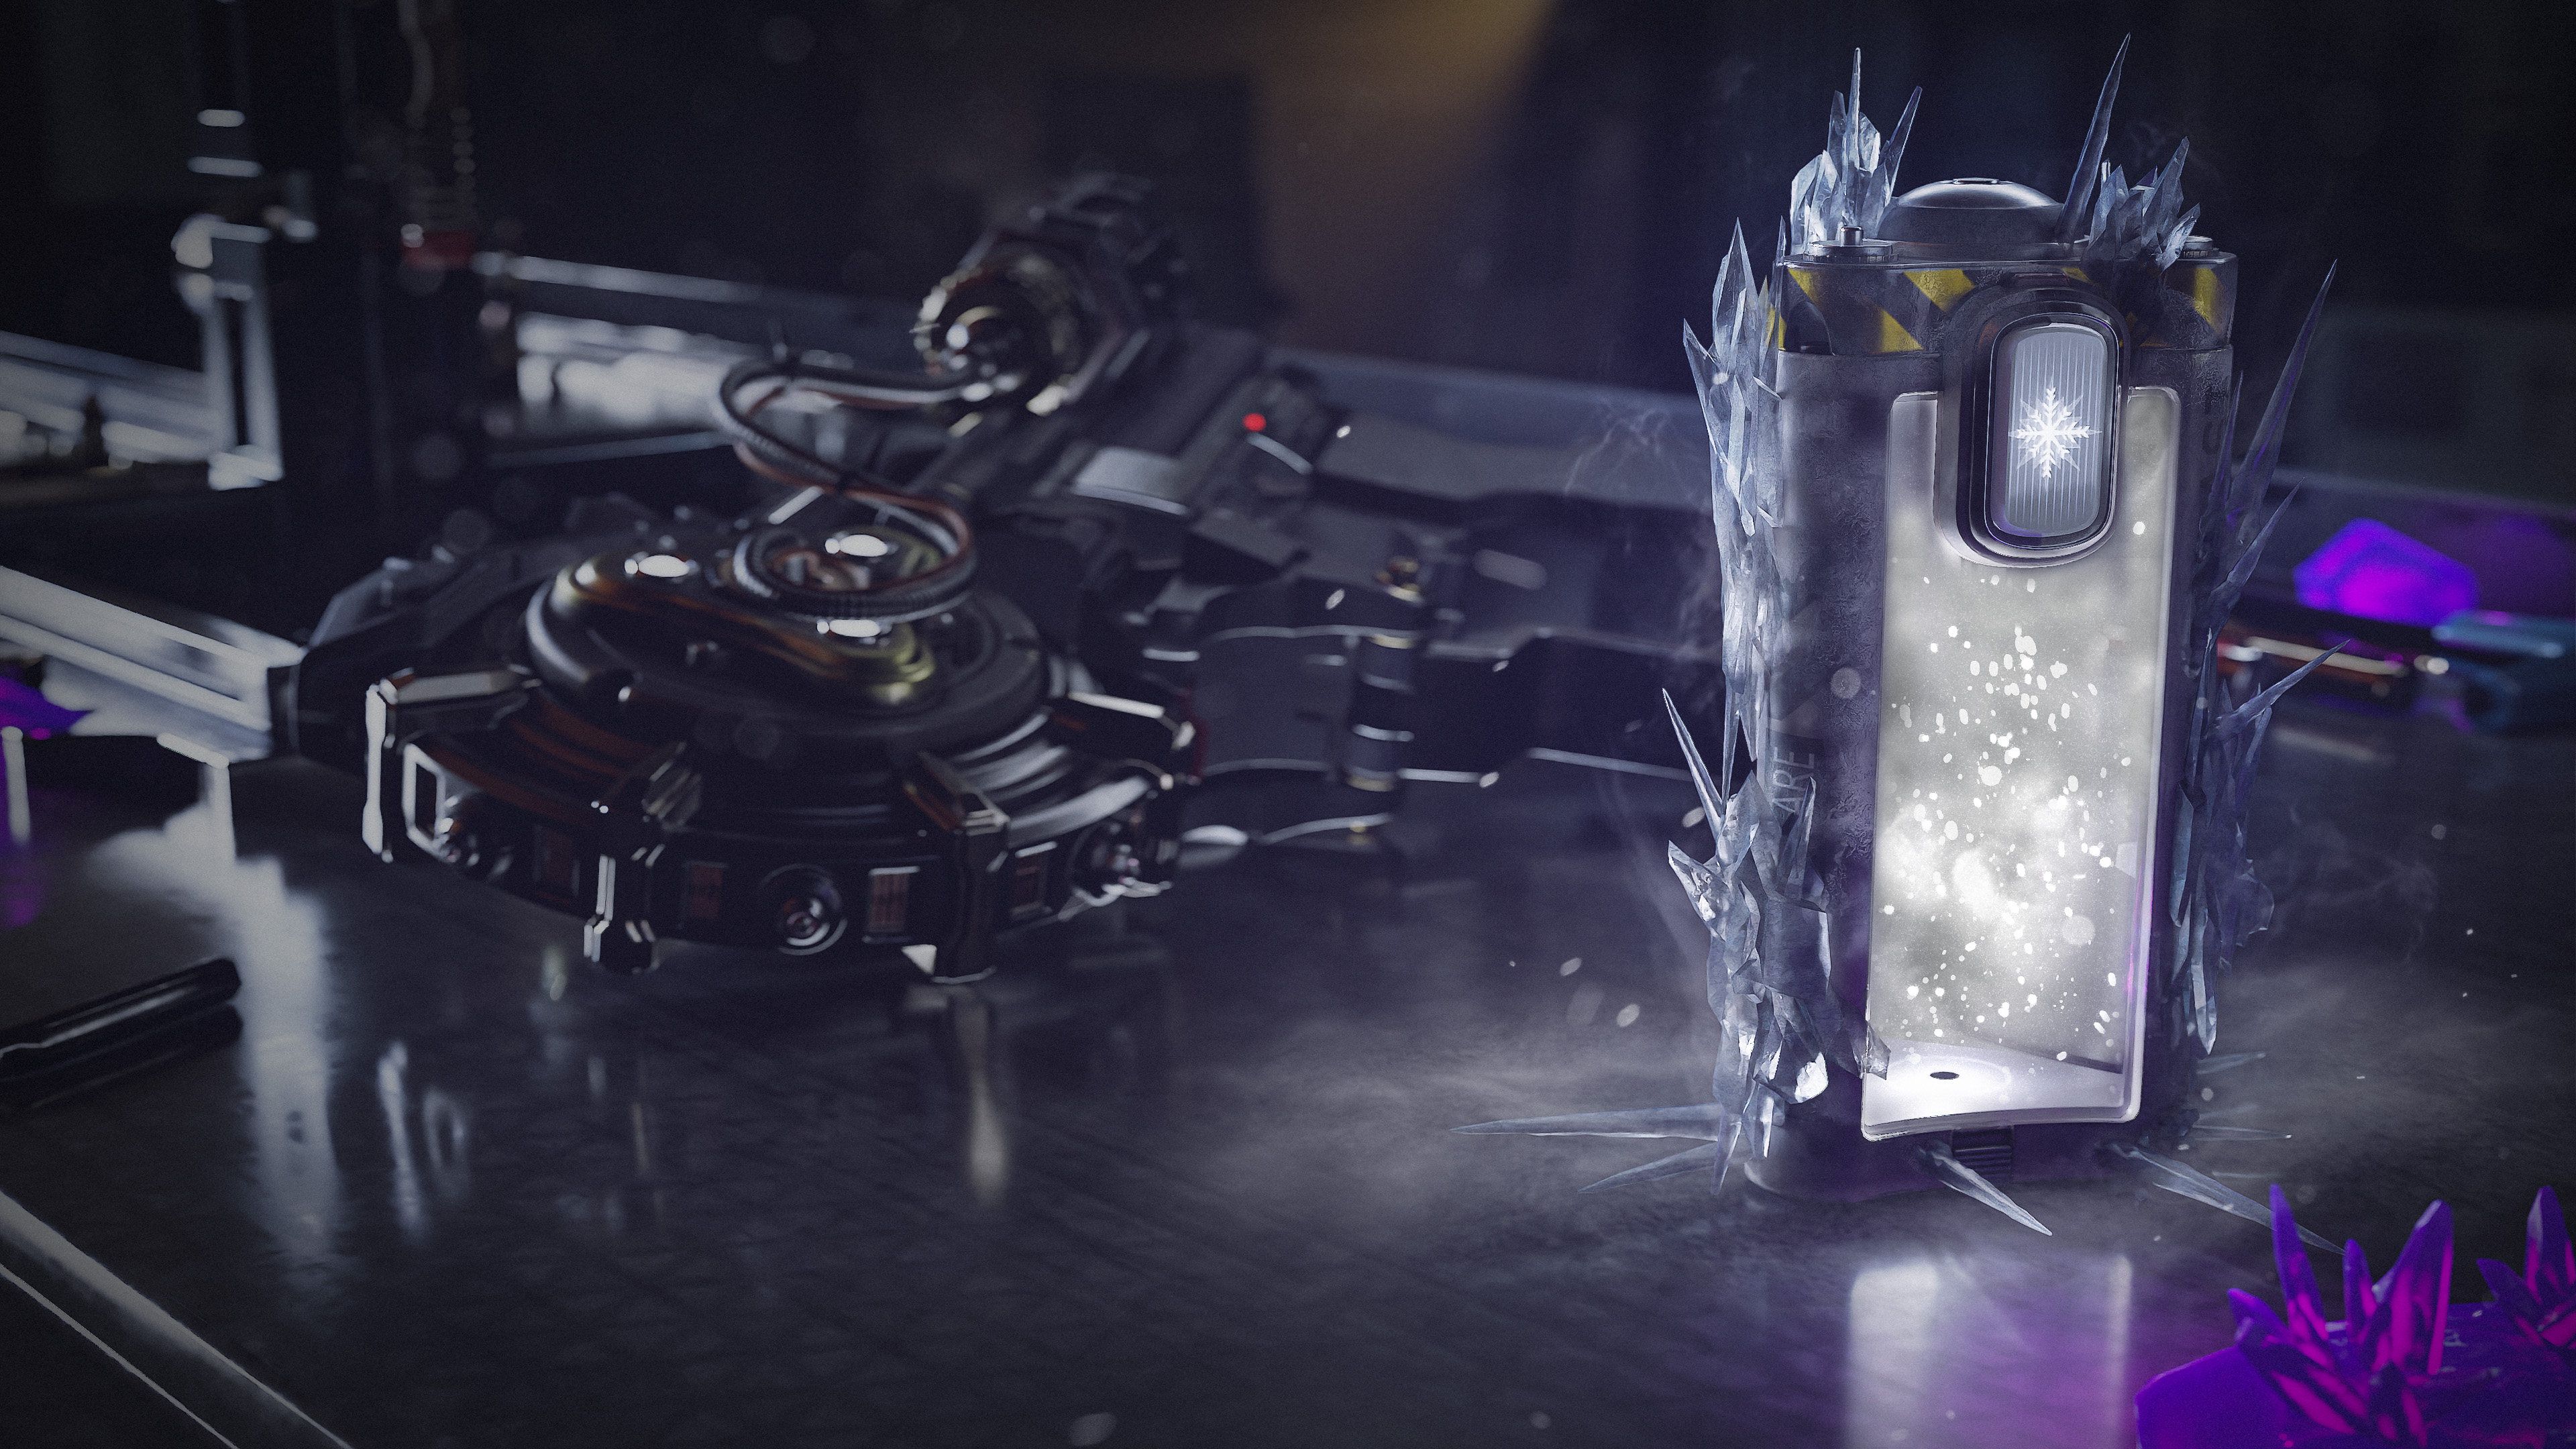
Frost Blast
// MODERN WARFARE ZOMBIES // TACTICS
Description: “Damage enemies with the initial blast and slow those that enter.”
Class Idea: Crowd Controller
Loadout:
Primary: Assault Rifle
Secondary: SMG
Tactical: Shock Stick
Lethal: C4
Strategy: Sometimes you need to shut down the opposition to either get in or get out of the fray. Use Frost Blast to damage enemies with an initial circular blast and slow those who dare enter.
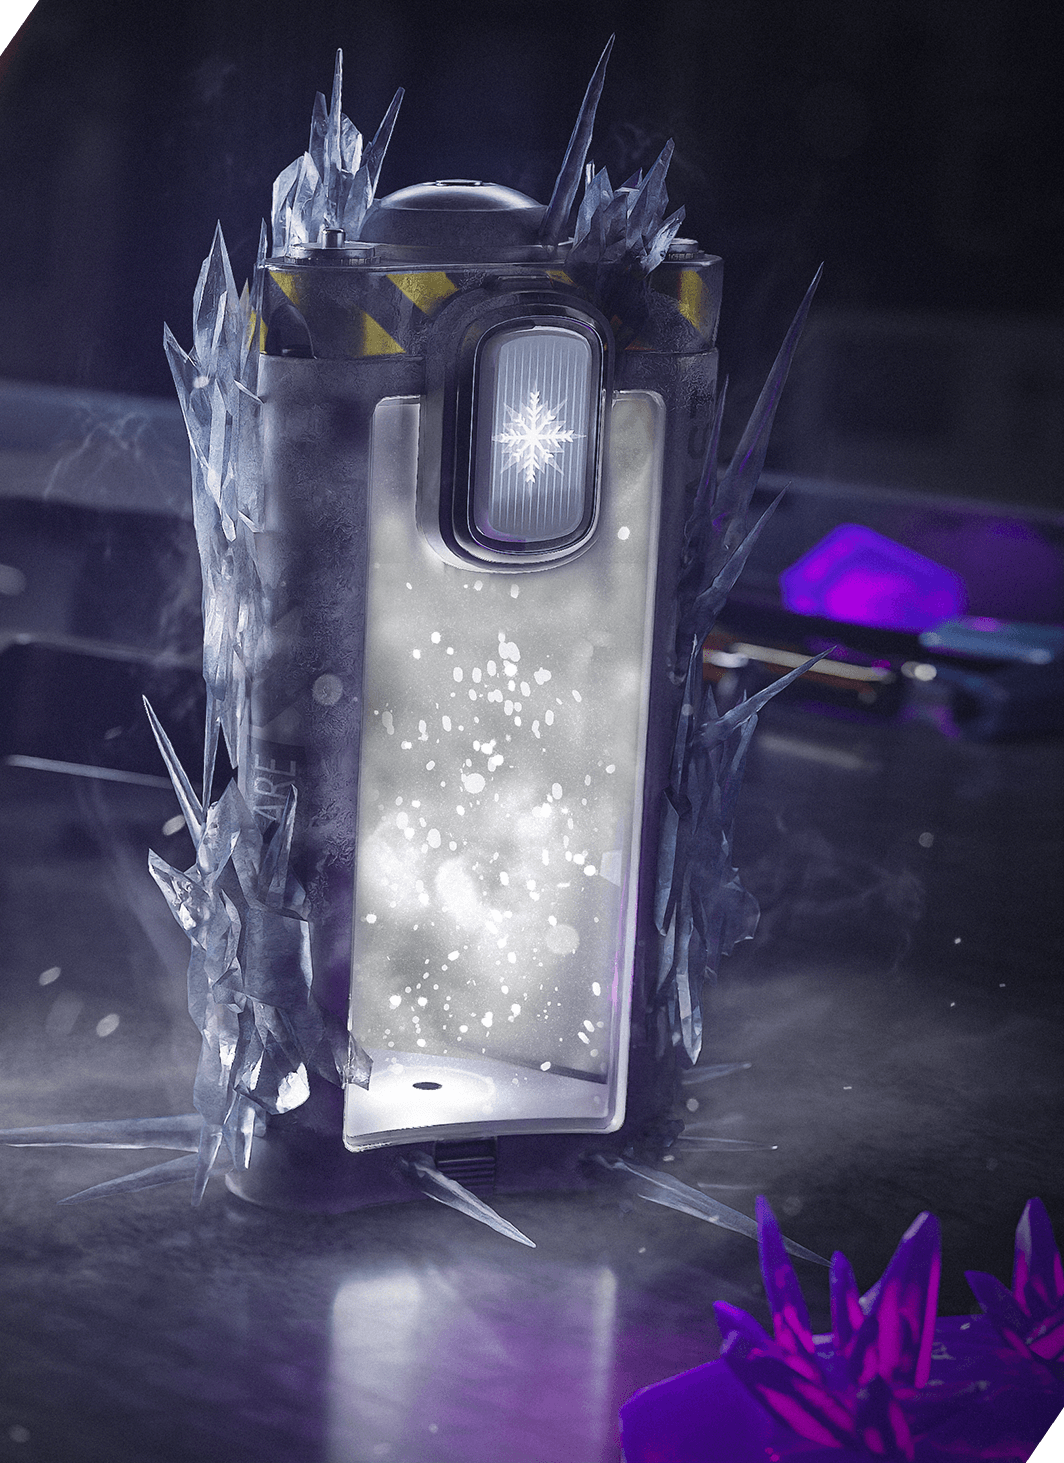
Usage Tip: The Frost Blast will go off as soon as you chose to trigger it. Because of its initial damage, you’ll want to be in close proximity of as many Zombies as possible. Once this Field Upgrade is triggered, you will have an aura of slowing protection at its location. You don’t need to stay inside the aura, but you’ll want to at least stay on the other side of it, forcing enemies to pass through it if they want to come after you.
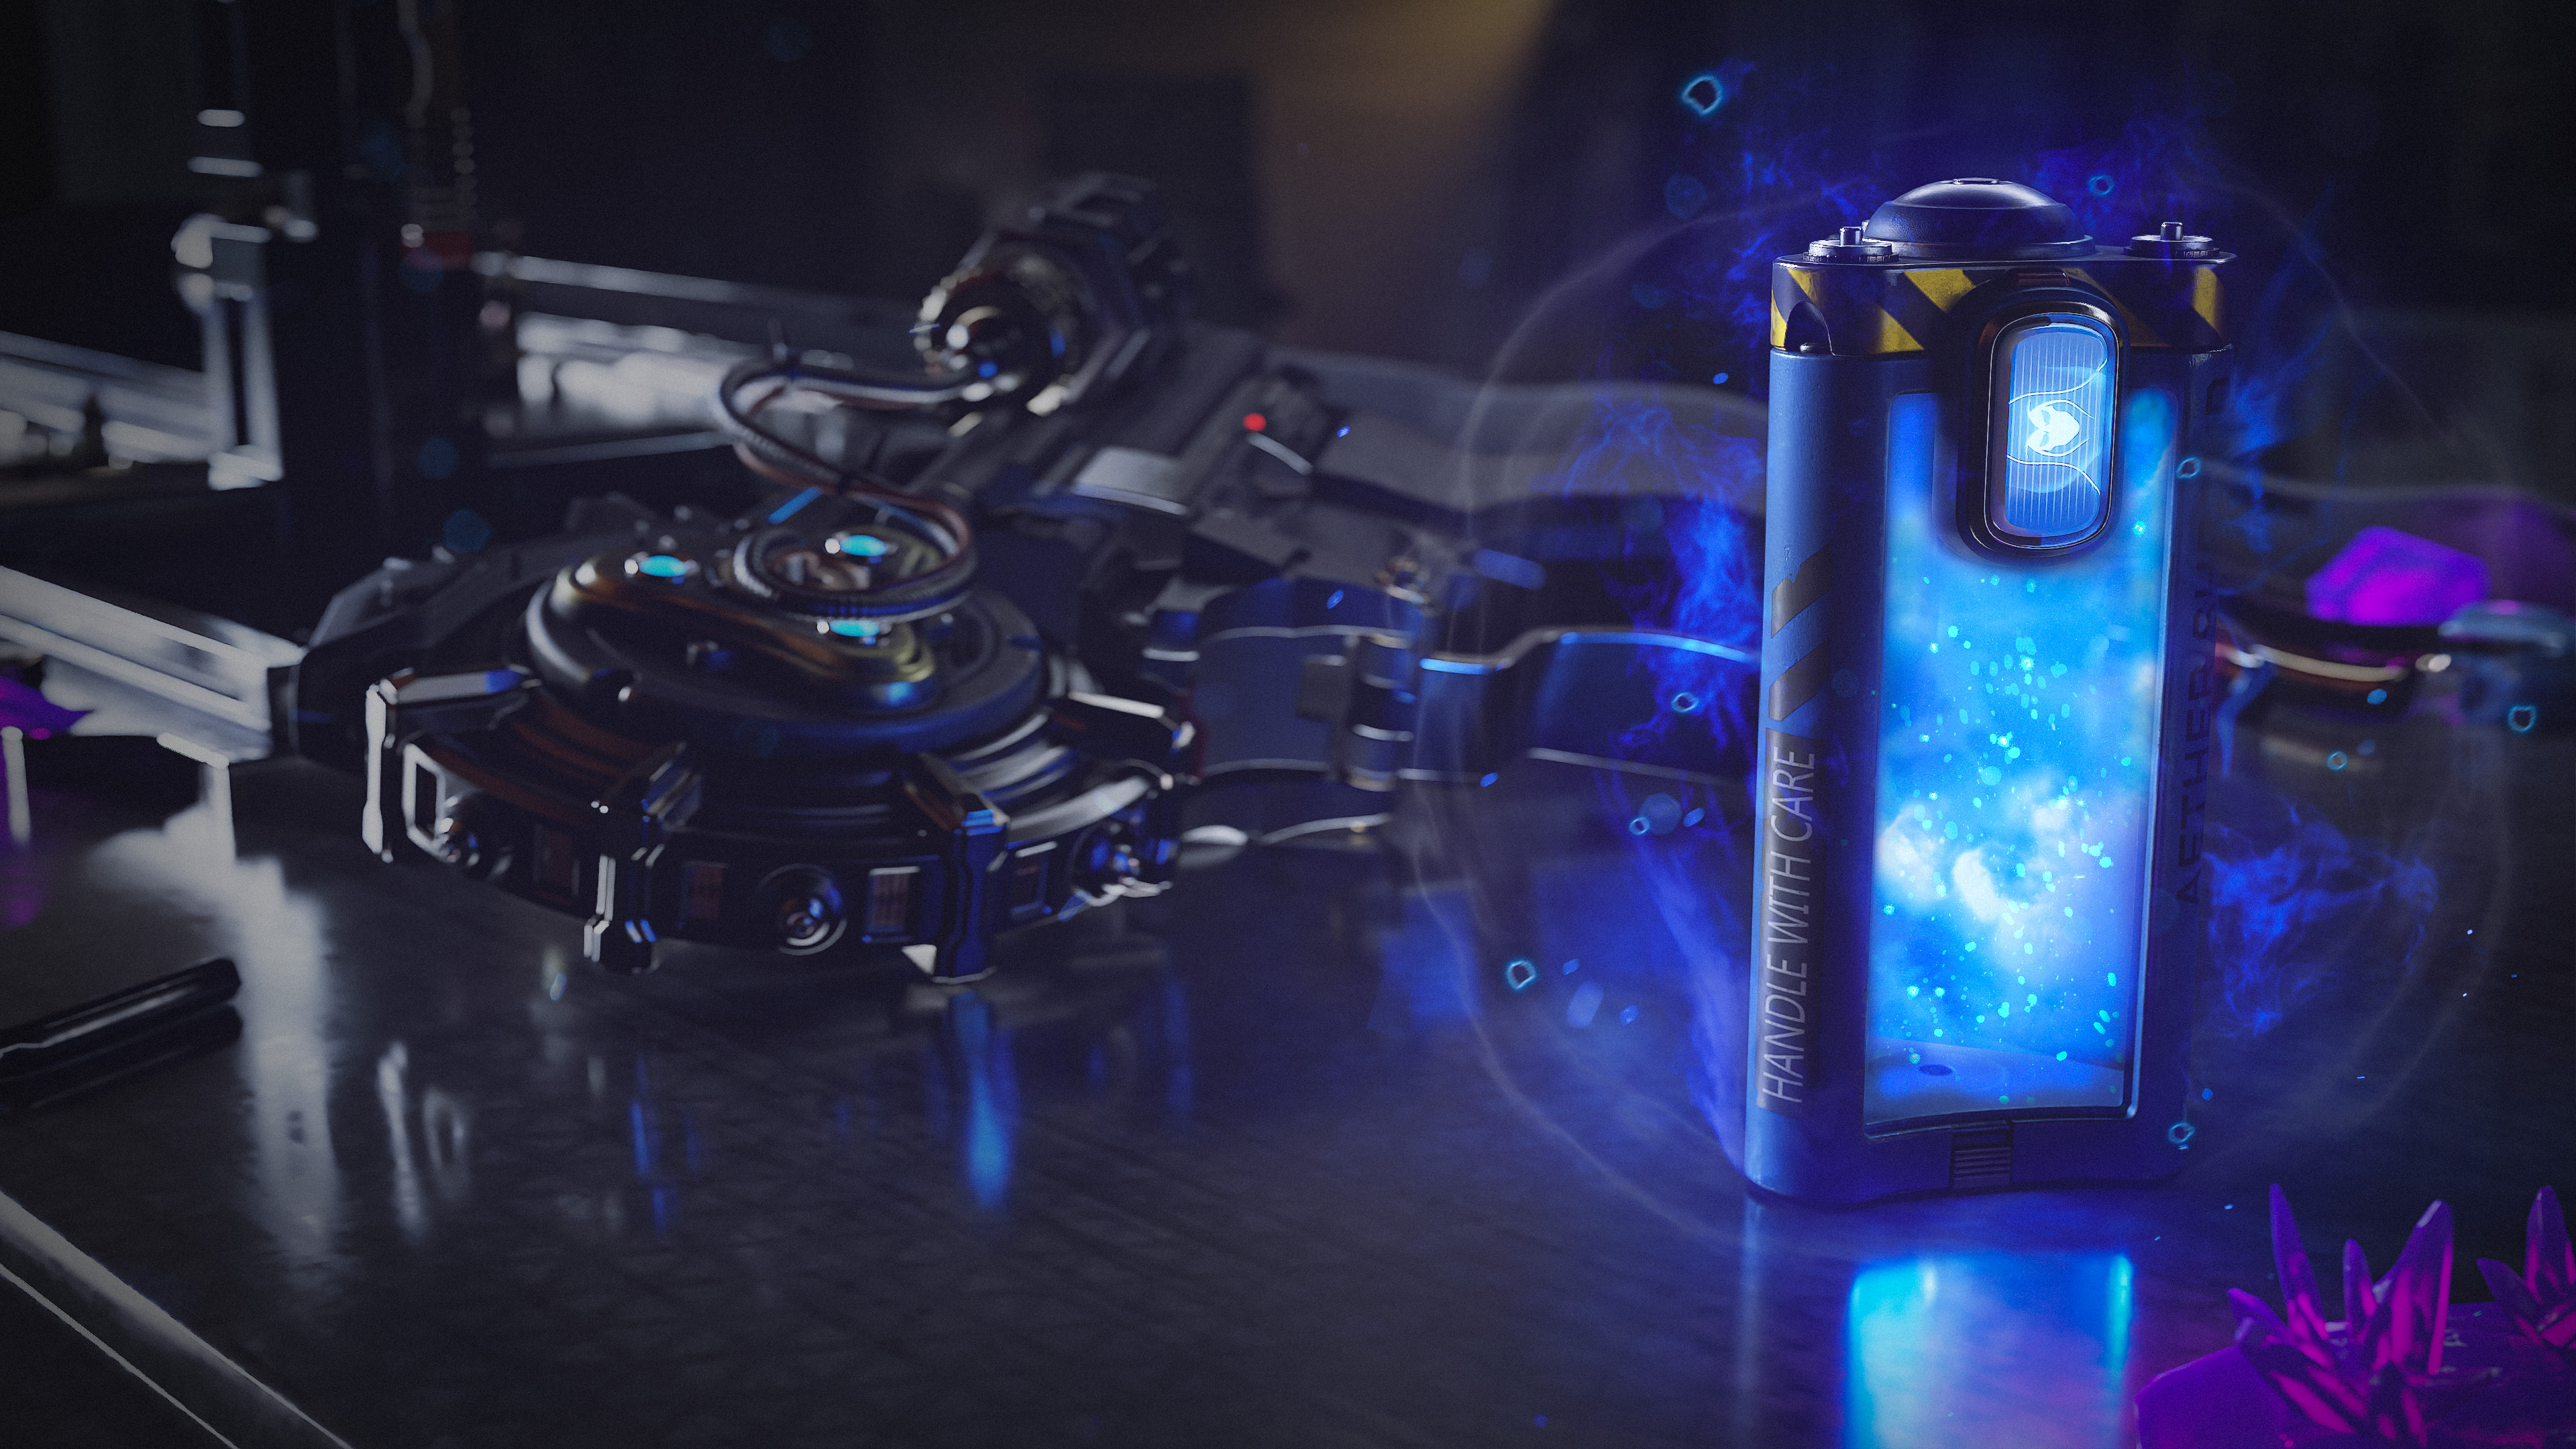
Aether Shroud (Level 39)
// INTEL CARD
- MWIII
- WZ
- WZM
Aether Shroud
// MODERN WARFAR ZOMBIES // TACTICS
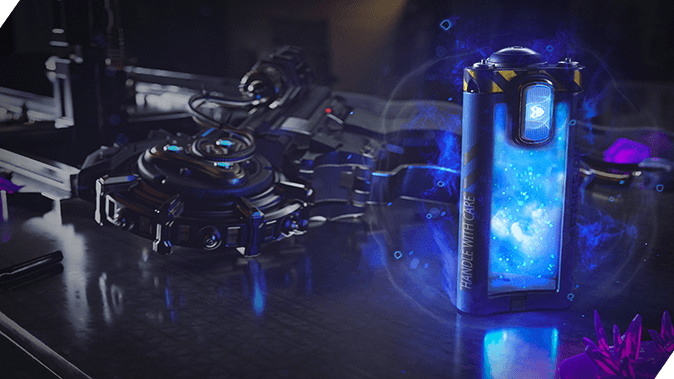
Description: “Become invisible to zombies.”
Class Idea: Stealth/Ninja
Loadout:
Primary: Assault
Secondary: Melee
Tactical: Stun Grenade
Lethal: Throwing Knives
Strategy: Whether you’re repositioning for a perfect shot or a clutch save, Aether Shroud will let you slip away from the massive Zombie horde headed your way. They can’t hit you if they can’t see you.
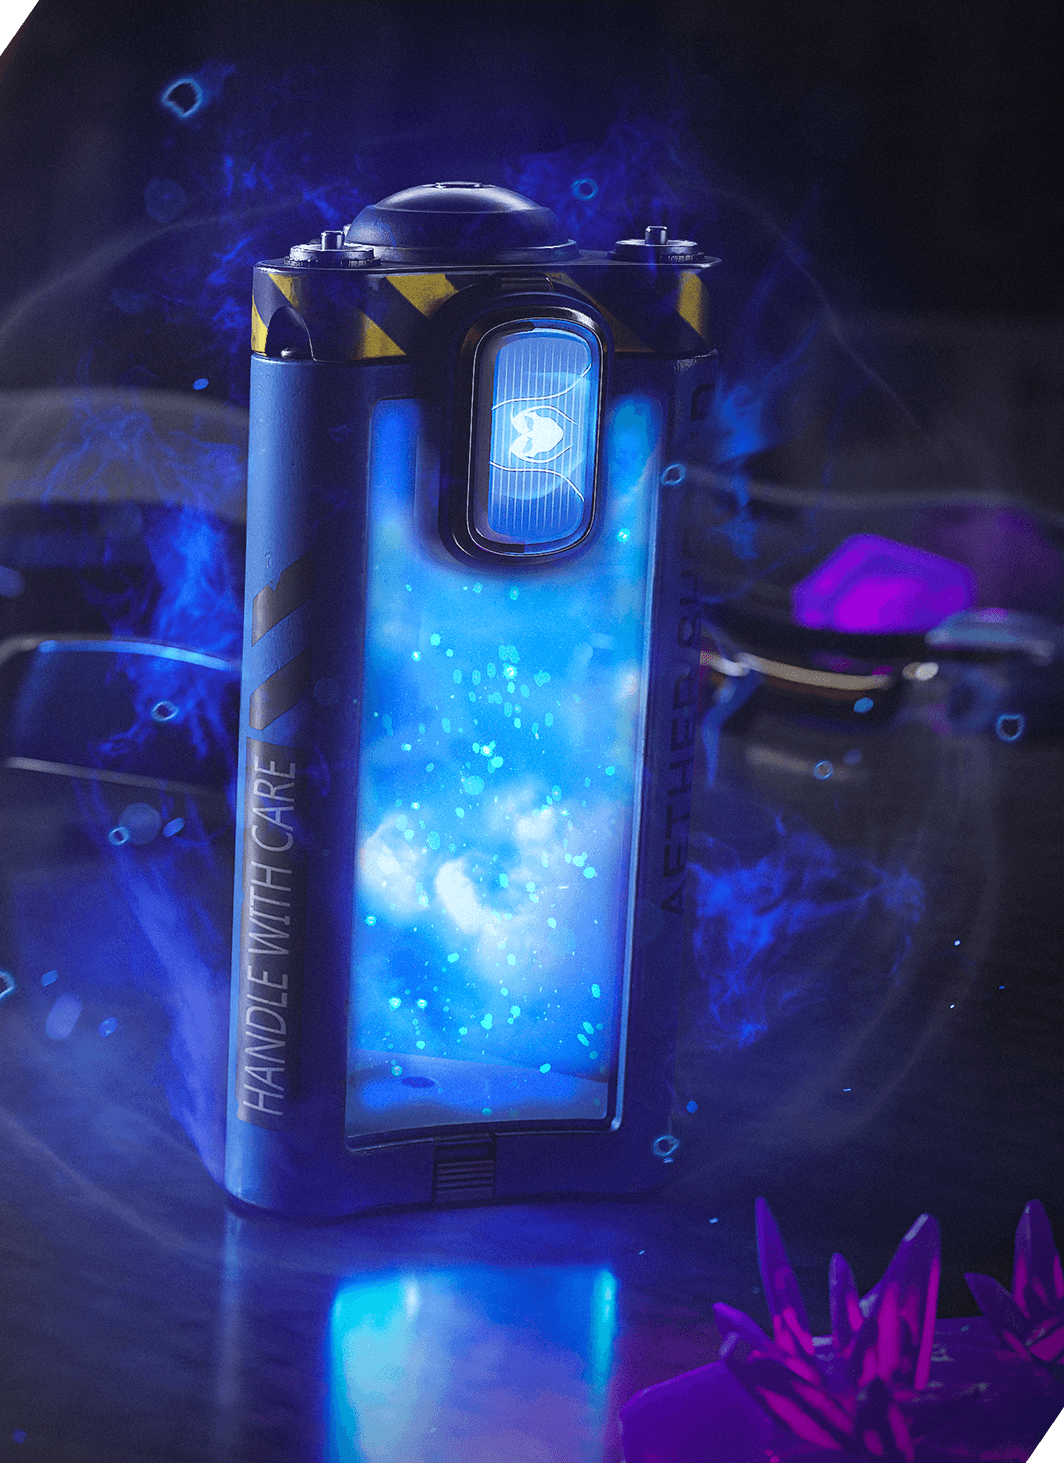
Usage Tip: A great Field Upgrade for players who love to perform huge flanks and get behind enemy lines in order to do massive damage while Zombies are distracted by teammates. Aether Shroud also works well for players who may find themselves solo either at the start or near the end of a deployment.
Tesla Storm (Level 50)
// INTEL CARD
- MWIII
- WZ
- WZM
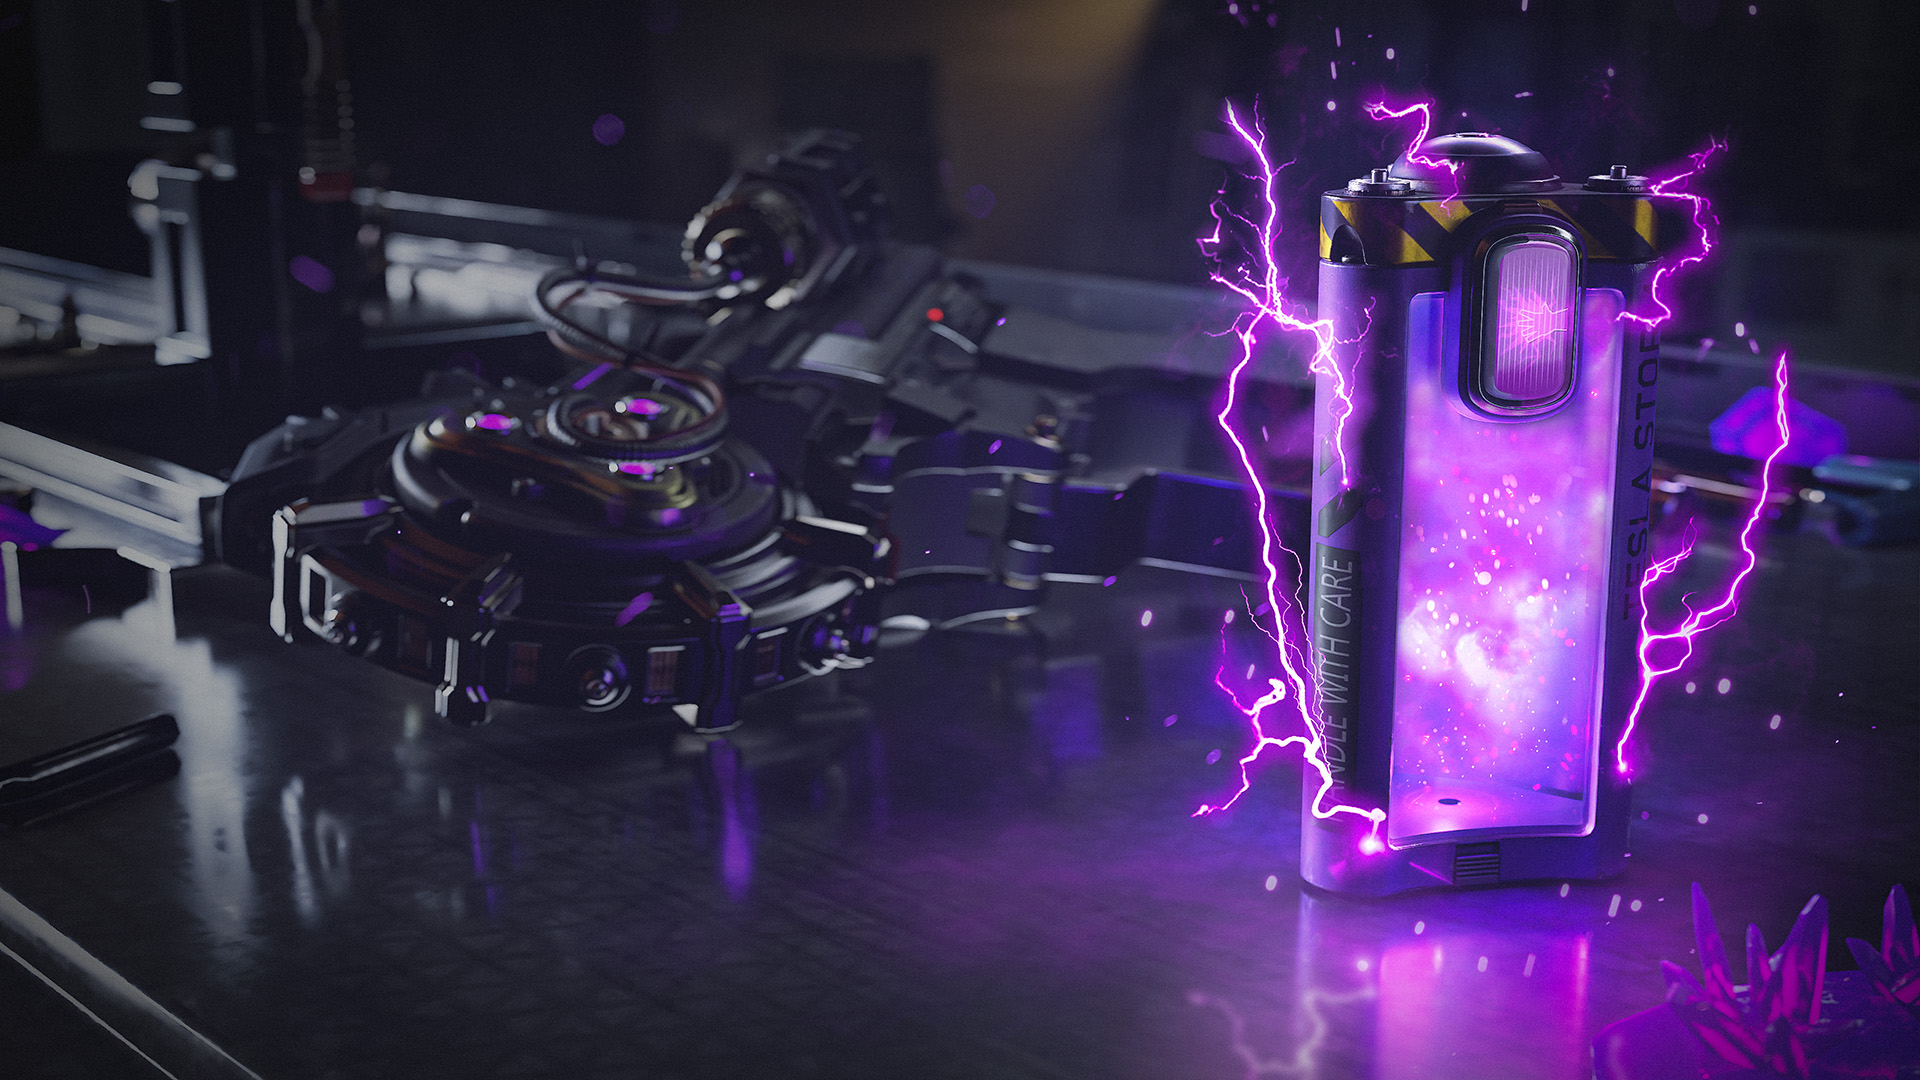
Tesla Storm
// MODERN WARFARE ZOMBIES // TACTICS

Description: “For 10 seconds lightning connects to other players, stunning and damaging normal enemies.”
Class Idea: Team Player
Loadout:
Primary: Any
Secondary: Any
Tactical: Shock Stick
Lethal: Frag Grenade
Strategy: For the team player and shot caller, link up with your team literally by using Tesla Storm as you approach objectives. Upon activation, lightning leaps between party members to stun and damage all enemies who dare break the formation.

Usage Tip: Whenever you feel like becoming a superhero and have a moment with your teammates, pop Tesla Storm. The lightning connection from Tesla Storm connects to your friendly players, making it more effective as your teammates spread out, stunning and damaging all normal enemies within the array. This Field Upgrade won’t affect Elites, but it will help destroy the normal enemies that appear while you’re fighting an Elite, helping you focus on killing the Elite without becoming too overwhelmed.
Gaining and Losing Gear
If your Operator is fully eliminated at any point within MWZ, you will lose all of the Gear, weapons, and Acquisitions that you had equipped on that Operator as well as what was in their Backpack. This feature alone creates a few different playstyles, one of which instills something called “Gear Fear.”
Intel Card — Gaining and Losing Gear
// INTEL CARD
- MWIII
- WZ
- WZM
Gaining and Losing Gear
// MODERN WARFARE ZOMBIES // EQUIPPING YOUR OPERATOR
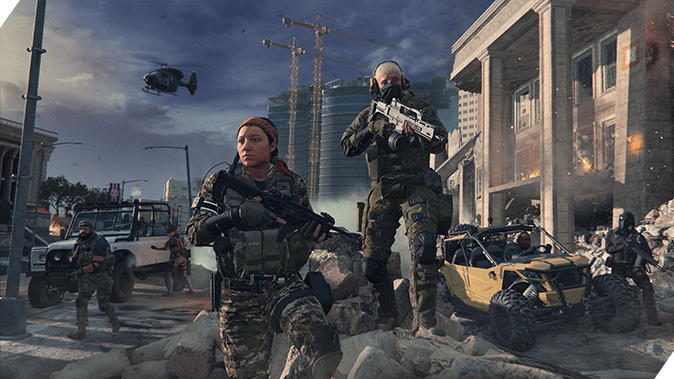
Gear Fear: Don’t be afraid to bring Acquisitions and good weapons into a deployment. They need to be used and you will always get more.
Weapon collection: The rate at which you’ll find higher rarity weapons at the beginning of a deployment is high, which means that you may not need to bring a Secondary Weapon in when you have a decent Primary. Extract with two in order to build up your Contraband Stash.
Cash registers: A good strategy for the beginning of a deployment is to hit as many cash registers as possible on your way to your first Contract. This way you will have a stack of Essence that’ll allow you to buy some stuff early.
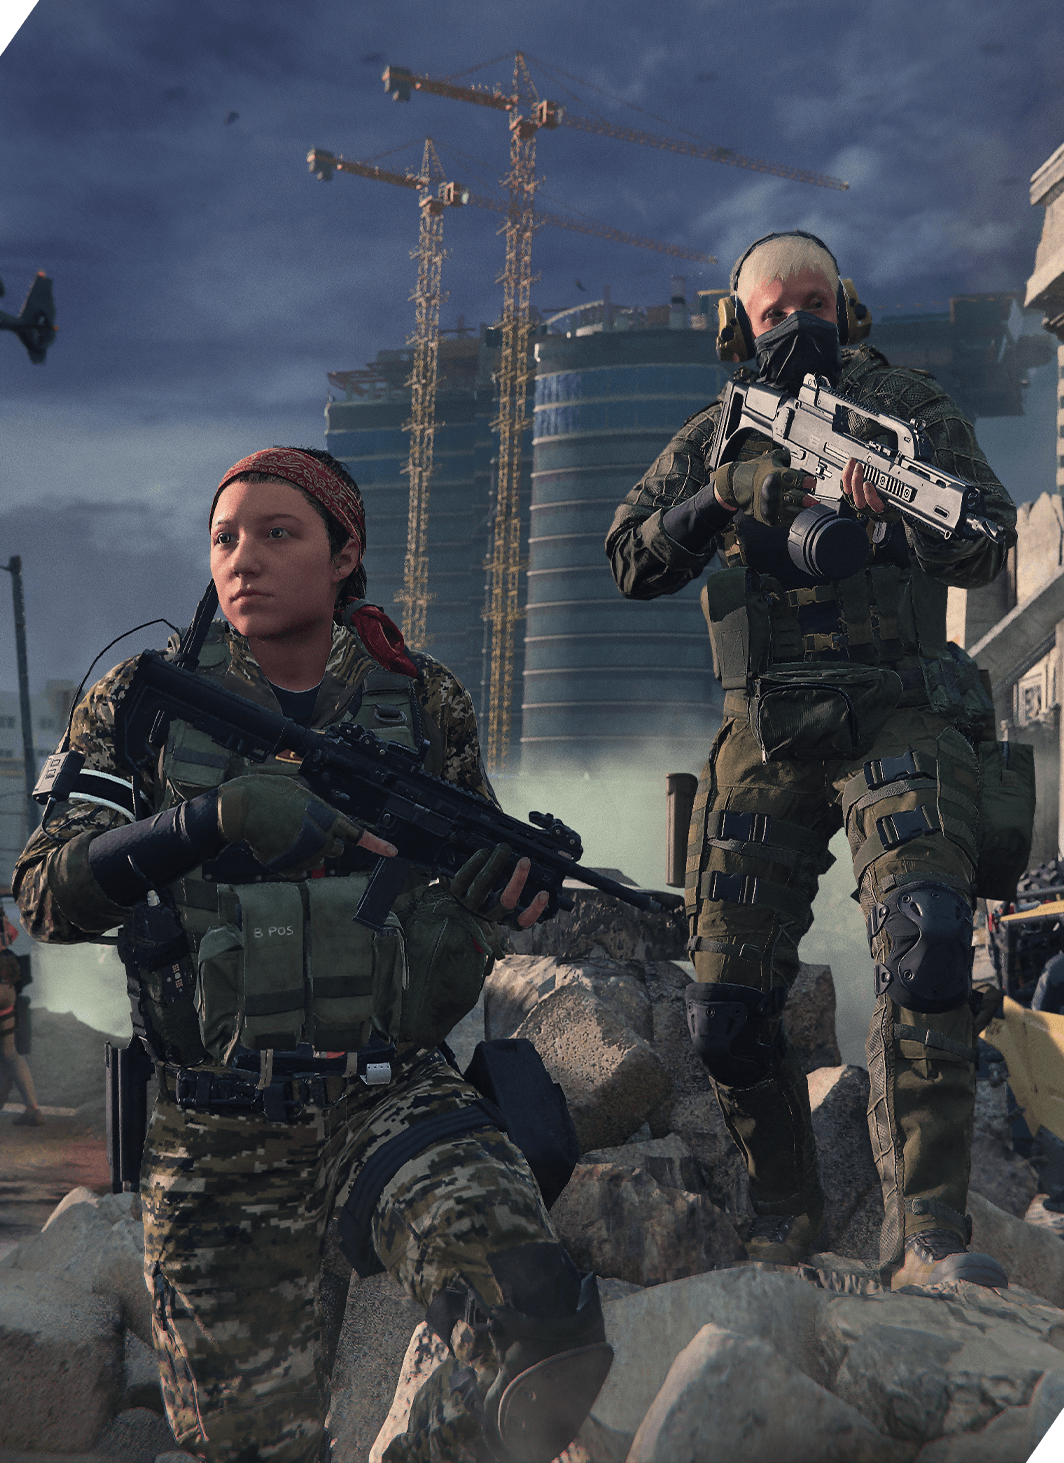
Avoid “Gear Fear” at all costs. Just remember that even if you lose everything during a deployment, there are always ways to build your Stash back up. One of the best ways is by using Insured Slots whenever they are available. You only need one weapon to get the ball rolling in Operation Deadbolt, and even then, if you are totally out of everything and you have to deploy with nothing, you’ll want to look around for essence vials. These can be found in locations all around the map and in loot containers, especially cash registers. All you need is enough to buy a weapon from a Wall Buy, Mystery Box, or Buy Station.
Tip: As you play, it’s a good idea to leave one or two weapons you extract with in your Stash. This way you will always gain a weapon in your Stash each time you successfully extract. Unless you bring in a bunch of Aether Tools, you’ll likely be swapping weapons that you bring in pretty quickly anyway.
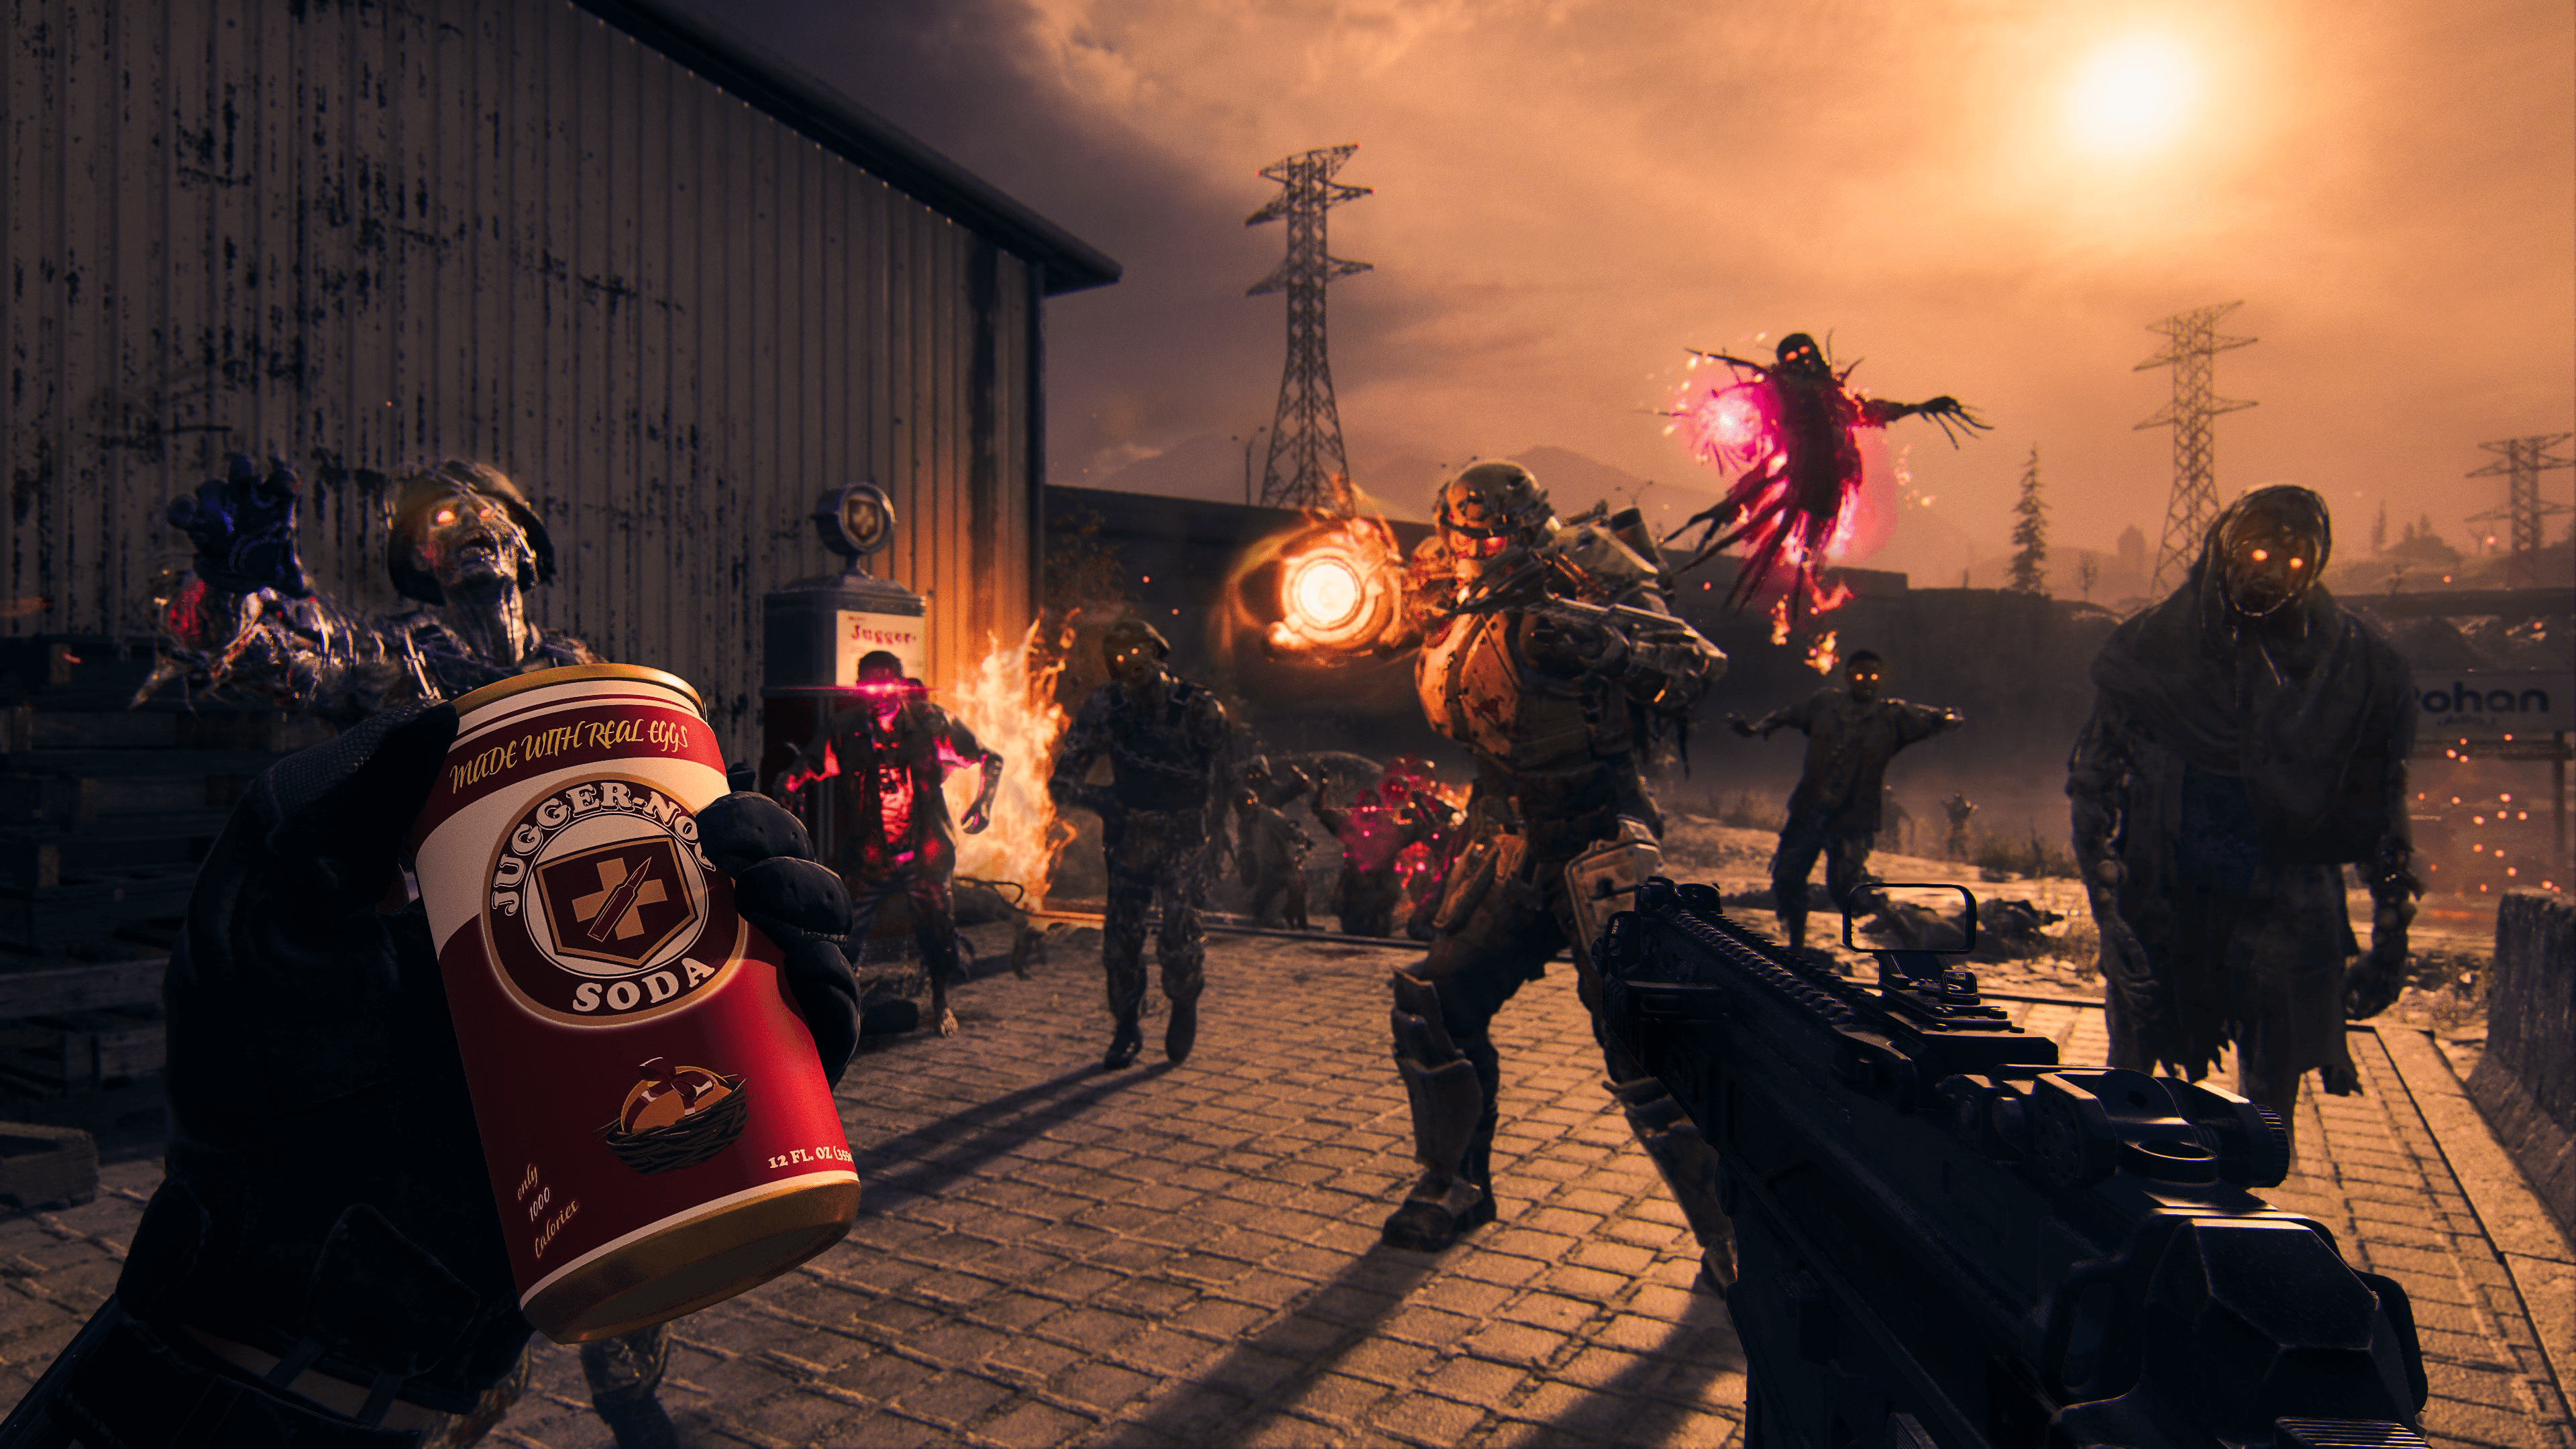
Acquisitions are weapons and items that you may recognize if you are a Zombies veteran player. However, Acquisitions work differently than they ever have. Listed below are all of the Acquisitions you can find throughout Urzikstan. These are not unlocked via any level or challenge — you either collect them and store them in your Stash, or you craft them. In order to craft Acquisitions, you must extract with the Schematic for that item. There are five Acquisition types: Aetherium, Perk-a-Colas, Ammo Mods, Schematics, and Wonder Weapons.
For everything Acquisitions, including where to find them, how to equip them, and how to store them for later, please check out the Acquisitions Guide.
Strike Team
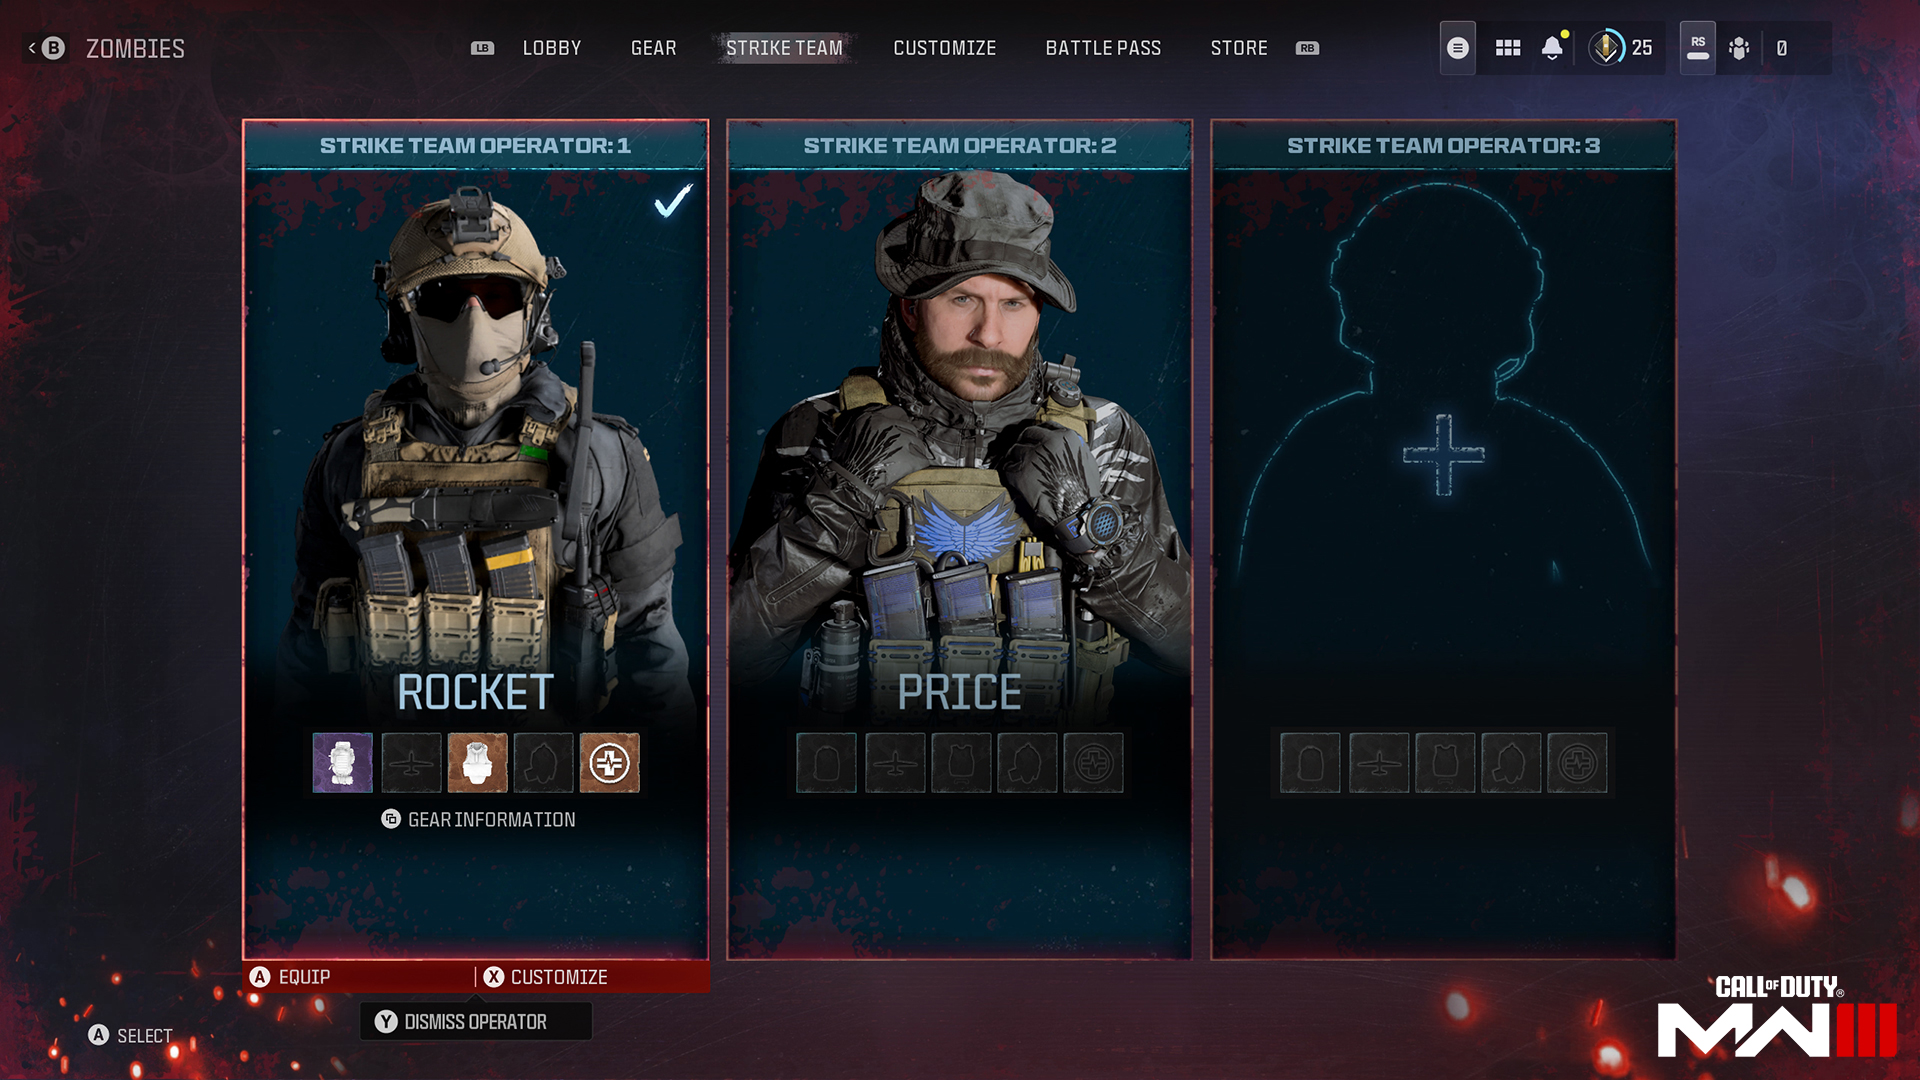
The Strike Team is your group of Operators that you can choose from. You can switch between Operators on your Strike team in between sessions and you can choose any Operator you have unlocked to fill one of your Strike Team Operator slots. You start with three available Strike Team Operator slots but stay on the lookout in the Store for Bundles tagged with MWZ, as they will have bonuses that apply to Modern Warfare Zombies.
The main reason to have multiple Operators on your Strike Team is the Gear that’s equipped on them. This cannot be taken off until they are eliminated during a deployment. From the Strike Team menu, click the corresponding key or button to view the “Gear Information” on each Strike Team Operator. Within this menu are five slots that will contain only a Small Rucksack until you start collecting things to equip. These items can only be found in Urzikstan and cannot be equipped outside of deployment.
Operator Equipment
Listed below are the five slots available on each Operator:
Rucksack
Small Rucksack: Default Rucksack that has a five-slot inventory.
Medium Rucksack: Backpack that has a seven-slot slot inventory.
Large Rucksack: Largest Backpack available with a nine-slot inventory.
Plate Carrier
Tip: Level 2 and Level 3 Plate Carriers can be found in loot containers, but they are usually found in lockers. You can also purchase them from Buy Stations.
Level 1 Plate Carrier: Plate Carrier that allows a maximum of one plate of armor to be equipped at any given time.
Level 2 Plate Carrier: Plate carrier that allows a maximum of two plates of armor to be equipped at any given time.
Level 3 Plate Carrier: Plate carrier that allows a maximum of three plates of armor to be equipped at any given time.
Gas Mask
Gas Masks are available for you to equip into this slot or stow extras in your Backpack. In MWZ, a single Gas Mask can go a long way; however, there are many Contracts and Activities that force you into toxic locations. Unless you’re fast at completing the tasks required to clear the toxicity, you can burn through Gas Masks quickly.
Self-Revive Kit
The final slot in your Operator’s Gear is the Self-Revive Kit. If you have one equipped, you can revive yourself without the assistance of another player. This is a very important slot to always have filled while playing MWZ. Self-Revive Kits can often be found in Med Boxes, which are likely to be found in restrooms all around Urzikstan.
Customize/Vehicles
The Customize menu is where you can customize all of your Vehicles, Calling Cards, Emblems, Loading Screens, and Music. As you play Modern Warfare Zombies, you will unlock more options to play around with in this menu. You will also unlock Calling Cards and Emblems through challenges and will receive them as Mission Rewards. The Customize menu makes it easy to swap through them without needing to leave the MWZ menus.
Listed below are all the Vehicles that you’ll find in Urzikstan. You can customize all of them.
ATV
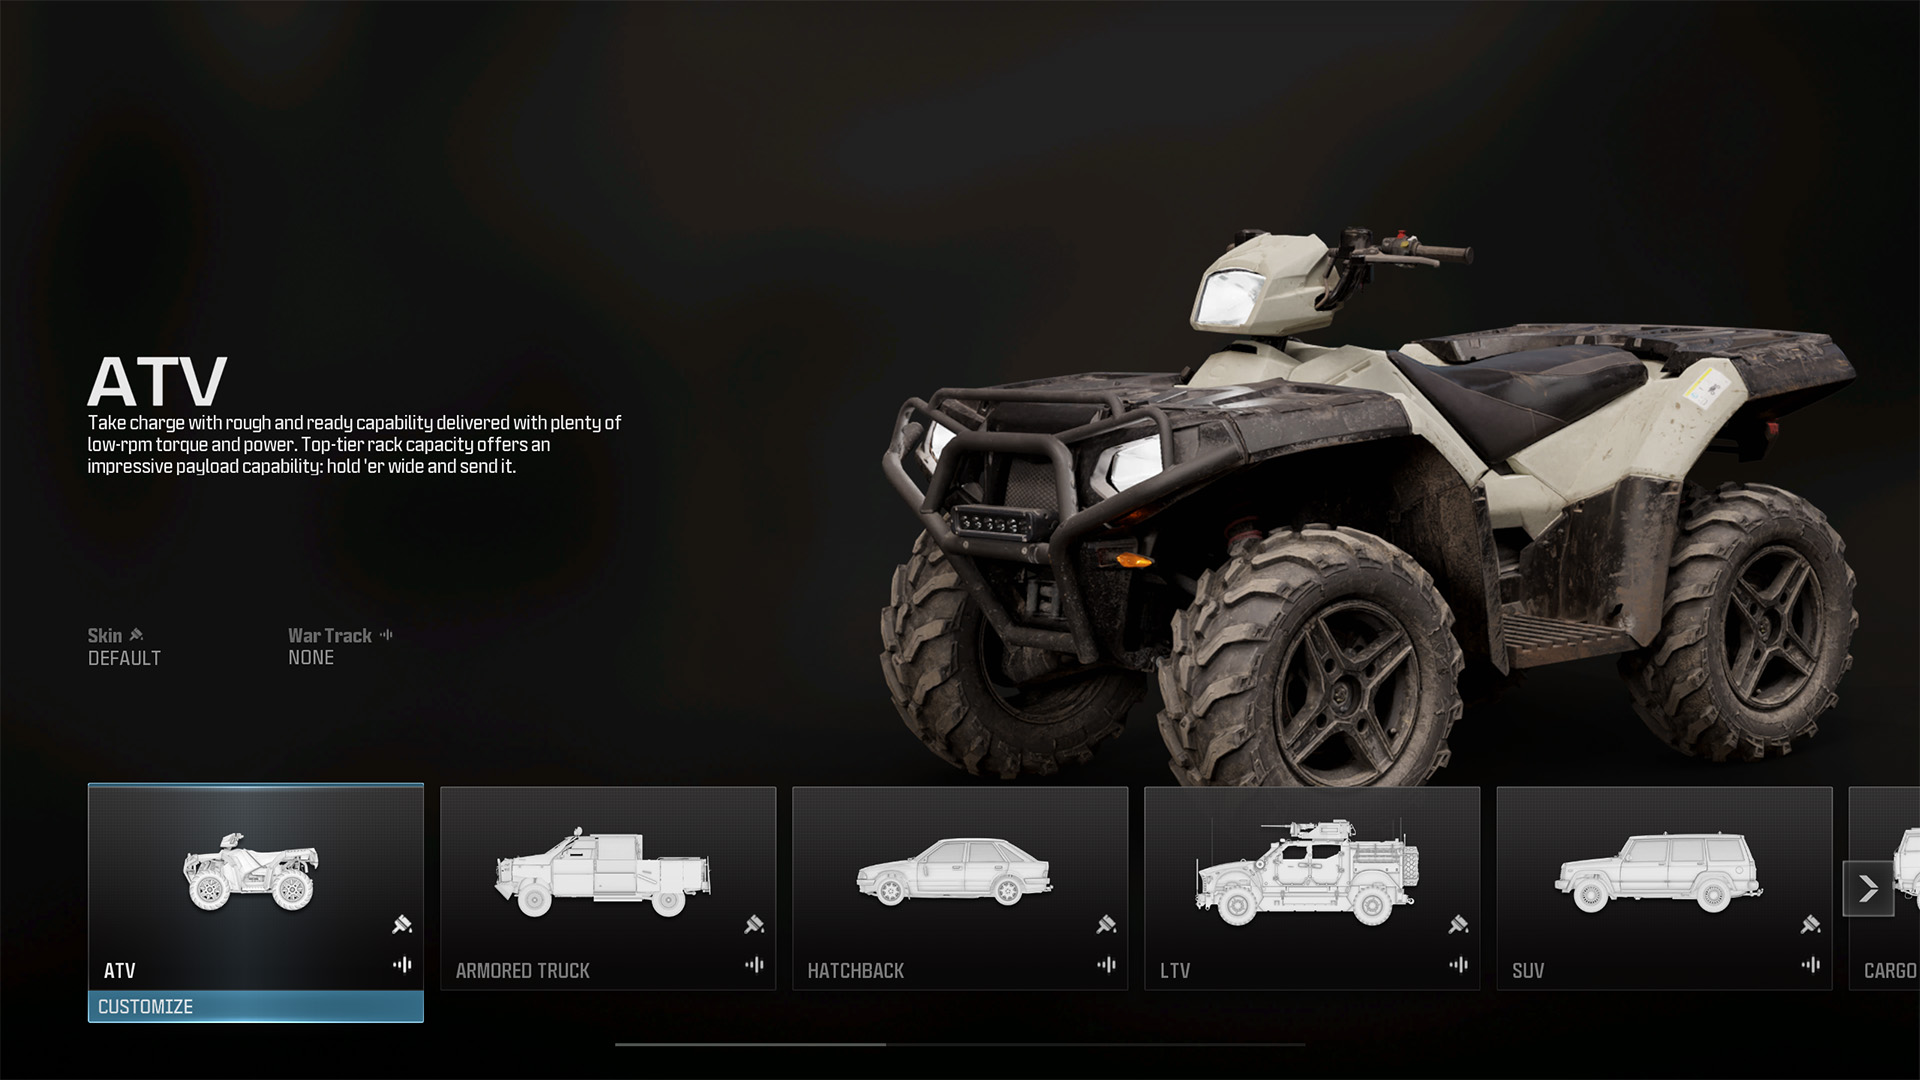
Take charge with rough and ready capability delivered with plenty of low-rpm torque and power. Top-tier rack capacity offers an impressive payload capability: hold ’er wide and send it.
Armored Truck
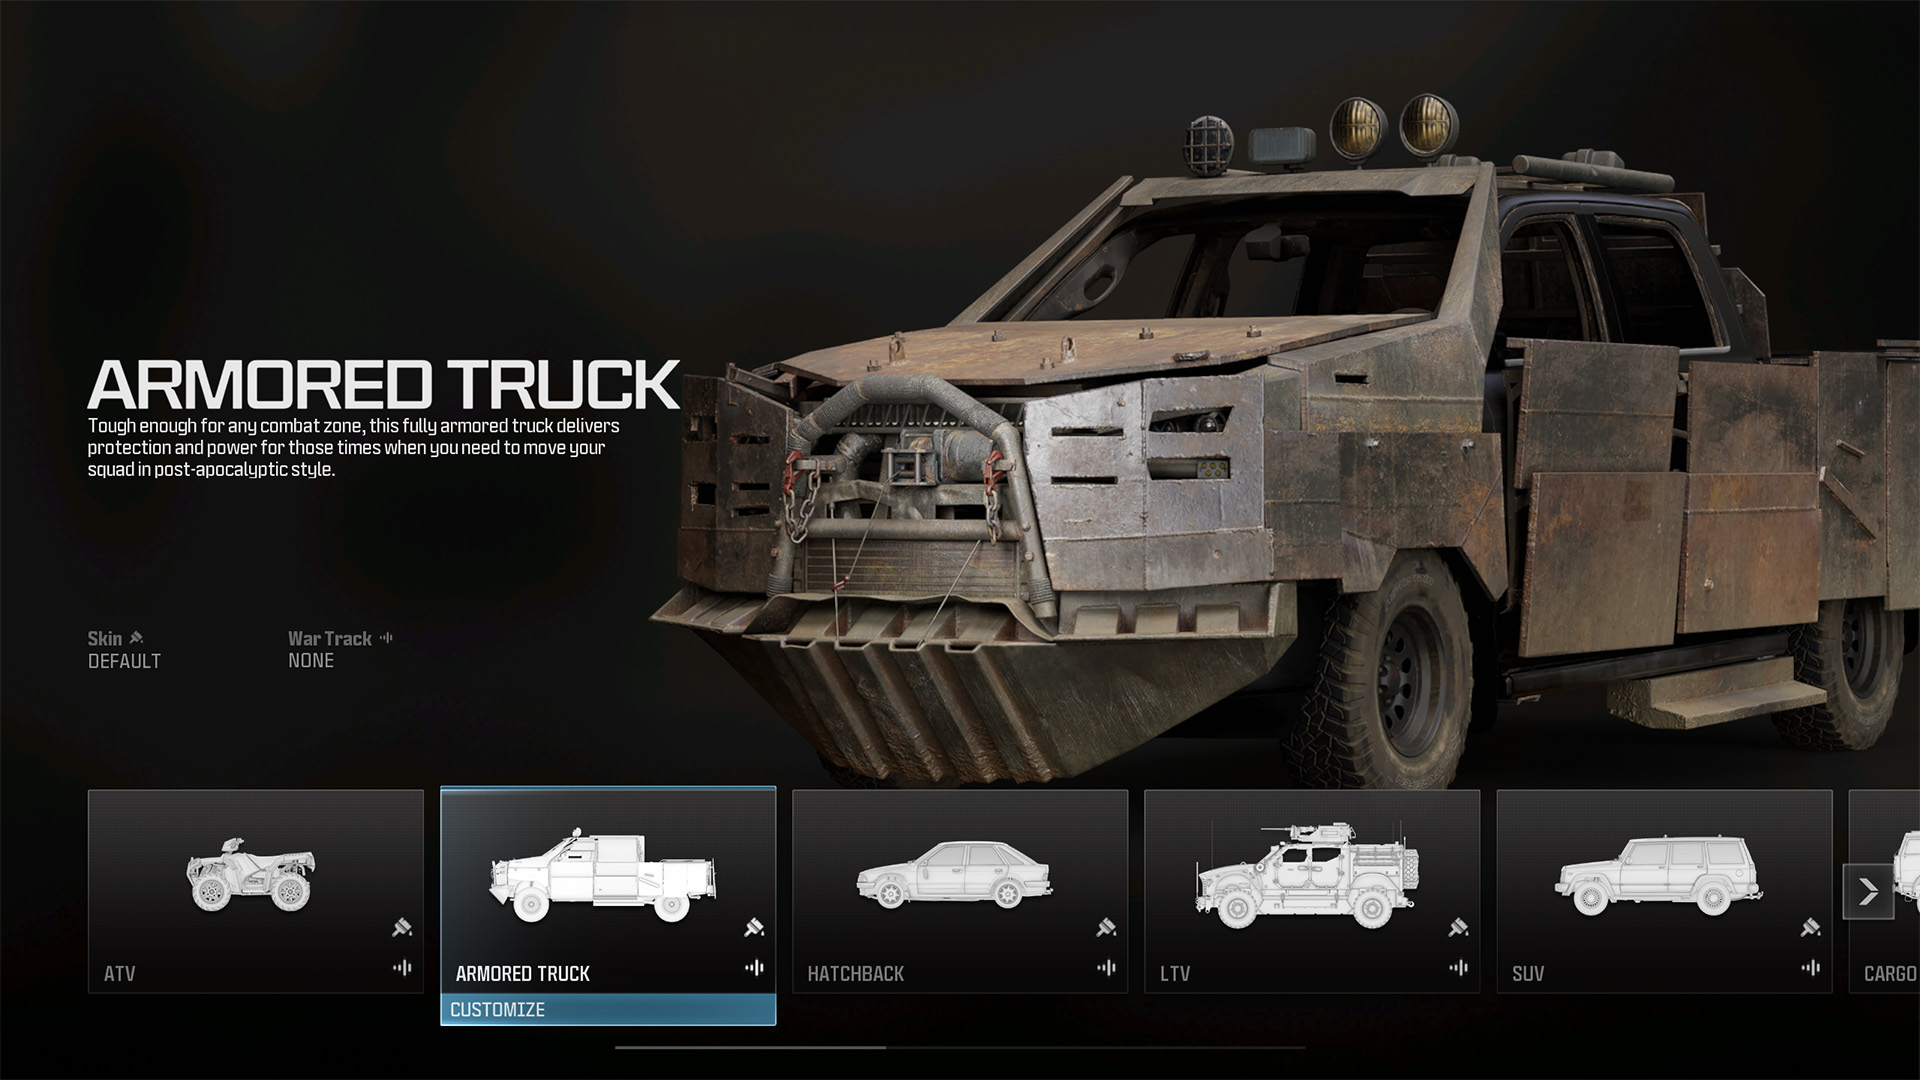
Tough enough for any combat zone, this fully armored truck delivers protection and power for those times when you need to move your squad in post-apocalyptic style.
Hatchback
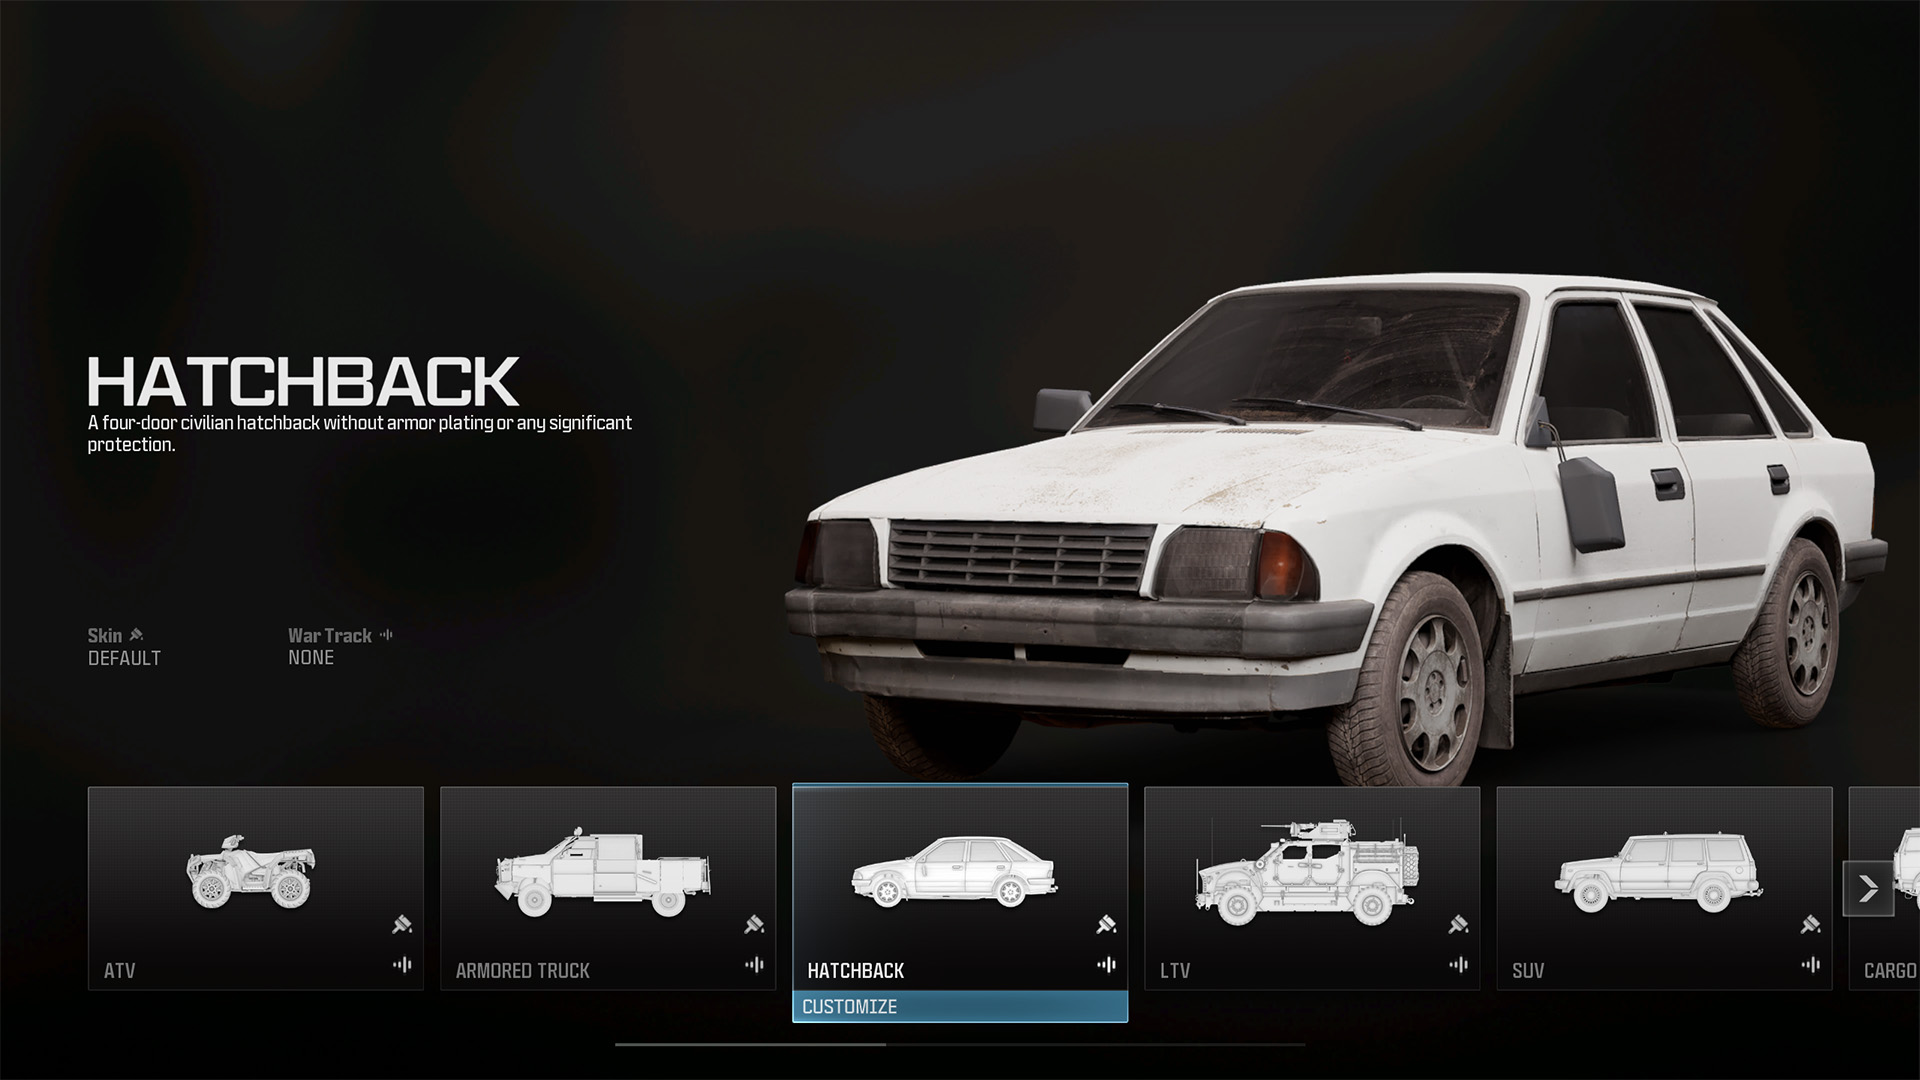
A four-door civilian hatchback without armor plating or any significant protection.
LTV
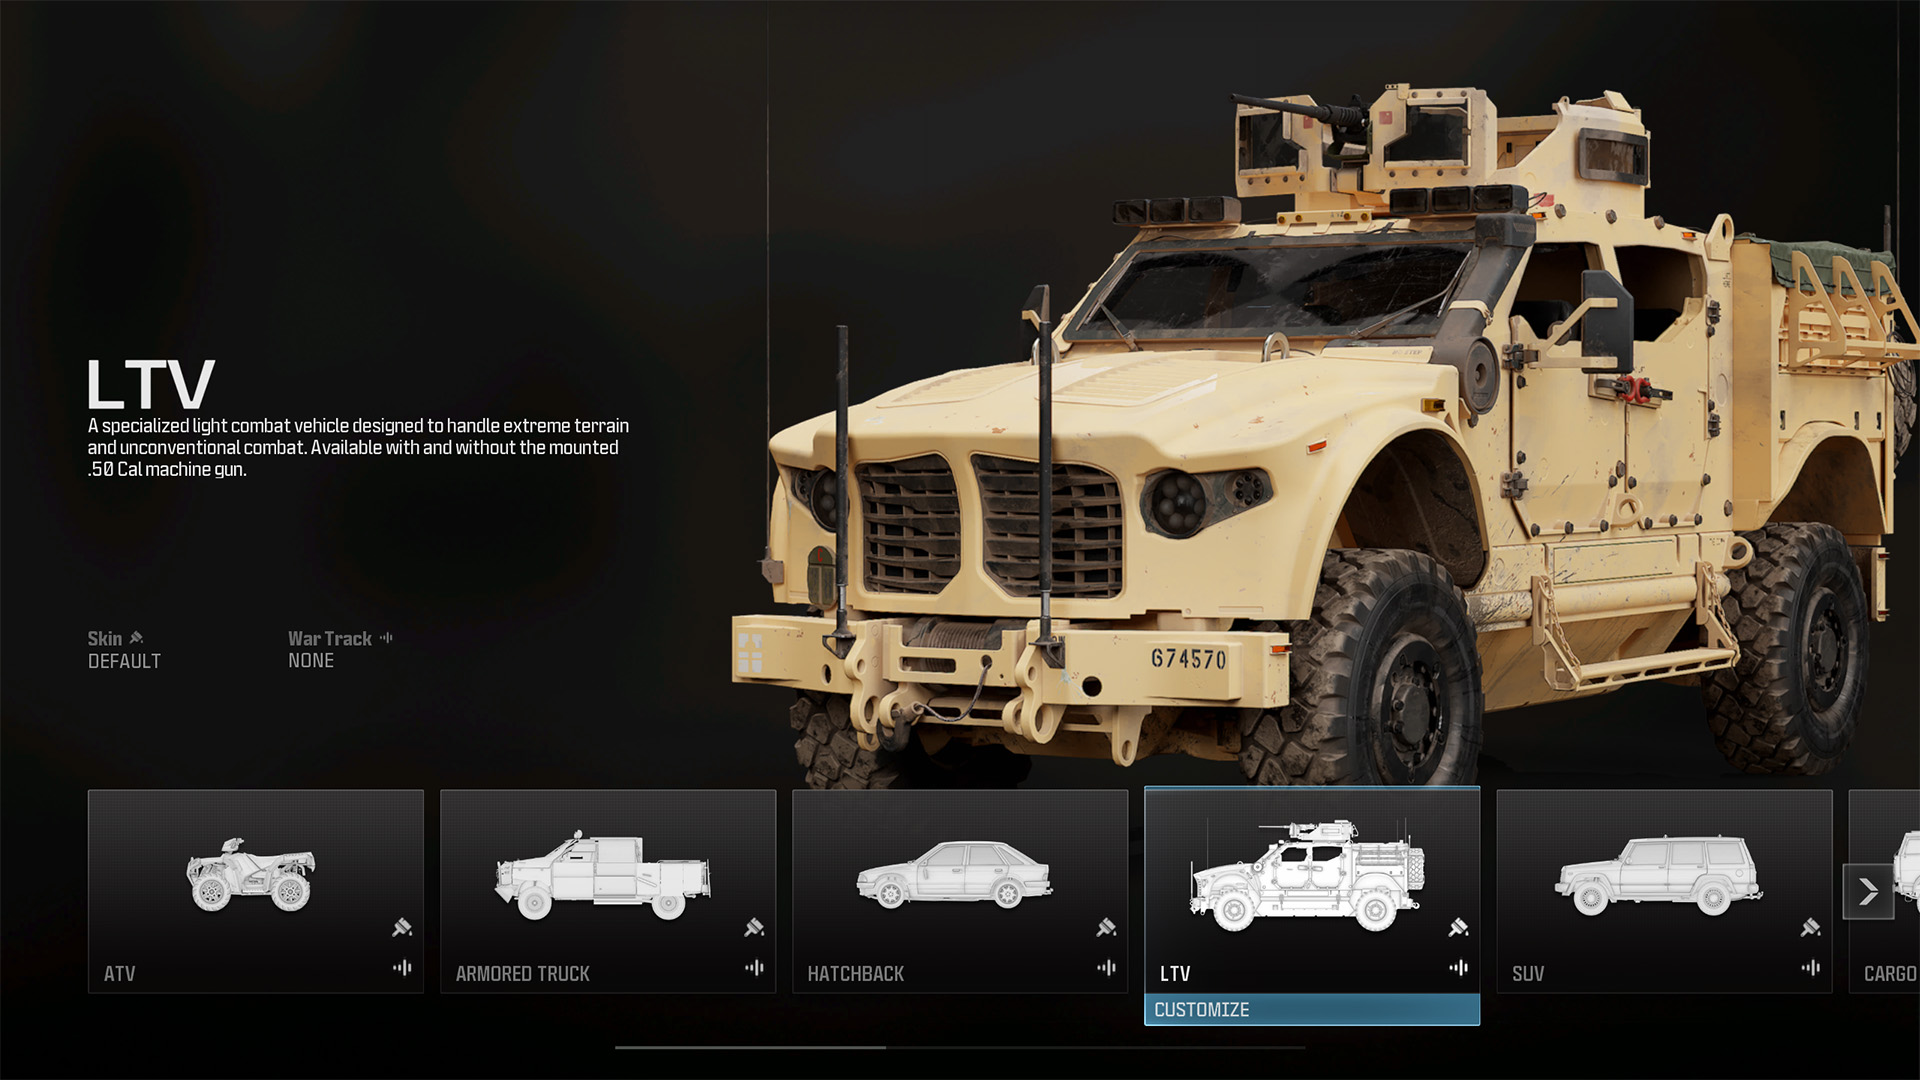
A specialized light combat vehicle designed to handle extreme terrain and unconventional combat. Available with and without the mounted .50 Cal machine gun.
SUV
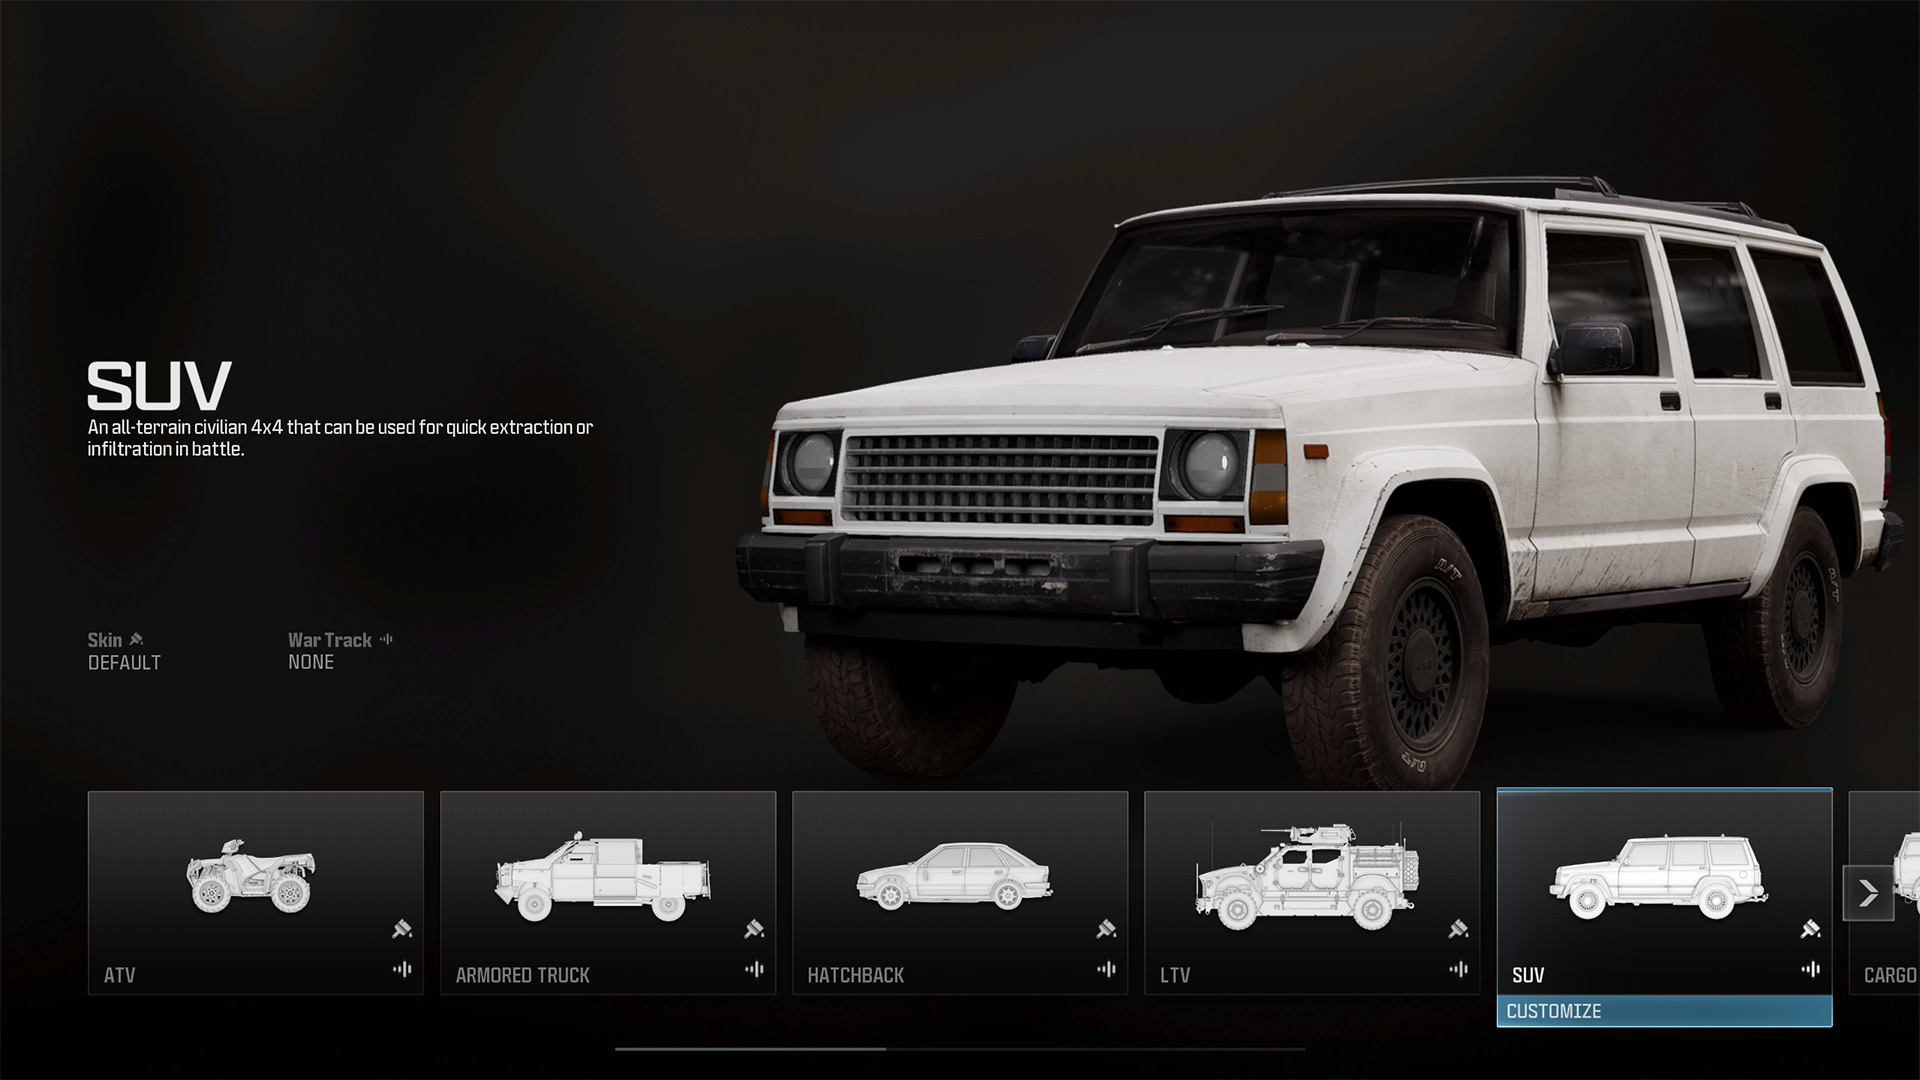
An all-terrain civilian 4x4 that can be used for quick extraction or infiltration in battle.
Cargo Truck
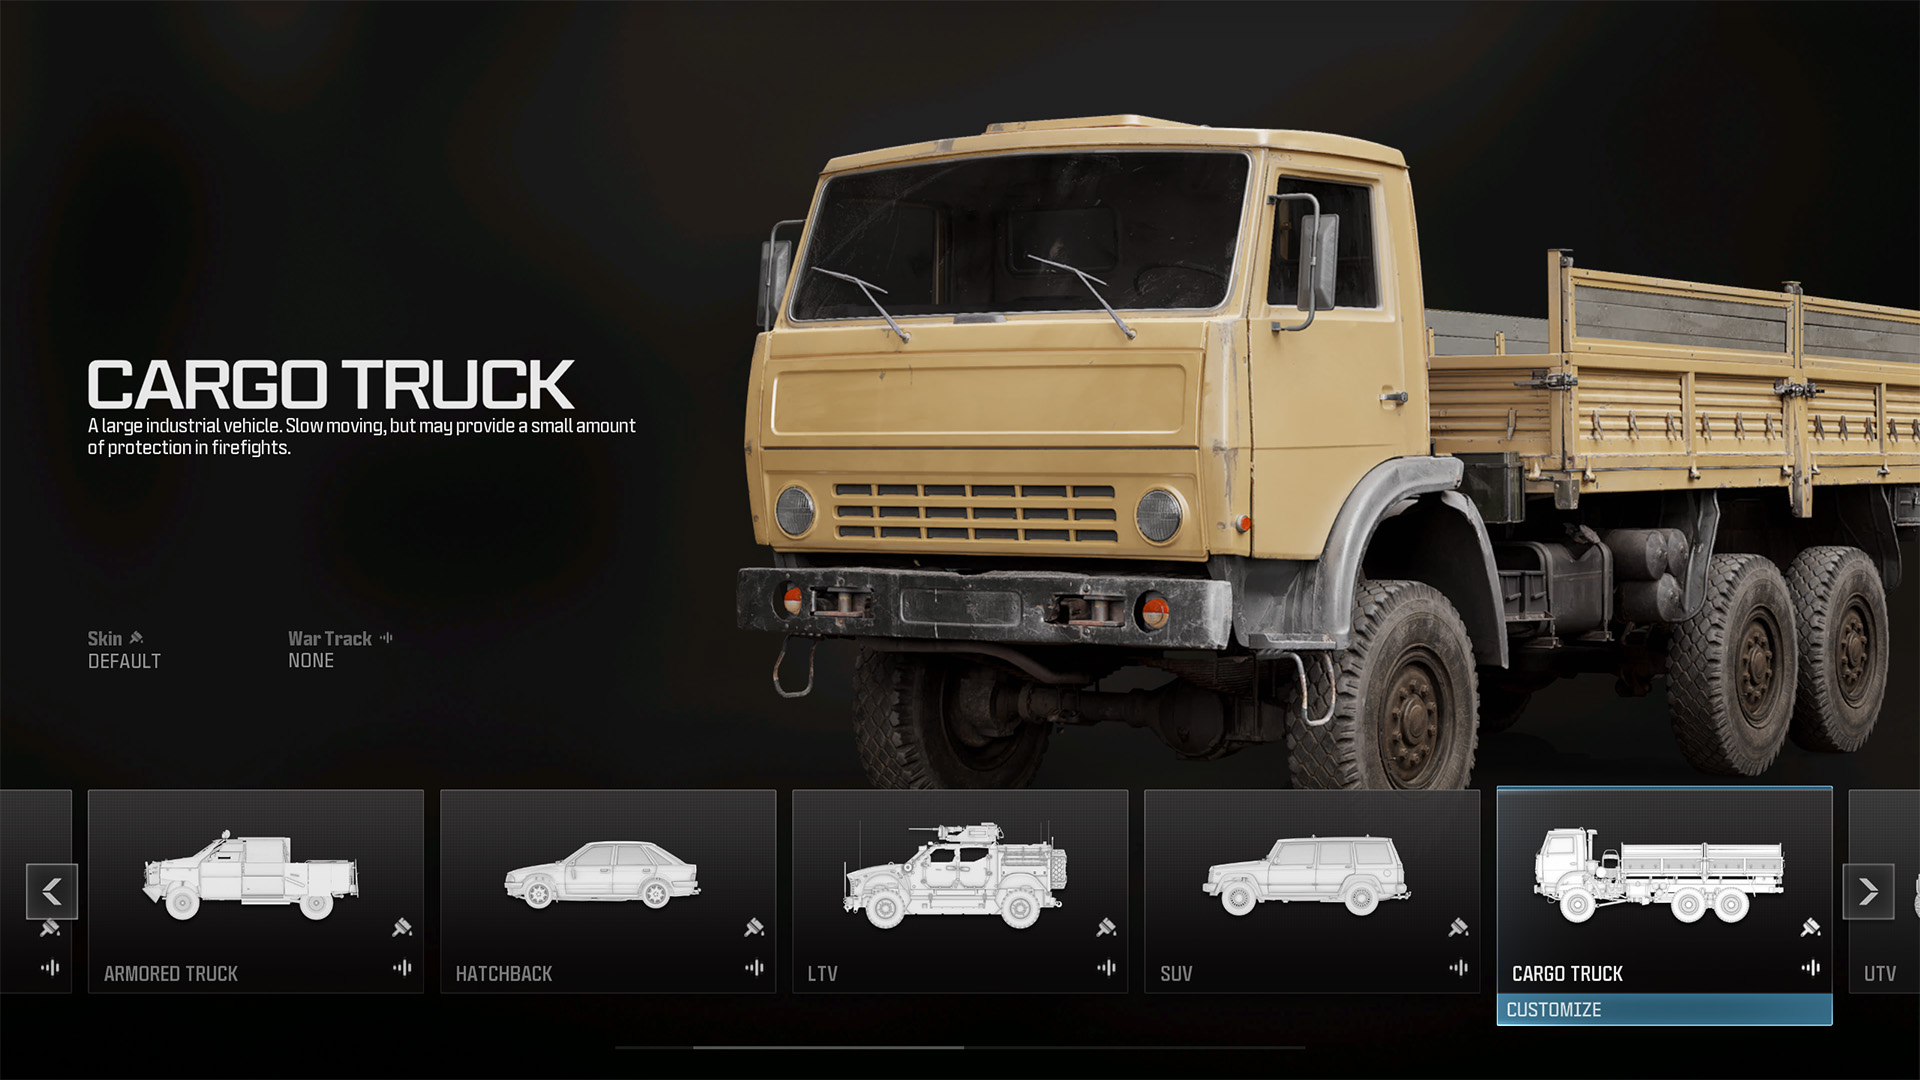
A large industrial vehicle. Slow moving, by may provide a small amount of protection in firefights.
UTV
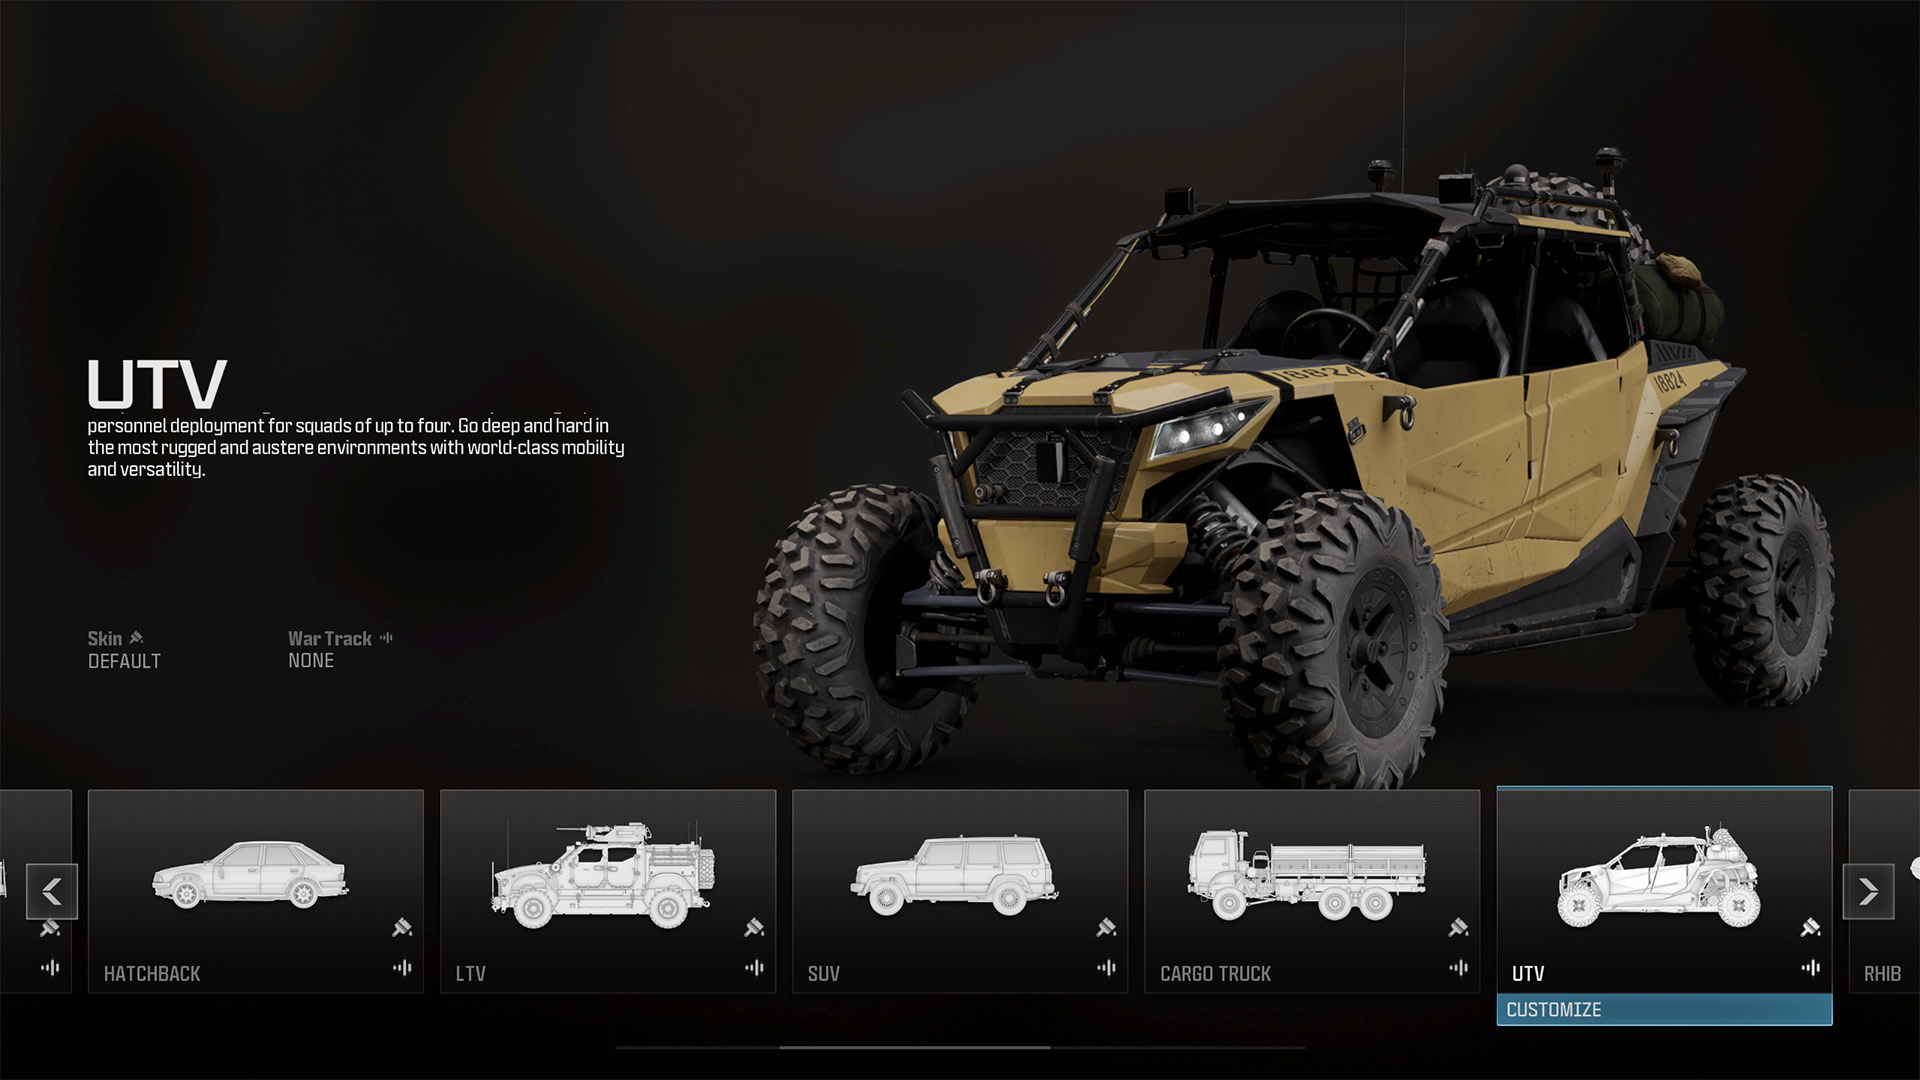
The pinnacle of ultra-light tactical off-road vehicles, allowing rapid personnel deployment for squads of up to four. Go deep and hard in the most rugged and austere environments with world-class mobility and versatility.
RHIB
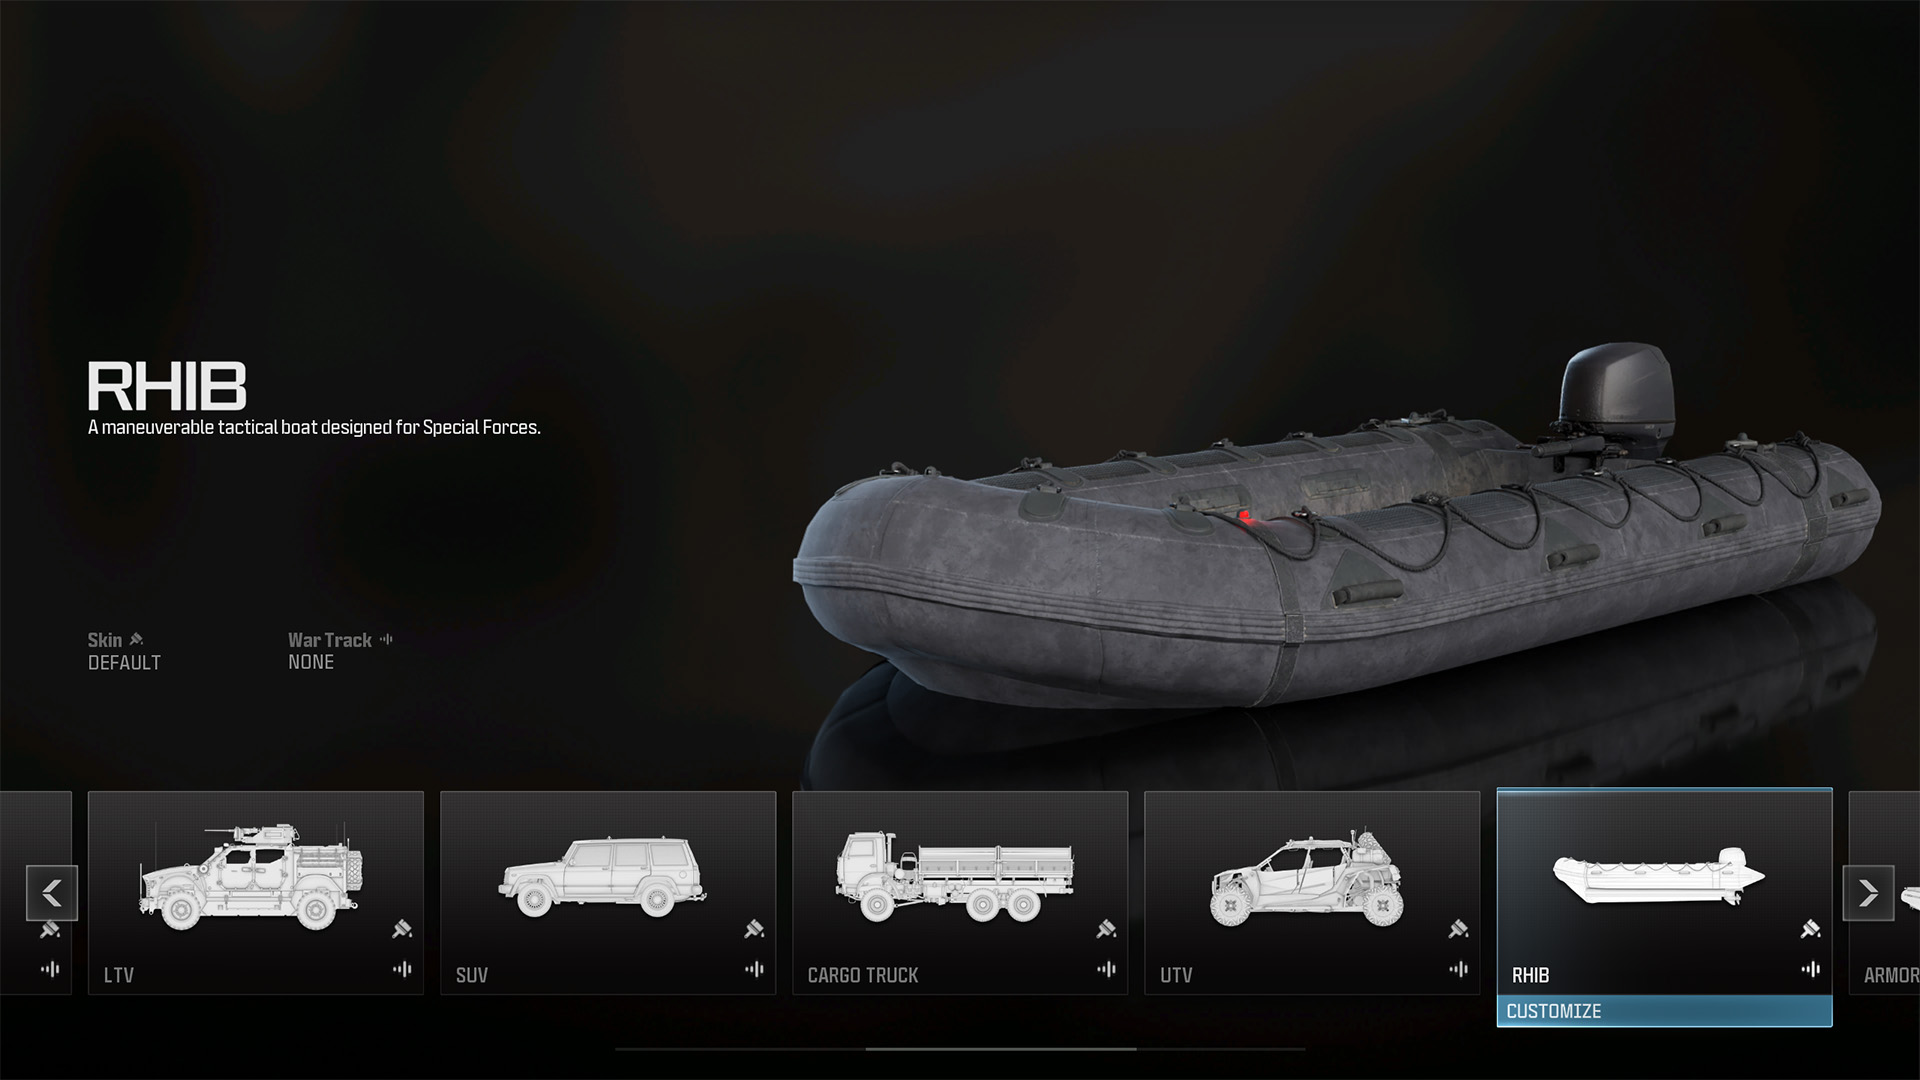
A maneuverable tactical boat designed for Special Forces.
Armored Patrol Boat
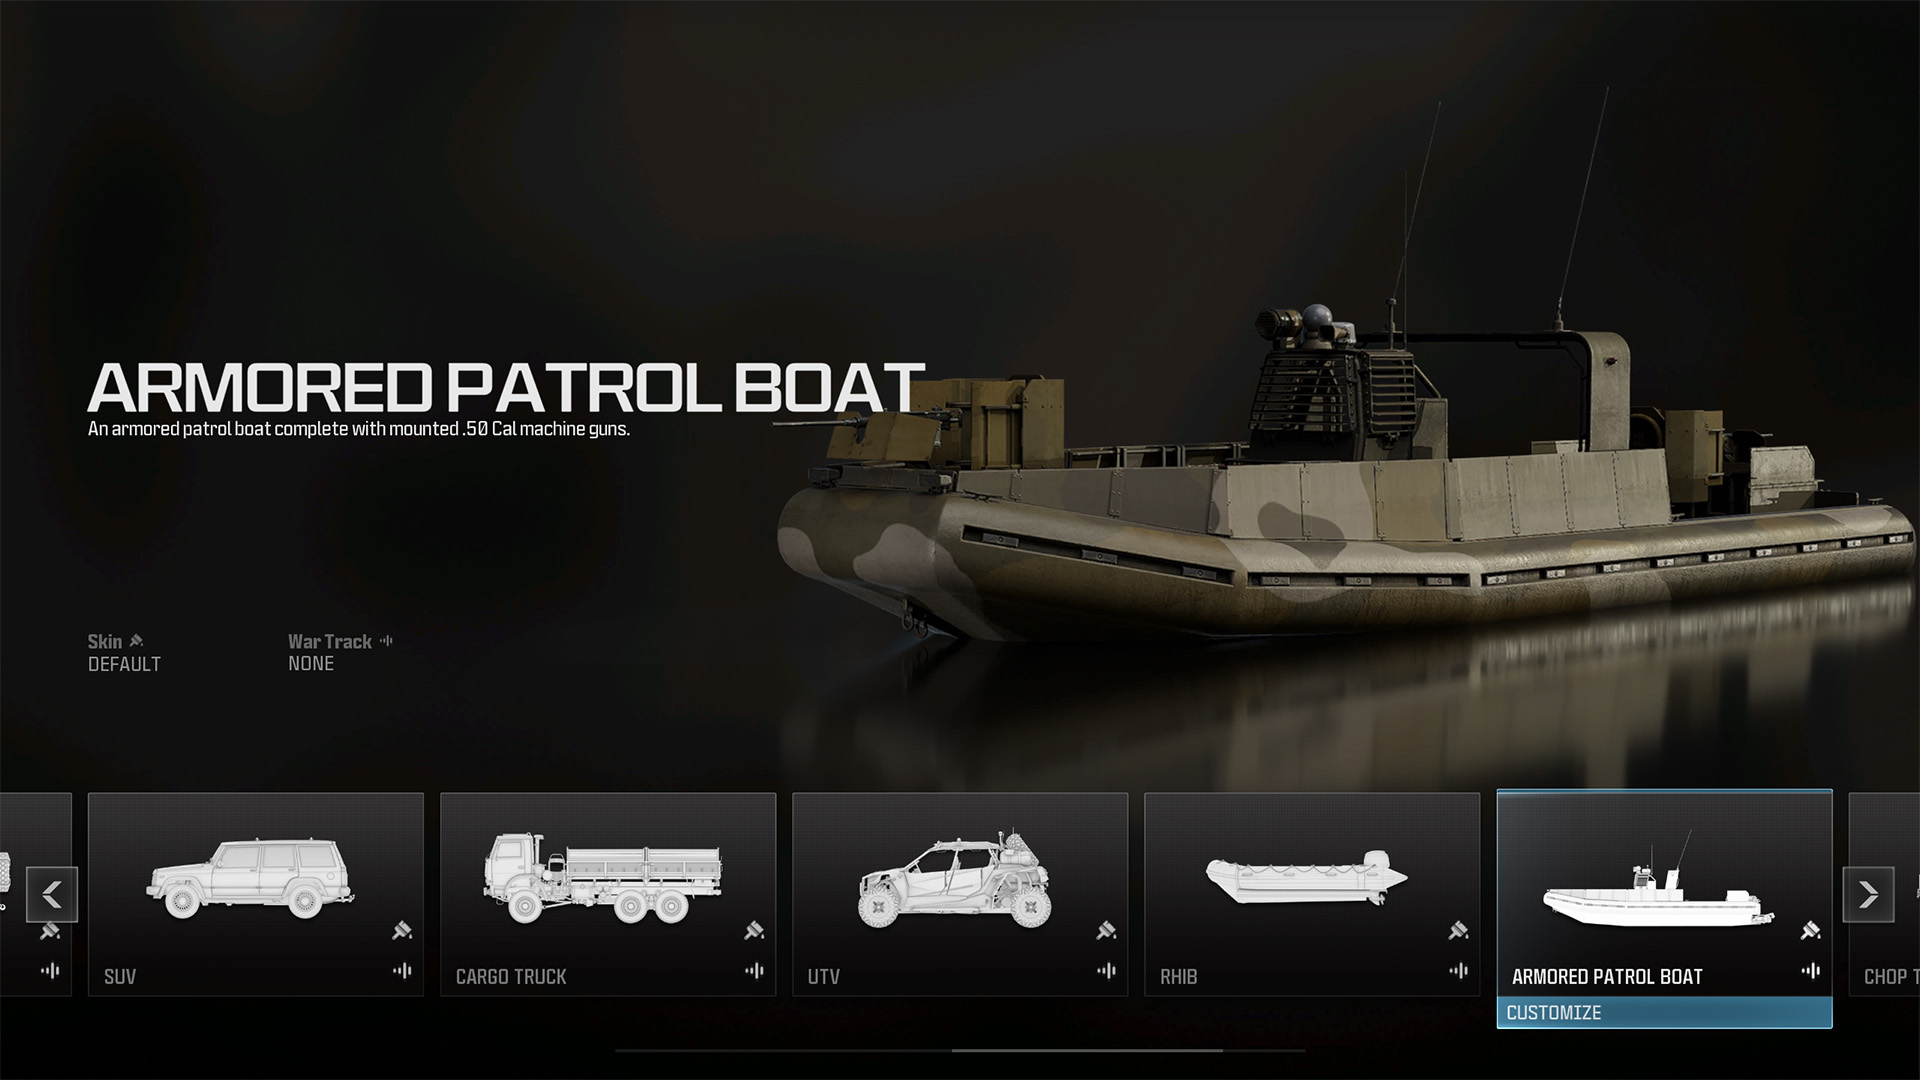
An armored patrol boat complete with mounted .50 Cal machine guns.
Chop Top
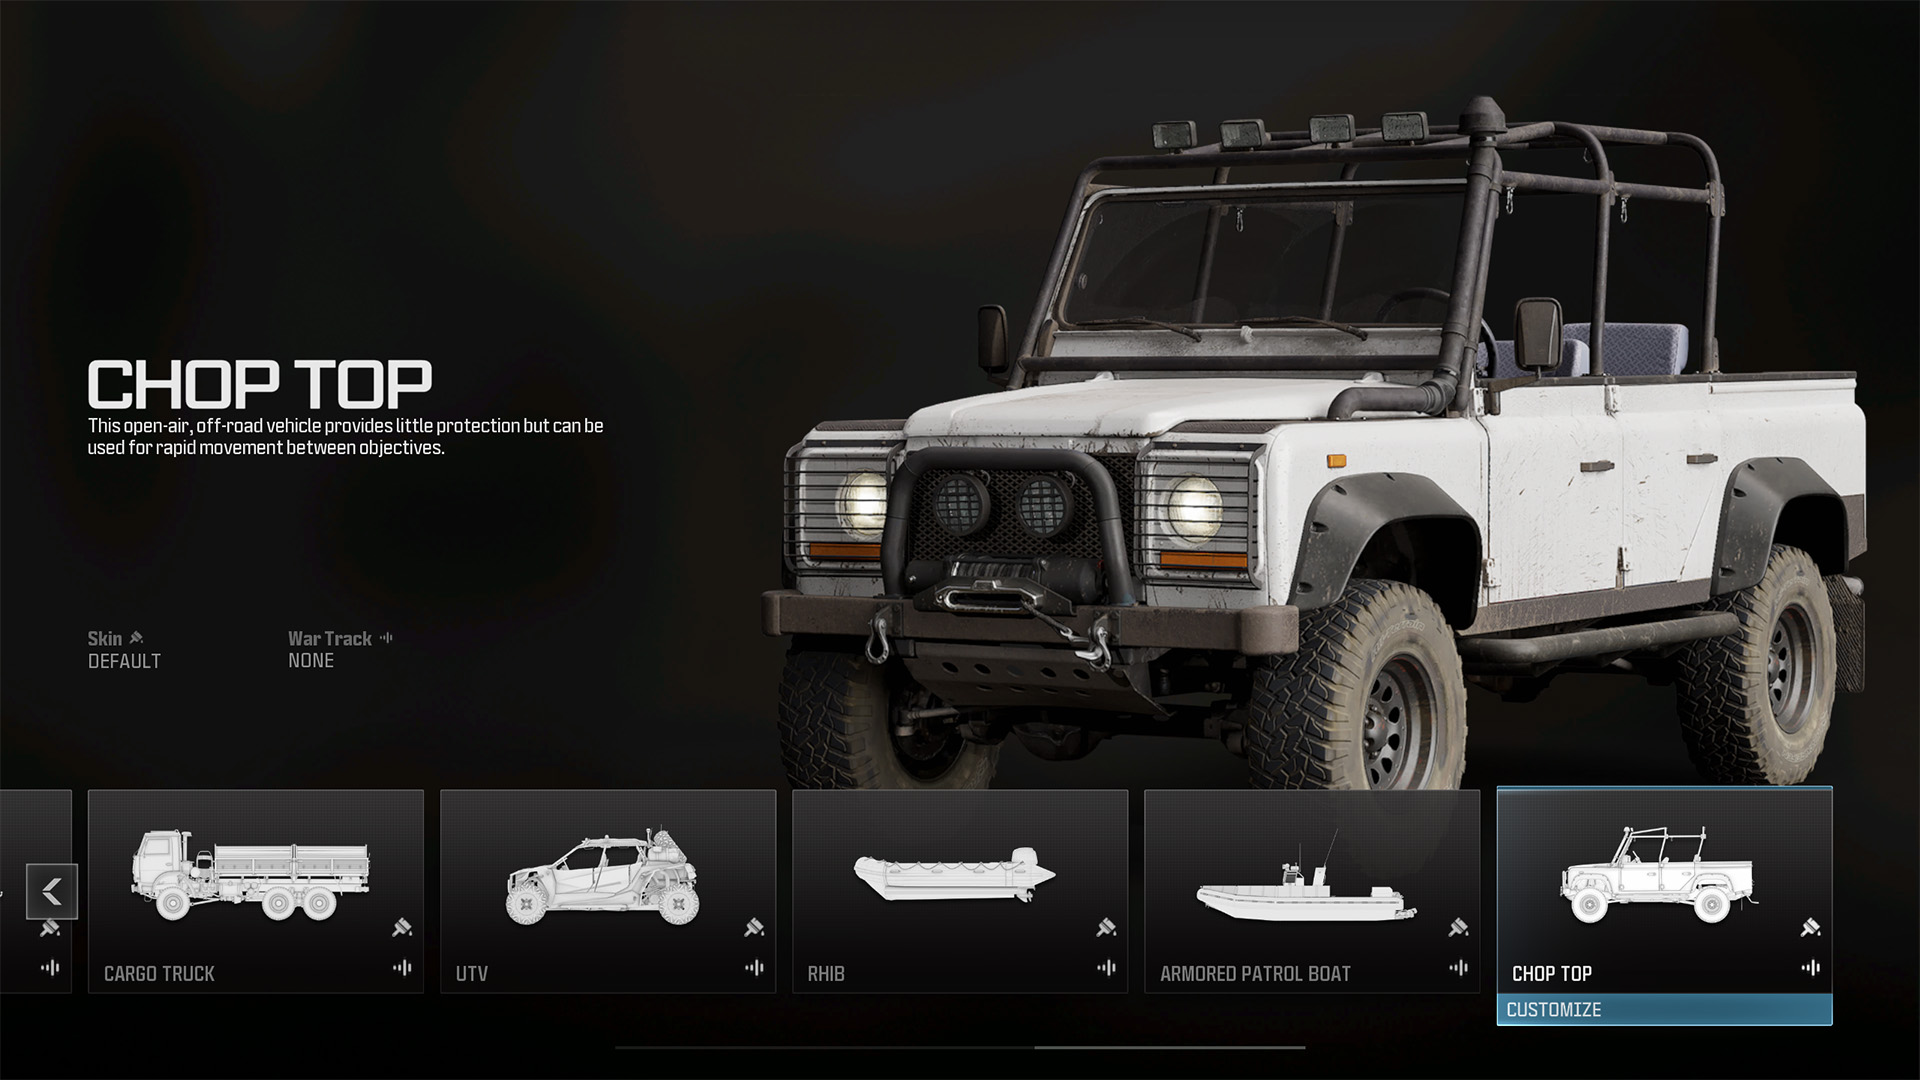
This open-air, off-road vehicle provides little protection but can be used for rapid movement between objectives.

© 2024 Activision Publishing, Inc. ACTIVISION, CALL OF DUTY, and MODERN WARFARE are trademarks of Activision Publishing, Inc. All other trademarks and trade names are the property of their respective owners.
For more information, please visit www.callofduty.com and www.youtube.com/callofduty, and follow @Activision and @CallofDuty on X, Instagram, and Facebook. For Call of Duty Updates, follow @CODUpdates on X.
