Modern Warfare Zombies: Missions and Progression

Prebrief
You’re almost ready to dive into the story that is Operation Deadbolt. Whether you’re deploying to Urzikstan for the first time or have a few runs under your belt, it is important to know exactly how the missions work in Modern Warfare® Zombies. This guide will show you the basics of how Missions are structured and the difference between normal Missions and Story Missions. We will also cover the camo progression and show you what’s in store for your journey through MWZ.
Missions Introduction
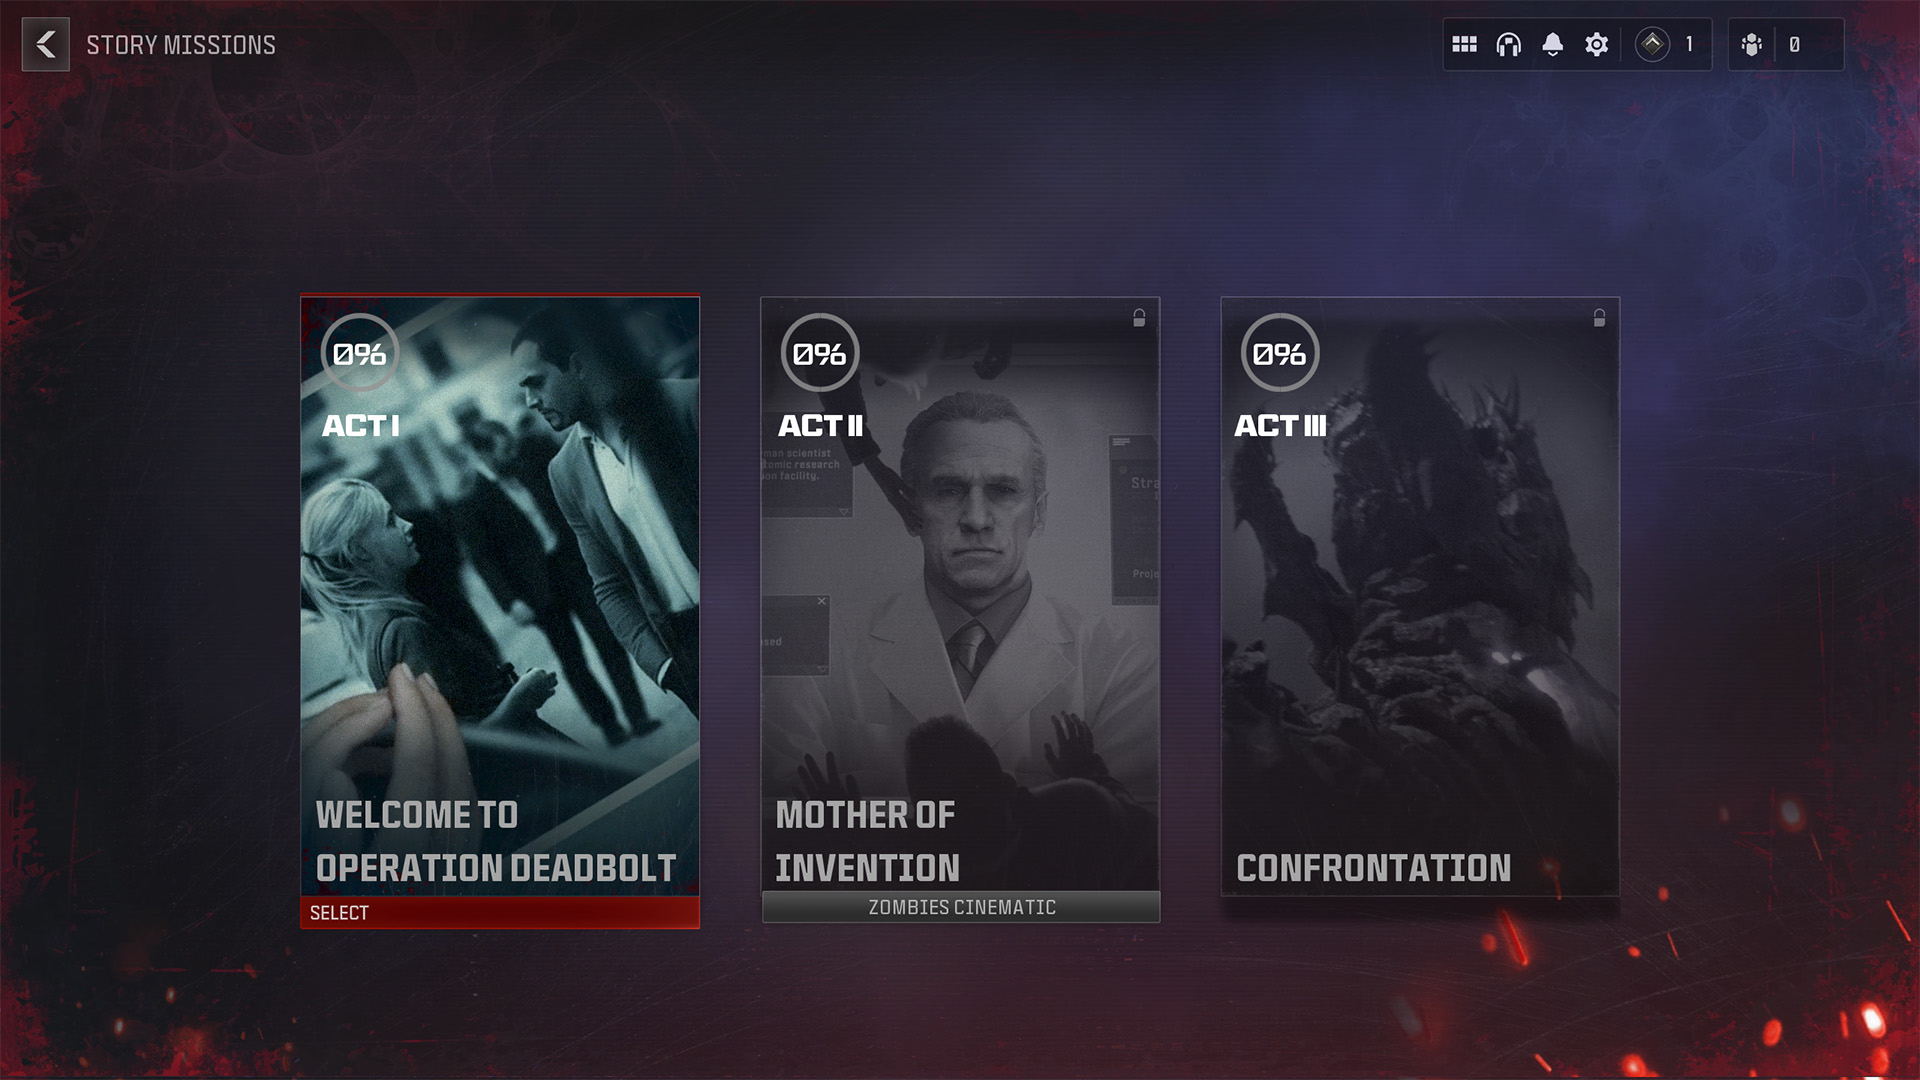
Zakhaev and his army of Terminus Outcomes mercenaries have already begun collecting Enriched Aetherium after starting the chaos in Urzikstan. It’s up to Operation Deadbolt to eradicate the incursion, but to do so, a few tasks need to be completed first.
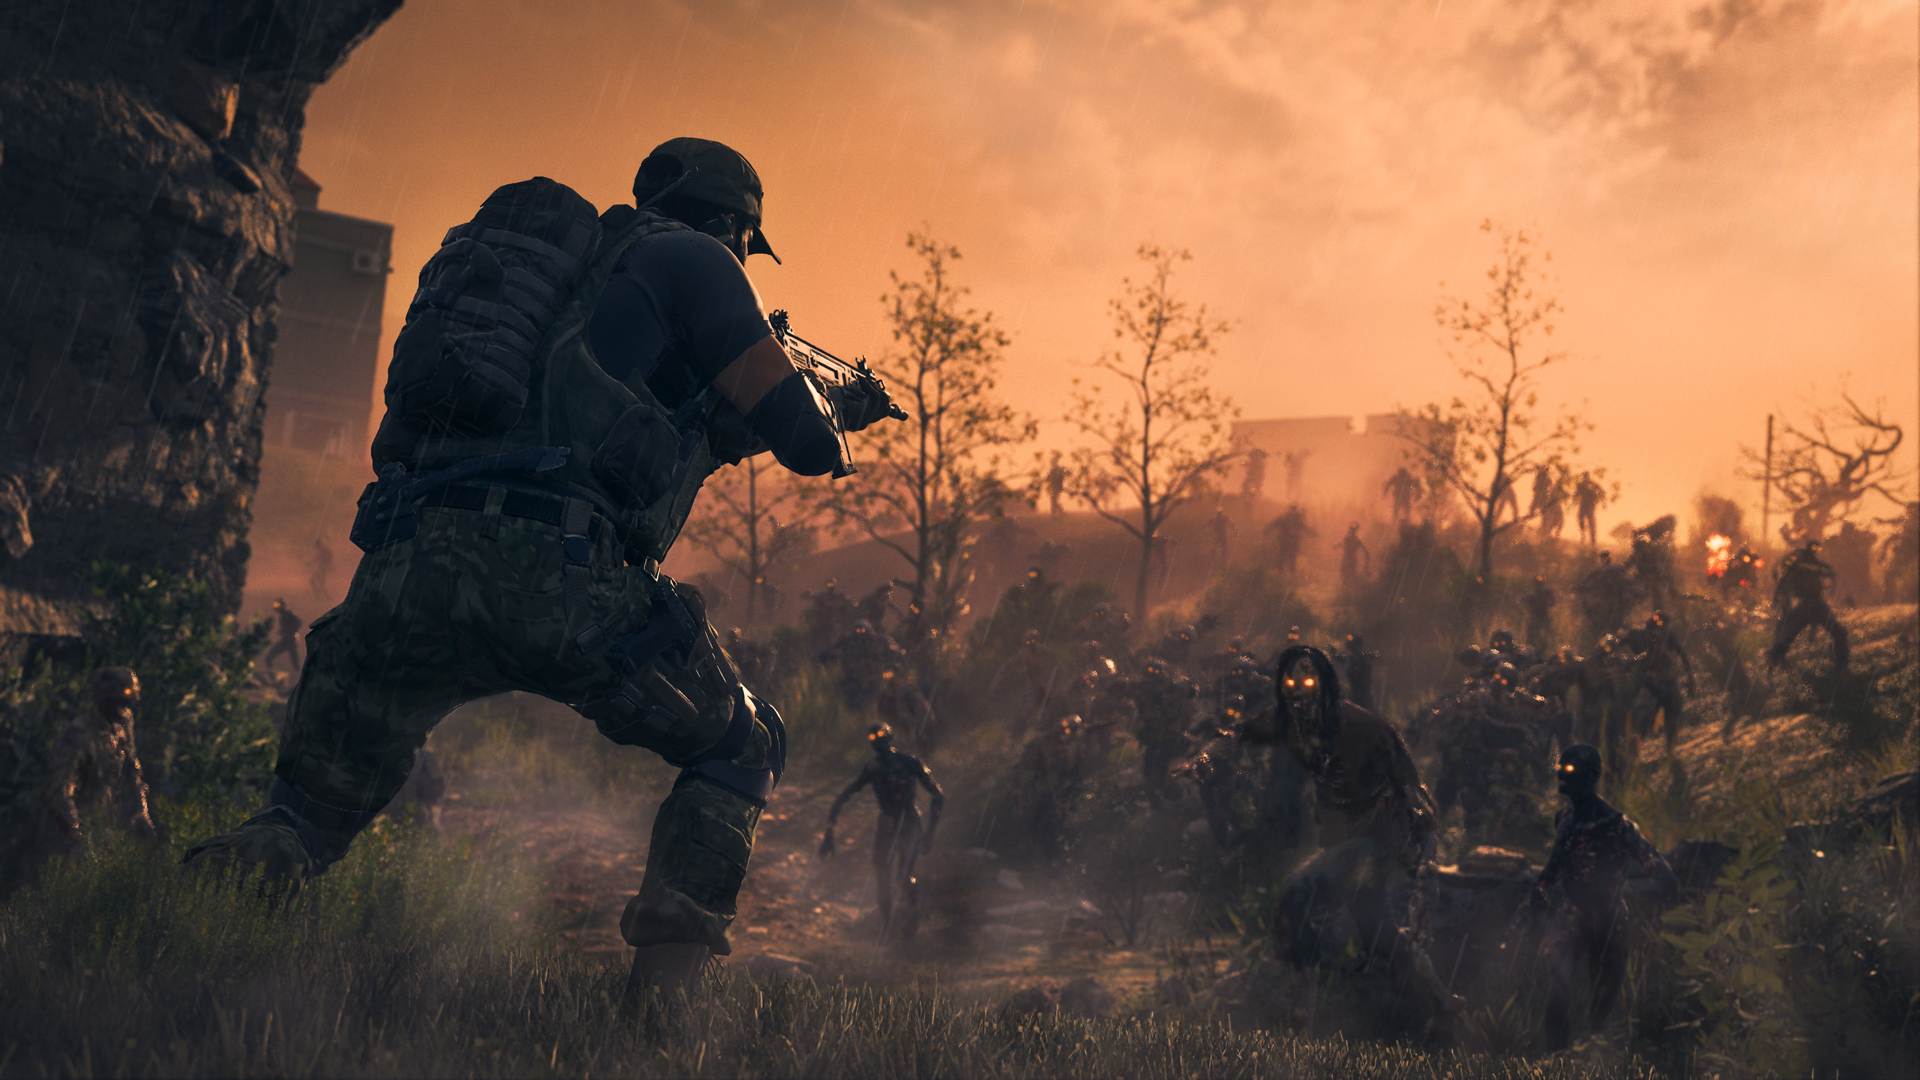
Missions are broken up into three different Acts. Completing the Story Missions for each Act reveals a major story beat for Modern Warfare Zombies. Note that there is one major difference between normal missions within each Act and the Story Missions. Story Missions are unique, story driven experiences that are completely isolated deployments. You and your squad are the only Operators inside a Story Mission experience.
Story Missions
Story Missions are the narrative cap at the end of each Act. These curated experiences provide an escape from the chaos of the main MWZ mode. Tackle these with a squad of up to six, or solo if you are feeling especially brave.
// INTEL CARD
- MWIII
- WZ
- WZM
Story Missions
// MODERN WARFARE ZOMBIES // MISSIONS AND PROGRESSION
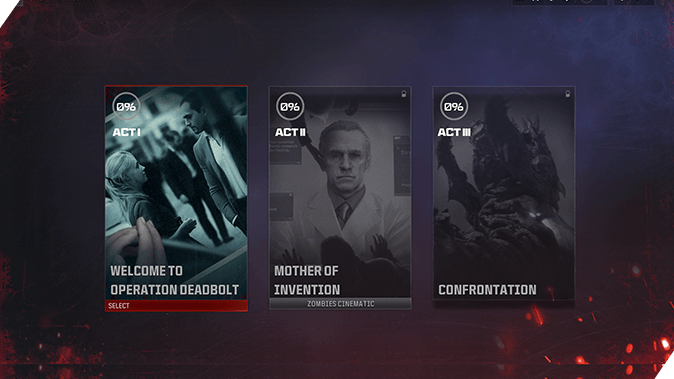
Isolation: When deploying to a Story Mission via the special Exfil available once you’re deployed into a session, you and your squad will load into a session alone. There will be no other players on the map. Stay safe and get the job done.
Story Mission progress: To unlock the next Mission Act, all Missions from the previous Act must be completed.
Listen up, Soldier: Listen to the handlers giving you instructions. Story Missions can be a little more complex than your normal tiered mission, so reading the instructions and listening will take you to the finish line.

Once a Story Mission is unlocked, a special Exfil will appear during your next deployment into Urzikstan. This new Exfil is identified by a special icon and red smoke. Be warned, the only support in a Story Mission is your squad and the Weapons you take with you. Players not on your squad cannot enter the Story Mission with you. If a non-squad player is on the helicopter as it takes off, they will be fully extracted from the match and sent back to the main menu. Story Missions are completely isolated experiences and are a way for you to experience MWZ without impact from other players.
Story Missions are completely isolated and require you to complete them on your own, alongside your squad of course. This is a way to throw some interesting things at your squad in strange ways without affecting anyone else’s run.
Missions are progressive and must be completed in sequence. Each Act's Story Mission must be completed successfully before the next one appears. Acts are divided into Tiers, with each Tier being completed before the next one unlocks. This progression allows you to learn the mode while building up your stash and experience. Story Missions can be dangerous, especially because you are isolated to only your squad. Being prepared is key.
Missions Strategy
There are limitless strategies to playing Modern Warfare Zombies (see this part of The Guide for more info); Here are a few tips on how to quickly and effectively complete Missions.
Intel Card — Missions Strategy
// INTEL CARD
- MWIII
- WZ
- WZM
Missions Strategy
// MODERN WARFARE ZOMBIES // MISSIONS AND PROGRESSION
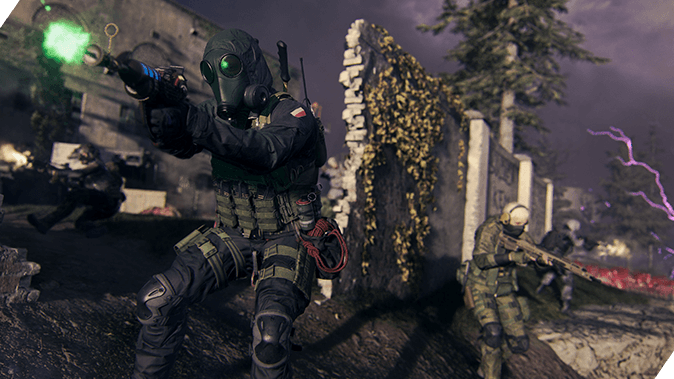
Tiers of progress: Missions are split up into tiered sets in each Act. You must complete every mission within a Tier to move on.
Start with good rewards: Use Acquisitions to ensure you are well-equipped as you begin your next Mission.
Cinematics are helpful to strategy: The cinematics that you’re shown between each Act may have clues as to what you may face in the upcoming Act. Rewatch them if in need of additional intel.
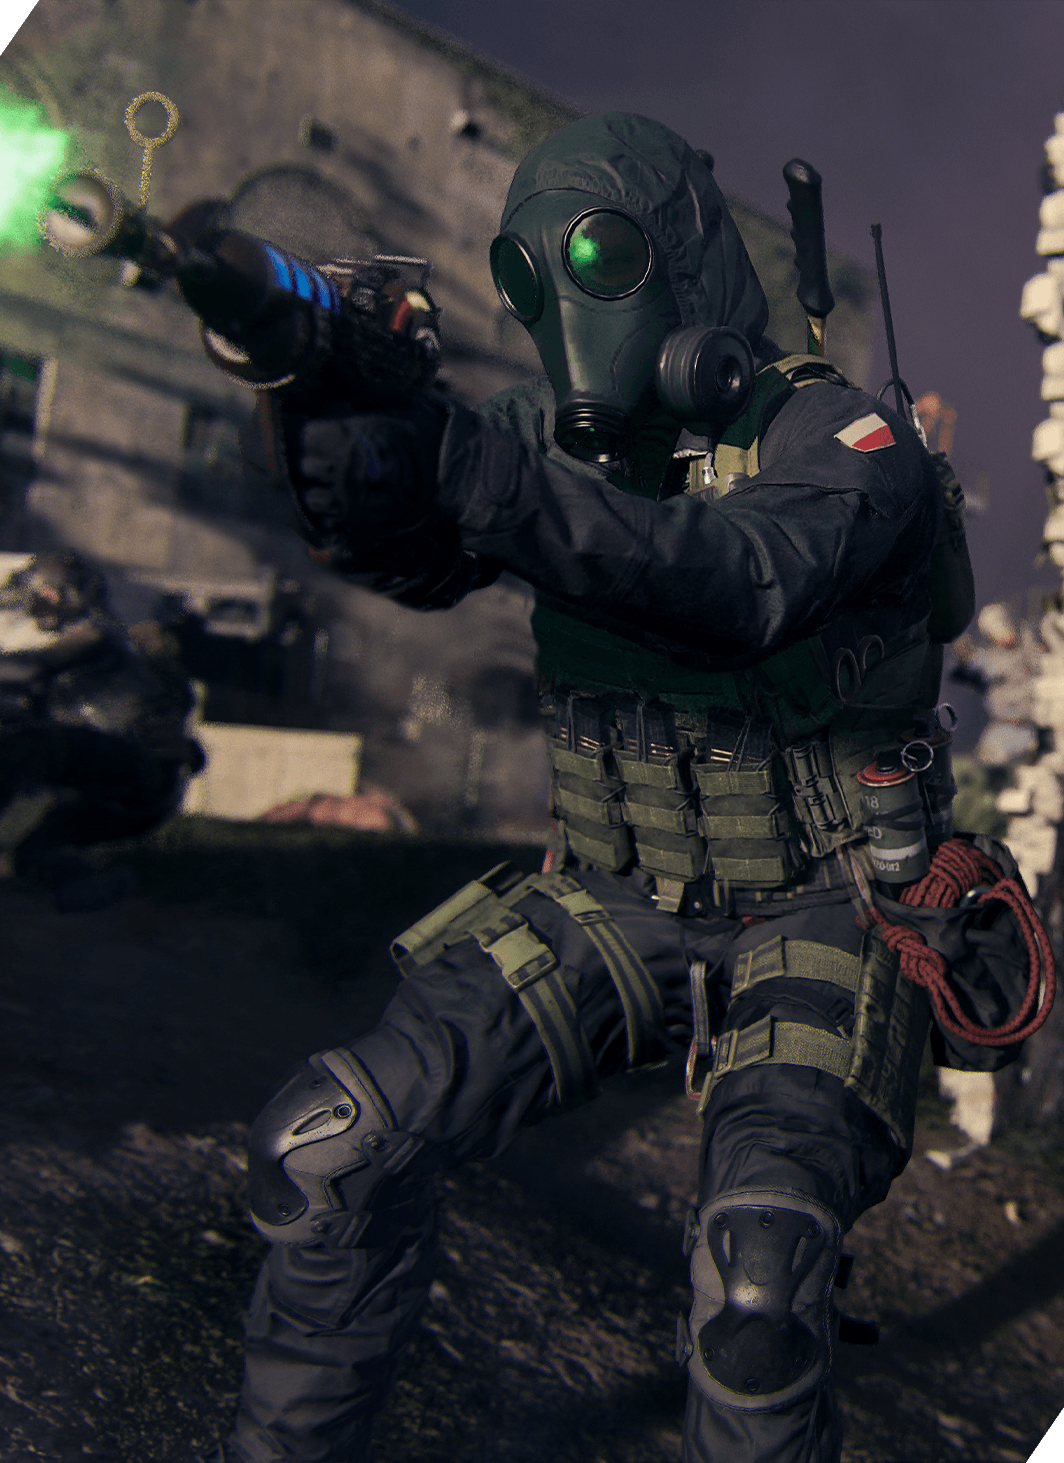
Each Act delivers a specific experience for the player. Act I Tier 1 contains six tutorialzed Missions meant to run you through the basic actions completed with each deployment. Missions may seem like only a few simple challenges, but they can be difficult. Some Missions can be progressed as a squad, so team up and knock 'em out.

After you complete a few Mission Tiers, you'll have a decent collection of Acquisitions and a more thorough understanding of how to maximize your time in Urzikstan.
Remember to utilize the Mystery Boxes and Wall Buys to upgrade your Loadout. Find a Weapon more your speed and make your way through the remaining Missions.
All weapons brought into Operation Deadbolt will start off as Common rarity, so you will either need to upgrade them or trade them out for better weapons. Use your Insured Slots and deploy with your favorite Weapon setup. It could be fun to see what damage a powered up, kitted out Weapon can do.
Mission Rewards
Mission rewards are great ways to build up your stash or simply want to complete the last piece of your Loadout before attempting one of the more dangerous activities in MWZ.
// INTEL CARD
- MWIII
- WZ
- WZM
Mission Rewards
// MODERN WARFARE ZOMBIES // MISSIONS AND PROGRESSION

Mission choice: Missions within a Tier will auto-queue as you complete them. However, you can choose which Mission to start with before deployment.
Stacking rewards: If you’re on a roll, it’s easy to stack up a bunch of useful rewards. These are meant to help you complete more difficult activities quicker.
Having some rough luck?: Running out of Acquisitions can mean trouble. Try completing a Mission to grab a useful reward or two and up your chances of survival.

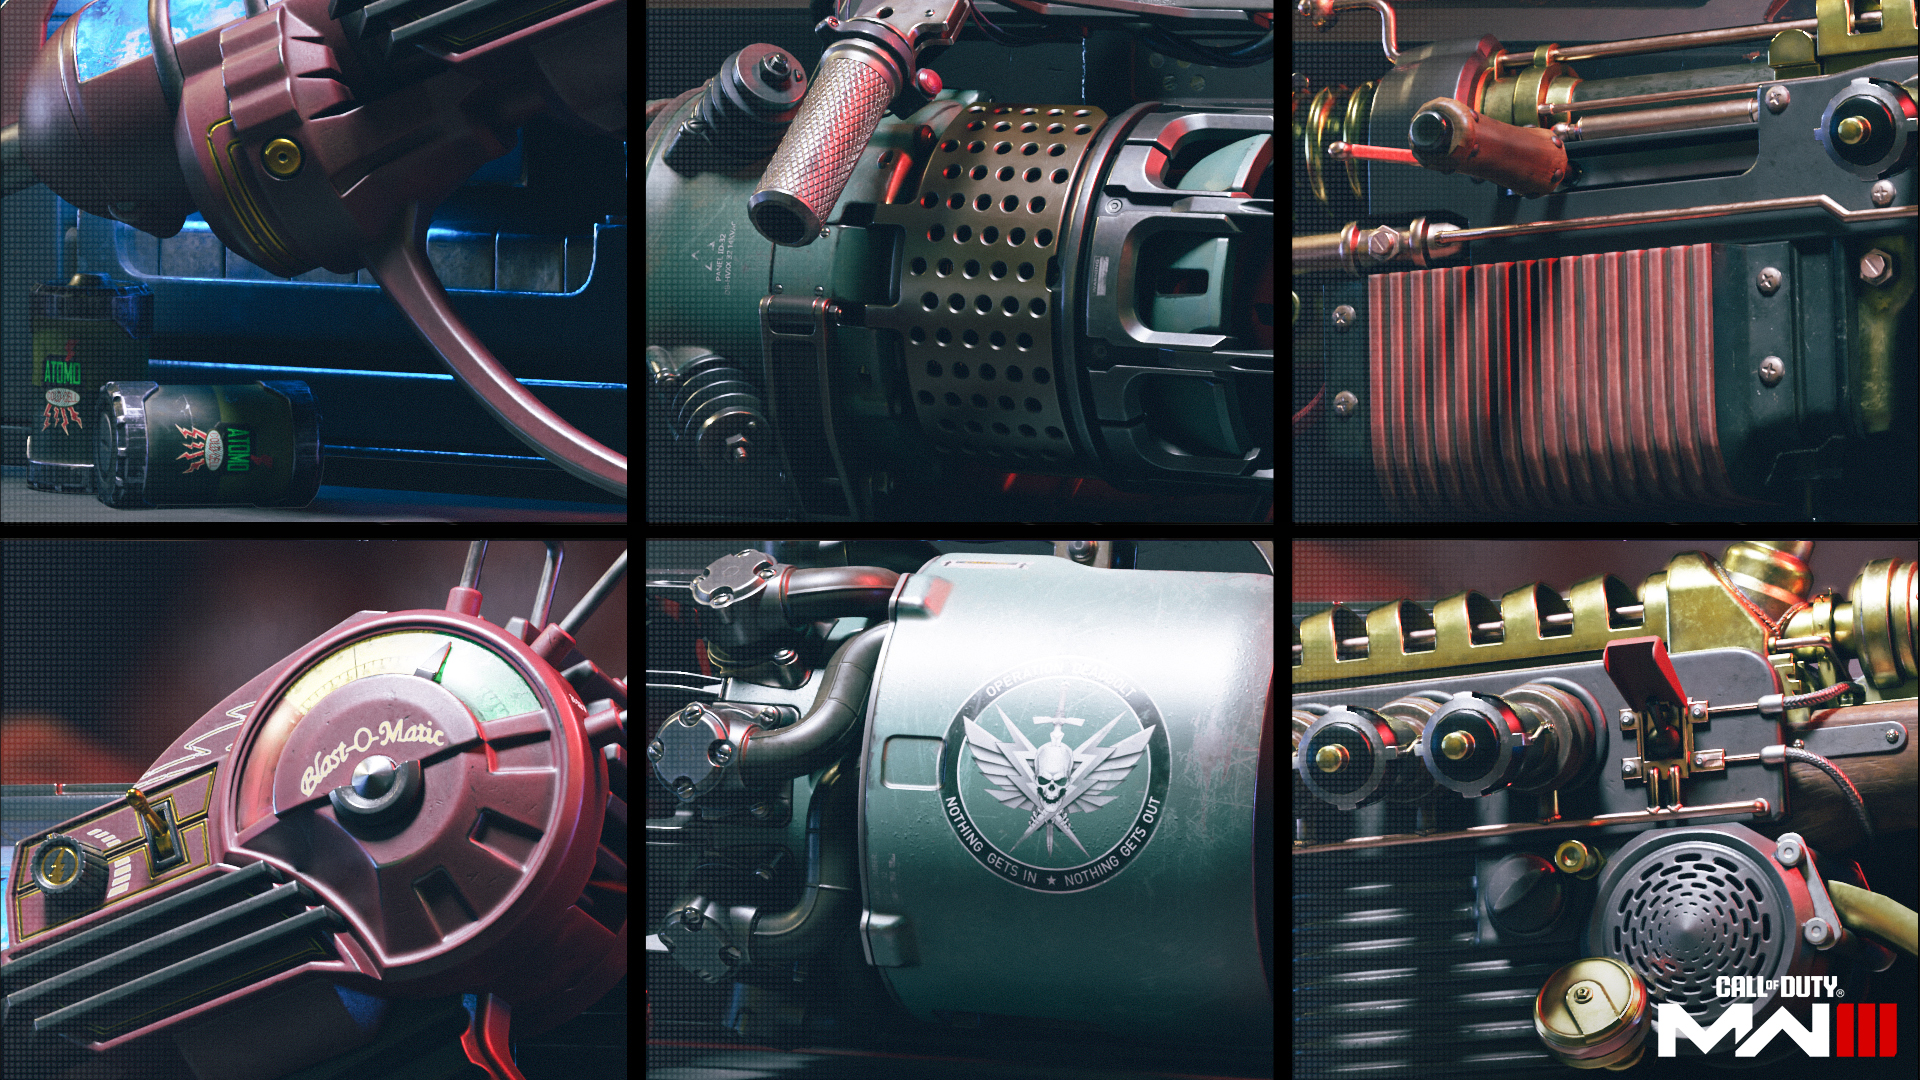
During the first few Missions, you are rewarded with an arsenal of Perk Cans, Ammo Mods, and Aether Tools. This is in addition to any Acquisitions you pick up while completing the Missions. This is incredibly useful when you’re preparing to do something a bit more challenging.
Sometimes a few bad deployments will clear out your Rucksack and Stash. Keep an eye out for the Mission rewards that can help refill your inventory with powerful upgrades. A good session can fill your stash back up and provide a great opportunity to snowball your Loadout during your next deployment.
Tip: Insured Slots give you access to all weapons and attachments you have unlocked so far. This includes your unlocks from Multiplayer and Call of Duty®: Warzone™.
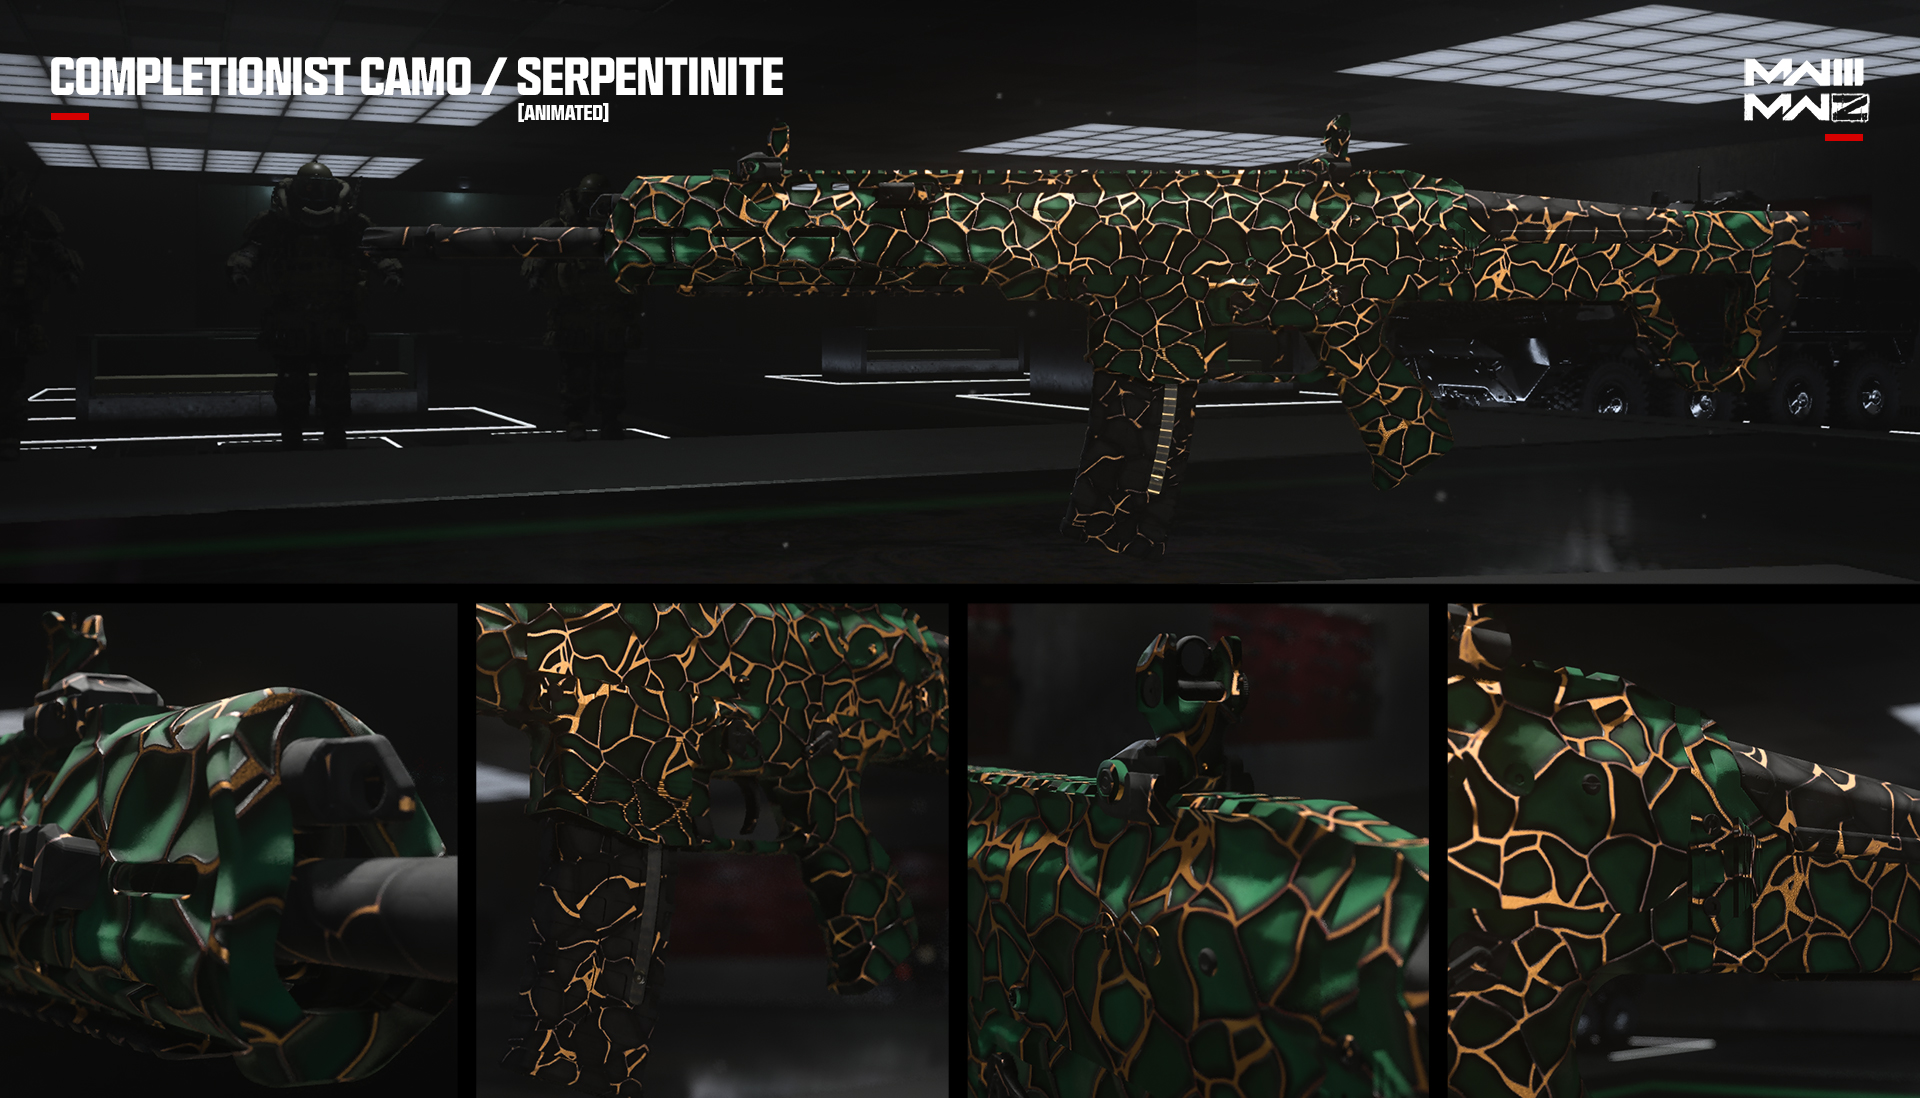
There are many avenues of progression within the world of Call of Duty. In Call of Duty: Modern Warfare III, there are hundreds of Weapon Camos, including an all-new set of Mastery Camos for both MWII and MWIII Weapons. The easiest way to track your progress on any of these is in the Challenges menu.
Each Weapon must reach its max level to unlock the Completionist Camo category. With each Completionist Camo, you will need to rack up massive amounts of zombie eliminations to progress the Mastery Challenges. This process applies to all Weapons in the game, but don't fret, you'll be on your way to a full Mastery playthrough in no time.
Modern Warfare III and MWZ have the largest number of Weapon Camo progression Challenges ever seen in the Call of Duty franchise. There are over 400 new base Camos, 8 new Mastery Camos, 400 new Mastery Calling Cards/Emblems, and over 100 new Mastery Charms. (For all of the details on how the Camos work, which ones carry over, and more, read through the XP and Leveling Up Guide
If you are looking to unlock a specific Camo category, you'll want to utilize your Insured Weapon Slots as often as you can. Don't discount Contraband Weapons though. You may find a Weapon you currently have locked. Use these Contraband Weapons to get a leg up on the massive amount of Camo Challenges in Modern Warfare III.
For example, if you are progressing the Holger 26 Camo journey, keep the Holger as your Insured Weapon and use upgrades to power up your unlock progress. A Shotgun or Sniper Rifle can be a good secondary. This way you are constantly equipped with two weapons meant for different purposes, not to mention different ammo types. This will encourage you to enter a MWZ session with a weapon from your inventory as well as your Insured Slot weapon.
Note: Insured Slots are slots that allow you to create a custom weapon with all of the attachments that you’ve unlocked thus far. If you lose it, there will be a cooldown timer before you can use that slot again.
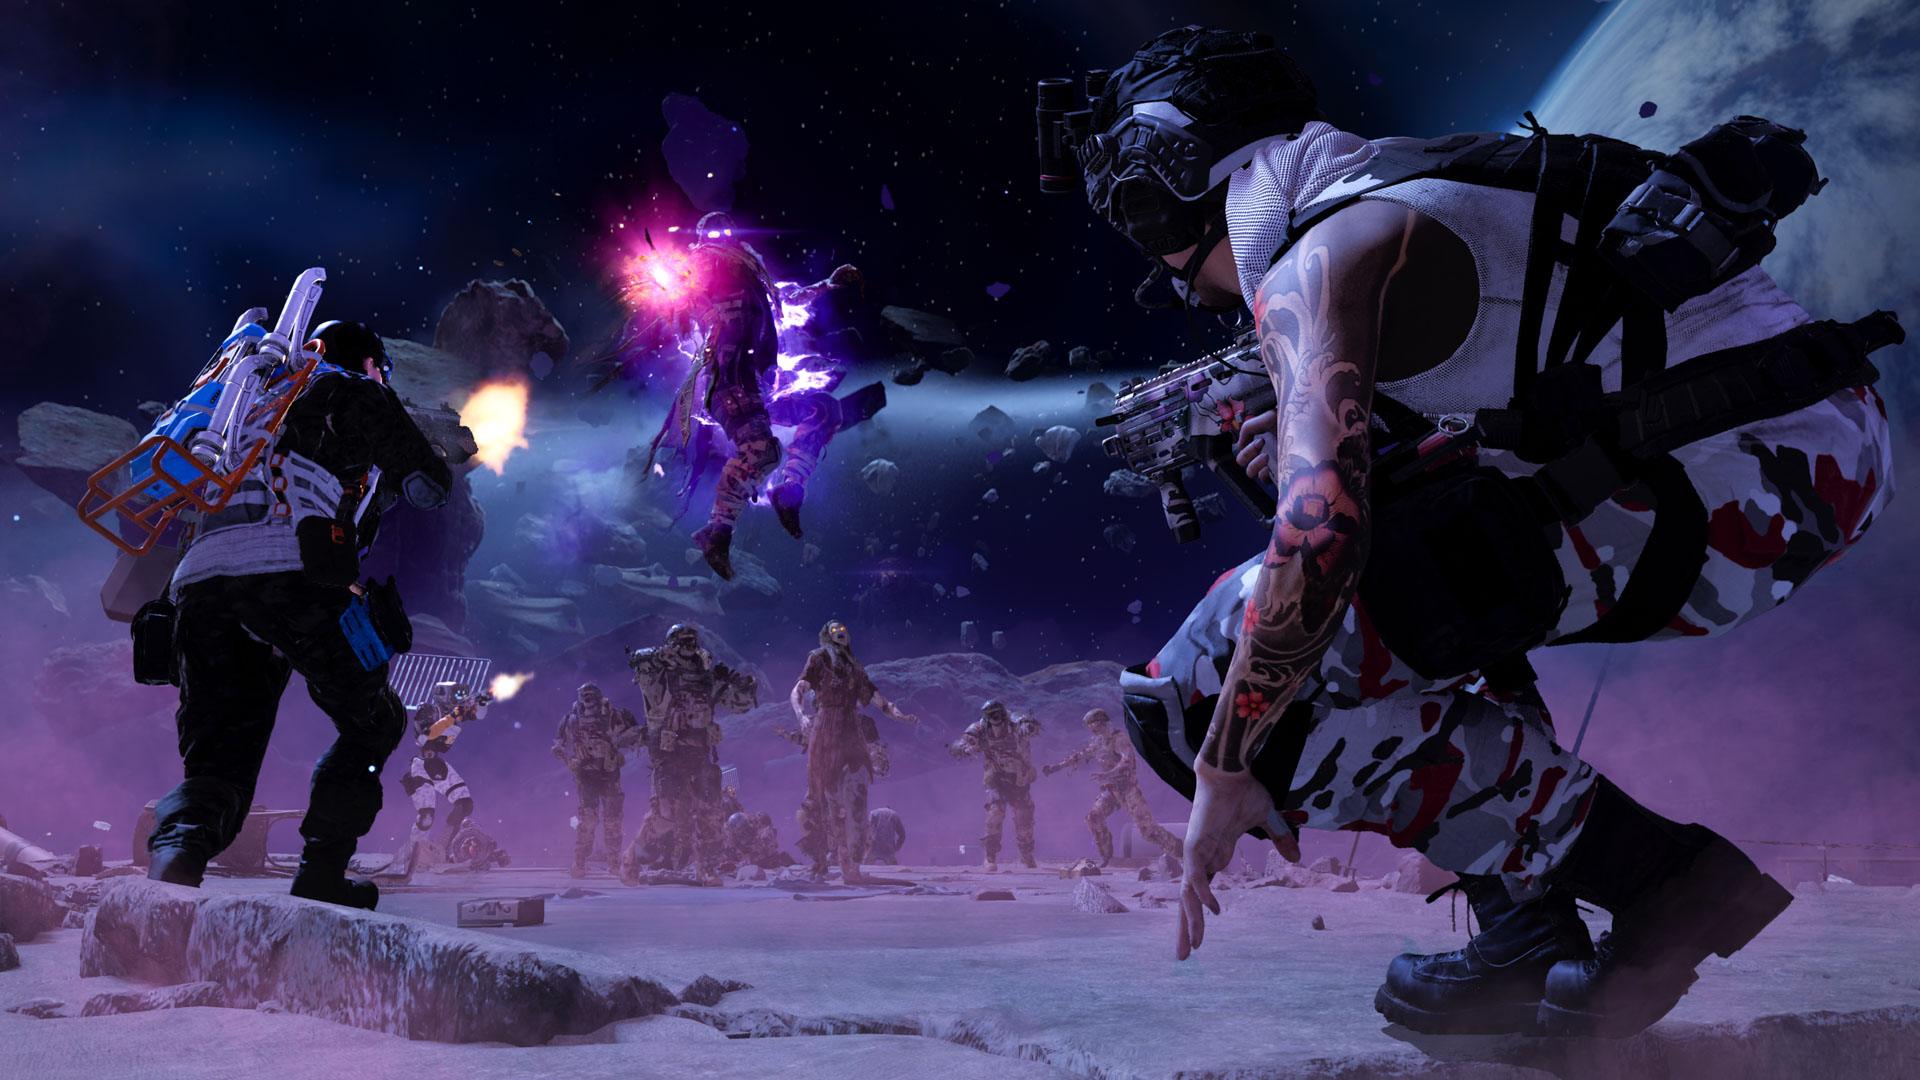
Gaining access to Dark Aether Rifts can only be achieved once you’ve completed specific Story Missions. Reading this part of the guide can be considered a spoiler, however if you’re having trouble progressing, please keep reading.
Welcome to what is the pinnacle reason you’ve spent so much time and hard work, other than the fun of it all, collecting schematics, fully equipping your Operators, and completing missions. Welcome to the Dark Aether. Let’s put first things first, in order to access a Dark Aether Rift, you’ll need to find the portal that’ll take you there after you’ve visited via a Story Mission. These are easy to find because they’re normally near the large Aether tornadoes seen from almost any location in Urzikstan. If you look toward the High Threat Zone in the center of the map at any given time, you should be able to spot these supernatural phenomena. The specific location of the portal can be found by using the Tac-Map. Use the tornadoes to give you a general idea of where to look on the map and where to begin your hunt toward accessing the illustrious but illusive portals.
Once you’ve found the location of the Dark Aether portal you wish to enter, you’ll need keys in order to unlock the Rift entrance. Each of the keys can be found via different activities and methods throughout MWZ, but it varies depending on which key you’re attempting to obtain. These keys are not traditional in appearance, but items that represent pieces of the story. Following the Story Missions that are part of the Rift itself are often clues to the keys for which you are searching.
Opal Palace Dark Aether Portal
Portal Keys
Locked Diary
Obtained from the Reward Rift after completing the objectives in the Bad Signal Act IV Story Mission.
Pill Bottle
Within an Aether Next or Infested Stronghold, fire a weapon with the Brain Rot Ammo Mod at a cyst until it turns green toxic color, but do not destroy it. One bullet should be enough. Then, walk up to the cyst and interact with it. Bursting out of the cyst and falling to the ground will be the Pill Bottle.
Surveillance Camera
After equipping a weapon with the Dead Wire Ammo Mod, search for a Harvester Orb and destroy it with that weapon. Mixed within the pile of rewards will be your next Key item.
Dog Collar
Two items are required for the Dog Collar, a singular Rotten Flesh and a Molotov Lethal. Search for a doghouse and place both items into the house, which will summon an enemy Hellhound. Kill it and search for the Dog Collar within the items dropped from the enemy.
Once you have collected each of the Keys for this portal, they will need to be enhanced from the purple background to gold. In order to enhance these items, you will need to take each one through a redeploy Aether Rift. Once you’ve gone through the rift, your parachute will deploy, and you’ll need to look around for an additional colored portal. Fly to the portal and follow the flying bunny as it leads you to a special contract. The contracts may be difficult, but once you defeat each contract that’s tied to each of the key items, other than the Diary, you will have all of the enhanced keys necessary to opening the portal.
Remember that these items can be collected and/or enhanced during any deployment and in separate deployments. You can exfil with these items in your rucksack and bring them back in whenever you choose. Additionally, once you’ve gone through the process of opening the portal, you won’t have to do it again as it will always be open for you.
To unlock the Elder Dark Aether Rift, you must find Elder Sigils, which will drop from random High Threat contracts. Once you’ve found an Elder Sigil, you will need to place the sigil onto the portal, where it will turn red allowing you to enter an even more difficult version of that Dark Aether Rift.
Nahr Bathhouse Dark Aether Portal
To unlock the Keys needed to open this Dark Aether Portal, you’ll need to activate and complete hidden obelisks each in their own special way during the Countermeasures Story Mission. Right at the start of this mission, you can begin searching the Dark Aether for special locations. Each location has an obelisk for which you need to activate and defeat zombies in order to complete the obelisk’s task. Simply completing the task will be enough to complete receive the reward, however if you’d like to reveal the Keys, you’ll need to complete each obelisk in a specific fashion.
Important! Bring an extra set of ammo mods, or at least the equivalent in weapons, including Napalm Burst, Cryo Freeze, Dead Wire, and Brain Rot.
Note that if you do not complete them correctly, you can always come back in a future deployment by taking the appropriate exfil to return to this Story Rift.
Portal Keys
Drum
The end of the Story Mission
Obtained from the Reward Rift after completing the objectives in the Counter Measures Act IV Story Mission.
Tattered MMA Gloves
The deck of the shored ship
Indicated by the fist icon on the obelisk, you’ll need to kill a number of zombies using your fist melee attack. There will be an Insta-Kill drop that appears as soon as you activate the obelisk, use it.
Perforated Target
Crossroads north of the Stadium in the Northern tip of the Dark Aether
Indicated by a target, you’ll need to kill enough zombies with a headshot in order to receive the Perforated Target from this obelisk.
Prestine Mirror
Deep within the Aether fog in the Southeastern part of the Dark Aether
Indicated by the mirror, you’ll need to use appropriate ammo mods in order to receive the reward from this obelisk. The ammo mod required will be indicated by the status of the obelisk: Napalm Burst when it’s on fire, Cryo Freeze when it is frozen, Dead Wire when it’s emitting electricity, and Brain Rot when it is producing a green, toxic gas.
Attunement
Drum
Countermeasures Story Mission
Already attuned
MMA Gloves
Boxing Gym (F8)
Punch the punching bags in the correct order, then be sure to kill the Zombie that spawns with melee attacks
Perforated Target
Shooting Range (H8)
Complete the target practice challenge and be sure to kill the Zombie that spawns, after you’ve completed this challenge, with a headshot
Pristine Mirror
Graveyard (I3)
Fire your weapon with the correct element Ammo Mod at the Zombie that spawns once you’ve interacted with the proper gravestone
Old Town Dark Aether Portal
The Old Town Dark Aether Portal is located deep within the High Threat Zone. In order to proceed, you’ll need to complete the Union Story Mission. Most of the relics required for the Old Town poral are obtained outside of the Story Mission. Follow the instructions below to find these relics, or keep a keen eye around Urzikstan for clues.
Portal Keys
Giraffe Toy
Union Story Mission
Complete the Story Mission to receive the key
Laptop
Anywhere with Terminus Outcomes Mercenaries
With the V-R11 Wonder Weapon, fire at a Terminus Outcomes Mercenary Sergeant. Once the transformation expires or the Sergeant is killed, the Laptop will drop from his location. This also works if the Sergeant is killed via a Brain Rotted Zombie or Hellhound
Imaginary Friend Drawing
Search buildings throughout Urzikstan
Look for footprints in a building. The footprints will lead to a bed where the key will drop
Science Journal
Aether Storm
You must kill 50 Zombies within the Aether Storm. This can be done in the Storm before in begins to spread or it can be done during the spread process and exfiltrated for a later deployment
Attunement: Similar to the keys required to open the Dark Aether Portal near the Opal Palace, the keys required for the Old Town portal each have the same process to attune them, however not the same as the Opal Palace relics. In order to attune the Laptop, Imaginary Friend Drawing, and the Science Journal, you will have to Perform the Summoning task. Search for visual clues once you have the relic in your rucksack for the beginning of the summoning process. Once you’ve begun the Summoning, you’ll need to kill the Zombies that spawn. You’ll know the Summoning is completed when the attuned relic drops from the final enemy.

© 2024 Activision Publishing, Inc. ACTIVISION, CALL OF DUTY, CALL OF DUTY WARZONE, and MODERN WARFARE are trademarks of Activision Publishing, Inc. All other trademarks and trade names are the property of their respective owners.
For more information, please visit www.callofduty.com and www.youtube.com/callofduty, and follow @Activision and @CallofDuty on X, Instagram, and Facebook. For Call of Duty Updates, follow @CODUpdates on X.
