Modern Warfare Zombies: Tactics

In every player’s toolbox of strategies, it’s important to know all the features that the game has to offer. Then, it’s important to learn how to interact with those features to experience the game to the fullest.
Prebrief
Included in the ownership of Call of Duty®: Modern Warfare® III is Modern Warfare Zombies, a deep and robust experience that can immerse you for hours upon hours simply as you attempt to unlock and complete the Story Missions, not to mention the freedom to free roam and explore the entire map. Loaded with lore, Activities, and other more secret events that you’ll have to find on your own, explore Urzikstan and just when you think you’ve done everything, be sure to check again. Follow this Guide for a general idea on how to progress through a MWZ deployment while getting the most out of what you come across.
General Session Flow
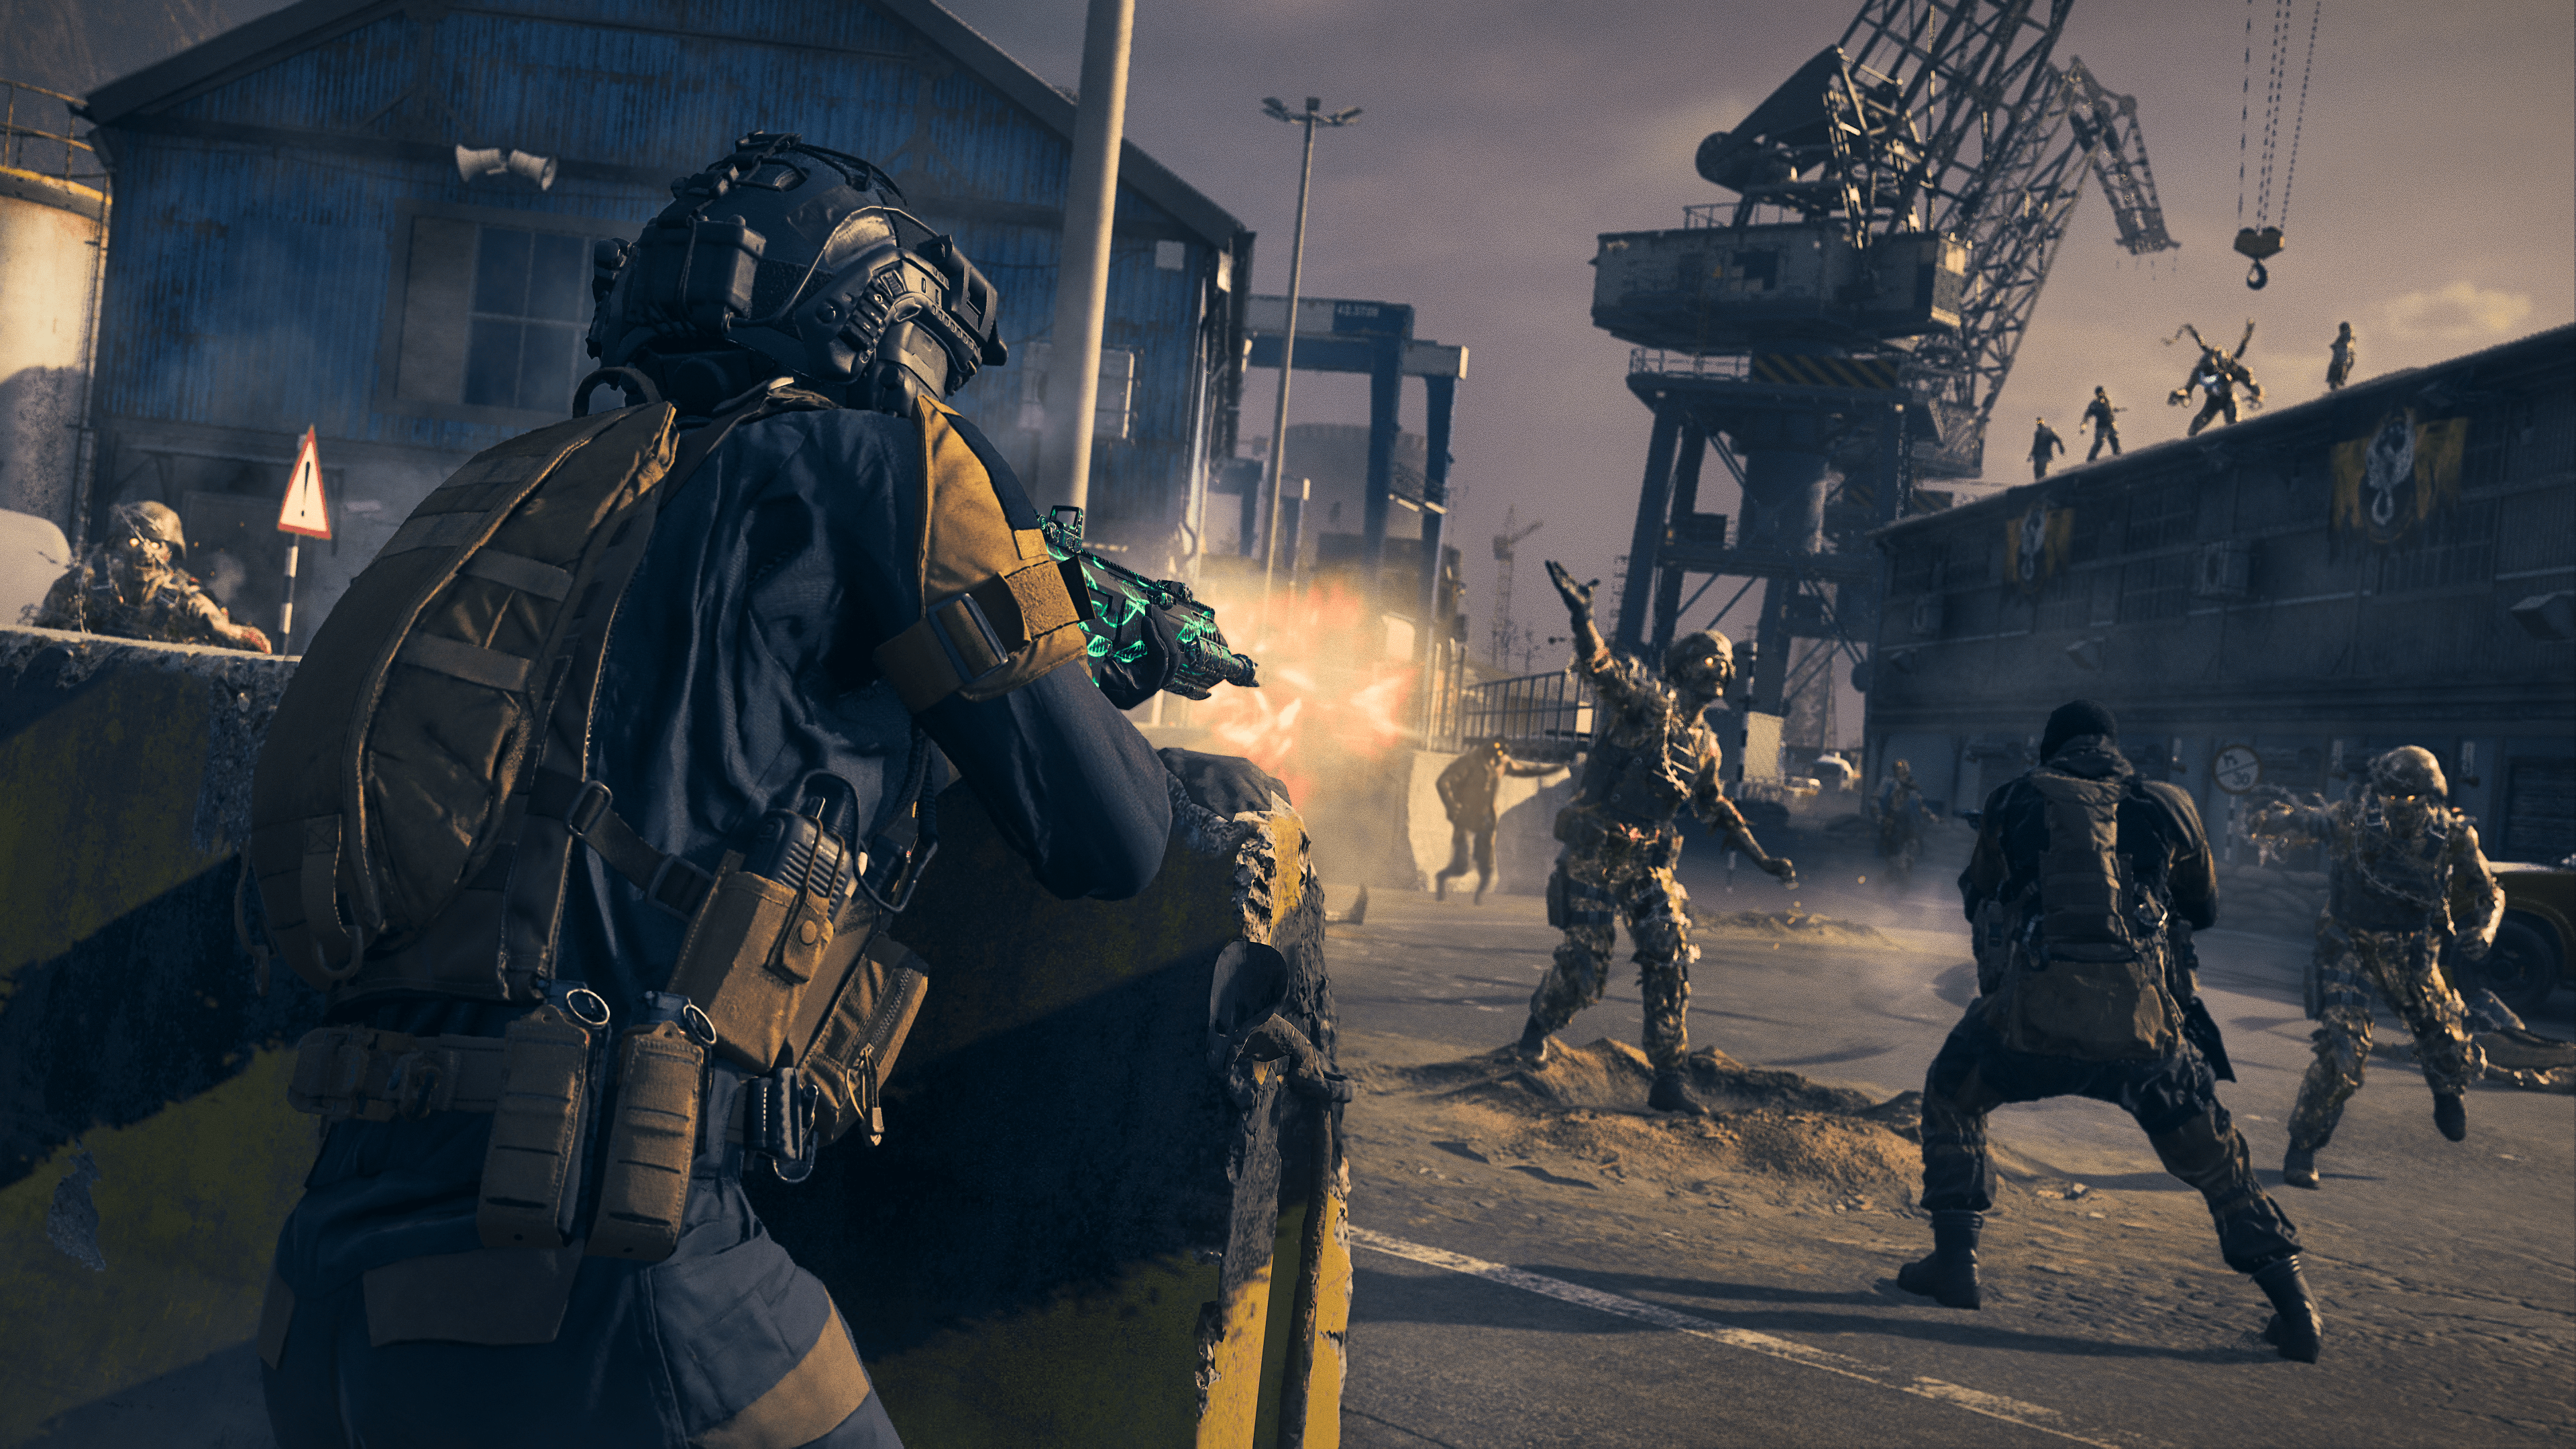
There is a lot of work to do in the Exclusion Zone. Curious minds can venture off without a plan in hand, but a solid strategy can help ensure a successful deployment for your Strike Team. Check out the MWZ: How to Play Guide to help plan your approach. Complete with Contract explanations, tactical information on the undead, and more, this guide can help you through your first few deployments.
Contracts
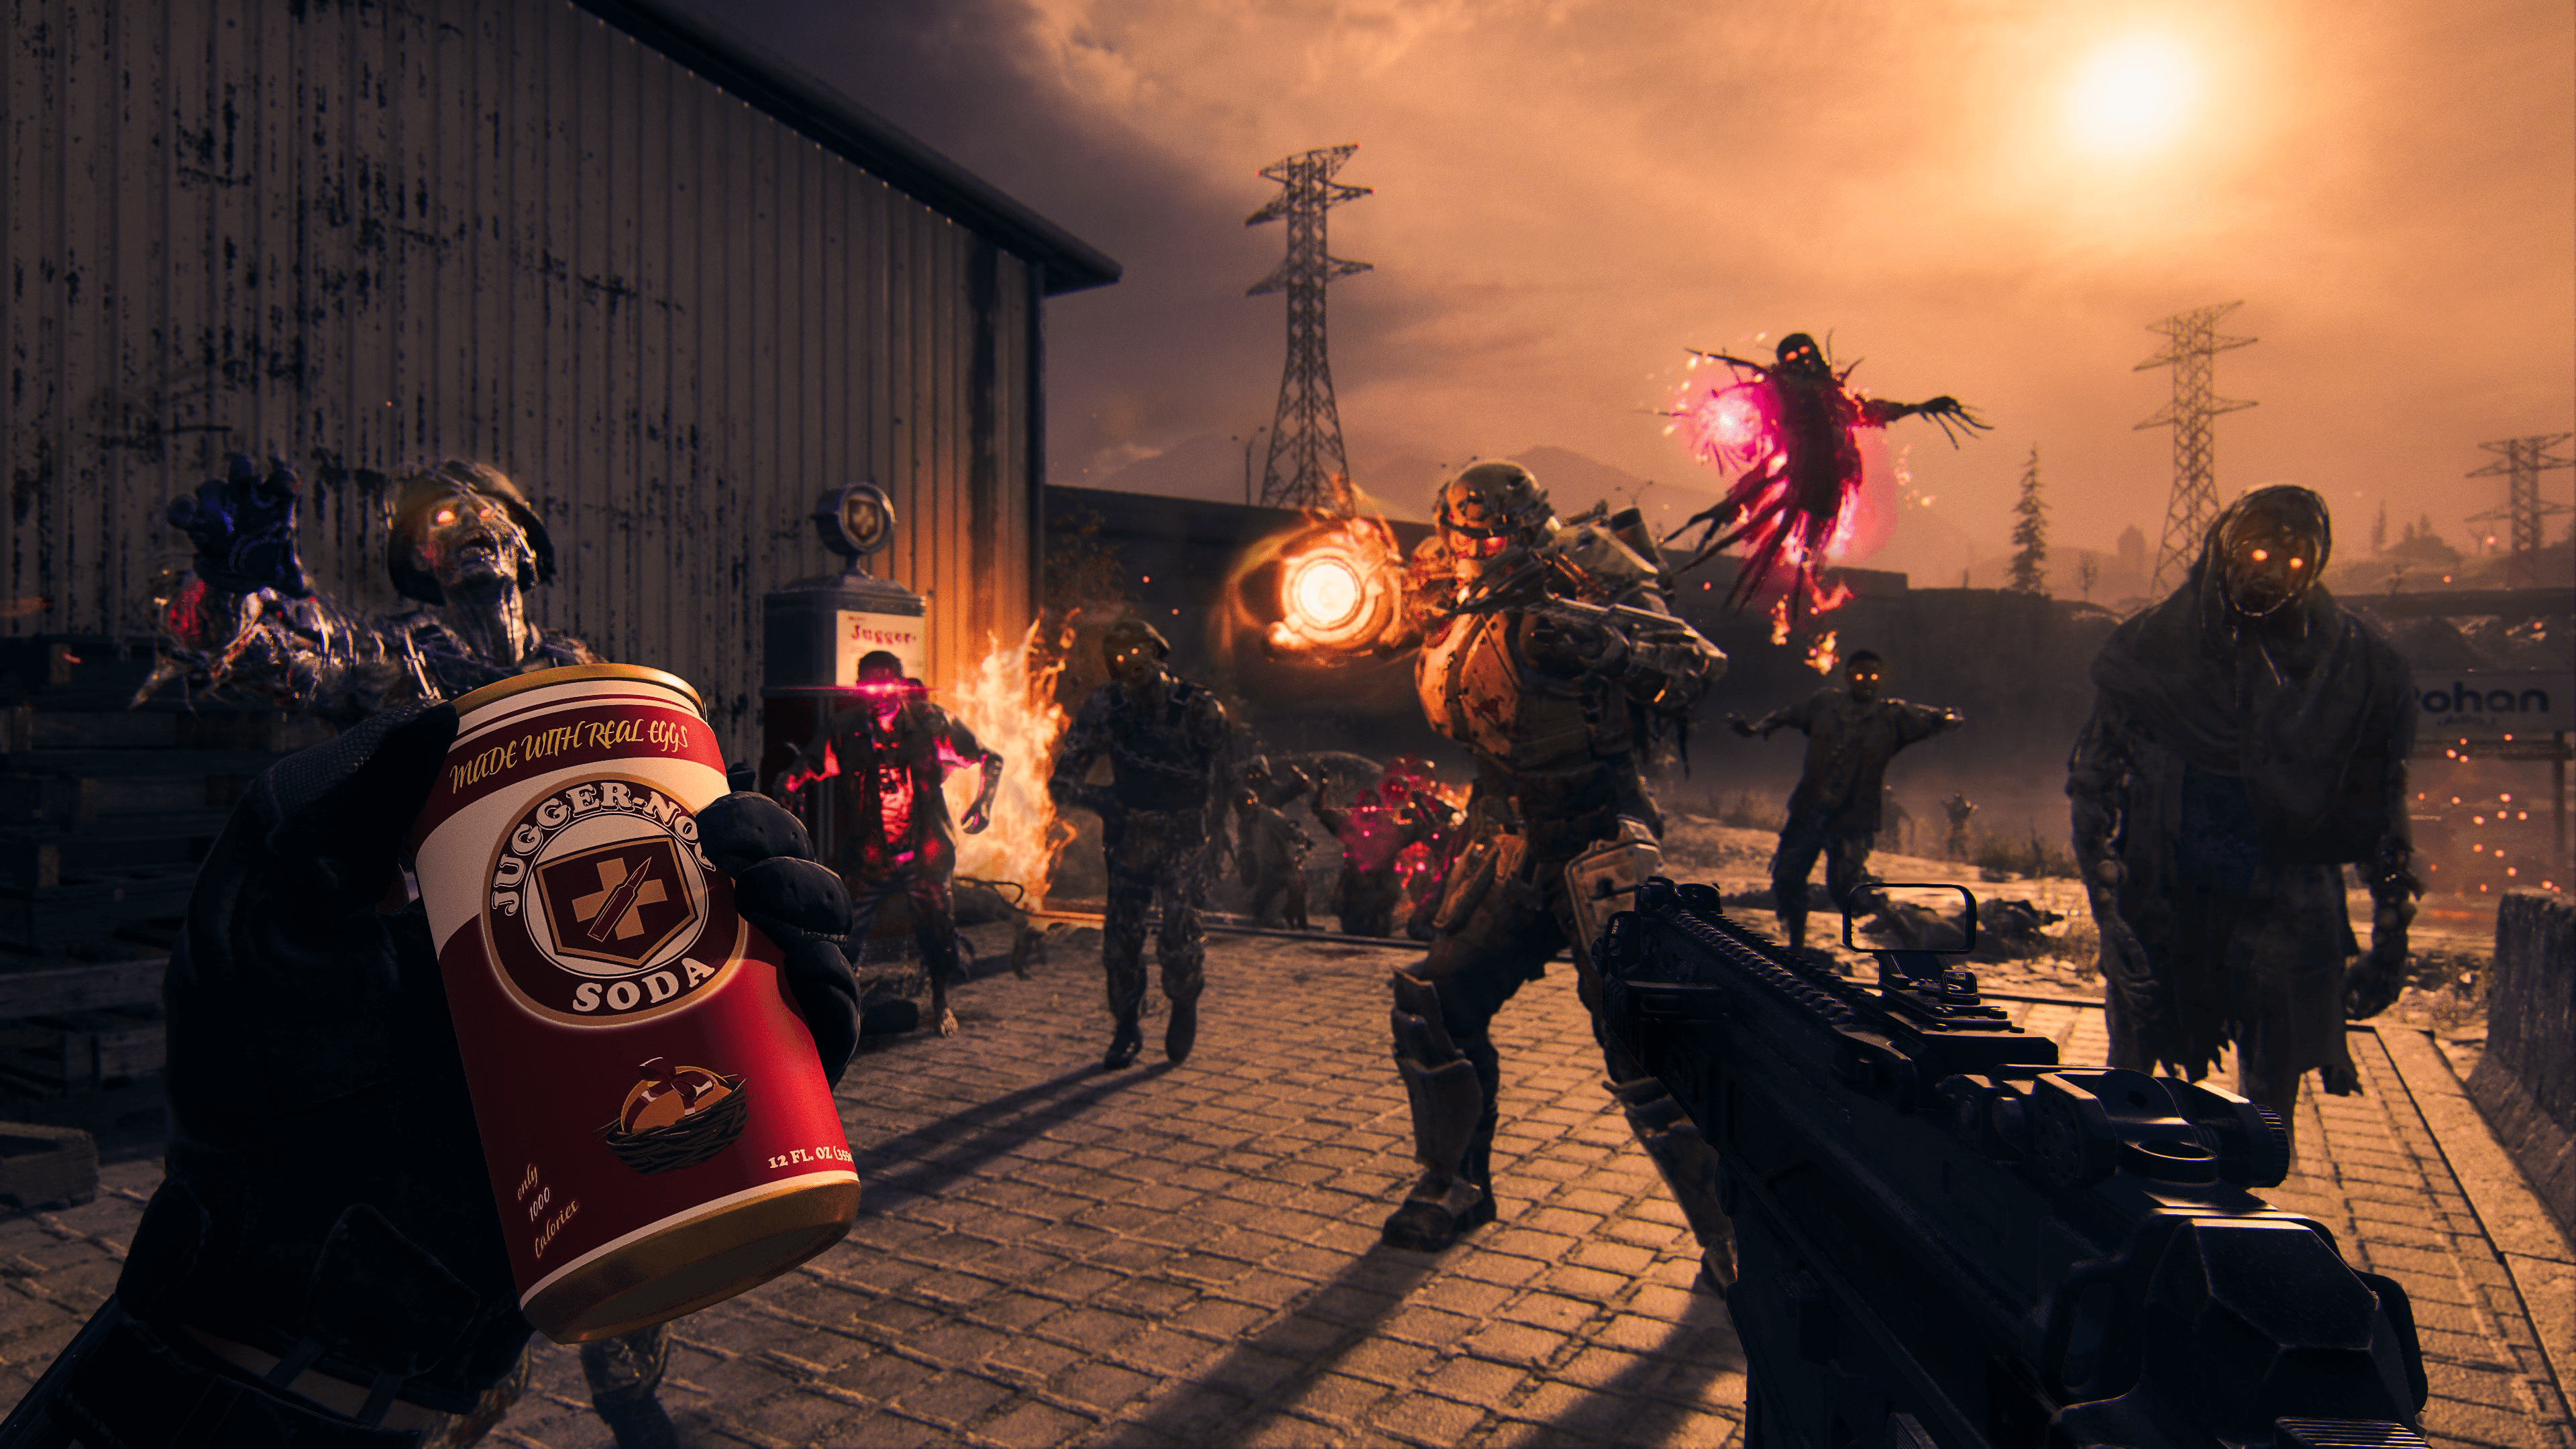
Your squad will deploy to the Low Threat Zone each deployment. Part of your session goal is to level up your current Loadout, and Contracts are one of the quickest ways to earn Essence. Spread across Urzikstan are a selection of Contracts that can award Acquisitions, Essence, and XP. The higher the Threat Level, the better the rewards. While tuned for a squad of three, these experiences can be completed solo.
Spore Control: Spore Control Contracts are for those who want to do a little extra-dimensional gardening. Dark Aether spores have appeared in our world, eating at the dimensional boundary between us and the Dark Aether. Using specialized tactical equipment, you must first destroy the crusty outer shell of these growths and pop the meaty center. Stay on your toes, as these Spores are protected by a ring of toxic gas, and any attack will attract the attention of the undead. Keep moving, try to attack multiple spores at once, and destroy them before it's too late.
Outlast: Outlast Contracts are aptly named, as your Squad's main objective is to outlast waves of attacking Zombies. Corrupted areas are transforming organic matter in our dimension. Work with your squad to set up choke points. The onslaught can be overwhelming, so make sure to utilize your Field Upgrades, equipment, and your surroundings to survive. However, do not let the horde push you too far away from the main device. You must remain close enough for it to finish charging and cleanse the corruption.
Defend Ground Station: Similar to the Escort Contract, Defend Ground Station Contracts are about defending Operation Deadbolt equipment from attacking enemies. However, this Contract requires you to find and activate three pieces of equipment first, then defend your position while critical information is uploaded to headquarters. Zombies are the main threat out in the field, but Terminus Outcome Mercenaries are hellbent on stopping the data transfer. They will begin their assault once the transmission begins, and they are much more organized than your undead adversaries. Remember, the Aetherium-based upgrades on your weapons do not have an effect on humans, so utilize your equipment and Field Upgrades accordingly.
Deliver Cargo: The job seems simple enough, but one wrong turn and you're in trouble. The goal of this Contract is to secure the LTV cargo vehicle and safely deliver it to the drop location. Fight through both Zombies and Mercenaries to pick up the vehicle and then the fun really begins. Drive the vehicle to the target location without letting it be destroyed by the trailing enemy helicopter or traditional collision damage. Evasive maneuvers and the mounted turret weapon are your best chances for success with this Contract. Pick your squad's best driver and pile into the LTV for some road rage shenanigans.
Aether Extractors: Terminus Outcomes is ruthless and looks for any opportunity to make some cash. They have designed special rockets that can mine Aetherium from the Exclusion Zone. Your job is to stop them from extracting this dangerous substance, who knows what devastating consequence these operations will have on the EZ. Accept the Aether Extractor Contract, and you will see three to five rockets fly into the AO. Using the icons on your map, locate these devices and take them out. Watch your six, these landing sites are heavily armed, and Terminus Outcomes will do anything they can to ensure the mining operations succeed. If you take too long to overload the rockets, they will take off and the Contract fails. Pay attention to the timer on screen and keep an eye out for Recon Mercenaries. These deadly operatives are stealthier than their more armored counterparts and can rush your position without warning. Good hunting.
Eliminate the Bounty (a.k.a. Big Bounty): Big Bounty Contracts are straightforward; Find the big one and take it down. These are not your typical Zombies. Big Bounties are only for Elite level monsters, and they have the firepower to make you work for the reward. These HVTs are unique red variants of the Mimic, Disciple, Mangler, or Mega Abomination. Now, power up your Loadout with Ammo Mods, Pack-A-Punch, and Aether Tools, and get to work.
Take a look at the Bestiary Guide to gain the knowledge needed to efficiently take down these targets.
Escort: The Dark Aether is seeping into our world. Your mission is to protect the ACV (Aether Clearing Vehicle) as it dismantles the anomalies and launches its containment tank out of the Exclusion Zone. The vehicle was built to withstand the zombie onslaught, but even armored tanks have their limits. If the vehicle health drops to zero, it will explode, and the Contract fails. Stay close by and keep the ACV moving. It is most vulnerable during the dismantling process, so use your Field Upgrades and equipment wisely. Once the three anomalies are fully destroyed, continue to defend the ACV until the rocket containing the dangerous matter takes off. Operation Deadbolt is counting on you to keep the ACV safe while it does its work.
Raid Weapon Stash: Terminus Outcomes has left stashes of weapons and equipment across the EZ. Accept the Raid Weapons Stash Contract to break in and confiscate their stash. The undead are drawn to loud noises, so keep your eyes open as the not-so-quiet drill breaks through the safe's lock. Work with your squad to cover all entry points. Killing Hellhounds near entrances are a great way to use their deadly fire to your advantage. Because this is a Contract, you will receive the traditional Rift Reward PLUS whatever is in the Terminus Outcomes safe. Remember that zombies are always nearby, so grab your loot and then clear out.
Loot and Activities
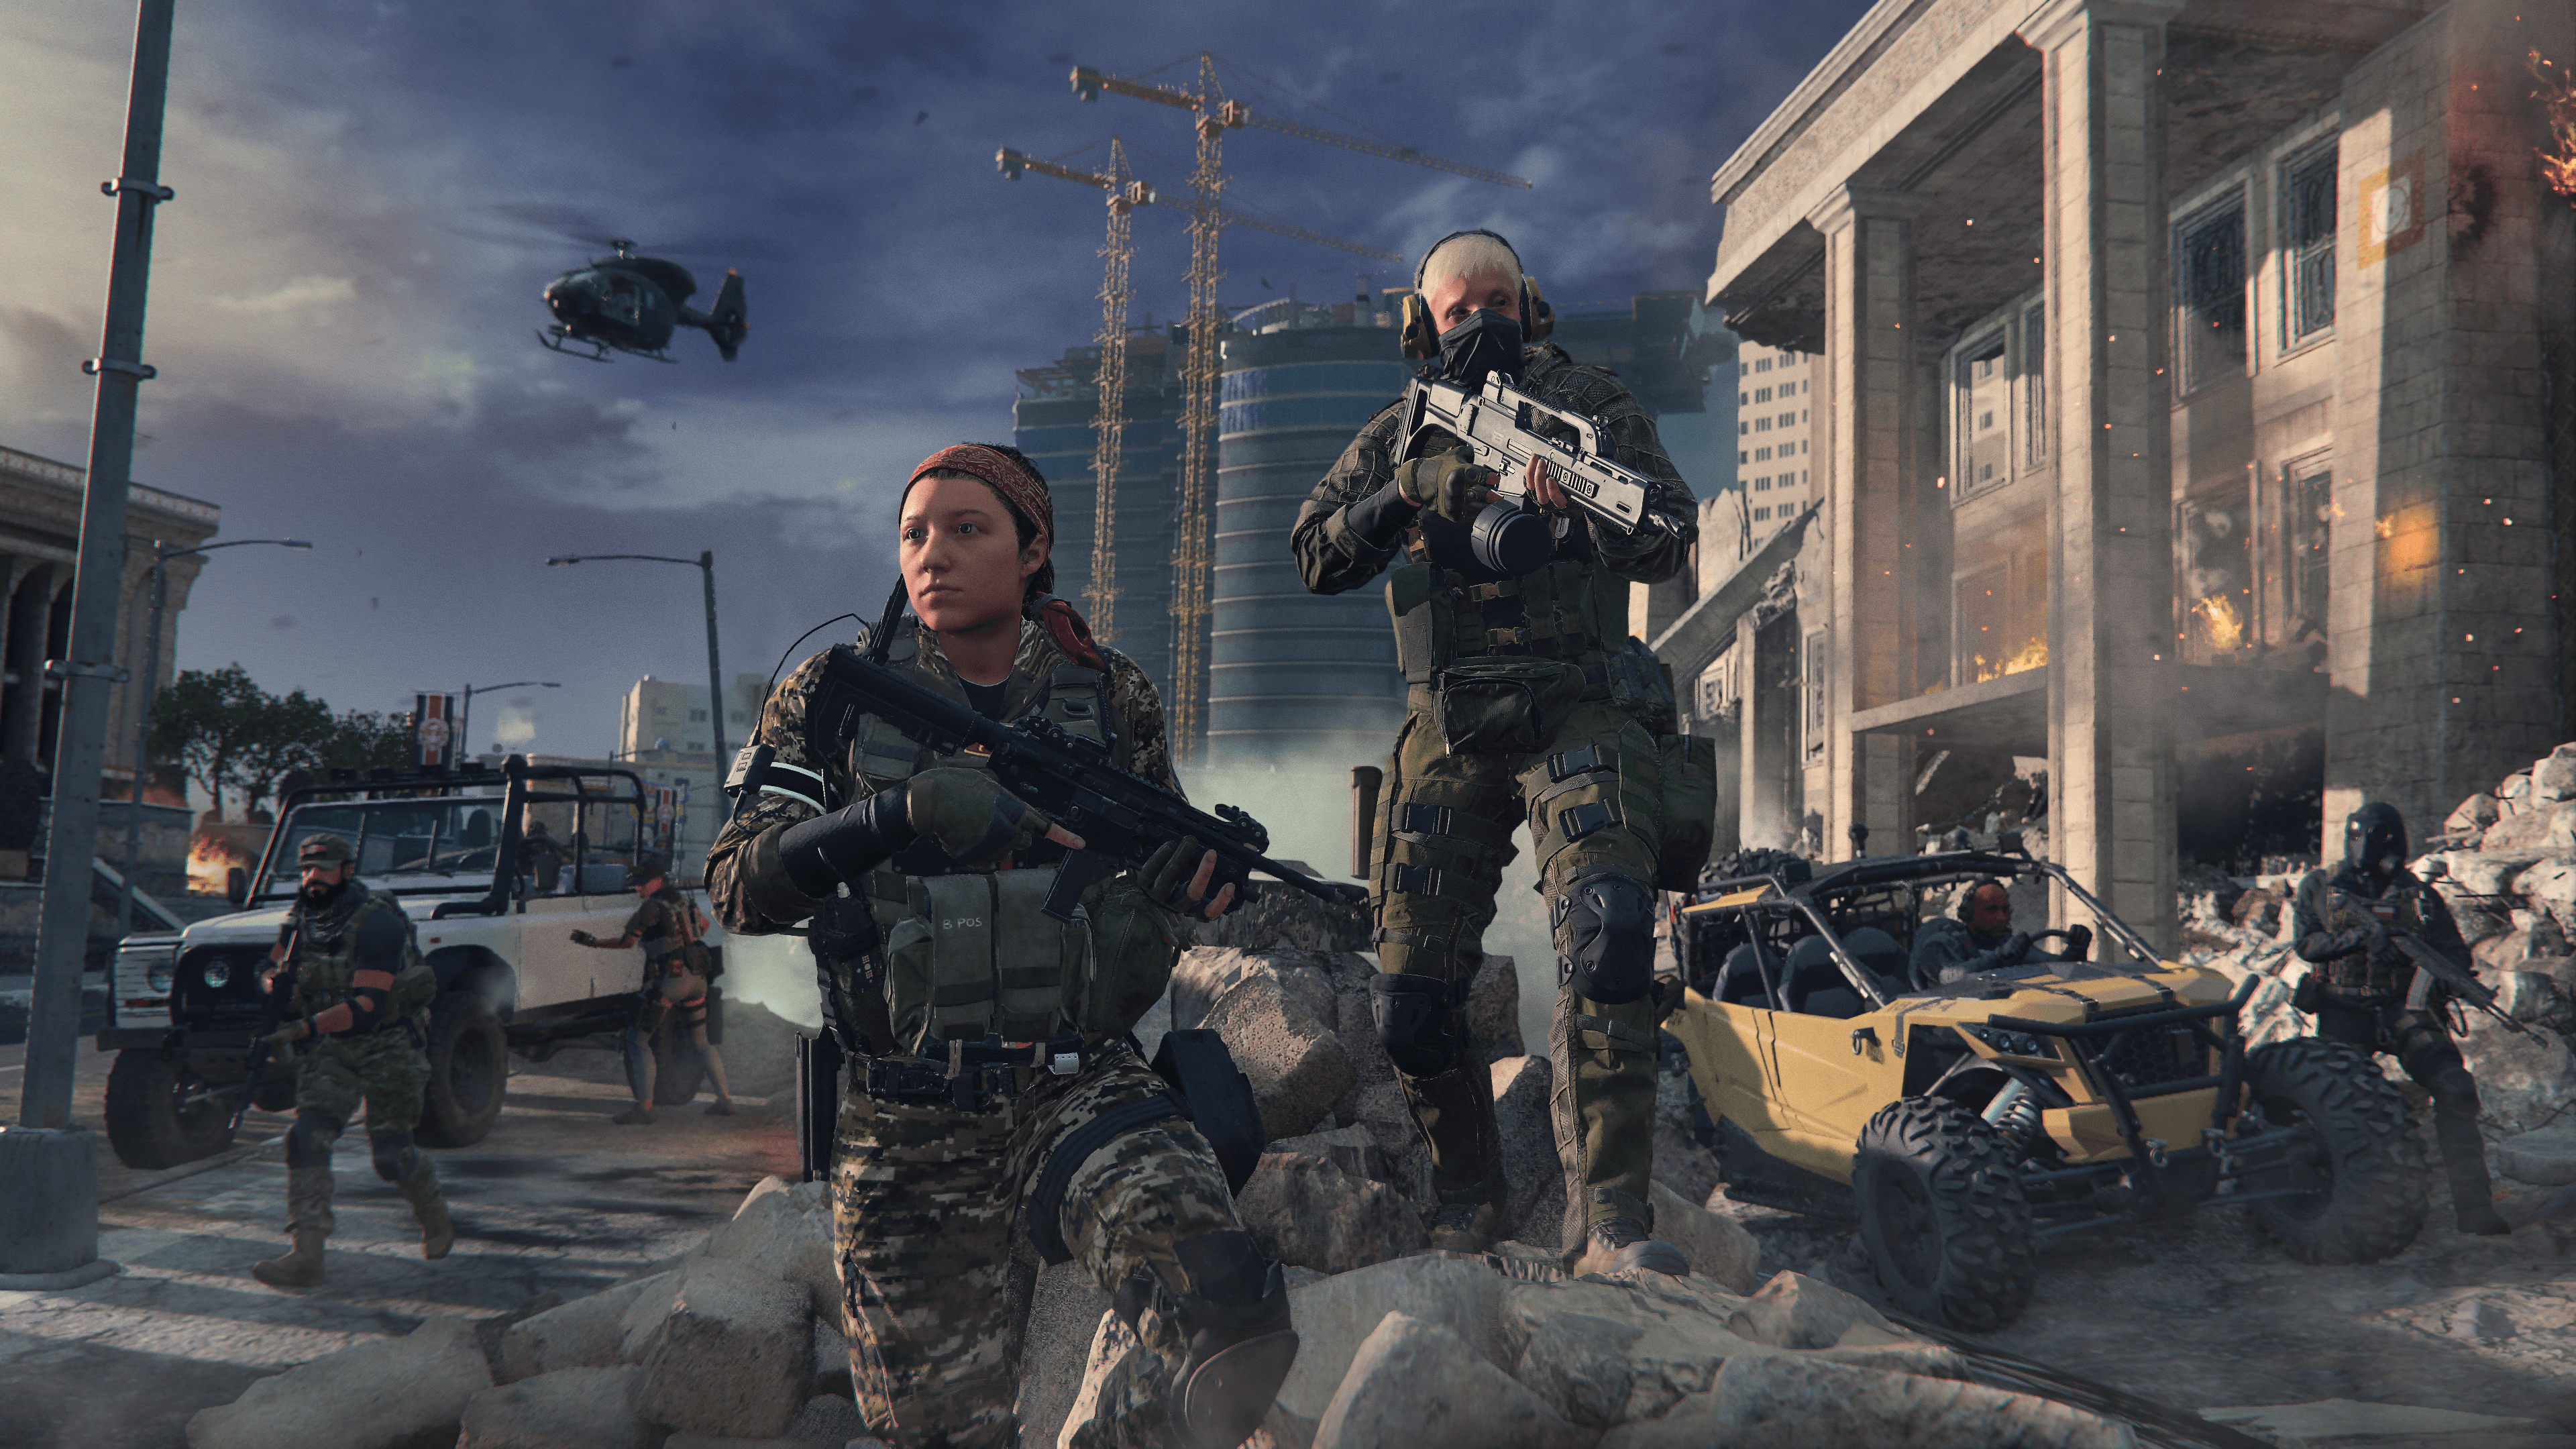
Contracts are the most efficient way to earn Essence and rewards. However, there are goodies hidden all around Urzikstan. Look to increase the capacity of your Plate Carrier, grab a Durable Gas Mask, and fill up on Perks to keep the odds in your favor.
Plate Carriers and Rucksacks: All standard Operators start their upgrade journey with a Tier 1 Plate Carrier and Small Rucksack, meaning that a player can equip a single Armor Plate and carry five loot items at any time. You can carry additional Armor Plates in your Rucksack, but it will leave less room for your Acquisitions. Remember to re-plate as your armor breaks. This is your first line of defense against the dangers around you. To find Tier 2 and Tier 3 Plate Carriers, or Medium and Large Rucksacks, you will need to loot or purchase one from a Buy Station. Finding them in-world is rare, but they can be found in lockers around Urzikstan. There are small personnel lockers as well as large armor and weapon lockers. Plate Carriers can be found in all types of lockers, but weapon and armor caches are more likely to contain these types of items.
Safes are hidden throughout the map and will include rare combat loot. This can include higher rarity Weapons, expanded Plate Carriers, and more. Raid Weapon Stash Contracts are the surest way to locate and access these safes. Safes are more likely to be found in residential buildings, but they do exist in other locations as well.
Perk-A-Cola Cans: Perk-A-Cola Cans are a hot commodity in Modern Warfare Zombies. They can be bought through Perk Machines, awarded through Rift Rewards, or as an added bonus for completing a Mission. Lucky Operators may find Perk-A-Cola Cans in refrigerator, so keep an eye out when in offices, residential buildings, or cafes. Remember these can be stowed in your Rucksack and taken out of the game for your next session.
Ammo Mods: Ammo Mods are powerful upgrades that can be placed on any bullet-type Weapon. Only one Ammo Mod can be applied to a Weapon at a time, so make sure to stow or share any extra ones you find. The best way to obtain Ammo Mods are by looting the containers in cleared Aether Nests or Infested Strongholds. Remember to take your Gas Mask, as these spots are crawling with the undead.
Pack-A-Punch
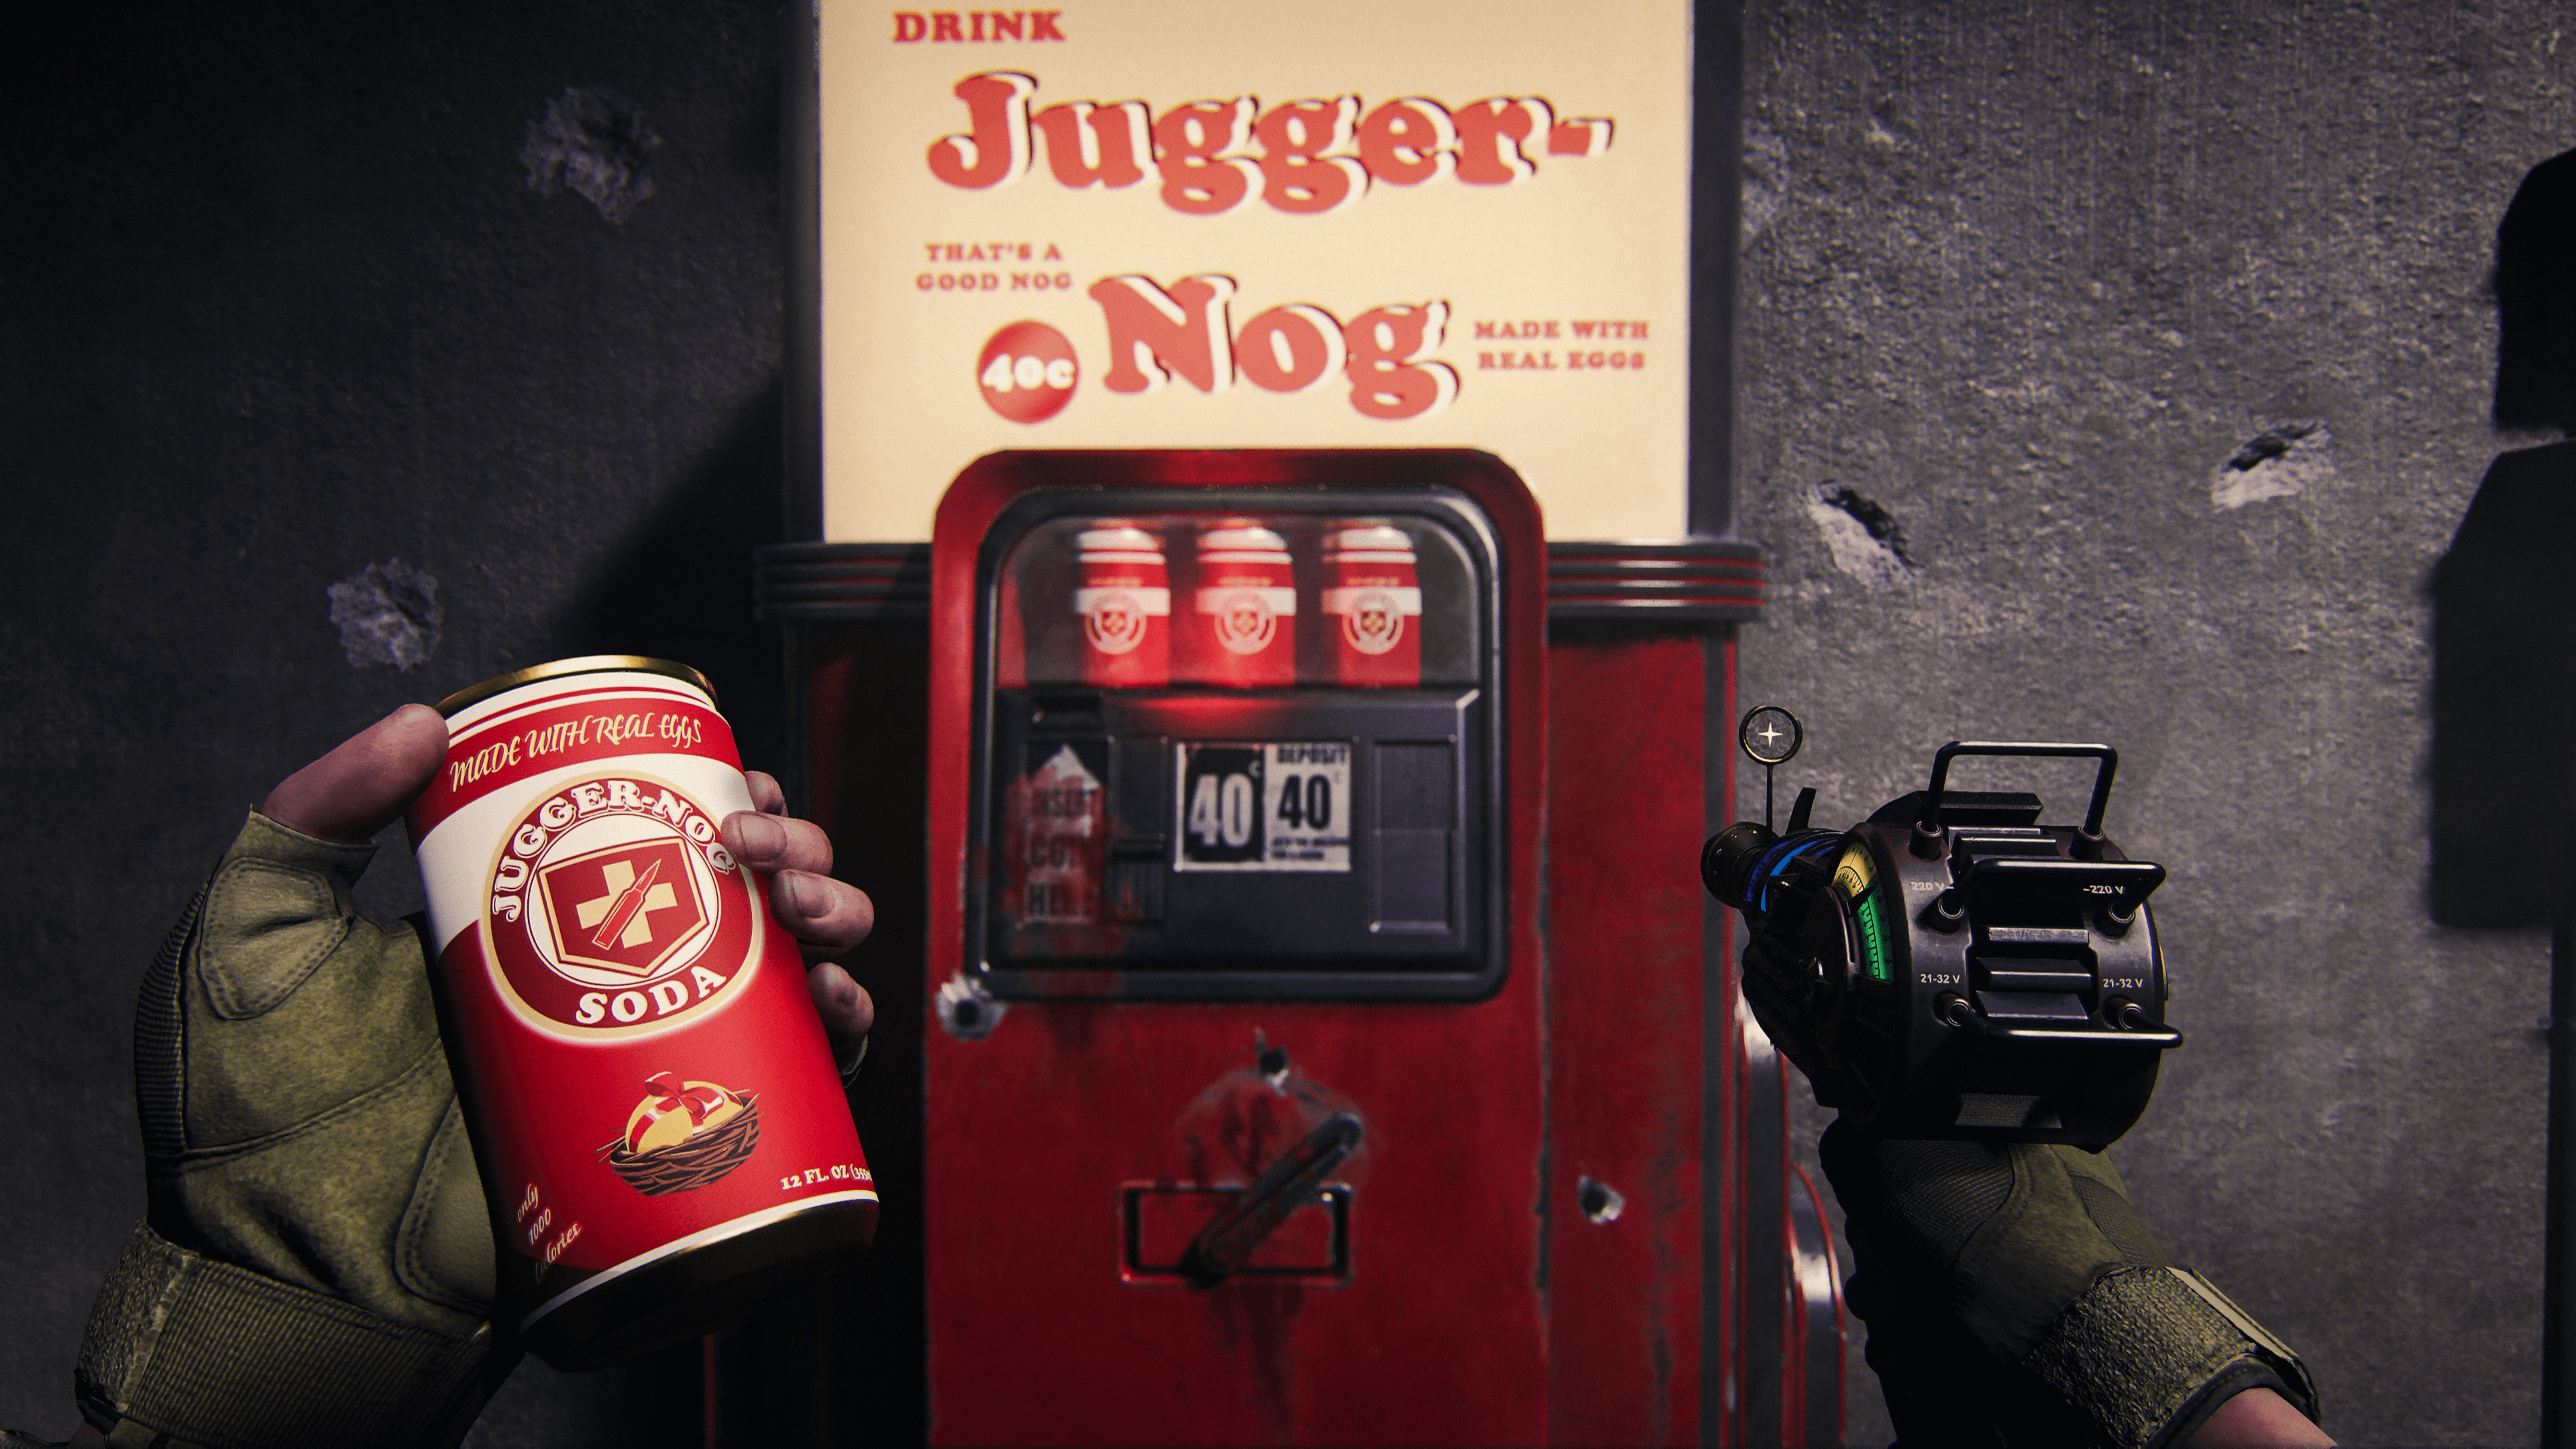
Hitting a Pack-a-Punch Machine is a must during the first half of your session. These powerful machines can increase the ammo capacity and firepower of your weapon, for a price of course. Pack-a-Punch machines are spread through all three Threat Levels. However, the level you can "pack" is limited by which Threat Level houses the machine. Low Threat Levels allow for a Pack I, Medium Threat Level allows for Pack I and Pack II, and High Threat Level provides Pack I, Pack II, and Pack III.
A great strategy is to locate a Pack-a-Punch Machine when you first deploy, then work your way through Contracts and Activities as you move toward the machine. Upgrading your weapon requires Essence, so make sure to fill up as you move toward the machine. Packing your weapon is a great way to increase your chances of survival.
Missions and Extract
Missions are the main goal in Modern Warfare Zombies. In Zombies, the story is separated into three distinctive Acts with a series of challenges leading up to a Story Mission. As you progress further into the narrative, the Missions will become more challenging. Make sure to use Loadout upgrades to safely complete these challenges. Follow the steps in this Session Flow to help you progress the Operation Deadbolt Missions. The payoff from completing these is not just a better look at classic Zombie lore; you can receive Acquisitions, Blueprints, and much more. Work with your squad to complete these challenges faster.
In almost every situation throughout Modern Warfare Zombies the more gear, the merrier. If you find something that you don’t have, it’s normally a good idea to pick it up and use it. However, there are a few builds and combinations that require a bit of decision making. Listed below are some starting Loadout ideas that will give you an idea of how to balance your Loadout. There is no correct way to outfit your Strike Team Operator, but having Gear that fits a playstyle or balances your squad out will increase your success rate. At the end of the day, as long as you’re having fun, that’s what matters, and sometime being able to survive through most of the session will help the fun-factor.
// INTEL CARD
- MWIII
- WZ
- WZM
Energy Mine
// MODERN WARFARE ZOMBIES // TACTICS
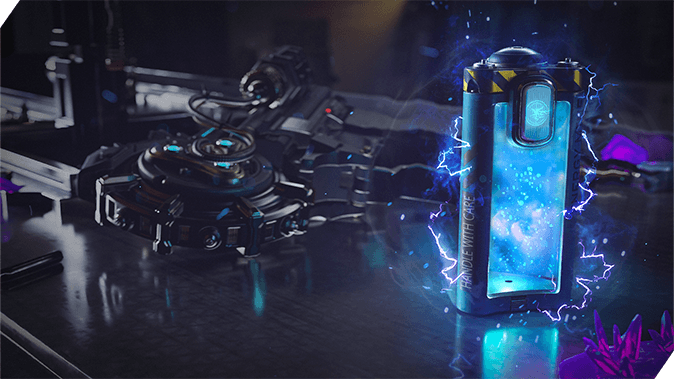
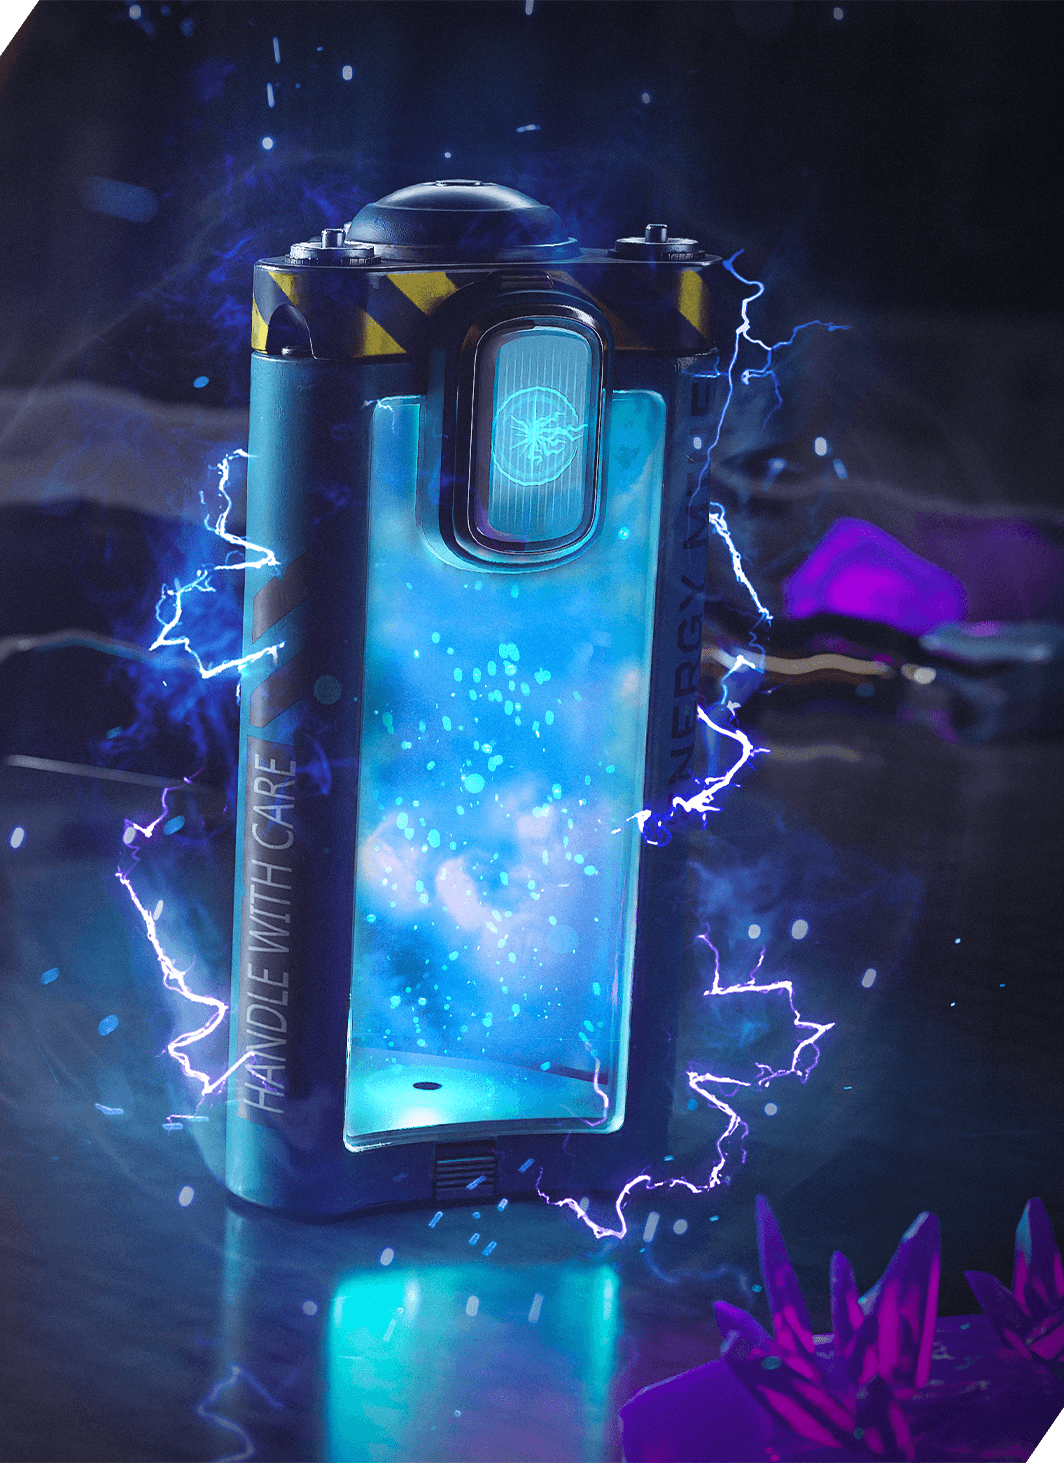
Description: “Spawn an explosive, dealing massive damage to enemies who set it off.”
Class Idea: Trap Enthusiast
Loadout:
Primary: SMG
Secondary: Assault Rifle
Tactical: Stun Grenade
Lethal: Proximity Mine
Strategy: For players that want to make an explosive entrance, the Energy Mine provides a tactical opportunity to rush into a group of enemies to grab their attention and lure them into a waiting explosive.
// INTEL CARD
- MWIII
- WZ
- WZM
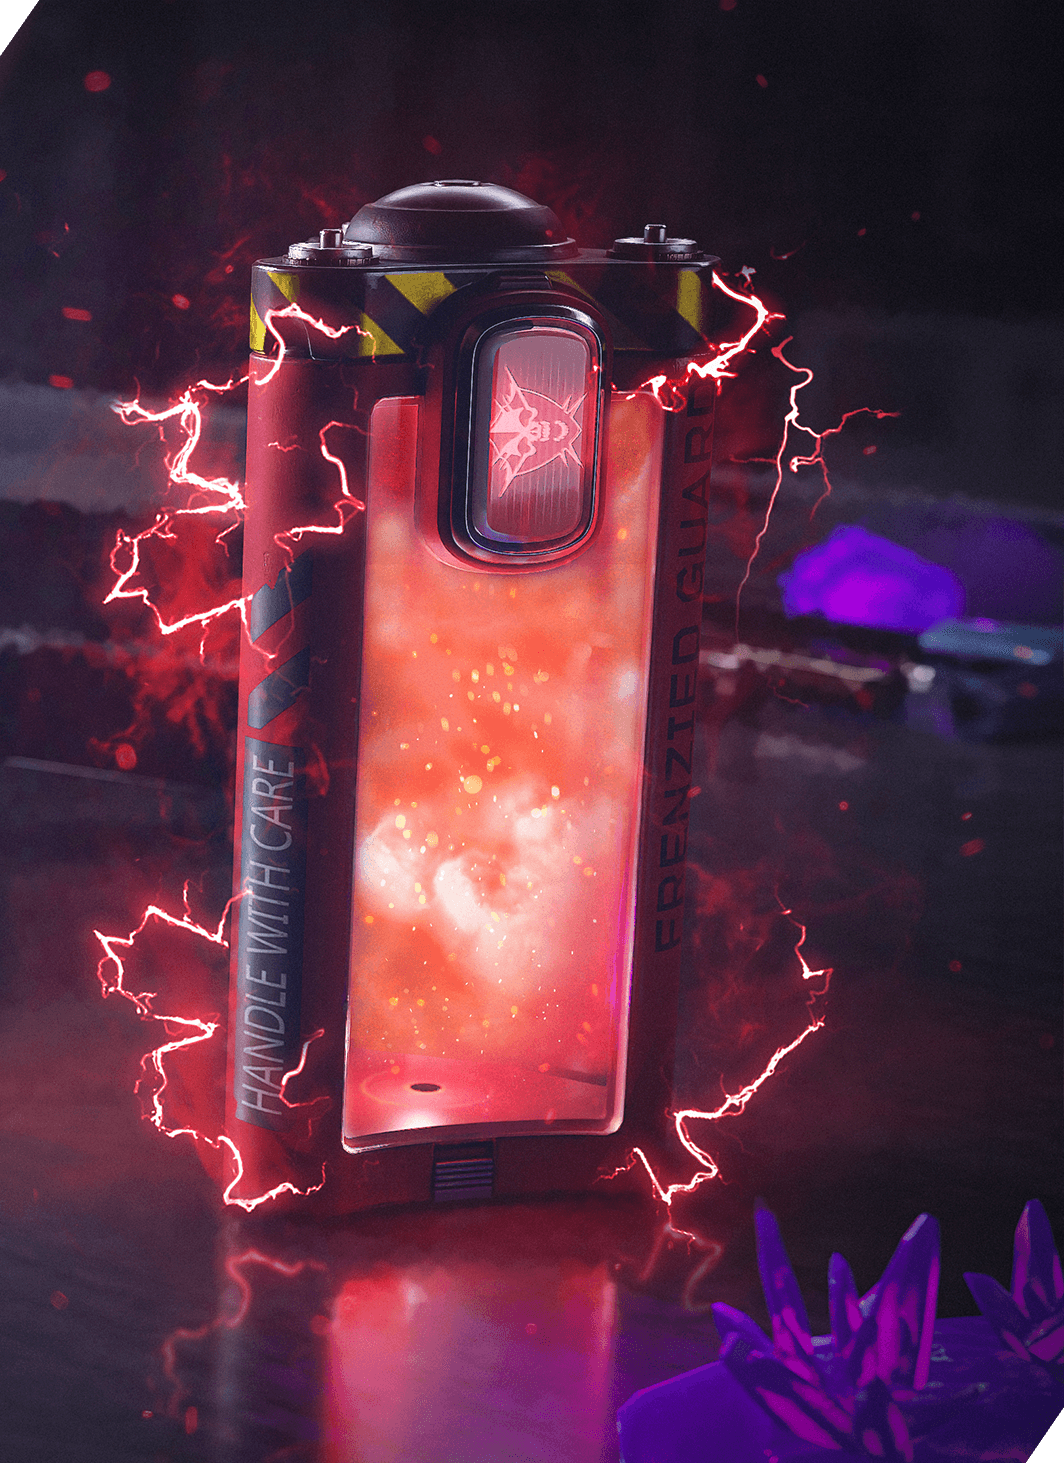
Frenzied Guard
// MODERN WARFARE ZOMBIES // TACTICS
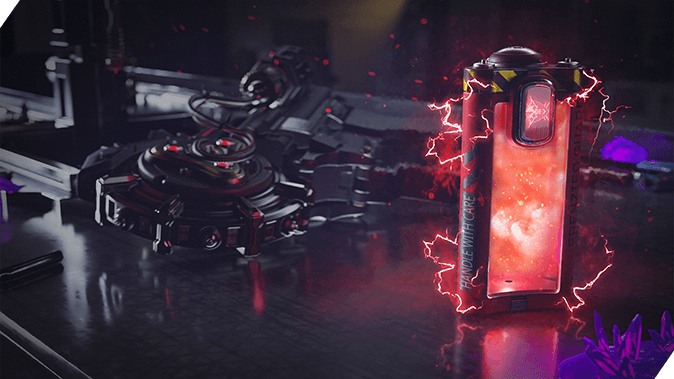
Description: “Repair armor to full and force all enemies in the area to target you for 10 seconds. Enemy kills repair armor during this time.”
Class Idea: Heavy Tank
Loadout:
Primary: Shotgun
Secondary: Pistol
Tactical: Stim
Lethal: Claymore
Strategy: Want to be the center of attention? Is a teammate in a dire situation? Use Frenzied Guard to grab the attention of nearby enemies and fill your armor to the max and replenish lost armor with kills during this window. Get in there!
// INTEL CARD
- MWIII
- WZ
- WZM
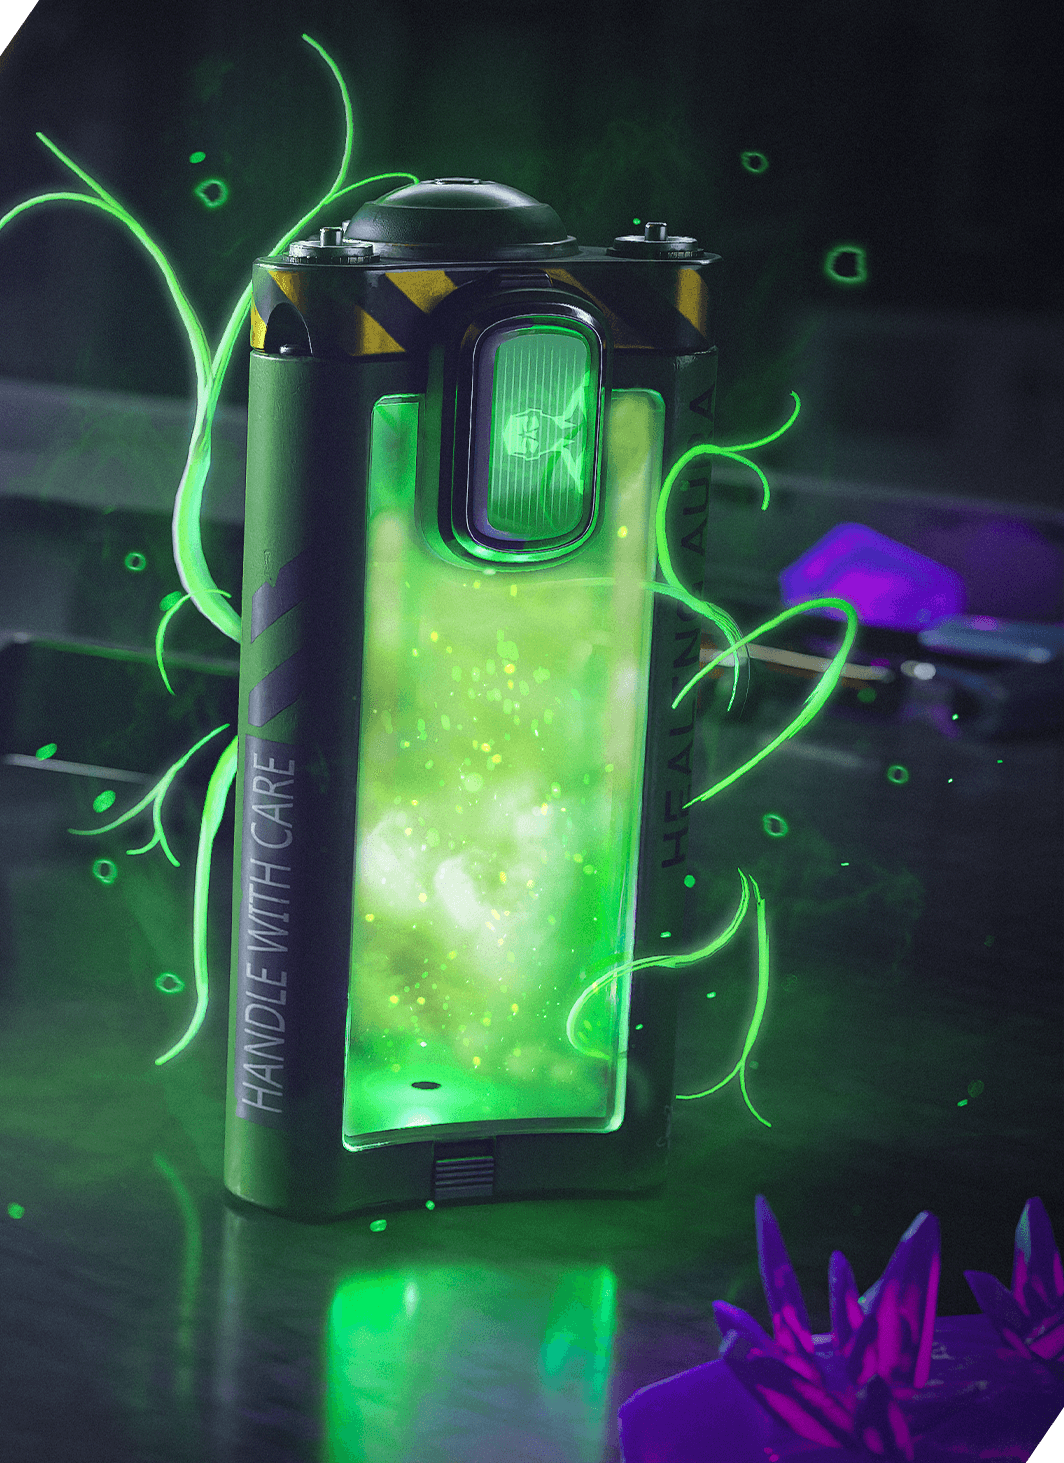
Healing Aura
// MODERN WARFARE ZOMBIES // TACTICS
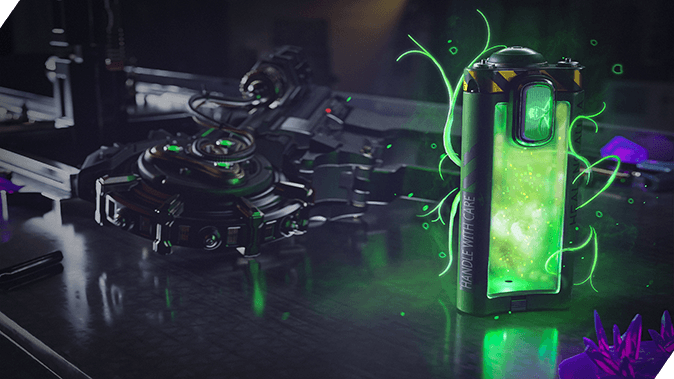
Description: “Heal all players immediately.”
Class Idea: Healer
Loadout:
Primary: LMG
Secondary: Shotgun
Tactical: Decoy Grenade
Lethal: Sticky Grenade
Strategy: Everyone needs a combat medic! Keep the damage flowing while sending out a blast of healing energy to top off teammates. This Field Upgrade will also revive teammates that are currently bleeding out.
// INTEL CARD
- MWIII
- WZ
- WZM
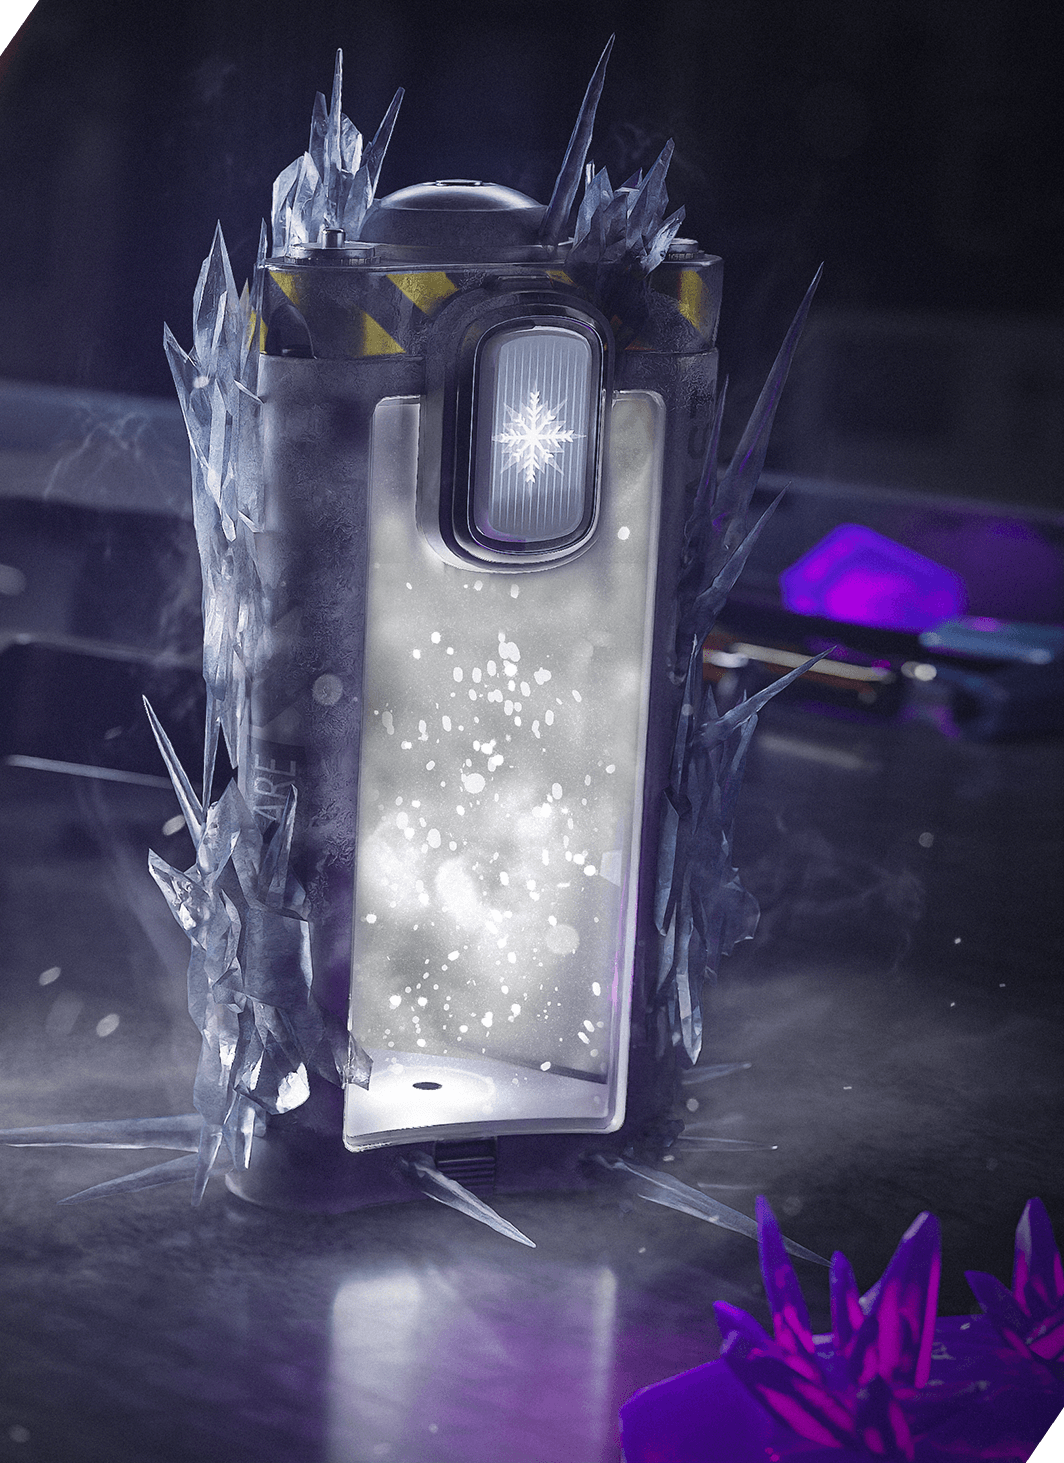
Frost Blast
// MODERN WARFARE ZOMBIES // TACTICS
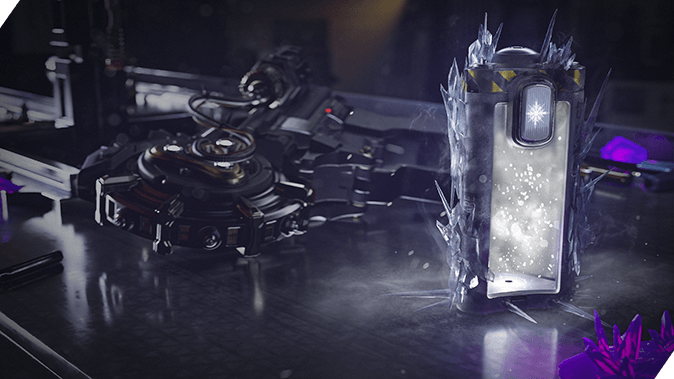
Description: “Damage enemies with the initial blast and slow those that enter.”
Class Idea: Crowd Controller
Loadout:
Primary: Assault Rifle
Secondary: SMG
Tactical: Shock Stick
Lethal: C4
Strategy: Sometimes you need to shut down the opposition to either get in or get out of the fray. Use Frost Blast to damage enemies with an initial circular blast and slow those who dare enter.
// INTEL CARD
- MWIII
- WZ
- WZM
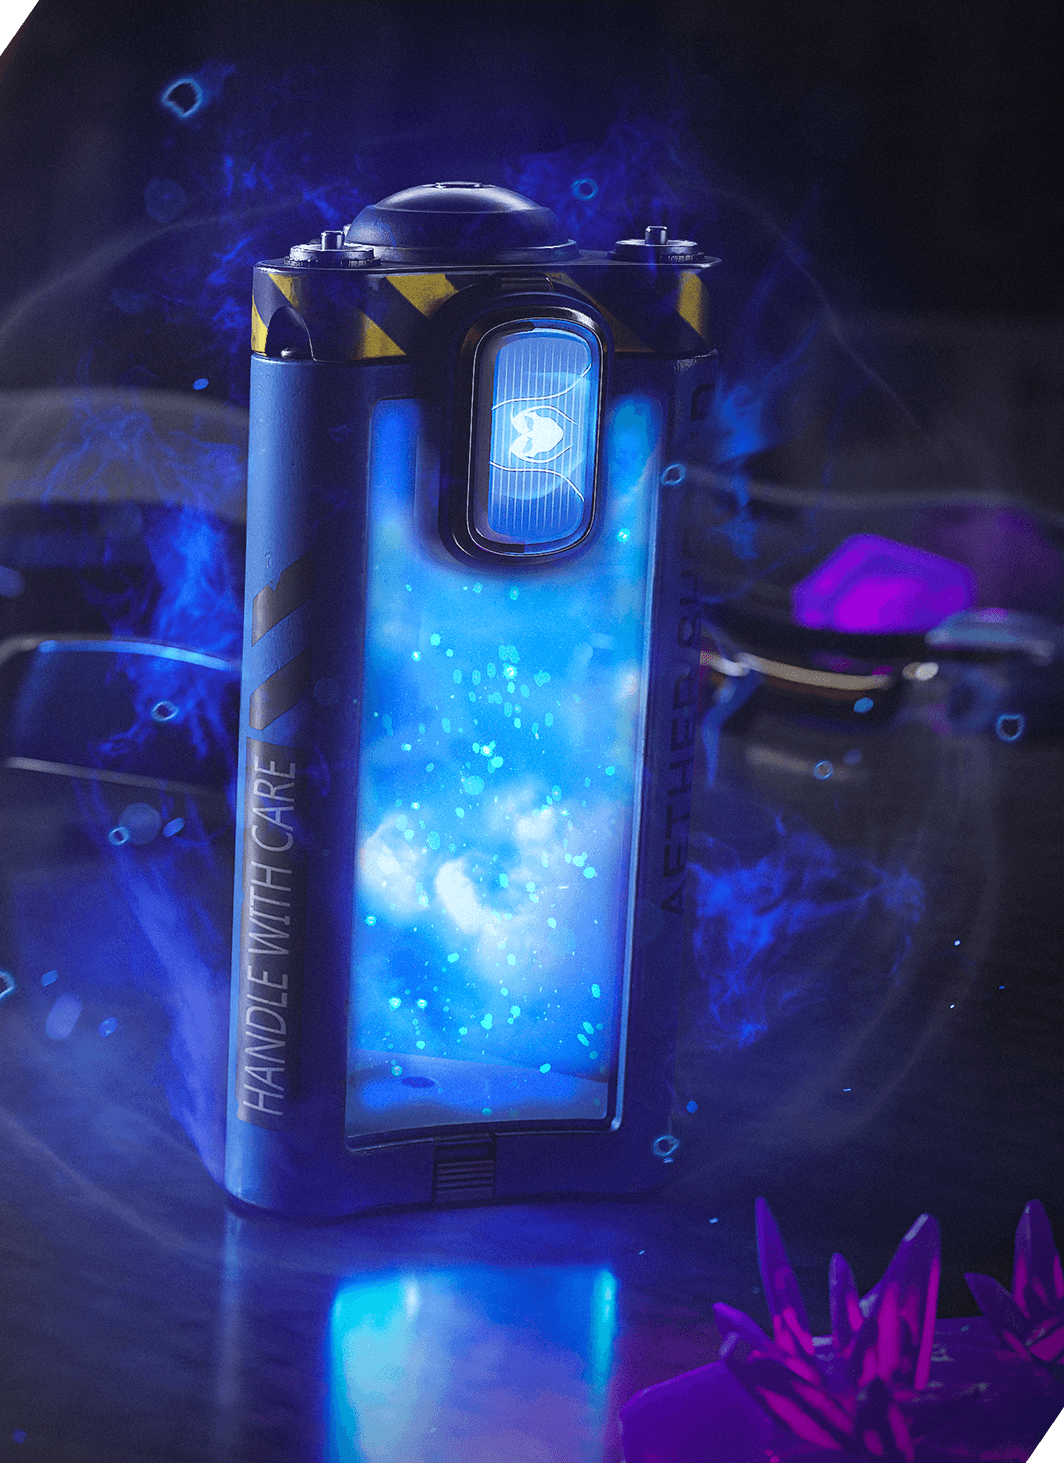
Aether Shroud
// MODERN WARFAR ZOMBIES // TACTICS
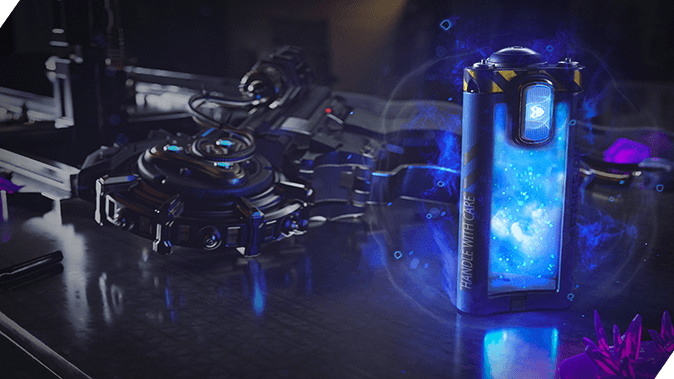
Description: “Become invisible to zombies.”
Class Idea: Stealth/Ninja
Loadout:
Primary: Assault
Secondary: Melee
Tactical: Stun Grenade
Lethal: Throwing Knives
Strategy: Whether you’re repositioning for a perfect shot or a clutch save, Aether Shroud will let you slip away from the massive Zombie horde headed your way. They can’t hit you if they can’t see you.
// INTEL CARD
- MWIII
- WZ
- WZM
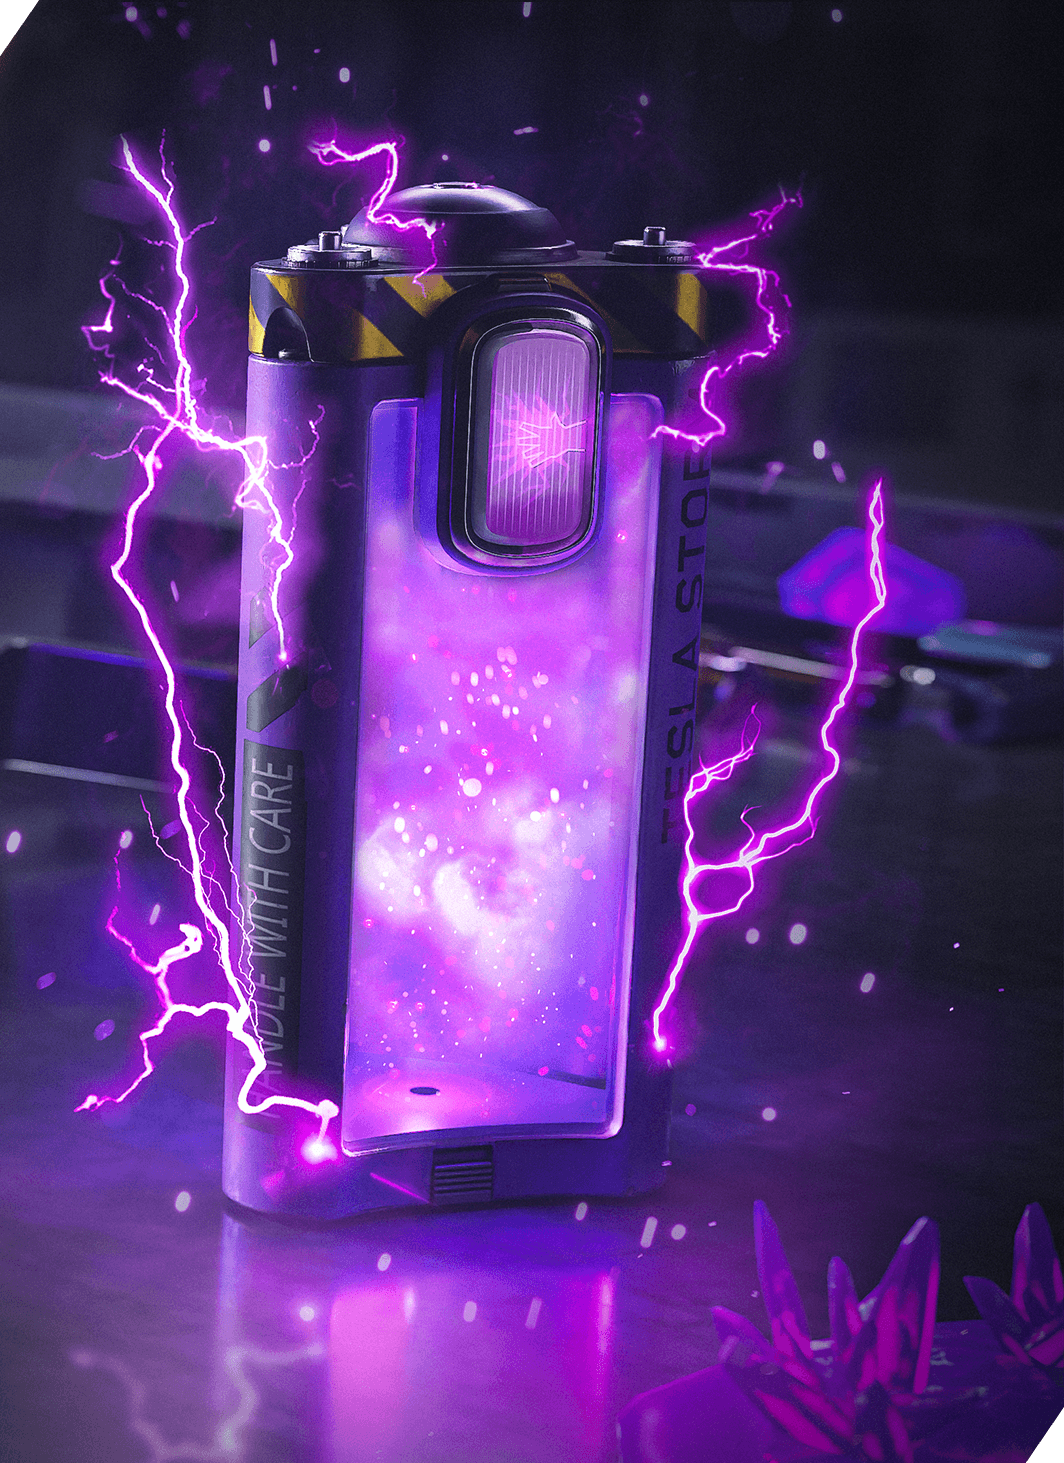
Tesla Storm
// MODERN WARFARE ZOMBIES // TACTICS
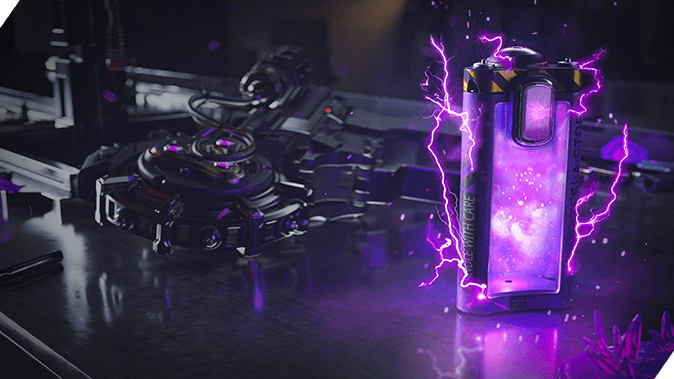
Description: “For 10 seconds lightning connects to other players, stunning and damaging normal enemies.”
Class Idea: Team Player
Loadout:
Primary: Any
Secondary: Any
Tactical: Shock Stick
Lethal: Frag Grenade
Strategy: For the team player and shot caller, link up with your team literally by using Tesla Storm as you approach objectives. Upon activation, lightning leaps between party members to stun and damage all enemies who dare break the formation.
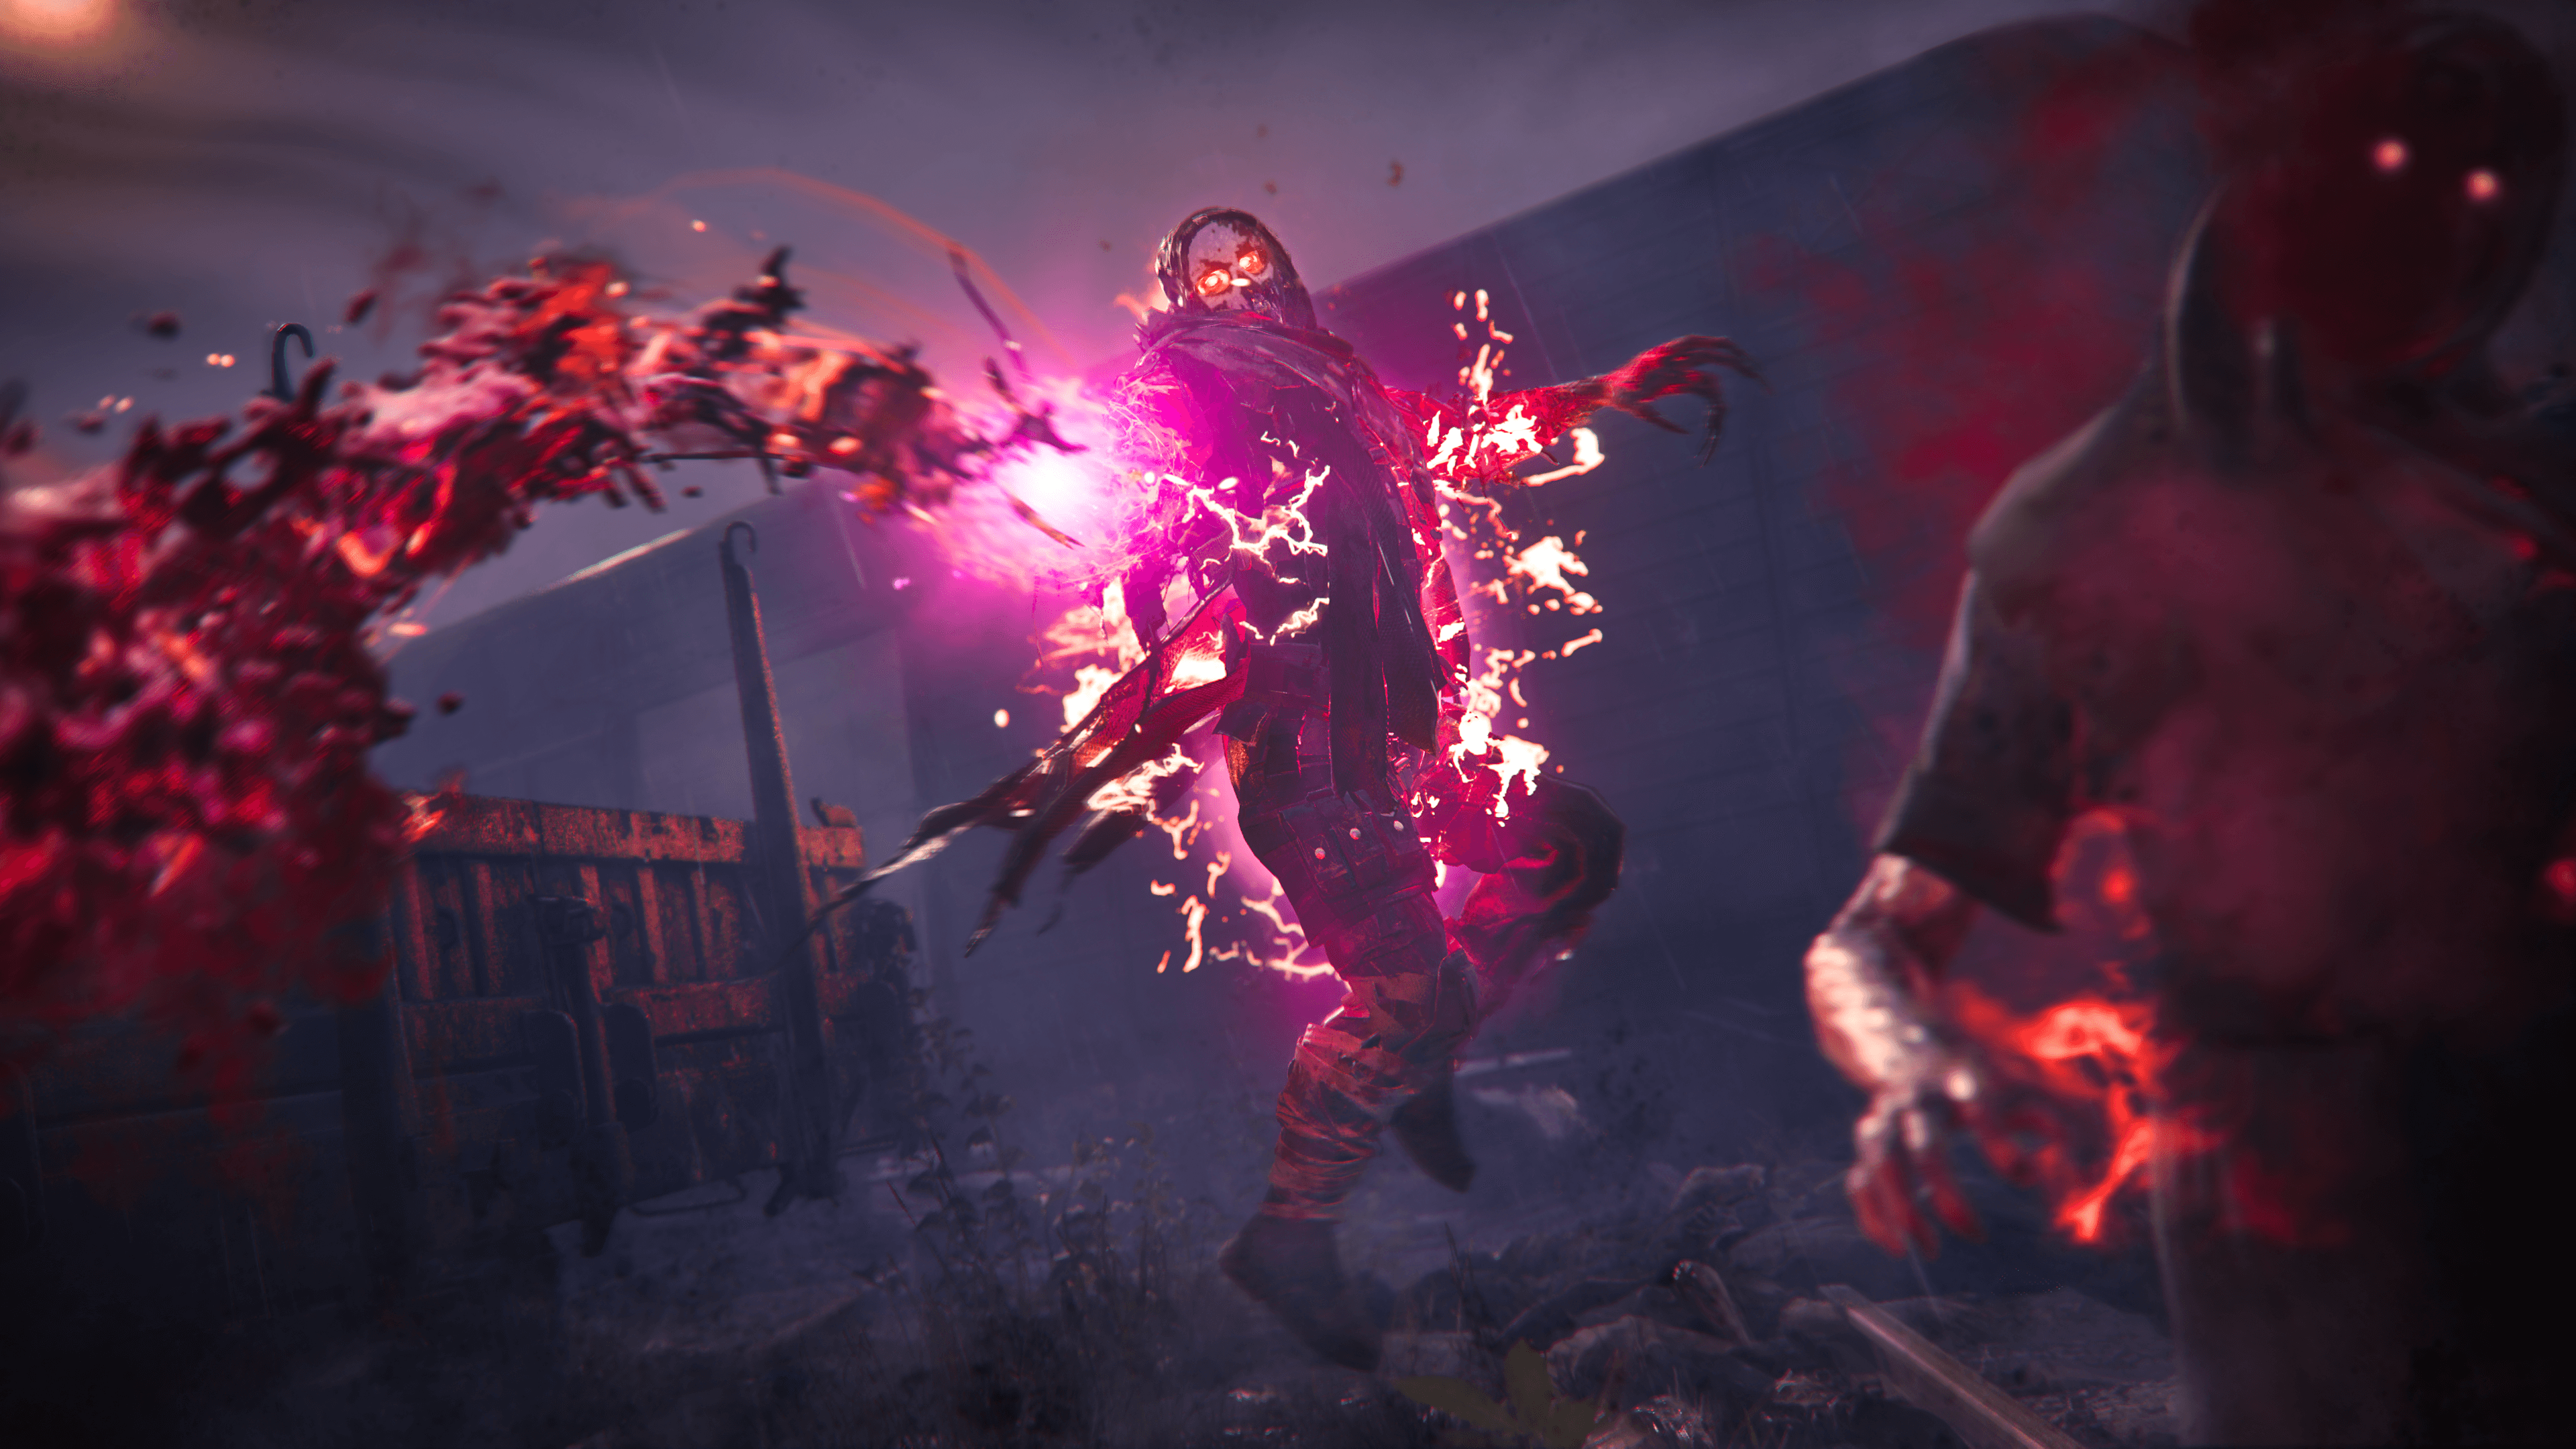
Acquisitions include some of the most valuable loot items in Modern Warfare Zombies. The caveat is all Acquisitions are a one-time use. Strategize when to use these loot items, and when to stow them for the next session. Below is a list of Acquisitions detailing how and when to best utilize each one.
Aether Tools
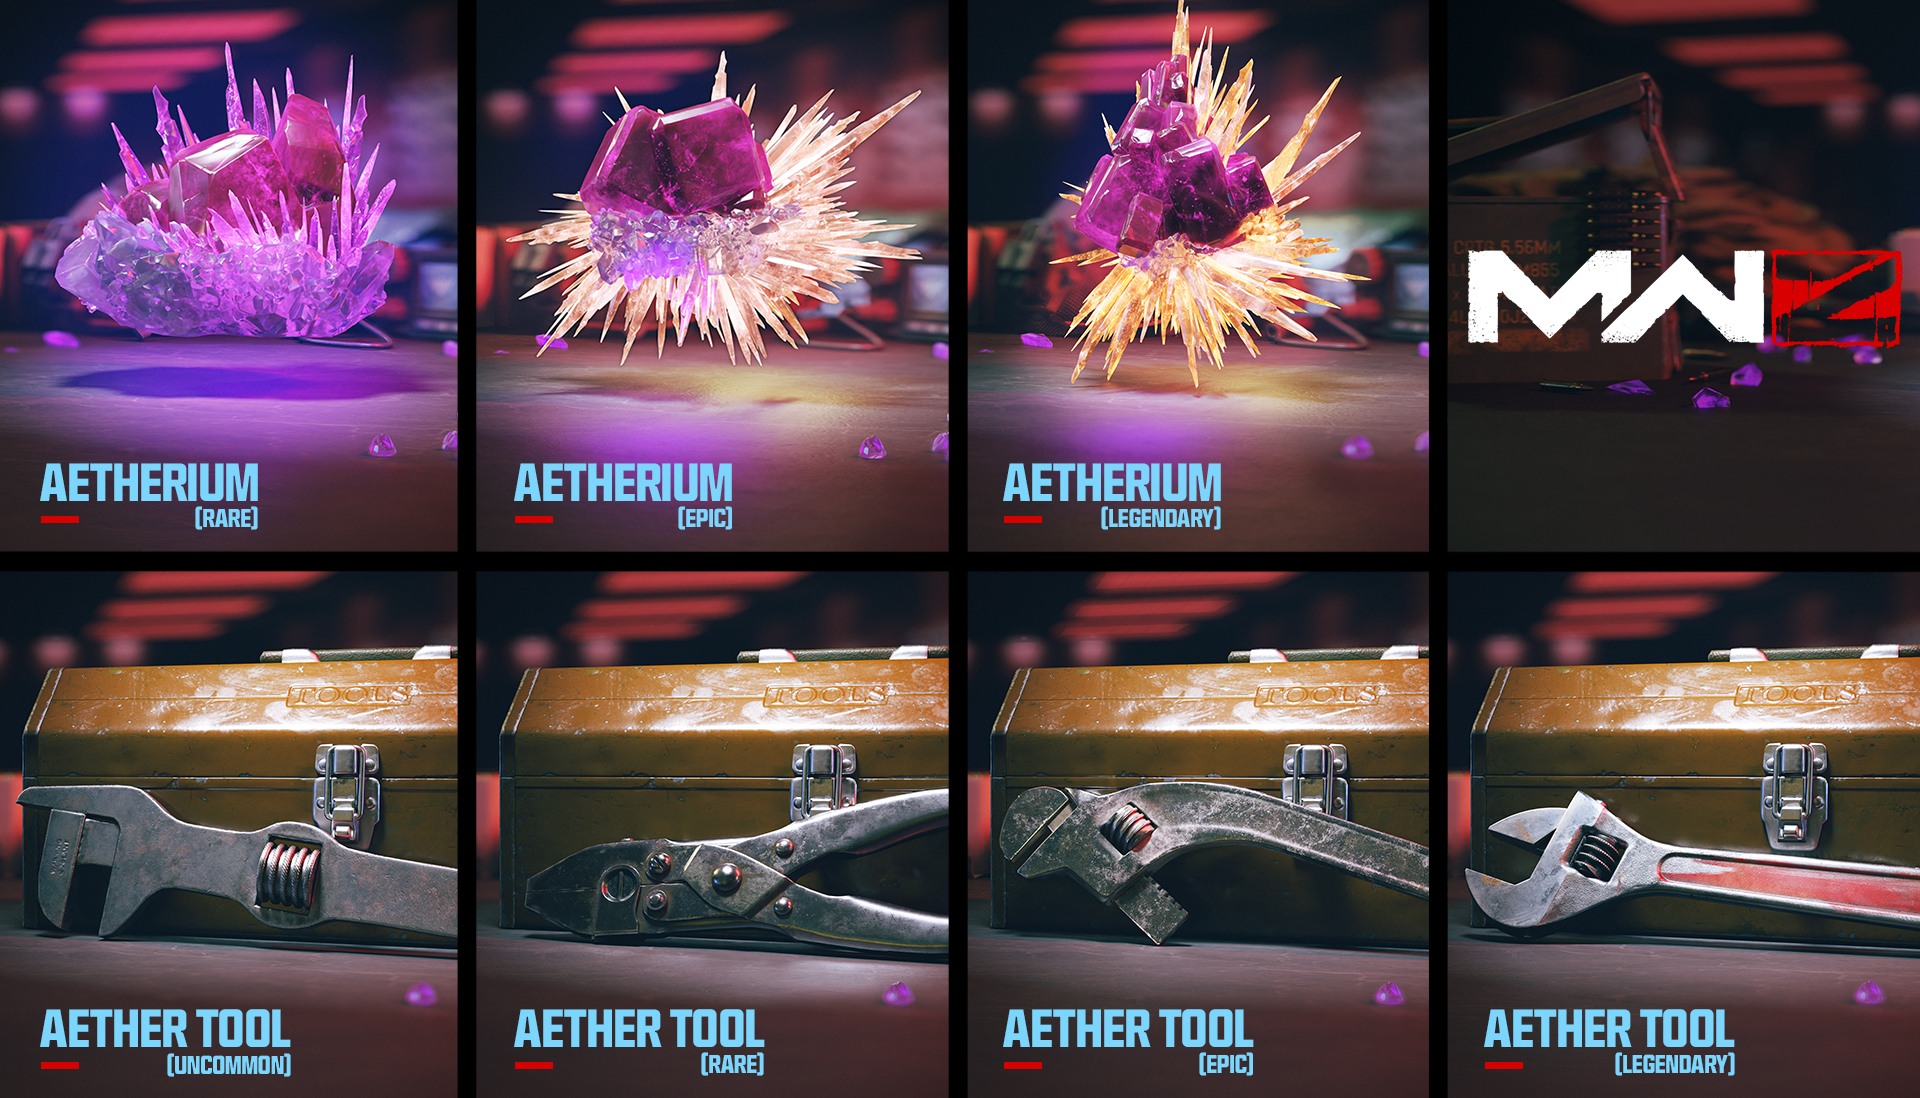
Uncommon Aether Tool: Uncommon Aether Tools allow you to upgrade a Weapon to the first rarity level, Uncommon. This tool is green in color and can be found by completing Contracts and Activities. This Acquisition is a great way to power up a Weapon directly after deployment. A lucky few will secure an Uncommon Aether Tool Schematic, which will unlock the ability to craft one, permanently, prior to deployment.
Rare Aether Tool: Rare Aether Tools are one step up from Uncommon Aether Tools. These are distinguished by a blue color and are rarer than their green counterpart. Equipping one to your Weapon will replace the lower rarity level and provide a nice power boost. Tracking and eliminating a Harvester Orbs provide a higher chance of securing this particular Aether Tool. A Weapons rarity can only increase, so if you come across an Aether Tool with a rarity lower than your currently equipped Weapon, stow it to help kickstart your nest session.
Epic Aether Tool: Epic Aether Tools are next in the rarity lineup and are identified by their purple color. Finding one late in the game will present a difficult decision: use it now or stow it for the next deployment. If you are heading to a higher Threat Level, upgrading your Weapon could be the right call. A packed Epic rarity Weapon with an Ammo Mod can back some serious bite.
Legendary Aether Tool: The last and most powerful Aether Tool is the Legendary rarity. Legendary Aether Tools are orange in color and are extremely rare finds during a deployment. A base Weapon with this rarity is just as powerful as a Pack II Weapon. If you are lucky enough to find one, you must decide to use it in your current session or save it for a future one. This item will upgrade your Weapon's damage significantly, so choose wisely.
Perk-A-Cola Cans
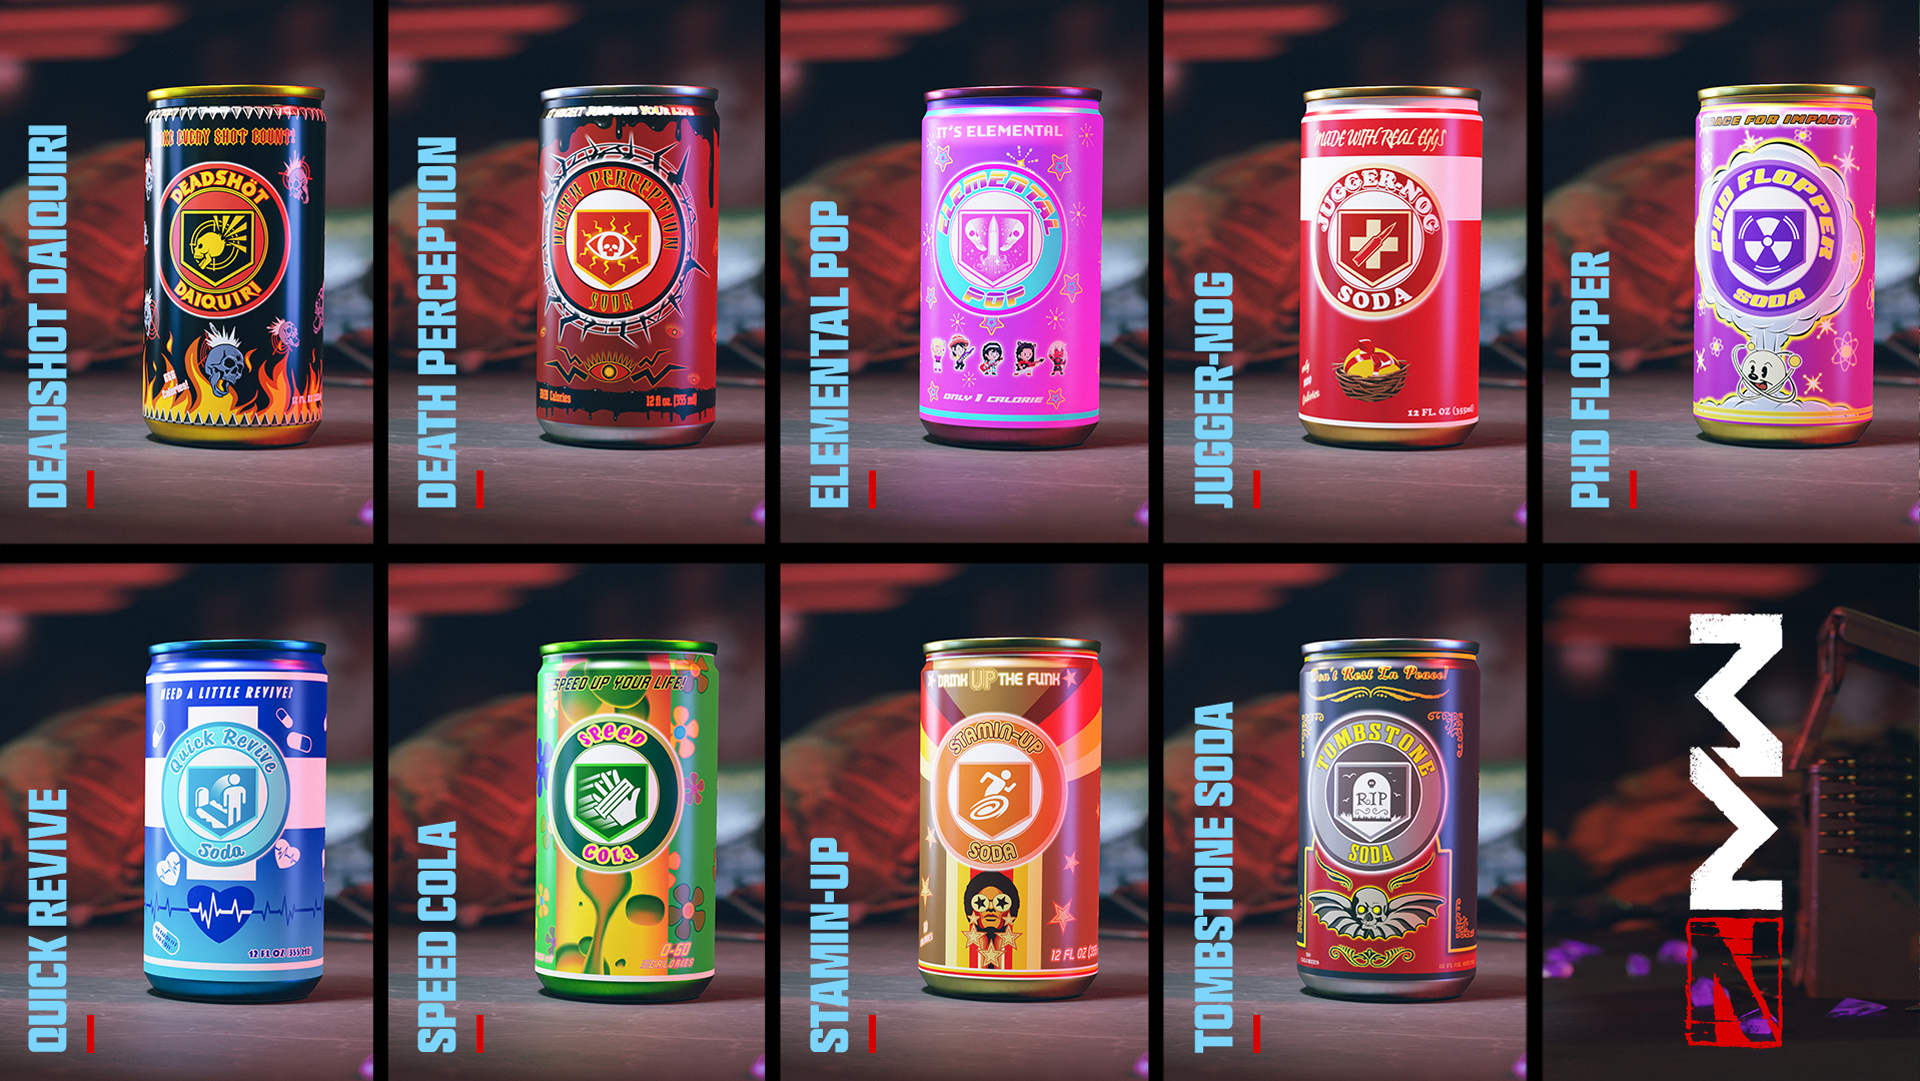
Simply put, Perk-A-Cola Cans are game changers. For example, a Quick Revive Perk can cut squad revive time by 50%! Purchase a Perk-A-Cola Can from a Perk Machine for an immediate use. If you happen across one naturally, decide if you want to use it, share it, or stow it for a future deployment. Keeping extras in your Rucksack can be beneficial, as you will lose any equipped Perks if you are revived after fully bleeding out.
Ammo Mods
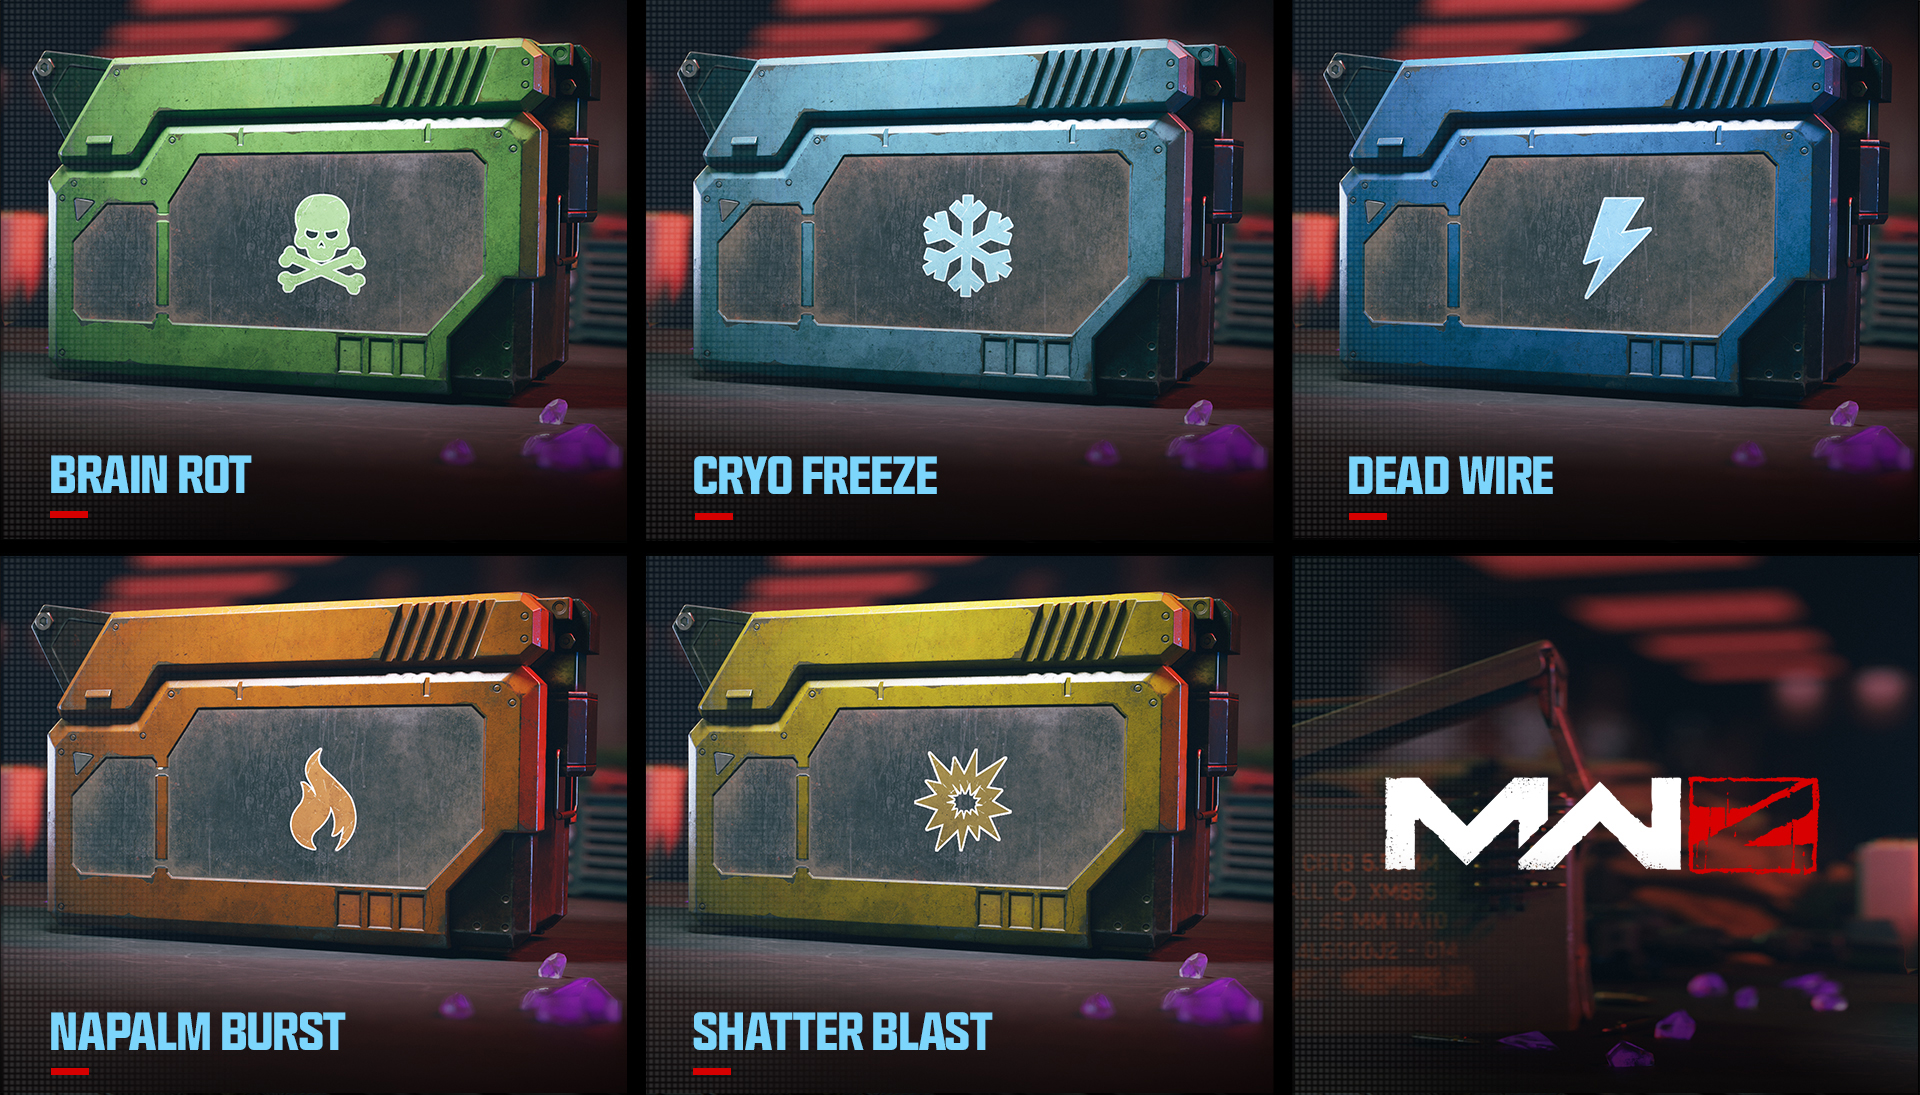
Ammo Mods are a great upgrade for lower rarity or lower packed bullet Weapons. Every bullet fired has a chance to inflict additional damage to an undead enemy. Only one Ammo Mod can be applied to a bullet Weapon at a time, so stowing or sharing any extras is a great strategy. There are few reasons to not apply one, so use 'em if you got 'em.
Wonder Weapon Cases
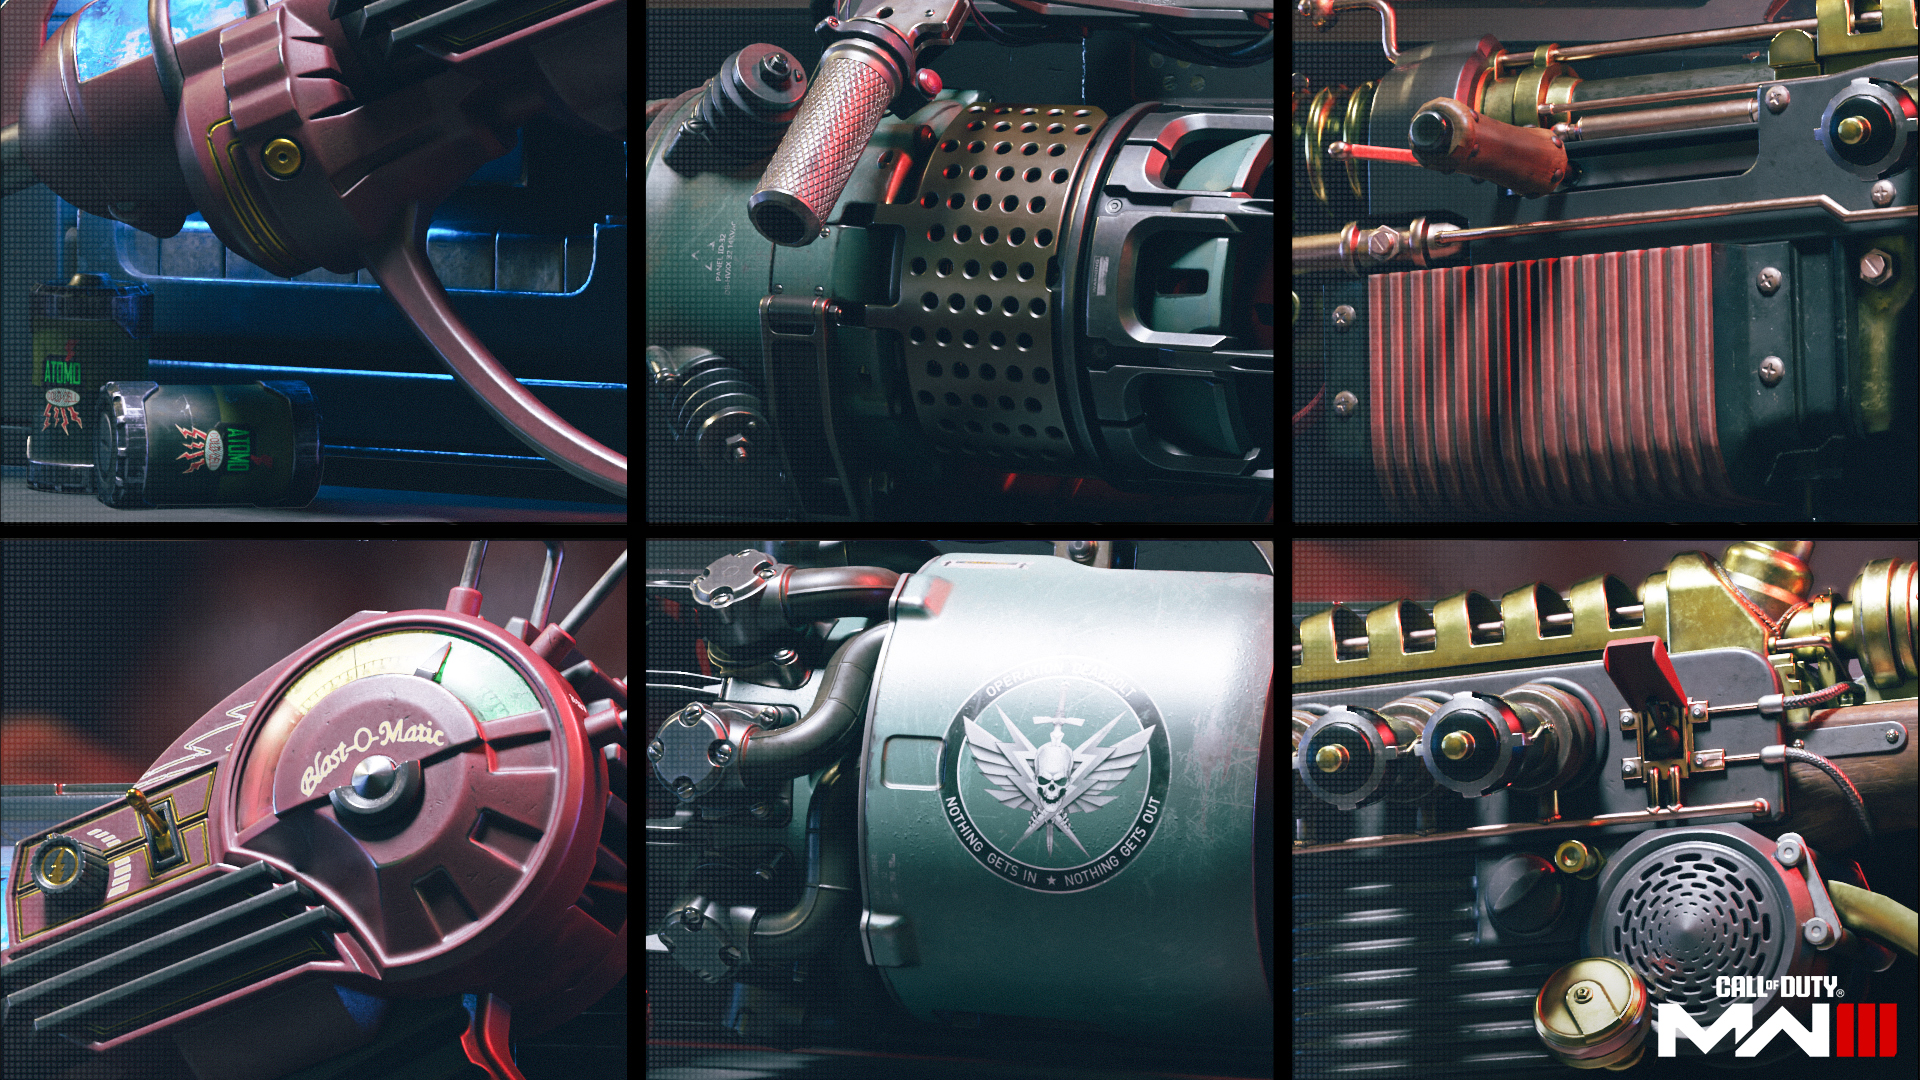
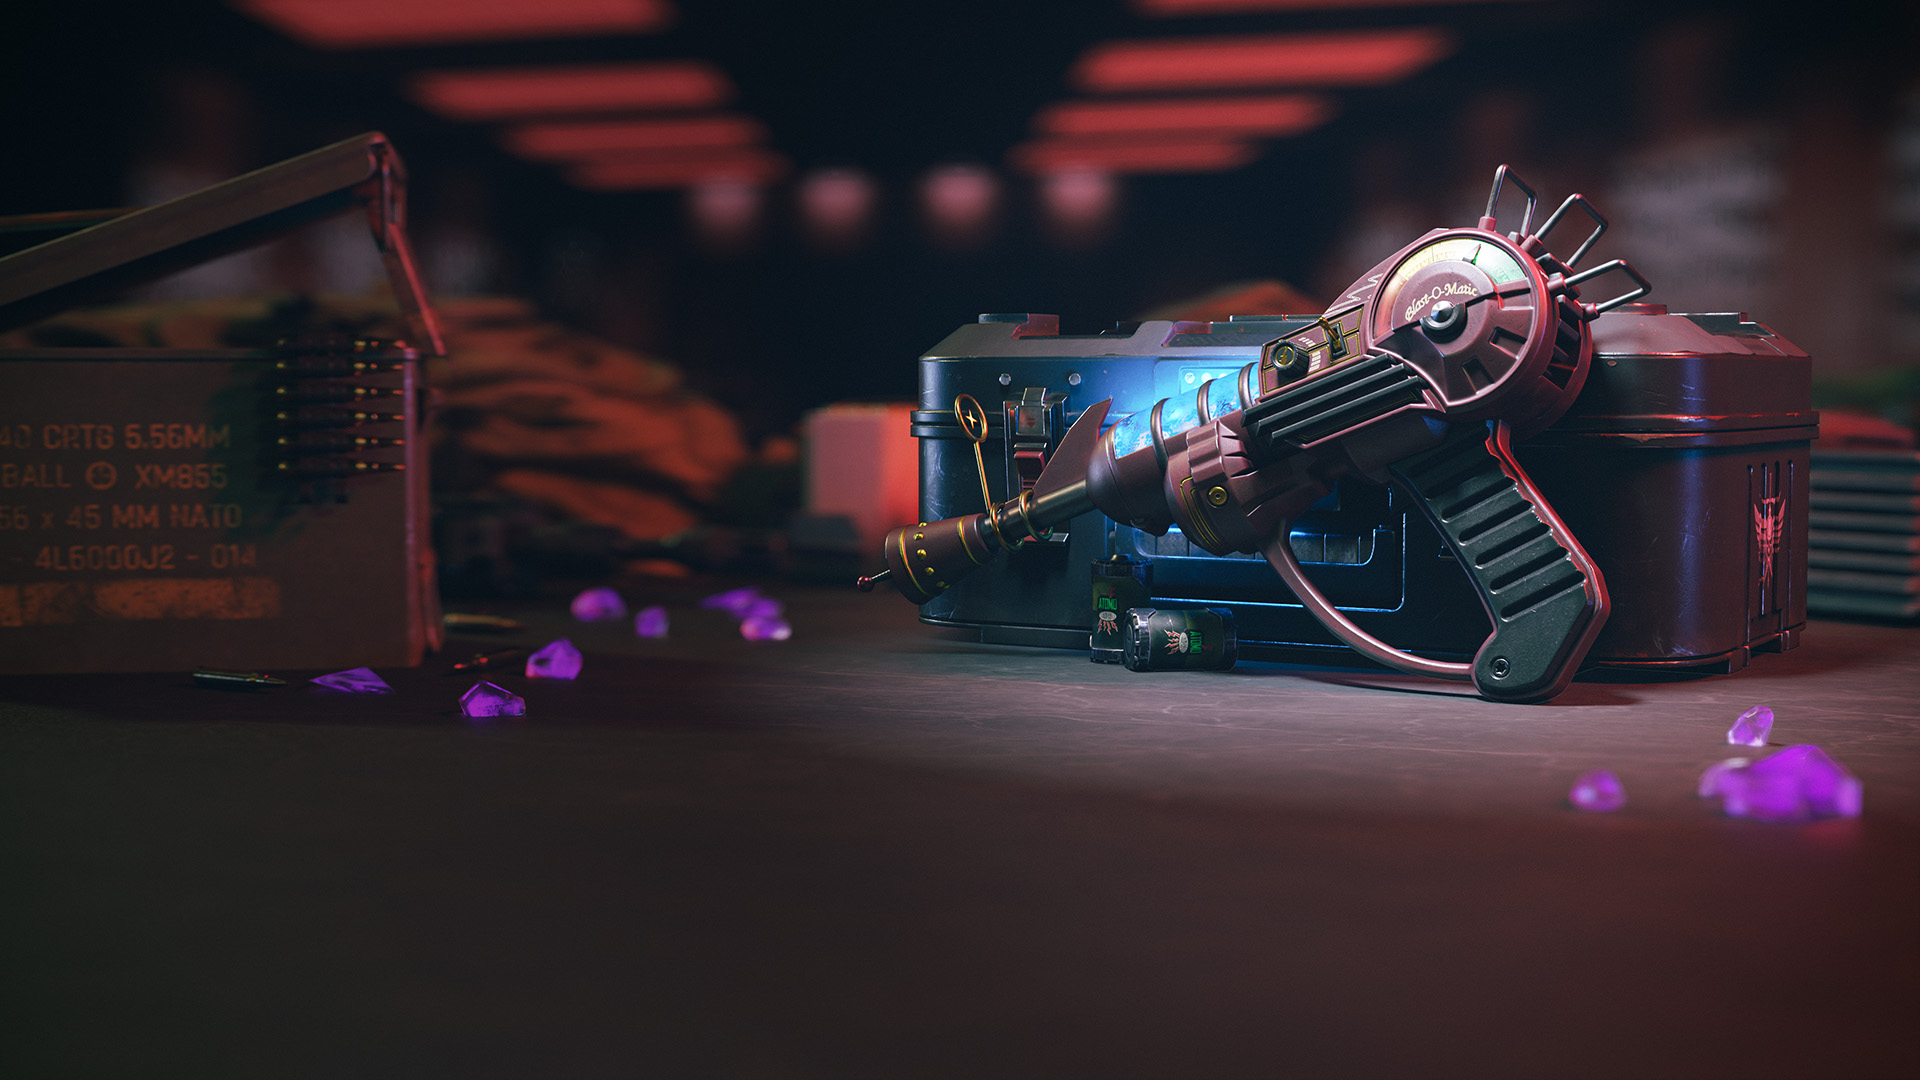
Ray Gun: Fueled by arcane technology, this iconic weapon emits lethal energy blasts that cause splash damage upon impact. Its power is unmatched, but wielders should aim carefully to avoid self-harm. Ray Guns are considered pistols, so they stay equipped and can fire when you are downed.
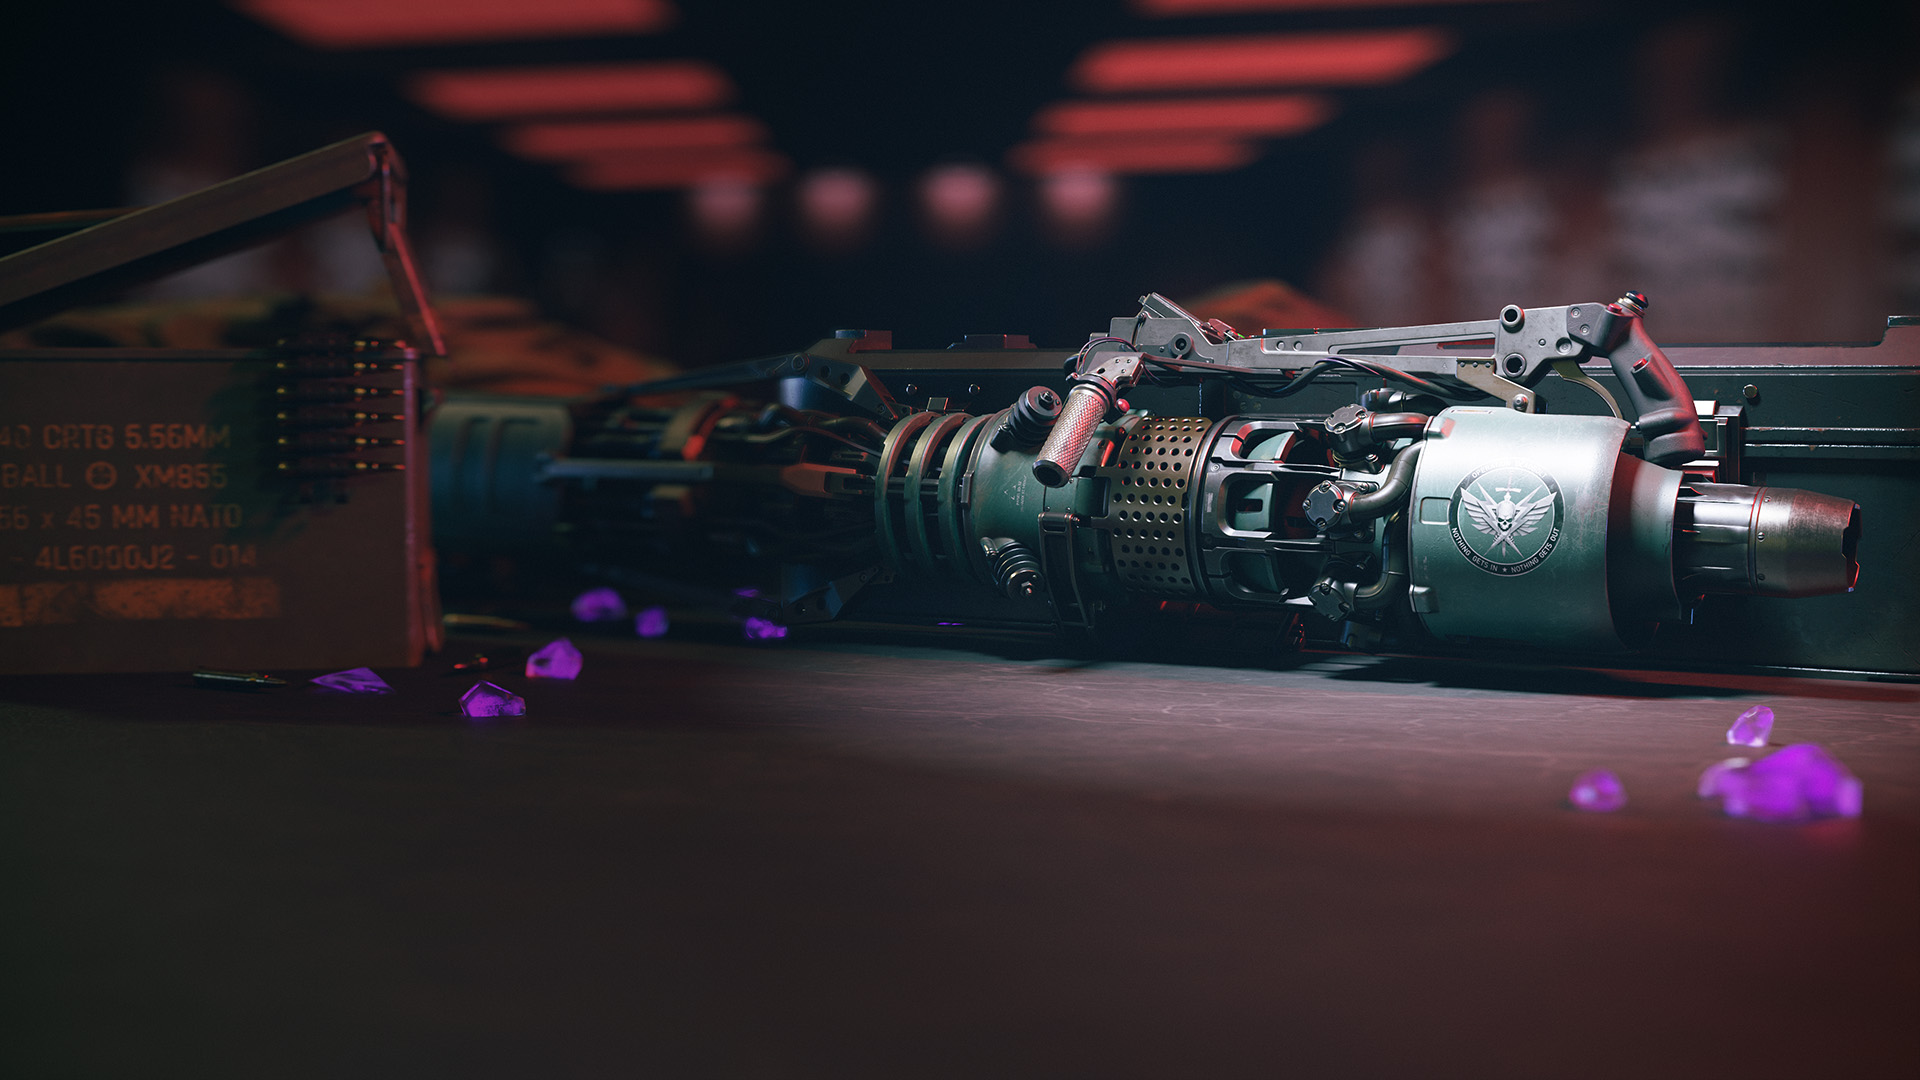
The Scorcher: Fueled by volatile Aetherium, this weapon fires a concentrated plasma beam that pierces enemies. Once fired, anything and everything entering its wake will take damage. Its secondary function propels the user skyward, enabling parachute deployment for quick repositioning. The Scorcher is great for clearing congested escape routes and blasting out of unfavorable situations.
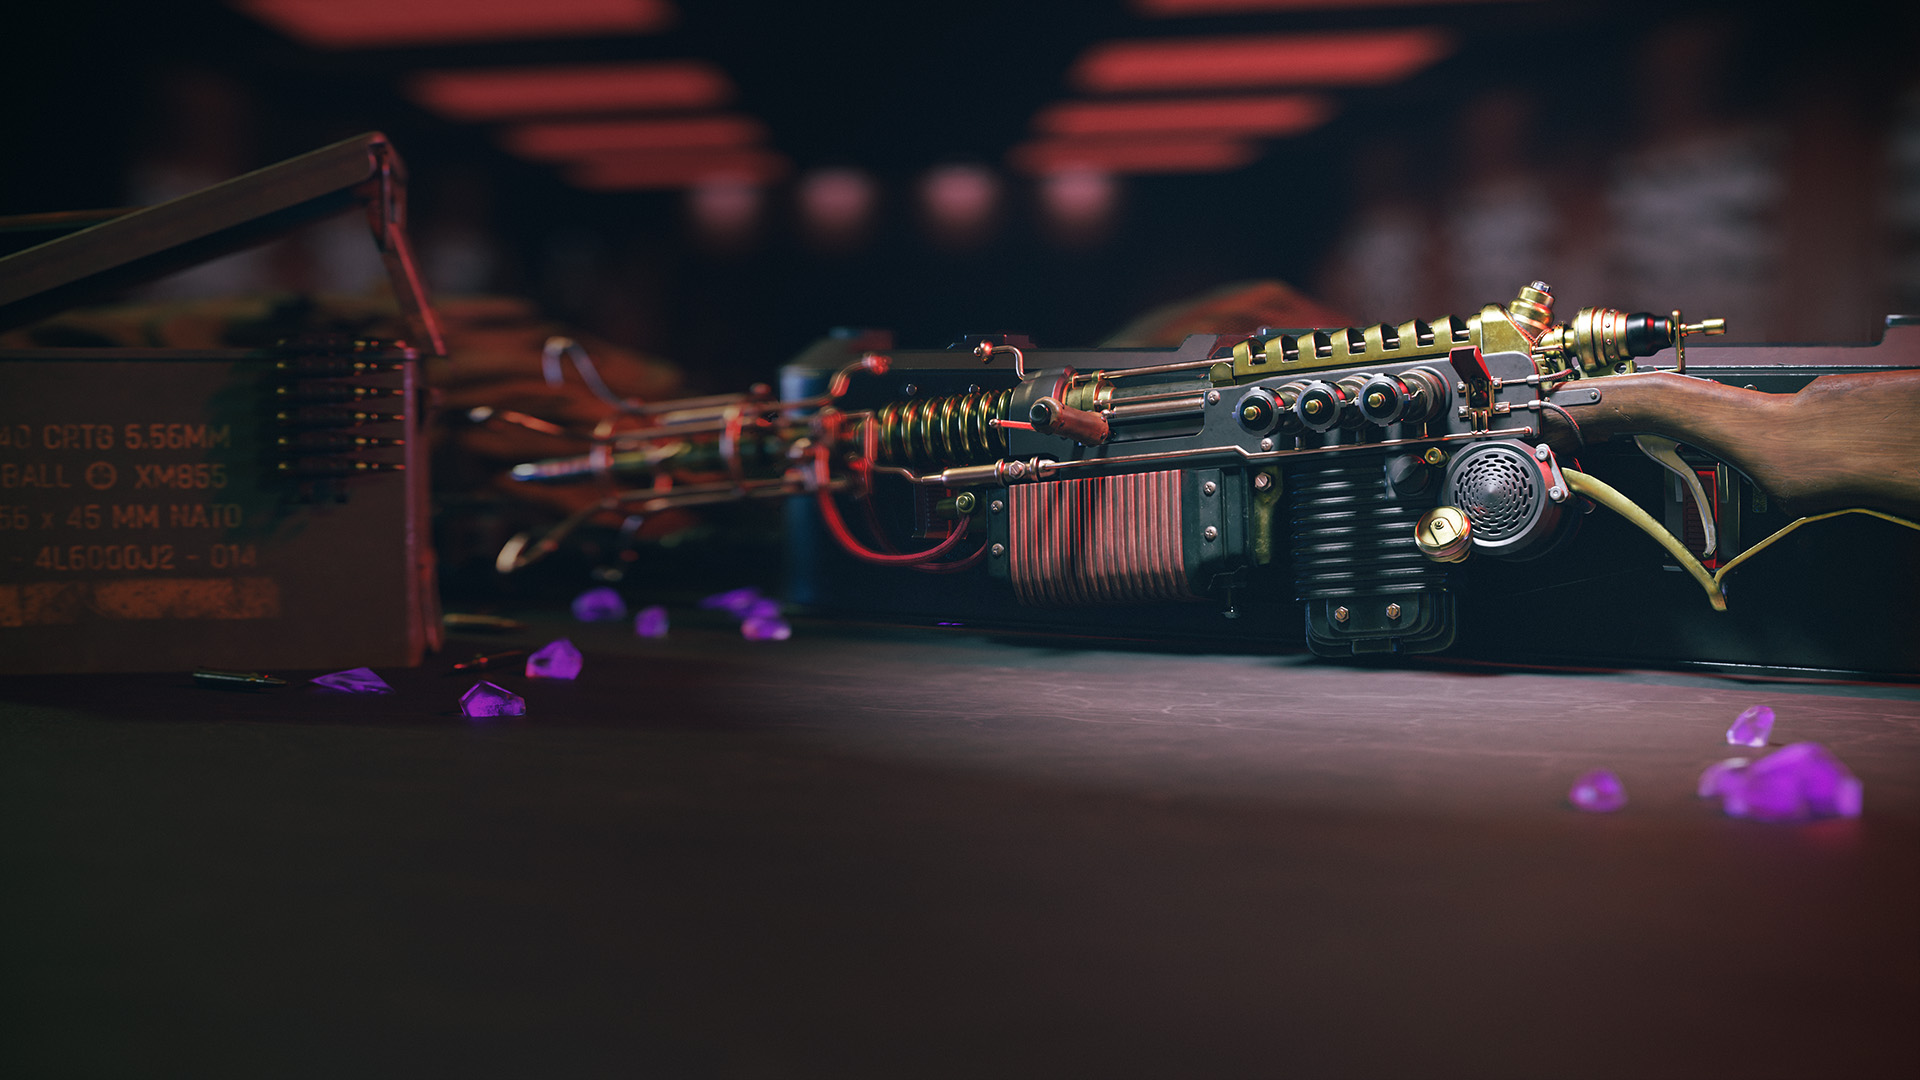
DG-2: The Wonderwafe DG-2 discharges a staggering 200,000 amperes of electrical current. A single bolt instantly fries the target and can chain to nearby enemies for widespread devastation. The DG-2 is best used against hordes of enemies. Shooting an enemy will chain to nearby enemies, stunning them, and deal massive amounts of damage.

© 2024 Activision Publishing, Inc. ACTIVISION, CALL OF DUTY, and MODERN WARFARE are trademarks of Activision Publishing, Inc. All other trademarks and trade names are the property of their respective owners.
For more information, please visit www.callofduty.com and www.youtube.com/callofduty, and follow @Activision and @CallofDuty on X, Instagram, and Facebook. For Call of Duty Updates, follow @CODUpdates on X.
