November 13, 2020
Black Ops Cold War
Welcome to the Black Ops Cold War Landing Site, your hub for Blog-related official announcements, features, news, tactics, and tips.
Selected region: Australia

November 13, 2020
Get to know every available Multiplayer game mode at launch with basic rules and tips for conquering the competition.
Get to know every available Multiplayer game mode at launch with basic rules and tips for conquering the competition.
November 13, 2020
Call of Duty®: Black Ops Cold War is now live and full of new and classic Multiplayer modes for an epic launch week.
Whether you plan on dropping straight into the new 40-player Fireteam: Dirty Bomb game mode or hitting the classics like Team Deathmatch and Domination, we’ve got tips and strategies to start you off strong.
Below we’ve outlined the basic rules, plus tips, for every Multiplayer mode in-game at launch:
Fireteam: Dirty Bomb
The Basics
Based in Fireteam, a 40-player Multiplayer experience with 10 squads of four taking part in epic multi-team firefights, Fireteam: Dirty Bomb is an objective based mode where squads must work together to take out enemies, collect Uranium caches, and locate dirty bombs scattered throughout the map. At these dirty bomb sites, collected Uranium can be deposited until it’s primed for detonation.
Earn score for your team in three ways: by eliminating enemies, depositing Uranium, and detonating dirty bombs, which causes radiation to leak out in the surrounding area, forcing you to move out or suffer the consequences of weakness, fatigue, and internal bleeding. The first squad to reach the score limit wins.
Strategies
· Following a short respawn timer after death, you will have the option to either spawn on a teammate who is not engaged in combat or parachute into the map. Survey the map, decide on the best infil method, and get back into the fight. If you’re the only squad member left standing, consider holding back until a teammate or two deploys on your position.
· Downed enemies will drop any Uranium they’ve collected, so if a bomb site is seeing a lot of action, consider taking a position at a strong vantage point and pick off incoming enemies.
· Caches spread throughout the map contain useful items like Armor, Self-Revives, Scorestreaks, and the Uranium Pouch, which increases the maximum amount of uranium you can carry. Keep an eye out for these caches and grab them as you move through the map.
Combined Arms: Assault
The Basics
Assault is the first of two Combined Arms modes available at launch. Combined Arms is home to 12v12 play on large maps with vehicles such as Tanks, Snowmobiles, Wakerunners, and Gunboats.
Combined Arms: Assault is classic game of tug-of-war where teams must capture objectives on the map leading towards their enemy’s base. The match begins with one neutral objective in the middle of the map. The first team to capture it will activate the next available zone, further back in the enemy’s base.
Get kills and capture zones to build momentum, which in turn reduces the amount of time needed to capture the next zone. If time runs out in a draw, overtime begins, in which the first team to capture a single neutral zone wins the game.
Strategies
· Get on that point! Unlike Domination where all zones are up for capture, Combined Arms: Assault activates just one zone at a time, forcing the fight to a single location.
· There’s strength in numbers. If both teams have players in the zone, the side with more players will earn progress toward the capture. The point is only contested when there are an equal number of players inside the zone.
· Use your grenades liberally — both tactical and lethal — and be on the watch for grenade indicators as the opposing team responds in kind. Consider equipping Flak Jacket, Tactical Mask, and the Trophy System Field Upgrade for added protection while in the zone.
Combined Arms: Domination
The Basics
Domination on a large scale; this classic game mode is scaled up for 12v12 Combined Arms action.
Just like regular Domination, Combined Arms: Domination features two teams capturing objectives and defending them from each other. Because it’s Combined Arms, the number of objectives to capture is increased to compensate for a larger lobby size.
Earn score for each zone your team controls. There is no halftime, and the first team to reach the score limit wins. Players respawn immediately after death.
Strategies
· Because of the large map sizes in this mode, strategy and positioning are just as important as gun skill. Success relies on knowing when it’s time to move up and engage in the fight, and when it’s time to hold your position and fend off incoming attackers.
· It’s better to capture and defend three or four zones than to race all over the map trying to cap every objective. The more thinly spread your team, the easier it is for the enemy to swoop in and take the zone.
· With several zones up for grab, it’s crucial to communicate with your teammates. Call out big groups of enemies and form your own large attacks when it’s time to gather and push for a highly contested zone.

VIP Escort
The Basics
Get the VIP out of there at all costs — or take them out. In this new Multiplayer mode, teams are separated between the escorting team and the elimination team.
On the escorting side, one random player is designated as the VIP in the round. This team wins if the VIP successfully escapes using one of two exfil sites, or if the opposing team is wiped out. The escorting team loses if the VIP is eliminated or if the timer runs to zero before the VIP escapes.
Scorestreaks are disabled. Players use their normal loadout except for the VIP, who is equipped with a pistol, two Smoke Grenades, two Frags, a Field Mic Field Upgrade, and a Spy Plane.
There are no respawns in the round. When players are taken out, they go into a downed state and can be revived by teammates if the enemy doesn’t finish them off first.
The first team to win four rounds wins the match.
Strategies
· The VIP’s teammates should always lead the attack. As the VIP, your survival is paramount, so stick close to your allies and lay low. In critical battles, call in the Spy Plane for an intel advantage.
· If high risk, high reward is your style, try having the majority of your squad head toward one exfil site to draw the enemy’s attention while the VIP heads toward the other exfil site. Drop a Smoke Grenade for added concealment when rushing the exfil.
· On the opposing side, decide whether you want to rush in as a full group to overwhelm and wipe out the VIP, or leave behind a defender or two to ensure you’ve got both exfil sites covered.
Team Deathmatch
The Basics
Two teams battle each other in an elimination-based challenge. The first team to acquire the target number of kills wins the match.
Players respawn immediately after death. If both teams have the same score when the timer runs out, the game ends in a draw.
Strategies
· Team Deathmatch is all about the fundamentals: movement and gun skill. Jump in here to focus on the basics and to try out new weapons and loadout strategies.
· Your main objective is to rack up kills, but watch your death count too. If you’re feeding the enemy kills, slow down and re-evaluate your strategy. Play smart, read the battle, and avoid preventable deaths.
· Map knowledge and situational awareness are key here. This mode is a great way to become more familiar with game mechanics, so consider playing some warm-up games here before heading to objective modes.

Kill Confirmed
The Basics
Eliminated enemies and teammates drop dog tags upon death. Gather enemy dog tags to earn score for your team and collect your teammates’ dog tags to prevent the enemy from scoring. The first team to reach the score limit wins.
Strategies
· Sure, kills are important, but don’t forget that collecting tags is your main objective. Watch the mini-map for clusters of tags and move in on them fast.
· If you’re confident in your gun skill, you can also use tags as bait. Set up in a well defended spot with a view over some tags, eliminate enemies coming in to grab them, then clean up for a nice score boost.
· Whenever possible, it’s a great idea to look out for and gather your teammate’s blue tags. Doing so prevents the enemy from earning score while boosting progress toward your next Scorestreak.
Free-for-All
The Basics
It’s every Operator for themselves. The first player to earn the target number of kills, or who has the most kills when the clock runs out, wins the match.
Strategies
· Aggression wins the day. While you might be tempted to find a safe spot where you can lay low and avoid danger, that’s no way to rack up the kills needed for a win. Get out there, keep moving, and engage often.
· The mini-map is a powerful tool for Free-for-All. Watch for red dots lighting up as enemies fight one another to get a sense for where engagements are, and consider interrupting fights in progress to steal an elimination after another enemy softens up their target.
· Consider Perks that improve your awareness of the enemies around you, such as Paranoia and Tracker, as well as ones that reduce your own profile, like Ghost or Ninja.

Domination
The Basics
Two teams compete for control of three locations on the map marked with lettered waypoints: A, B, and C. Earn score for each zone your team controls.
Players respawn immediately after death. Halftime occurs after one team gains 100 points. The teams then switch sides on the map and the first team to earn 200 points wins the match.
Strategies
· In Black Ops Cold War, Domination zones are larger and shaped to their natural surroundings to encourage more engagements in and around the objective. While this can give your team an advantage, the same applies to your enemies, so always be on your guard.
· It pays to capture zones with your teammates, as each additional player on the objective increases the capture speed. If an ally is close to capturing the point, it’s often worth risking your life to get in there with them.
· The most reliable strategy is to capture two objectives and defend them. Going for all three stretches your team thin and can result in a change in enemy respawn patterns.
Hardpoint
The Basics
Two teams compete for control of a rotating objective area called the Hardpoint or “hill”. Players must remain inside the Hardpoint to earn points over time.
Each Hardpoint lasts for one minute before rotating to the next designated position. Players respawn shortly after death.
The first team to reach the score limit, or the team with the higher score when the timer runs out, wins the match.
Strategies
· In Hardpoint, positioning is everything. It only takes one teammate on the hill to earn points, so if someone’s already on it, consider taking up a flanking or vantage point where you can fend off incoming attacks.
· Pay attention to the Hardpoint timer. If less than 10 seconds remain, consider moving toward the next point ahead of time. Look for a waypoint indicating the next zone when there are 10 seconds or less remaining on the current zone.
· Defense is key when you’re the one on the point. Consider the Trophy System Field Upgrade in addition to Perks like Tactical Mask and Flak Jacket for added defense against throwables.

Control
The Basics
A competitive fan-favorite objective mode returning from Black Ops 4, Control tasks players with capturing or defending two stationary objectives on the map.
Each round lasts one and a half minutes and each team of six is given 30 lives. The attacking team earns additional time after capturing one of the objectives. Unlike Domination or Hardpoint, only the attacking team can capture the objective, and once they do, it disappears from the map.
The attacking team wins the round if they capture both points successfully. The defending team wins if they defend at least one objective and the clock runs out. Either team can also win by depleting all 30 of their opponents’ collective lives.
The first team to win three rounds wins the match.
Strategies
· Always keep an eye on the life count. If your team has more lives, go ahead and attempt those risky and aggressive plays. If your numbers dip below the enemy’s, slow down and play every life for maximum kills.
· On the attacking side, consider focusing your efforts on a single objective at the start of the match. The game clock extends after capturing a point, and that extra time can be crucial in winning the round.
· On defense, make sure you’re covering both points early in the round, at least until you have an idea of where the attacking team is focusing their efforts.
Search & Destroy
The Basics
In each round, teams take on the role of either attacker or defender.
The attacking team wins if they successfully plant the bomb and detonate one of two bomb sites on the map. The defending team wins if they prevent them from doing so before the clock runs out, or if they manage to defuse a planted bomb before it detonates.
There are no respawns in this mode. Either team wins if they eliminate every player on the opposing team. The first team to win six rounds wins the match.
Strategies
· On the attacking side, don’t be predictable when deciding which site your squad will try and plant the bomb at. The less the defending team can anticipate your opening move, the more likely your squad can catch them by surprise.
· Pair up with your teammates as much as possible, so that if one of you goes down, the other can avenge your death to keep the life count even. With no respawns in the round, the last thing you want is to face an enemy team with
Once planted, the bomb activates a countdown timer before detonation. On the defending side, if the other team has recklessly left the bomb unattended, forget seeking them out and go in for the defuse, or get stealthy and defuse the bomb while the enemy is looking the other way.
Hardcore
The Basics
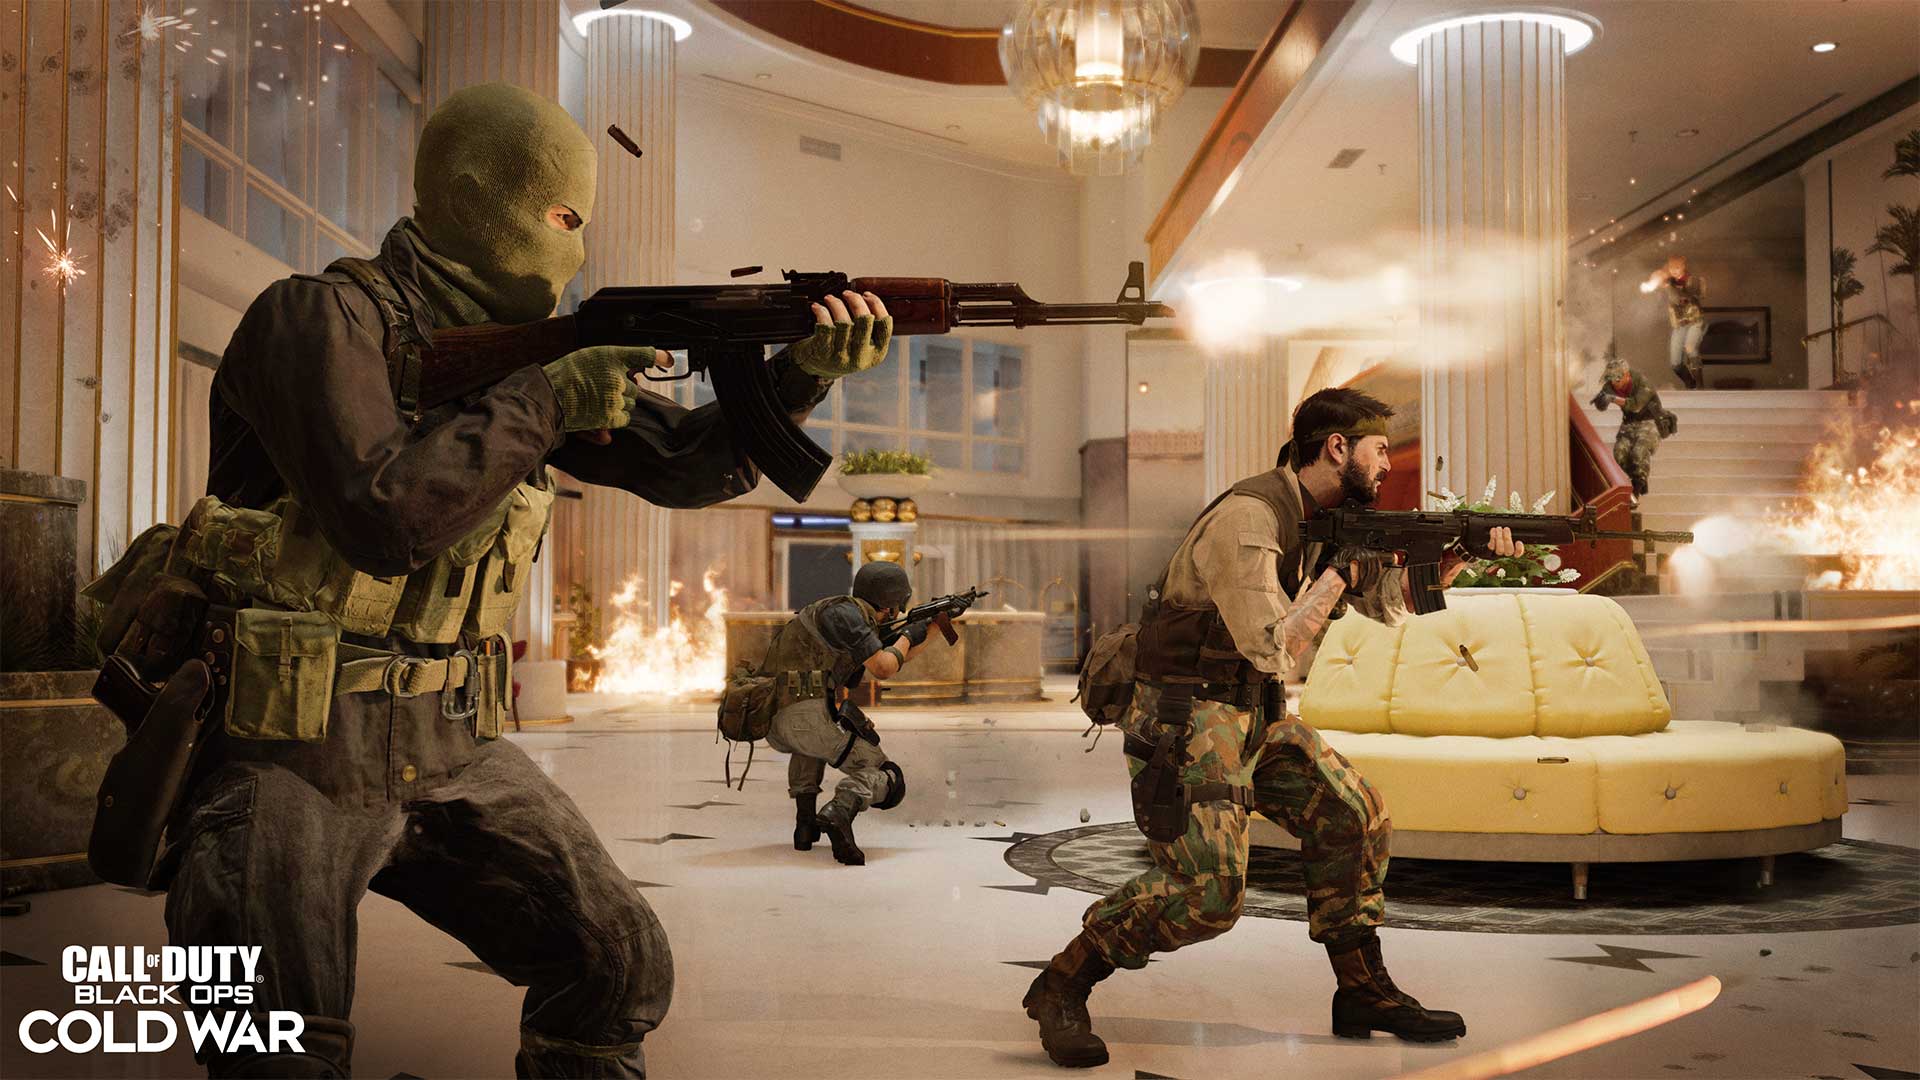
While not a game mode in itself, Hardcore drastically changes the flow of the match in several ways: including reduced health for all players, no health regeneration, a limited HUD, and friendly fire. At launch, there are Hardcore variants for Team Deathmatch, Domination, Search & Destroy, Kill Confirmed, and Free-for-All.
Because friendly fire is enabled, watch your fire and think before tossing grenades and calling in certain Scorestreaks!
Strategies
· Due to limited health, the first Operator to shoot will often win the fight. If you’re a dedicated run and gunner, consider the Gung-Ho Perk so that you can fire even while sprinting or mantling.
· The Spy Plane Scorestreak takes on extra importance in Hardcore, as it’s a low-cost means of getting a mini-map on your HUD. Consider equipping it if you normally have trouble finding fights or want to minimize enemy flanking opportunities.
· Having trouble in Core modes with low damage, high fire rate weapons? Take them over to Hardcore where they’ll shred through your enemy’s low health pool.
Although there are plenty of Multiplayer experiences to explore at launch, expect even more game modes to come in the coming post-launch seasons.
Execute the mission.
For more information on Call of Duty®: Black Ops Cold War, check out: www.callofduty.com, www.youtube.com/callofduty and follow @Treyarch, @RavenSoftware, and @CallofDuty on Twitter, Instagram, and Facebook.
© 2020 Activision Publishing, Inc. ACTIVISION, CALL OF DUTY, and CALL OF DUTY BLACK OPS are trademarks of Activision Publishing, Inc.
For more information on Activision games, follow @Activision on Twitter, Facebook, and Instagram.
